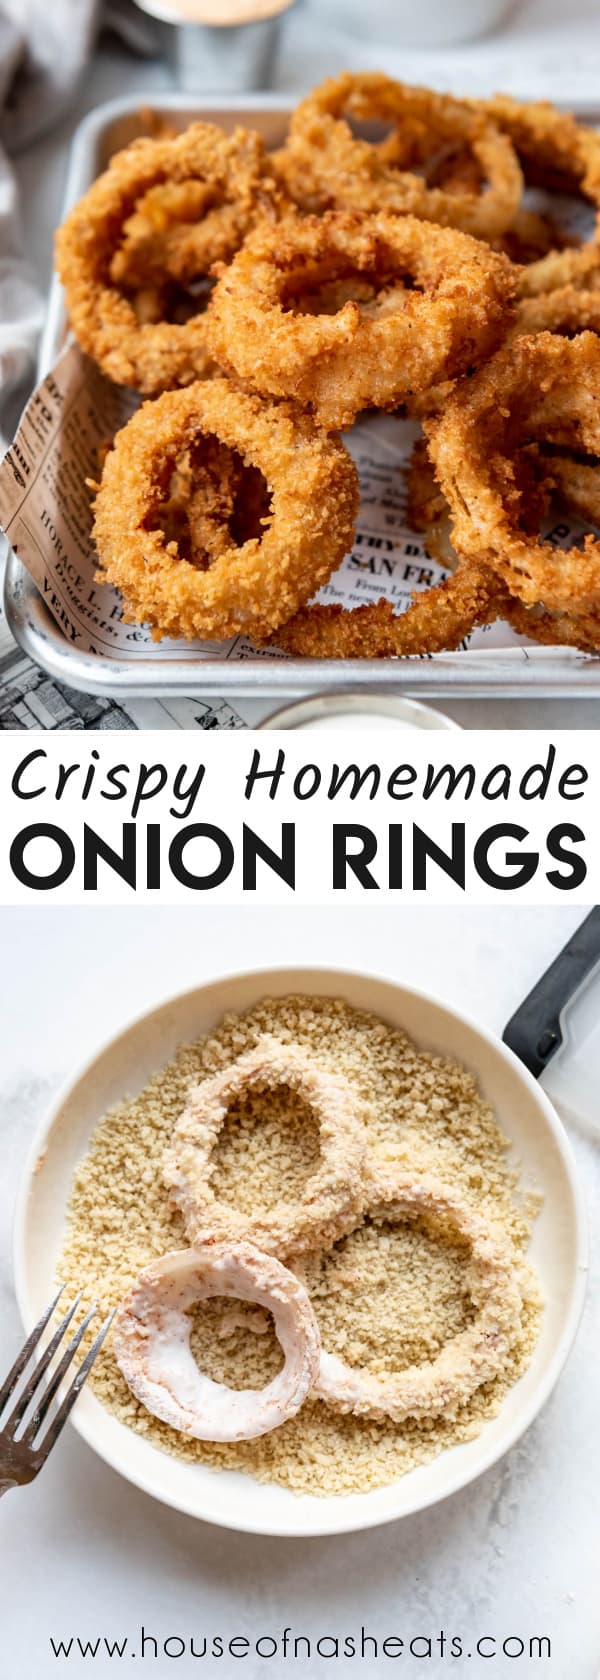
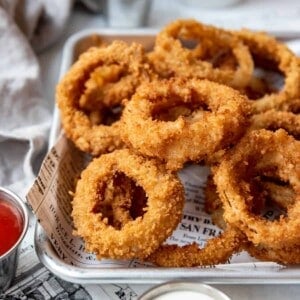
This easy Homemade Onion Rings recipe makes deliciously crisp golden onion rings with just a handful of ingredients. Perfect for enjoying with grilled burgers, chicken, hot dogs, fish, or anything else you can think of! Try adding them to your burgers, salads, and sandwiches for an extra satisfying crunch!
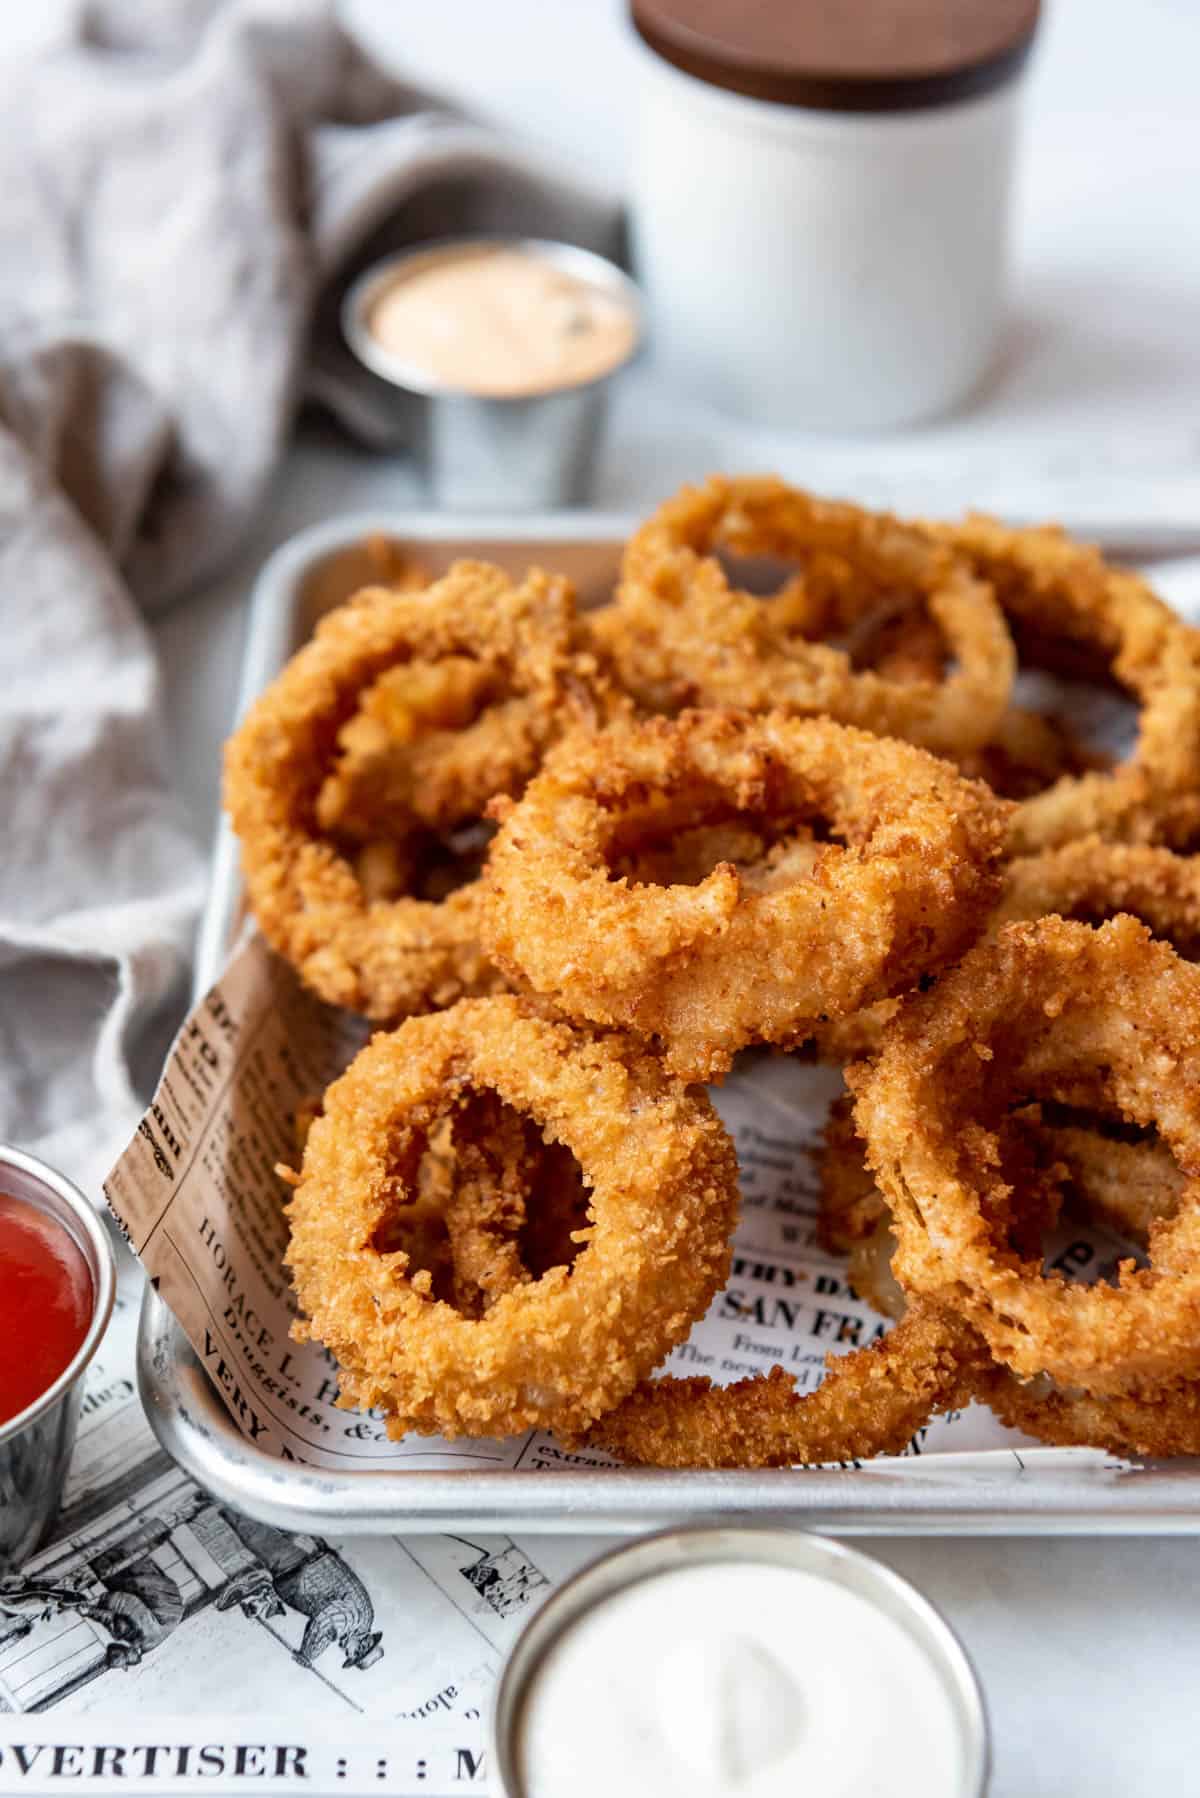
Table of Contents
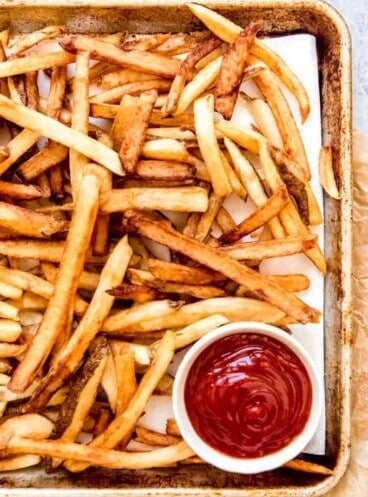
Are you Team French Fries or Team Onion Rings? I'm a homemade french fries girl myself, but Paul will take onion rings over any kind of fries and I always steal a few of his because I love them too.
Onion rings are a splurge for us. It's not an everyday kind of food, but when we are having friends over and grilling burgers, I'll whip up a batch of extra crispy onion rings and have them breaded and waiting in the fridge so all I have to do is quickly fry them when we are getting ready to eat.
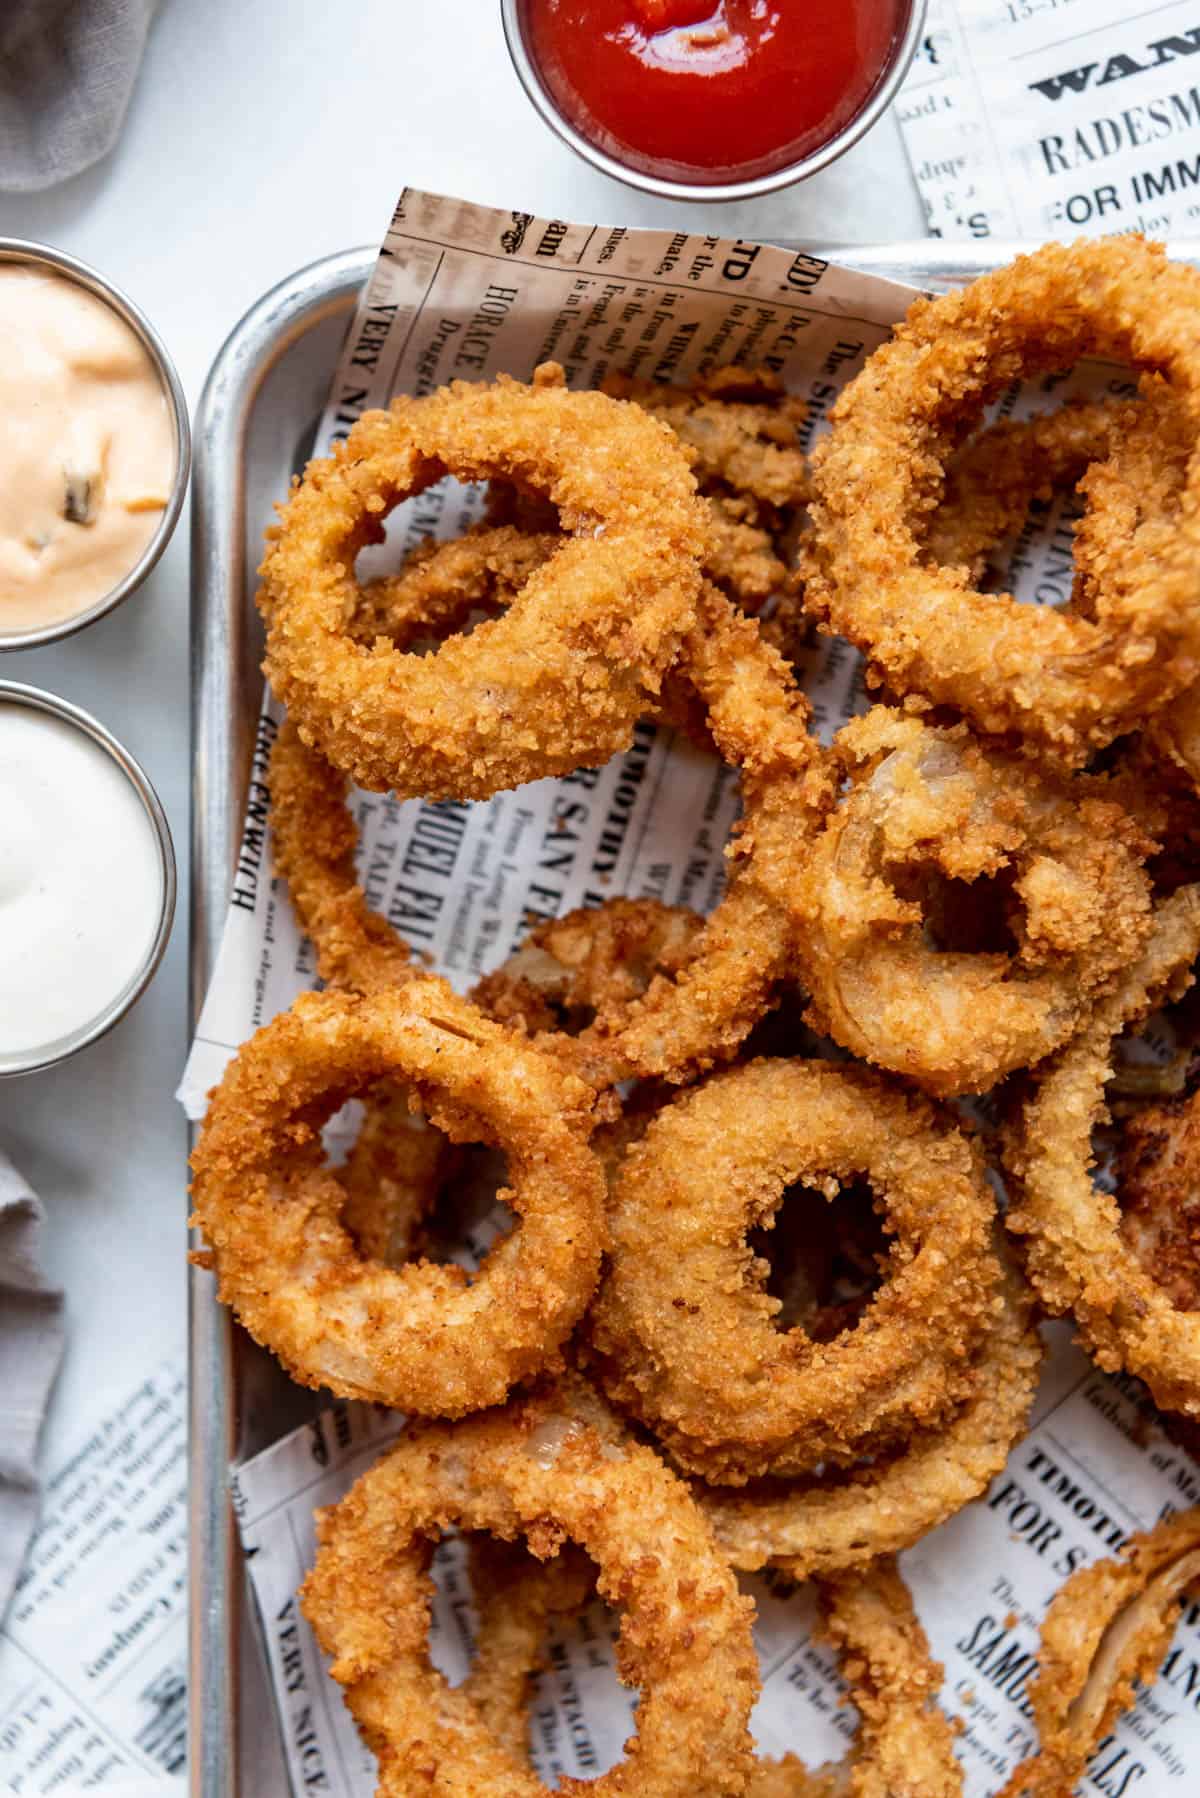
We like extra crunchy onion rings made with Panko breadcrumbs best over beer battered onion rings. Both are delicious, but sometimes the battered onion rings seem too limp and soggy compared to the shatteringly crisp golden exterior of this easy onion ring recipe that can be made with just a handful of staple ingredients.
What You'll Need
Scroll down to the recipe card below this post for ingredient quantities and full instructions.
- Onions - I recommend sweet onions, yellow onions, or white onions for making onion rings. The larger, the better, in our opinion. If you can get your hands on them, Walla Walla onions are especially good for making onion rings.
- Buttermilk - This is my favorite soaking option for helping the seasoning and breadcrumbs stick to the onion rings, but you can swap it out for a couple beaten eggs instead if you prefer.
- Flour - Some regular all-purpose flour gets mixed with spices and helps add a major flavor quotient to these onion rings that diner or burger joints are sometimes lacking.
- Spices - In addition to your typical salt & pepper, we like to add a little garlic powder and smoked paprika for some kick. A little cayenne pepper can be nice too if you don't have smoked paprika on hand.
- Cornstarch - A secret ingredient that helps the fried onion rings stay nice and crispy even after they have been fried for a little bit.
- Breadcrumbs - You want to look for Panko bread crumbs, which are a crispy Japanese-style breadcrumb that is much crunchier than traditional plain breadcrumbs.
How to Make Homemade Onion Rings
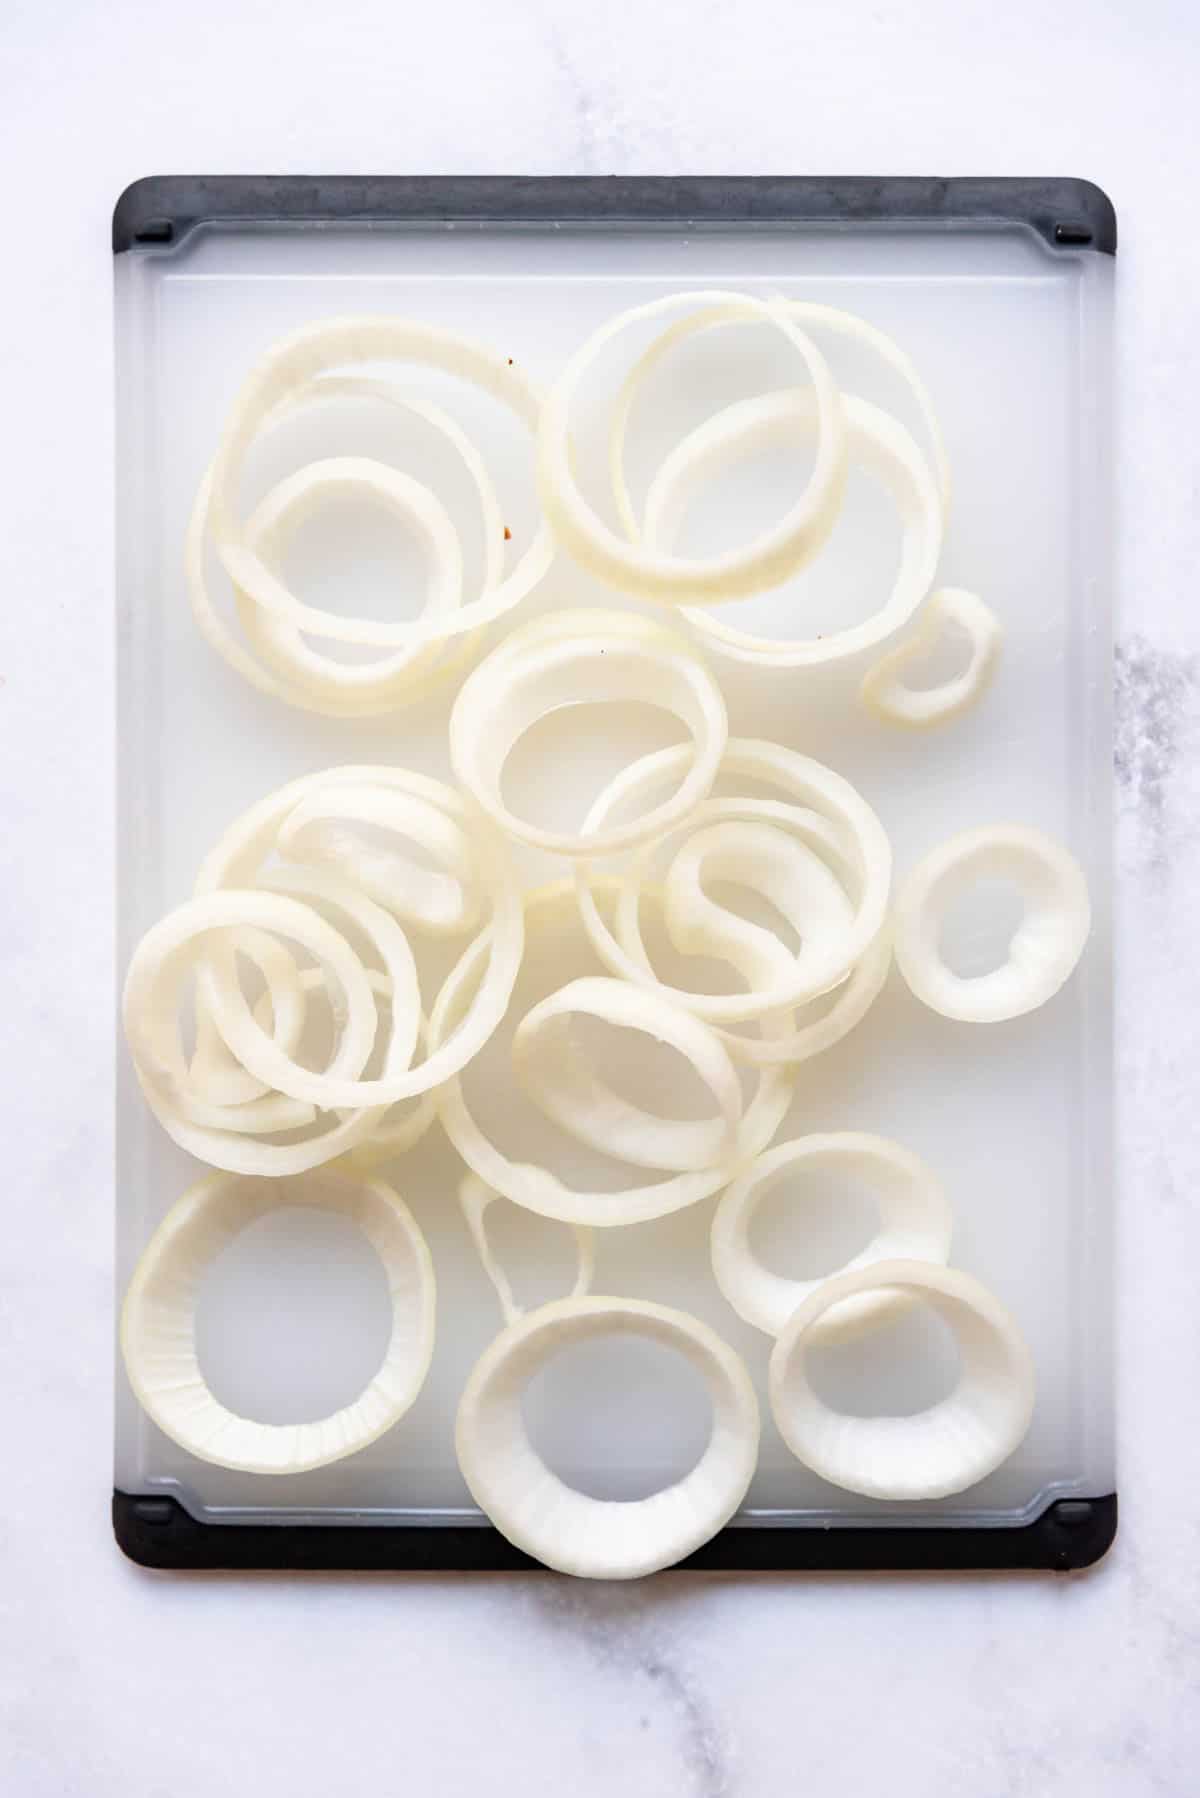
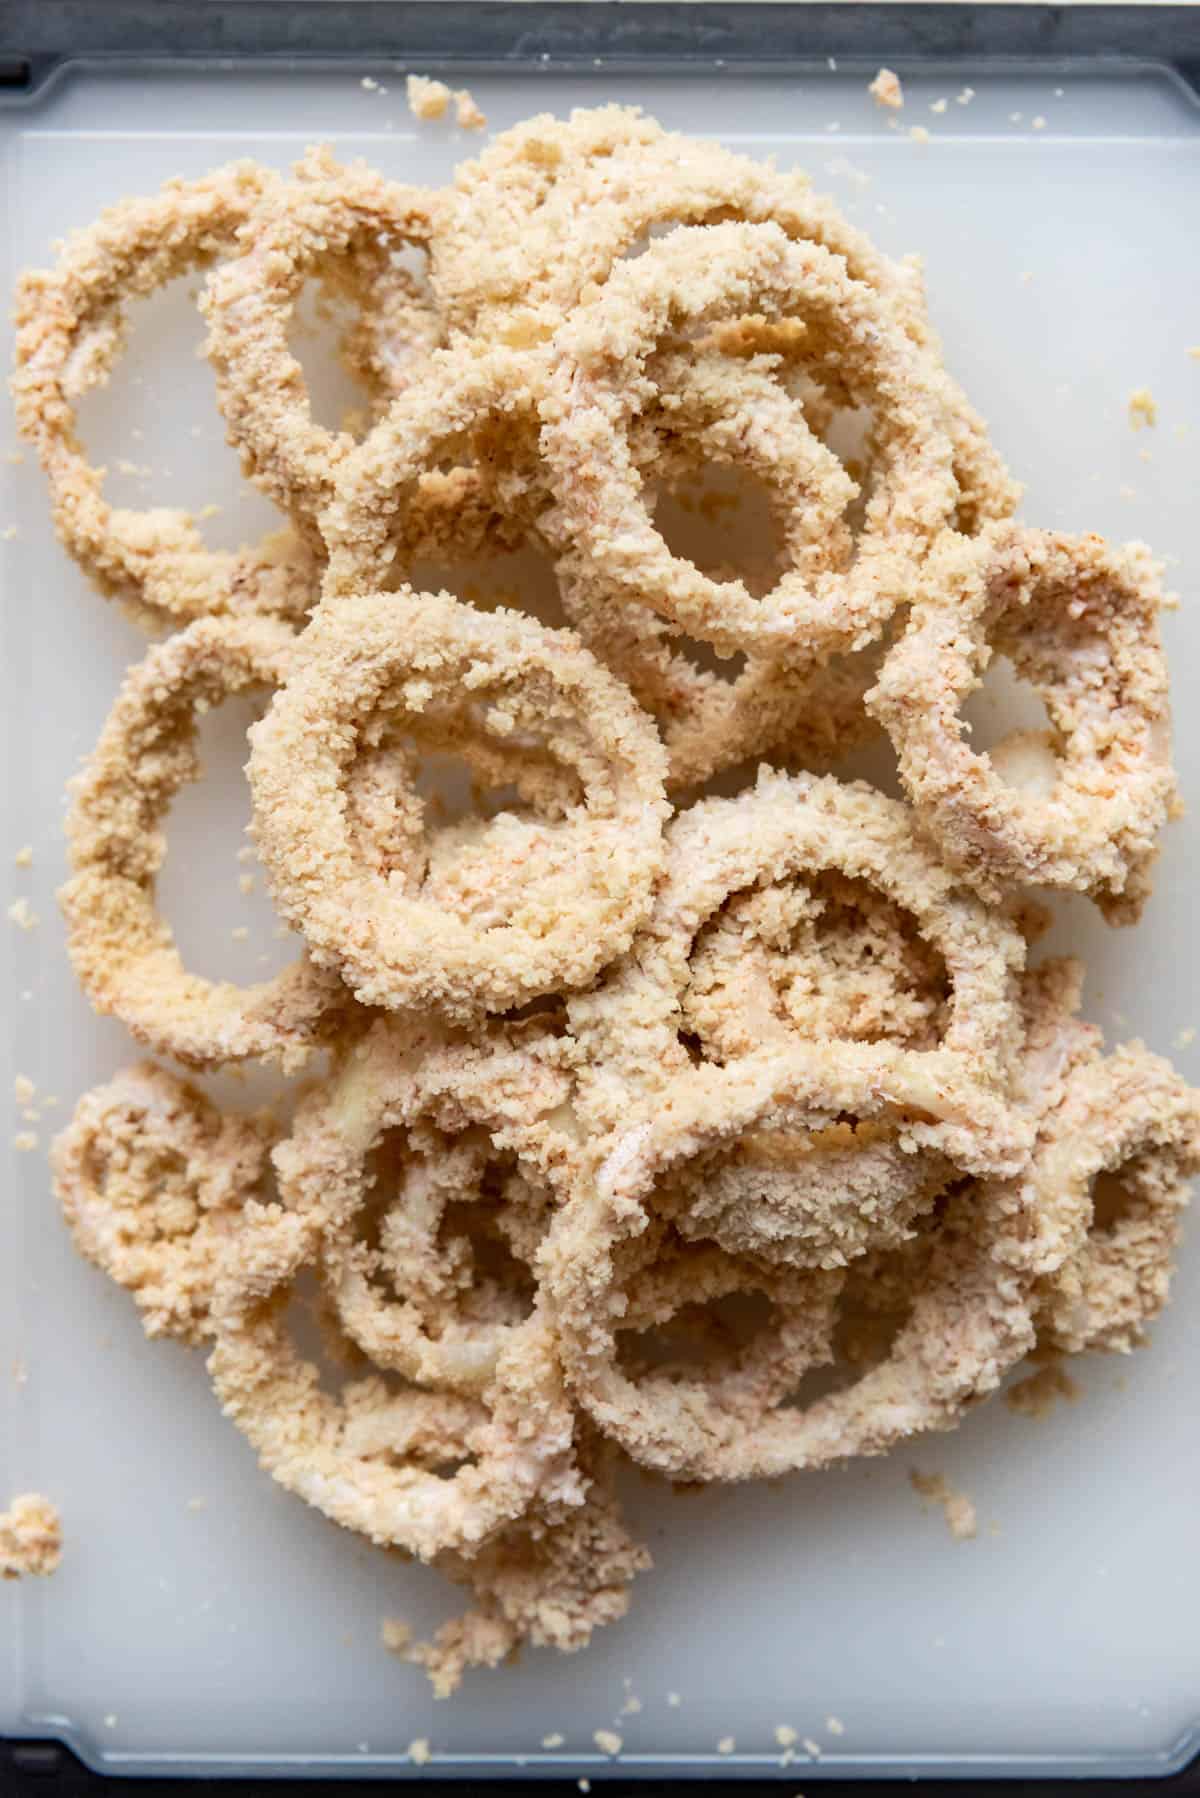
- Slice your onion. Start by slicing off the top of a large onion with a sharp knife, then peel away the outer layers of papery skin. Carefully slice the onion into discs that are between ¼" and ½" wide on a cutting board, then separate them into individual rings.
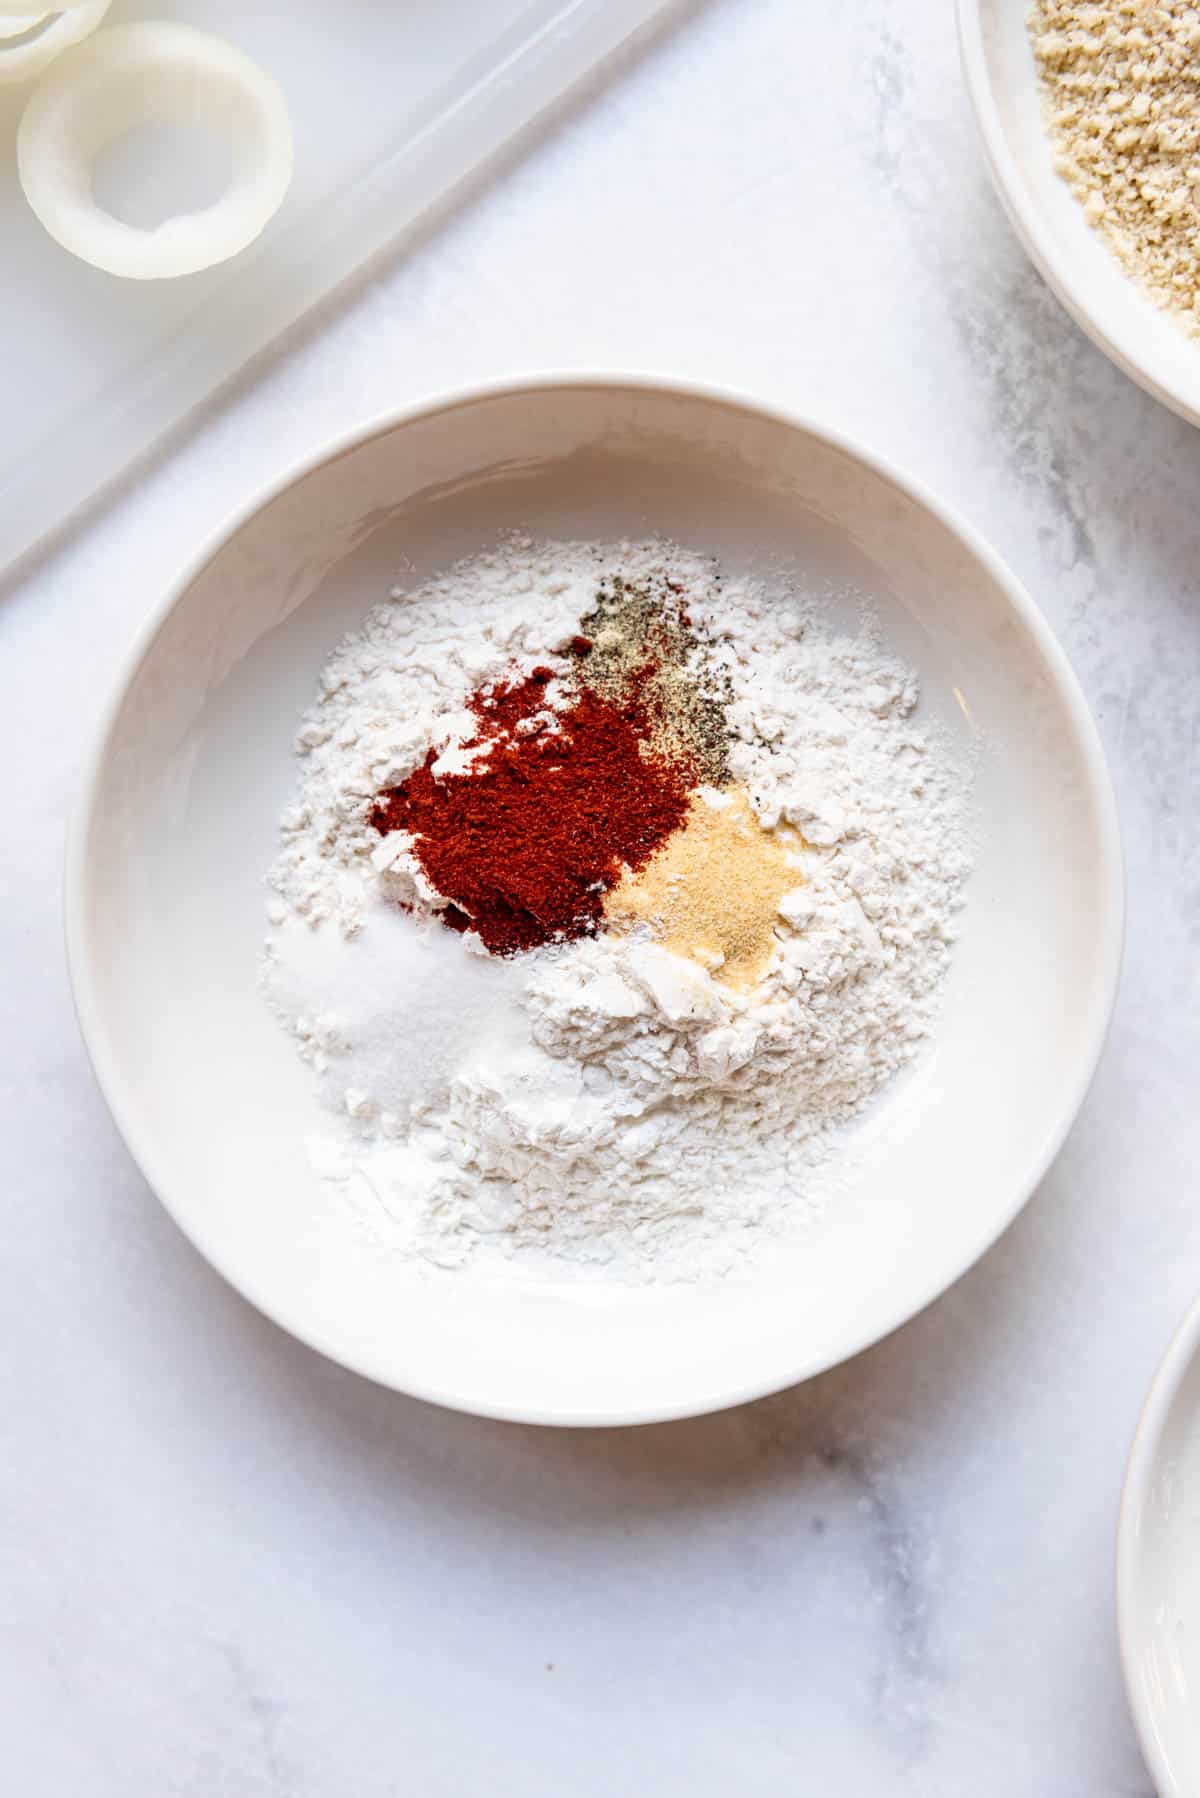
- Prepare dredging stations. Gather three shallow bowls or shallow dishes (these are pasta bowls that work great because they have a slightly higher lip to contain everything). In one, combine flour, cornstarch, smoked paprika, salt, pepper, and garlic powder. Pour the buttermilk into another dish, and add the Panko breadcrumbs to the third.
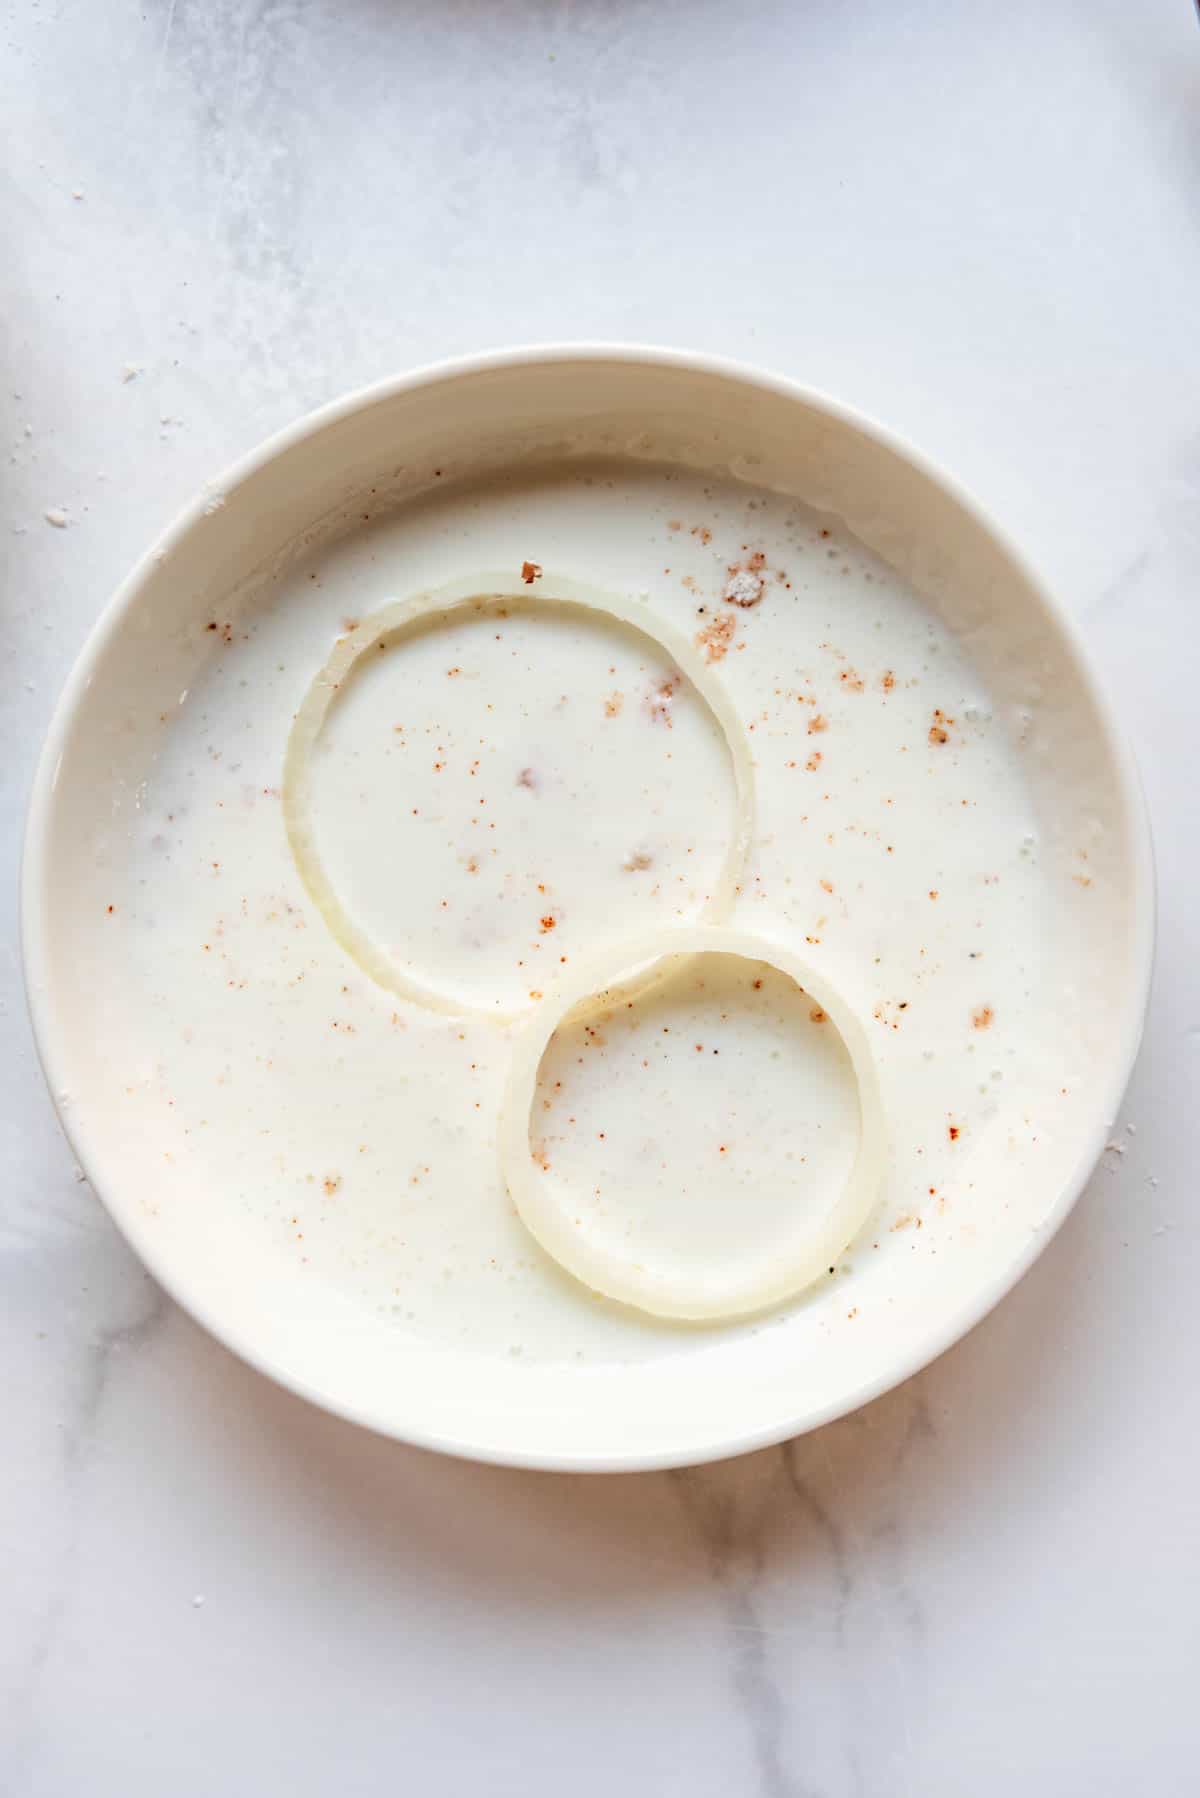
- Dredge in flour, then buttermilk. The onion slices are usually moist enough to pick up a nice amount of the spiced flour mixture on their own without dipping them in buttermilk or beaten egg mixture first, but you can always soak the onions for 30 minutes in the buttermilk, drain well, and then dip them in the flour before dipping a second time in the buttermilk. I usually find it easiest to just go straight to the flour first though.

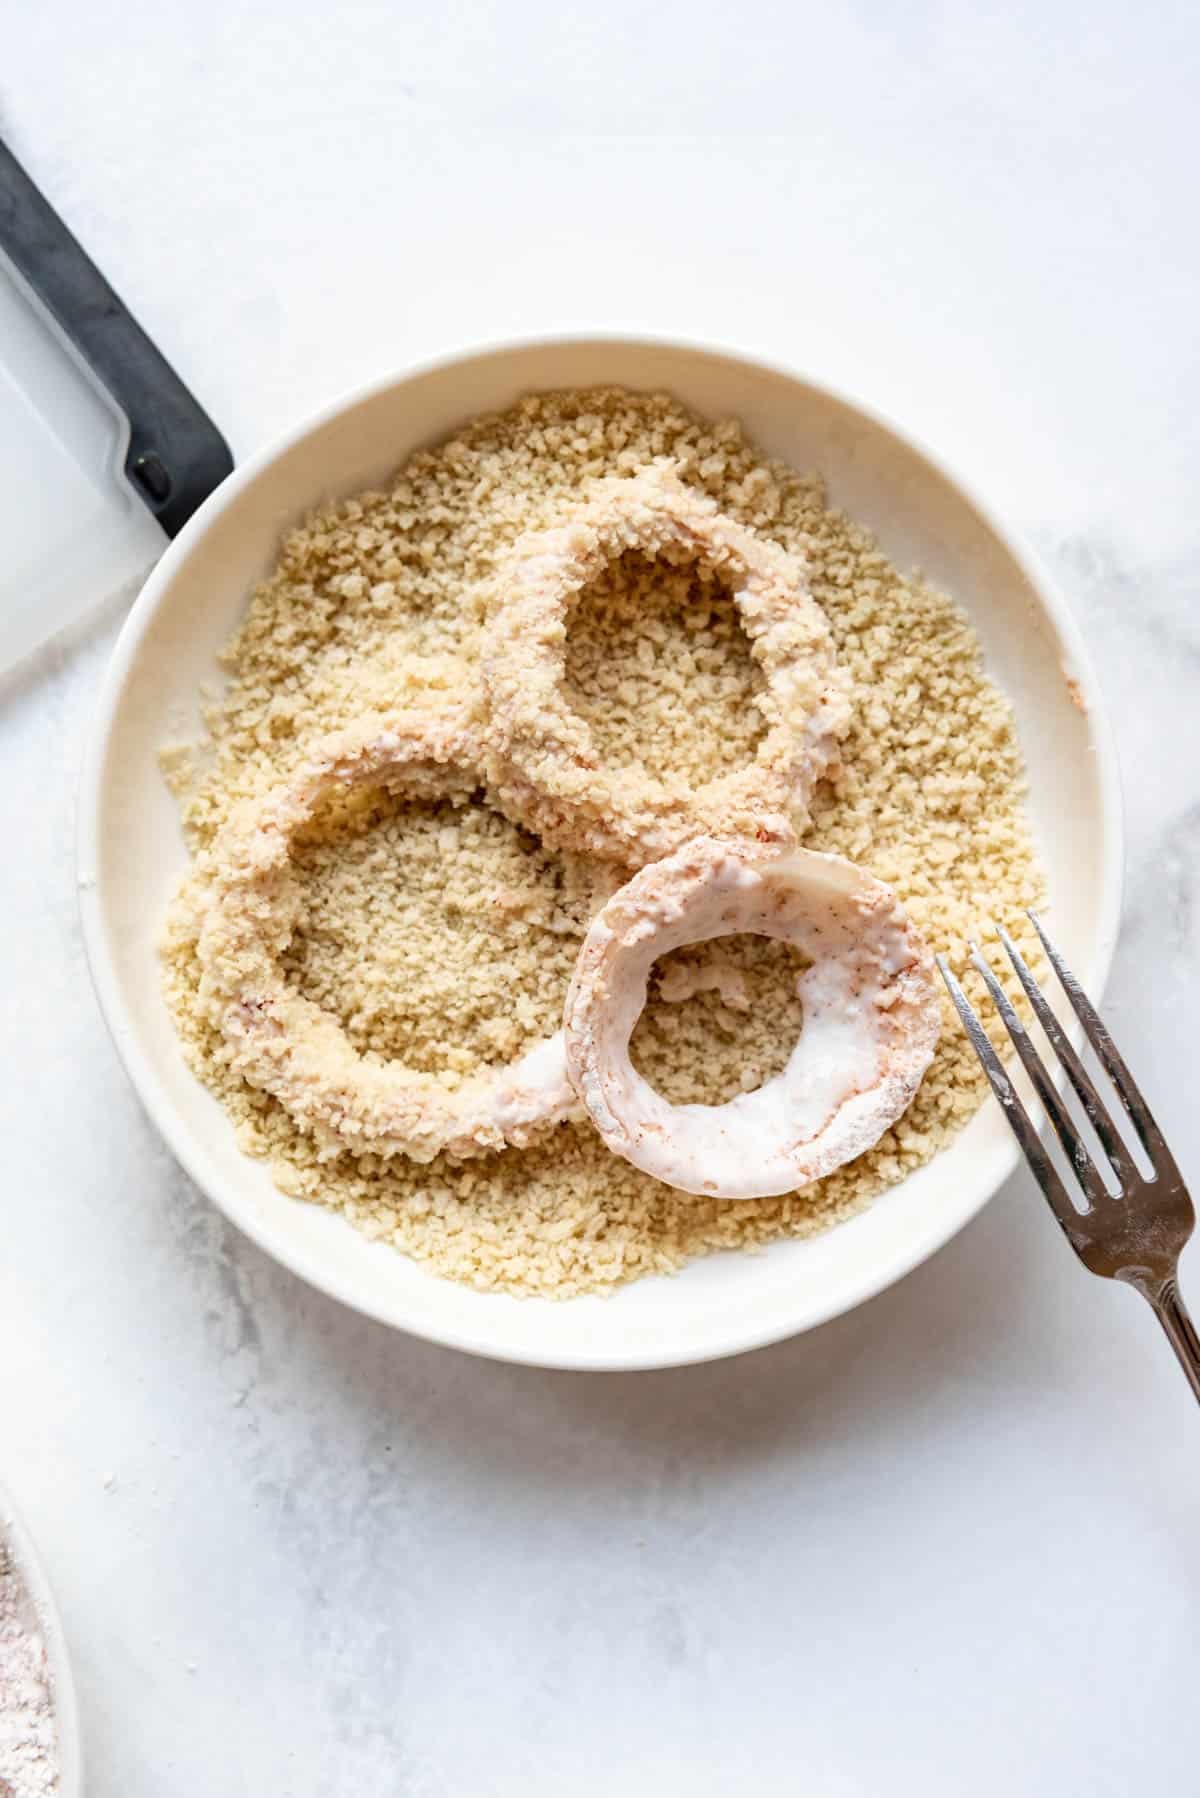
- Coat in breadcrumbs. Let the buttermilk drip off the onion rings for a sec before transferring them to the bowl of breadcrumbs. Toss to coat the onion rings all over. You might want to press a few breadcrumbs in to make sure you get a solid coating.
A trick for getting your breading to stick better and not fall off as much when frying is to cover the breaded onion rings with a damp paper towel for 10-15 minutes after breading while the oil heats up. This helps it get a little bit tacky and stick better so less of it falls off in the hot oil. I use the same trick when making our famous fried chicken and it gets the best results!
- Heat oil. Heat 1- to 2-inches of oil to between 350 and 375 degrees Fahrenheit over medium-high heat. You can use a deep cast iron skillet, dutch oven, or deep fryer, if you have one. The oil temperature might need to be adjusted as you add the onion rings to it, so just watch it and try to keep it in that range so the onion rings fry properly.
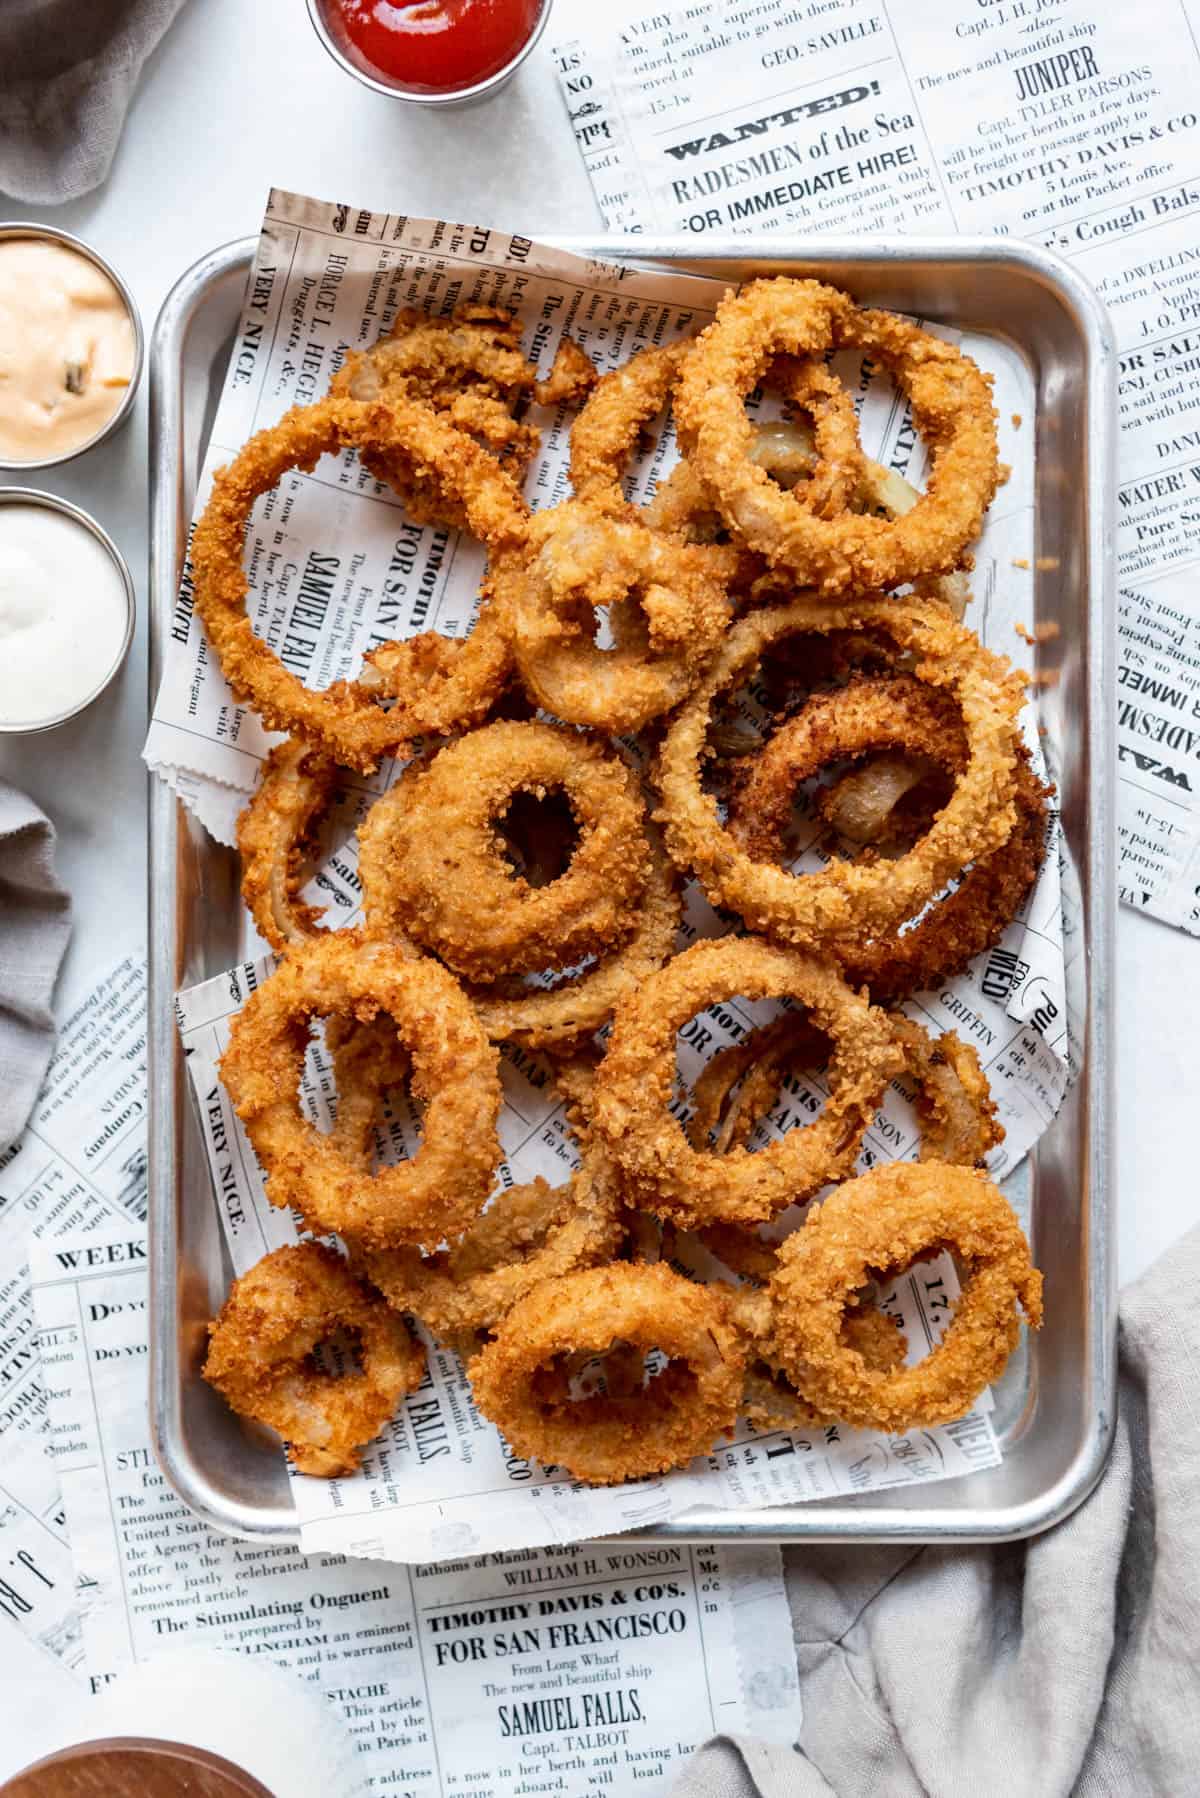
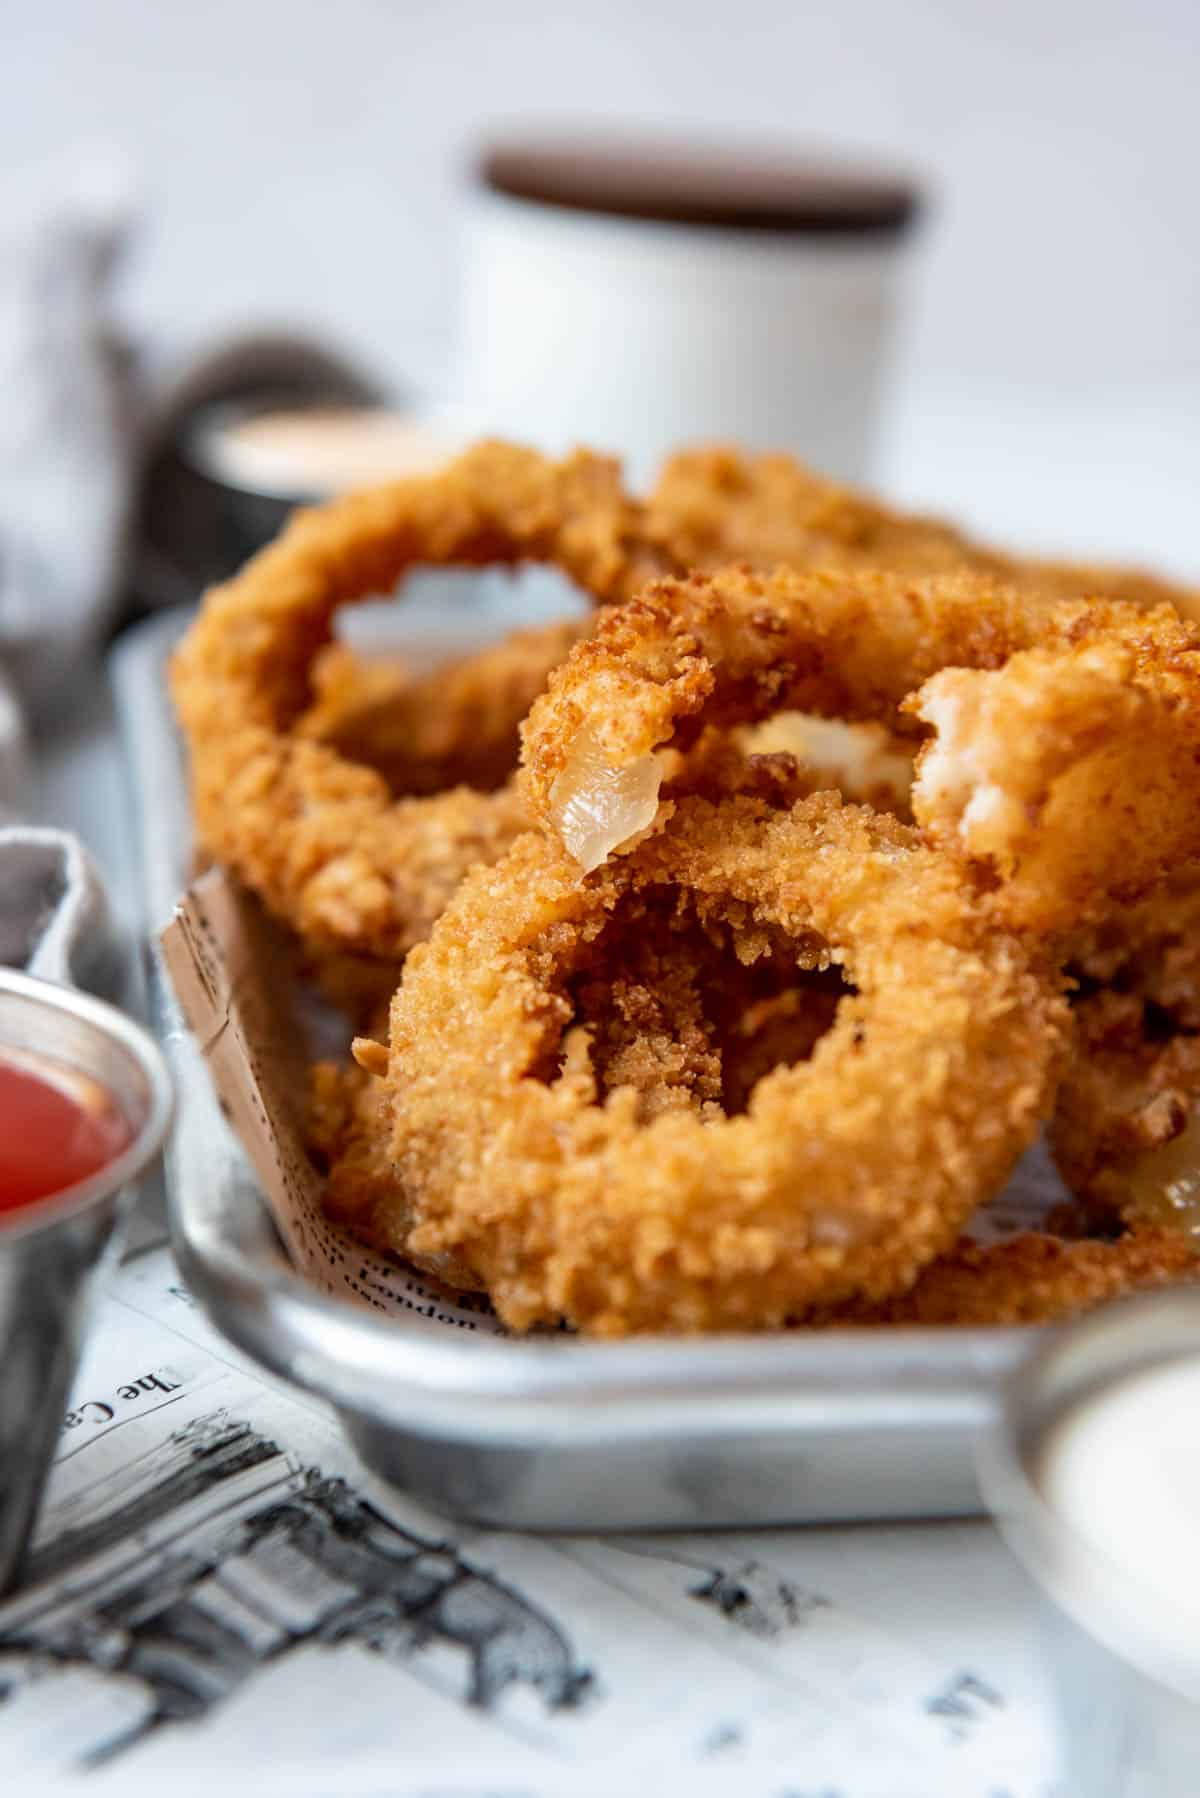
- Fry onion rings. Work in batches to from 4-6 onion rings in a single layer at a time without overcrowding the pan, which can cause the oil temp to drop significantly. Fry each batch of onion rings for 2-3 minutes or until they are golden brown and crisp. Carefully transfer them with tongs or a slotted wire spatula for frying to a wire rack set over a baking sheet lined with paper towels to soak up any excess oil that drips off. Repeat until all of the onion rings have been fried.
- Serve with your favorite dipping sauce! We love onion rings with good old ketchup or fry sauce (a delicious combination of equal parts ketchup and mayo), but they are also delicious with Outback Blooming Onion Sauce, Remoulade Sauce, Ranch Dressing, or a yummy Garlic Aioli.
Recipe FAQ's
If your deep fried onion rings are turning out greasy, it's likely because the oil temperature wasn't high enough or dropped a lot when adding the onion rings. When the oil temp is too low, the breading soaks up more of the oil rather than frying quickly, resulting in greasy onion rings.
If you have trouble getting the breading to stick to the onion rings, try not breading them quite as thickly. I have tried double dipping the onion rings to increase the breading to onion ratio, and that's when I usually have trouble with the breading falling off because it is too thick and heavy. Also, see my tip above about letting the breading get a little bit tacky by resting for 10-15 minutes before frying the onion rings.
If you feel like the onions have too much kick, you can actually soak the onion slices in ice water for 30 minutes, which takes away a lot of their bite.
Yes, absolutely! If you want to save on calories and skip the hassle of heating and deep frying with oil, you can make homemade air fryer onion rings with this same recipe. But instead of frying in oil, spray the breaded onion rings well with some cooking spray and place the coated onion rings in a single layer in the air fryer basket. Air fry at 350°F for 12 to 15 minutes until nice and crisp on the outside. The biggest downside to this method is that you have to work in quite a few batches and it takes much longer to air fry than to deep fry onion rings.
Tips for Success
- Use the right tools. An instant digital thermometer or candy thermometer (affiliate link) to monitor the oil temperature is invaluable in achieving perfectly crisp, golden onion rings. So is a wire spatula for removing the onion rings once they are done.
- Don't slice the onions too thick. If they onions are too thick, they tend to slip right out of the breading when you bite into an onion ring. Also, the texture isn't as good when the onions are sliced too thick compared to when they are sliced thin. Nobody wants slimy onions sliding out of their onion rings, right?
- Taste and adjust seasoning. You might want to sprinkle a little garlic salt or season salt over the finished onion rings if you want them to have even more flavor.
What to Serve With Onion Rings
Obviously burgers come to mind when thinking about what to eat with onion rings, and I've got some amazing burgers and burger tips for you! But here are some of our other favorite dishes to enjoy when we make onion rings.
- Homemade Runzas (aka Bierocks)
- Classic Reuben Sandwich
- Sweet & Spicy Slow Cooker Pulled Pork
- Pretzel Dogs
- Huli Huli Chicken
- Crispy Chicken Sandwich
- Slow Cooker French Dip Sandwiches
How to Store Onion Rings
Like most fried foods, onion rings really are much better when serving hot and fresh. However, you can keep them in an airtight container in the fridge for up to 3-4 days and reheat in the air fryer, which actually does a pretty good job of crispy them up again so they taste almost as good as new.
I would air fry the onion rings for around 5-6 minutes at 370 degrees F until they are hot through and crisp on the outside again.
More Perfect Appetizer Recipes
- Homemade Mozzarella Sticks
- Bacon-Wrapped Jalapeno Poppers
- Slow Cooker Little Smokies in Honey Garlic BBQ Sauce
- Grape Jelly Meatballs
- Grilled Mexican Street Corn
Did you make this recipe?
Let me know what you thought with a comment and rating below. You can also take a picture and tag me on Instagram @houseofnasheats or share it on the Pinterest pin so I can see.
Fried Homemade Onion Rings Recipe
Ingredients
- 1 large sweet or yellow onion, sliced into ½-inch thick rings
- 1 cup buttermilk
- 1 large egg
- ½ cup all-purpose flour
- 1 Tablespoon cornstarch
- 1 teaspoon smoked paprika
- 1 teaspoon salt
- ½ teaspoon black pepper
- ½ teaspoon garlic powder
- 1 cup panko bread crumbs
- Oil for frying (canola oil, vegetable oil, or peanut oil are our top choices)
Instructions
- Whisk together buttermilk and egg in a shallow dish.
- Whisk flour, cornstarch, smoked paprika, salt, pepper, and garlic powder together in a separate shallow dish. Add breadcrumbs to a third shallow dish.
- Dredge onion rings in the flour mixture, then in the buttermilk mixture, then breadcrumbs. Set aside for 10-15 minutes until ready to fry. The longer sitting time allows the coating to absorb some of the liquid and get tacky, which helps prevent a lot of it from falling off while frying.
- Heat 1" of oil in a large cast iron skillet or other heavy duty pot like a dutch oven to 350°F to 375°F.
- Fry 3-4 onions rings at a time for 2-3 minutes without crowding the pan. Flip halfway through and only cook until the onion rings are light golden brown and crispy. Transfer fried onion rings to a wire rack set over a baking sheet to drain any excess grease and repeating with remaining onion rings.
Notes
- Storage: Keep leftover onion rings in the fridge for up to 3 days. Reheat in the air fryer or oven.
- Air fryer onion rings: Instead of frying in oil, spray the breaded onion rings well with some cooking spray and place them in a single layer in the air fryer (you will have to work in batches). Air fry at 350°F for 12 to 15 minutes until nice and crisp on the outside.

If you “jump to recipe,” the instructions do not mention using these ingredients: panko breadcrumbs, paprika, salt, or pepper.
They say to dip in buttermilk, then flour, then buttermilk again, then flour again. No mention of the breadcrumbs.
I went back to where the email link took me and read everything, and here I found: flour first, then buttermilk, then breadcrumbs.
Thank you for pointing that out! I fixed that in the instructions to be more clear.
Very helpful and delicious recipe. Thank you.
These are OUTSTANDING!!
At the beginning, you said the onion rings are usually moist enough to hold the flour to them and they don’t need to go into the buttermilk/egg mixture first. You find it easist to go straight into the flour mixture first. However, in the directions after the ingredients list, you say to do it with other way. ??
You're right - I wrote that in a confusing way. I fixed it so it is hopefully more clear that I just go straight to the flour mixture, then buttermilk mixture, then breadcrumbs.
Wasn't happy with this recipe sorry ...
I didn't scroll far enough down to see the actual measurements of the ingredients when making these last night. Just winged it with the list at the beginning. But, I have to say everyone raved over these rings! I immediately added it to make recipe card. Thanks for the best onion rings we've ever eaten!