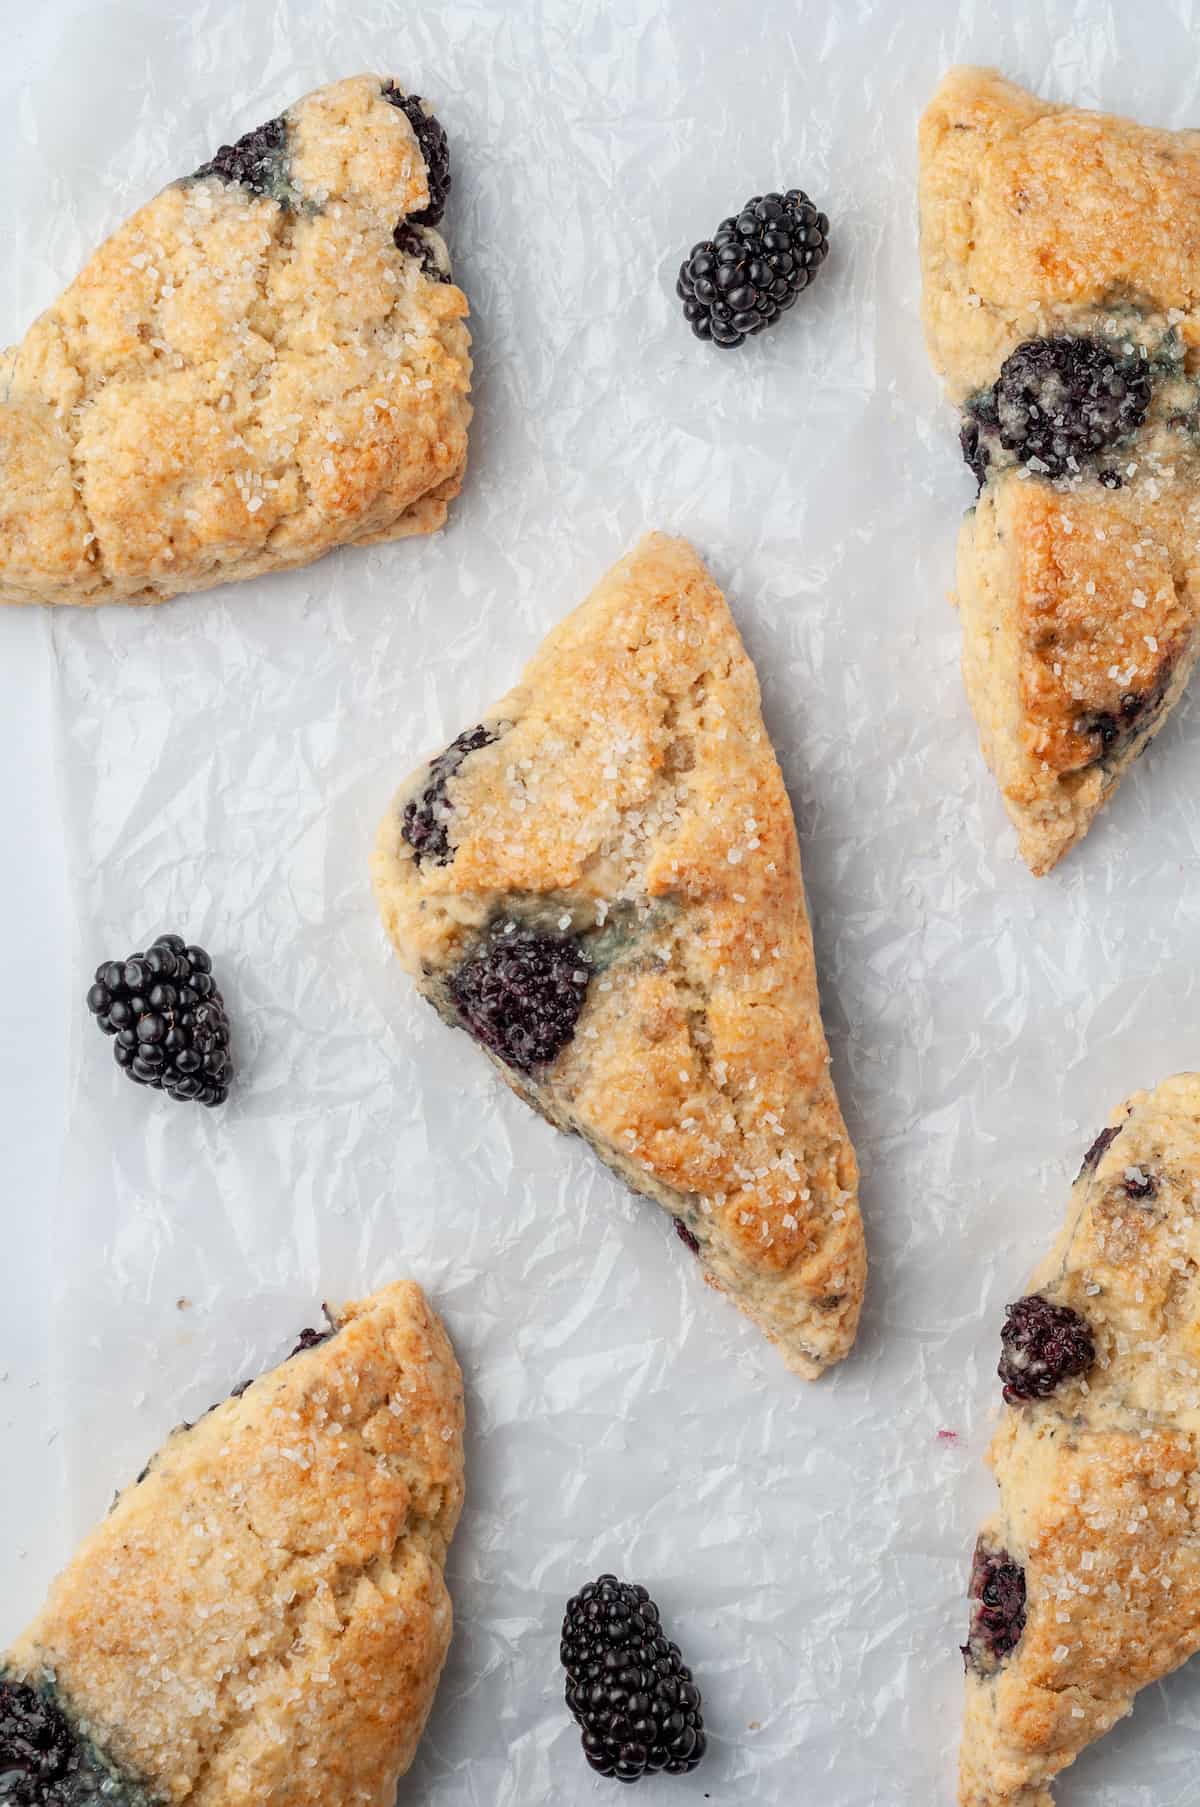
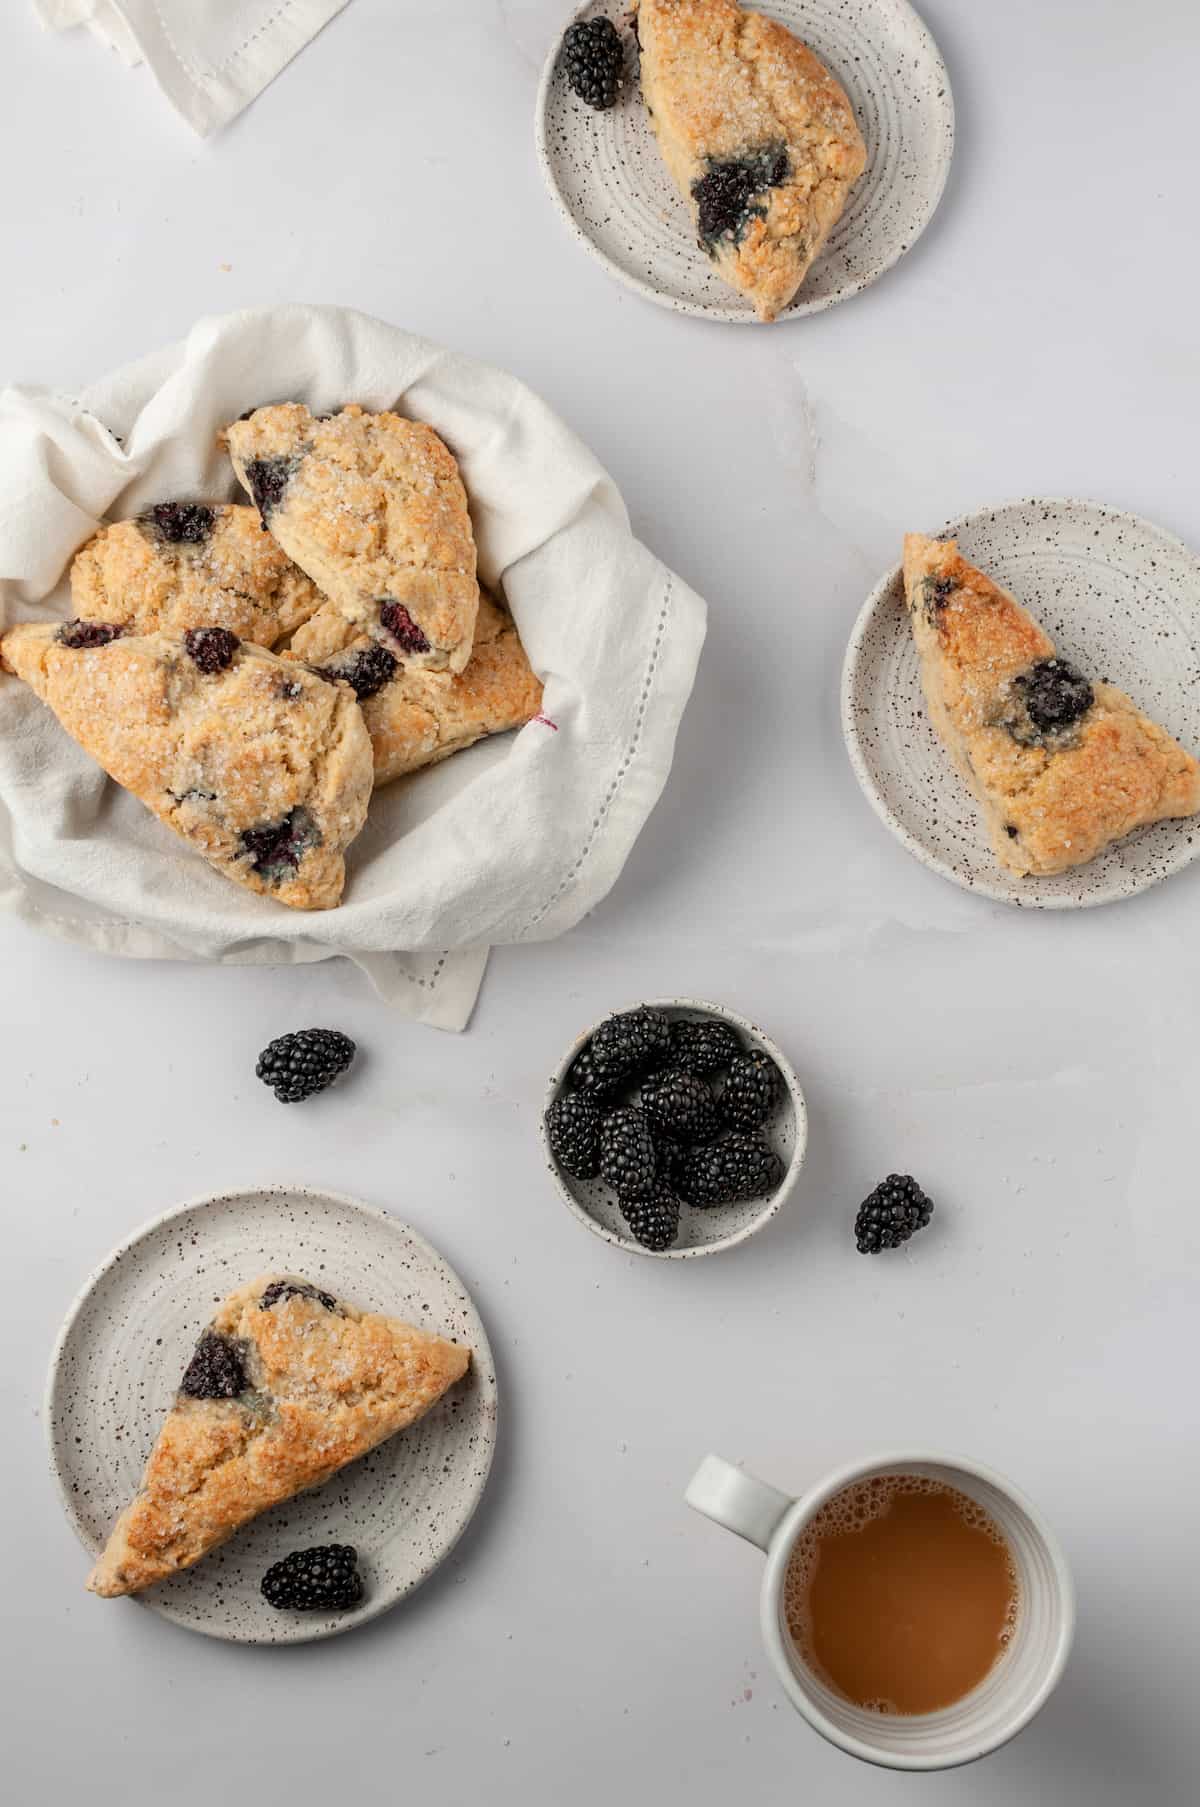
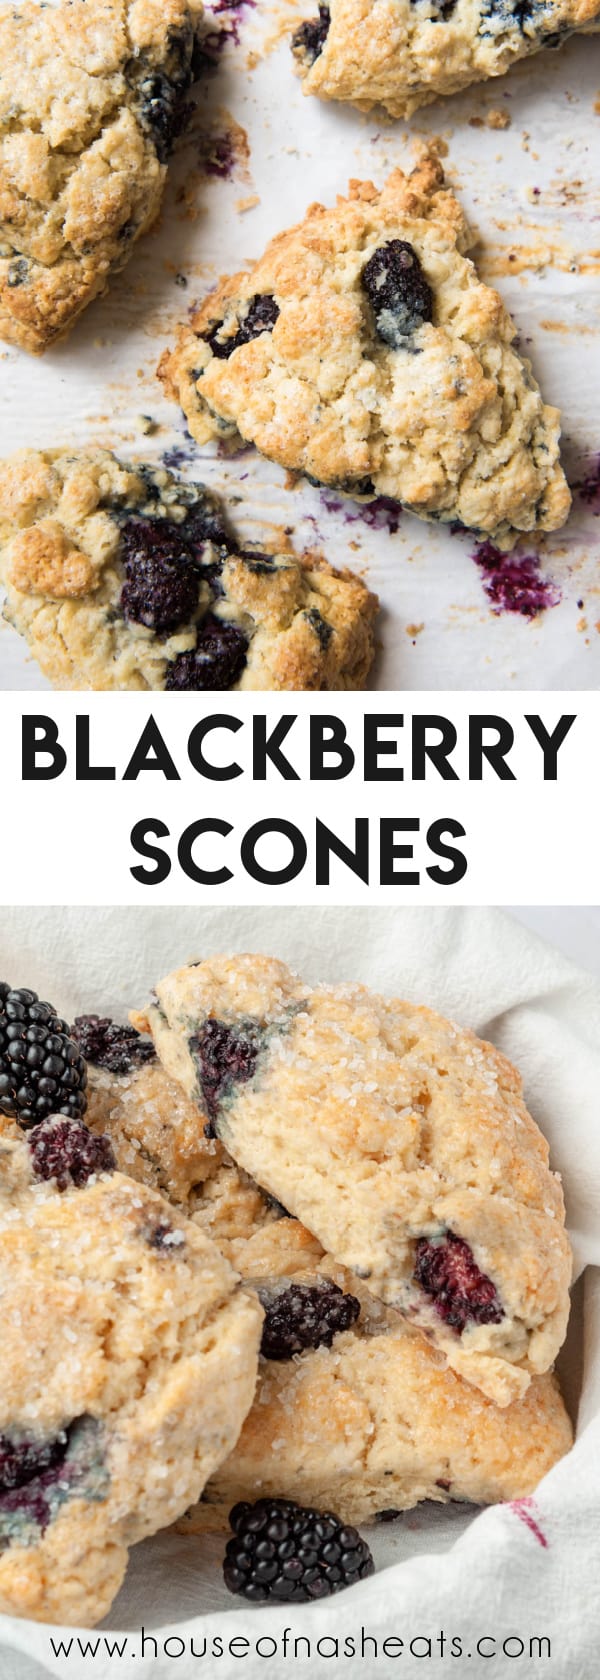
These Blackberry Scones are a tender, buttery, lightly sweet American-style scone packed with juicy blackberries. They’re perfect for an afternoon snack or a lazy weekend morning!
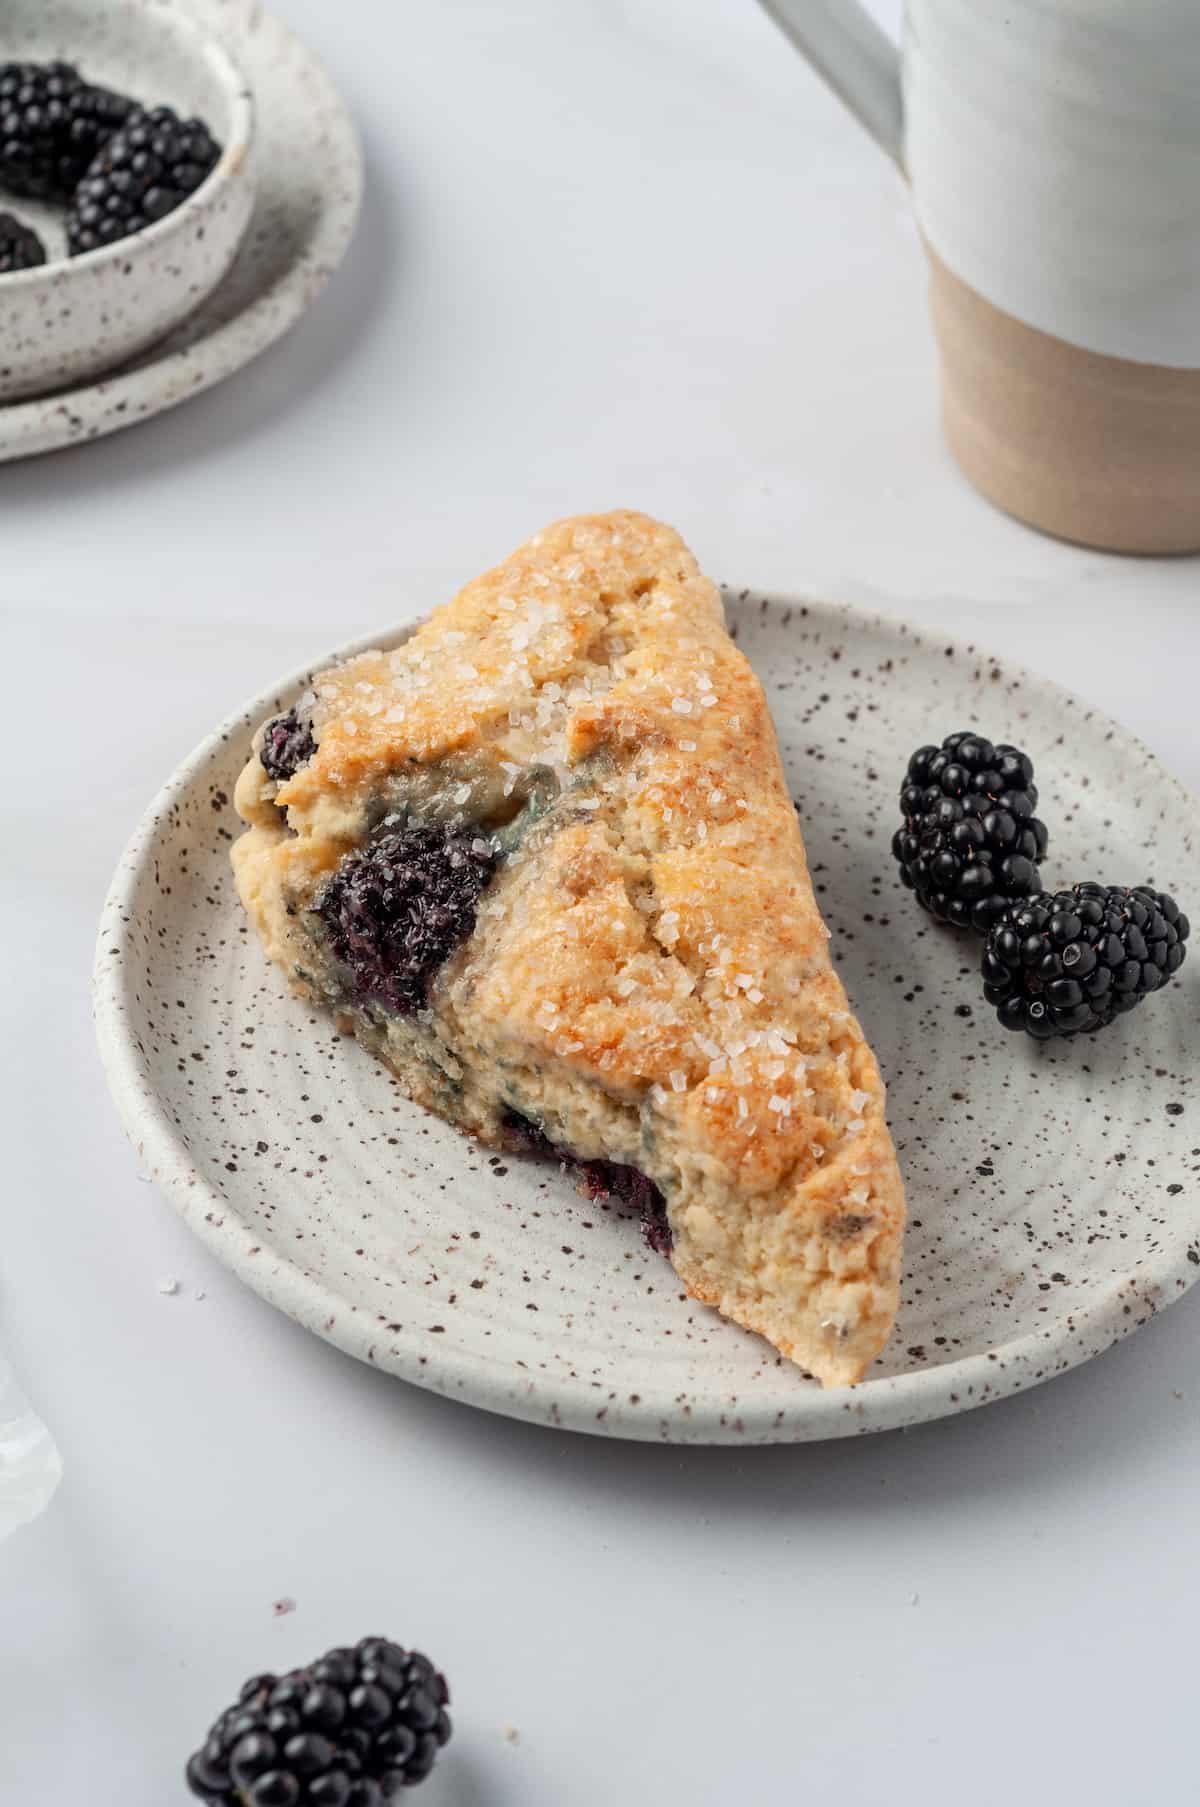
Table of Contents
We love to make these blackberry scones every summer when we can get blackberries at their freshest, plumpest, juiciest best. We try to visit a local u-pick berry patch each year, just for the fun of picking our own blackberries right off the bushes. It’s one of our favorite activities as a family.
Then we make all sorts of delicious berry treats like blackberry swirl ice cream, blackberry nectarine crumble, and homemade blackberry pie. And these blackberry scones, of course.
What Is the Difference Between British Scones and American Scones?
Scones are originally from Great Britain and traditionally served at tea time with butter, cream, and jam. The scones are most often plain, although sometimes dried currants or raisins are added.
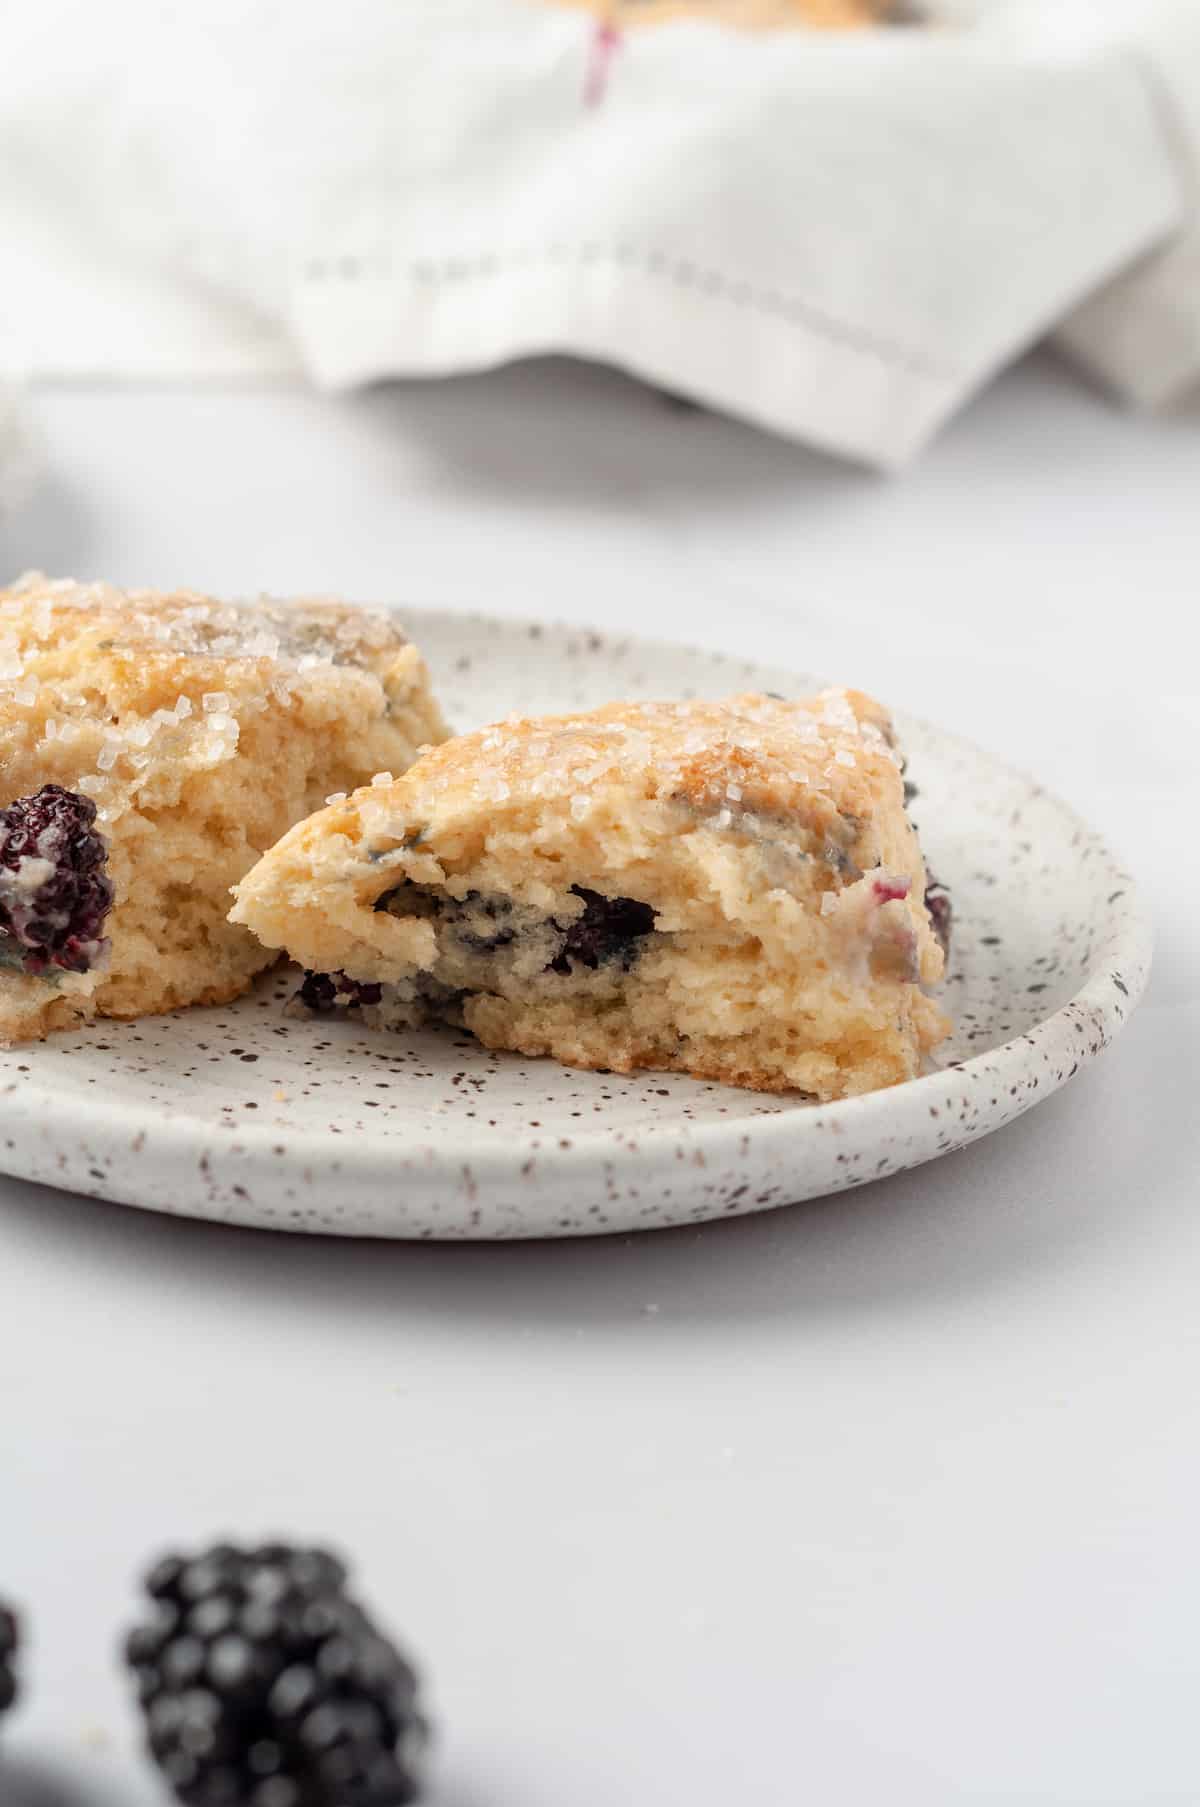
These fruity blackberry scones are an American adaptation, where mix-ins like fruit or chocolate are much more the norm.
Another difference between British scones and American scones is the fat ratio. British scones have less butter included in the scone dough. They’re also made with less sugar because their scones are sliced open and slathered in butter and jam before eating. All the flavors are built into American-style scones, so there’s no need to top them with butter or jam!
(If you love scones, be sure to also try our Strawberry Scones, Triple Chocolate Scones, and The Best Chocolate Chip Scones Recipe!)
What You’ll Need
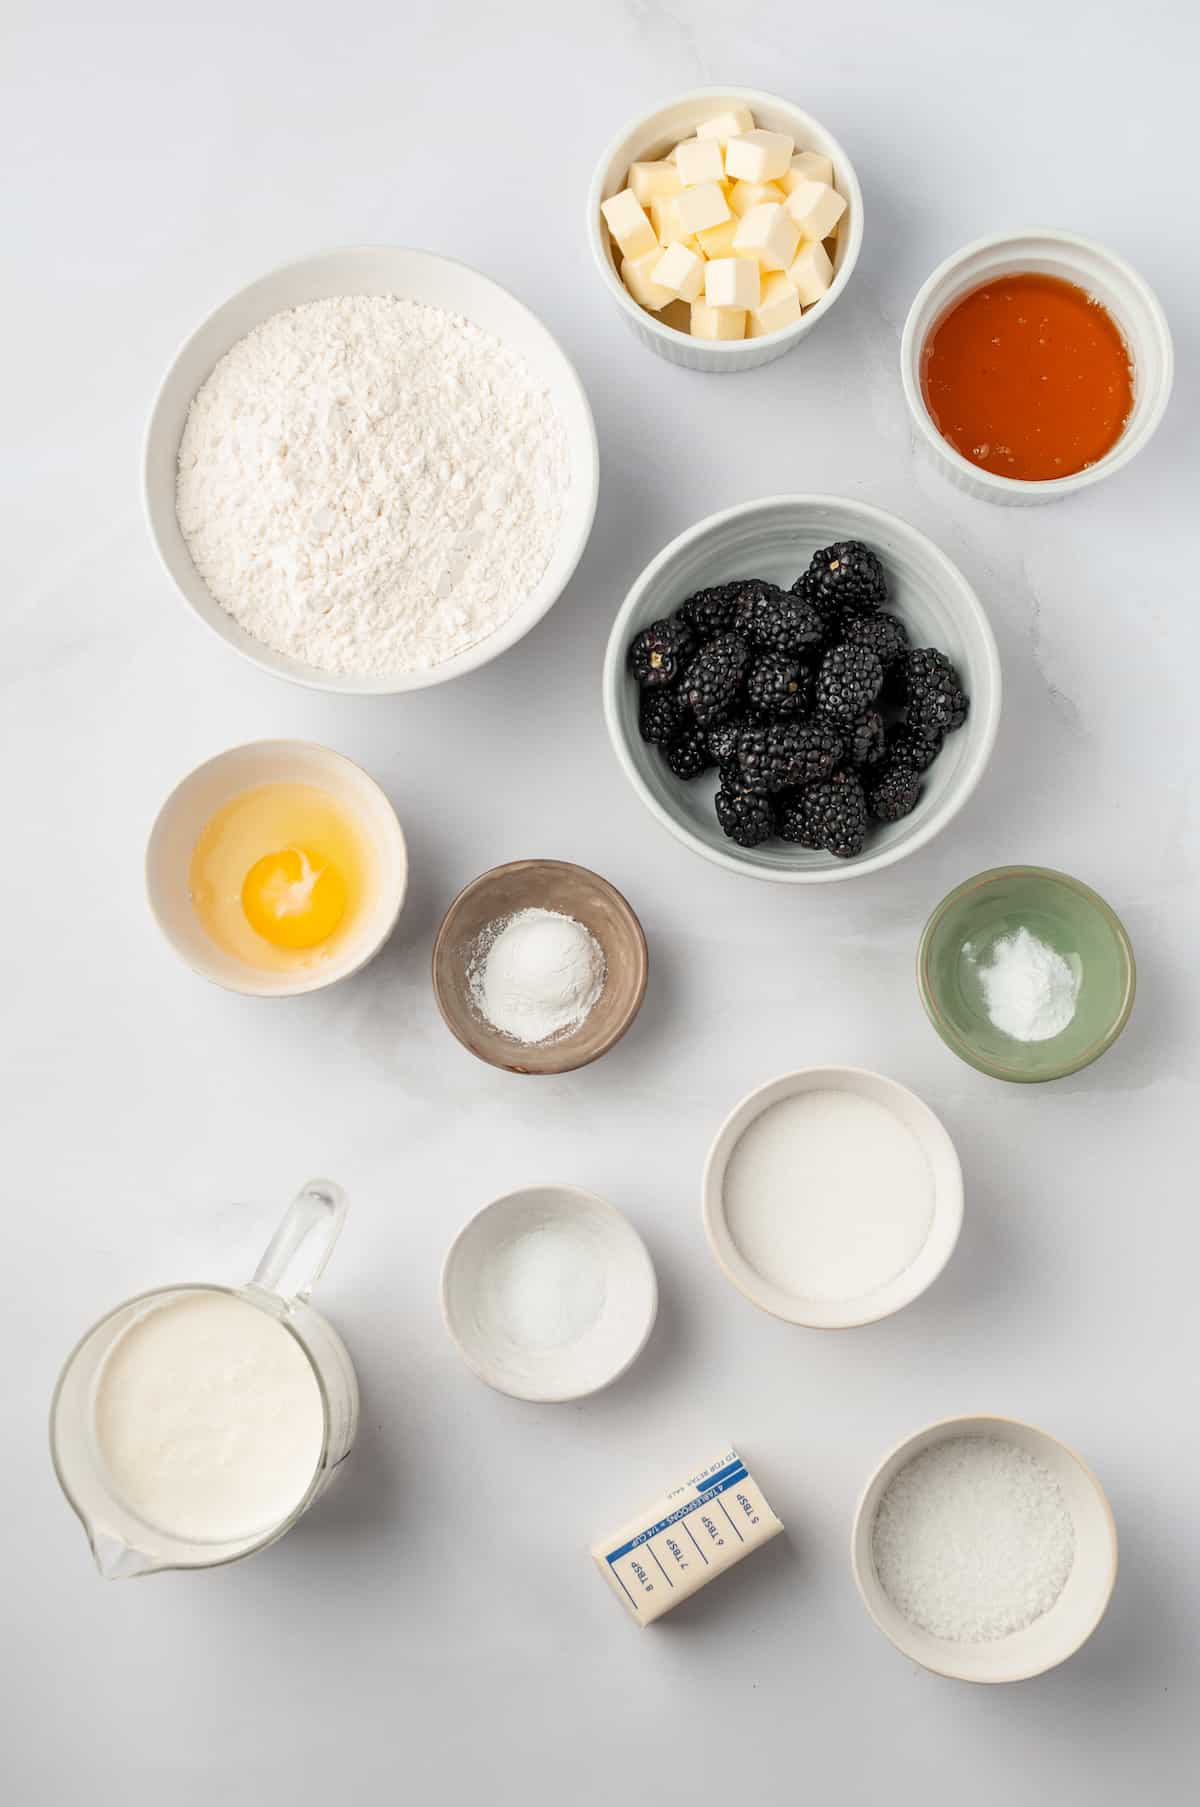
Scroll down to the recipe card below this post for ingredient quantities and full instructions.
- All-purpose flour
- Sugar
- Baking powder
- Baking soda
- Salt
- Salted butter – Use very cold butter and cut it into cubes. Cold butter is what gives scones their distinctive texture!
- Large egg
- Heavy cream
- Coarse sugar – Sanding sugar, Demerara sugar, or turbinado sugar are all fine.
- Blackberries – Fresh is best!
Optional Honey Butter Glaze
- Honey – Use runny honey, not the kind that’s solid at room temperature.
- Butter
How to Make Blackberry Scones
Here’s how to make perfect, buttery, tender blackberry scones at home:
Prepare. Preheat your oven to 375ºF and line a baking sheet with parchment paper.
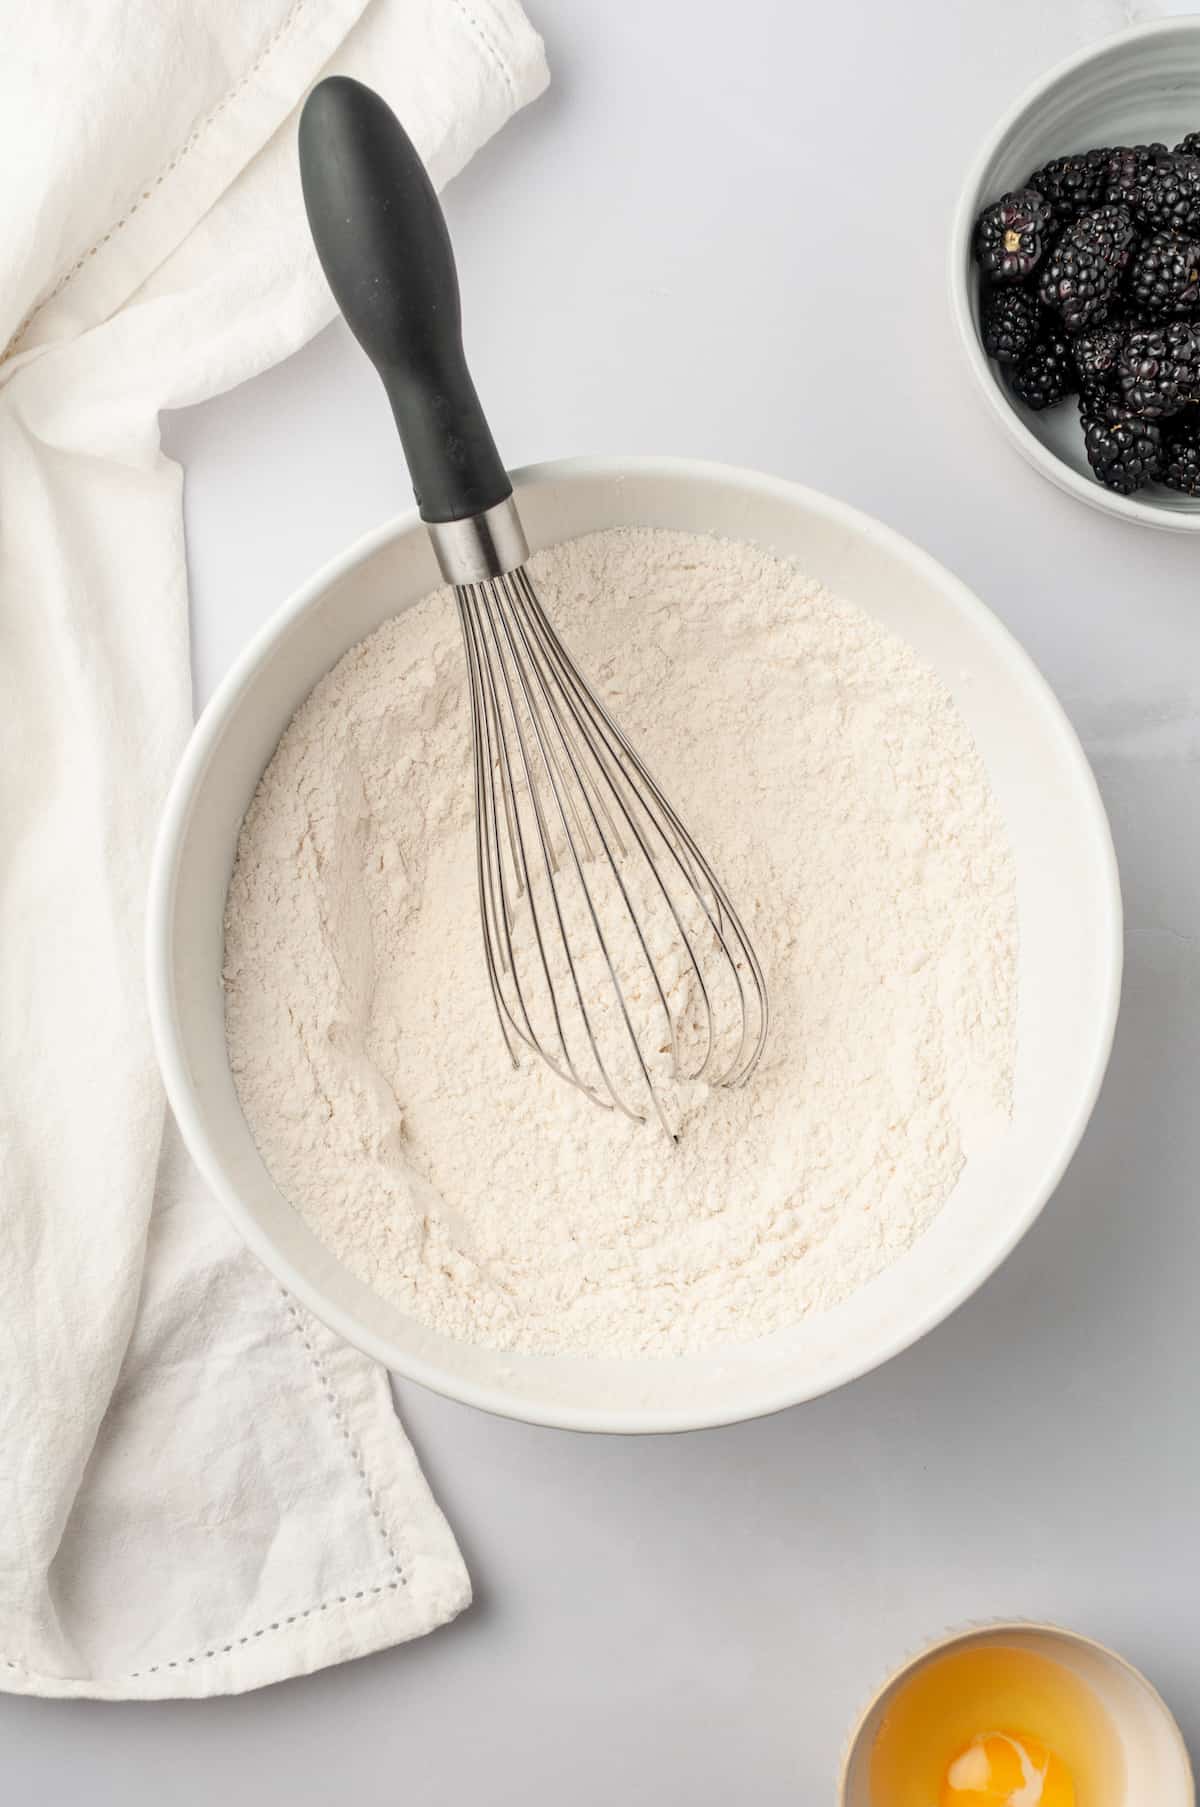
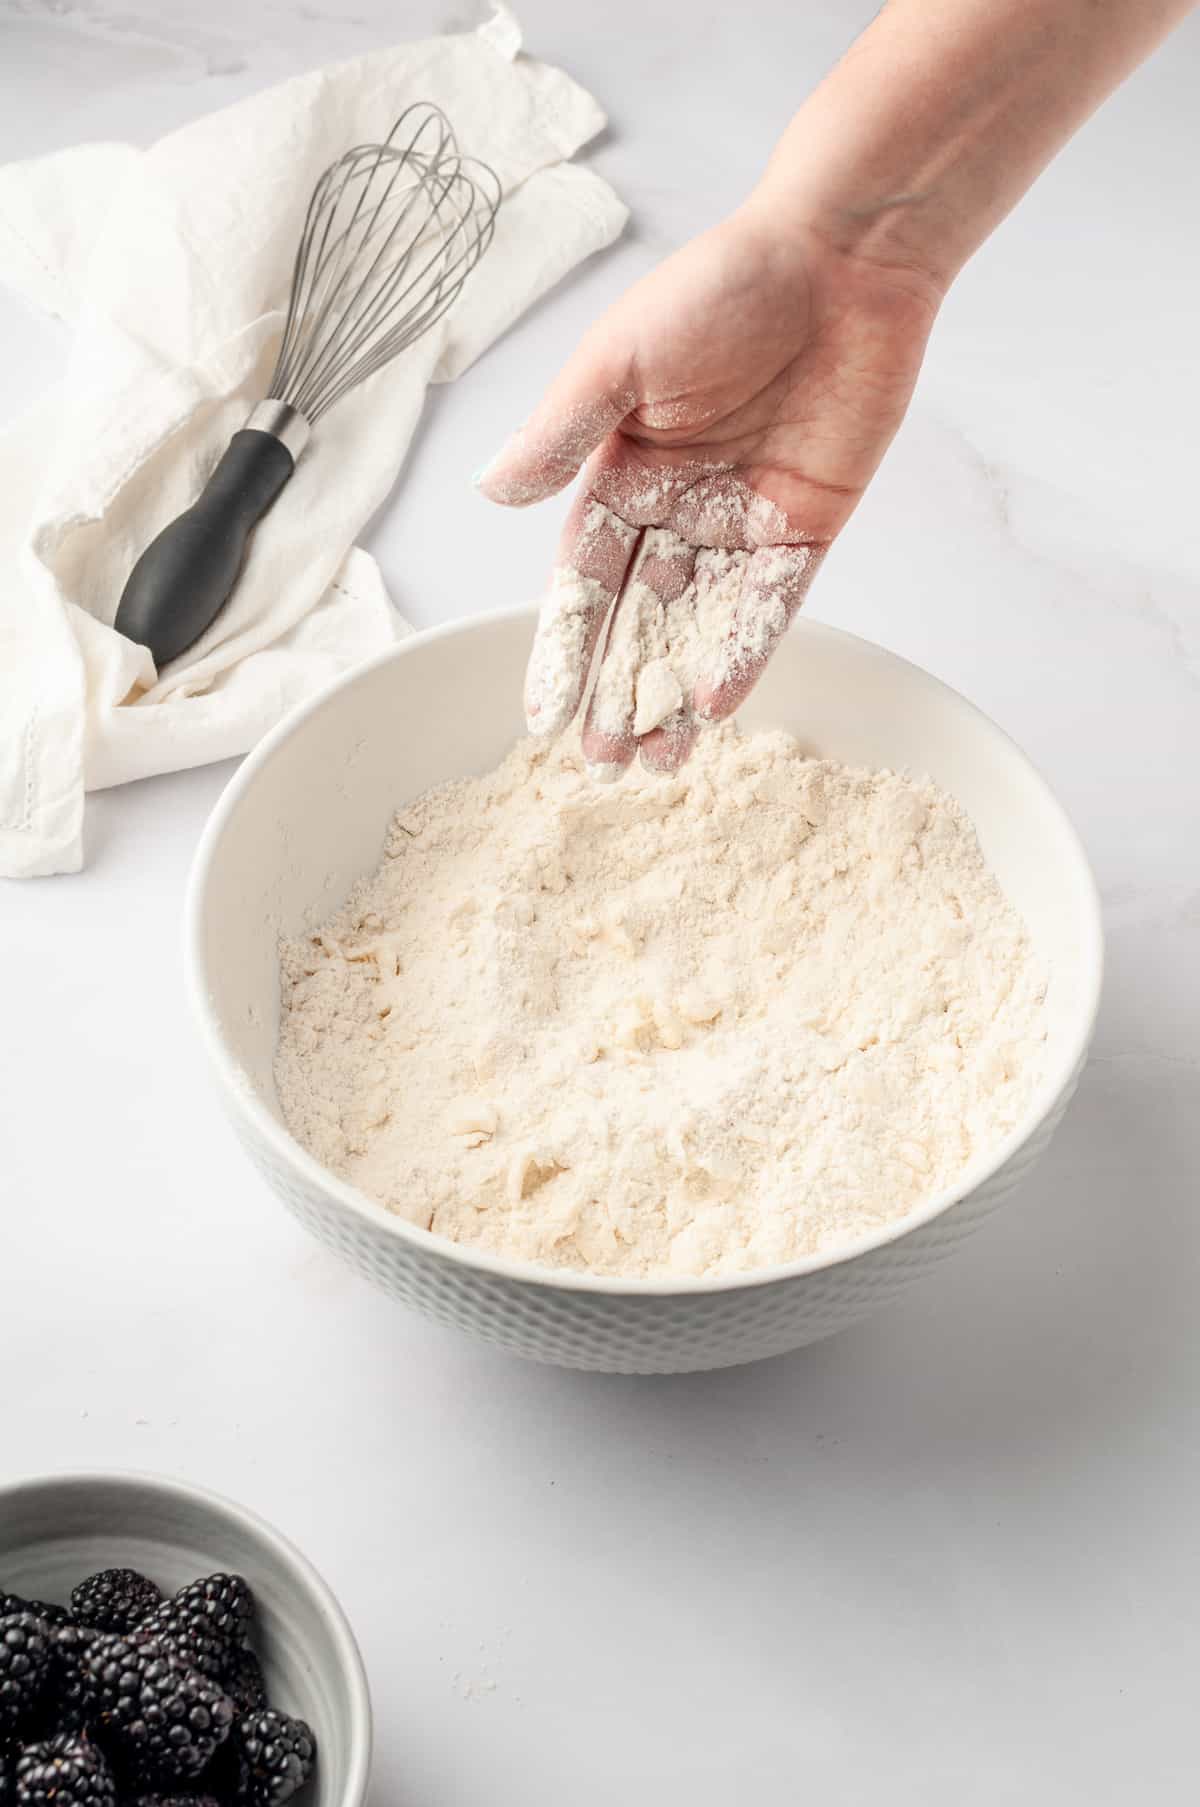
Start the dough. Whisk the flour, granulated sugar, baking powder, baking soda, and salt in a large bowl. Add the cold butter and cut it in with a pastry blender or use your fingers to work it into the dry ingredients until only pea-sized pieces of butter remain.
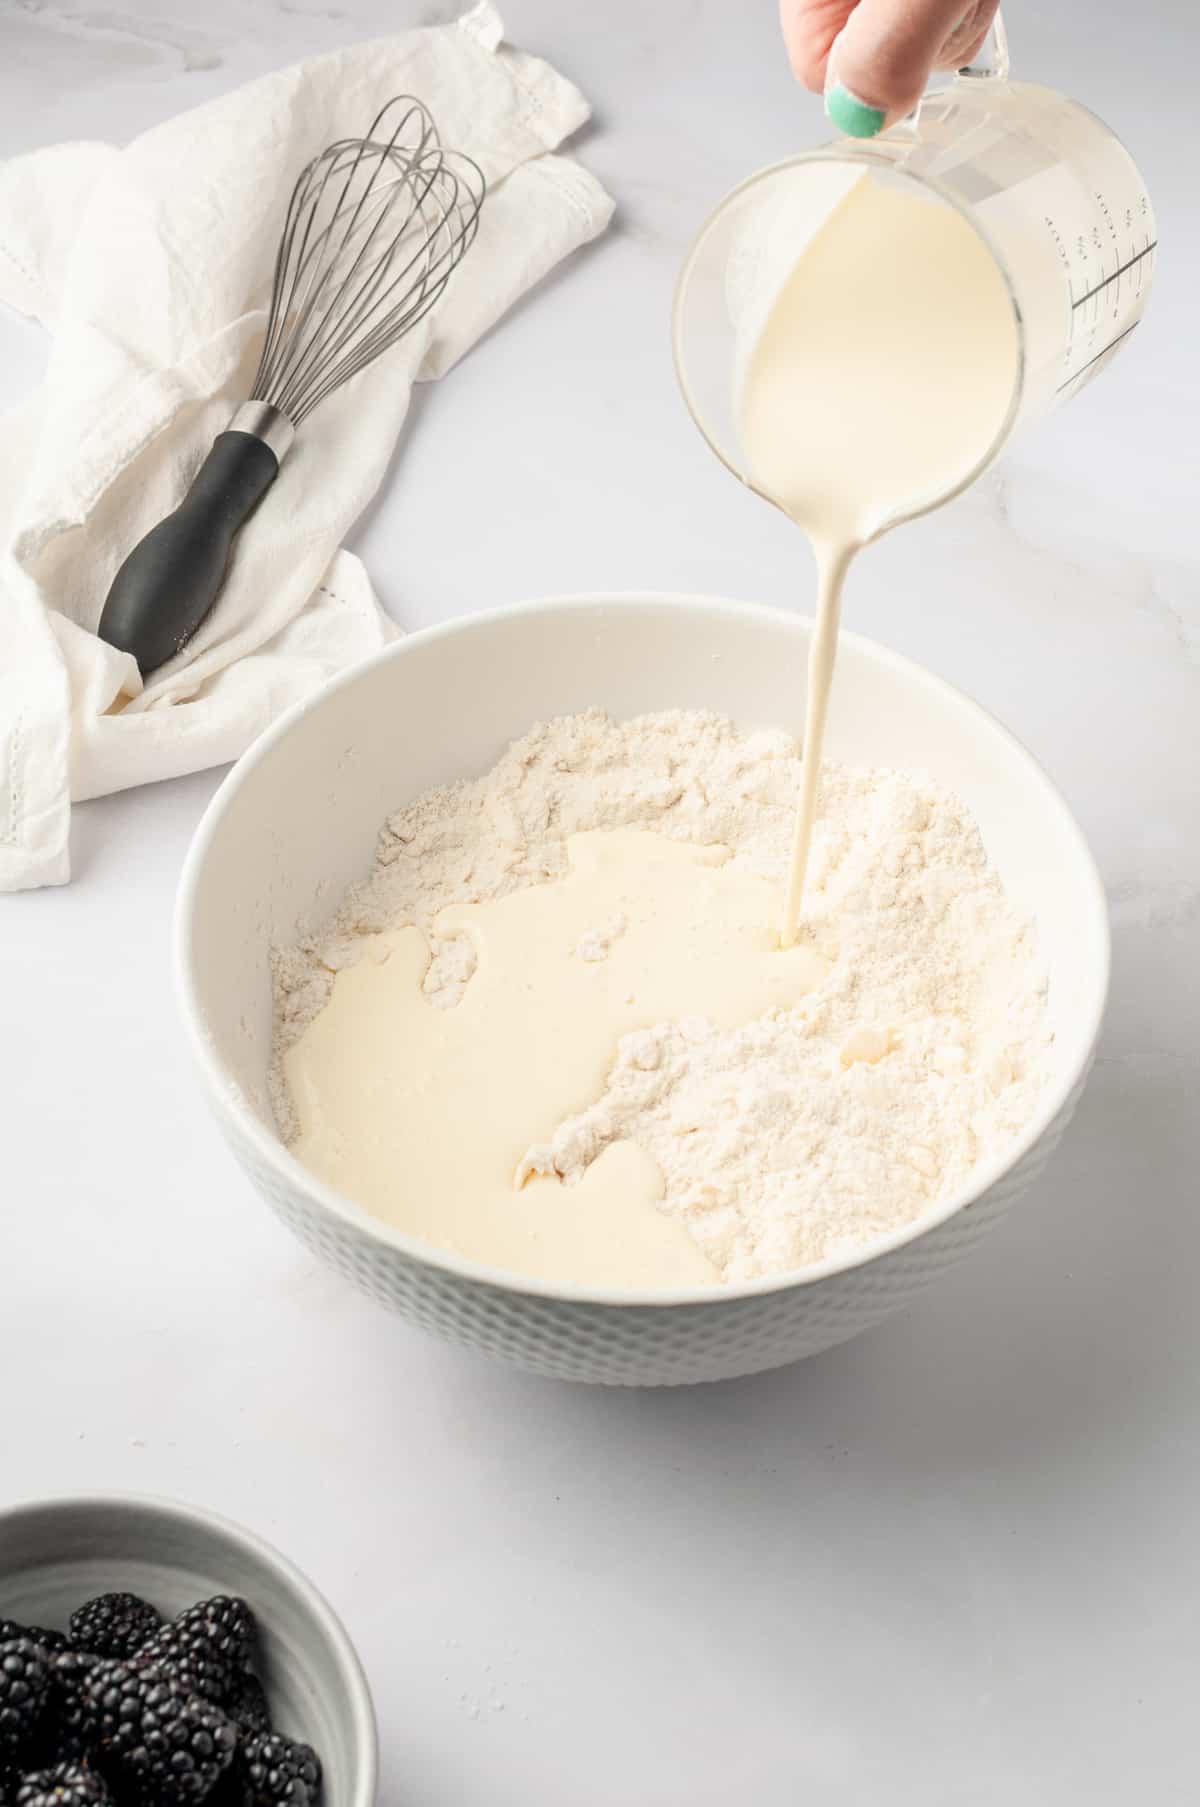
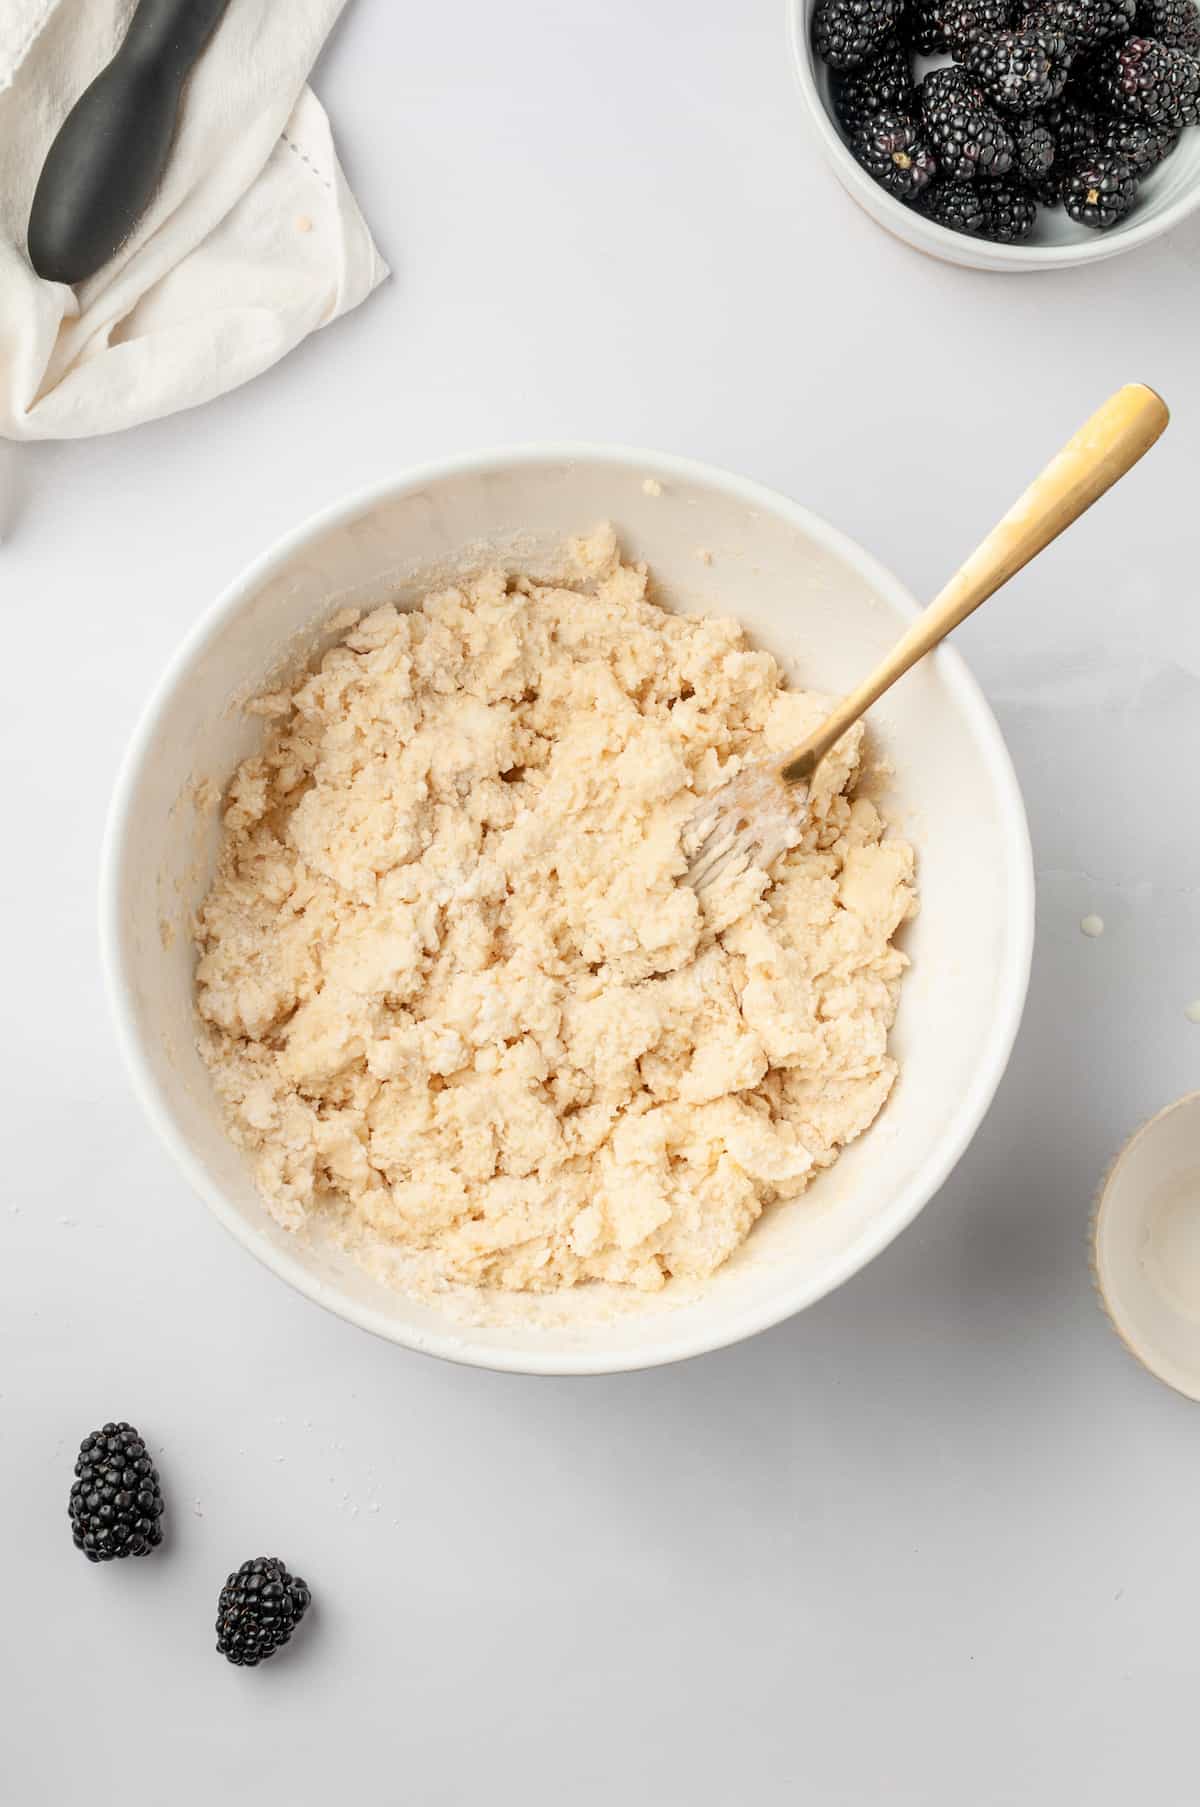
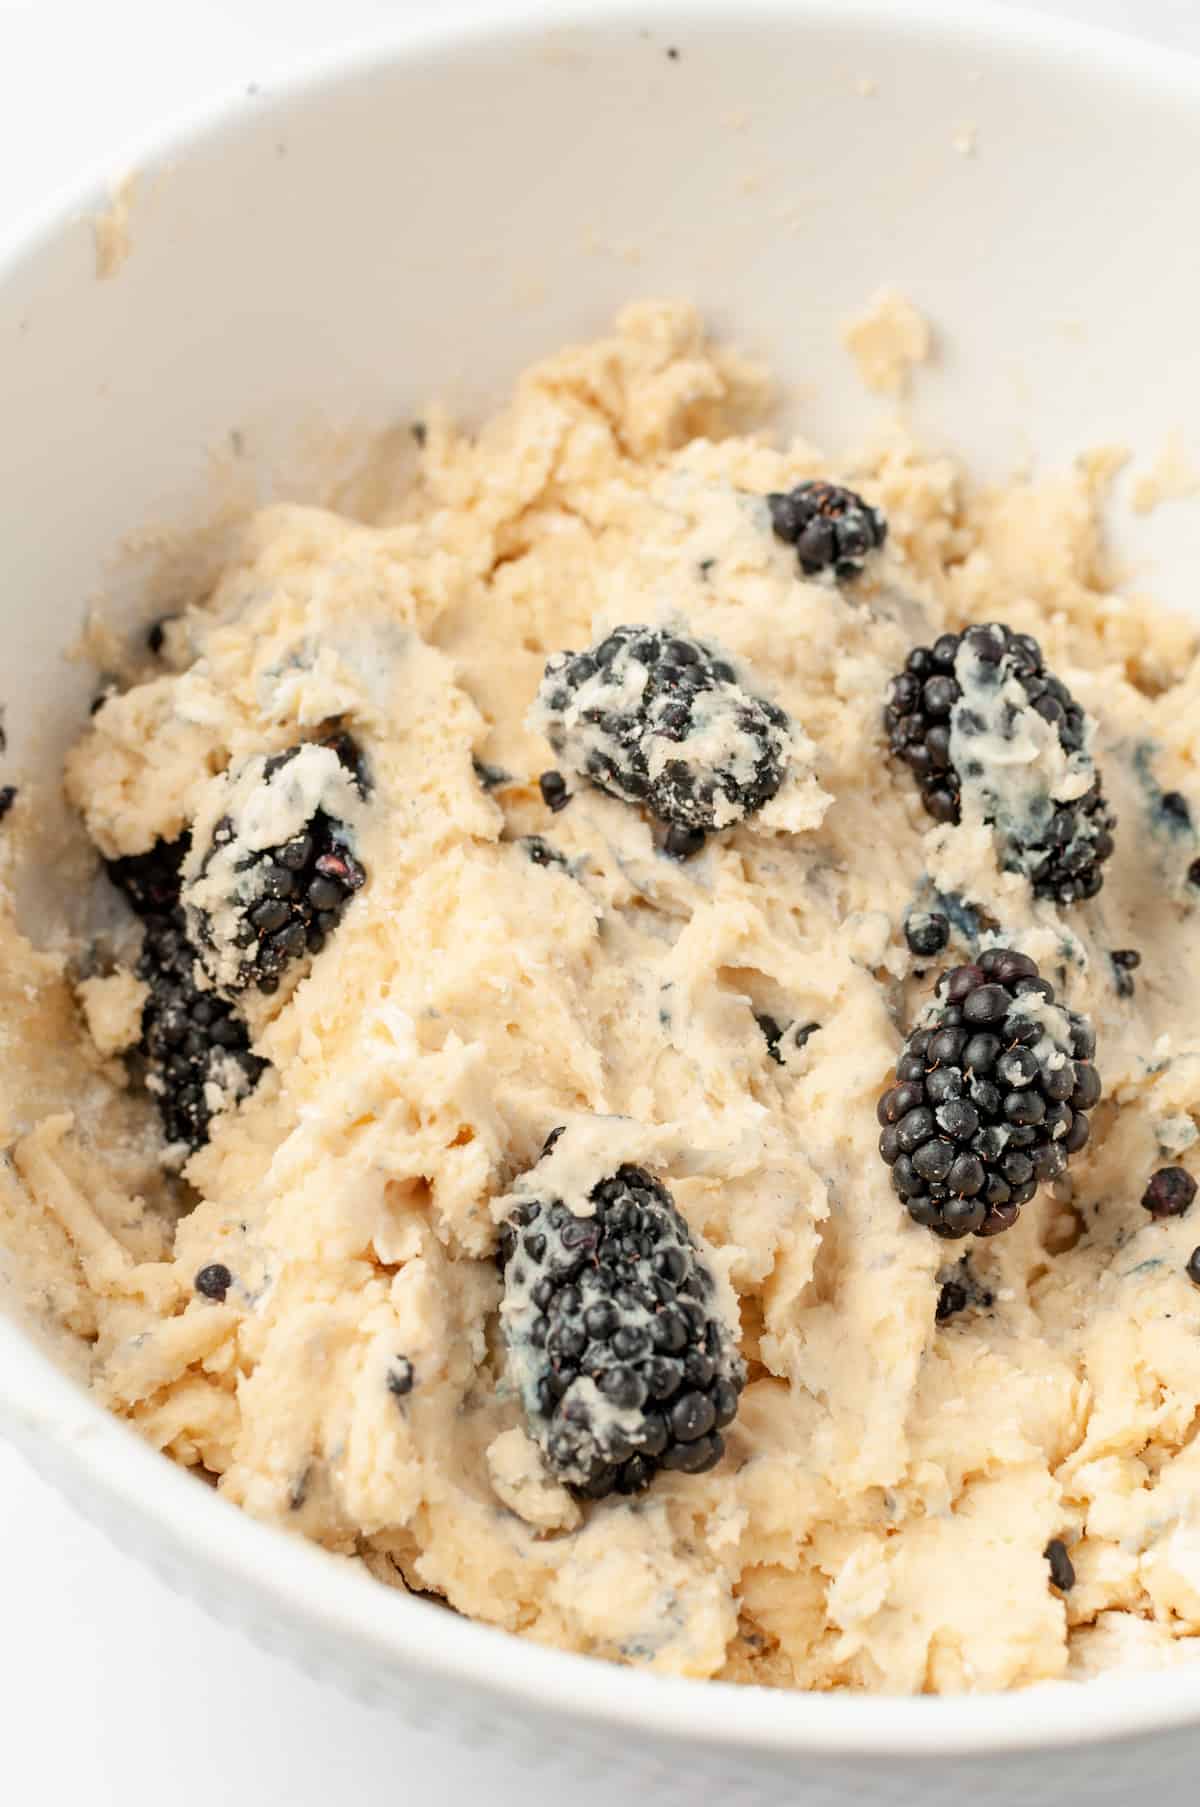
Add the remaining ingredients. Whisk the egg and cream in another bowl, then pour this into the flour mixture and mix with a fork until a shaggy dough forms. Sprinkle the berries over the dough and lightly knead to combine.
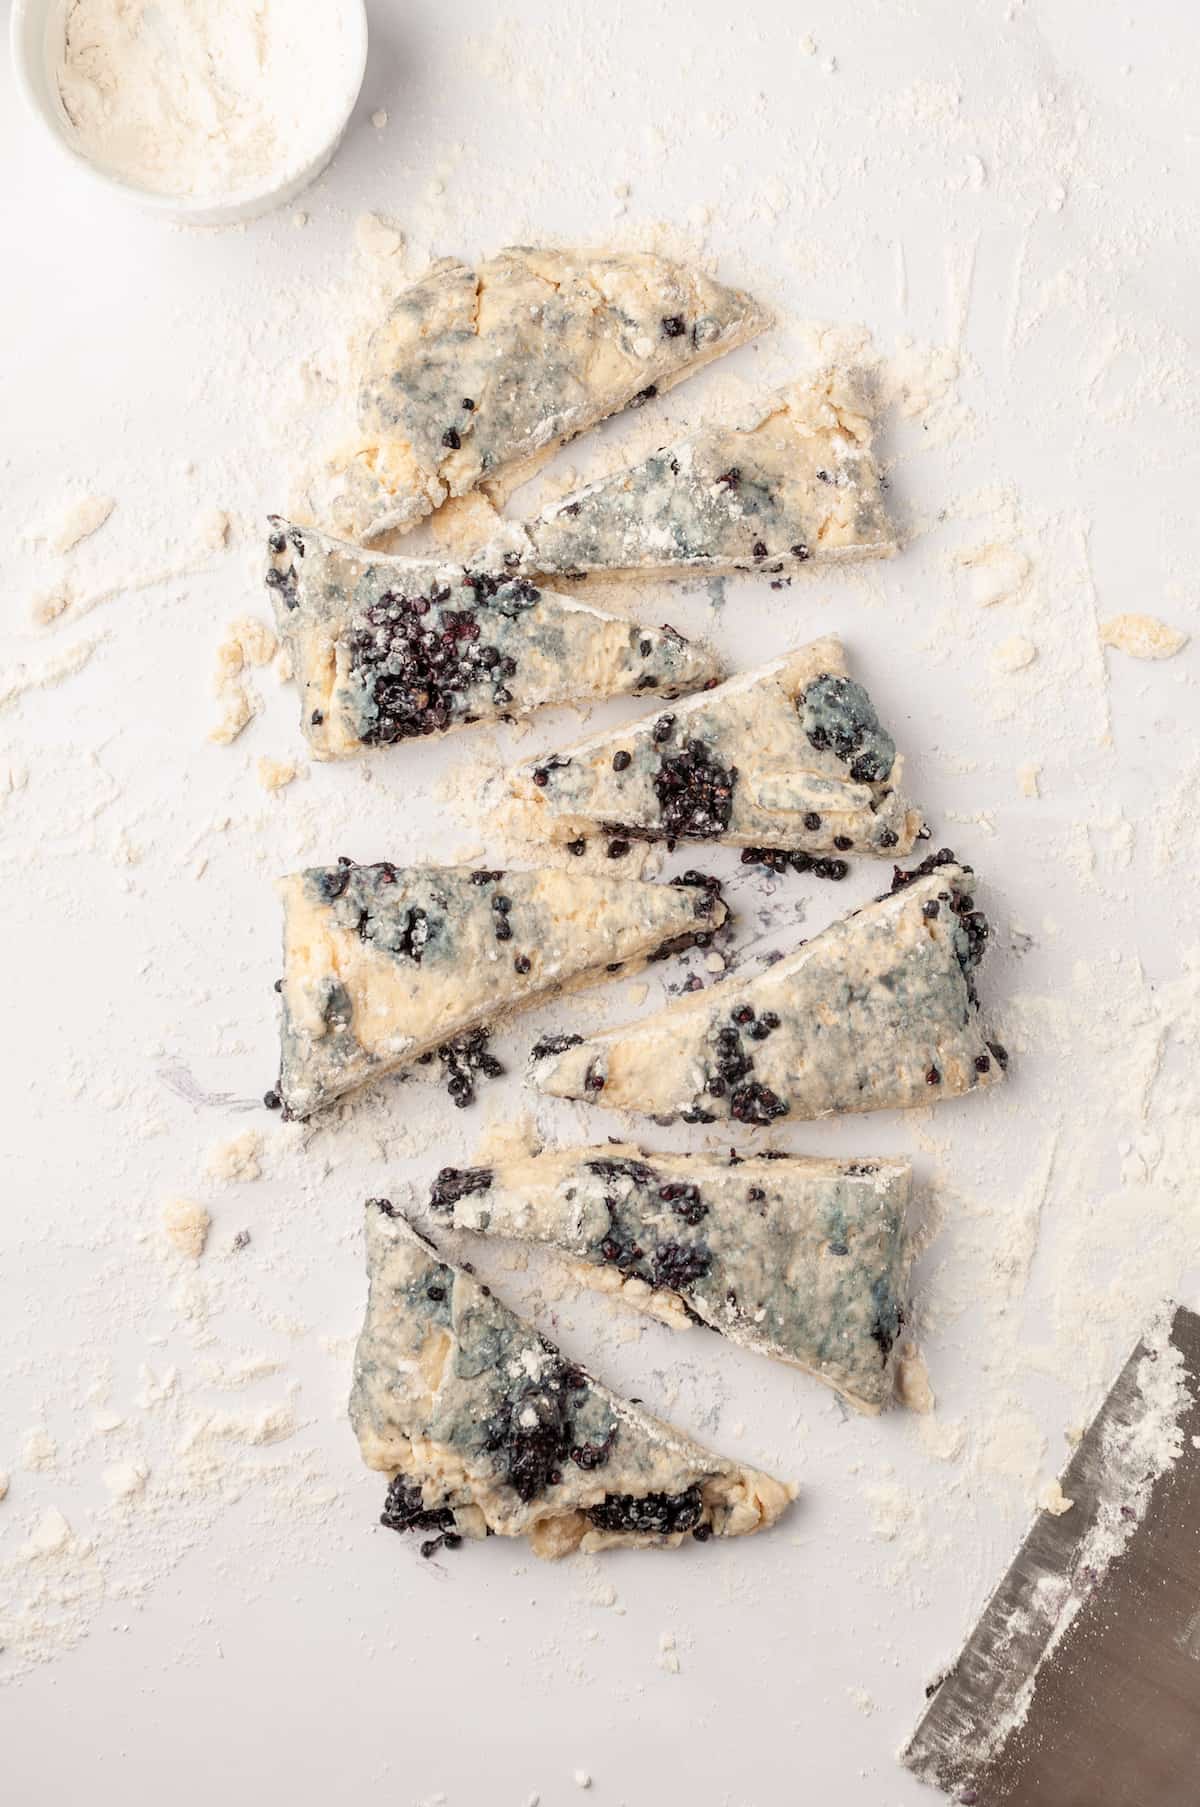
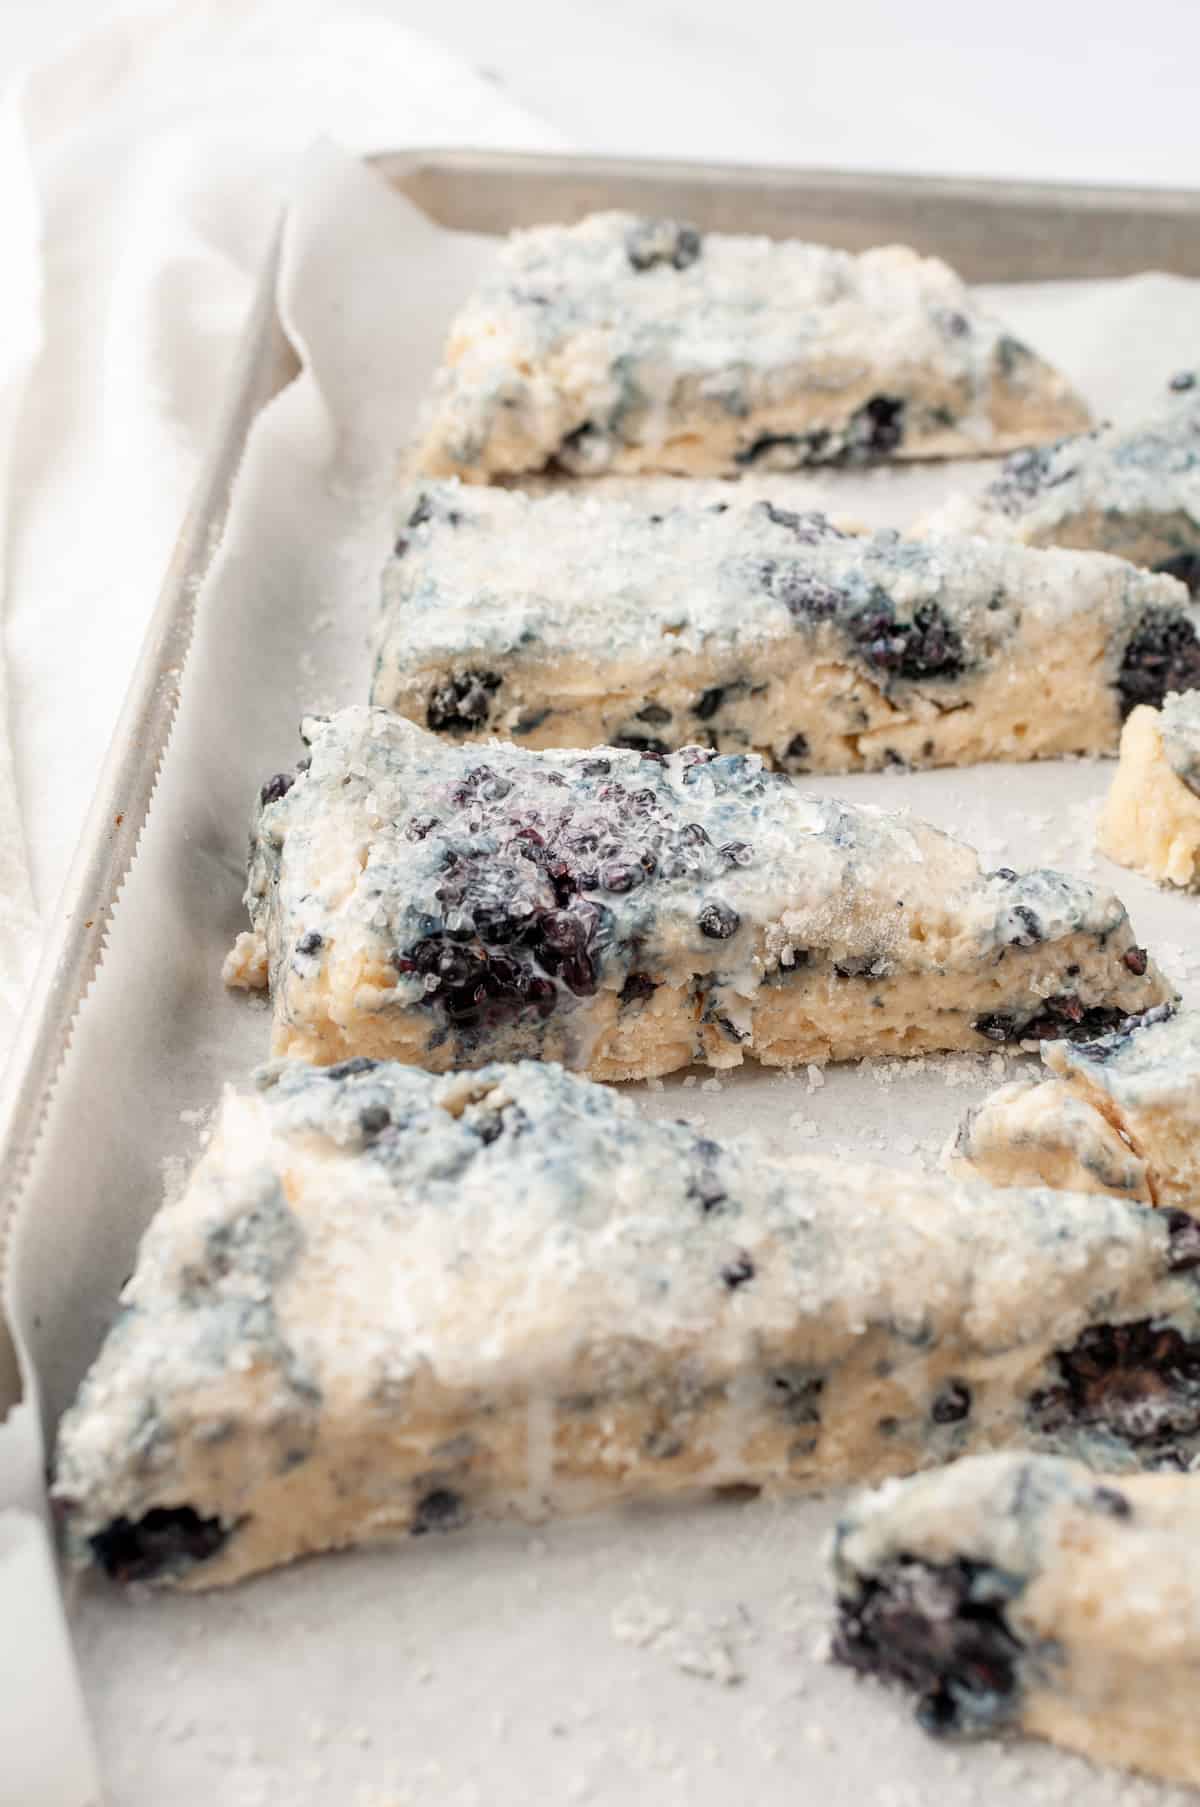
Form the scones. Turn out the scone dough onto a lightly floured surface and pat it into a long, 1″-thick rectangle or round. Cut the dough into 8 wedges and transfer them to the prepared baking sheet.
Bake. Brush each scone with cream and sprinkle with coarse sugar. Bake for 25 to 30 minutes, or until the scones are golden brown.
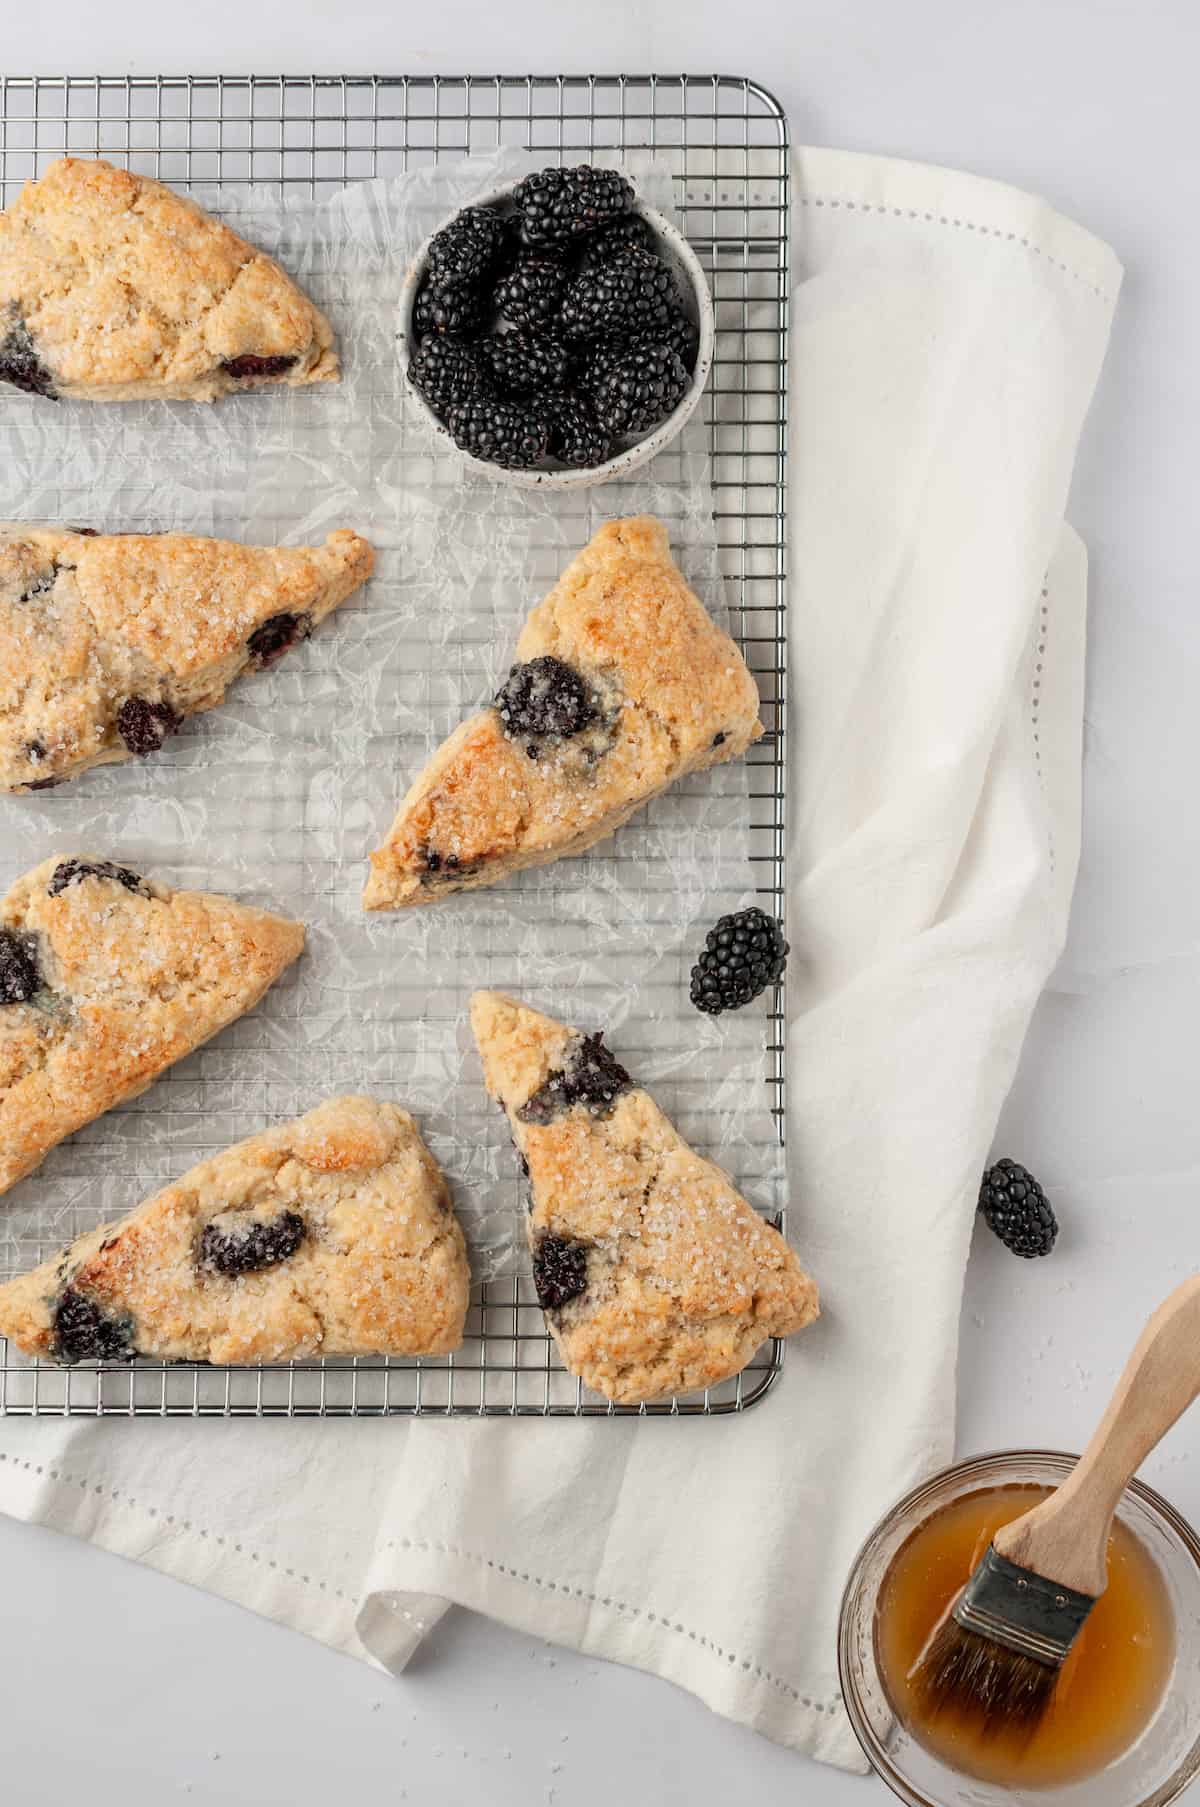
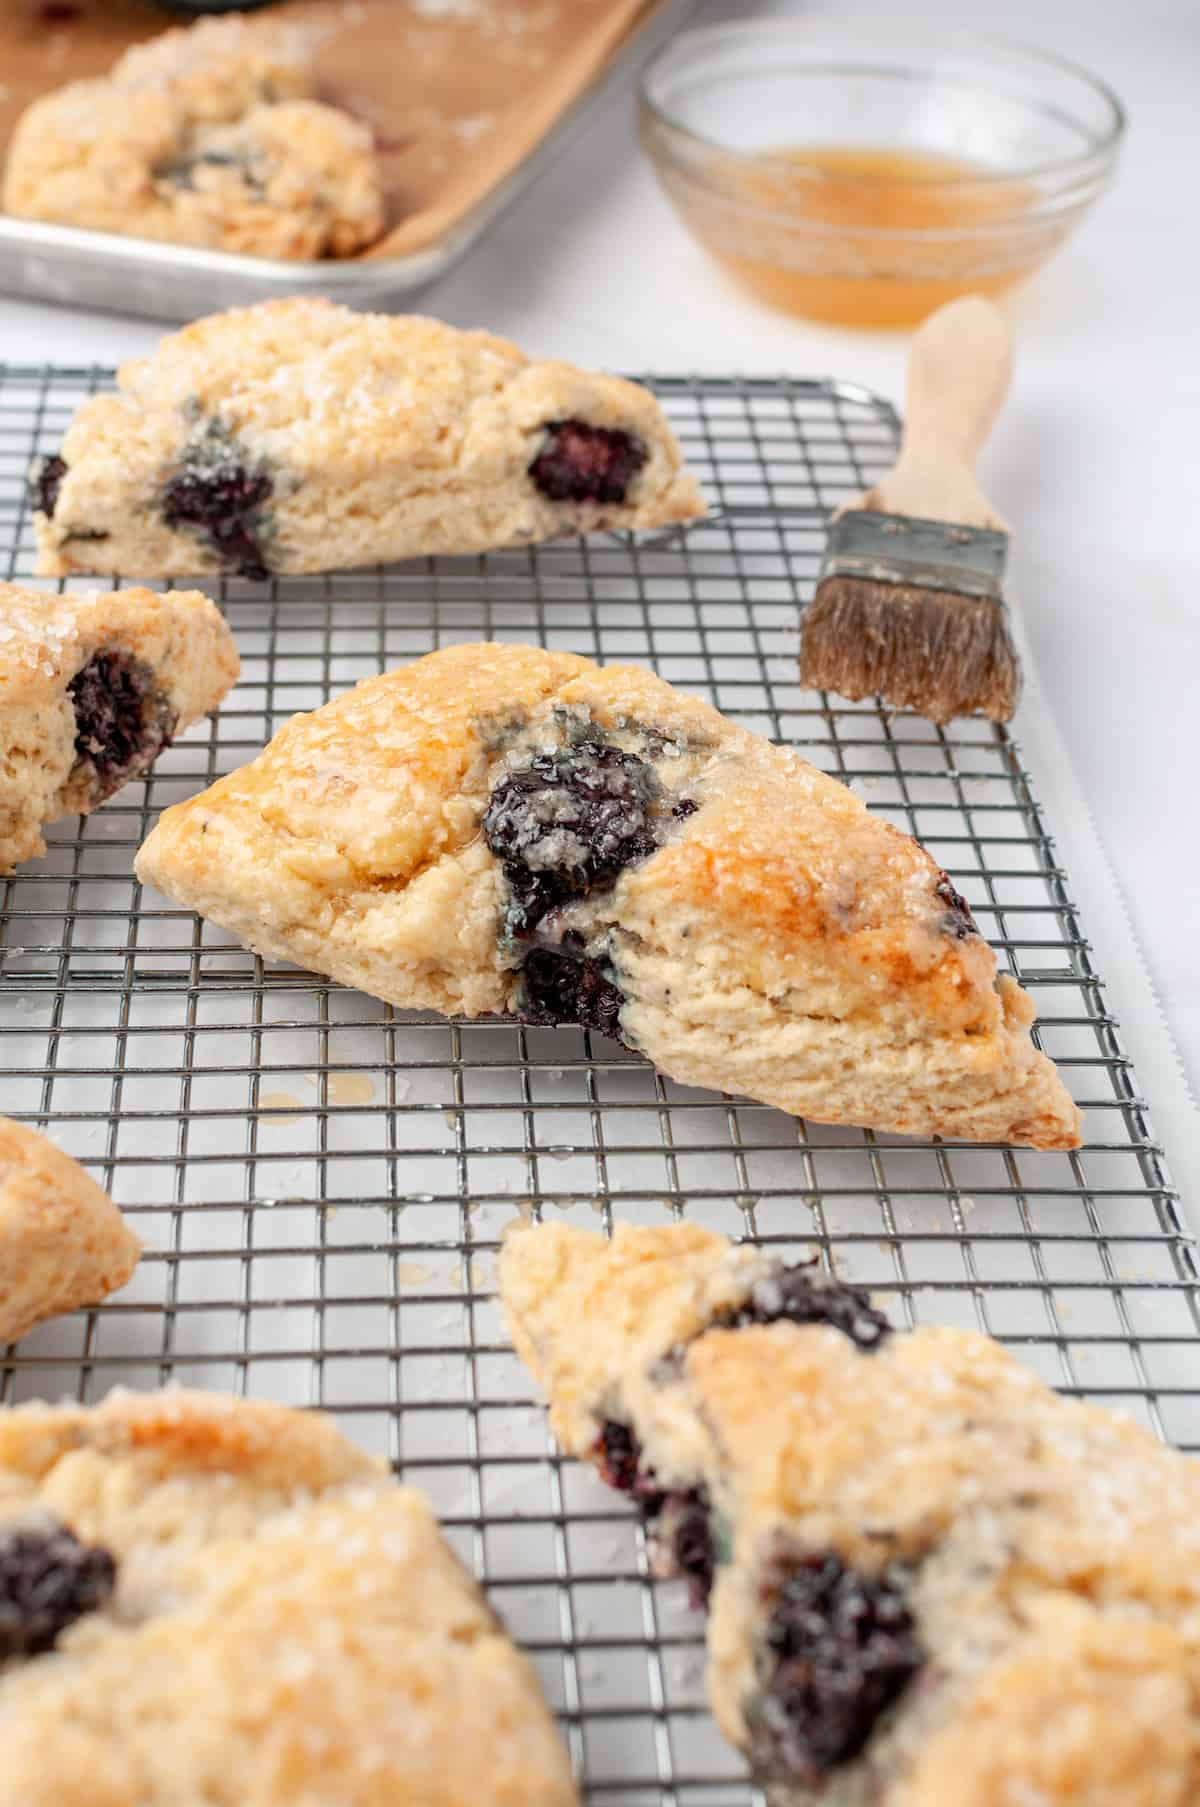
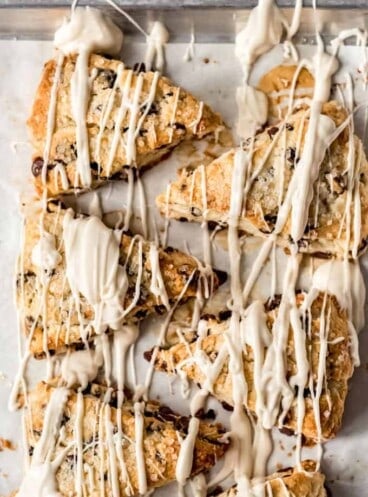
Make the glaze. While the scones are baking, microwave the honey and butter in a microwave-safe bowl for 90 seconds. Brush half of this mixture over the warm scones when they’re fresh out of the oven, then brush them with the rest of the honey butter after 15 minutes.
Tips for Success
Too many scones are dry, crumbly affairs that taste like sad cousins to a buttermilk biscuit. But understanding a few key things about scone creation will help you achieve wonderful, tender scones every time!
- Scones need a light touch. Handle the scone dough as little as possible because overworking the dough can make them come out tough and heavy like hockey pucks, rather than light and tender. When adding the beaten egg and cream to the flour mixture, I like to use a fork to mix them together so I don’t overwork the dough.
- Pat out the scone dough rather than rolling it. Scones don’t rise much, so it doesn’t take much to pat the dough out flat and keep it nice and thick.
- Keep the dough from sticking. When cutting the scones, dip your knife or bench scraper in flour to keep the dough from sticking to it.
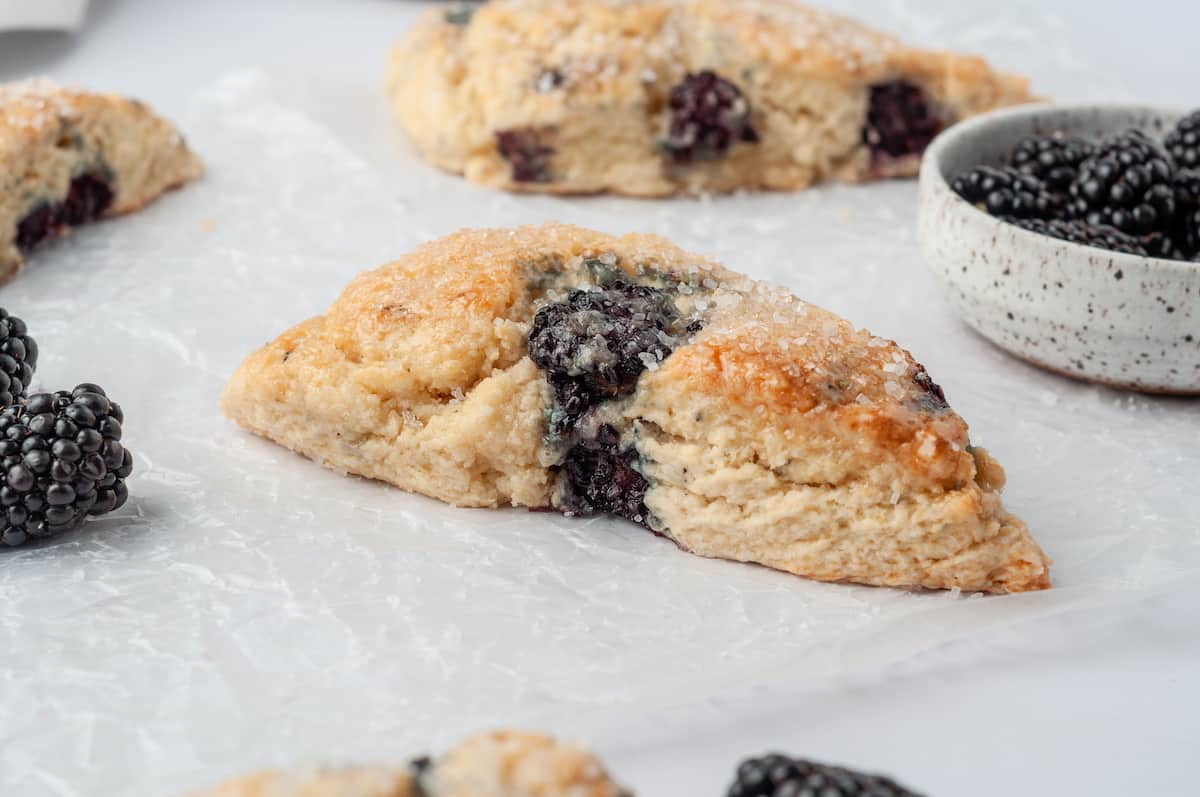
- The secret to great scones is using cold butter. The cold butter in the dough melts in the oven and releases steam, creating airy pockets in the scone. Some people swear by using grated frozen butter, but I find that just really cold, cubed butter from the fridge incorporated into the flour with a pastry cutter works just fine. The most important part is to not let the butter, or the dough once the butter has been added, sit out long.
Variations
This cream scone base really works for almost any fruit scone variation you would like to make—blueberry scones, raspberry scones, peach scones, cherry scones, and so on.
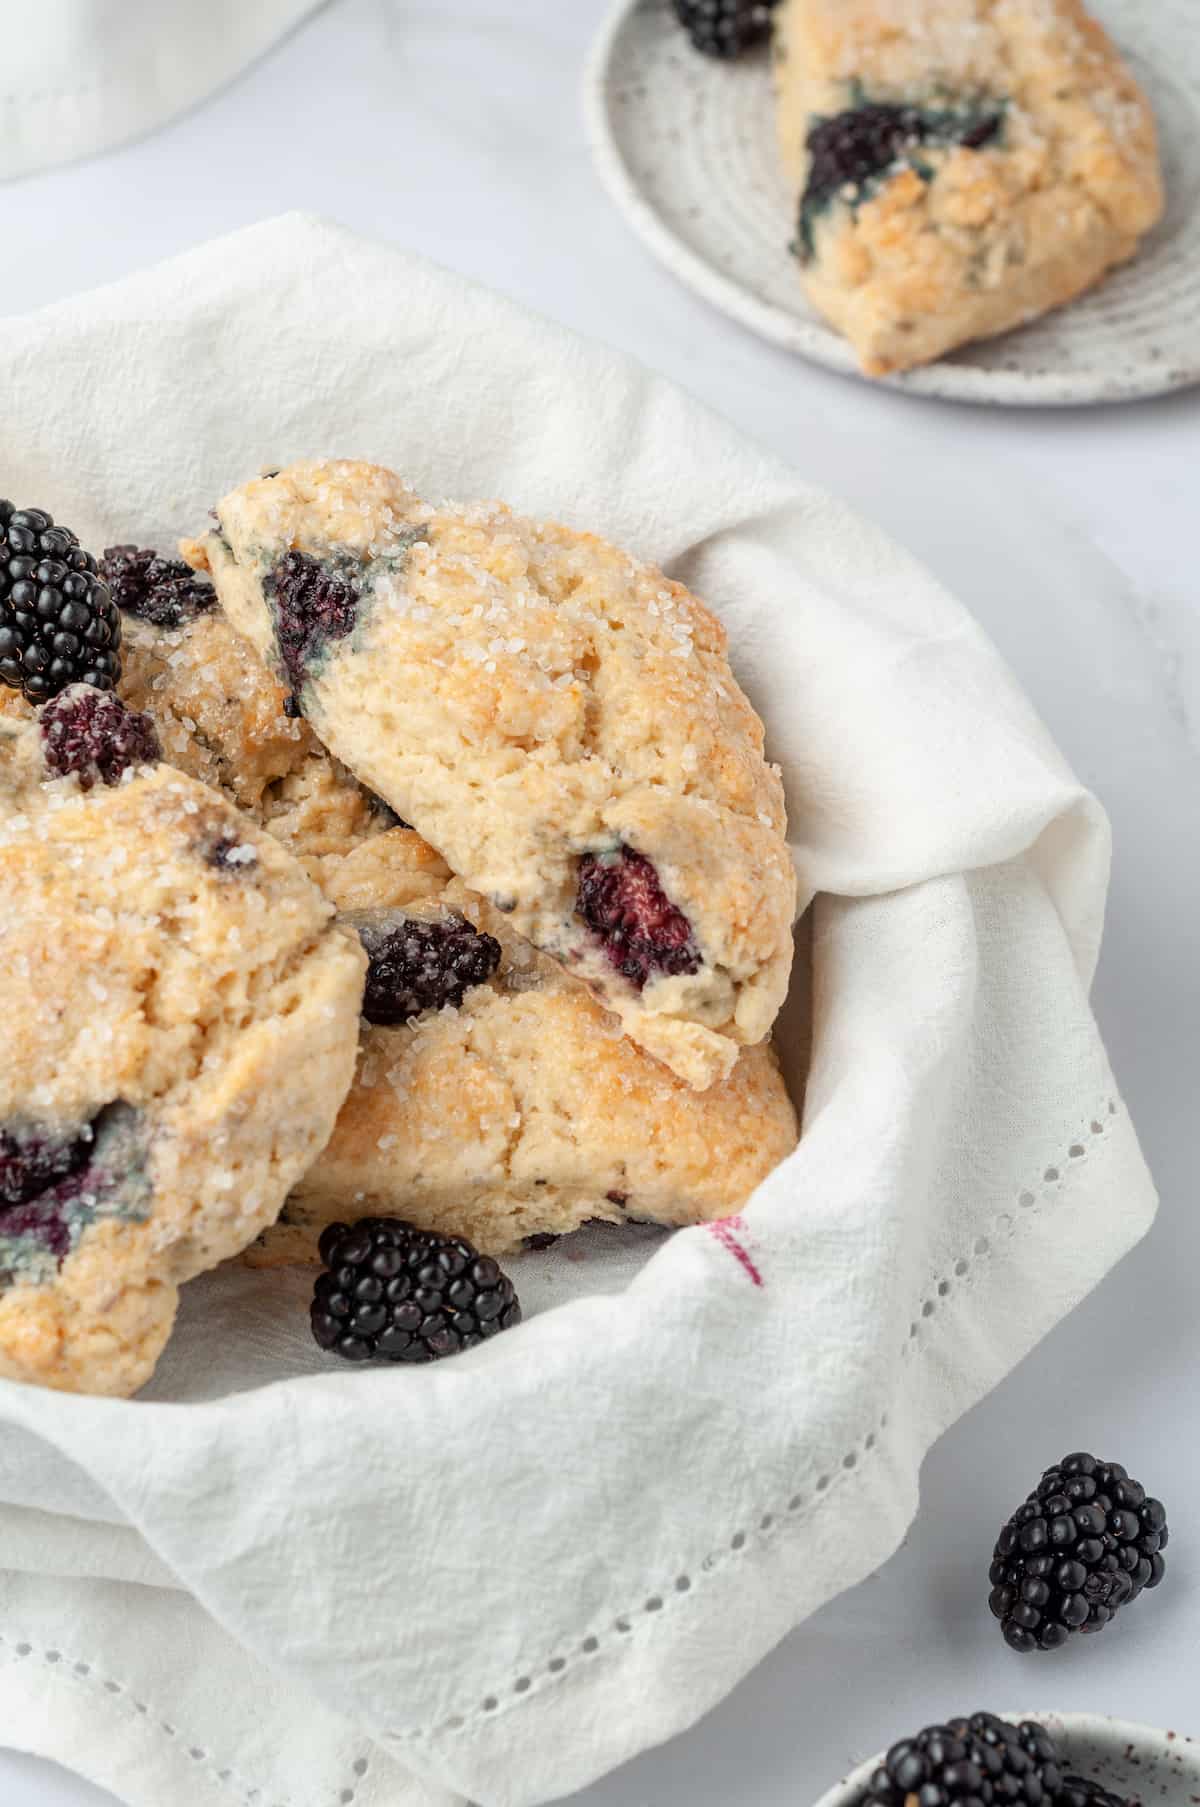
The important thing to know about adding fruit to scones is to just fold in the fruit right at the very end when the scone dough has almost completely come together. Blackberries and raspberries are delicate and can become a squishy mess if you work them into the dough too much, staining the dough (and your hands) purple or pink.
You could also add lemon, lime, or orange zest along with your favorite fruit for additional tasty flavor combinations. And, of course, you can always add chocolate chips, either with fruit or without.
How to Store
Scones are best served warm and fresh out of the oven, although you can make them ahead and reheat in a low oven. But they really are best when eaten within a day or two of making them. Store them in an airtight container at room temperature.
Can This Recipe Be Frozen?
Yes! Scones freeze pretty well, so if you need to make them in advance or have leftovers that you want to save for another day, you can freeze baked scones for up to 3 months, then thaw them on the counter and warm them in the microwave or oven.
You can also shape the scone dough and freeze the scones individually on a baking sheet for about an hour before wrapping them and transferring to a resealable freezer-safe bag for longer term storage. Freeze for up to 3 months, then thaw them in the fridge overnight and bake the next day for the regular amount of time. Or you can bake them straight from frozen, although you will need to add 3-5 minutes to your bake time.
More Breakfast Recipes You’ll Love
- Raspberry Streusel Muffins
- Easy Blackberry Turnovers
- Passion Fruit Lemon Loaf Cake
- Homemade Blueberry Muffins with Crumb Topping
Did you make this recipe?
Let me know what you thought with a comment and rating below. You can also take a picture and tag me on Instagram @houseofnasheats or share it on the Pinterest pin so I can see.
Blackberry Scones
Ingredients
Scones
- 3 cups all-purpose flour
- 1/3 cup granulated sugar
- 2 teaspoons baking powder
- 1/2 teaspoon baking soda
- 1/2 teaspoon salt
- 1/2 cup salted butter cold and cut into cubes
- 1 large egg beaten
- 1 1/4 cups heavy cream
- Coarse sugar for sprinkling
- 1 cup blackberries fresh or frozen*
Optional Honey Butter Glaze
- 1/3 cup honey
- 1/4 cup salted butter

Instructions
- Preheat oven to 375°F.
- In a large bowl, whisk the flour, granulated sugar, baking powder, baking soda, and salt together to combine. Add the cold butter, cutting it in with a pastry cutter, using your fingers or a food processor (affiliate link), or grating it in and tossing to coat with the flour mixture until only pea-sized pieces of cold butter remain.3 cups all-purpose flour, ⅓ cup granulated sugar, 2 teaspoons baking powder, ½ teaspoon baking soda, ½ teaspoon salt, ½ cup salted butter
- In a separate bowl, whisk the egg and cream together, then pour into the flour mixture and mix with a fork, just until a shaggy dough comes together. Sprinkle the berries over the dough and lightly knead the dough in bowl 2-3 times just to combine, being careful not to crush the berries too much. *If using frozen berries, toss them with a couple teaspoons of flour first so they don't streak the dough too much.1 large egg, 1 ¼ cups heavy cream, 1 cup blackberries
- Turn out the scone dough onto a lightly floured surface and pat into a long, 1"-thick rectangle or round. Cut into 8 wedges with a sharp knife or bench scraper, then transfer to a parchment-lined baking sheet. Brush each scone with a little cream using a pastry brush and sprinkle with coarse sugar. Bake for 25-30 minutes, until the scones are golden brown. Remove from oven. Serve warm or continue with the next step to add a honey butter glaze.Coarse sugar
- While the scones are baking, make the glaze (if desired) by microwaving the honey and butter in a microwave safe bowl for 1-½ minutes. When the scones are done baking, remove them from the oven and brush with half of the honey butter glaze, then cool for 15 minutes, and brush again with the remaining glaze. Serve warm.⅓ cup honey, ¼ cup salted butter
Notes
- Storing: Scones are best served warm and fresh out of the oven, although you can make them ahead and reheat in a low oven. But they really are best when eaten within a day or two of making them. Store them in an airtight container at room temperature.
- Freezing: You can freeze baked scones for up to 3 months, then thaw them on the counter and warm them in the microwave or oven.
- Freezing unbaked scones: You can also shape the scone dough and freeze the scones individually on a baking sheet for about an hour before wrapping them and transferring to a resealable freezer-safe bag for longer term storage. Freeze for up to 3 months, then thaw them in the fridge overnight and bake the next day for the regular amount of time. Or you can bake them straight from frozen, although you will need to add 3-5 minutes to your bake time.
Nutrition
This post was originally published in June, 2018. The photos and content were updated in July, 2022.







I’m pretty particular about scones and these are absolutely delish! No need to change anything in this recipe. My whole family loved them too!
I’m so glad your family enjoyed these so much, Pam!
Should the butter be salted or unsalted?
I always use salted butter in all of my baking. It’s just easiest and what I always keep on hand. You could use unsalted and add just a pinch more salt if you think it needs it though.
If I wanted to make the dough in advance and cook them later – should I freeze it or keep it in the fridge then allow to come to room temp before cooking?
Great question! You can shape the scone dough and freeze them, then either thaw in the fridge overnight (but still bake cold, not at room temperature) for the regular amount of time. Or you can bake them straight from frozen, although you will need to add 3-5 minutes to your bake time.
Excellent recipe! I substituted Greek yogurt for the heavy cream (what I had available living in Papua, Indonesia), turned out crispy on the outside buttery moistness on the inside! Repeat recipe for sure! Thank you!
I was using a different recipe, when I decided to make blackberry scones I found your recipe and it’s a keeper, I probably won’t use the old one ever again. These are the best scones, I did change the glaze to cream cheese and butter with powdered sugar. Made them even better.
My new favorite scone! Light and flaky. I added dark chocolate chunks to mine.
Can I use buttermilk instead of heavy cream ?
I suppose that would work although it would change the flavor a bit. It might taste more biscuity.
I have tried several scone recipes, I have trouble with my scones spreading and not staying tall my baking powder etc are not expired. Is it my technic?
It could be a couple of things. The first is to make sure your ingredients stay super cold. You might even want to pop the scones into the freezer for 20 minutes or so before baking to firm up the butter again. If the butter is too warm, then it can cause spread. The other thing might me not quite enough flour or too much cream. But the temperature is my best guess.
This recipe felt like there was way too much moisture. After adding in the cream/egg and turning out on countertop, it was impossible to cut into triangles.
It ended up tasting great after baking, but had none of the craggy edges that to me, makes a scone.
These were delicious! Highly recommend!
Amazing recipe. I often make scones and this has to be up there as a favorite. They were both moist and light which is a difficult combination to achieve. My only change was that I only had 8 Oz of thick cream so used fat free plain Greek yogurt for the other 1/4 cup.
We love blackberries in our house. Yes, scones can be little finicky sometimes but sounds like you know what you are doing! Good job!
I’m OBSESSED with these scones! I’ve subbed the blackberries with raspberries, blueberries, even chopped peach and it’s amazing EVERY TIME. Note: do not sub milk for the cream; I tried it once and the texture isn’t the same. AMAZING recipe!! Thank you so much Amy for this new breakfast staple!
Oh wow! Thank you for such a nice review! I am glad you enjoy these! They really are so good and I love that you tried different fruit! Yum!
Wow! I have tried a lot of scone recipes and this is the one!!! Best ever! I made a glaze of cream lemon juice, lemon zest and powdered sugar. So good – trying not to eat them all😂
Incredibly tasty! I used buttermilk (I like the biscuity texture and taste) I used unsalted butter without adding extra salt and used half blueberries and blackberries fresh picked from my local farm. Added a lemon drizzle glaze for an out of this world flavor combo. Thank you!
Followed recipe but used wild blackberries. Not bad! Not super familiar with scones. The honey butter was yummy on it!
Best scones ever. I was afraid of adding the glaze thinking it would make the scone too sweet- I’m glad I stayed true to your recipe; the glaze seemed to keep the scone from getting too dry and tasting like a sad baking powder biscuit. Every tip you gave was excellent, in particular, lightly mixing with a fork, and just a few folds with the blackberries so the dough didn’t turn into a purple-grey.
Thank you so much for such a glowing review! I do love these scones!
These were delicious! Easy recipe. I used frozen blackberries and they worked great!
I used fresh blackberries but they still were too wet in the dough and I had to bake 5 extra minutes so they were good but a little overdone in order to absorb the blackberry juice. My mistake used unsalted butter and didn’t increase the salt which I should have. A little more sugar would have made them sweeter but I made a lemon vanilla glaze which added the needed sweetness. Overall a really good recipe and eady