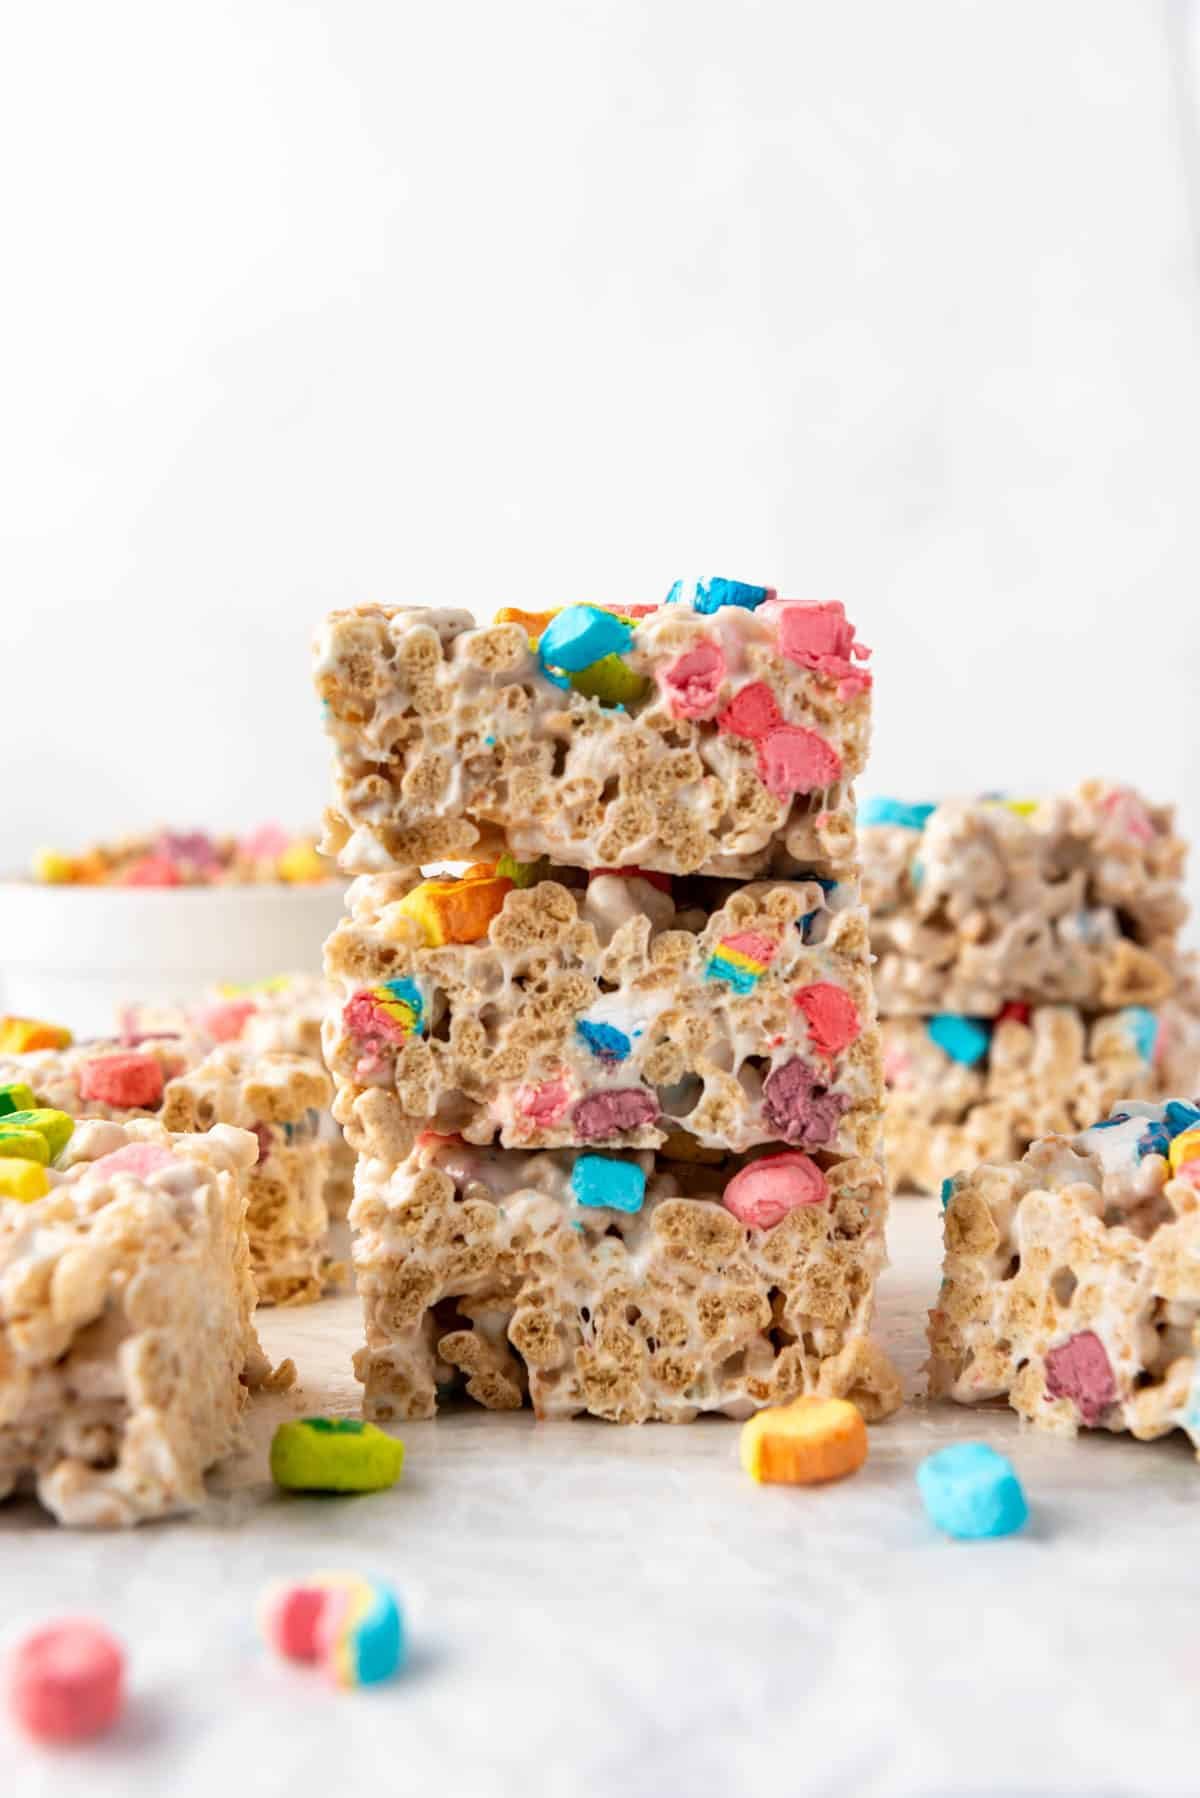
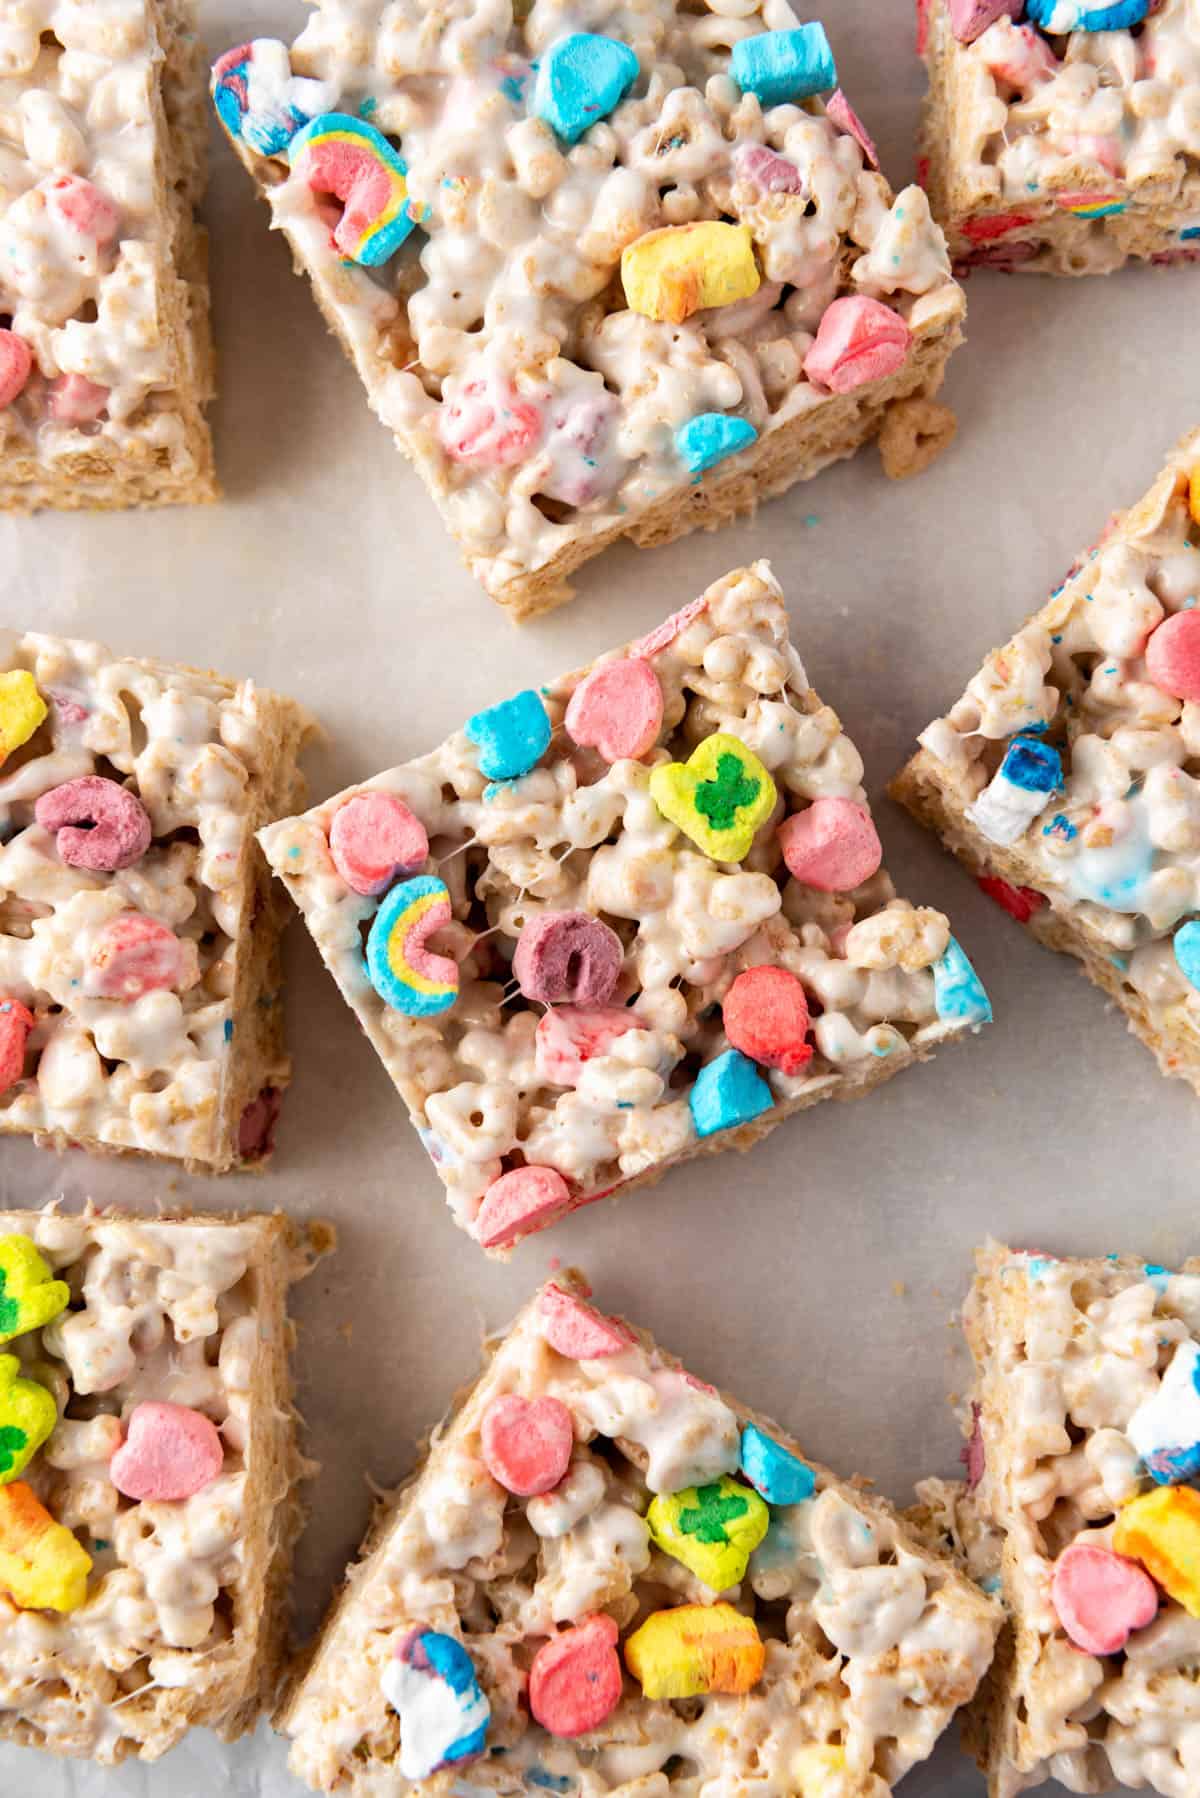
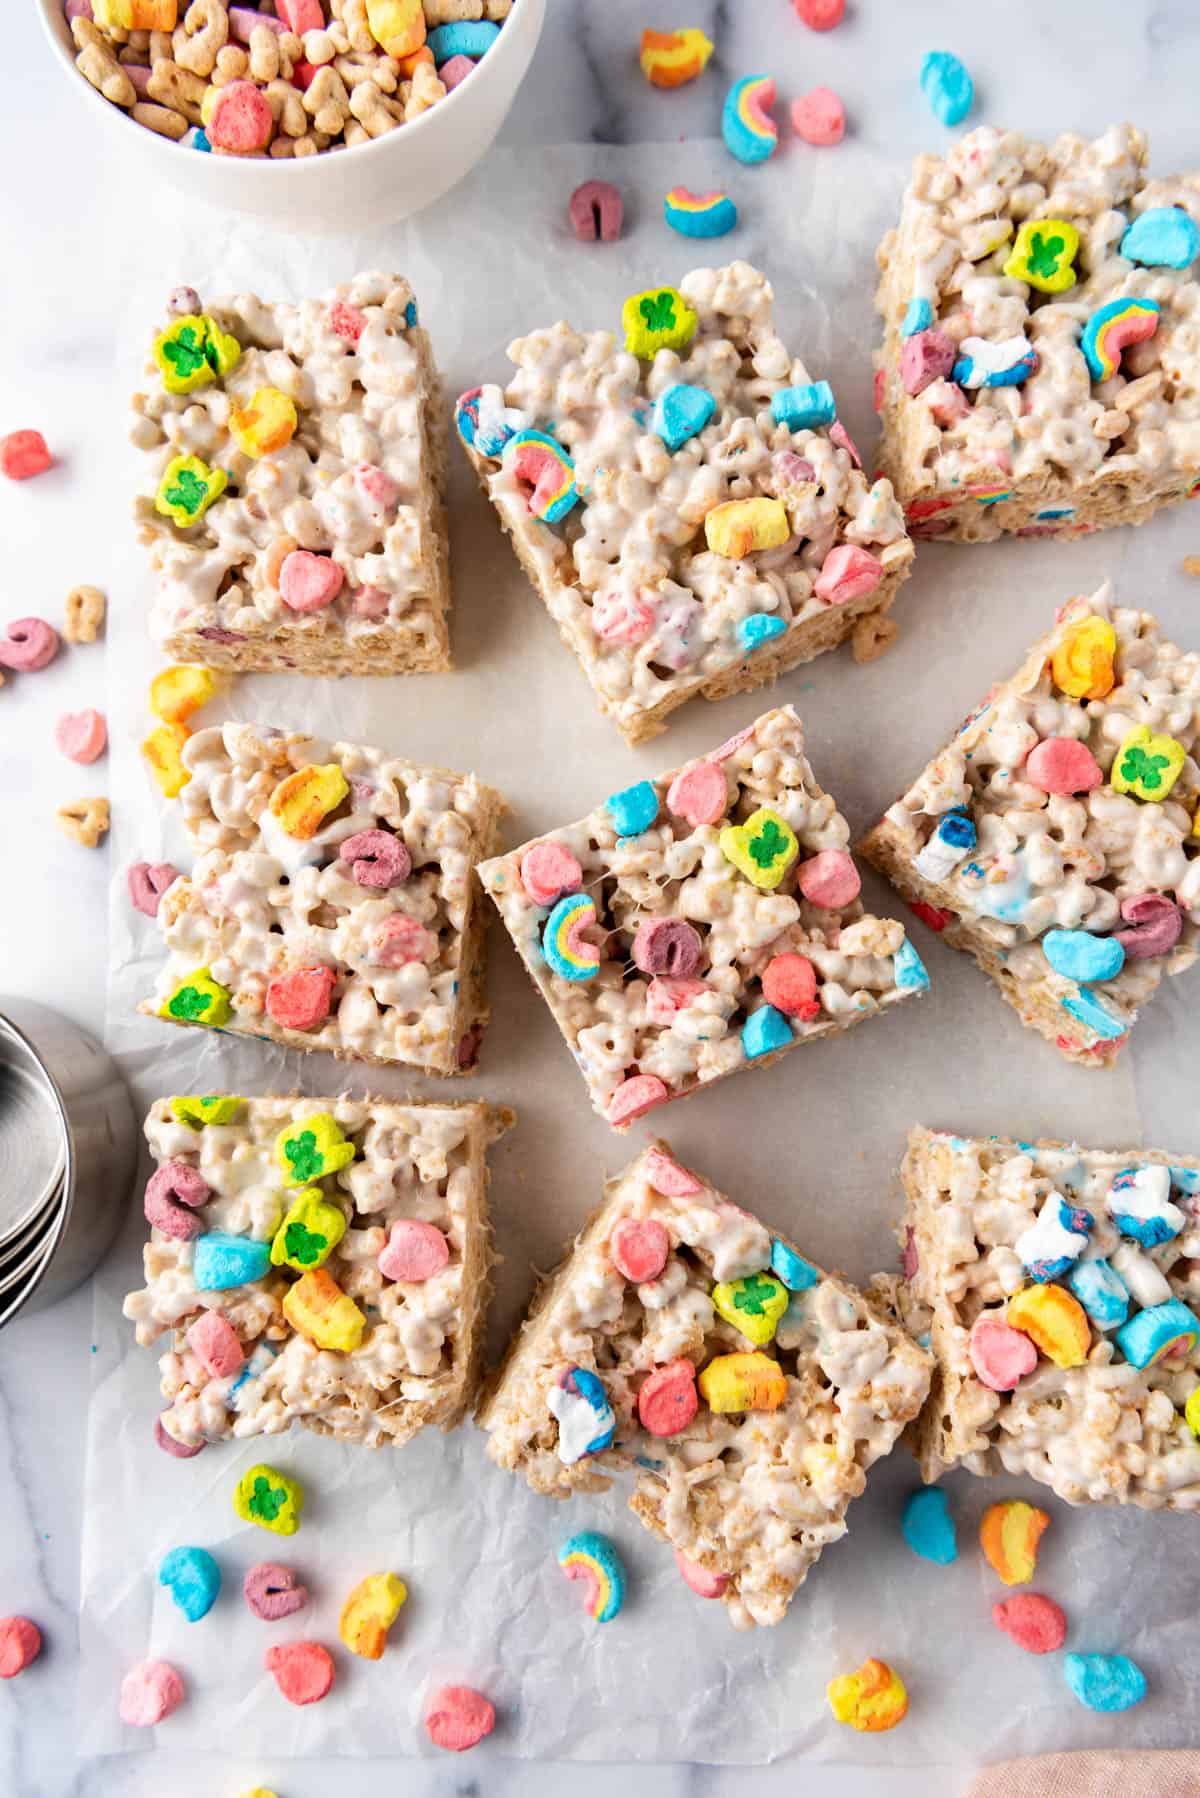
Crispy, chewy, light, and gooey, these Lucky Charms Rice Krispies Treats are a fun and easy dessert to make with kids for St. Patrick’s Day or pretty much any day you want an enchanting treat that is magically delicious. It only takes about 10 minutes to prep a batch of these fun squares and they just might be the most cheerful dessert of spring.
Rice krispies treats are one of my go-to treats to make when I’m pressed for time and don’t want to wait for a batch of cookies to bake. They always remind me of my childhood, and they are fun to change up with different cereal flavors for new treats that never fail to light up faces.
I consider myself something of a rice krispies treats expert, having made dozens and dozens of batches of them over the years. It isn’t difficult to make light and chewy cereal treats, but if you have ever had a rice krispie treat that is rock hard and dry, you’ll know that they can go very, very wrong if you don’t know a couple of important things.
1. Don’t heat the marshmallows too much. They need to cook on a low temperature. If you crank the heat to melt them faster, you’ll end up with hard rice krispies treats.
2. Use fresh marshmallows. If you have bags of marshmallows nearing their expiration date, you might want to throw those in a dessert salad or on top of a batch of brownies, rather than use them for rice krispies treats. Softer, fresher marshmallows result in softer, stretchier rice krispies treats.
3. Don’t compact the treats into the pan. This is maybe the most common mistake I see. You just want to barely press them marshmallow and cereal mixture into an even layer in the pan so the treats hold together. Too much pressure can eliminate the little air pockets in the treats, which makes them harder to bite into.
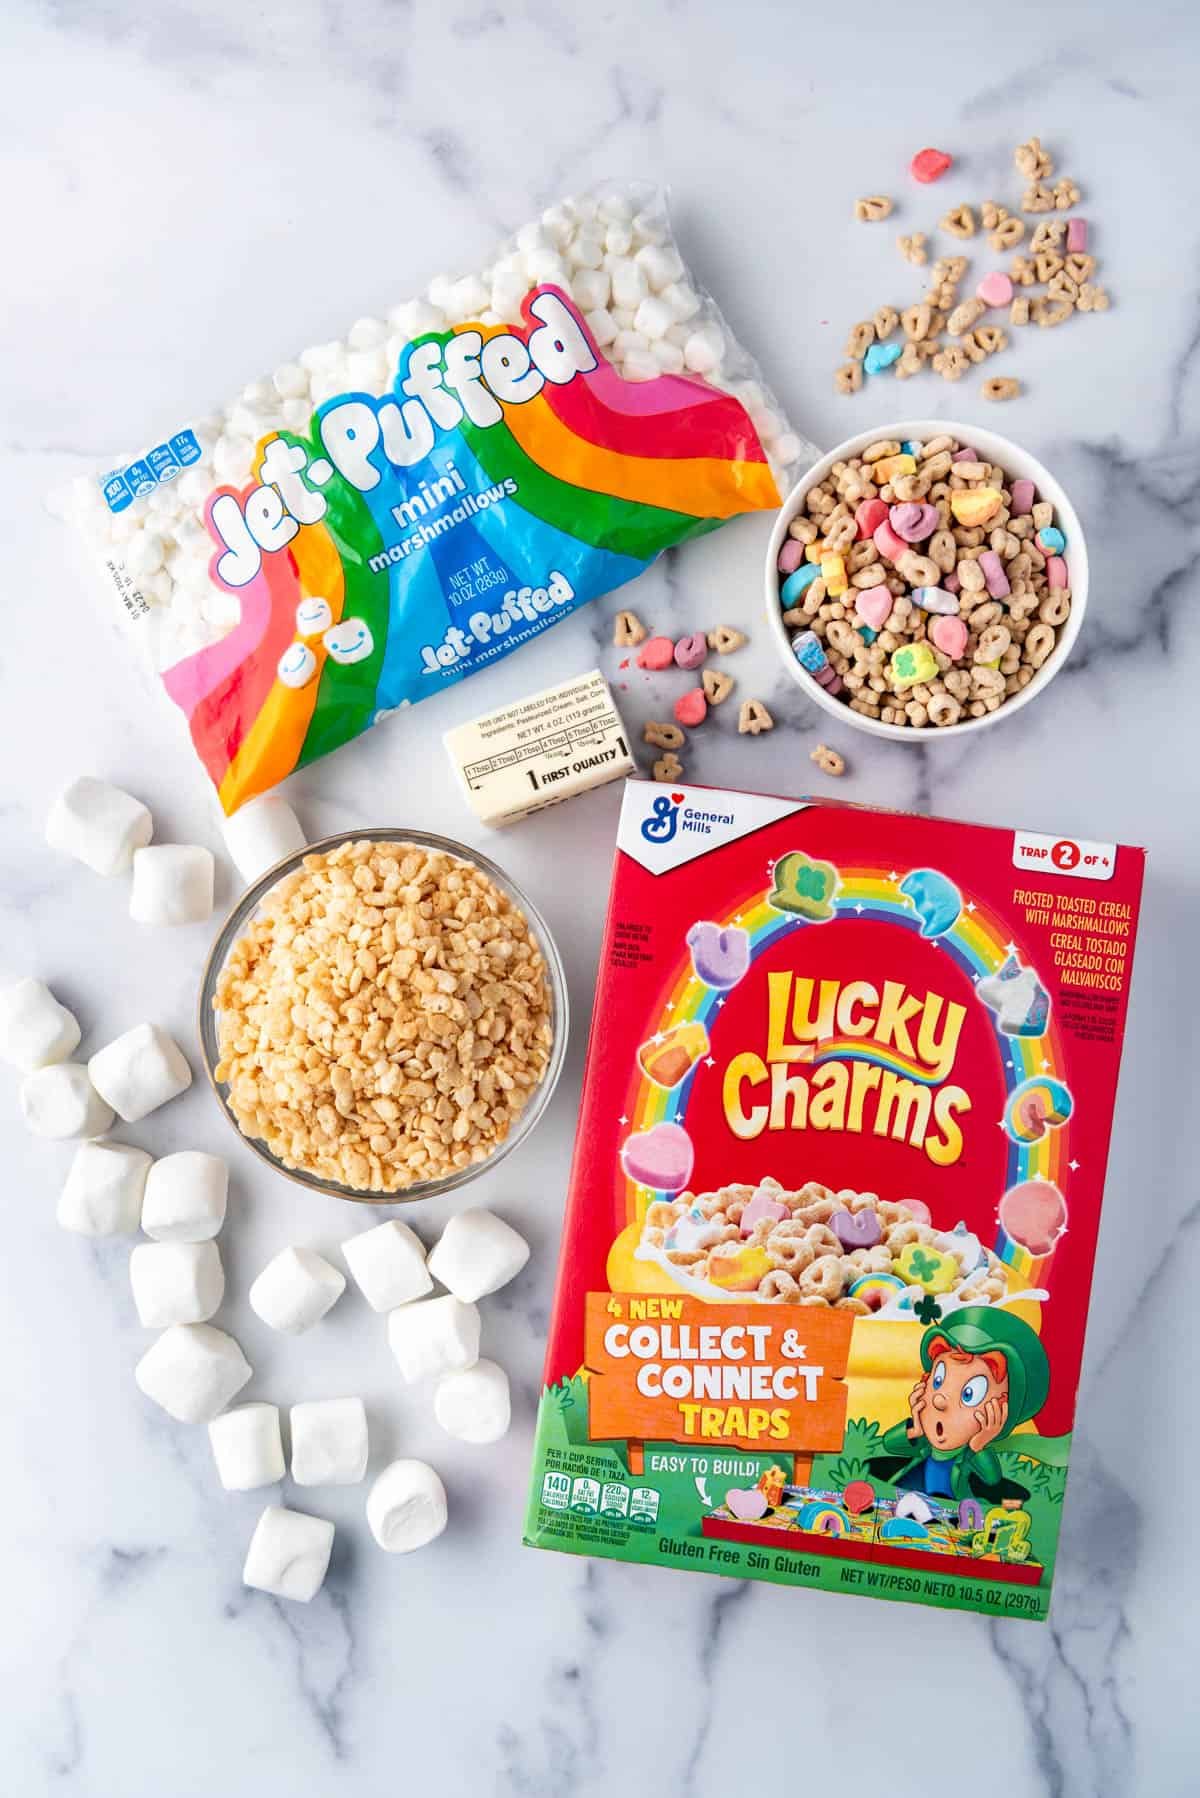
What You’ll Need
Gather all your ingredients beforehand to make the process that much smoother.
- Marshmallows: You can use mini or large marshmallows – just make sure they are fresh and soft.
- Salted butter: If you only have unsalted butter, be sure to add a pinch of salt to the recipe.
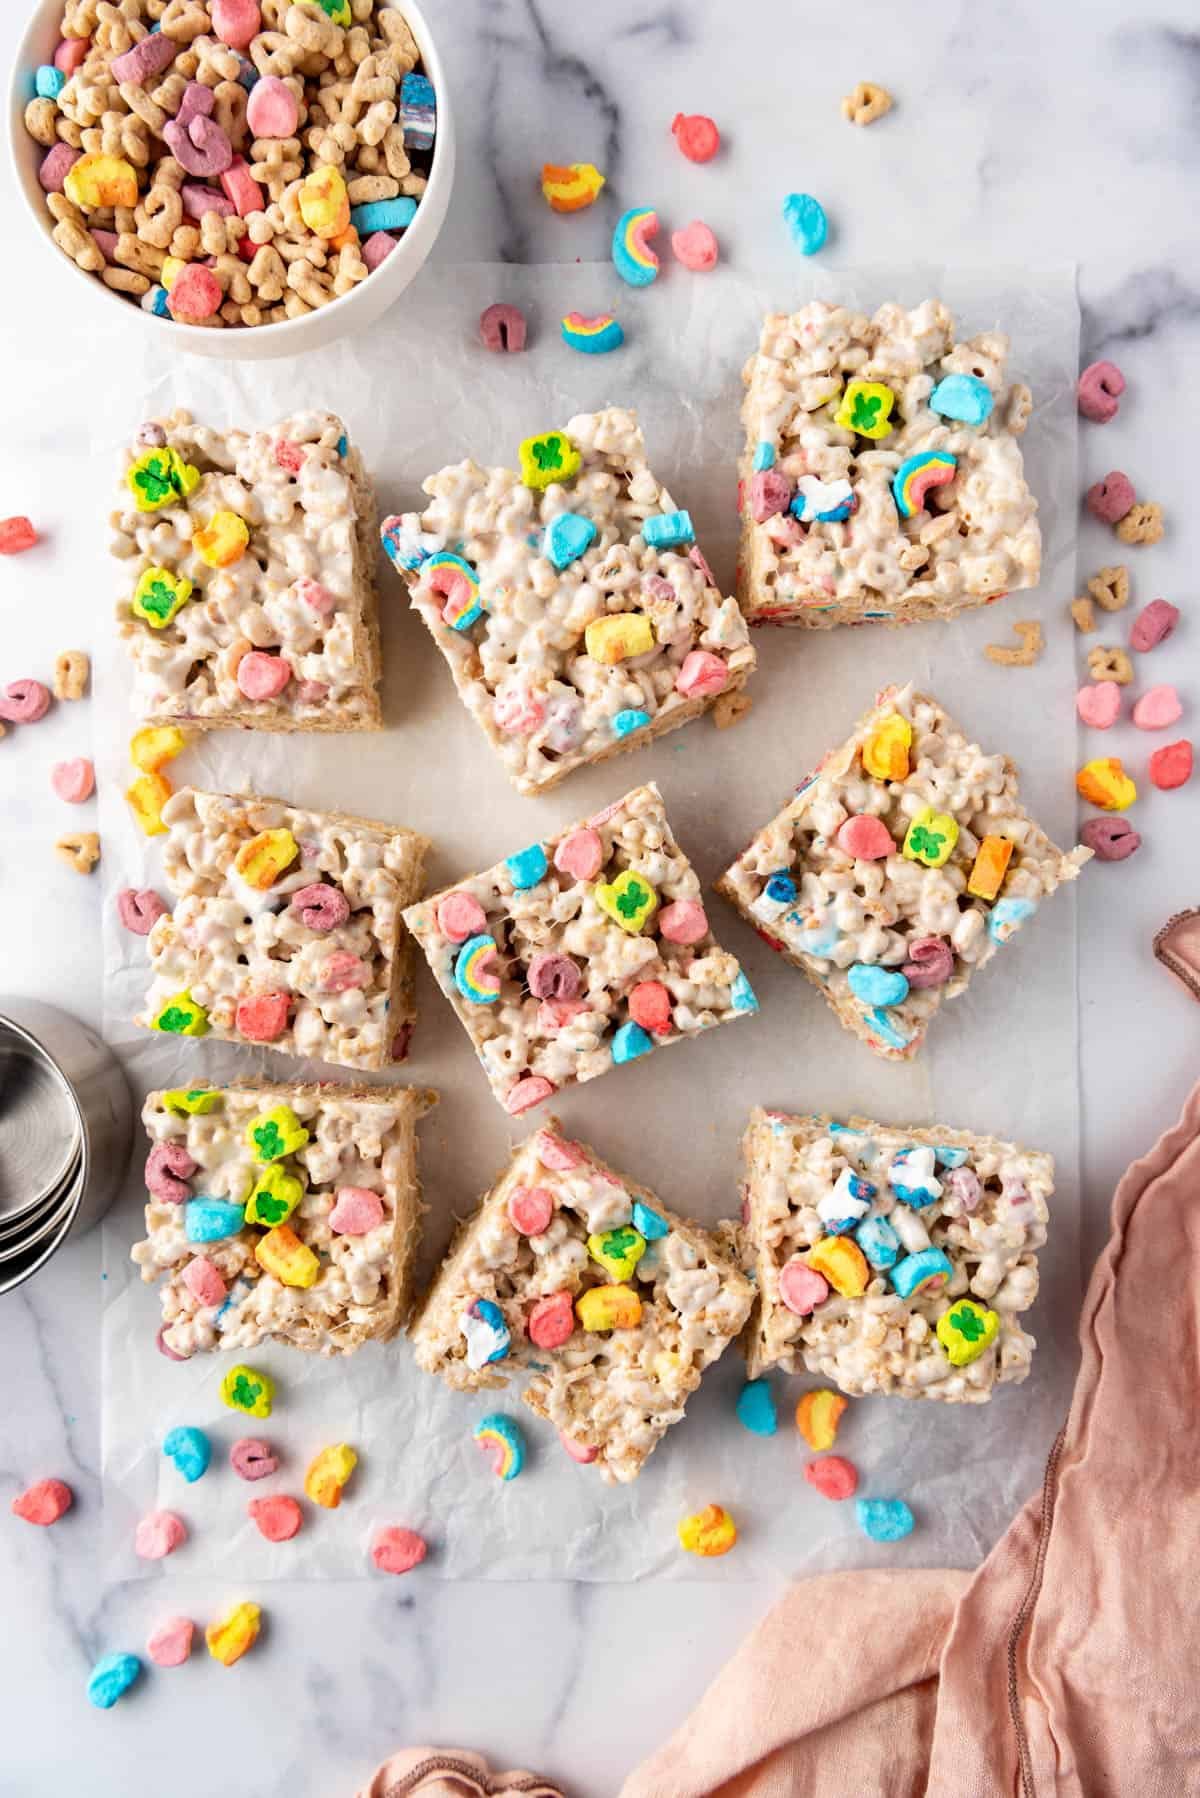
- Lucky Charms cereal: I like to pick through and pull out some extra marshmallow shapes for decorating the tops of the treats.
- Rice Krispies cereal: Technically you could make this recipe with only Lucky Charms, but during recipe testing I found that we like the combo of both cereals best in terms of flavor and crunch.
Let’s Make Cereal Treats!
This step-by-step overview has images to help you visualize the process. Be sure to scroll to the printable recipe card for full instructions.
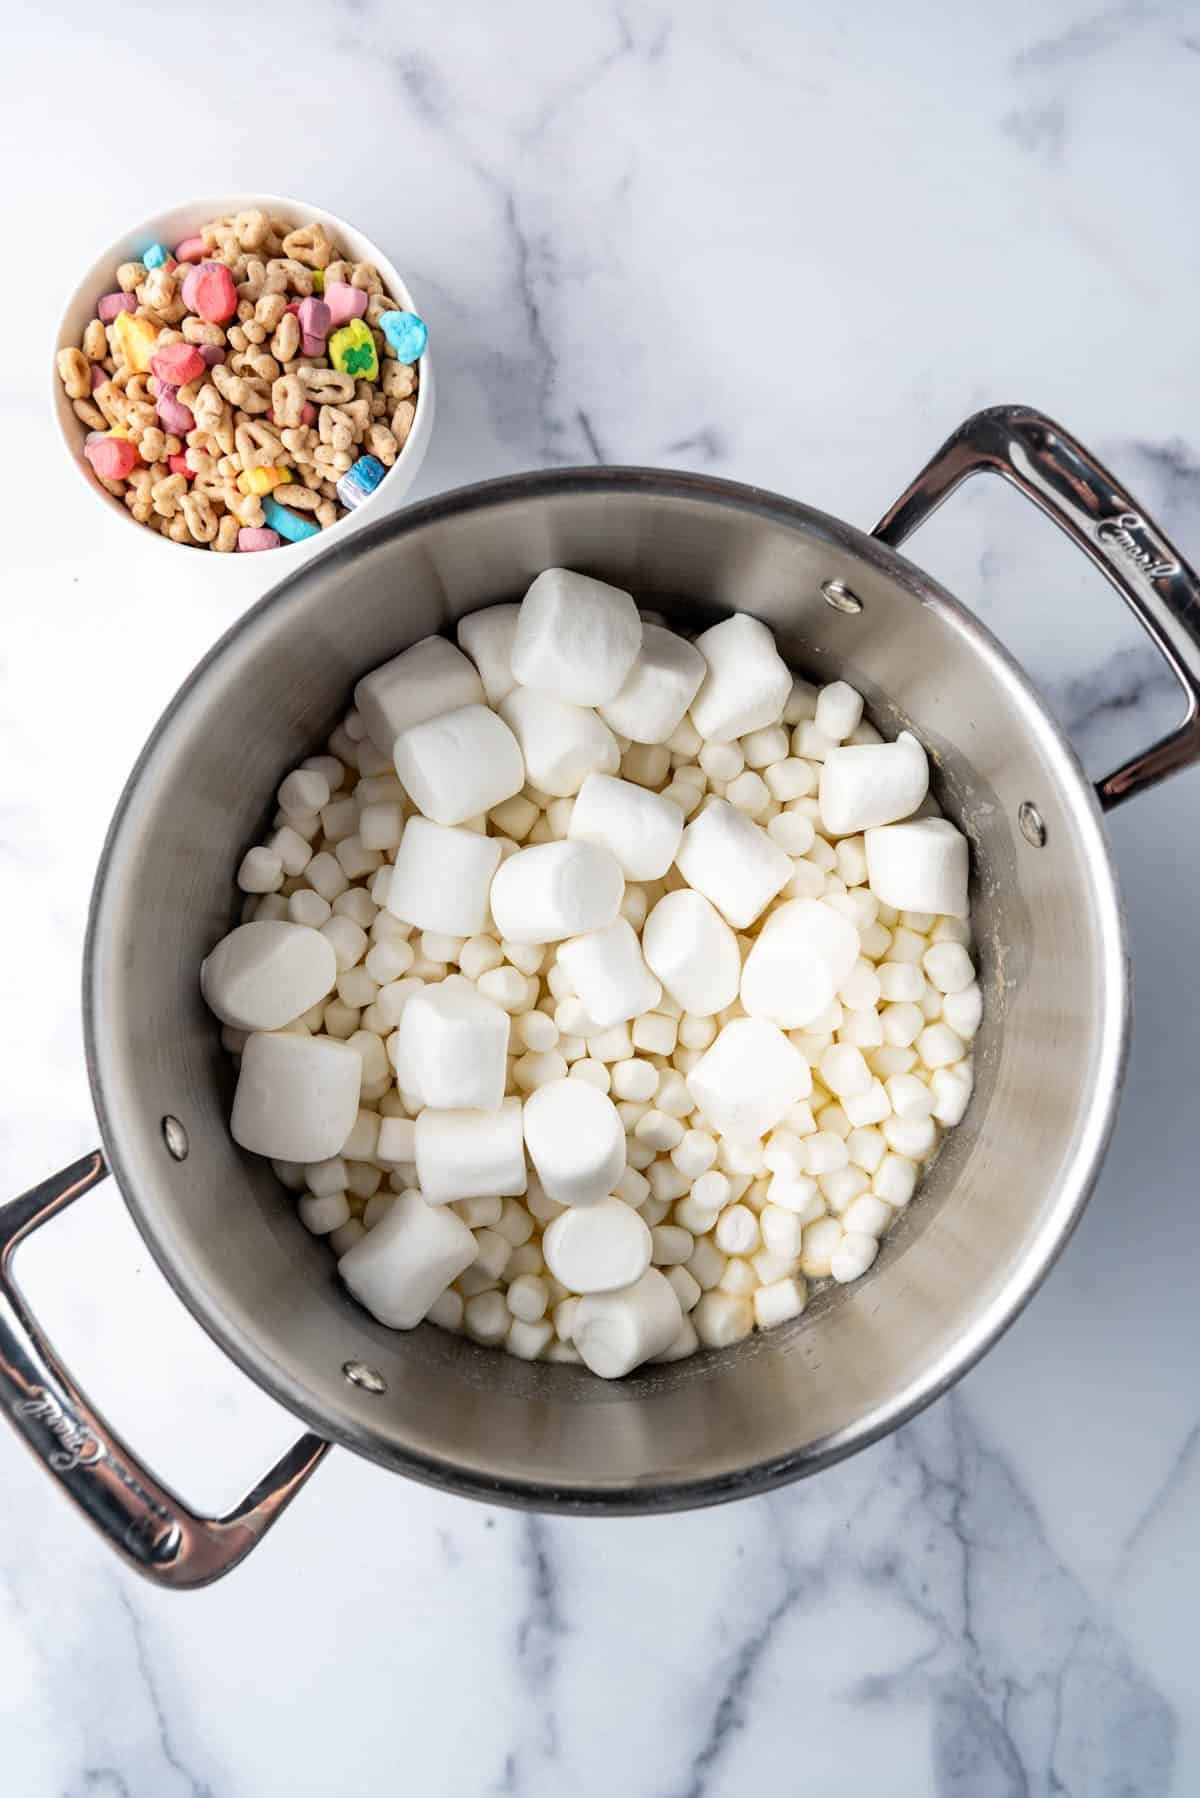
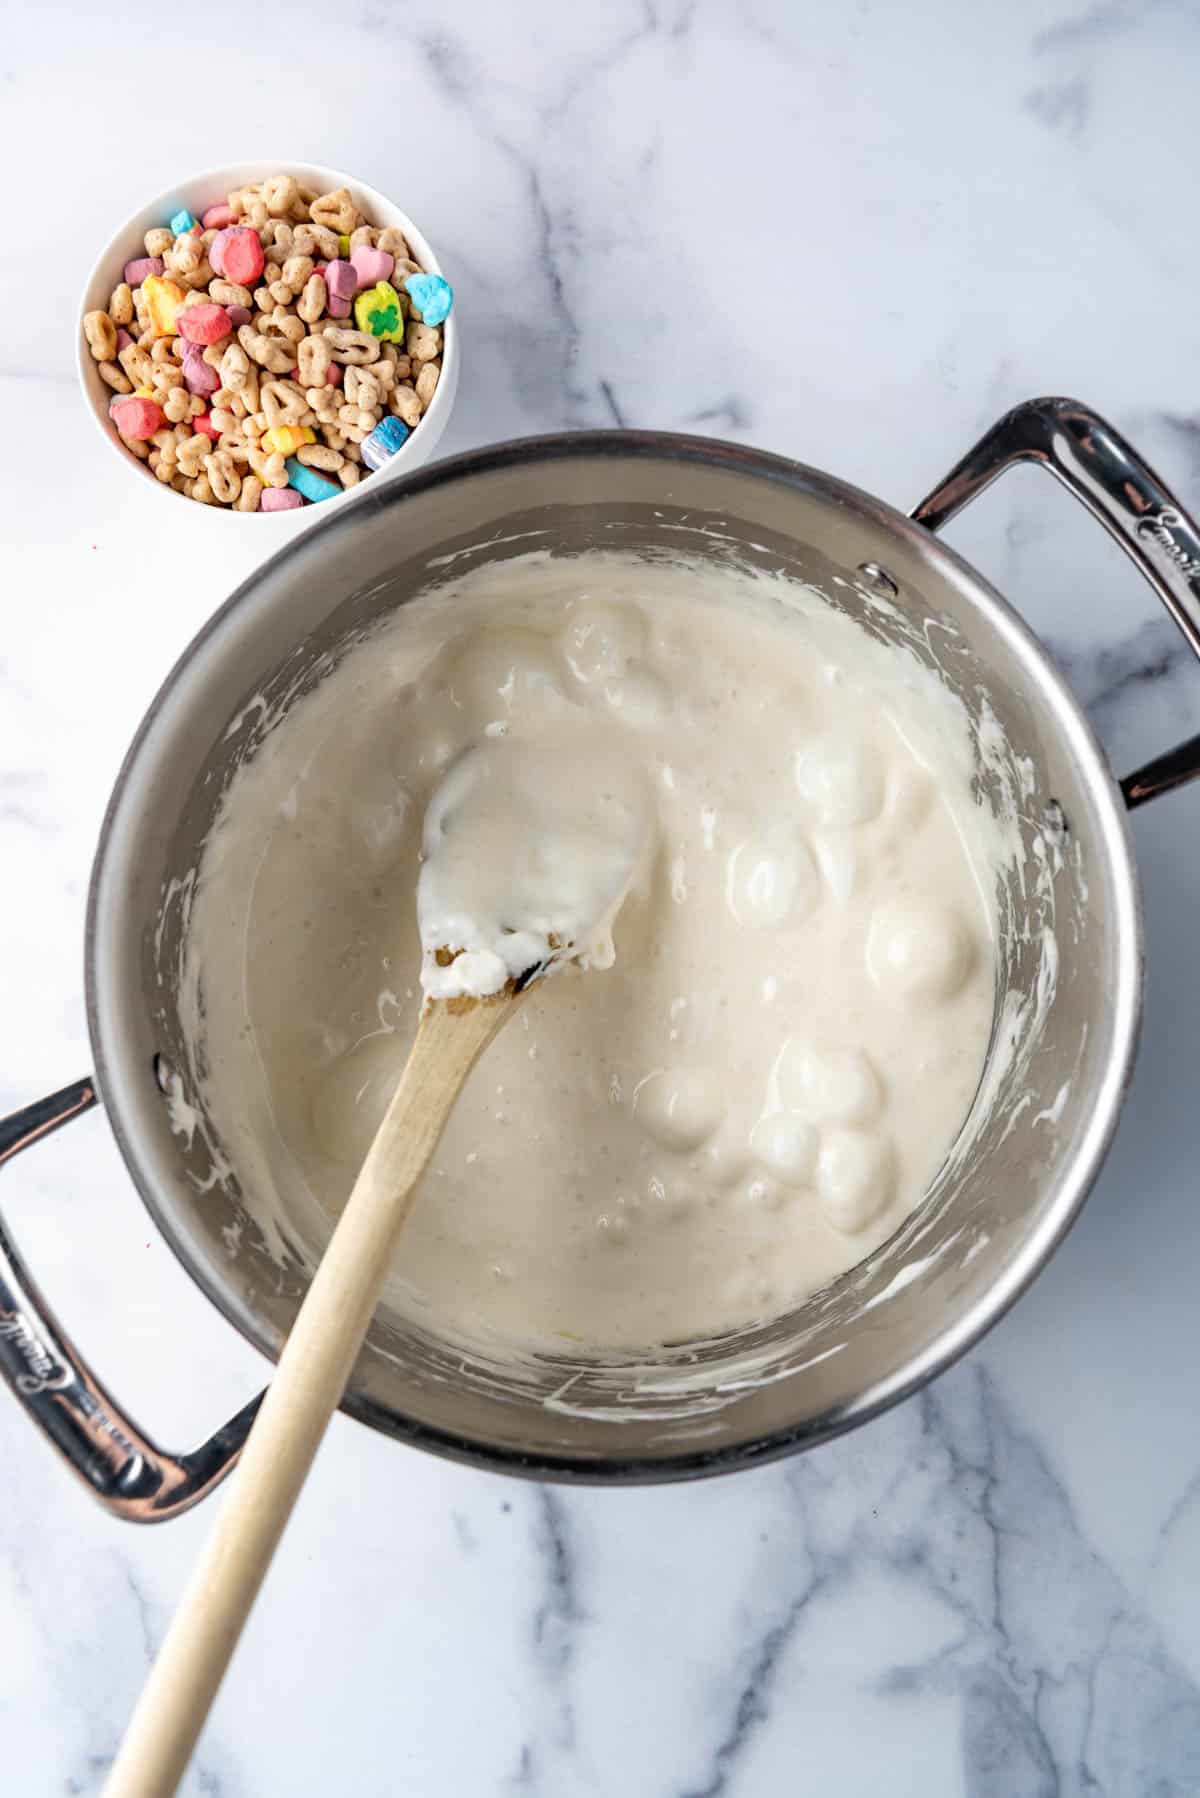
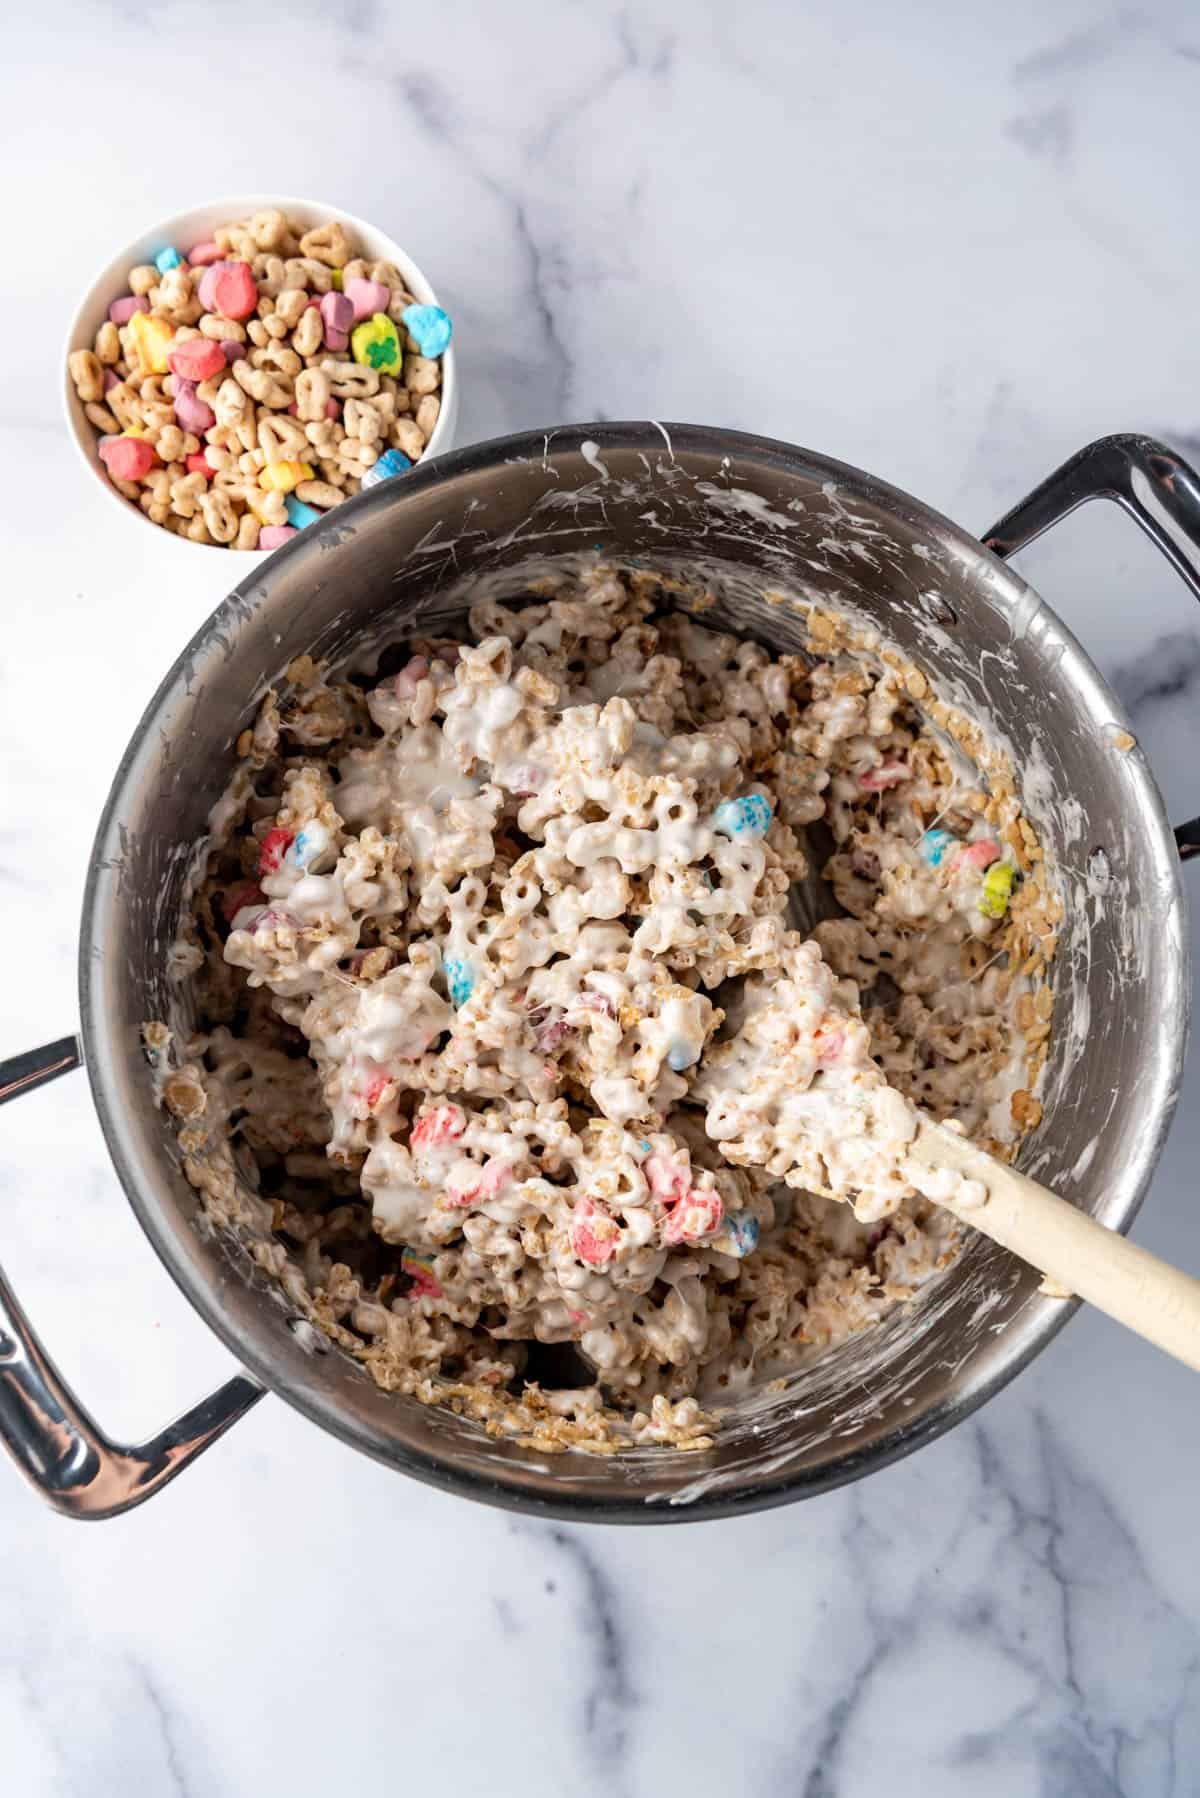
- Melt the butter over medium-low heat in a large pot. Add the marshmallows and cook, stirring frequently, until mostly melted.
Pro Tip #1: Resist the urge to increase the heat in an effort to make the marshmallows melt faster. This can result in tough rice krispies treats.
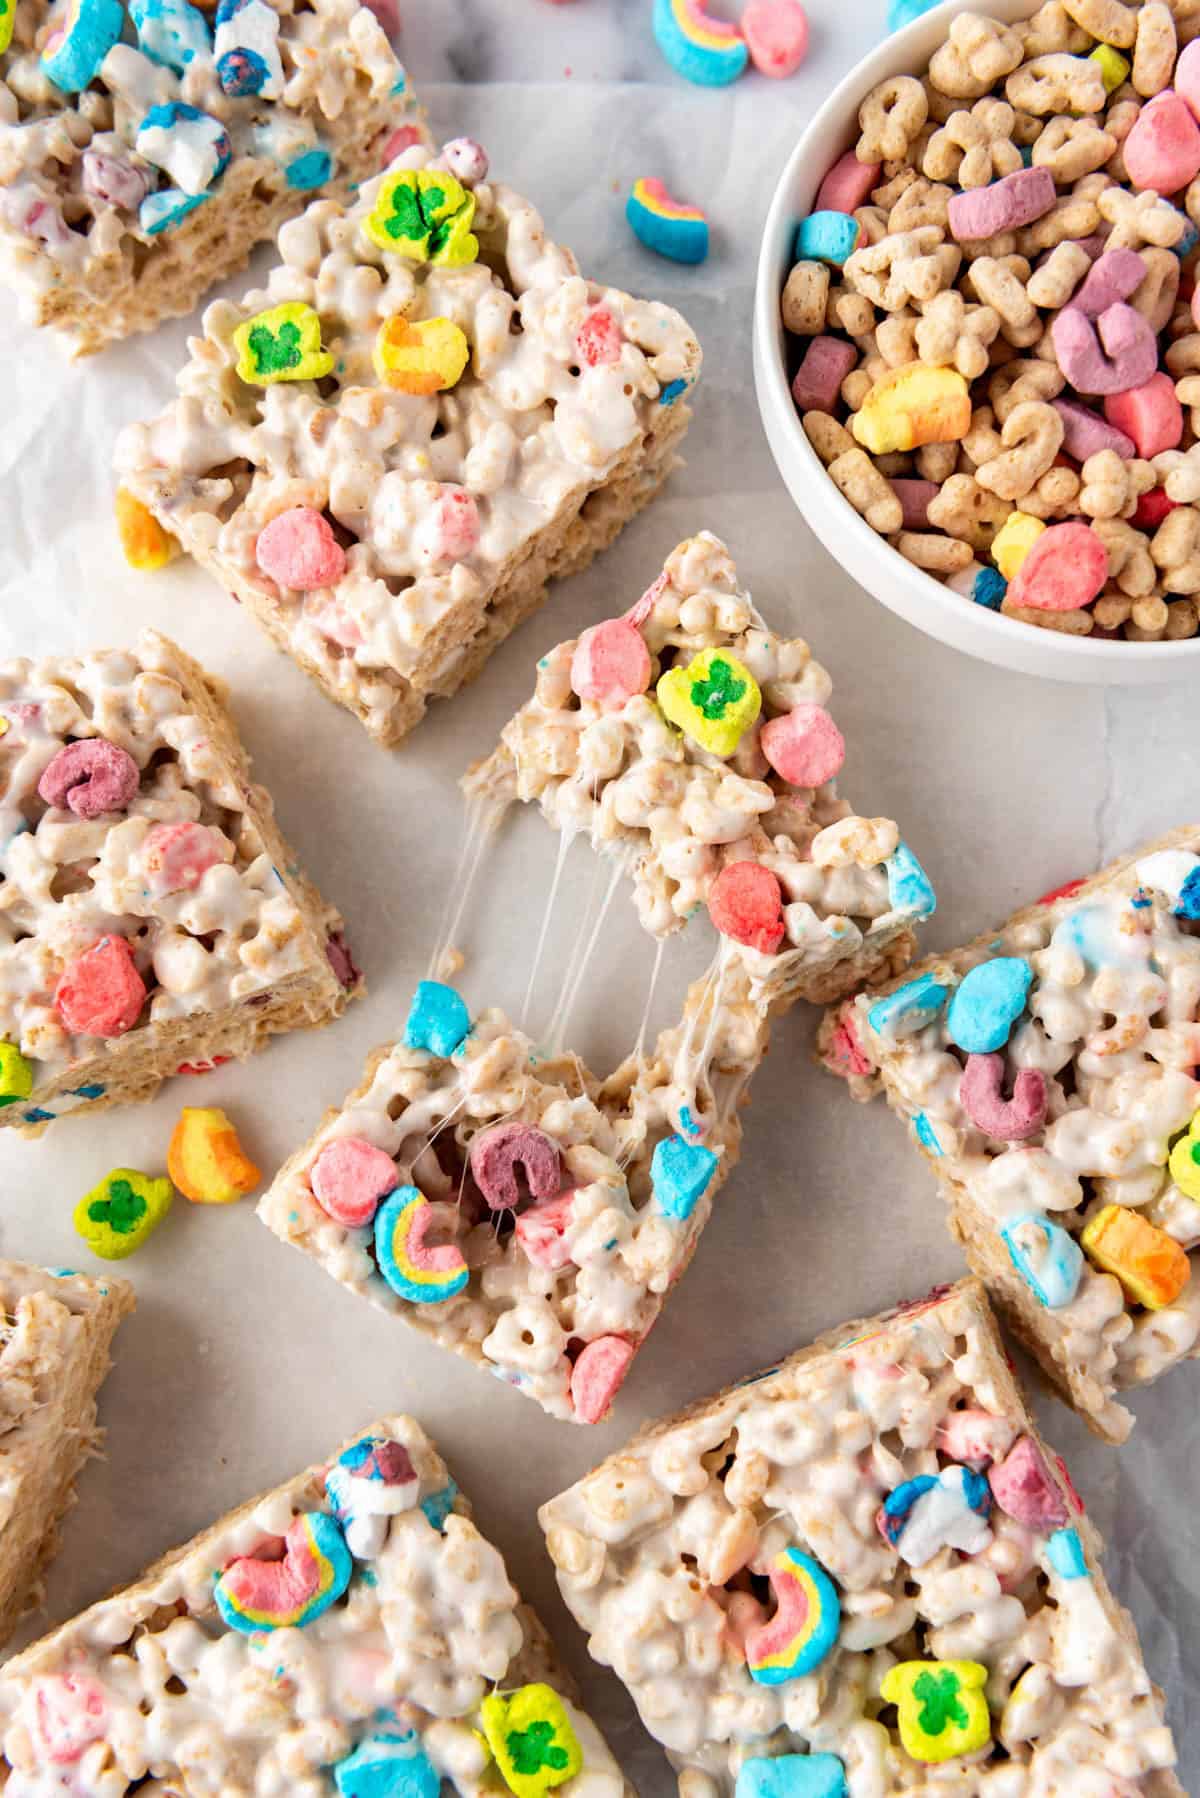
Pro Tip #2: Don’t melt the marshmallows all the way! One reason I like to use at least a handful of large marshmallows is they don’t melt all the way and it results in extra gooey pockets of marshmallow in the treats.
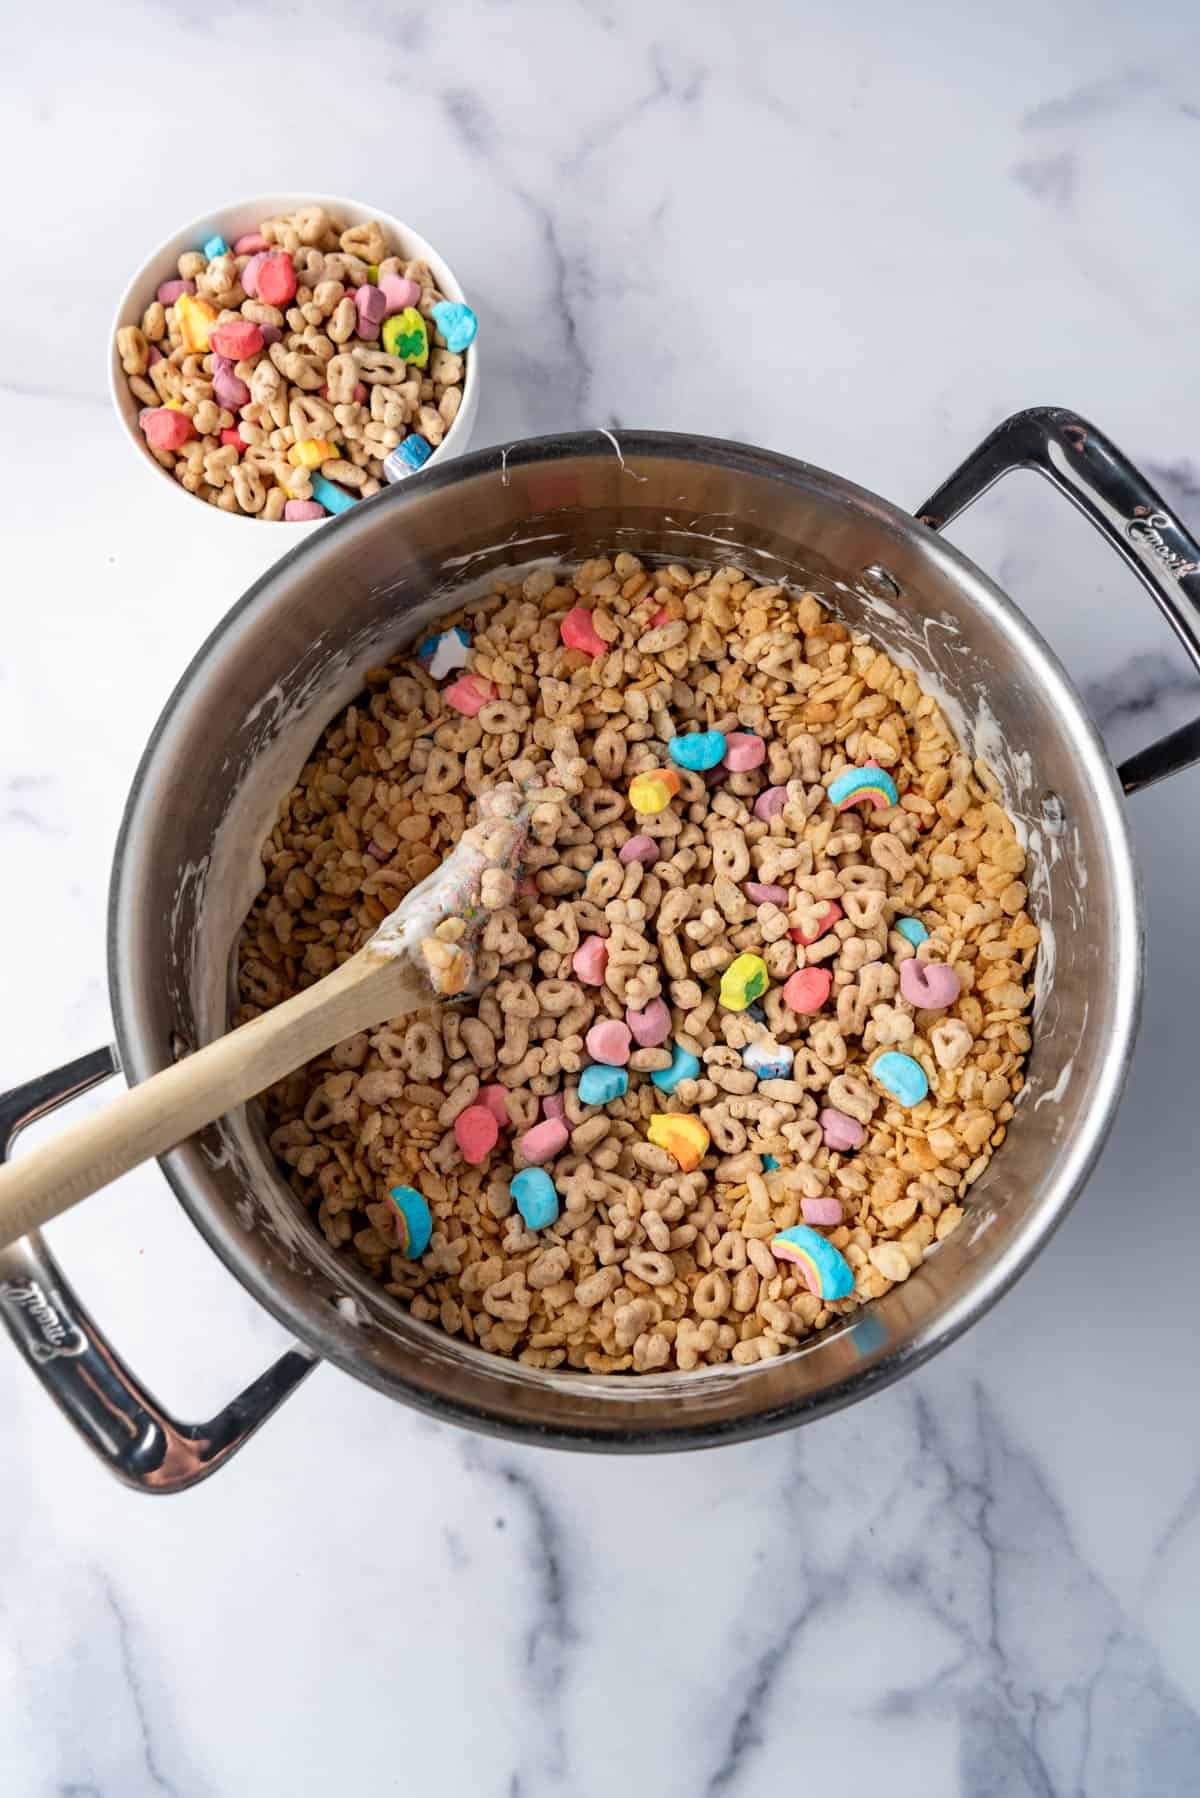
- Add cereal and stir gently. Use a sturdy spoon or spatula to stir the cereal into the marshmallow mixture until evenly coated. Try not to crush the cereal while you scrape the marshmallow goo from the bottom of the pan and turn over spoonfuls of the mixture.
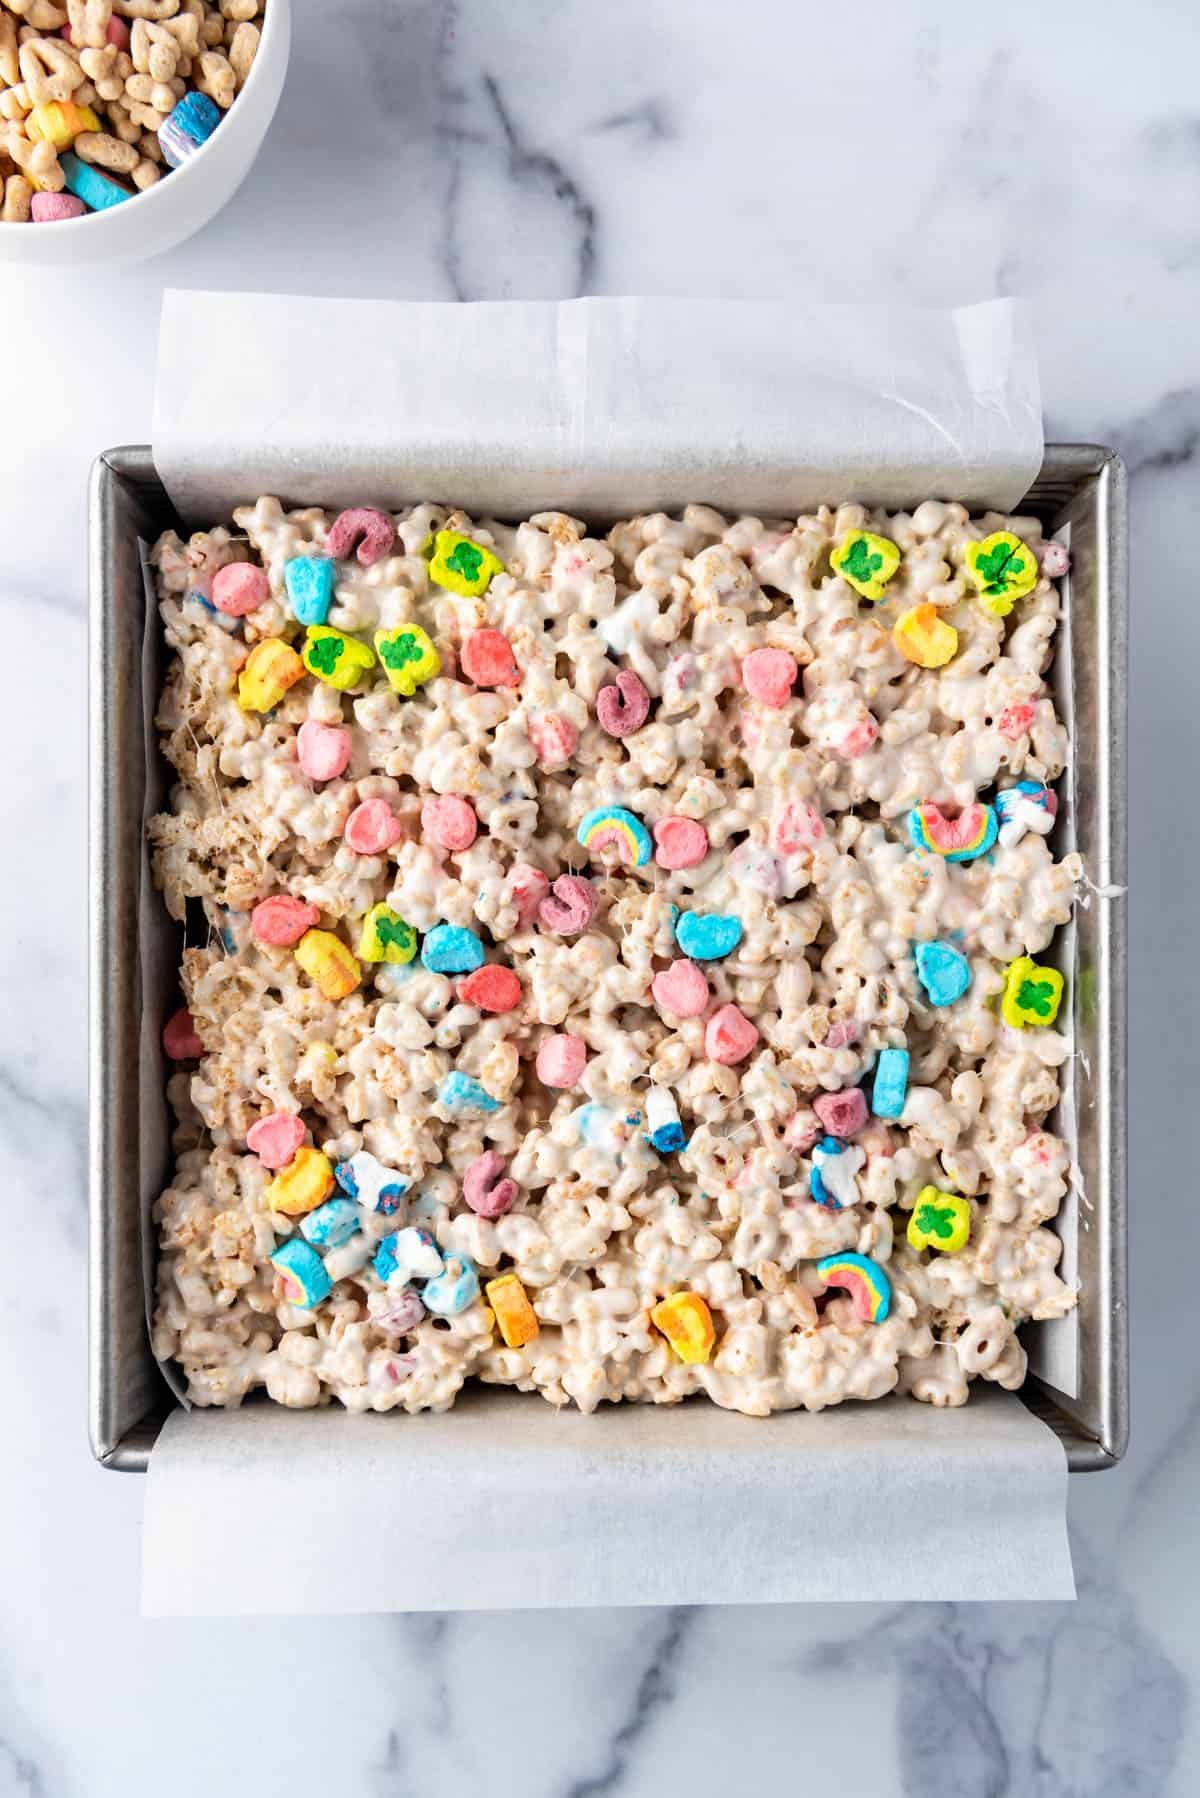
- Gently press into a pan. Line a square baking dish with a parchment paper sling and gently press the cereal mixture into the pan in an even layer. I like saving my butter wrapper and using the buttered side to barely compact the treats just enough so they hold together. You could also spray your hands or a spatula with cooking spray and use that instead.
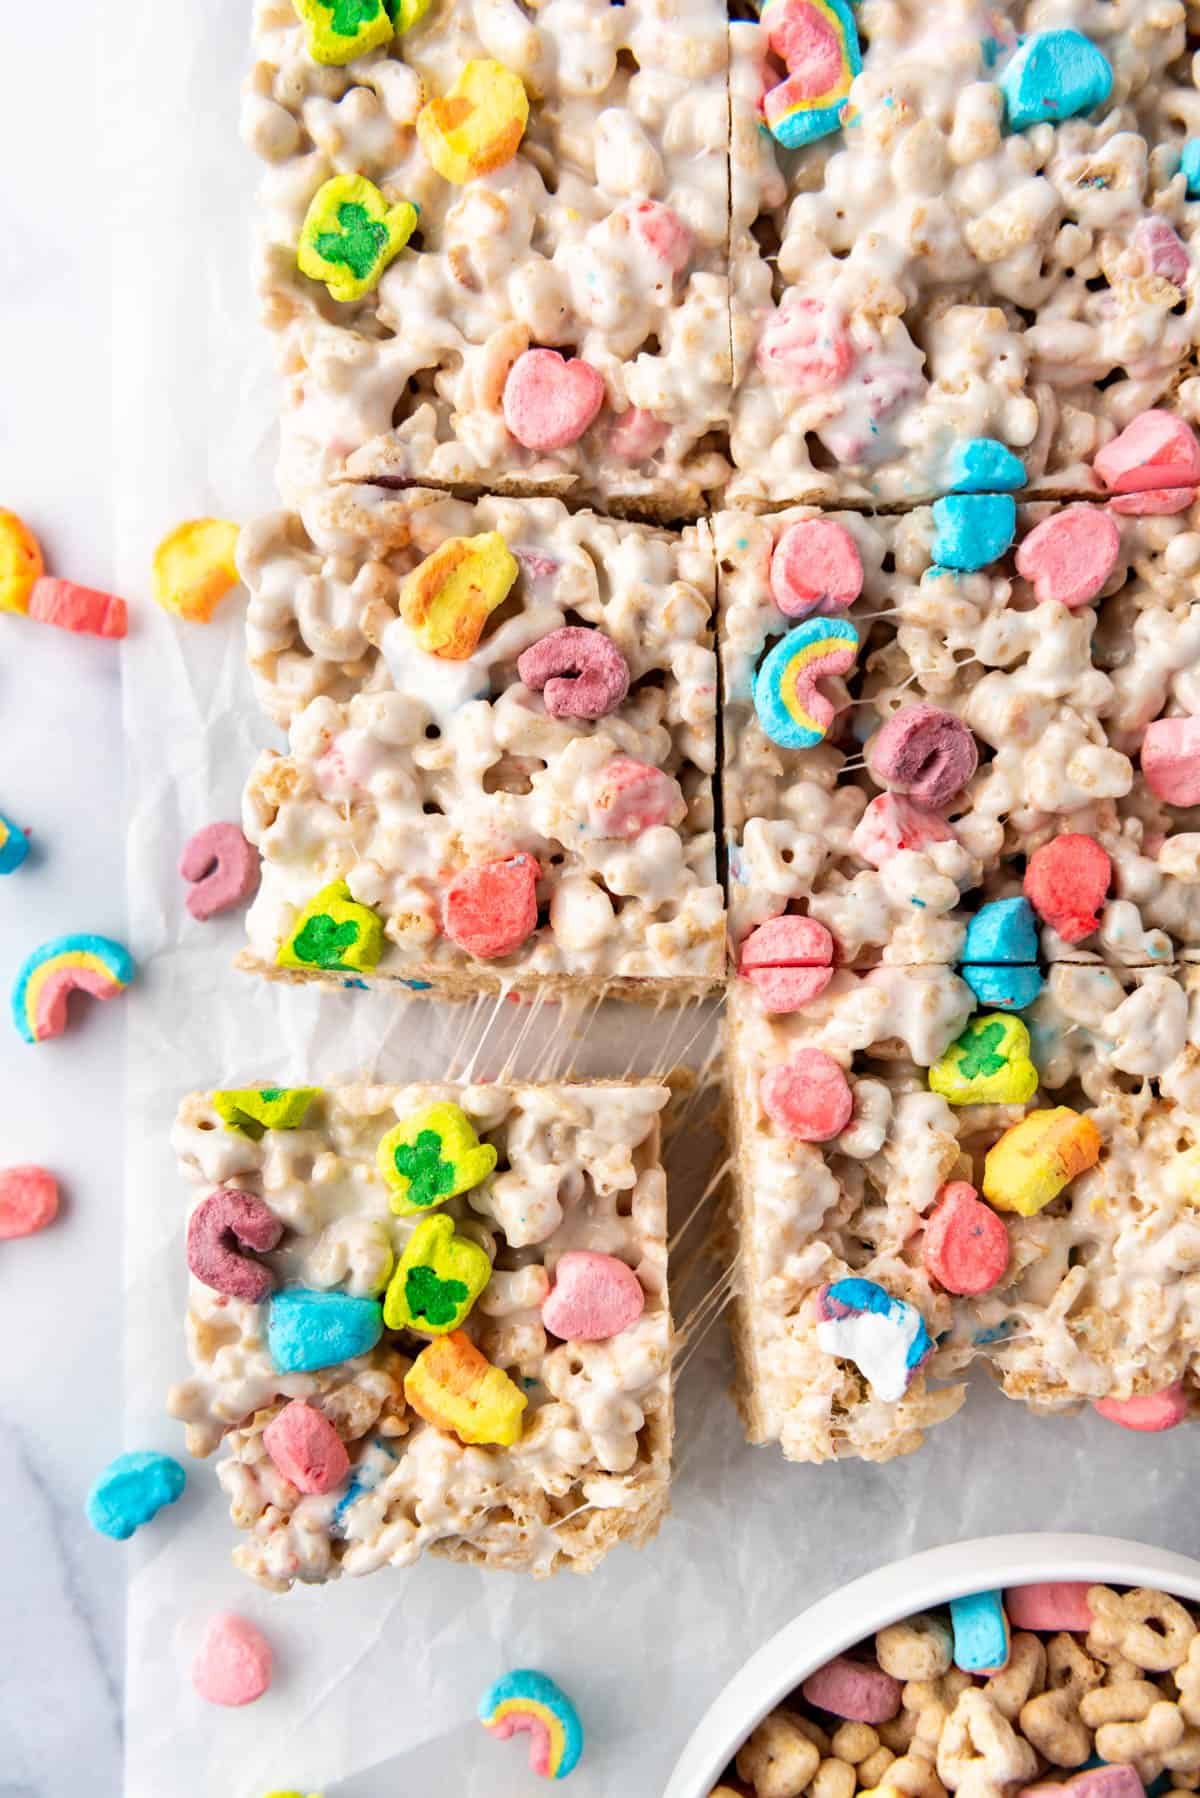
- Cut into squares and serve. Let the rice krispies treats set up for at least 30 minutes before slicing them into squares and serving.
More Recipe Tips
Want to level up your rice krispies treat game? Follow these tips for superior results every time.
- Use fresh marshmallows. For the gooey, best results, then soft, fresh marshmallows are the way to go. Stale or old marshmallows can be a contributing factor in rice krispie treats that are dry or hard instead of stretchy and soft.
- Marshmallow size doesn’t really matter. Mini marshmallows are easier to melt than large marshmallows, but I have a theory that large marshmallows make gooey-er, better rice krispies treats. Either work though.
- Never refrigerate rice krispies treats. They can get rock hard in the fridge and nobody wants that.
Storage Instructions
These really are best the same day they are made, but you can keep them covered with plastic wrap in the pan for up to 4 days. You can also wrap individual squares with plastic wrap to throw them in lunchboxes for a fun St. Patrick’s Day treat.
More St. Patrick’s Day Desserts
Lucky Charms Rice Krispies Treats
Ingredients
- 6 Tablespoons salted butter
- 16 ounces marshmallows
- 4 cups Lucky Charms cereal
- 3 cups Rice Krispies cereal
- Pinch of salt (optional)

Instructions
- Line a 9×9 (or 9×13-inch for thinner squares) baking dish with a parchment paper sling or lightly spray with cooking spray.
- Heat butter in a large pot over medium-low heat on the stovetop until melted. Keep the butter wrapper for later! Add the marshmallows and continue to cook over low to medium-low heat, stirring frequently, until mostly melted. Resist the urge to increase the heat to speed up the process. This can also be done by heating the butter and marshmallows in the microwave for 2-3 minutes until melted.6 Tablespoons salted butter, 16 ounces marshmallows
- Remove the melted marshmallow mixture from the heat and stir in the cereal and salt just until evenly coated.4 cups Lucky Charms cereal, Pinch of salt
- Gently pat the mixture into the prepared baking dish using the buttered side of the reserved butter wrapper. The key is to press them just enough to hold together and smooth out the top, but not to compact the krispie treats into the pan. Press a few extra colorful marshmallow pieces into the tops of the treats for decoration, if desired.
- Let set up for at least 30 minutes before cutting into squares with a sharp knife.
Notes
- I like to use one 10-ounce bag mini marshmallows and ½ of a 12-ounce bag of large marshmallows.
- You can easily double the recipe for a 9×13-inch pan of thick treats, or spread the recipe as written in a 9×13-inch pan for thinner treats.
- These really are best the same day they are made, but you can keep them covered with plastic wrap in the pan for up to 4 days. You can also wrap individual squares with plastic wrap to throw them in lunchboxes for a fun St. Patrick’s Day treat.