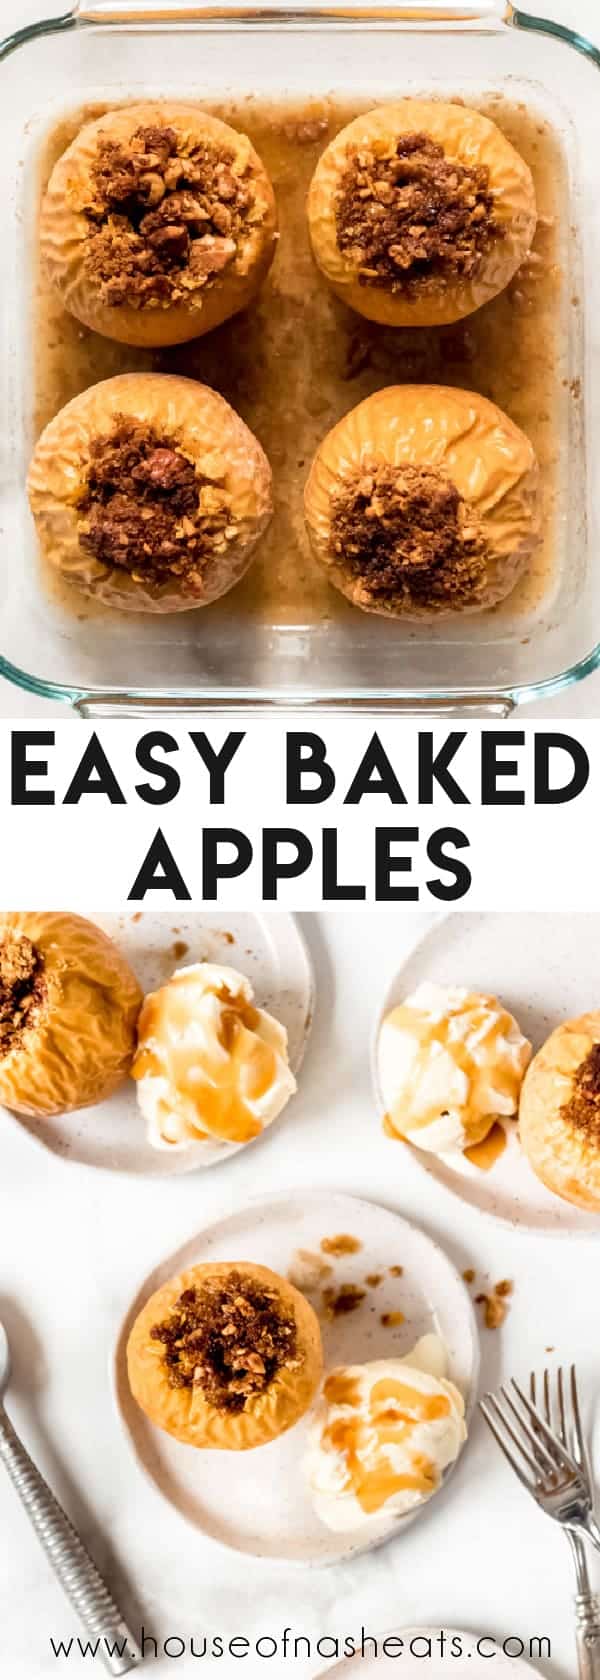
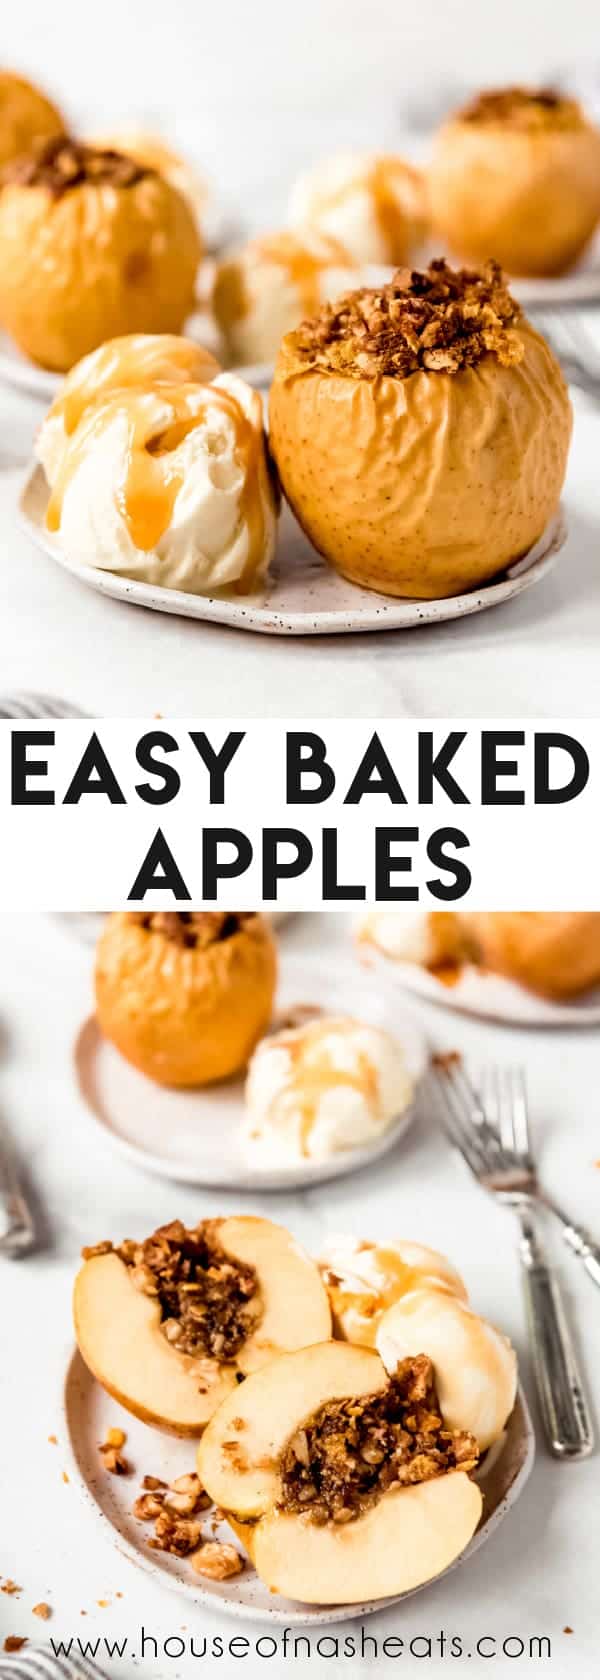
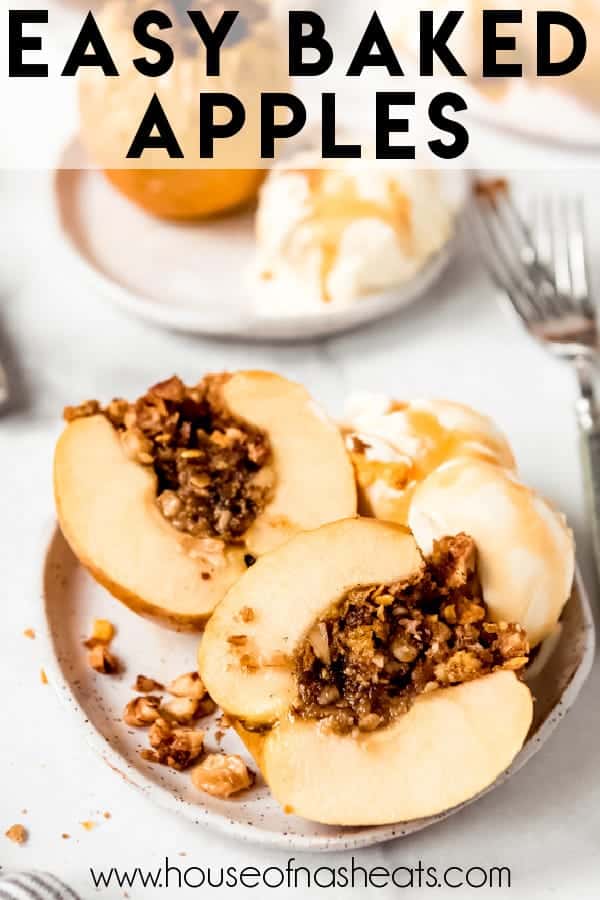

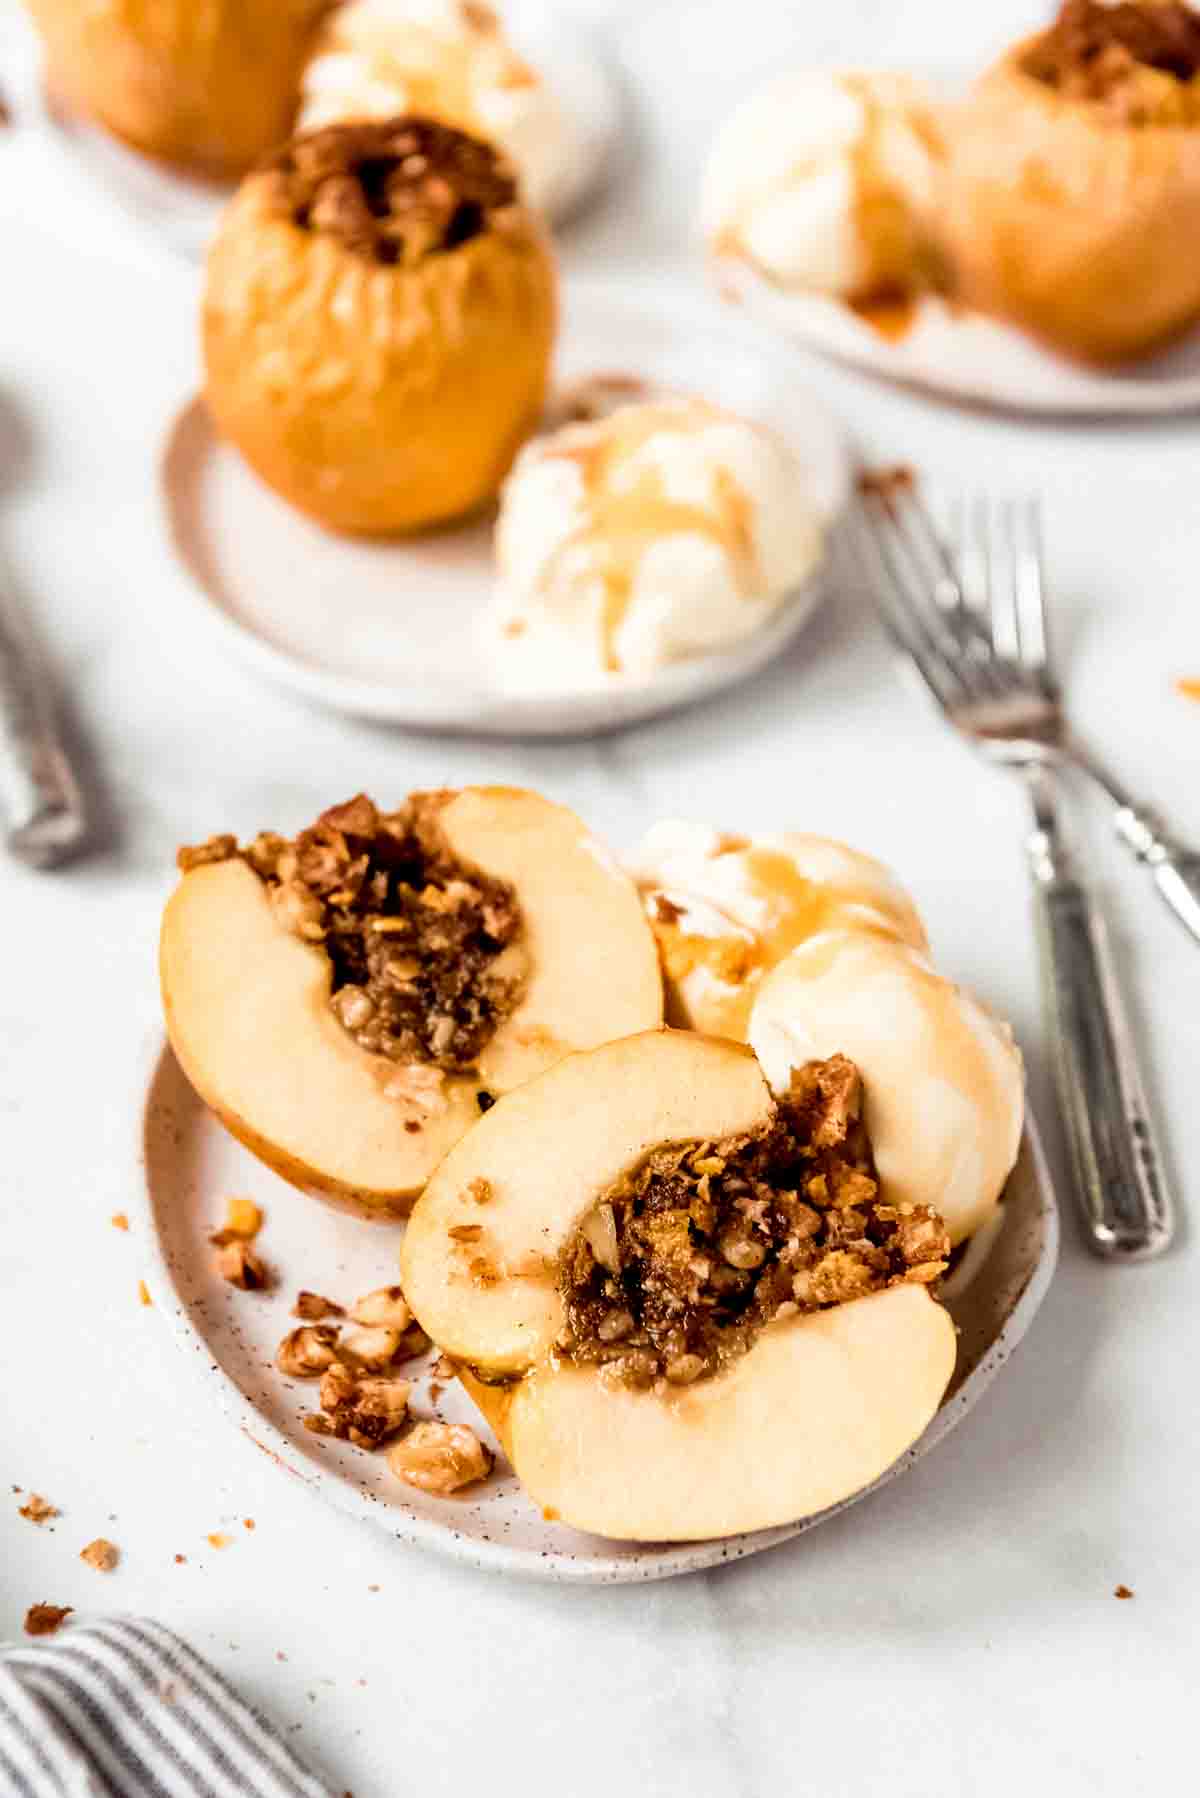
My favorite Baked Apples are a simple, elegant dessert filled with a sweet, crunchy filling made with a secret ingredient and baked in the oven until tender. They are fabulous served with a scoop of ice cream on top or on the side!

They say that chicken soup is for the soul, but I think it’s really apple desserts. They never fail to make me feel better about everything! Some of our other favorites are a Classic Apple Pie, Apfelstrudel (made the traditional way!), and Irish Apple Cake with Warm Vanilla Custard Sauce.
I made these baked apples for dessert the other night and literally caught both my husband and youngest daughter licking their plates clean. They were such a hit that I have been getting almost daily requests to make them again, which wouldn’t be a problem since they are so easy, except I’ve been trying to hold on to my apples to make other apple desserts!
If you have never had baked apples before, then you are really in for a treat! They are simple to make – you don’t even peel the apples – and you can double or triple the recipe for larger groups or easily scale it back to make just one or two. Plus, this dessert has built-in portion control, which is probably a good thing!
How to make baked apples
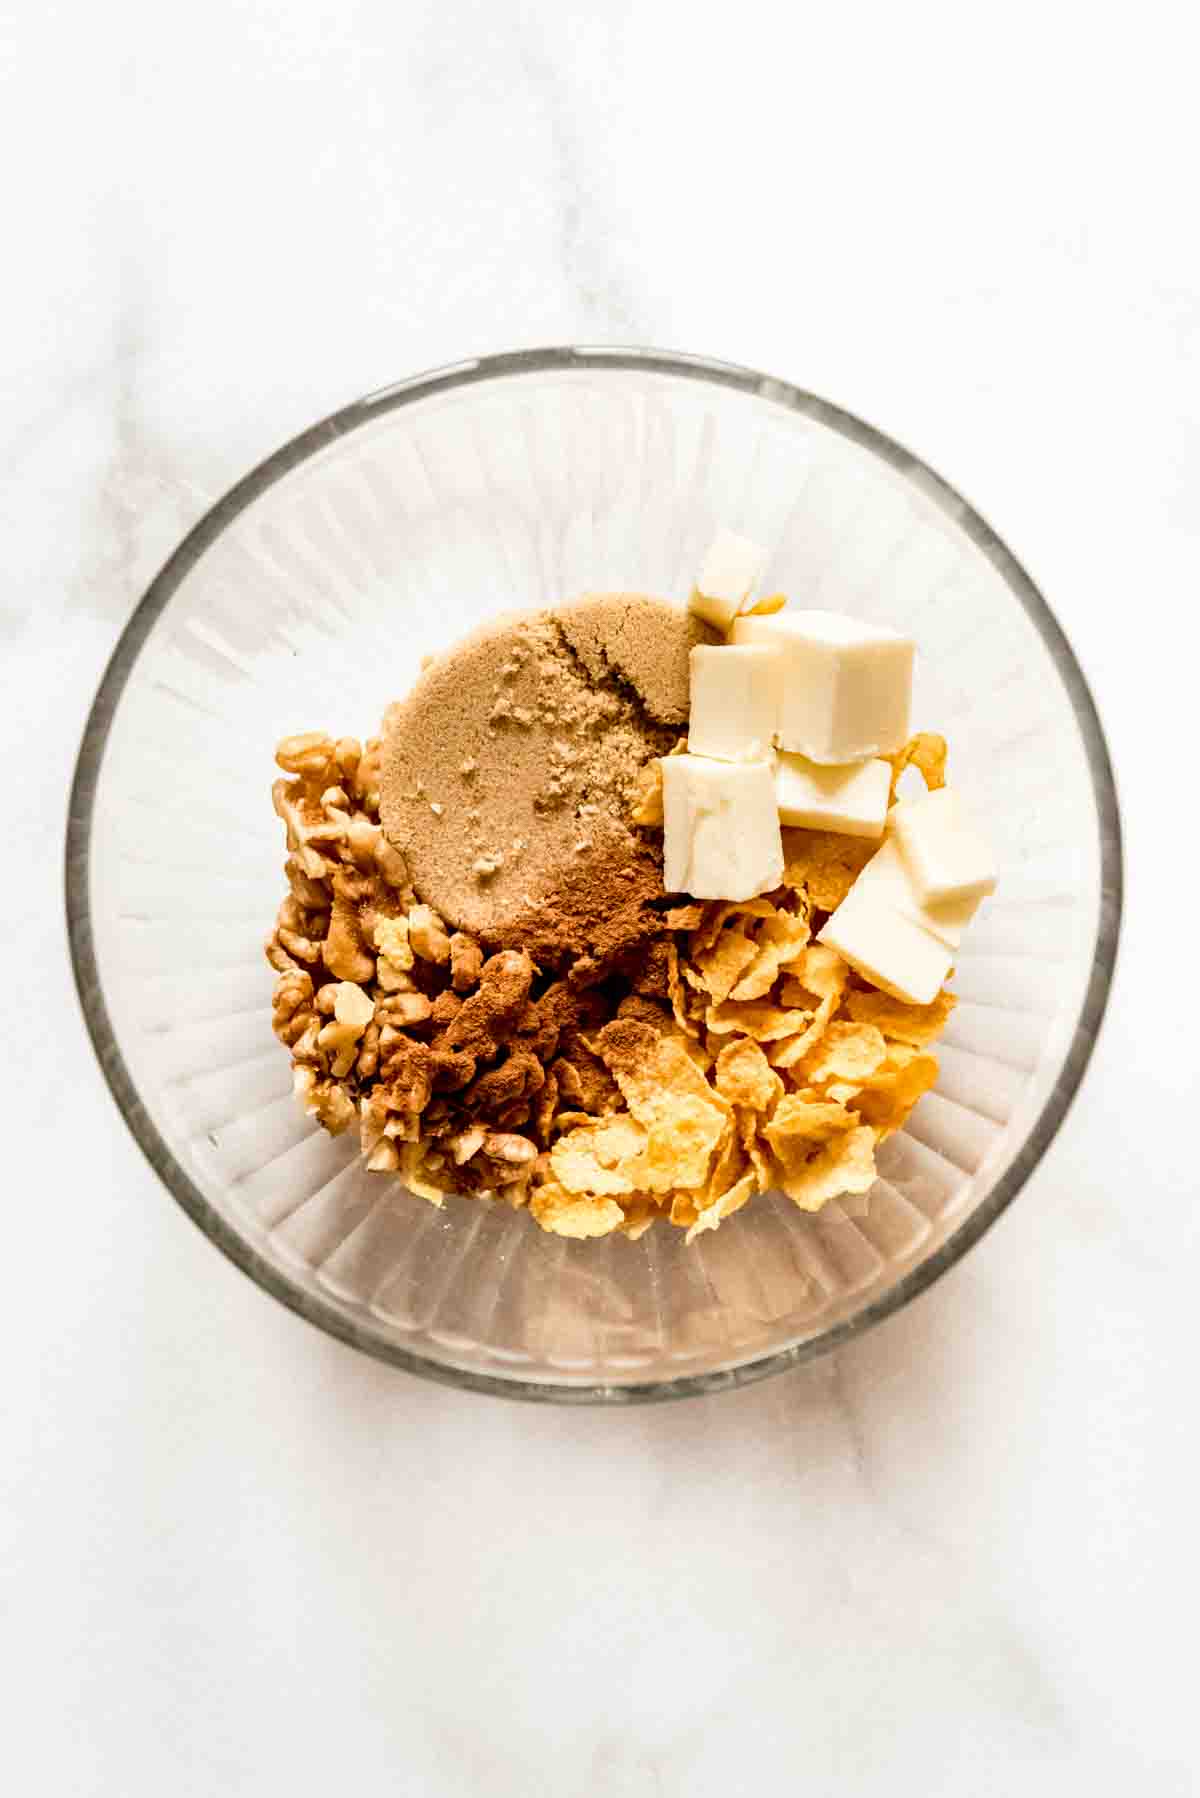
- Make the filling: The simplest baked apples are filled with just brown sugar, cinnamon, and butter. But I love the extra flavor and crunch of chopped walnuts and my secret ingredient: cornflakes! Add them all together in a bowl and cut together using a pastry cutter or chop them up in a food processor (affiliate link) until crumbly.
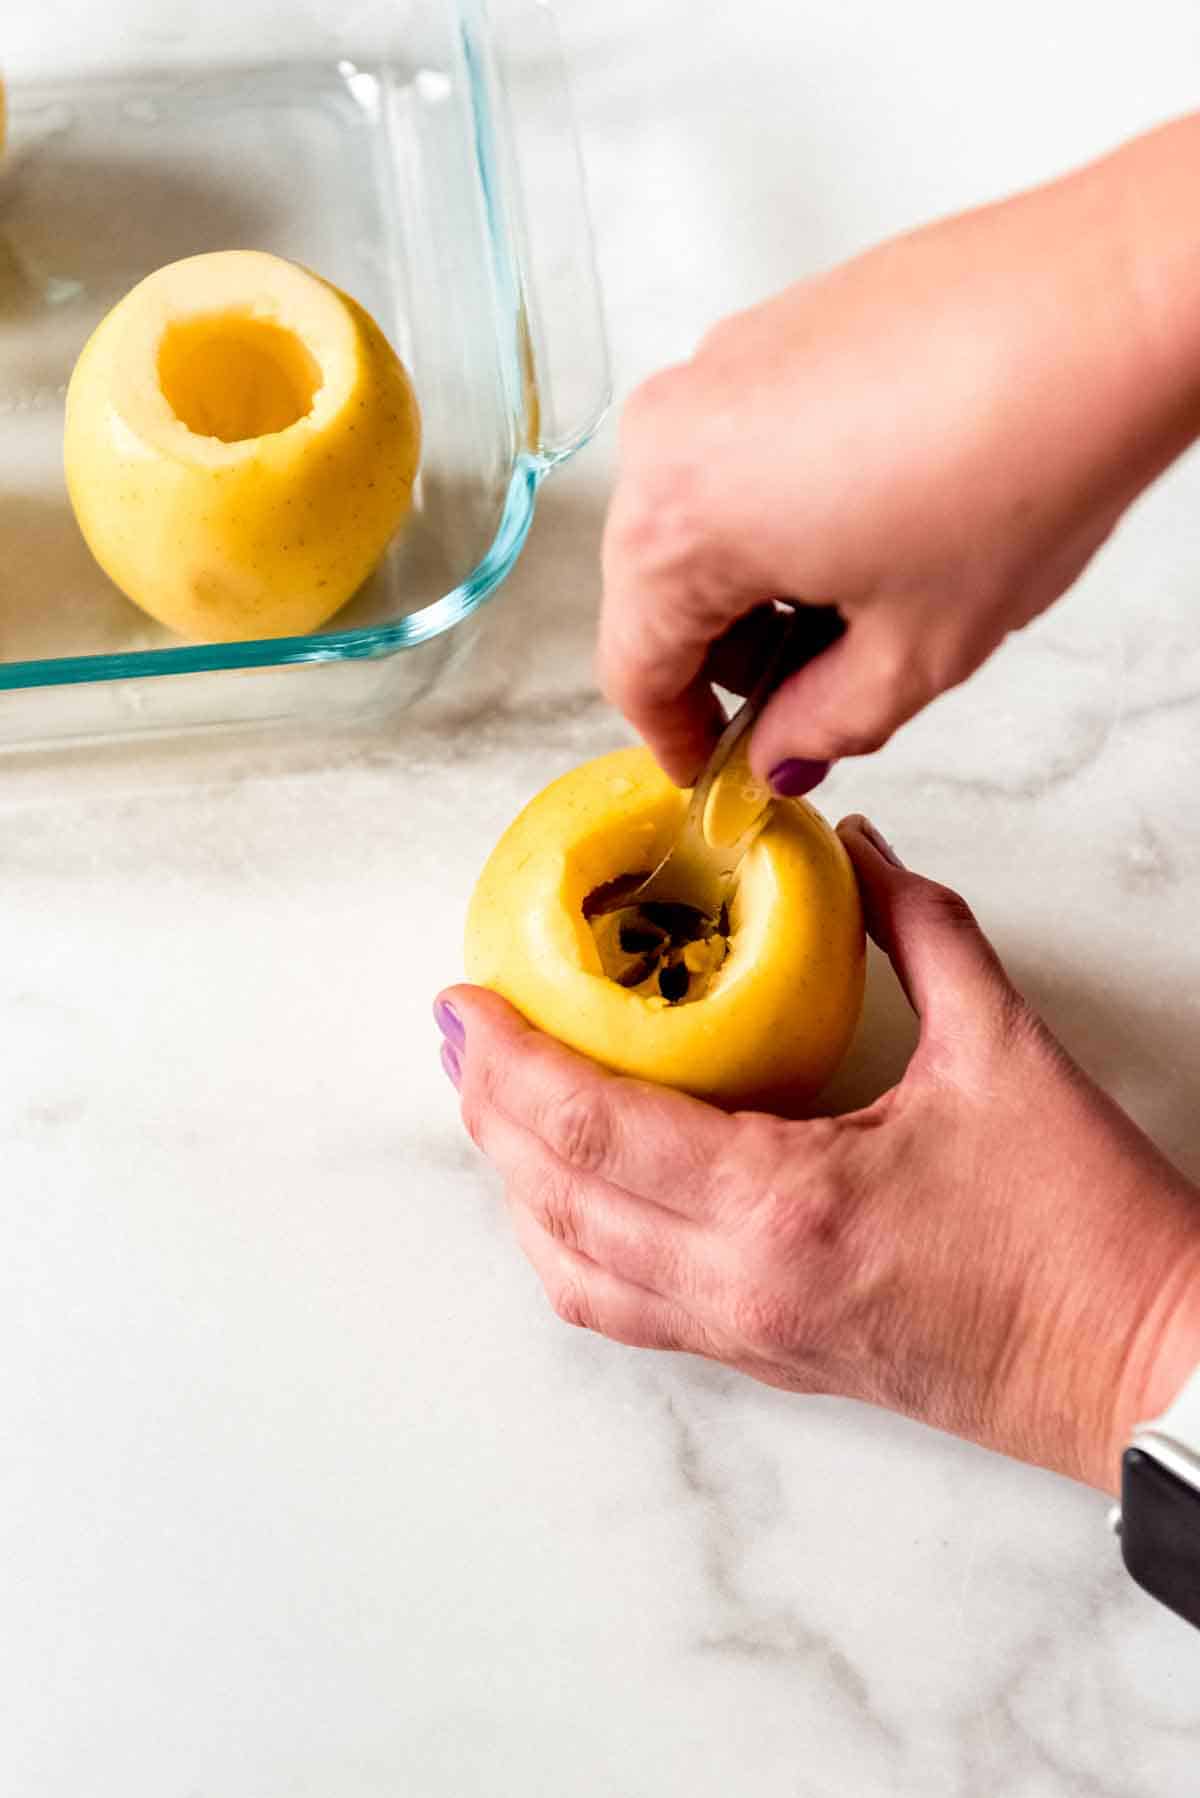
- Prep the apples: There is no need to peel the apples first. Just wash well then using a small, sharp knife to remove the stem and cut out the top part of the core. Use a sturdy melon baller or metal teaspoon to scoop out the core so there are no seeds in the apple. The trick is to leave plenty of apple but also hollow out a space for lots of the yummy filling.
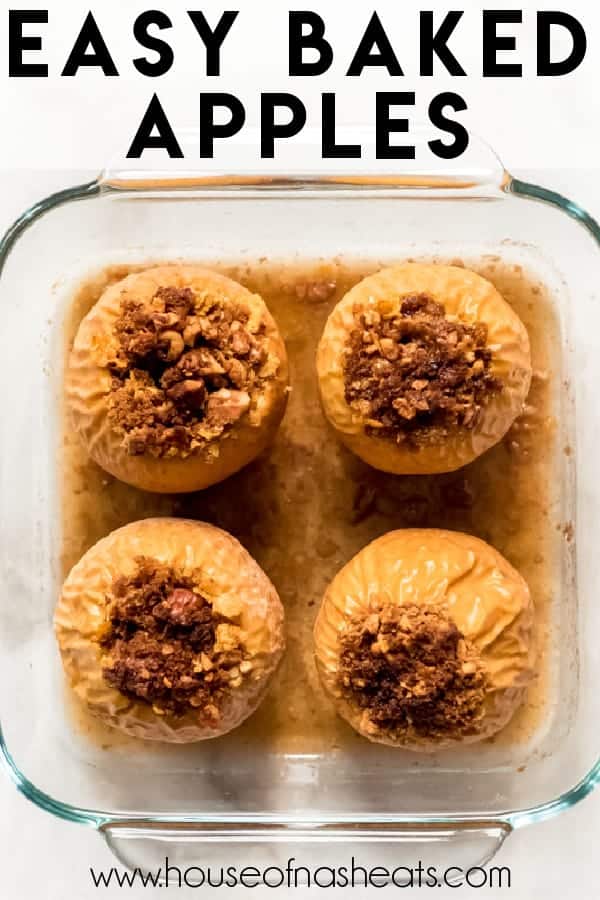
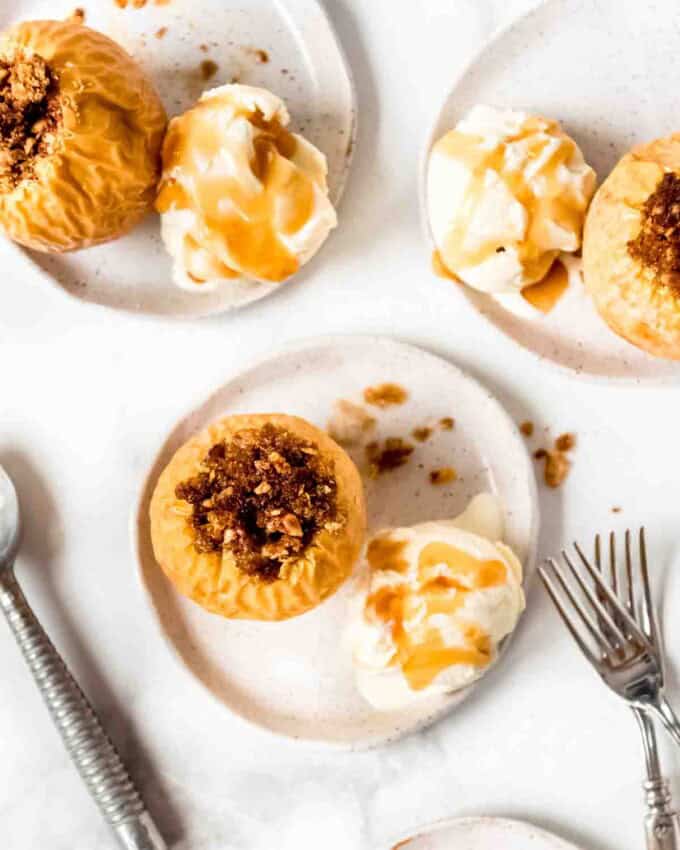
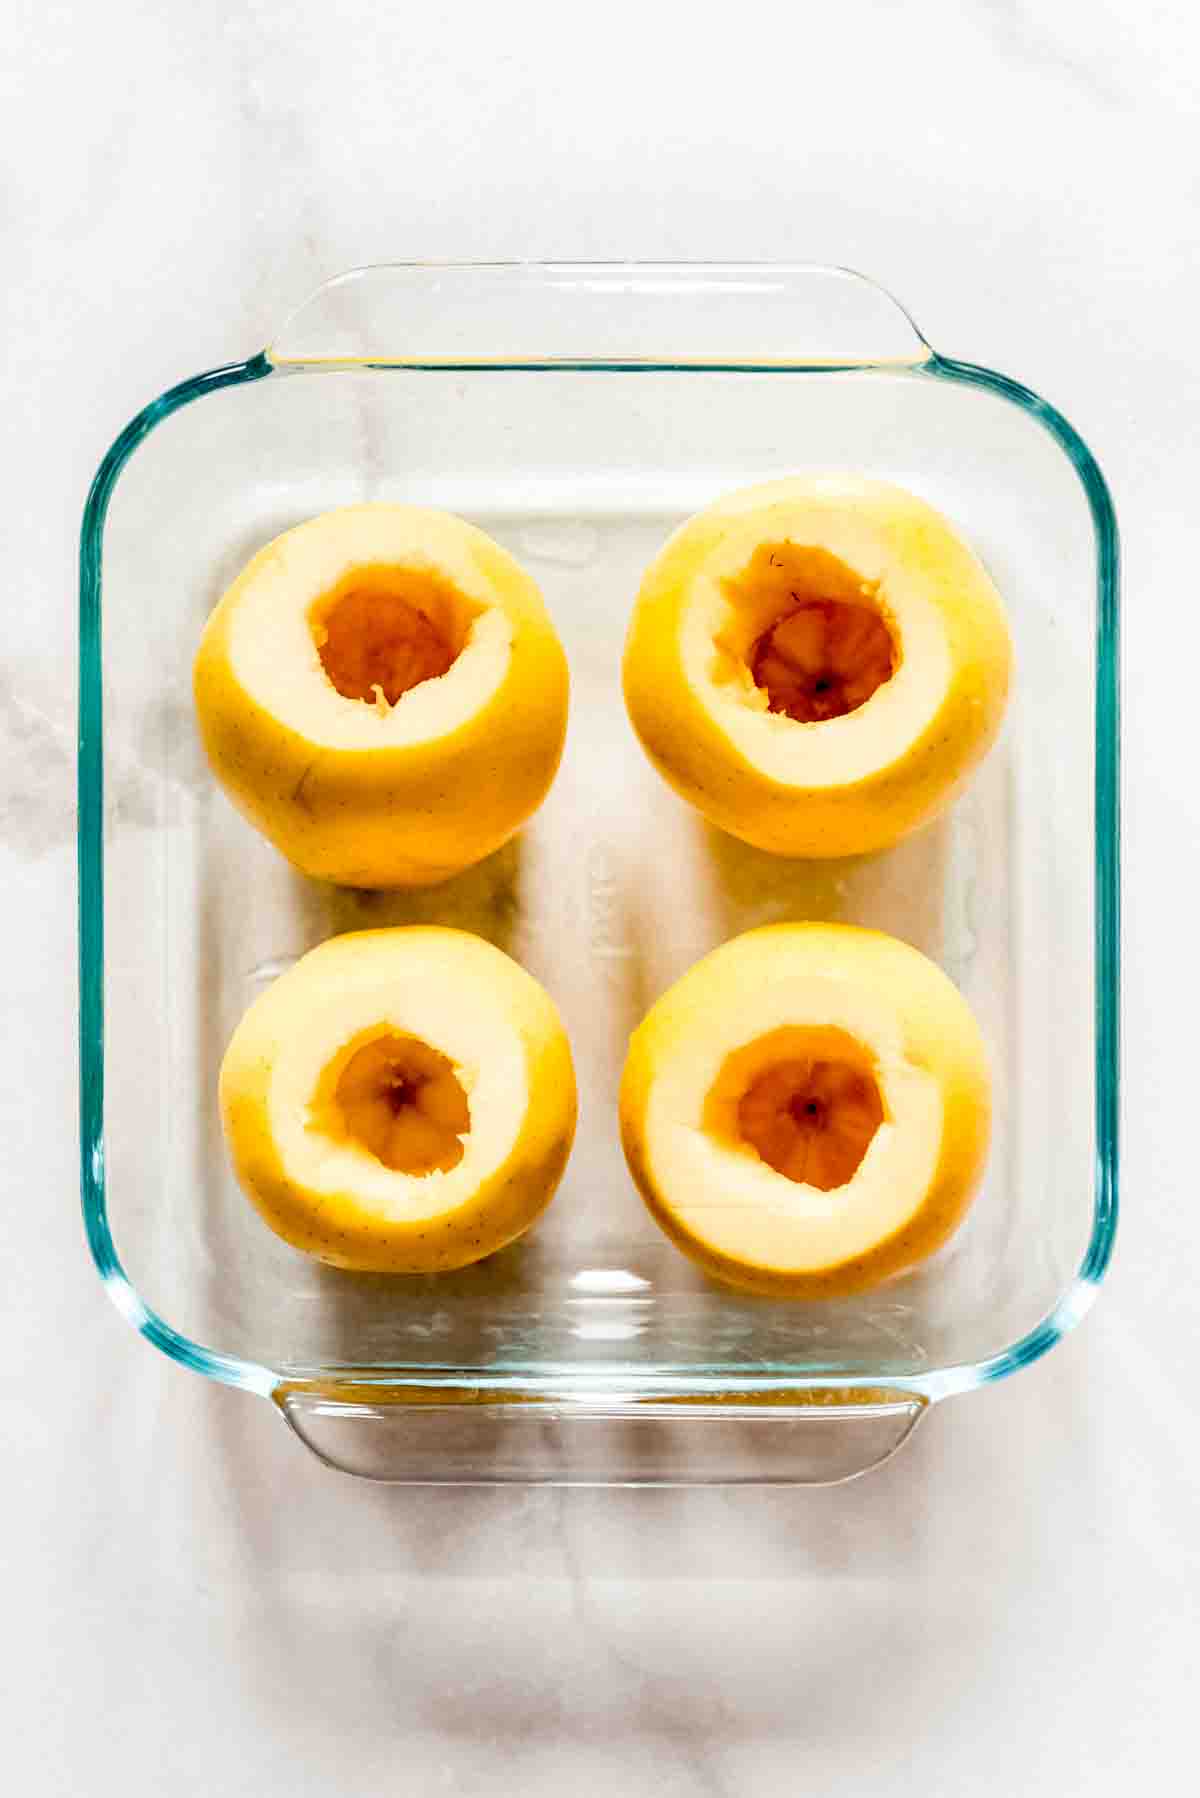
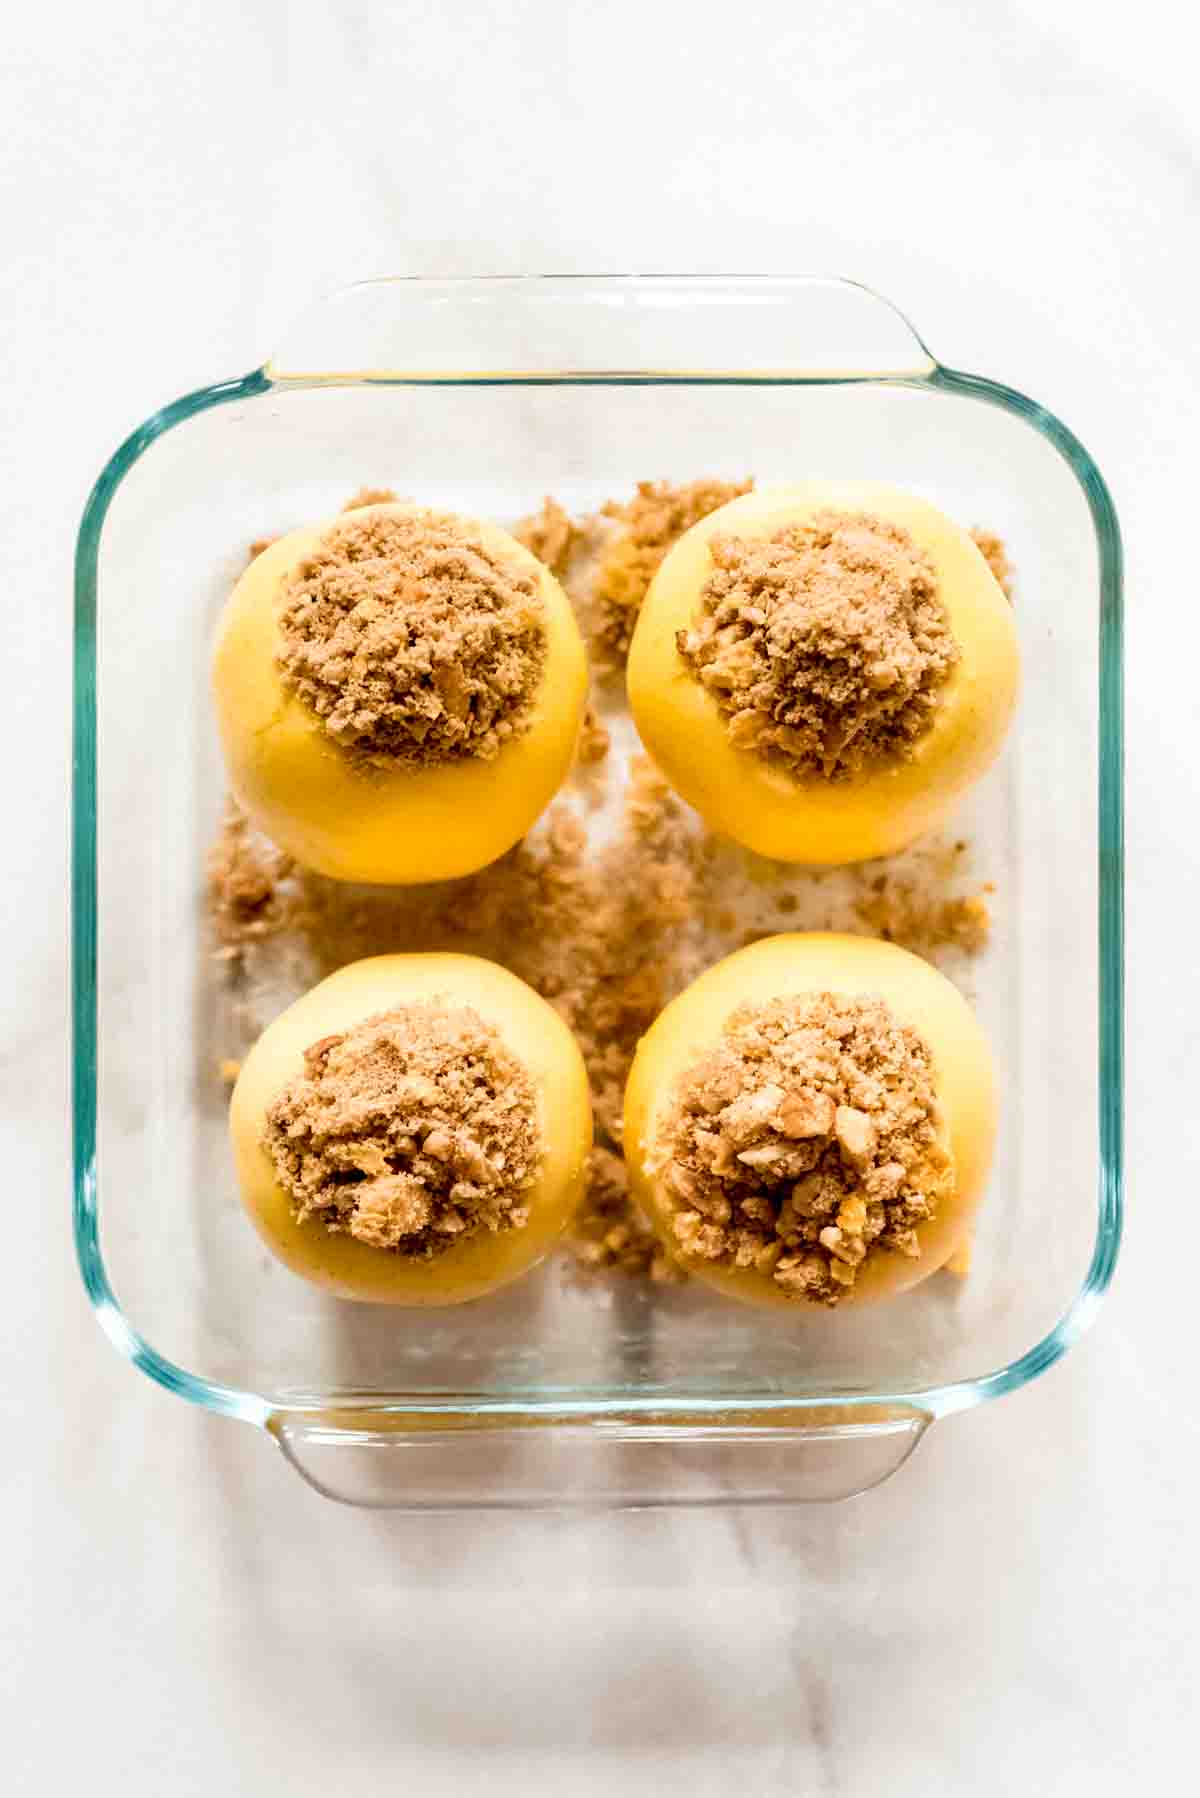
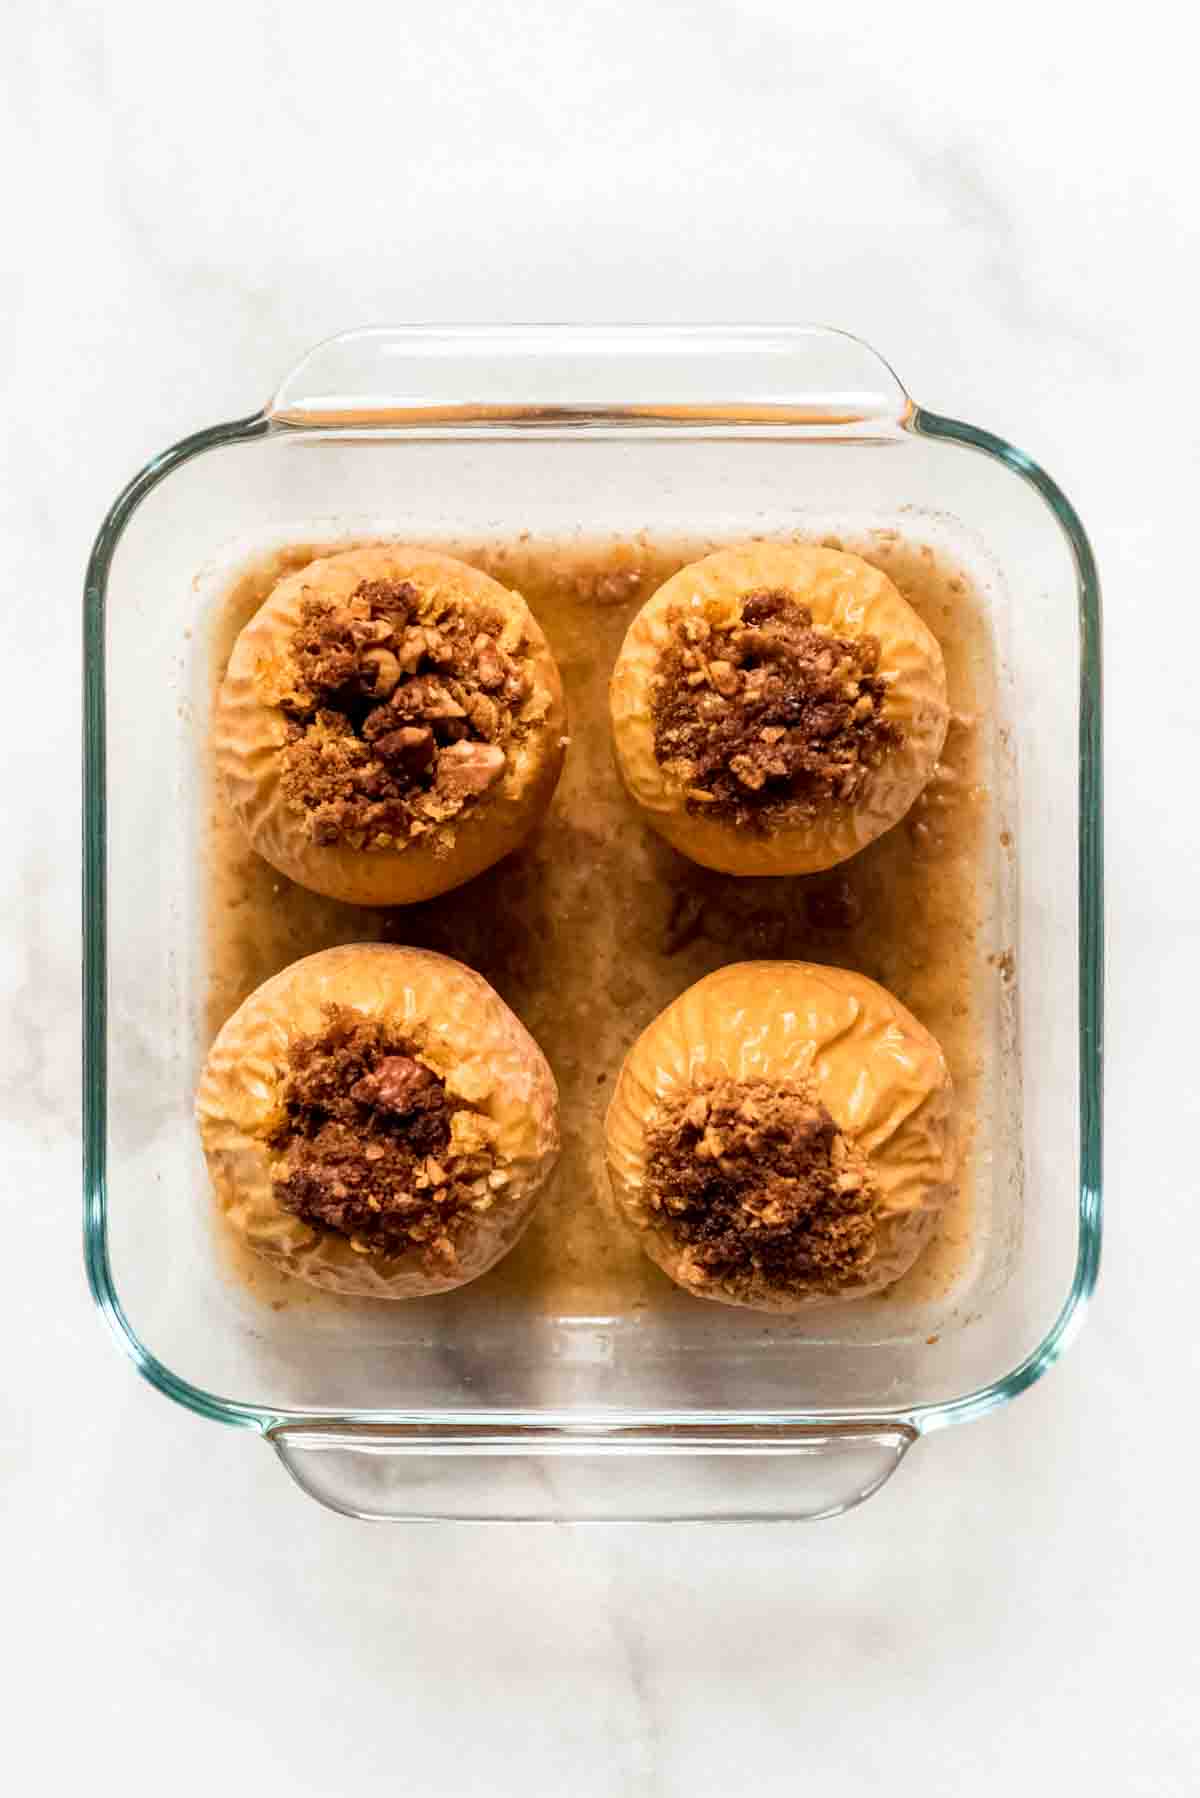
- Fill and bake: Divide the filling evenly between the apples. I tend to pack it down into the center of the apple then pile as much on top as I can manage. Place the filled apples in a baking dish and fill with a little water or apple juice, if you happen to have any on hand. This will create steam that will help soften the apples as they bake. Slide them into the oven and let them bake for about 40 minutes. You may want to cover them loosely with foil about 20 minutes in if the topping is starting to darken too much.
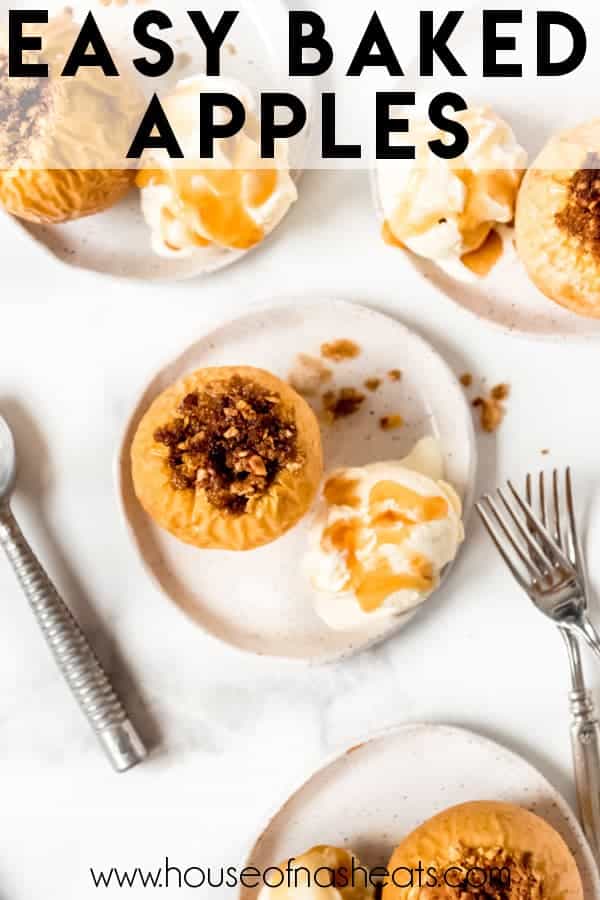
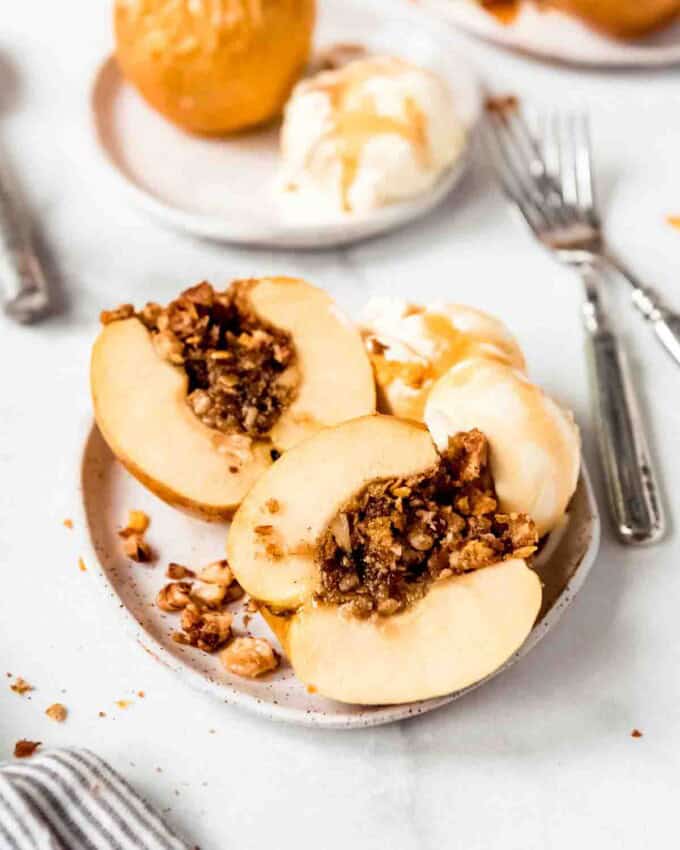
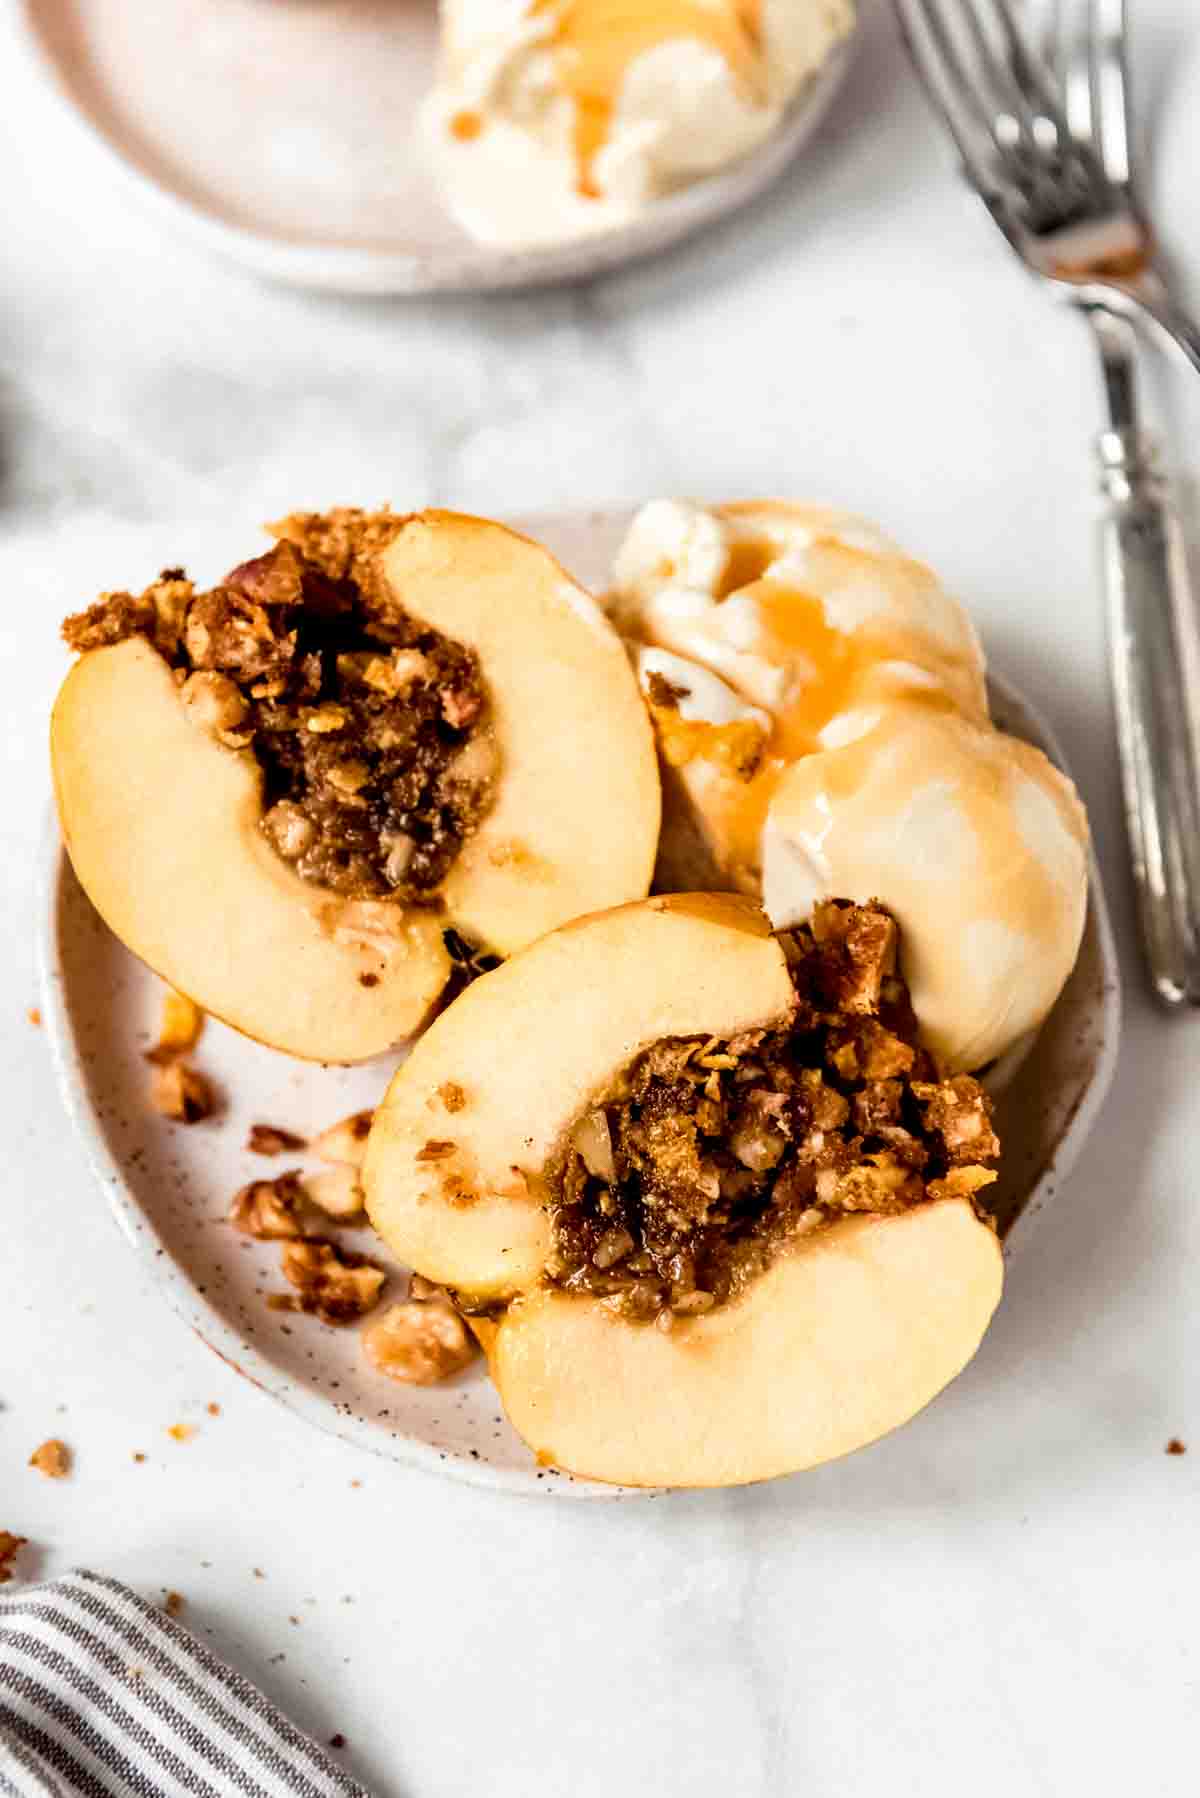
- Cool then serve: Baked apples can be really, really hot when they first come out of the oven! The flavor is actually better when they have a chance to cool down slightly, plus you aren’t running the risk of burning your tongue. These are delicious with a scoop of vanilla ice cream on the top or on the side, especially with a little caramel sauce drizzled over it. Or go all out and make some maple walnut ice cream in advance!
Choose the right apples
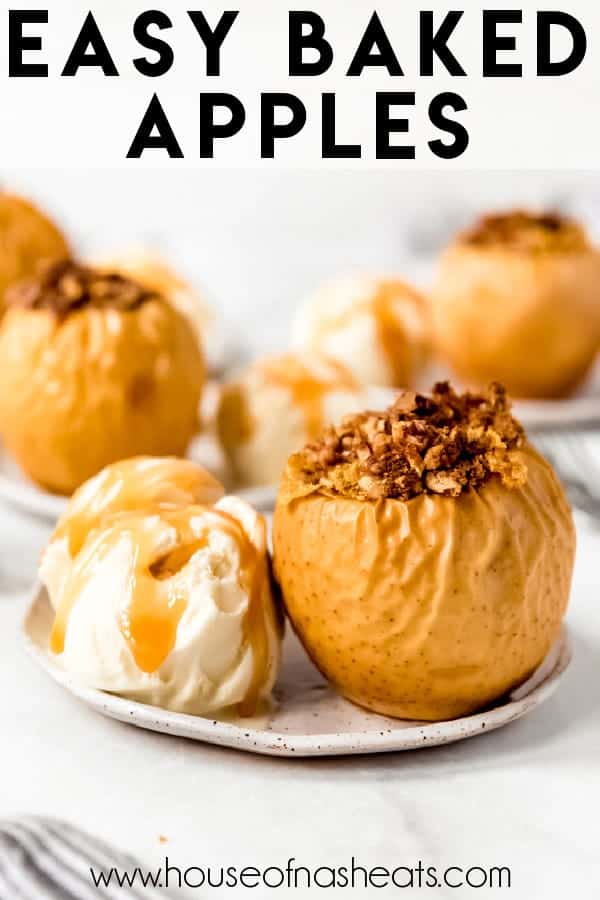
Unlike apple pie or apple crisp where you can choose a variety of apples so that they mix together for the best flavor and texture, with baked apples you are locked in to just one type of apple. Our favorites for baked apples are golden delicious (what you see in these pictures), honeycrisp, or braeburn. I’m also pretty confident that opals, jazz, envy, and pink lady would work well also.
No matter which apple variety you choose, you want to look for apples that are medium size rather than super large or very small. It’s easiest of the apples will sit level, but you can remedy a wobbly apple situation by using a sharp knife to slice of a small amount of the apple on the bottom to provide a flat, stable surface. Just be careful not to slice through to where the core has been hollowed out or your filling will leak through.
Tips for the best baked apples
- Try adding chopped pecans instead of walnuts, or add coconut or oats instead of cornflakes to customize your flavor experience.
- Drizzle the baked apples with maple syrup before serving for another layer of Fall flavor.
- You can bake the apples up to a few days in advance and store in the fridge. Then just reheat in the microwave or for about 10 minutes in a 375°F oven before serving so they are warm.
- I don’t recommend freezing baked apples. I feel like the texture of the filling would suffer after thawing and reheating.
More apple recipes to try
- Apple Crisp
- Old-Fashioned Apple Dumplings
- Dutch Apple Pie
- German Apple Pancakes with Cider Syrup
- Cranberry Apple Pie
- Easy Apple Oatmeal Muffins
- Glazed Apple Pie Cookies
Did you make this recipe?
Let me know what you thought with a comment and rating below. You can also take a picture and tag me on Instagram @houseofnasheats or share it on the Pinterest pin so I can see.

Baked Apples
Ingredients
- 1/2 cup brown sugar
- 1/2 cup chopped walnuts
- 1/2 cup cornflakes
- 2 Tablespoons salted butter
- 1 teaspoon ground cinnamon
- 4 large apples golden delicious, honeycrisp, pink lady, and envy are some of our favorites for baking
- 3/4 cup apple juice or water

Instructions
- Preheat oven to 375°F. Combine brown sugar, walnuts, cornflakes, butter, and cinnamon in a medium bowl using a pastry cutter or fork.½ cup brown sugar, ½ cup chopped walnuts, ½ cup cornflakes, 2 Tablespoons salted butter, 1 teaspoon ground cinnamon
- Use a small sharp knife and sturdy teaspoon to cut and scoop out the core of each apple. Be careful not to cut all the way through to the bottom or your filling will spill through.4 large apples
- Place apples in a baking dish and spoon some of the filling down into the cavity of each apple where the core was. Use your finger or a spoon to press the filling down in, compacting it a bit, and pile more of the filling on top of each apple in a mound.
- Pour the apple juice or water into the baking dish, then bake for 35 to 45 minutes until the apples are tender and the filling is golden brown.¾ cup apple juice or water
- Let cool, then serve warm with vanilla ice cream and caramel sauce.