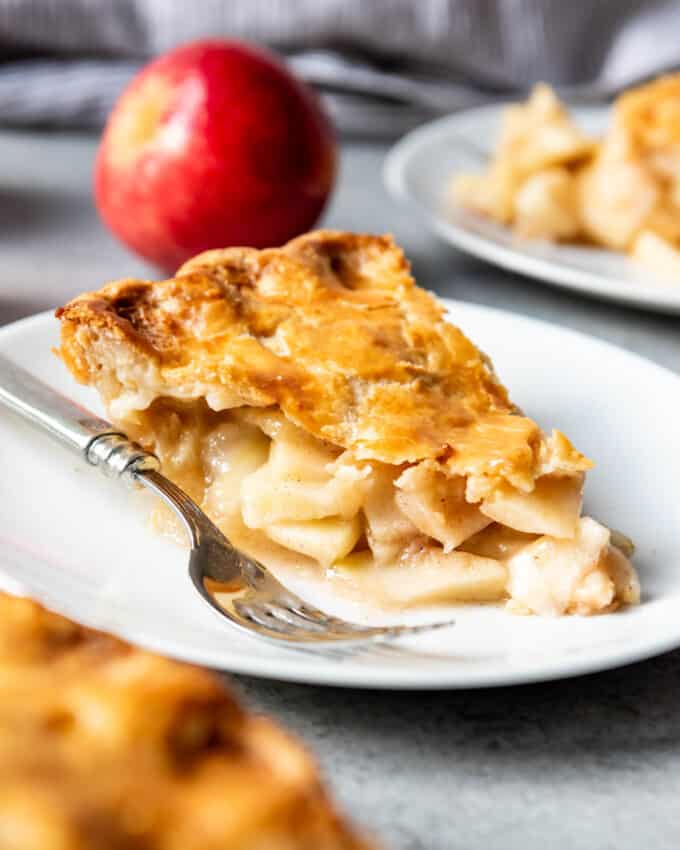
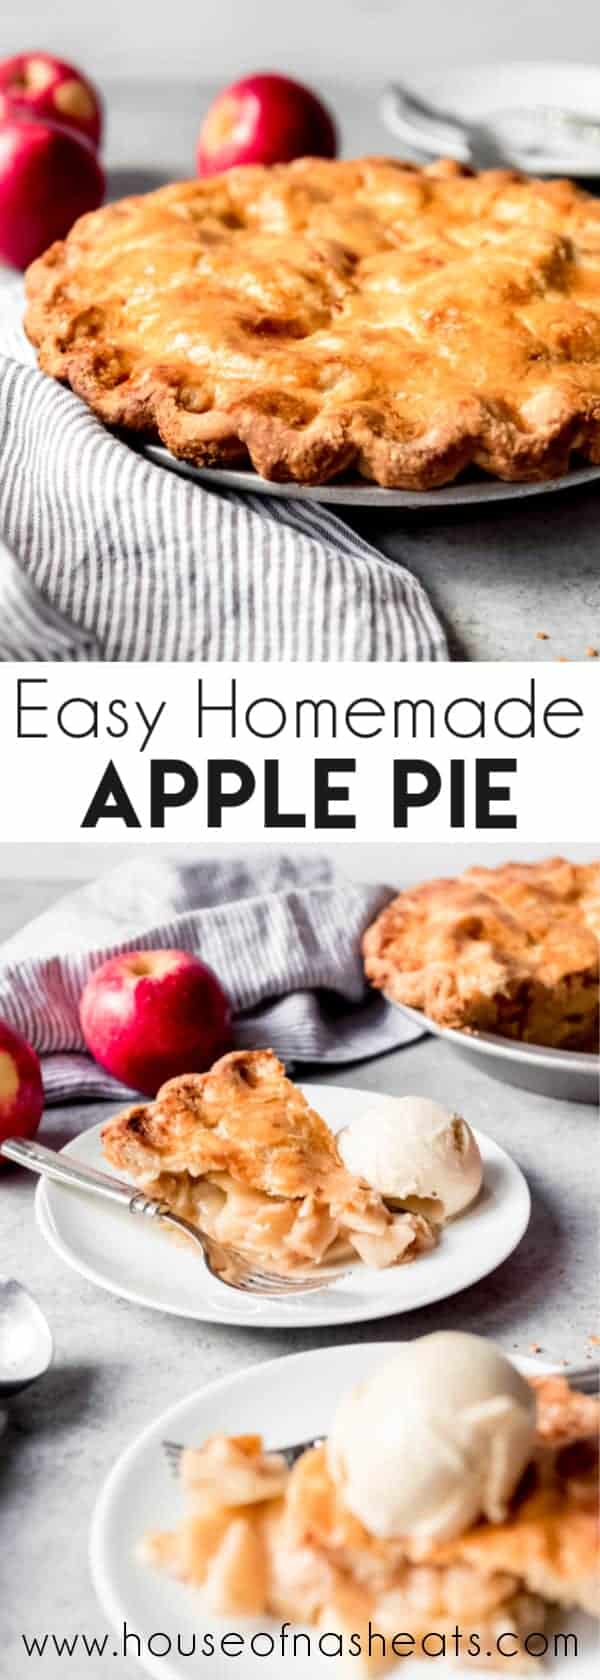
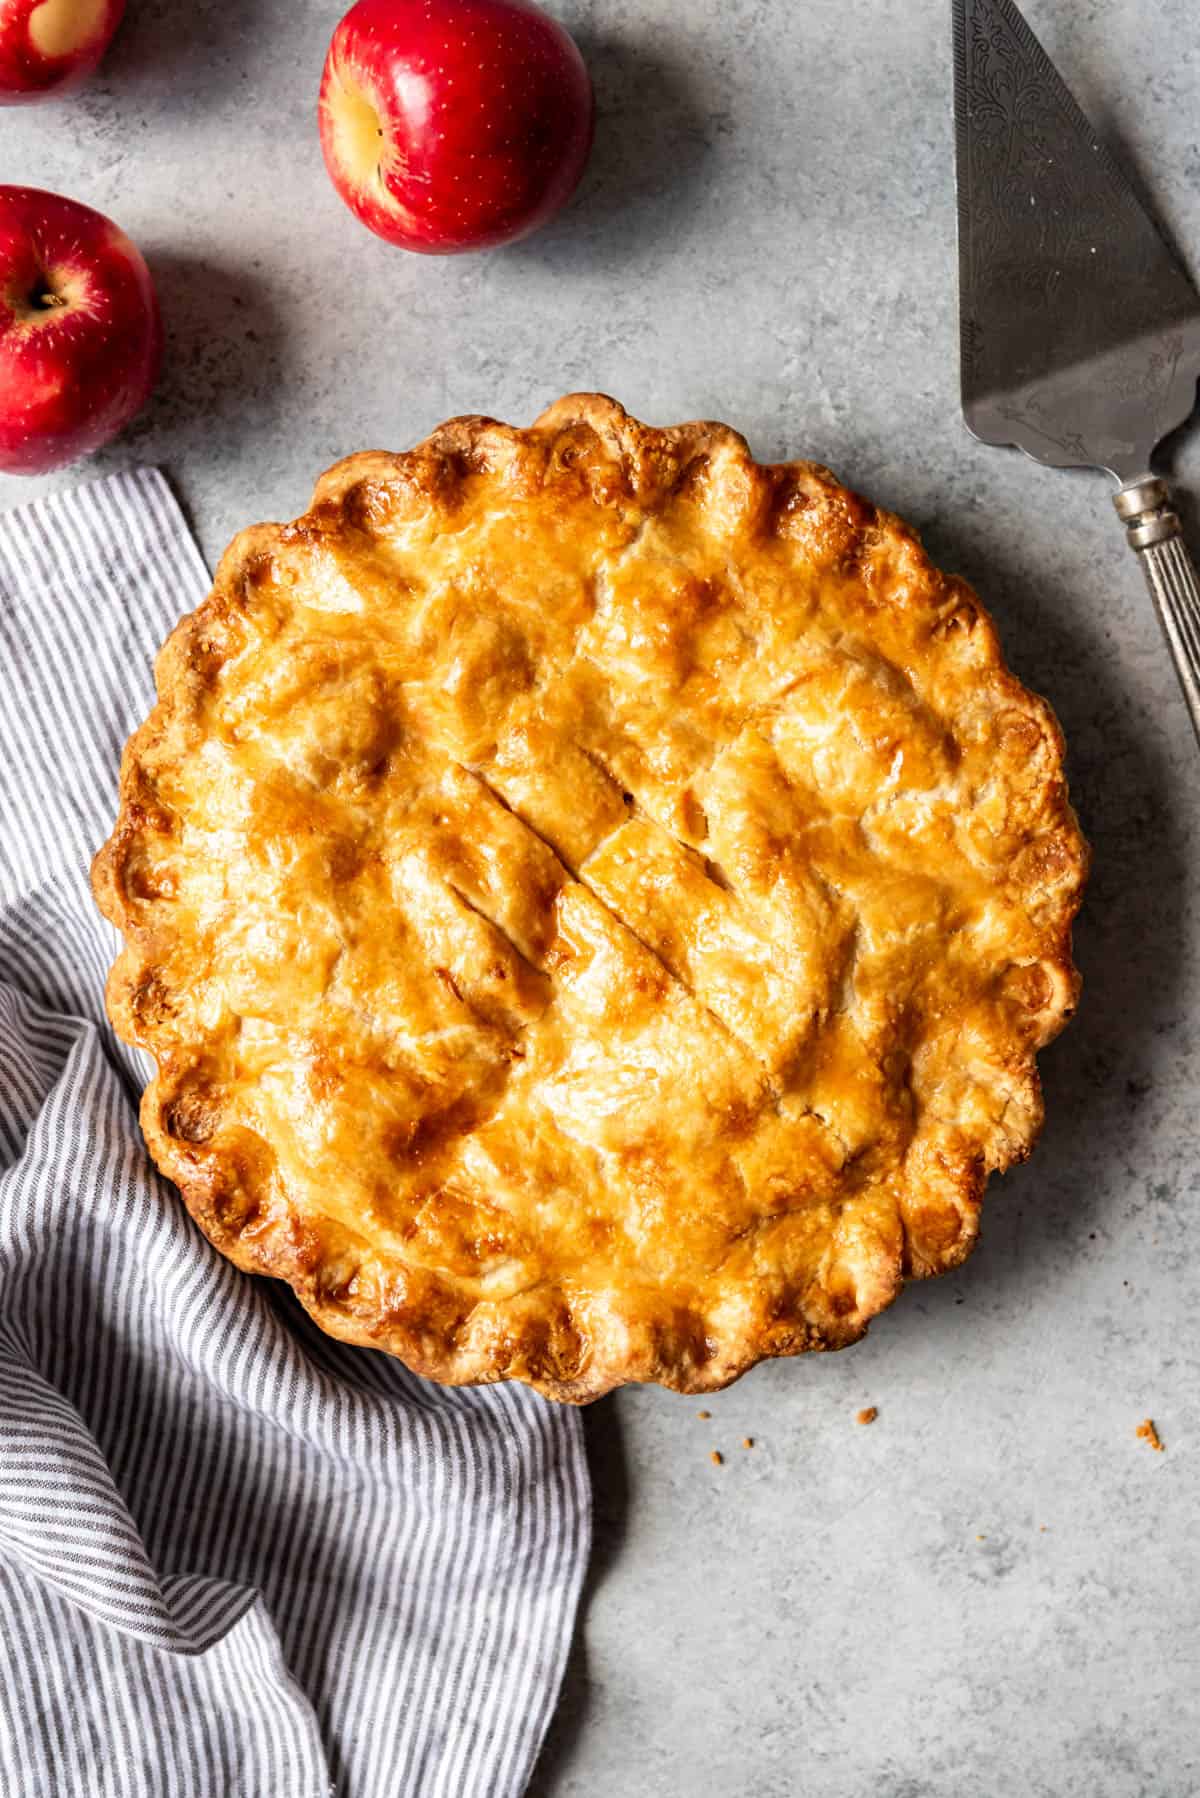
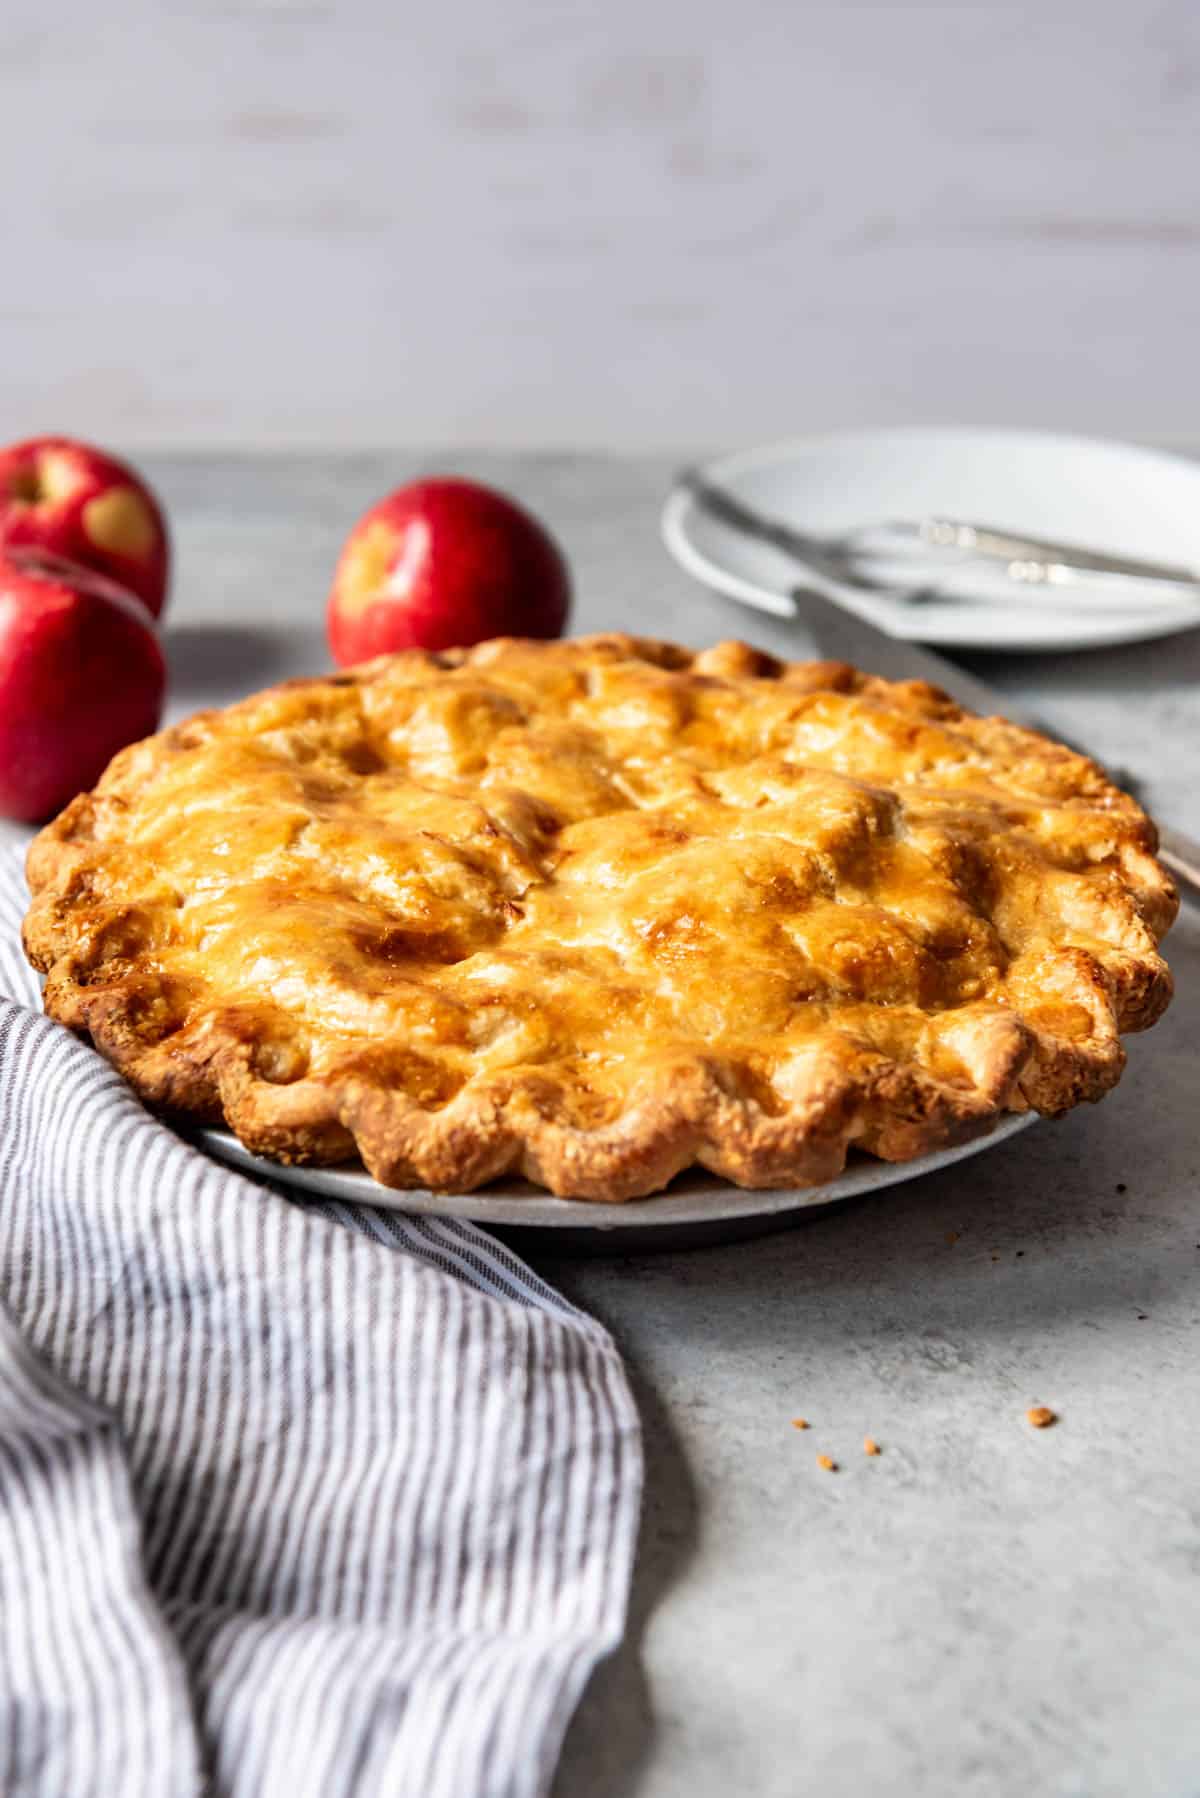
Who doesn’t love Homemade Apple Pie? Made with our favorite pie crust recipe and only lightly spiced so the sweet-tart apple flavor can really take center stage, this classic apple pie recipe is the best I’ve ever tasted!
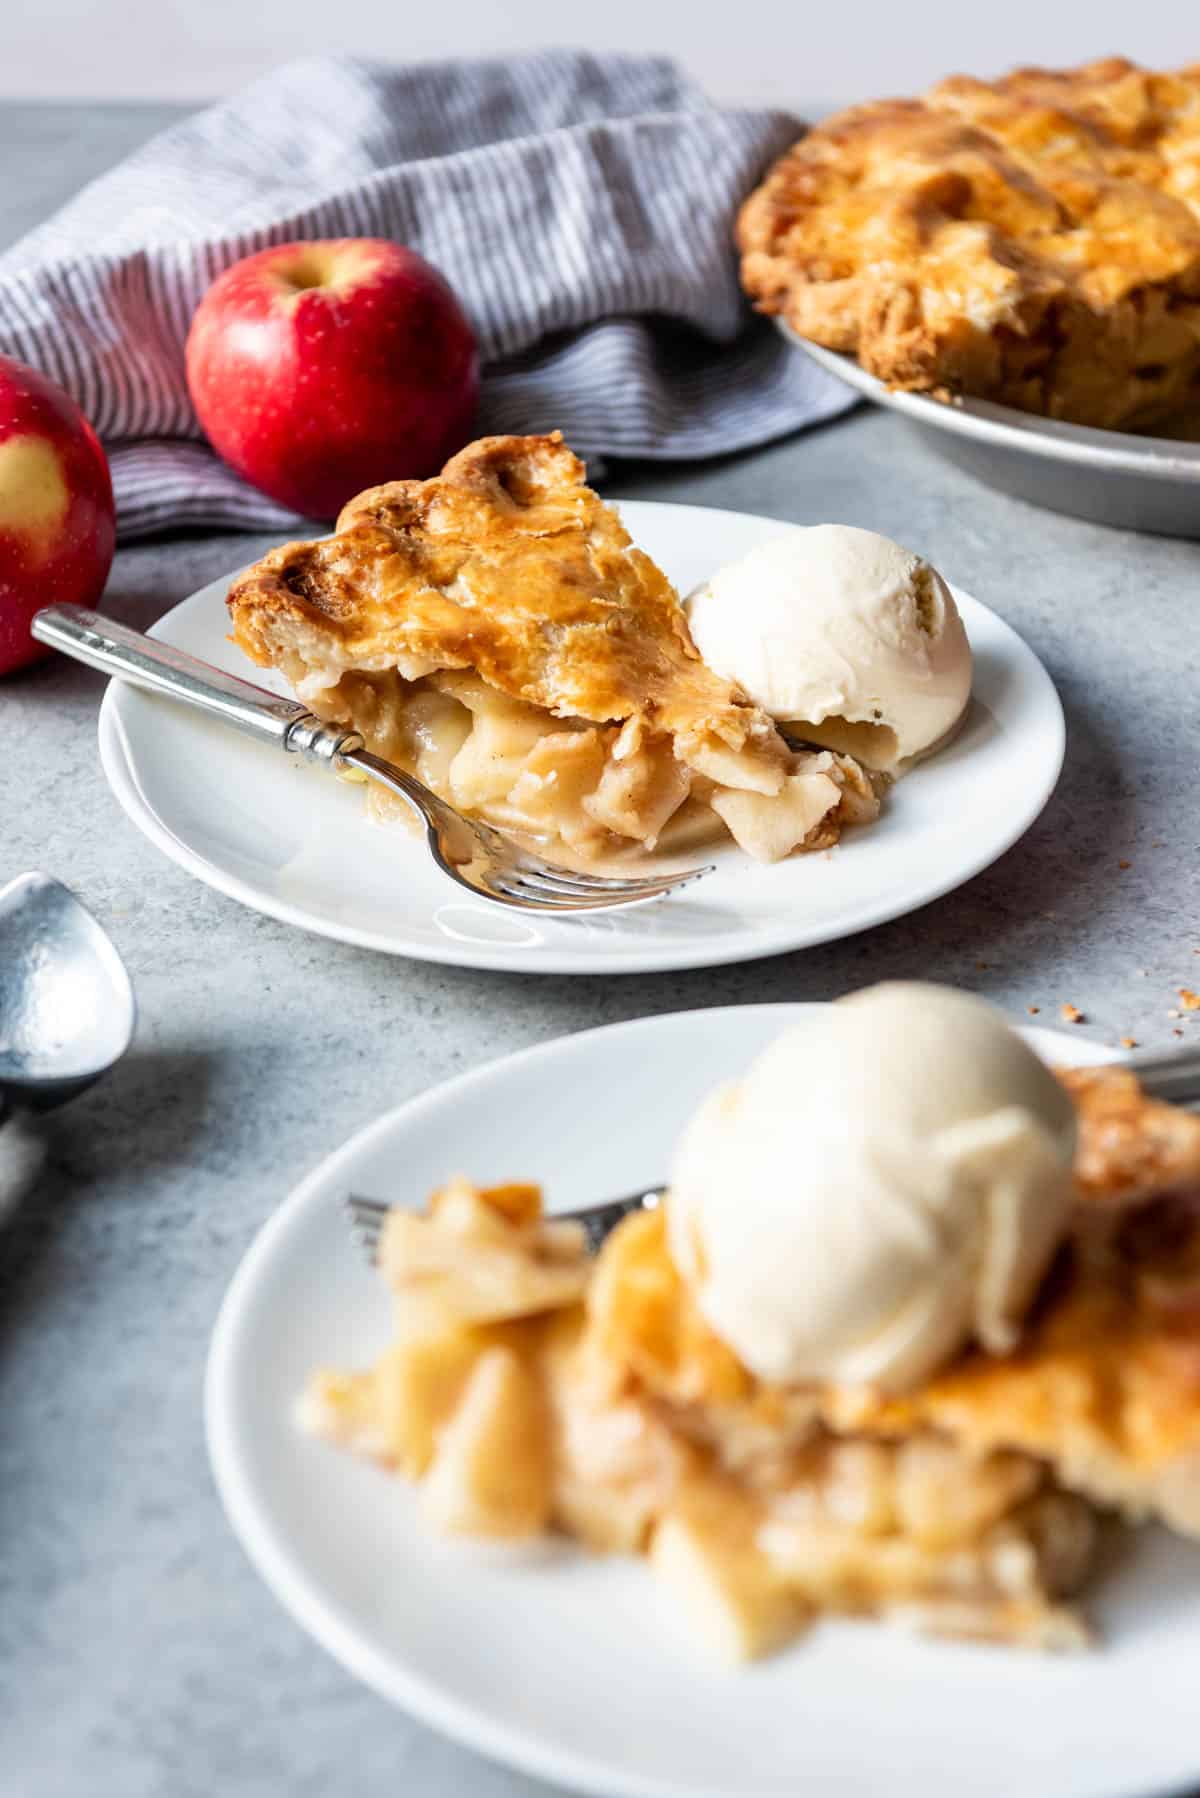
There are few desserts as iconic and comforting a slice of apple pie served a la mode. It’s every bit as delicious on the 4th of July as it is after Thanksgiving dinner and any day in between.
A delicious homemade apple pie recipe from scratch doesn’t need to be intimidating. While a traditional apple pie filling may involve a saucepan, cornstarch, and other involved steps, this easy apple pie recipe just used sliced apples tossed with lemon juice, flour, sugar and spices before placing the homemade filling into a prepared pie crust.
I’ve shared a couple other apple pie recipes over the course of this blog with salted caramel apple pie and cranberry apple pie, both of which are absolutely delicious. But I wanted to share this classic apple pie recipe because it’s one I have made dozens of times and it always turns out so good!
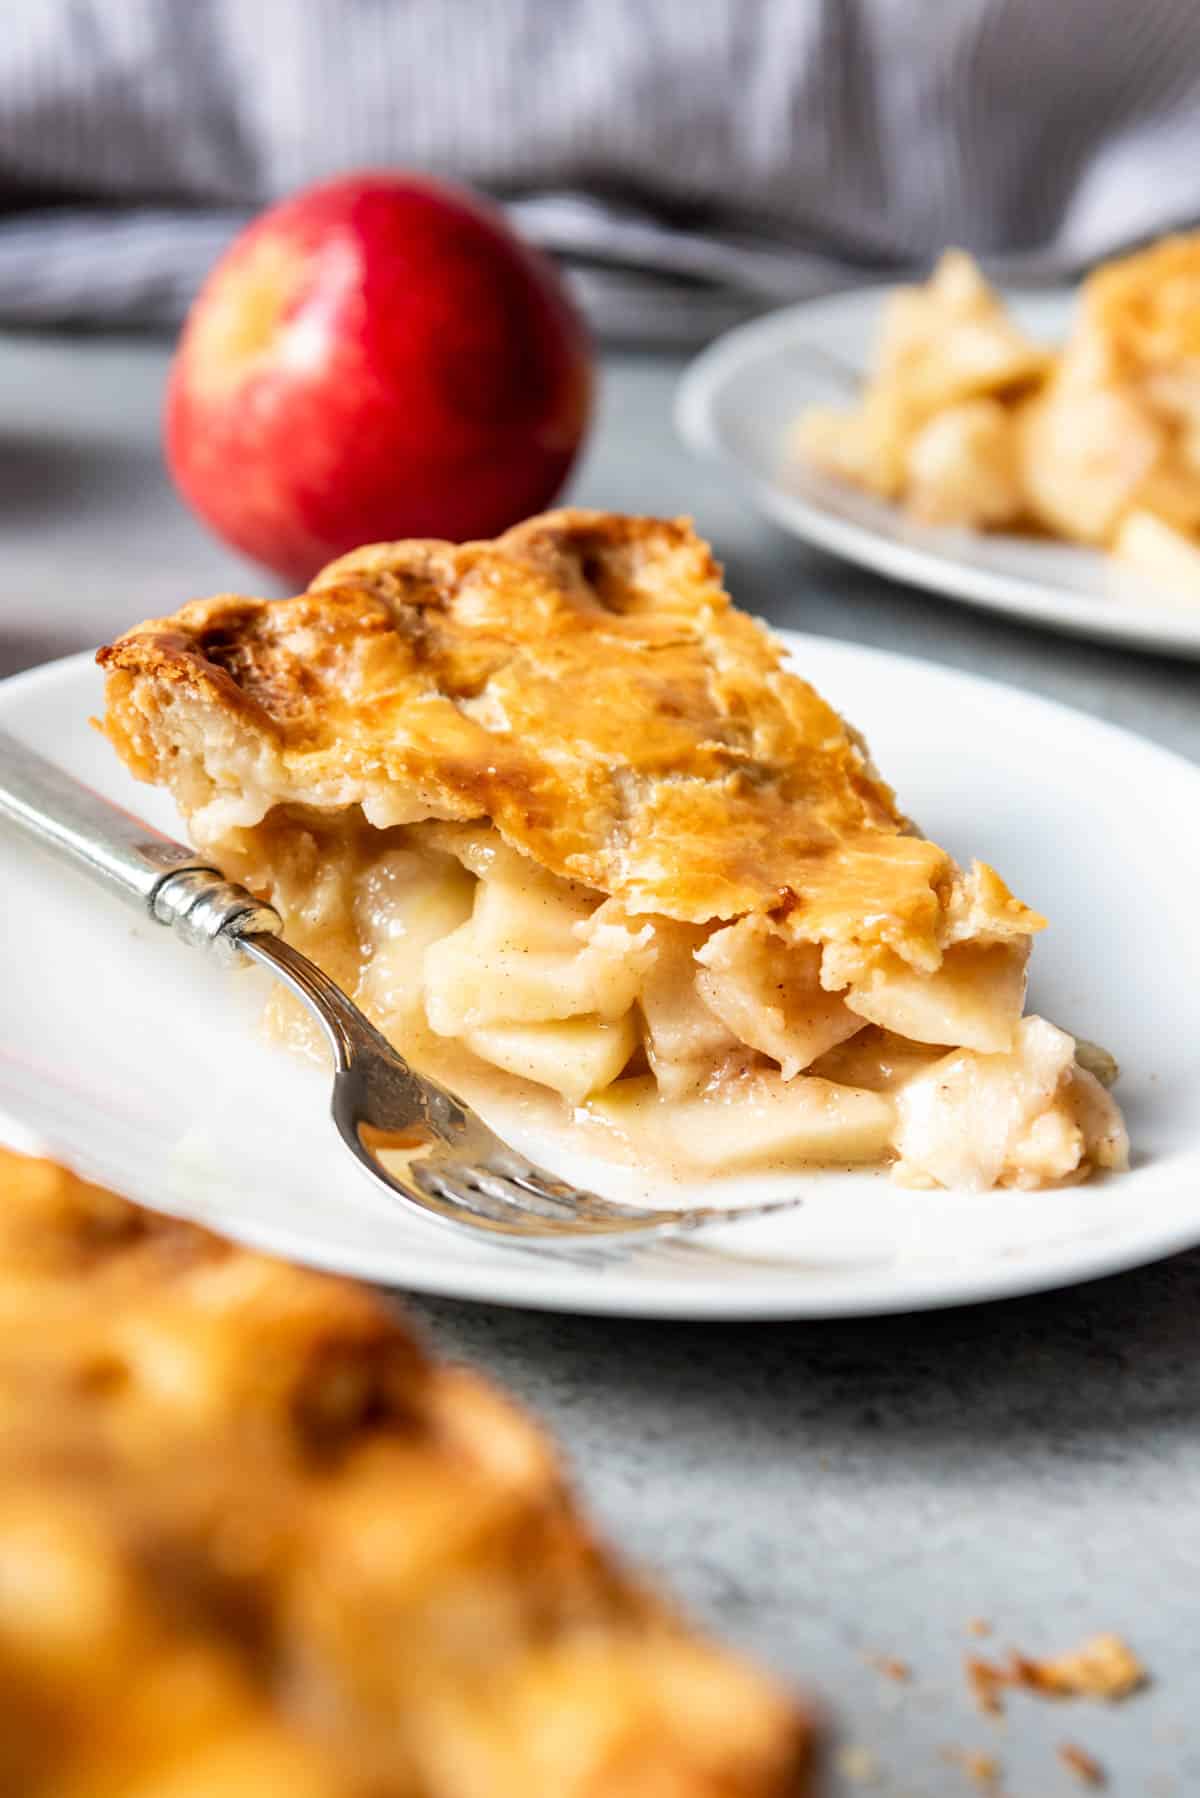
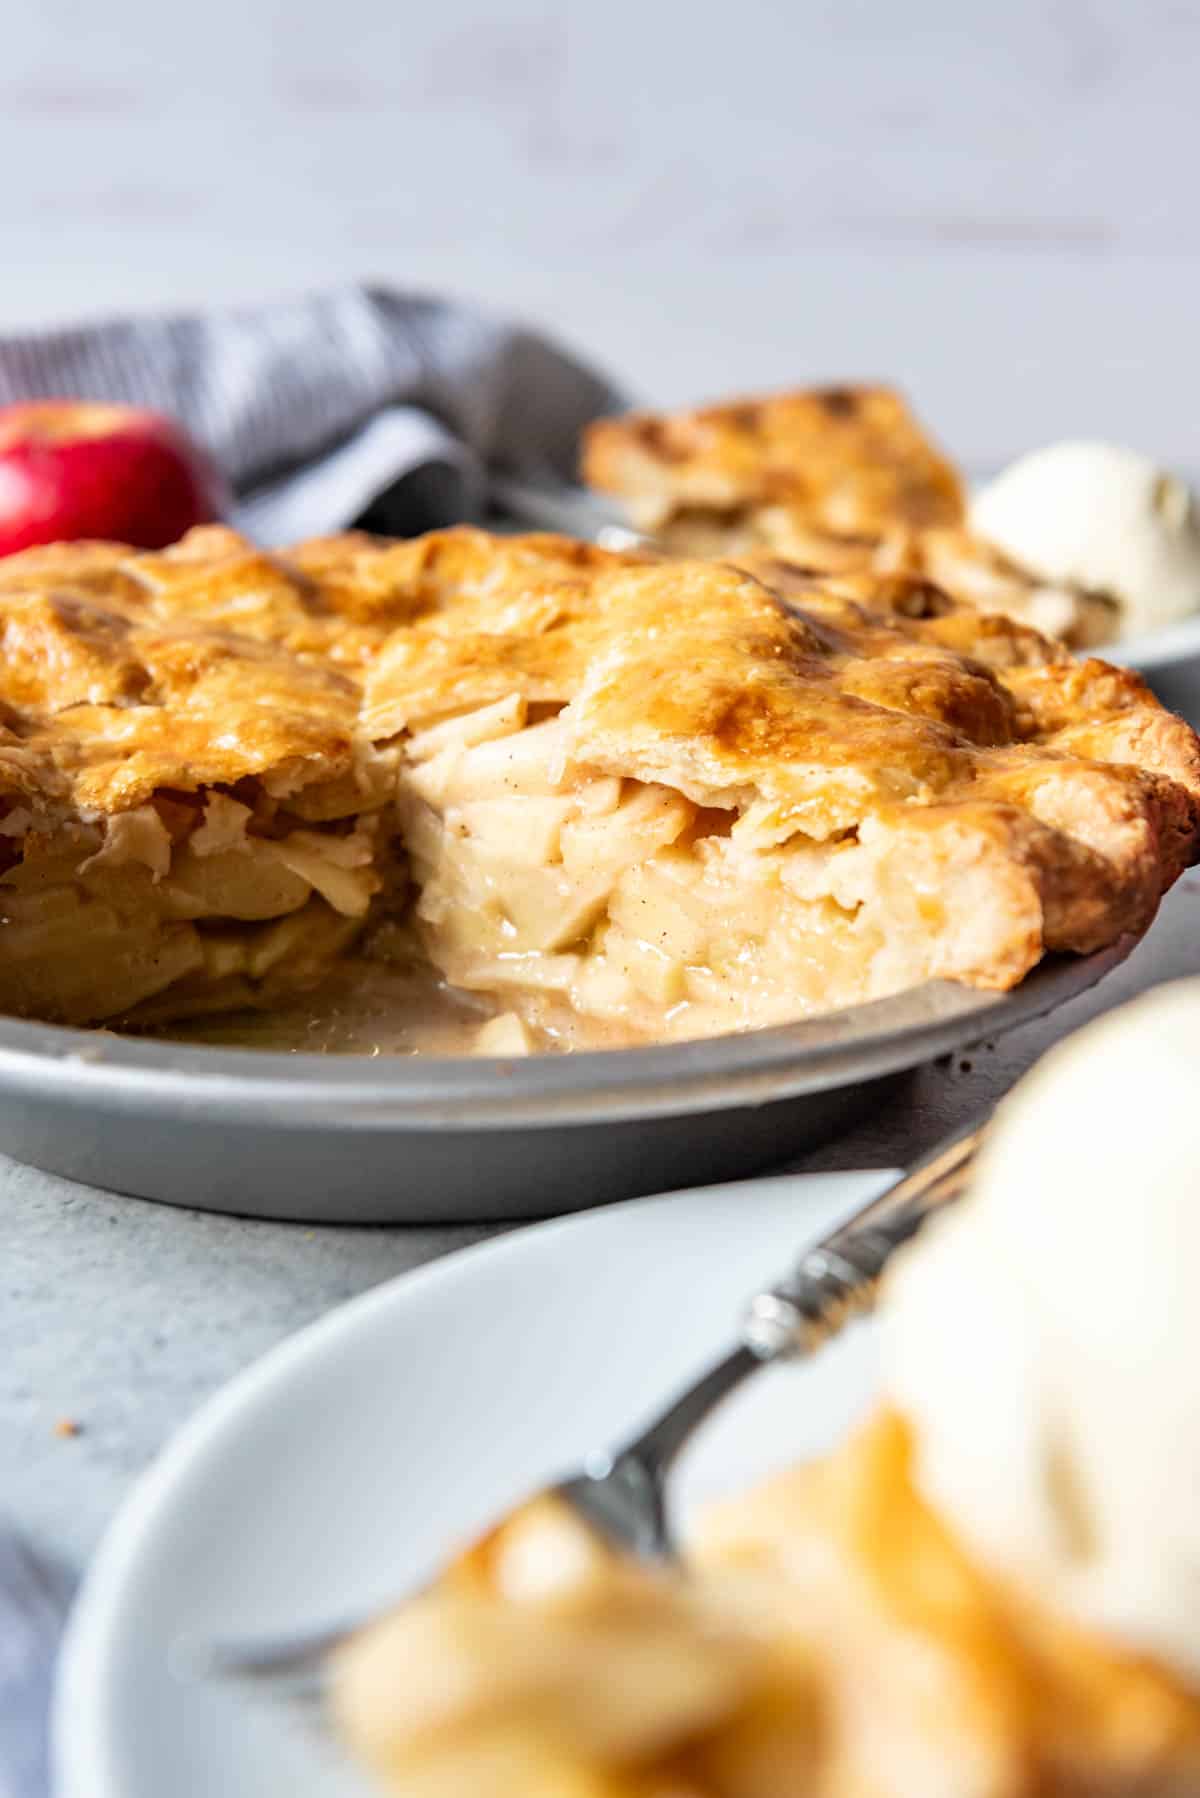
When it comes to traditional apple pie, I’m not a fan when people are too heavy-handed with the cinnamon and the pie is overly spiced. I prefer just a light touch of cinnamon and nutmeg so that the flavor of the apples that really shines through here.
I feel the same way about not using too much sugar the will result in an overly sweet apple pie. The best homemade apple pie should have a balanced sweet and tart, apple cider-ish quality to the filling. And it pairs perfectly with my homemade pie crust.
We love apple recipes at our house! If you’re looking for some other amazing apple dishes, you should try Creamy Apple Cider Chicken Skillet, Baked Apples, Instant Pot Applesauce, and German Apple Pancakes with Cider Syrup!
Best apples to make apple pie
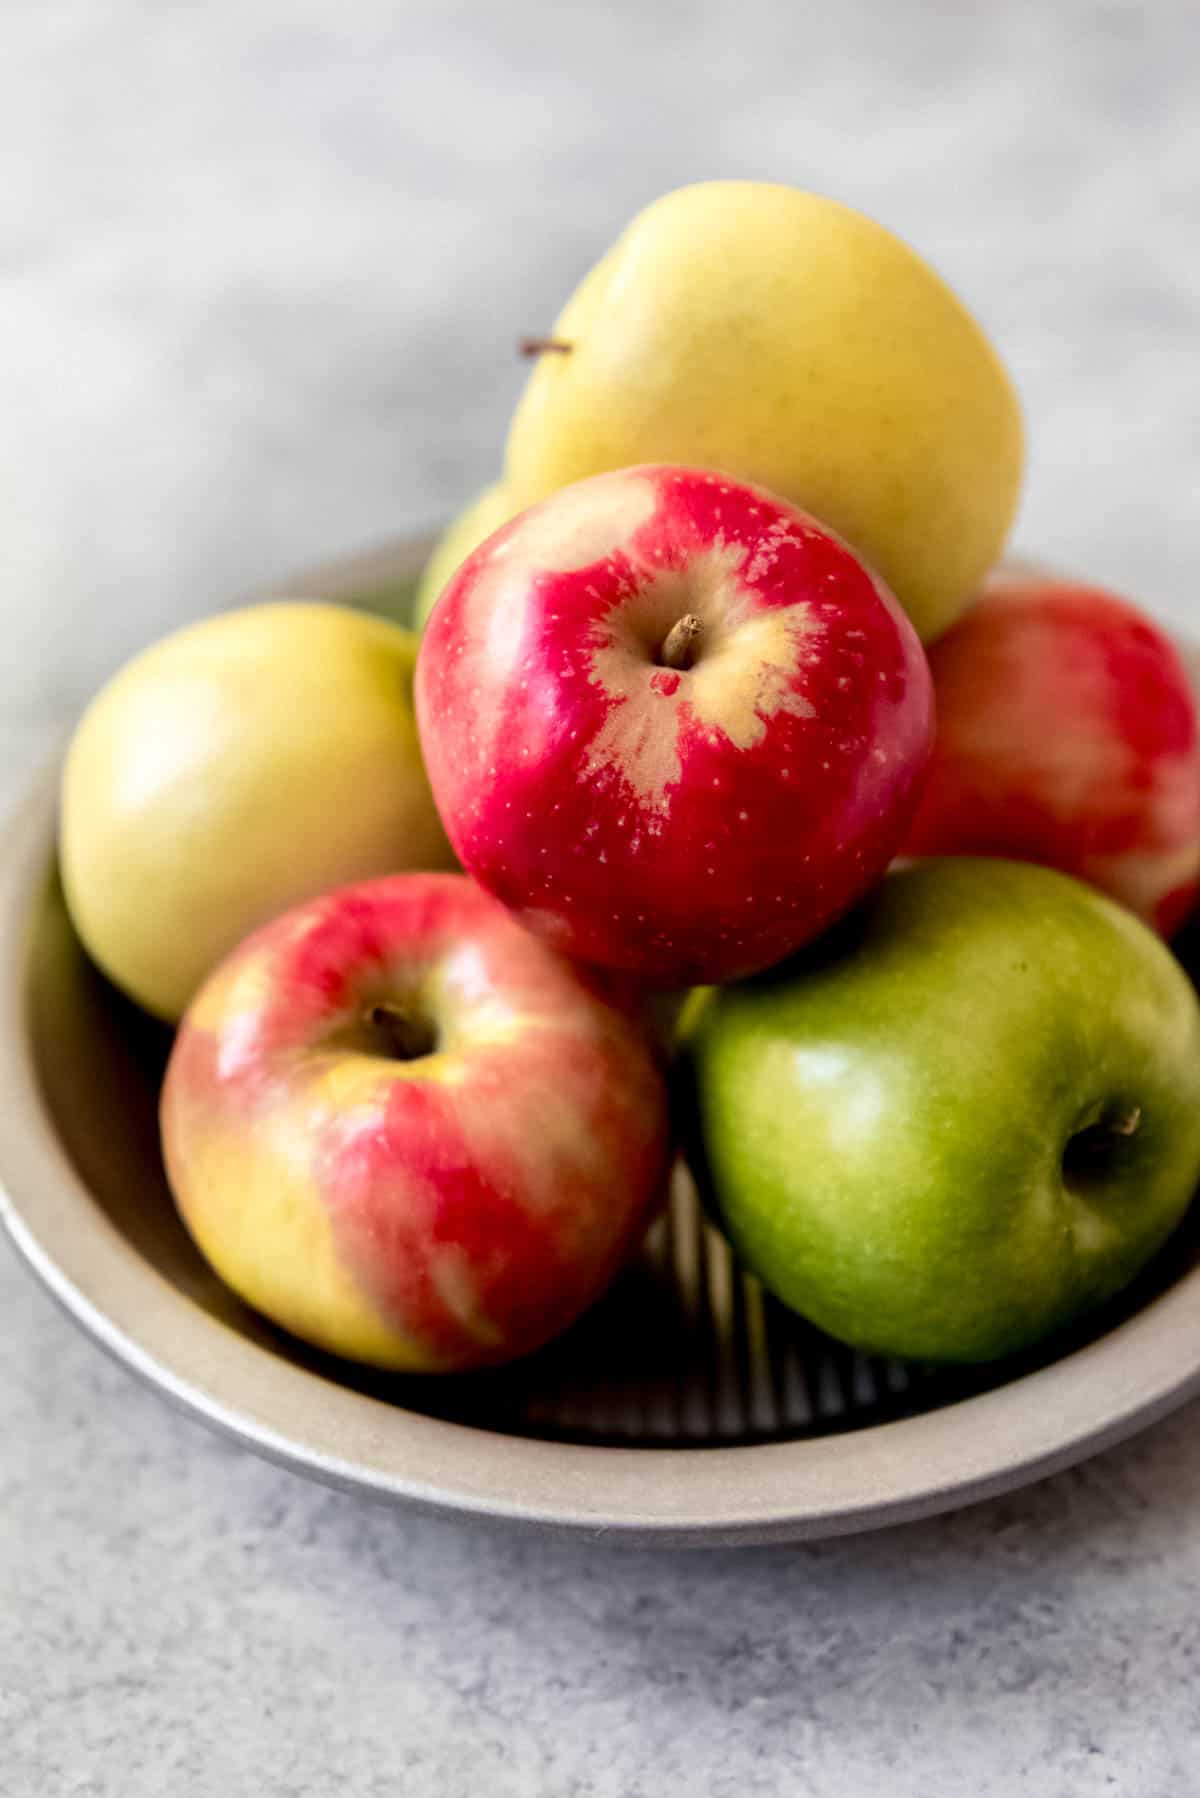
Using firm apples for baking is important for any apple pie recipe because it helps you avoid ending up with a mushy, overly sweet apple pie filling. A blend of both tart and sweet apples gives a more complex flavor to your homemade apple pie filling.
Here are some of the best choices for apples to use in apple pies
- Granny Smith: green, tart, and firm, these are a classic choice for baking and almost always in my apple pie
- Golden Delicious: yellow, sweet, and softer, golden delicious apples are another excellent choice
- Pink Lady: firm, sweet-tart apples that are widely available
- Pippin: firm, sweet, and give a great cider flavor to pies
- Braeburn: another sweet-tart apple that bakes well
- Jazz: firm, sweet apples that hold their shape while baking
- Jonagold: firm and sweet, this apple variety is a cross between a Jonathan and a Golden Delicious
- Northern Spy: firm, tart, great baking apples, although I don’t see them as often as some varieties
- McIntosh: sweet, amazing flavor, but they break down more as they bake than other apple varieties, so be sure to pair them with plenty of firm apples that will hold their shape
I personally enjoy using a variety of apples such as Granny Smith, Golden Delicious, Pink Lady, and Pippin. An apple pie with two to three apple varieties is ideal because it gives you an amazing flavor profile that you don’t get with just one type of apple. I tend to go with any of those varieties that are on sale or available at farmer’s markets or u-pick farms.
What apples to not use in apple pie?
I do not recommend using gala, fuji, or red delicious apples for making apple pie.
How many apples does it take to make an apple pie?
This really depends on how large your apples are, but generally speaking 6 to 7 medium-sized apples will be plenty for making an apple pie. If they are on the smaller side you might need a couple extra apples, or if they are particularly large apples then 5 might be enough.
How to make Apple Pie from Scratch
- Prepare the crust: You might be tempted to just purchase a refrigerated pie crust, but there is nothing like a pie crust made from scratch. Be sure to get all my tips and tricks for how to make pie crust. I even have a helpful video tutorial showing you how I do it. Roll out the bottom crust and use it to line a 9-inch pie plate (affiliate link), reserving the second crust for the top of the pie.
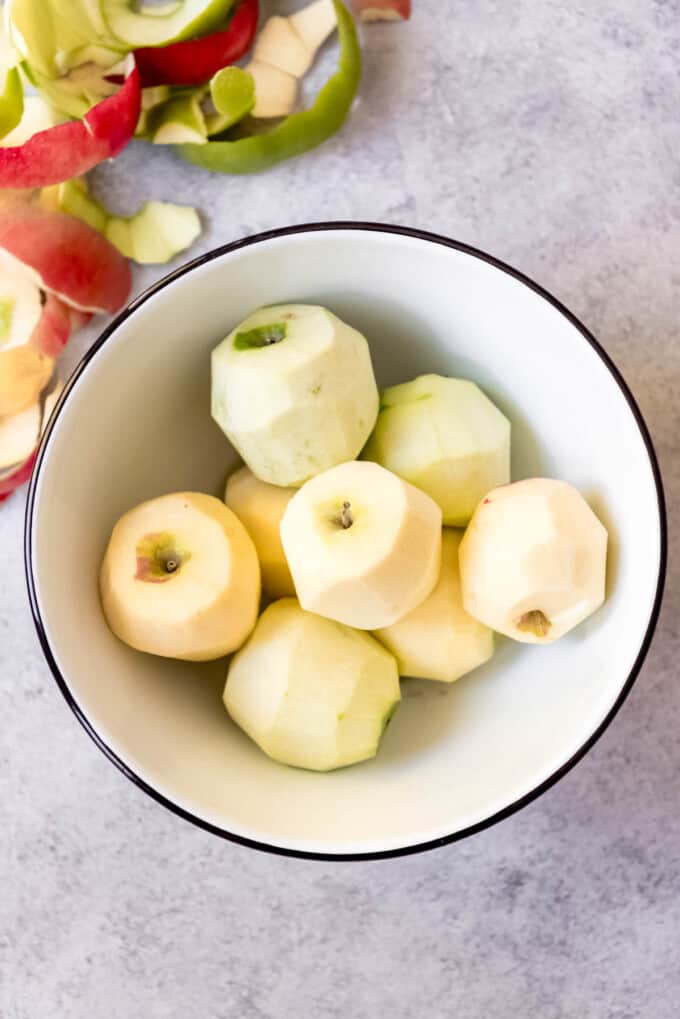
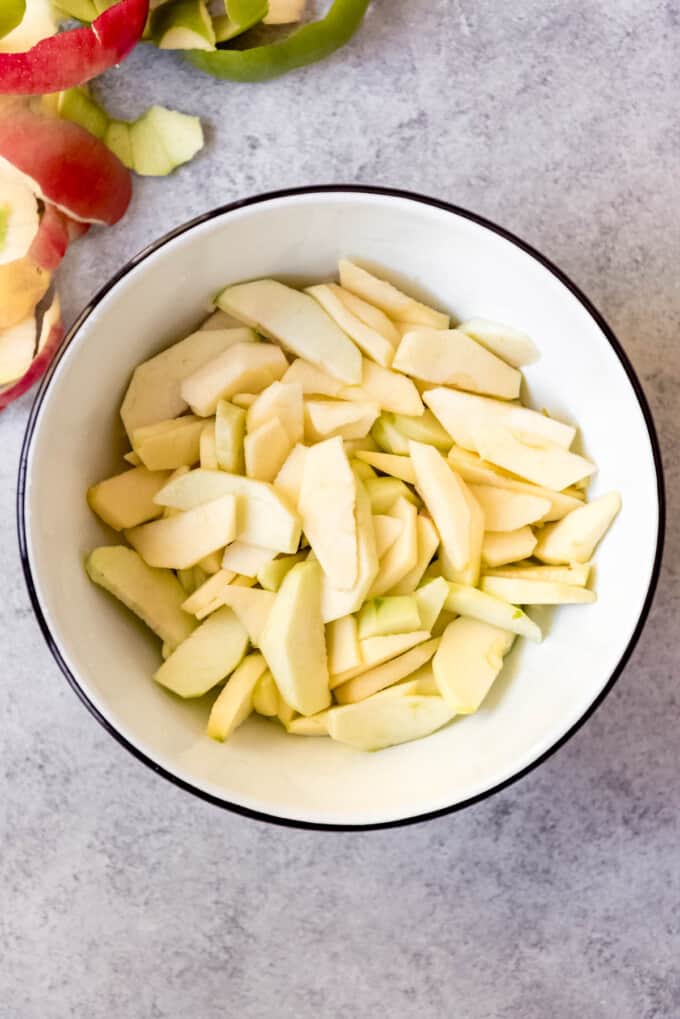
- Peel apples: Peel, core, and slice the apples.
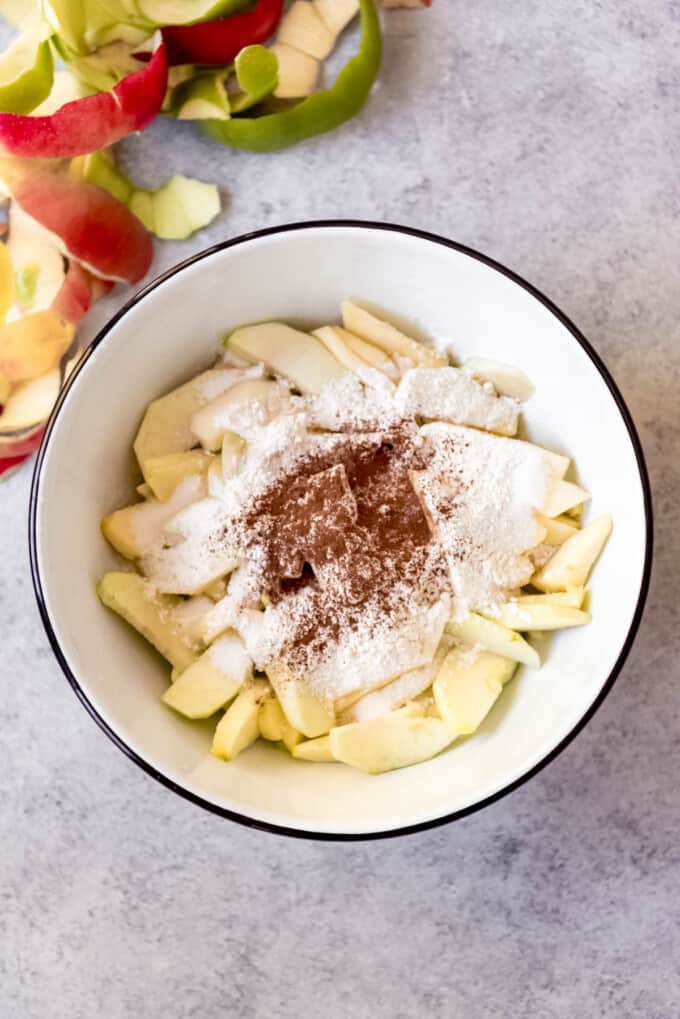
- Prepare the homemade apple pie filling: Toss the apples in a large bowl, with lemon juice, sugar, flour, salt, cinnamon, and nutmeg. Let sit for 15 minutes to draw out some of the juice from the apples.
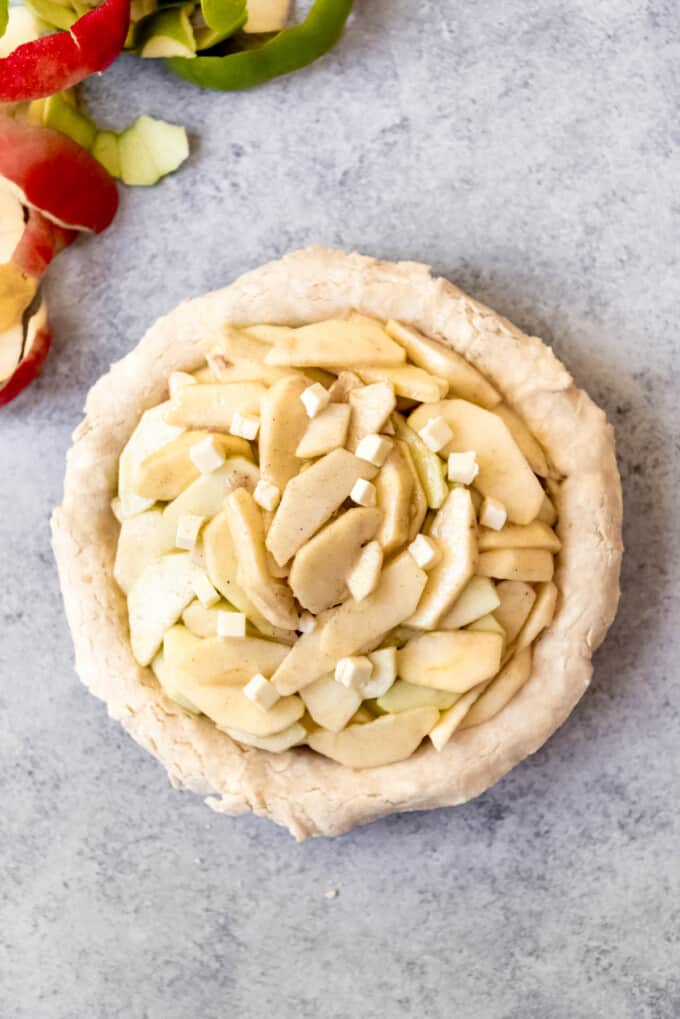
- Fill the pie: Transfer the apple filling to the pie plate lined with the bottom crust. Mound the apples in the middle, since they will cook down and create a level pie after baking. Dot with 1 tablespoon of butter cut into small cubes.
- Top with pie crust: Roll out the second pie crust and transfer it to cover the pie filling, cutting slits in the top to vent and trimming and crimping the edges of the crust. I trim the overhanging dough to be ½ an inch beyond the lip of the pie plate, then tuck the overhang under itself so that the folded edge is flush with the edge of the pie plate because I like a nice, thick crust around the edges. Crimp dough evenly around the edge of the pie using your thumb and forefingers.
- Egg wash: Whisk one egg in a bowl, then brush it over the top crust using a pastry brush. This is what will give the pie it’s beautiful golden brown sheen after baking.


- Bake: Place the pie on a baking sheet to catch any juices that might bubble over, then transfer to a preheated 425 degree F oven. Bake for 25 minutes, then reduce the oven temperature to 375 degrees F and continue to bake until the juices are bubbling and the crust is a deep golden brown, about 30-35 minutes.
- Cool completely: Let the pie cool on a wire rack to room temperature before serving. The pie will continue to set up as it cools.
What temp to bake apple pie?
I like to bake my apple pie at 425 degrees F to start out, then decrease the temperature to 375 degrees F to finish it off. This allows the crust to get flaky and crisp, then cooks the apples all the way through without burning the crust toward the end of baking.
How to store Homemade Apple Pie
While you can keep an apple pie at room temperature for up to 2 days, you should keep it in the fridge or freezer if you want to keep it longer than that. Covering the apple pie with plastic wrap or foil, and keeping it in the fridge will extend the life another 2 or 3 days.
Best Apple Pie recipe tips
- For a beautifully golden and shiny crust, be sure to brush top of your pie with an egg wash before baking made by beating an egg with 1 tablespoon of cold water. Immediately after brushing on the egg wash, sprinkle the pie with 1-2 tablespoons of granulated sugar. The sugar will melt into the egg wash and create a thin, crackly, almost glazed finish to the golden brown crust. It adds a lovely finish to your pie.
- To prevent the edges of your crust from getting too dark or burning, consider using a pie shield or aluminum foil strips around the edge of the pie during the initial baking stages. You can remove them toward the end of the baking process when there are about 20 to 30 minutes left to bake.
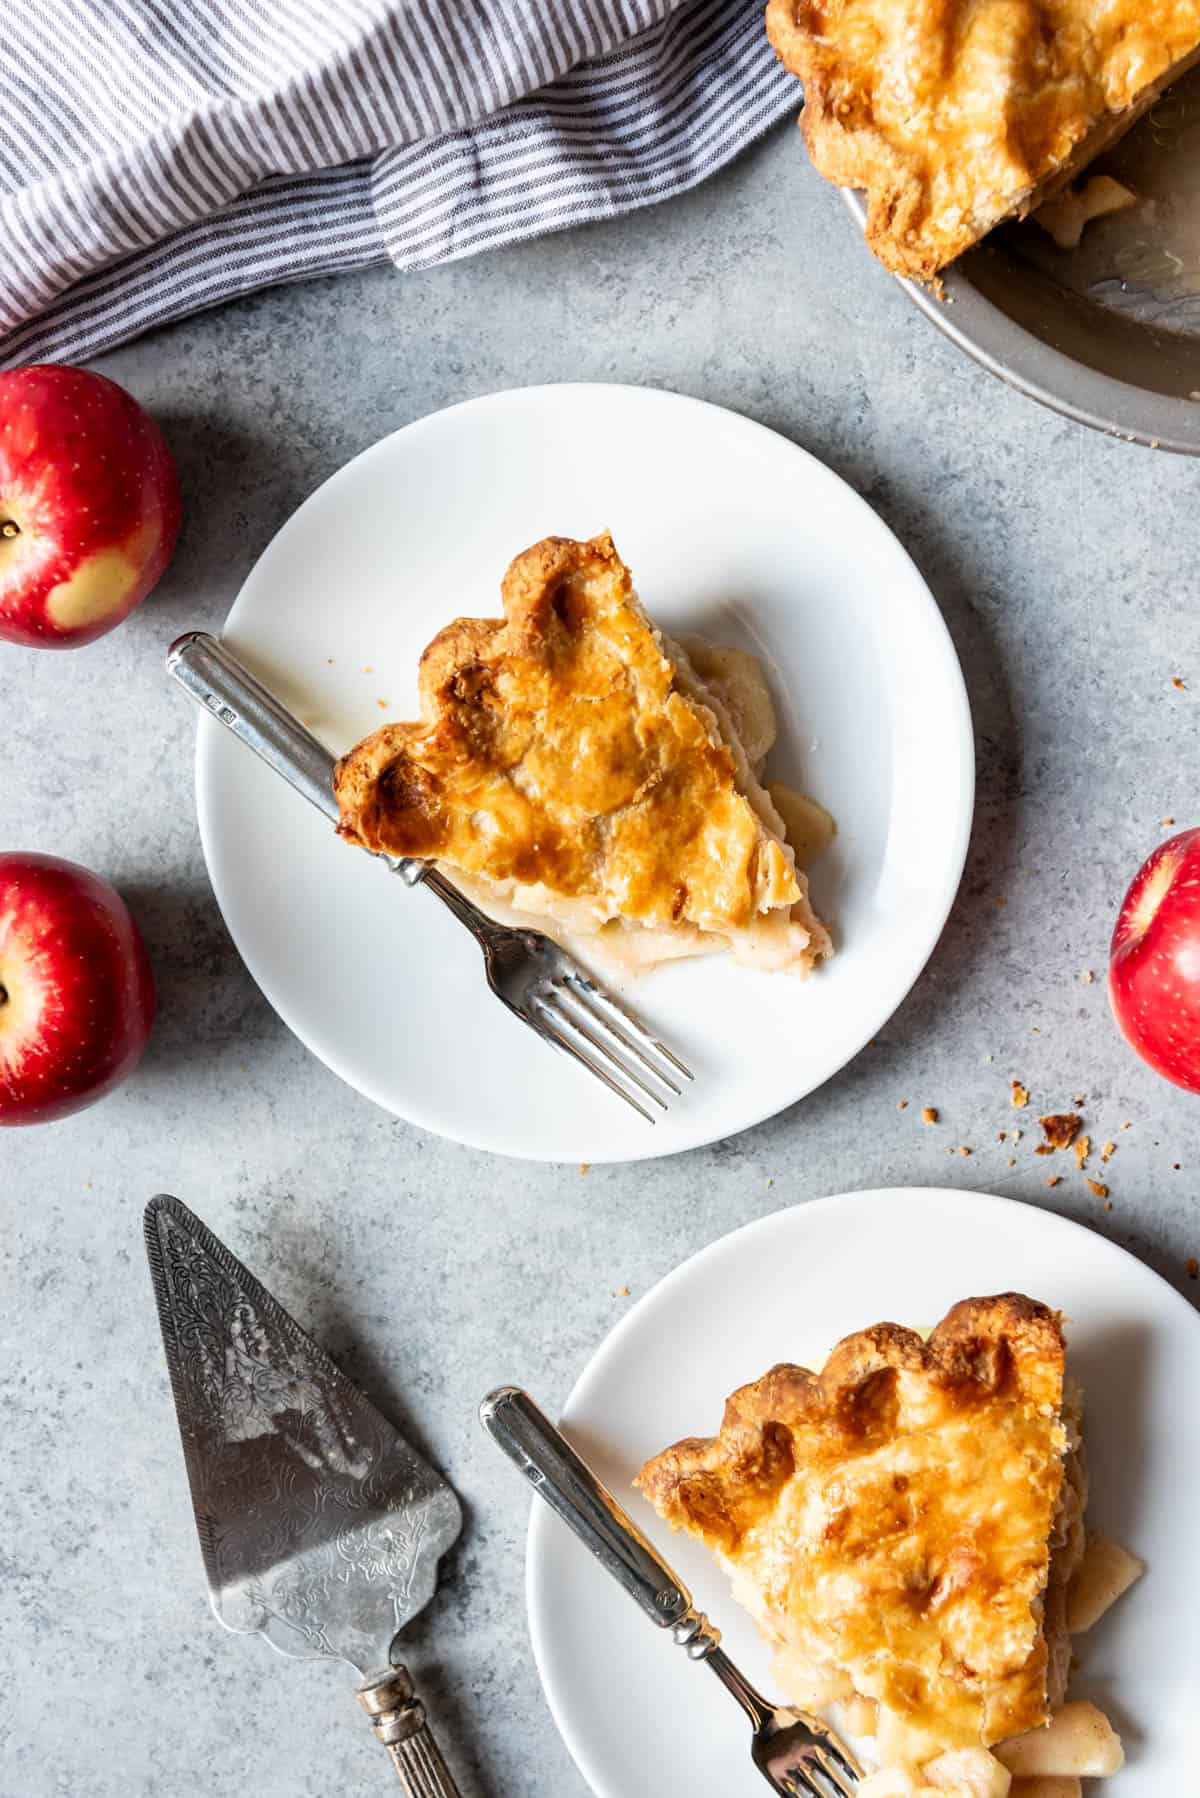
- As tempting as it is to dive right into a freshly baked pie, it’s crucial to let it cool completely before slicing. This allows the juices to thicken and ensures that your slices hold together beautifully when served. Waiting for about 2-3 hours is ideal. You can always warm up individual slices before serving if you like a slice of warm pie.
What if my apple pie filling is runny?
If your filling doesn’t set up well and your pie is overly juicy, there could be a couple factors at play.
- Wait to cool: This has happened to me before when I just cannot wait to slice into the pie because I want to eat it warm. But it really does take the pie cooling down completely for the filling to set up entirely.
- Add Flour: The other issue I’ve encountered is if I add too many apples and don’t offset with an extra tablespoon or two of flour. The extra flour will help to thicken the filling as well.
- Apple Type: Both Braeburn and Macintosh apples break down more and seem to give off more juice as they cook, which makes a wonderfully flavorful “sauce” in apple pie, but they could also be the culprits behind a runny filling. Definitely go ahead and use them for flavor, but make sure to use other, sturdier apples with them.
- Fixing it after: If all else fails, I recommend reserving the juice that comes off the apples after letting them set for 15-20 minutes and microwaving just the juices for 2-3 minutes to help it reduce before adding it into the pie with the sliced apples. Some recipes will just have you discard the juices that come off the apples, but I love the cider flavor that they give them pie so cooking the juices down in the microwave is my preferred solution. It’s the same approach I take with blackberry pie and I’ve found it works well.
All that said, I really prefer a juicy pie over a gummy, overly thickened filling.

More Pie Recipes
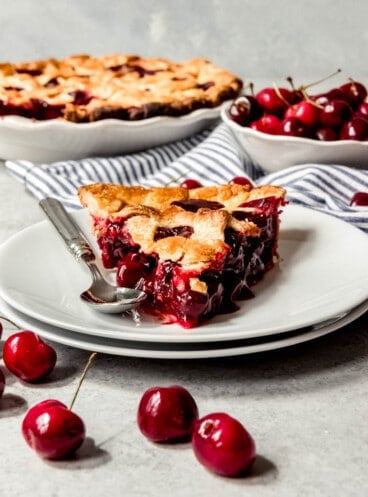
- Best Homemade Cherry Pie Recipe
- Easy Homemade Pumpkin Pie
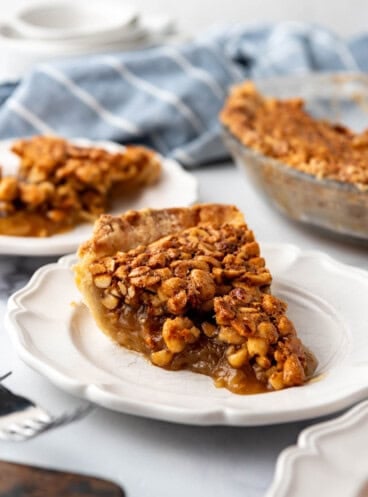
- Southern Pecan Pie
- Homemade Razzleberry Pie

Classic Apple Pie Recipe
Ingredients
Filling
- 6-7 cups apples peeled, cored, and sliced (I like a variety of Granny Smith, Golden Delicious, and Honey Crisp or Pink Lady)
- 1 Tablespoon lemon juice
- 3/4 cup granulated sugar
- 1/4 cup all-purpose flour
- 1/2 teaspoon ground cinnamon (up to 2 teaspoons)
- 1/4 teaspoon ground nutmeg
- 1/4 teaspoon salt
- 1 Tablespoon salted butter cut into pieces
- 1 large egg lightly beaten
Instructions
- Preheat oven to 425°F. Prepare the pie crust and roll out a bottom crust to be slightly larger than a 9-inch pie plate (affiliate link). Use it to line the pie plate (affiliate link).1 [Double Crust Pie Crust Recipe]
- In a large bowl, toss the peeled, cored, and sliced apples with the lemon juice to help prevent them turning brown. Sprinkle the sugar, flour, cinnamon (I prefer less cinnamon than other recipes because it can overpower the delicate flavor of the apples but you can do the full 2 teaspoons if you like), nutmeg and salt over the apples and toss to combine. Let sit for 15 minutes to draw out juices.6-7 cups apples, 1 Tablespoon lemon juice, ¾ cup granulated sugar, ¼ cup all-purpose flour, ½ teaspoon ground cinnamon, ¼ teaspoon ground nutmeg, ¼ teaspoon salt
- Spread apples into dough-lined pie plate (affiliate link), mounding them in the middle. If there is a lot of juice left in the bowl, microwave it for 2 minutes until it reduces and thickens somewhat, then add it to the apple pie filling. Dot with 1 tablespoon of butter that has been cut into small cubes.1 Tablespoon salted butter
- Roll out the pie crust and transfer it to cover the pie filling. Trim overhanging pie crust dough to ½ inch beyond lip of pie plate (affiliate link). Tuck the overhanging crust under itself so it is flush with edge of pie plate (affiliate link), then crimp the dough using your thumb and forefingers.
- Cut slits in top of dough to allow the pie to vent as it bakes. Brush the top crust with the beaten egg using a pastry brush.1 large egg
- Place the apple pie on a baking sheet to catch any juices that might bubble out as the pie cooks, then place in the preheated oven and bake for 25 minutes. Reduce the heat to 375°F and continue to cook another 30-35 minutes until the crust is a deep golden brown color. I always place a pie crust shield around the edges of the pie at this point.
- Let the pie cool completely (about 4 hours) before slicing and serving.
Nutrition
More Classic, Homemade Pie Recipes You’ll Love
- Coconut Cream Pie
- Best Key Lime Pie Recipe
- No-Bake Sour Cream Lemon Pie
- Blueberry Custard Pie
- Classic Southern Pecan Pie
- Homemade Blackberry Pie
- Southern Peach Pie Perfection
- Fresh Strawberry Pie
- Sour Cream Raisin Pie