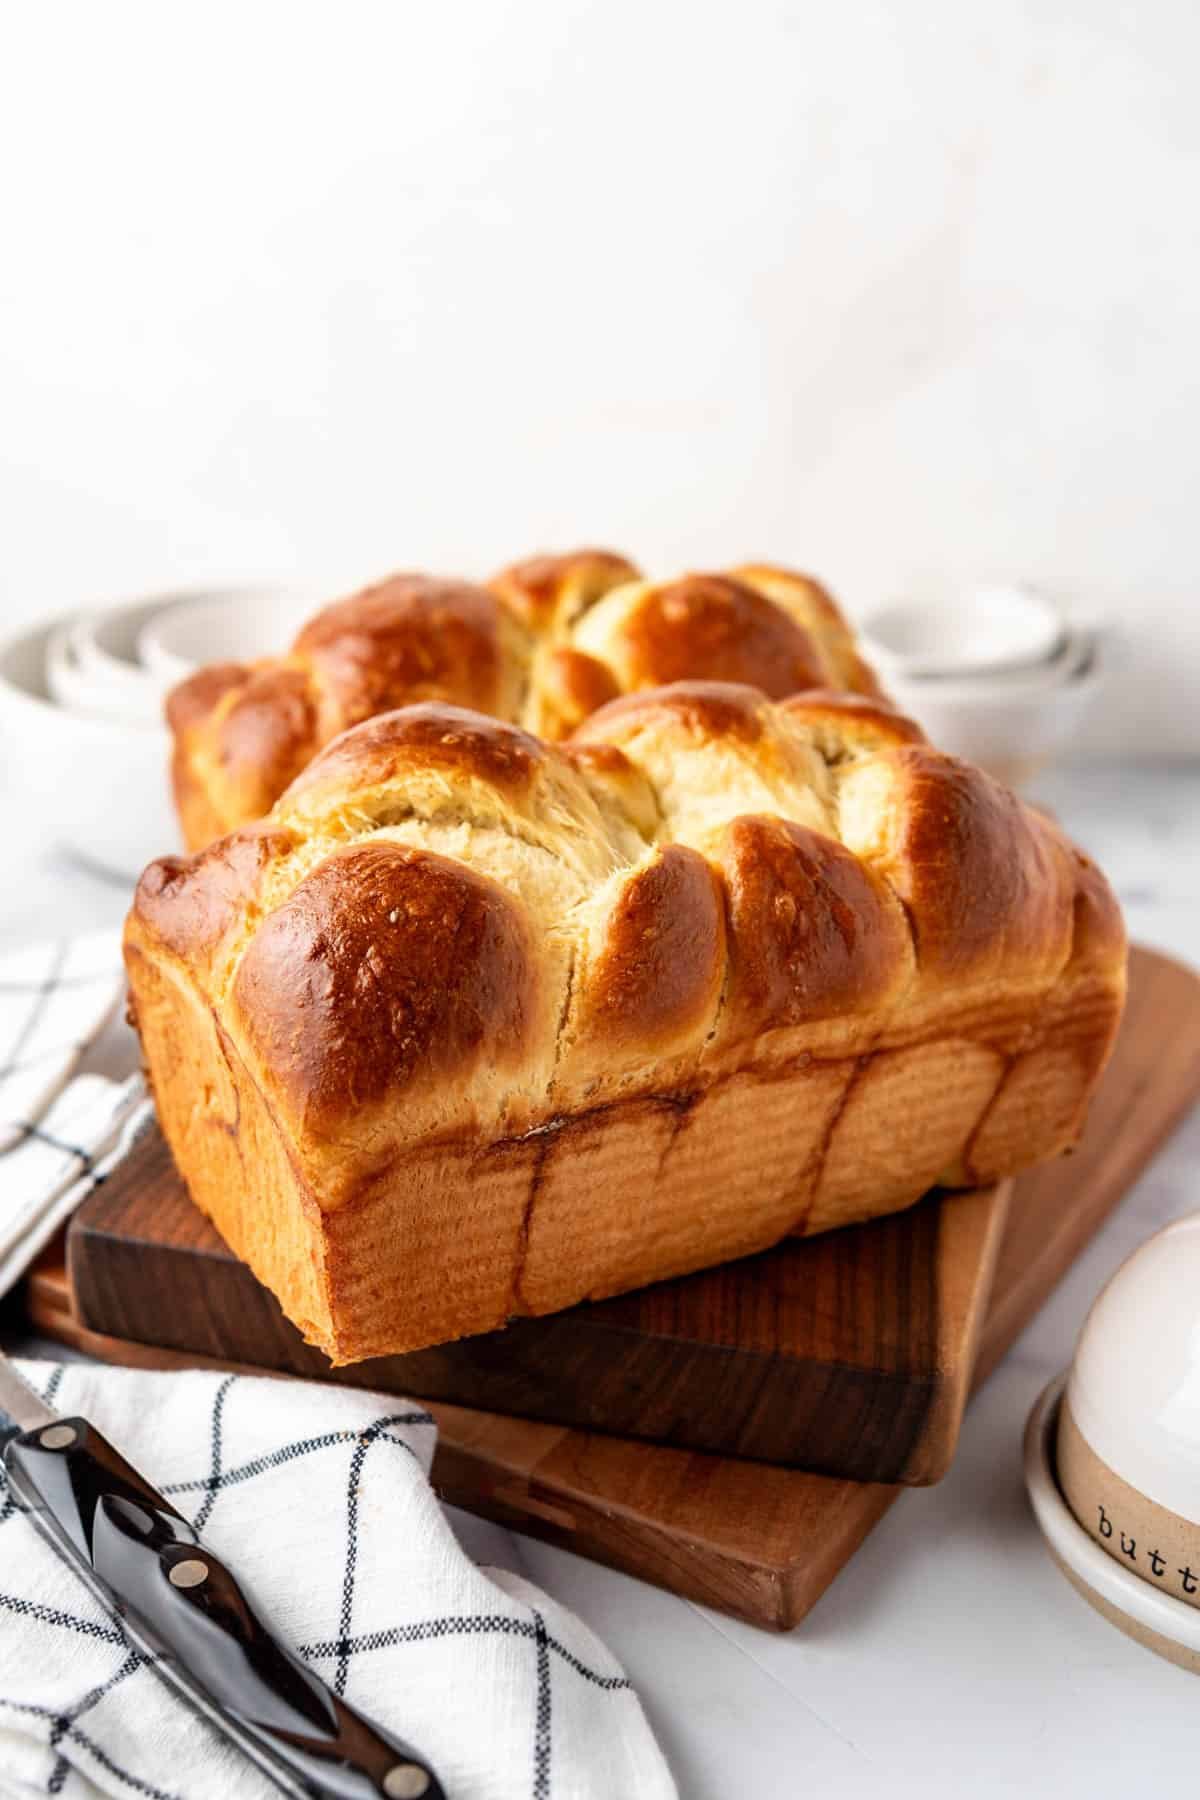
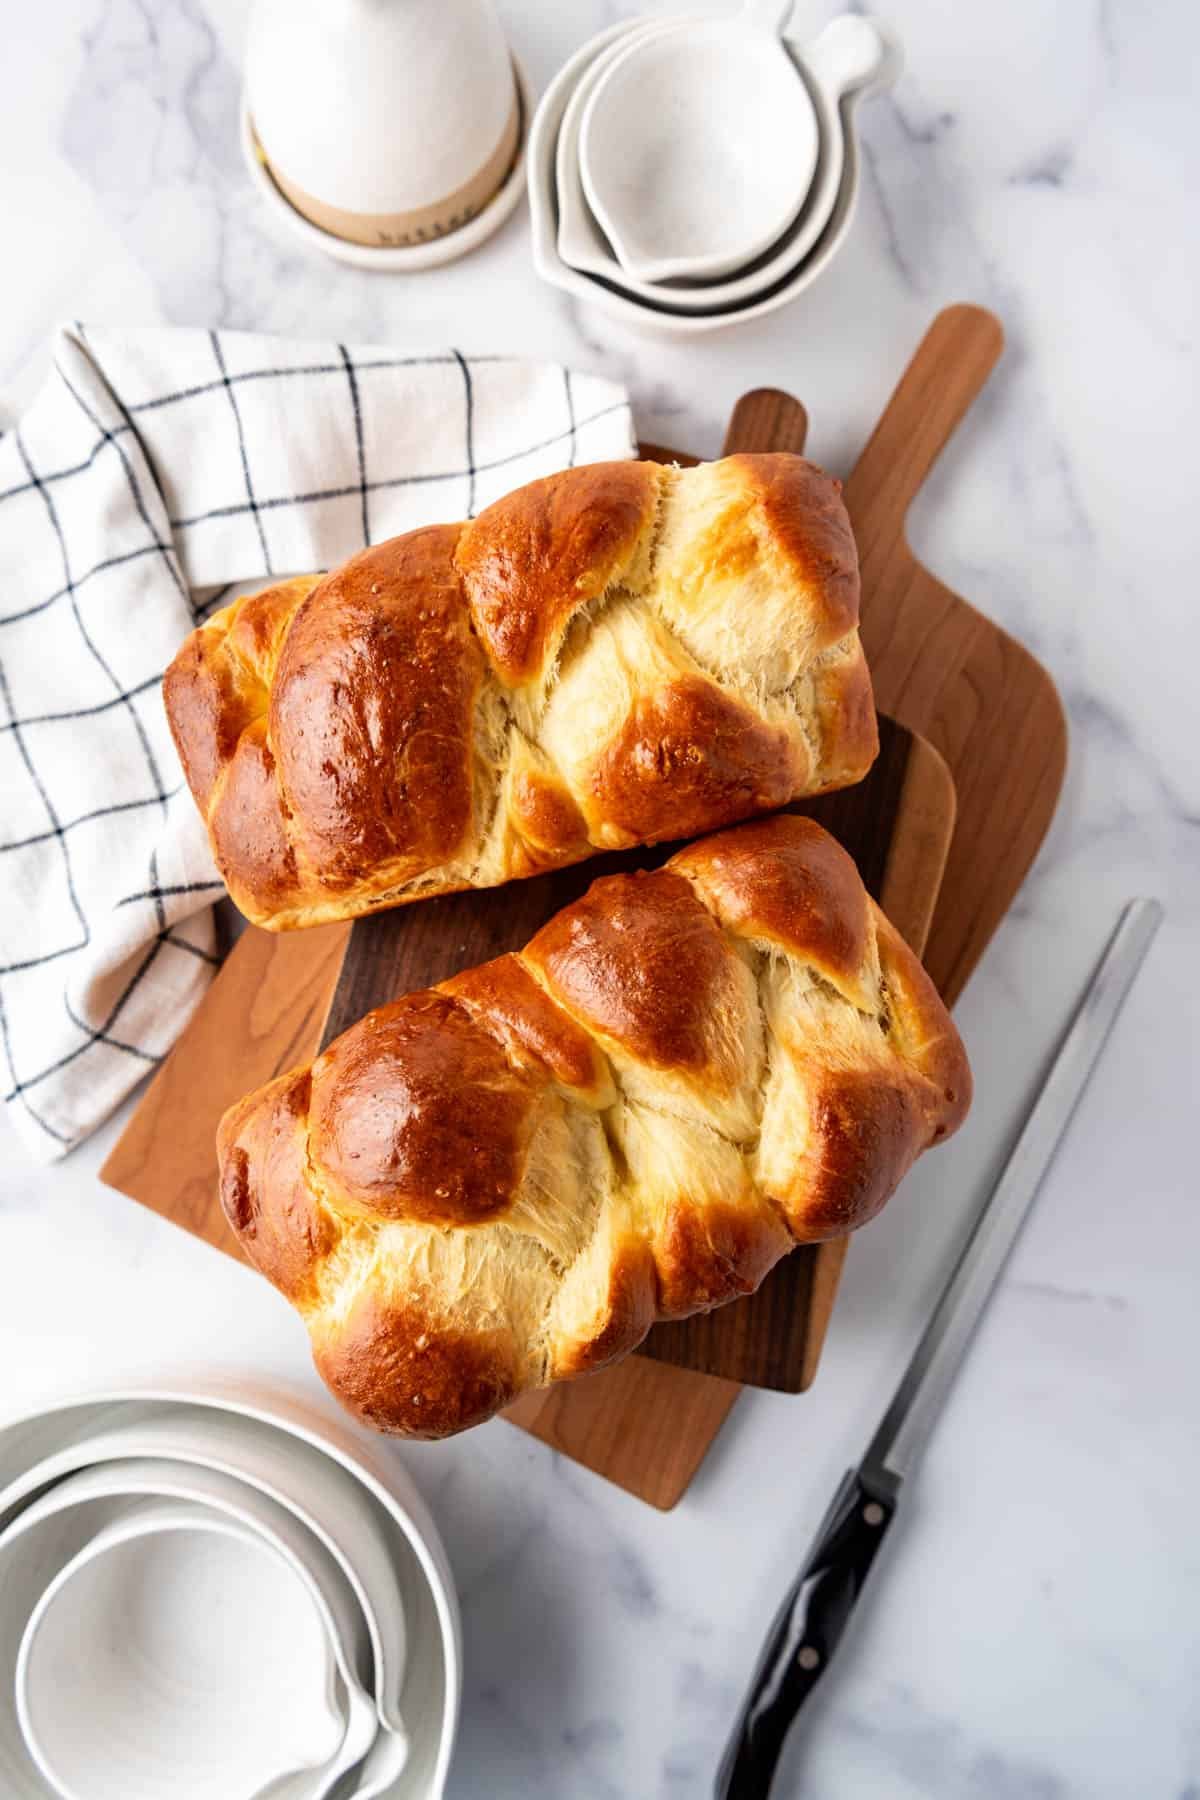
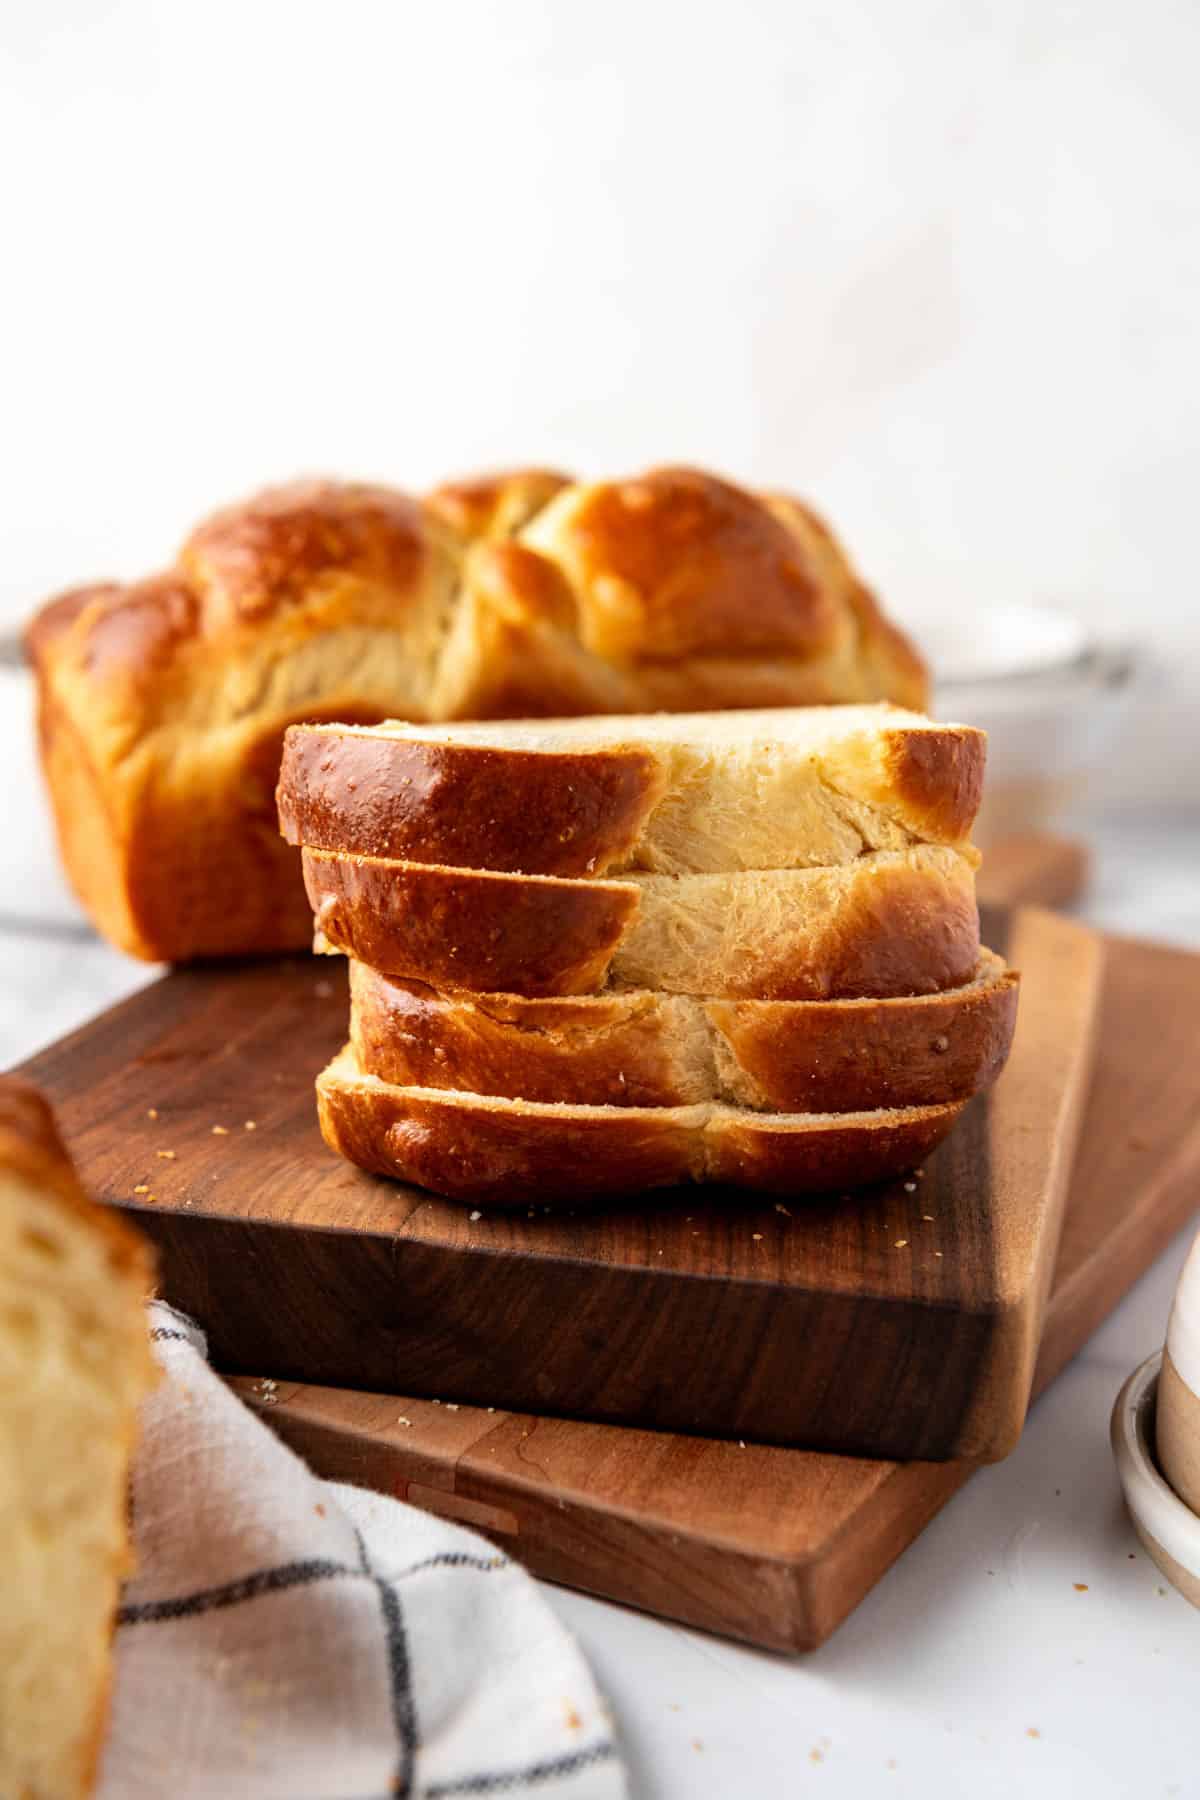
This soft & fluffy same-day brioche bread recipe makes two buttery and rich perfect loaves that taste better than anything you’ll get from a bakery. One for enjoying now, and one for later as French toast!
I set a goal to not buy bread from the store this year, so when we are craving slices of soft brioche bread there is nothing to do but get in the kitchen and roll up my sleeves. Brioche is such a fun and satisfying bake because the technique is pretty simple and straightforward and the finished loaves are just about the most beautiful thing I have seen come out of my oven with the egg-wash shine on their golden brown tops.
Sure you can buy a loaf of brioche bread at the bakery for $8 to $14 a loaf, but why when you can make a superior loaf of brioche at home for a fraction of the cost and much, much better flavor? Besides, once you know what “good brioche” is, store-bought just can’t compete.
This bread tastes like it came straight from a French bakery and makes your house smell absolutely incredible while it bakes. Plus, pulling apart a pillowy loaf that you made yourself and slathering it with some creamy butter or sweet strawberry jam is absurdly rewarding.
You’ll be obsessed with the real butter flavor and thin, glossy crust. Real ingredients like better flour, real butter, higher-quality eggs, and the perfect hint of sweetness makes even regular sandwiches feel fancy and like something you would be from a French café.
Why you’ll never buy brioche from the store again

- The smell alone ruins you for the packaged stuff. Fresh brioche baking in your oven smells like butter + vanilla + heaven.
- Homemade just tastes more real. Store-bought brioche often tastes one-dimensional (or worse–stale), which is fine if you only plan on using it for French toast, but let’s agree that homemade brioche has a depth and richness that is unmatched by commercial versions.
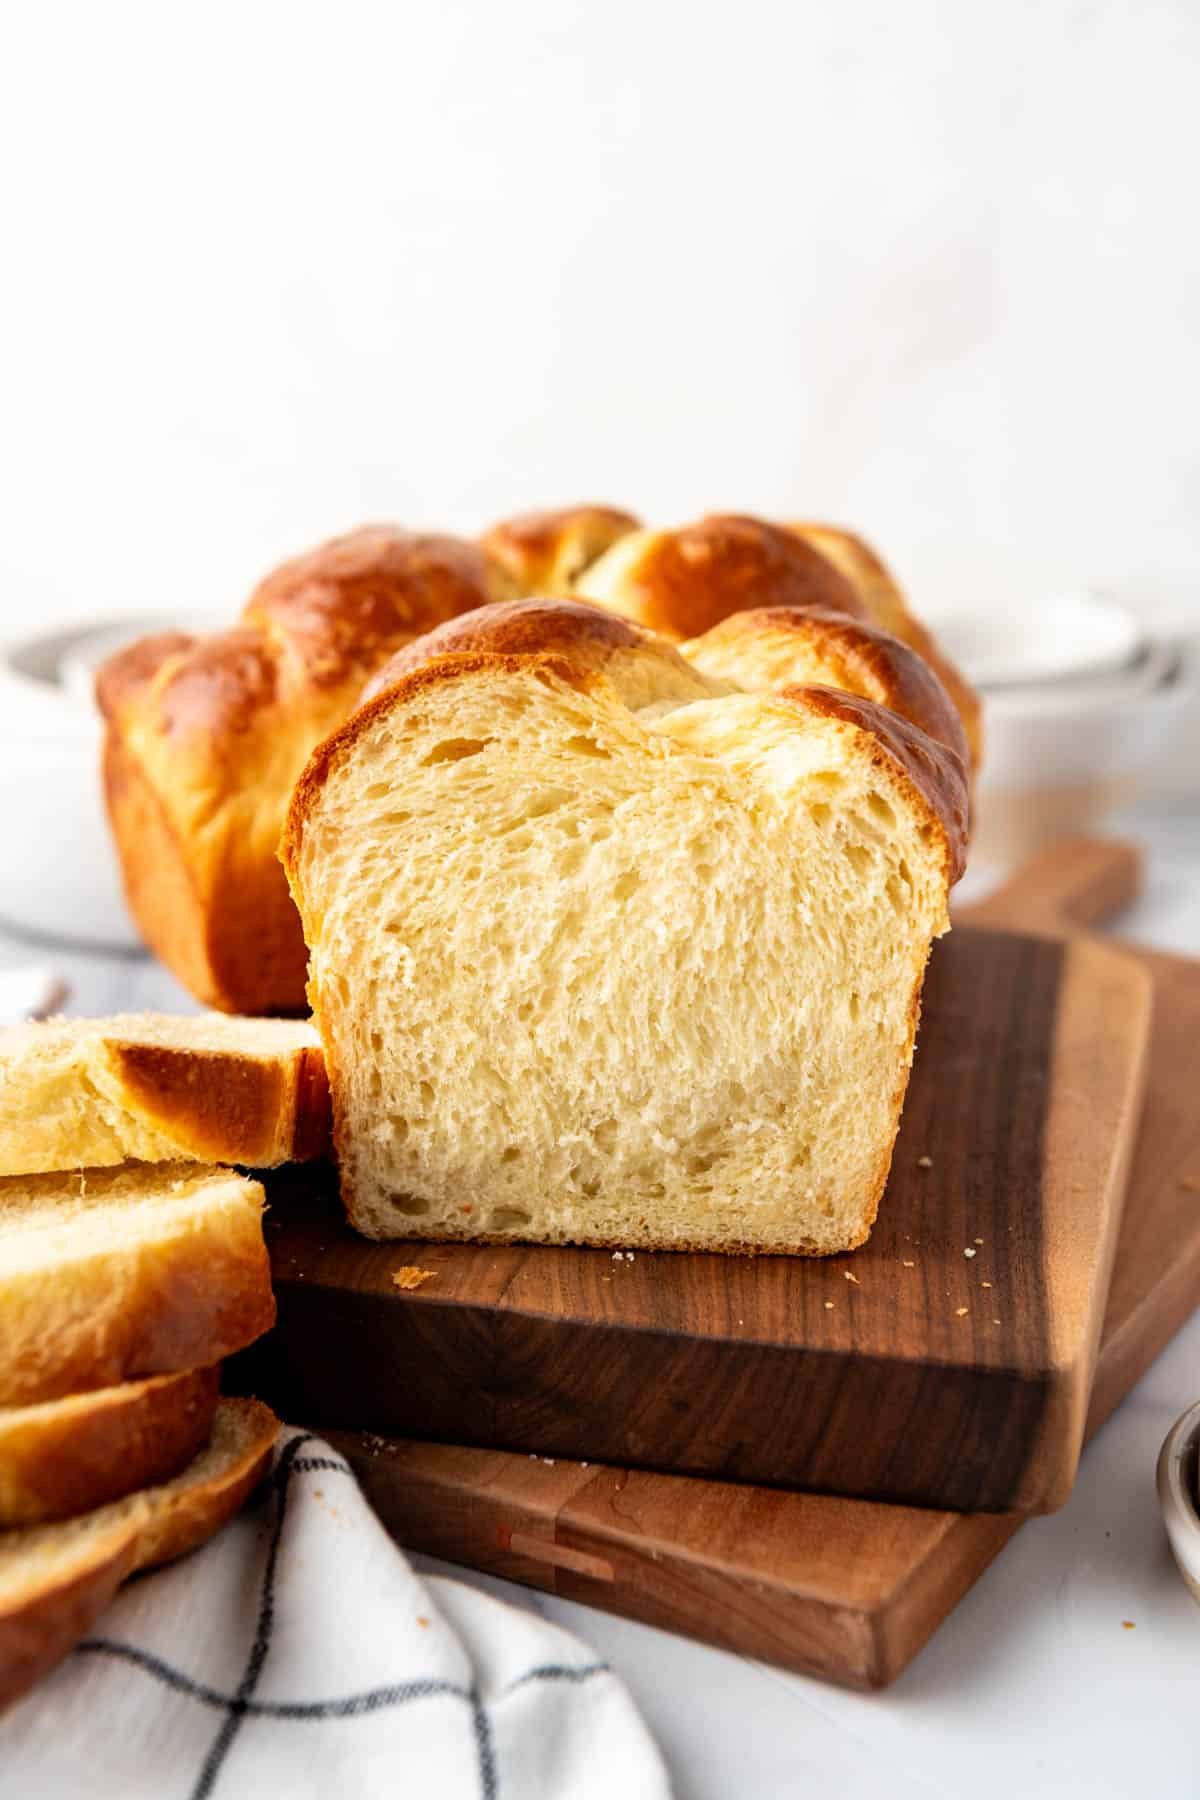
- The texture is unreal when it’s fresh. That soft, shreddy, feathery crumb is at its peak within hours of baking and there are no preservatives, dough conditioners, or other additives. Instead, the tenderness comes from technique and fresh ingredients so you know it’s good.
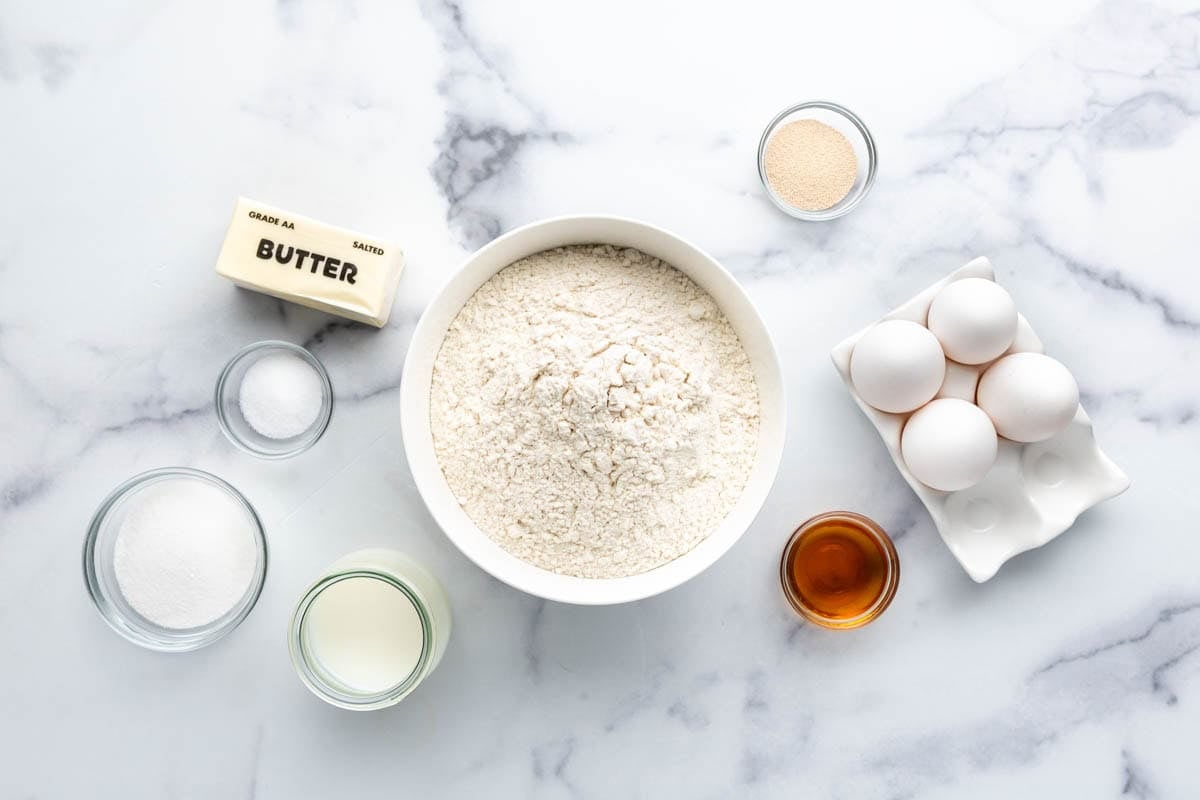
Round Up Your Ingredients
I’m still amazed at how simple ingredients like fresh eggs, all-purpose flour (I always use unbleached for my baking), milk, sugar, salt, butter, vanilla, and instant yeast can be transformed into something as beautiful and satisfying as a loaf of bread.
- Yeast: I have switched to using instant yeast over active dry yeast because it tends to be more reliable, but either one works. If using active dry yeast, you will need to be sure to proof the yeast for about 5 minutes with the warm milk and 1 teaspoon of the sugar until foamy before proceeding with the recipe.
- Flour: Bread flour and all-purpose flour both work for this recipe, so there is no need to go out and buy a special flour if you don’t have it on hand.
- Vanilla Extract: You won’t see this in all brioche recipe but I think it really sets mine apart by adding dimension to the flavor profile.
Let’s Make Brioche Bread!
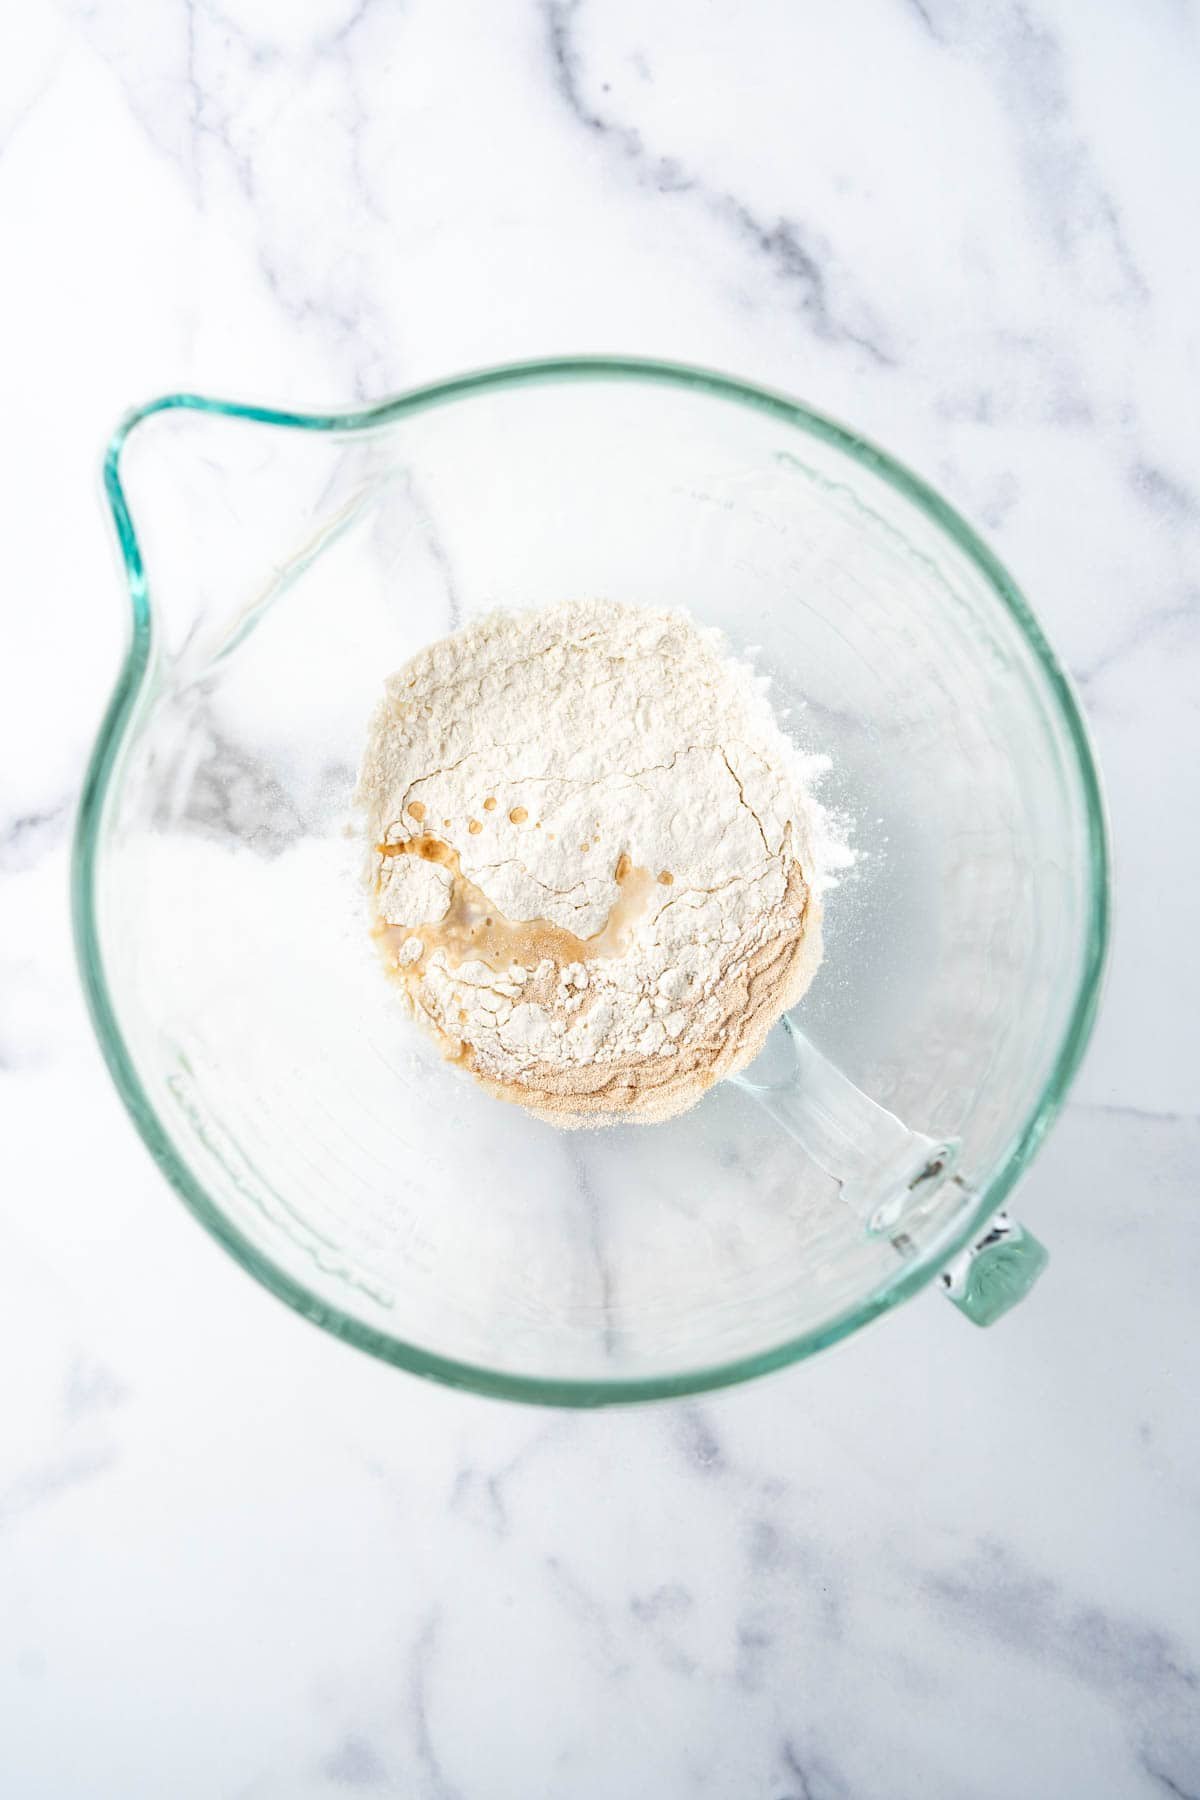
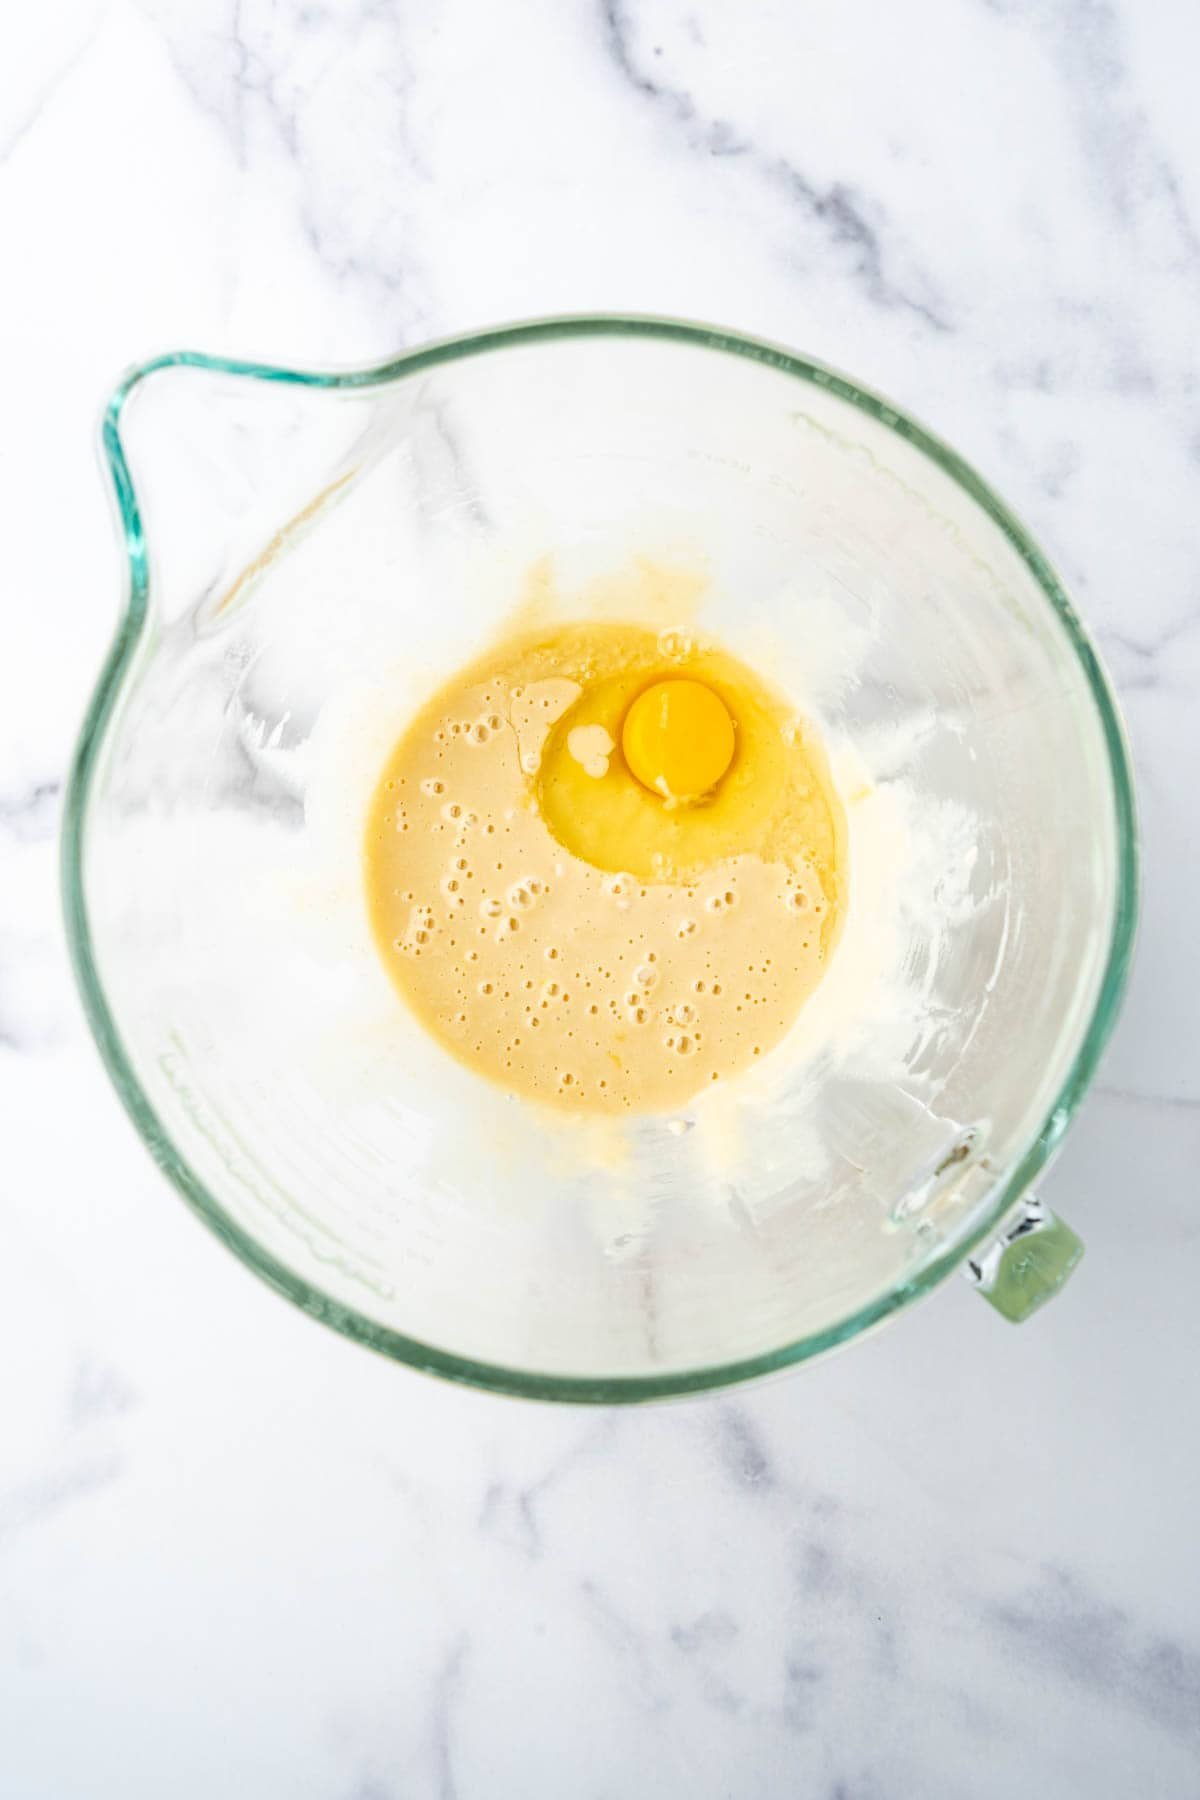
- Hydrate the flour first. Rather than adding butter up front which would coat the flour molecules with fat and affect liquid absorption, you want to combine warm milk, yeast, vanilla, salt, and some of the flour first. Mix until totally smooth, then start adding the eggs, one at a time, beating after each addition.
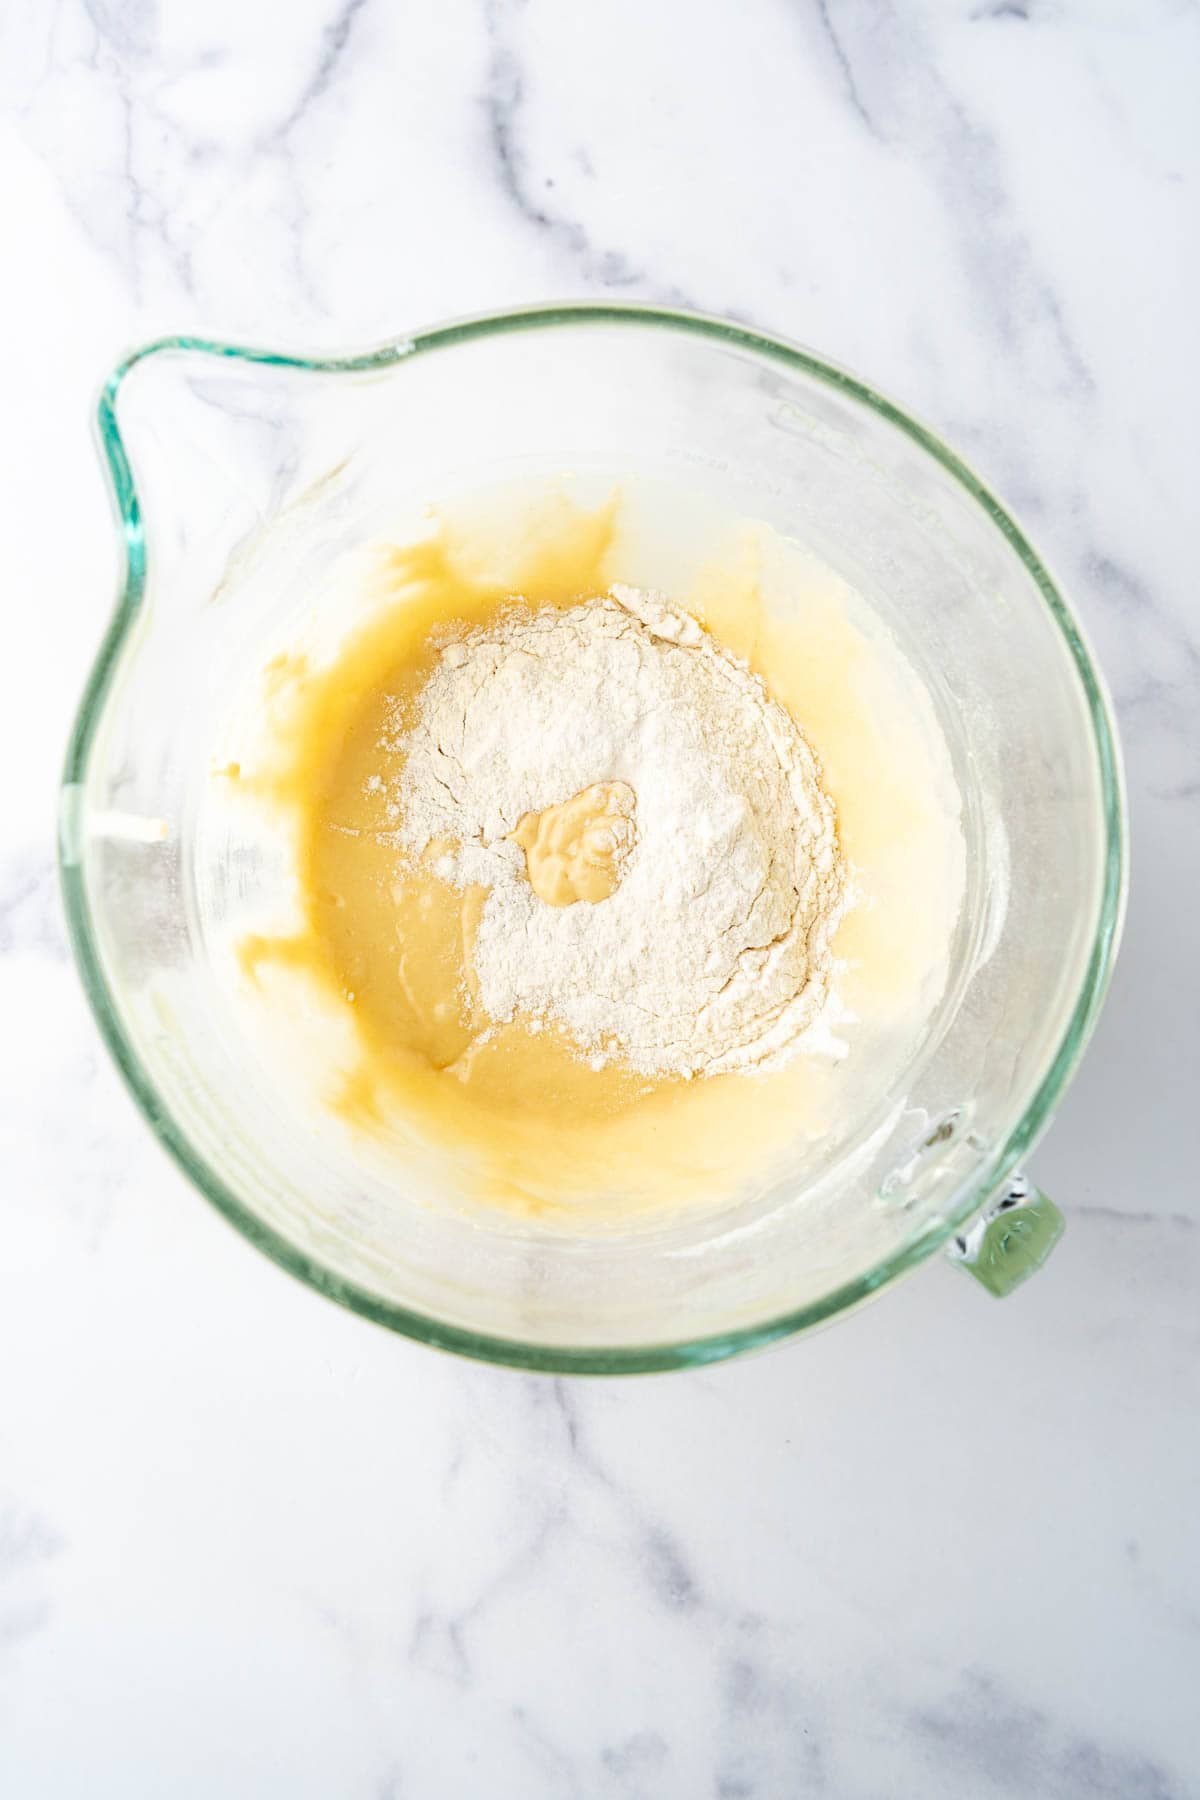
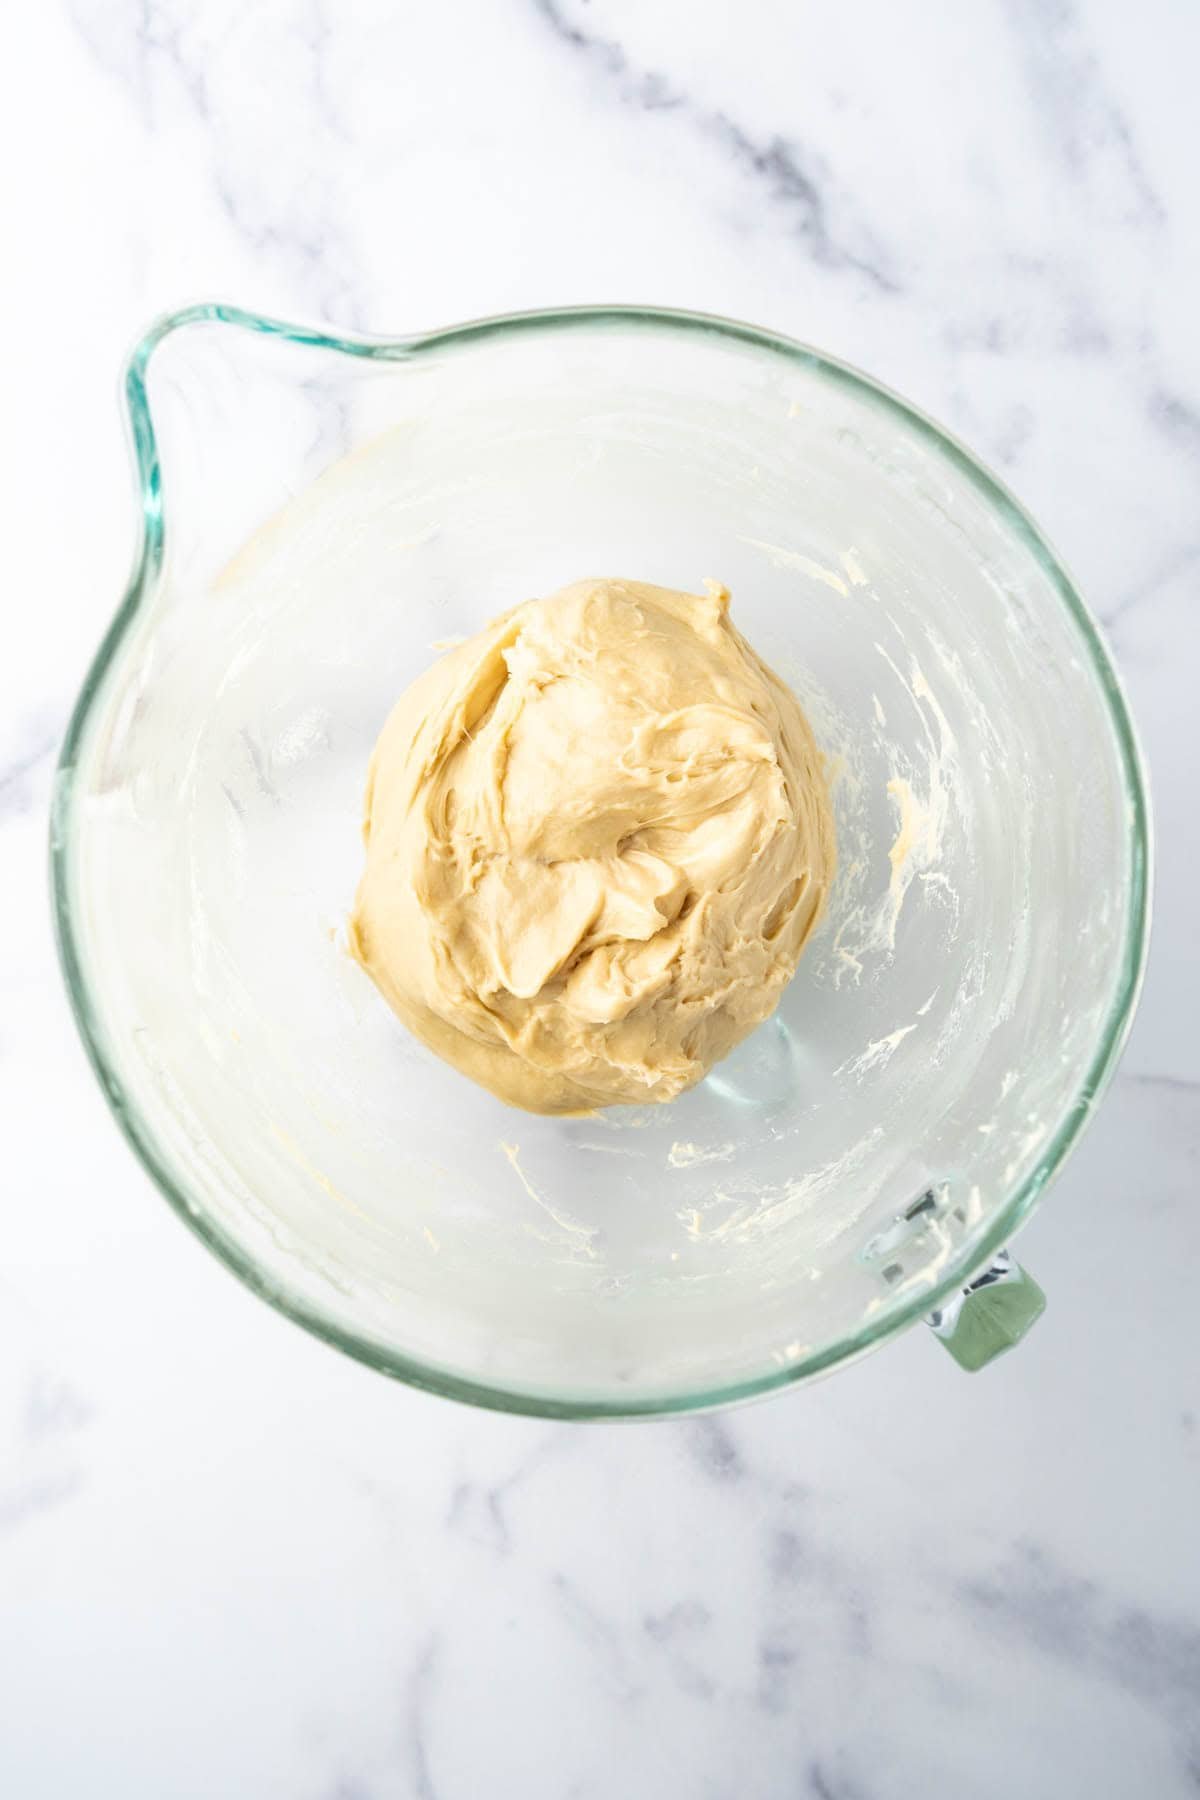
- Add remaining flour, THEN butter. Keep adding the flour, mixing with the paddle attachment the entire time. Gradually add the softened butter, a couple cubes at a time, letting the mixer do the work of mixing in the butter for you before adding more. The batter dough will eventually come together and pull away from the sides of the bowl, but it definitely has a different quality than other yeast bread doughs.

- Rise (be patient!). This is what is known as an “enriched” dough and those extra ingredients like butter and eggs can really slow down the rise time, particularly if the temperature in your house is on the cool side. Don’t rush this and really look to see that the dough has doubled in size before proceeding. Our house is usually around 68 degrees F so I bought a folding proofer that has made a HUGE difference in my rise time since I can set it to between 75 and 78 degrees F.
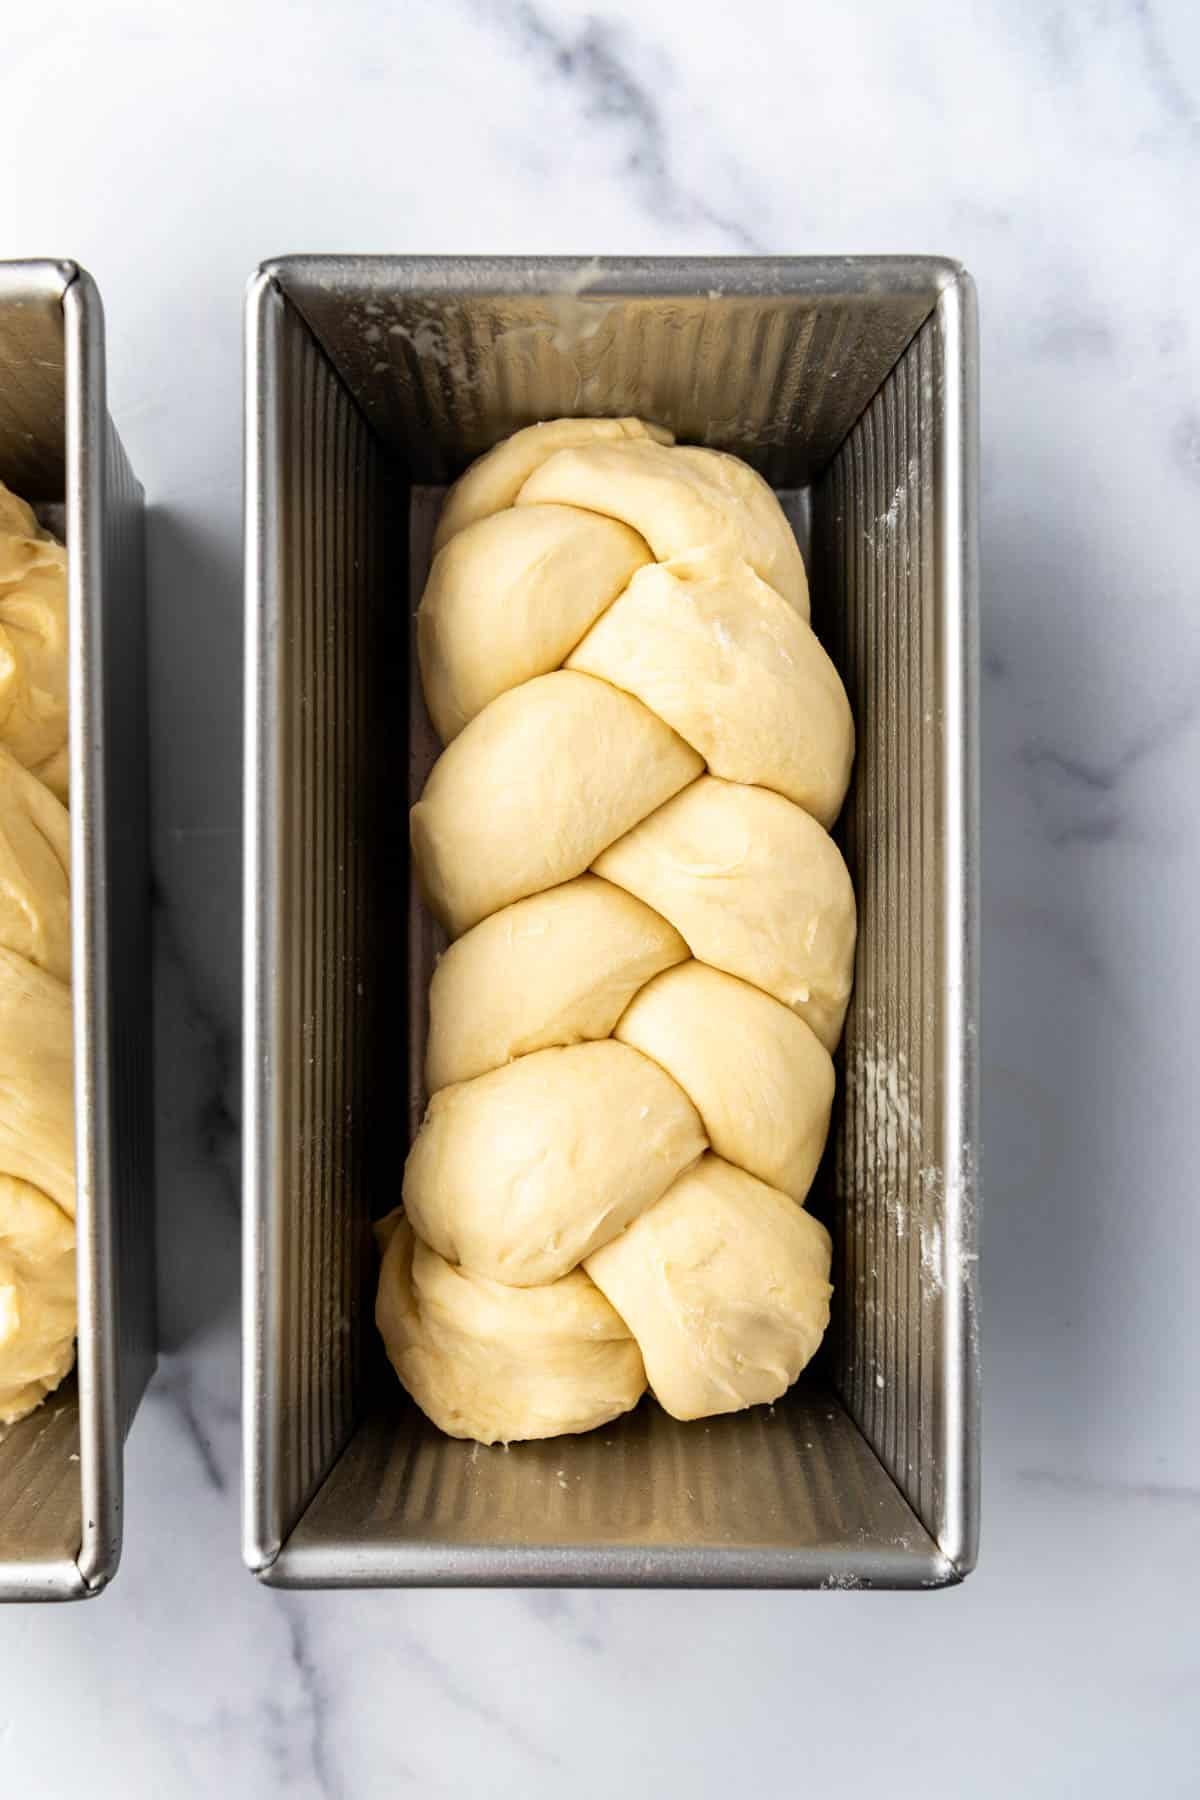
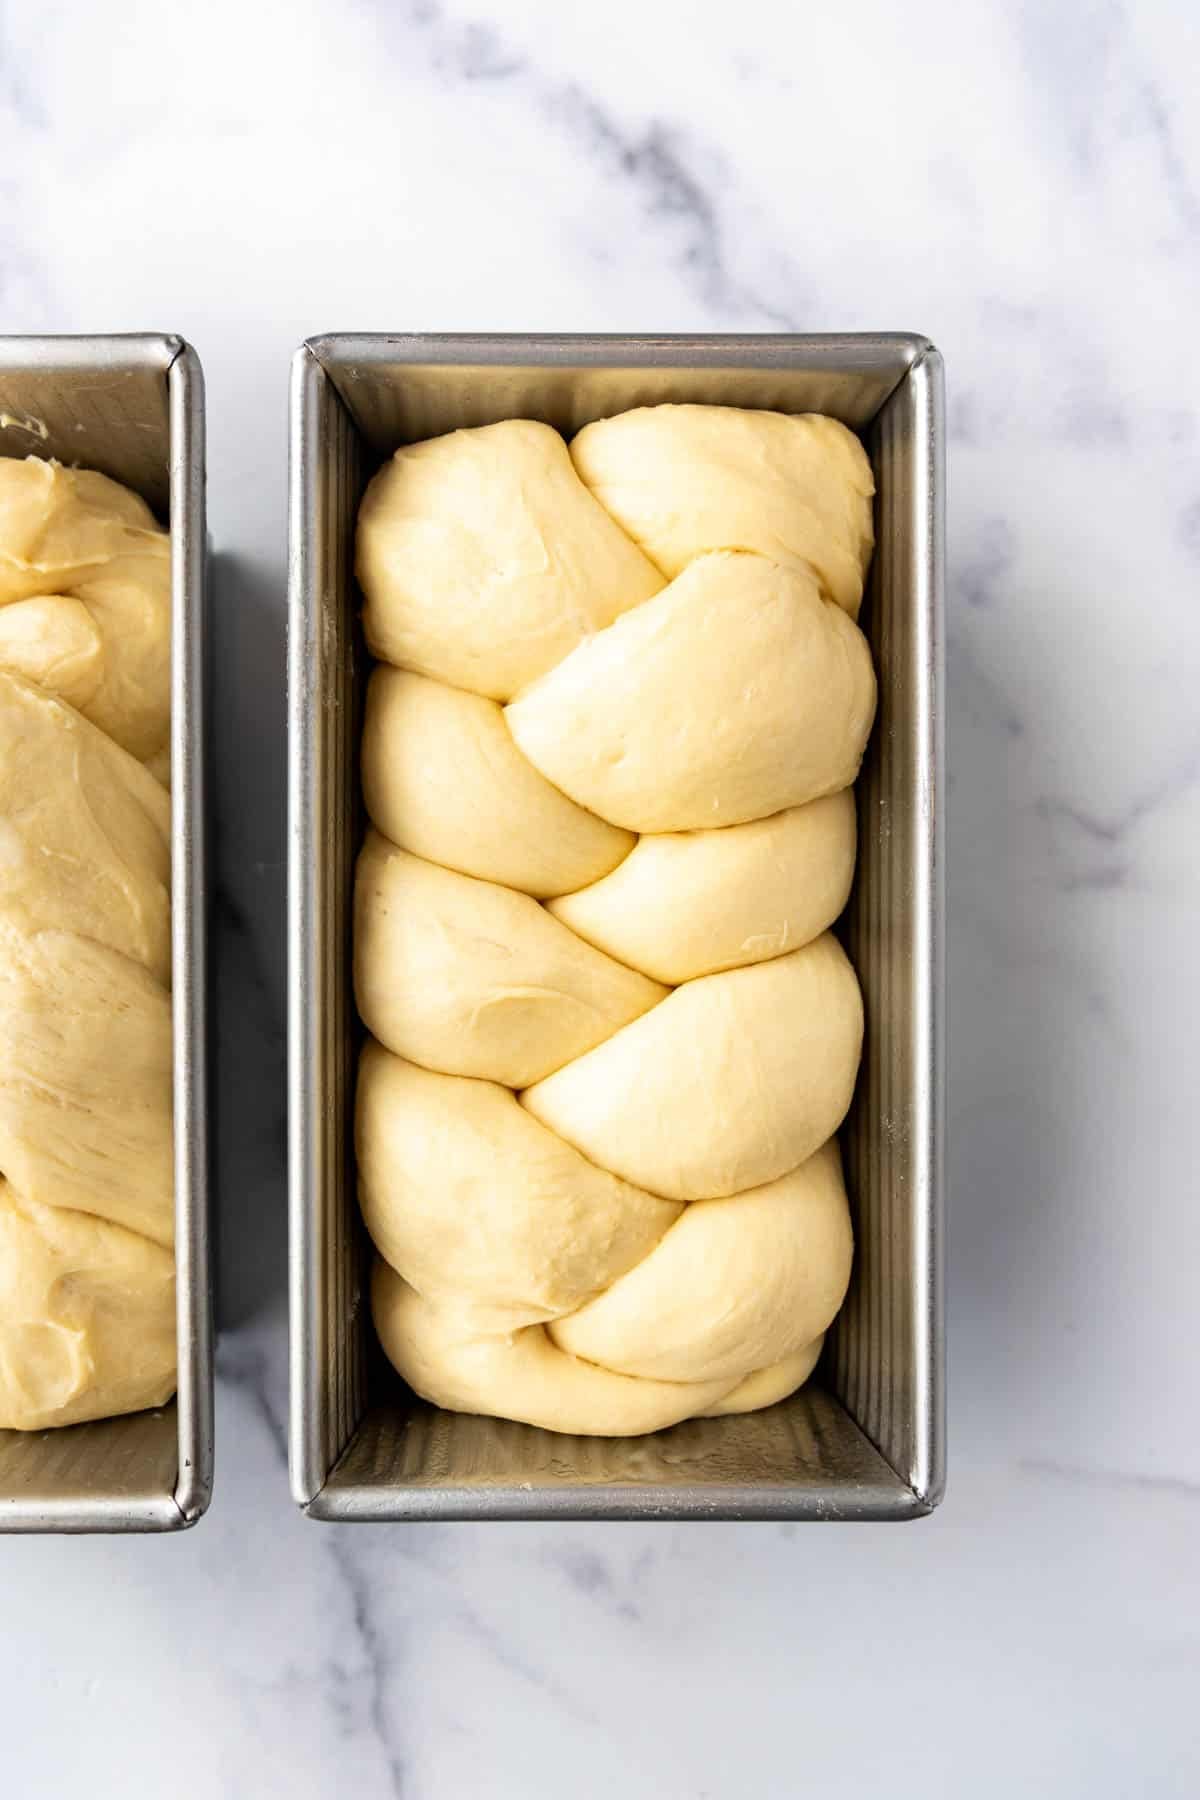
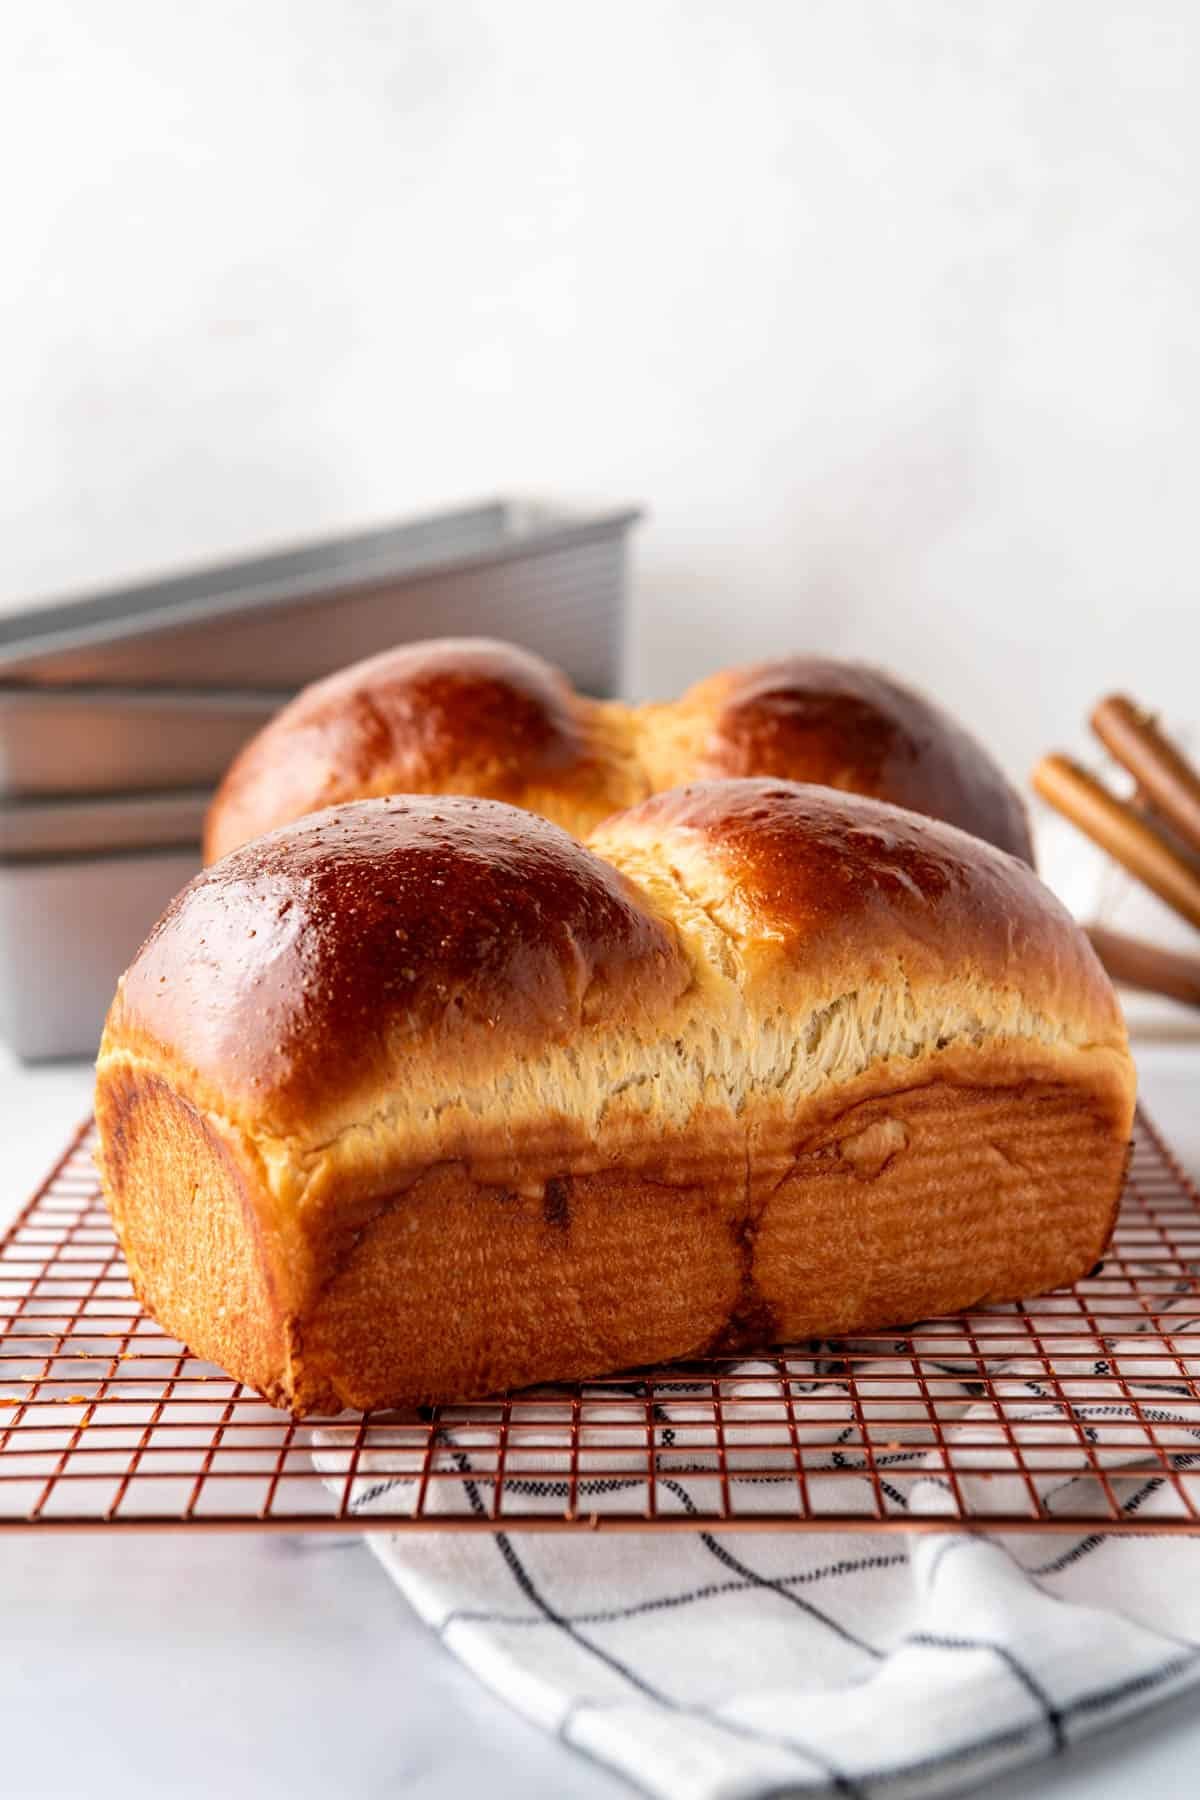
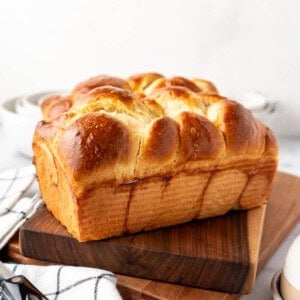
- Shape. There are so many ways to shape a loaf of brioche bread, but this three-strand braid is easy and always impressive. The full recipe makes two loaves of bread, so divide the dough in half, then divide each half into three equal-sized segments. Roll those into ropes, then braid the three strands together like any other braid. Pinch the ends together and transfer to a greased 8.5×4.5-inch loaf pan and let it rise again until puffy and reaching the top of the pan.
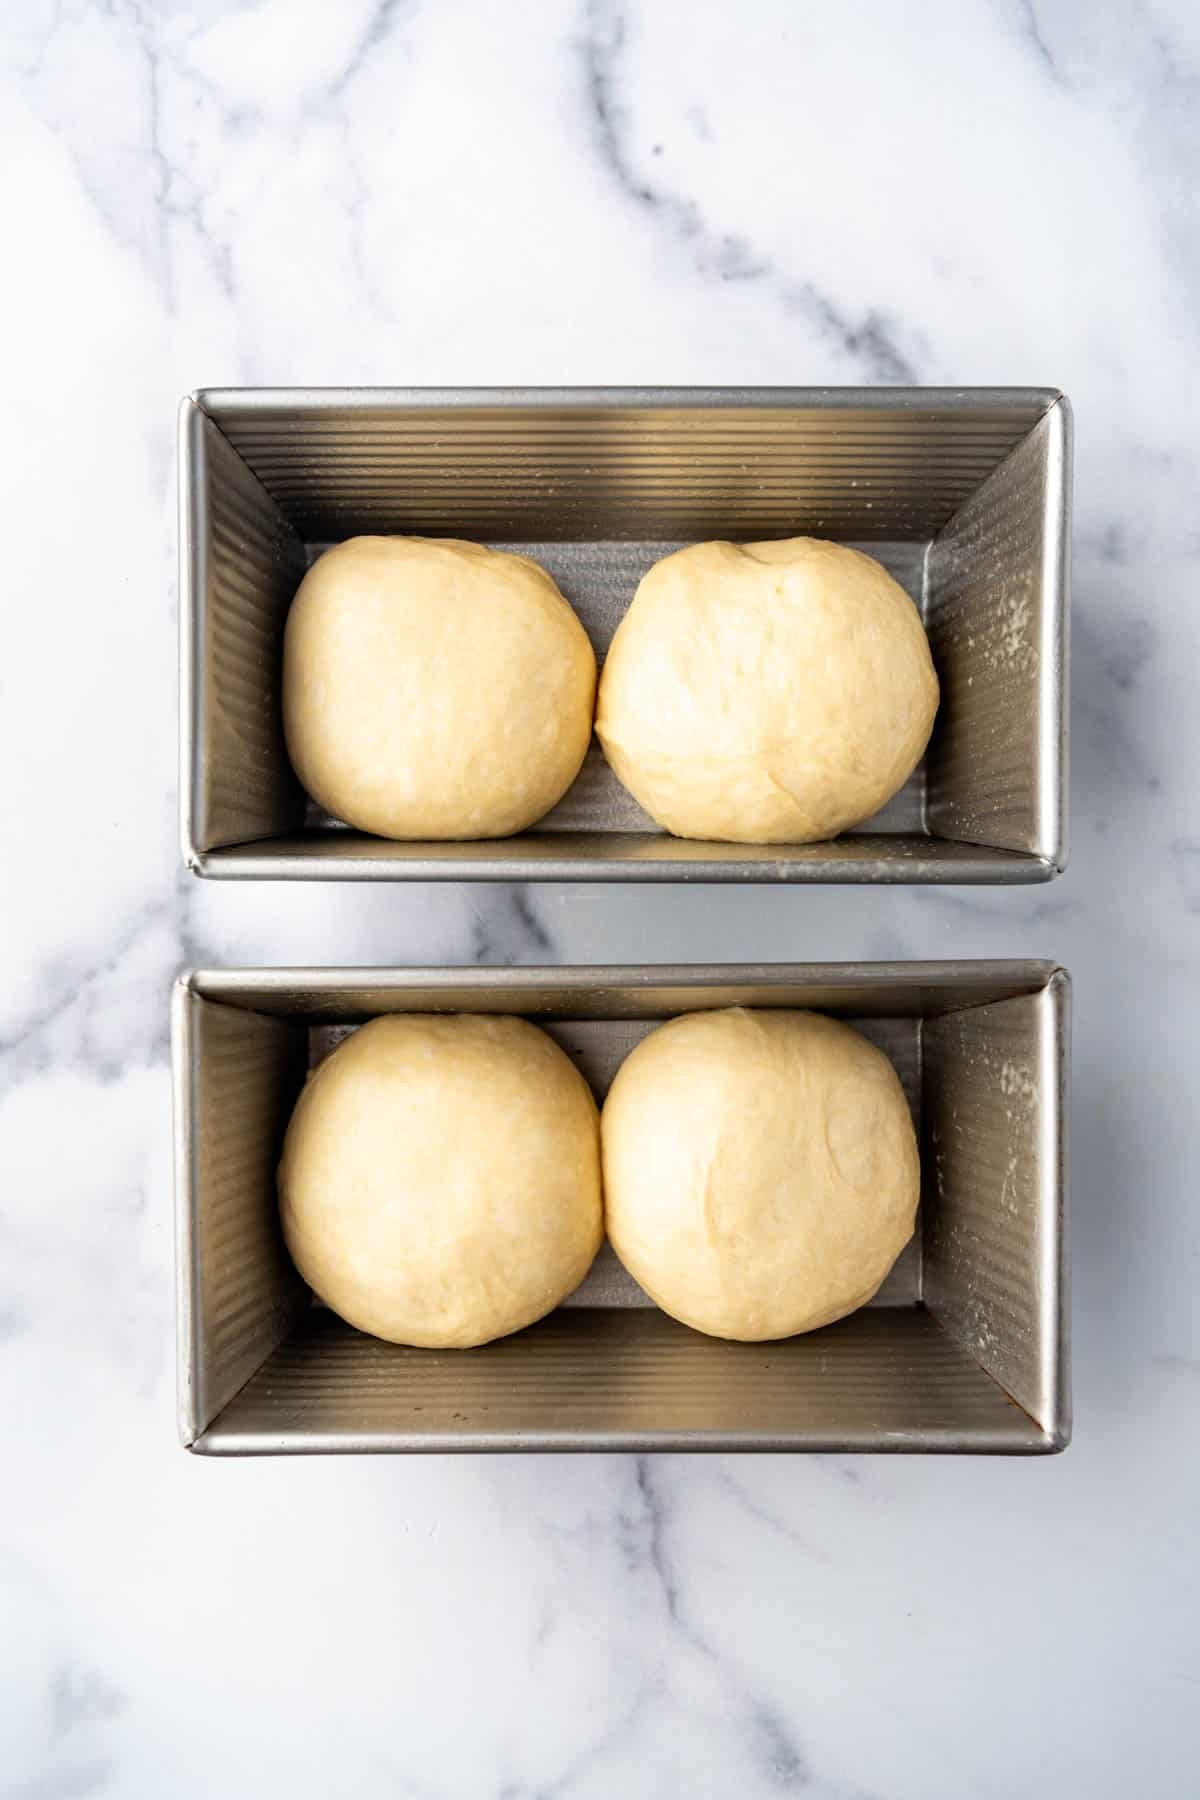
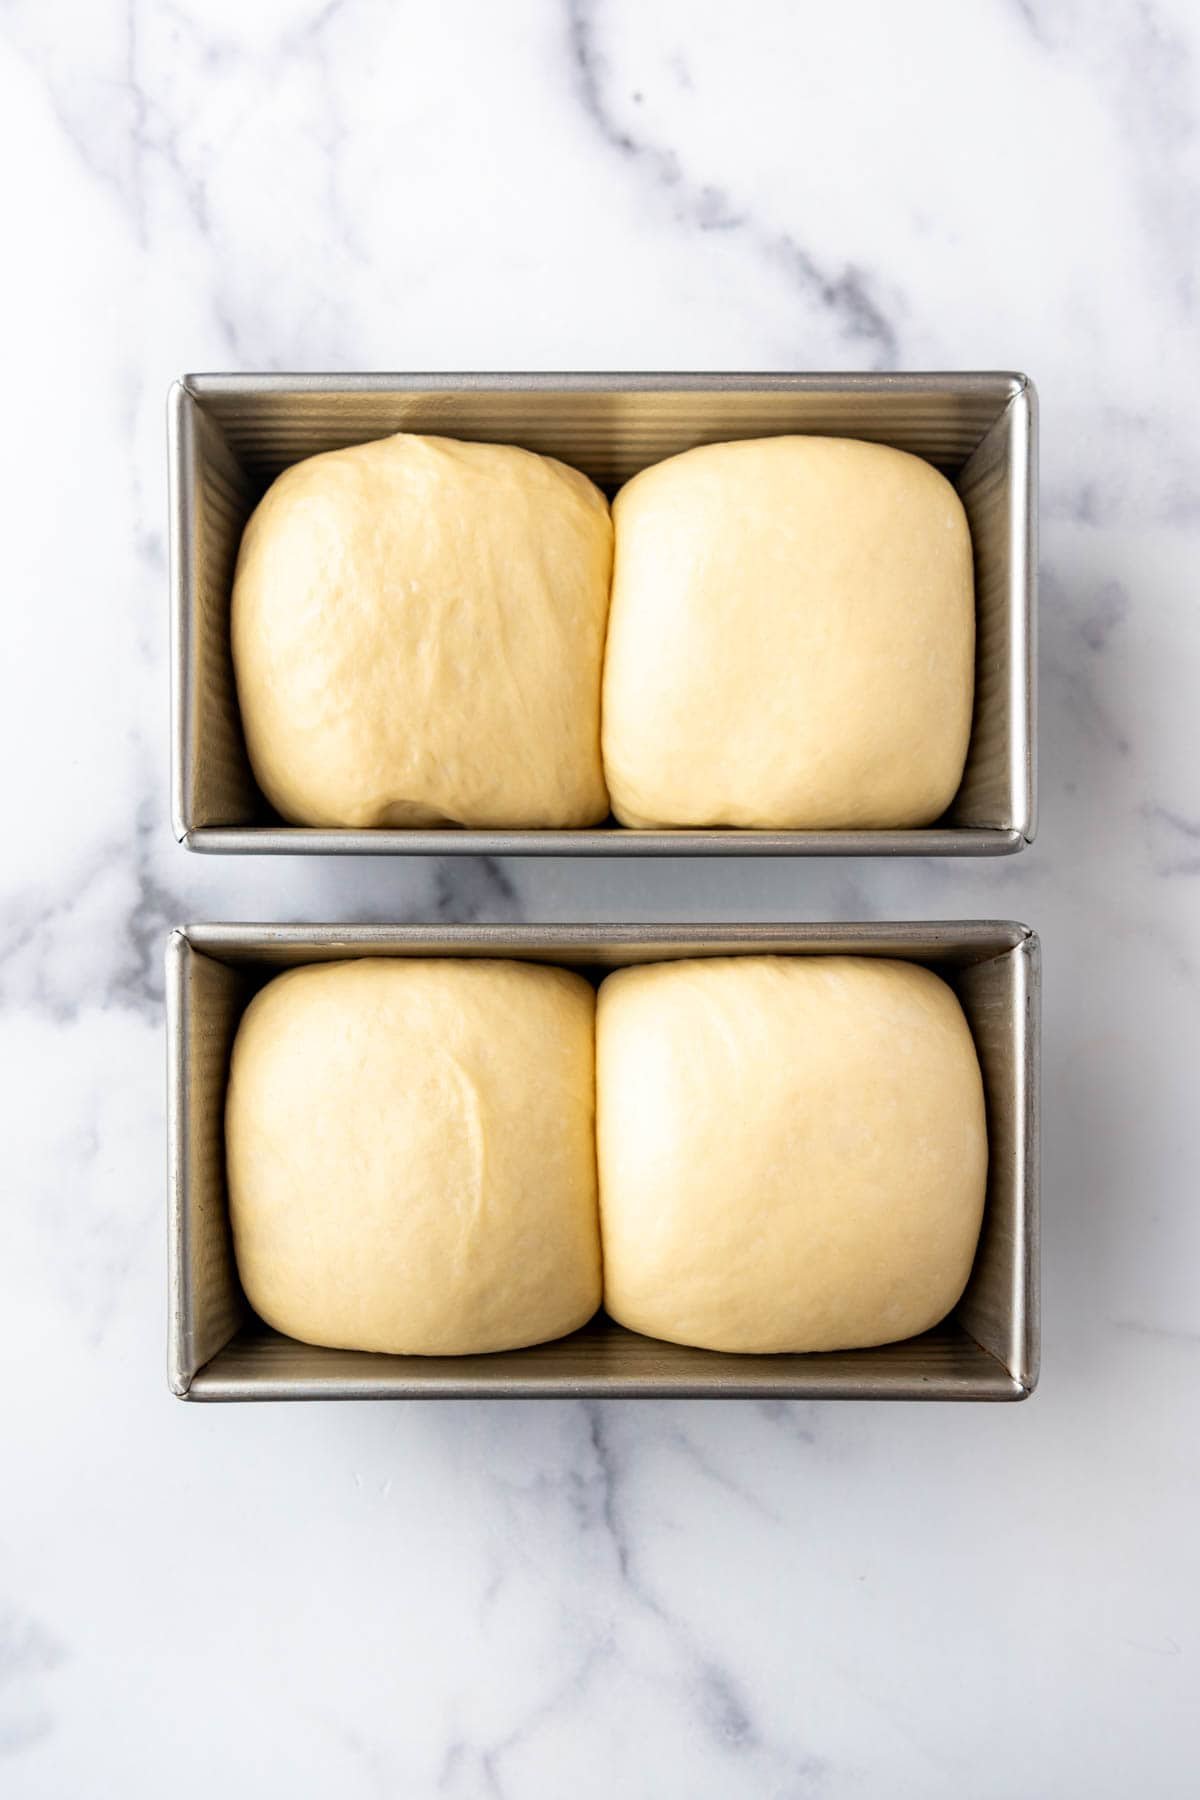
My kids and husband are immature and think this double-hump version resembles a bum, but it’s definitely one of the easiest methods I know of and I think it makes for a really beautiful loaf, too. You could also always pat the dough out into one rectangle and roll it up into a log for a typical sandwich-loaf style.
Don’t rush the final proof. Brioche should look noticeably puffy and jiggle slightly when it is ready to bake. Underproofing is the top cause of dense brioche and easy to do when it is your first time because enriched dough takes longer to proof than other doughs.
- Brush with egg wash. Just before baking, remove the plastic wrap covering the risen loaves and beat an egg in a bowl with a fork. Gently brush it over the top of the loaves for that golden-brown finish.
- Bake. Full-size loaves of this bread recipe take around 30 to 35 minutes until they are golden brown on top and sort of hollow sounding when you thud them, but you’ll level up your bread baking practice by taking the internal temperature of each loaf with an instant digital thermometer. It’s done when it reaches 190°F.
- Cool, then slice. Immediately turn the loaves out of the pans while they are still hot and let them cool on a wire cooling rack for 1 hour before slicing into them (if you can resist, which you probably can’t if you are anything like me). It really lets the structure of the bread set up so you don’t squish the loaf while slicing into it while it is still too warm.
Tips To Remember
Read the recipe through once or twice before starting and you’ll be 99% of the way to your first fabulous loaf of brioche, but here are some of my best practices to keep in mind for superior results.
- Use room-temp ingredients (especially the butter + eggs). Cold butter won’t emulsify well and can leave the dough greasy or lumpy instead of silky smooth.
- Develop the gluten before adding most of the butter. Mix/knead until the dough has strength, then add butter gradually. Visual cues to look for are when the dough starts pulling from the bowl and looking elastic.
- Add the butter slowly, in small pieces. Let each addition fully disappear into the dough before adding more. This is the difference between smooth, satiny dough and a separated mess.
- Keep the dough cool. Don’t be afraid to stop and chill the dough if it’s getting warm, especially in warm months. Warm dough makes butter melt and smear. If the mixer/bowl feels warm or the dough looks shiny/greasy, pop it in the fridge 10–20 minutes and continue.
- Use the “windowpane” test. Pinch off a small piece of dough and gently pull or stretch it between your fingers. You want a thin stretch that doesn’t tear immediately. Brioche can feel softer than lean doughs, but it should still stretch and hold together.
To Chill or Not to Chill, That is the Question
The short answer is that both approaches work, so you can choose whichever method works best for you.
When I was testing and perfecting my brioche recipe to share, I made almost a dozen loaves trying all sorts of combinations of butter, eggs, and methods, including chilling the dough overnight. This is a popular approach because it helps the butter solidify and can make the dough easier for shaping, especially if your kitchen is on the warm side. A cold overnight ferment also adds dimension to the flavor.
I love this approach when I want to make dough in the evening, then shape and bake the next day. Just knead the dough, let it rise for 2-3 hours on the counter until doubled in size, then cover and chill in the fridge overnight. The next morning, you can pull it out, shape it while the dough is cold, let it rise another 2-3 hours until puffy, then bake.
But truly, a same-day approach ended up being my preference because the flavor difference wasn’t that noticeable and the dough is plenty workable after its first rise.
More Homemade Bread Recipes
Brioche Bread
Ingredients
- 1/2 cup (113g) milk
- 1/4 cup granulated sugar
- 2 teaspoon (6g) instant yeast
- 1 1/4 teaspoons (9g) salt
- 2 teaspoons vanilla extract
- 4 large eggs
- 3 3/4 cups (529g) all-purpose flour
- 1/2 cup (113g) salted butter
- egg wash for brushing the dough

Instructions
- Heat milk for about 45 seconds in a microwave safe bowl until it is between 90℉ and 120℉.
- In a bowl, combine the warm milk, sugar, yeast, vanilla, salt, and 1 cup of the flour. Beat using the paddle attachment until smooth and combined.½ cup (113g) milk, ¼ cup granulated sugar, 2 teaspoon (6g) instant yeast, 1 ¼ teaspoons (9g) salt, 2 teaspoons vanilla extract
- Add the eggs one at a time and mix well after each addition. Add remaining flour, about 1 cup at a time.4 large eggs, 3 ¾ cups (529g) all-purpose flour
- Once all of the flour has been added, start adding the butter about 2 tablespoons at a time while mixing on medium speed. Mix between each addition until the butter is incorporated before adding the next chunk of butter. Once all of the butter has been added, beat for 6-8 minutes. The dough should be very soft and sticky but clear the bottom and sides of the bowl. Stop to scrape the bowl once or twice while mixing.½ cup (113g) salted butter
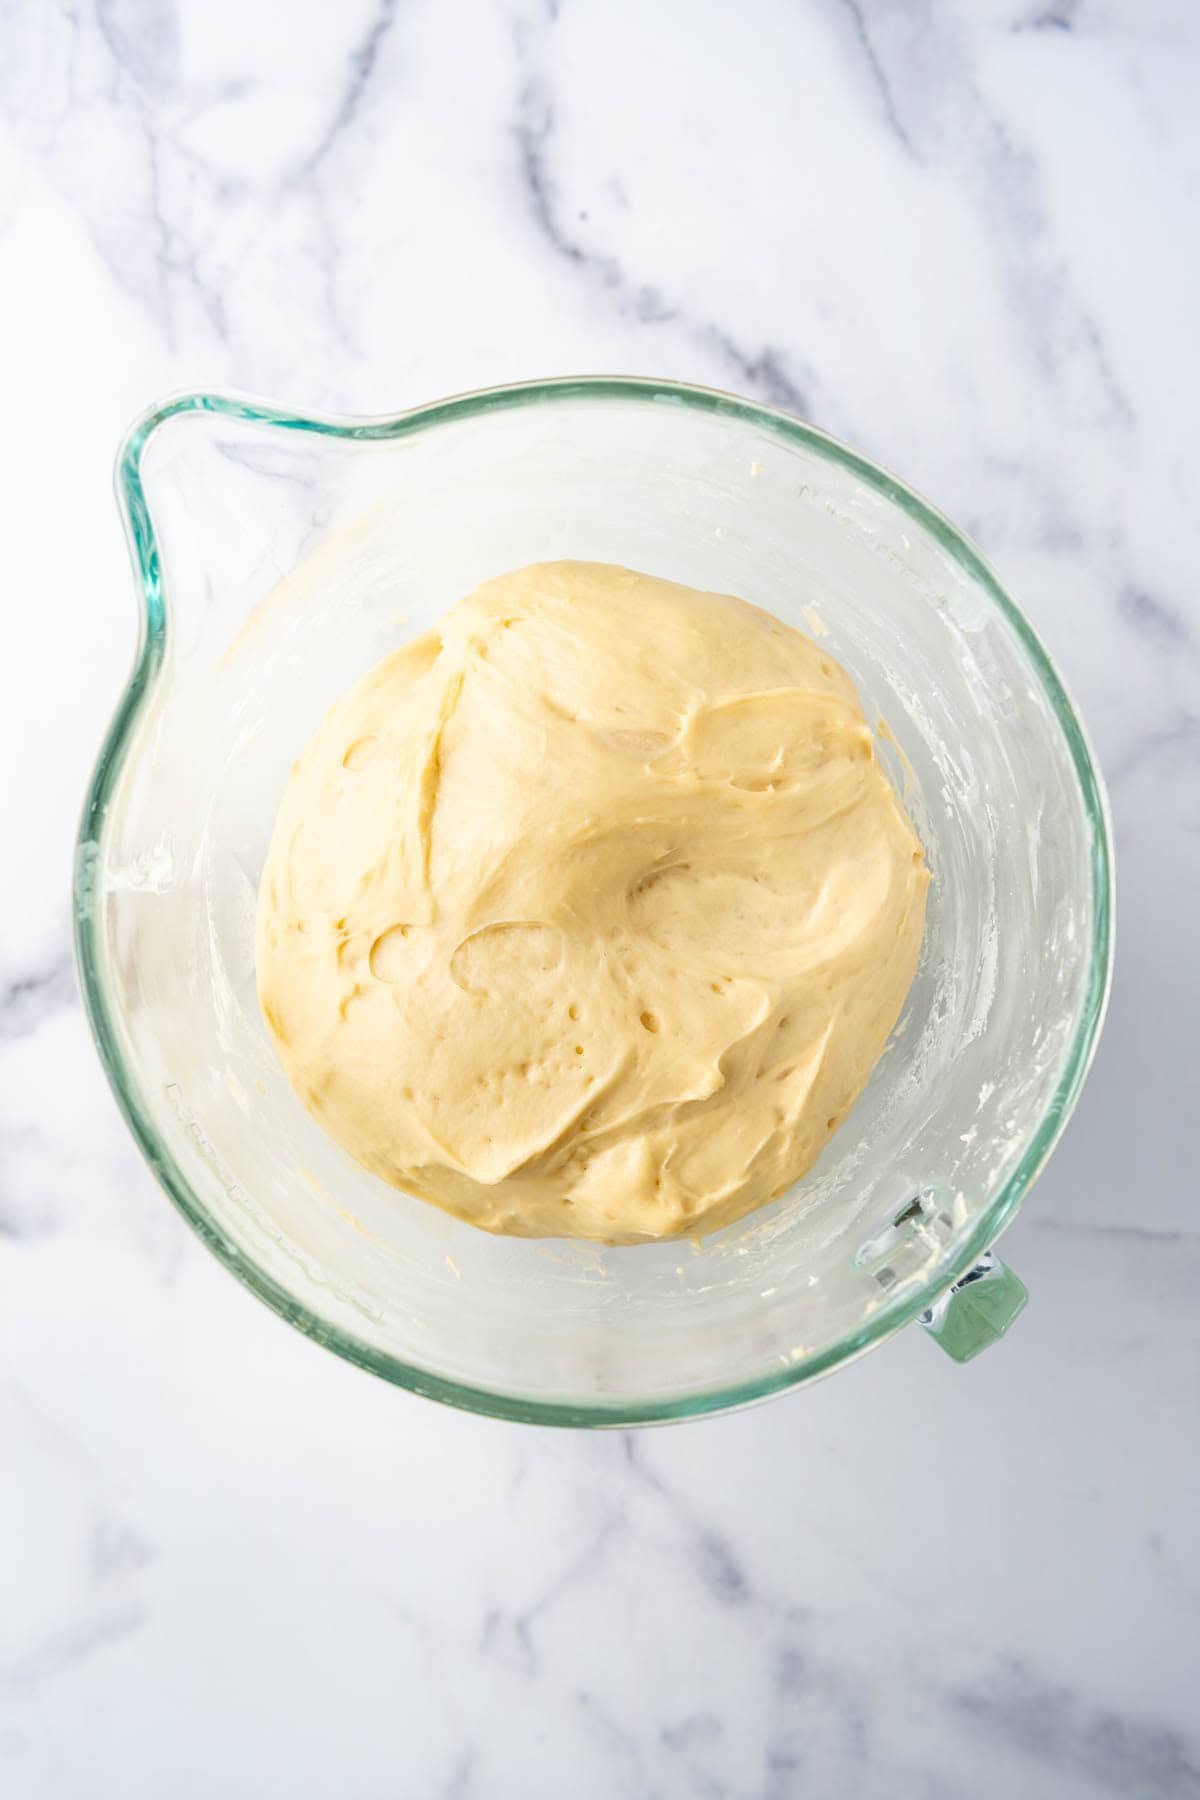
- Transfer the dough to a lightly oiled boil, then cover with plastic wrap and let rise at room temperature for 1 ½ to 2 hours or until doubled in size. Keep in mind that enriched doughs are heavier and take longer to rise, especially if the room temperature is cooler. If your house is around 68℉ or cooler it can take up to 3 hours to double in size. At this point, you can transfer the dough to the fridge to chill overnight, if desired.
- SHAPING OPTION 1 (Braided Loaf): Once the dough has doubled in size, divide it into 6 equal portions and shape into ropes that are about 6-8 inches longer than your bread pan. Braid three of the strands together, then pinch the ends together and tuck the ends under before placing in a 8.5×4.5-inch buttered loaf pan. Cover and let rise until the dough reaches the rim, filling the pan.
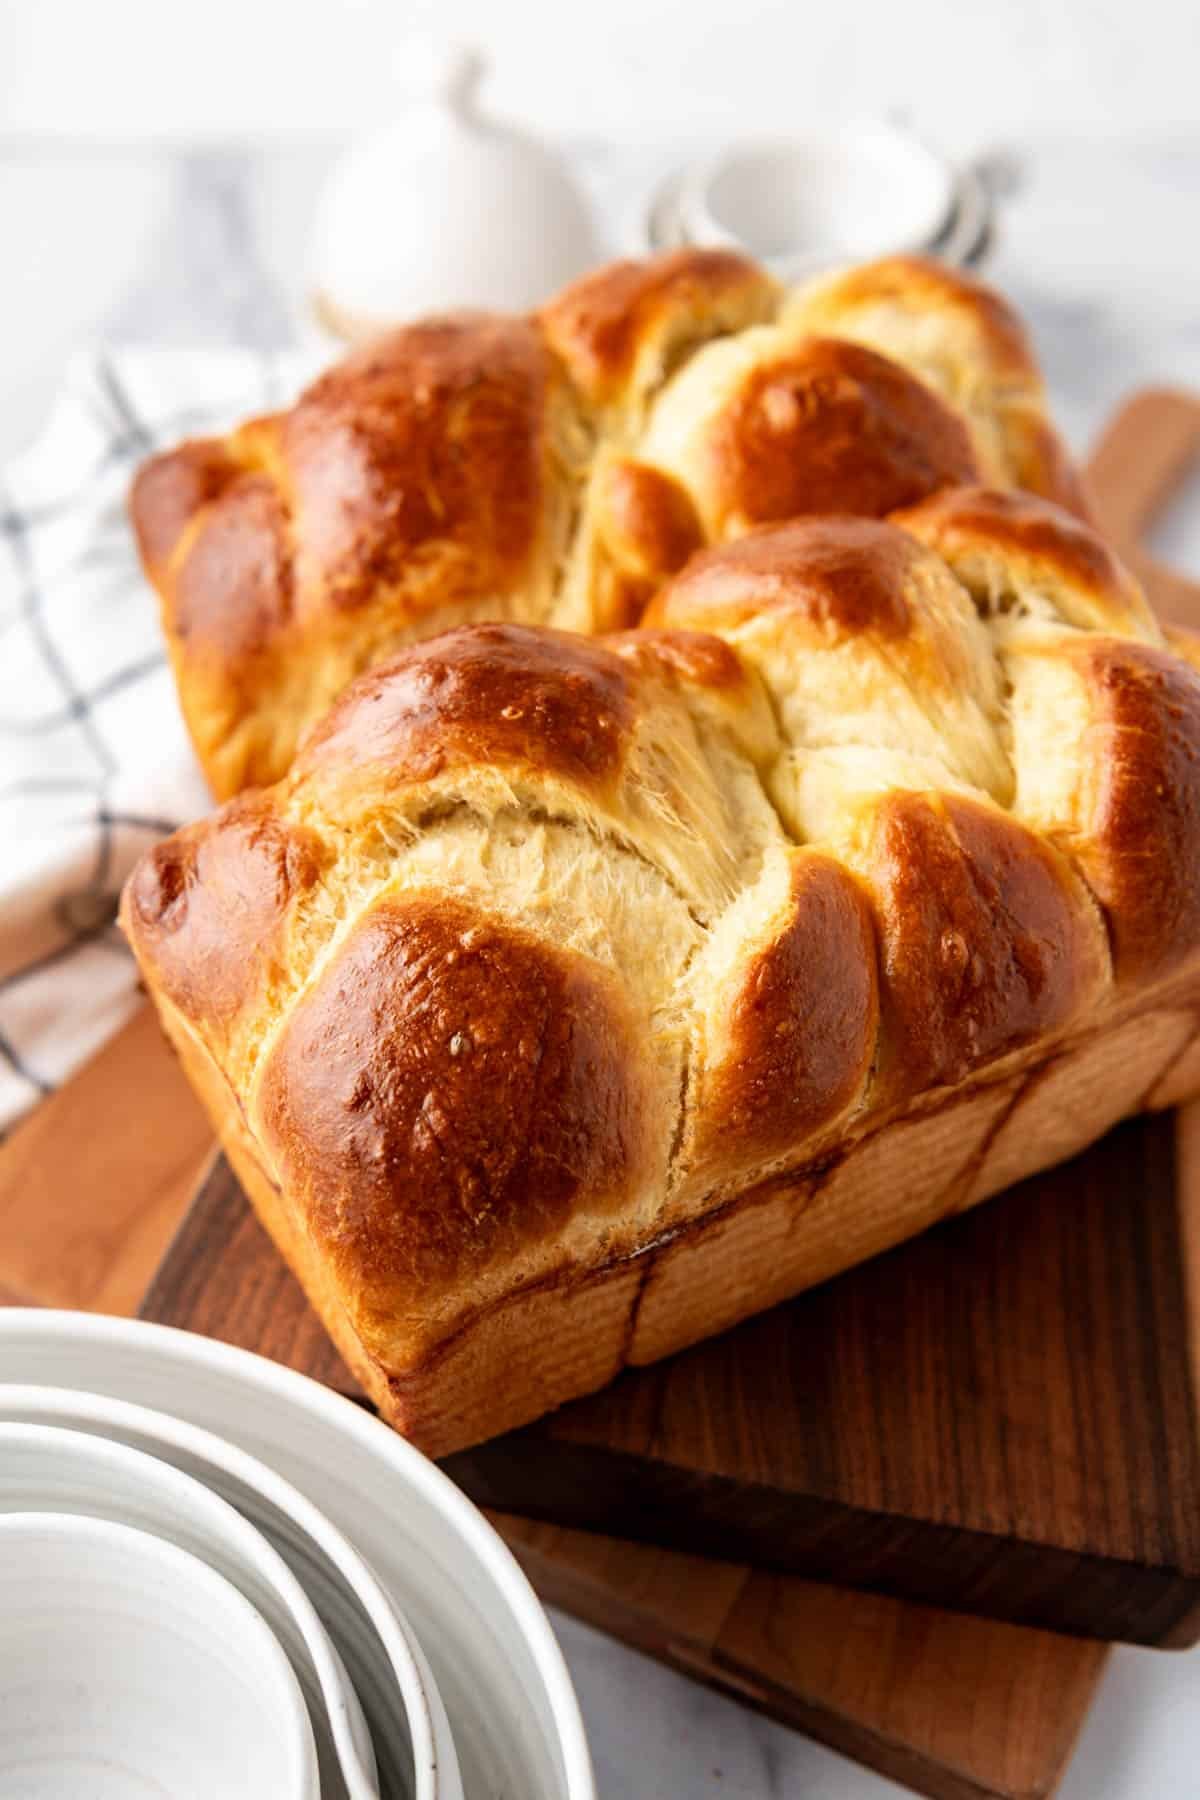
- SHAPING OPTION 2 (Double-hump Loaf): Once the dough has doubled in size, divide it into 4 equal portions and shape into balls. Place two balls of dough side-by-side into each 8.5×4.5-inch buttered loaf pan. Cover and let rise until the dough reaches the rim, filling the pan and creating a 2-humped brioche loaf with a seam in the middle.
- Loosely cover with plastic wrap and let rise again for another 1 ½ to 2 hours or until puffy and above the rim of the loaf pans. If you chilled the dough in the fridge overnight, this second rise is likely to take more like 3 hours.
- During the last 30 minutes of the rising time, preheat the oven to 350℉ (177℃). Before baking, beat an egg in a small bowl and gently brush it on the top of the loaves with a pastry brush. Sprinkle with Swedish sugar pearls, if desired for a sweet brioche loaf. Bake for 30 to 35 minutes or until golden brown on top and an instant digital thermometer reads 190℉ when you test the bread. The bread will also sound hollow when thumped.egg wash
- Remove the loaves from the pans immediately after removing them from the oven and let them cool on a wire cooling rack for 1 hour before slicing and serving.
Notes
- Alternate Shaping Methods: There are lots of ways to shape brioche loaves. You can pat it into a large rectangle and roll it up for a standard sandwich-style loaf, do a 3-strand braid, divide the dough into 2, 4, or 8 balls and arrange them in your loaf pan so they rise into a loaf with a beautiful appearance.
- Storage: Brioche bread is best served fresh the day it is made, but it will keep for about 5-7 days on the counter at room temperature. Store it covered in an airtight container or with plastic wrap. We like it for sandwiches for 1-2 days, then as toast or French toast beyond that.
- Freezing: You can freeze brioche bread for up 2-3 months. Wrap it well with plastic wrap to protect it and keep it stored in an airtight container in the freezer.
- Active Dry Yeast: If using active dry yeast, the recipe stays the same, but you need to proof the yeast with the warm milk and 1 teaspoon of the sugar for 5-10 minutes in a bowl until foamy to wake it up before proceeding with the recipe.
- Sweeter Brioche: I tested this recipe with up to ½ cup of sugar (double the amount above) and it made a delicious, noticeably sweeter brioche that we loved. It was a little too much for sandwiches, but great for a treat or shaped into rolls with sugar pearls sprinkled on top.
- Richer Brioche: I also tried this recipe using 1 full cup of butter (double the amount above) and 5 eggs instead of 4 and it worked great too. The main difference with this approach was that I definitely needed to chill the dough for at least 3-4 hours after the initial rise so it was workable before shaping so the butter could solidify and make the dough easier to handle. While we also enjoyed this richer version, it ultimately didn’t make the cut for our favorite brioche (and is more expensive to make because of the extra butter and eggs!).
Nutrition
Recipe FAQ’s
Absolutely! Brioche buns are superior to any store-bought buns. They are plush, slightly sweet, sturdy enough for burgers, and don’t fall apart. I highly recommend it.
Yes, you can add 1-2 tablespoons of orange zest, 1 teaspoon of ground cardamom, ¾ cup chocolate chips, dried fruit, or other additions to the loaf. For zest or spices, you can add them with the flour before the butter. For chunkier additions like chocolate chips, knead them in during the last minute of kneading.
Once your loaf is a day or two old, the slightly stale brioche soaks up the eggy custard for French toast like a dream, then fries up crisp outside and custardy inside. It’s divine and the only bread that rivals it (in my opinion) is my homemade challah bread.