This post was created as in partnership with Imperial Sugar. All thoughts and opinions are 100% my own.
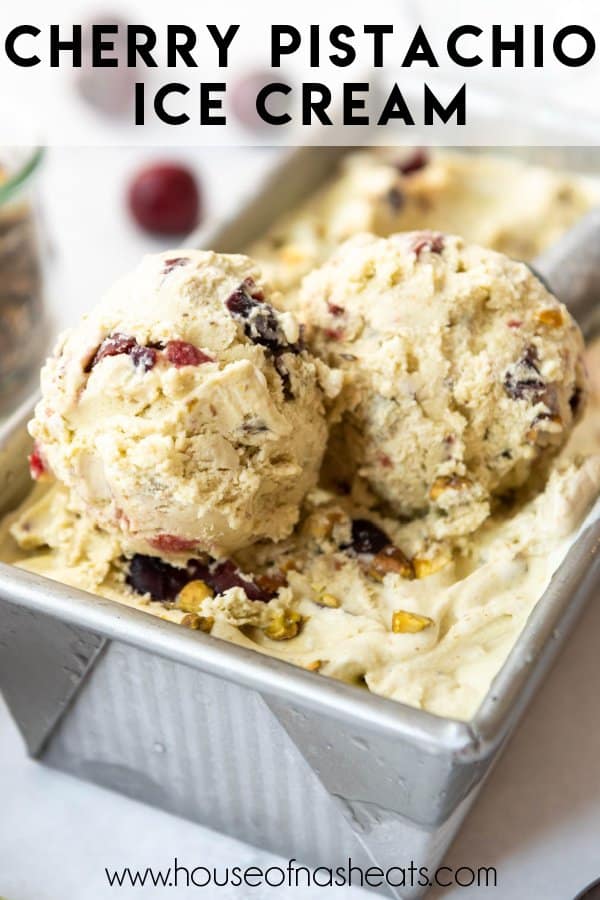
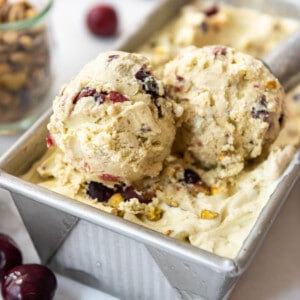
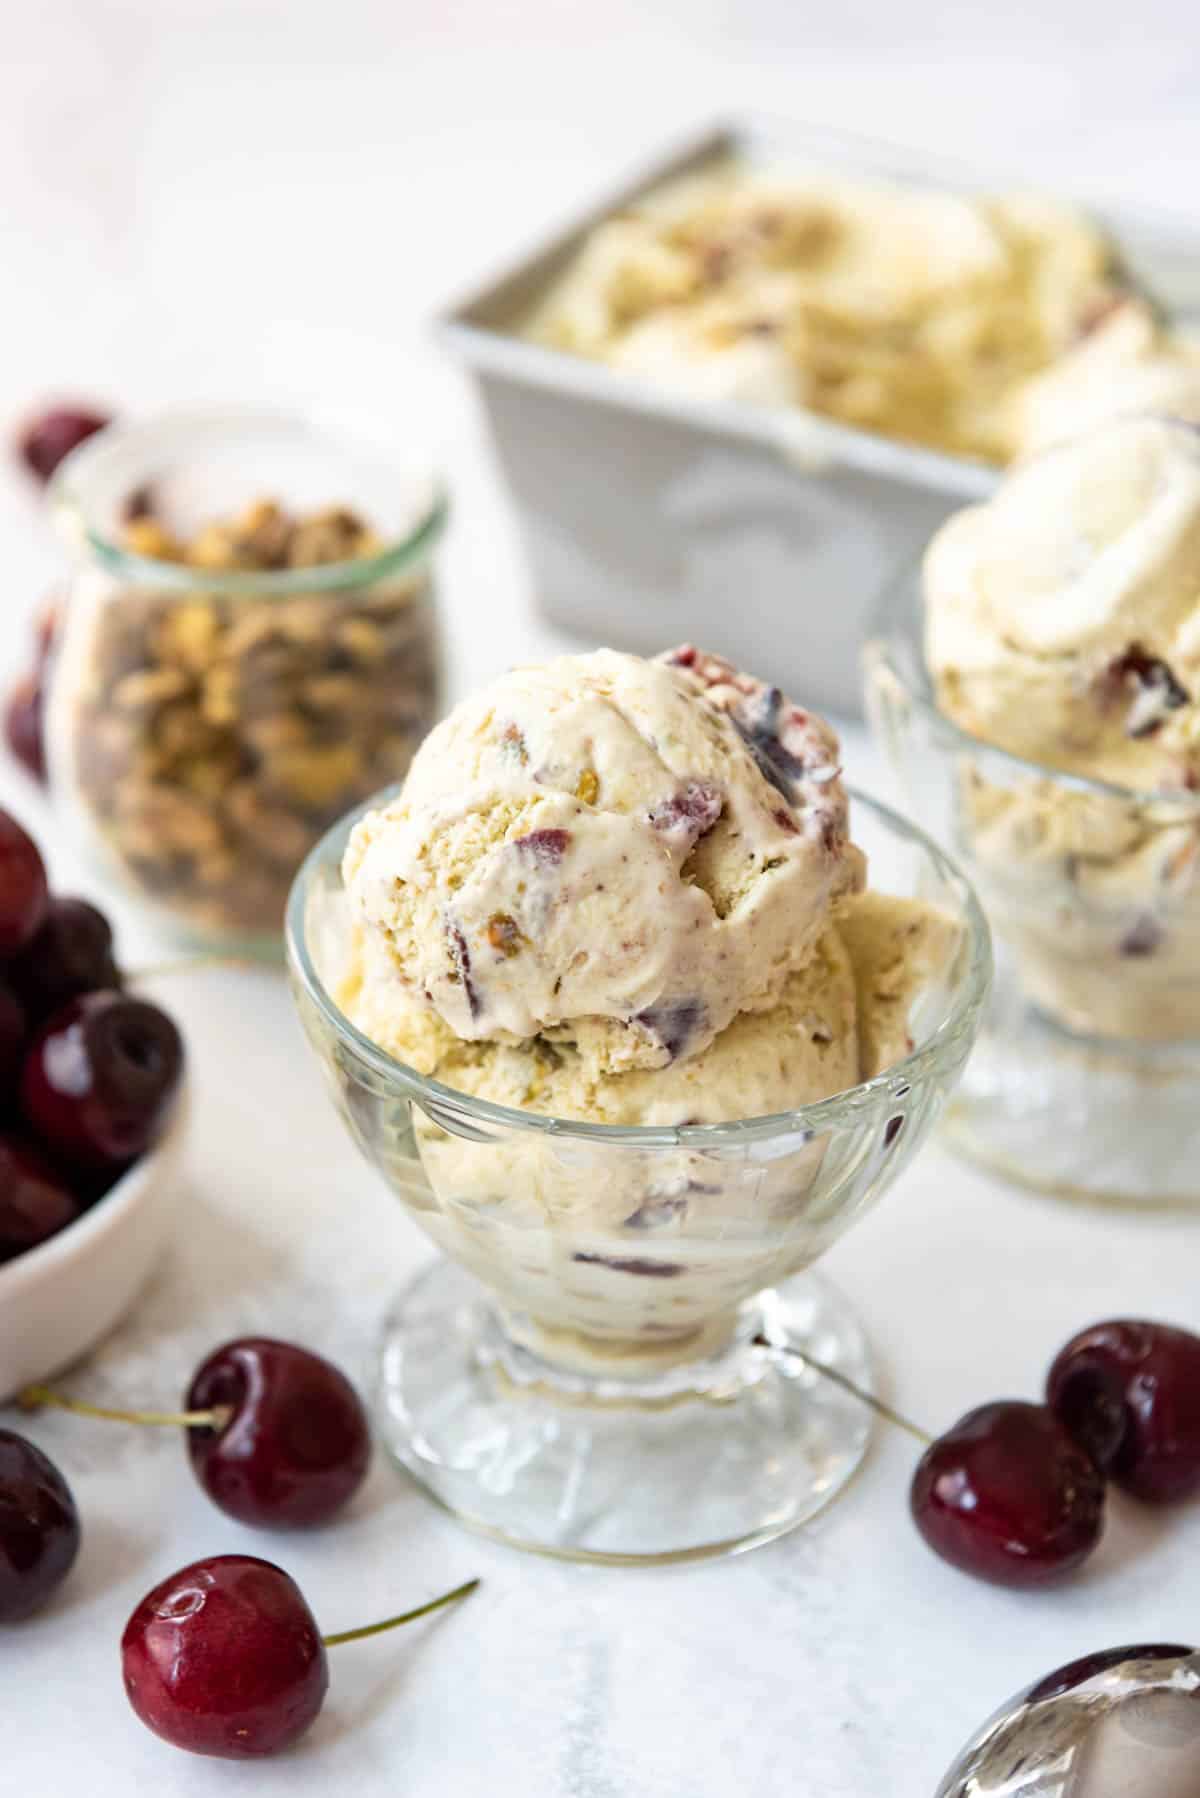
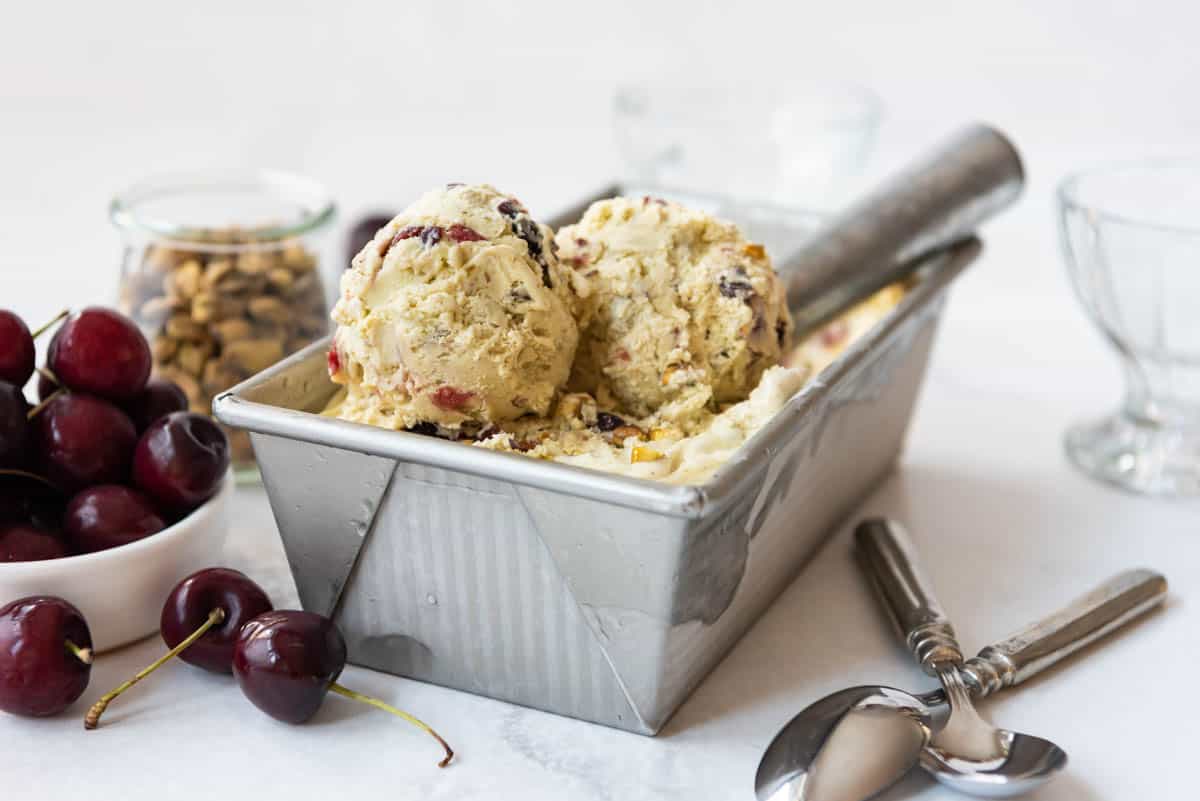
You’ll love the texture and crunch of this Cherry Pistachio Ice Cream. The combination of sweet cherries with salty pistachios makes for the best scoop of ice cream in your life.
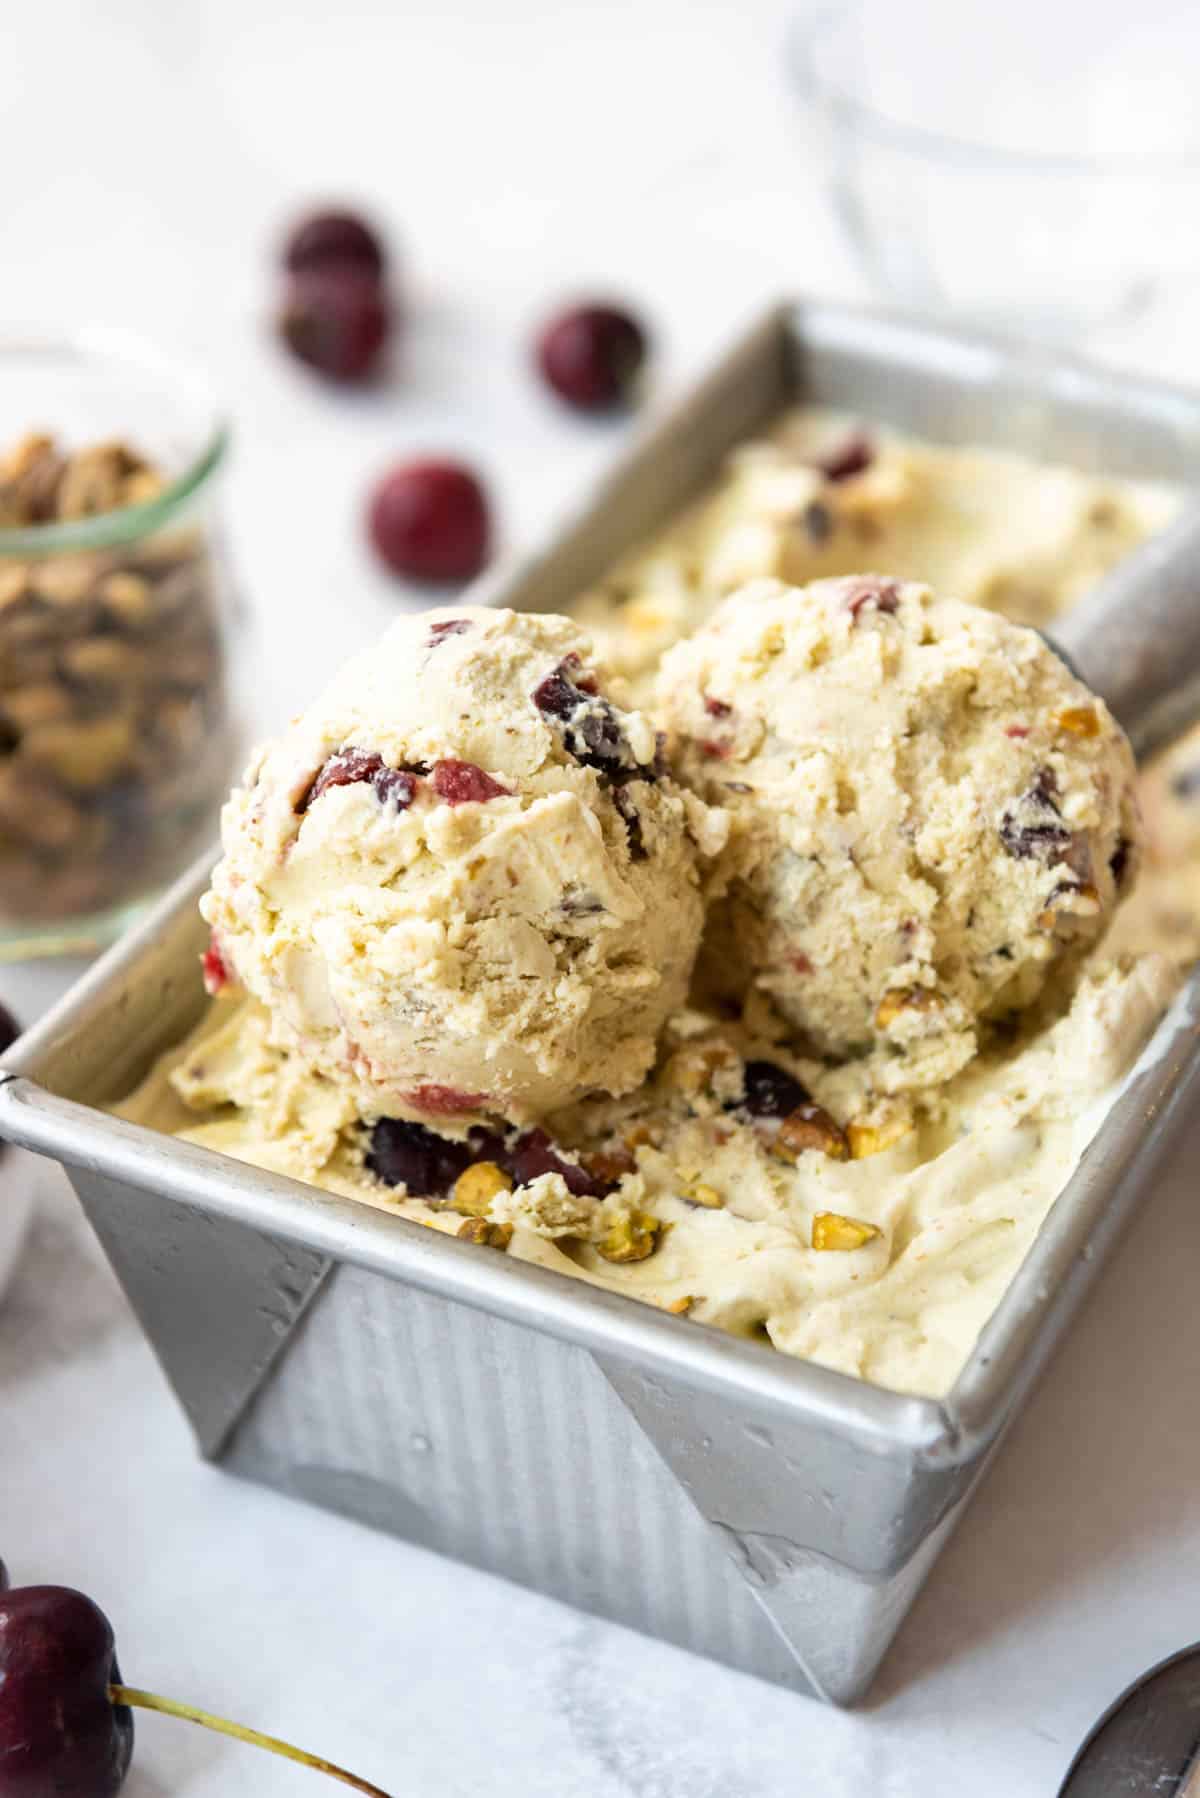
Table of Contents
There’s nothing better than a scoop of ice cream in the summertime! My shave ice loving kids might disagree, but I’m a double scoop girl for life. Soft serve just isn’t the same.
When it comes to choosing flavors at an ice cream parlor, I always do either fruit or nuts because they are my favorite. That’s why this cherry pistachio ice cream is perfect – it has both fruit and nuts in every bite! So I could technically have just a single scoop and satisfy both cravings! I’ll still always take a double scoop though.
I started with my favorite custard base made with the perfect balance of heavy cream, milk, eggs, and sugar, then steeped a bunch of finely ground pistachios to infuse their flavor into the ice cream base. You’ll need a fine mesh sieve to strain the base before freezing though because otherwise you’ll end up with gritty ice cream.
Chop up some frozen sweet cherries and add them in right at the end of churning and you’ll have some of the best ice cream of your life if you happen to be a fan of cherries and pistachios or spumoni ice cream!
If you love old-fashioned ice cream flavors like this, be sure to also try our Butter Pecan Ice Cream, Burnt Almond Fudge Ice Cream, and Mint Chocolate Chip Ice Cream!
What You’ll Need
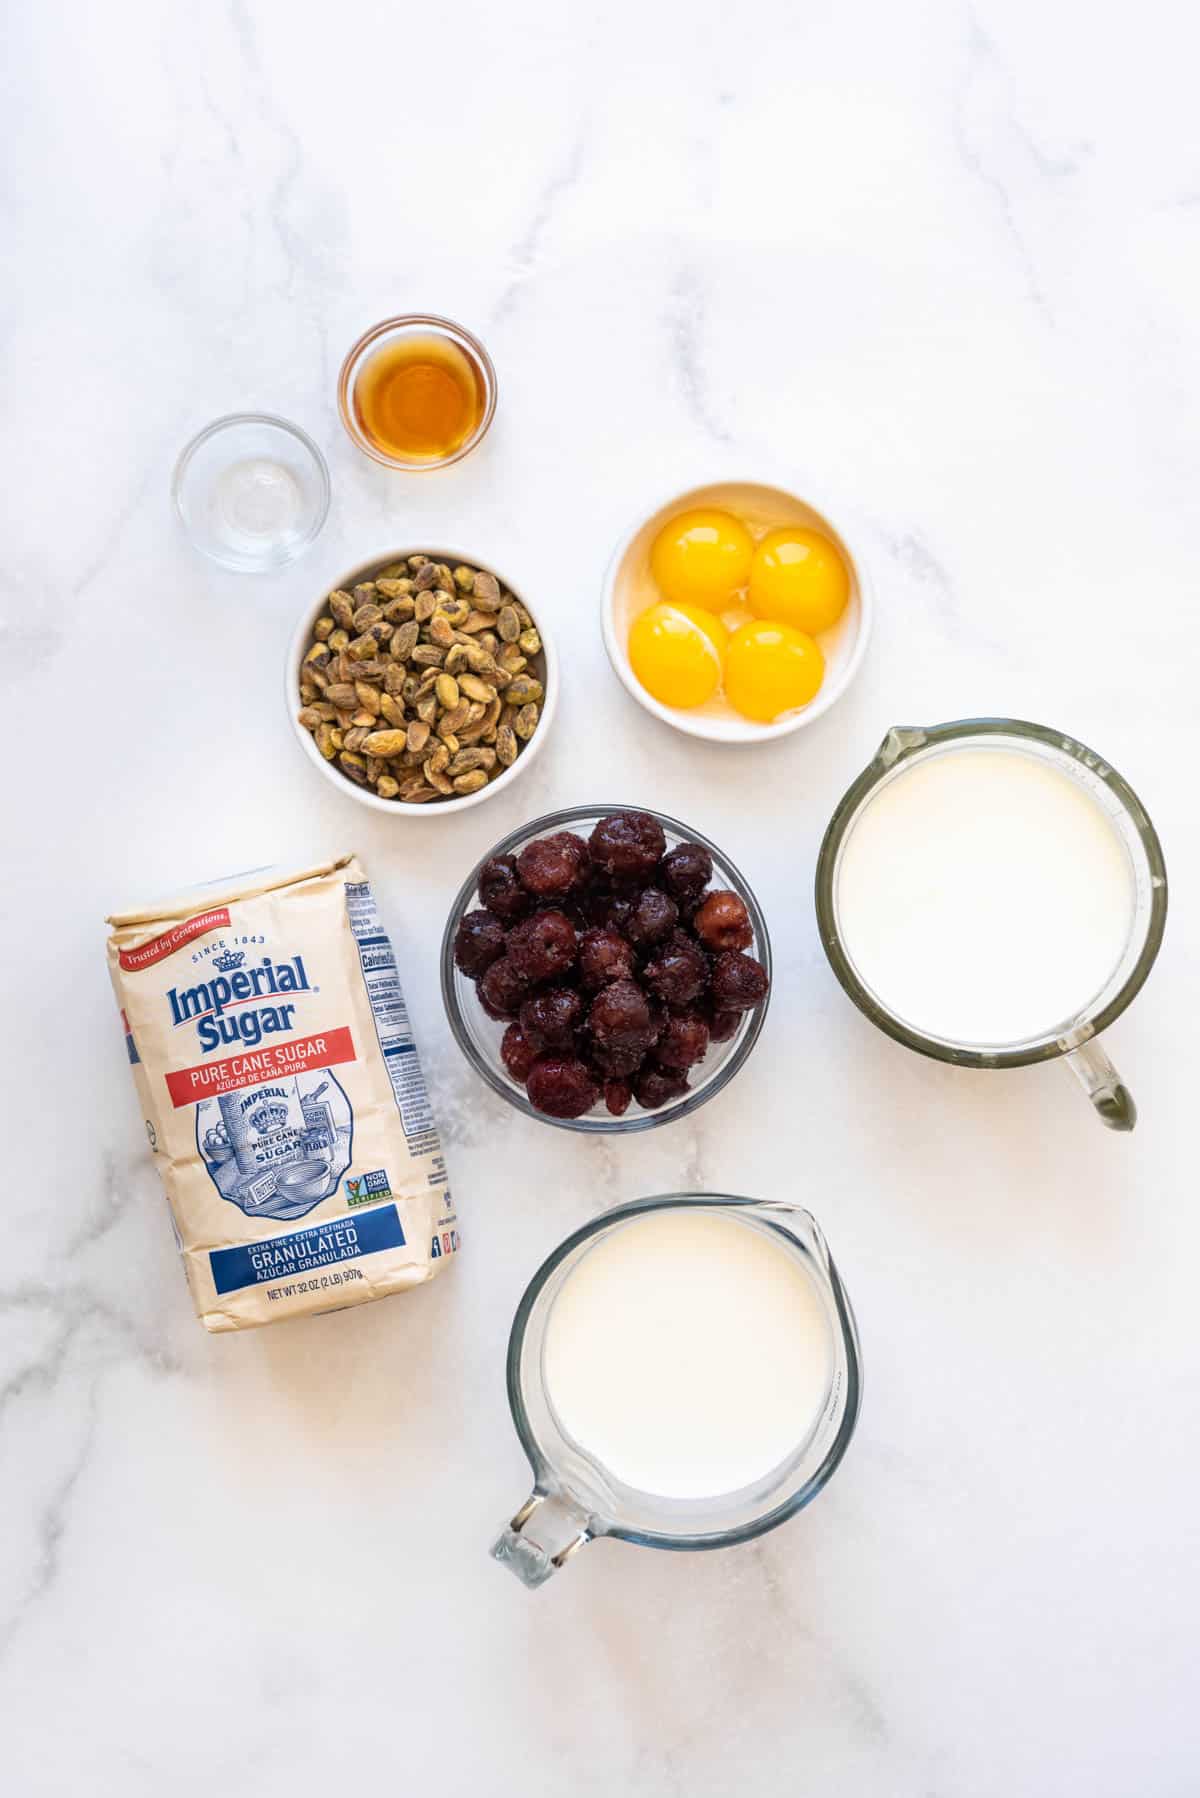
Scroll down to the recipe card below this post for ingredient quantities and full instructions.
- Pistachios – I like using roasted, salted pistachios for this recipe because they are easy to find. Raw pistachios will give a brighter green hue, but the flavor won’t be the same.
- Sugar
- Heavy cream
- Milk
- Egg yolks – This is a custard-based ice cream recipe which uses egg yolks to give the best mouthfeel and scoopability.
- Cherries – Using frozen sweet cherries means you can make this recipe any time of the year, not just during cherry season.
- Vanilla extract
- Almond extract – Most pistachio ice cream recipes use too much almond extract to boost the nutty flavor, but I find that it overpowers the pistachio taste if you aren’t careful with it.
You will also need a 2-quart ice cream maker.
How to Make Cherry Pistachio Ice Cream
Process pistachios and sugar. Combine part of your pistachios and sugar in a blender or food processor. Pulse until the nuts start to break up, then process until they are finely ground. Just don’t go too far and leave the machine running or you will end up with pistachio butter, which is not what you want for this recipe.
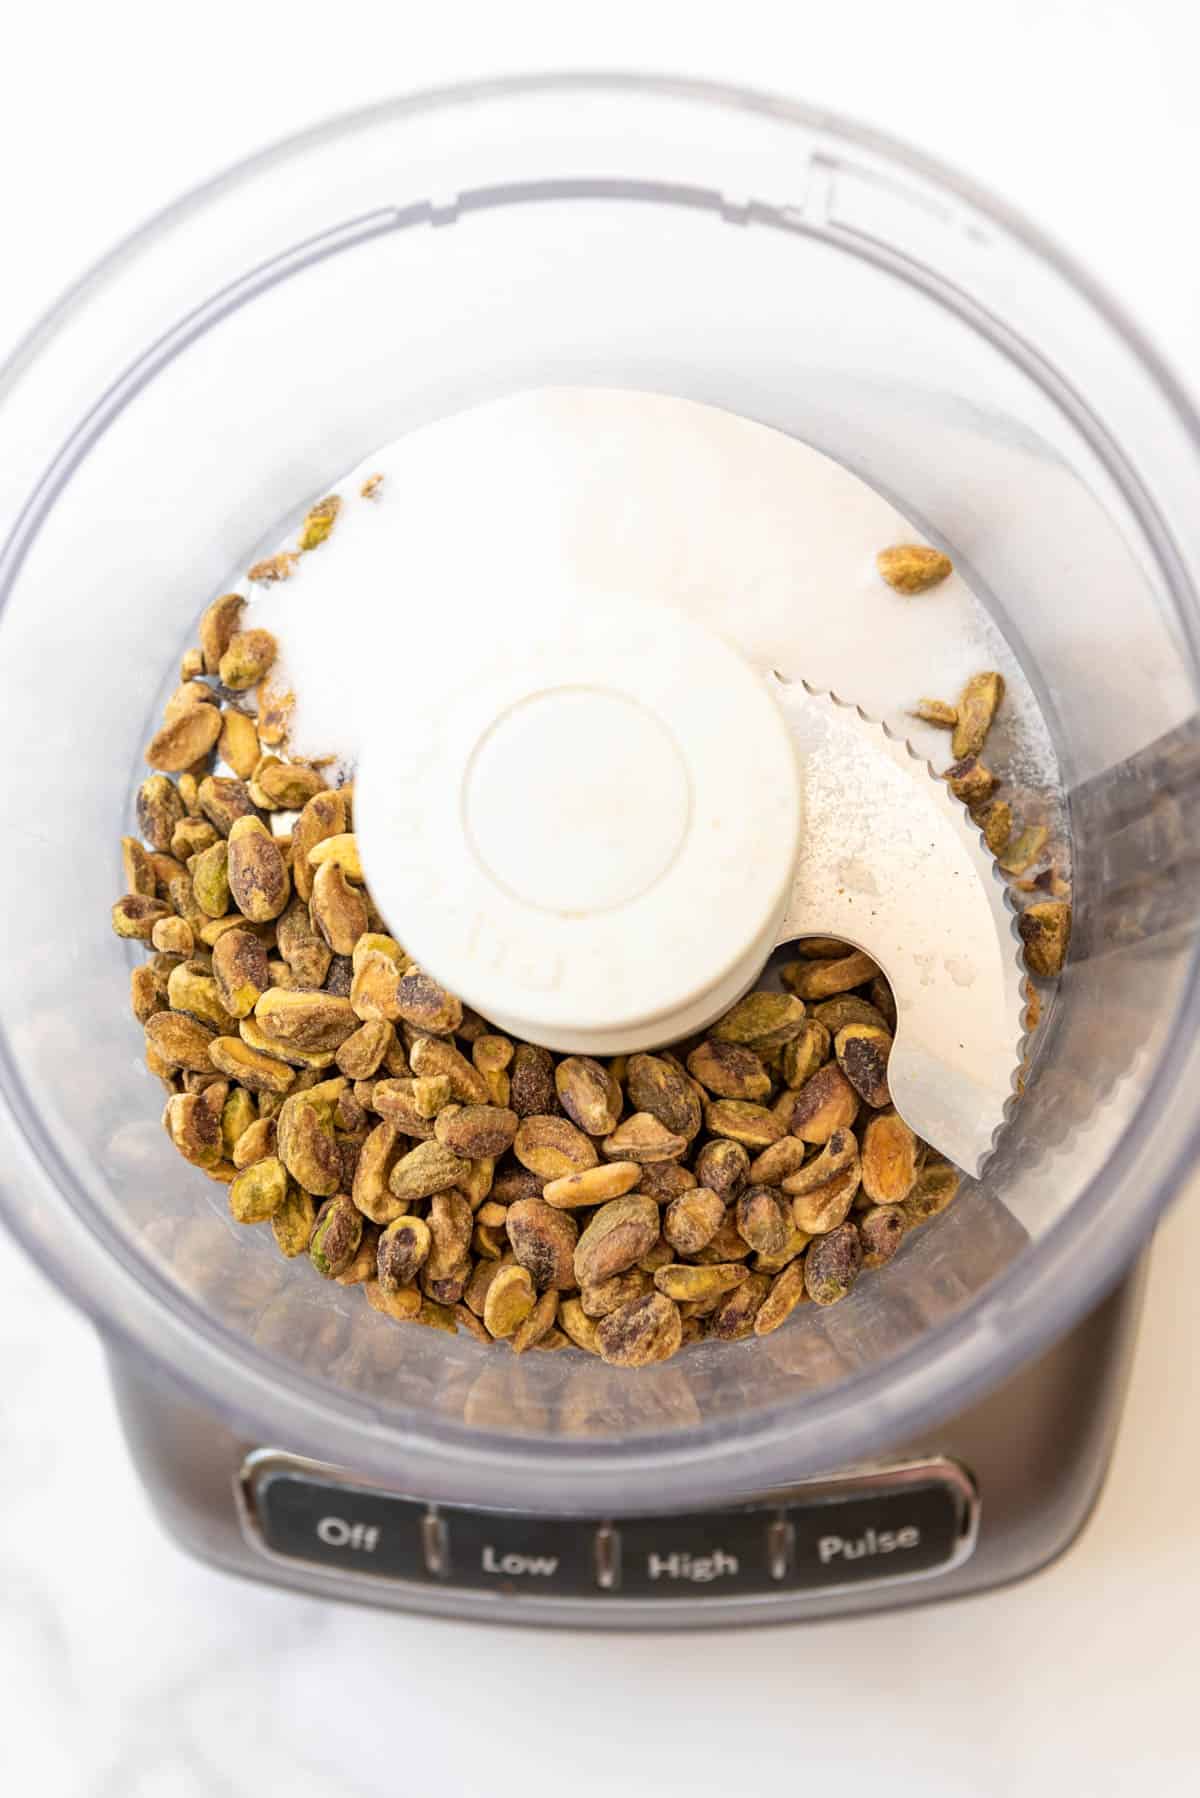
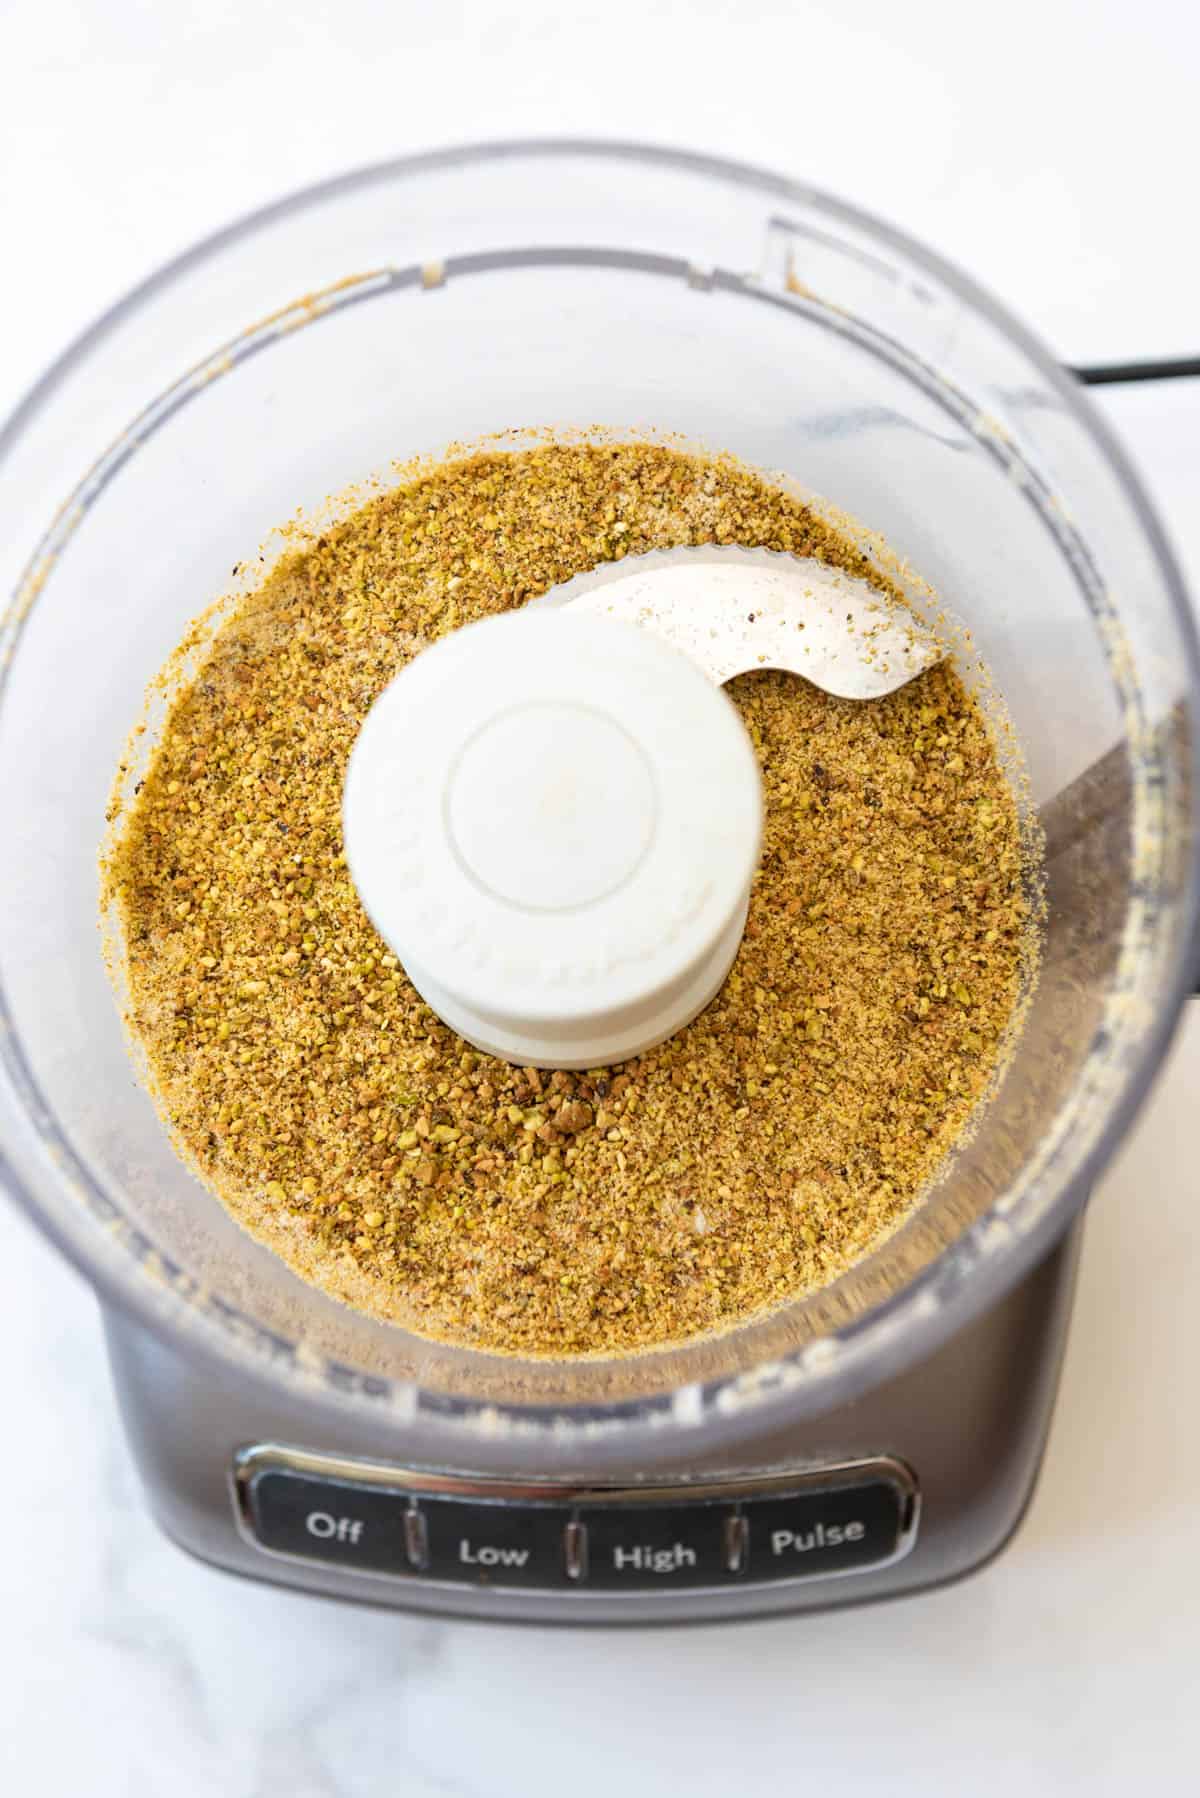
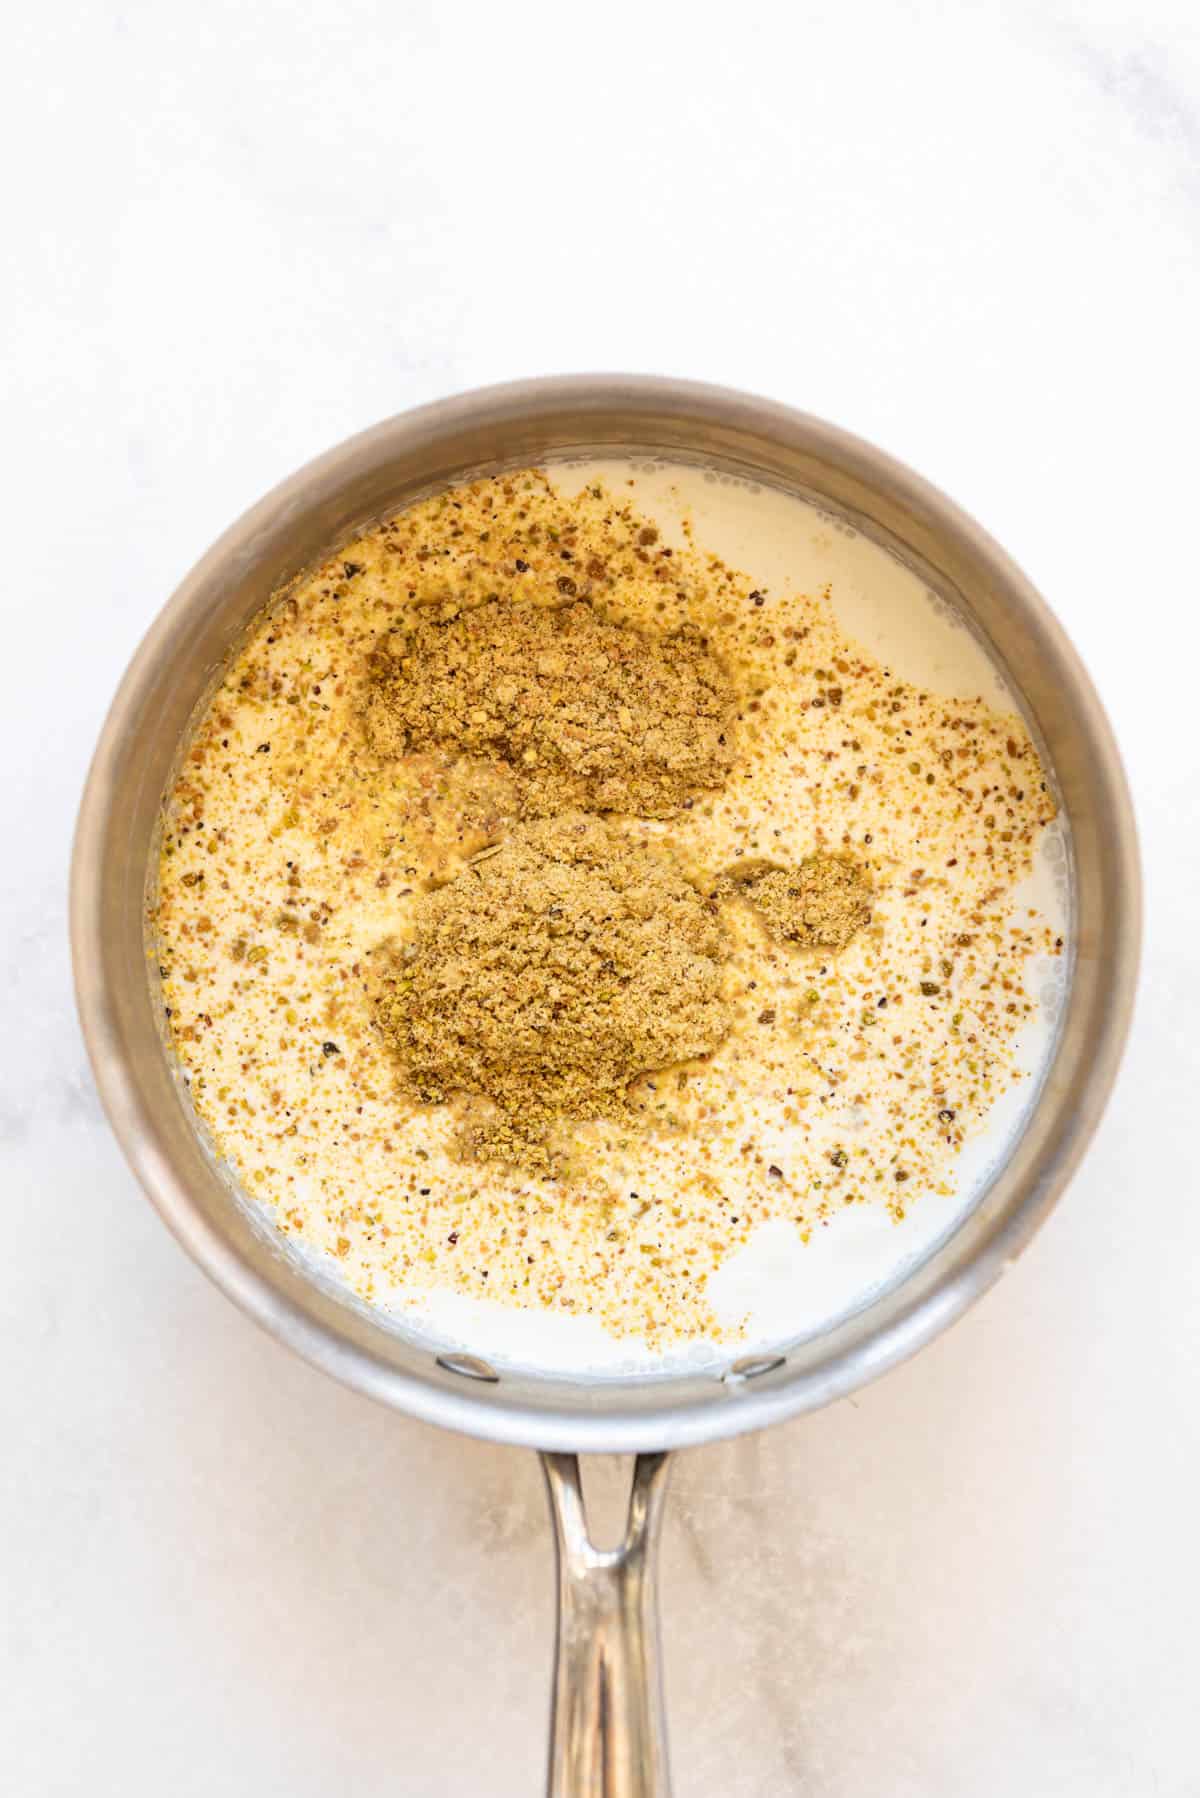
Heat milk and cream with ground pistachios. Once the pistachios are finely ground, add them to a medium saucepan over medium heat with the milk and cream. You want to get the liquid nice and hot without coming to a boil. Look for bubbles to form right around the edges of the pan and steam to waft off the top when you lift a spoonful of the mixture out of the pan.
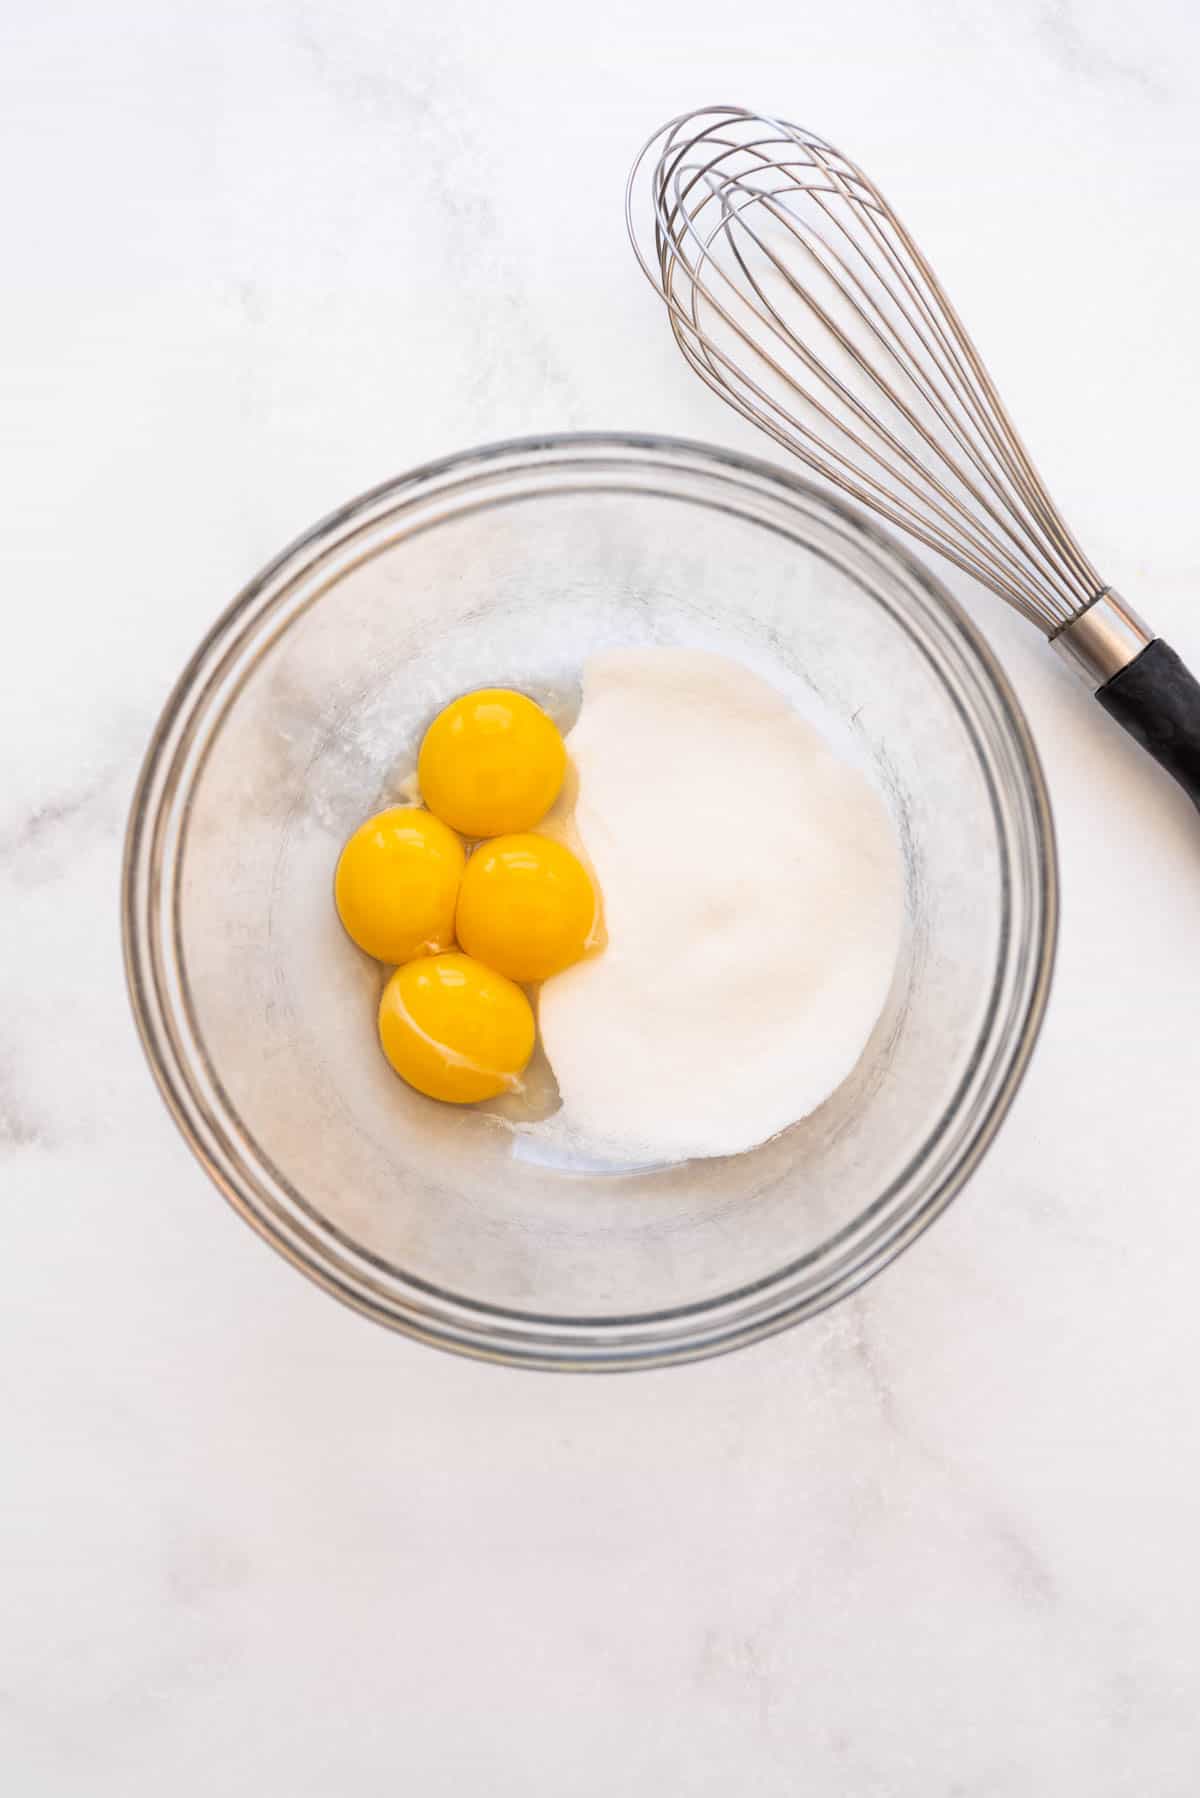
Whisk egg yolks and sugar. While the liquid heats, whisk the egg yolks with the remaining sugar in a large bowl. They will lighten in color slightly as you whisk and aerate them.
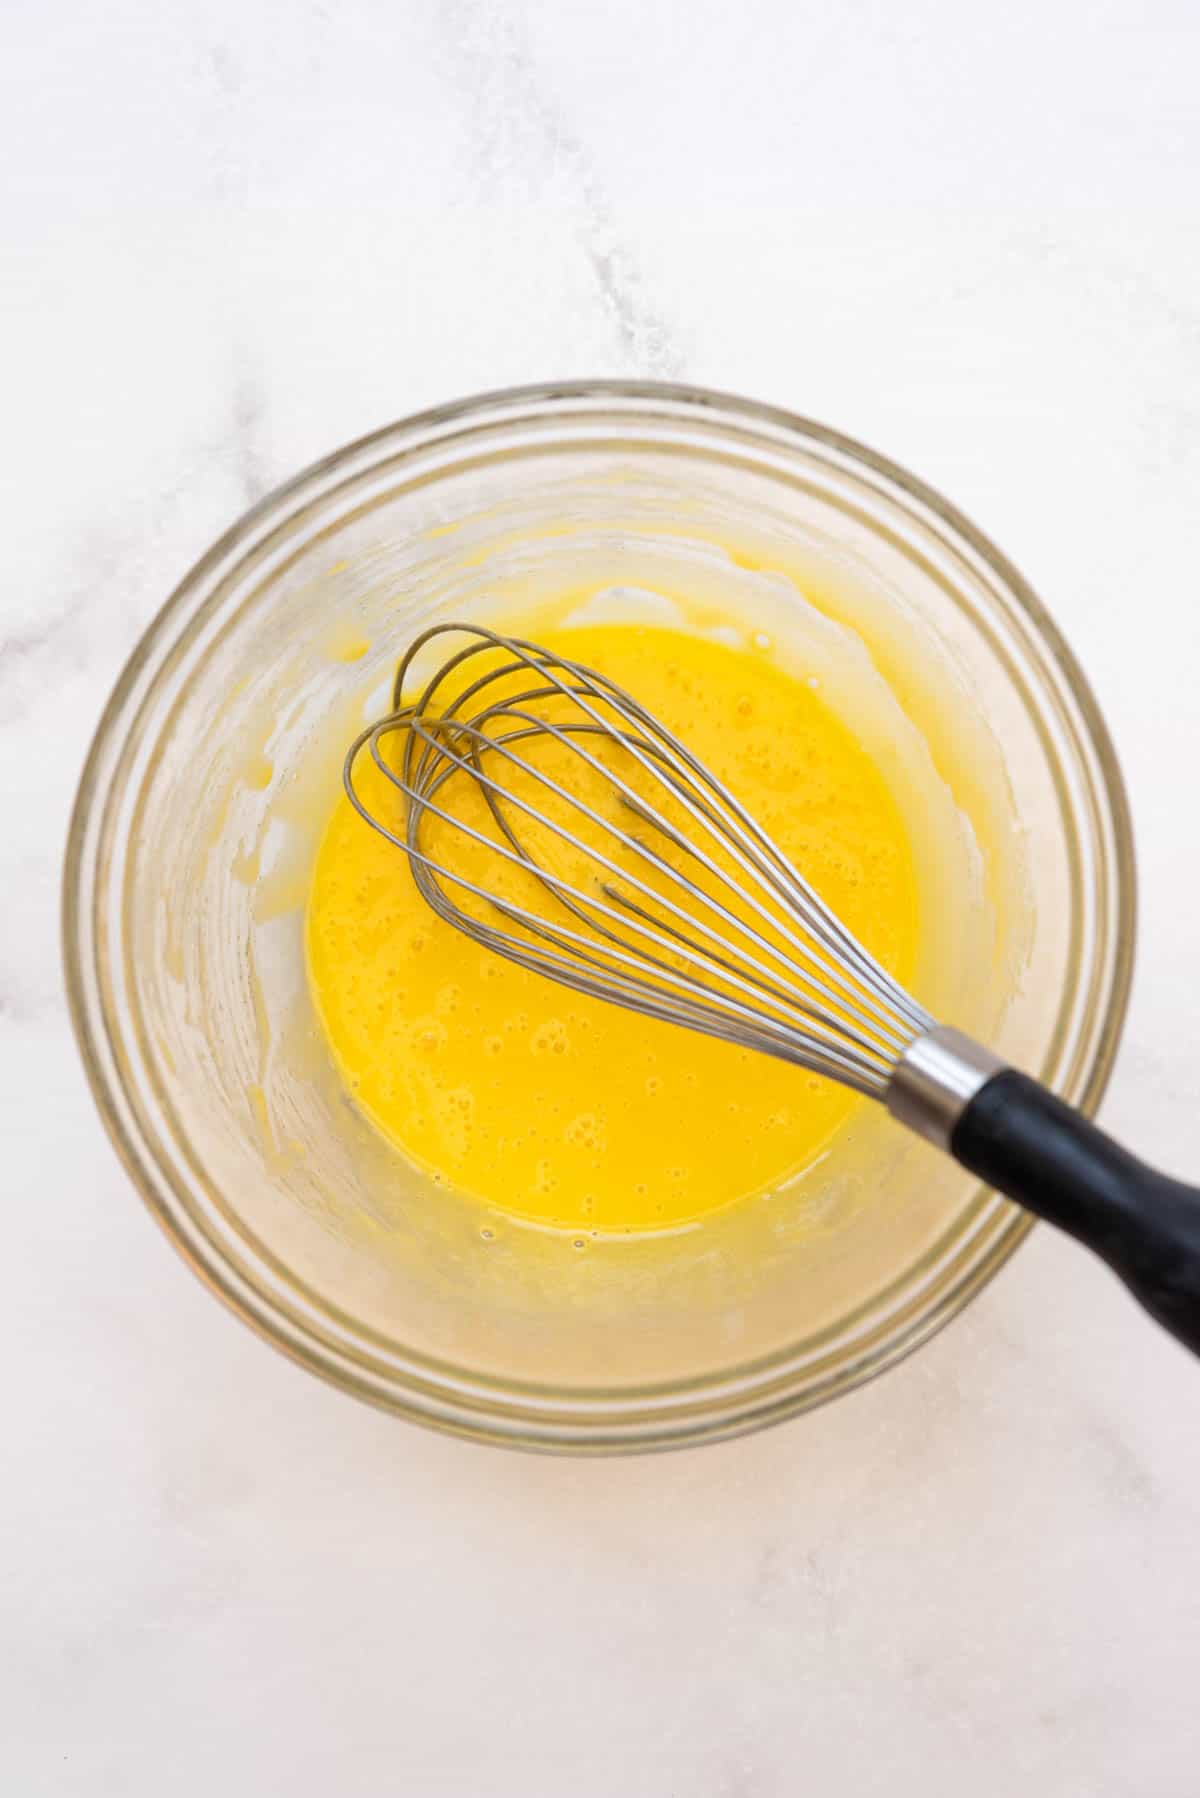
Temper egg yolks. Whisk about 1 cup of the hot milk and cream mixture into the egg yolks to gently temper them so they don’t scramble when adding to saucepan. Add the tempered egg yolk mixture back into the saucepan and continue to cook over medium heat, stirring frequently, until thick enough to coat back of a spoon, about 5 minutes.
You should be able to lift a spoon or spatula out of the custard mixture and run your finger down the back to see a clear line, which indicates the custard has cooked long enough.
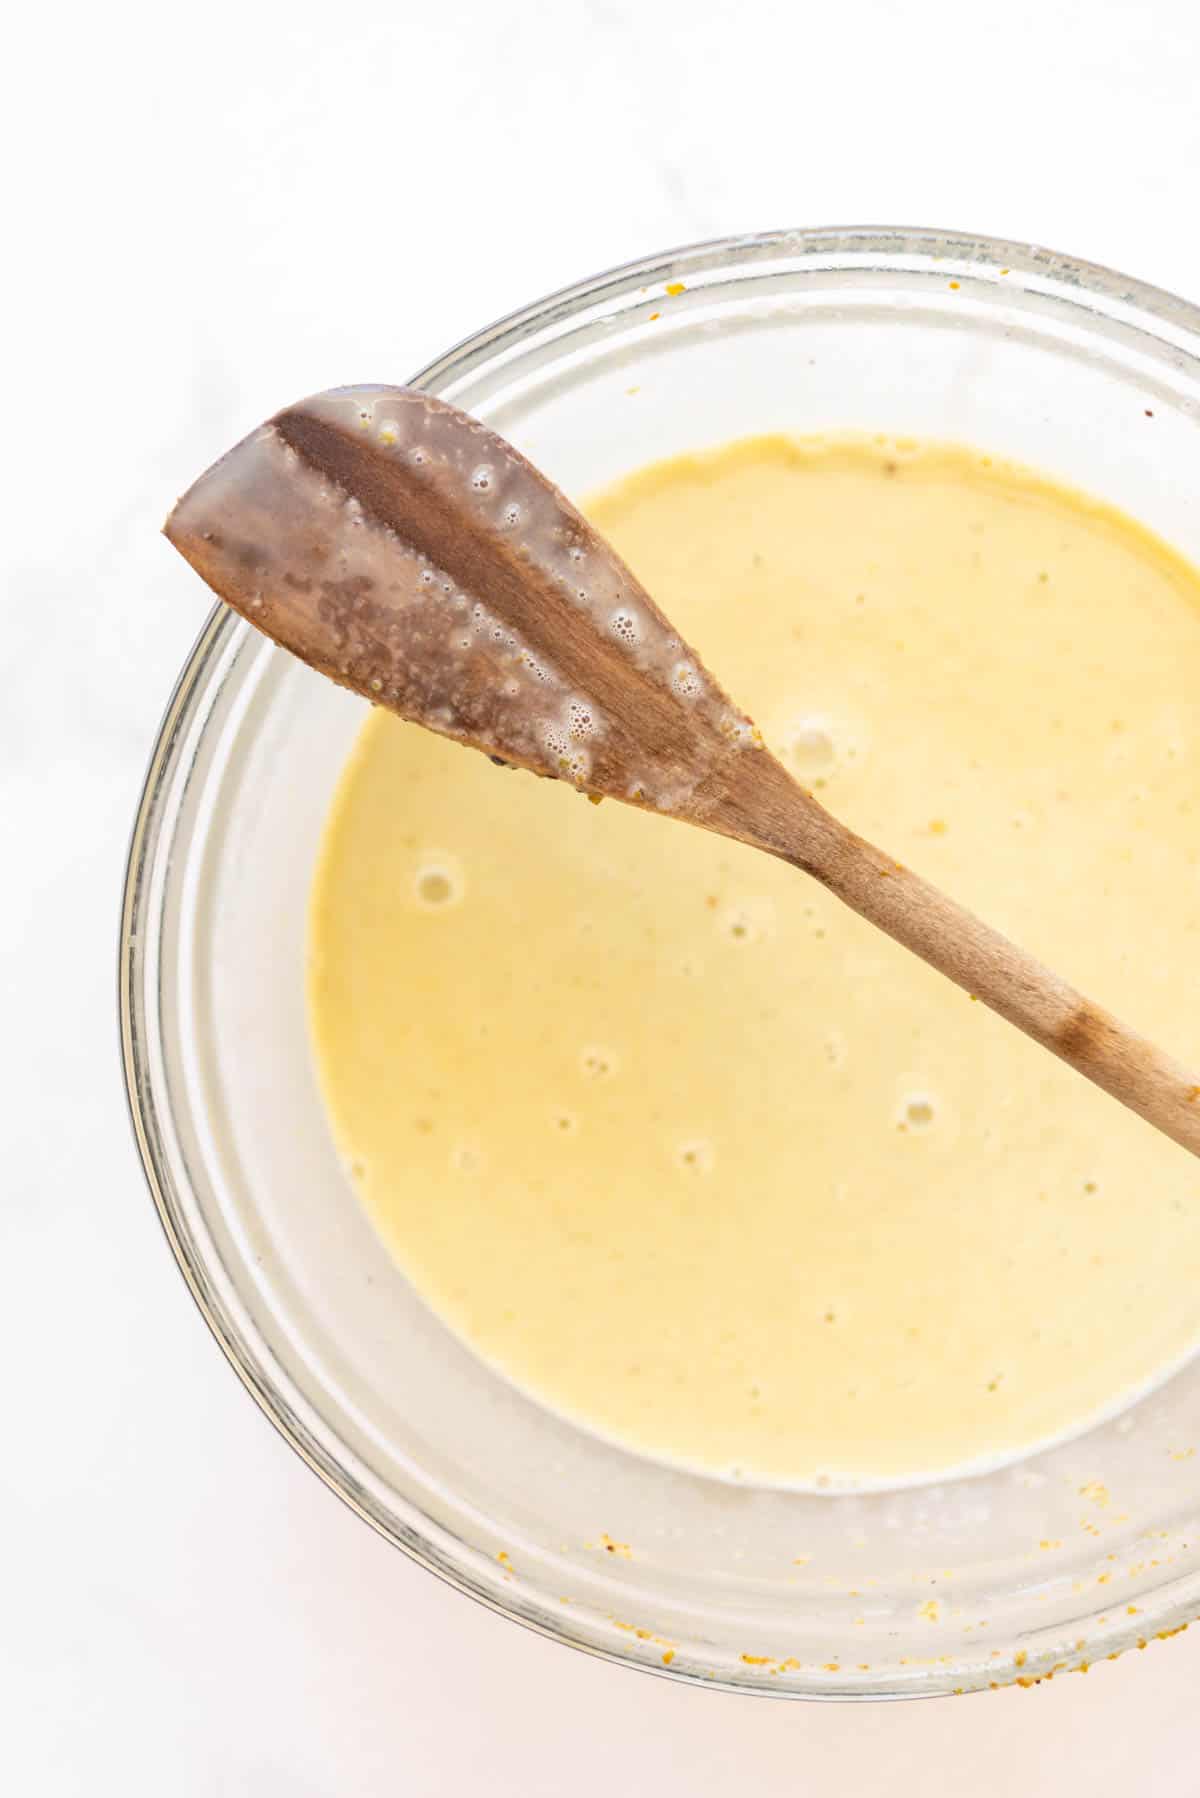
Add extracts and food coloring. Remove the custard base from off the heat and stir in vanilla and almond extracts. If you want to use food coloring (affiliate link) to tint the ice cream a greenish tint, this is the time to add it. Our recommendation is to add just a tiny amount of blue gel extract for the most natural coloring to offset the yellow-ish tone of the egg yolks and roasted pistachios. Use a toothpick to add a little at a time rather than a full drop. Or you can use a green food coloring for a more vibrant look if you prefer.
Cool and strain. Cool the mixture at room temperature for 30-60 minutes. This allows more of the pistachio flavor to infuse itself into the cream base. Then pour the mixture through a fine mesh sieve into a large bowl, pressing against ground pistachios to release as much flavor as possible. Discard the remaining solids.
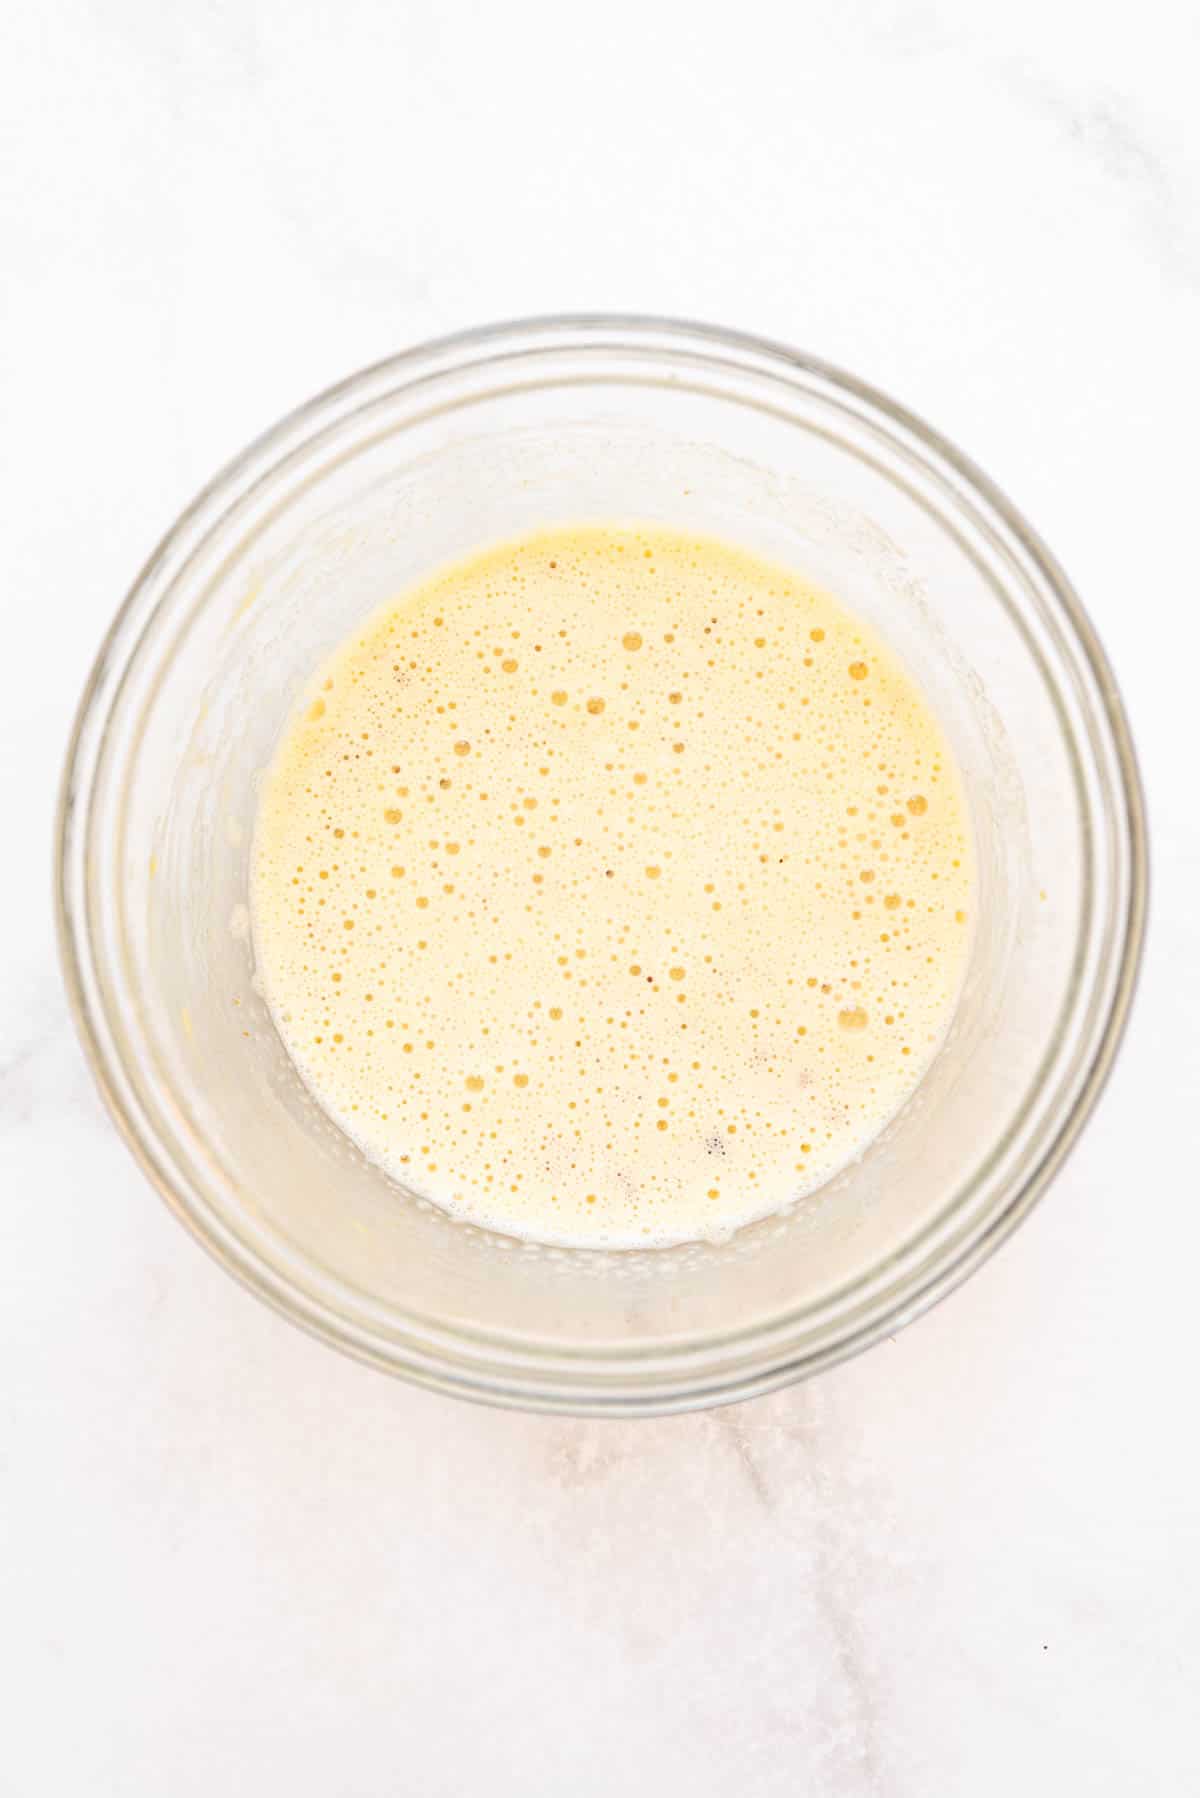
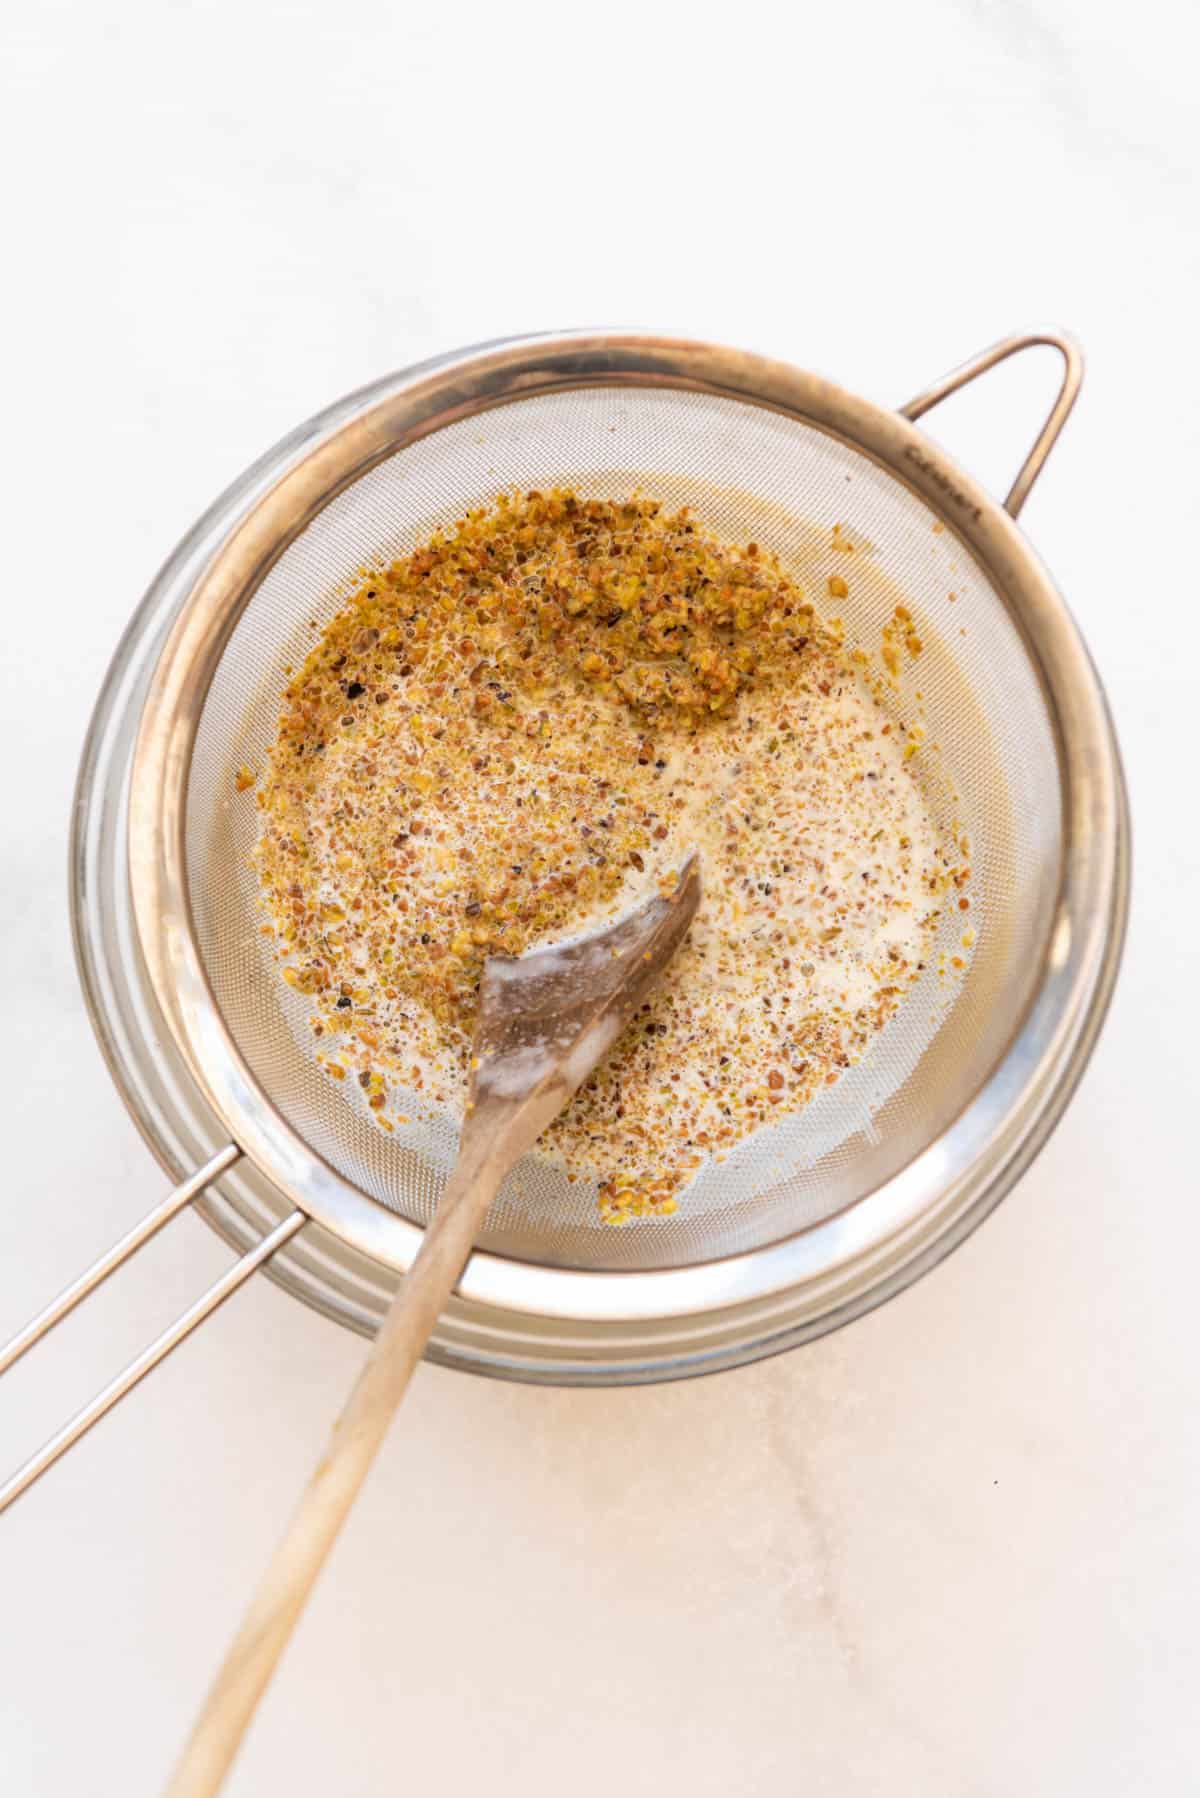
Chill. Transfer the pistachio ice cream base to the fridge to chill for 2-3 hours or overnight until cold.
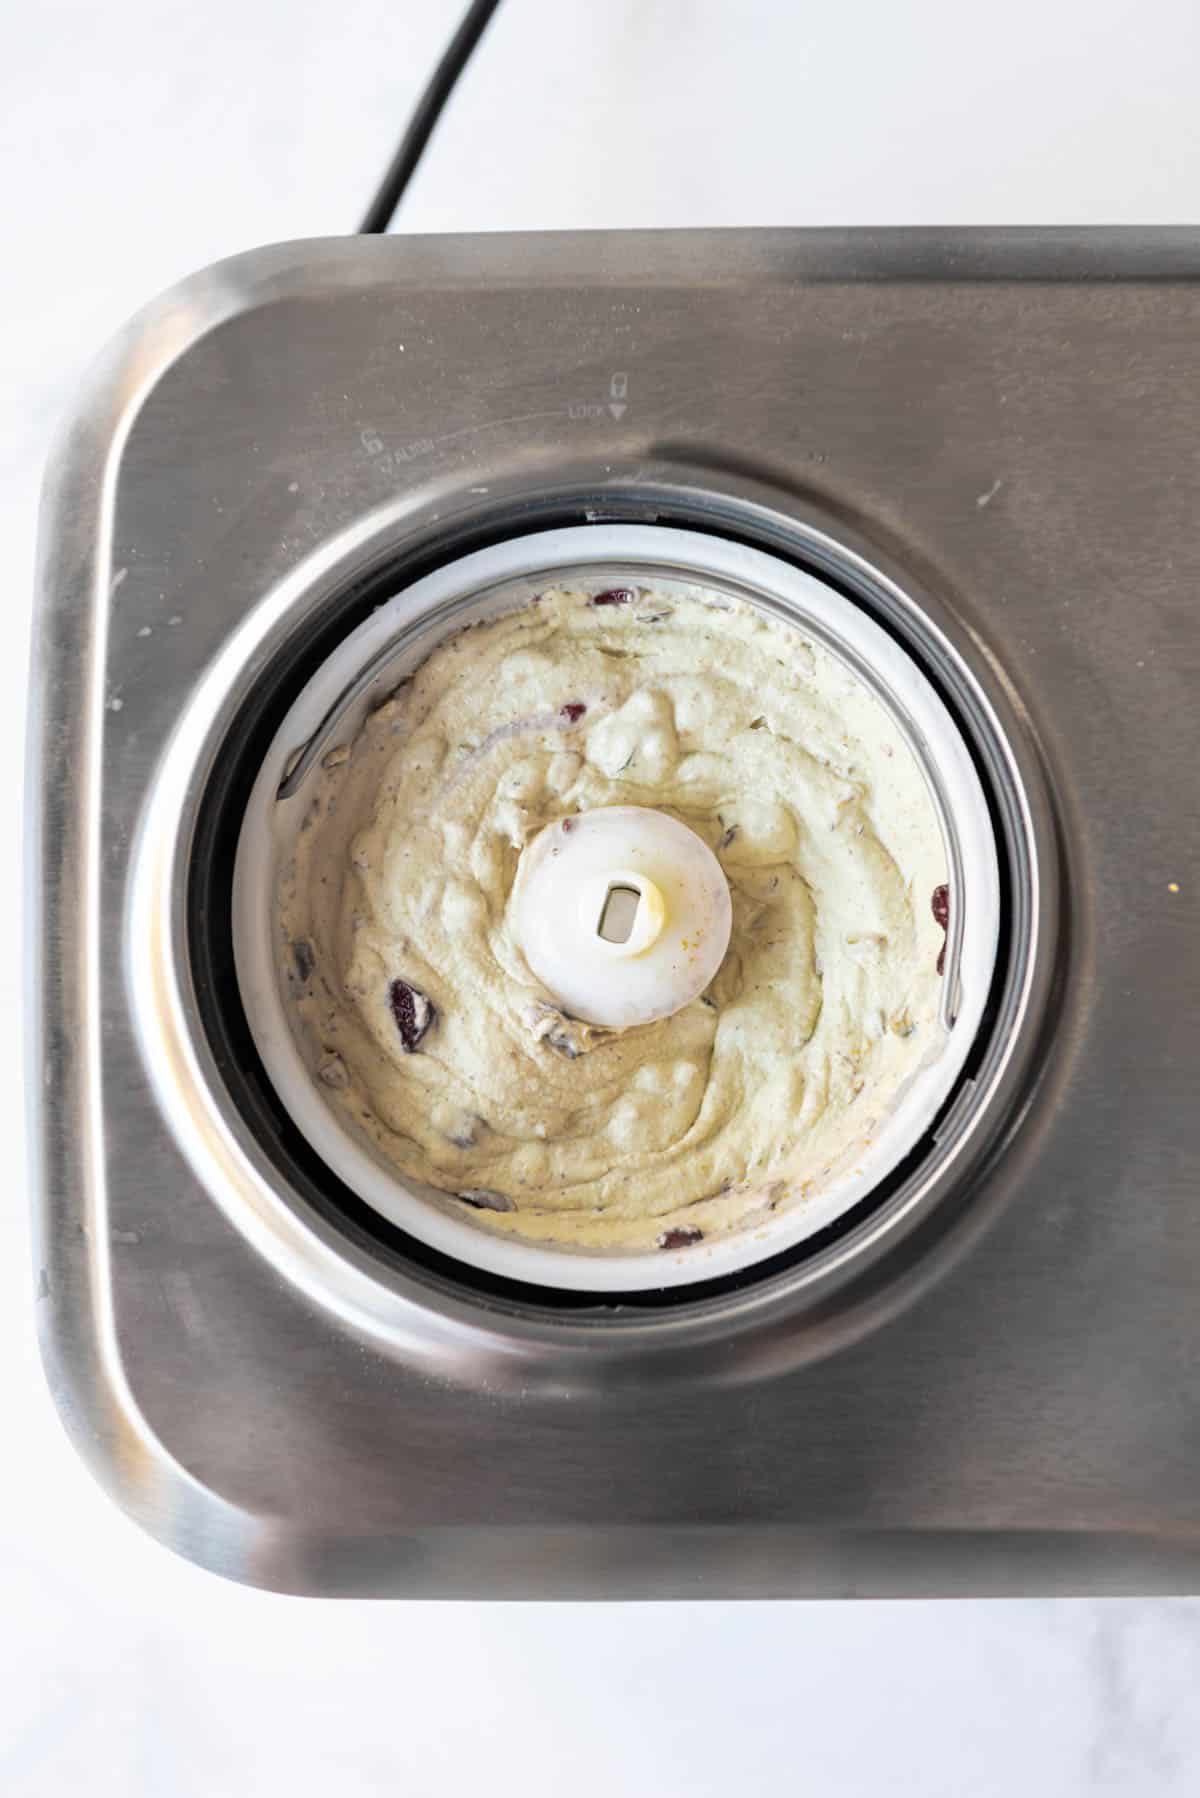
Churn. Once fully chilled, churn your ice cream in an ice cream maker according to manufacturer’s instructions. Add reserved chopped pistachios and cherries during last 1 minute of churning to evenly disperse throughout ice cream.
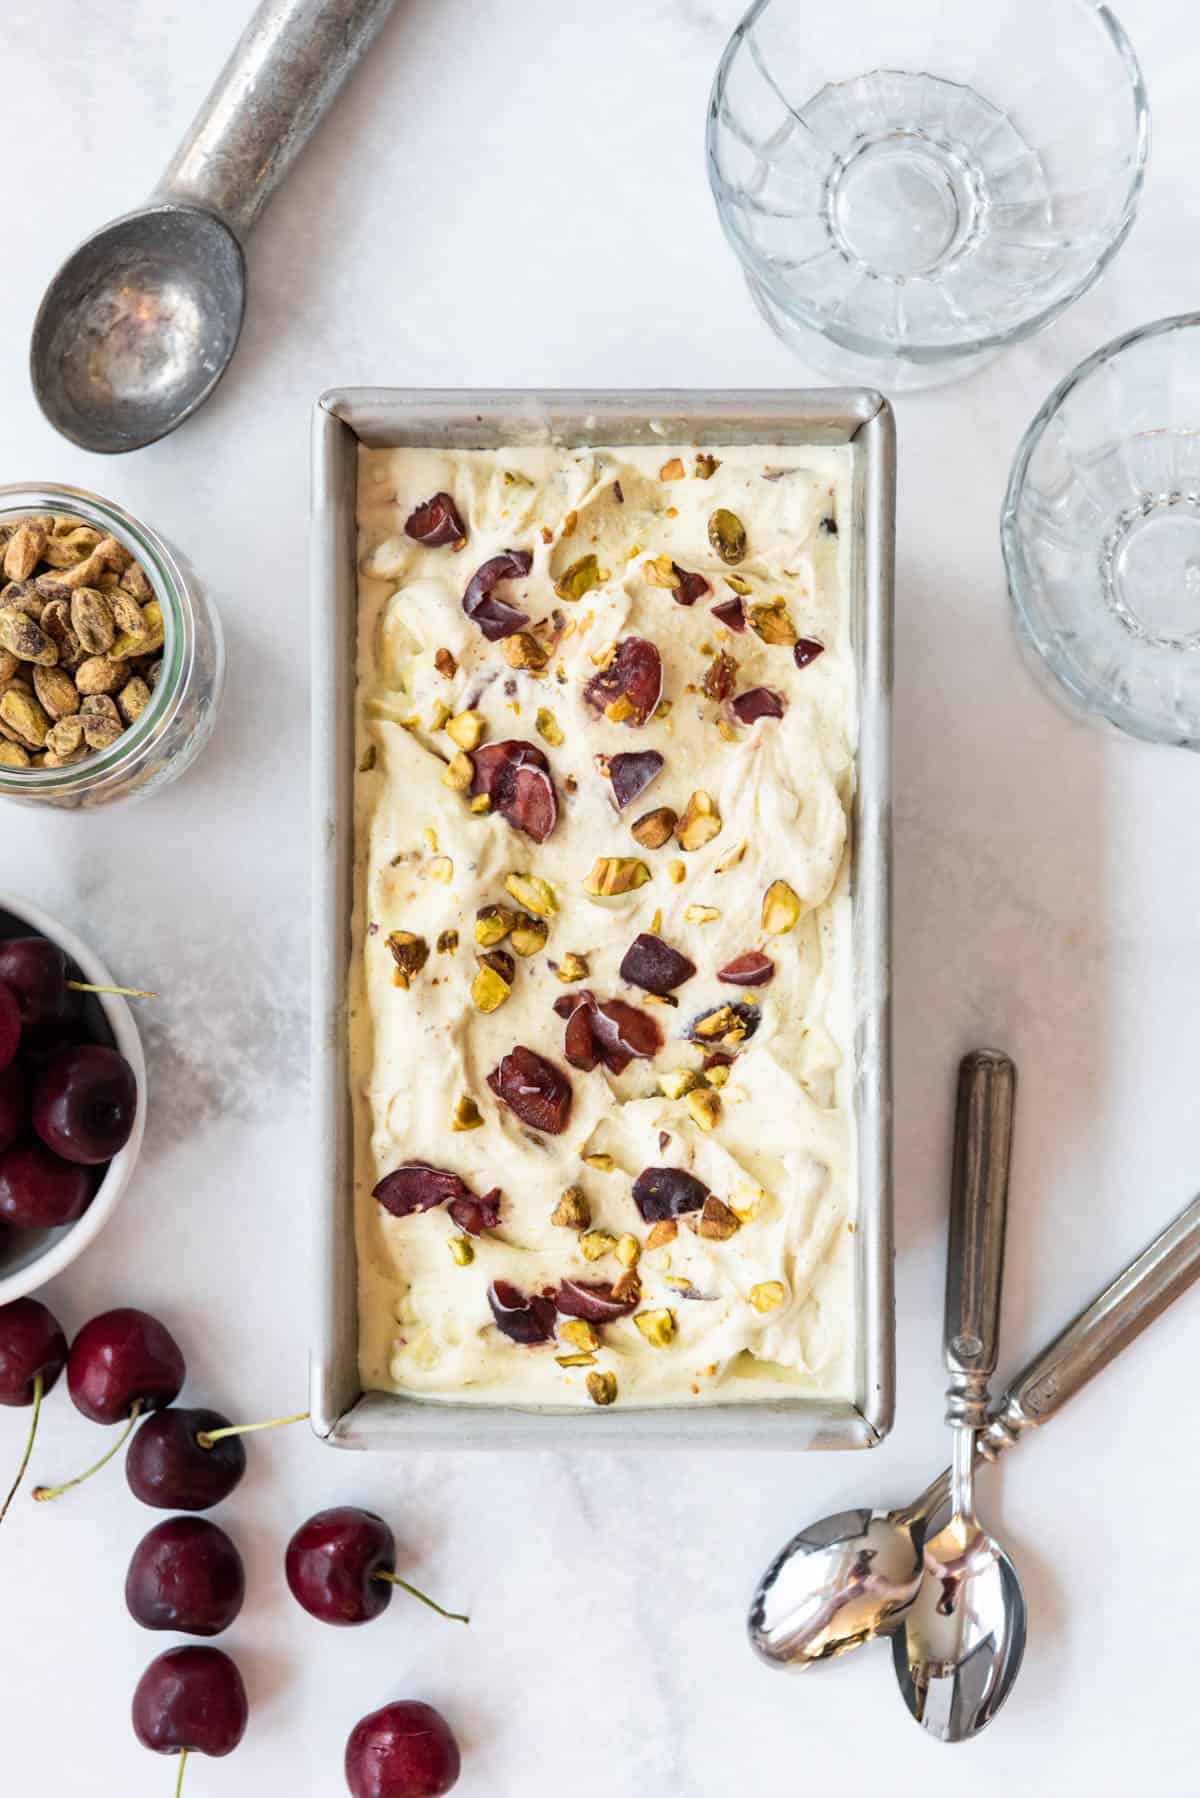
Freeze. Transfer finished ice cream to a freezer-safe container. I like to sprinkle the top of the ice cream with a few extra chopped pistachios and cherries just to make it look pretty, like the gelato you might see at an Italian gelateria. Freeze for 4-6 hours until hard.
Recipe FAQ’s
If you have problems with your egg yolks cooking when you add them to your ice cream base, be sure to temper them properly first. Also, try decreasing the stove temperature so they don’t cook as quickly. Using a gentler temperature allows the custard mixture to thicken better without scrambling the eggs.
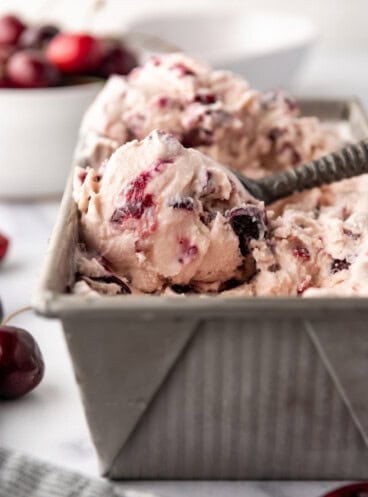
If using fresh cherries, we recommend pitting and roasting them for 15 minutes at 400 degrees F to release their juices, then cooling completely before adding to the churned ice cream. Or use our approach in our cherry vanilla ice cream by poaching them in a sugar syrup first.
Absolutely! If you like the taste of maraschino cherries, they would be delicious in this ice cream as well.
Recipe Tips and Tricks
- Food coloring (affiliate link): You may want to add a tiny amount of food coloring (affiliate link) to tint the mixture. If using concentrated gel food coloring (affiliate link), use a toothpick to get a small amount and add a little at a time. The blue will counteract the natural yellow color from the egg yolks and ground pistachios, giving a more natural green hue to ice cream base.
- Chill the base: This serves two purposes in this recipe. First, it allows the pistachio flavor to infuse the cream even more. And second, the texture of the ice cream will be better if the base is already very cold before you start churning it. If the mixture is hot, your ice cream maker likely won’t be able to handle churning the ice cream anyway because it won’t stay cold enough, long enough to turn it into ice cream.
- Don’t skip straining the custard. It might seem like a hassle to press it through a fine mesh sieve but you don’t want the gritty texture of the ground pistachios in the finished ice cream product. Trust me, it’s worth it to strain the base before freezing.
How to Store
Keep your ice cream covered with plastic wrap in the freezer to prevent ice crystals from forming on top. It will be good for up to 2 weeks.
Remember that homemade ice cream doesn’t keep as long as the kind you buy at the store because it doesn’t have additives to preserve it longer. Also, it will tend to freeze harder, so you might want to let it sit out at room temperature for 5-10 minutes before scooping.
More Ice Cream Recipes
Did you make this recipe?
Let me know what you thought with a comment and rating below. You can also take a picture and tag me on Instagram @houseofnasheats or share it on the Pinterest pin so I can see.
Cherry Pistachio Ice Cream
Ingredients
- 1 1/2 cups roasted, shelled pistachios divided
- 3/4 cup (150g) granulated sugar divided
- 1 1/2 cups whole milk
- 1 1/2 cups heavy cream
- 4 egg yolks
- 1 teaspoon vanilla extract
- 1/4 teaspoon almond extract
- 2 cups pitted frozen sweet cherries chopped
- Green or blue food coloring (affiliate link) (optional)
Instructions
- Combine 1 cup pistachios and ¼ cup sugar in a blender or food processor (affiliate link). Process until finely ground. Roughly chop the remaining pistachios and set aside.1 ½ cups roasted, shelled pistachios, ¾ cup (150g) granulated sugar
- In a medium saucepan over medium heat, combine finely ground pistachios with milk and cream. Heat just until bubbles begin to form around the edges of the pan, but do not bring to a boil.1 ½ cups whole milk, 1 ½ cups heavy cream
- Meanwhile, whisk egg yolks with remaining sugar in a large bowl.4 egg yolks
- Add 1 cup of hot liquid to egg yolks, whisking to combine and gently temper egg yolks so they don’t scramble when adding to the saucepan.
- Add tempered egg yolk mixture to the saucepan and continue to cook over medium heat, stirring frequently, until thick enough to coat the back of a spoon, about 5 minutes.
- Remove from heat and stir in vanilla and almond extracts, and food coloring (affiliate link), if using.
- Cool completely, then pour mixture through a fine mesh sieve into a large bowl, pressing against ground pistachios to release as much flavor as possible.
- Transfer ice cream base to fridge to chill for 2-3 hours or overnight until cold.
- Once fully chilled, churn ice cream in an ice cream maker according to the manufacturer's instructions. Add reserved chopped pistachios and cherries during the last 1 minute of churning to evenly disperse throughout ice cream.2 cups pitted frozen sweet cherries
- Transfer finished ice cream to a freezer-safe container. Freeze for 4-6 hours until hard.
Notes
- You may want to add a tiny amount of food coloring (affiliate link) to tint the mixture. If using concentrated gel food coloring (affiliate link), use a toothpick to get a small amount and add a little at a time. The blue will counteract the natural yellow color from the egg yolks and ground pistachios, giving a more natural green hue to the ice cream base.
