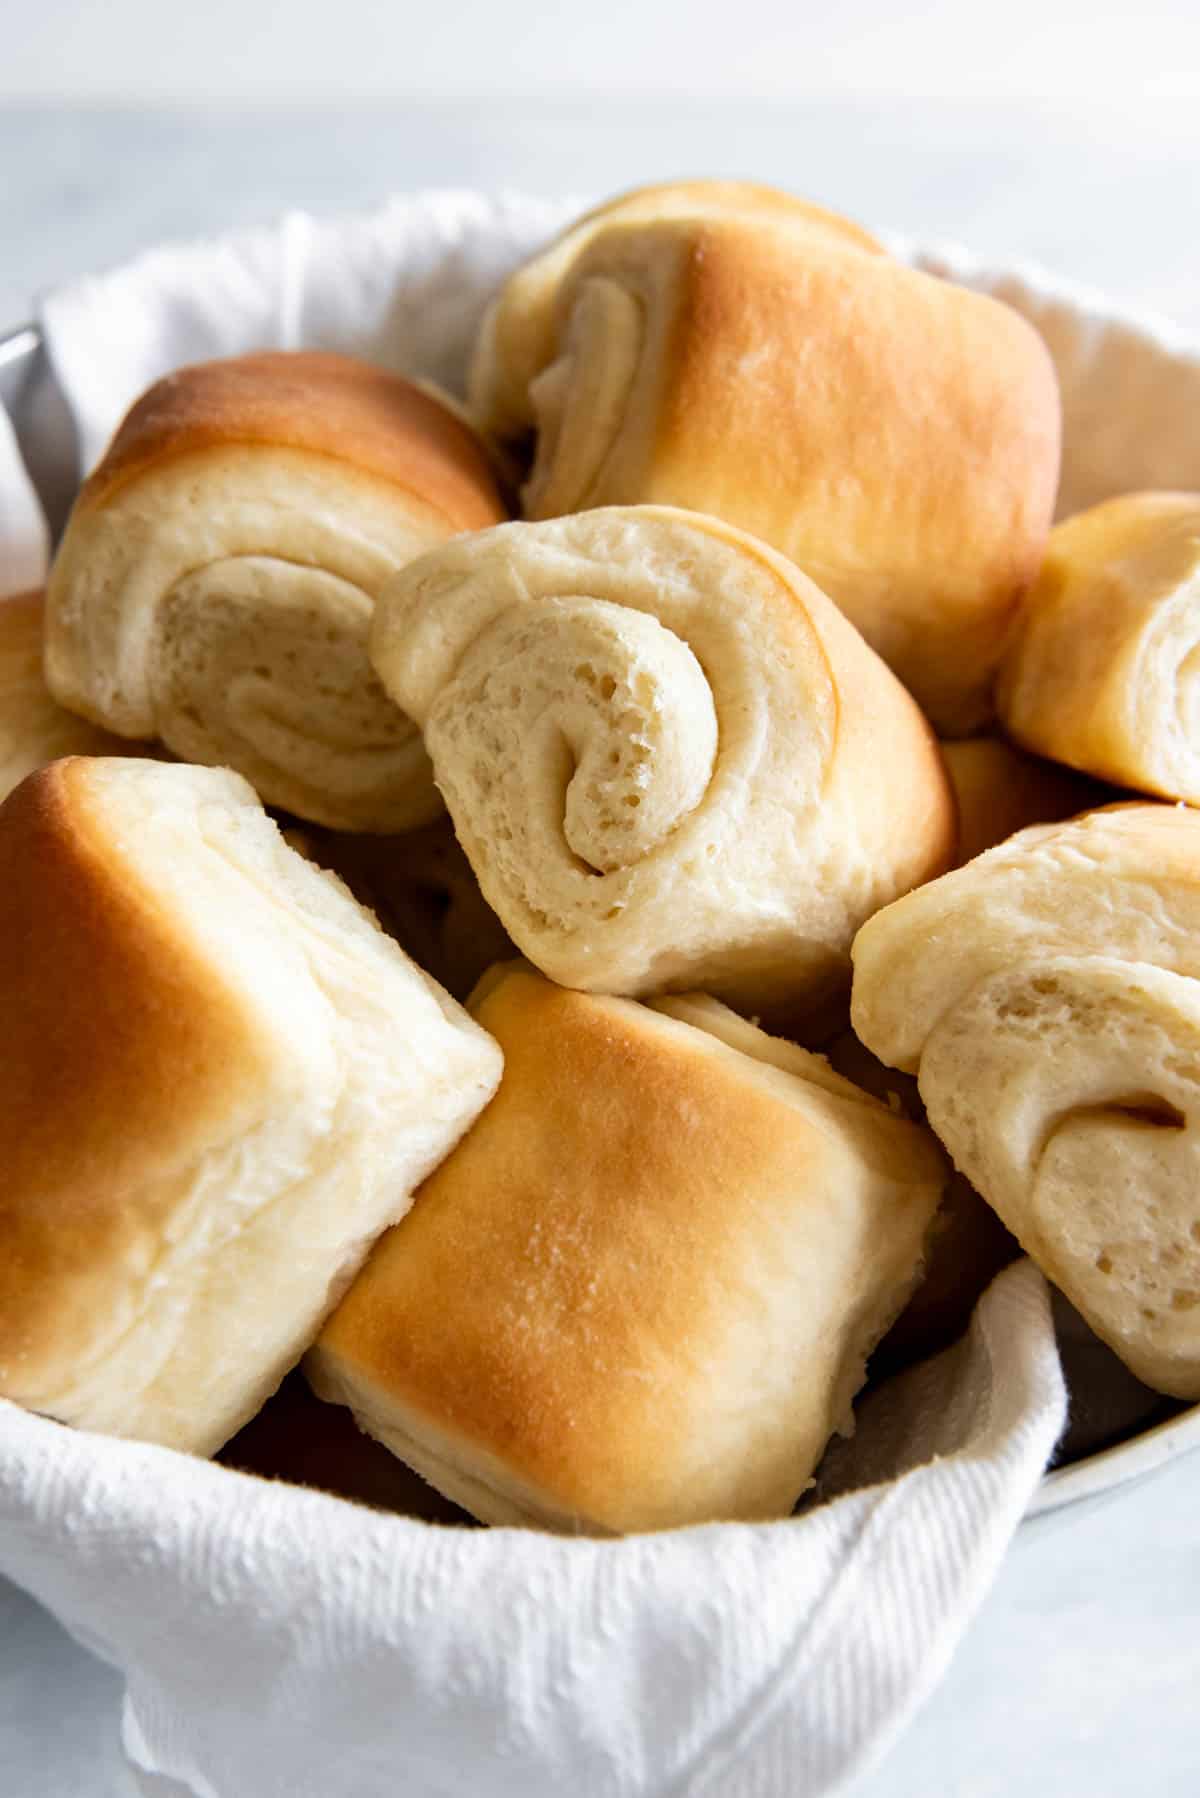
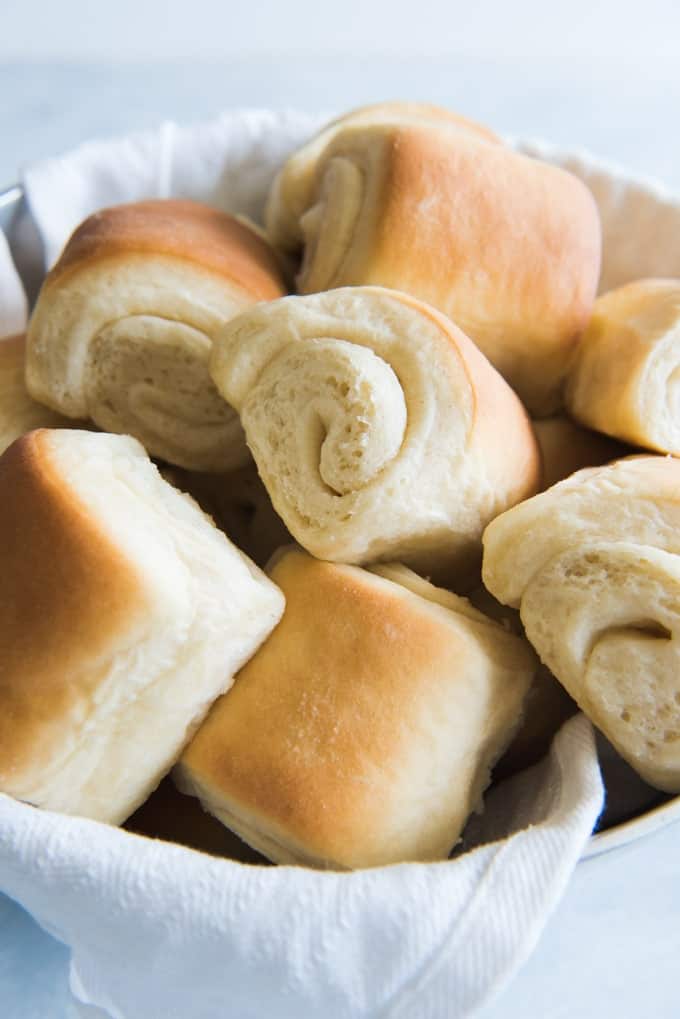
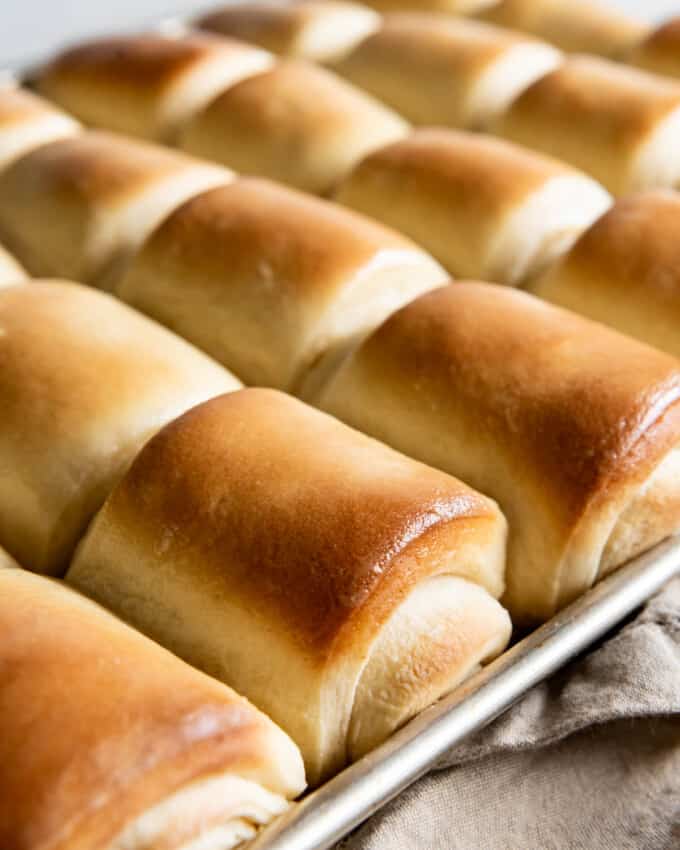
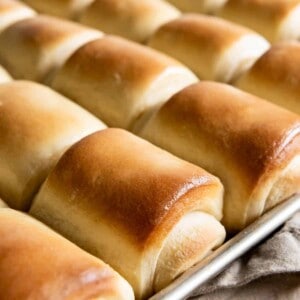
Every Thanksgiving, Christmas, and Easter, these soft and buttery, homemade Lion House Dinner Rolls grace our table. Of all the roll recipes I have tried (and actually LOVED), these are the ones that get made the most often at our house! They really are the best dinner rolls, and they’re easier to make than you’d think!
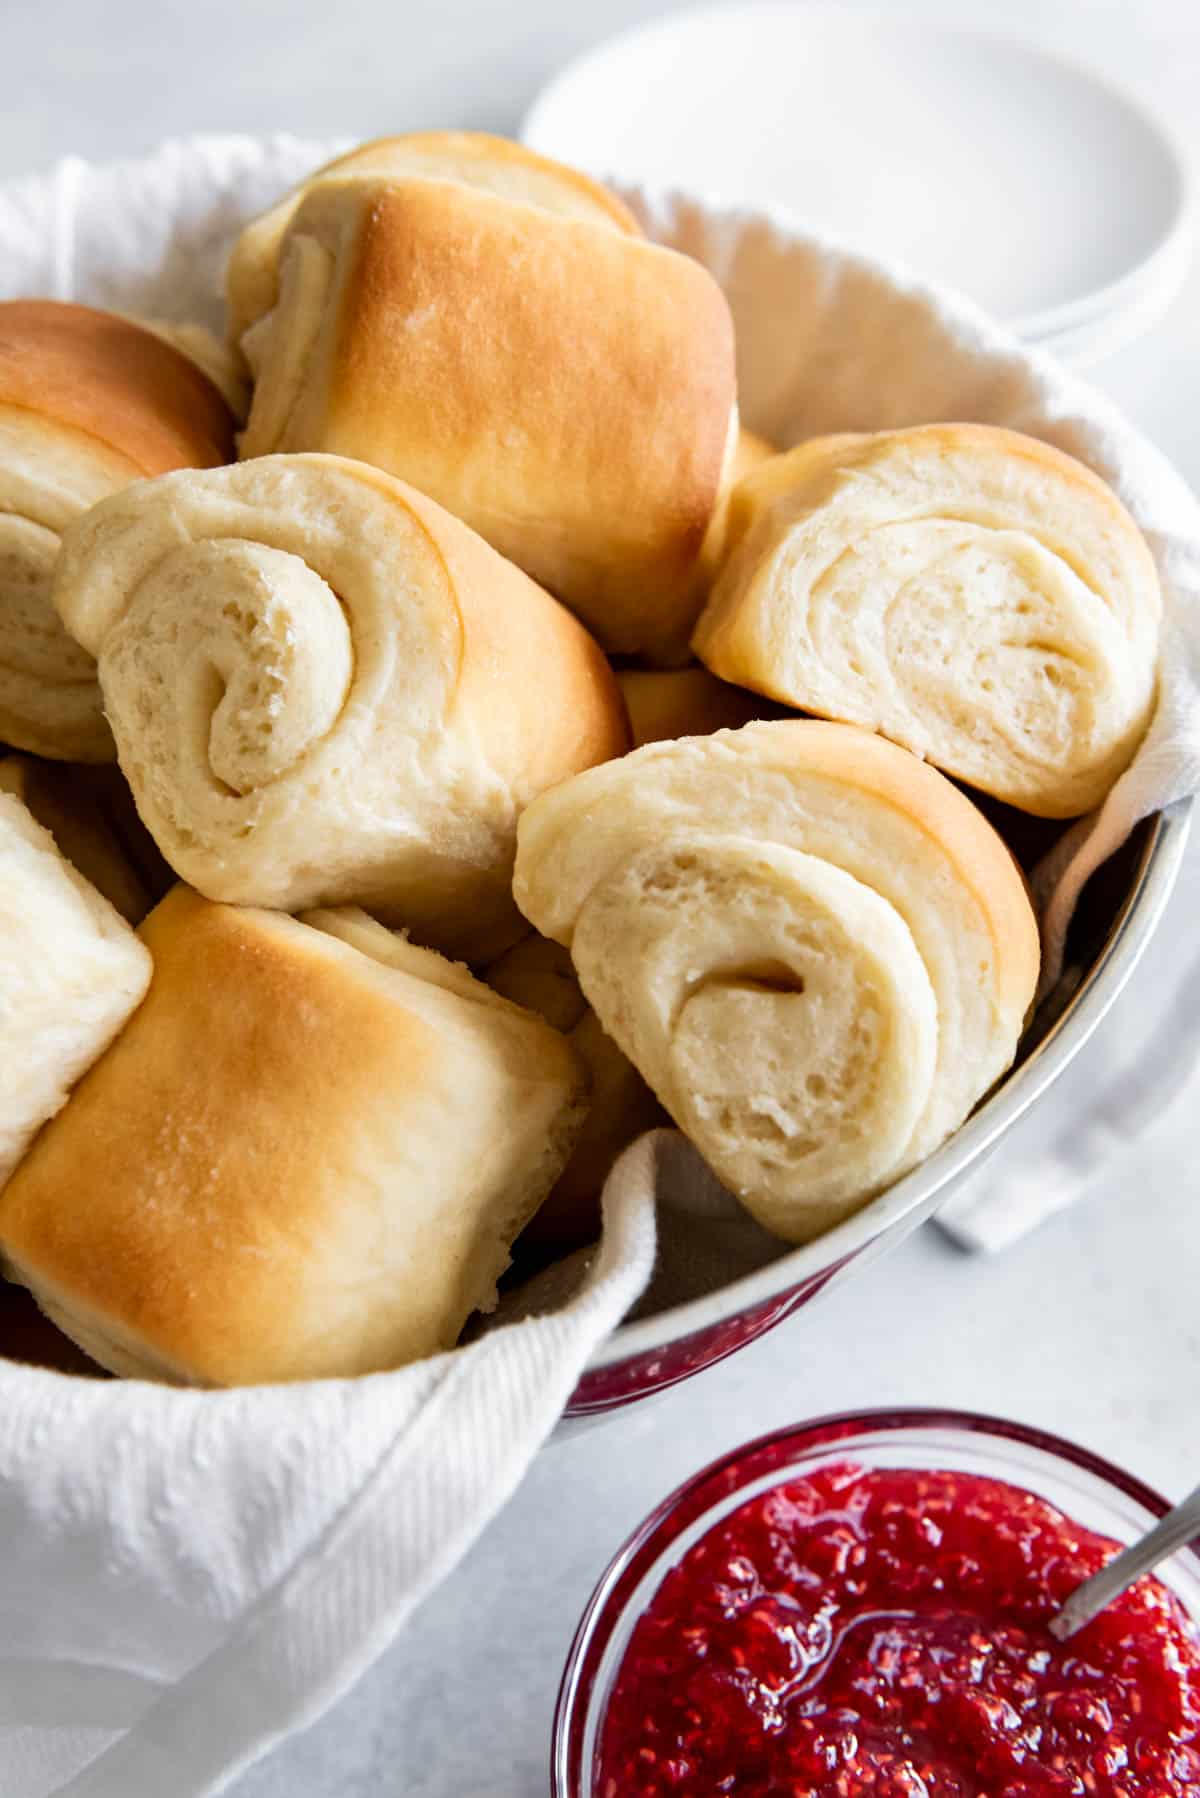
Table of Contents
When it comes to Thanksgiving dinner, I have a confession to make. As much as I love the pie, my favorite thing of all is the fresh, homemade dinner rolls. Especially with some homemade raspberry freezer jam to go on them. A roll with jam is ALWAYS my last, ultimate dessert of the day.
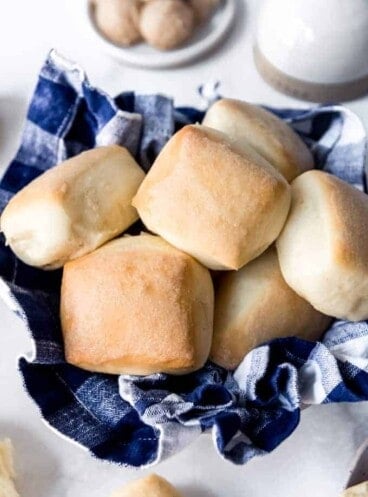
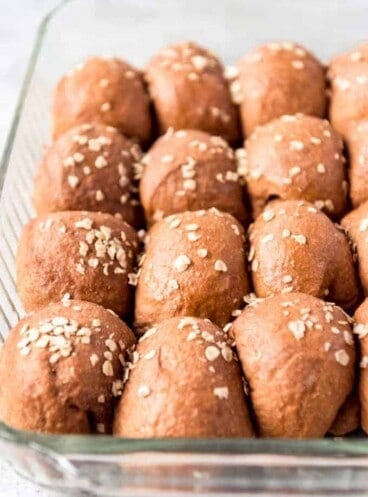
We love homemade rolls around here! Some of our other favorite roll recipes are these Homemade Brown Bread Dinner Rolls, my delicious Pillsbury Crescent Rolls (Copycat), these Copycat Texas Roadhouse Rolls, and my Soft Homemade Potato Rolls.
While I have a few roll recipes that I make (like these incredible Knotted Orange Sweet Rolls from my sister-in-law, Deborah, or these homemade potato rolls that use up leftover mashed potatoes), these Lion House Dinner Rolls are the ones I always go back to as the best I have ever had.
Where are Lion House Rolls from?
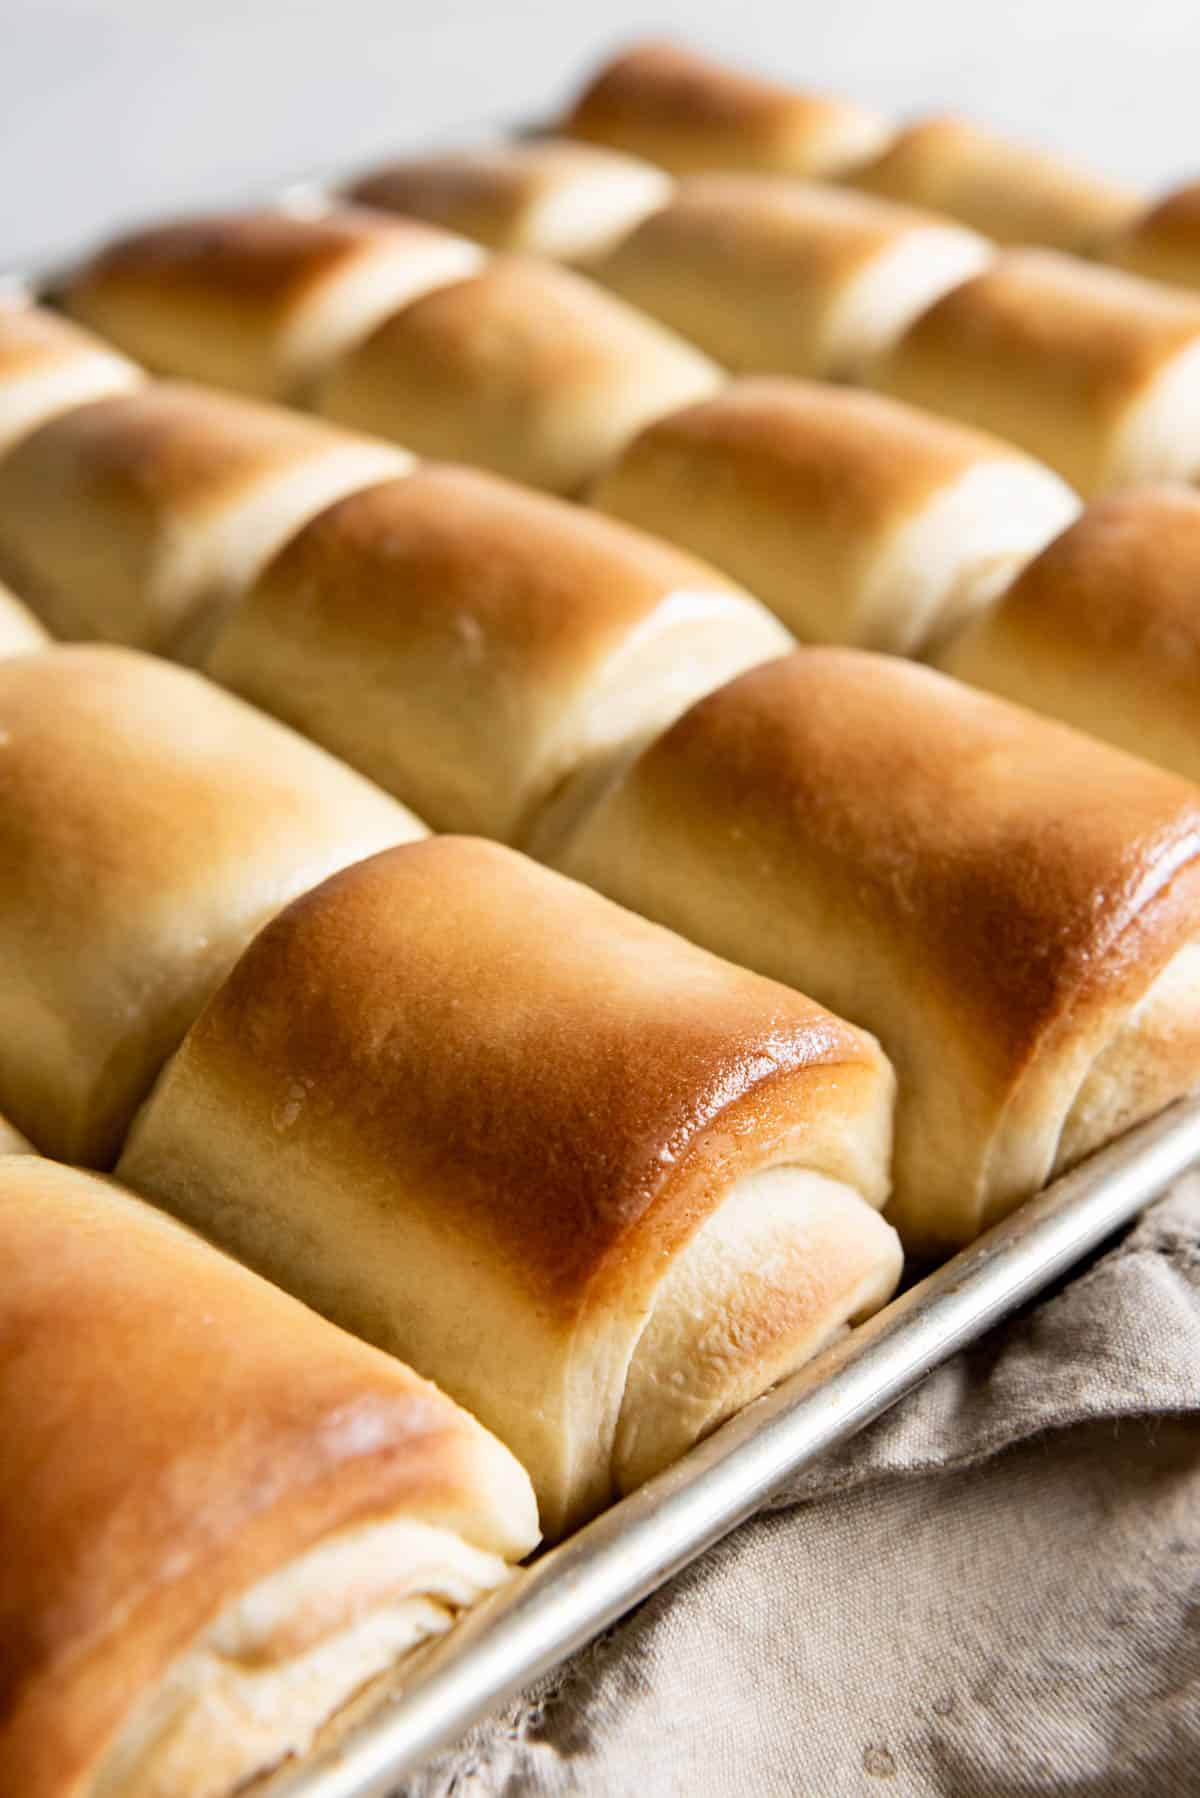
Unless you are from Utah, you may not have ever heard of Lion House dinner rolls. There is a restaurant in Salt Lake City called the Lion House Pantry where they make these rolls, along with a bunch of other delicious food.
My mom had a couple of Lion House cookbooks when I was growing up, and those recipes were well-loved. These rolls are so light and fluffy and buttery inside. I’ve never had another dinner roll quite like them!
These triple-butter dinner rolls have butter in the dough itself, as well as a thin layer of melted butter brushed onto the rolled dough before shaping, and then even more melted butter on the tops of the warm rolls when they come out of the oven!
You can see why these rolls are amazing now, right?
Each roll is made of a dough rectangle that is rolled up into a cylinder, creating those wonderful layers and a really unique roll shape.
I’m sure these Lion House dinner rolls will be as big of a hit at your house as they always are at ours! You might want to double the recipe to be sure there are plenty of leftovers!
Why We Love This Recipe
- This recipe is super easy to double or triple for larger crowds!
- You only need a handful of simple pantry staples for these buttery rolls.
- This recipe is very easy to follow, and it’s pretty forgiving too if it’s your first time making these dinner rolls!
What You’ll Need
Scroll down to the recipe card below this post for ingredient quantities and full instructions.
- Yeast – Active Dry Yeast is best for these Lion House rolls.
- Water – You’ll need warm water that is just right for activating the yeast.
- Milk Powder – We’ll use instant nonfat dry milk powder to help the yeast proof, and tenderize the dough to make it super fluffy.
- Sugar – White granulated sugar will help the dough to rise and also give it a subtle sweetness.
- Salt – Kosher salt will enhance the buttery, sweet, and savory bread flavors!
- Salted butter – The butter will give these rolls that irresistible savory and sweet buttery flavor. We’ll use it in the dough as well as on top of it – twice!
- Egg – The egg will help the dough get nice and fluffy!
- Flour – I typically use all-purpose flour, but you can use bread flour if you prefer.
How to Make Lion House Rolls
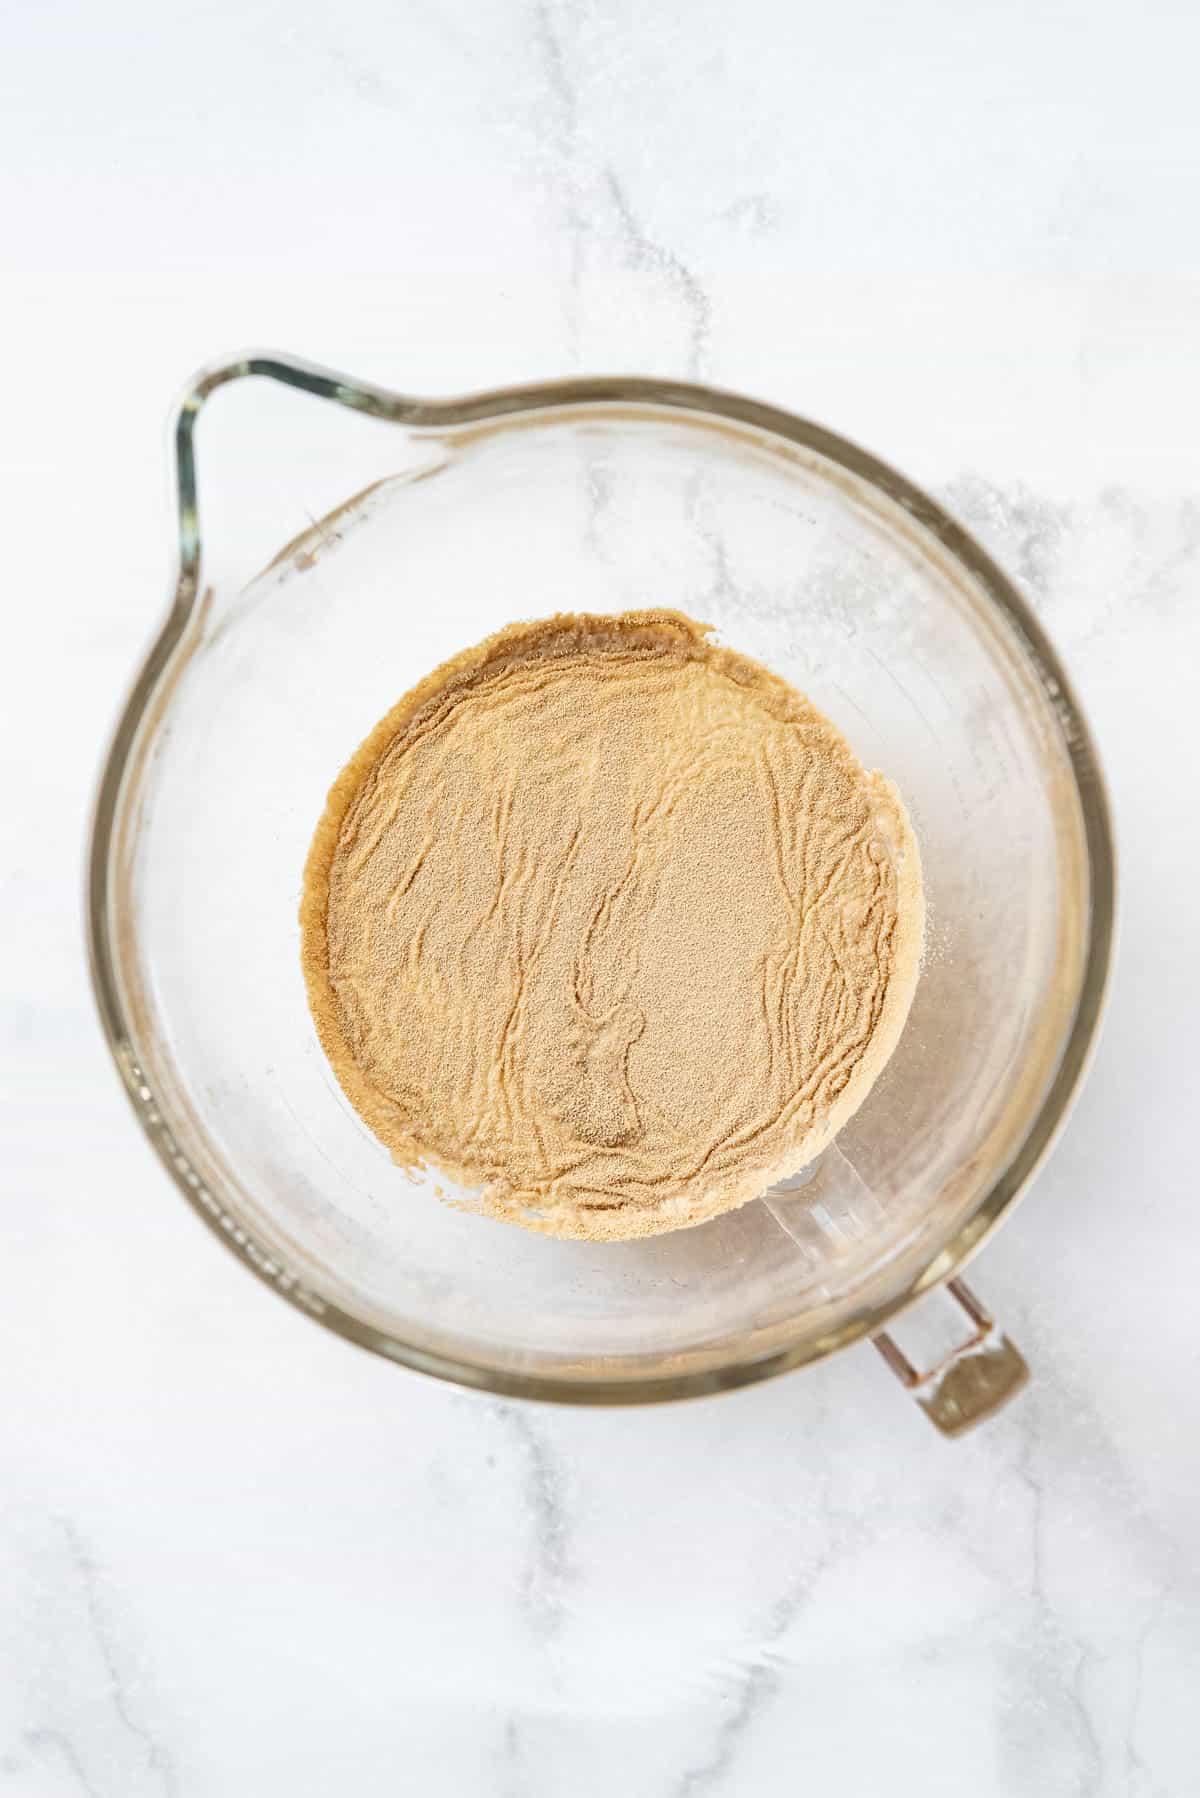
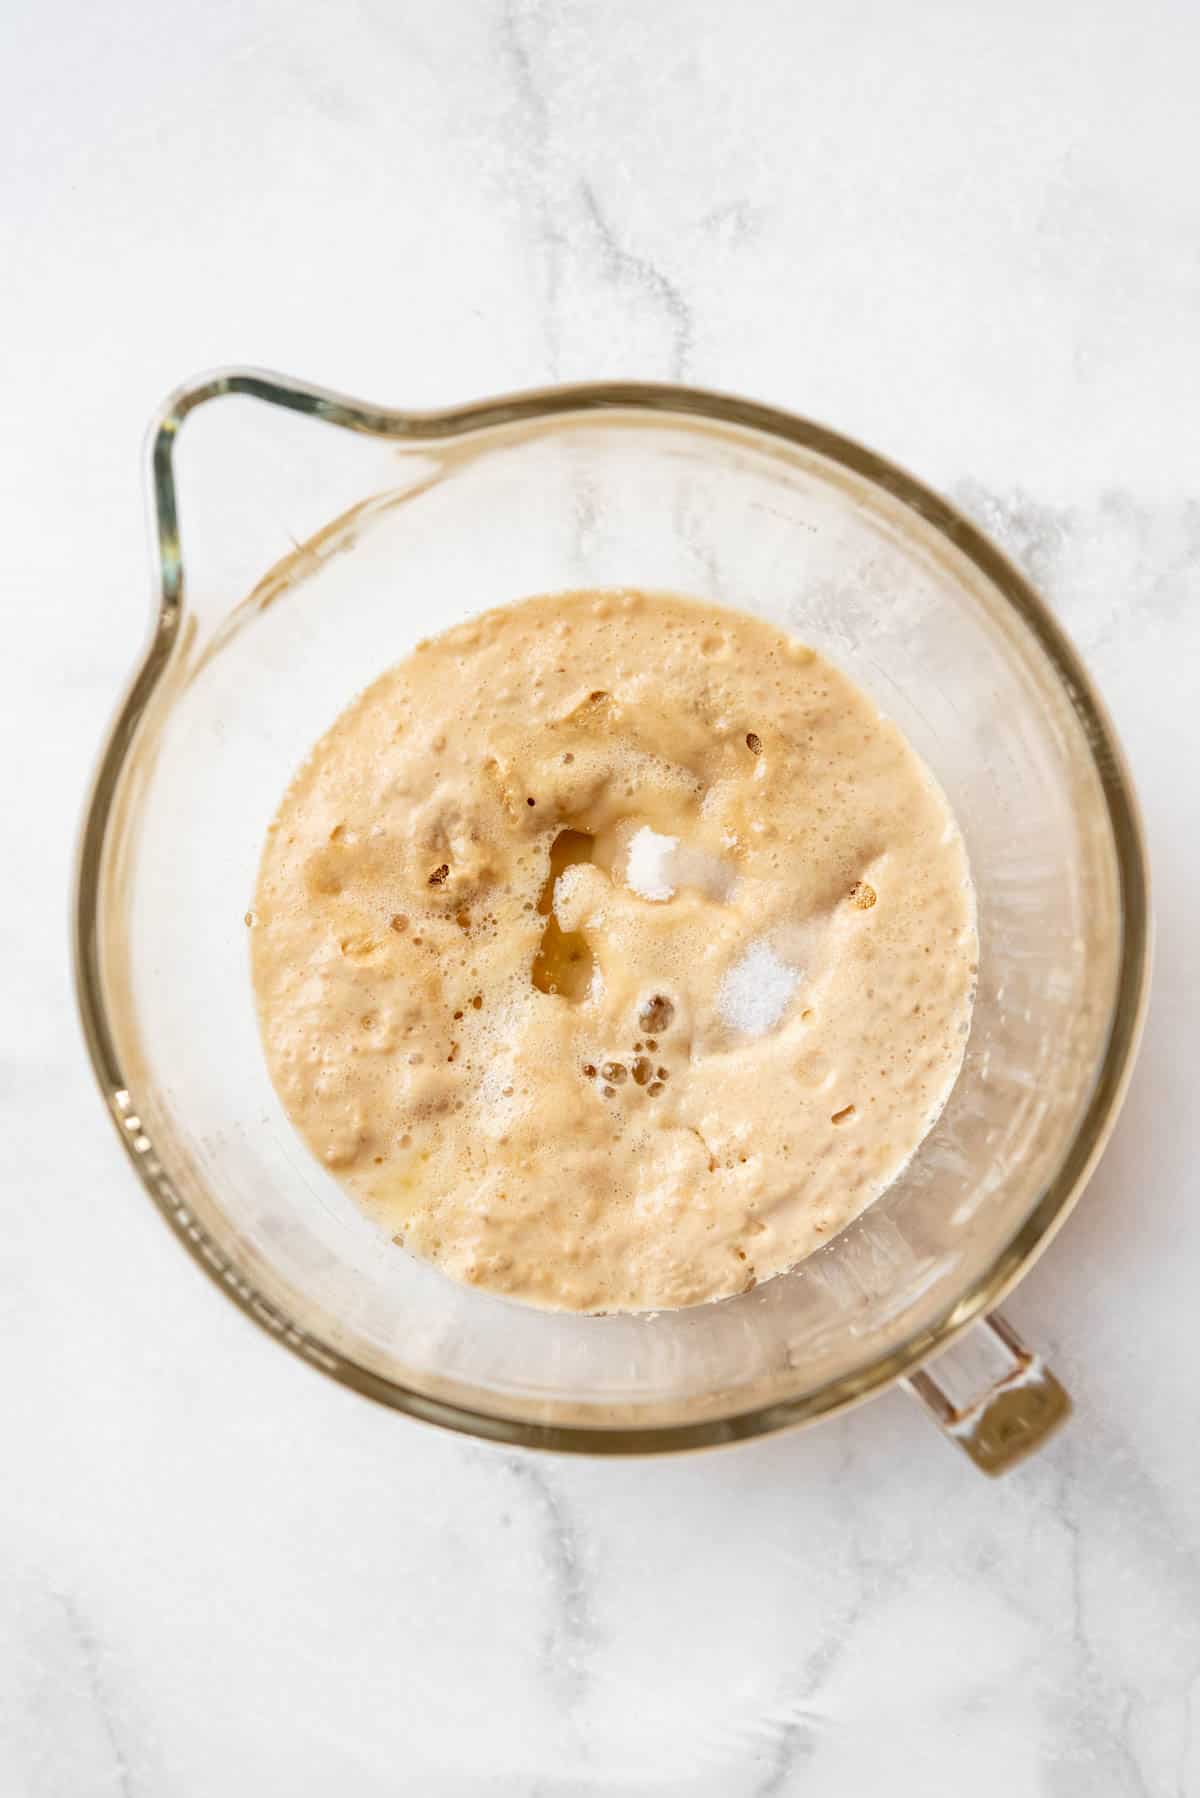
Proof yeast. In a large bowl of a stand mixer with the paddle attachment, mix together the water and dry milk powder until the milk dissolves. Add the yeast and let it proof for 5 minutes until foamy.
Add other ingredients. Mix in the sugar, salt, butter, and beaten egg, as well as 2 cups of the flour, and beat on medium speed for 2 minutes until fully combined.
Add flour and knead. Switch to the dough hook on your mixer and add the remaining flour, ½ cup at a time, until a soft, only slightly sticky dough forms and pulls away from the sides of the bowl. I almost always use 5½ cups of flour, but you might need a little more or less depending on the temperature and moisture conditions of your kitchen. Knead for 5 minutes with a mixer, or turn out the dough onto a floured work surface and knead it by hand for 10 minutes. Knead until the dough is smooth, supple, and elastic.
Let the dough rise. Grease a large bowl with 1 tablespoon of vegetable oil, and transfer the dough into the large greased bowl. Turn the ball of dough over in the bowl so it is coated on all sides with the oil. Next, cover the bowl tightly with plastic wrap and let the dough rise in a warm place until doubled in size. This will take about 1 to 1½ hours.
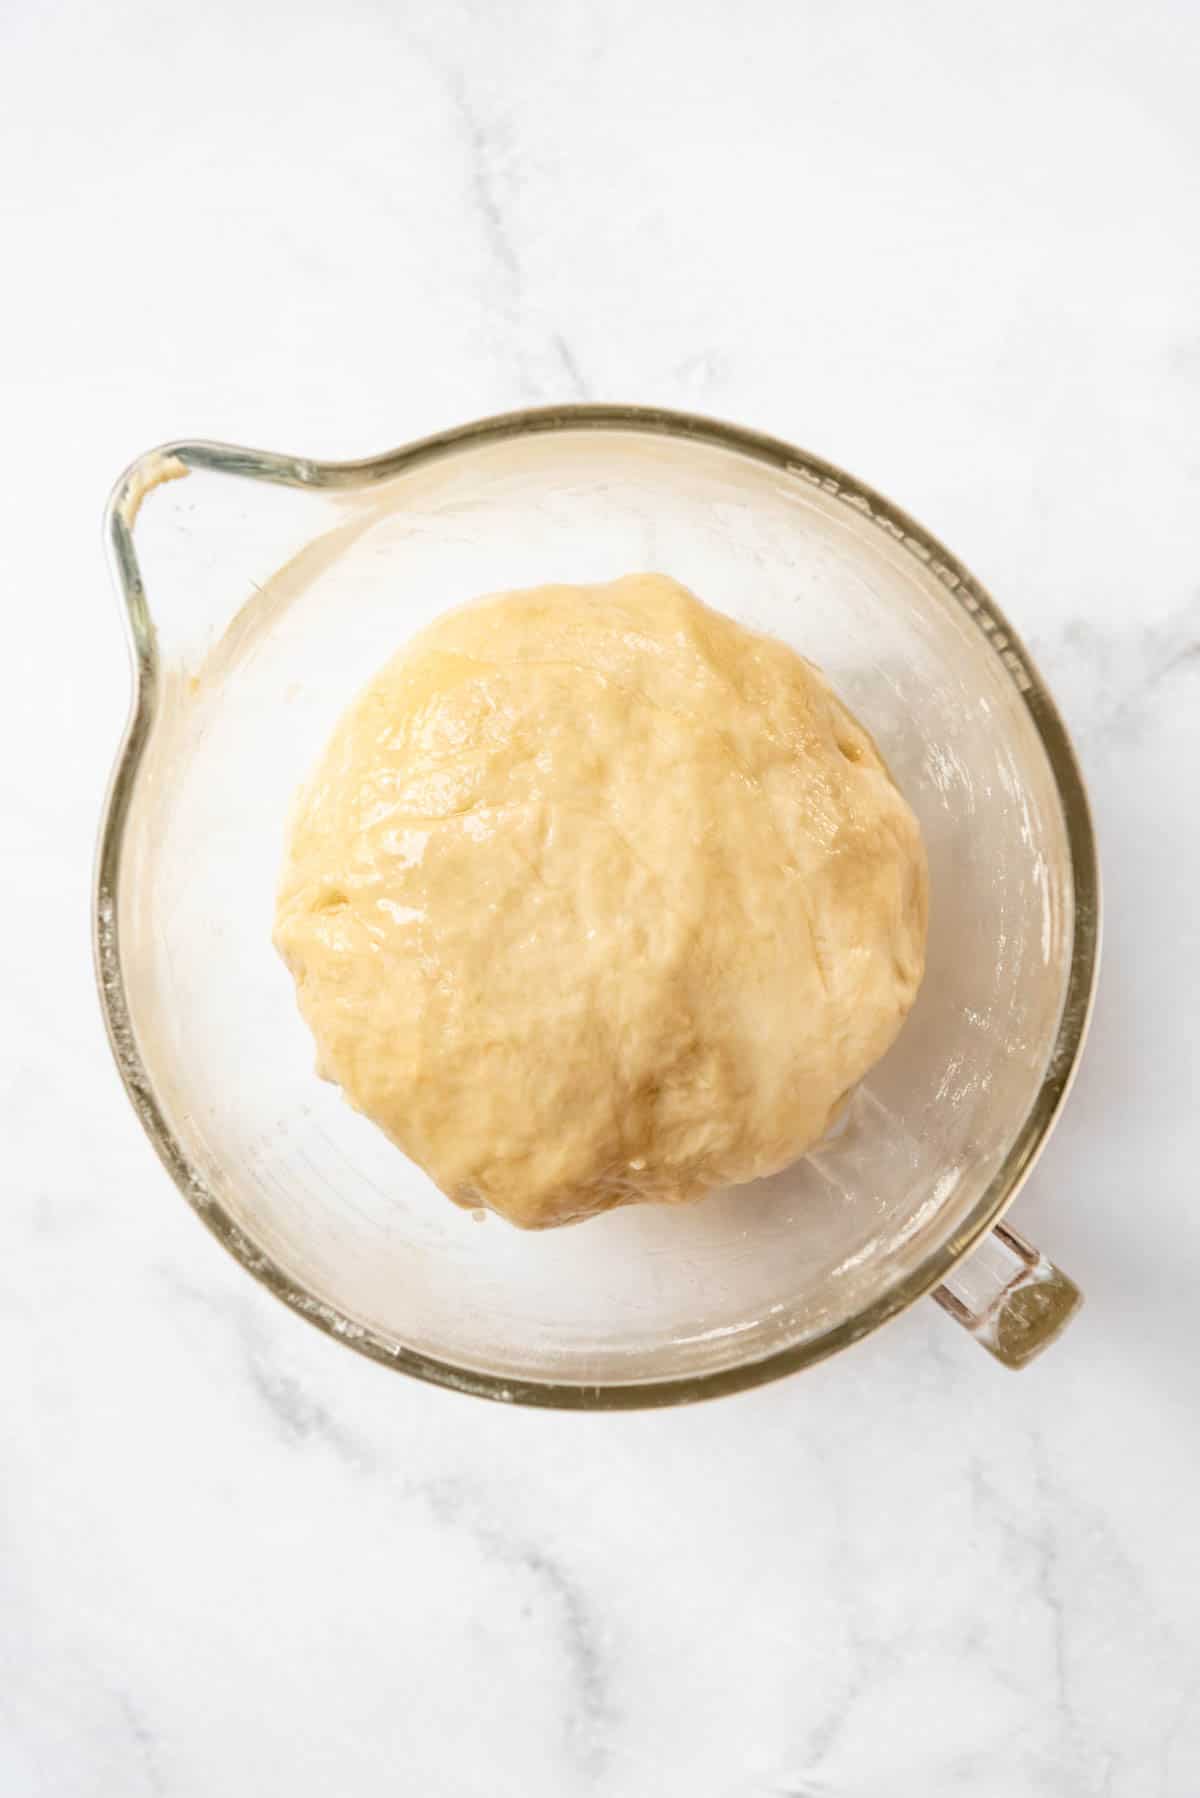
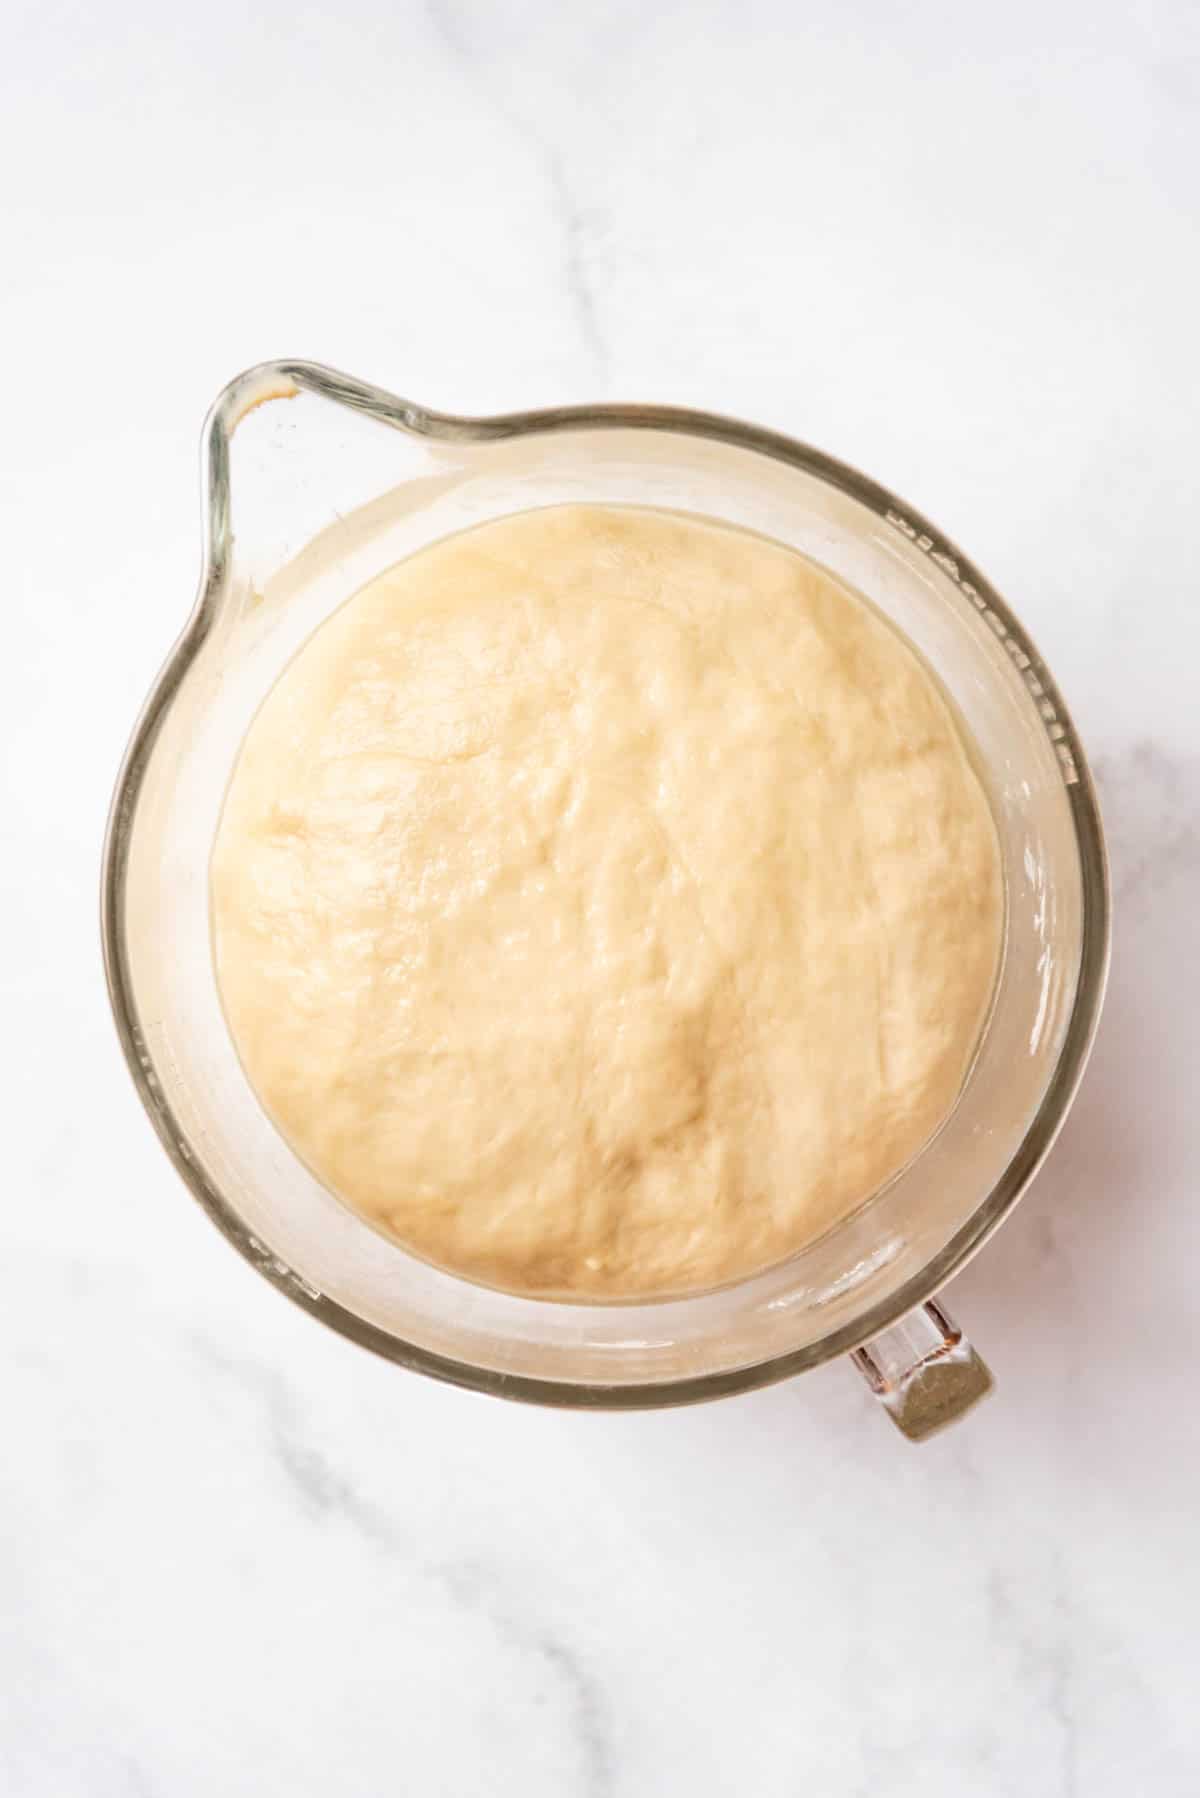
Roll out dough. When the dough has doubled in size, generously dust a clean counter with flour, then turn out the dough onto the floured surface and divide it in half using a bench scraper. Working with only half of the dough at a time, rolling it out into a large rectangle, approximately 11″x14″ big and about ¼-inch thick. Then, brush the dough with ¼ cup of melted butter.
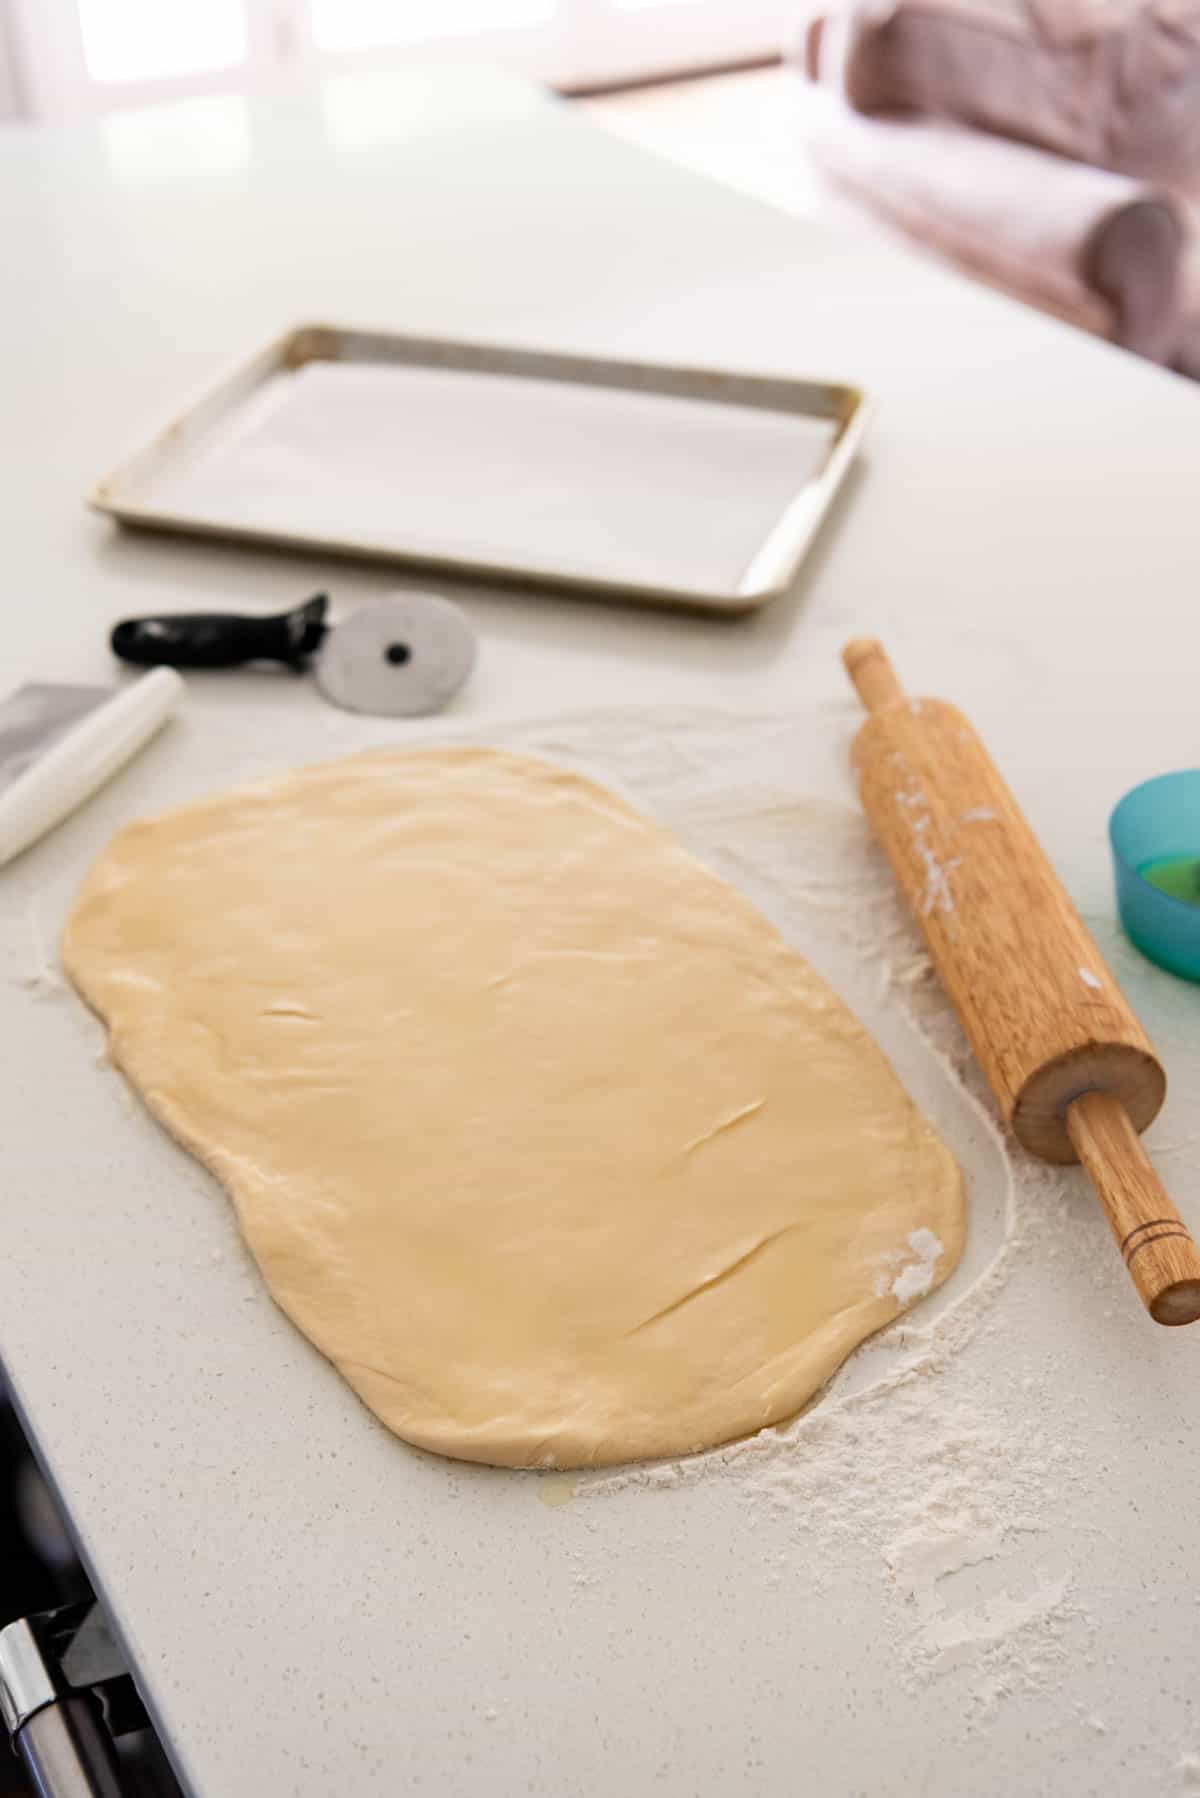
Cut the dough. Use a pizza cutter or sharp knife to slice the rectangle in half lengthwise, then again crosswise into 12 small rectangles, approximately 2″x4″ each. The best way to guide the size is to make an “L” shape by holding your palm out flat with the thumb extended and cutting the rectangles to be the same length and width as the “L” shape.
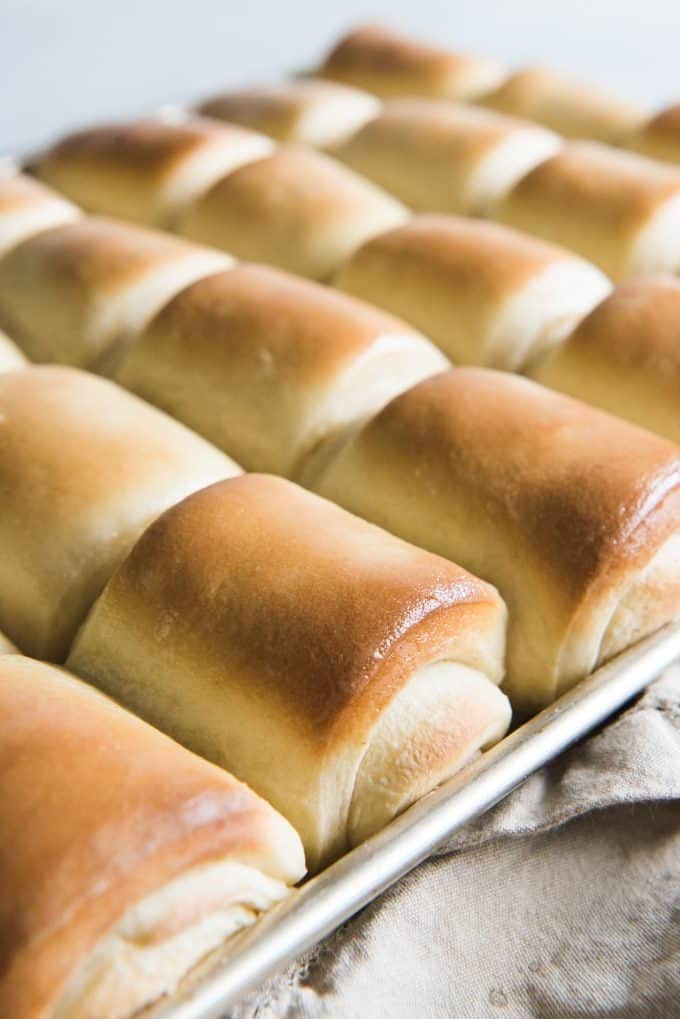
Make rolls. Roll each rectangle up and transfer to a baking sheet lined with parchment paper, placing the tail edge of each roll flat on the pan. Repeat with the second half of the dough. Then, cover it all loosely with plastic wrap or a clean dish towel and let it rise in a warm spot until doubled in size, about 1 hour, before baking.
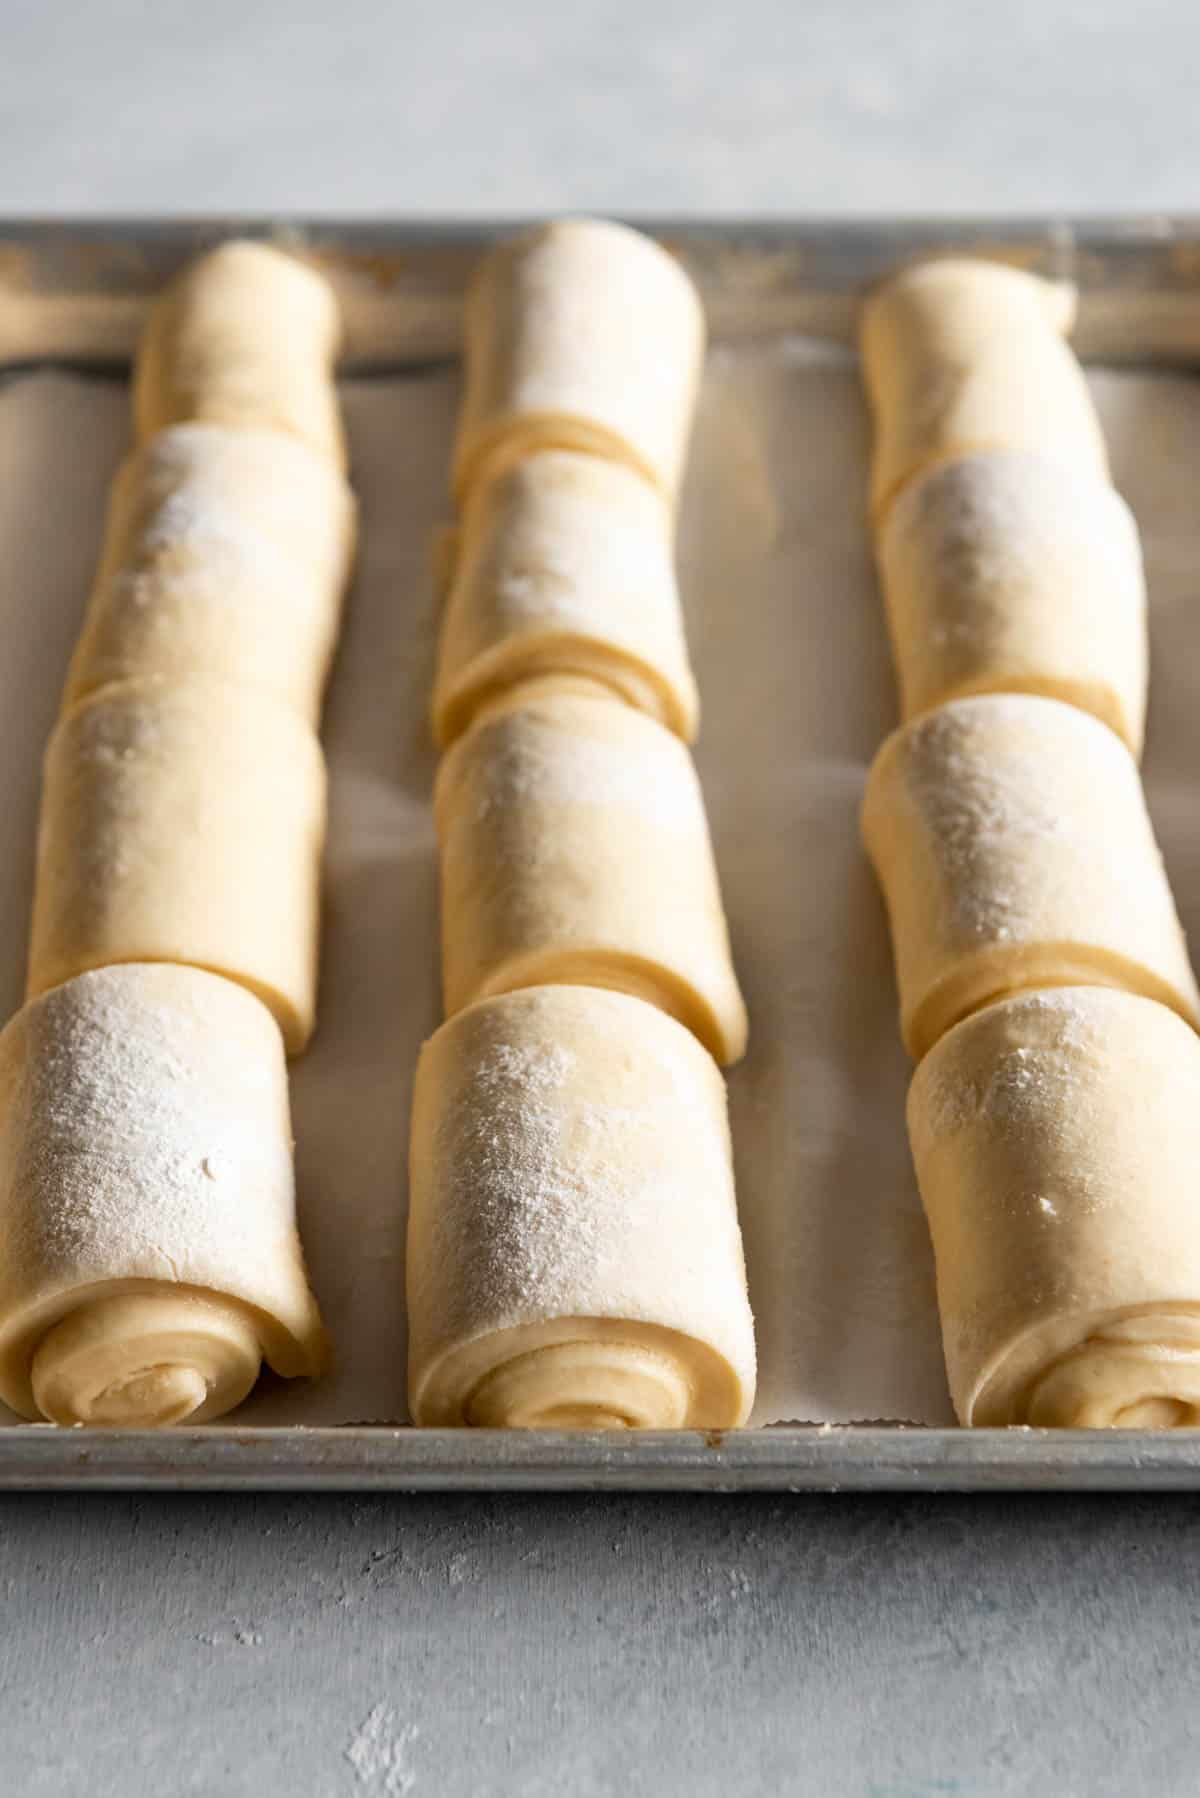
Bake rolls. When it is getting close to the end of the second rising time, heat the oven to 375°F and melt the remaining ¼ cup of butter. When the oven is hot, bake the rolls for 14-16 minutes, until golden brown. Then, remove the rolls from the oven and brush them with melted butter while they are still hot. Serve warm!
Recipe FAQ’s
The ideal water temperature to use with Active Dry Yeast is 100°–110°F, though other types of yeast may need a temperature between 90˚-95˚F for optimal fermentation. Check the label on the packet before you begin, as overheating the water can kill the yeast.
We would normally go for at least two rolls per person for holiday meals, and then one on a normal weeknight, but you can always make extra and save them for the next night.
You can make these Lion House dinner rolls ahead of time and freeze the dough before the second rise.
Just shape the rolls like normal, then wrap the baking sheet with the shaped rolls in a couple of layers of plastic wrap and pop them in the freezer before they begin to rise for the final time.
When you are ready to bake them, remove the tray from the freezer and allow the rolls to sit at room temperature for 4 hours until they have had a chance to thaw and complete their final rise before baking, then follow the baking instructions like normal.
Store baked rolls in an airtight container, freezer bag, or covered in plastic wrap in the refrigerator for up to 7 days.
Baked Lion House rolls will freeze well as long as they are already completely cool before you put them in the freezer. Just use a Ziploc bag or freezer-safe container to protect them.
Tips for Success
- Don’t add the entire amount of flour all at once! Adding ½ cup flour at a time makes it easier to knead the dough and incorporate the flour. It also makes for a much more tender and delicious roll and gives you more control over when enough flour has been added.
- Watch this Video Tutorial to see how the Lion House shapes their dinner rolls. (I don’t do the stretch and flip method because it just sends butter flying around my kitchen, lol. Rolling them up seems to work just fine for me!)
- Space the rolls about 1 inch apart when placing them on the baking sheet so that they have room to rise. It’s fine for them to touch each other eventually (they should, actually!) but you don’t want to squish them.
- Use a stand mixer with a dough hook if you have one to make kneading the dough easier.
How much flour?
The temperature, humidity, and altitude of your kitchen and work surface can impact how much flour you need in your dough. I tend to judge if I need more or less flour by the texture and look of the dough.
When making soft dinner rolls, you want to err on the side of adding less flour rather than too much. Your soft dough should feel supple, elastic, and just slightly tacky to the touch—sort of like the back of a post-it note (a weird, albeit apt comparison for knowing when roll dough has enough flour).
If you do need to add more flour, do it a little bit at a time.
Substitutions and Variations
- This recipe calls for powdered dry milk and water instead of just using whole milk. Powdered dry milk helps tenderize the dough, resulting in the unique and wonderful texture of these rolls. However, I have made these rolls, substituting the water for milk, and eliminating the dry powdered milk altogether, and the rolls still turned out very good. I didn’t think they were quite the same as the originals, but the recipe does work with this substitution – you will still need to heat the milk before adding the yeast.
- I use salted butter in this recipe. To use unsalted butter, add a dash more salt to the dough, and a dash of salt to the melted butter.
- You can use all-purpose flour or bread flour for these rolls.
More Homemade Bread Recipes
- Sweet Molasses Brown Bread
- Homemade French Bread
- Roasted Garlic & Rosemary No Knead Artisan Bread
- Homemade Potato Bread Recipe
- Easy Homemade Rye Bread
Did you make this recipe?
Let me know what you thought with a comment and rating below. You can also take a picture and tag me on Instagram @houseofnasheats or share it on the Pinterest pin so I can see.
Lion House Dinner Rolls
Ingredients
- 2 cups warm water
- ⅔ cup instant nonfat dry milk powder
- 2 tablespoons active dry yeast
- ¼ cup sugar
- 2 teaspoons salt
- ⅓ cup salted butter softened
- 1 large egg beaten
- 5-6 cups all-purpose flour or bread flour
- ¾ cup salted butter melted to use during shaping and after baking

Instructions
- Stir together the water and dry milk powder in a large bowl of a stand mixer until the milk powder dissolves. Add the yeast and let it proof for 5 minutes until foamy.2 cups warm water, ⅔ cup instant nonfat dry milk powder, 2 tablespoons active dry yeast
- Mix in the sugar, salt, butter, egg, and 2 cups of flour and beat on medium speed for 2 minutes.¼ cup sugar, 2 teaspoons salt, ⅓ cup salted butter, 1 large egg beaten, 5-6 cups all-purpose flour
- Switch to the dough hook and add remaining flour, ½ cup at a time, until a soft, only slightly sticky dough forms and pulls away from the sides of the bowl. I almost always use 5 ½ cups of flour, but you might need a little more or less. Knead for 5 minutes by mixer or 10 minutes by hand until the dough is smooth, supple, and elastic.
- Transfer the dough to a large bowl greased with 1 tablespoon of vegetable oil. Turn the dough over in the bowl so it is coated on all sides with oil, then cover the bowl tightly with plastic wrap and let rise in a warm spot until doubled in size, about 1 to 1½ hours.
- When the dough has doubled in size, generously dust a clean counter with flour, then turn out dough onto the floured surface and divide it in half using a bench scraper. Working with only half of the dough at a time, roll out into a large, approximately 11"x14" rectangle, about ¼-inch thick, and brush with ¼ cup of melted butter.¾ cup salted butter
- Using a pizza cutter or sharp knife, slice the rectangle in half lengthwise, then crosswise into 12 small rectangles, approximately 2″x4″ each. A good guide is by making an “L” shape by holding your palm out flat with the thumb extended and cutting the rectangles to be the same length and width as the “L” shape.
- Roll each rectangle up and transfer to a baking sheet lined with parchment paper, placing the tail edge of each roll flat on the pan. Repeat with the remaining dough, then cover loosely with plastic wrap or a clean dish towel and let rise in a warm spot until doubled in size, about 1 hour.
- Close to the end of the rising time, heat the oven to 375°F and melt the remaining ¼ cup of butter. When the oven is hot, bake the rolls for 14-16 minutes, until golden brown. Remove from oven and brush with melted butter while still hot.



Amazing Post! That is an amazing Dinner roll. I have a wonderful experience and That way you Describe recipe that easy to understand. Thanks for sharing.
Yum!! These look delicious! Just in time for my holiday dinner.
I love a good dinner roll, too! These do look fluffy and buttery. I can’t wait to make these.
Those rolls look so good! They are perfect for a holiday dinner!
These rolls look perfect! I think we need to have dinner rolls at the table now for Christmas dinner.
They look so perfect! I am sure they are delicious too!
Useful post. Thanks for sharing.
Very light and fluffy! Yum!
Just finished shaping and waiting for second rise before popping them into the oven for our Thanksgiving dinner. The dough was lovely to work with, light airy…can’t wait to eat one of these!
Can the dough be made in the bread machine?
I don’t see why it couldn’t. I don’t have a bread machine to test it with though.
This sounds great! Can I substitute rapid rise (instant) yeast? It’s all I ever use.
Yes, absolutely! You can just skip the proofing time!
Can I put them in the fridge overnight then bake in the morning. I don’t want to freeze them.
Thank you for a speedy reply!
Yes, that will work just fine! Do it immediately after shaping the rolls before letting them rise. Then pull them out and warm up and get puffy before baking the next day!
What size baking sheet did you use? I would love to try this recipe!
You should try it! They’re so fluffy and buttery and delicious. I used a half sheet/cookie sheet pan. Let me know if you make them!
Could not follow the recipe for excessive popup ads. If this is how your site works, will not open any more!
Did you use the “jump to recipe” button? It will take you straight to the recipe with the directions and ingredients. There is also a “cook mode” button that will prevent your screen from going dark making it easier to read the recipe.
I love the way you have your recipe written so I don’t have to keep looking up. It makes sure I don’t forget something. It is so handy. Love your recipes and am making these into crescents this time. Thanks for all your great recipes.
Thank you Phyllis! That made my day! I really appreciated the positive feedback.
I made a test batch of these rolls a few days ago for Thanksgiving and they have to be the best rolls I’ve ever had. So easy to make and I’ve had little experience with yeast breads. I’m now making the second batch for Thanksgiving and will try the freeze method after the first rise and before the second rise. This is definitely a must try for a great tasting roll – you will not be disappointed!
I’m so happy you enjoy this recipe!
Can I shape the dough in the traditional round “roll” form? Or does it have to be cinnamon roll style? I have used this recipe quite a few times and I love it! Just curious if a different shape would matter.
You can absolutely shape this dough any way you like. It’s a really versatile, nice dough to work with.