
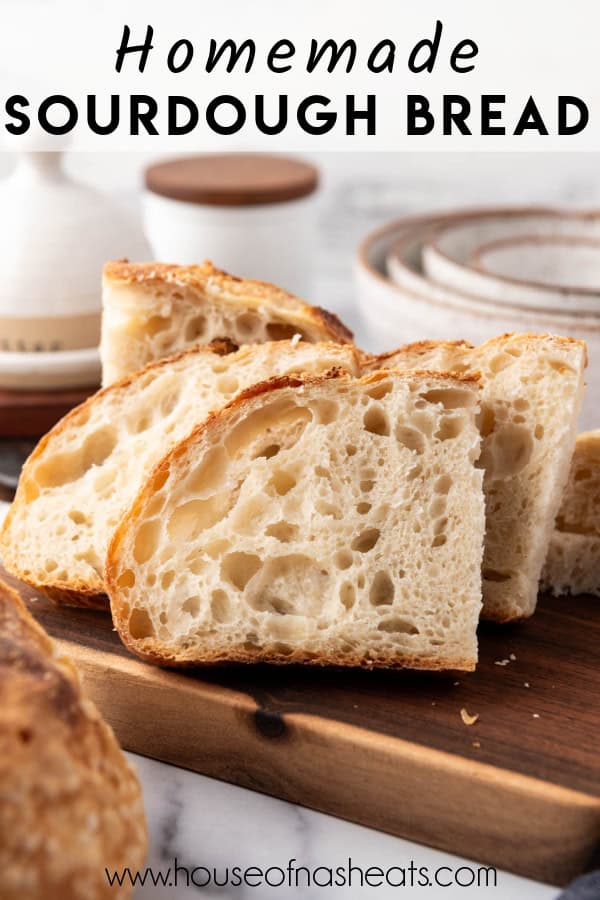
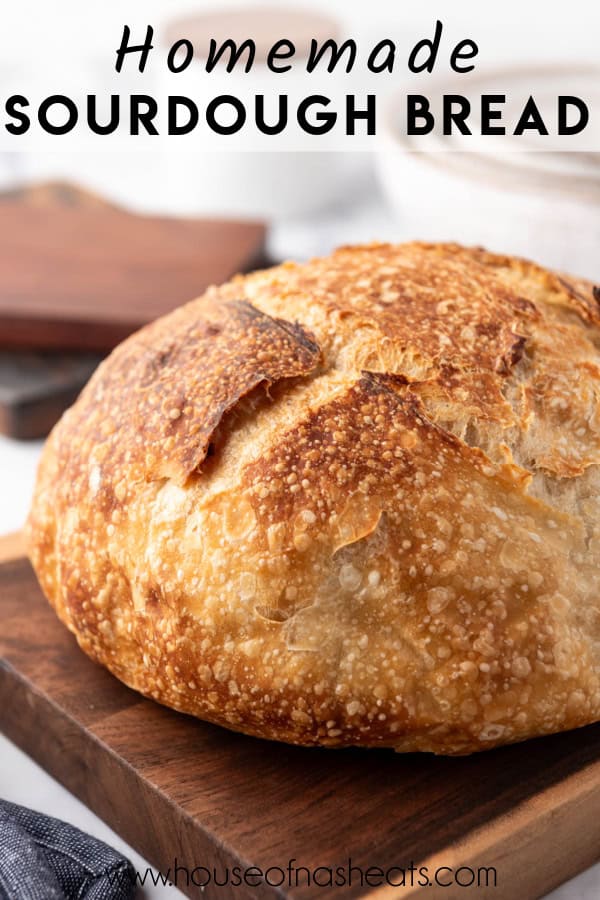
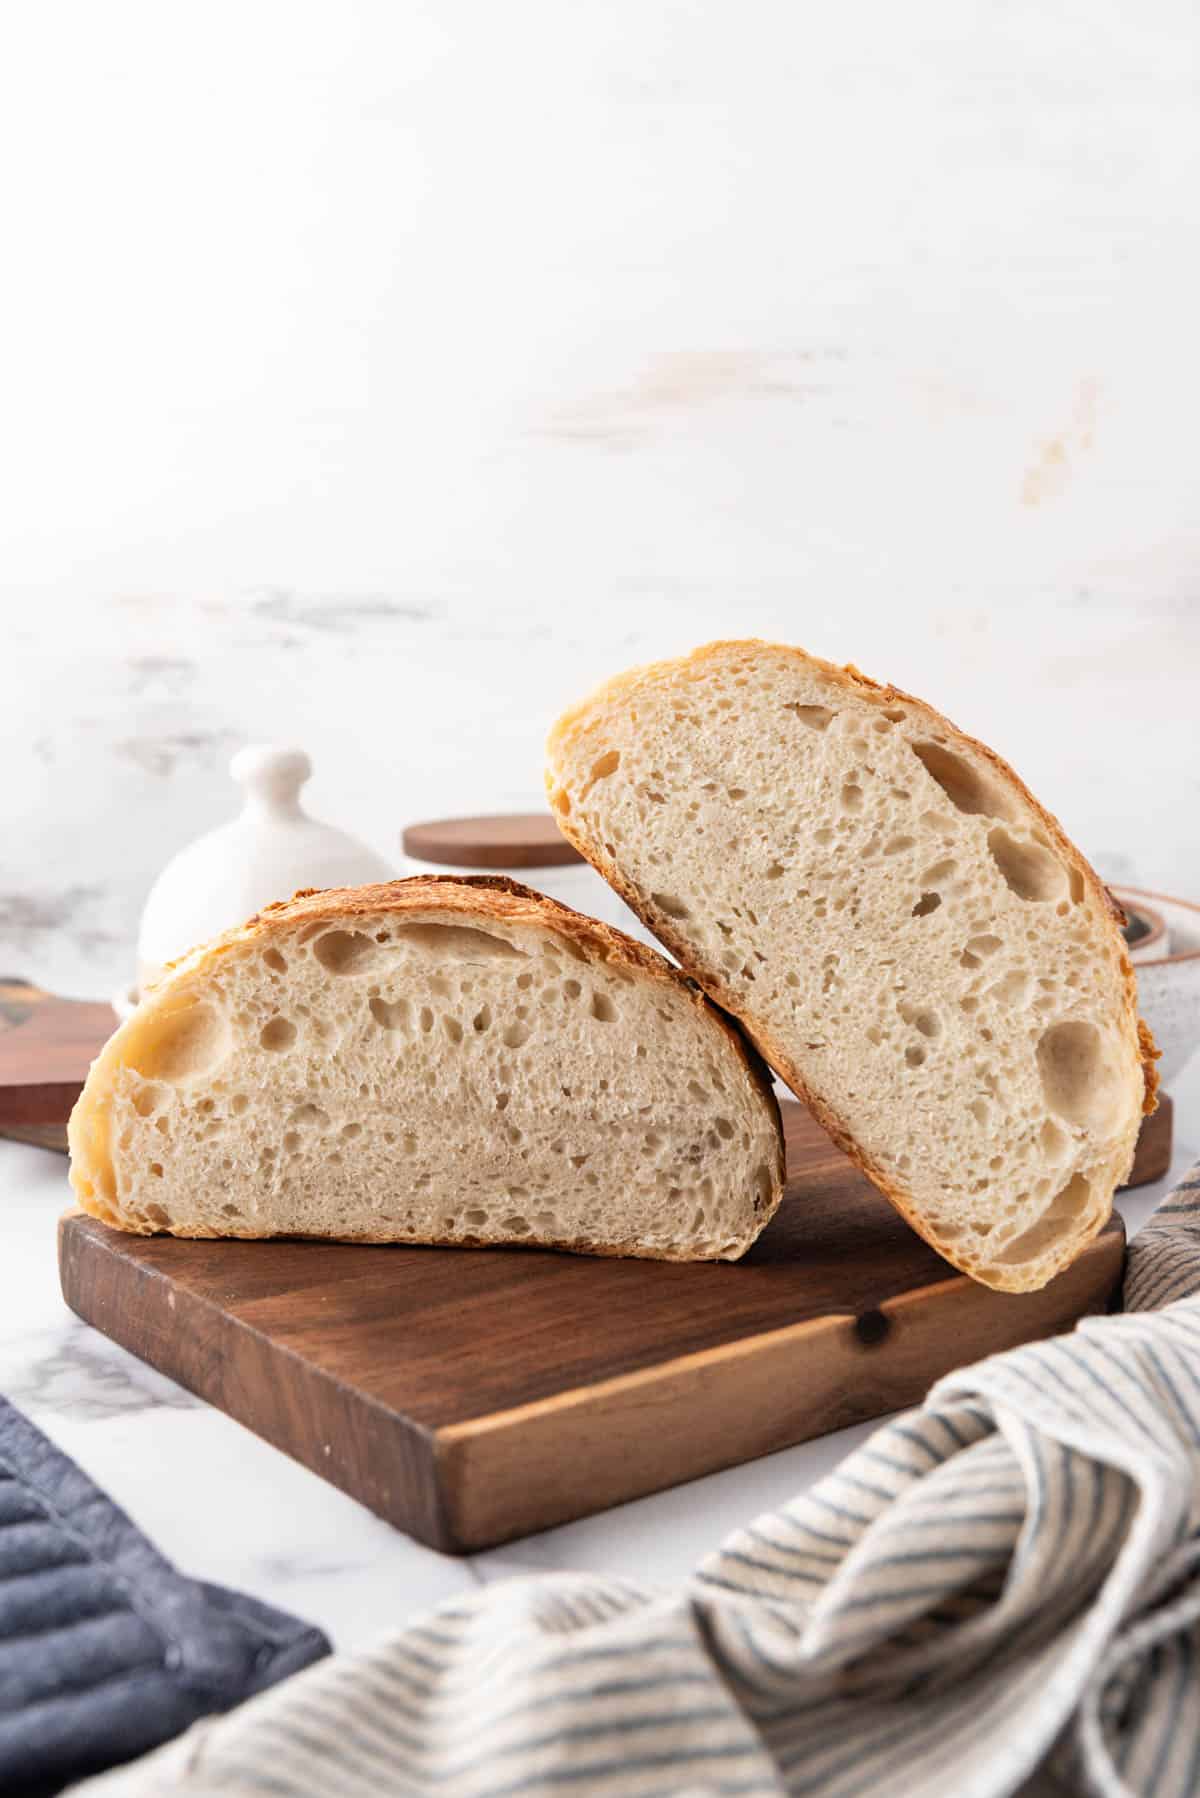
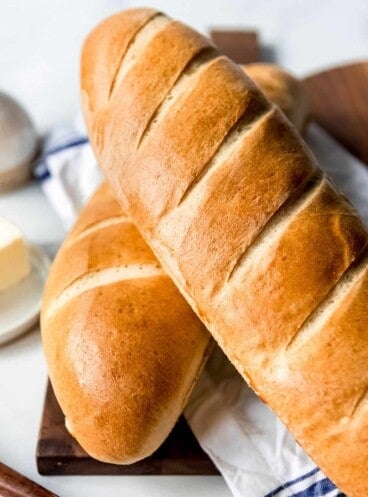
If you are new to sourdough and looking to bake your first loaf of deliciously crusty sourdough bread at home, you’ve come to the right place! Our easy Sourdough Bread recipe only needs 4 ingredients and I will walk you through the process with step-by-step photos.
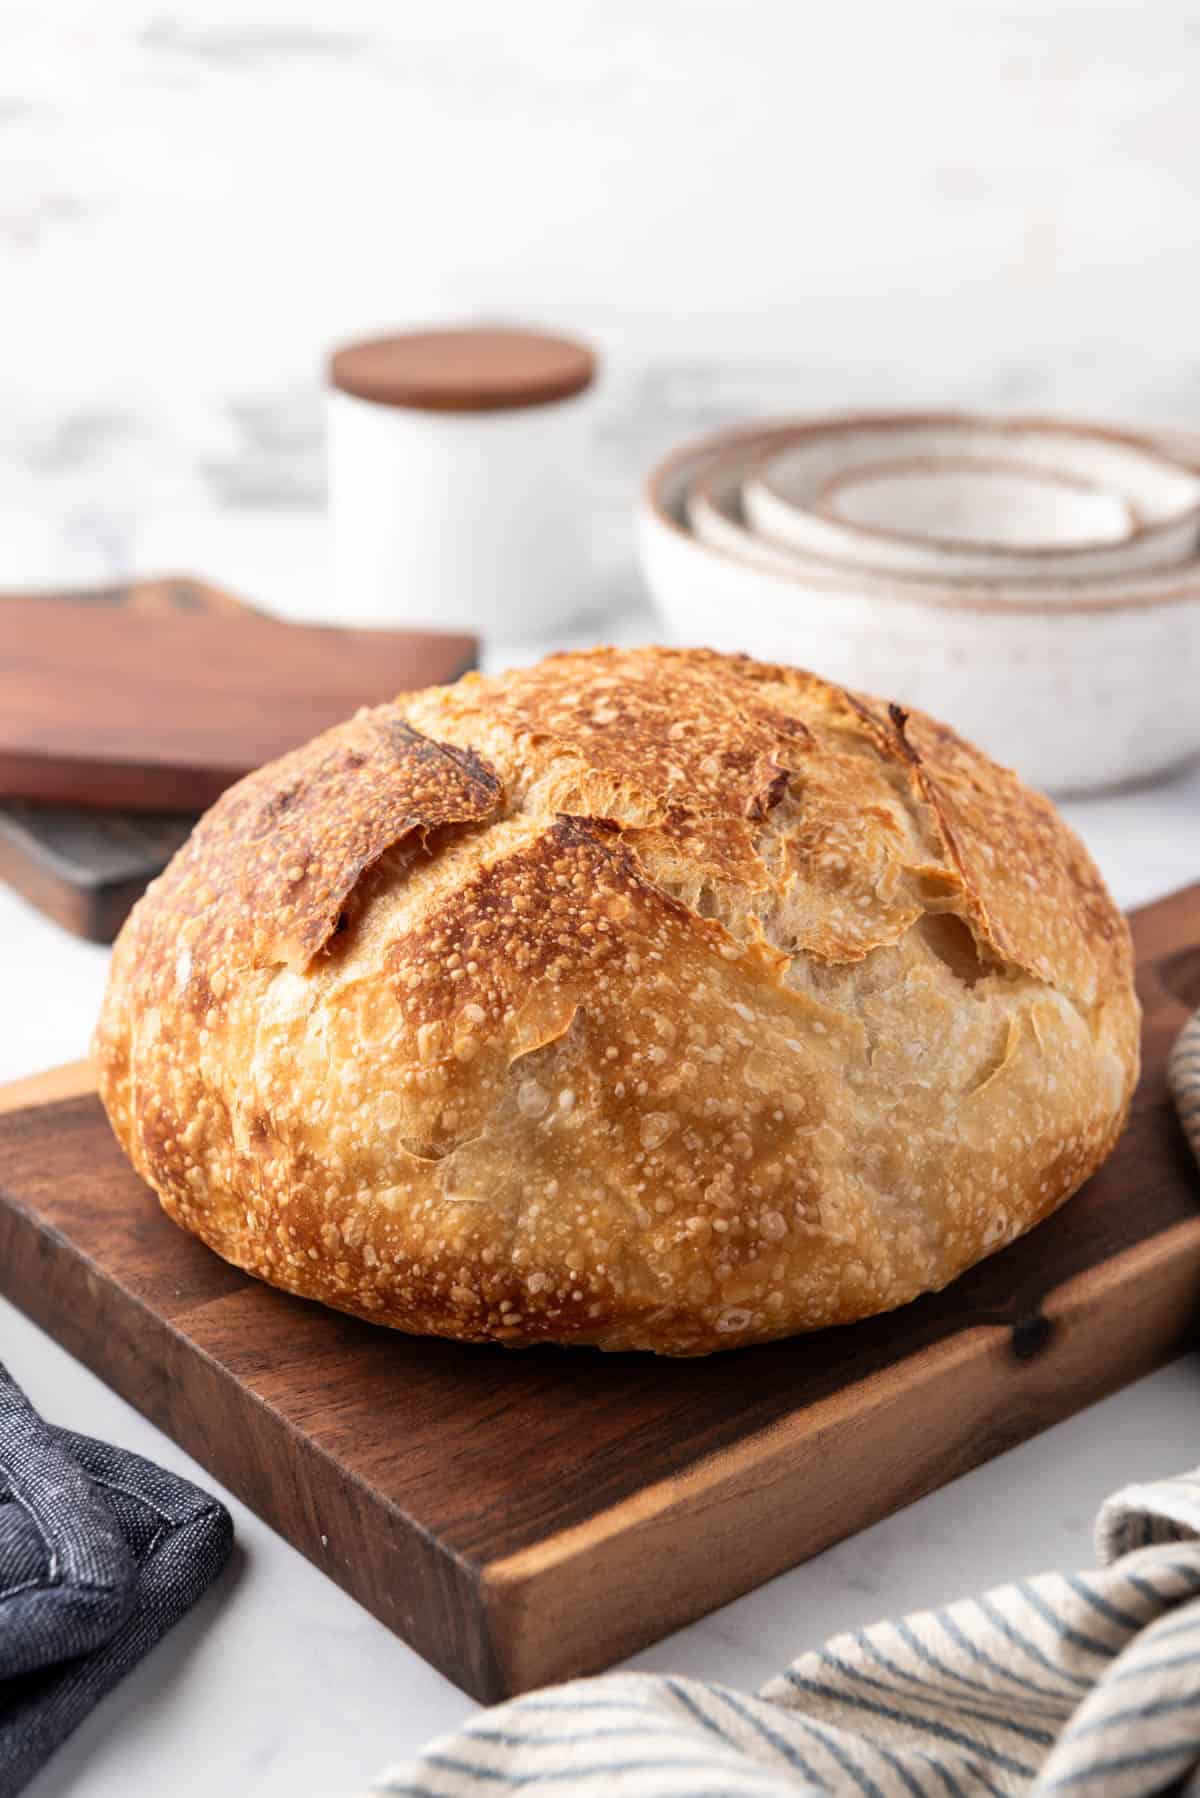
Table of Contents
Making a loaf of sourdough bread with a chewy crust and signature slightly sour flavor can be intimidating! But this beginners sourdough bread recipe is actually quite easy to make and mostly just takes time. The good news is that the majority of that time is completely hands-off.
I’m calling this tutorial “Beginners Sourdough Bread 101” and I’ll do my best to break down the important terms (without going overboard) and set you up for success with your first try. I know that there are all kinds of advanced sourdough recipes out there and you can even go to workshops and retreats to learn the art of sourdough bread making, but I wanted something for everyday bakers to be able to use.
My philosophy behind sourdough bread is that it shouldn’t have to be so mysterious and hard. If you are anything like me and tried dipping a toe into the waters of sourdough bread making only to be scared away be terms like “autolyze”, “poolish”, “hydration ratios”, “oven spring”, and “boule” then this sourdough bread recipe for you.
This is the recipe that I keep coming back to, week-after-week, for one or two loaves of slow-fermented bread to have on hand for toast, grilled cheese sandwiches, or to go with dinner. After making dozens and dozens of loaves, I’m finally ready to share the approach that I think works best for most new sourdough bread bakers.
What You’ll Need
Scroll down to the recipe card below this post for ingredient quantities and full instructions.
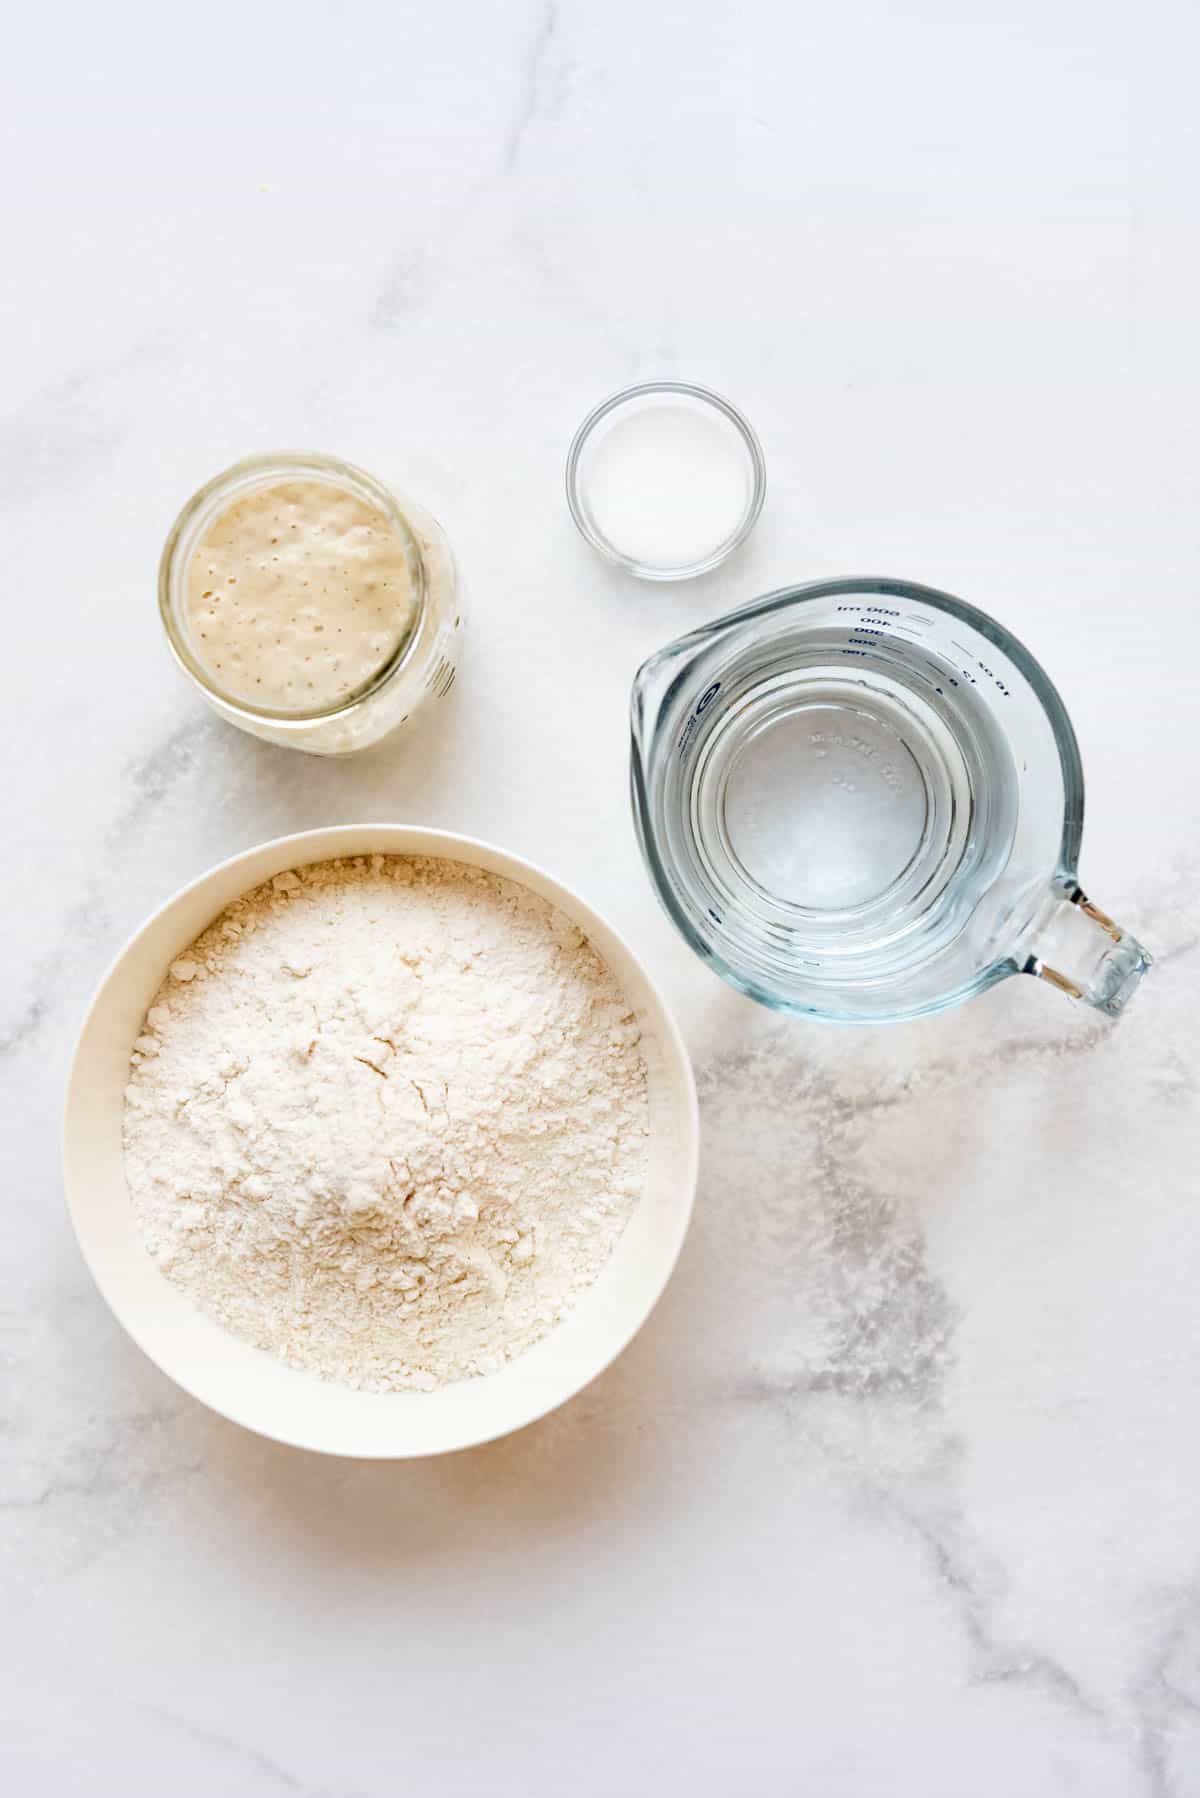
Ingredients
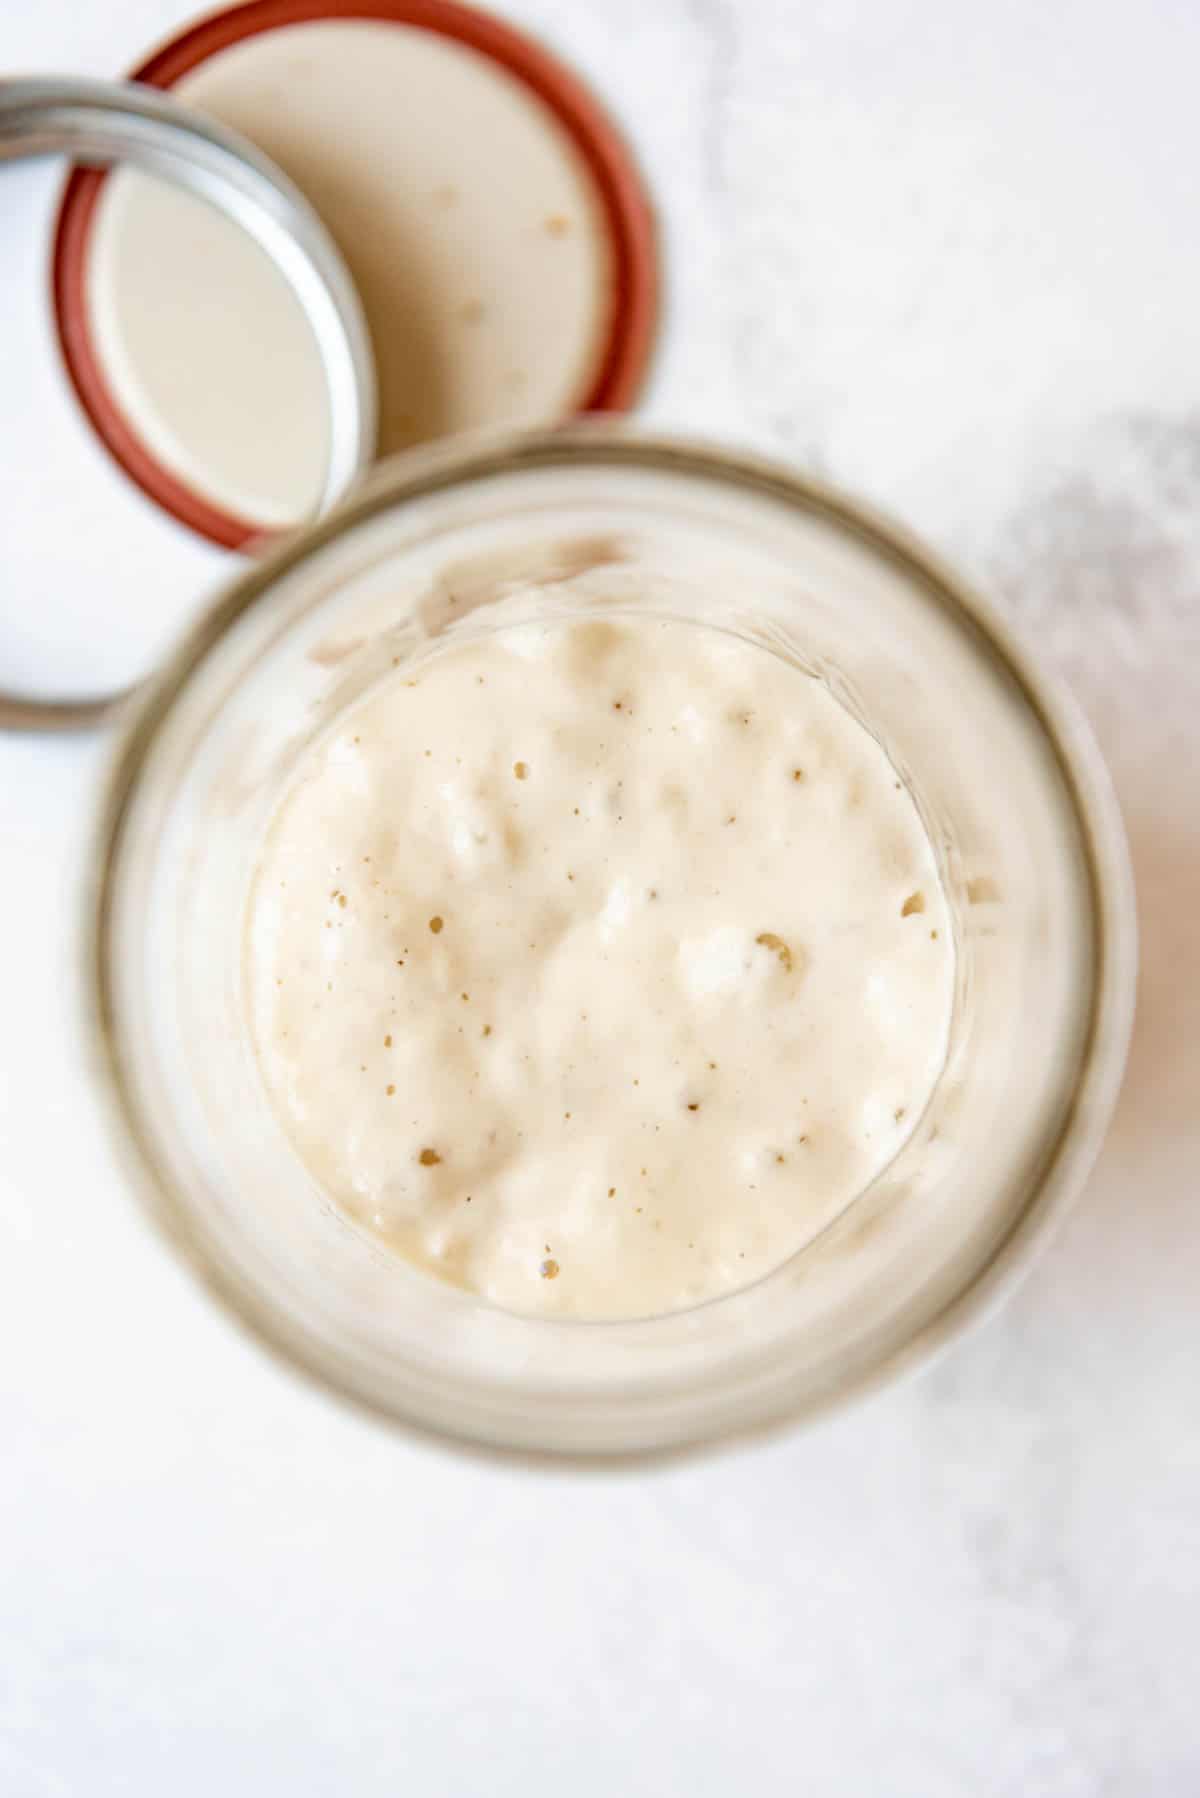
- Sourdough Starter – You will want to feed your sourdough starter ahead of time so that it is foaming, bubbly, and active when you are ready to start making the bread. We aren’t using active dry yeast or instant yeast for this bread recipe.
- Water – Cold to room temperature water is just fine. No need to heat it up.
- Flour – You can use all-purpose flour or bread flour. Both give great results, although I like bread flour because it makes the bread just a bit chewier. I also highly recommend using organic unbleached flour for the best results.
- Salt – I use regular old table salt when I make this bread.
How to Make Sourdough Bread Overview
Before getting into the details too much, this is the broad level overview of the process. Keep in mind that this is only about 10 minutes of actual work spread out over a 24 hour period.
- Feed your sourdough starter and let it rise for 10-12 hours until bubbly and doubled in size.
- Combine dough ingredients and let the dough rest for 1 hour at room temperature.
- Do 2 sets of “stretch and folds”, letting the dough rest for 30 minutes between each set.
- Bulk rise for 8-10 hours at room temperature.
- Shape the dough into a loaf and let rise for 1-2 hours at room temperature or overnight in the fridge.
- Score and bake!
Sourdough Starter Basics
It usually takes around 7-14 days to make your own sourdough starter from scratch, so go borrow some from a friend if you don’t have it already and want to make sourdough bread this weekend.
To make your own sourdough starter, all you need is flour, water, and time! With regular feedings, the starter will eventually collect wild yeast from the environment, which feed off the flour causing the natural yeast and bacteria to grow. With consistent feedings, the sourdough starter will become strong enough to use for baking your homemade sourdough bread!
FUN FACT: Many people name their sourdough starters! But I haven’t come up with one I love yet, so if you have a suggestion, tell me what I should name my starter in the comments section.
Feeding Your Sourdough Starter to Make Bread
If you’ve got a starter already to go, then let’s talk about feeding it so you can bake some bread already!
When do you feed it?
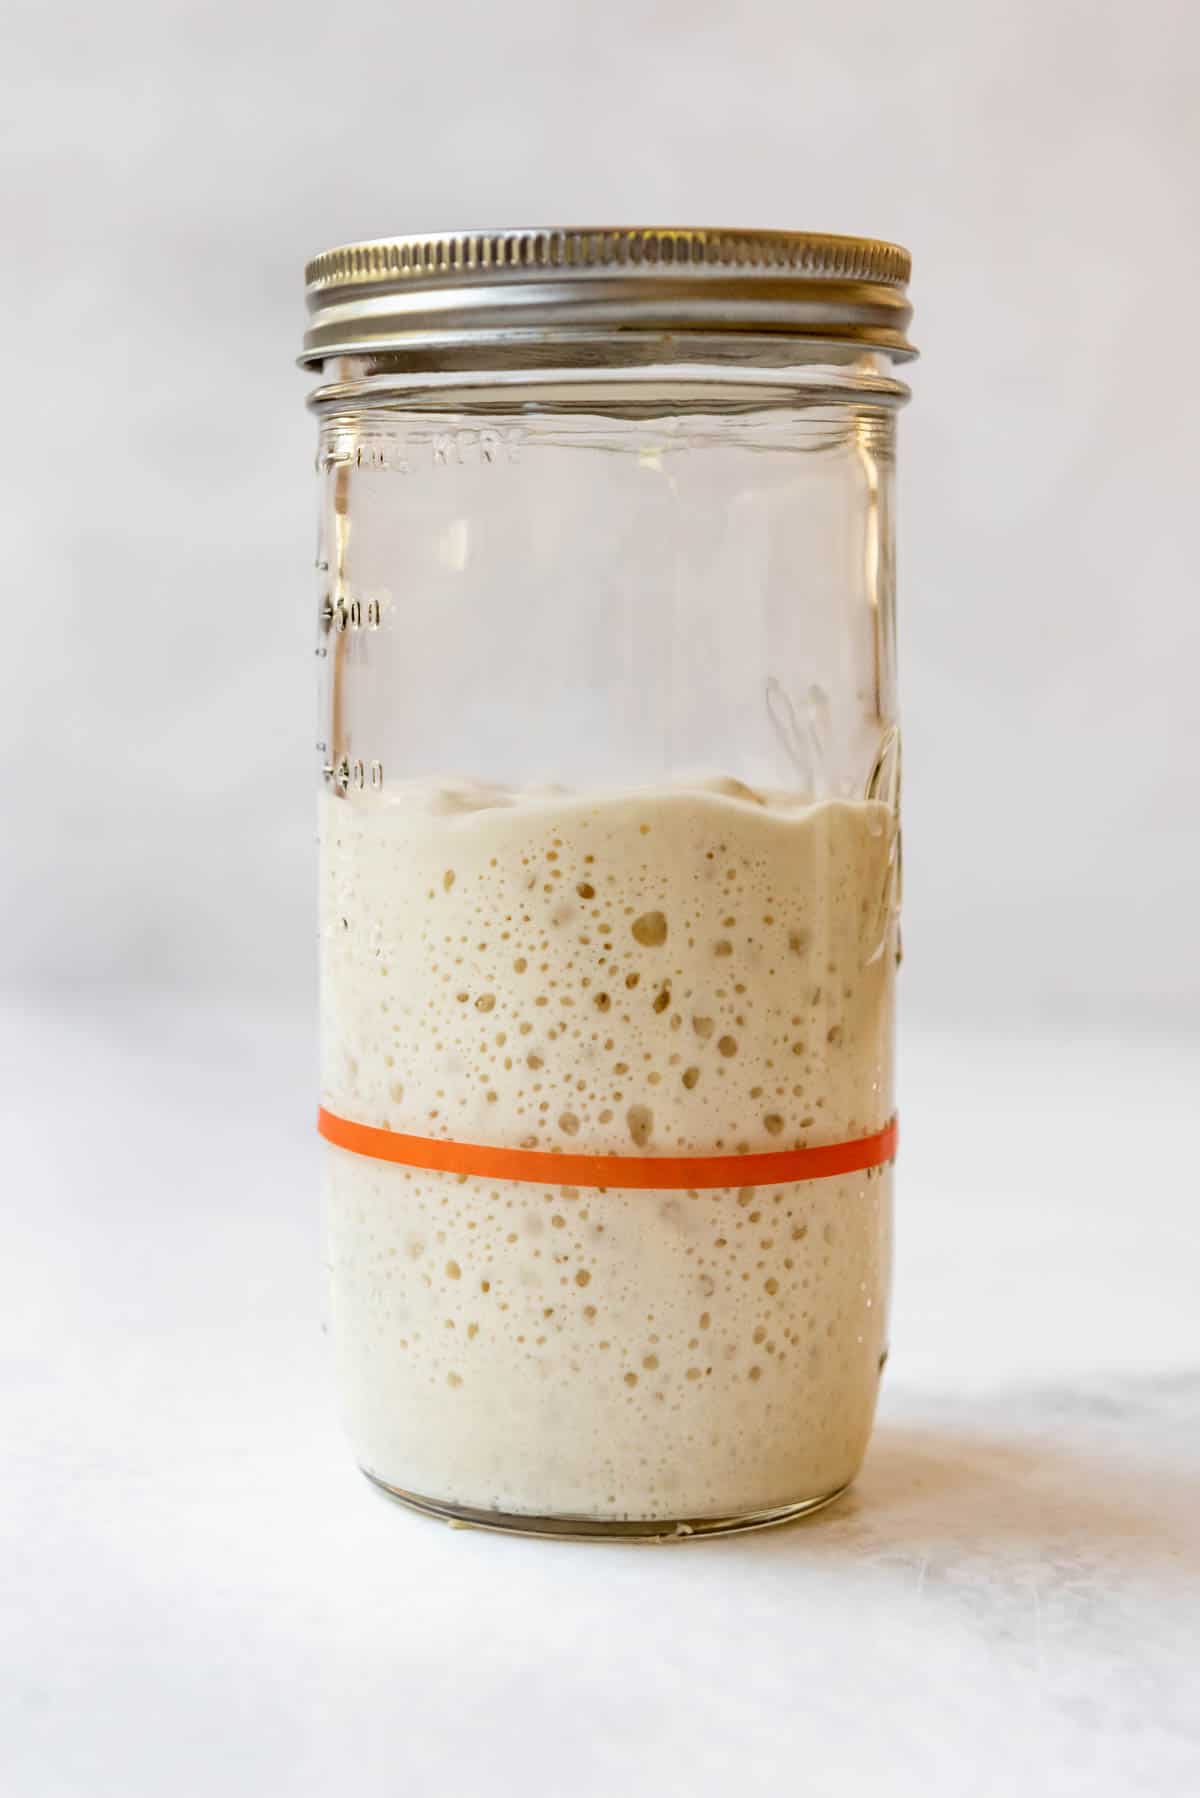
You need to feed your starter about 10-12 hours before you plan to start making the bread. That gives it enough time to double or even triple in size depending on the strength of your starter and the temperature of your kitchen. A cooler kitchen may slow things down a bit and a warmer kitchen might speed up the process a bit.
- AM feeding: If you feed your starter first thing in the morning around 7 or 8 am, it will be risen and ready to be used around 5 or 6 in the evening.
- PM feeding: You can feed your starter in the evening around 8 or 9 pm before bed and it will be ready to go in the morning when you wake up around 6 or 7 am!
How much starter should I start with?
You only need 20 grams of inactive sourdough starter to get this ball rolling. That’s roughly about 2 Tablespoons and a pretty tiny amount, which makes it even more amazing that the wild natural yeast can raise an entire loaf of bread! Toss any unused starter in the trash or save the discard (i.e., unused starter that is no longer active and bubbly) in a separate jar in the fridge to make Sourdough Waffles or other sourdough discard recipes.
How much do you feed it?
I feed my starter an equal amount of flour and water. A 1-to-1 ratio of 60 grams of flour to 60 grams of water is perfect for one batch of sourdough bread because you will use almost all of it and have just the right amount of starter left over to refeed and save for future batches. If you wanted to make 2 loaves of bread, just double the flour and water that you feed your starter.
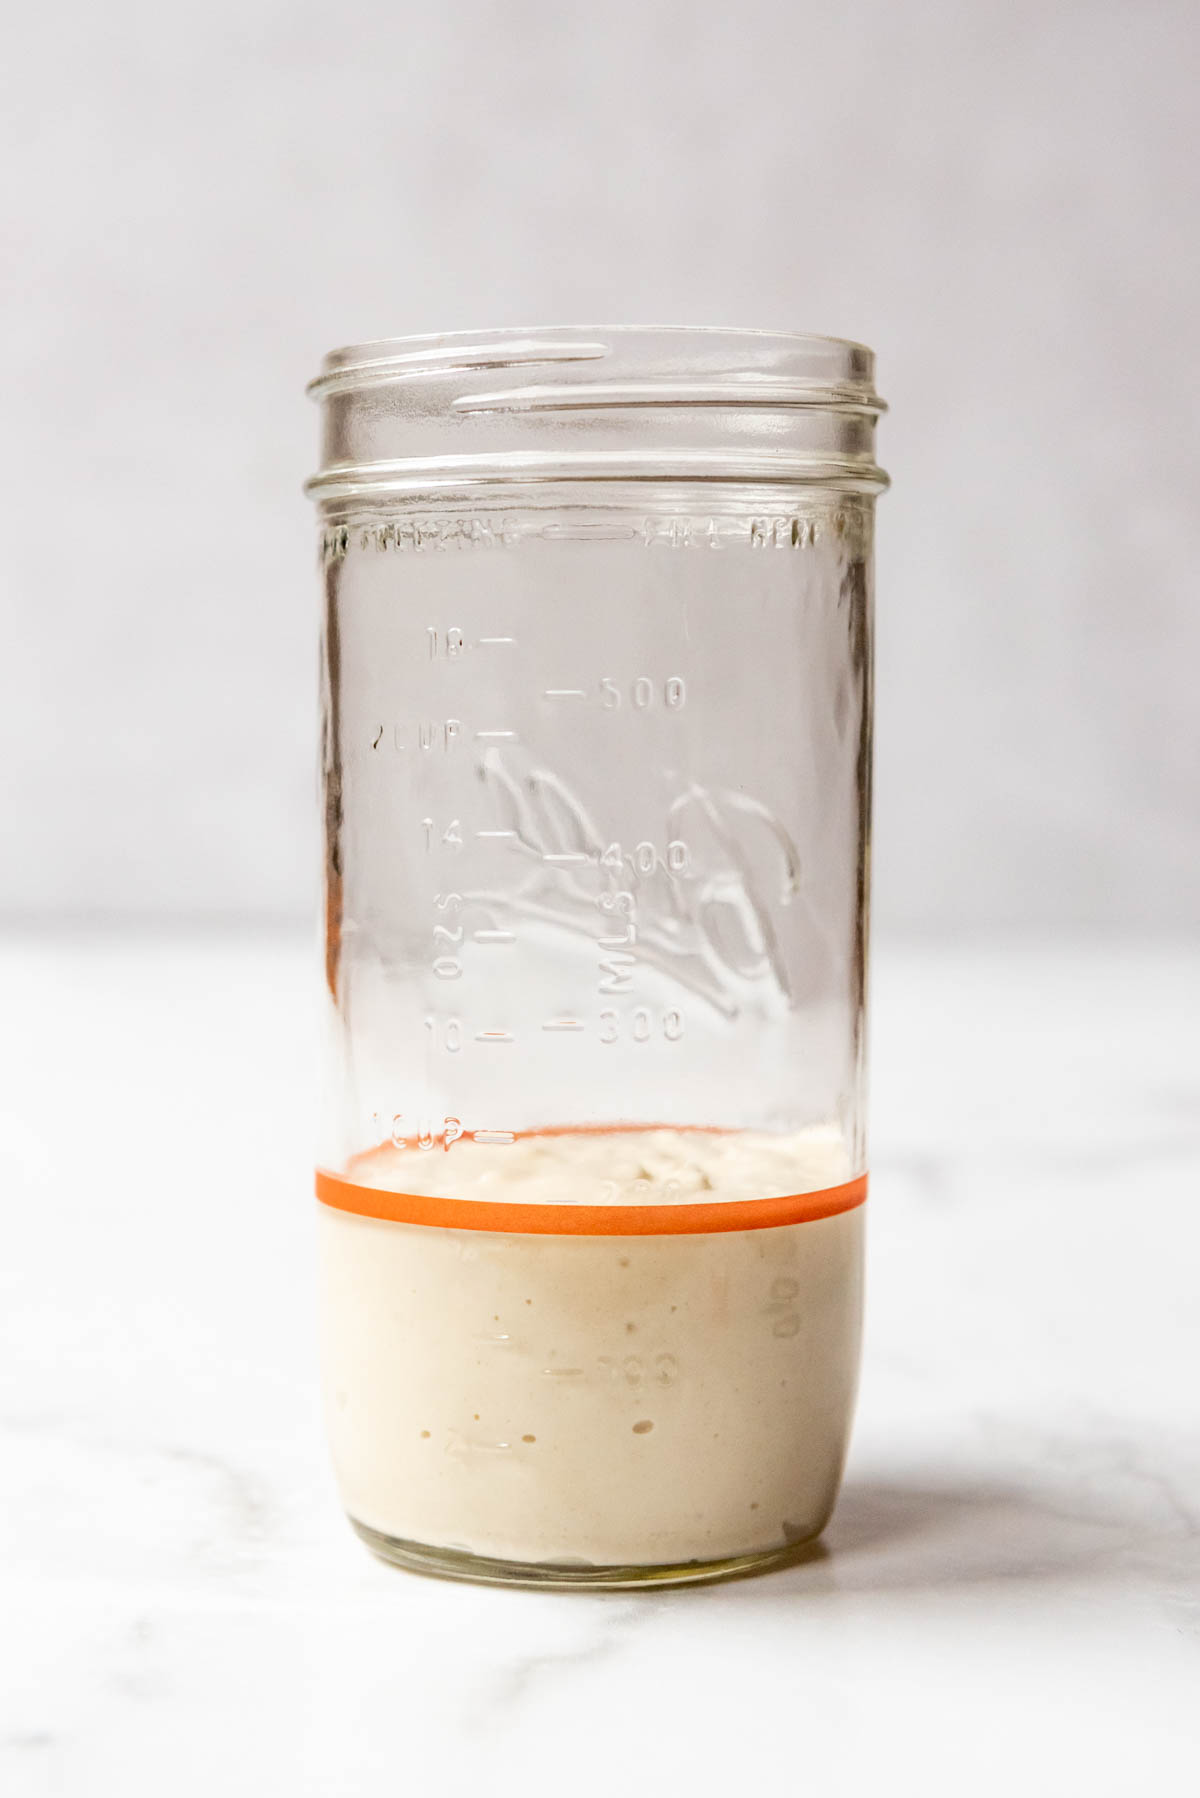
Wait for the sourdough starter to get bubbly
I like to put a piece of washi tape or a hair elastic around the mason jar that I use for my starter right at the top of the line of where the starter was when I fed it. It helps to easily see how much the starter has risen and judge whether it is ready to use.
Equipment
- Large bowl
- A fork or wooden spoon for mixing
- Kitchen scale or measuring cups
- Plastic wrap or dish cloth
- Parchment paper
- Dutch oven or baking sheet
- Sharp serrated knife or razor blade
Step-by-Step Instructions
- Feed starter. Let it rise until double or triple in volume (about 10-12 hours).
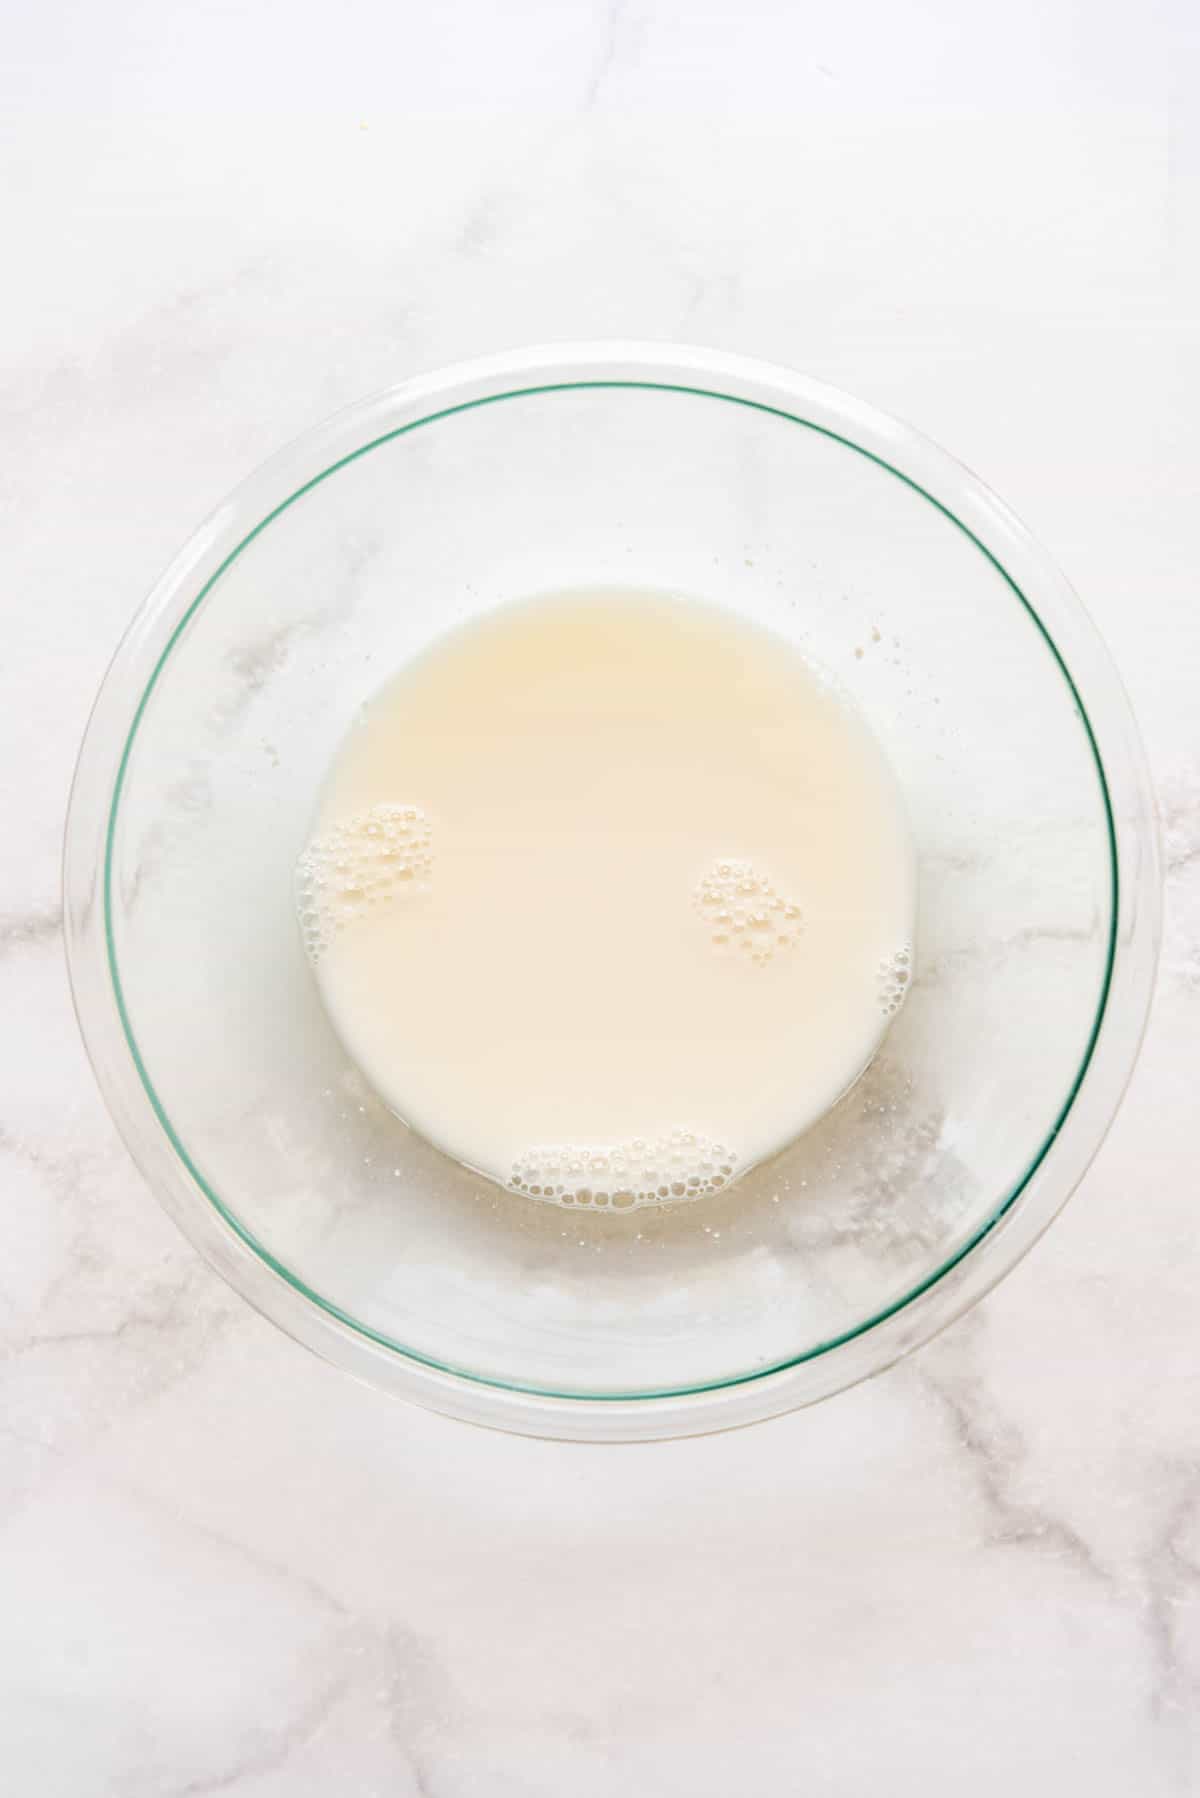
- Combine active starter and water. Combine starter and water. Use a fork to whisk them together a bit to break up the starter.

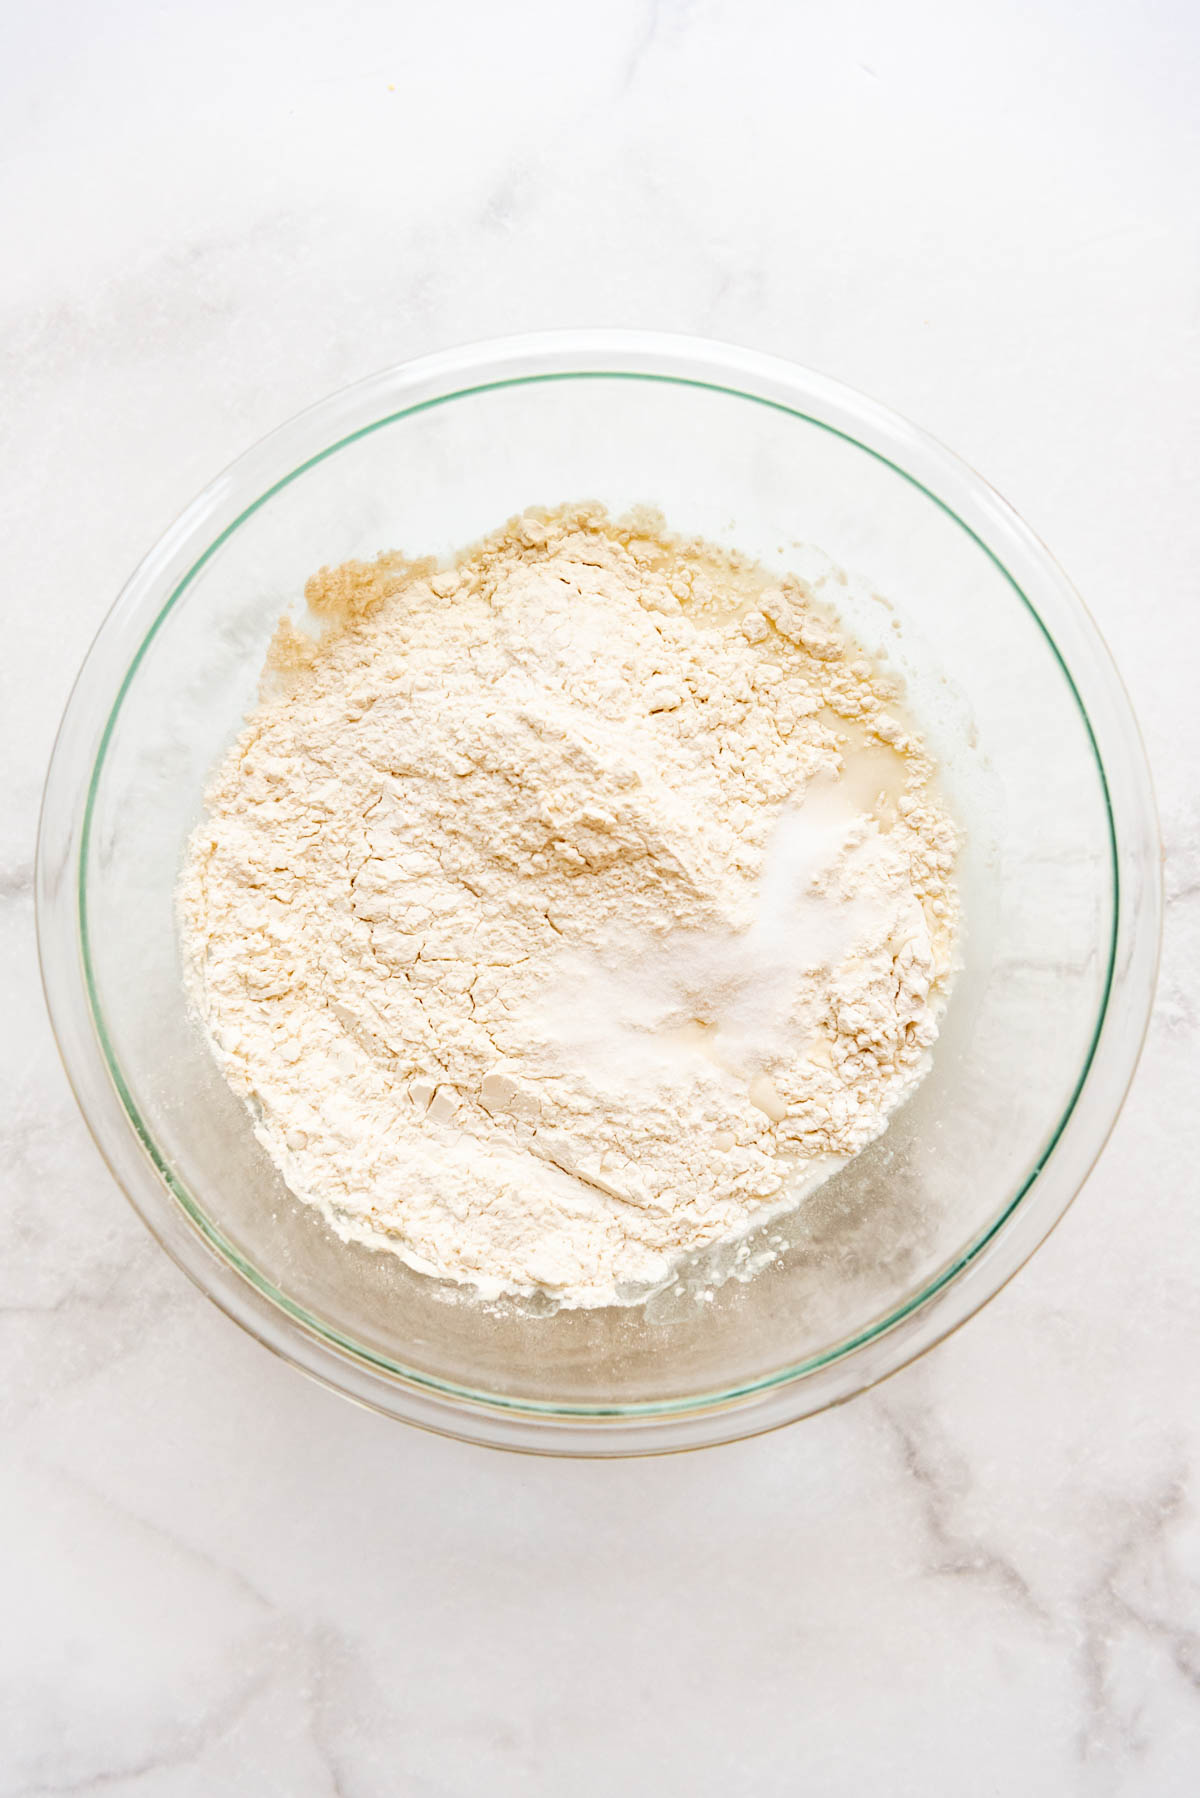
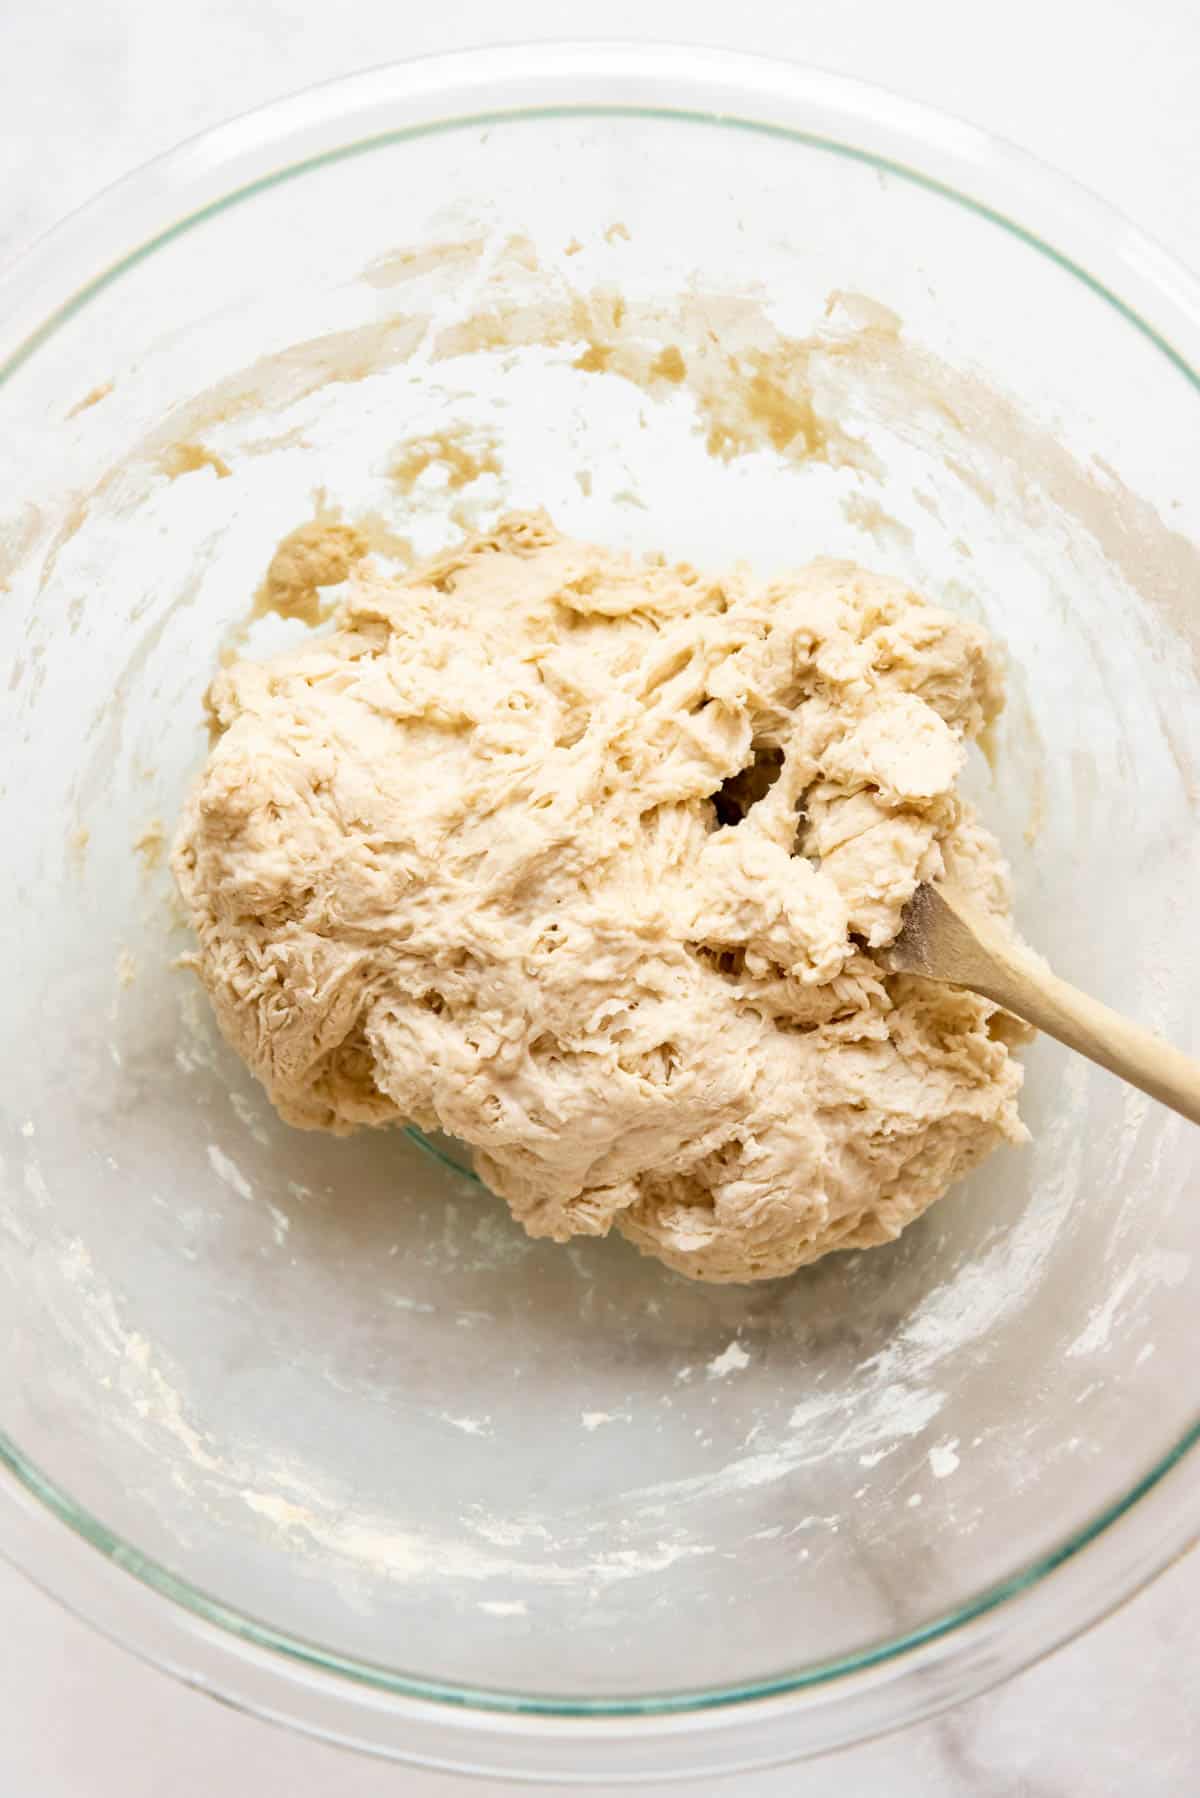
- Add dry ingredients. Add flour and salt. Stir just until combined. Don’t knead. It’s going to look lumpy and shaggy and that’s just fine.
- Cover and let the dough rest for 1 hour. This is what’s known as the “Autolyze” which is just a fancy and intimidating sounding term for letting the flour hydrate completely. Just cover the dough with a clean towel or a loose piece of plastic wrap and let sit for 1 hour and it will do it’s thing. You won’t see much of a visual change during this period, but just trust the process.
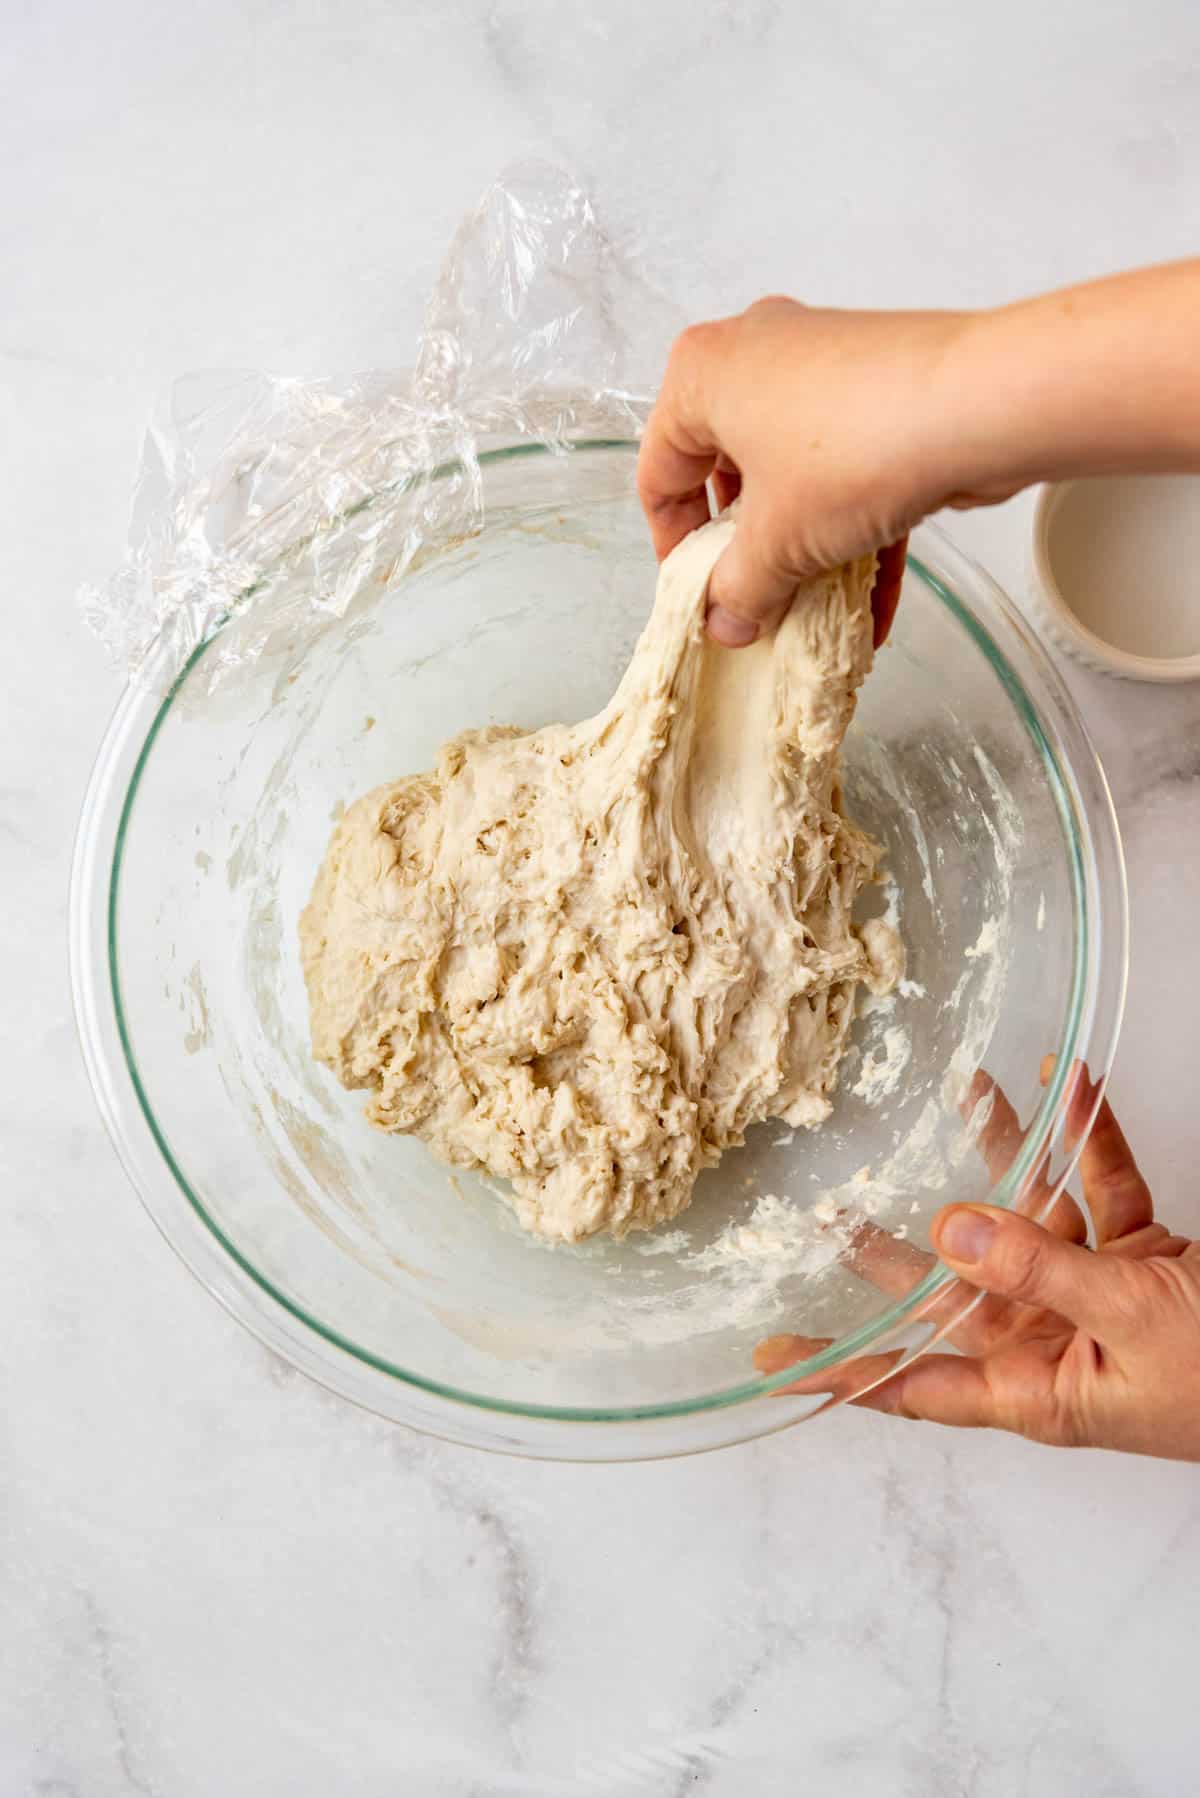
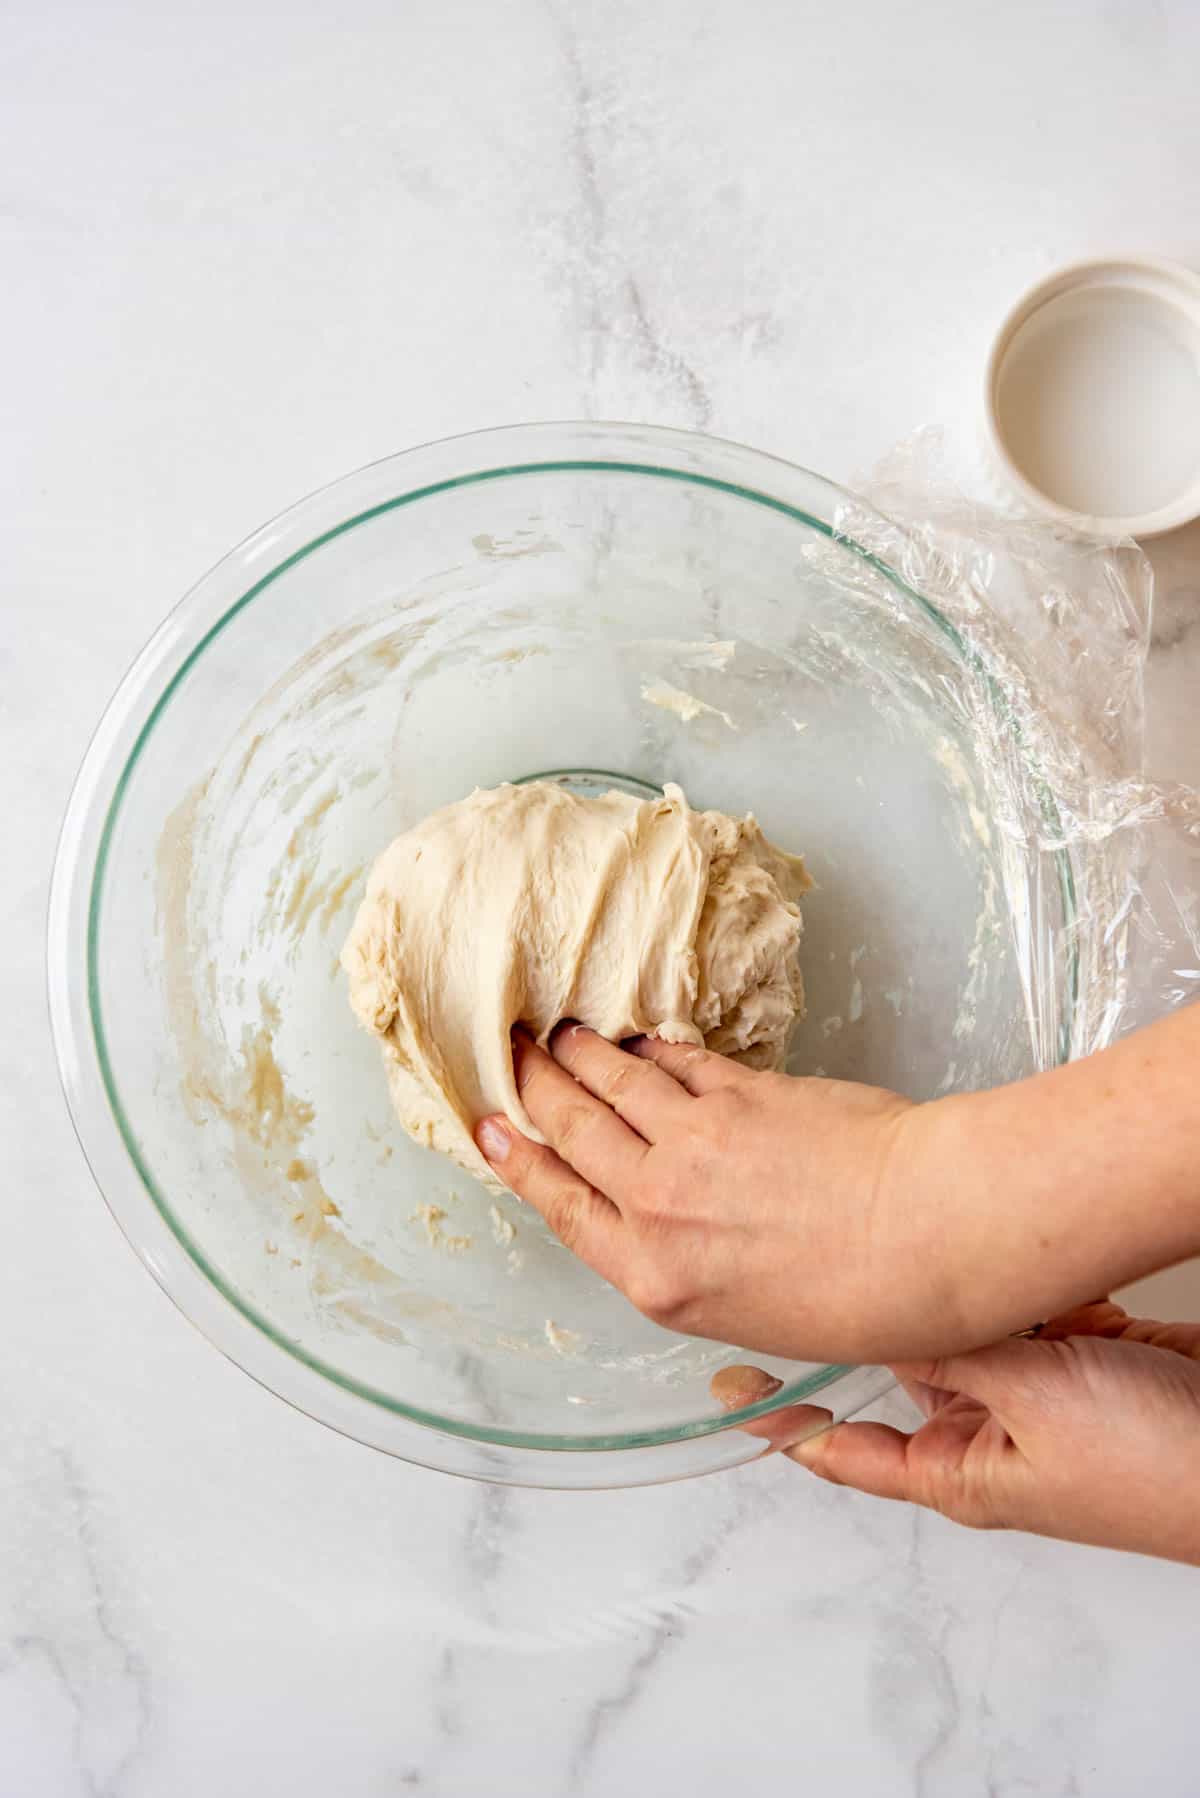
- 1st stretch & fold. After the 1 hour autolyze is up, uncover the sourdough and moisten your fingers with water, then grab a hunk of the dough from one edge. Stretch it out, then fold it back on top of the dough. (See the pictures below for a visual idea of this step).
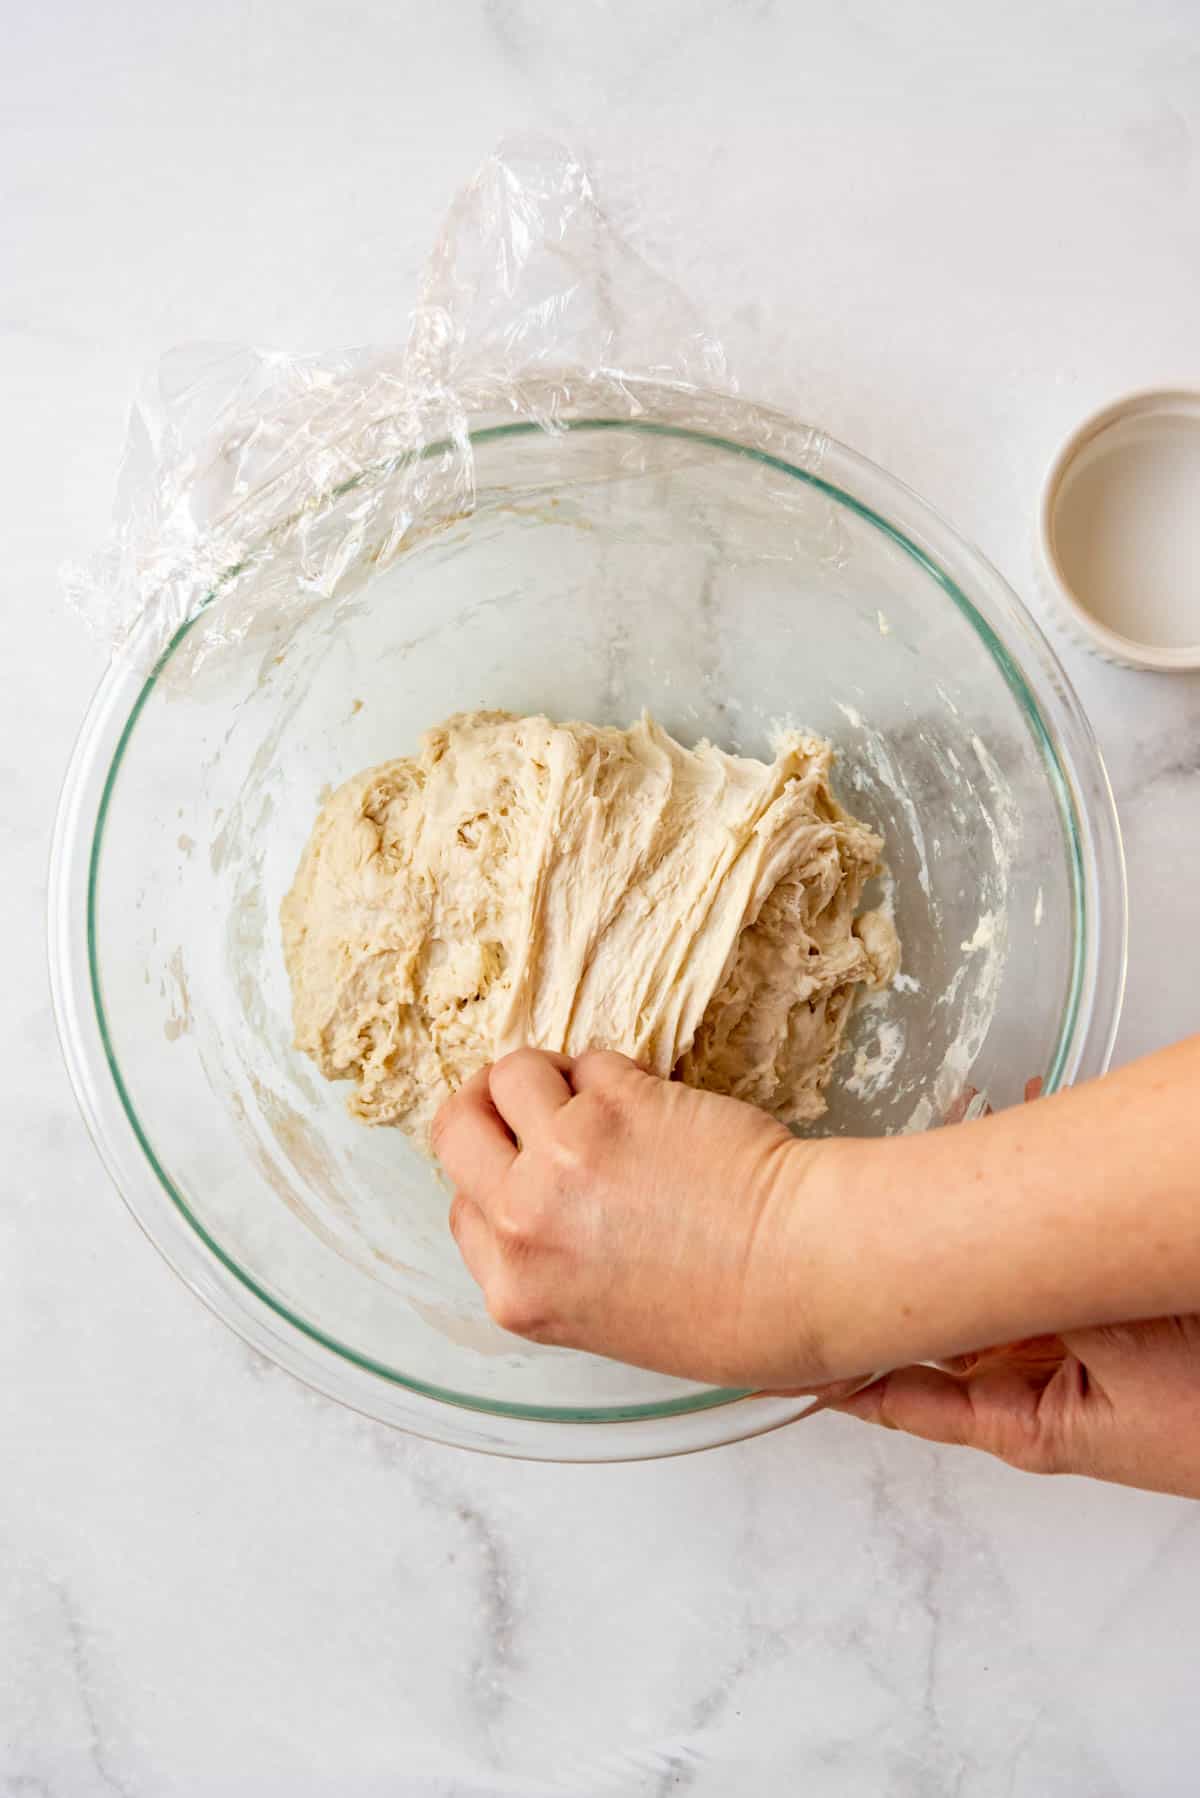
- (CONT’D) Give the bowl a quarter turn and repeat the process of stretching the dough out and folding it on top of itself again.
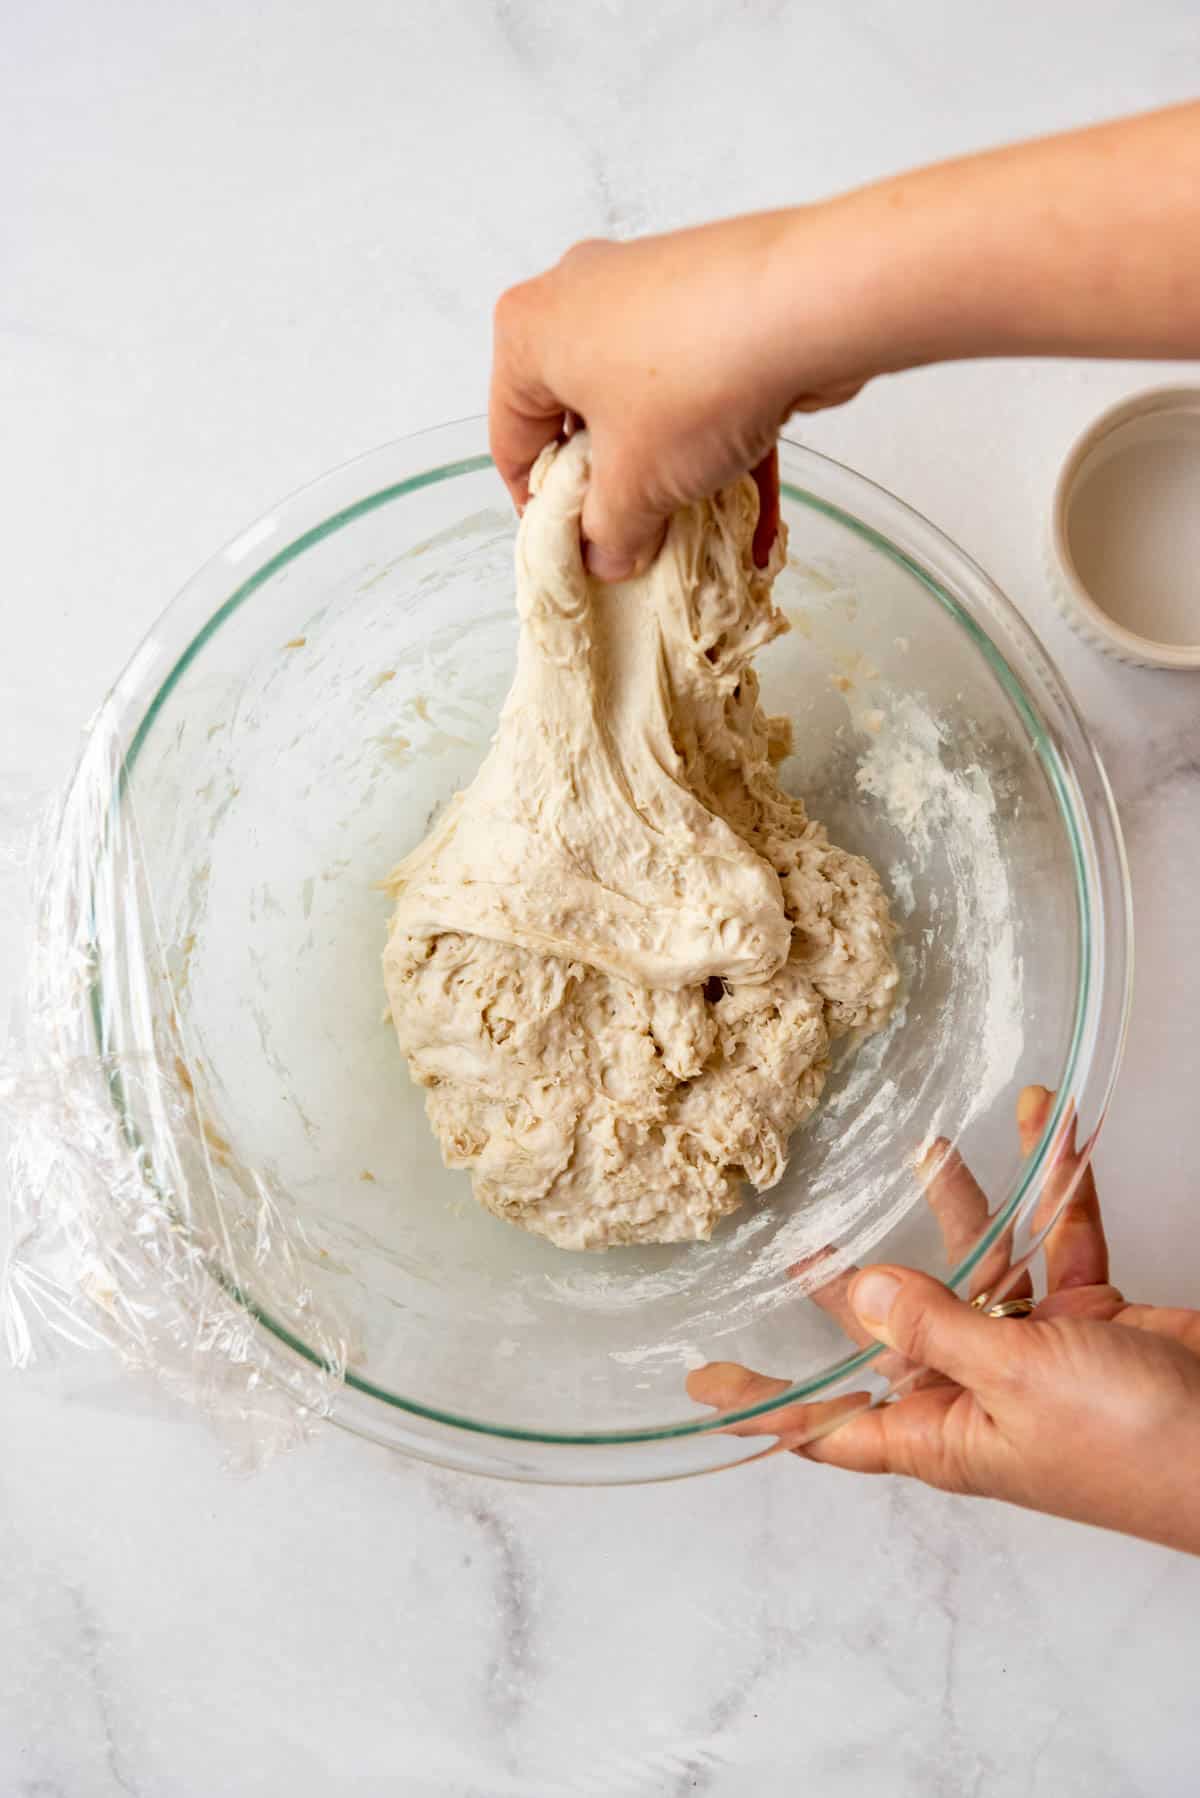
- (CONT’D) Turn the bowl a quarter turn for a third and fourth time, repeating the stretch and fold process each time. I know this might sound like a lot but it literally takes less than 2 minutes to do the stretch and folds. Cover the dough again and let it rest for 30 minutes.
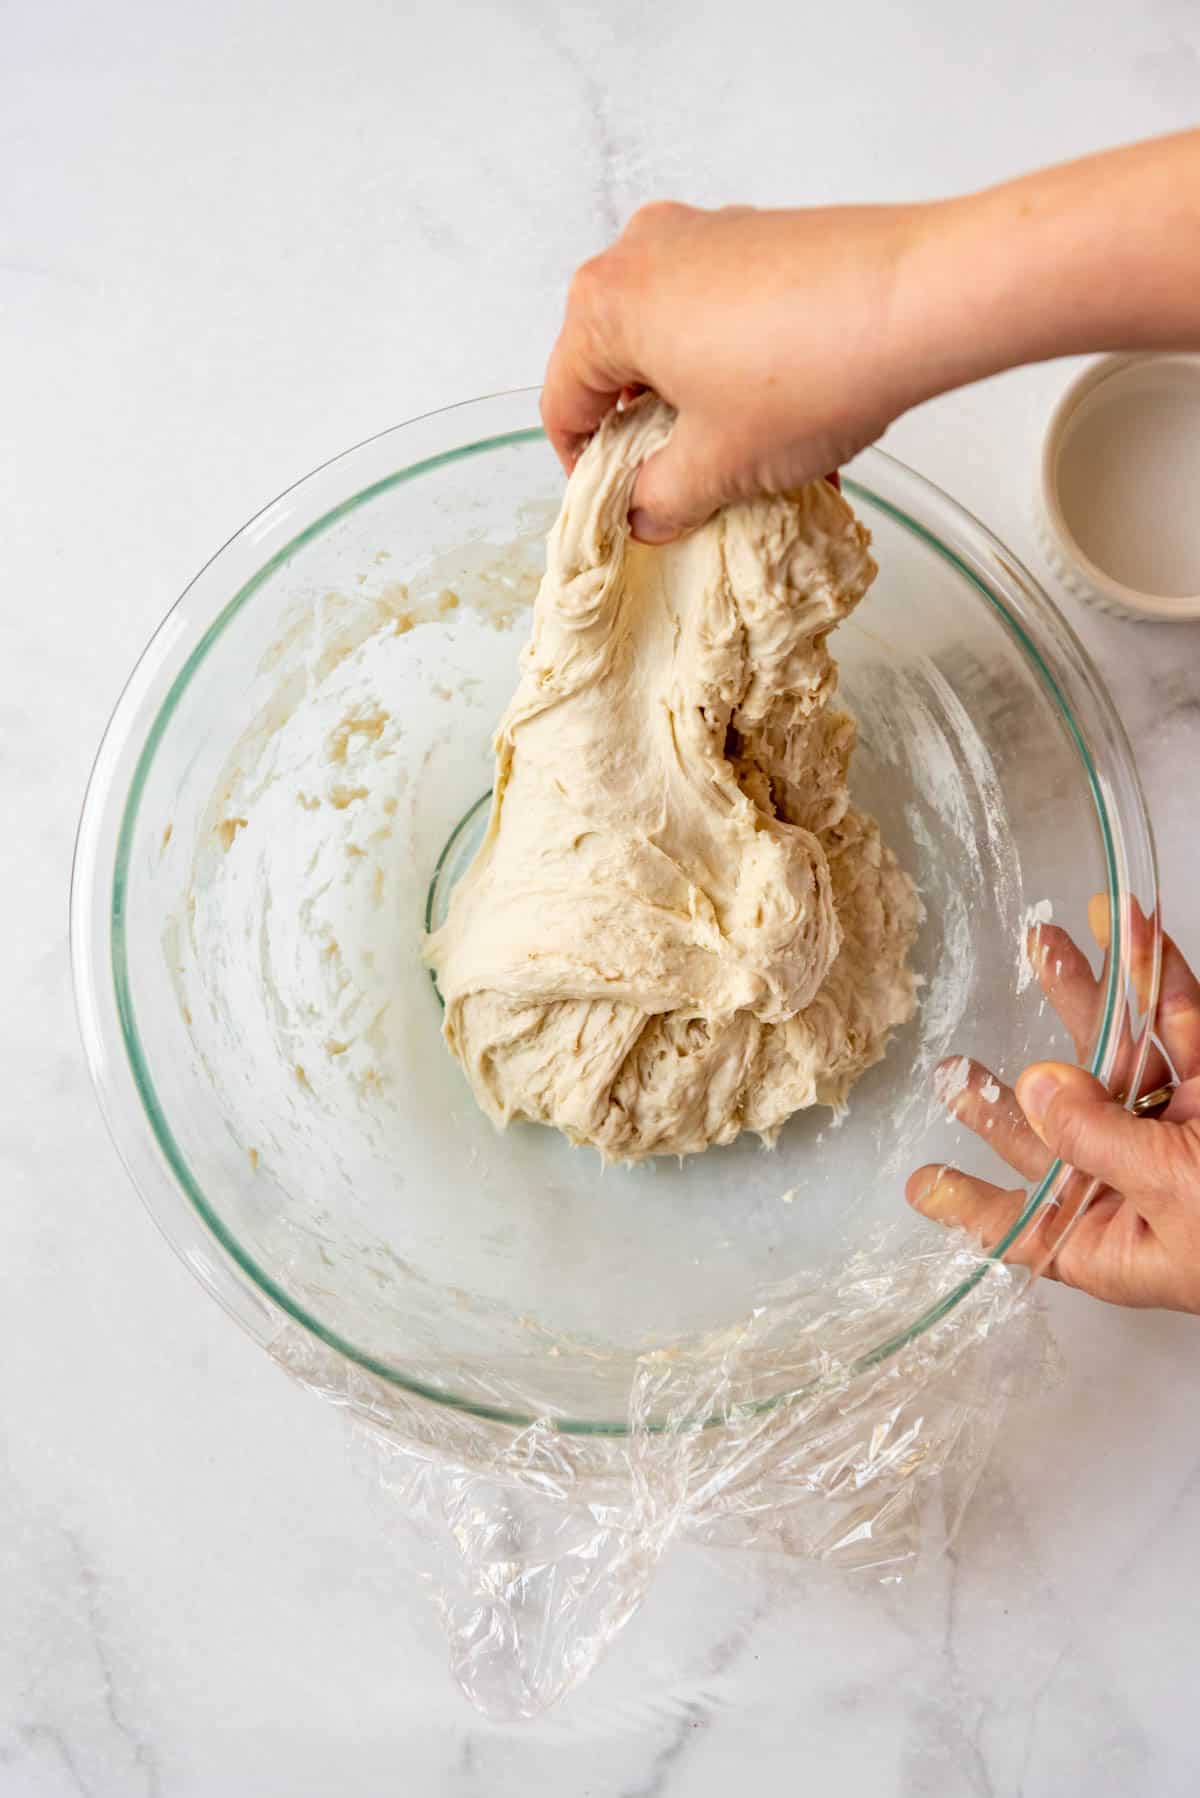
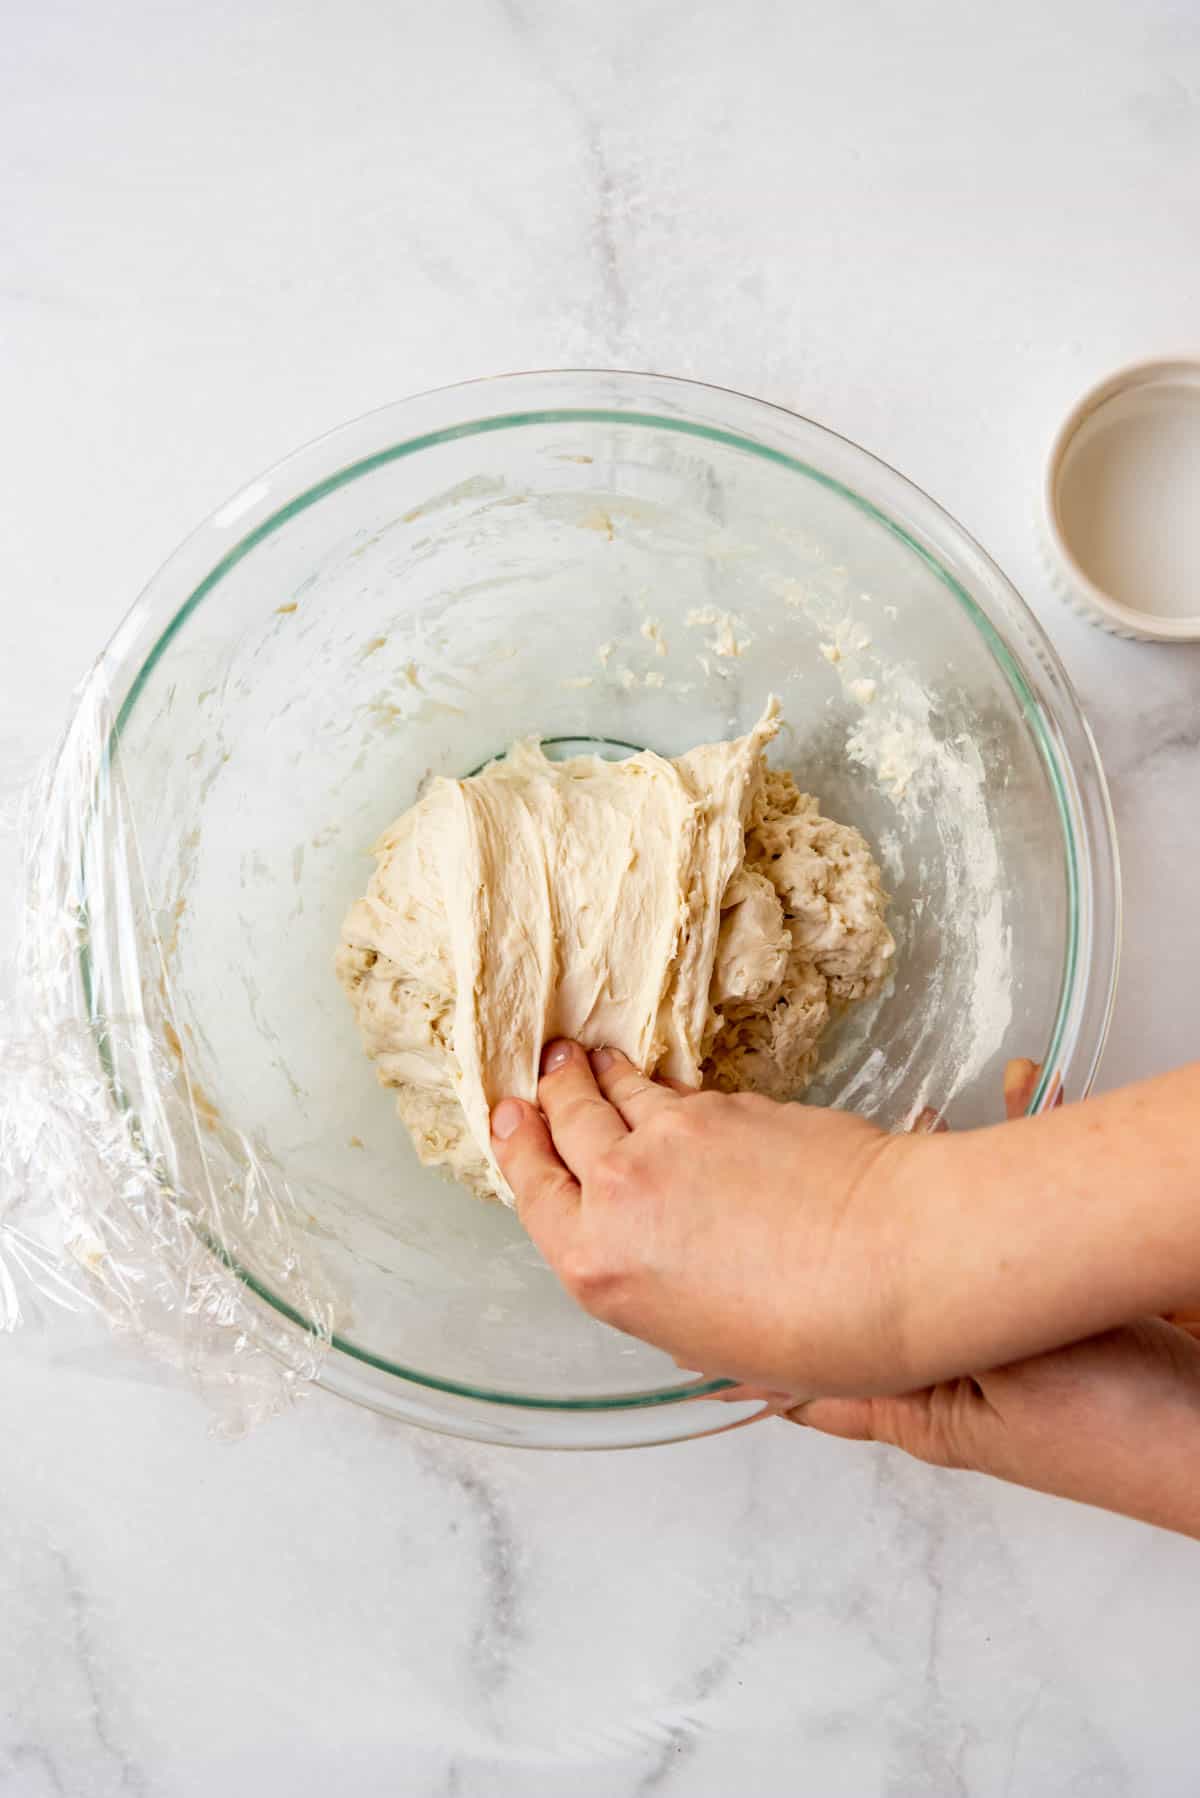
- 2nd stretch & fold. After 30 minutes rest, repeat the stretch and fold process again. You don’t have to be super precise with this stage – it’s maybe 10 minutes of actual work over a 2 hour period so as long as you are home it’s pretty simple to do between chores or helping kids with homework or in the evening while watching a show. This is replacing traditional kneading and you’ll be amazed at how that lumpy dough starts turning smooth and normal looking with hardly any effort.
- Proof the dough for 6 to 8 hours or overnight. This just means cover the dough after you finish the second set of stretch and folds and leave it alone. Don’t touch it anymore! This where the dough is going to rise and you will see an increase in volume. It’s also sometimes referred to in sourdough circles as the “bench bulk” or “bench proof”. This is where you leave the dough on the counter for 6-8 hours to rise.
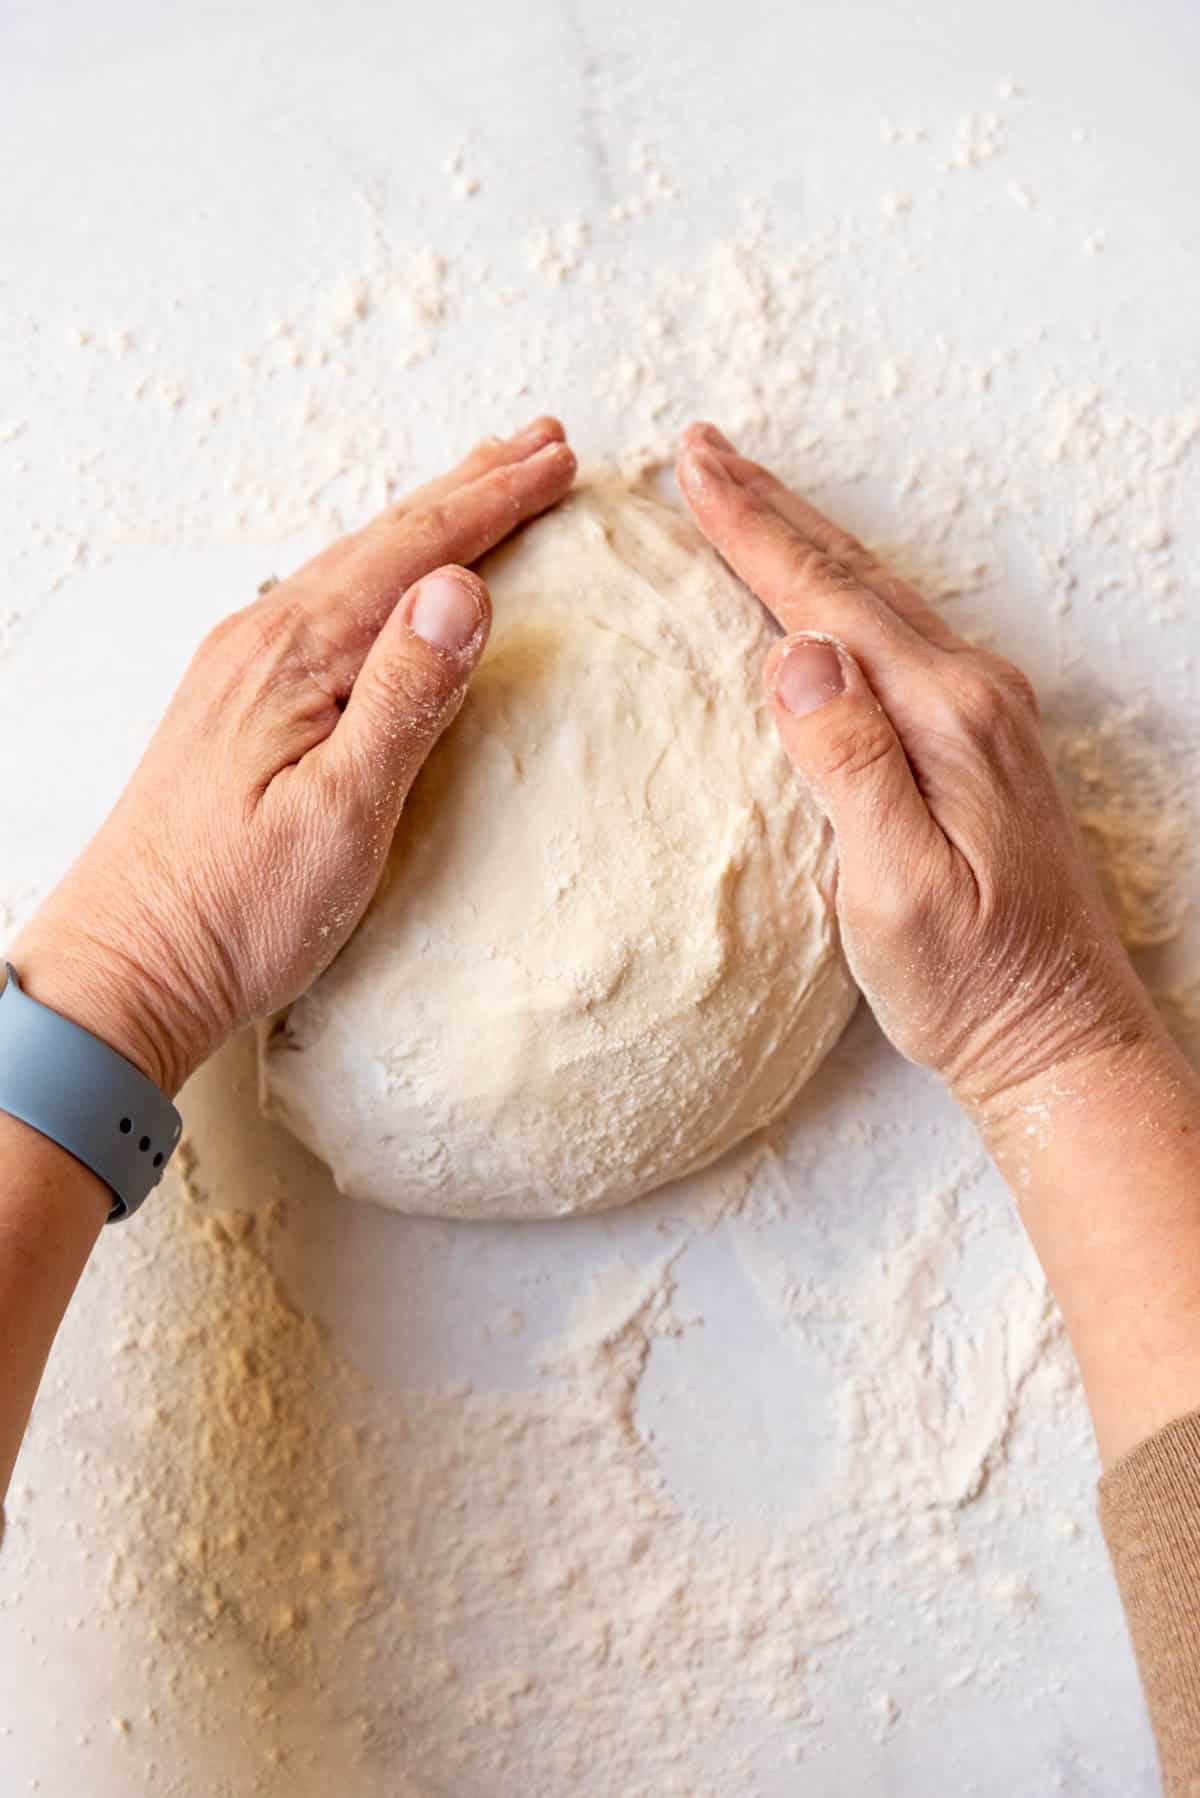
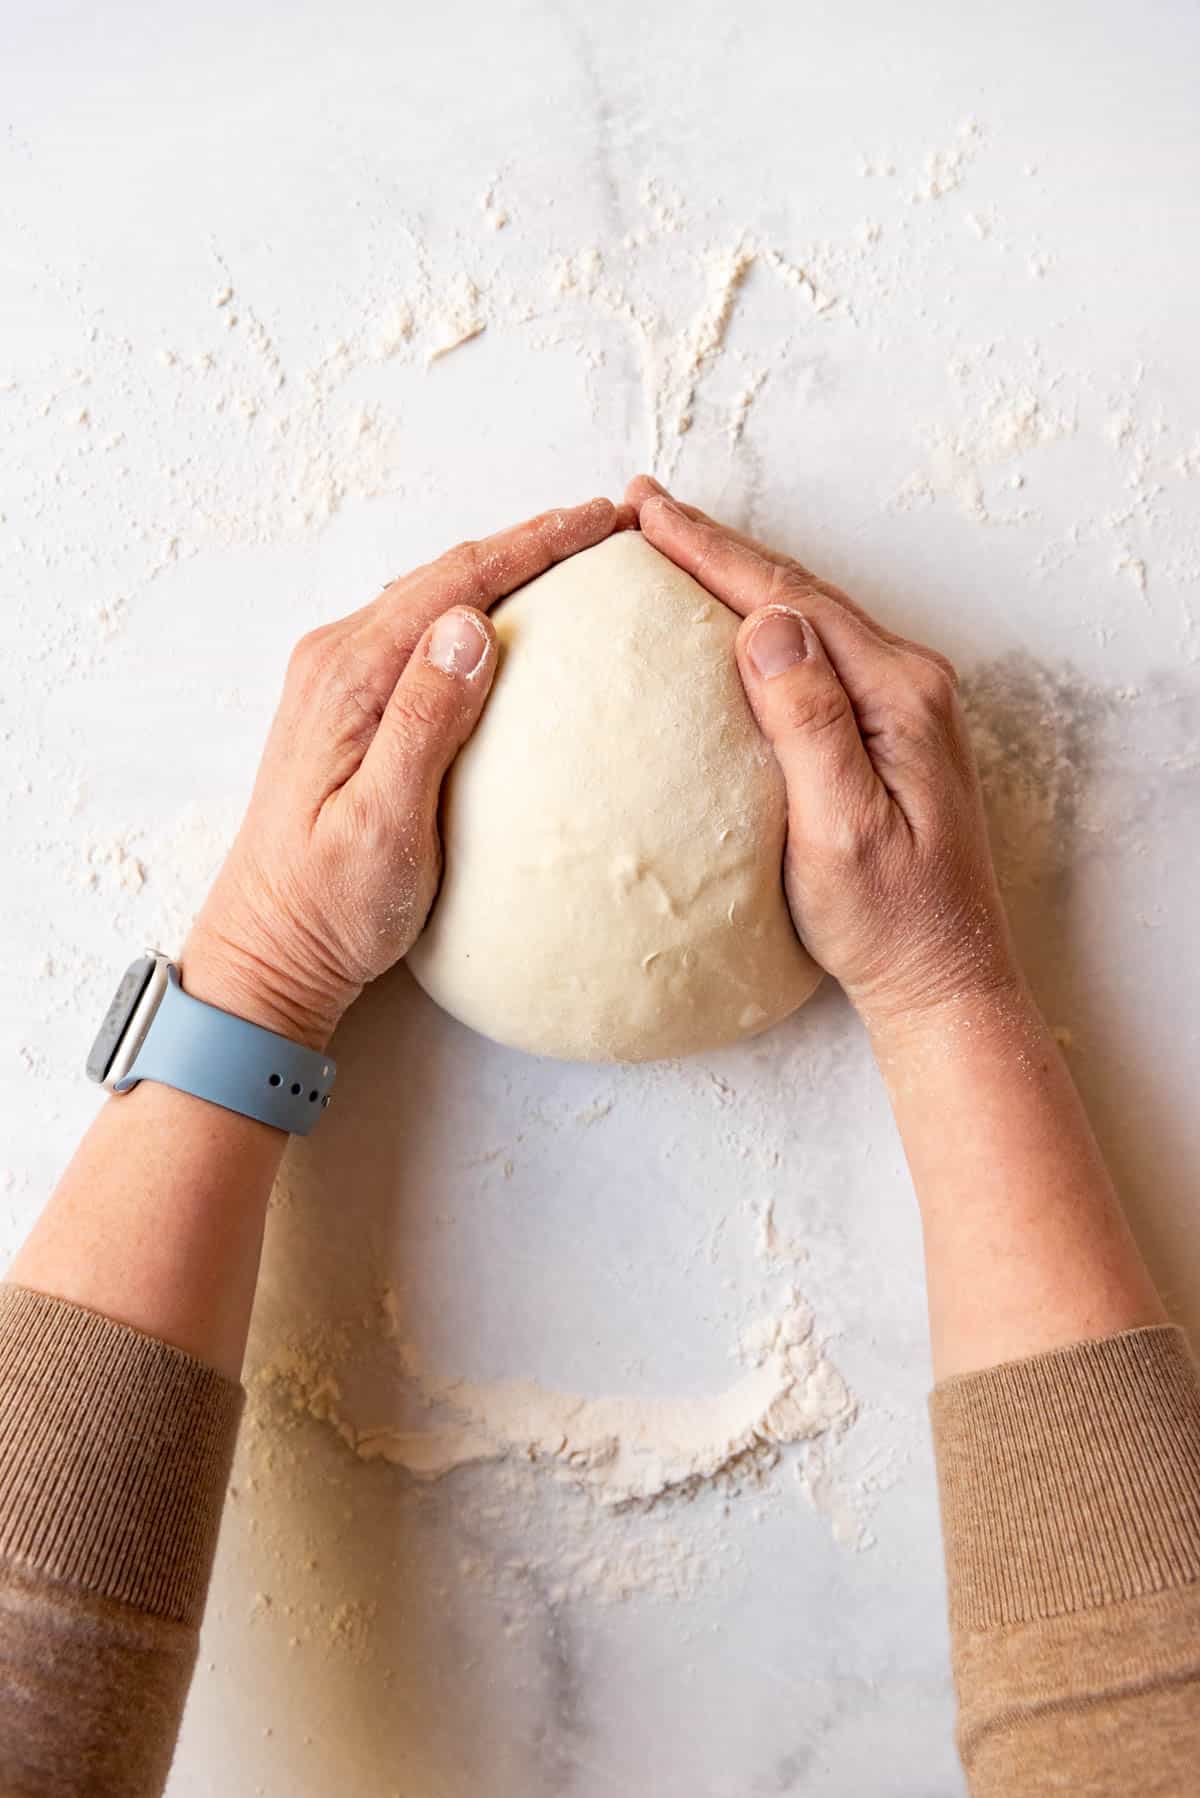
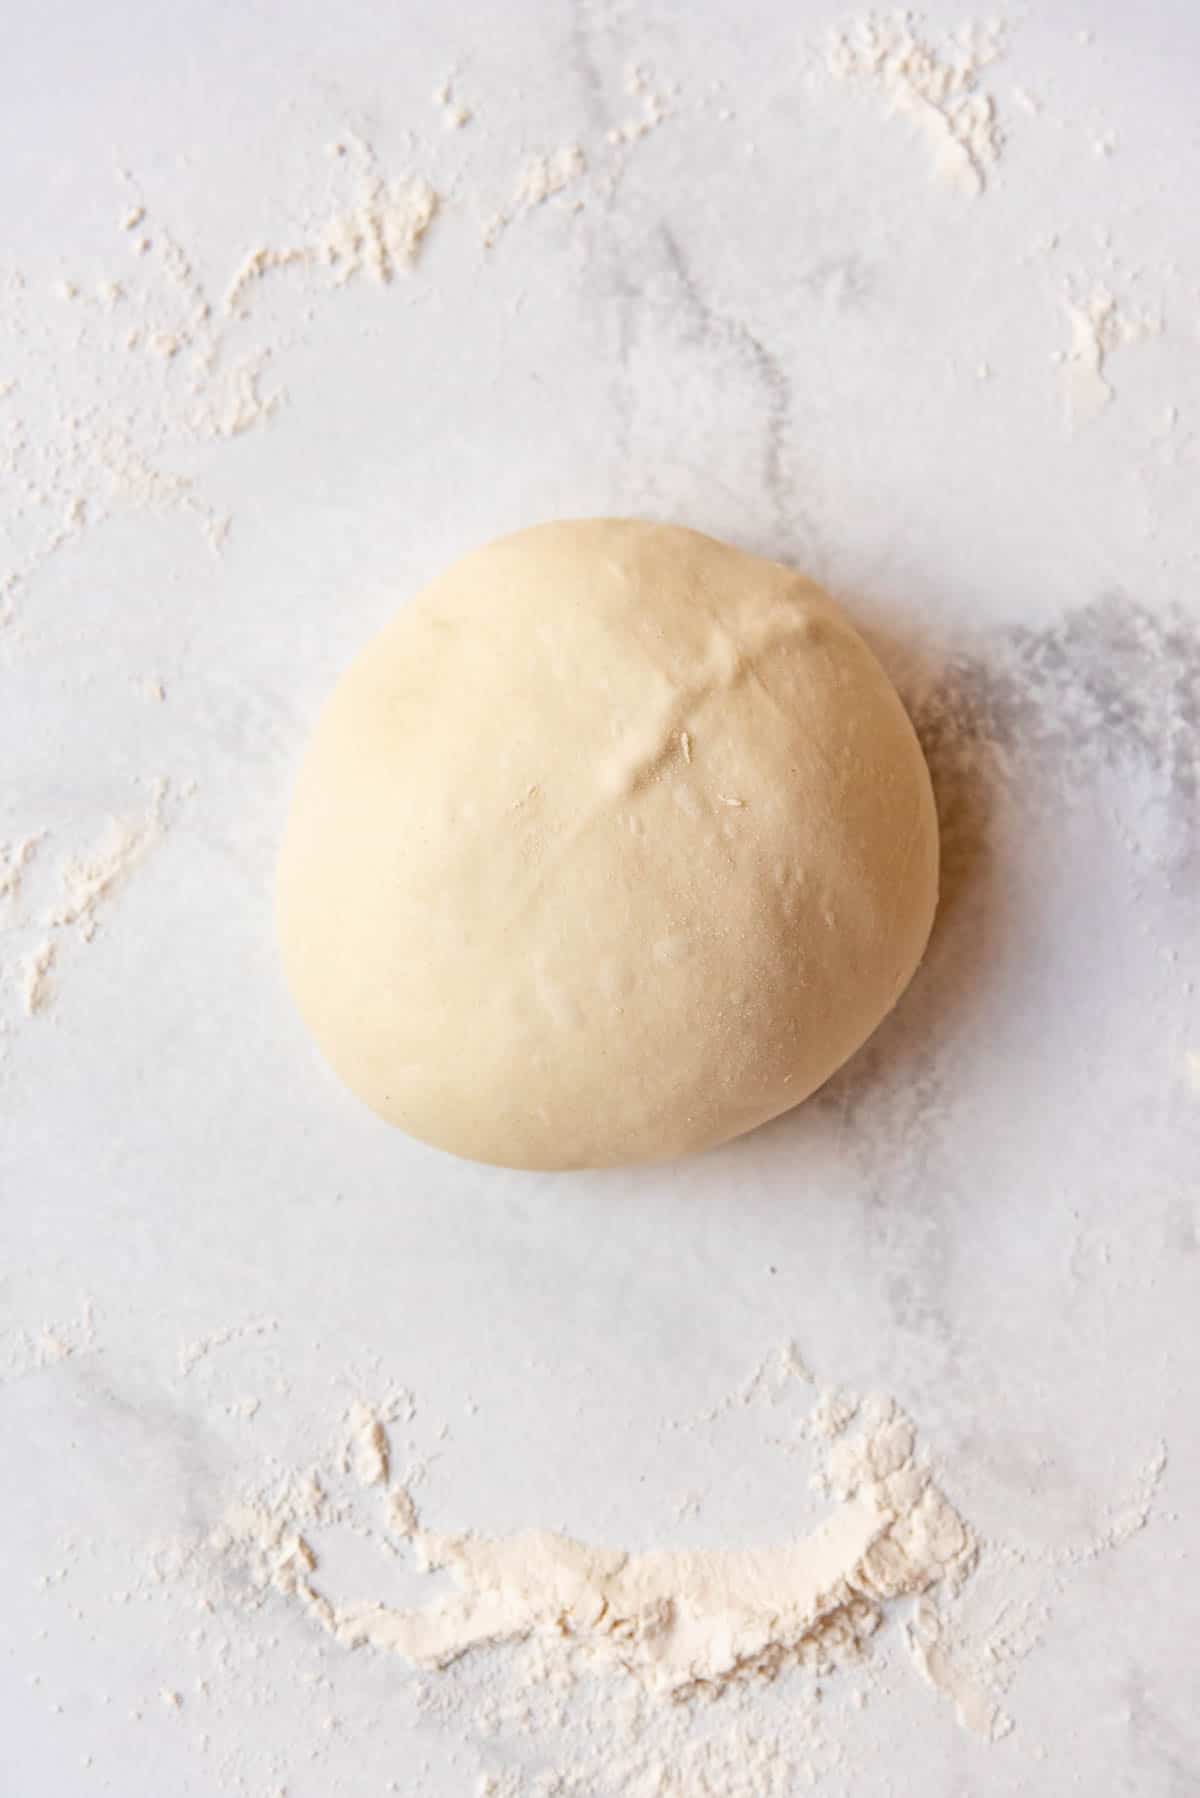
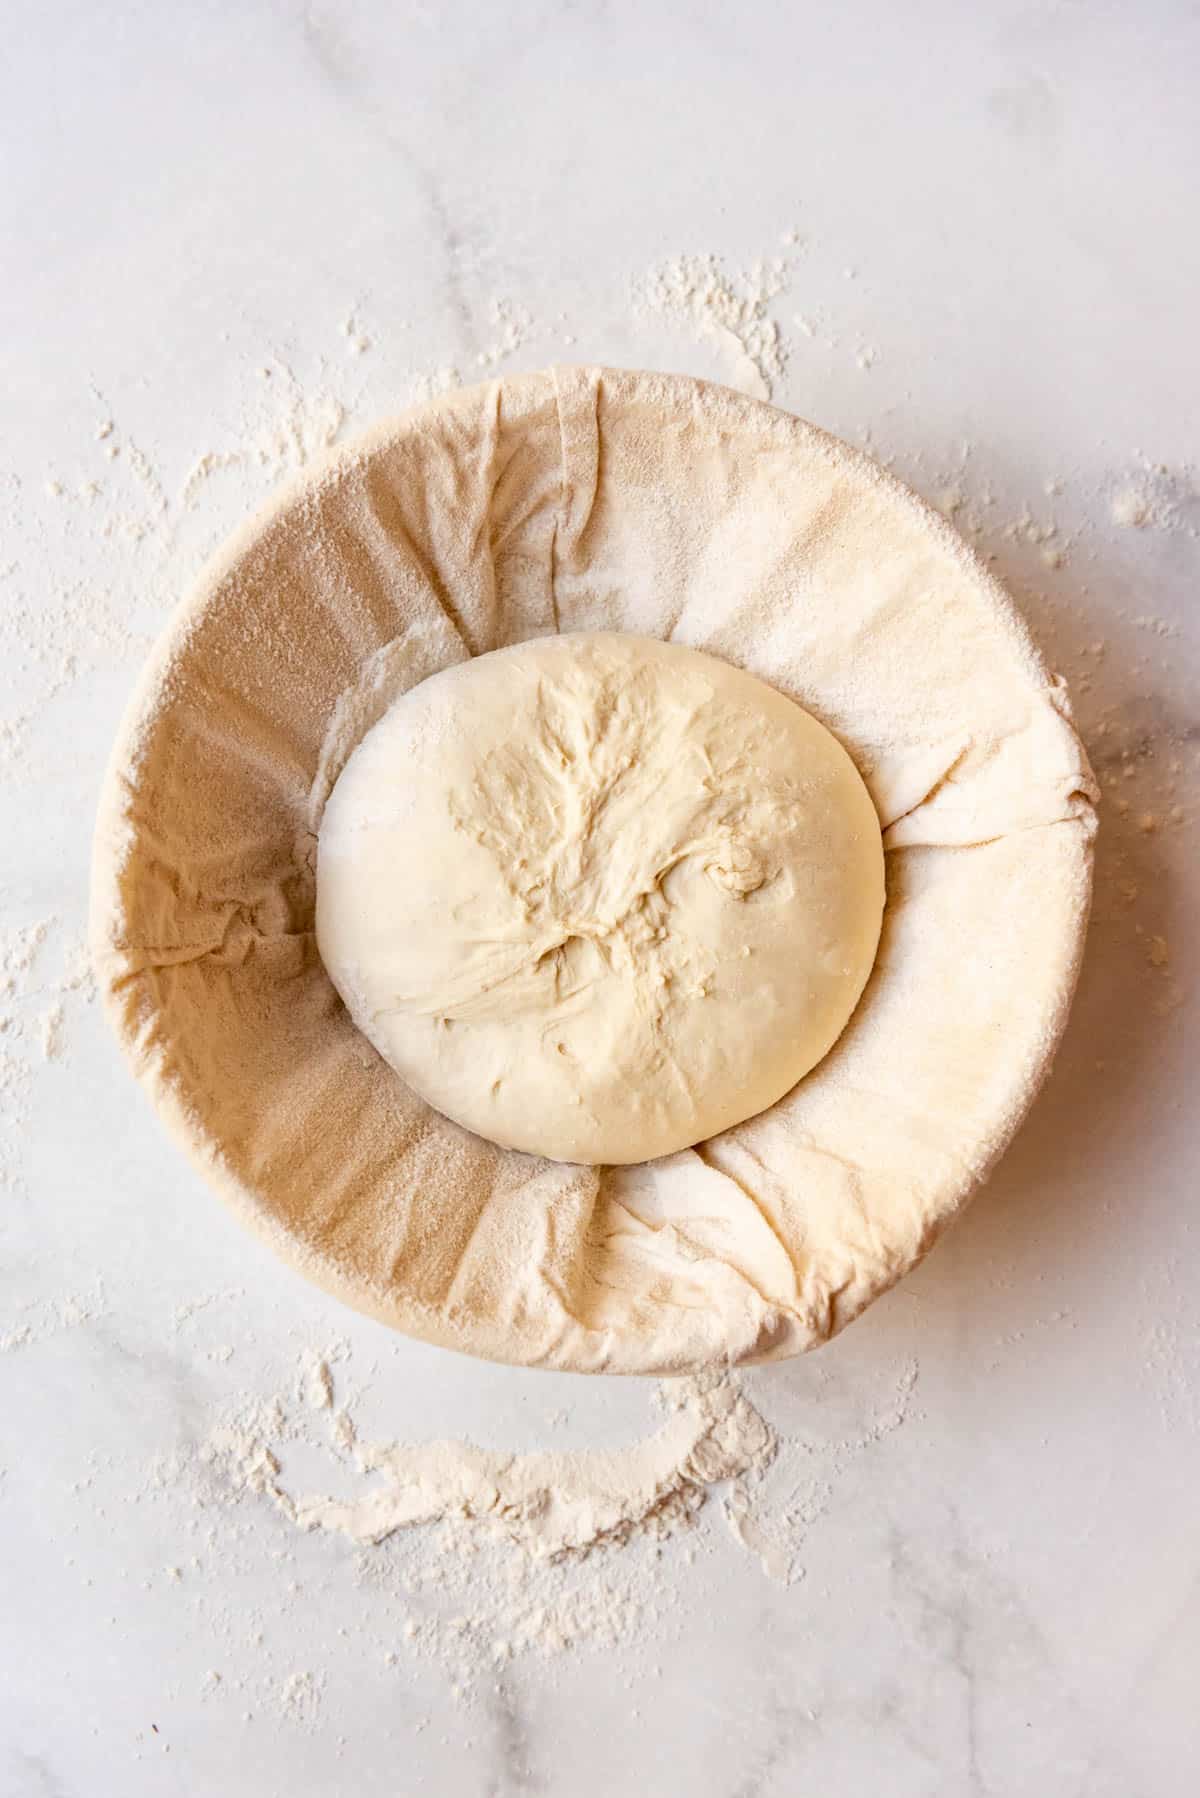
- Shape your loaf. If there is a tricky part to sourdough bread, it’s this technique. You want to dump your proofed dough onto a lightly floured surface. Then flour your hands and kind of cup them around the top of the bread. Pull the bread towards you while letting it sort of grip the counter. You should feel pressure and resistance from the bread like you are tightening it as you pull. Repeat this a few times to kind of tighten the dough into a ball shape, also known as a “boule”. Transfer the boule to a bowl lined with a clean dish cloth that has been lightly dusted with flour or a banneton basket that has been dusted with flour. Make sure you place it with the rounded, pretty side down in the bowl so when you turn it out that’s the side that will be on top eventually. Phew – all the hard work is done at this point and you can relax the rest of the way.
- Proof for another 1-2 hours OR refrigerate overnight. At this point you can let the dough rise for another 1-2 hours and bake right away, or if you want a stronger, more sour sourdough taste stick it in the fridge overnight. Lightly cover your dough and let it chill in the fridge for anywhere from 12 up to 72 hours. This is called a “cold ferment” and it helps the sourdough develop more of the tangy flavor that sourdough is known for. The longer it ferments, the more sour the bread will taste. I usually stick to just 12 to 24 hours.
- Preheat oven. About 45 minutes to an hour before you are ready to bake your sourdough bread, start preheating your oven so it’s nice and hot.
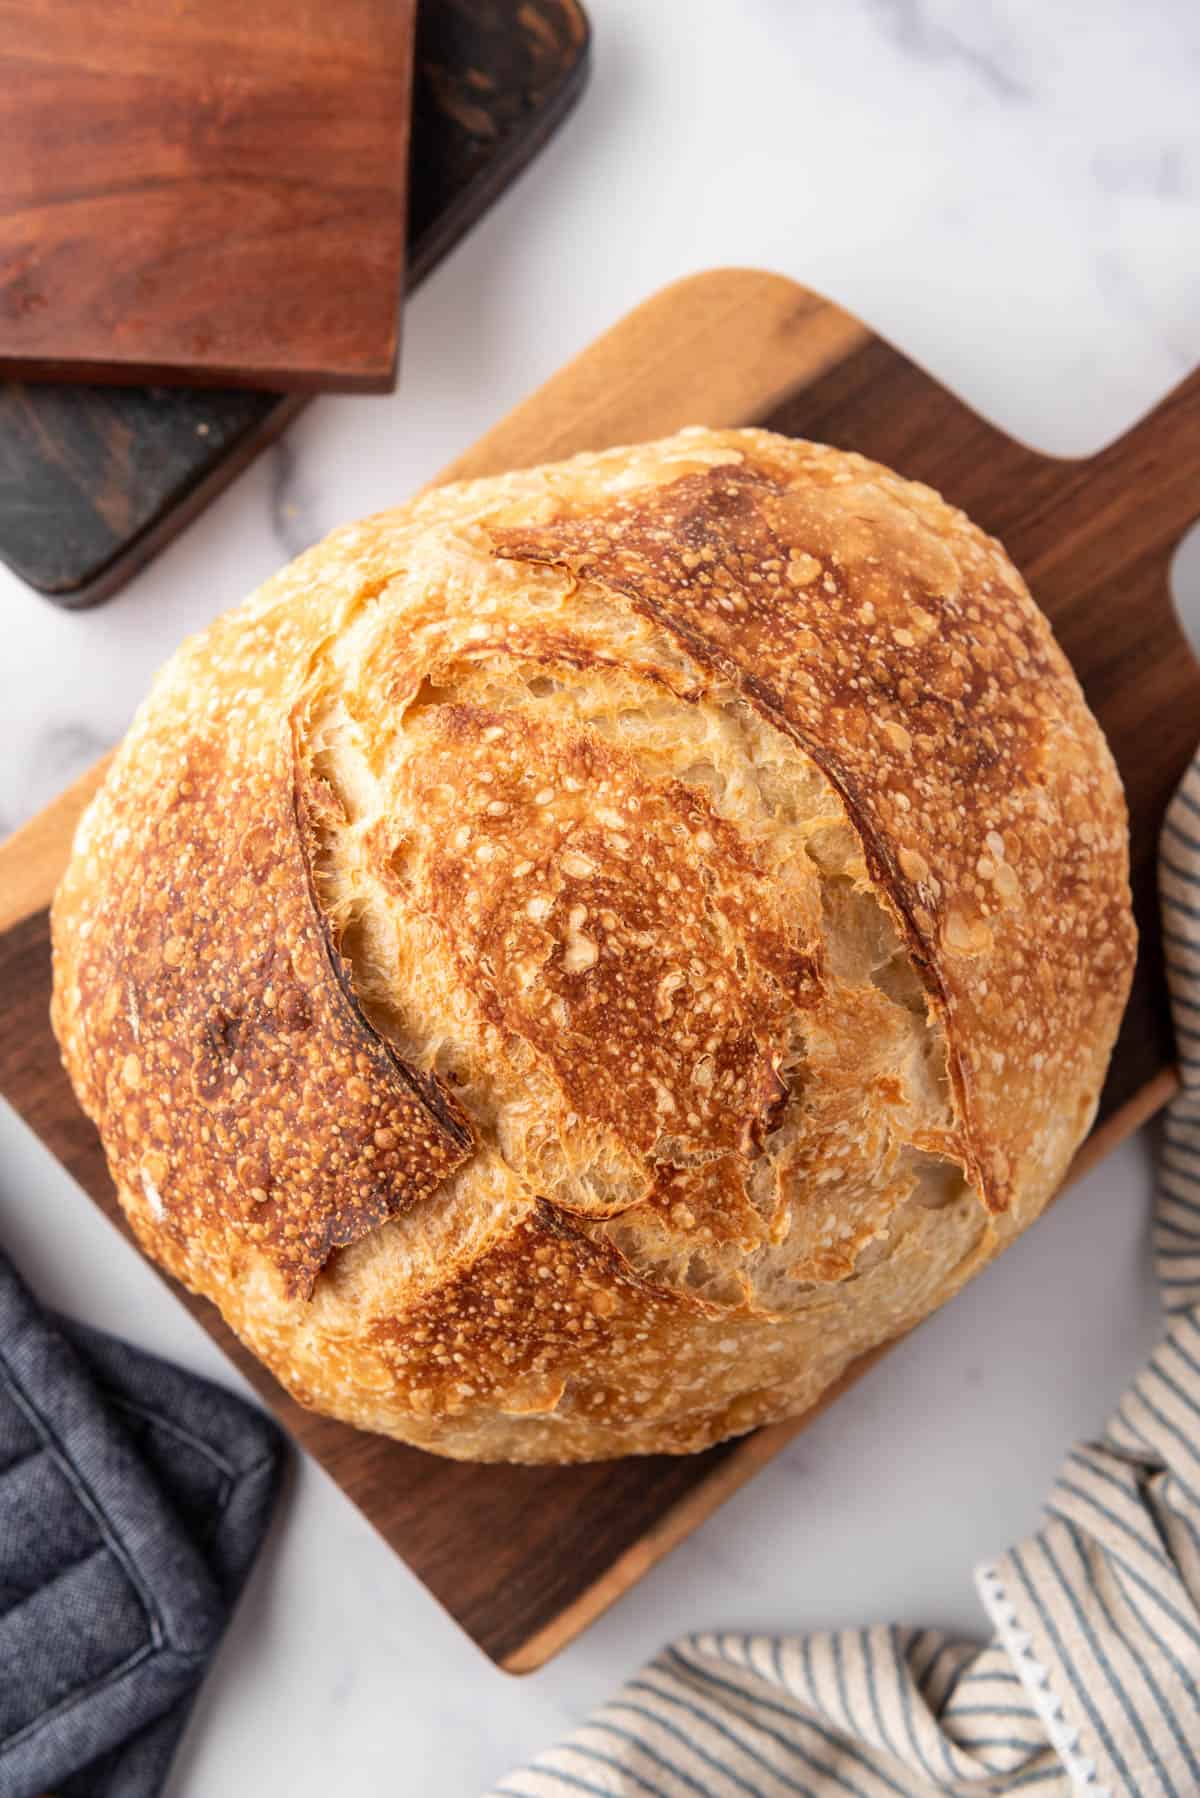
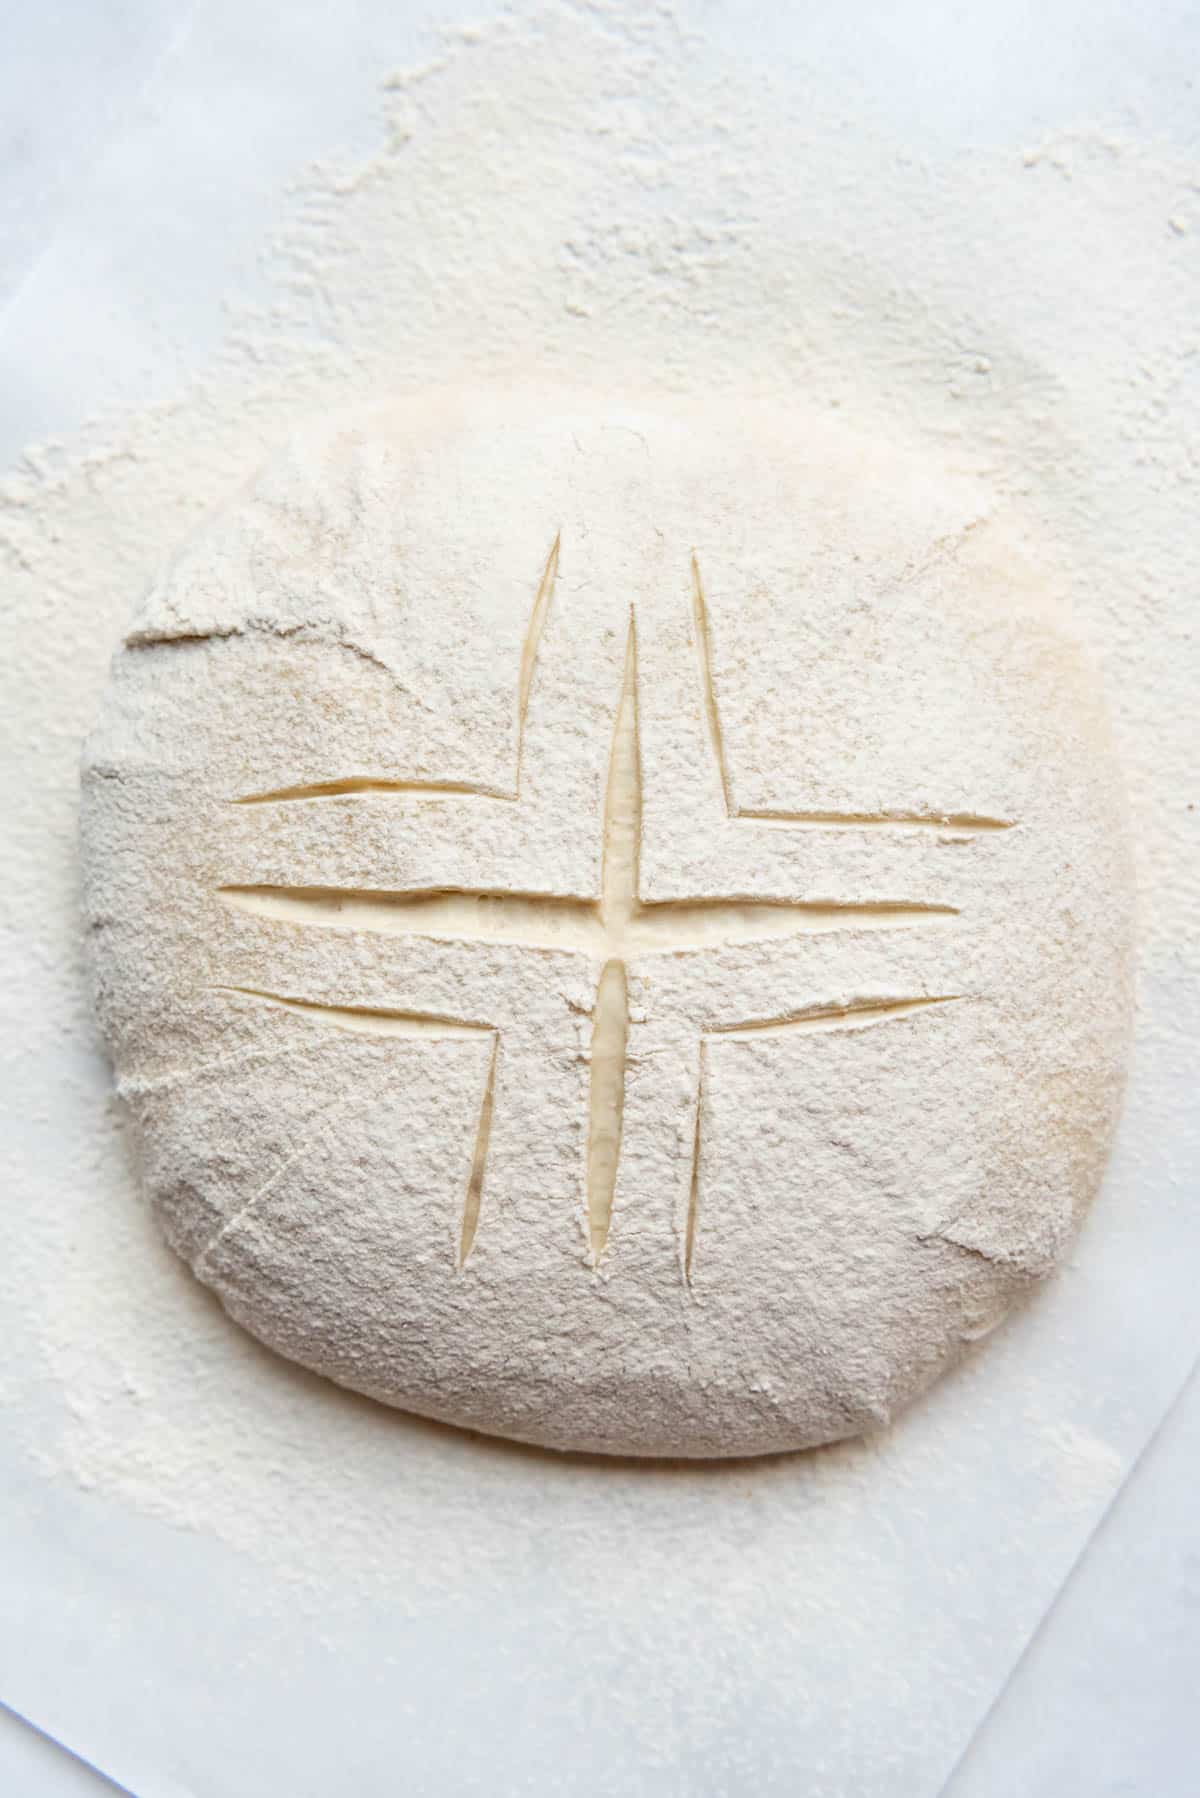
- Turn out the dough and score. Take the cold loaf of bread dough out of the fridge and turn it out over a piece of lightly floured parchment paper. It might take a minute for the dough to release from the bowl, but it should just drop out. Use a very sharp knife, razor blade, or lame tool to score a cross about 1/4″ deep over the top of your loaf. You can get fancy and do even more decorative designs, if you feel like it. There is no need to let the dough come to room temperature or rise any more at this point.
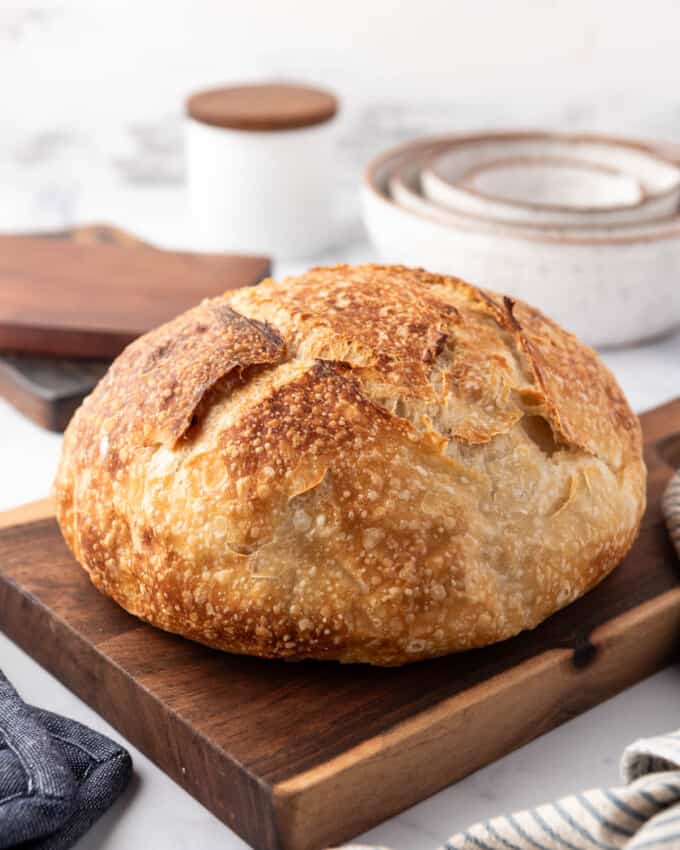
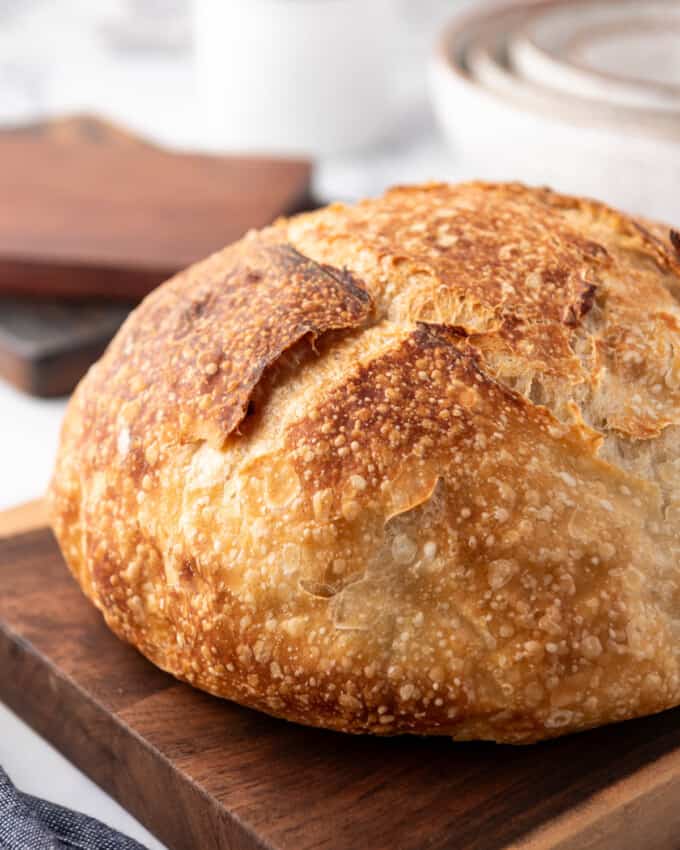
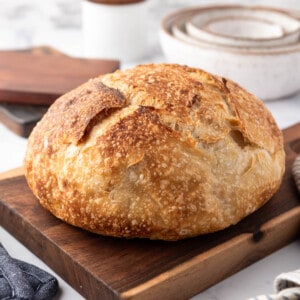
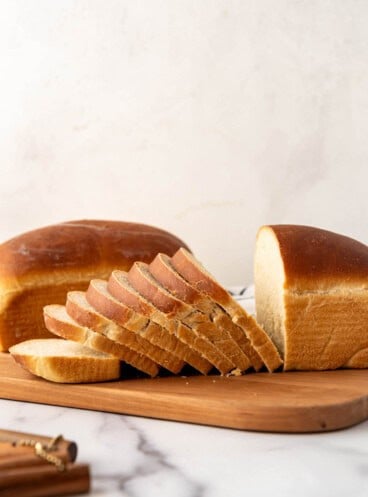
- Bake. Lift the parchment paper with your loaf into a dutch oven, then cover it with the lid. Bake for 25 to 30 minutes, then uncover and bake the remaining 25 to 30 minutes until the loaf is a beautiful golden brown and the internal temperature registers 206°F to 208°F on a digital thermometer inserted into the center of the loaf. And Ta-Da! You have your very own beautiful loaf of homemade sourdough bread! Let it cool before slicing into it.
Additional Items That Are Helpful But Not Necessary
- Banneton bread proofing basket – These super light wooden bowls are made for proofing your bread dough. You can use it with or without the cloth insert, depending on whether you would like the ridge design in the top of your loaf.
- Lame tool – This handy little tool is just a straight edge razor blade for scoring the top of your loaves and will replace the serrated knife or razor blade from the list above.

Recipe FAQ’s
No, you shouldn’t need to use all of your starter. Once the starter has peaked (i.e., risen as high as it is going to go and maybe is starting to recede a little bit from the high water mark), measure out the starter you need for your dough into your mixing bowl. Before adding the water, flour, or salt, make sure you have at least 20 grams of starter leftover in whatever container you typically feed your starter in. You should have enough starter left to feed with flour and water as normal. If not, it’s okay to use a little less active starter in this recipe than what is called for.
If you want to make two loaves of sourdough bread, you will need to feed your starter double the amount. So instead of discarding all but 20 grams of starter and feeding it 60 grams of flour and 60 grams of water, start with 40 grams of starter and feed it 120 grams of flour and 120 grams of water to get twice the amount of starter. If you want to bake even more loaves, you might have to double the starter again to get the amount you will need.
I like to work with a small starter to avoid wasting ingredients and not ending up with as much discard, but some people might prefer maintaining a larger amount of starter at all times if you find that you always want to make two loaves rather than just one.
Many people feel like sourdough bread is a healthier option because the sourdough starter breaks down the gluten in the bread making it easier to digest.
Tips for Success
- Don’t skip the cold ferment. Letting the dough rest longer really helps develop the sourdough flavor.
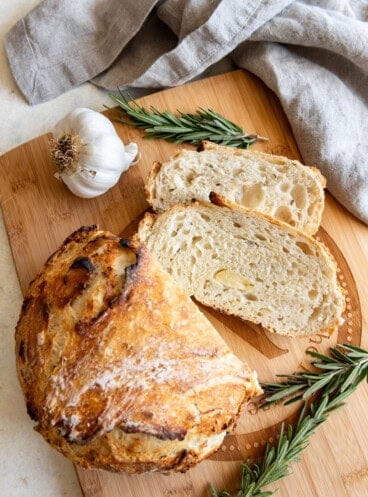
- Try using some rye flour or buckwheat flour to help develop more of the acid-producing bacteria that gives some of that sour flavor.
- If you made your own sourdough starter and it’s still fairly new, the sour taste will be more mild than a more established starter. As you continue feeding and using your starter it will develop a stronger sour quality with time.
How to Store Sourdough Bread
There are lots of different methods for storing sourdough bread, but the ones that work best for me are the simplest options like wrapping it in plastic wrap to keep it fresh.
You can also freeze a loaf of sourdough bread and thaw on the counter later. Keep in mind that even slightly stale sourdough bread tastes pretty fantastic when toasted and buttered.
Did you make this recipe?
Let me know what you thought with a comment and rating below. You can also take a picture and tag me on Instagram @houseofnasheats or share it on the Pinterest pin so I can see.
Homemade Sourdough Bread Recipe
Ingredients
- 1/2 cup active sourdough starter (113g)
- 1 1/3 cups room temperature water (338g)
- 3 2/3 cups bread flour or unbleached flour (450g)
- 2 teaspoons table salt
Instructions
- Add sourdough starter and water to a large bowl. Stir together with a fork to combine.½ cup active sourdough starter, 1 ⅓ cups room temperature water
- Add flour and salt to the water and sourdough starter mixture. Stir until mostly coming together, although it's okay for the dough to look lumpy and shaggy.3 2/3 cups bread flour, 2 teaspoons table salt
- Rest 1 hour: Cover loosely with plastic wrap or a clean, damp cloth and let it rest for 1 hour. This is what's known as the "autolyze" which is just a fancy and intimidating sounding term for letting the flour hydrate completely. You won't see much of a visual change during this period, but just trust the process.
- Stretch & fold #1: Uncover the sourdough and moisten your fingers with water. Grab a hunk of the dough from one edge and stretch it out, then fold it back on top of the dough. Give the bowl a quarter turn and repeat the process of stretching the dough out and folding it on top of itself three more times. I know this might sound like a lot but it literally takes less than 2 minutes to do the stretch and folds. Cover the dough again and let it rest for 30 minutes.
- Stretch & fold #2: After 30 minutes rest, repeat the stretch and fold process again. This is replacing traditional kneading and you'll be amazed at how that lumpy dough starts turning smooth and normal looking with hardly any effort.
- Bench bulk: Cover the dough with plastic wrap and let it rest for 8 hours on the counter. It should increase in volume over that period of time.
- Shape the dough: Turn the proofed dough onto a lightly floured surface. Flour your hands, then kind of cup them around the top of the bread. Pull the bread towards you while letting it sort of grip the counter. You should feel pressure and resistance from the bread like you are tightening it into a dense ball as you pull. Repeat this a few times to kind of tighten the dough into a ball shape, also known as a "boule". Transfer the shaped loaf to a bowl lined with a clean dish cloth that has been lightly dusted with flour or a banneton basket that has been dusted with flour. Make sure you place it with the rounded, pretty side down in the bowl so when you turn it out that's the side that will be on top eventually.
- Proof for another 1-2 hours OR refrigerate overnight. At this point you can let the dough rise for another 1-2 hours and bake right away, or if you want a stronger, more sour sourdough taste stick it in the fridge overnight. Lightly cover your dough and let it chill in the fridge for anywhere from 12 up to 72 hours. This is called a "cold ferment" and it helps the sourdough develop more of the tangy flavor that sourdough is known for. The longer it ferments, the more sour the bread will taste. I usually either bake after letting the loaf rise for an hour or two or bake it the next day after a slow, cold 12 to 24 hour rise time.
- Preheat oven. About 45 minutes to an hour before you are ready to bake your sourdough bread, start preheating your oven to 450°F so it's nice and hot.
- Turn out the dough and score. Take the cold dough out of the fridge and turn it out onto a piece of parchment paper. Use a very sharp knife, razor blade, or lame tool to score an "X" or other decorative pattern about 1/4" deep over the top of your loaf. Lift parchment paper with the bread into a dutch oven. There is no need to let the dough come to room temperature or rise any more at this point.
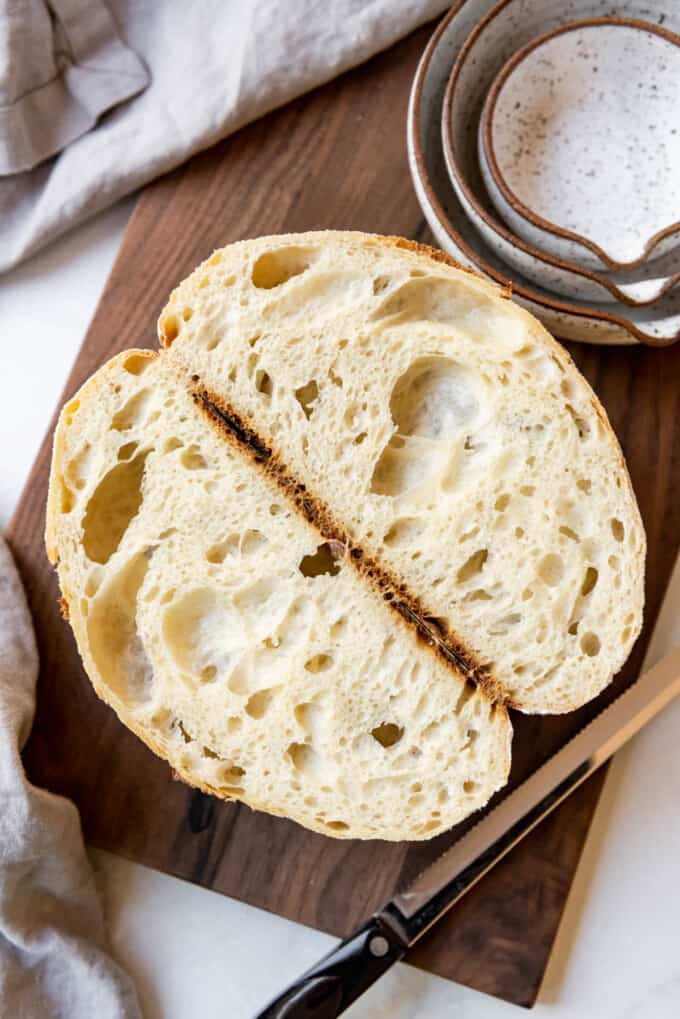
- Bake. Bake in the dutch oven with the lid on at 450°F in the preheated oven for 25 to 30 minutes, then uncover and bake the remaining 25 to 30 minutes until the loaf is a beautiful golden brown and the internal temperature registers 206°F to 208°F on a digital thermometer inserted into the center of the loaf.
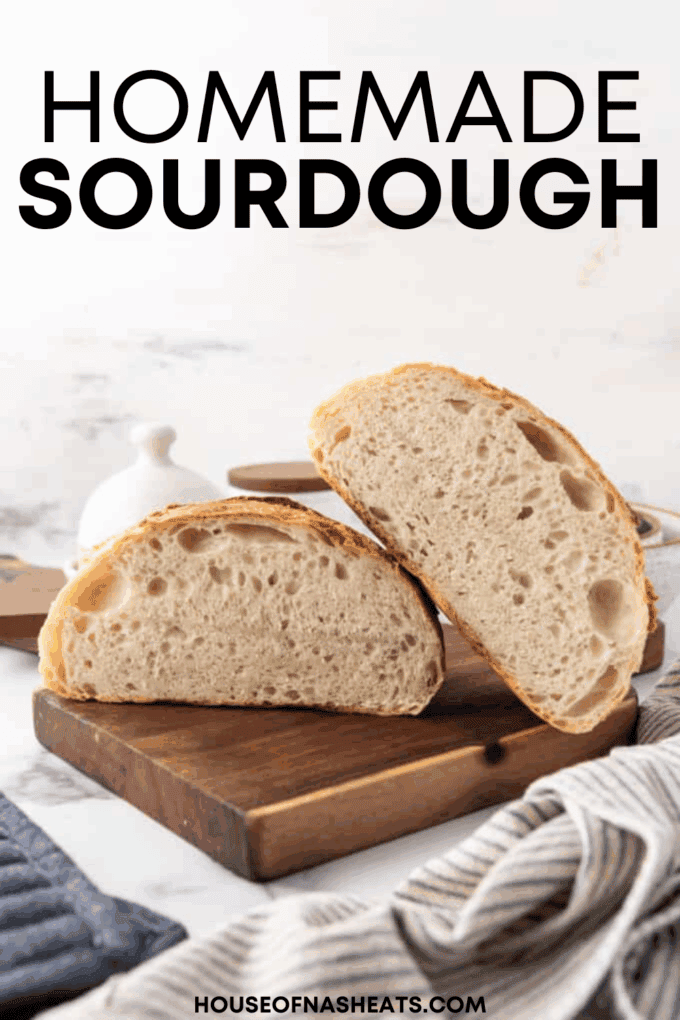
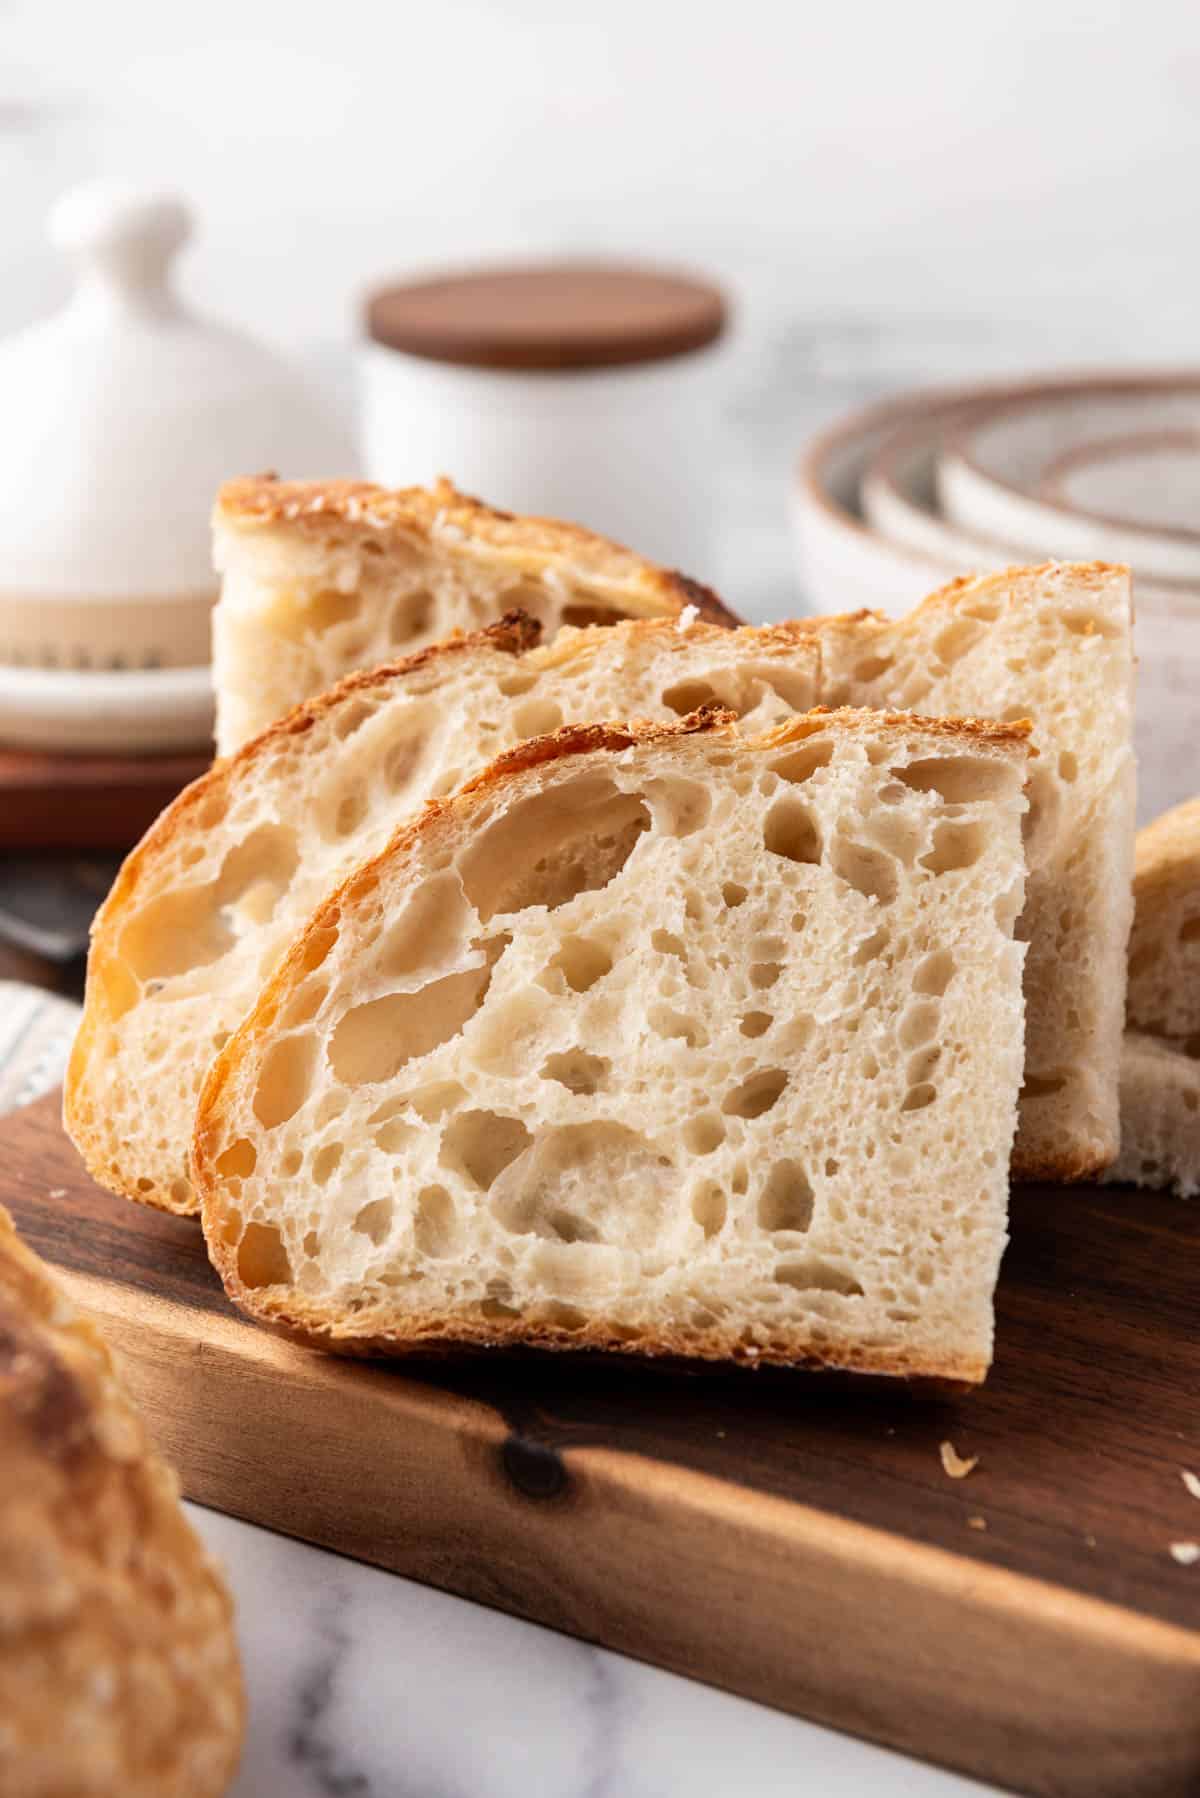
- Cool, then slice. Let the bread rest for at least 30 minutes to 1 hour before slicing.
Notes
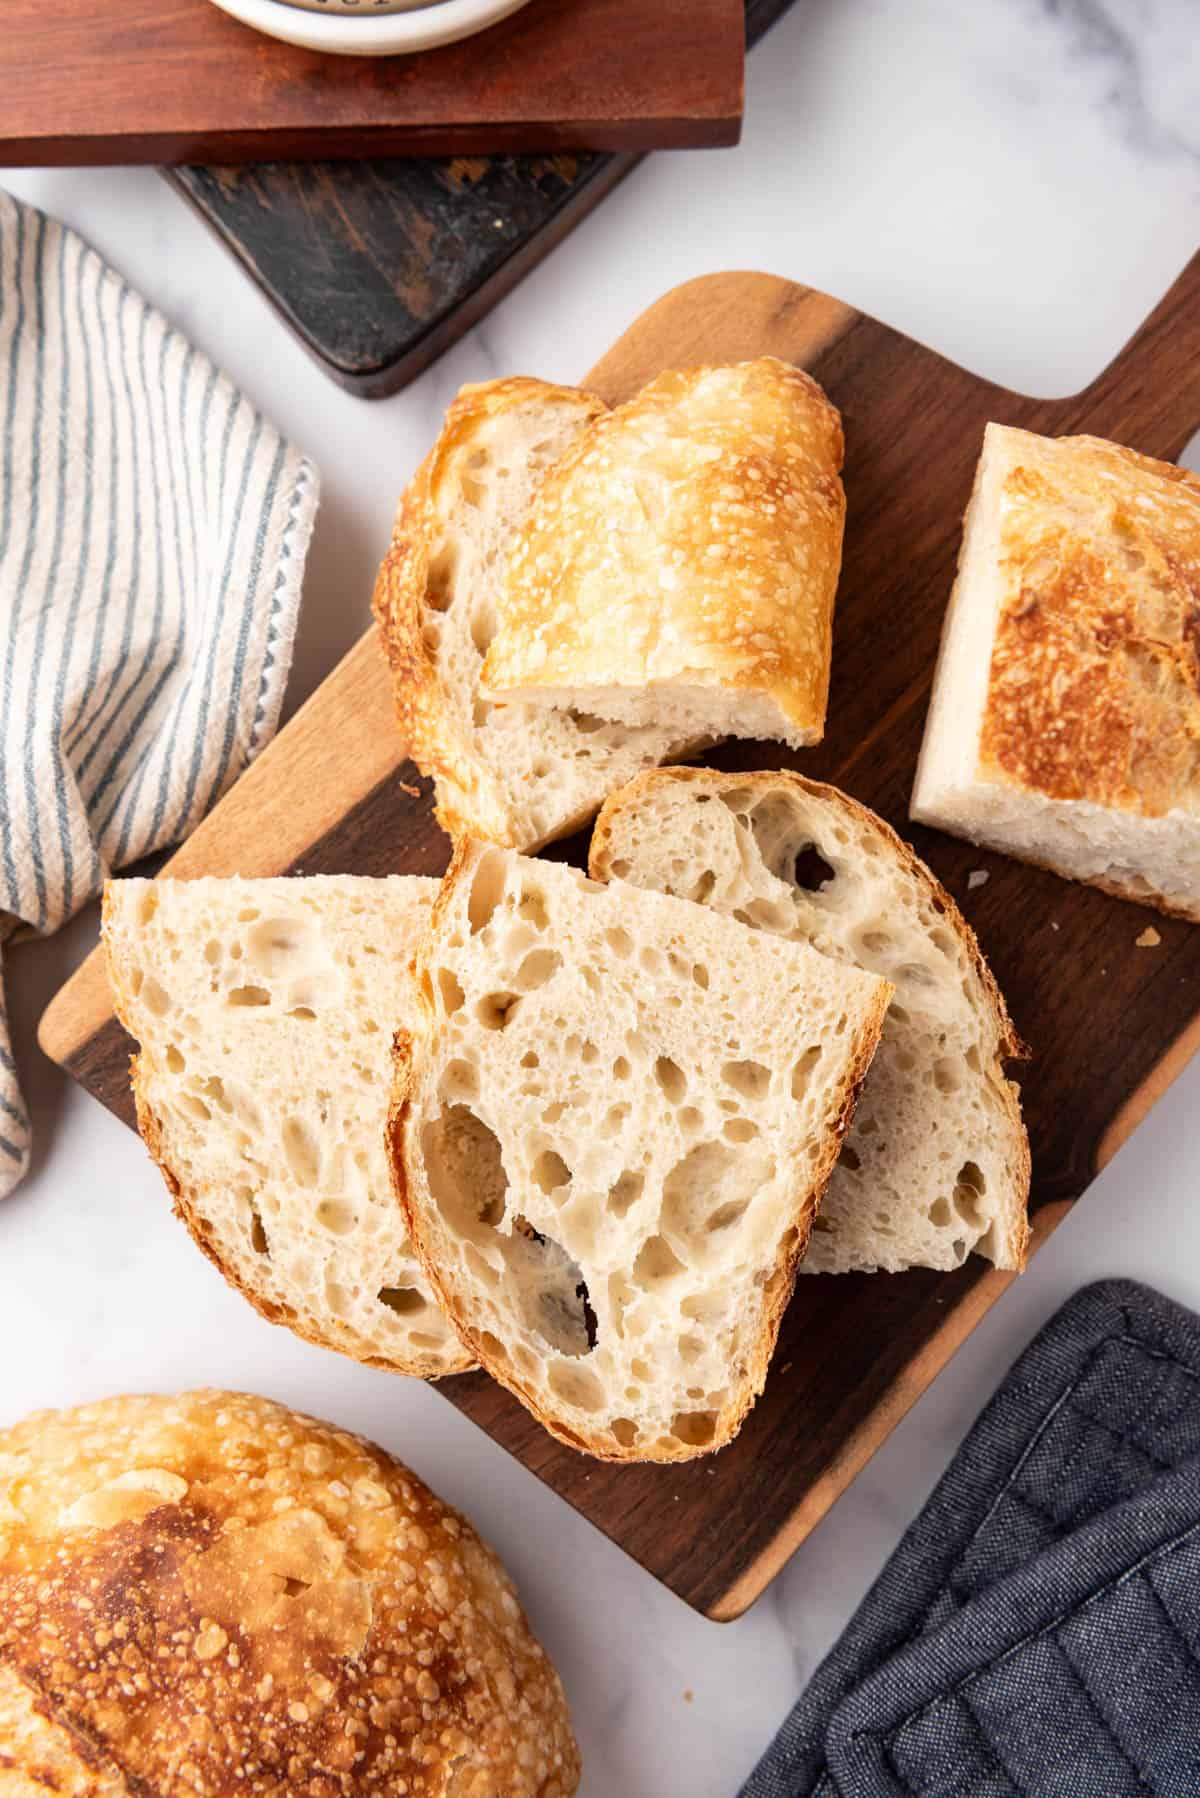
- Storage: Sourdough bread is best enjoyed fresh, the day it is made. Leftovers make excellent grilled cheese or toast.
- Freezing: Sourdough bread freezes well for up to 2-3 months. After letting the loaf cool completely, wrap it in aluminum foil, then place in a freezer-safe ziploc bag. To reheat, thaw at room temperature for 6-8 hours. Remove the bread from the foil, then sprinkle it with a little water and wrap it back up in aluminum foil and bake at 400°F for 30 to 40 minutes to freshen it up.
Nutrition
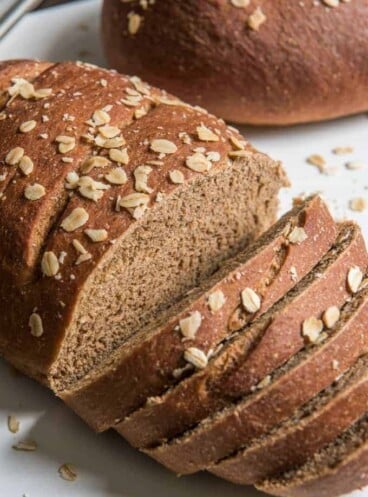
More Bread Recipes
- Best Challah Bread
- Amish White Bread
- Homemade Potato Bread Recipe
- Easy Rosemary Focaccia Bread
- Homemade Garlic Naan Bread


Gladys
Great name! I will add that to the list!
Thanks for making such a made complex topic accessible and interesting.
I am glad to hear that. Sourdough can be intimidating but once you figure it out and understand the process, it is quite simple. I hope this helps everyone make delicious sourdough!
I’ve never been able to make sourdough, but I just made the first loaf I’ve been able to do start-to-finish by myself from this recipe, and I’m so excited. It still has to cool, but if it tastes as good as it looks, it will be delicious. Another amazing recipe, Amy!
I’m so glad this method works well for you!
Vincent Van Dough, Jane Dough, Edgar Allan Dough, Play Dough.
Great names… I may call mine Van Dough … Thanks for the idea
Could you give me details on how to make sour dough starter? How much do you feed it, how often, is it just flour and water
I talk about creating your own sourdough starter and give you detailed step by step instructions in this post. Did you see the steps on how to make a starter? Scroll through the post again and I show you how to make your own sourdough starter.
The easiest sourdough bread recipe. I make the bread often and turns out great every time. Thank you!! nah
Thank you so much Lisa! That makes me happy to hear you enjoy this sourdough recipe.
Easy to follow. Having the pictures helps so much.
Can you use Kitchen Aid mixer for the first step of mixing the starter, flour and water?
Yes, that should be fine.