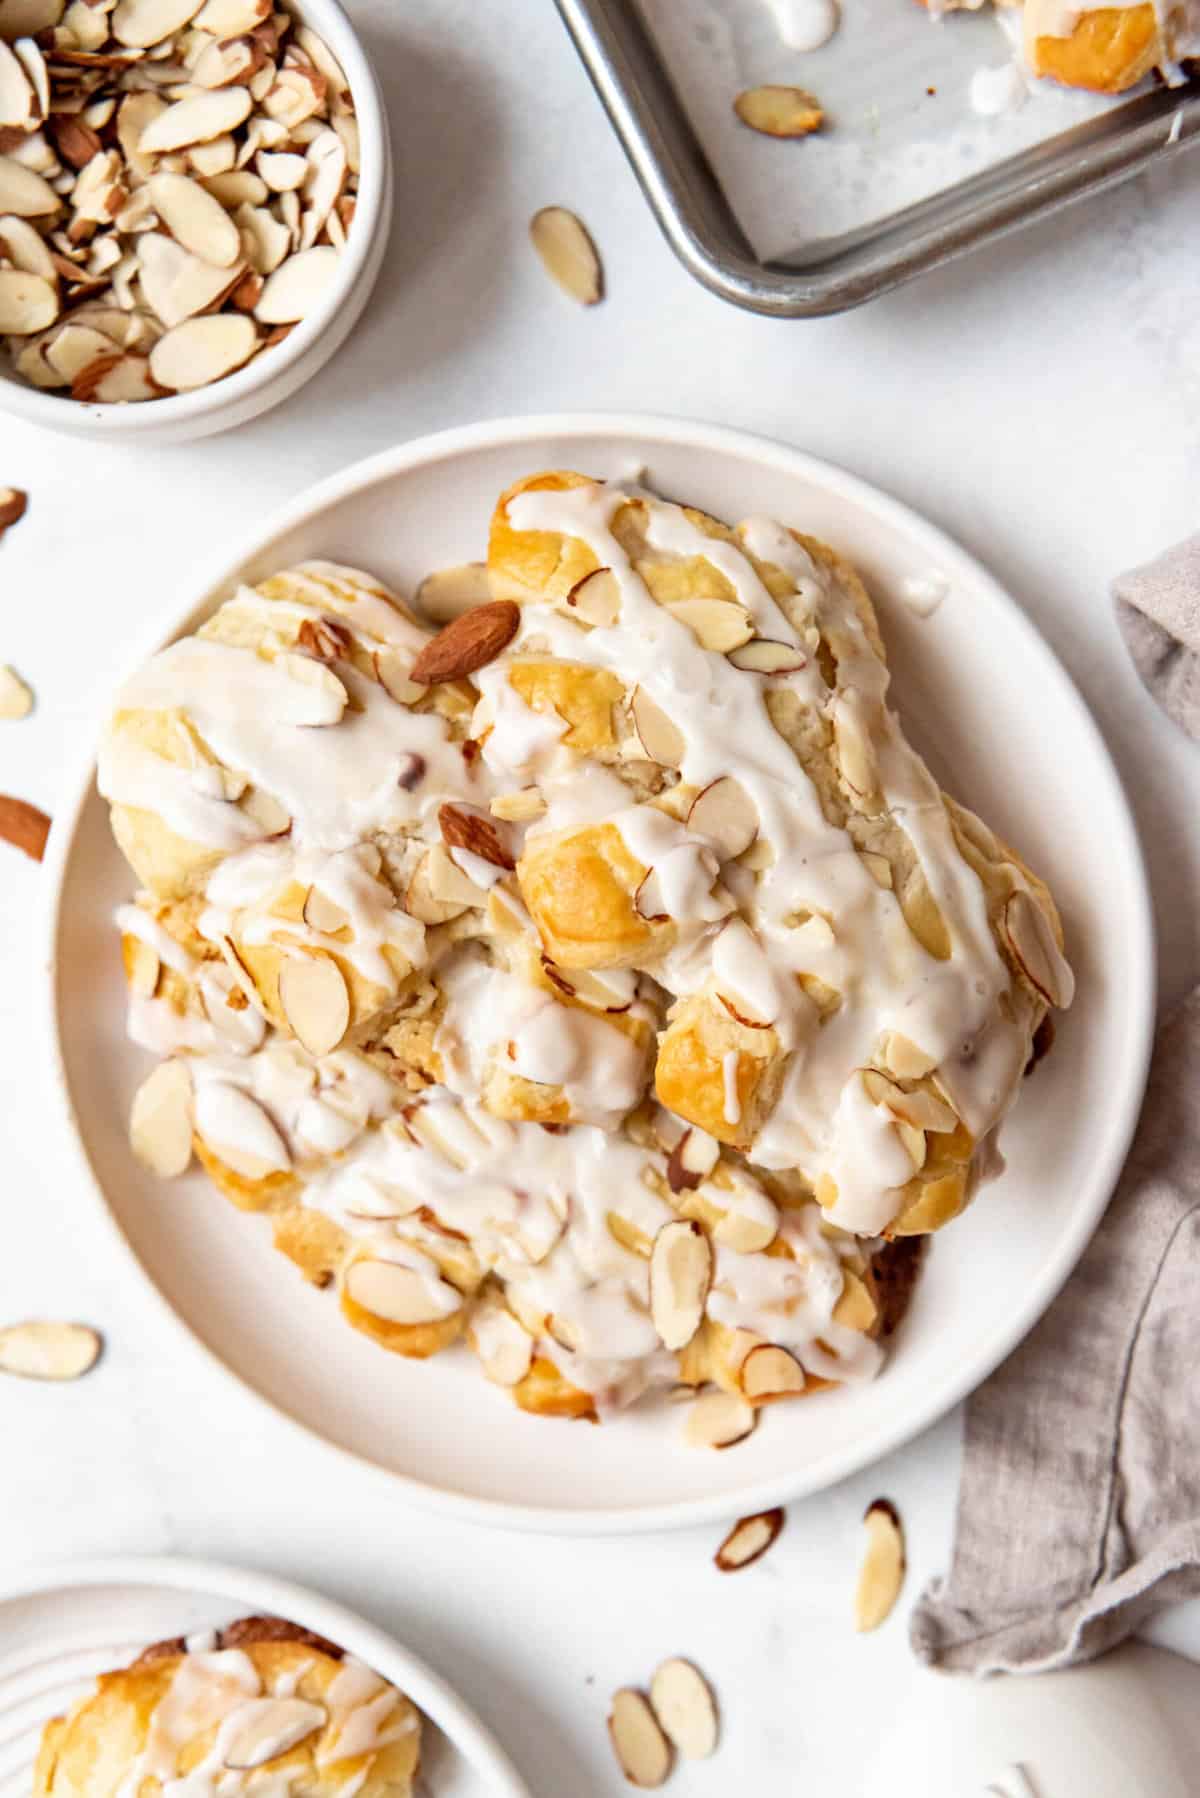
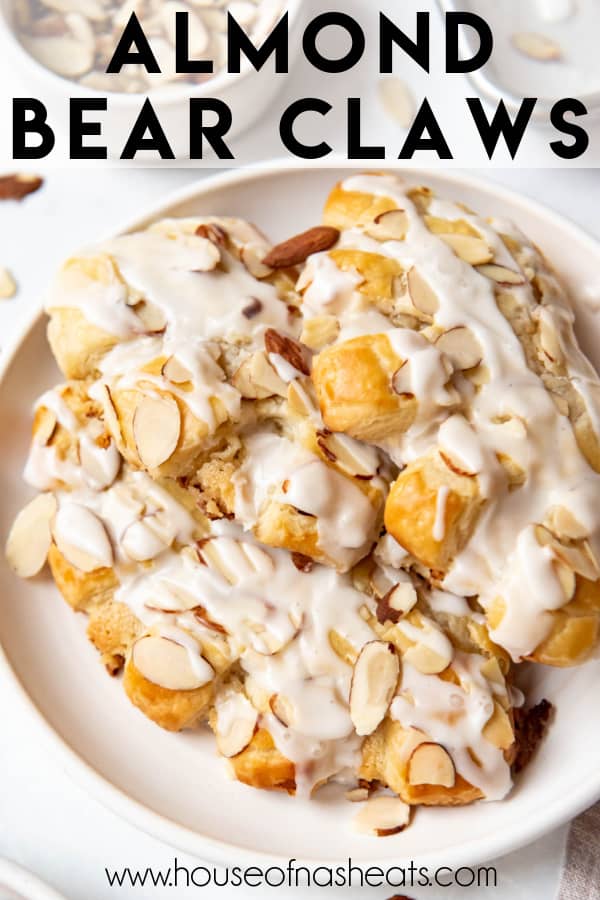
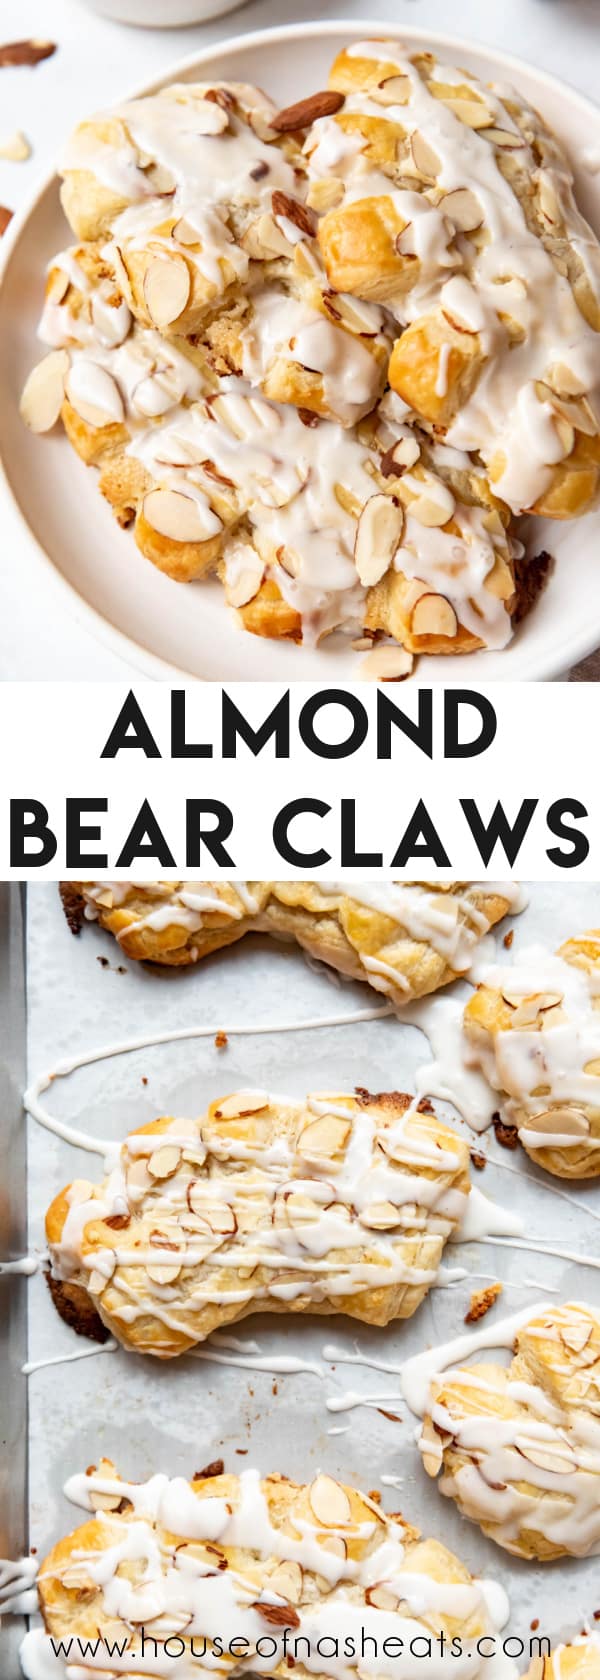
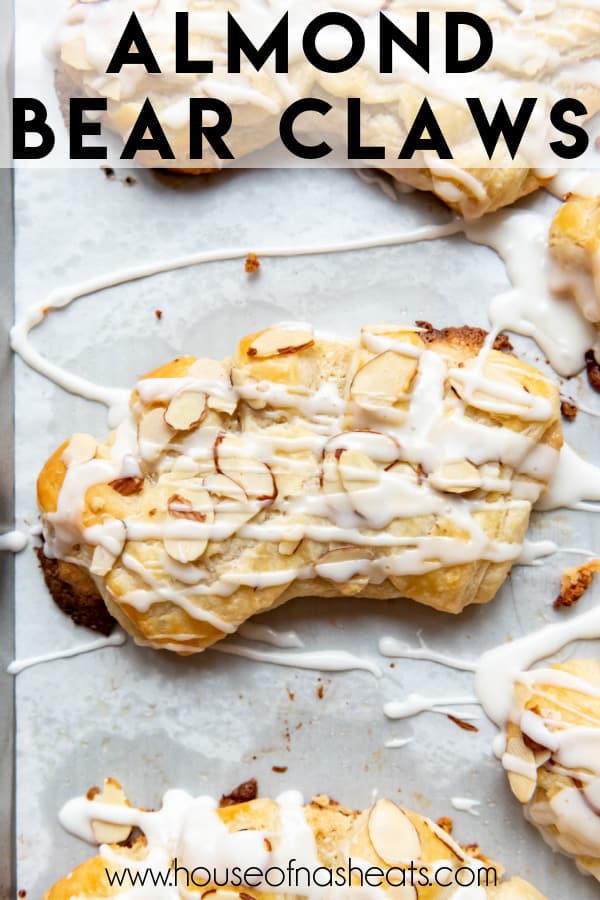
Almond Bear Claws are a flaky, buttery pastry that are filled with a sweet almond paste for a delicious breakfast treat or afternoon snack. We love them with a sweet glaze on top of the pastry for an extra layer of flavor and sweetness. If you’re a fan of almond croissants or Danish pastries, then you’re going to love this recipe that shows how to make almond bear claws at home.
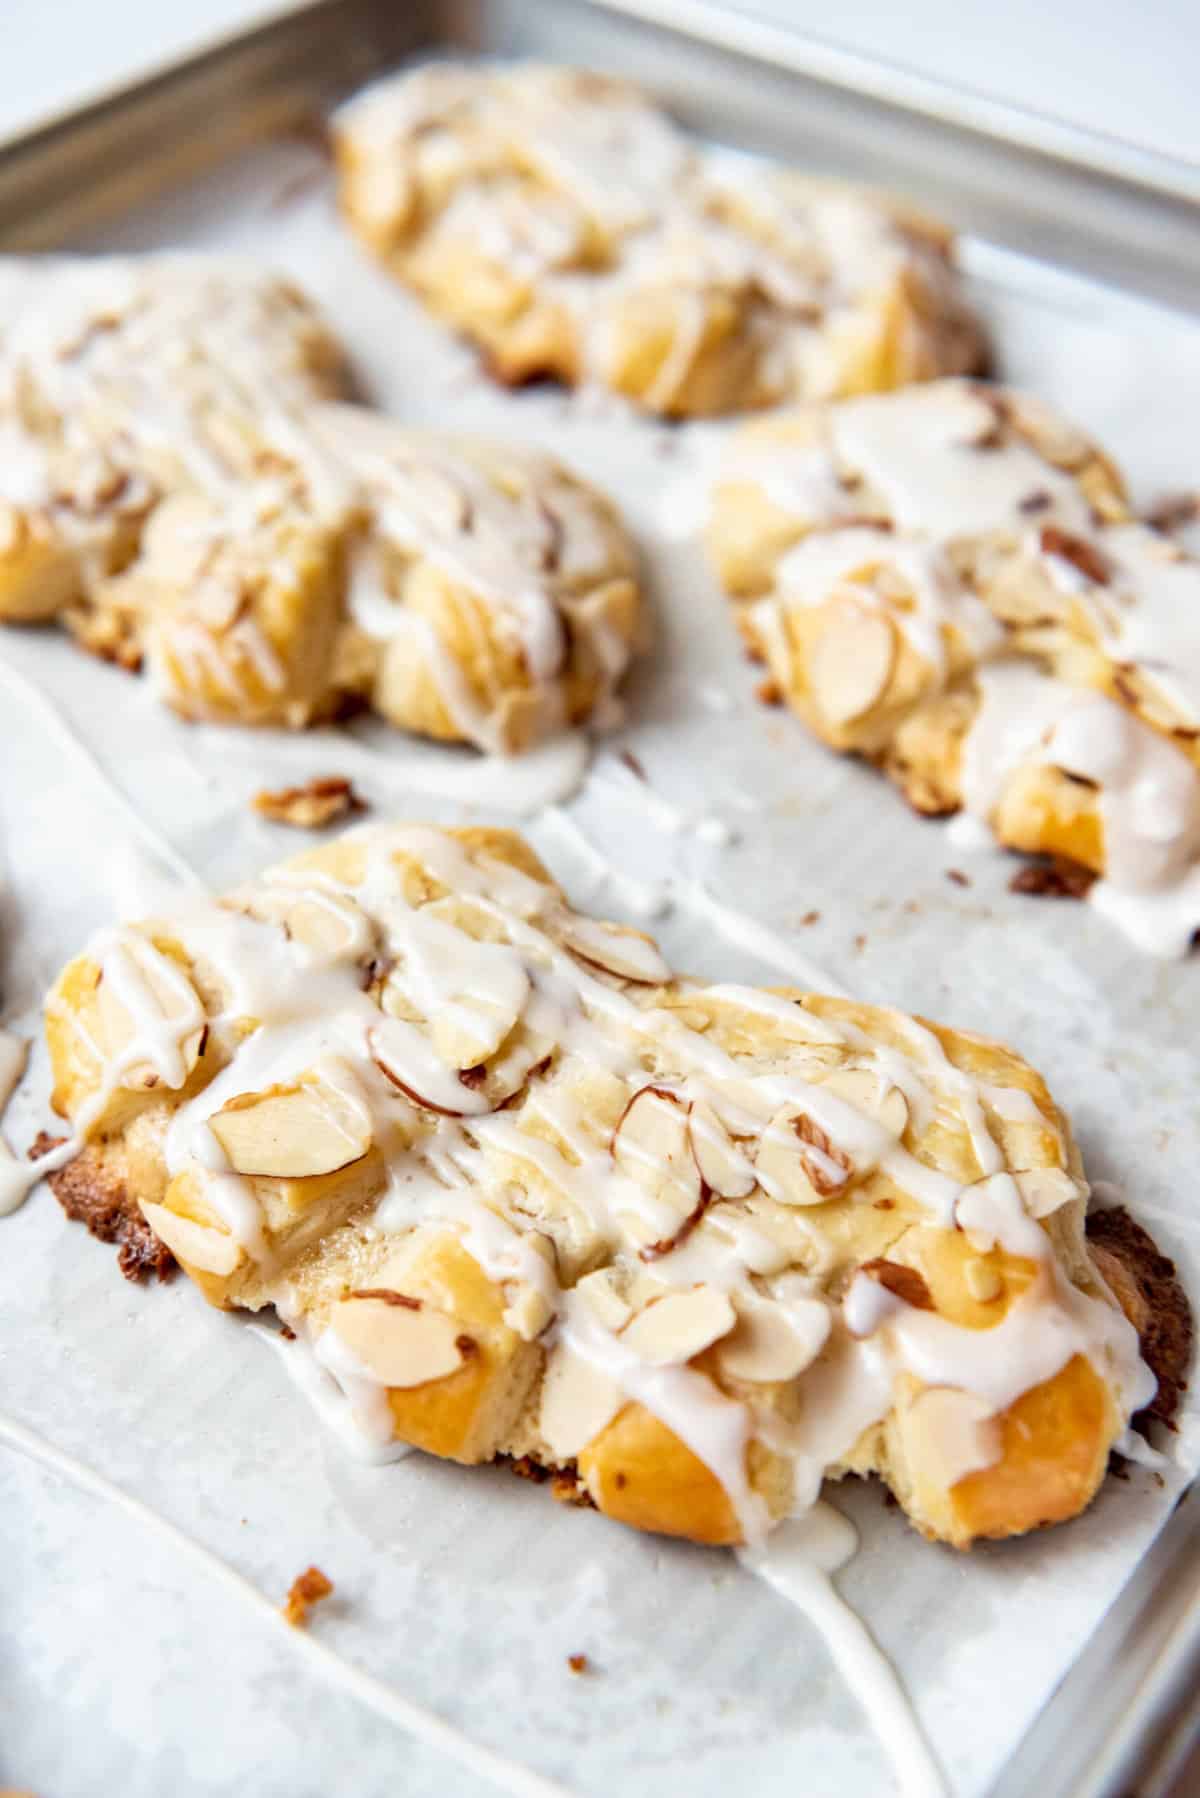
Table of Contents
It’s Montana Week on House of Nash Eats as part of our American Eats series where I’m sharing iconic foods for each state. When brainstorming famous foods to share for each state, sometimes I have to think outside the box and in this case I decided to share this bear claw pastry recipe as an homage to the many, many bears that make Montana their home.
We spent almost a month in Montana a couple summers ago and within hours of settling into our Airbnb there was a big brown bear roaming around in the backyard. I’ll never forget watching him amble through the field and eventually make his way back into the forest and we made sure to keep our bear spray close by whenever we went down to the creek on the property to go fishing with the girls.
What are Bear Claws?
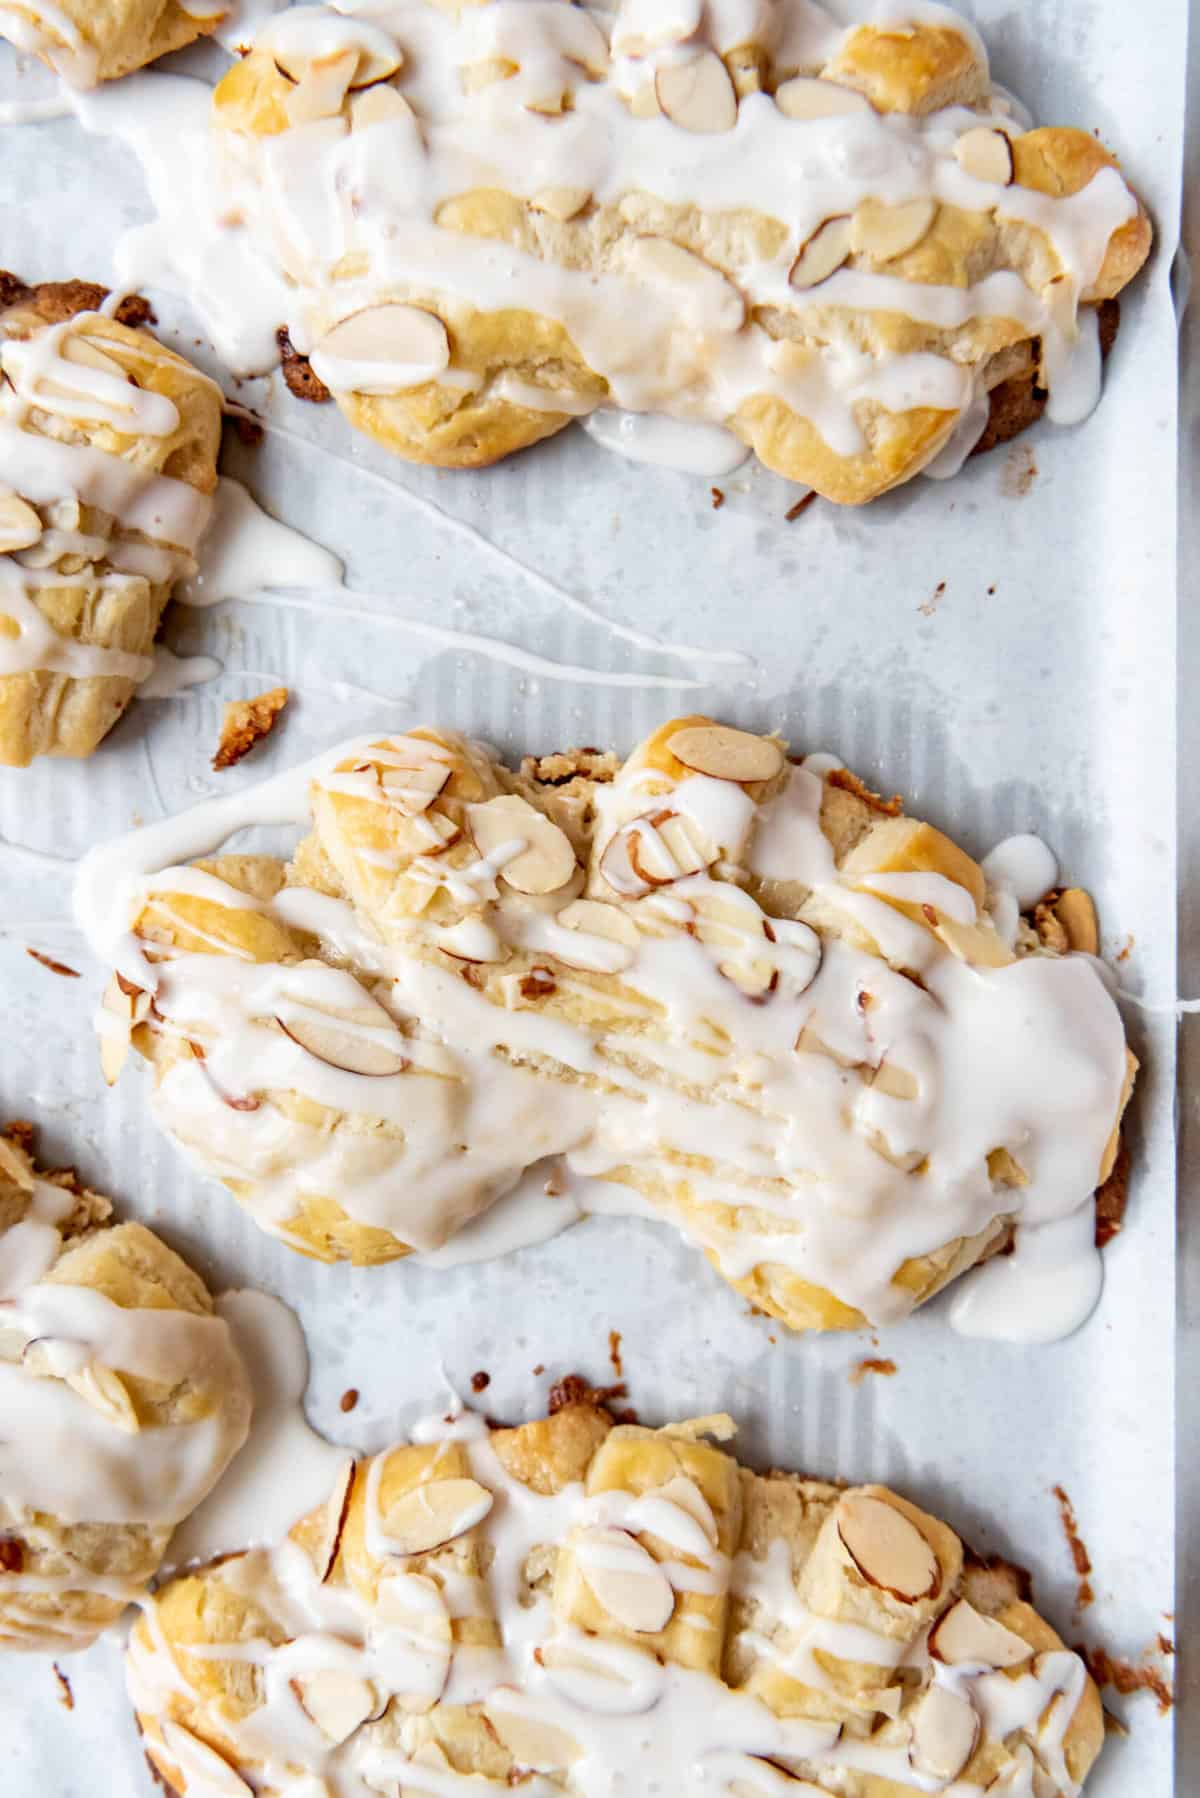
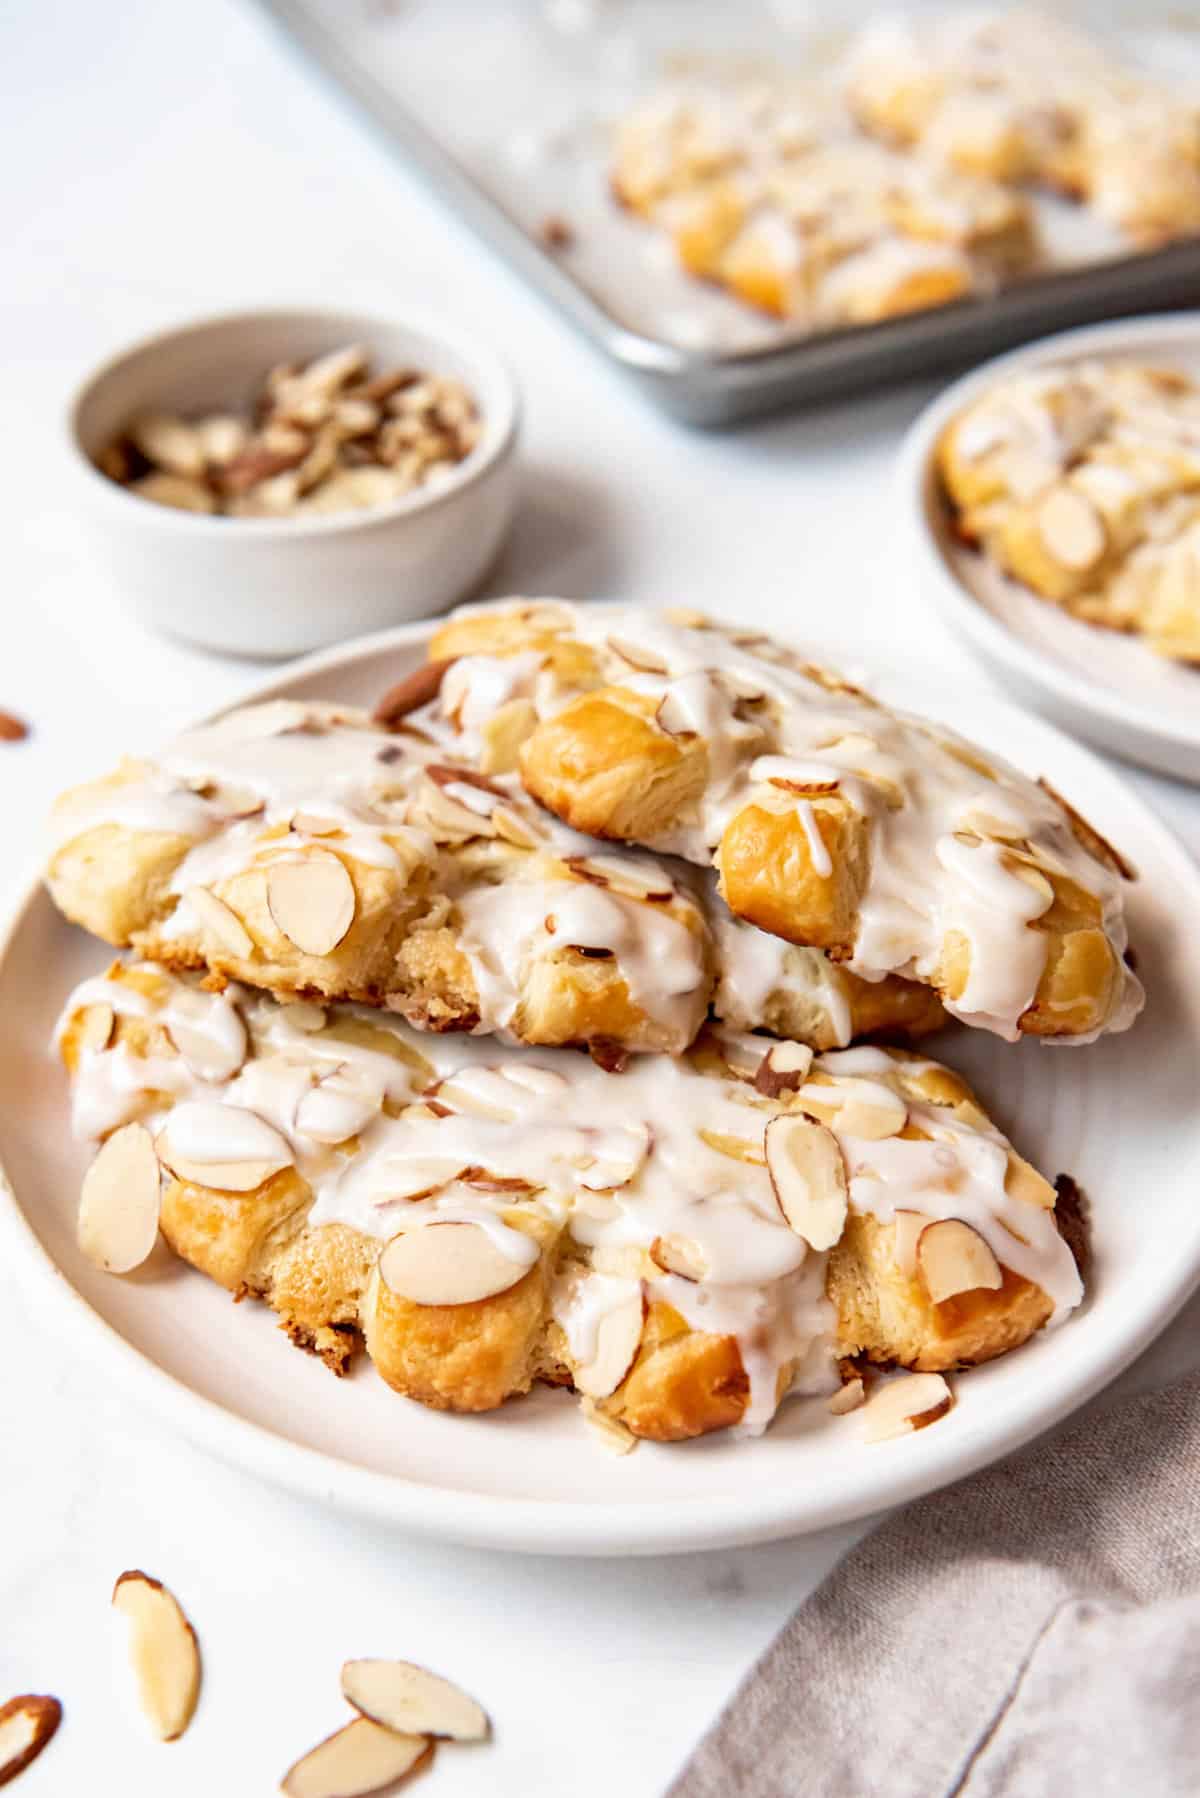
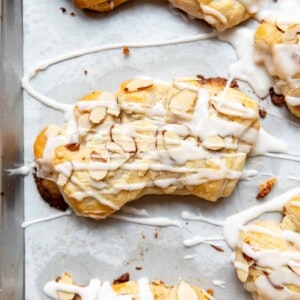
If you have ever been to a donut shop, bakery, or cafe, chances are you’ve seen the bear claw shaped pastries (some consider them a type of doughnut) that are popular throughout North America and Europe. It is a delicious pastry that is usually sprinkled with sliced almonds and either dusted with powdered sugar or glaze with a simple vanilla or almond glaze. Bear claw pastries are a type of sweet pastry that is named for their shape, which is said to resemble a bear’s claws.
There are many variations on bear claws but our favorite is one that is similar to a Danish where it is made from a sweet yeast dough that is rolled out and filled with an almond paste mixture. The filling is then wrapped in the dough and shaped into a claw-like form. The pastry is typically baked until it is golden brown and crispy.
But bear claw pastries can be found in many different variations, with some using different types of chopped nuts or adding additional flavorings such as orange zest, and spices such as cinnamon and cloves. When we were in Montana, you could often find huckleberry bear claws that are made using a similar recipe to traditional bear claws, but with the addition of huckleberry jam or fresh huckleberries to the almond paste filling. The huckleberry jam gives the pastry a sweet and tangy flavor that pairs well with the nutty filling of rich almond paste and flaky pastry crust.
Huckleberry bear claws are particularly popular in Montana, Idaho, and other states in the Pacific Northwest region, where huckleberries are abundant and are just one example of how local ingredients can be incorporated into traditional pastry recipes to create new and unique flavors.
What You’ll Need
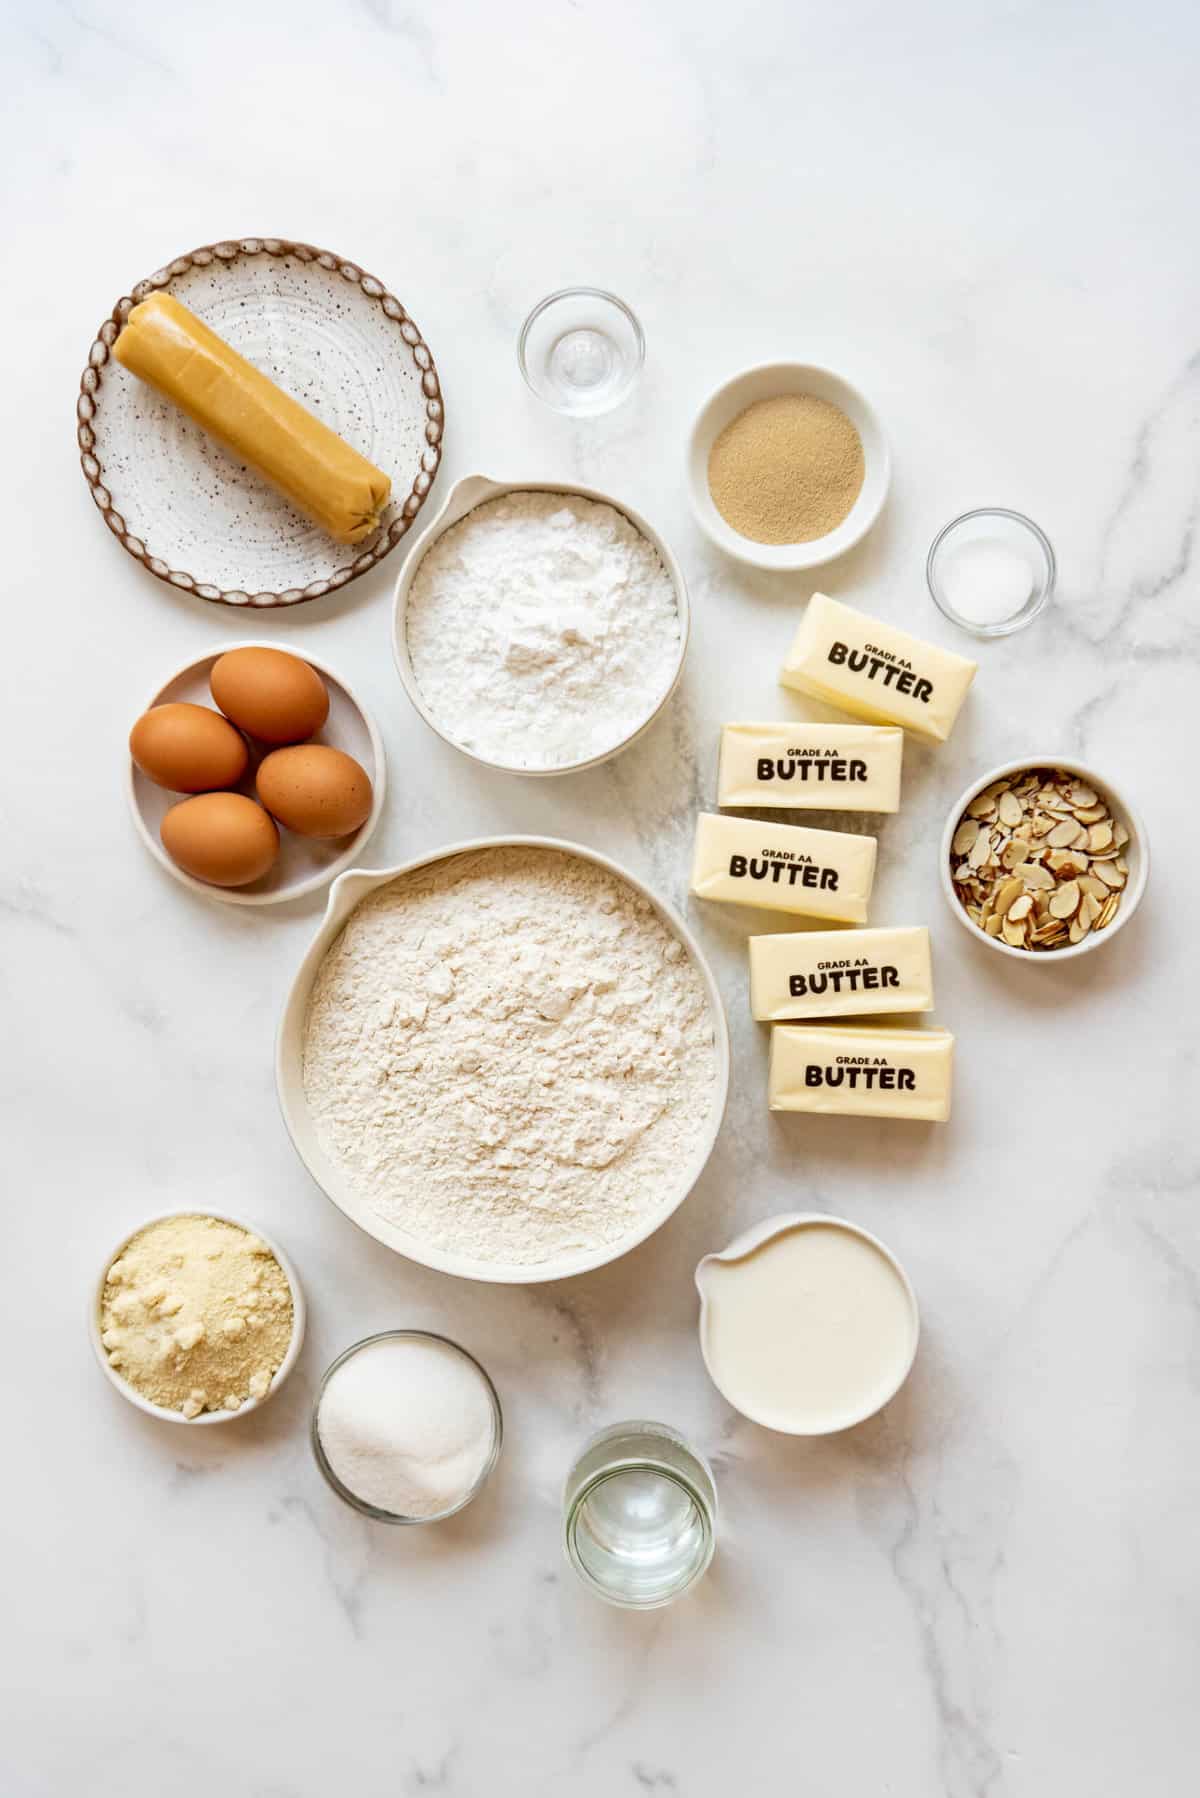
Scroll down to the recipe card below this post for ingredient quantities and full instructions.
- All-purpose flour
- Salted butter
- Water
- Yeast
- Sugar
- Milk
- Eggs
- Salt
- Almond paste
- Almond extract
How to Make Bear Claw Pastries
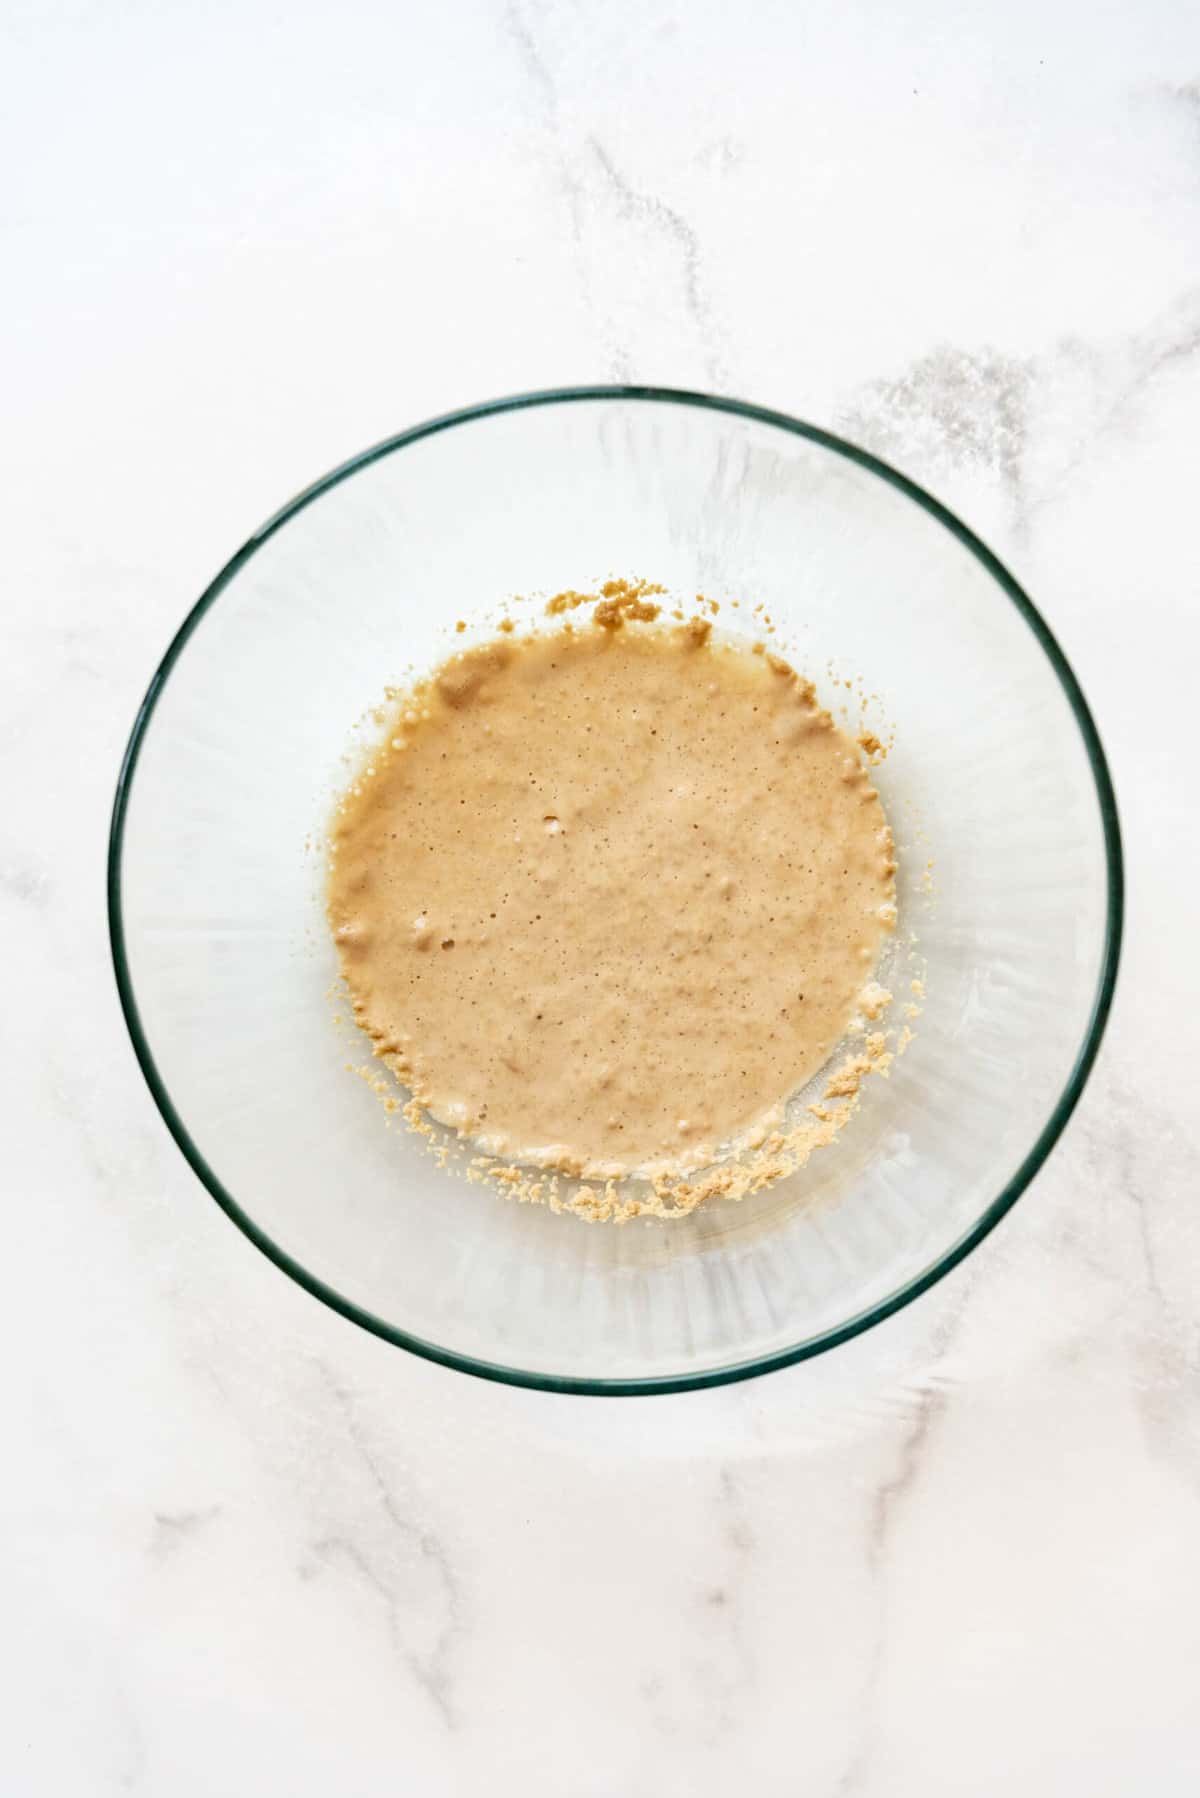
- Combine warm water, 1 tablespoon of the sugar, and yeast in a large mixing bowl. Let sit for 5 minutes until foamy.
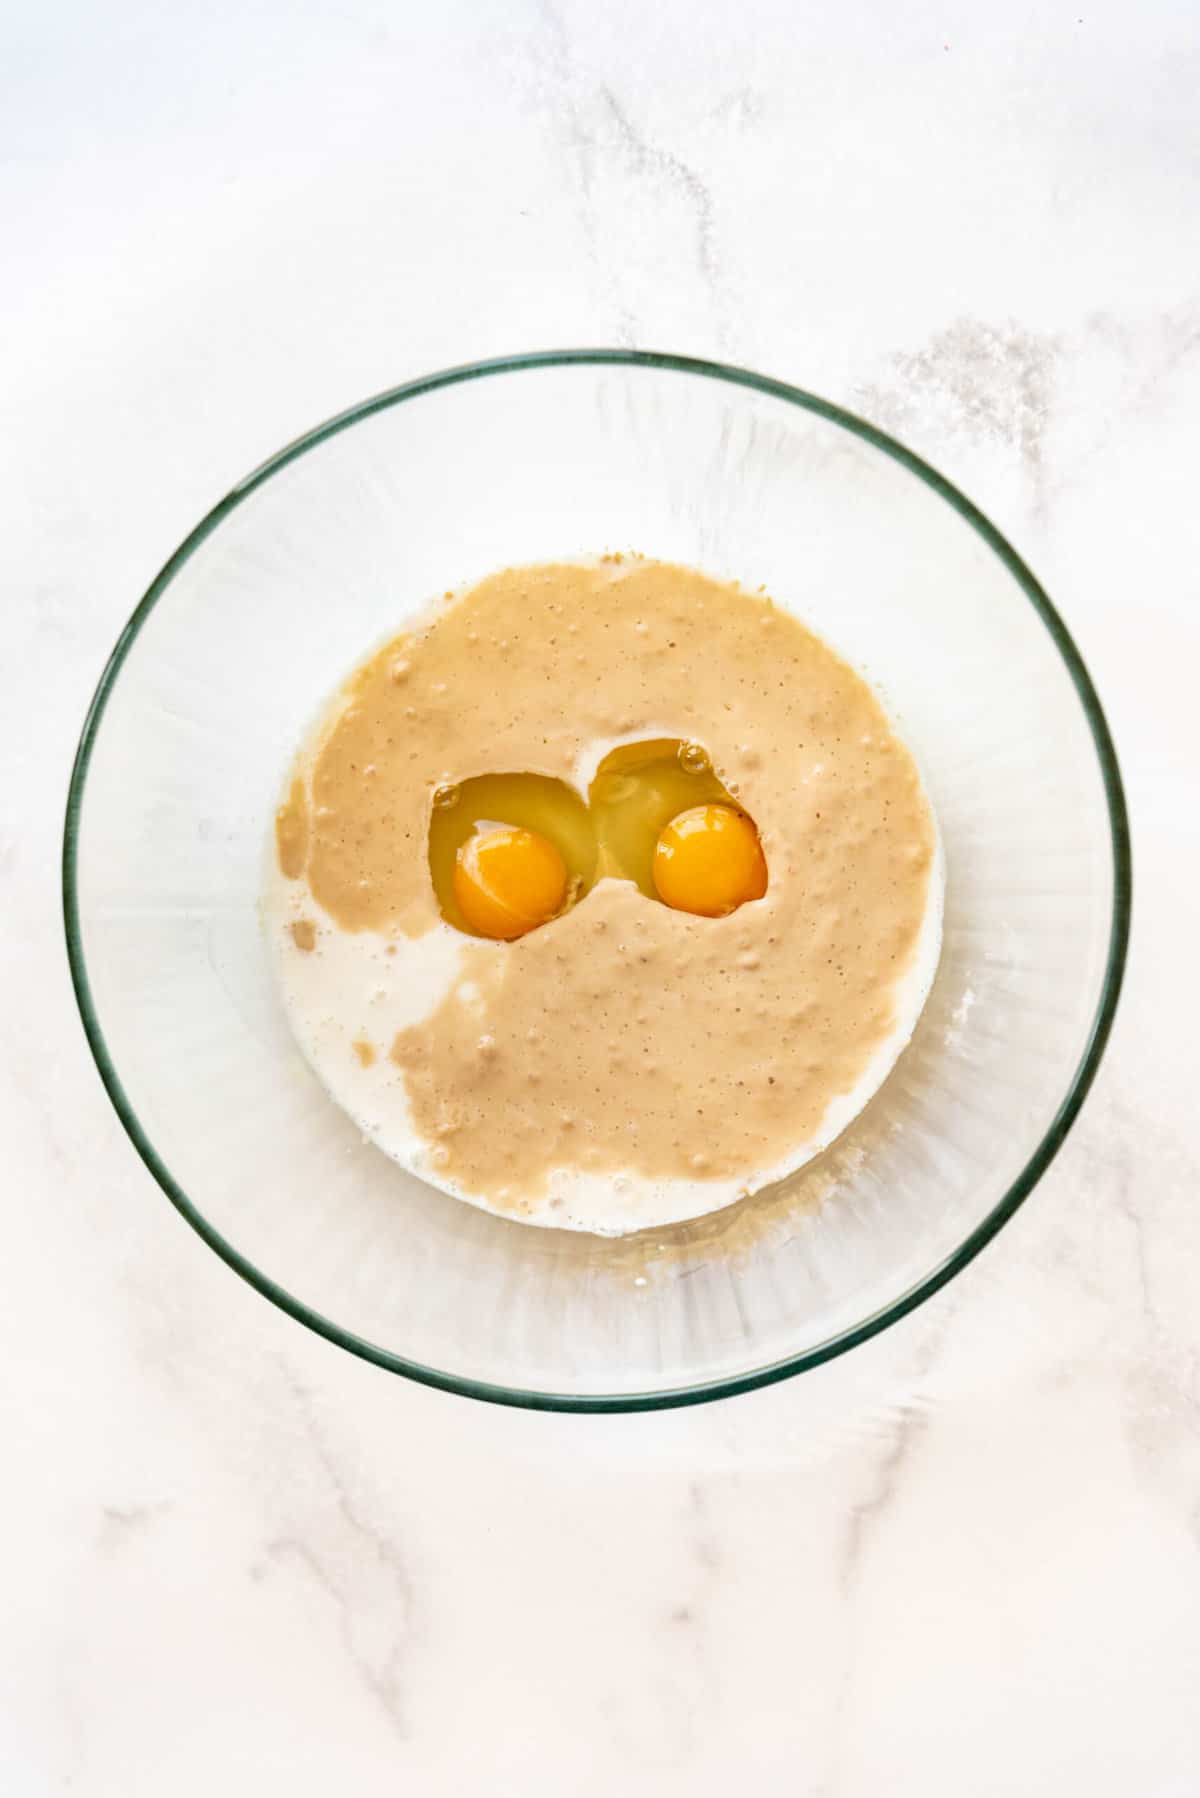
- Add remaining sugar, milk, eggs, and salt. Mix well until combined.
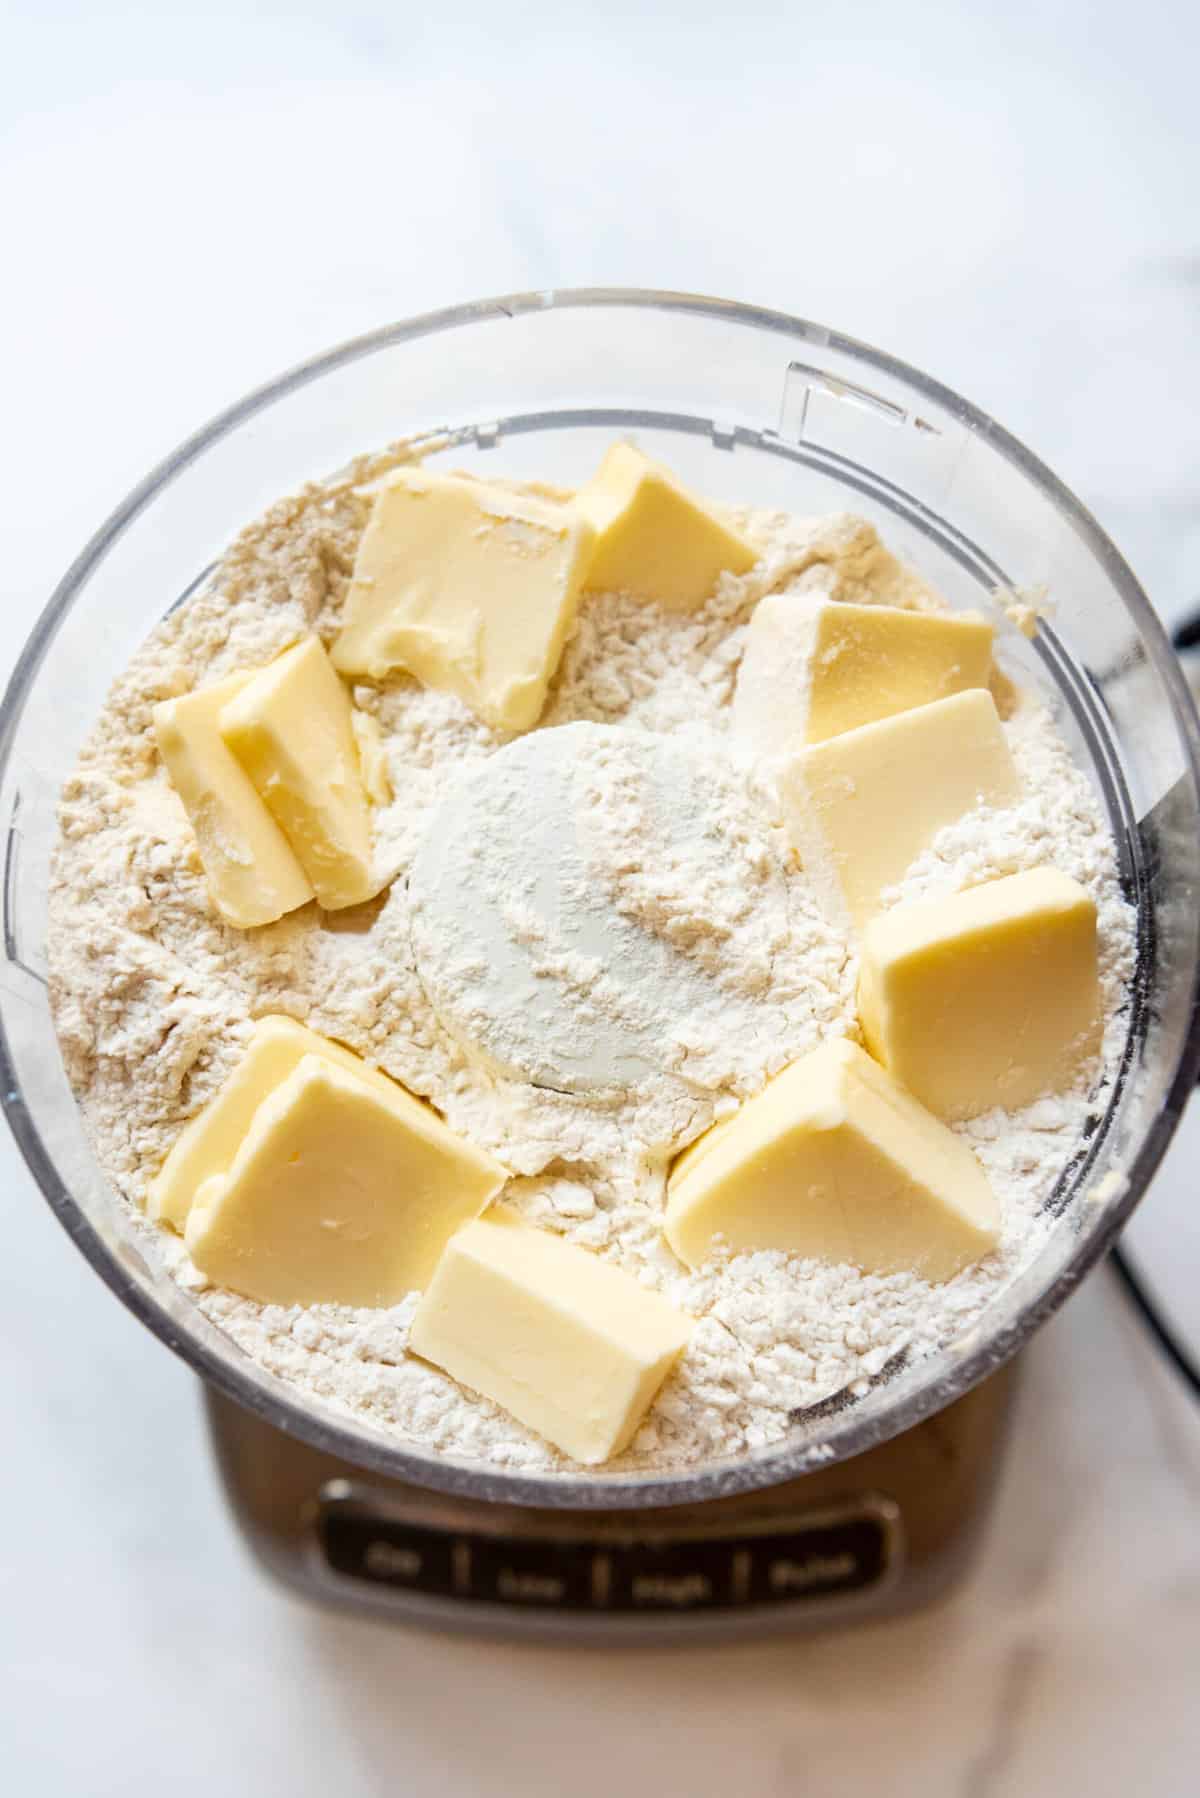
- Cut the cold butter into the flour using a food processor or pastry cutter until the pieces of butter are no larger than the size of peas. It’s quite a lot of butter and flour so you might need to do half of each at a time if your food processor (affiliate link) can’t quite handle it.
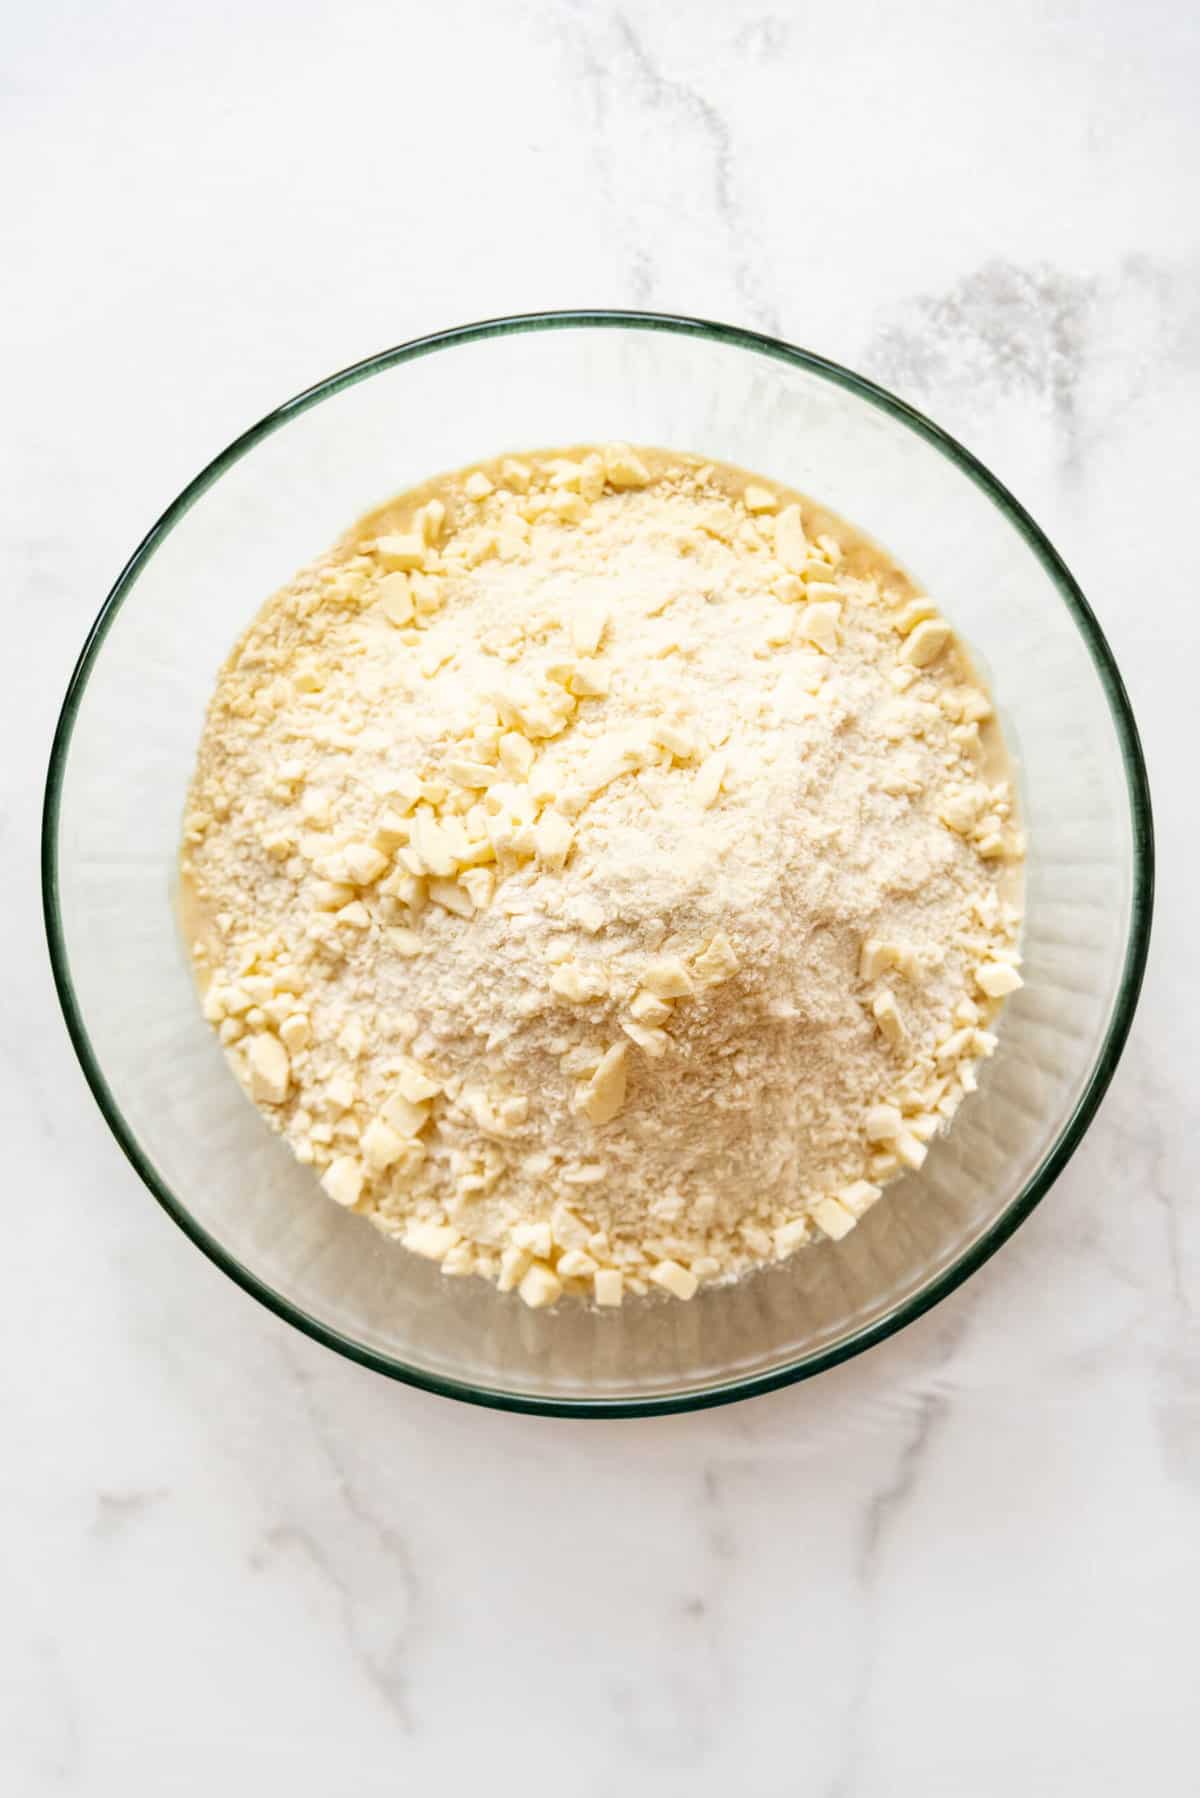
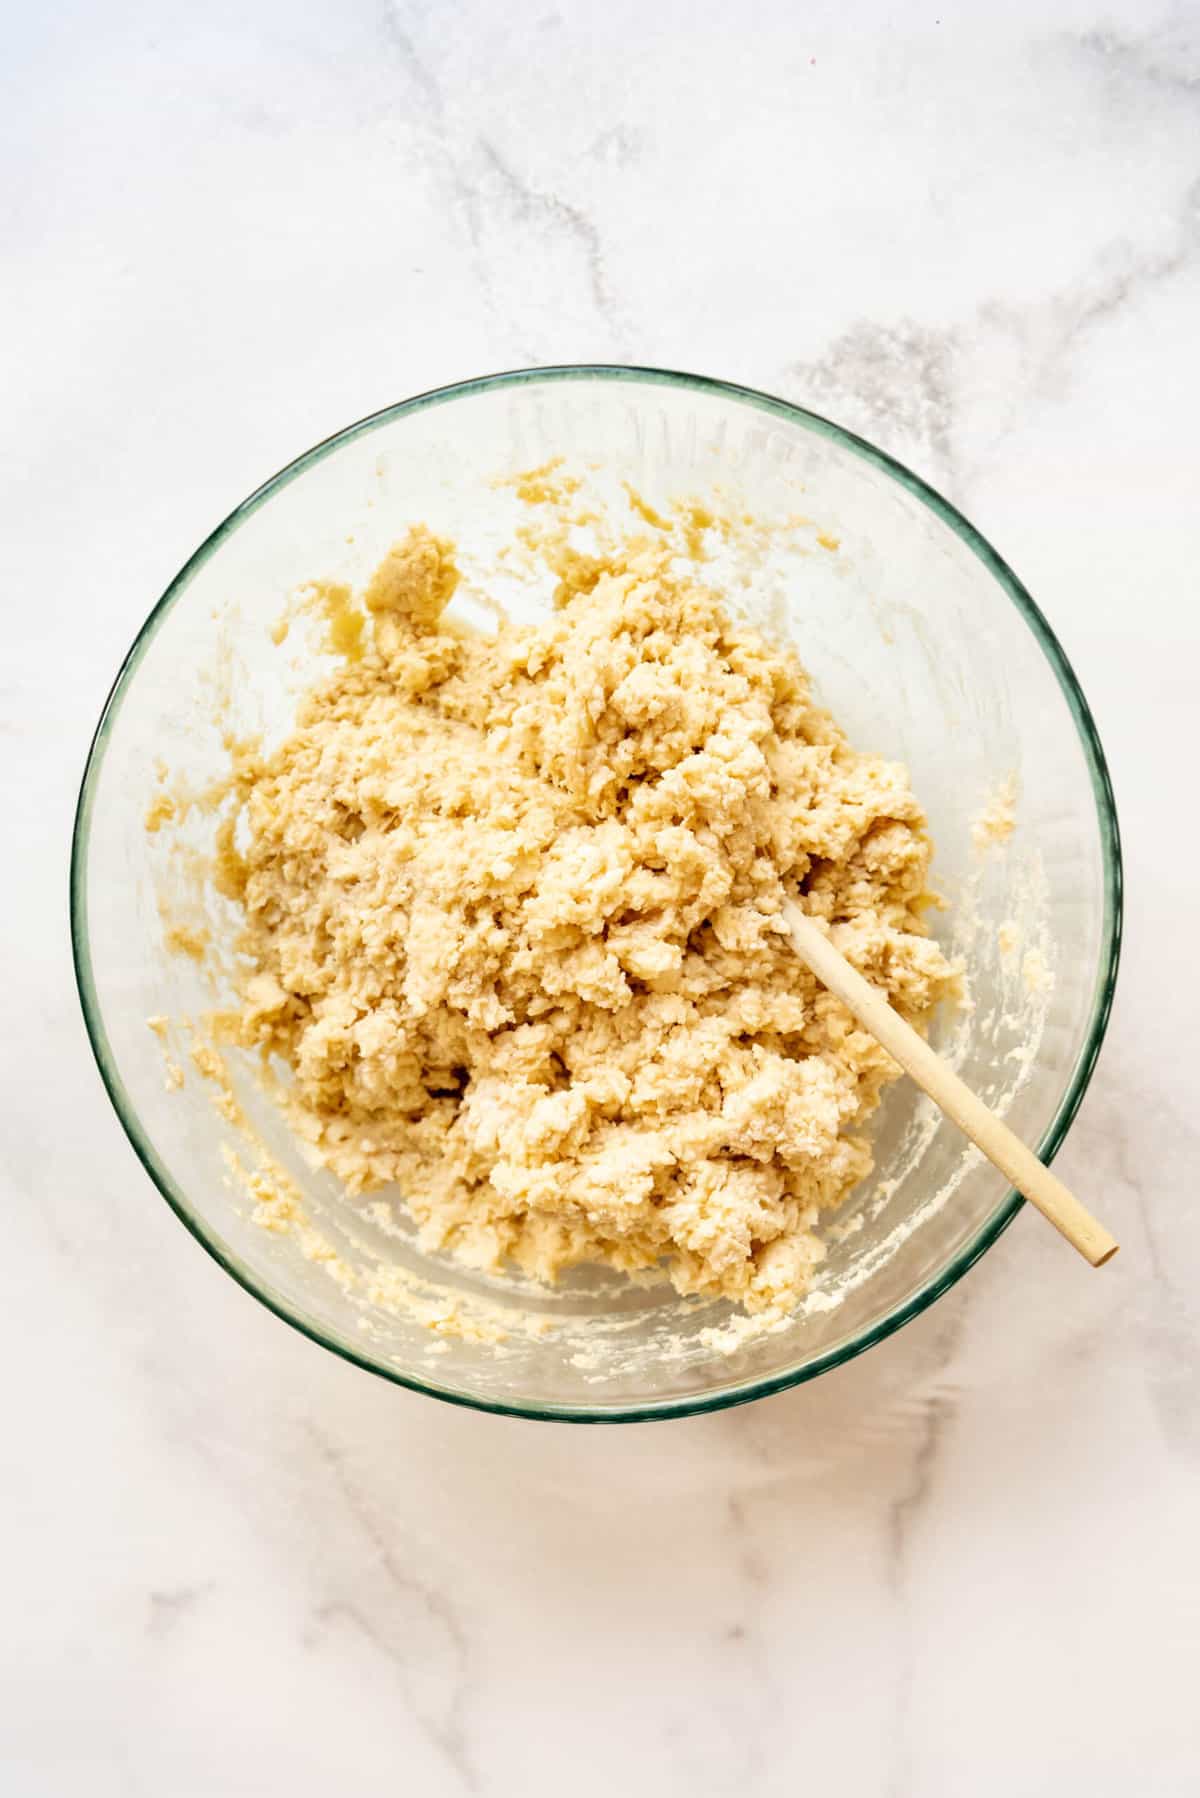
- Add the cold butter and flour mixture to the yeast mixture. Stir together by hand with a wooden spoon or spatula until moistened and a shaggy mixture forms. The dough will be sticky.
- Dump the dough out onto a piece of parchment paper or plastic wrap and knead the dough a few times until it comes together. I find this is easiest to do by using the parchment paper to lift and press the dough together until it clumps together.
- Transfer the dough to a floured surface and cut it into two evenly sized pieces.
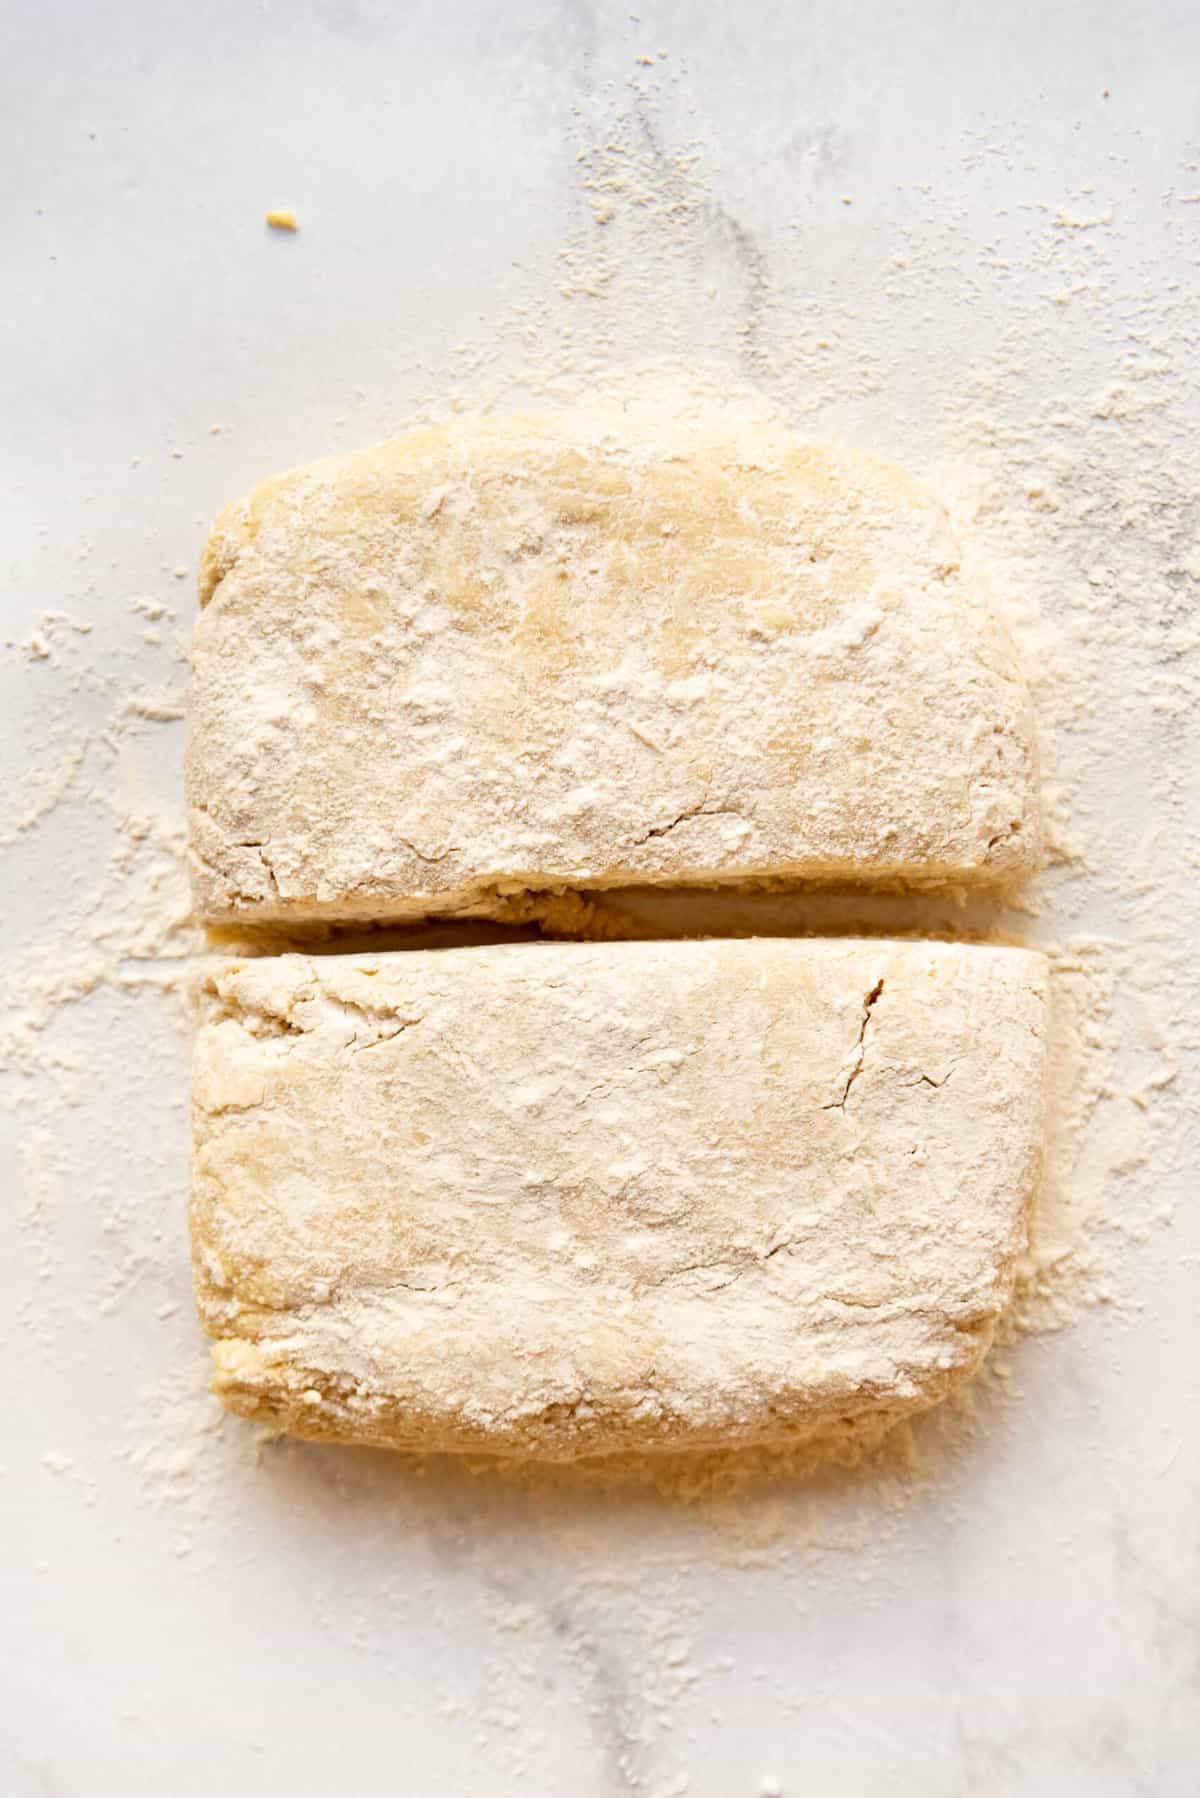
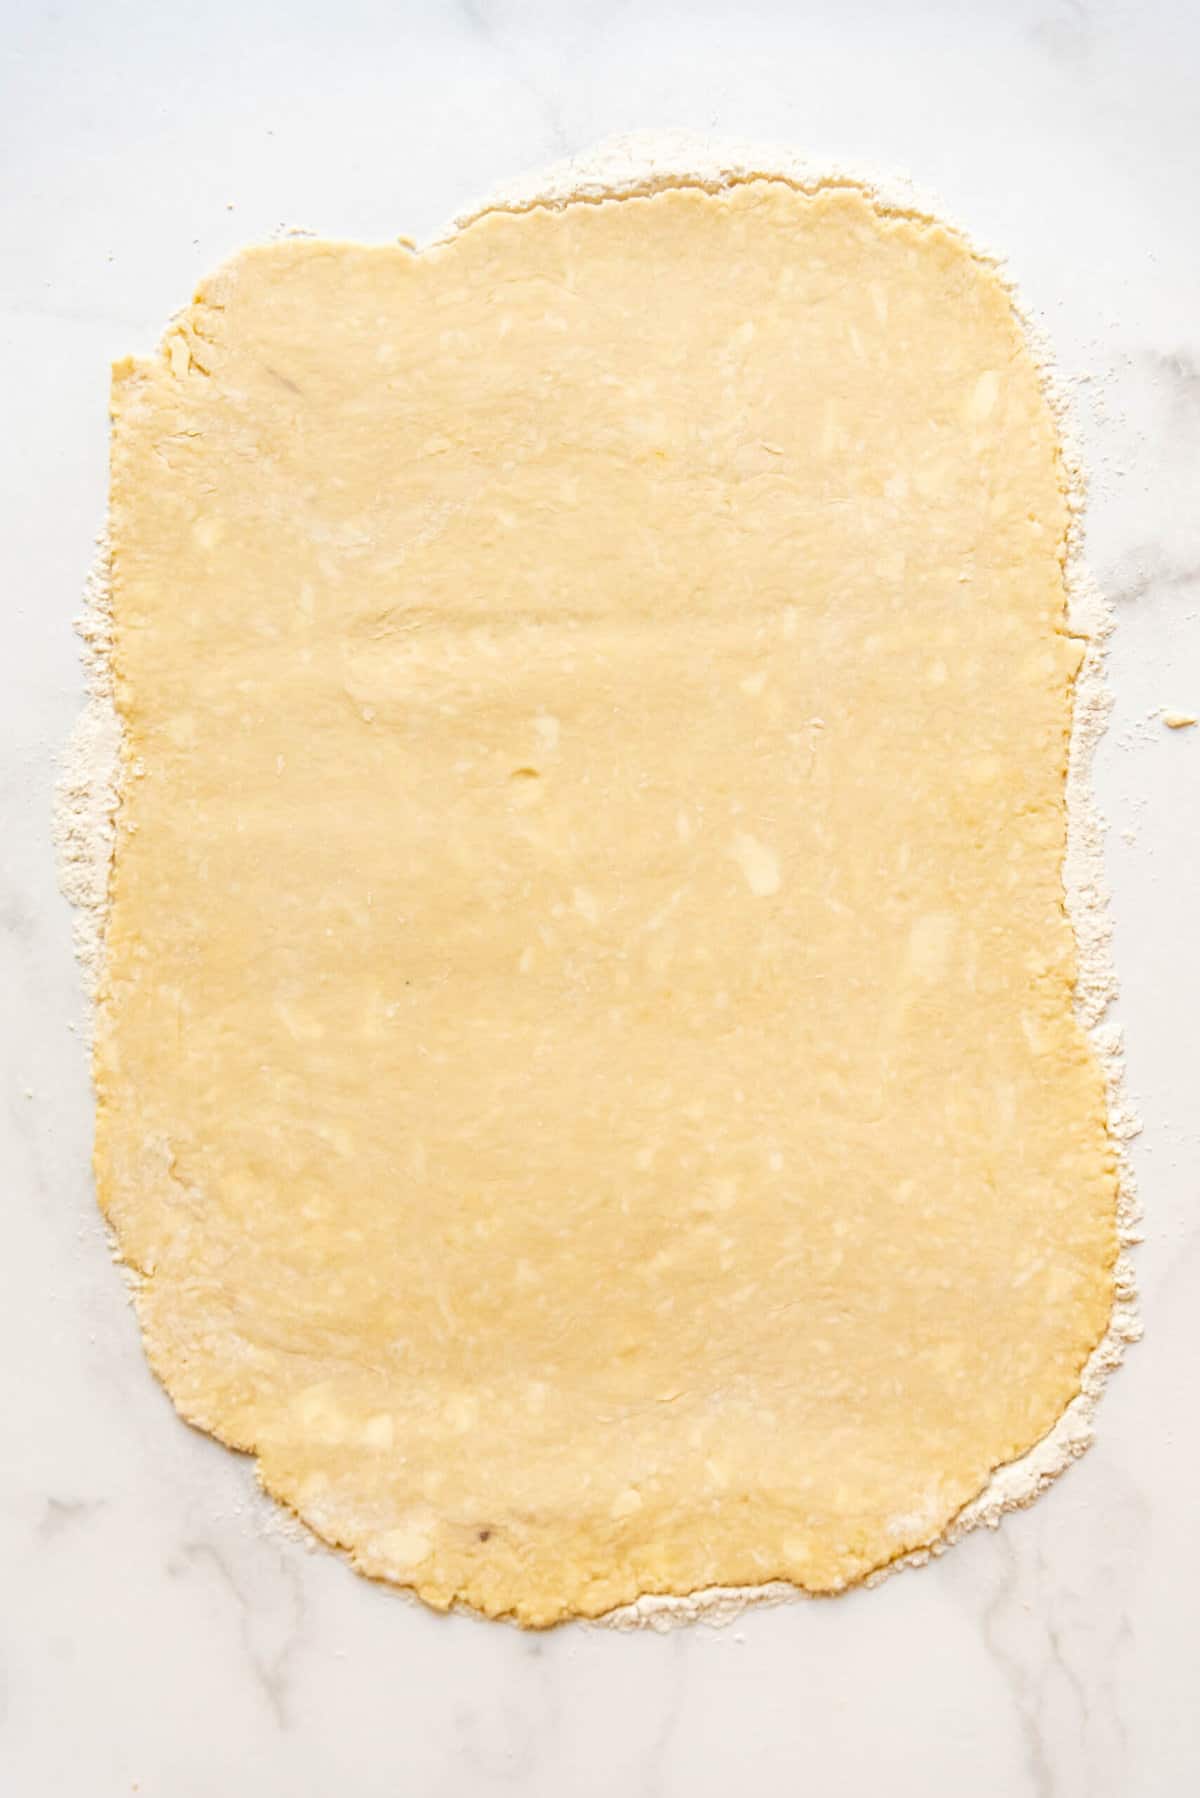
- Working with only one piece of dough at a time, roll it out into a large rectangle roughly 24″x12″ on a floured surface. You may need to add more flour on top and underneath the dough, using a bench scraper to lift the dough from your surface, to keep it from sticking.
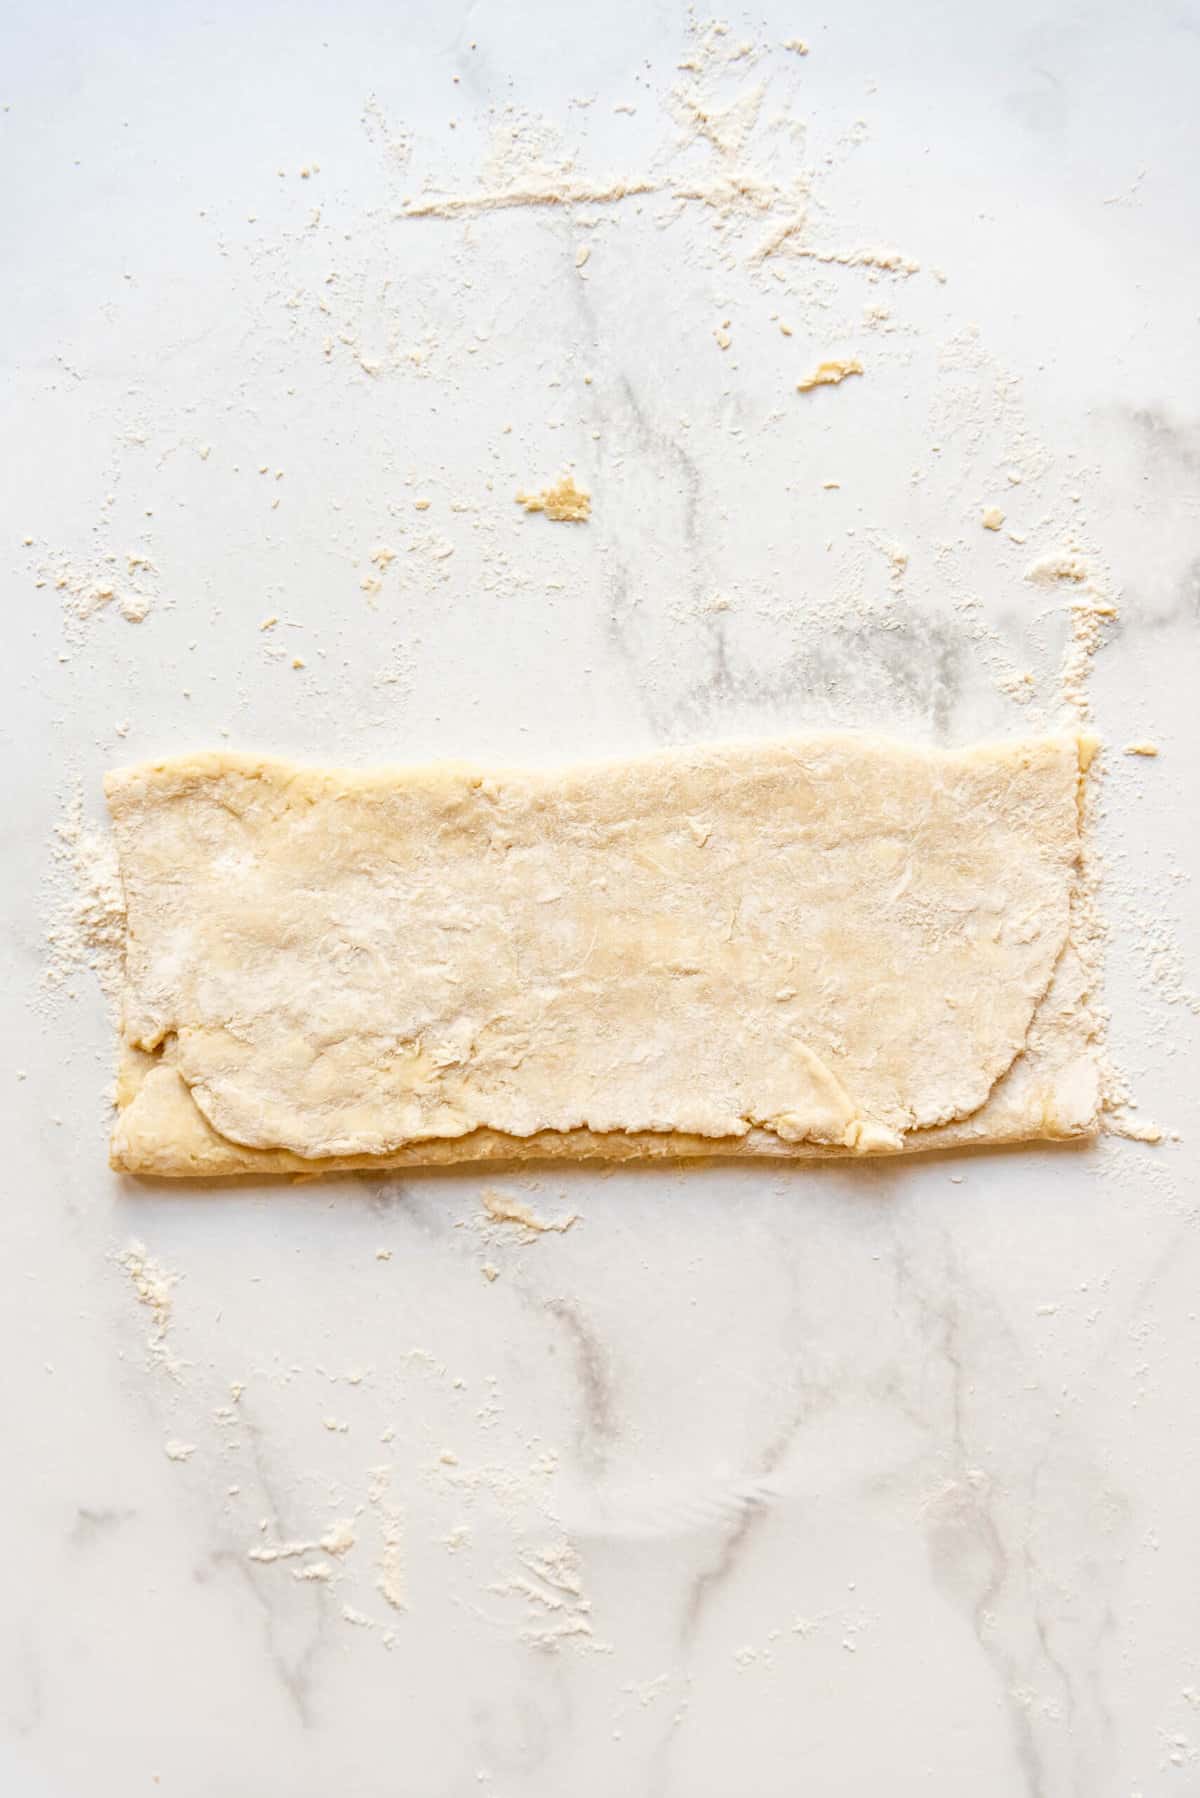
Notice the flecks of butter in the picture of the dough below? Your pastry dough should look like this – similar to a pie crust – so it will bake up laminated and flaky.
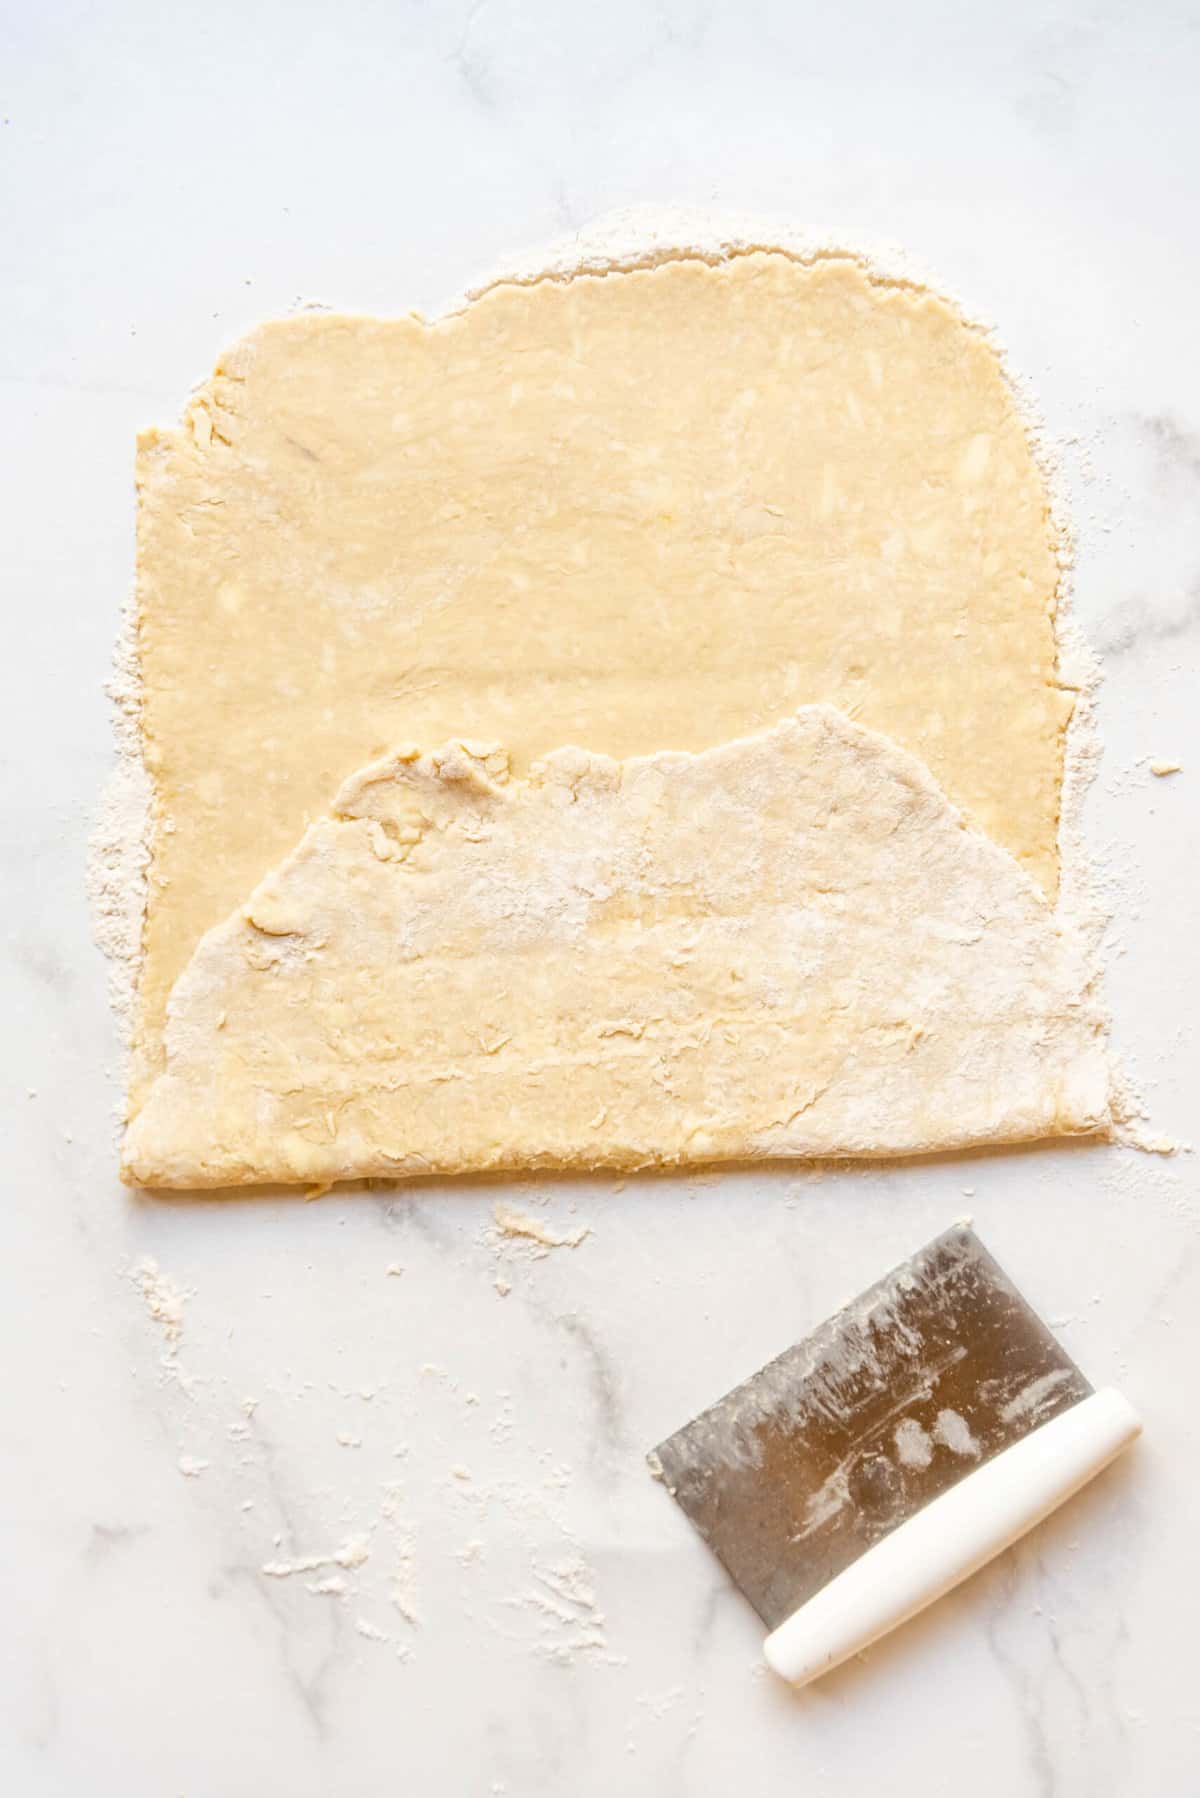
- Fold the dough into thirds, like folding a letter roughly 12″x8″. To do this, fold the bottom up about ⅓ of the way. Then fold the top down over this like an envelope. Lift the whole thing and make sure there is enough flour underneath, then roll it out again to a large 24″x12″ rectangle and repeat the process of folding it into thirds. Roll out the dough and fold it into thirds one more time for a total of 3 times.
- Wrap the dough with plastic wrap and refrigerate for 1-24 hours or freeze for up to 2 months, then thawing in the fridge overnight before proceeding.
Filling
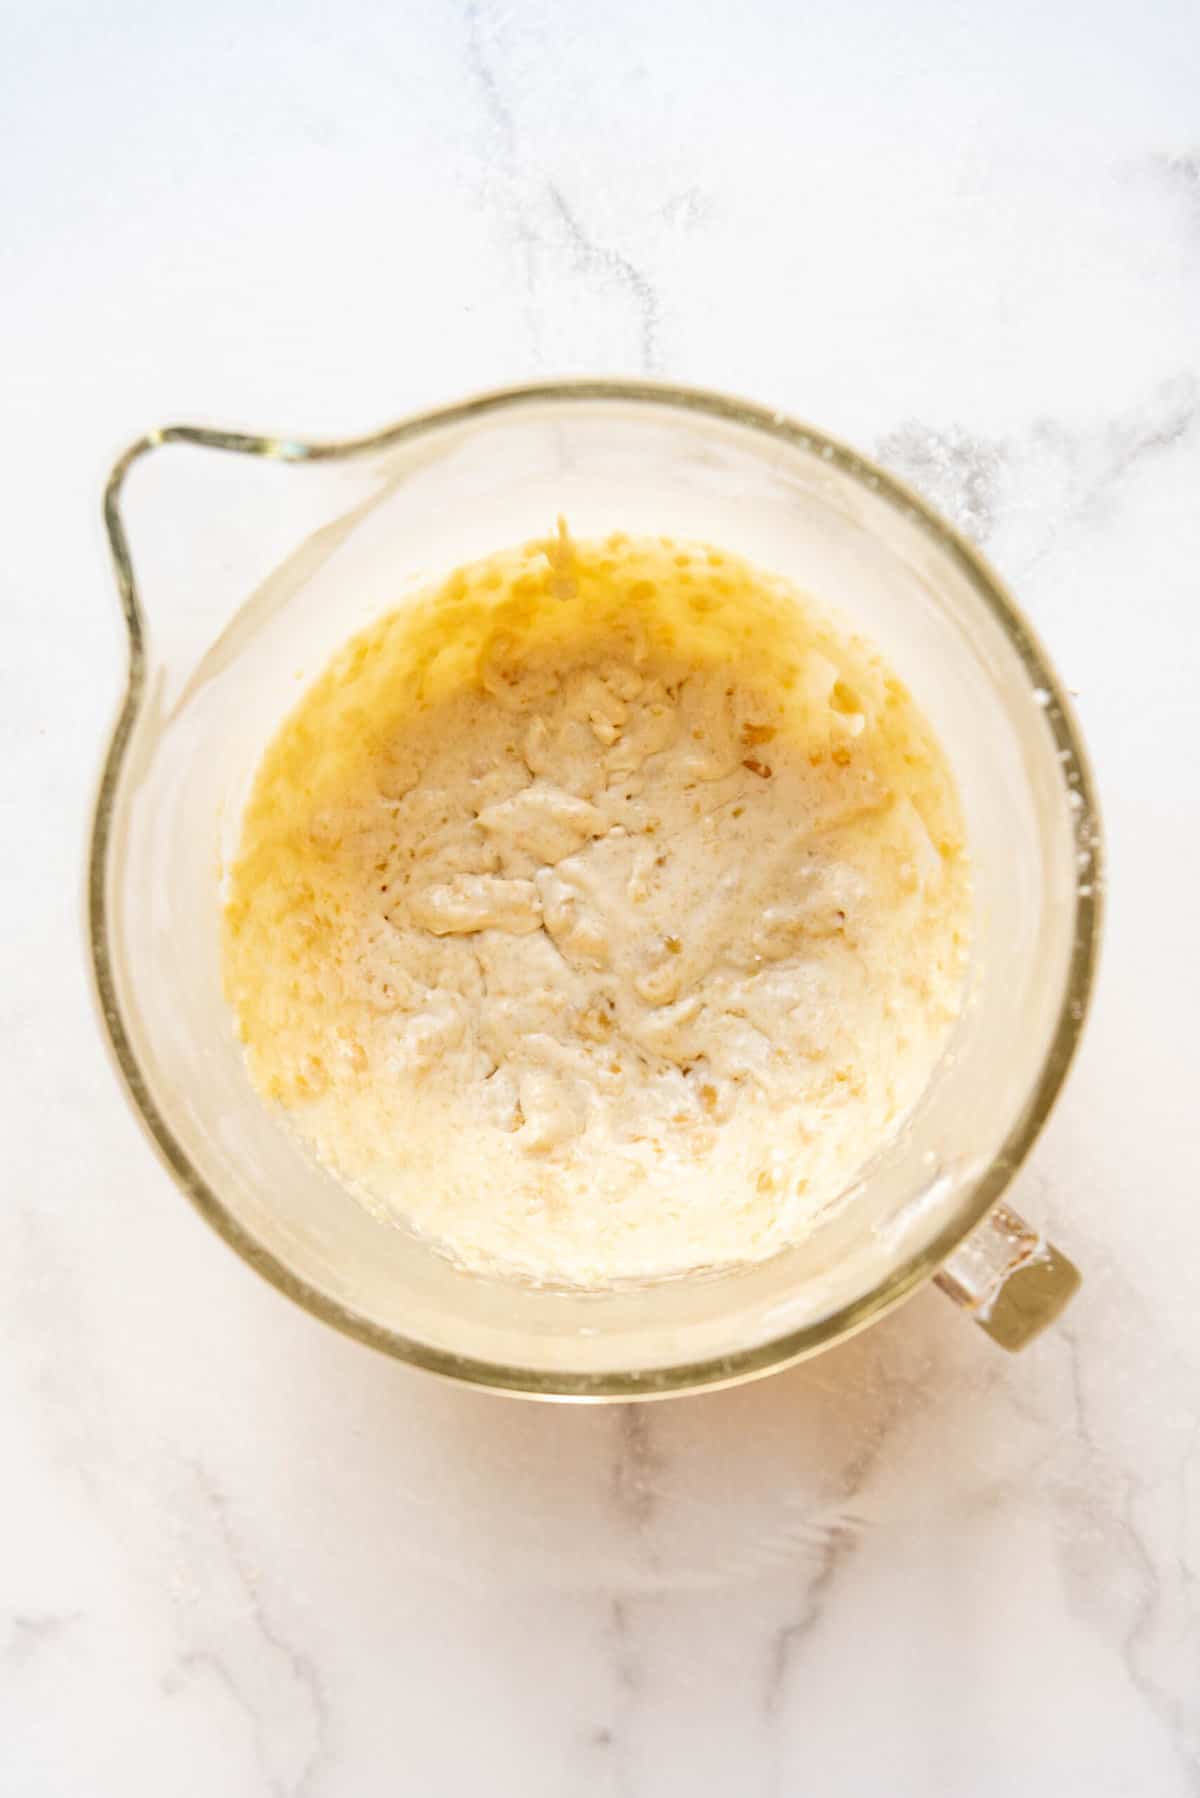
- While the dough chills, tear off pieces of almond paste and add it to a large mixer along with butter and powdered sugar for the filling. Beat well until smooth. It’s okay if some of the almond paste doesn’t completely incorporate as long as there aren’t any particularly big chunks of it remaining.
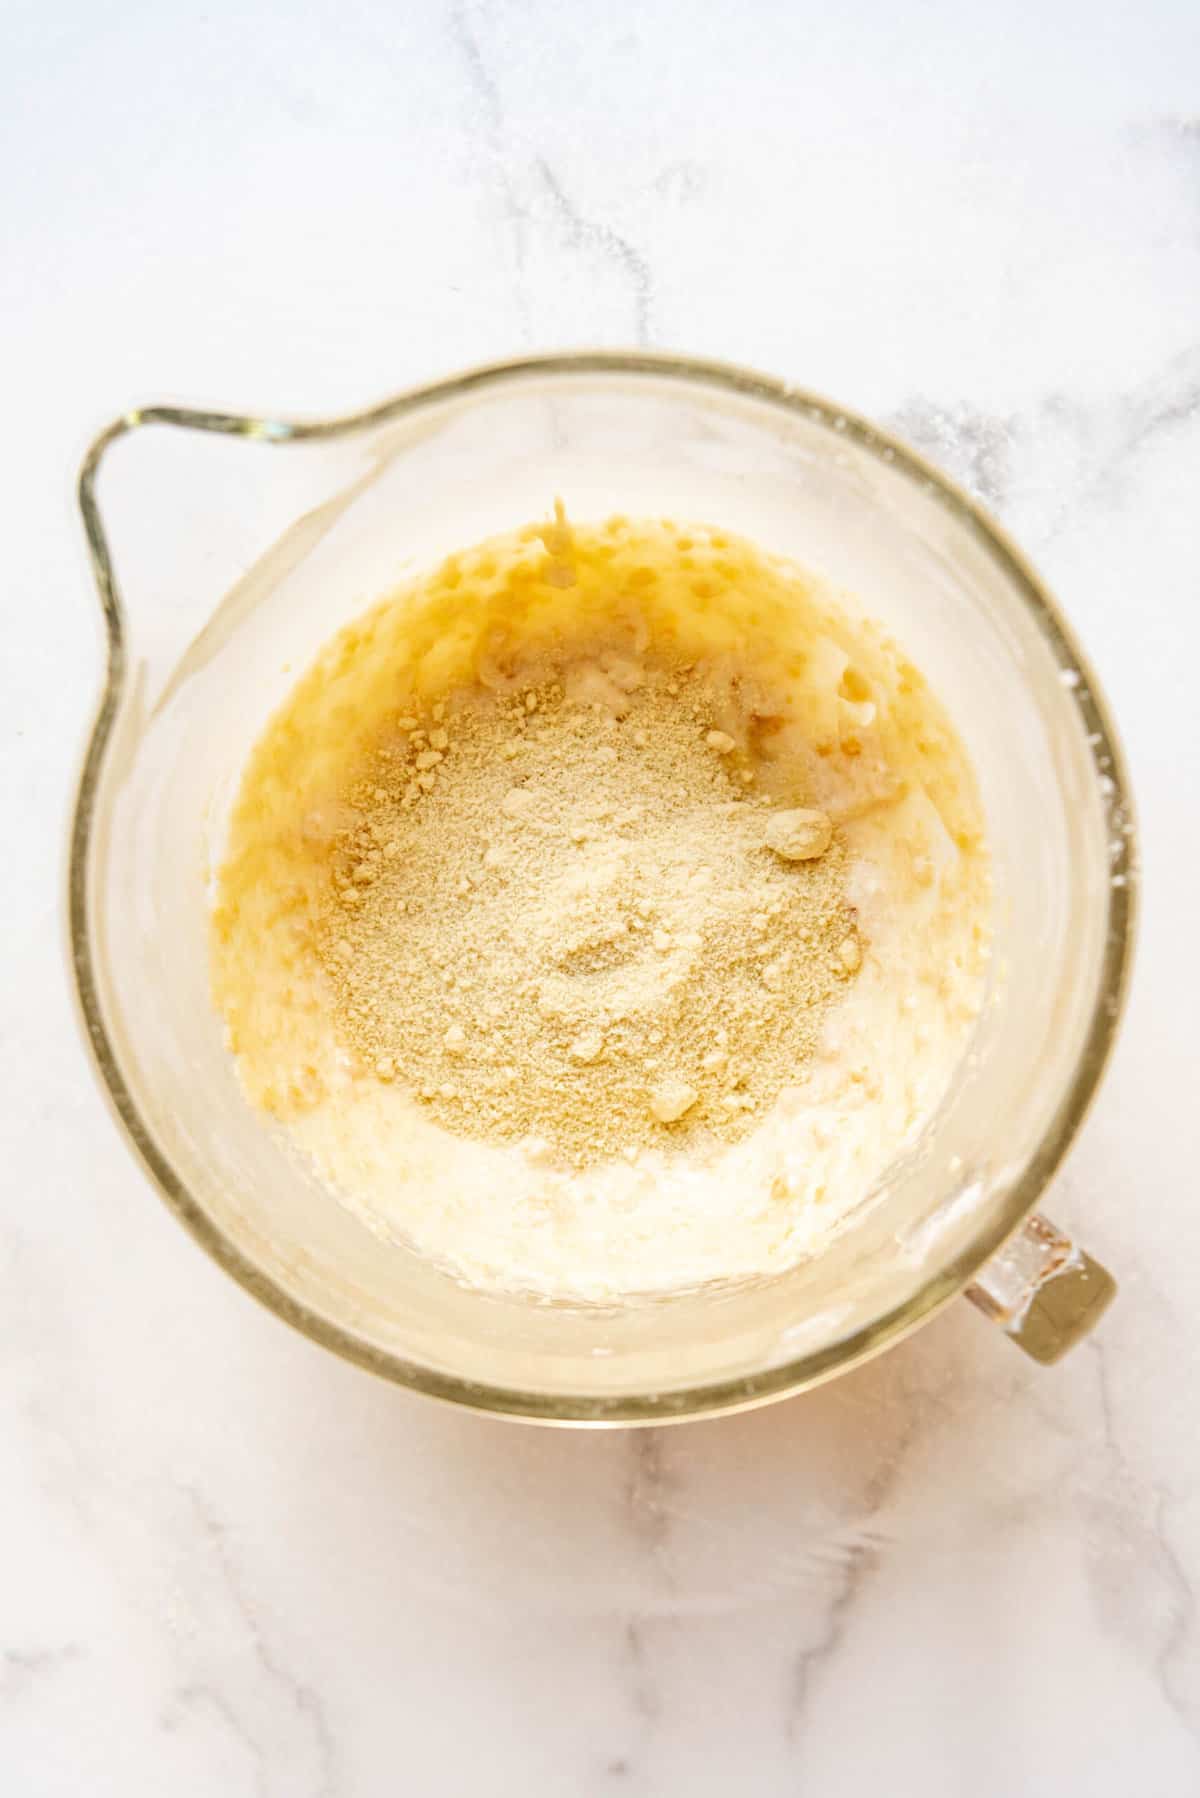
- Add egg whites and almond extract. Beat again for 1-2 minutes until combined. Stir in almond flour and salt. Use immediately or refrigerate for up to 24 hours if preparing in advance.
Assembly
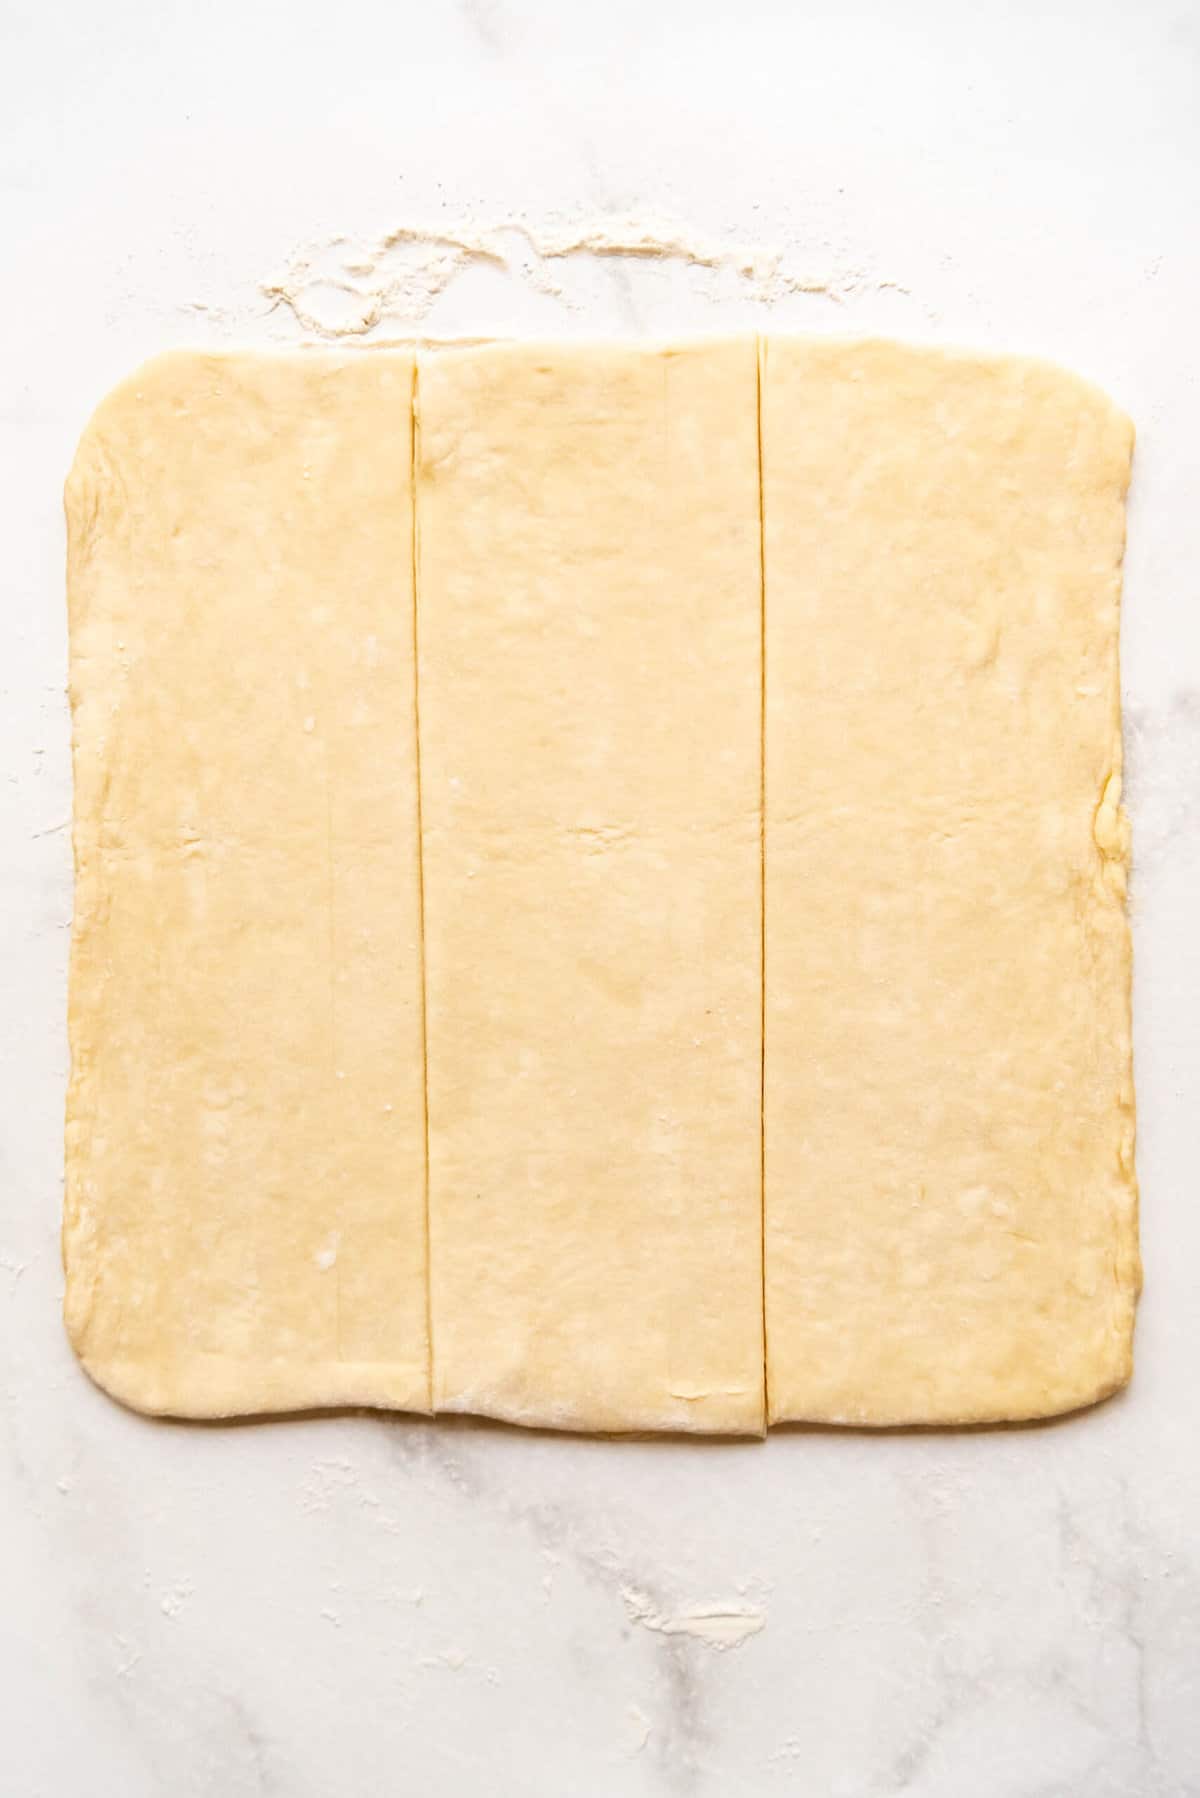
- Divide dough in half. Working with half of the dough at a time, roll it into a 12″ square on a lightly floured surface. Cut the dough into three 12″x4″ strips with a pizza cutter, pastry cutter, or sharp knife.
- Transfer the almond paste filling to a piping bag and pie the filling down the center of each strip.
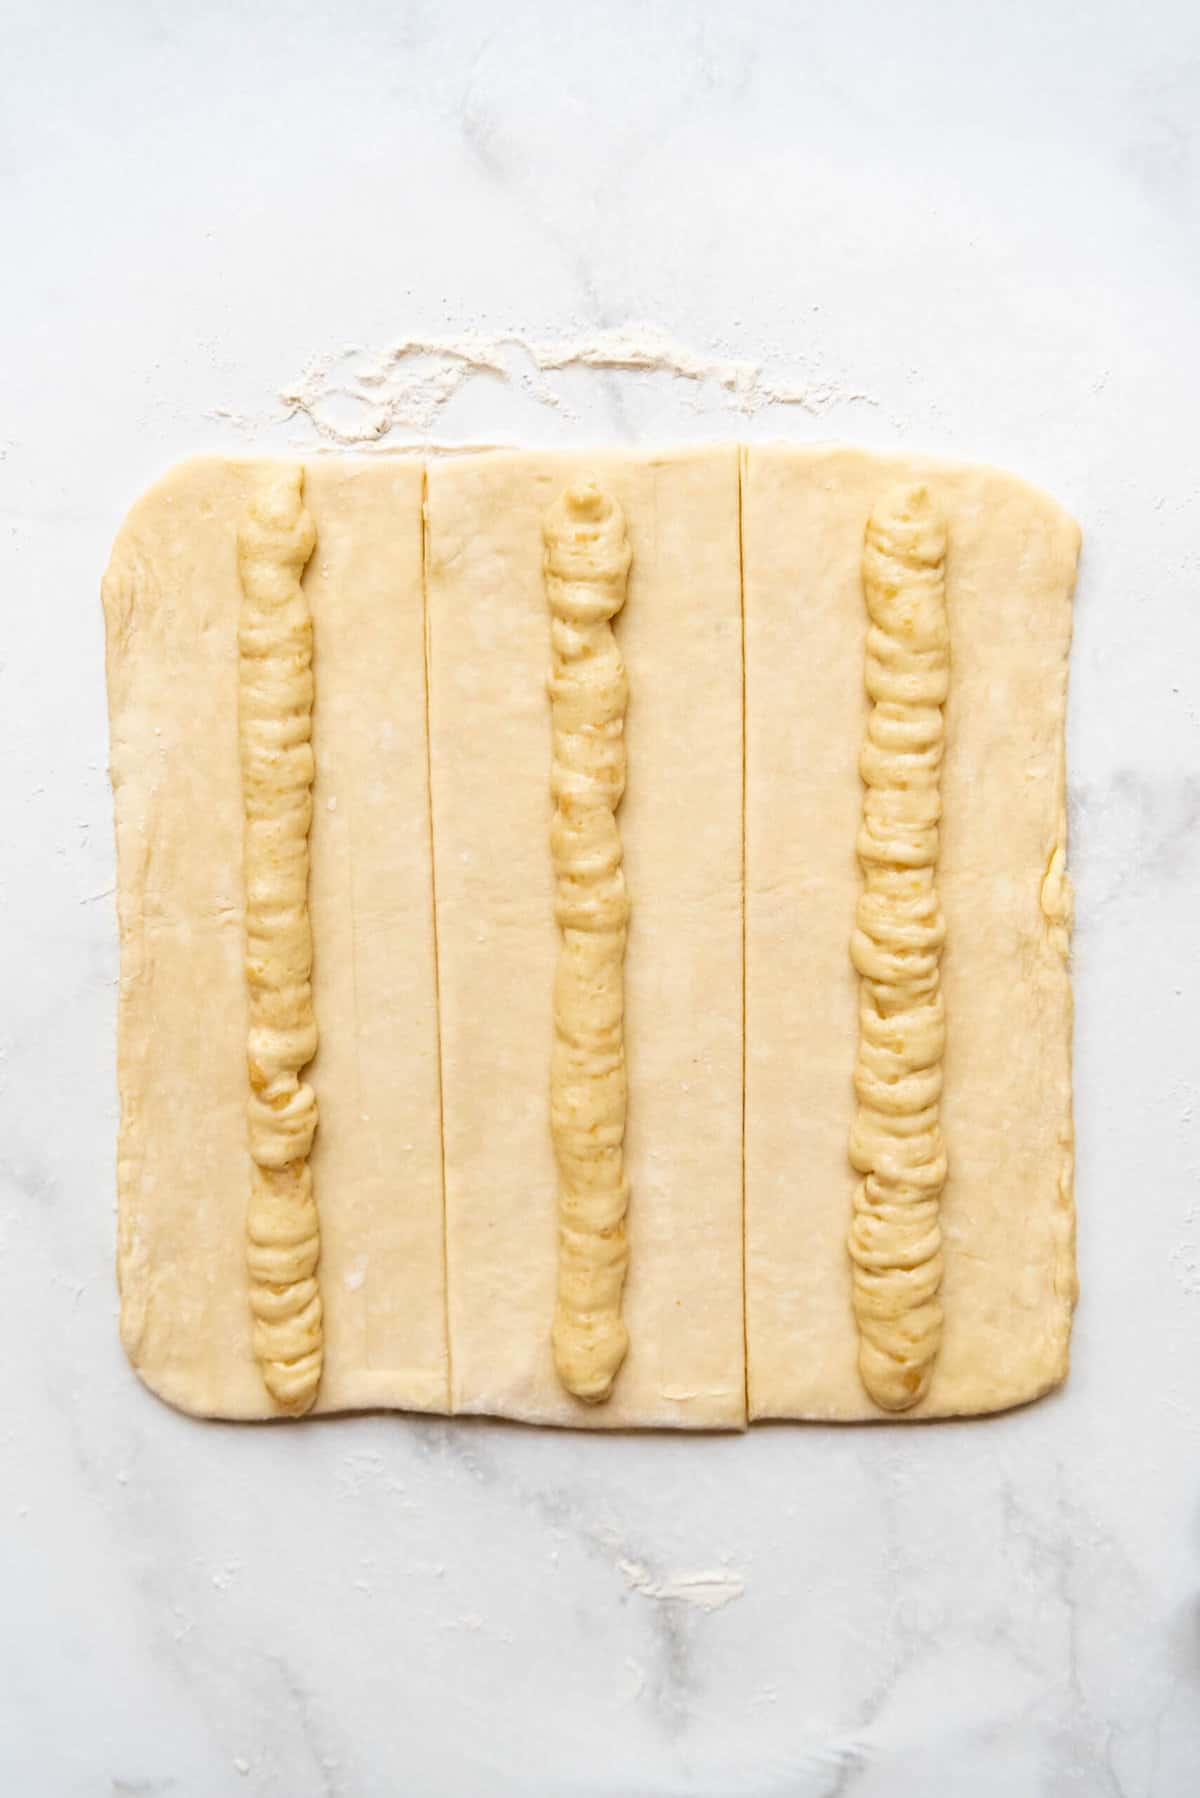
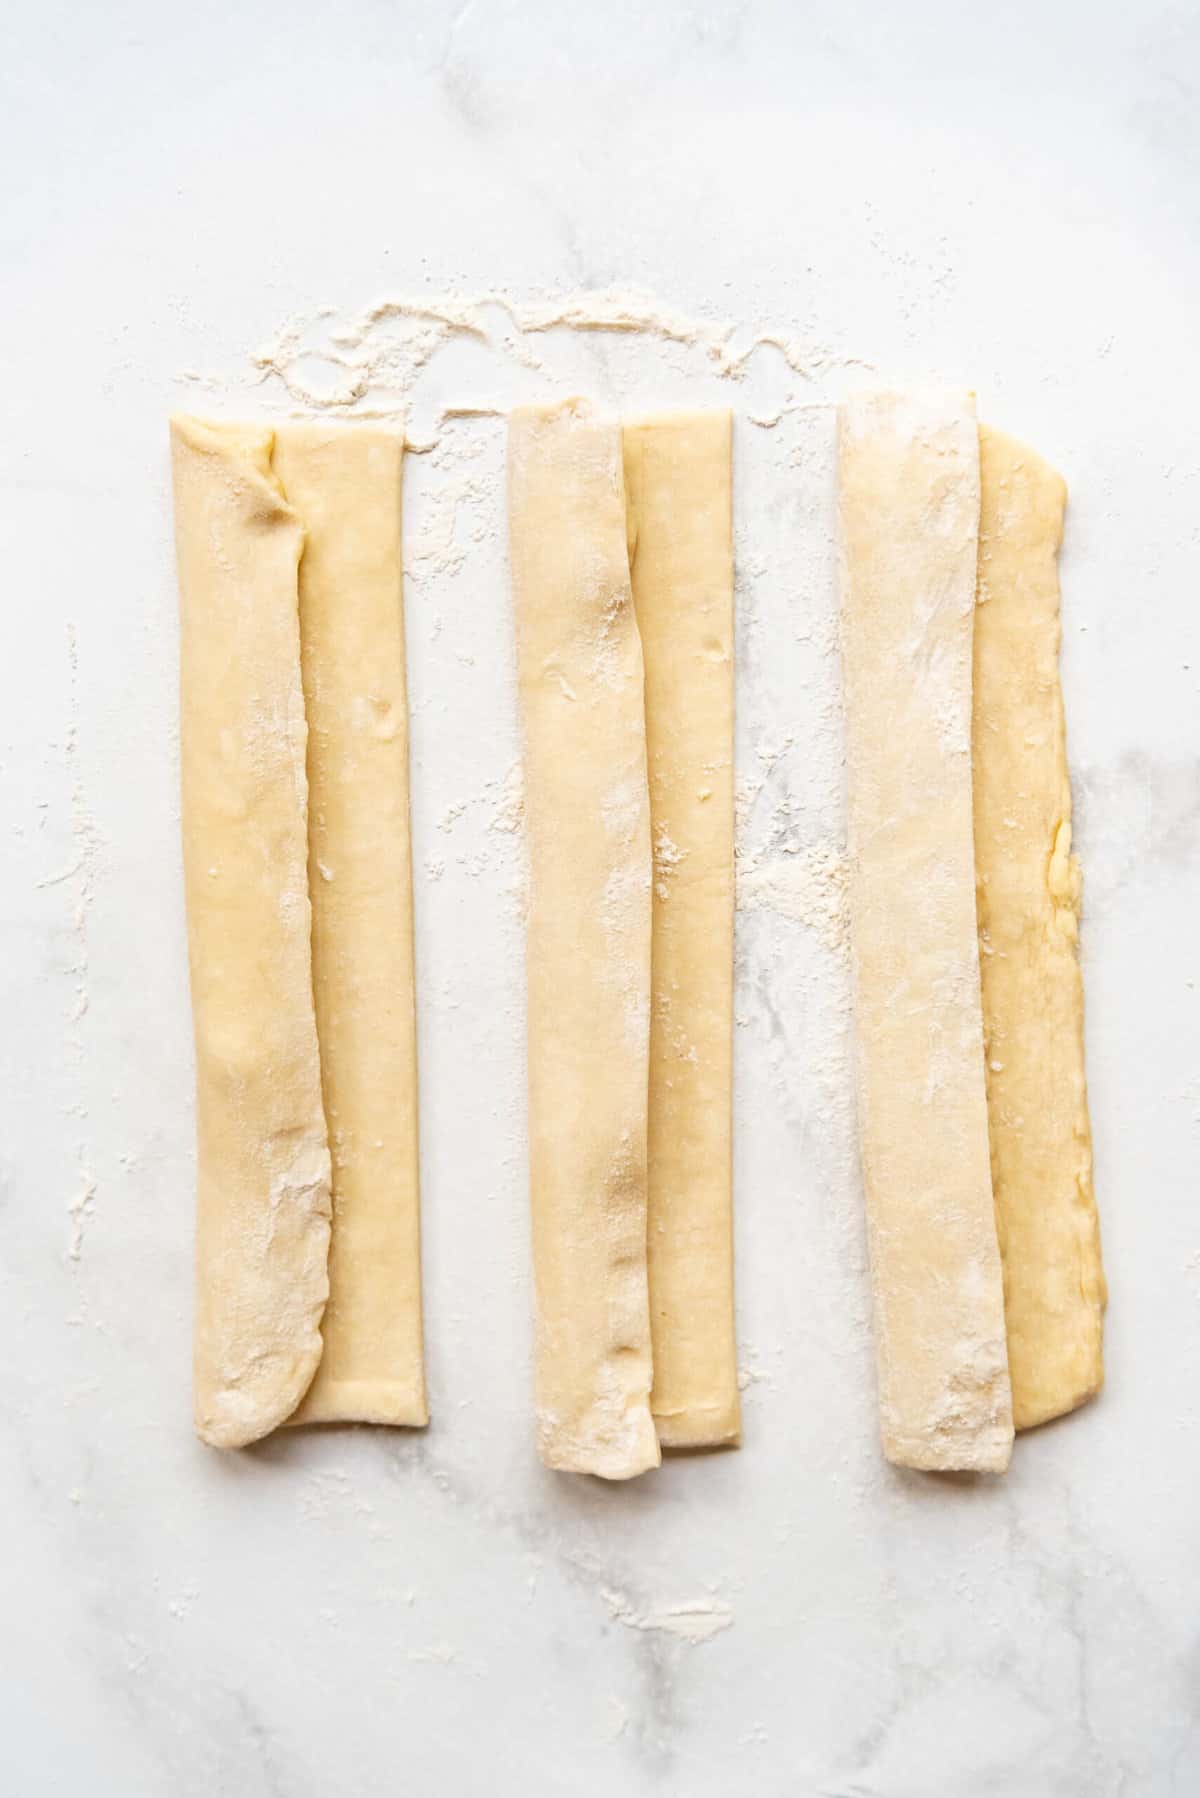
- Fold the long edges over the filling, overlapping them like a letter. Press the edges and ends to seal the logs of filling and dough.
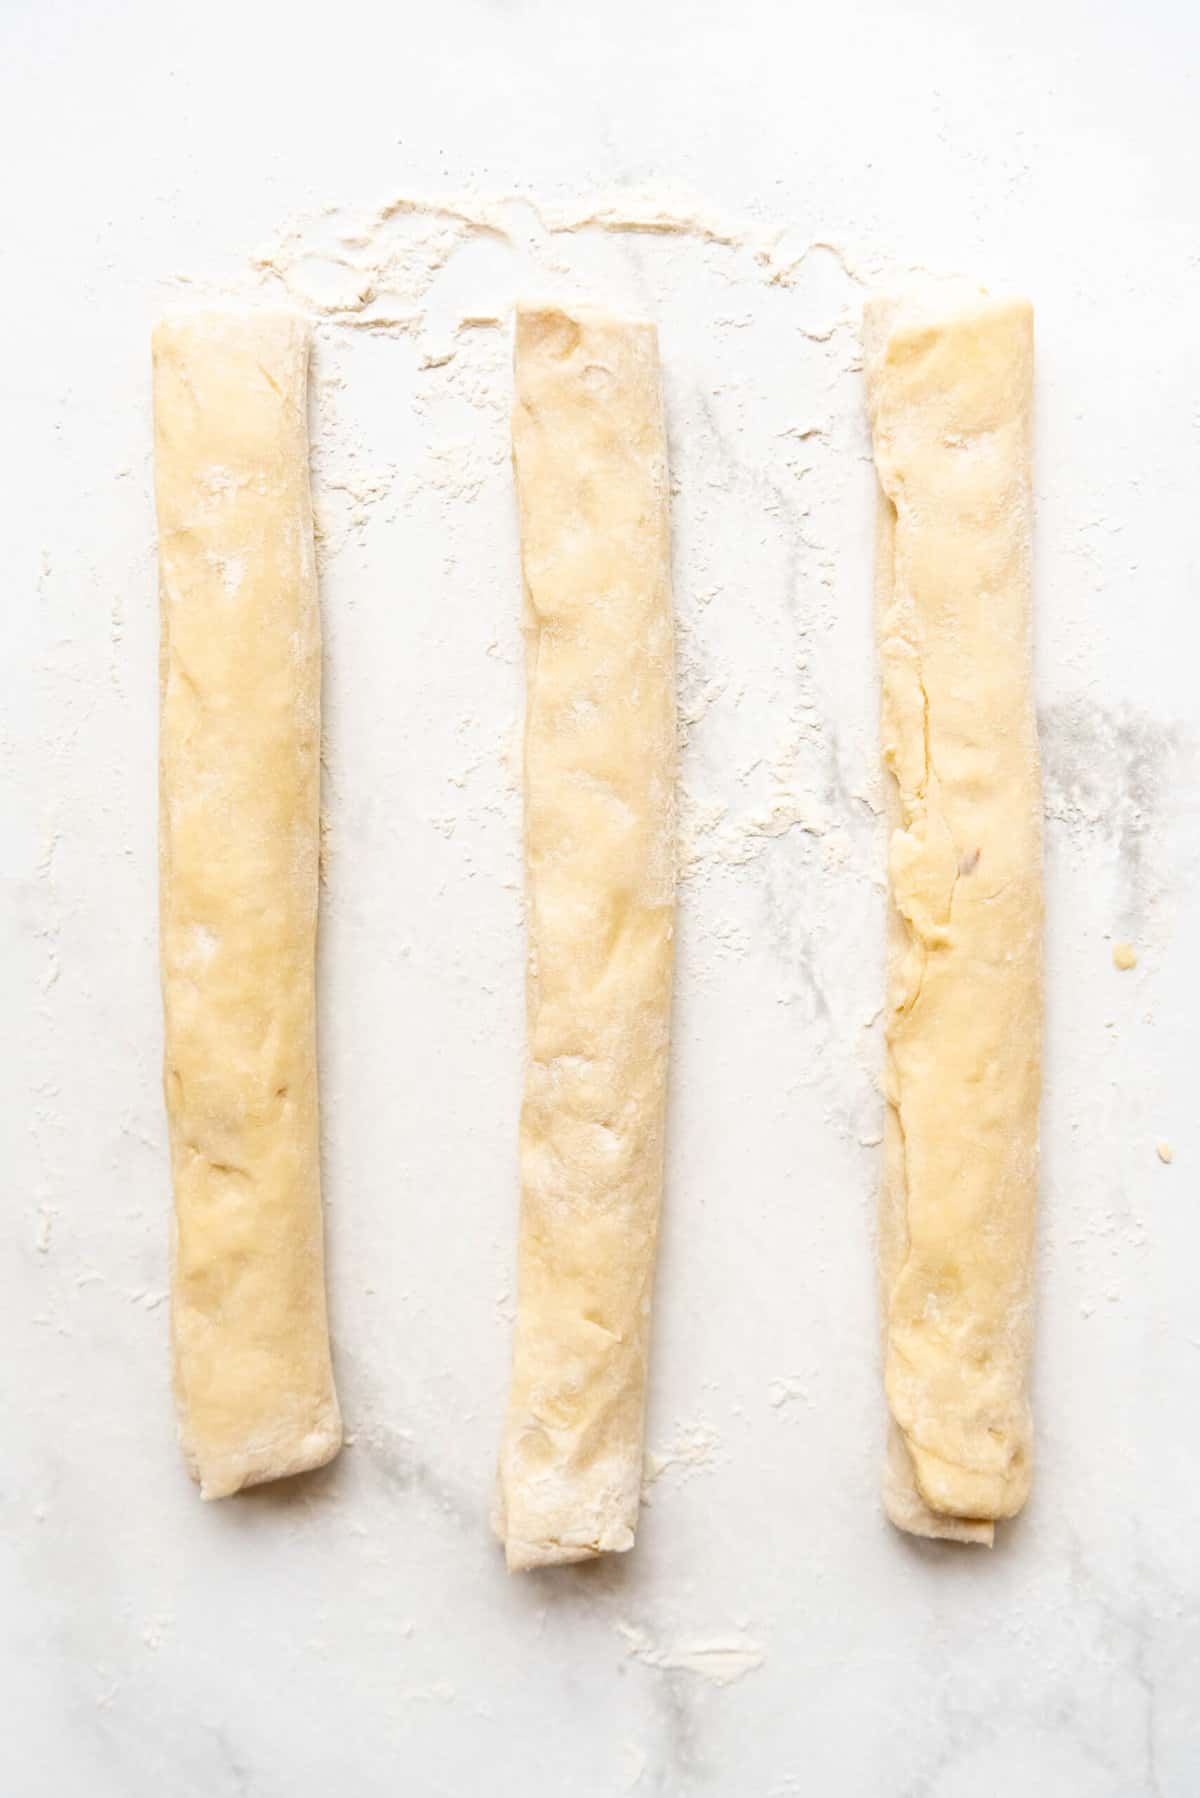
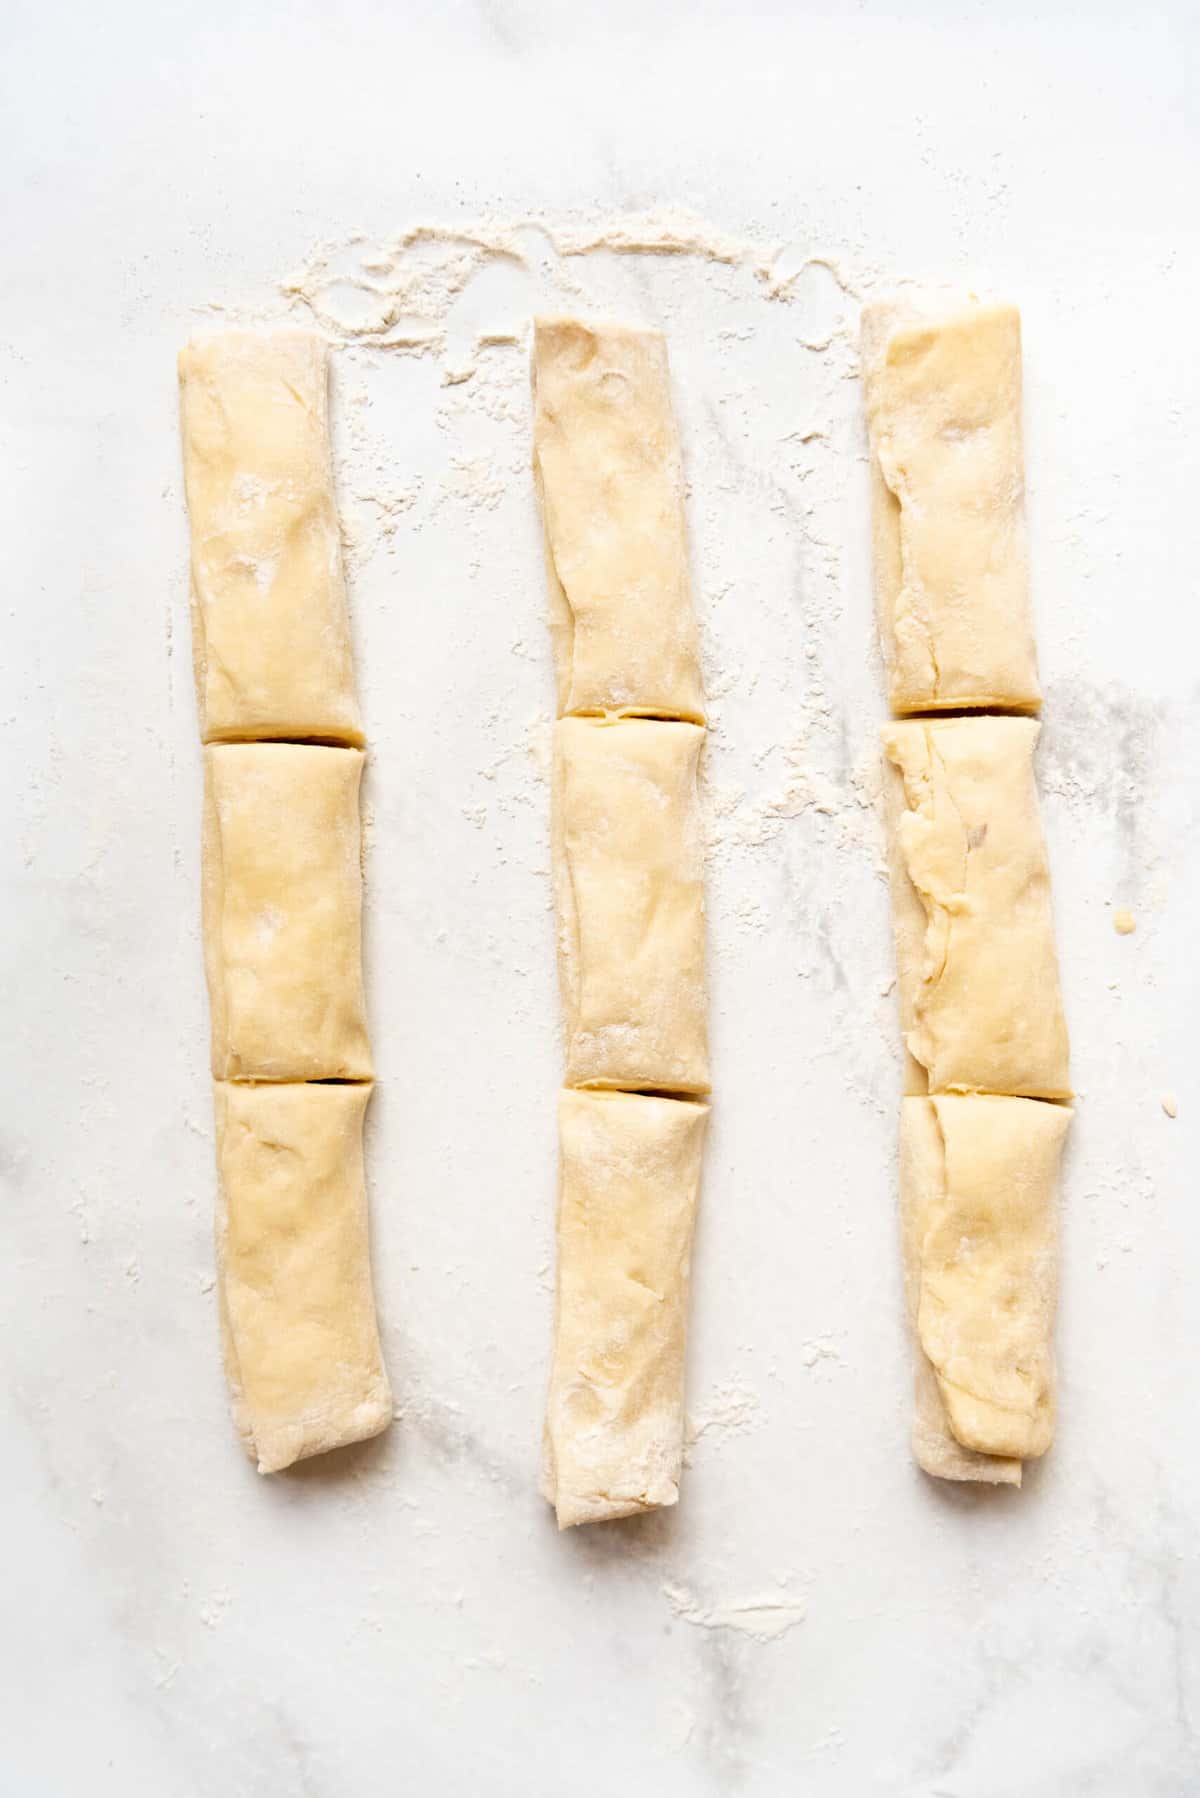
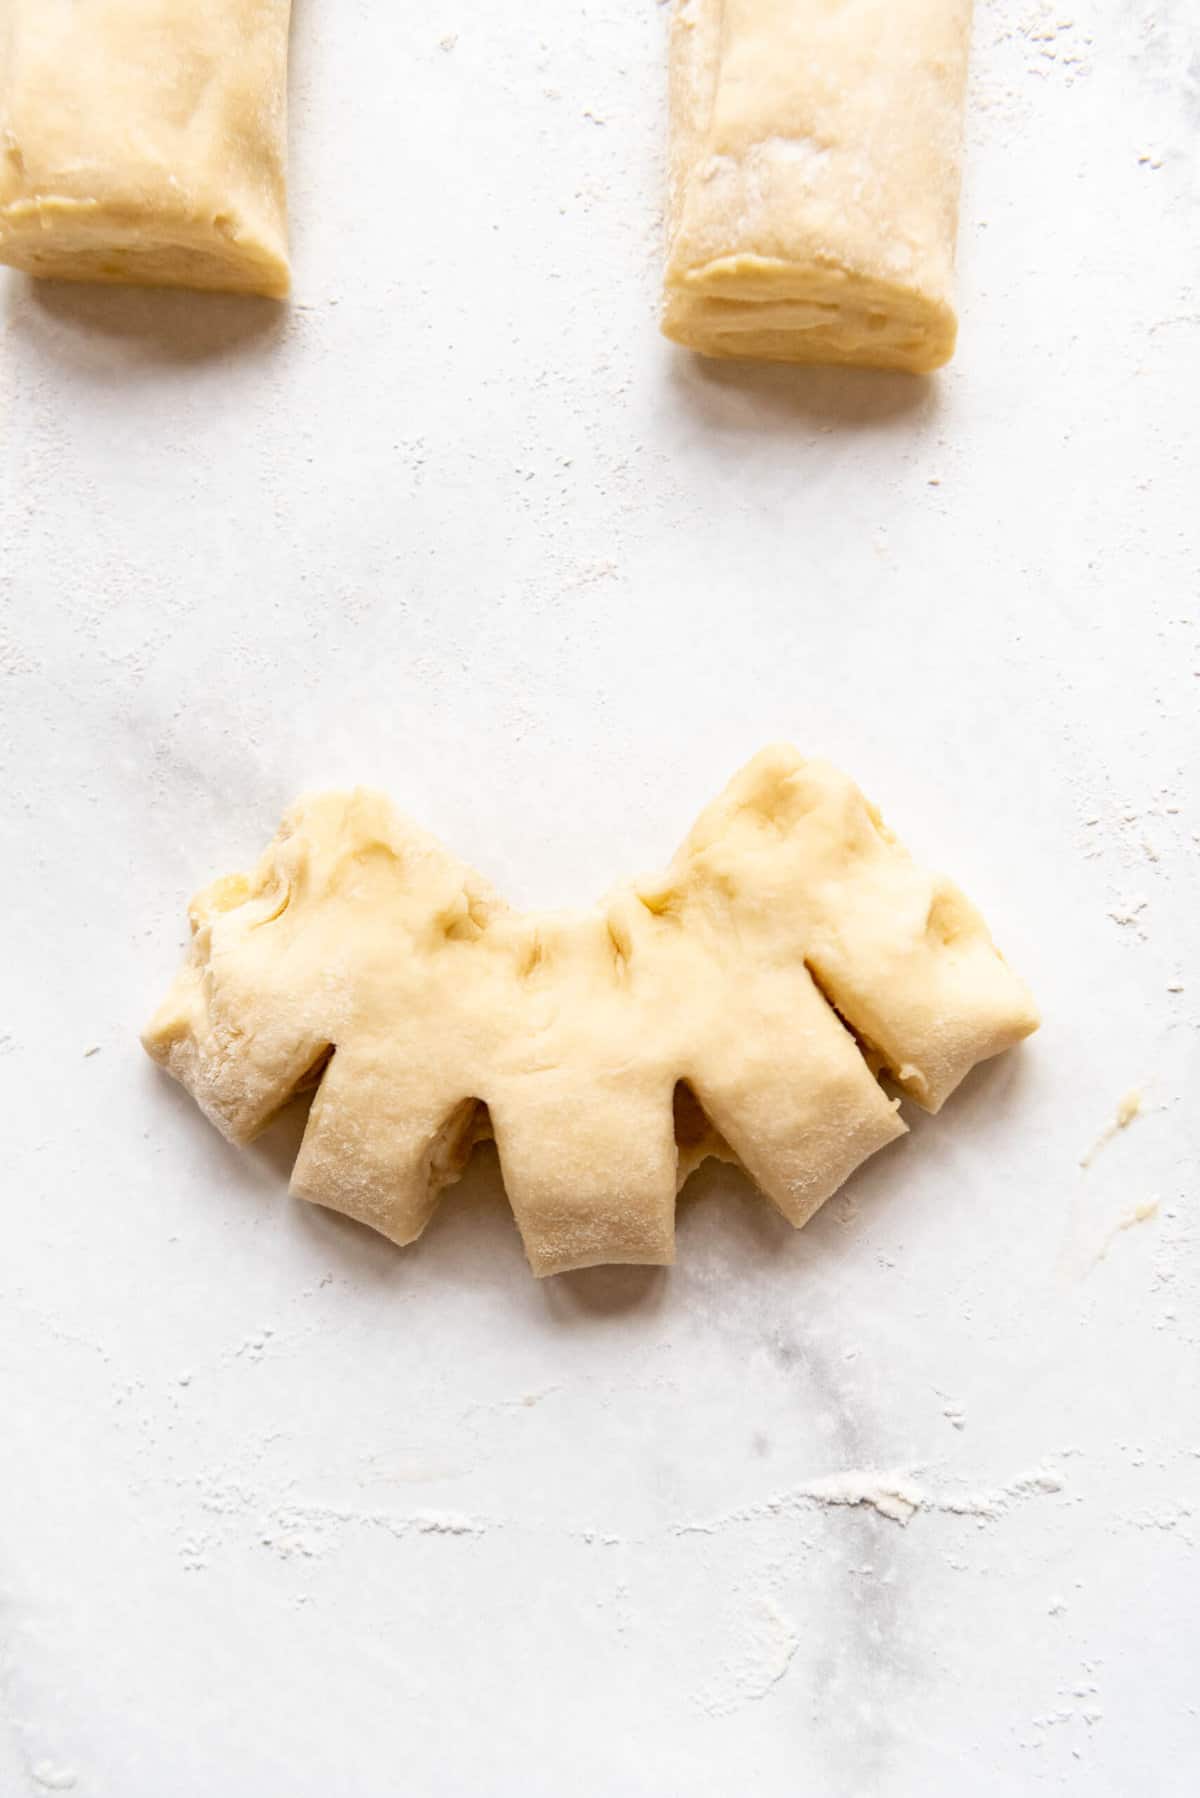
- Cut each strip into 3 equal-sized pieces. Seal the cut ends. Turn the seam side away from you, then slice four 1/2″ slits into each pastry.
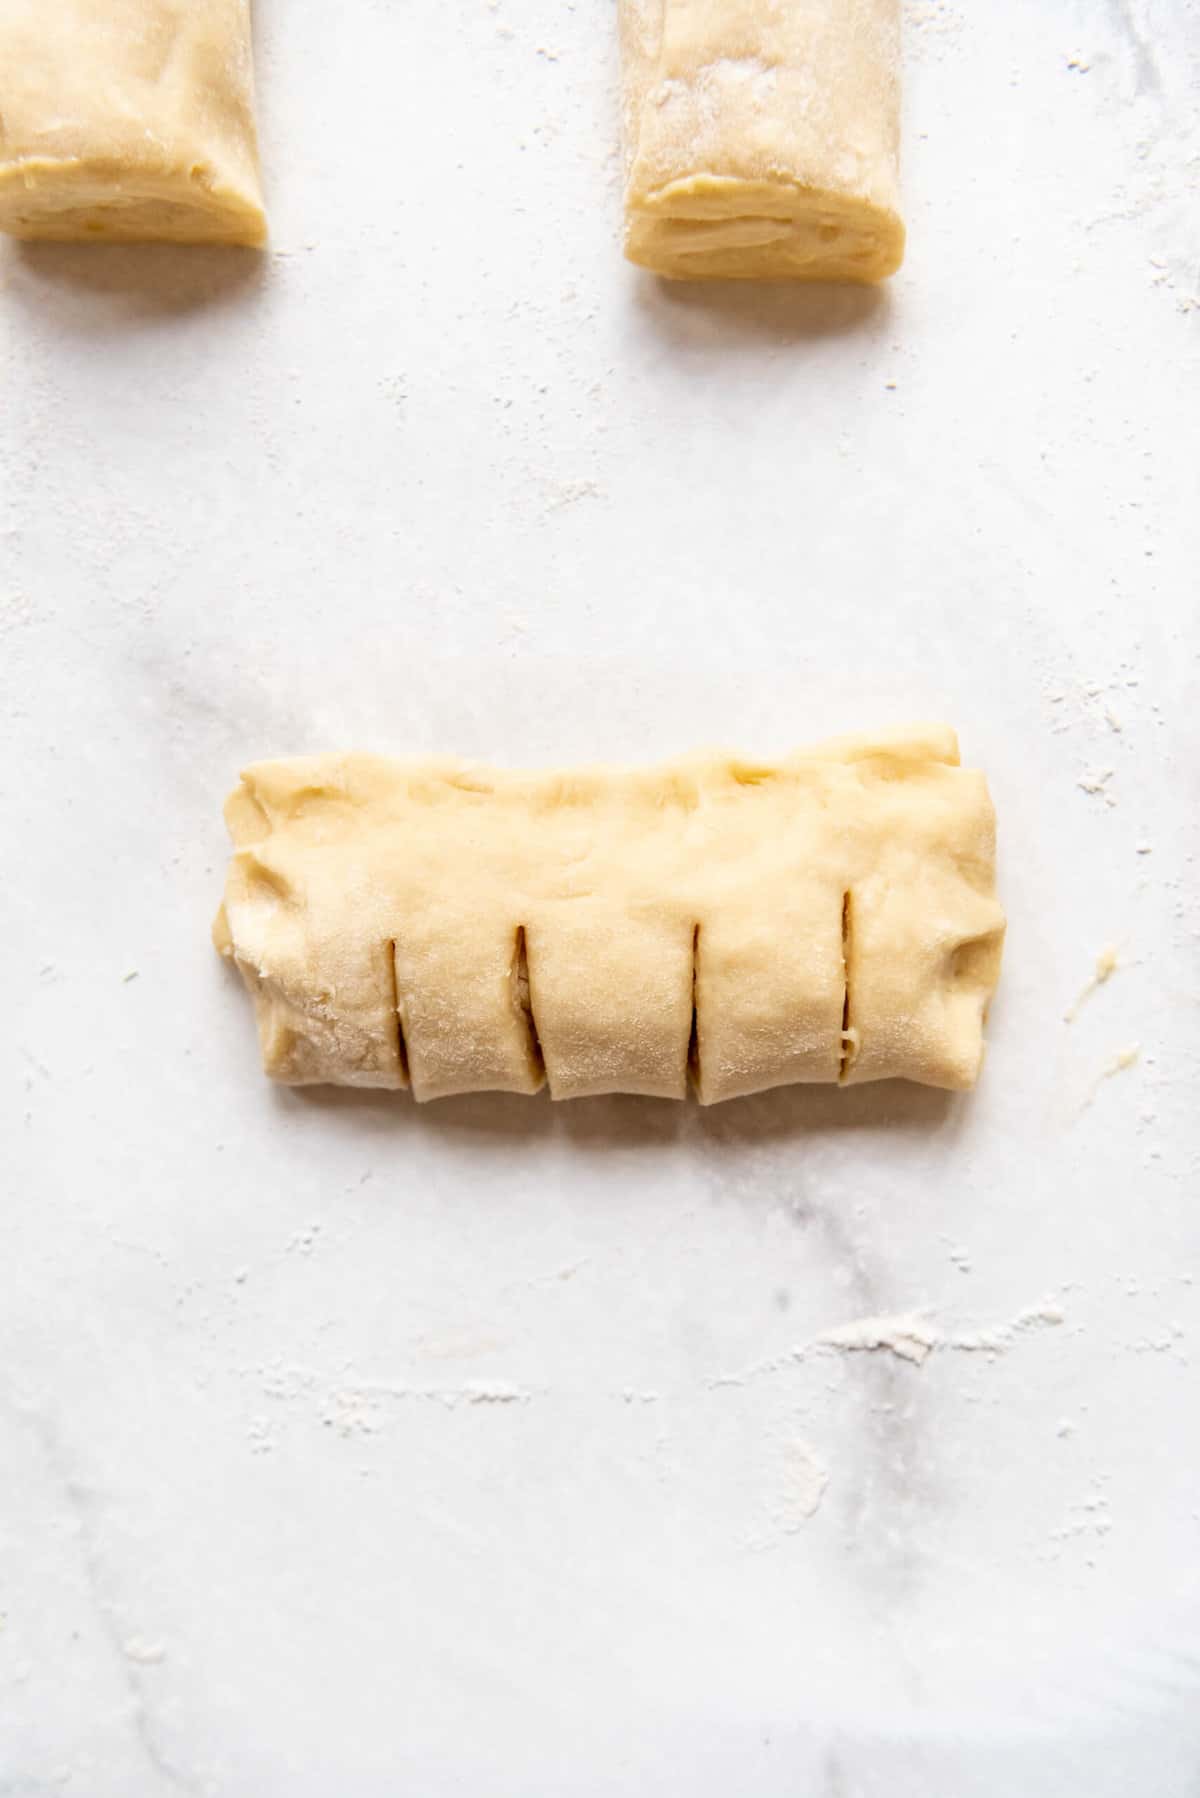
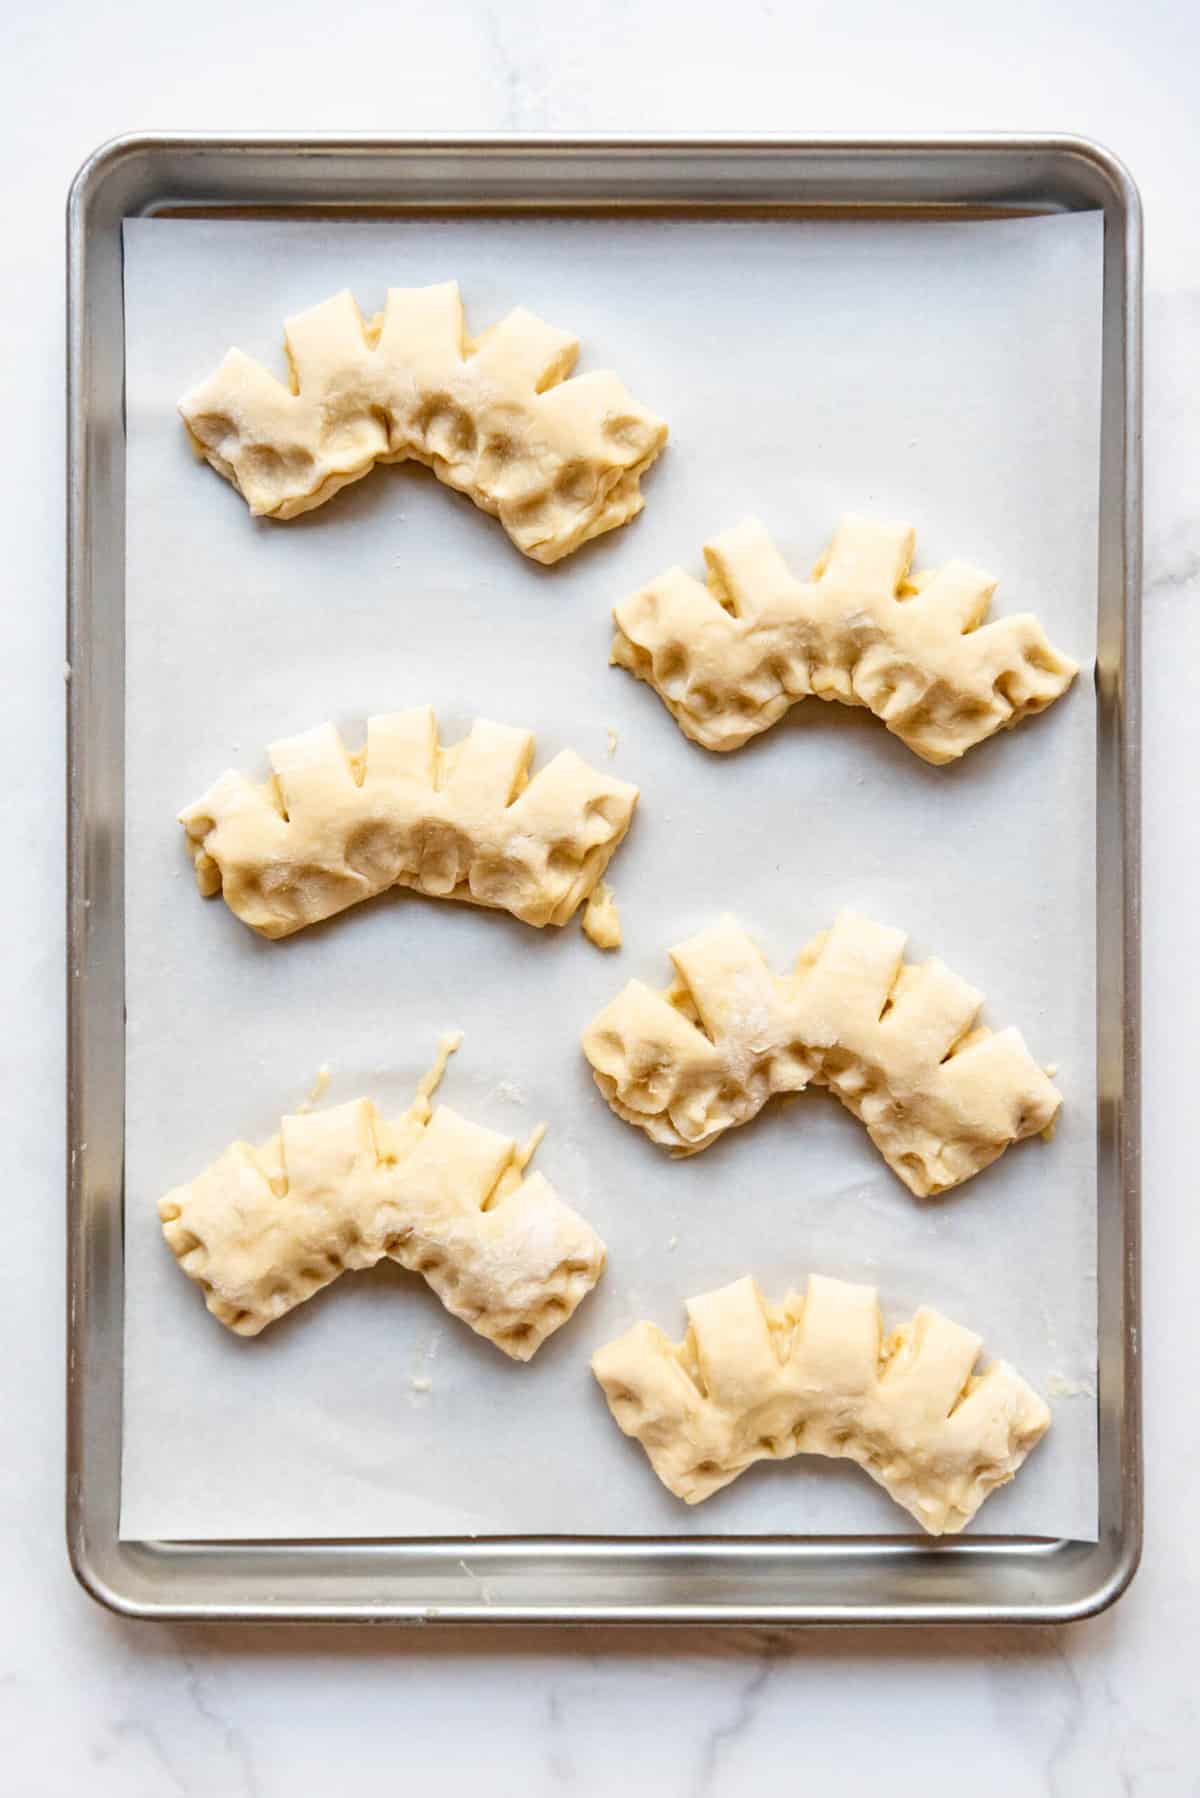
- Transfer it to the prepared baking sheet, bending it slightly to create the bear claws. You can fit 8 claws per baking sheet. Cover and let the dough rise in a warm place for about 1 hour until the bear claws are slightly puffy.
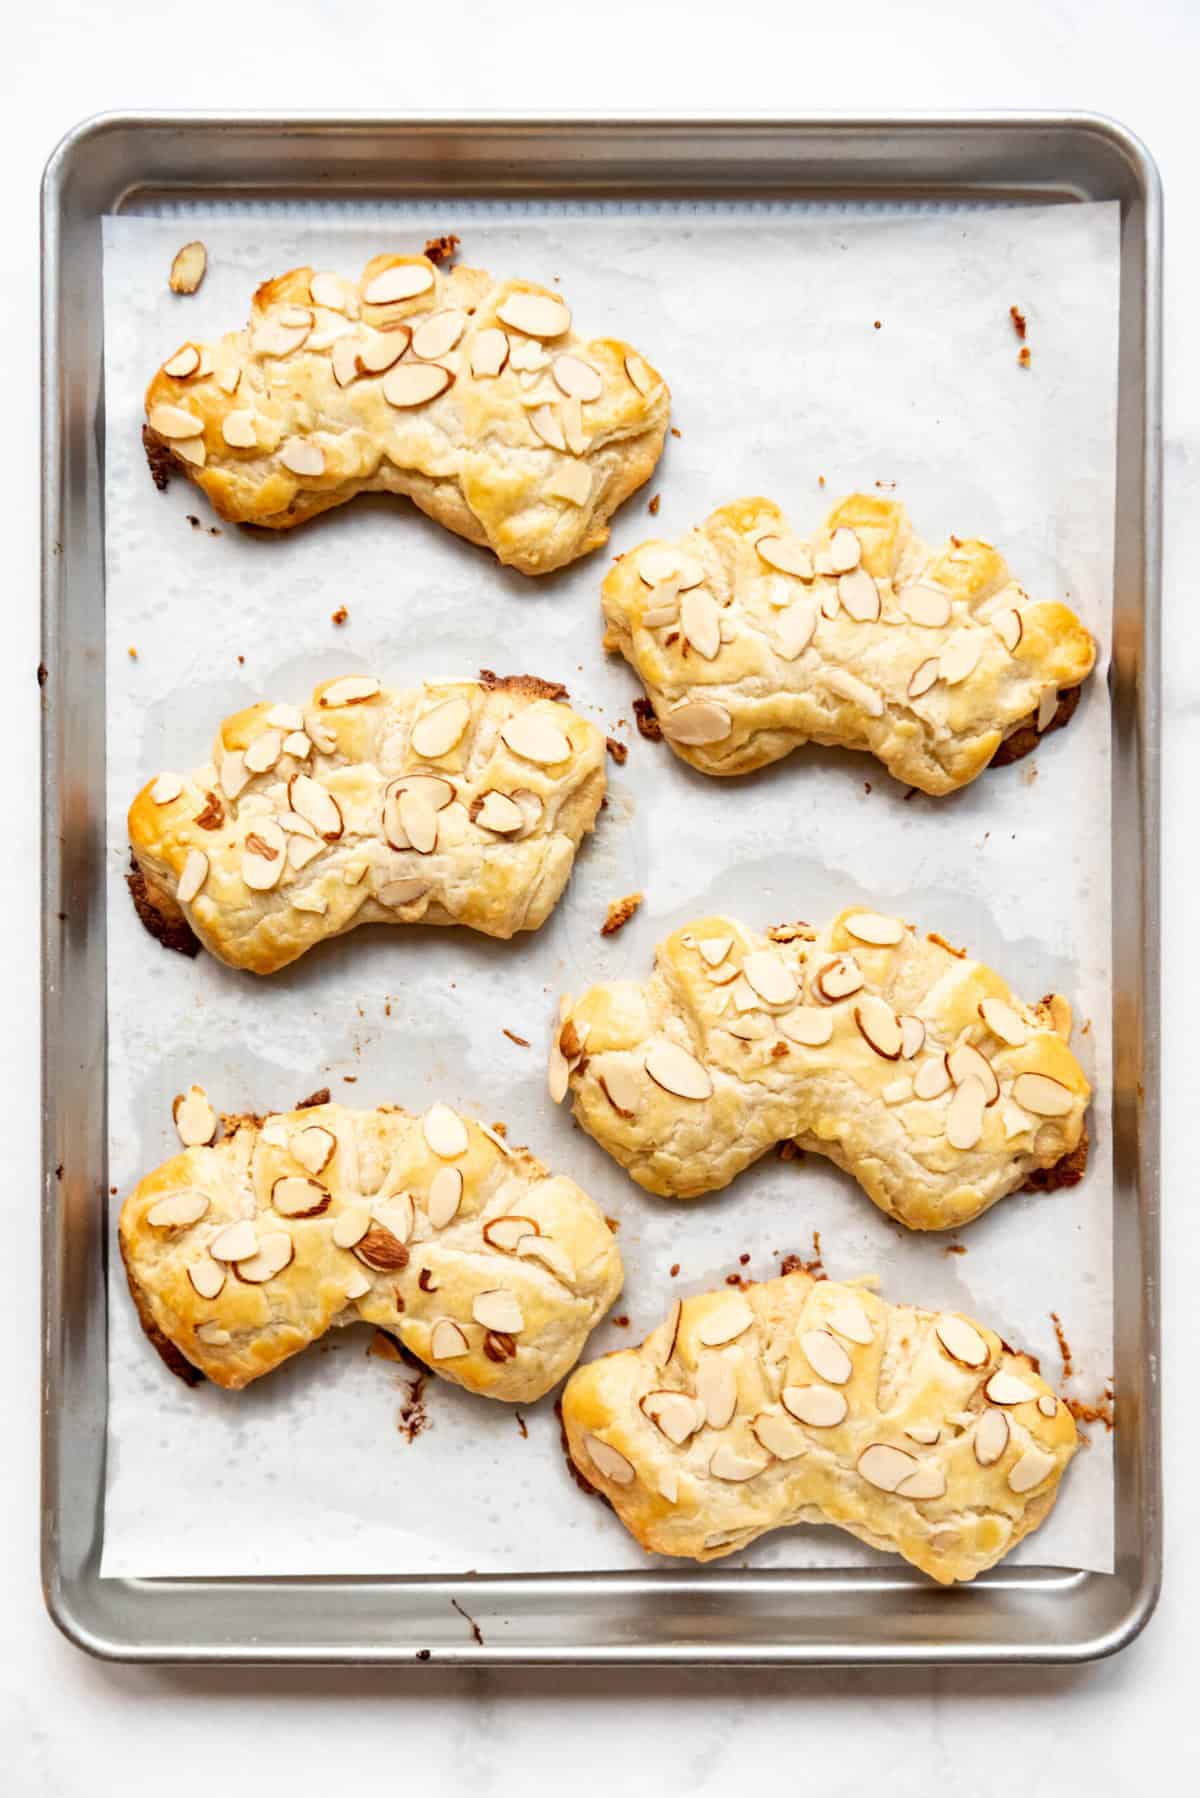
- Brush the top of the dough with egg wash made by whisking together 1 egg and 1 Tablespoon water or milk. Sprinkle with sliced almonds.
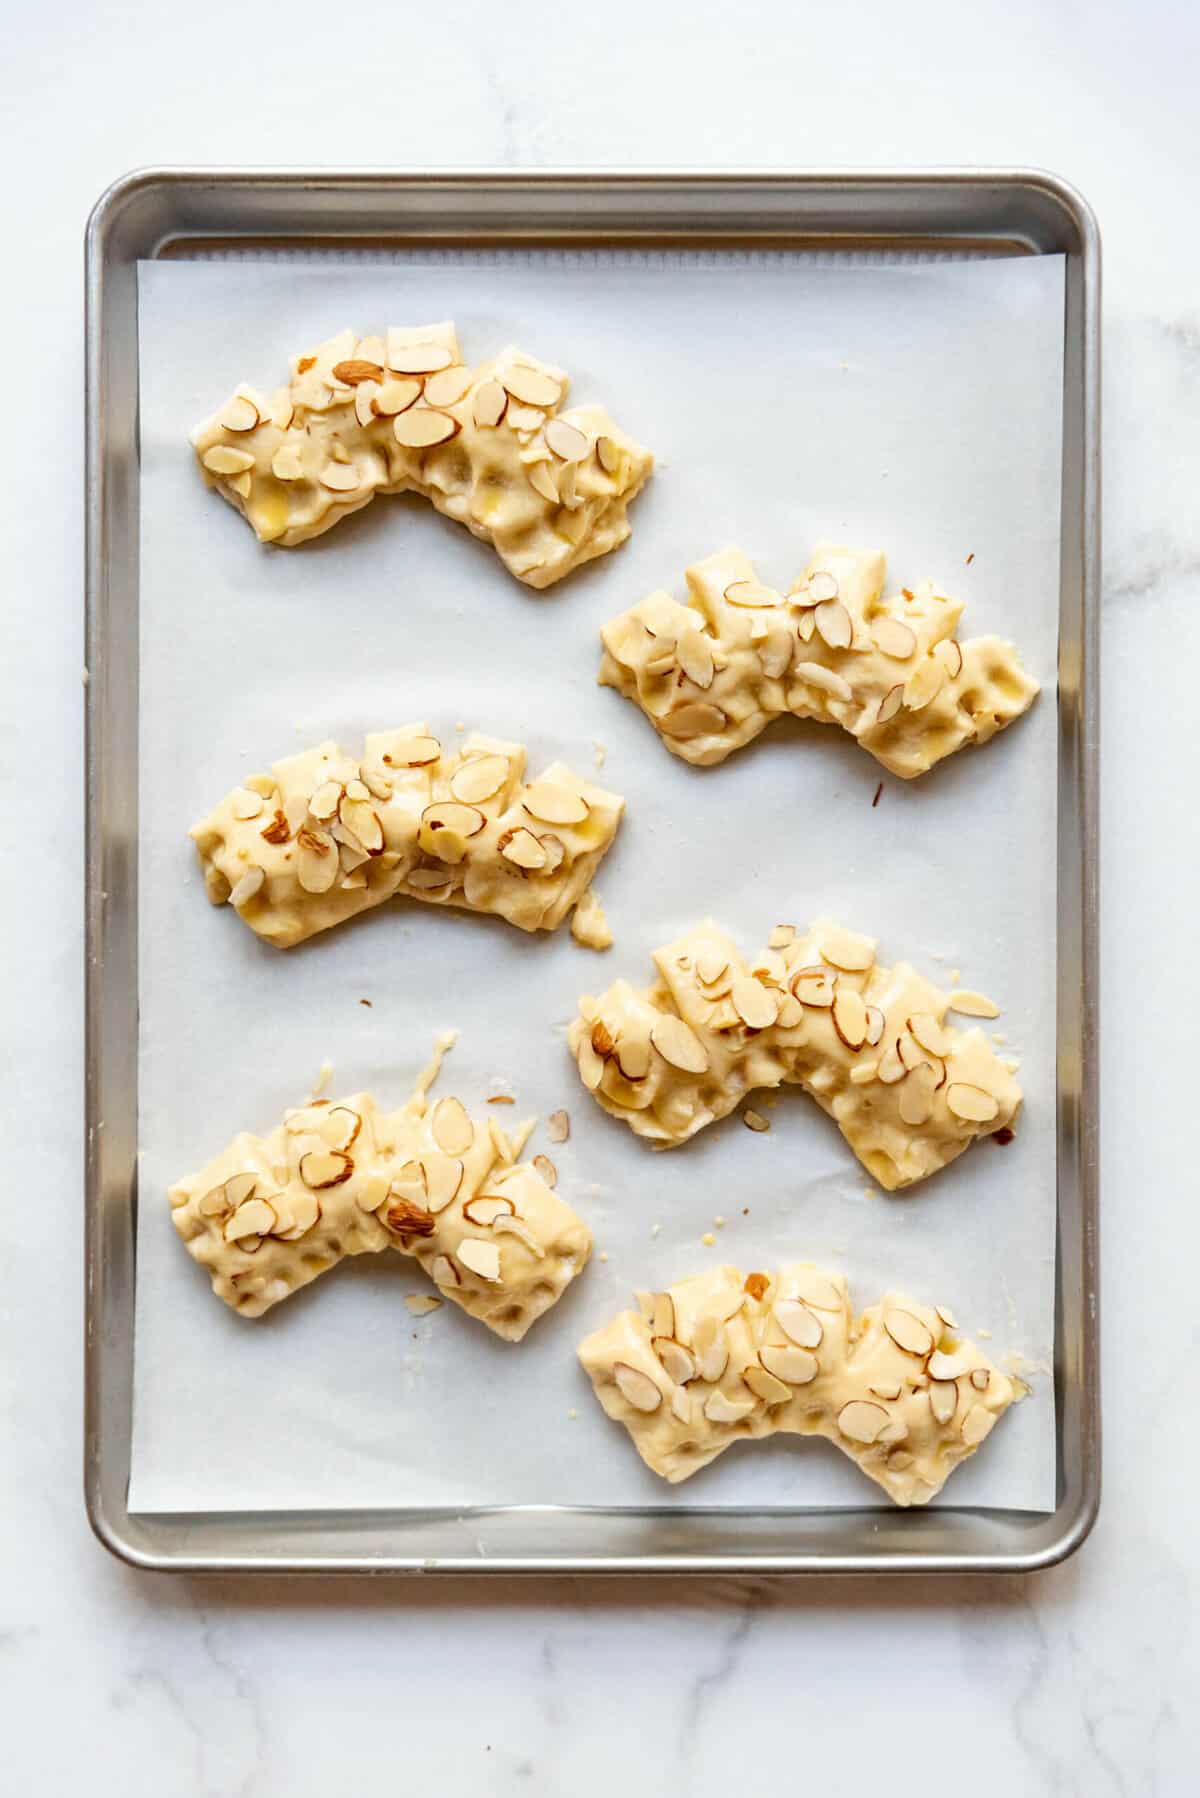
- Bake for 15-20 minutes until golden brown.
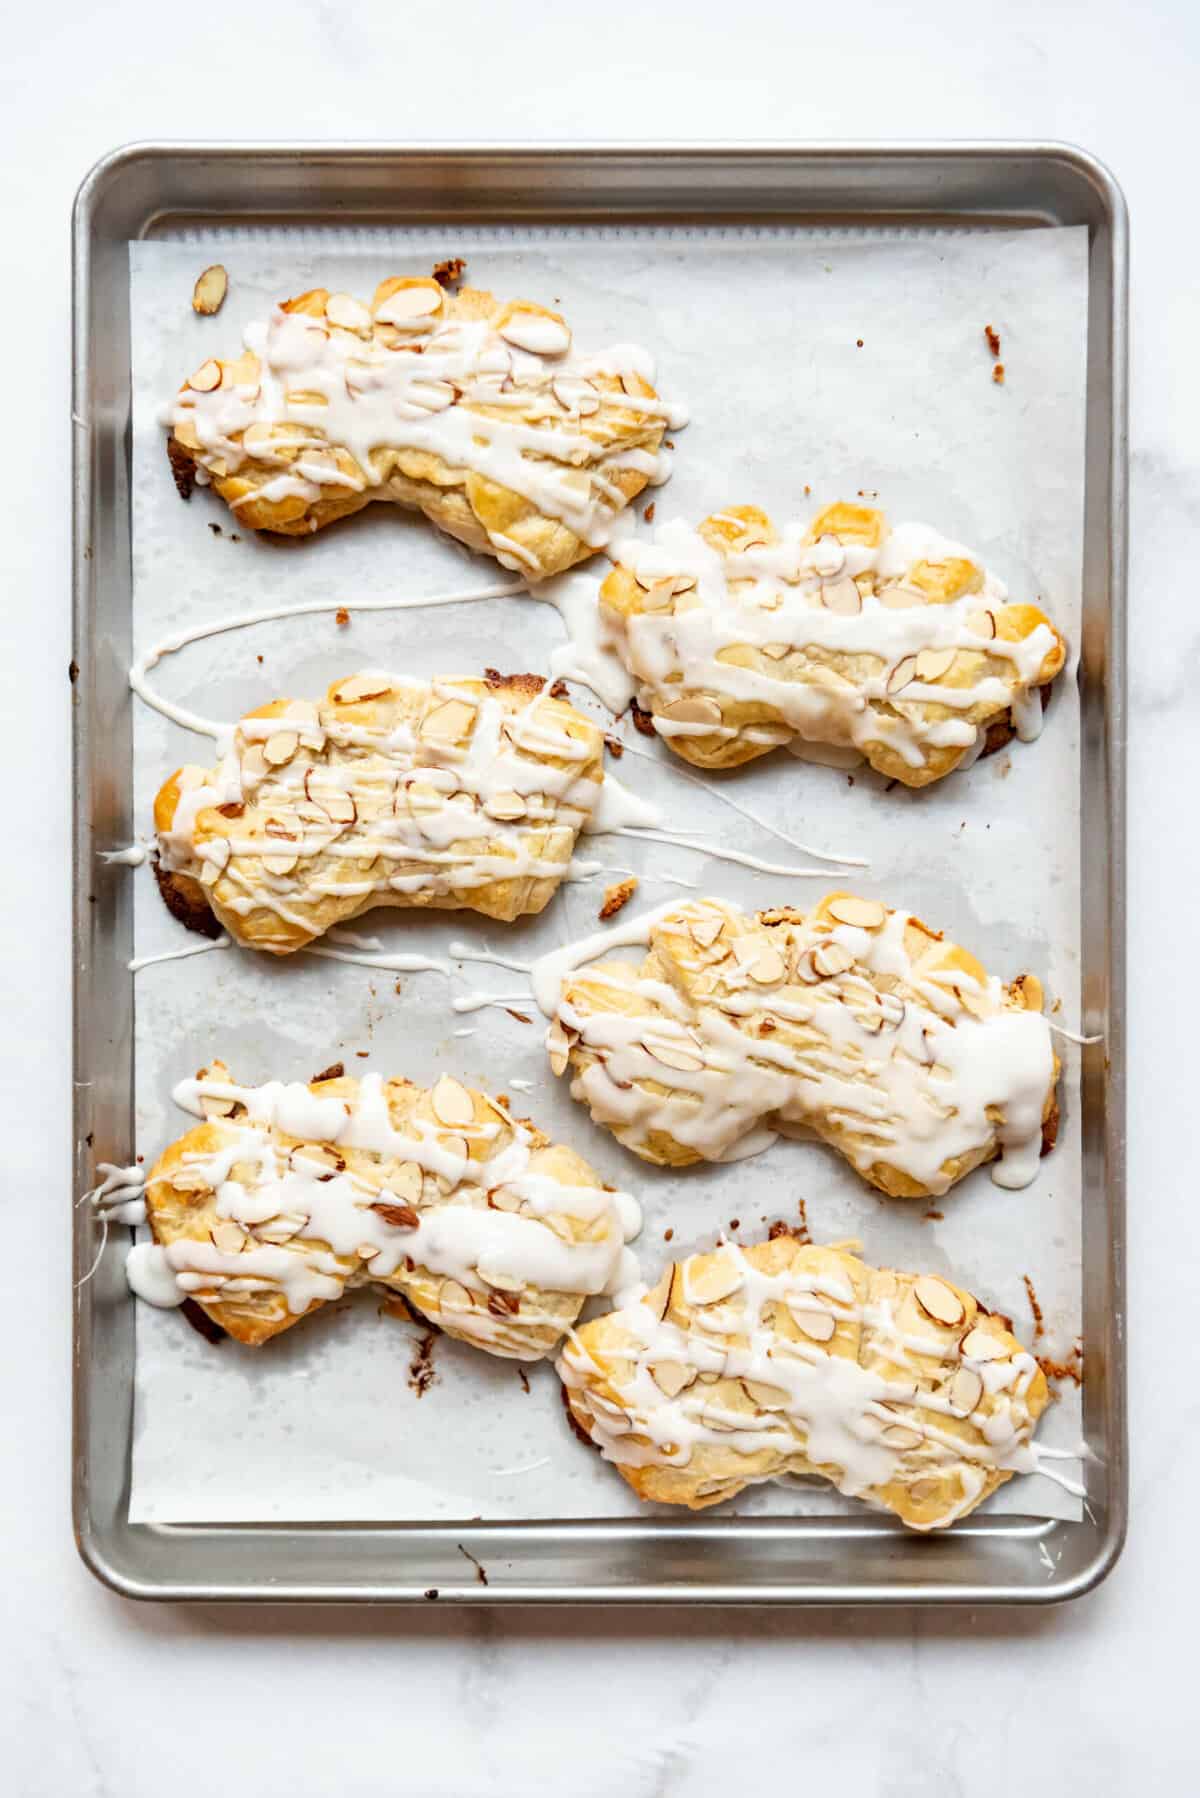
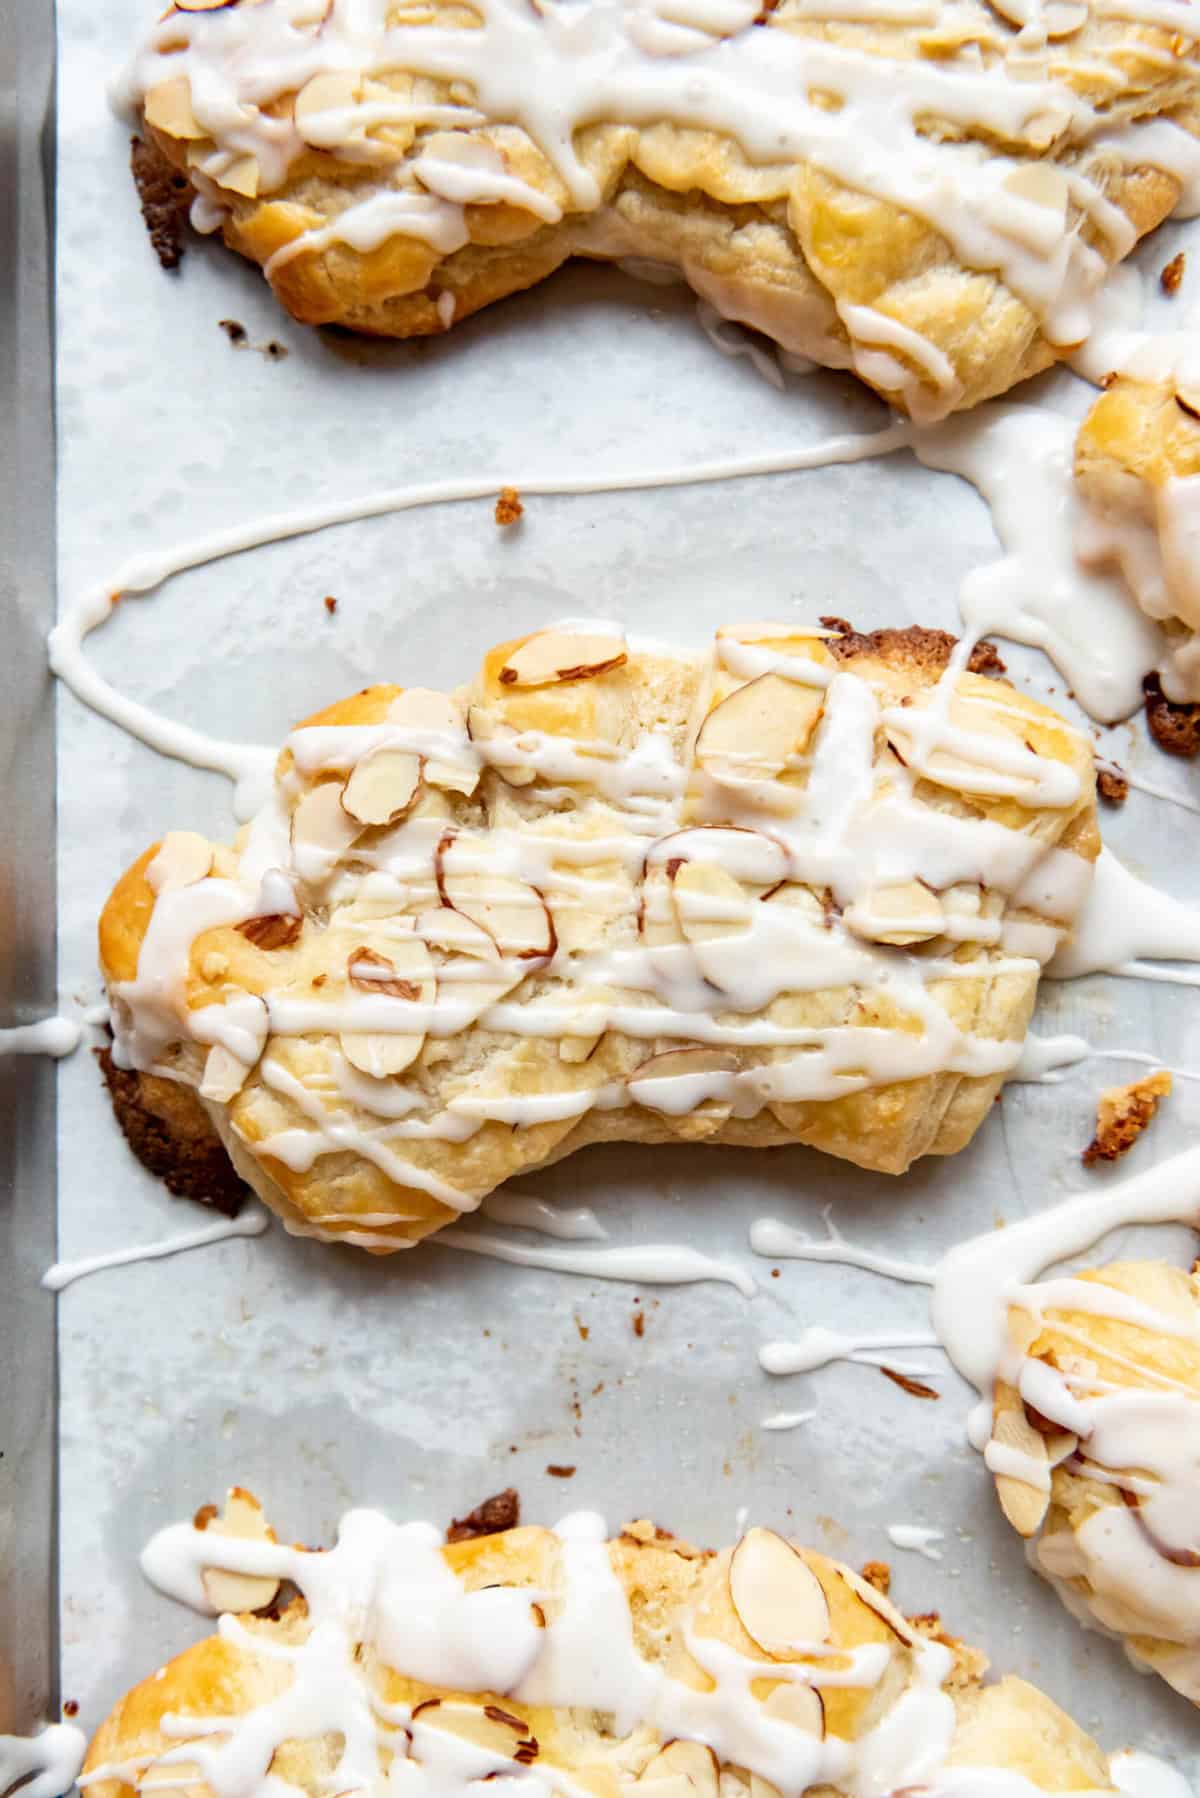
- While the bear claws cool, whisk together powdered sugar and milk to form a simple glaze, then drizzle this over the bear claws. Let them sit for at least 30 minutes for the glaze to set up.
Recipe FAQ’s
The exact origins of bear claws are murky but some sources claim that bear claws were created in California in the early 1900’s at a German bakery in downtown Sacramento. But there are similar pastries from Austria and Germany called Bärenklaue in German, which translates to “bear claw” in English and France and Denmark both have similar pastries.
Bear claw pastries are often associated with Danish pastries, which are similar in shape and filling. Danish pastries are believed to have originated in Denmark in the 19th century, but they were actually brought to Denmark by Austrian bakers. As a result, there are many similarities between Danish pastries and bear claw pastries and you can see where some of this ambiguity comes from.
All I can say for certain is that bear claw pastries are particularly popular in California and the Pacific Northwest, although you can find them all over the country.
Shortcut versions of this recipe replace the homemade dough with frozen puff pastry for an easy bear claw recipe, which is a great solution if you are short on time, although the result isn’t quite the same. You could also use another buttery dough like croissant dough or even a brioche or cinnamon roll dough with similar results although each will have it’s own slight differences.
The almond paste gives the pastry a rich, nutty flavor and a moist, chewy texture that is highly prized by pastry lovers. The pastry itself is buttery, slightly sweet, and flaky. It’s the perfect combination.
Yes, you can, but it is written to use the full amount of almond paste in one package. You can freeze the rest of the package for future use, or make the full recipe and freeze half of the unbaked bear claws for future enjoyment instead.
Tips for Success
- Give yourself time. This recipe involves a few steps like making the dough, filling, and glaze, as well as shaping, rising, and baking. It can all be done in a few hours, but some people find it easier to make the dough a day ahead of time to make things easier.
- Try adding another flavor. This is a fairly classic almond bear claw pastry recipe with almond paste filling, but you can use the same dough with cherry pie filling, blueberry filling, or your favorite strawberry jam to change things up.
How to Store Bear Claws
Keep any uneaten bear claws in an airtight container on the counter for up to 2 days or in the refrigerator for 5-7 days. They can be gently warmed up in the oven, if desired, although the glaze will tend to be absorbed or get sticky. We prefer them served at room temperature.
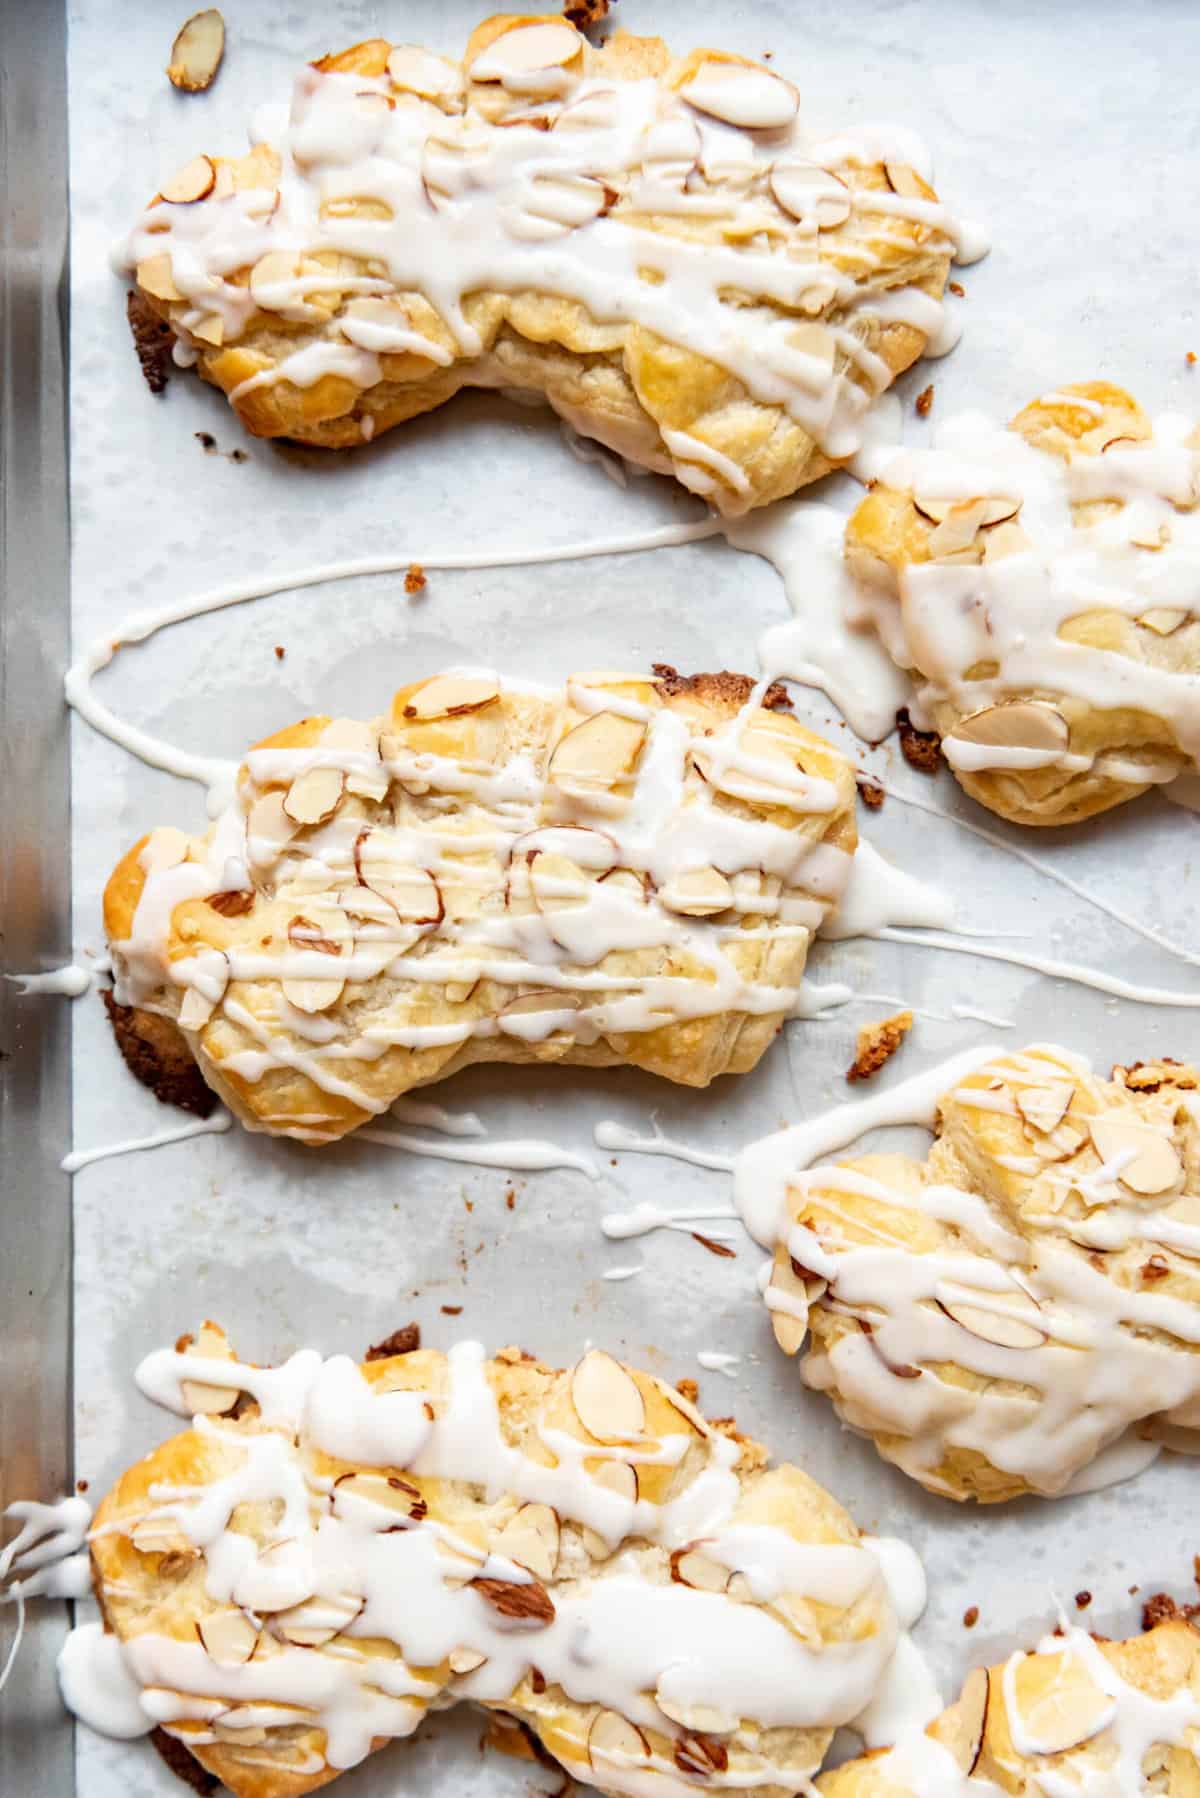
You can also freeze the bear claws for up to 2 months. If planning to freeze any of the bear claws, I recommend freezing the glaze separately in a plastic ziplock bag with the bear claws. Let it thaw on the counter, along with the bear claws, then squish it, snip off one corner, and drizzle to finish them before enjoying.
More Breakfast Recipes
- Homemade Cinnamon Rolls
- Easy French Crepes
- Aebleskiver | Danish Pancakes
- Hotteok (Korean Sweet Pancakes)
- Liège Waffles
Did you make this recipe?
Let me know what you thought with a comment and rating below. You can also take a picture and tag me on Instagram @houseofnasheats or share it on the Pinterest pin so I can see.
Almond Bear Claw Pastry Recipe
Ingredients
Pastry Dough
- 5 cups all-purpose flour (625g)
- 2 1/2 cups cold salted butter cut into cubes
- 1/2 cup warm water between 100-110°F (120ml)
- 4 1/2 teaspoon active dry yeast
- 1/2 cup granulated sugar (100g)
- 1 cup whole milk (240ml)
- 2 large eggs at room temperature
- 1 teaspoon salt
Filling
- 7 ounces almond paste
- 1 1/2 cups powdered sugar
- 1/3 cup salted butter softened
- 2 large egg whites
- 1/2 teaspoon almond extract
- 3/4 cup almond flour
- Pinch of salt
- 1/2 cup sliced almonds
Glaze
- 3 cups powdered sugar
- 8 Tablespoons half-and-half

Instructions
Pastry Dough
- Combine warm water, 1 tablespoon of the sugar, and yeast in a large mixing bowl. Let sit for 5 minutes until foamy.½ cup warm water, ½ cup granulated sugar, 4 ½ teaspoon active dry yeast
- Add remaining sugar, milk, eggs, and salt. Mix well until combined.1 cup whole milk, 2 large eggs, 1 teaspoon salt
- Cut the cold butter into the flour using a pastry cutter or food processor (affiliate link) until the pieces of butter are no larger than the size of peas.2 ½ cups cold salted butter, 5 cups all-purpose flour
- Add the cold butter and flour mixture. Stir together by hand with a wooden spoon or spatula until moistened and a shaggy mixture forms. The dough will be sticky.
- Turn the dough out onto a piece of parchment paper or plastic wrap. Knead a few times using the parchment paper or plastic wrap to fold the dough onto itself until the dough comes together. Divide the dough into two evenly sized pieces. The dough will be sticky, but not too sticky to work with. If the dough is particularly stick, wrap in plastic wrap and refrigerate for 2 to 4 hours before proceeding so the butter can firm up.
- Transfer one portion of dough to a generously floured surface. Press it into a square, then roll it out into a large rectangle roughly 24"x12", adding more flour as needed and using the bench scraper to slide under the dough and keep it from sticking to the work surface.
- Fold the dough into thirds, like folding a letter roughly 12"x8". Roll it out again into a roughly 24"x12" rectangle, then repeat the process of folding it into thirds. Roll it out for a third time and fold it one more time for a total of 3 times. Wrap the dough with plastic wrap and transfer to the fridge. Repeat with the other half of the dough.
- Refrigerate the dough for at least 1 but up to 24 hours or freeze for up to 2 months, then thaw in the fridge overnight before proceeding.
Filling
- While the dough chills, tear off pieces of almond paste and add it to a large mixer along with butter and powdered sugar for the filling. Beat well until smooth. It's okay if some of the almond paste doesn't completely incorporate as long as there aren't any particularly big chunks of it remaining.7 ounces almond paste, ⅓ cup salted butter, 1 ½ cups powdered sugar
- Add egg whites and almond extract. Beat again for 1-2 minutes until combined. Stir in almond flour and salt. Use immediately or refrigerate for up to 24 hours if preparing in advance.2 large egg whites, ½ teaspoon almond extract, ¾ cup almond flour, Pinch of salt
Shaping
- Line 2-3 baking sheets with parchment paper.
- Working with ½ the chilled pastry dough at a time, roll it into a 12" square. Use a pizza cutter, bench scraper, or sharp knife to cut the dough into three 12"x4" strips.
- Transfer the almond paste filling tip a large piping bag and pipe a ribbon of filling down the center of each strip. Fold the long edges over the filling, first from one side, then the other, overlapping them like a letter. Press the edges and ends together to pinch and seal.
- Cut each strip into 3 equal-sized pieces. Press the cut ends shut to contain the filling as much as possible. Turn the seam side away from you, then slice 1/2" slits into each pastry, spaced about 1/2" apart each. Transfer the pastry to the prepared baking sheet, bending it slightly to separate the "fingers" and create the iconic bear claw shape. You can fit 8 claws per baking sheet. Cover loosely with plastic wrap and let rise for about 1 hour until slightly puffy. Or they could be refrigerated overnight or frozen immediately for up to 1 month. Thaw completely in the fridge overnight then let come to room temperature for a couple hours before baking.
- Preheat oven to 375°F while the pastries are rising.
- Once the pastries have risen, brush each bear claw with an egg wash made by whisking together 1 egg and 1 Tablespoon water or milk. Sprinkle with sliced almonds.½ cup sliced almonds
- Bake for 16-20 minutes until golden brown.
- While the bear claws cool, whisk powdered sugar and milk together in a bowl to create a simple glaze. Drizzle over the cooled bear claws, then let set up before serving. Alternatively, dust the bear claws generously with powdered sugar before serving.3 cups powdered sugar, 8 Tablespoons half-and-half
Notes
- Using frozen puff pastry dough: You can replace the dough entirely with 3 pounds of frozen puff pastry that has been thawed in the fridge according to package directions.



I love the bear claws its reminds me when steaknshake used to had them yum
Recipe was hard to follow, for me. I’m not experienced with pastry. I made to separate batches, because the first, although good, was more like a biscuit in texture. Followed directions even closer the second time and still had a biscuit. Not sure if it was my lack of skills or perhaps I missed something or…… Maybe it was a biscuit recipe disguised as a bear claw recipe.
Thank you. For the best explanation ever I’ll will give it a try and let you know . merci beaucoup
You don’t have the sliced almonds in your recipe ingredients list.
I haven’t made it yet, but by the ingredients and instructions it looks very delicious.
Good catch! I fixed it!
Can you use regular flour instead of almond flour for the filling?
No, unfortunately that would not work for this recipe.
There are no quantities given
If you go to the top of the post and click the “jump to recipe” button, it will take you straight to them. 🙂 Hope that helps!
Great recipe!! This was soooo easy to follow it couldn’t have been better!!!!! I made a batch with blueberry filling and it was fantastic!
These are delicious!
I will say that the total time was quite a bit longer than the printed total time if you factor in chilling it to make it more workable. And, the chilling time before you actually start to shape and make the bear claws. For us it was probably about 4 hours total. BUT so worth it!
Hi. This looks really good. If I wanted to do the whole process in a mixer, how would I go about it?
You will need to use separate bowls at some point to let the yeast and sugar sit until foamy and then mix all the liquids. In a separate bowl the cold butter and flour need to be mixed and then added to the liquids. You could add it all together in a mixer just don’t overmix. The dough will still be a little bit sticky. Try it out and let me know if you have any more questions!
Any tips for preventing the filling from seeping out while baking?
You want to make sure your oven temperature is accurate. An inexpensive oven thermometer can tell you if it is the right temperature. Make sure your filling is chilled and that is has the consistency of a thick paste. And sometimes, it does seep out a bit and I just roll with it 😉
SO FAR, I give this recipe one half stars. When I got everything mixed up, all I had was one goooooey big mess. NO WAY to work this “dough”, it was nothing but a BATTER as I TRIED to work it. It took ANOTHER half cup of flour just to get one half of this dough rolled out and folded 3 times. Couldn`t I have just added another cup of flour to the recipe, maybe it would be easier to work with. NO MATTER WHAT, I`m using the dough, I have $15.00 worth of Kerry Gold butter in it, can`t throw it out now or I would. I will let you know how they turn out.
OMG! These are soooo good. It was a bit more work than I thought but so worth it.
Ha ha they do involve some steps but like you said, so worth it!
First, thank you for appearing to have an honest ‘Star Rating’, as I grow tired of all those 5 star websites with four thousand reviews- such things do not exist.
I’m an engineer, so follow directions EXACTLY. Not saying that’s always a good thing. As a baker, I think I’m in the 6-7 range, and learning all the time. This recipe was FANTASTIC!! I couldn’t believe how light the pastry turned out, perhaps the best I’ve done so far. I did a half-batch and should have used two cookie sheets, as I could not ‘bend’ them properly to allow the cuts to open better while baking. Loved the amount of almond paste used too, as it was very flavorful compared to many bear claws I’ve tried.
Definitely going to the top of my pastry recipes, and I look forward to being able to serve it to others. Thanks!!