

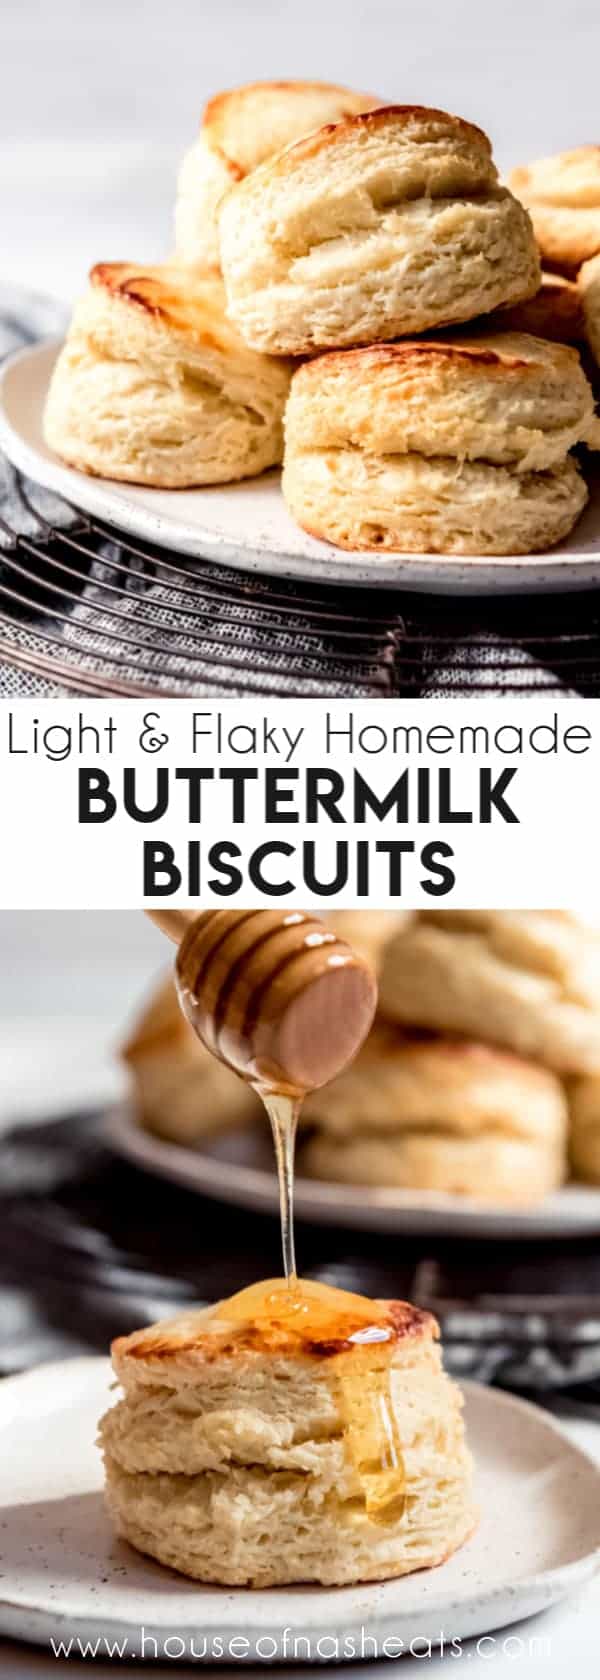

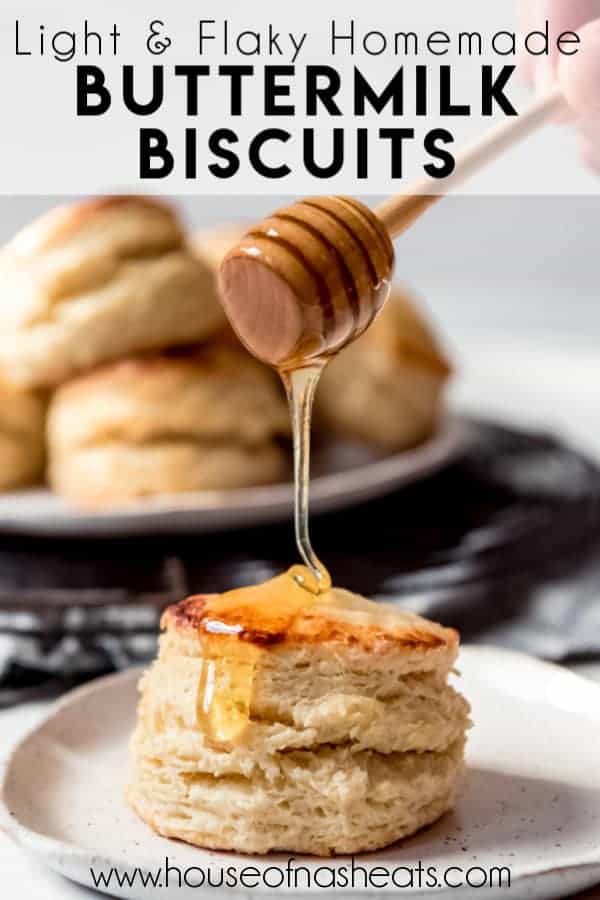

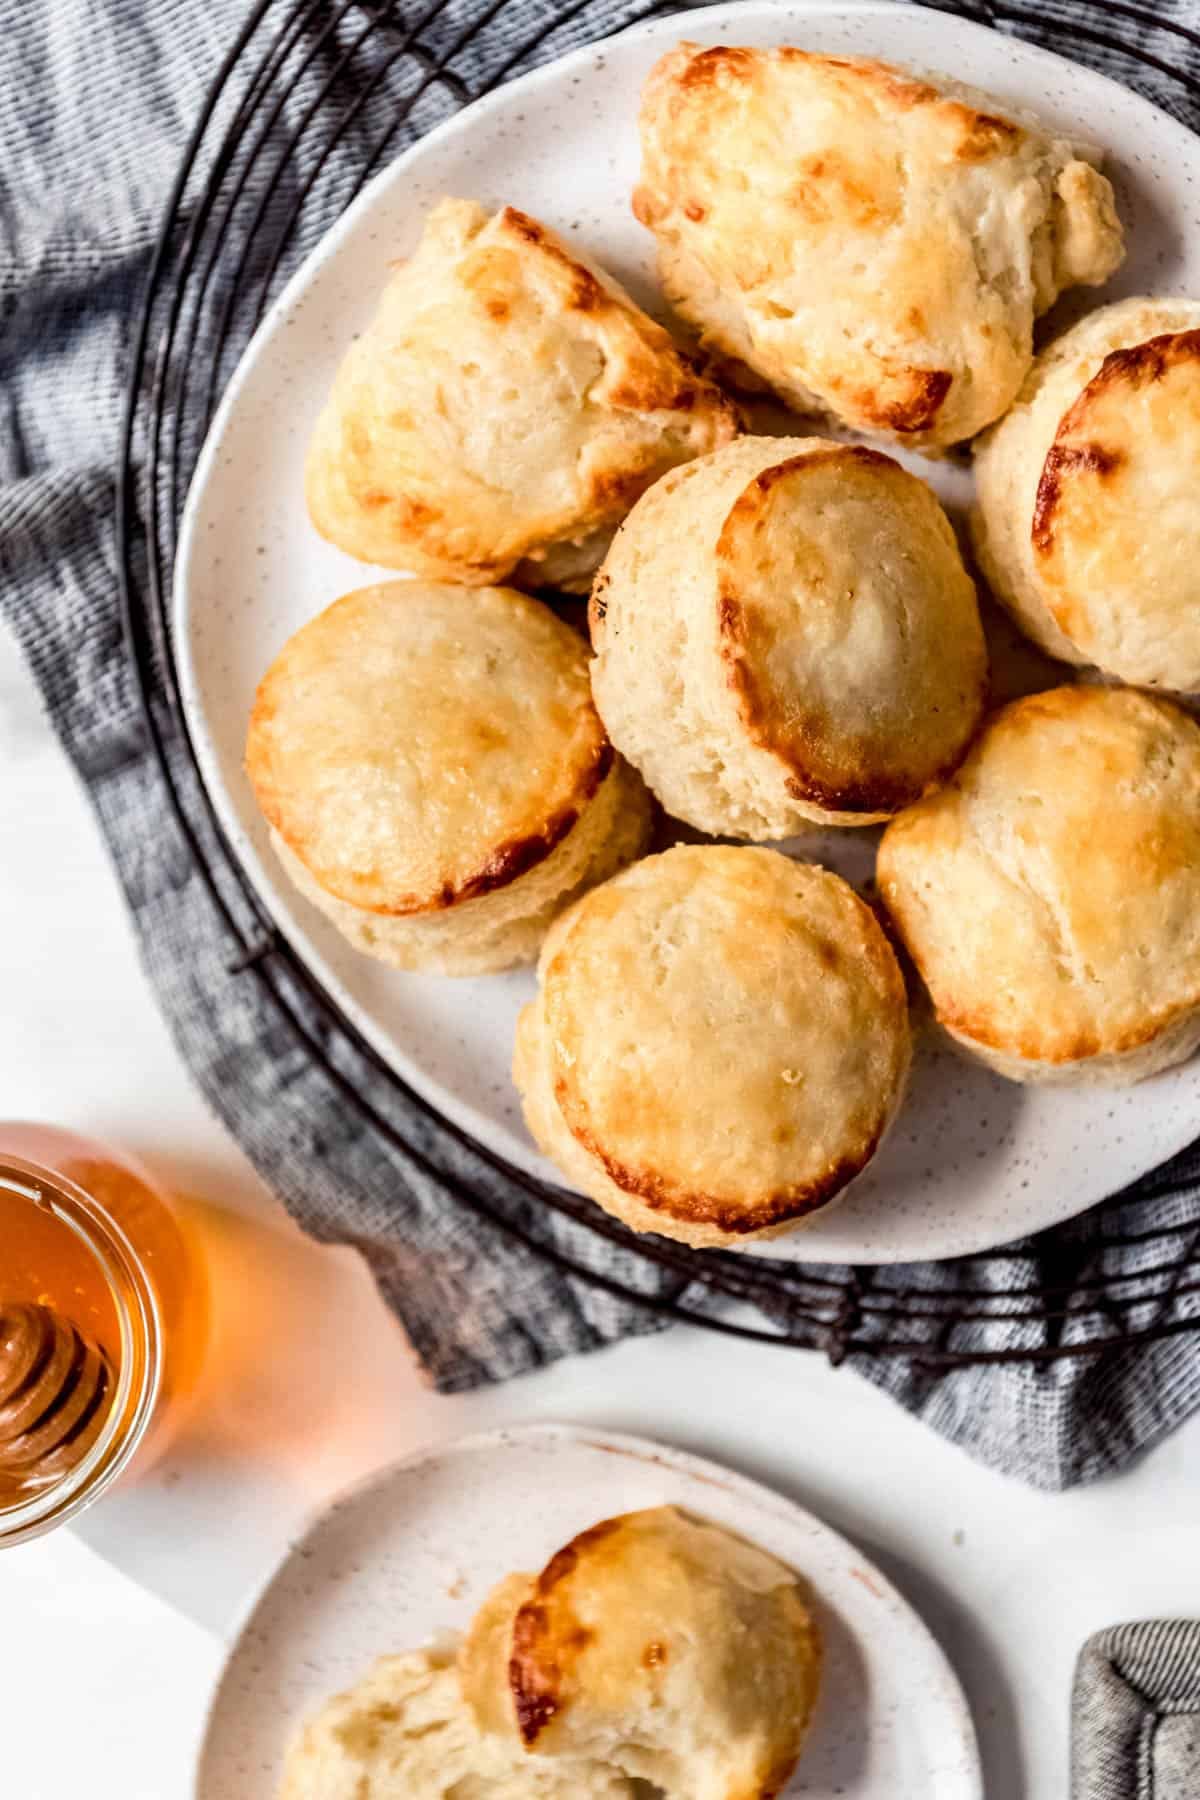
Homemade buttermilk biscuits are the best way to start your day! This classic recipe uses simple ingredients for tall, fluffy biscuits that are perfect with honey, sausage gravy, or jam.
Nothing can compare to a batch of homemade buttermilk biscuits made with a handful of fresh, real ingredients. This buttermilk biscuits recipe makes tall, fluffy biscuits that are far superior to the refrigerated cans of biscuit dough from the store and they are ready in under 30 minutes!
What You’ll Need
- All-purpose flour
- Baking powder
- Baking soda
- Salt
- Sugar
- Salted butter
- Buttermilk
What is a Substitute for Buttermilk?
An easy substitute for buttermilk can be made in about five minutes. Just add 1 tablespoon of lemon juice or vinegar to a 1 cup measuring cup, then fill the rest of the way with milk (preferably whole milk). Stir, then let it sit for 5 minutes and use in almost any recipe as a buttermilk replacement!
Other substitutes for this particular recipe would be plain milk, which will work almost just as well, although you won’t have quite the same flavor as biscuits that are made with tangy, rich buttermilk. Or you could use one cup of plain yogurt. Greek yogurt thinned out with a little milk would probably work as well, although I haven’t tried that one.

How to Make Buttermilk Biscuits From Scratch
- Combine the flour, baking powder, baking soda, salt, and sugar in a large bowl or the bowl of a large food processor (affiliate link). Add the grated butter and stir together. The butter can also be cubed and cut in using a pastry cutter or pulsed into the dry ingredients in the food processor (affiliate link) until it is the size of crumbs.


- Add the buttermilk and mix together just until everything starts to come together in a shaggy dough, but don’t overmix. Turn out onto a lightly floured surface and press together into a rough rectangular shape.


- Fold one side of the rectangle into the center, then the other, like folding a letter. Pat the dough flat again, then turn the dough and repeat the folding process. Flatten with a rolling pin (affiliate link) or your hands until the dough makes a 3/4- to 1-inch thick rectangle.


- Cut out biscuits. Brush with extra buttermilk. Bake for 13-15 minutes until golden brown on top.


Homemade Buttermilk Biscuits Tips
- Use cold ingredients. This is not the time to pull out butter and let it soften to room temperature. Everything should be cold, cold, cold when added to the biscuit mixture. You could even stick your flour in the freezer for 30 minutes if you think about it before hand.
- Don’t overwork the dough. When you are mixing the buttermilk into the dough, it’s okay if it is still pretty crumbly. The biscuit dough will come together as you press it and fold it with your hands.
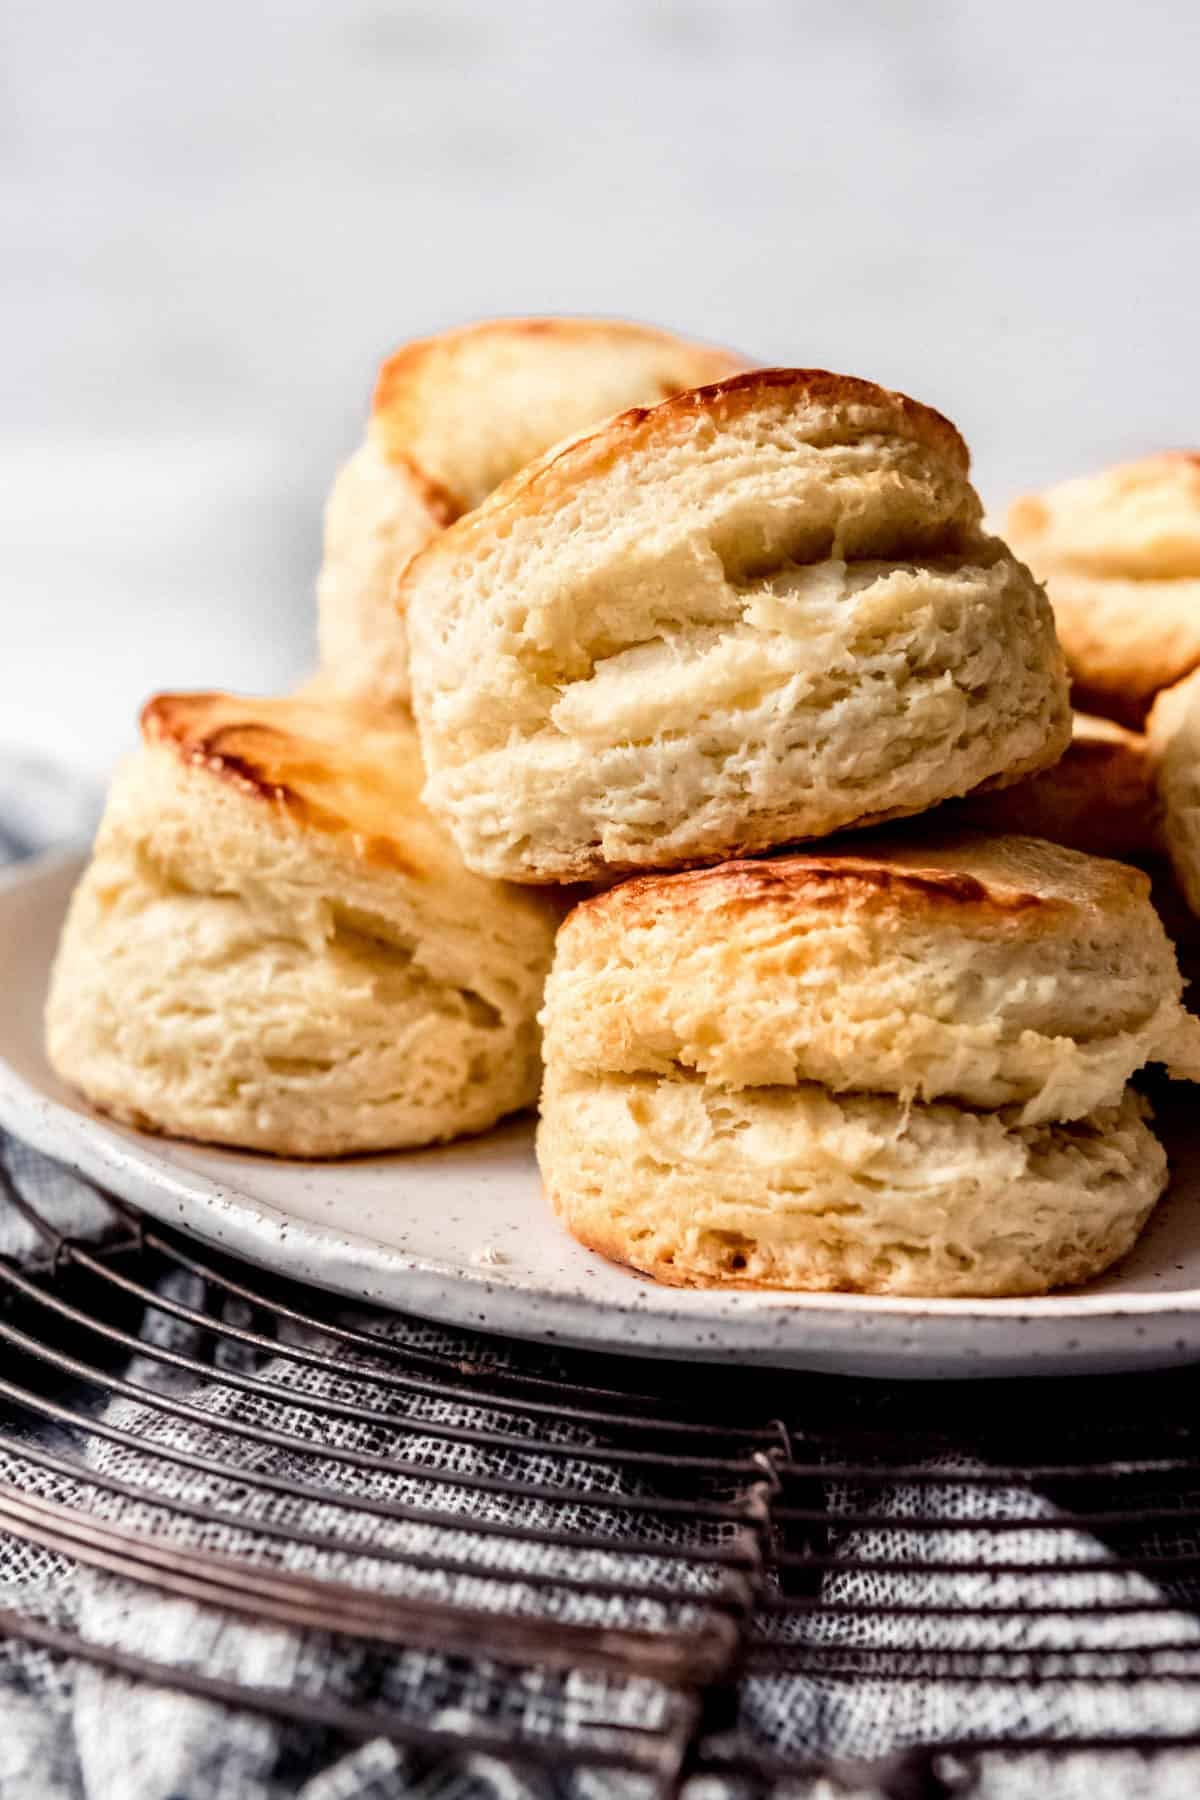
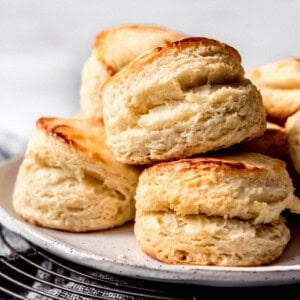
- Folding the dough creates flaky layers. This is the real key to getting super all of those wonderful flaky layers that you can see in the photos. As the dough is folded, the cold butter is spread thin. When the biscuits bake, the cold butter melts fast creating pockets and the many layers we love about buttermilk biscuits!
- Use a sharp biscuit or cookie cutter and don’t twist! I know it’s tempting to want to twist the cutter while cutting out the biscuits, but that has a tendency to seal the edges, making it so they won’t rise as much. It really makes a difference to use a sharp cutter and press straight in and out.
- Bake them close together or spaced apart. This is personal preference, but I like to space out my biscuits when baking so that all the sides are exposed. But some people enjoy biscuits that are snugged together and then pulled apart for softer sides. It’s up to you!
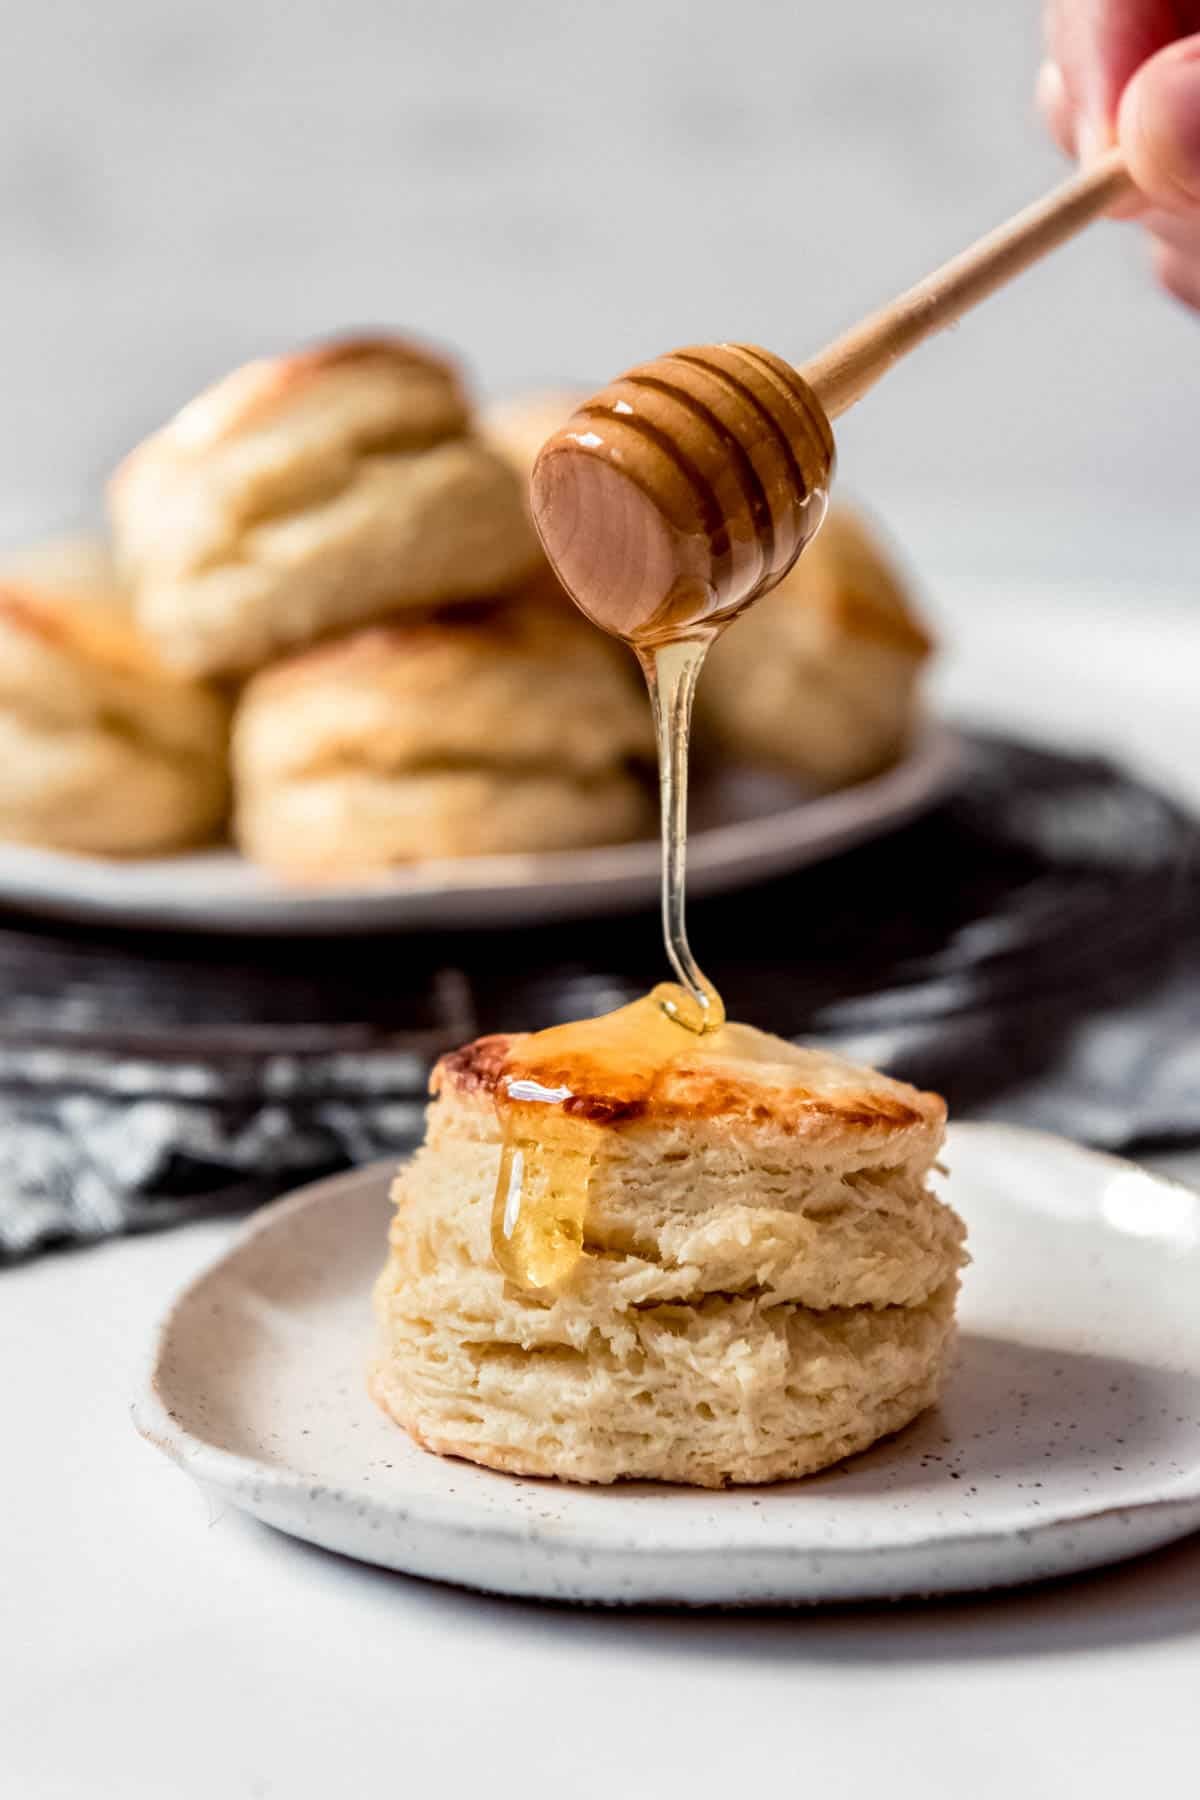
- Brush with melted butter & honey right after they come out of the oven. If you aren’t making buttermilk biscuits for biscuits and gravy, you might want to consider melting 2 tablespoons of salted butter with 1 tablespoon of honey, then brushing this over the tops of the biscuits as soon as they come out of the oven for a delicious finish.
How to Cut Buttermilk Biscuits Without a Biscuit Cutter
Even though the biscuits in these photos are round, I want to point out that there IS an easier way. Whether you don’t have a sharp round biscuit cutter or you just want to skip dealing with scraps of dough, square biscuits might be the answer for you.
Rather than cutting the biscuits out into circles, next time try using a bench scraper or sharp knife to cut the biscuit dough in half lengthwise, then into 1/8ths to get square biscuits. They bake up every bit as delicious and there is no rerolling of scraps involved!
I’m 50/50 for how often I do square biscuits versus round biscuits. It usually just depends on how lazy I’m feeling that morning or what my particular fancy is between circles or squares.

How to Store These Easy Buttermilk Biscuits
If you plan to consume the biscuits within a day or two, you can store them at room temperature in an airtight container or a zip-lock bag. Make sure they’re cooled completely before storing. If you want to store them for a longer duration, place the biscuits in an airtight container or a resealable bag and store them in the refrigerator. They should last for about 3-4 days this way.
To freeze, arrange the cooled biscuits in a single layer on a baking sheet and place them in the freezer for a few hours until they’re firm. Then, transfer them to a freezer-safe bag or container, separating layers with parchment paper. They can be stored in the freezer for up to 2-3 months. When you’re ready to eat them, thaw at room temperature or reheat in the oven for a few minutes.
Freezing Homemade Buttermilk Biscuits
Freezing after baking: Biscuits freeze well for up to 3-4 months after baking. Store them in a freezer-safe zip tight bag, then thaw overnight and reheat in the microwave or oven when you want to eat them.
Freezing without baking first: The biscuit dough can be frozen as well so that you can bake up fresh, hot buttermilk biscuits whenever you like! Prepare the dough through folding and cutting them out. Then freeze individually on a baking sheet lined with parchment paper for 1-2 hours.
Once frozen, you can toss the biscuits into a freezer-safe zip tight bag to store and just pull out however many you want to bake up at a time. The biscuits can be frozen like this for 3-4 months.
When ready to bake, pull out the biscuits and set them on a baking sheet lined with parchment paper to thaw for 45 minutes or so before baking.
Buttermilk Biscuits (Easy) FAQs
Ensure that your ingredients, especially the butter and buttermilk, are cold. Cold butter creates steam as it melts in the oven, which helps the biscuits rise and become fluffy.
Also, you might want to check the freshness of your baking powder/soda. If they are old or expired, they might not react properly, affecting the rise of the biscuits.
Handling the dough too much can develop too much gluten, resulting in tough biscuits. Mix the dough just until the ingredients come together. Over-kneading or over-mixing can lead to dense biscuits.
Also, if you roll the dough too thin, the biscuits might not rise as much. Aim for a thickness of about ¾ inch to 1 inch before cutting out the biscuits.
Chilling biscuit dough before baking is not required, but it can help firm up the butter in the biscuits, which, when melted in the oven, creates steam, leading to a flakier texture. Chilled dough is also often easier to work with. It’s less sticky and easier to cut into shapes, which can help maintain the biscuits’ shape and height during baking.
Ensure your fats (usually butter or shortening) are cold. When these fats melt in the oven, they create steam, which helps the biscuits rise. Keep the buttermilk or liquid ingredients cold as well.
Also, make sure your oven is fully preheated to the specified temperature before baking. A hot oven is crucial for the initial rise of the biscuits.
Use a sharp biscuit cutter and press straight down without twisting to cut out the biscuits. Twisting the cutter can seal the edges and hinder rising.

More Like This Easy Buttermilk Biscuit Recipe
- Liege Waffles
- German Pancakes
- Scrambled Macaroni and Eggs
- Aebleskiver (Danish Pancakes)
- Sour Cream Coffee cake
- Raspberry Streusel Muffins
- Crepes
- Eggs Benedict
- Popovers
Homemade Buttermilk Biscuits
Ingredients
- 2 1/4 cups all-purpose flour
- 1 1/2 Tablespoons baking powder
- 1/4 teaspoon baking soda
- 2 teaspoons granulated sugar
- 3/4 teaspoon salt
- 1/2 cup salted butter very cold or even frozen
- 1 cup cold buttermilk + more for brushing on top of the biscuits
Instructions
- Preheat oven to 425°F. Line a baking sheet with parchment paper.
- Whisk the flour, baking powder, baking soda, sugar, and salt together in a large bowl.2 ¼ cups all-purpose flour, 1 ½ Tablespoons baking powder, ¼ teaspoon baking soda, 2 teaspoons granulated sugar, ¾ teaspoon salt
- Grate the butter on the large holes of a box grater and add to the flour mixture. Mix the butter into the flour with a fork. This can also be done by adding cold cubed butter in a food processor (affiliate link) or using a pastry cutter, pulsing or cutting the butter in until it resembles coarse crumbs. Add the buttermilk and stir just until the flour is moistened and very shaggy looking.½ cup salted butter, 1 cup cold buttermilk
- Turn the biscuit dough out onto a lightly floured surface and use your hands to press it into a rough rectangle shape. Fold one side of the dough into the center, then the other side, like folding a letter to go into an envelope. Gently press flat again, then repeat the folding process one more time, patting or rolling out the dough with a rolling pin (affiliate link) to about 3/4- to 1-inch thickness.
- Cut out biscuits using a sharp, floured round cutter about 2 ½ inches in diameter. Press straight down and lift up to cut – do not twist the cutter. Transfer the biscuits to the baking sheet and reroll and cut out any remaining scraps of dough. Brush the biscuits with a little additional buttermilk for crispy edges on top, if desired.
- Bake for 13-15 minutes until golden brown on top.
Notes
- Buttermilk substitute: If you don’t have buttermilk, add 1 tablespoon of vinegar or lemon juice to a 1 cup measuring cup. Fill the rest of the way with whole milk and stir to combine. Let sit for 5-10 minutes, then use in place of regular buttermilk.
- Freezing instructions: Leftover biscuits can be frozen for 3-4 months. Just thaw in the fridge overnight and rewarm in the morning before enjoying. Or you can make the dough and freeze it for 3-4 months, wrapped tightly in plastic wrap. Thaw overnight in the fridge, then cut out and bake as directed.


This is the best recipe. I’ve had success every time
I’m so glad to hear that!
Fantastic recipe!! Dough is beautiful and sooo easy in food processor. ❤️ Thanks!!
Hi Amy! Once again, I have LUVED one of your recipes, AGAIN🤗 Made your”Best Homemade Buttermilk Biscuits” and they were delicious! My husband said that they were the BEST ones he has Ever eaten❣️He is 80 and I’m 71, so you know I’ve made a “few” throughout the years!!! Thank you for blessing us with your Gifts and talents‼️
I rate these biscuits 5⭐️‘s
Thank you so very much, Marsha! What a huge compliment!
Can this biscuit recipe be doubled? 8 just doesn’t seem like enough 😆
Absolutely! I double it all the time!
Made these for your American Eats challenge! These will definitely be my go-to biscuit recipe. So yummy! I rolled mine out too thin the first time so I’ll have to check that for the next time!
Best biscuits I’ve ever made. Went great with our soup
on this snowy, winter day.
Keep giving us such great recipes.
I was taught your exact recipe when I was a young girl of 12*. The absolute only
difference is I was taught that after putting all of the dry ingredients in a bowl, to
put that bowl in the fridge while you grate the butter.
I was taught “make them very cold and bake them very hot” !
As usual, this recipe is a delight–just like all of your others !
*not sure how it happened, but this young girl is now 70.
I just made this recipe and was very careful with the measurements, but the dough was so wet. What am I doing wrong? Maybe I’m not mixing the flour in enough? It happens with every biscuit recipe I try, so any pointers would help!
They tasted wonderful.
Sounds like you don’t have quite enough flour. If the dough is looking too wet and sticky, add another tablespoon or two at a time and see if that helps.
I watched my southern grandma make buttermilk biscuits every time she came to visit us or went down to visit all my dad’s family. She never measured anything and always used Crisco. Her biscuits were awesome! With the scraps she made what we called a snake and had to take turns on who got it!! You know it was the best one! What I’ve been doing is to follow your directions but after patting dough into the last rectangle I cut it in half vertically then put one on top of the other. Then cut the biscuits. Talk about layers!! My southern grandma would not approve of handling the dough so much or using butter!! But these are good biscuits too! Add sugar to the dough, slice strawberries, whip cream-makes for yummy strawberry shortcake!
Also she used White Lily self rising flour. My aunt said to add two pinches of baking soda on top of the buttermilk before mixing ingredients. I get my White Lily flour through Amazon
1 CUP BUTTERMILK IS TOO MUCH FOR THIS AMOUNT OF FLOUR. IT MADE IT SOGGY I HAD TO ADD FLOUR THEY ARE IN THE OVEN. SO I DON’T KNOW WHAT JAVING TO ADD FLOUR DID. I FOLLOW RECIPES TO THE LETTER.
Recipe does not list “buttermilk” just plain milk. Directions uses buttermilk, but recipe ingredients doesn’t have any baking soda listed that goes with acidic or buttermilk recipes.
I actually have buttermilk listed several times throughout the post. On the recipe card I have 1 cup of buttermilk and also baking soda listed under ingredients. If you want to go straight to the recipe I have a button at the top of the page that says “jump to recipe” and it will give you detailed instructions and list of ingredients for the buttermilk biscuit recipe.