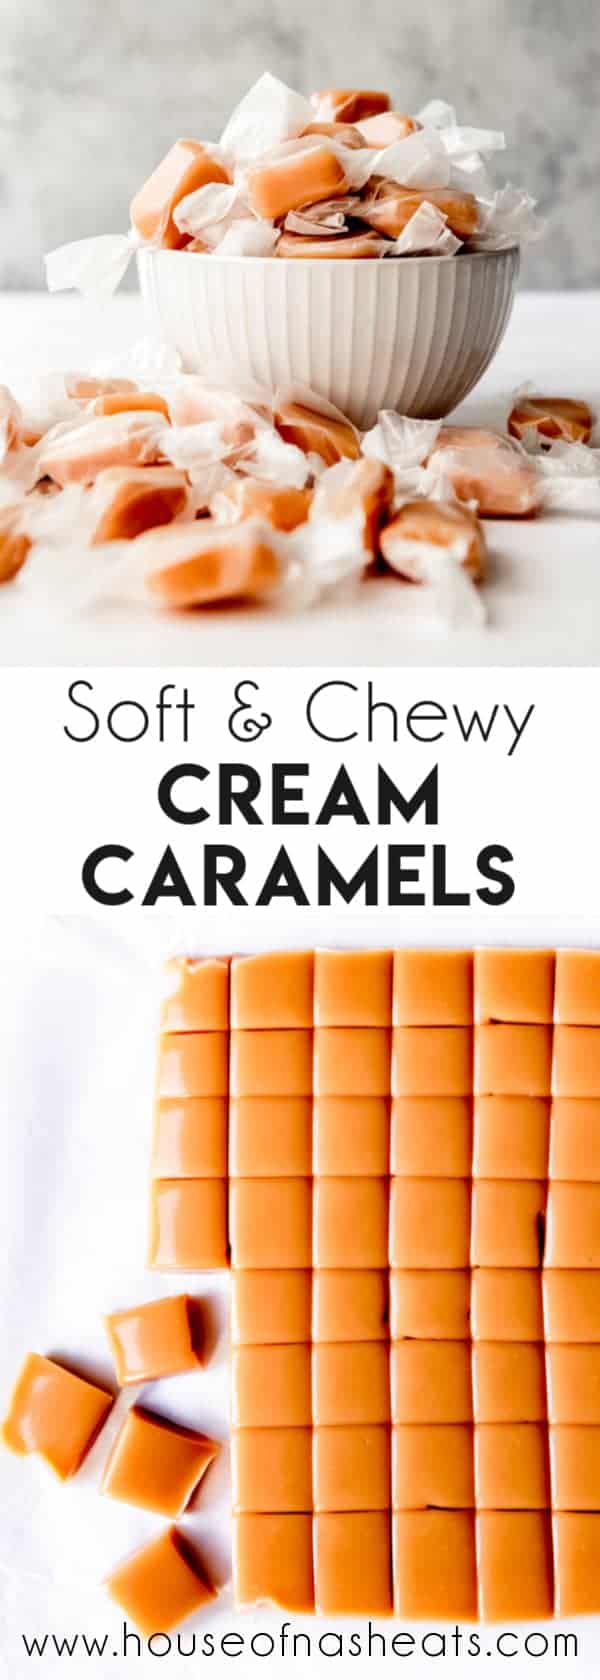
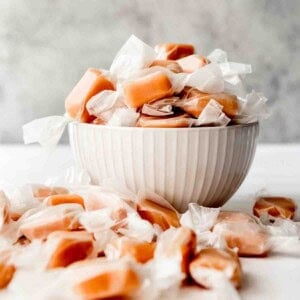
These Easy Homemade Cream Caramels are soft and chewy and buttery and oh so much fun to make! One batch makes a lot and they are an absolutely wonderful treat to share with friends and neighbors at Christmas or anytime!
If you love making homemade caramels and candy at Christmas, be sure not to miss any of my candy recipes! Other popular choices this time of year are Grandma Nash’s Best Butter Almond English Toffee, Easy Homemade Peppermint Bark, and my personal favorite, Old-Fashioned Divinity Candy.
Table of Contents
- These Homemade Caramels are the perfect gift!
- Why you’ll love this Caramel Candy Recipe
- Caramel Cream Candy Ingredients & Substitutions
- How to make Caramels
- Tips for how to make Soft Caramel
- Candy Thermometer vs. Cold Water Test
- How to do the Cold Water Test
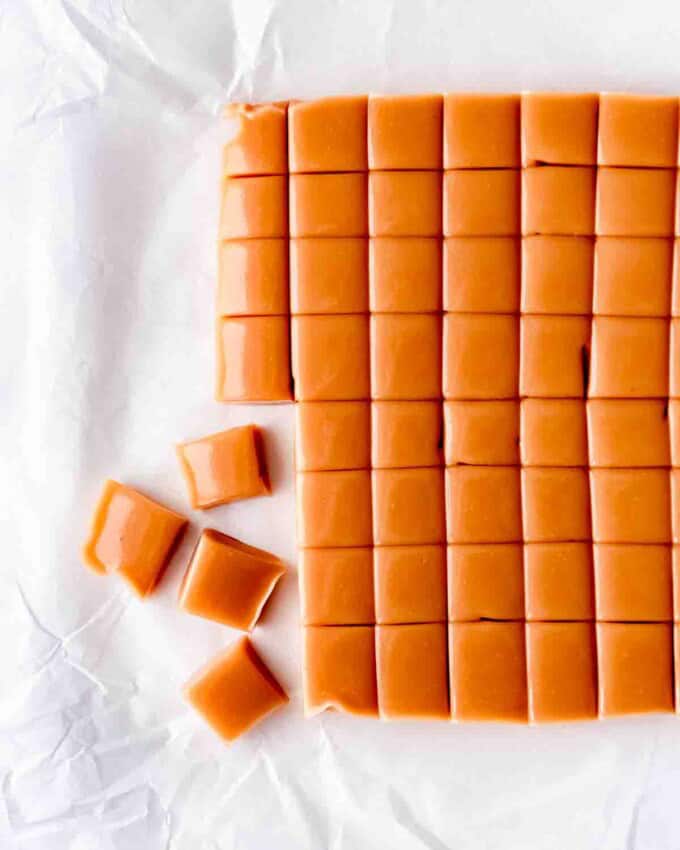
- How to Cut Homemade Caramels
- Caramel Candy Recipe variations
- How to store Homemade Caramels
- More Homemade Caramels
- Homemade Caramels Recipe Recipe
These Homemade Caramels are the perfect gift!
If you have ever wondered how to make caramel, wonder no more! I think it’s one of the easiest homemade candy recipes to make and the results are pretty much out of this world delicious.
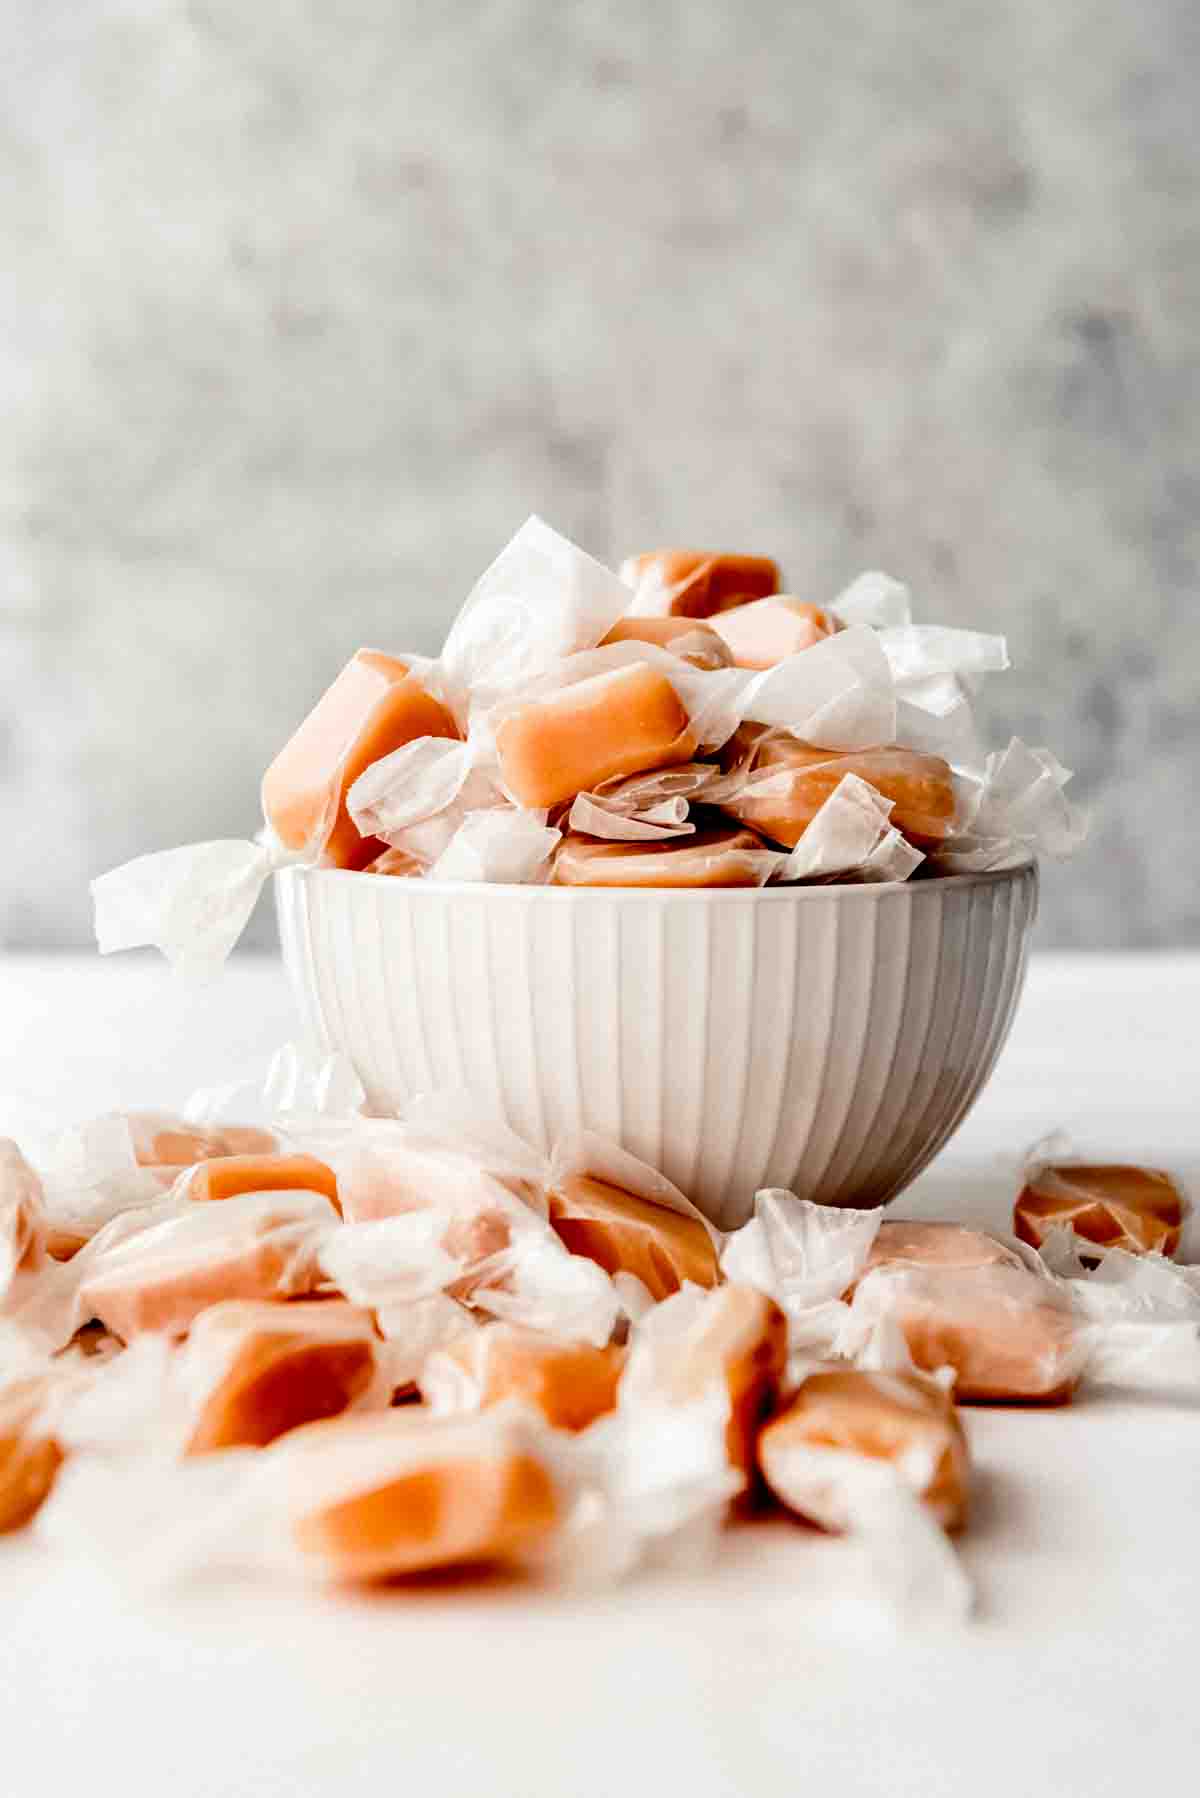
When we make these during Christmas, they get individually wrapped up and gifted to friends, neighbors, teachers, and co-workers, along with some of our other favorite candy or cookies.
I’ve suggested changing up our approach to neighbor gift-giving and trying something savory or maybe doing loaves of bread with Whipped Cinnamon Honey Butter, but Paul won’t have it.
Not that anyone is complaining when they get a plate of homemade candy with plenty of soft, chewy cream caramels on it!
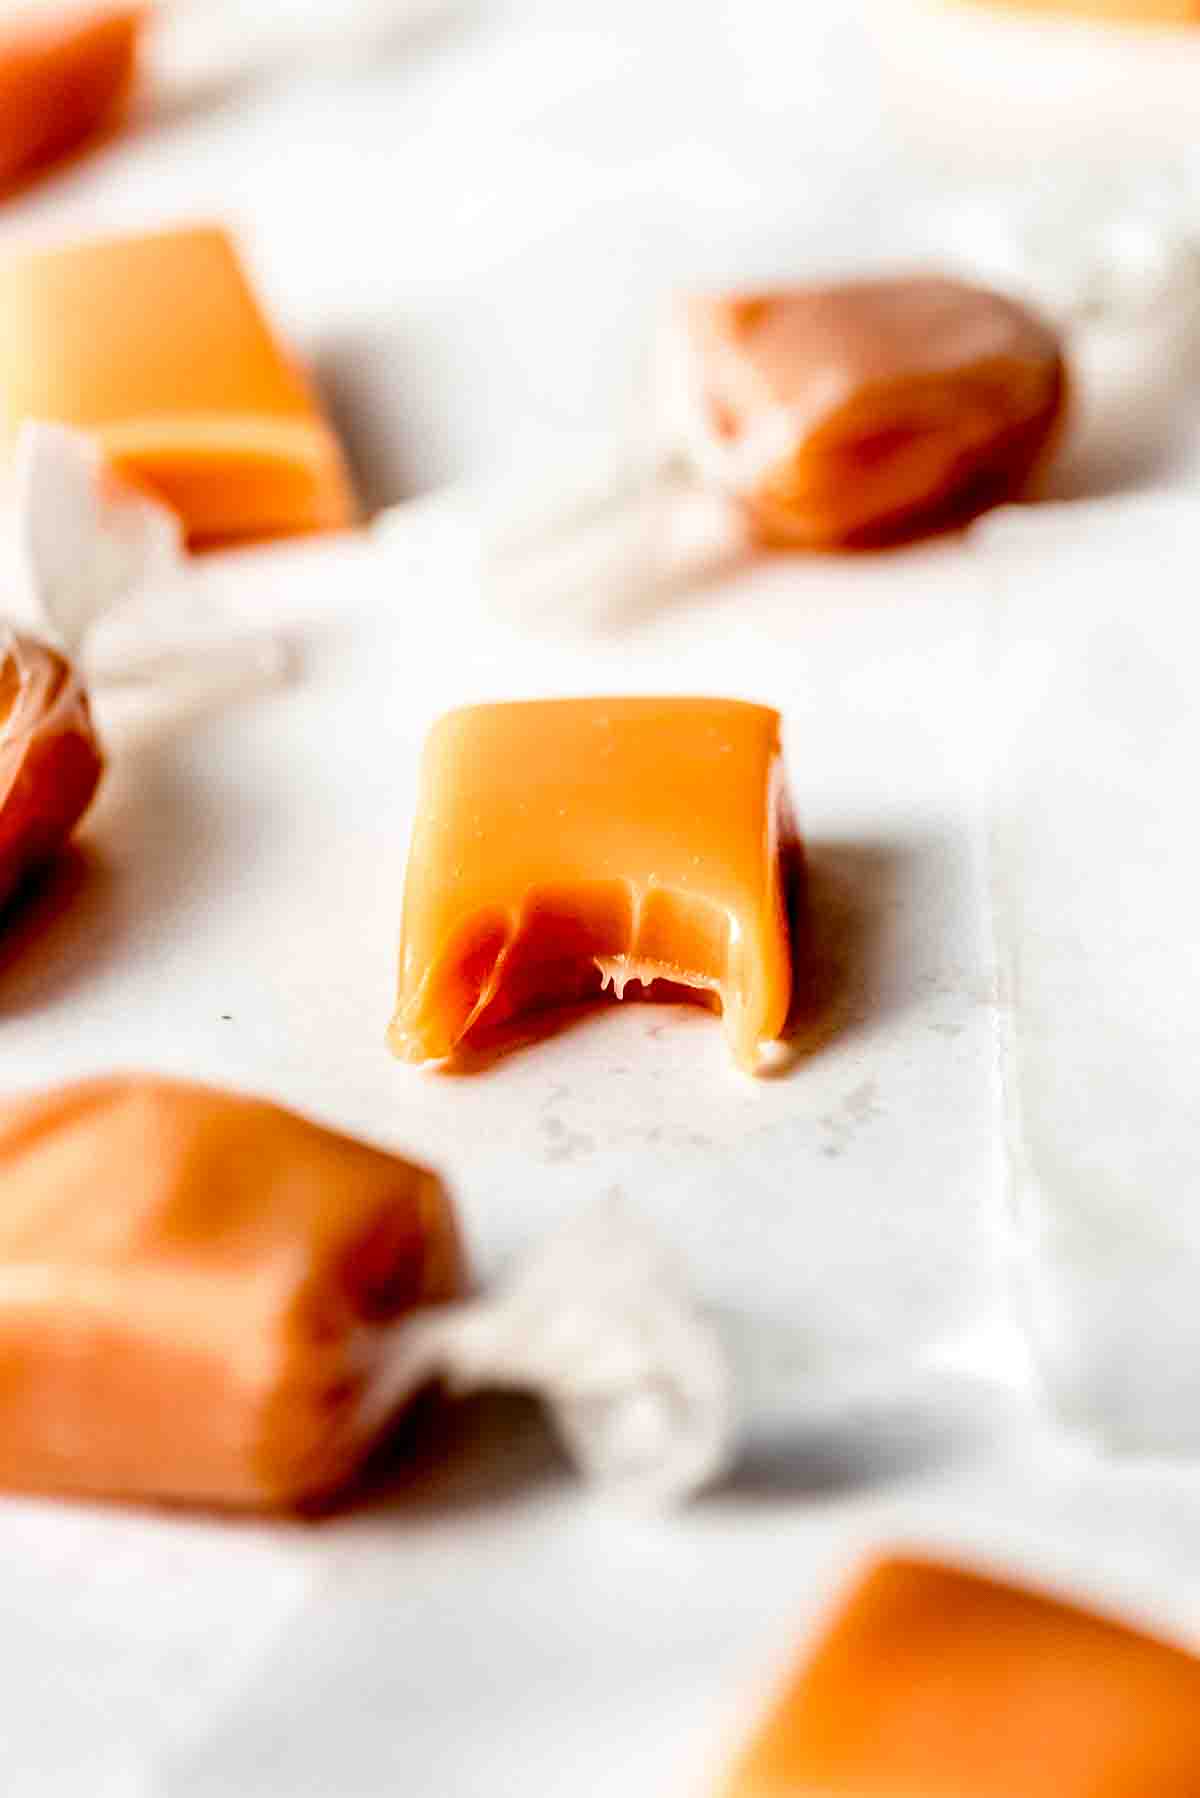
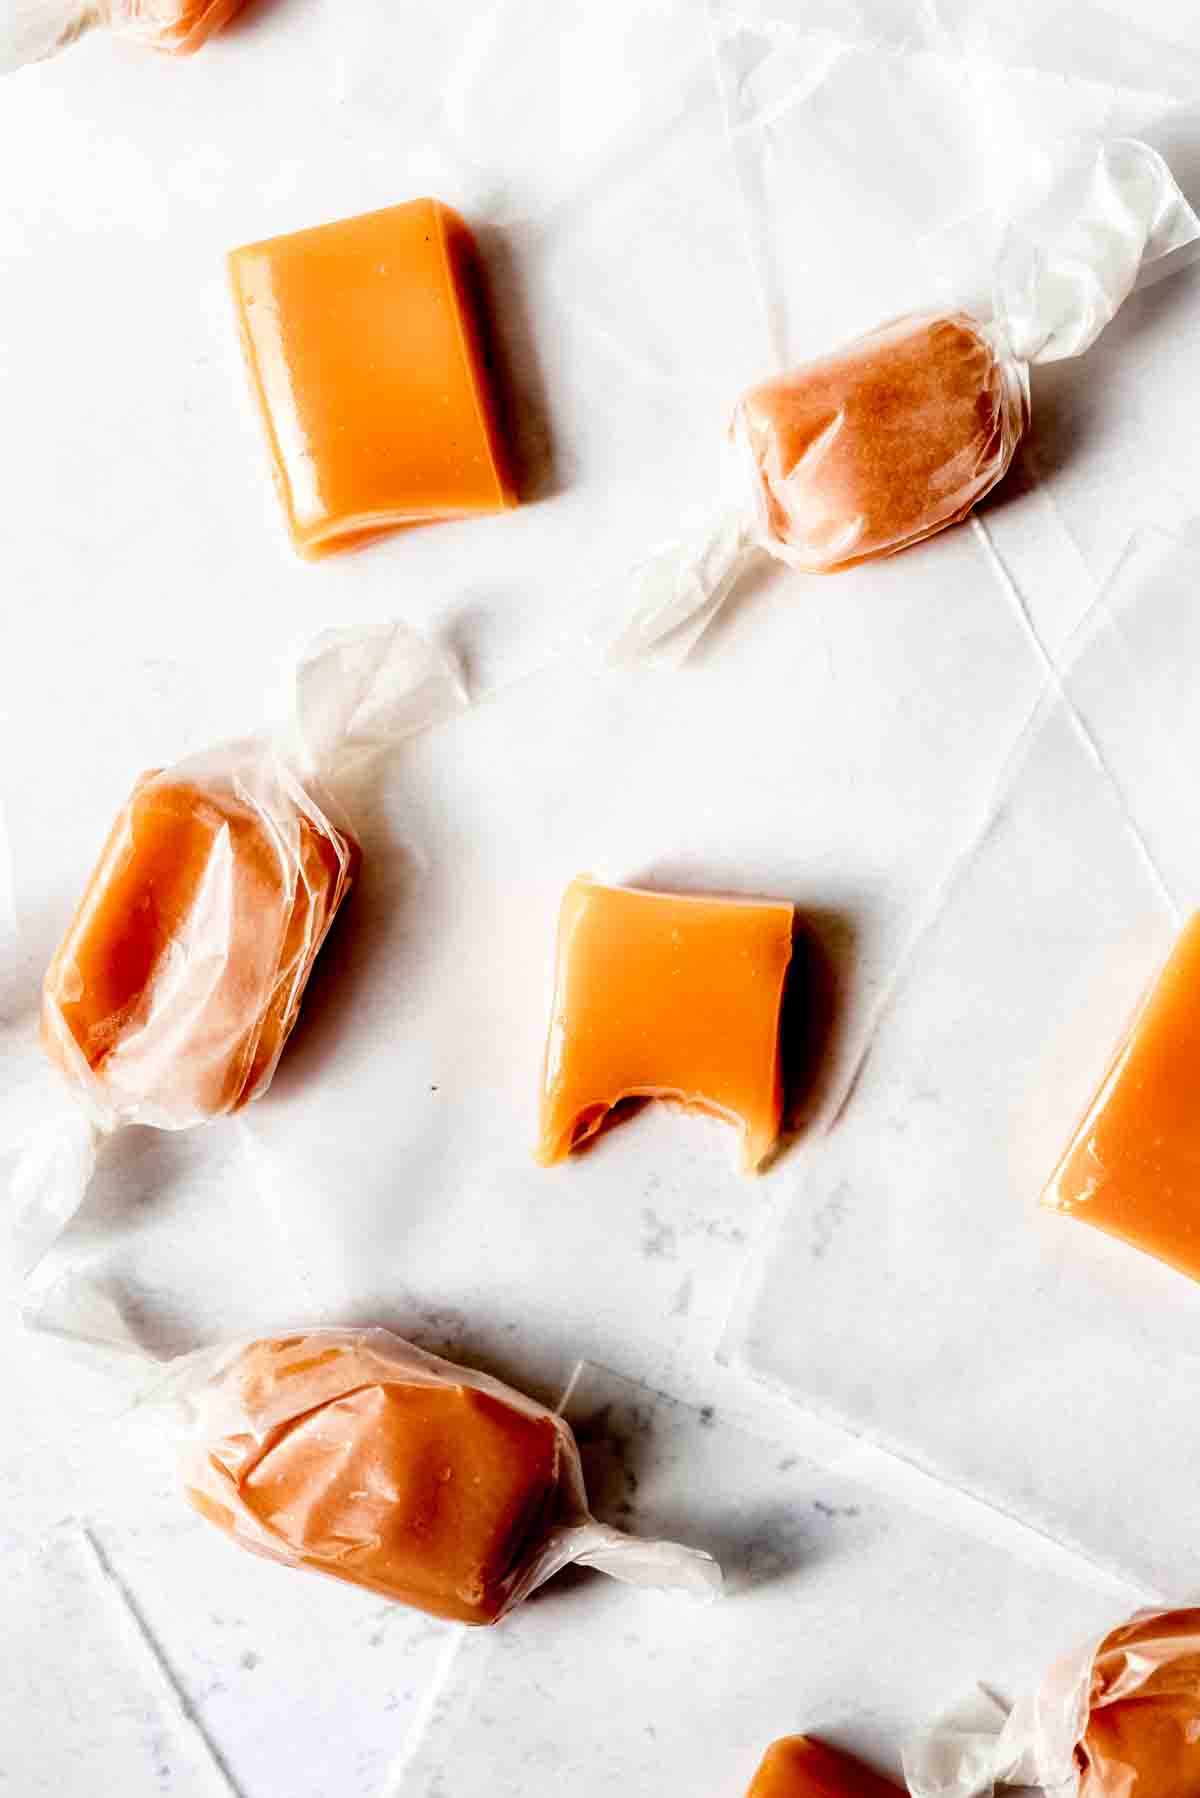
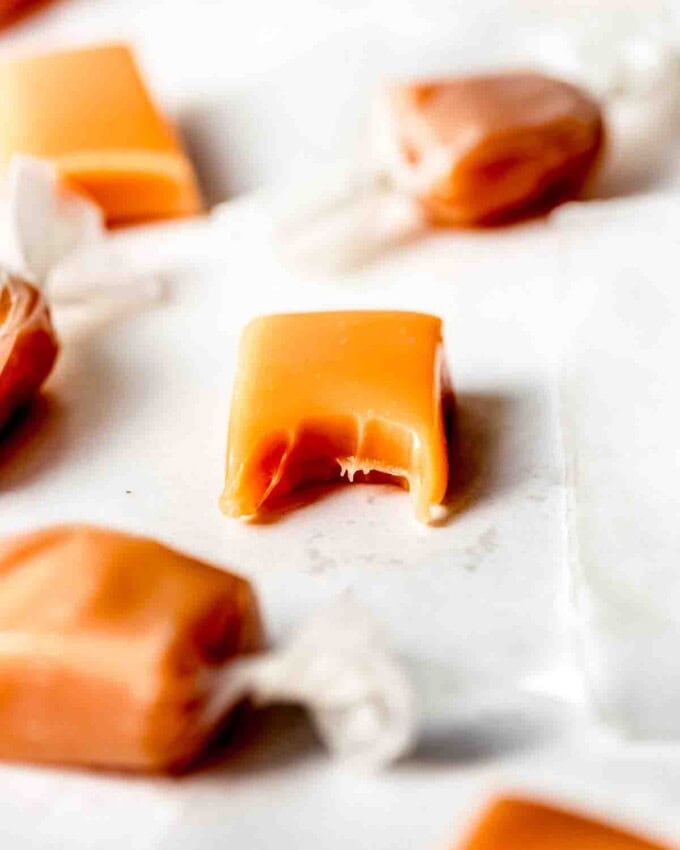
These are not super firm caramels, but rather supremely soft, melt-in-your-mouth caramels that are not too far from the texture of taffy, albeit with a rich caramel flavor.
If you prefer a firmer caramel, just cook it a little bit longer before taking it off the heat and pouring it into the pan.
Why you’ll love this Caramel Candy Recipe
This caramel candy recipe offers pure, sweet indulgence in just a few simple steps. The rich, buttery caramel flavor, coupled with a soft, chewy texture, is irresistible.
- Crafting your own caramels allows you to customize the level of sweetness and experiment with unique additions like sea salt, nuts, or chocolate.
- It makes a great homemade gift idea for loved ones.
- Soft, chewy texture
- Quick and easy to make
Caramel Cream Candy Ingredients & Substitutions
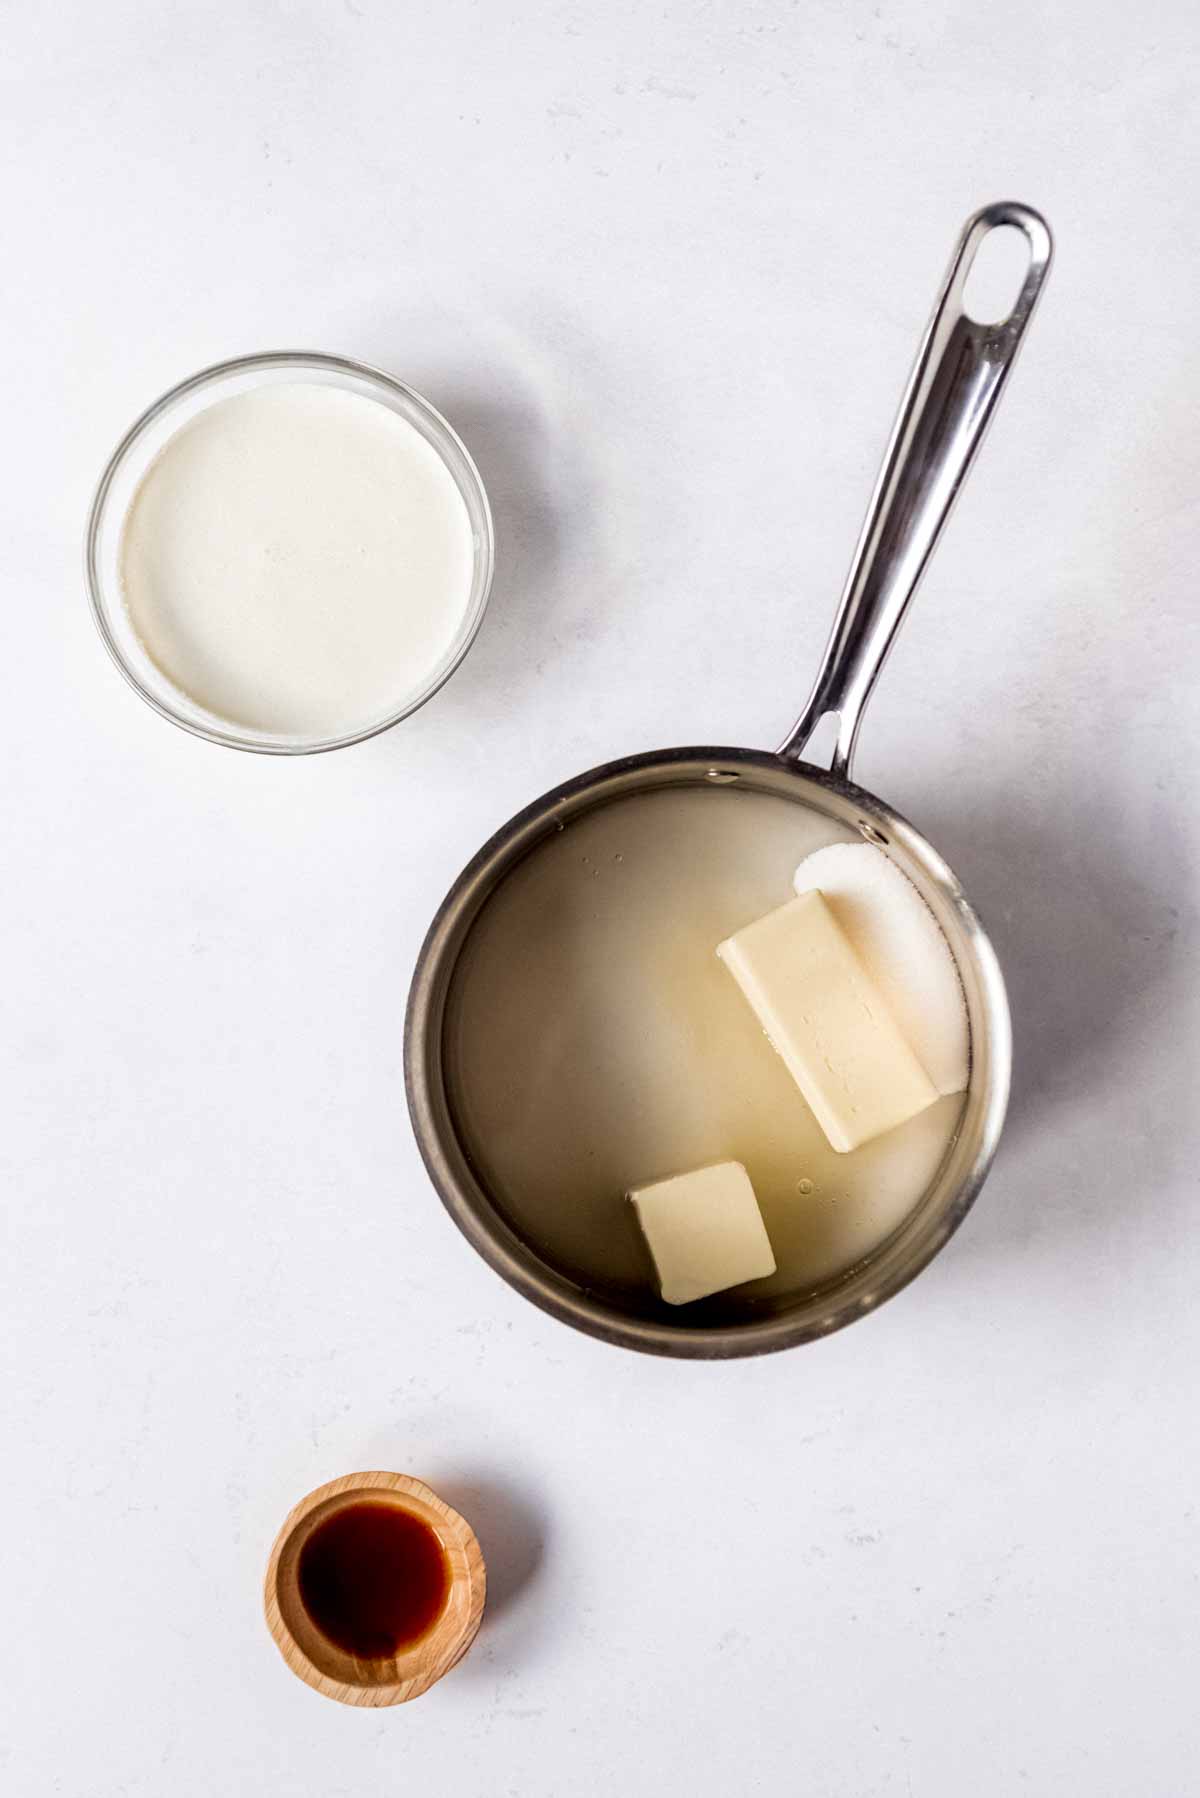
The ingredients in this caramel recipe are super simple. Cream caramels are just made with:
- Sugar
- Salted Butter
- Corn syrup
- Salt
- Vanilla
- Heavy cream
I don’t recommend substitutions other than you could replace the heavy cream with evaporated milk and you can choose between light or dark corn syrup. Darker corn syrup will help color the caramels a bit darker but otherwise I don’t notice a flavor difference.
How to make Caramels
- Just combine all of the ingredients except for 1 cup of reserved cream and the vanilla in a large heavy-bottomed pot. You are going to stir over medium heat while the butter slowly melts and the sugar, cream, corn syrup, and butter combine.
- Once the butter is melted and the mixture starts boiling, heat up the remaining cup of cream in the microwave and slowly pour the hot cream into the caramel, stirring the whole time. This helps to not shock the caramel with a major temperature change and makes caramel making much easier.
- Then it’s just a matter of clipping on your candy thermometer (affiliate link) and letting the caramel cook over medium heat until it reaches 245°F.
- Once that happens, pour the caramel into a square 9×9-inch pan lined with parchment paper and let it set up overnight!
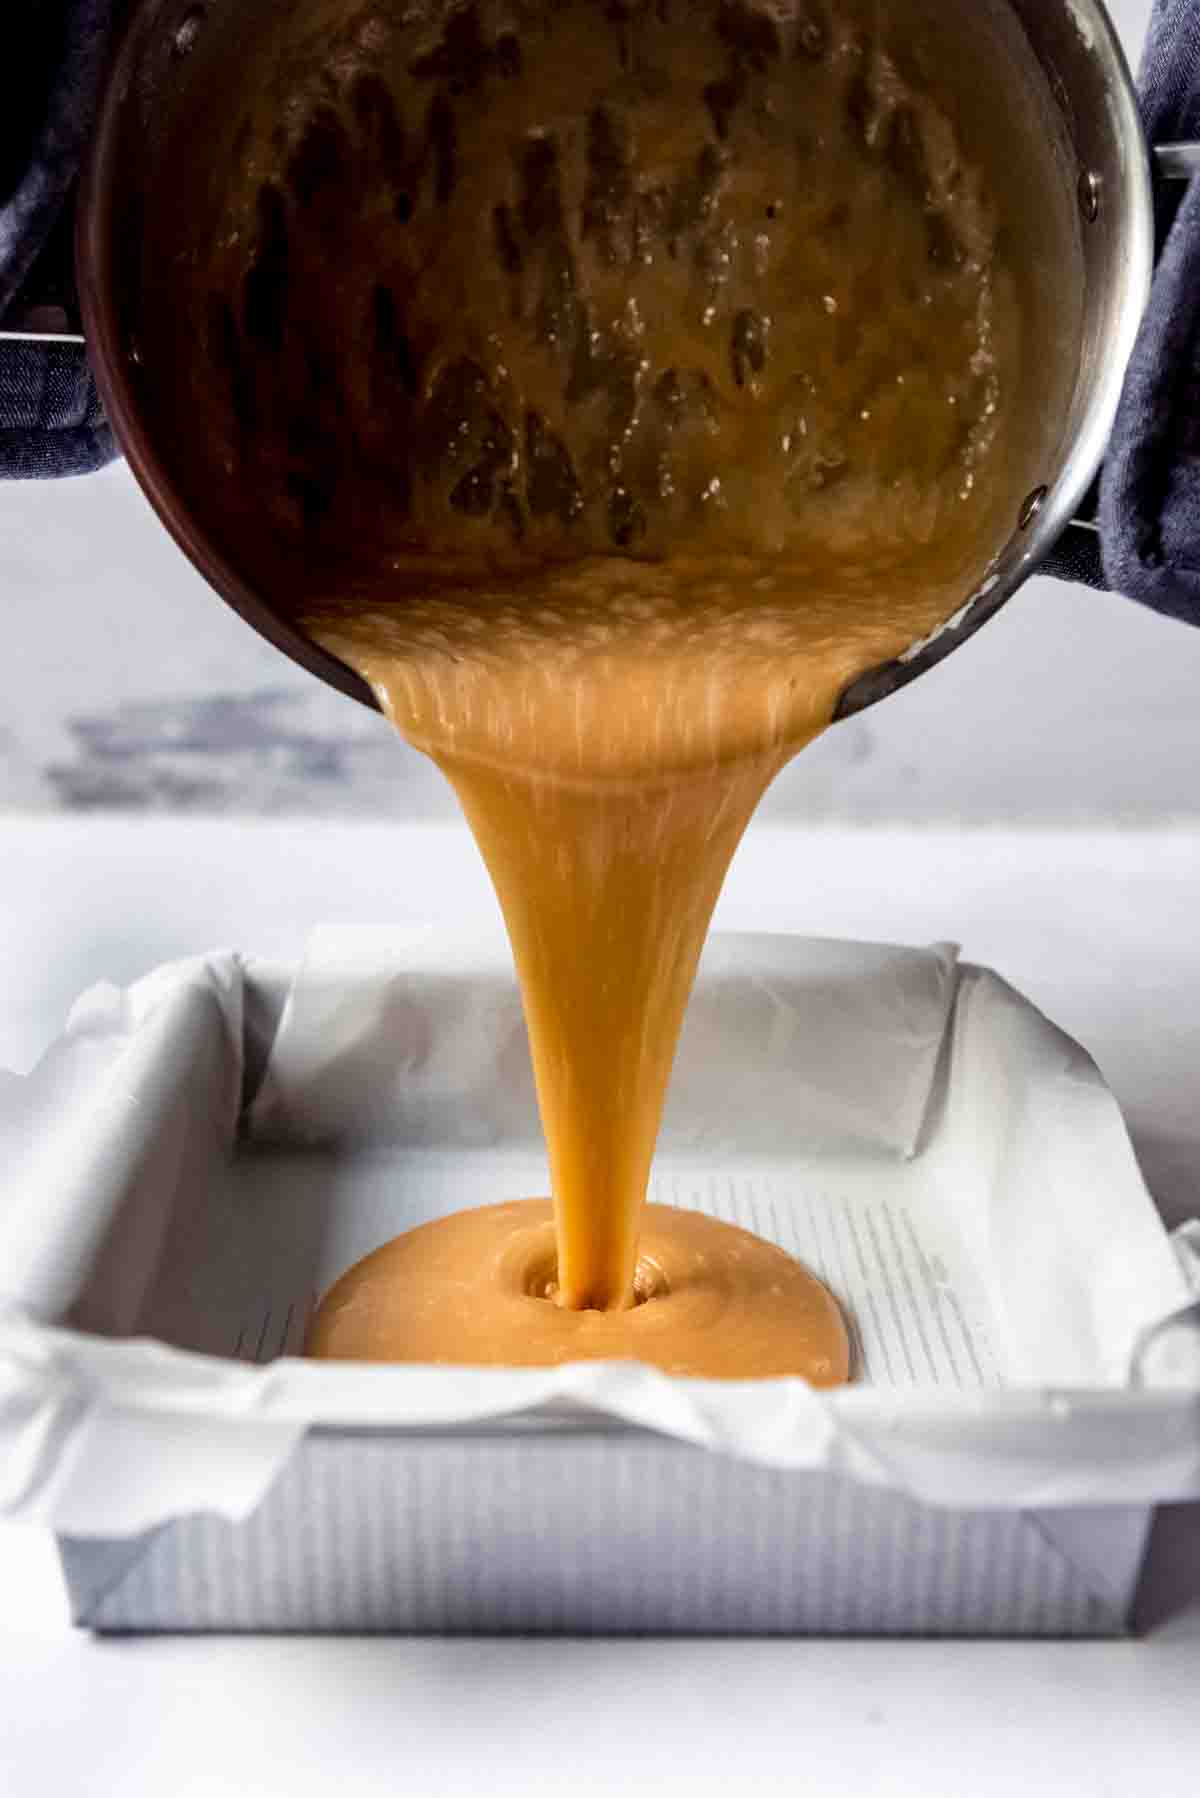
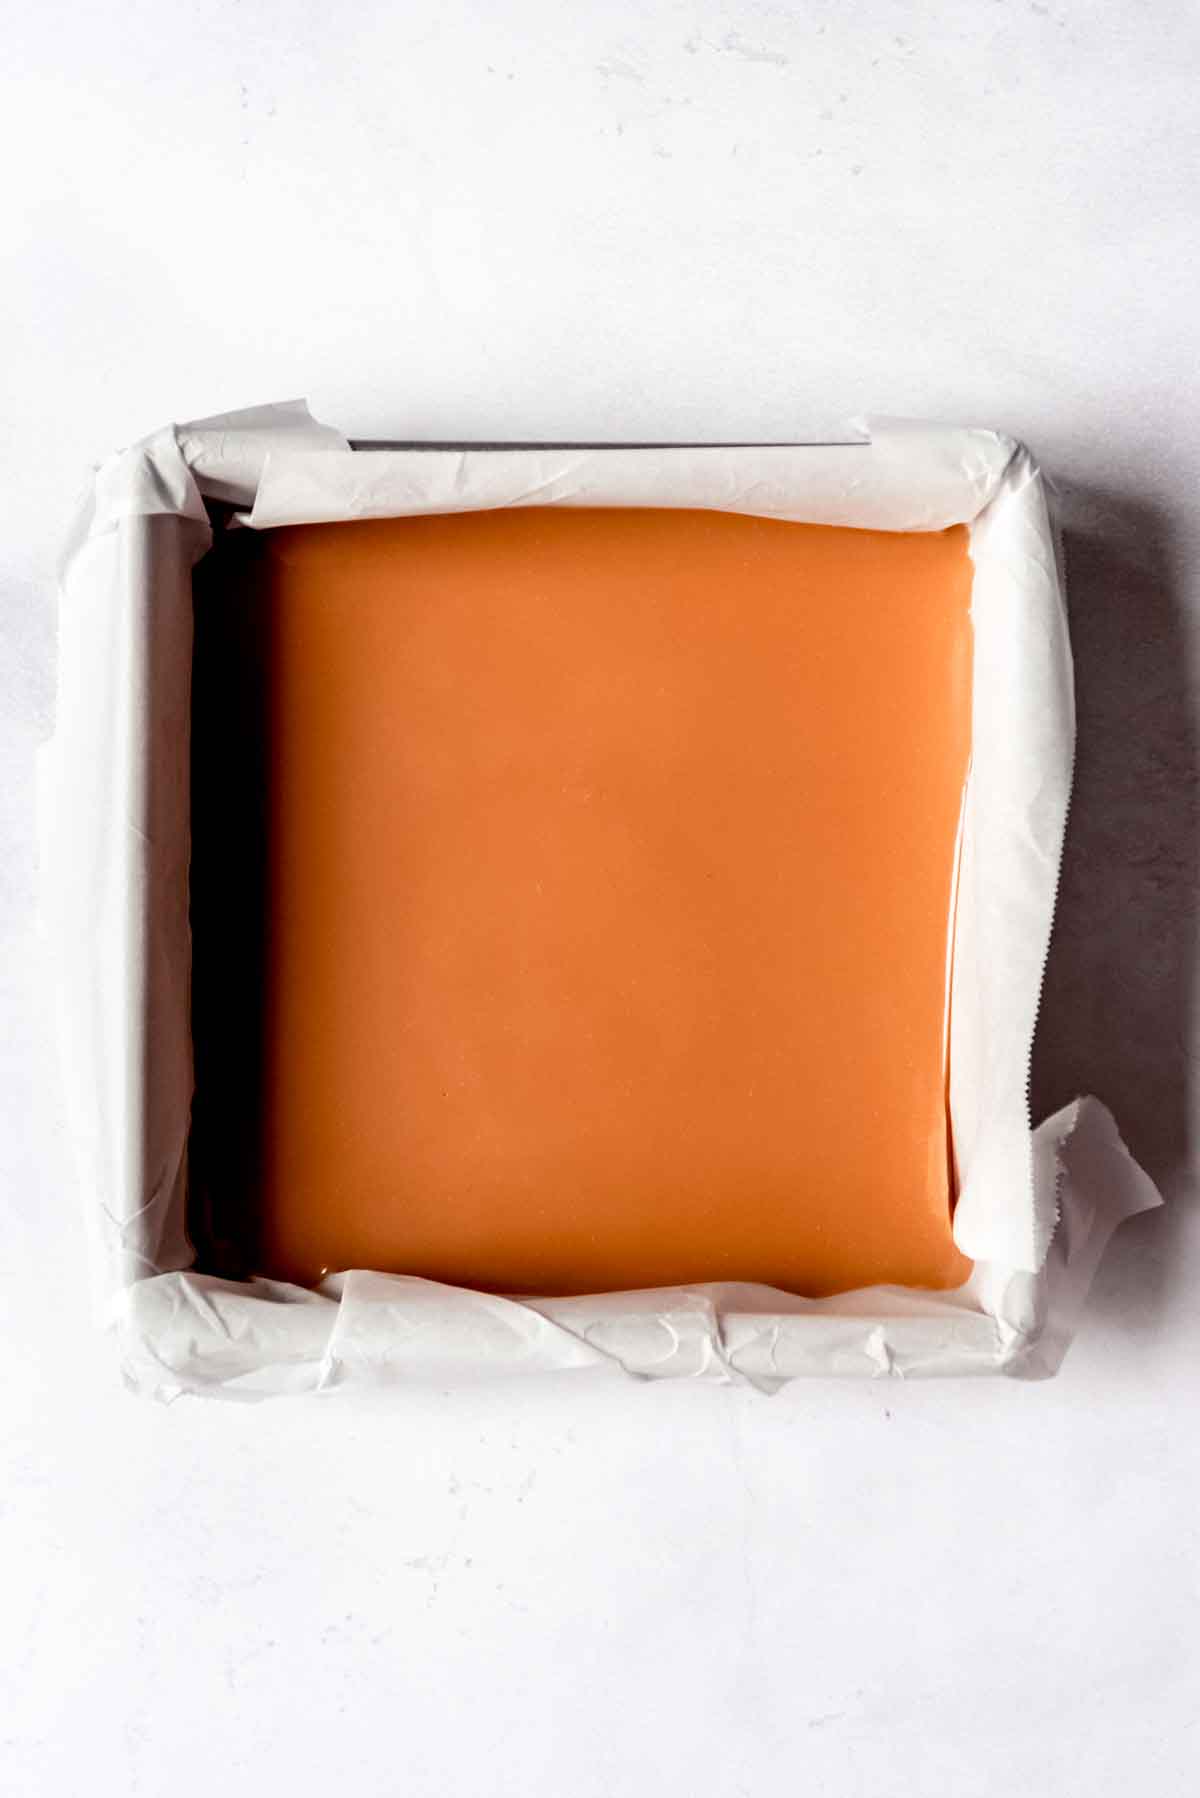
Don’t worry about scraping every last bit of caramel out off the pan. The stuff on the bottom can be thicker than what pours out and will leave unsightly ribbons in your finished caramel.
Tips for how to make Soft Caramel
- Don’t rush things! The real trick for how to make caramel is to take it slowly. The wonderful caramel flavor develops as the sugar toasts and caramelizes over a low heat.
- Use a large enough pan. There is nothing worse than burnt sugar on your stovetop. Avoid this by using a large enough pan (at least 4-quarts or bigger), as the caramel will bubble and expand as it heats up. I will often use my larger dutch oven just to be on the safe side.
- Don’t get distracted. You will want to stir frequently throughout the process, and it can take a while for the caramel to come up to temperature, so make sure you have time to dedicate to standing by the stove!
Candy Thermometer vs. Cold Water Test
I highly recommend investing in an inexpensive candy thermometer (affiliate link) when making caramel because it makes it practically foolproof. As long as you watch your temperature and pull the caramel off when it reaches 243-245°F, you will end up with lovely squares of soft, buttery caramels for sharing. It can even go up to 250°F if you prefer your caramel slightly firmer.
However, if you live at a higher altitude, you may need to make some adjustments. The rule of thumb is to reduce the temperature you are trying to reach by 2°F for each 1,000 feet of altitude you gain. This is because liquids boil at lower temperatures when you are at higher elevations thanks to a difference in air pressure.
So if you are in, say Utah, which is roughly 4,000 feet above sea level, you may only need to cook your caramel to 237-239°F instead of the higher temperature that I look for in California.
How to do the Cold Water Test
Or alternatively, you can use the cold water test to determine if your caramel has reached “soft ball stage”.
Just set a cup or bowl of ice water next to your caramel and spoon a spoonful into the water. You should be able to mold the caramel into a ball that is pliable and soft but firm enough to hold it’s shape.
How to Cut Homemade Caramels
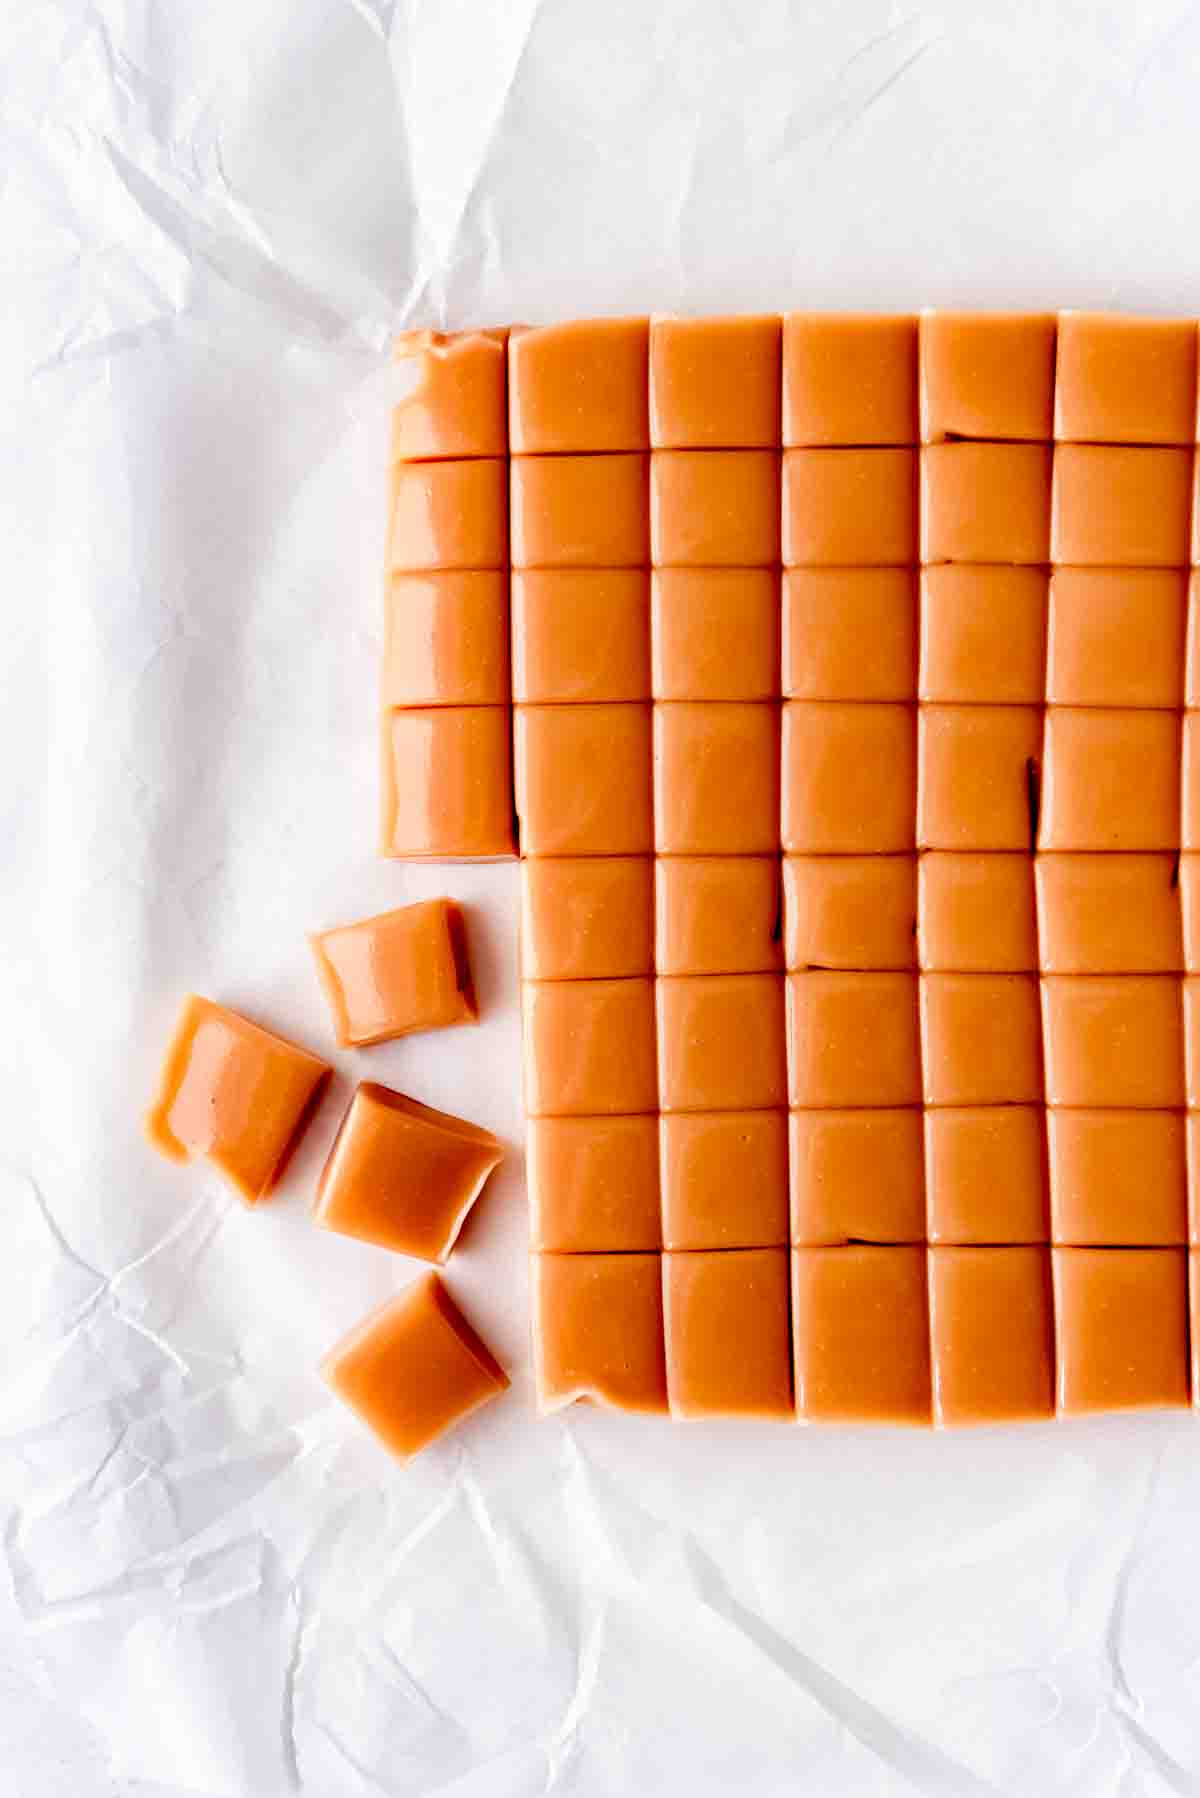
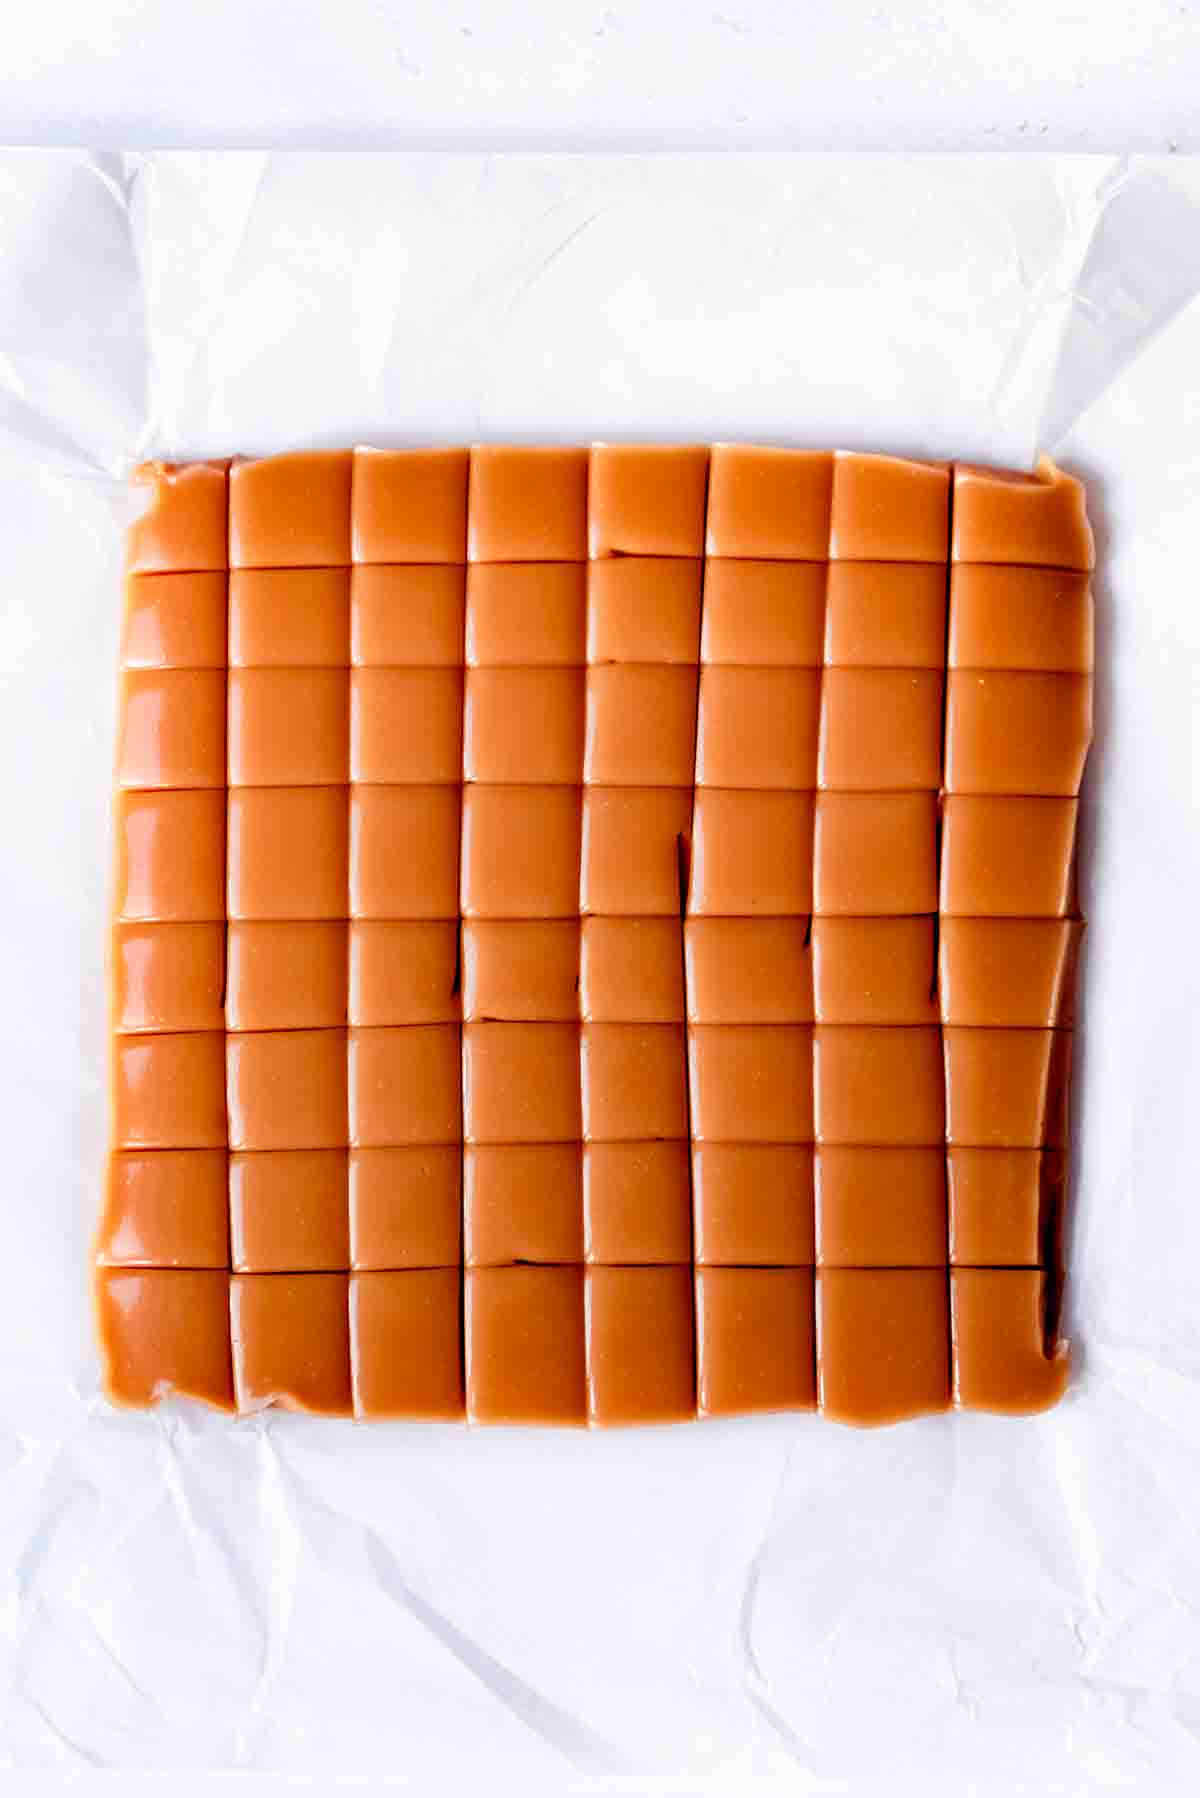
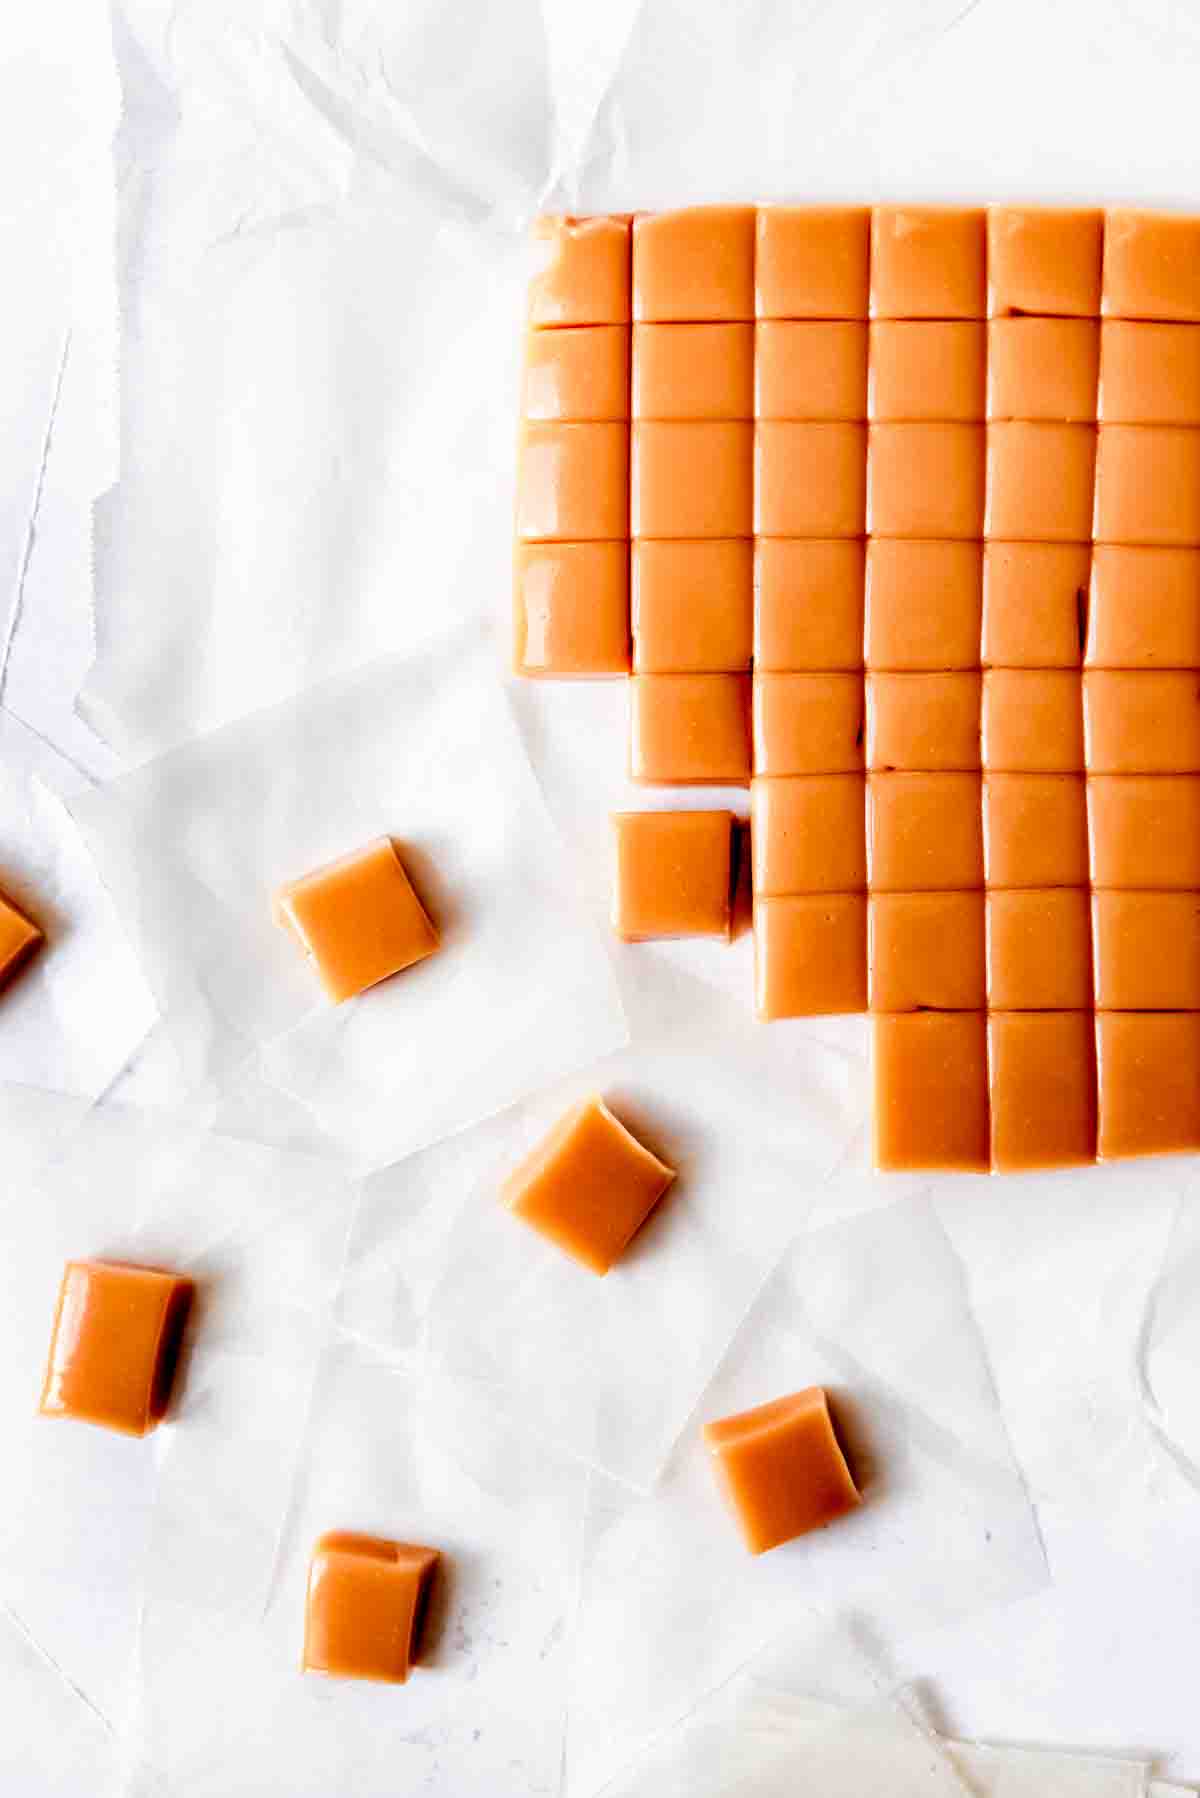
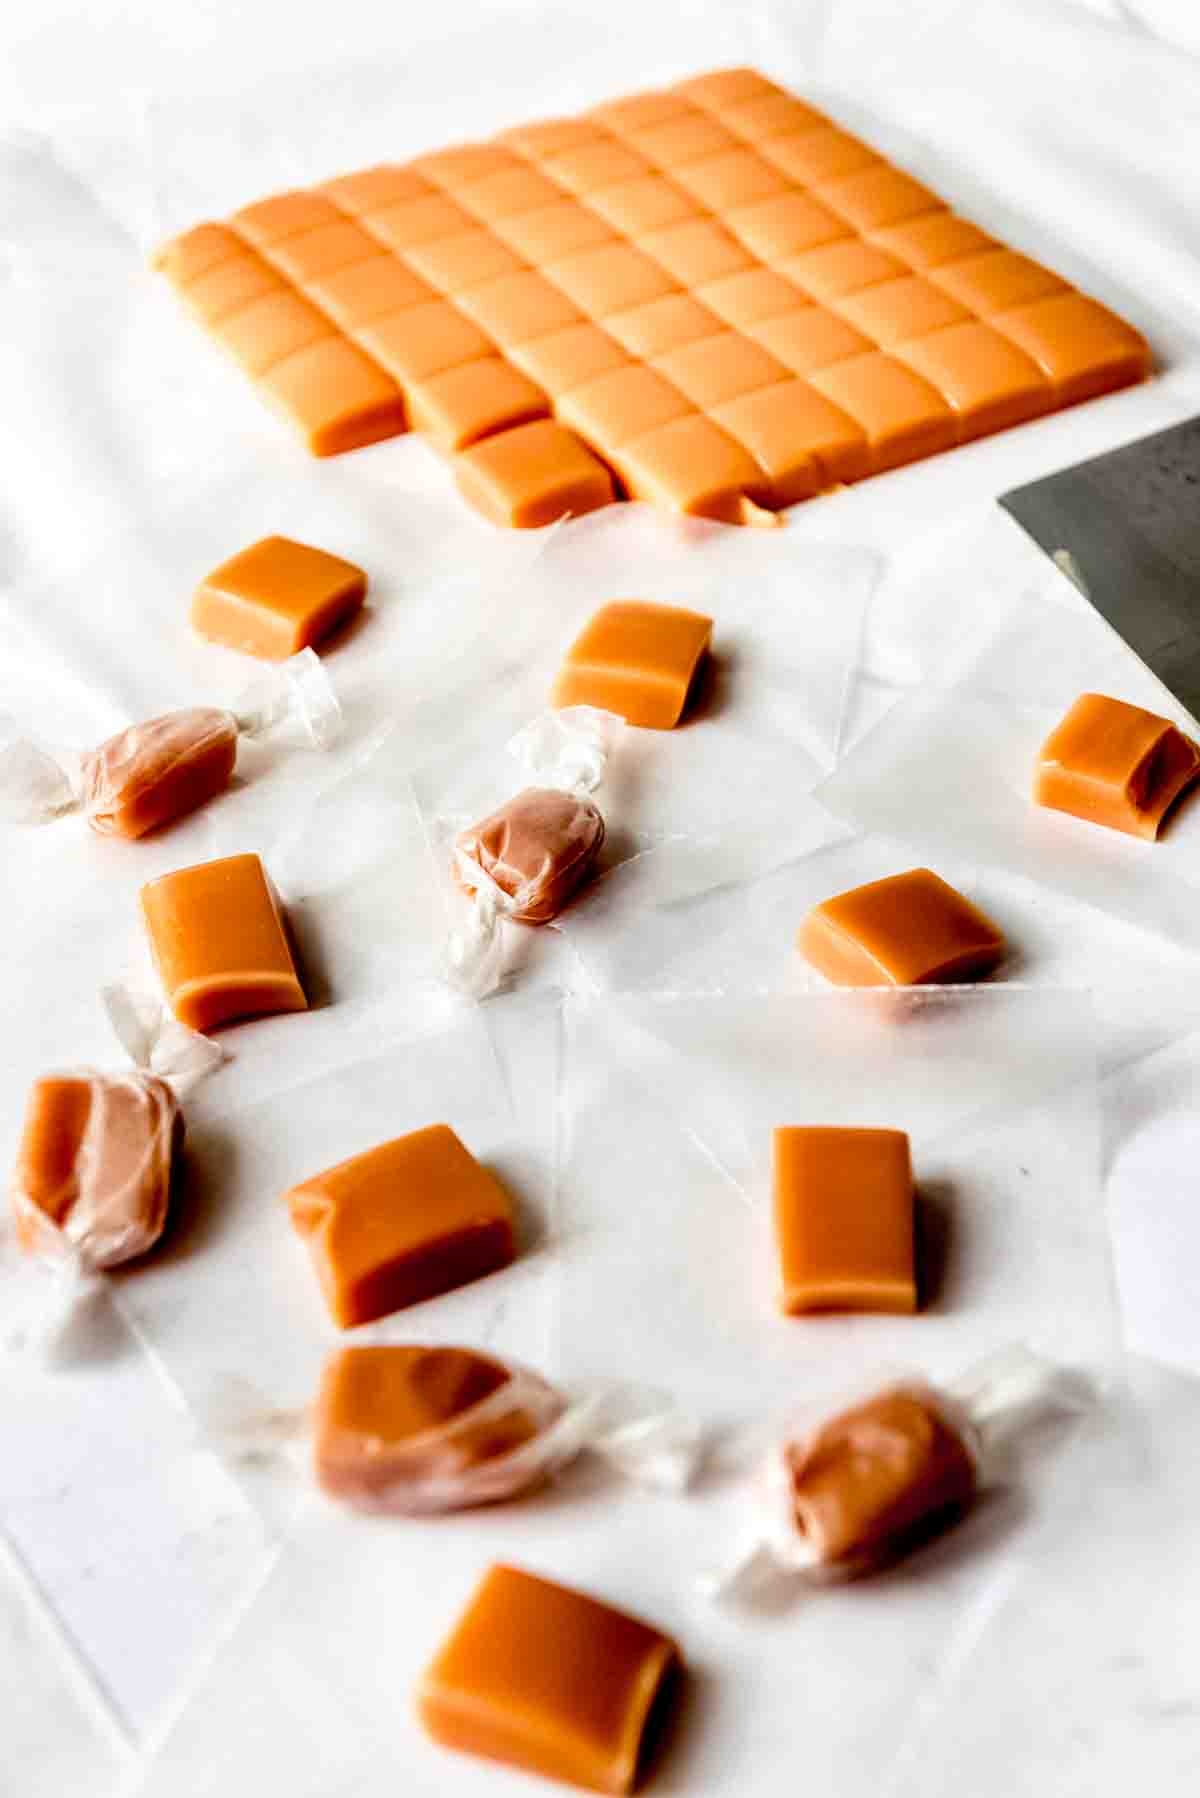
Be sure to let the caramels cool COMPLETELY before cutting into bite-size squares. You can even stick the caramel in the fridge while it is setting up, since it’s much easier to cut cold caramel and have it keeps it’s shape.
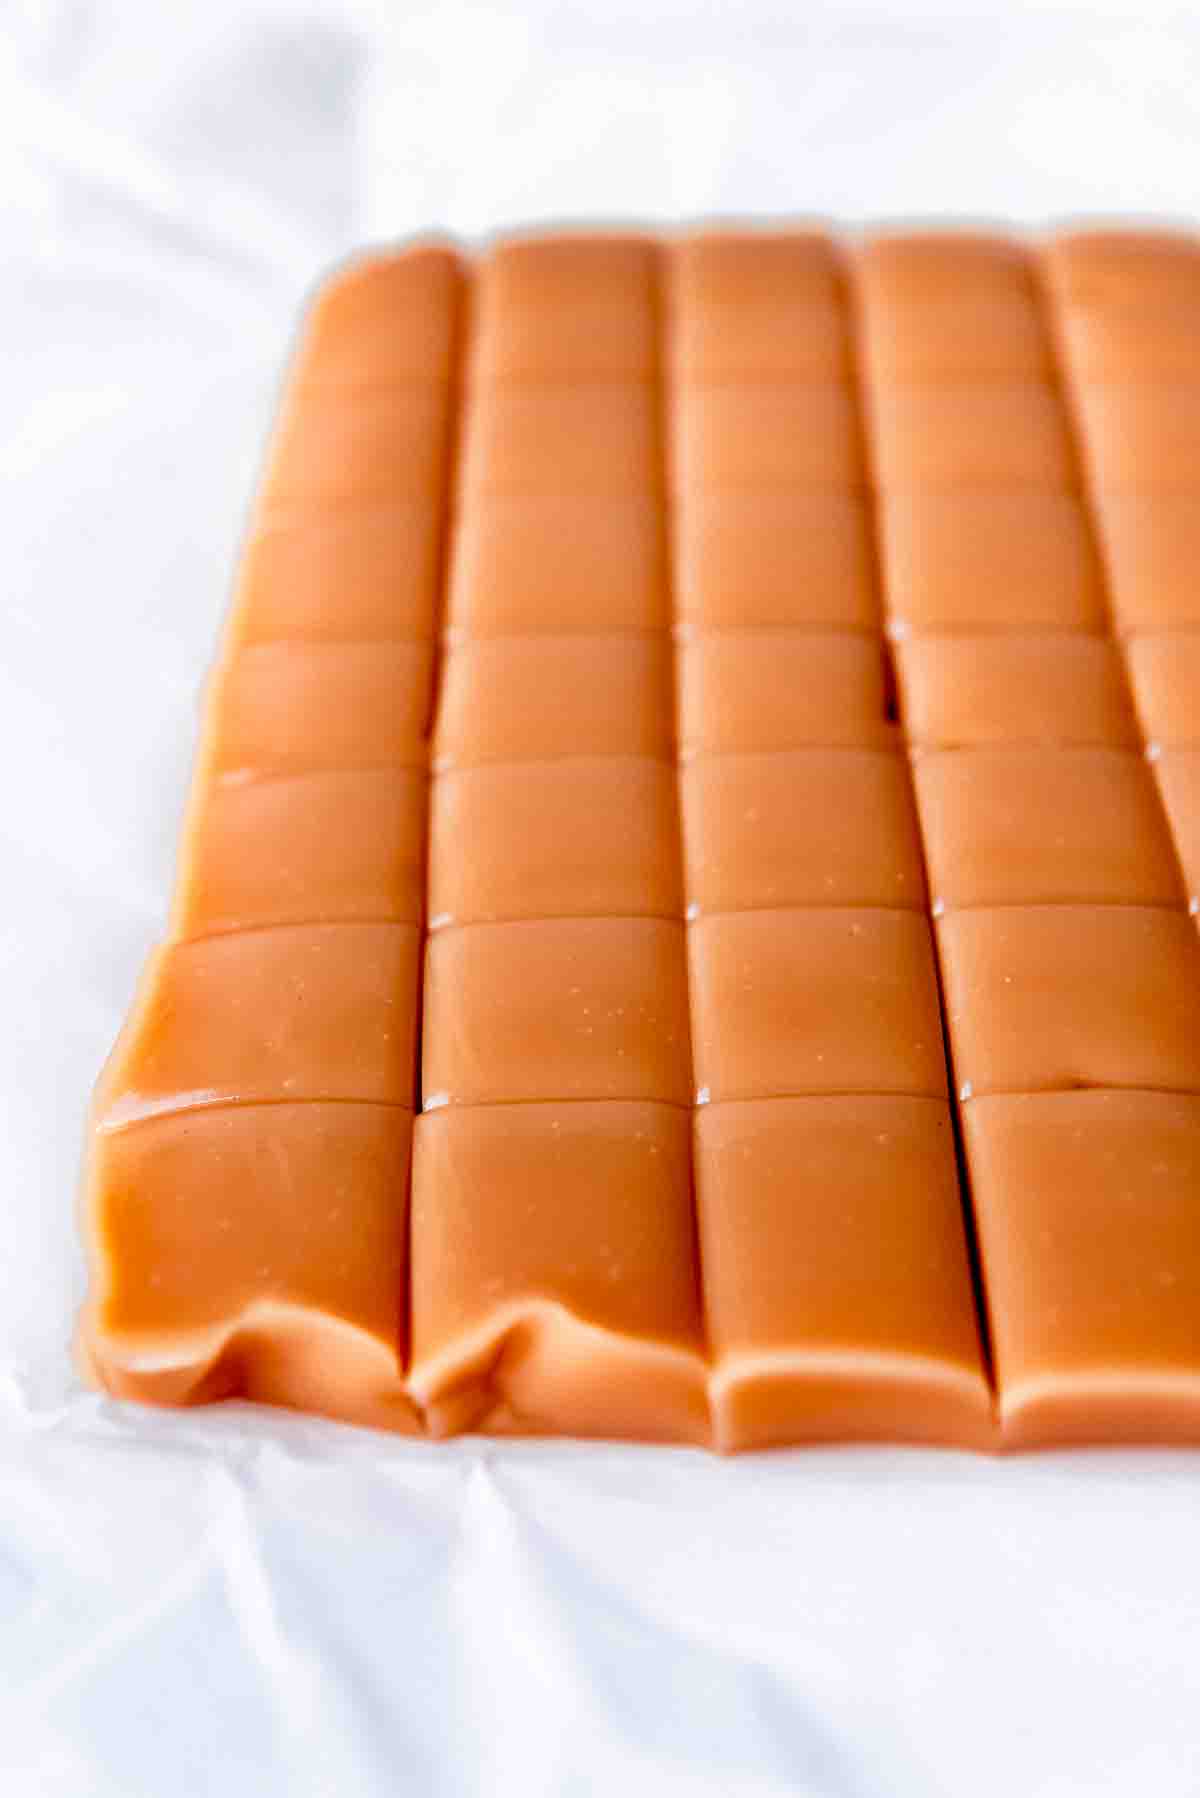
I have also found that you can lift the parchment paper sling completely out of the pan and transfer it to a cutting board, which makes cutting the caramels into squares so much easier for those of us who are challenged with cutting straight lines in baking dishes.
Frankly, I still struggle cutting straight lines even on cutting boards! I get my best results when I cut with a long, sharp knife, or use my bench scraper as a cutting tool.
I start right in the middle, cutting the caramel in half, then I cut the halves in half and so on. It’s much easier for me than attempting straight lines all the way across a big piece of freshly made caramel.
Also, while I cut these as larger two-bite squares, you could make longer, narrower pieces of caramel (think Tootsie Roll shape) for a different shape, or get even more pieces that are perfectly poppable one-bite caramels.
Caramel Candy Recipe variations
These homemade cream caramels are absolutely divine all on their own. But it’s also a great recipe for using to make some other easy candies that are delicious in their own right.
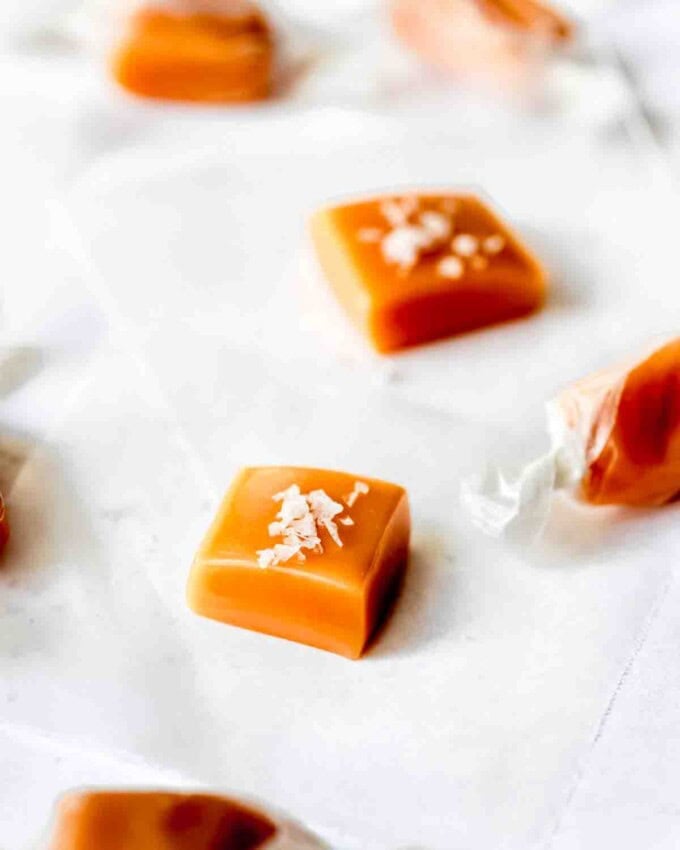
Salted Caramels
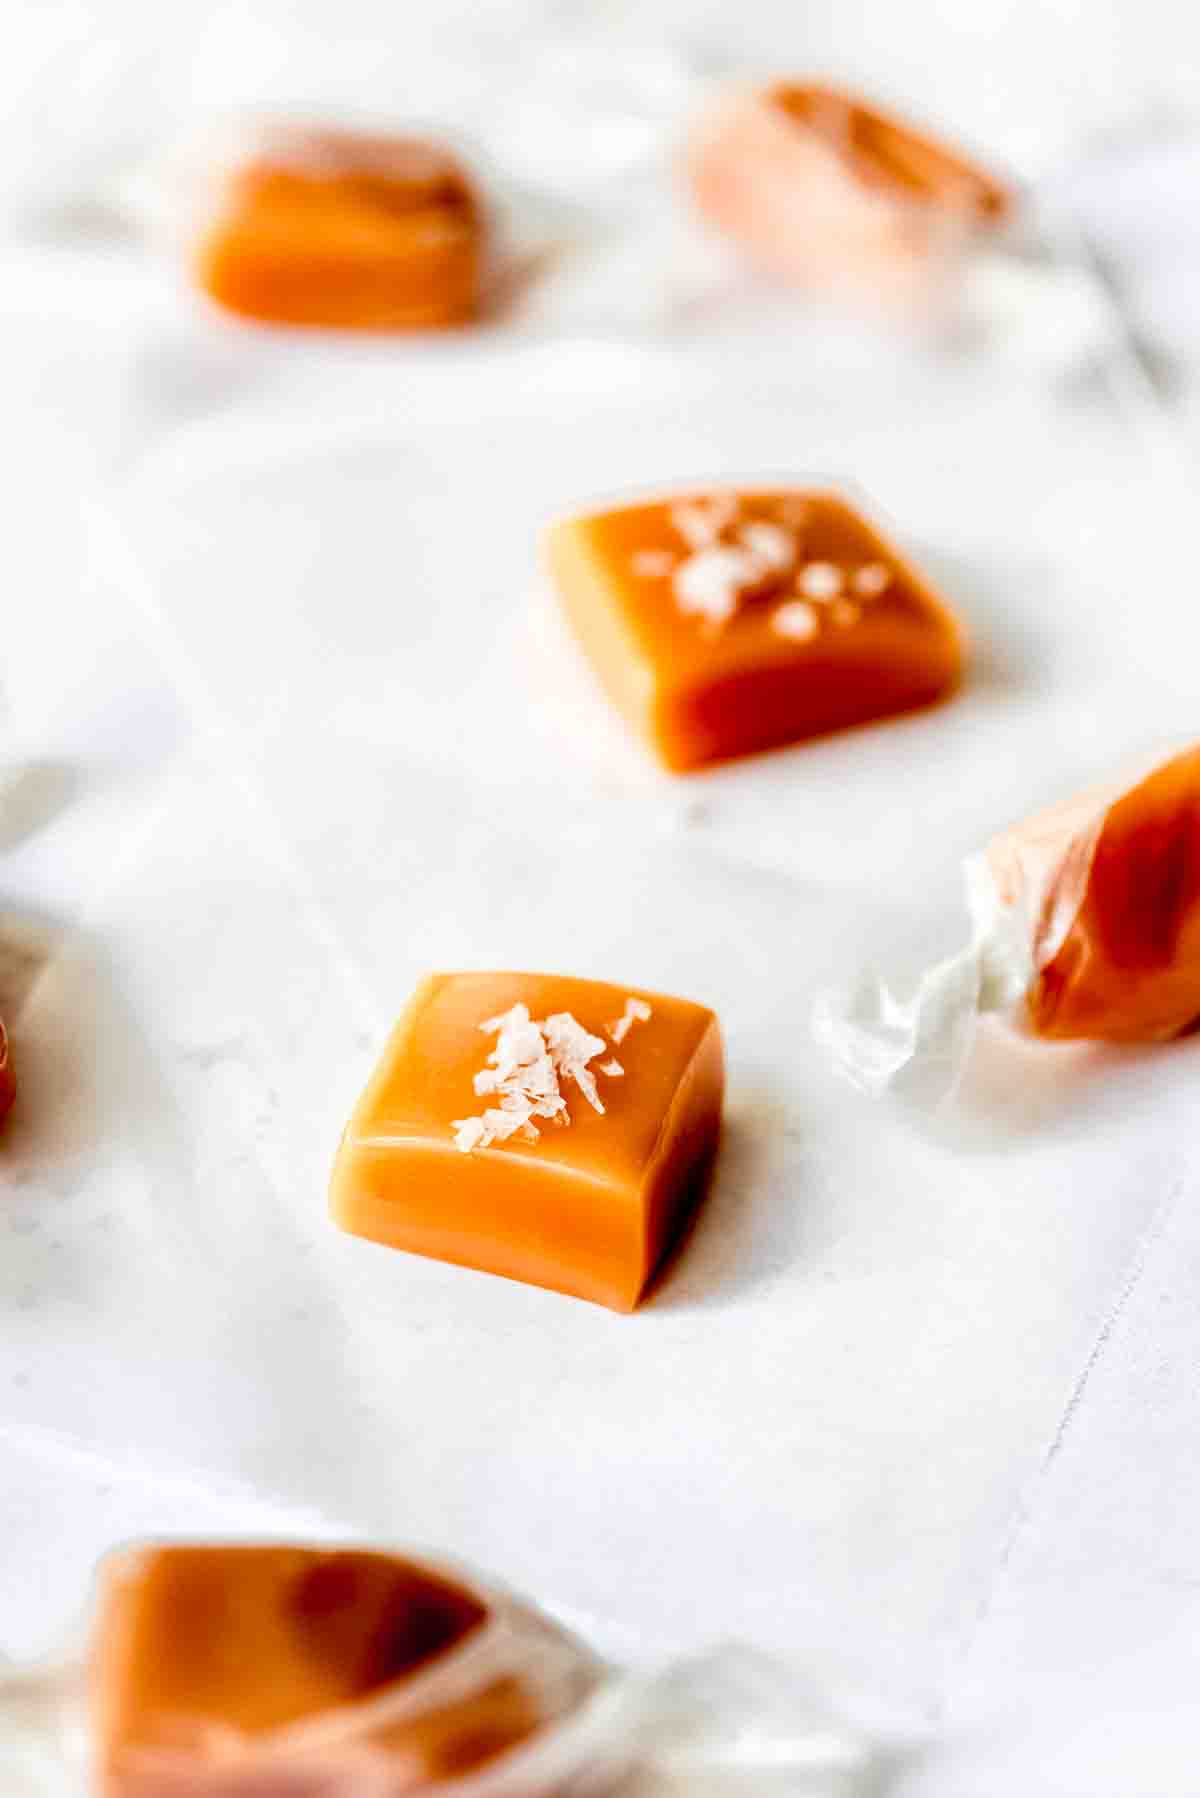
If you want to make salted caramels, all you need to do is sprinkle a little flaky salt over the caramels after they are set. I love Maldon Sea Salt Flakes (affiliate link) or Fleur de Sel.
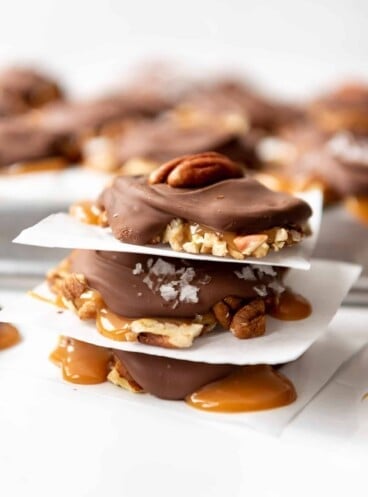
Caramel with Pecans
If you want to have a more toothsome, nutty caramel candy, add some chopped pecans to your pan and pour the caramel right on top of them.
Chocolate Dipped Caramels
Once your caramels are cut into squares, you can dunk them in melted dark or milk chocolate then transfer to a baking sheet lined with parchment paper to let the chocolate set up. You could even sprinkle flaky salt on top of the chocolate for salted chocolate dipped caramels!
I’m particularly partial to dark chocolate & caramel together. The Ghiradelli dark chocolate melting wafers are excellent for candy making and so easy to use!
How to store Homemade Caramels
You can also freeze your caramels, so they are great for making early in the holiday season, wrapping, and storing so you have some on hand when you need them.
More Homemade Caramels
- Homemade Salted Caramel Sauce
- Chocolate Salted Caramel Whoopie Pies
- Salted Caramel Frosting
- Twix Caramel Popcorn Halloween Poppers
- Buttermilk Caramel Syrup
- Salted Caramel Pumpkin Panna Cotta
- Caramel Oreo Fudge Ripple Ice Cream
- Salted Caramel Apple Pie
- Caramel Pecan Brownies
- Salted Caramel Cheesecake
Did you make this recipe?
Let me know what you thought with a comment and rating below. You can also take a picture and tag me on Instagram @houseofnasheats or share it on the Pinterest pin so I can see.
Homemade Caramels Recipe
Ingredients
- 2 cups granulated sugar
- 1 cup corn syrup light or dark
- 3/4 cup salted butter cut into chunks
- 1/4 teaspoon salt
- 2 cups heavy cream divided
- 2 teaspoons pure vanilla extract

Instructions
- Line a 9×9-inch pan with a parchment paper sling. It helps to spray the pan with a little cooking spray first to help the parchment paper stick in place.
- In a large, heavy bottomed pot that is at least 4-quart capacity, combine the sugar, corn syrup, butter, salt, and 1 cup of the cream. Slowly heat over medium heat, stirring constantly with a wooden spoon or heat resistant spatula, until the butter is melted and the mixture comes to a boil.2 cups granulated sugar, 1 cup corn syrup, ¾ cup salted butter, ¼ teaspoon salt, 2 cups heavy cream
- Heat the remaining cream in a bowl in the microwave for 1-2 minutes until hot. Slowly pour the cream into the caramel mixture, stirring constantly until combined.
- Continue to cook over medium heat, stirring frequently, until the caramel reaches 240-245°F on a candy thermometer (affiliate link). This can take quite a while! You can also test the caramel by dropping a spoonful in a bowl of cold water and shaping it into a ball. If it is pliable and soft but holds it's shape, then it is ready.
- Remove the caramel from the heat and stir in the vanilla. Carefully pour the caramel into the prepared pan (it’s very hot so don’t get any on your fingers!). Do not scrape the bottom of the pan.2 teaspoons pure vanilla extract
- Let the caramel cool completely for at least 8 hours or overnight before cutting into small squares.
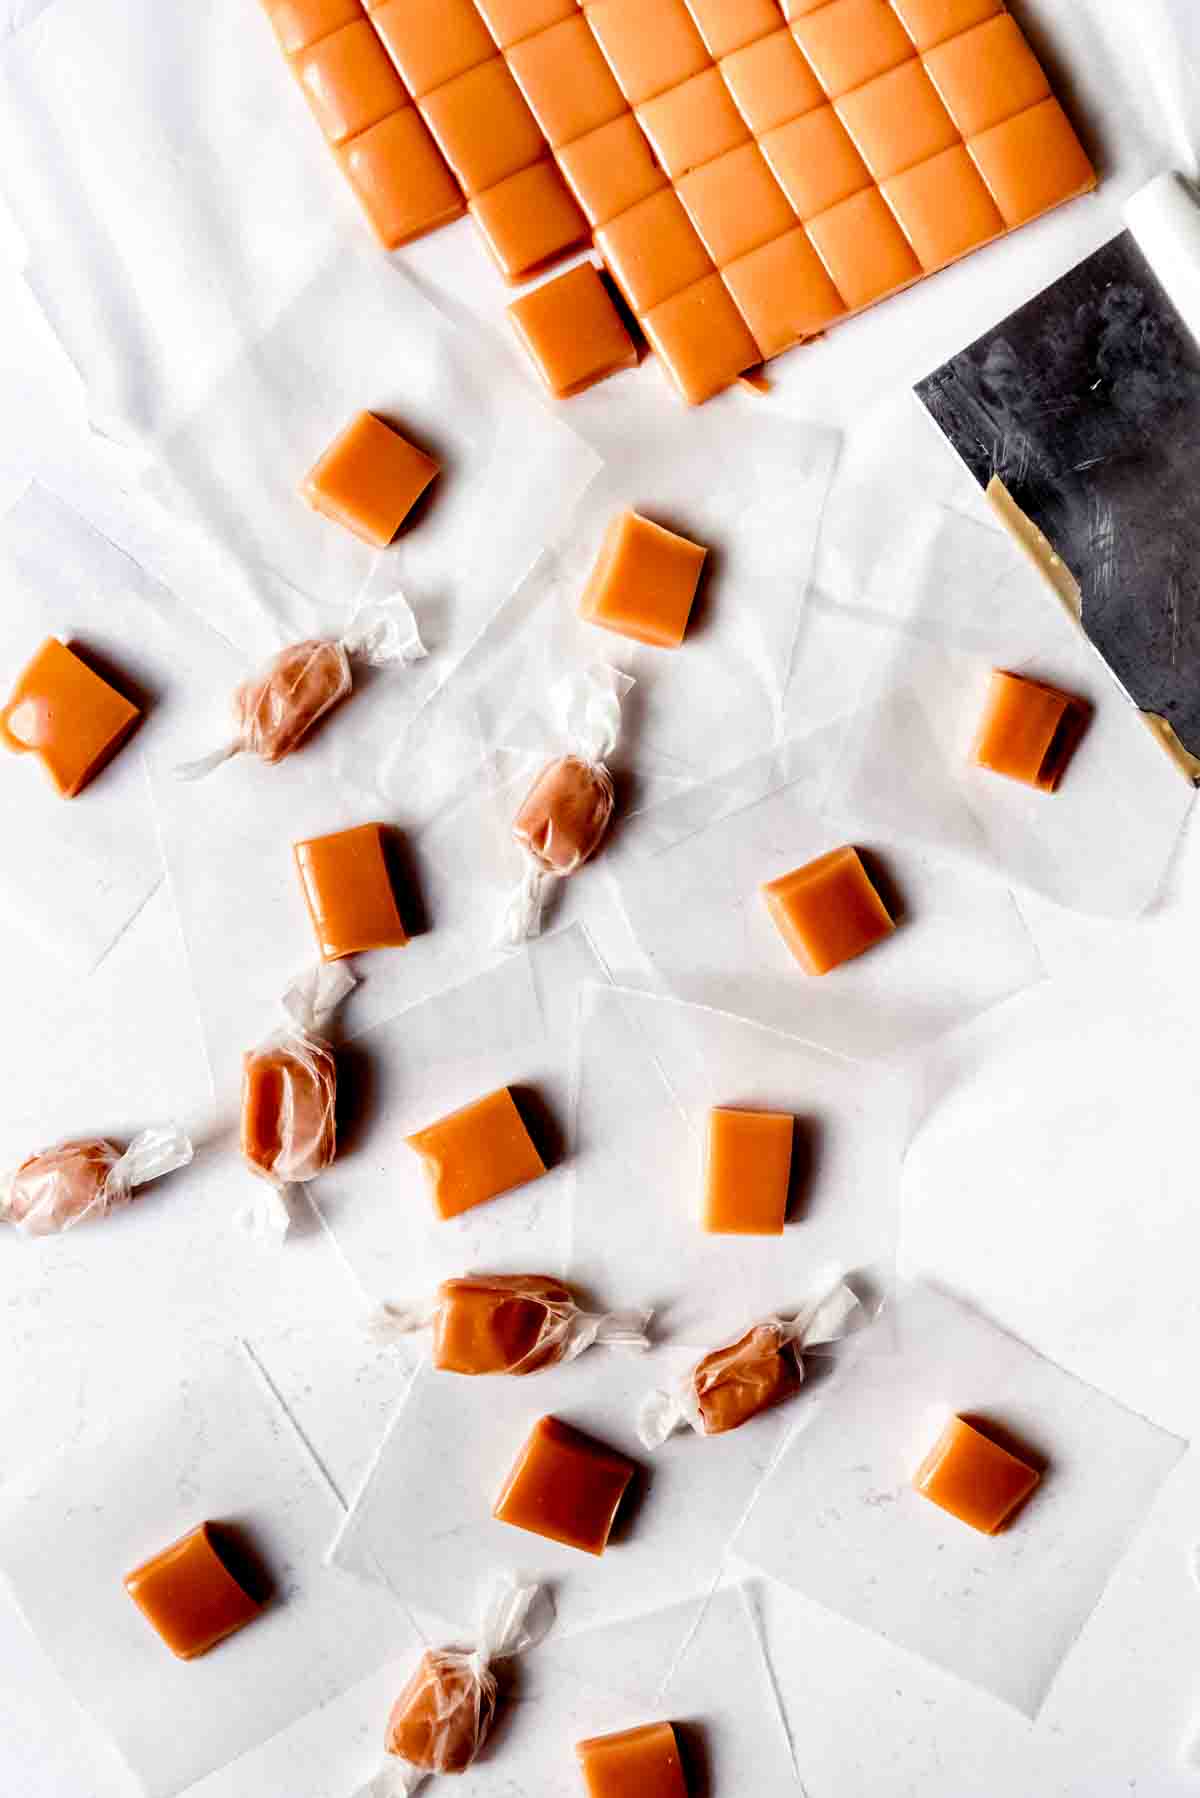
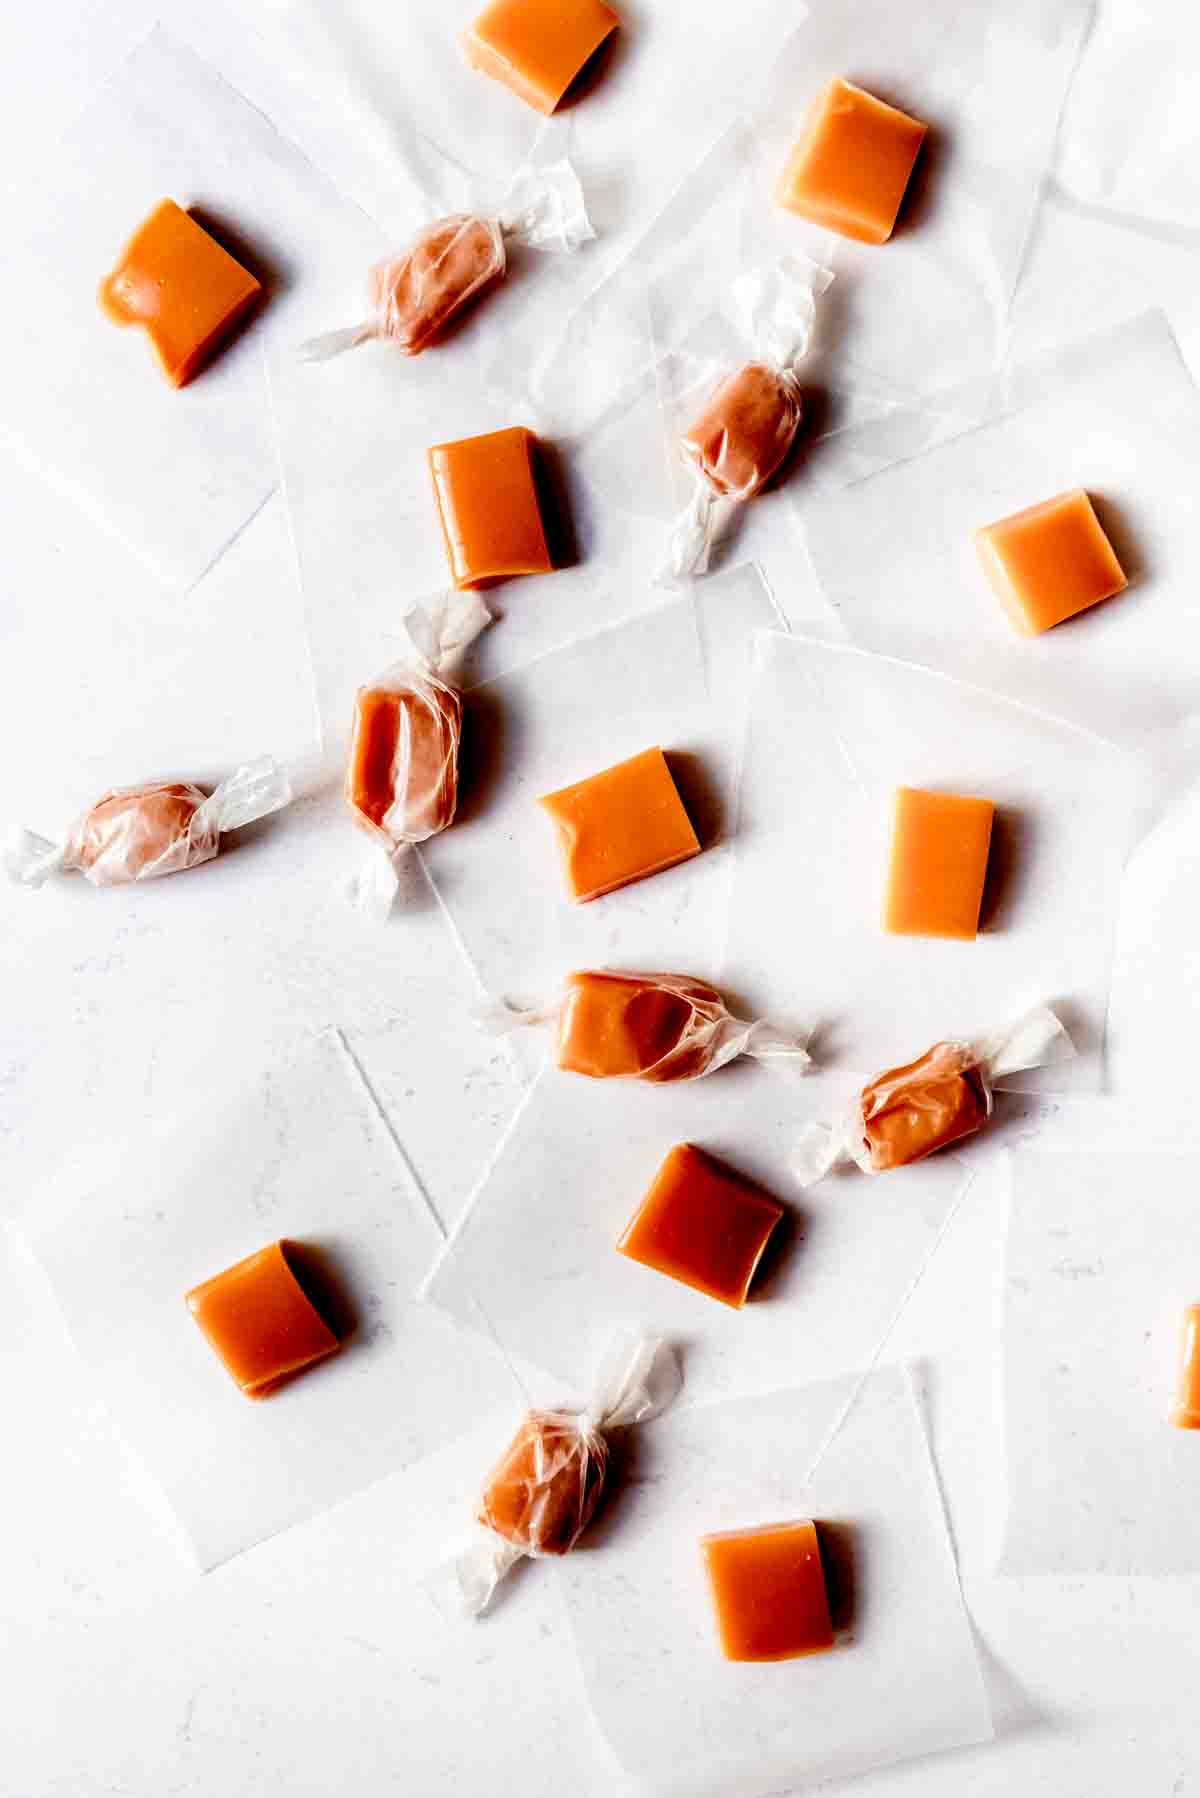
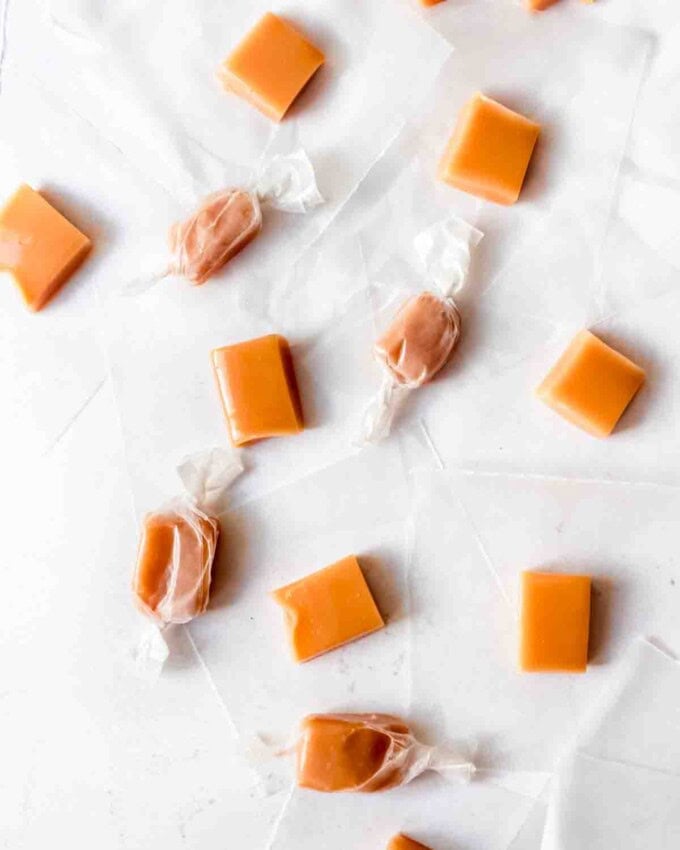
- When the caramel is set, lift the parchment paper sling out of the pan and use a sharp knife or pastry cutter to cut out the caramels. Wrap individual caramels in 5-inch square pieces of wax paper, twisting the ends to secure.
Notes
- Wrapped caramels will keep at room temperature for up to two weeks. Or you can freeze them for up to 1 month and thaw on the counter before enjoying.




You make candy making easy!! This recipe reminds me of my grandma’s caramels. She used the cold water test and I have yet to master that one but thank goodness for my thermometer! I made a batch of these for my yoga class and they were all asking for the recipe!
I made these caramels for our neighbors’ gift-giving this year and they loved them! Thank you for a recipe that made me look really good!
I added the vanilla to early will that ruin it?
No, you will be fine! The biggest issue with adding vanilla too early is that it can burn off and you won’t have as much vanilla flavor, but it’s not a huge problem.
Well I made these and they are delightful!
Mistakenly, I bought light cream, joys of online shopping….. But used it and yes it worked.
Less volume because of the water content and also a significant time to get to temperature but still perfect!
Also I used glucose syrup (derived from corn) not corn syrup and that is because I’m in Australia and it’s very difficult to source corn syrup.
Thanks 🙂
I used honey instead of corn syrup
I do not really understand how this makes caramel as I don’t think the temperature will every get high enough if following the directions fully. I used the same ingredients but first caramelized the sugars by themselves, then slowly added the hot cream and butter mixture and cooked it till it was the right temperature. Turned out fantastic, and also much darker color than what is pictured here, though that may just be because I like a slightly bitter caramel. Some may call it over cooked, but I call it extra flavored! As a side note, because of the high temp of the caramel, when I added my butter, it browned the butter and gave an incredible brown butter flavor to the whole shebang. YUM
Nothing about this recipie makes sense to me. It doesn’t bring it hot enough to make actual caramel and a 4 quart pot is not large enough for this – made a helluva mess on my stove. Split it out and tried again and still didn’t get what I would consider caramel. Avoid this
You obviously don’t know how to cook.
I used a similar recipe and it made a smaller batch and no vanilla. I wanted something that called for vanilla to give it more flavor. This is perfect but I believe this should be cooked to at least 345 in order to get a chewy caramel. 240-245 is definitely not enough. That would give a soft putty consistency. My last recipe called for 245 to cook the sugars and corn syrup then heat to 345 after cream was added. Either way I’ll incorporate this along with my other recipe and see what I get.
If you cook it to 345 degrees it will be ruined. 290-300 degrees is hard crack stage for candy which is what toffee is cooked to. Your caramel would be one solid burnt block.
I have been looking for this recipe. It was in my mothers old 1970 betty Crocker cook book.. The book is gone along with the many wonderful other recipes. Thanks for posting this wonderful recipe on line.
Ok I’ve made these 4 times now and they are the BEST! This is my go to caramel candy recipe and my whole family loves them. I made a batch last night and as usual they were perfect. I’ve tried another recipe before and it wasn’t that great, it tasted mostly like sugar and had no vanilla in the recipe. The vanilla definitely makes a huge difference.
Hi! i made these caramels and they set in like 10 mins and when we took them out they were hard as a rock. What did i do wrong? thanks!
Wow, that doesn’t sound right at all. It sounds like they were cooked too long and/or to too high of a temperature. If you are at a higher elevation, you might want to consider decreasing the goal temp by 2 degrees for every 1,000 feet above sea level. I’m almost at sea level here in CA and I have heard that can affect candy making.
This isn’t my recipe so I am not all knowing, but I can say in my years making carmel, I have learned to take my altitude into account with temperature. I am very high above sea level so my soft ball stage is quite below what is listed here. I also always do a cold water test every few degrees when I get close. Your altitude may be messing with the correct temp. Just a thought.
Can these be used to make the caramel cup cookies, thin it with canned milk or heavy cream?
Yes, absolutely!
I was scared to try making them (I’ve had bad candy-making experiences in the past), but sucked it up and gave it a shot… and made them perfect the first time. My partner calls my luck outstanding and was jealous I got it in one. That batch went to mostly us, but also close-by friends and family – the next batch goes to the distant relatives in the Christmas boxes.
Thanks for making this easy!
Absolutely perfect! Thank you.
The flavor is great! I wish I had read the comments before making. We are in Salt Lake so I think that’s why ours turned out so hard! A recipe note about elevation might be helpful for people like me who don’t think ahead and read comments or think to account for elevation! Excited to try again 😀
I live at 1490 FT above sea level and had to take mine off the heat at 220. I wanted to have a creamy mixture. Not as rich a color as yours but the best tasting caramel ever!!! Thank you so much for sharing. My first batch I followed directions exactly and became brittle. Second is exactly what I wanted!!!
Thanks for sharing your experience at a high altitude! I’m so glad you loved it!
I’m not getting that dark caramel color you did. Did you use light or dark Karo syrup?
I use light corn syrup, although either works.
Excellent caramels every time!
my 5yo nephew, Nash, LOVES these! He lives states away but this is our connection. Thank you
So fun! And I LOVE that his first name is Nash! We have a cousin with that name as well.
I just made this for the first time. We had scheduled loadshedding just as the candy thermometer reached temperature, phew 😅
I would’ve like to keep it going a few more mins but hopefully it will be perfect
Hi from Shirley in Australia. I made this recipe today & it was perfect, with only one change & that was NO CORN SYRUP!!! Can’t buy it here so I used RICE SYRUP. Just found it at Woolworths. New product that worked great. 100 percent from brown rice. No taste noticeable, so will recommend it to one and ALL. Never made caramels before, but will be from now on. Thank you for your lovely recipe. Worked like a charm, as I am won’t to say. Keep those recipes coming PLEASE.
Bye for now.from Shirley.
A Proud AUSSIE
Made the carmels. I used carnation milk .turned out perfect.
Im going to dip some in dark chocolate and sprinkle a little sea salt.
Love the salty chocolate carmel. .perfect .
5 stars
So glad they turned out so well for you!
Awesome recipe. Very easy. Very tasty. I used the evaporated milk instead cause I didn’t have heavy cream. I will certainly be using it often thank you for sharing.
Thanks Ruth! I’m glad you made it!