
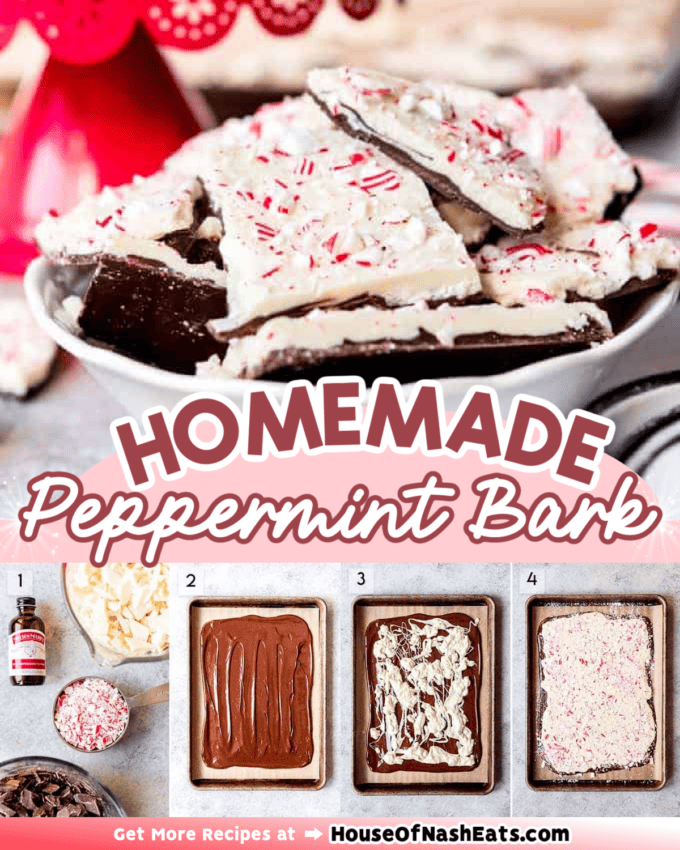

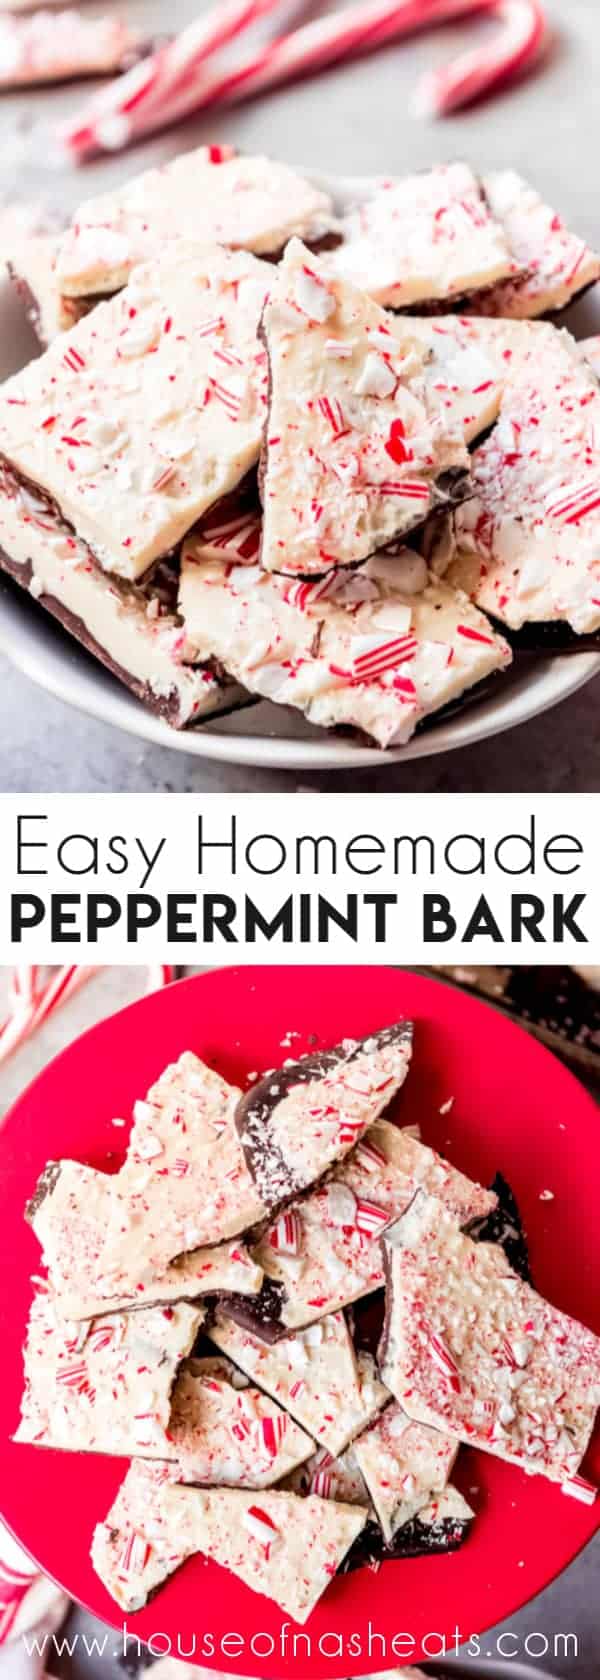
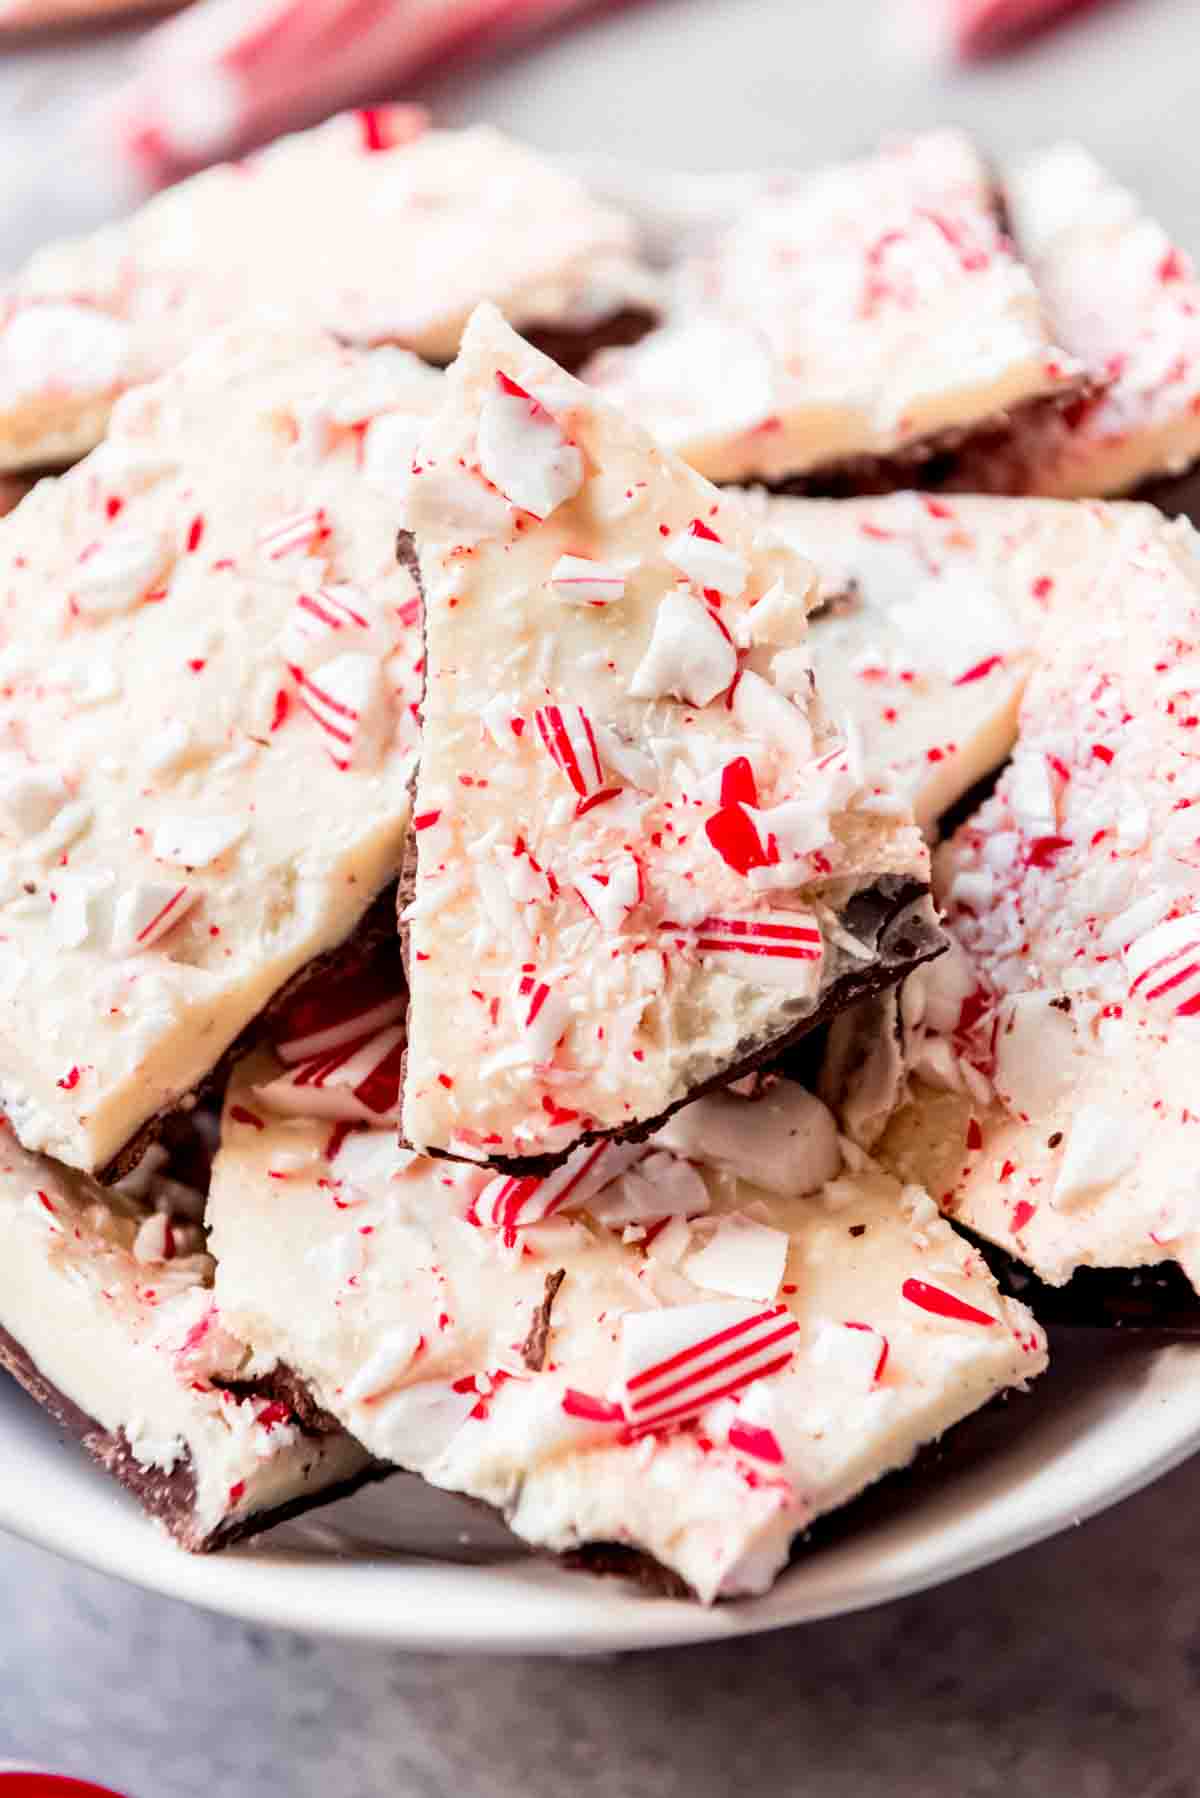
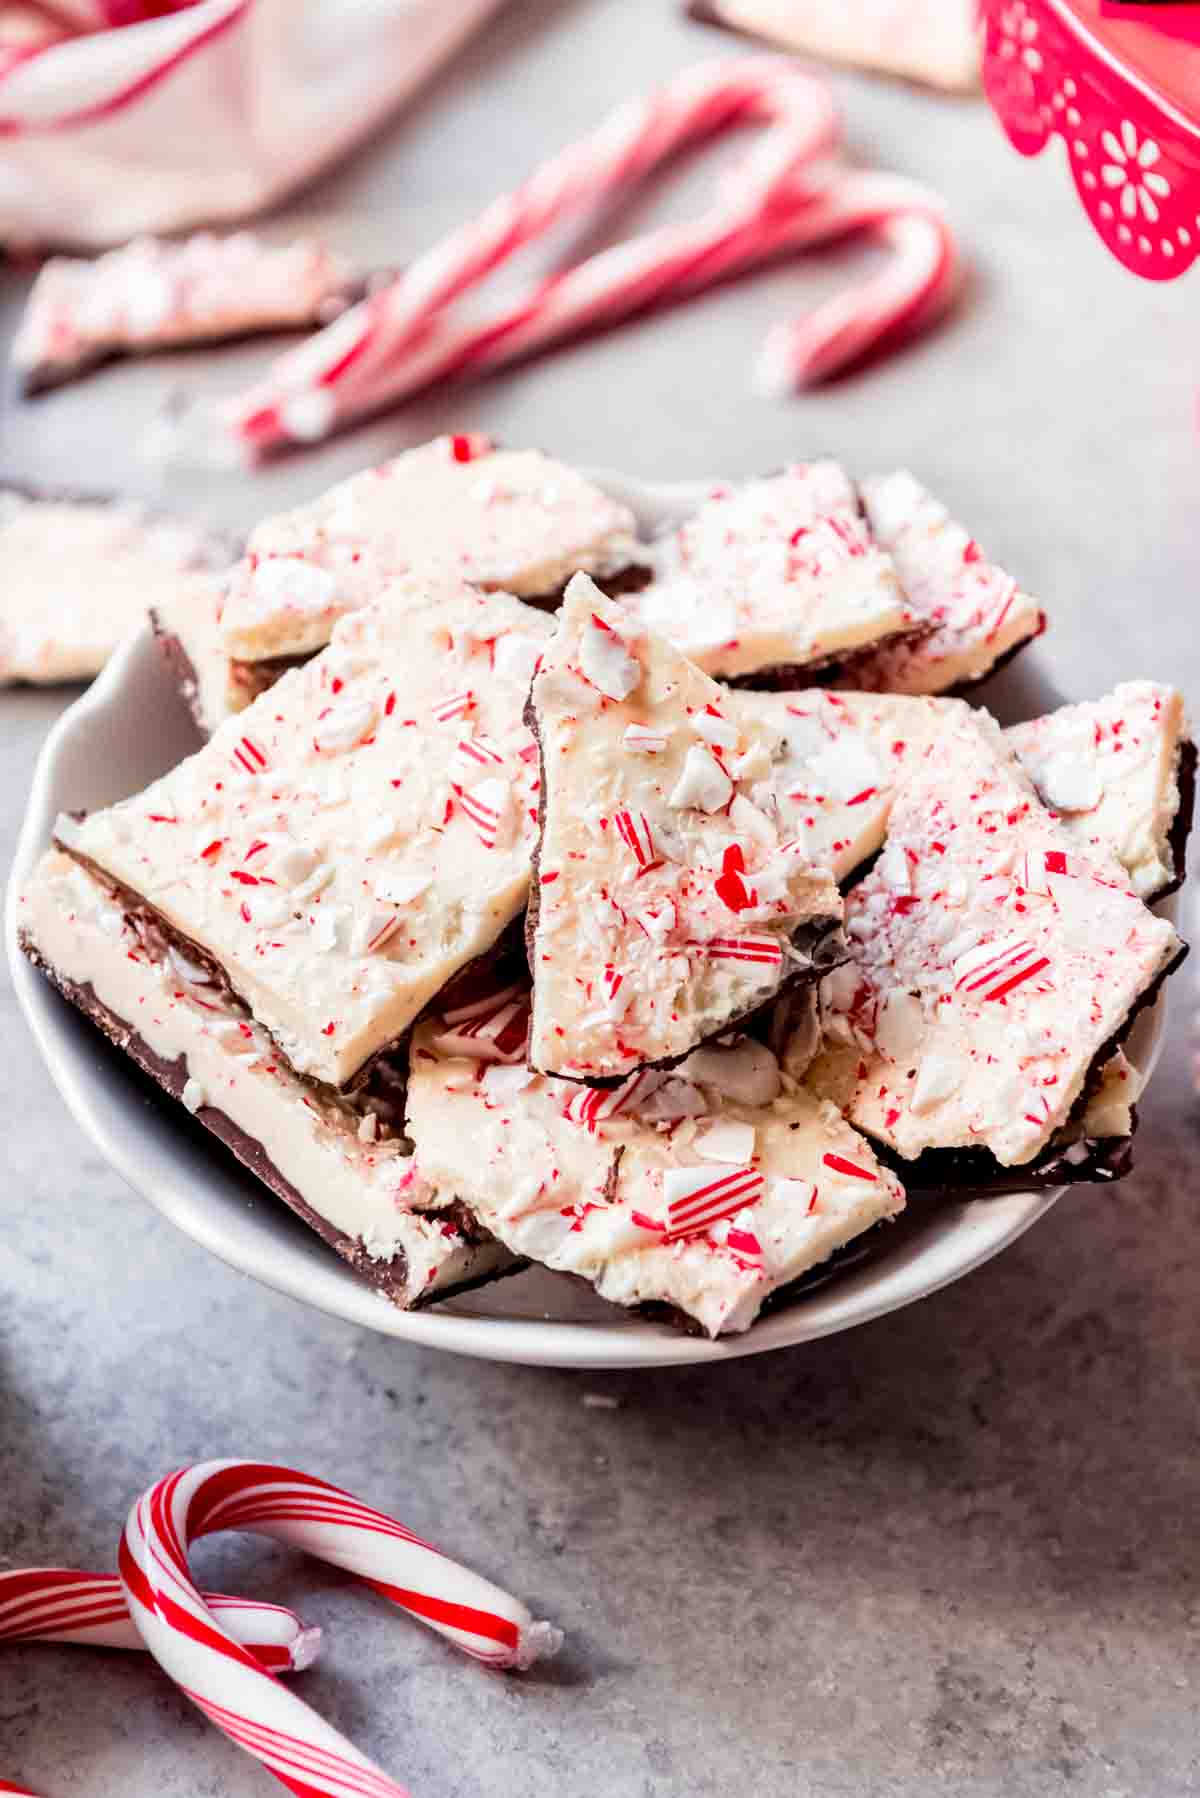
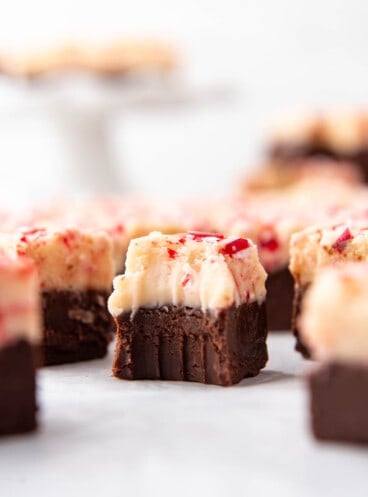
This easy Homemade Peppermint Bark only takes 4 ingredients and about 10 minutes to make! Layers of rich dark chocolate and creamy white chocolate, laced with a hint of peppermint and crushed candy cane for good measure make this treat a Christmas tradition!
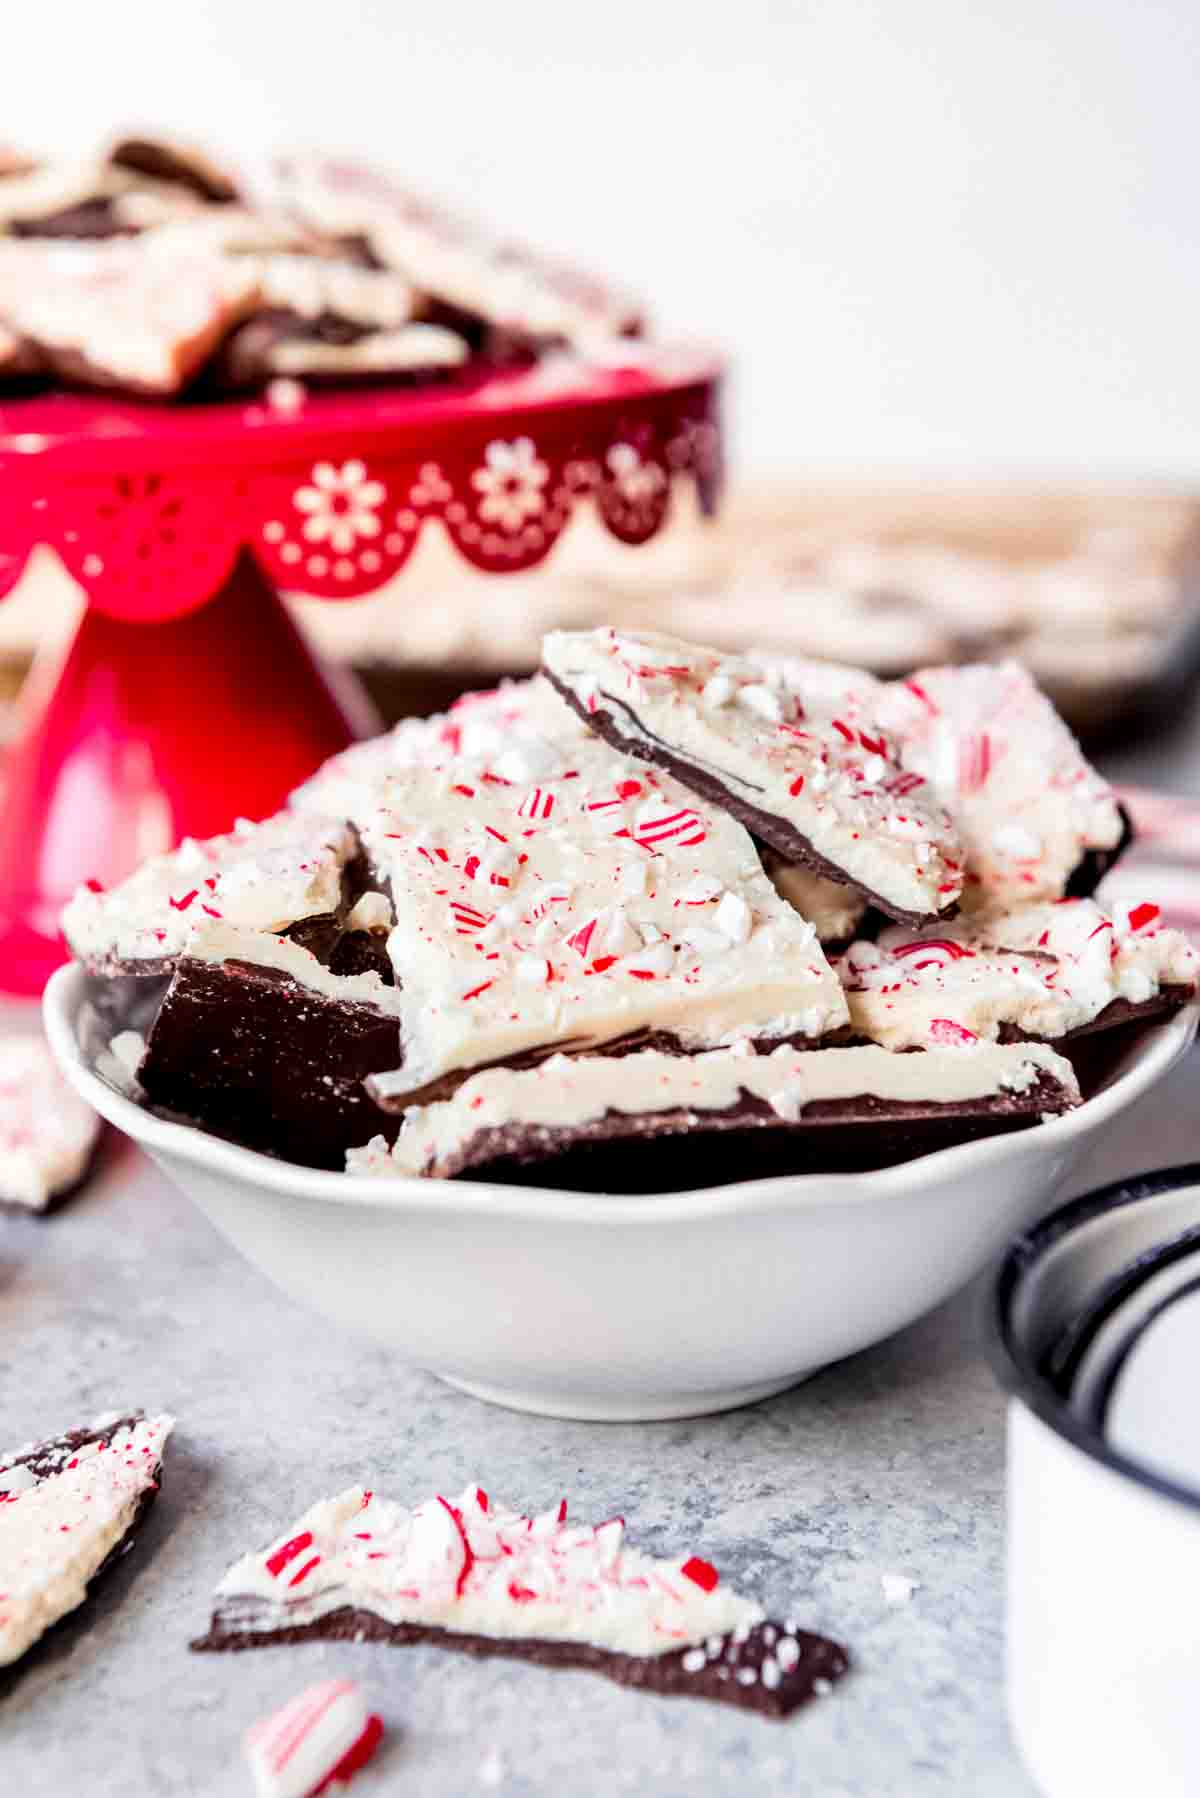
Table of Contents
- Easy Recipe for Peppermint Bark
- Homemade Peppermint Bark Ingredients & Supplies
- How do you make Peppermint Bark?
- Tips for Making Peppermint Bark
- Easy Peppermint Bark Variations
- How to Store this White Chocolate Peppermint Bark Recipe
- Best Peppermint Bark FAQs
- More Homemade Candy Recipes
- Homemade Peppermint Bark Recipe Recipe
Easy Recipe for Peppermint Bark
When I make peppermint bark at home, not only is it less expensive, but I can combine my favorite things about my two favorite brands. I can use my favorite high-quality chocolate, and I can mix some of my crushed candy cane pieces into the white chocolate, just like Ghiradelli peppermint bark.
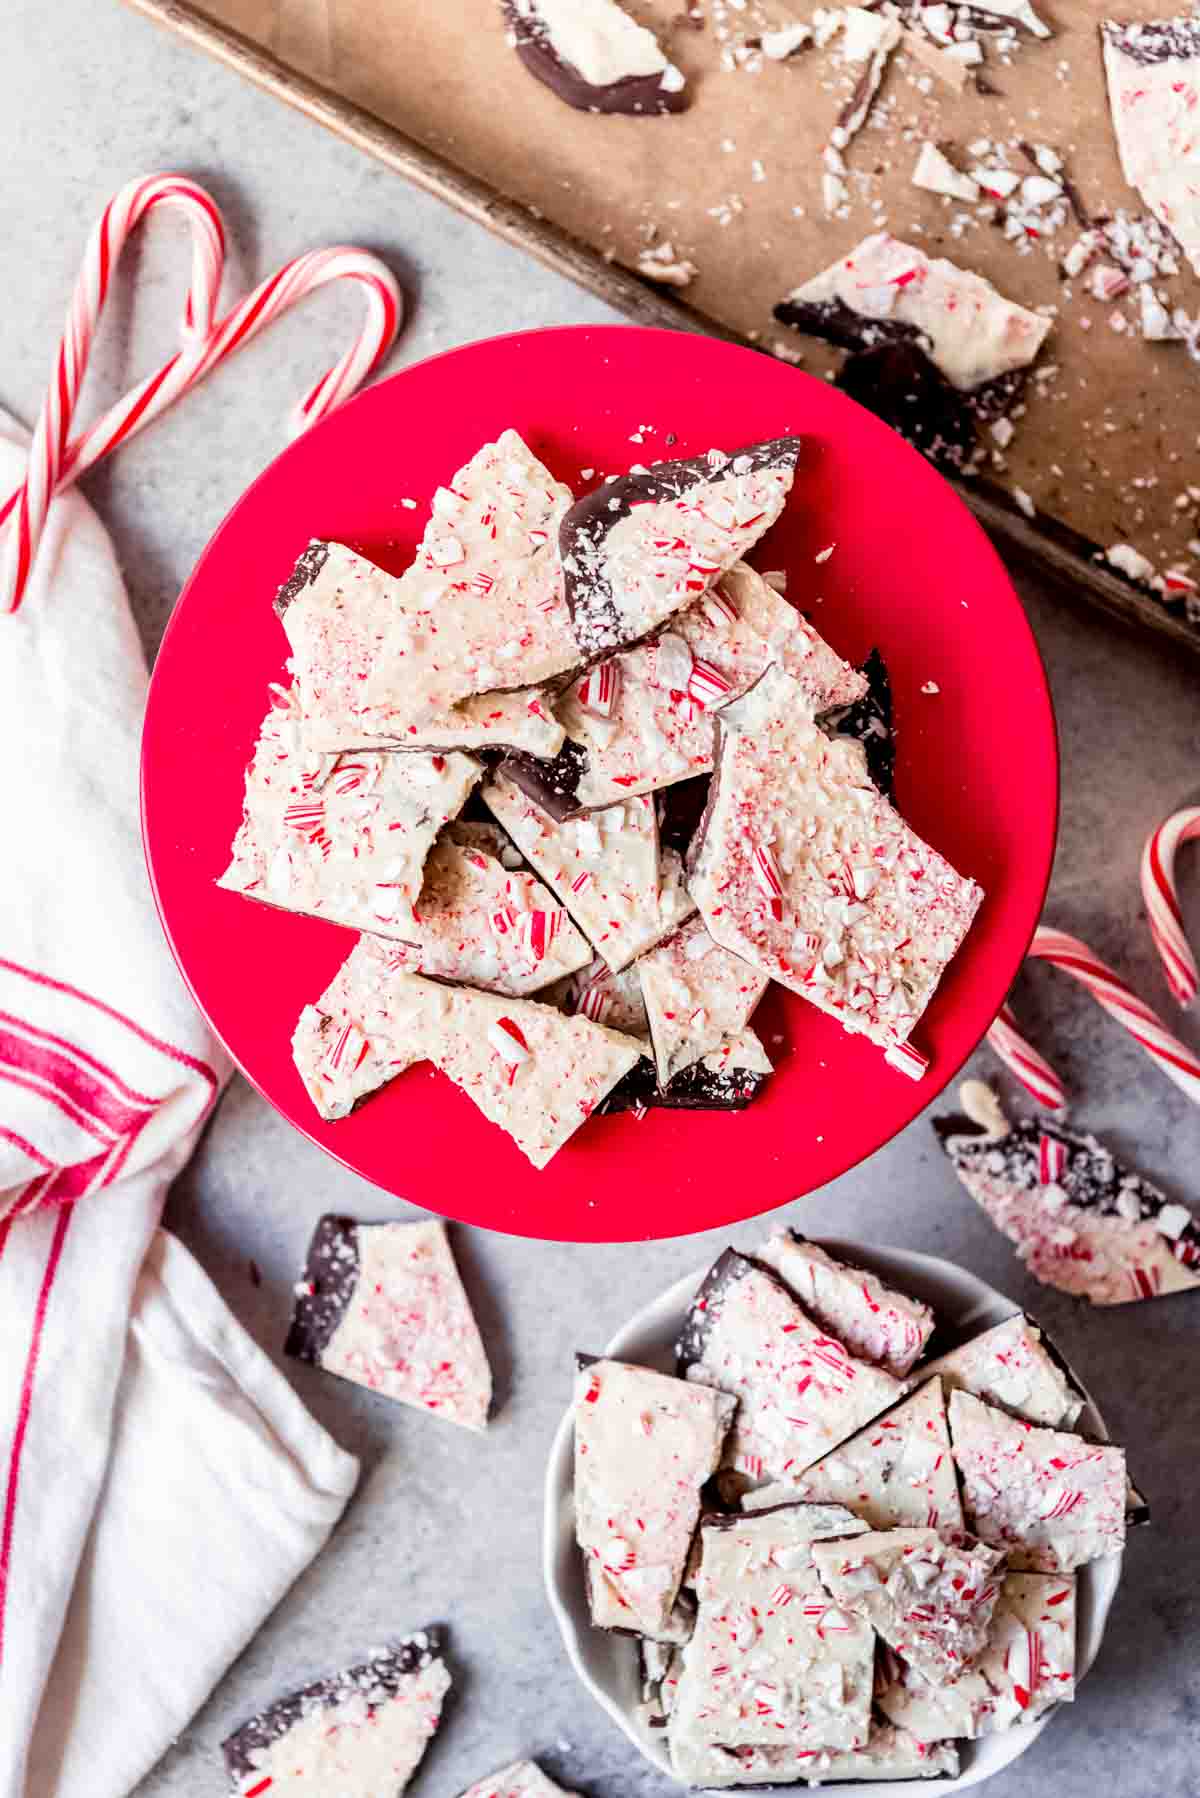
But I can also make it as thick or thin as I like, break it up into rustic-looking shards, and bedeck the top of the peppermint bark with even MORE candy cane bits for extra sparkle and crunch like Williams-Sonoma peppermint bark.
Best of both worlds. We CAN have it all, I tell you!
Looking for more easy Christmas candy recipes that are perfect for gifting to friends, neighbors, and co-workers? Be sure to check out my easy Peppermint Bark Caramel Corn (made in the microwave!), Puppy Chow (aka Chex Mix Muddy Buddies), and Grandpa Johnson’s Easy Homemade Rocky Road Fudge. And if peppermint is your jam, be sure not to miss my Peppermint Macarons!
Homemade Peppermint Bark Ingredients & Supplies
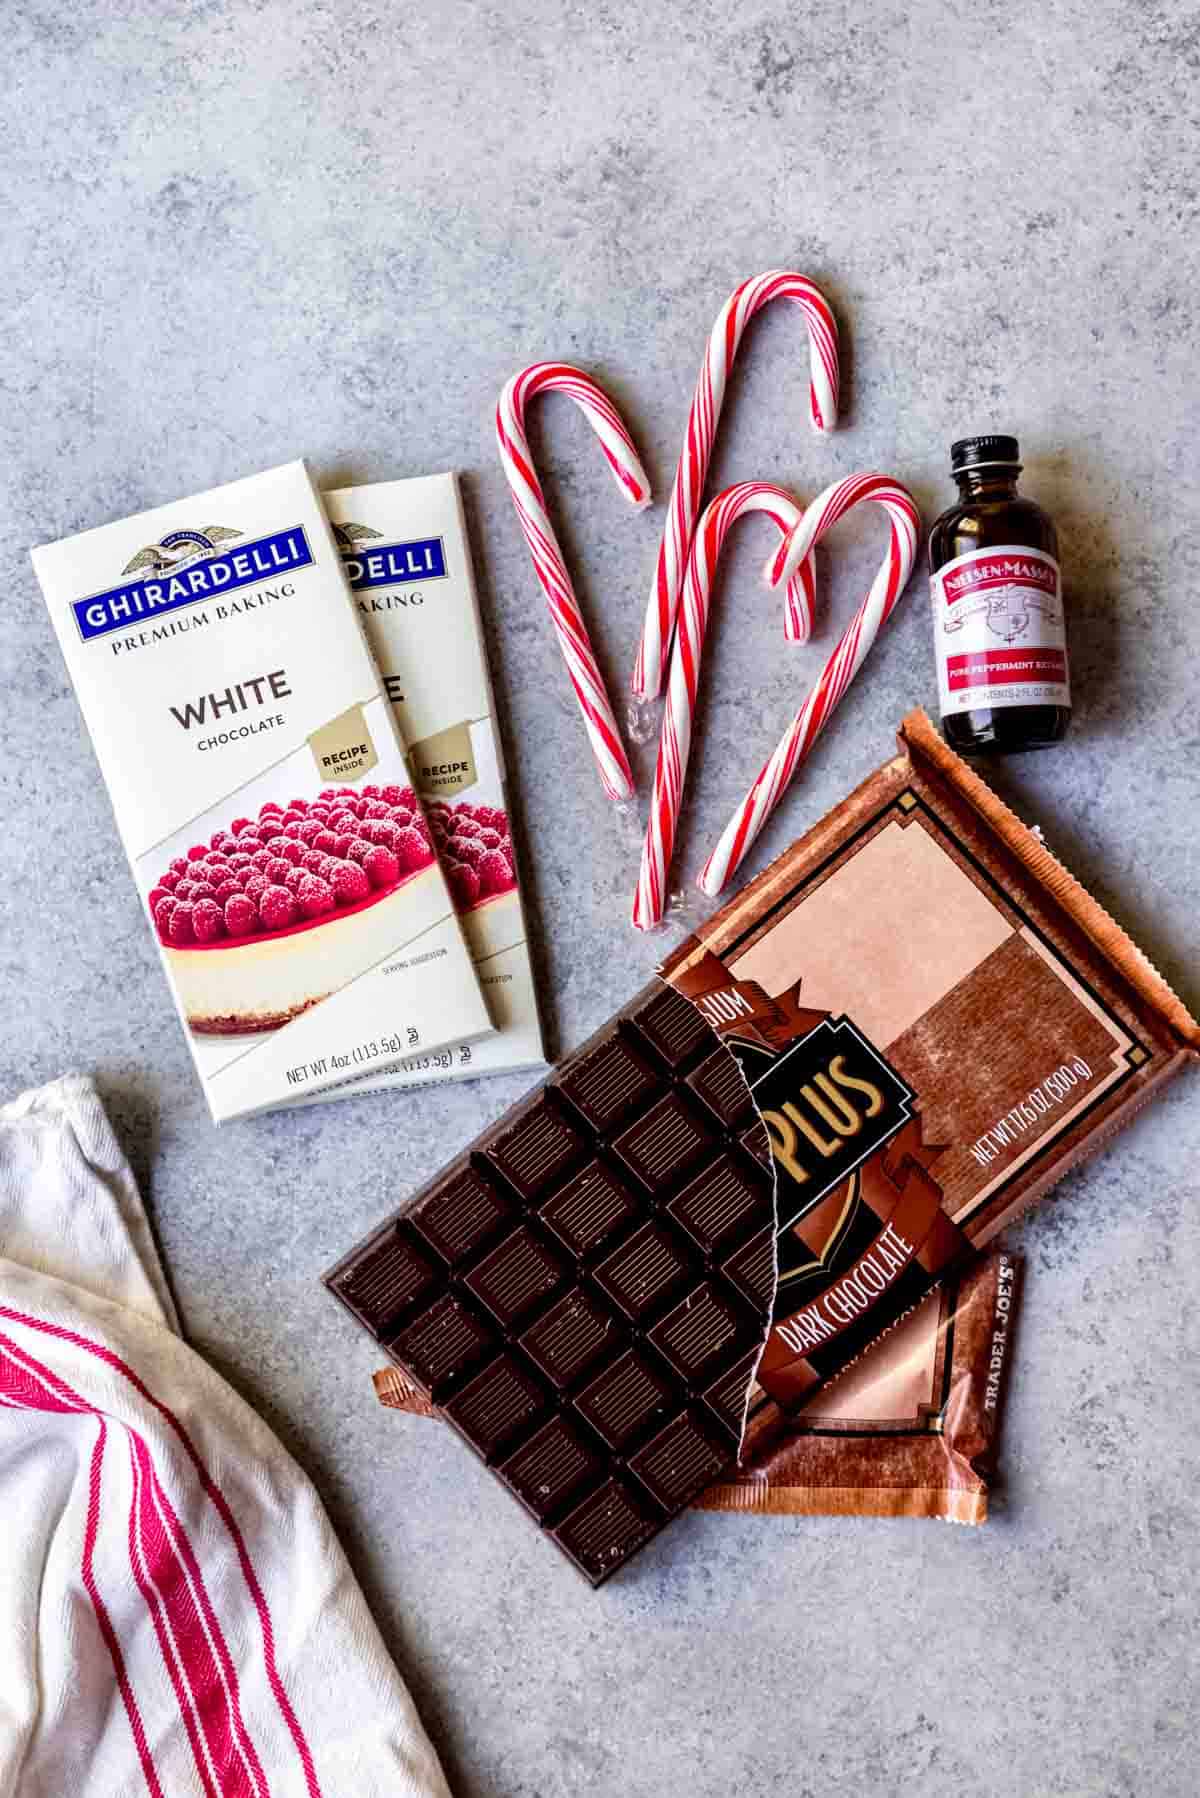
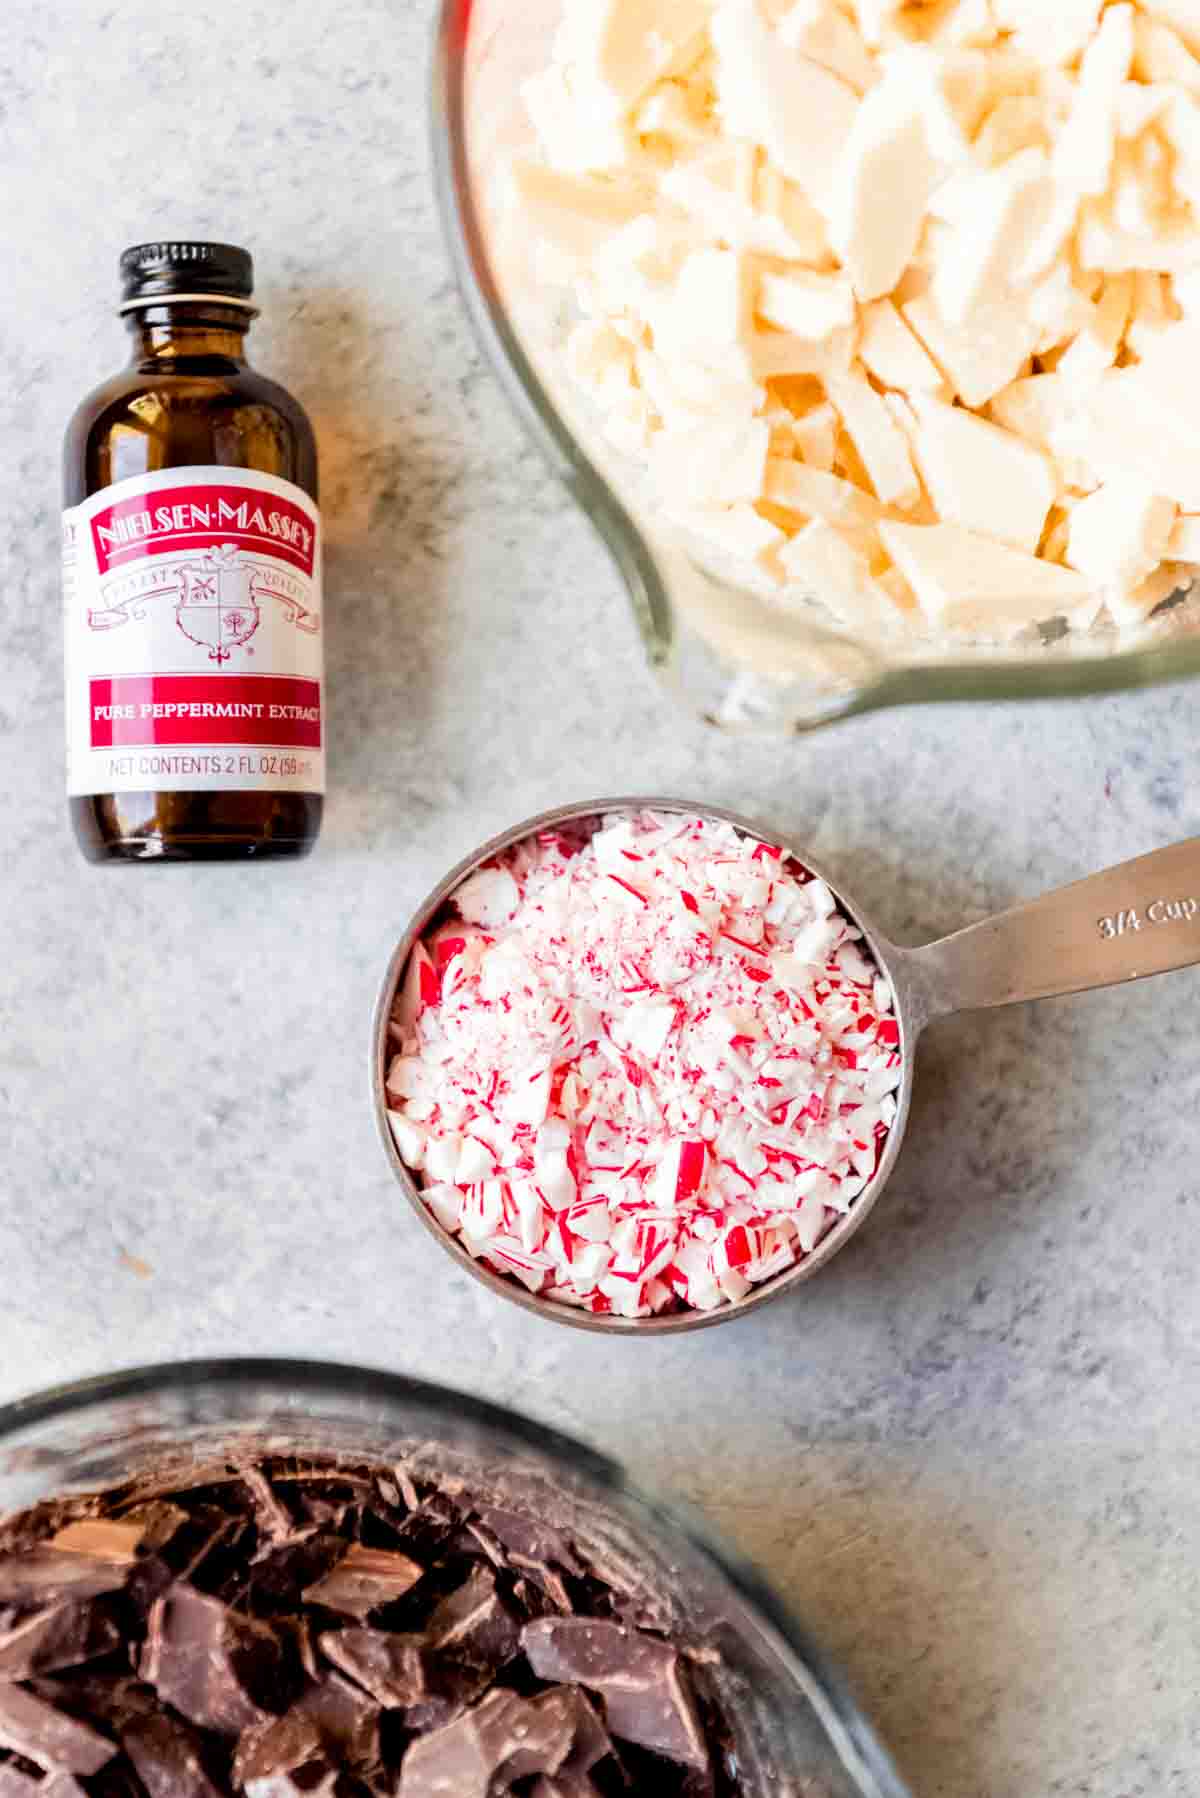
It only takes FOUR ingredients to make this homemade peppermint bark recipe.
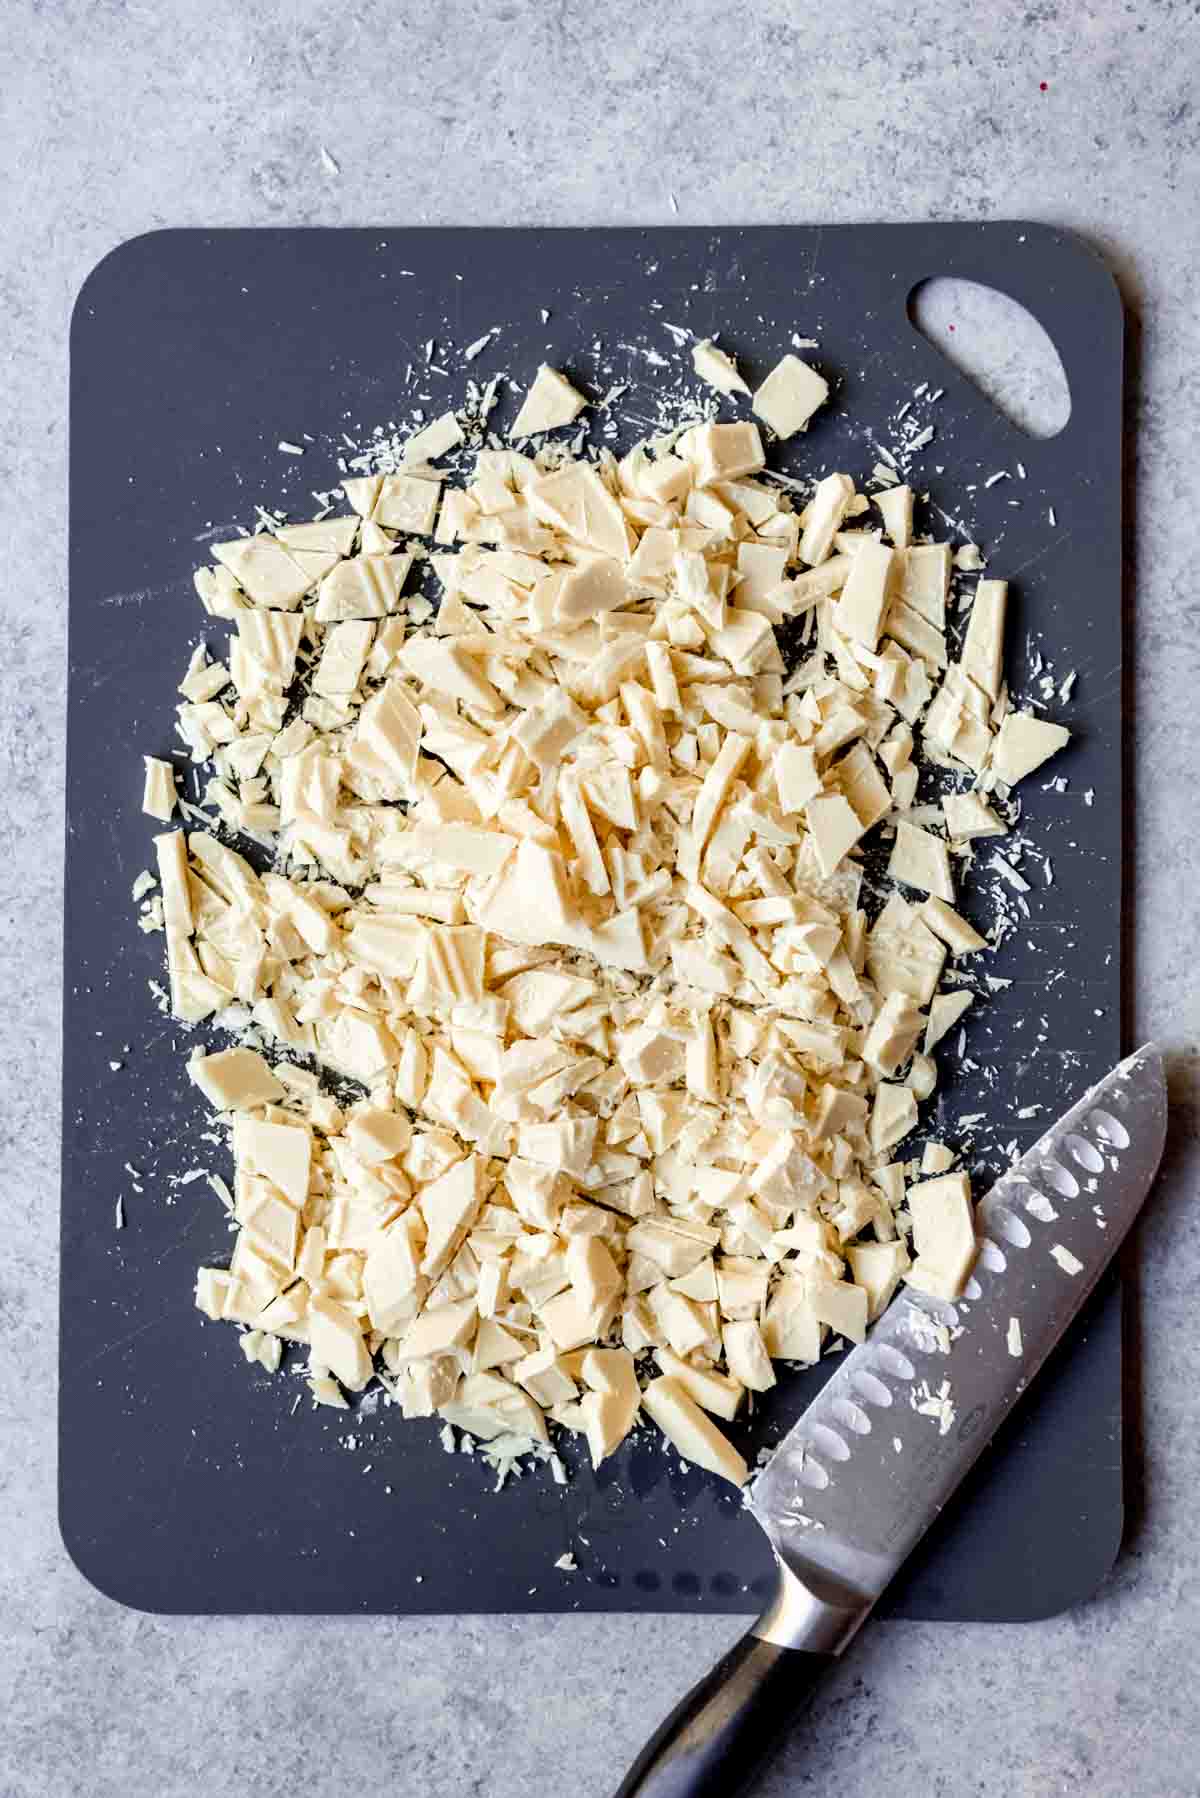
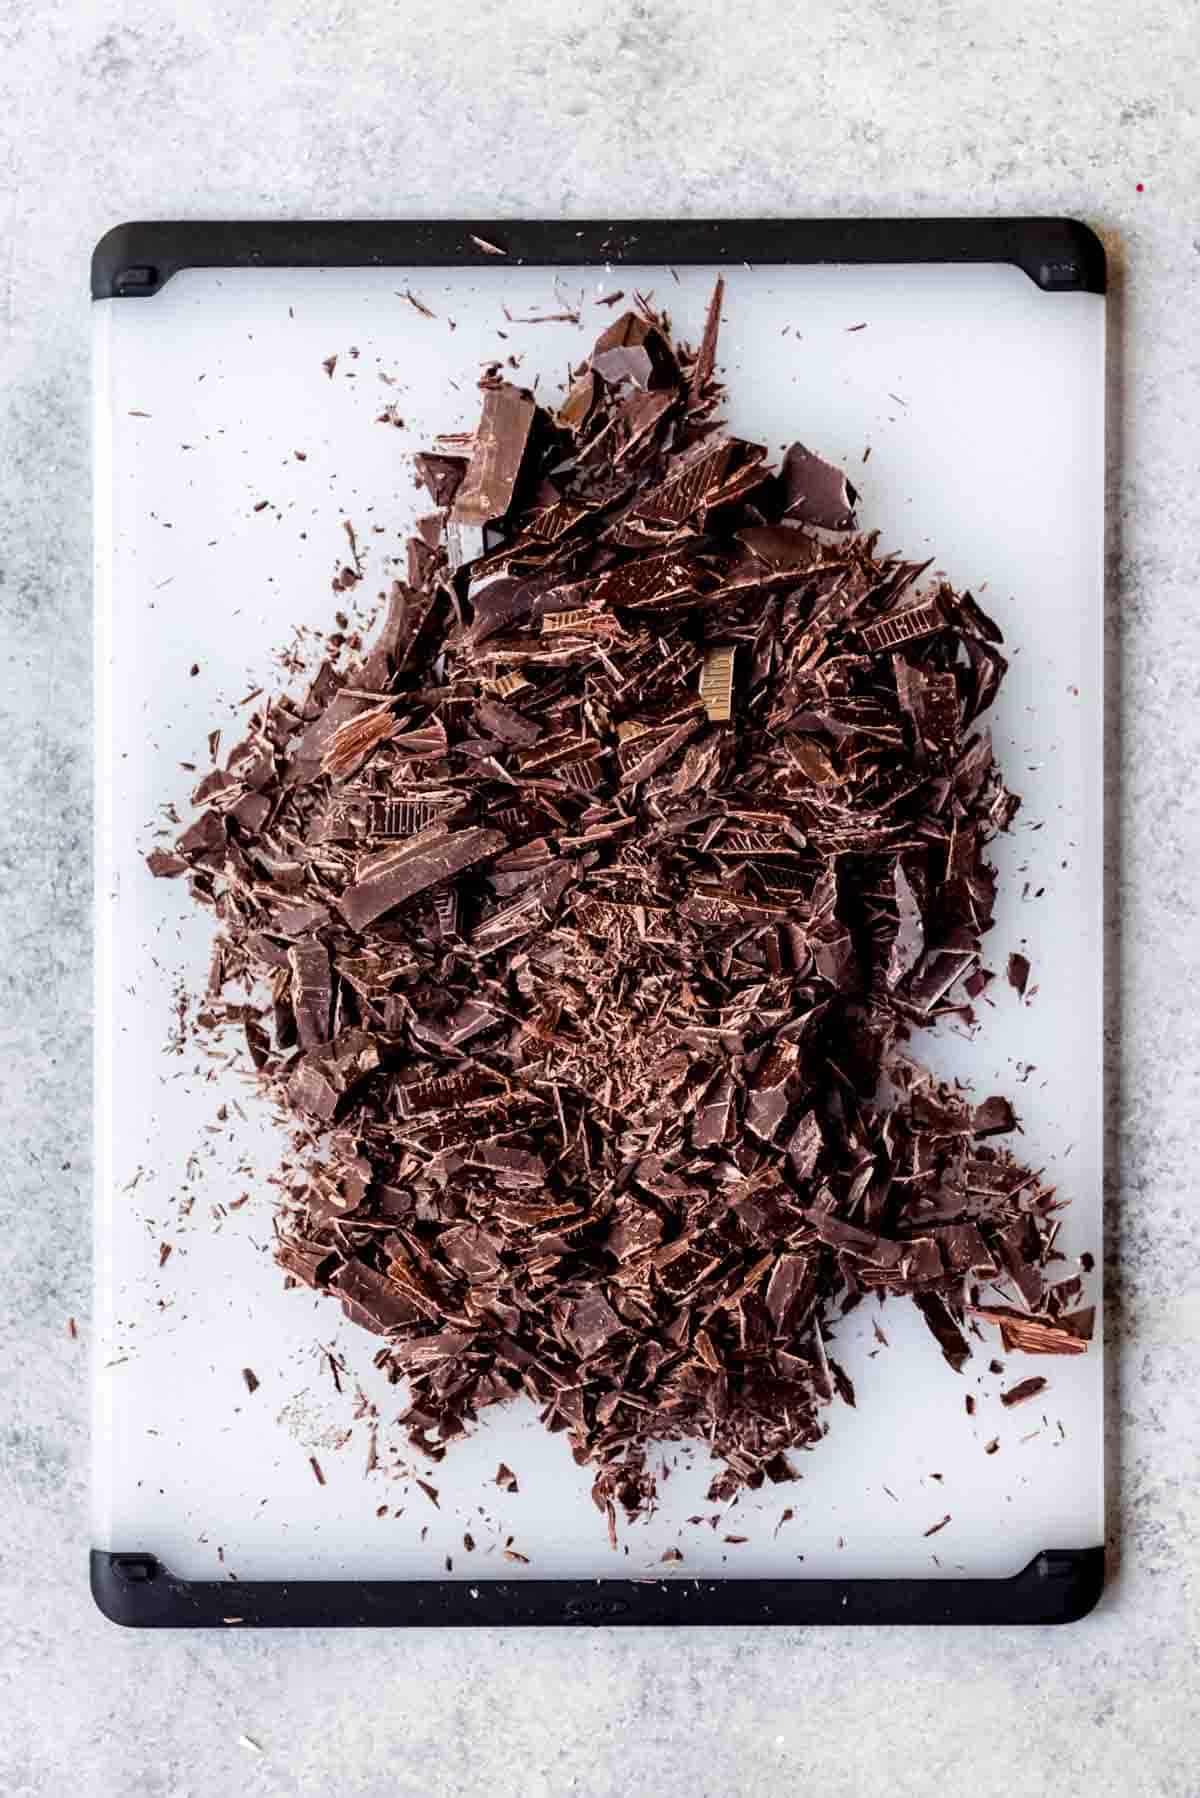
- Dark (or semisweet) chocolate
- White chocolate (I recommend REAL white chocolate made with cocoa butter, not candy melts)
- Peppermint Extract (make sure it’s peppermint!)
- Candy canes
NOTE: The quality of your chocolate really does matter for this recipe. I almost always use Ghiradelli white chocolate and Trader Joe’s dark chocolate (semisweet works too), but Lindt, Baker’s, and Guittard also make good chocolate. Just please don’t use chocolate chips. They don’t melt as well and they don’t set up the same, so you won’t get good results with this recipe.
You will also need the following tools:
- Baking sheet
- Parchment paper
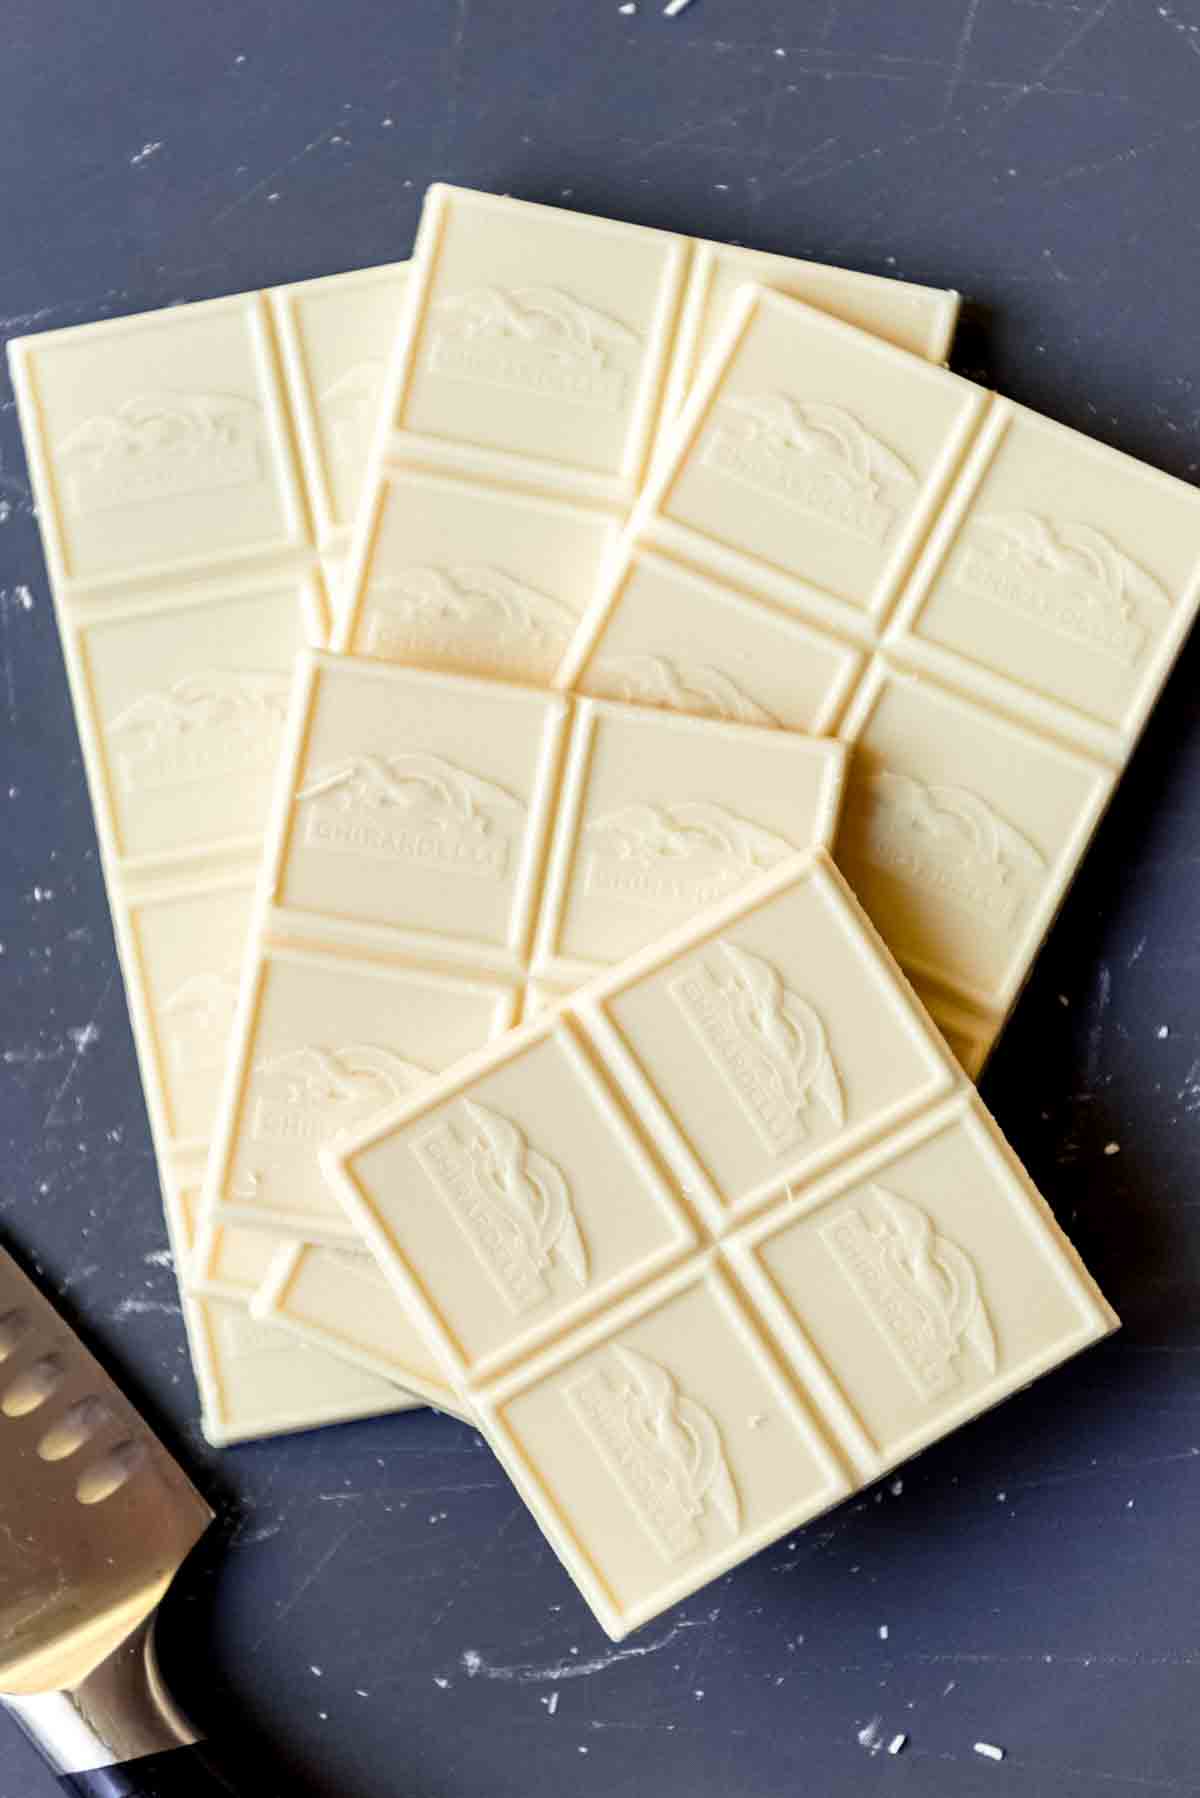
- Cutting board & knife (for chopping chocolate)
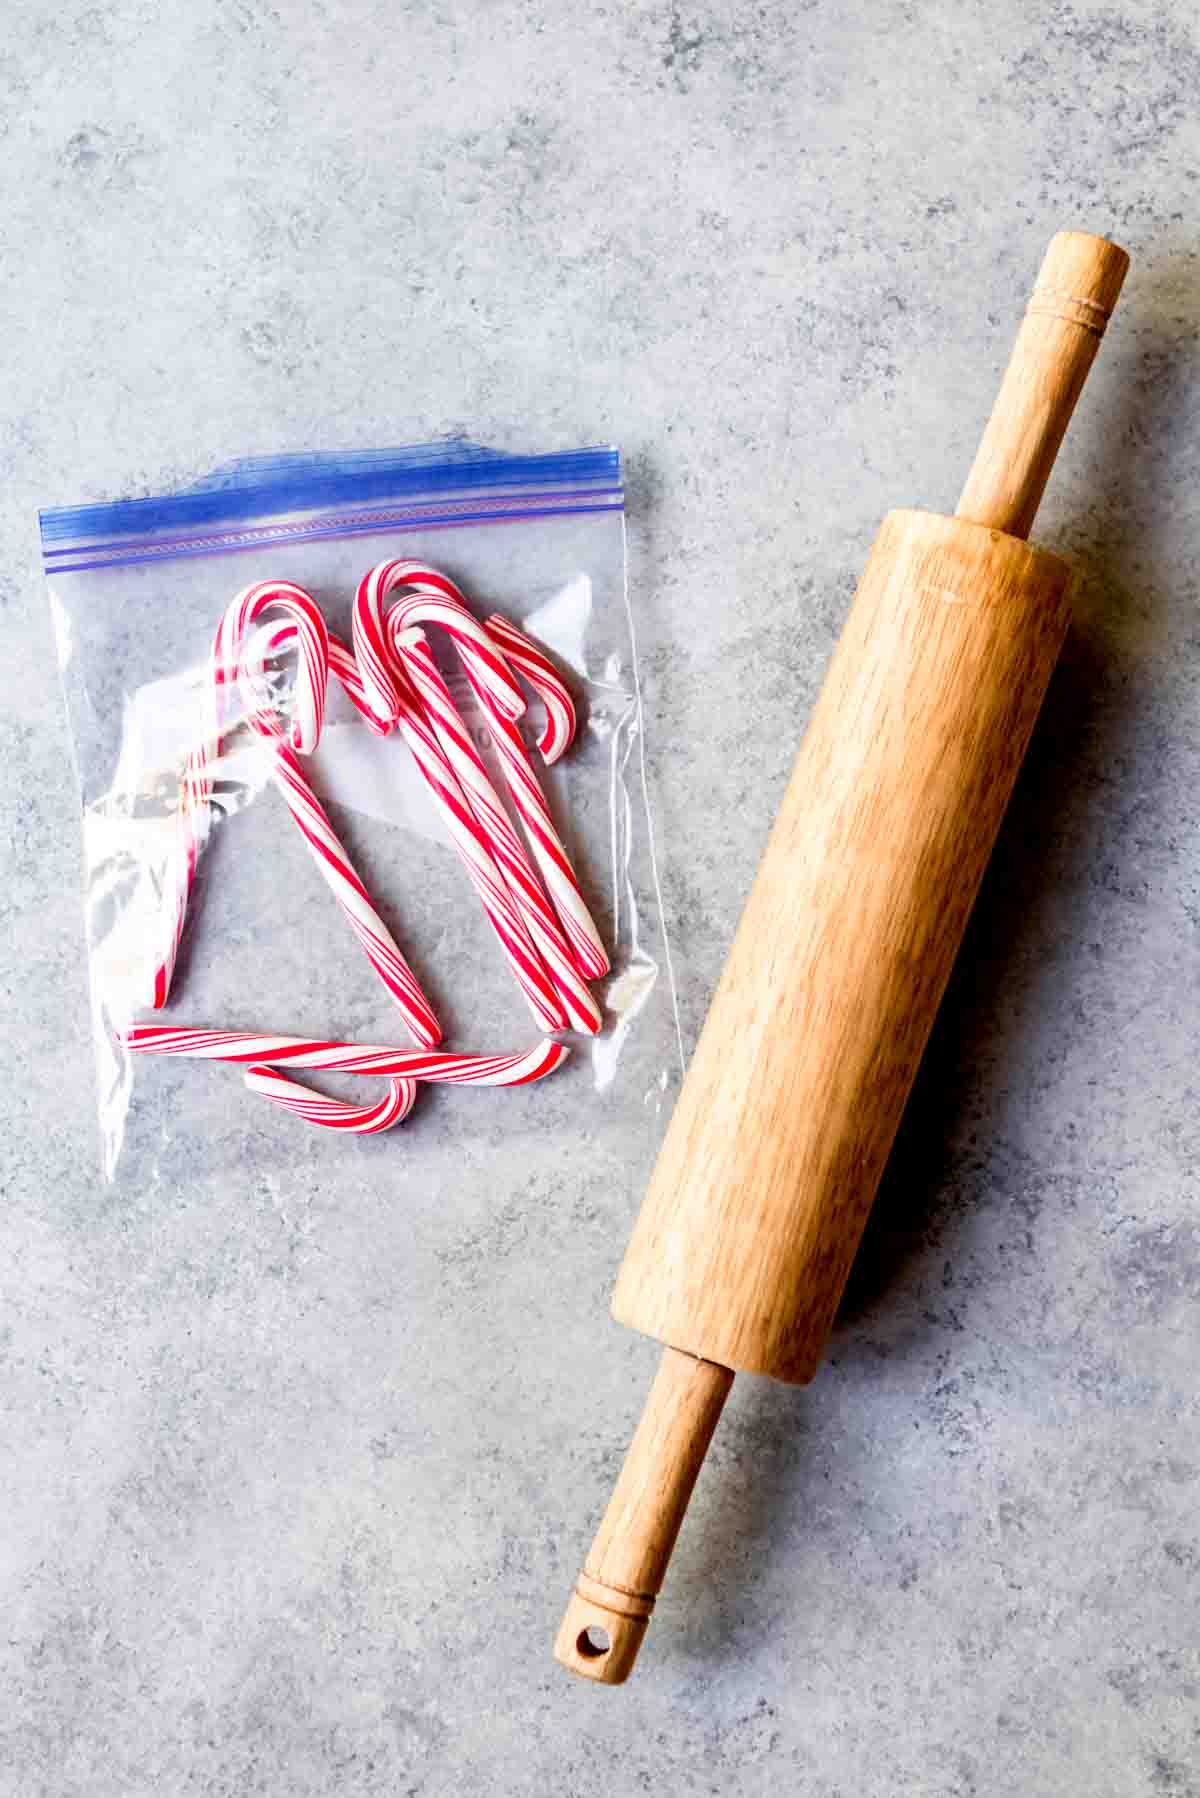
- Mallet or rolling pin (affiliate link) (for crushing candy canes)
- Glass bowls (for melting chocolate)
- Spatulas or spoons
How do you make Peppermint Bark?
First, if you are going to make homemade peppermint bark, you’ve got to know how to melt chocolate.
1. How to Melt Chocolate
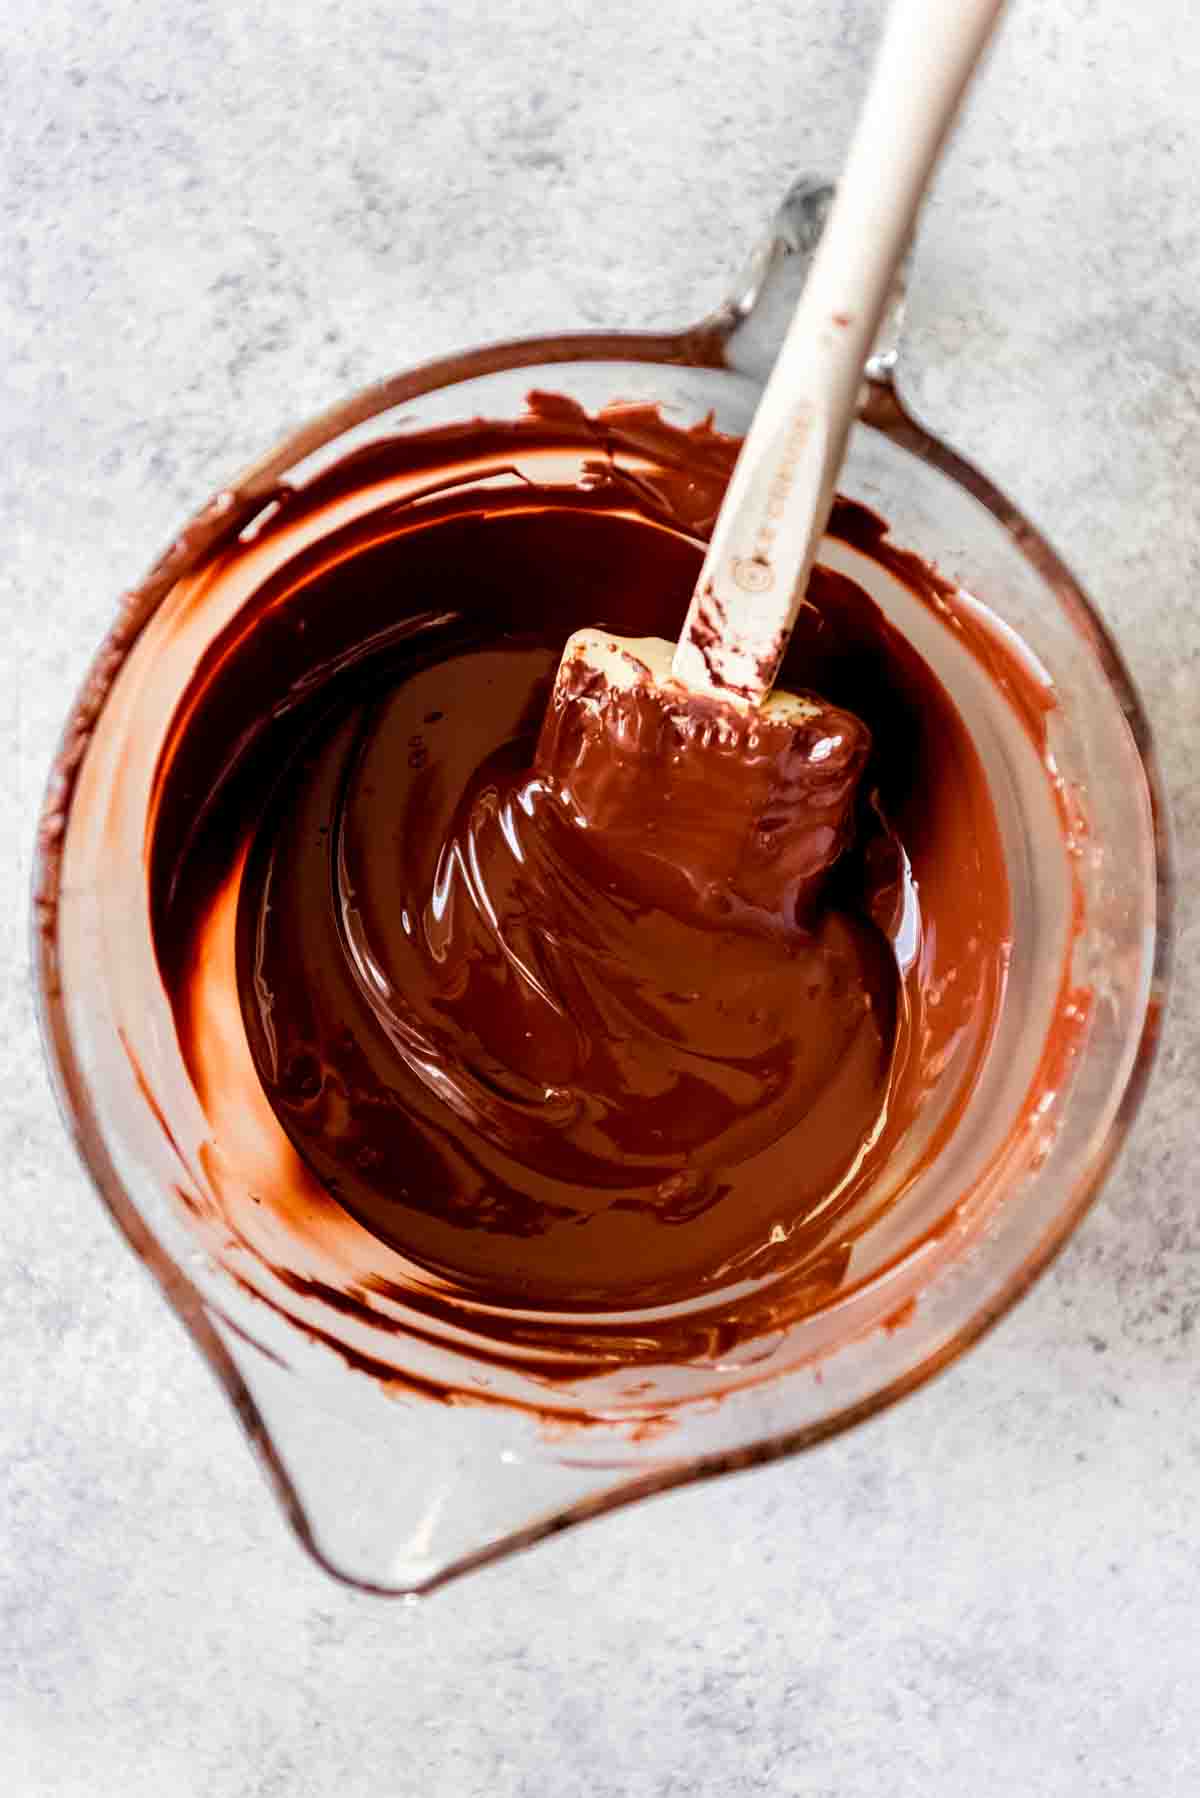
I find melting chocolate in the microwave easier and faster than using the double boiler approach.
If your microwave has a “melt chocolate” function, use it! Or just microwave at 50% power for 1 minute, followed by 20 second bursts at 50%, stirring between each interval just until the chocolate is melted.
But if you prefer to use a double boiler, bring a small to medium saucepan filled about ⅓ of the way with water to a simmer. Then nestle a heat-safe glass bowl filled with your chopped chocolate into the pan so that it is not touching the water.
The chocolate will melt over the gentle heat as you stir, then you can remove the bowl from over the simmering water and use it in this peppermint bark recipe.
2. Assembling the Peppermint Bark
Once you know how to melt chocolate, it’s really just a matter of assembling your peppermint bark to have this holiday treat.
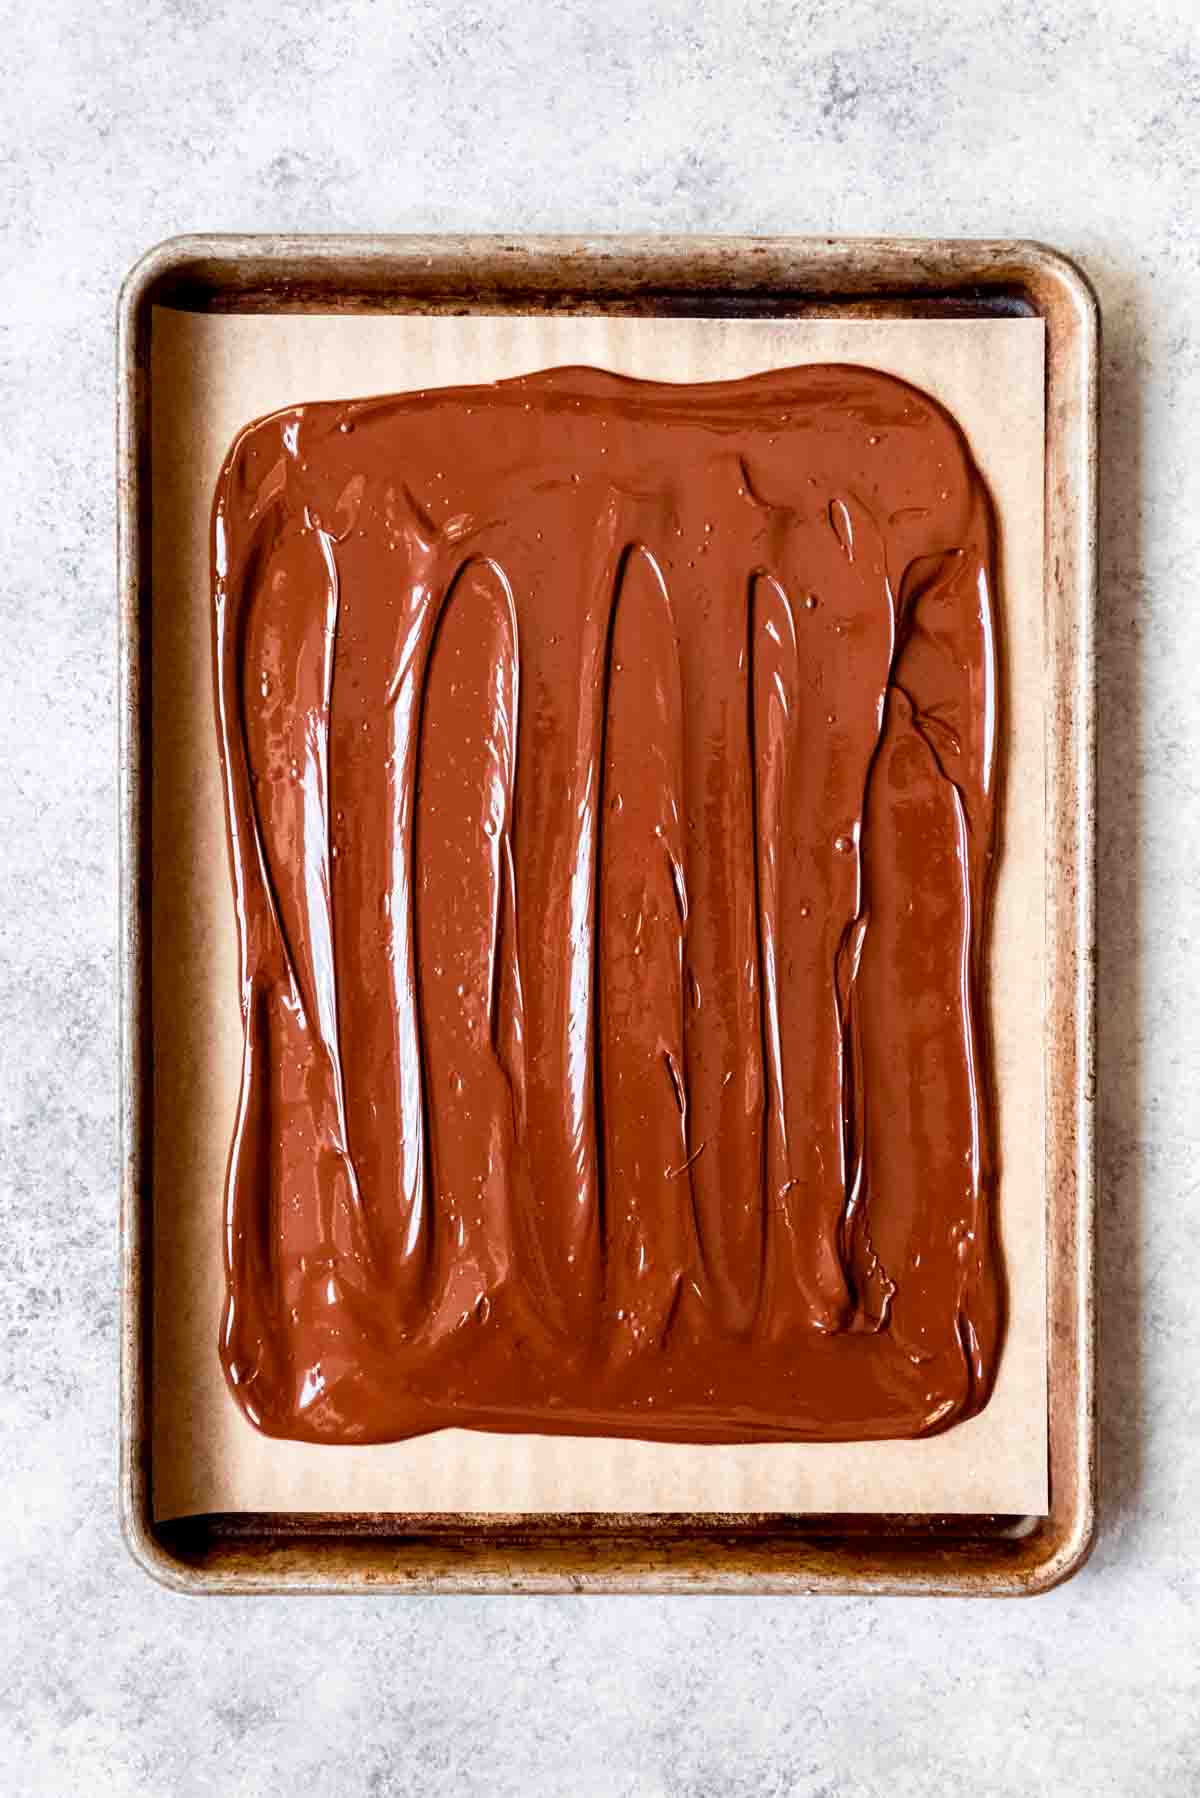
Start by melting the dark chocolate first and spreading it onto a parchment-lined baking sheet. It’s super important to have a piece of parchment paper under there because otherwise you are going to lose all of your chocolate to the pan.
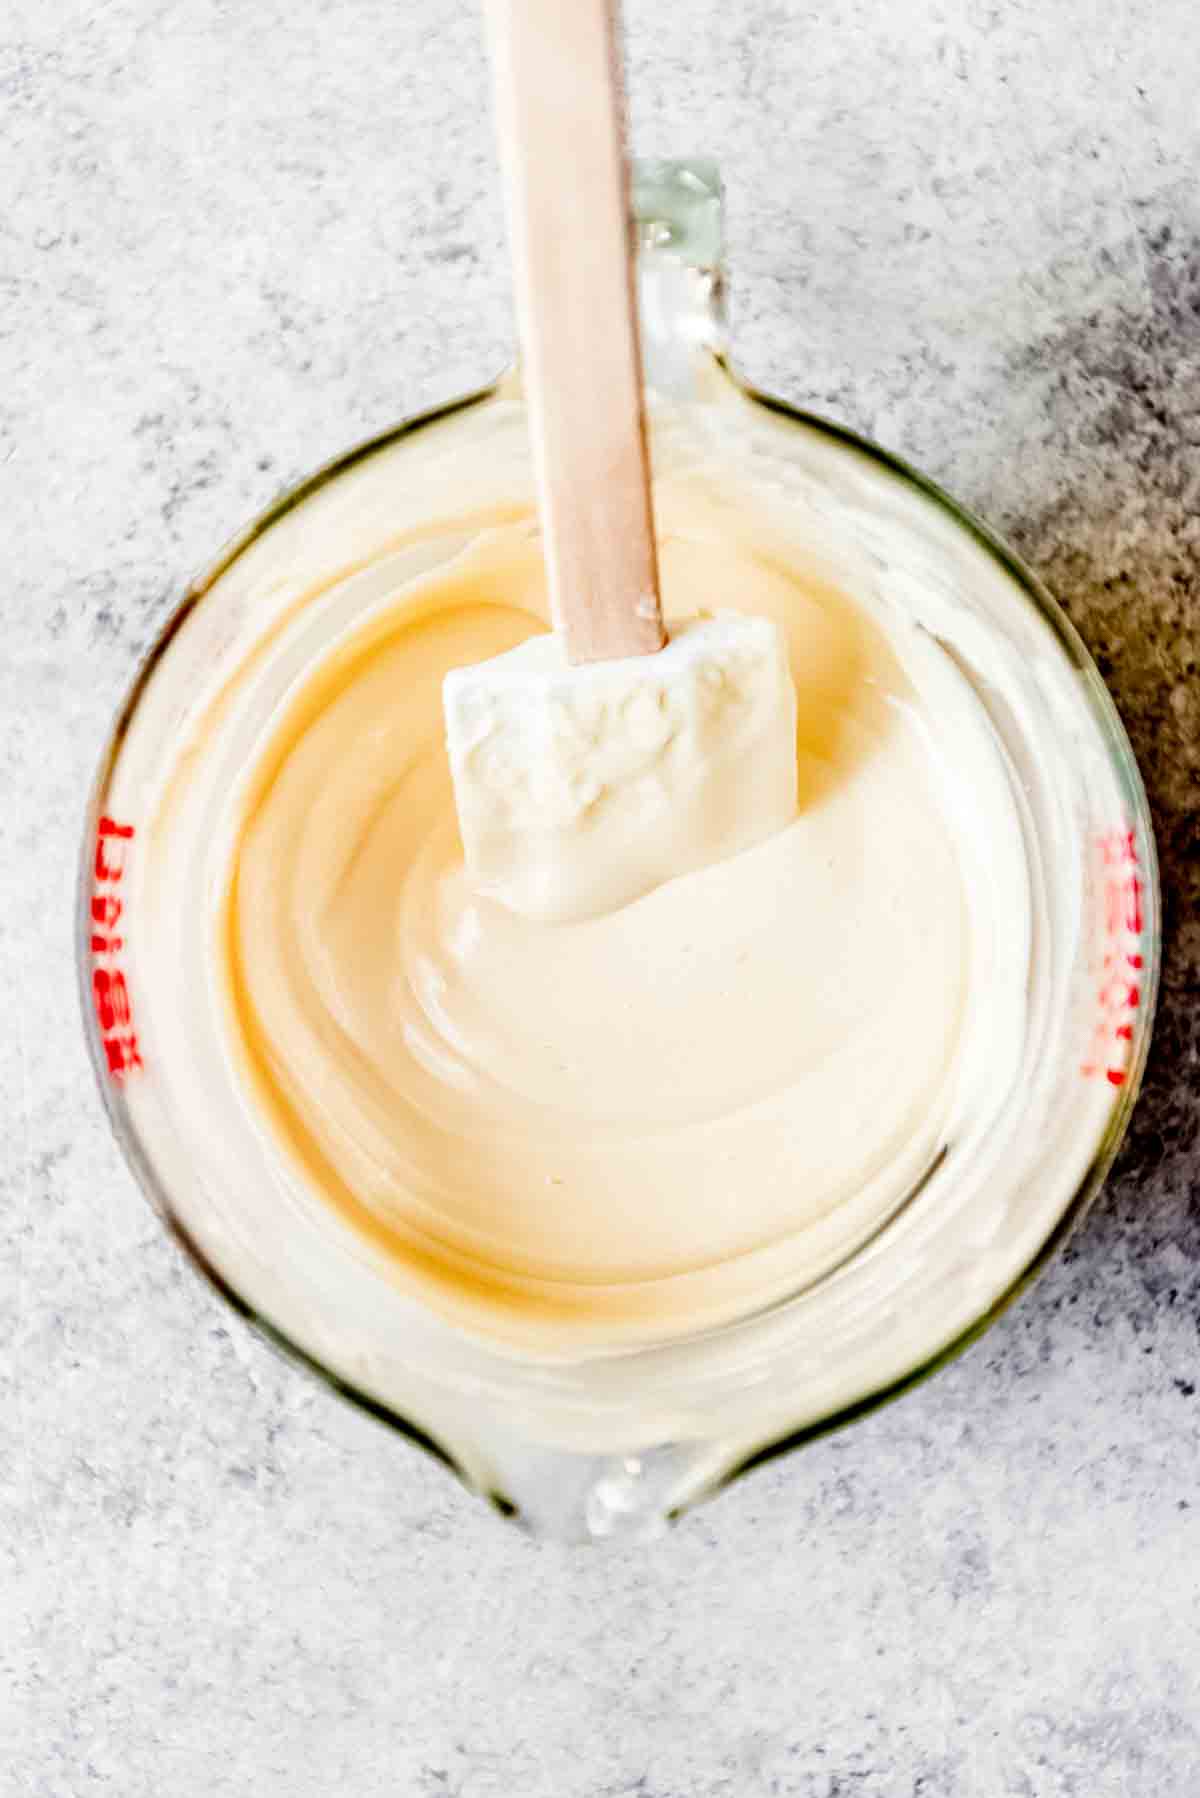
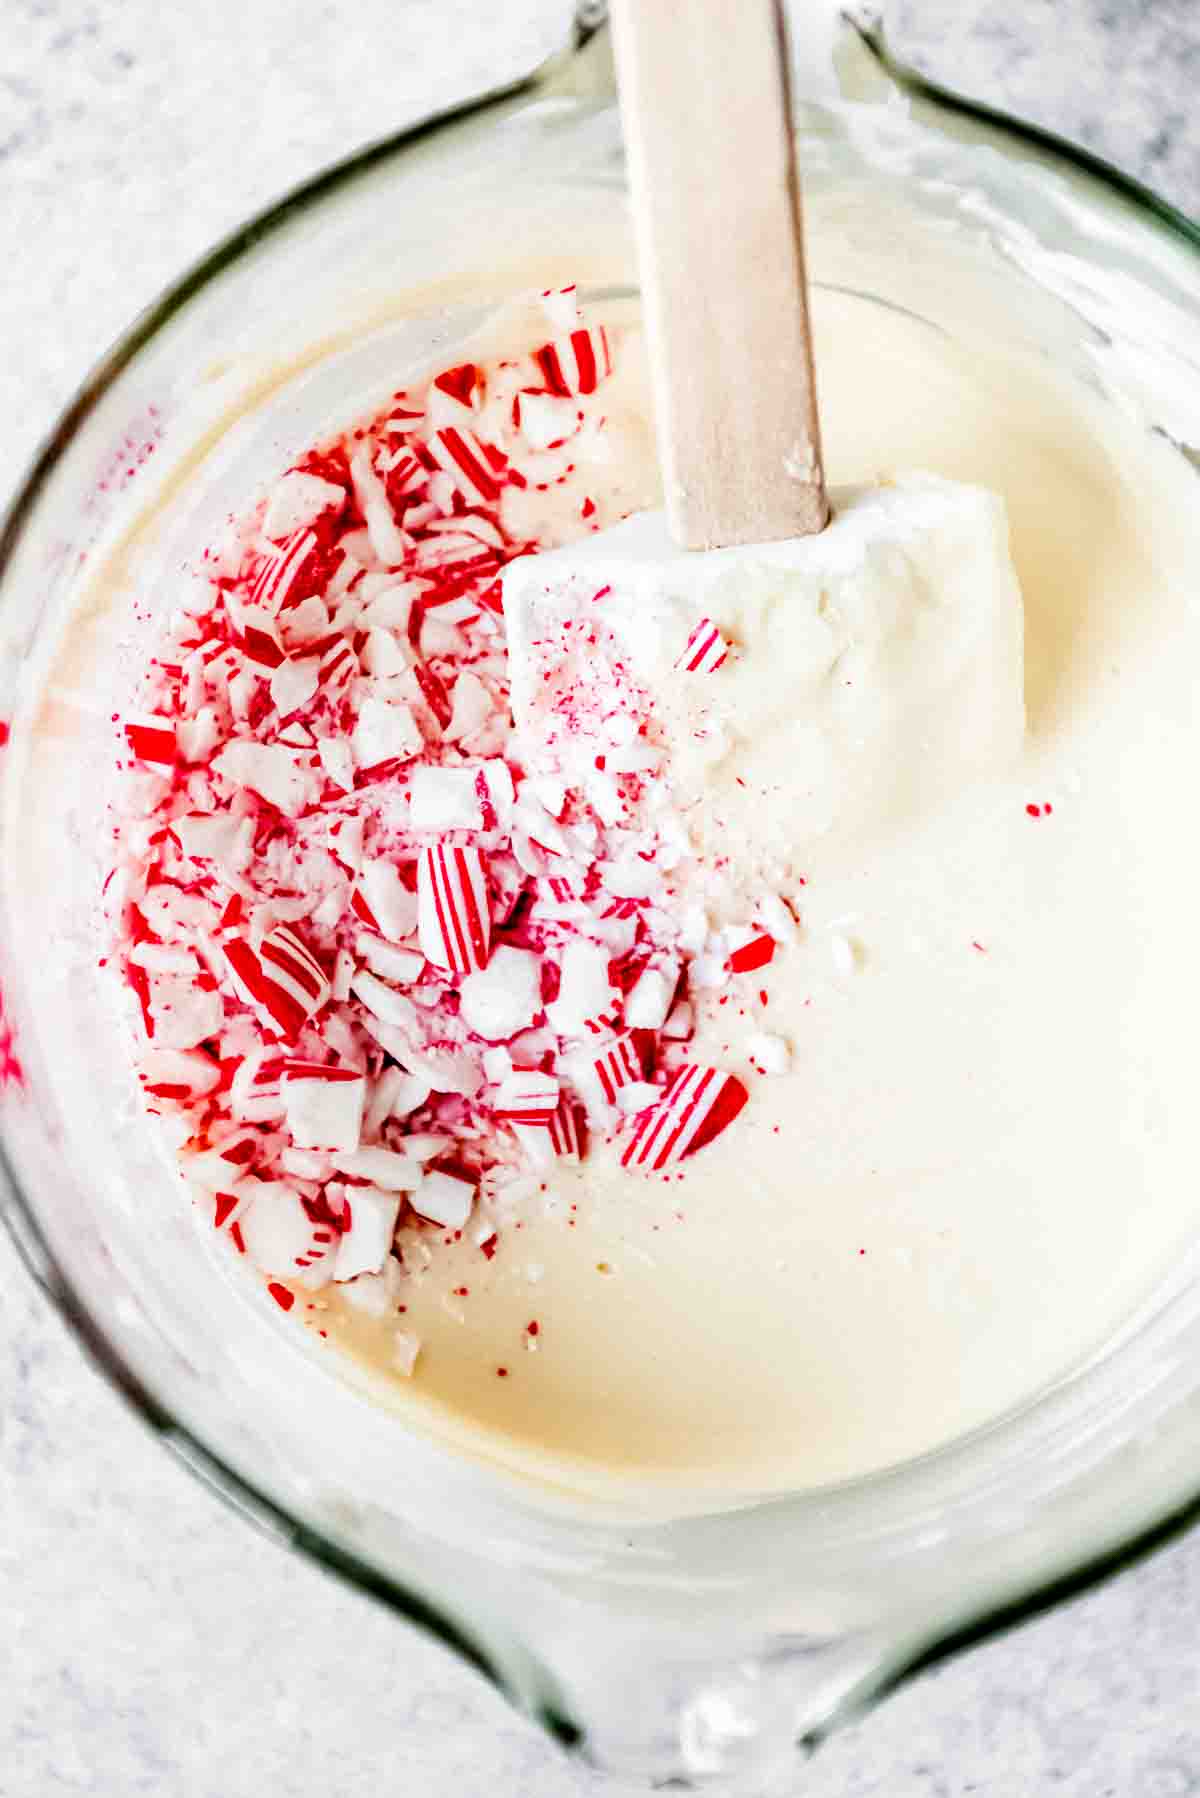
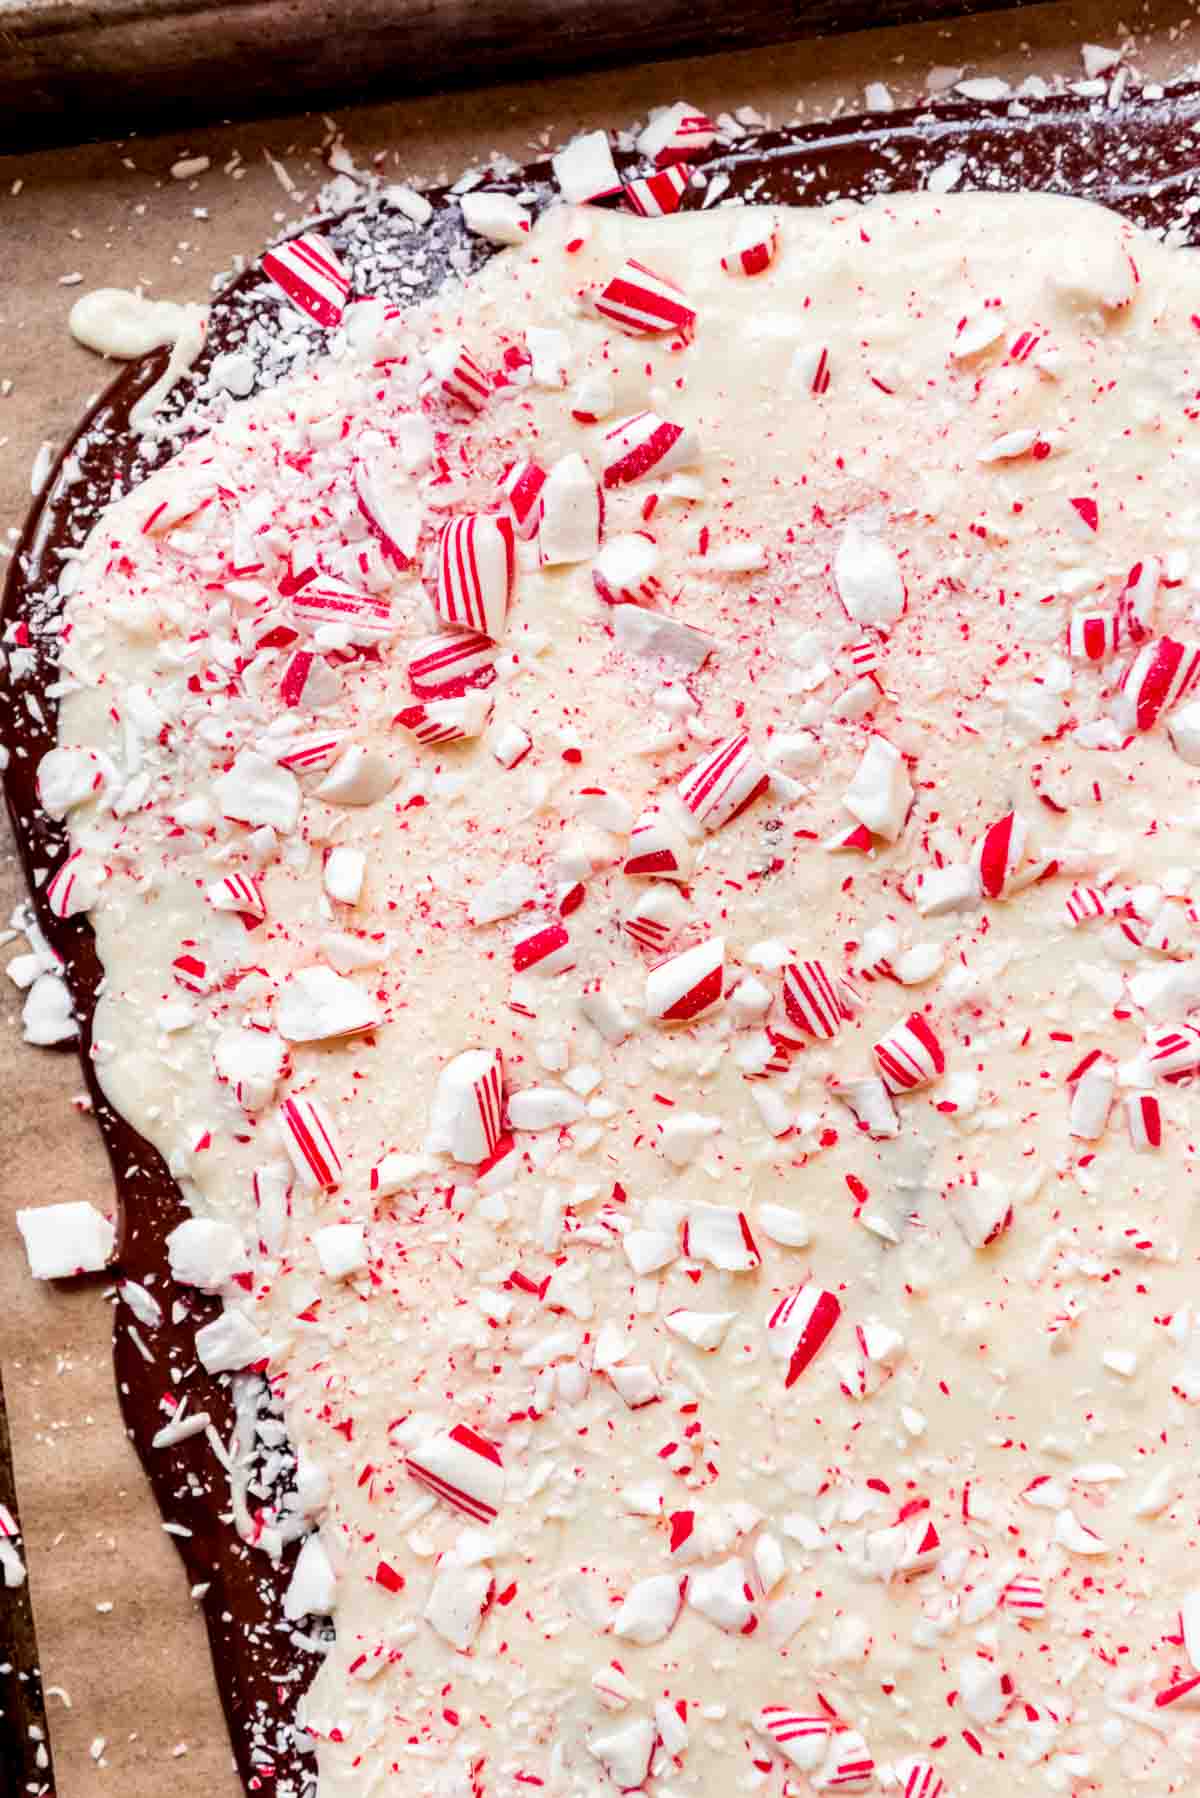
Then melt the white chocolate and stir in about half of your crushed candy canes along with the peppermint extract.
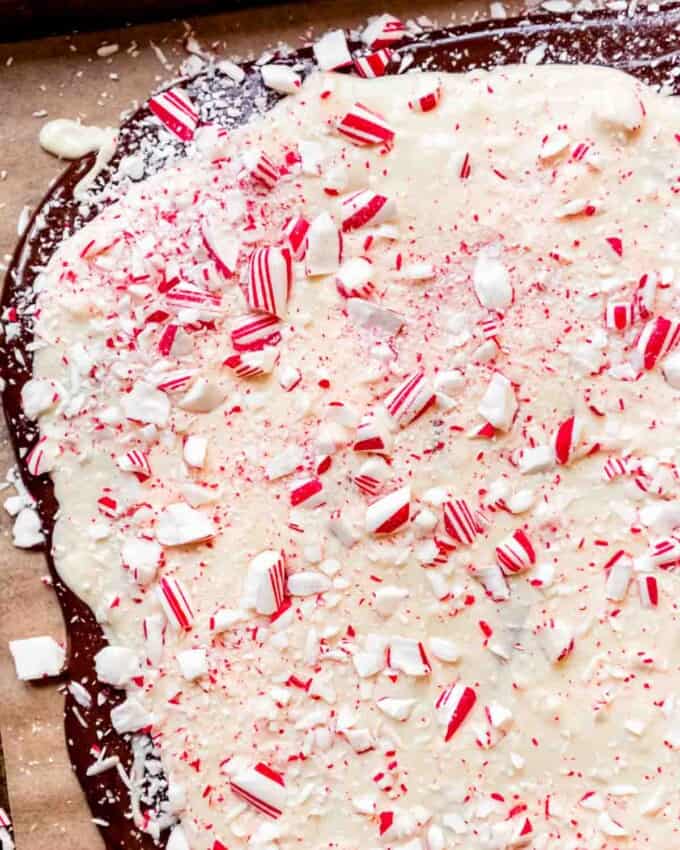
Drizzle the melted white chocolate over the dark chocolate layer and nudge it around with the back of a knife or spatula to evenly cover the dark chocolate on the bottom.
If the dark chocolate isn’t set up, this can be tricky and you might prefer to swirl the two chocolates together for a marble look.
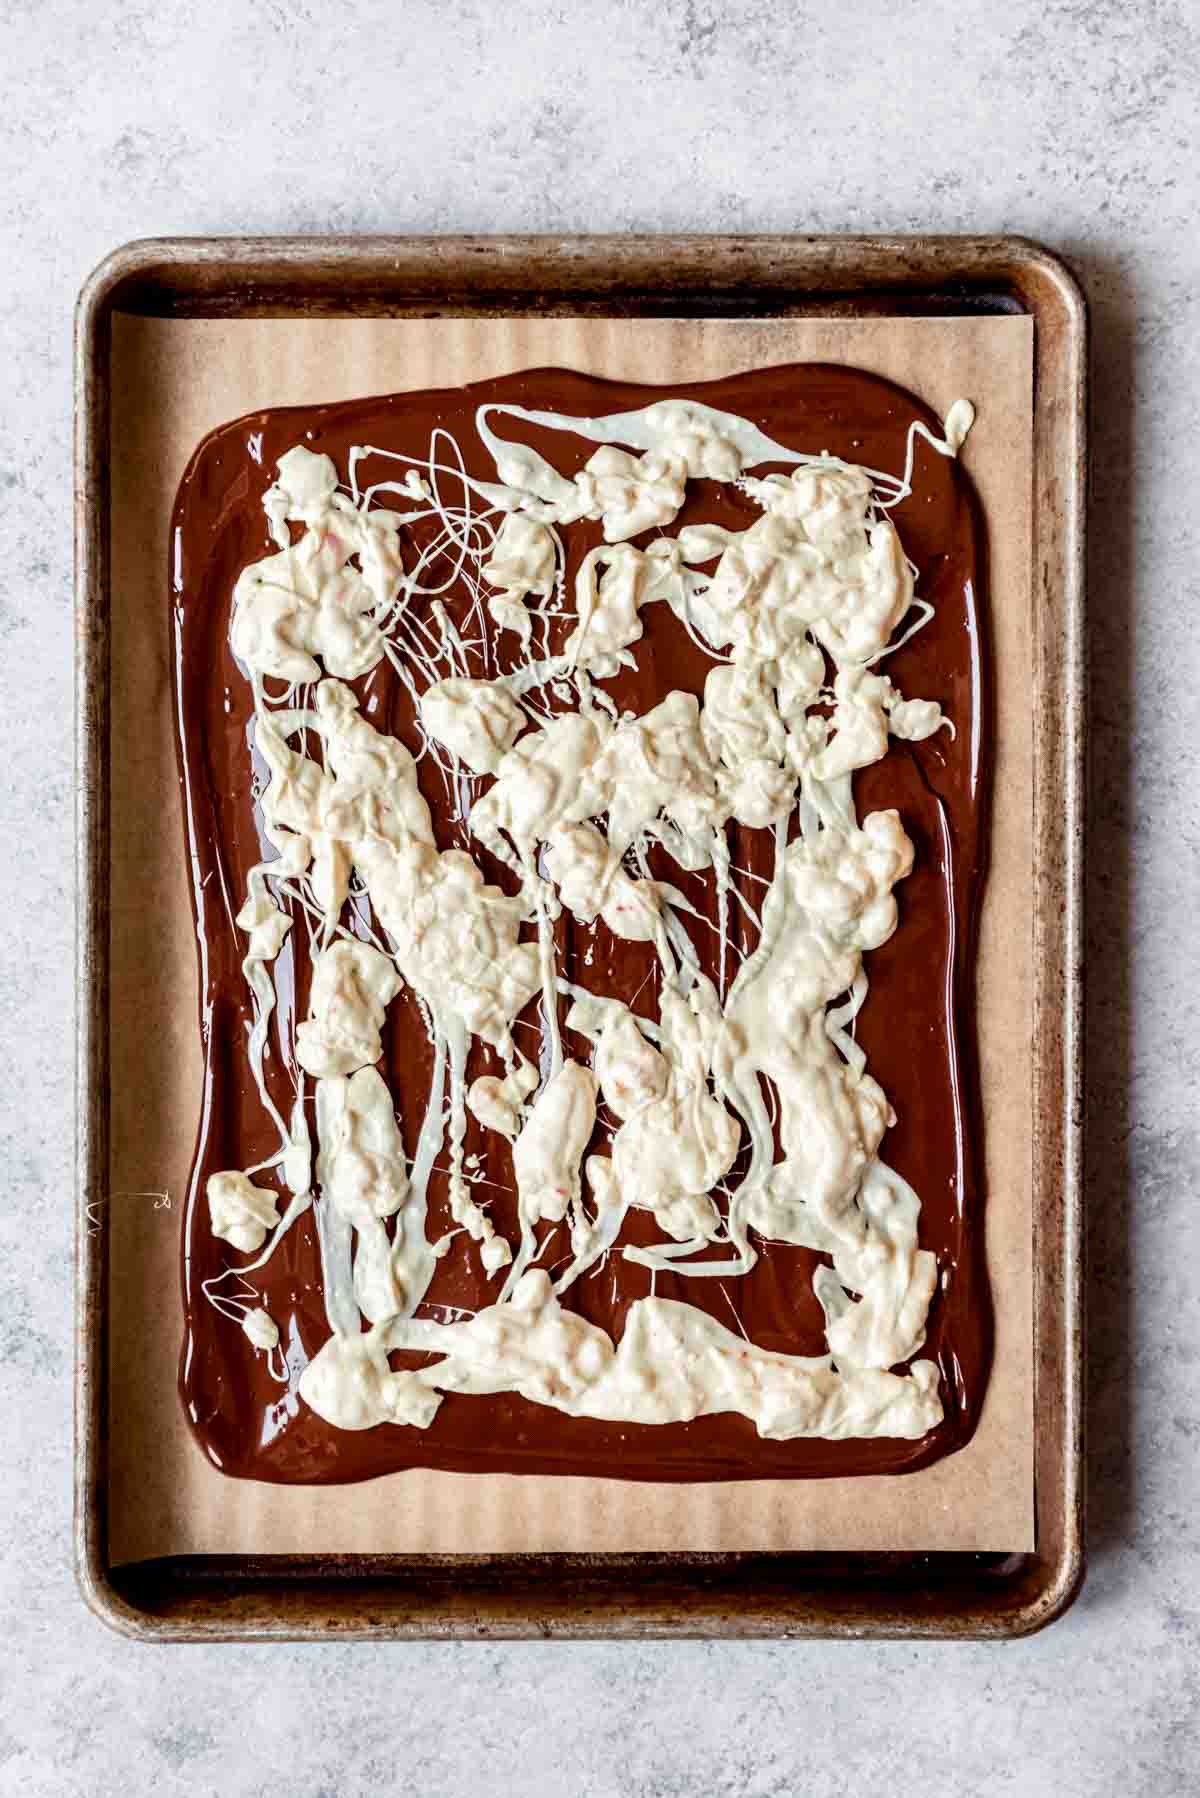
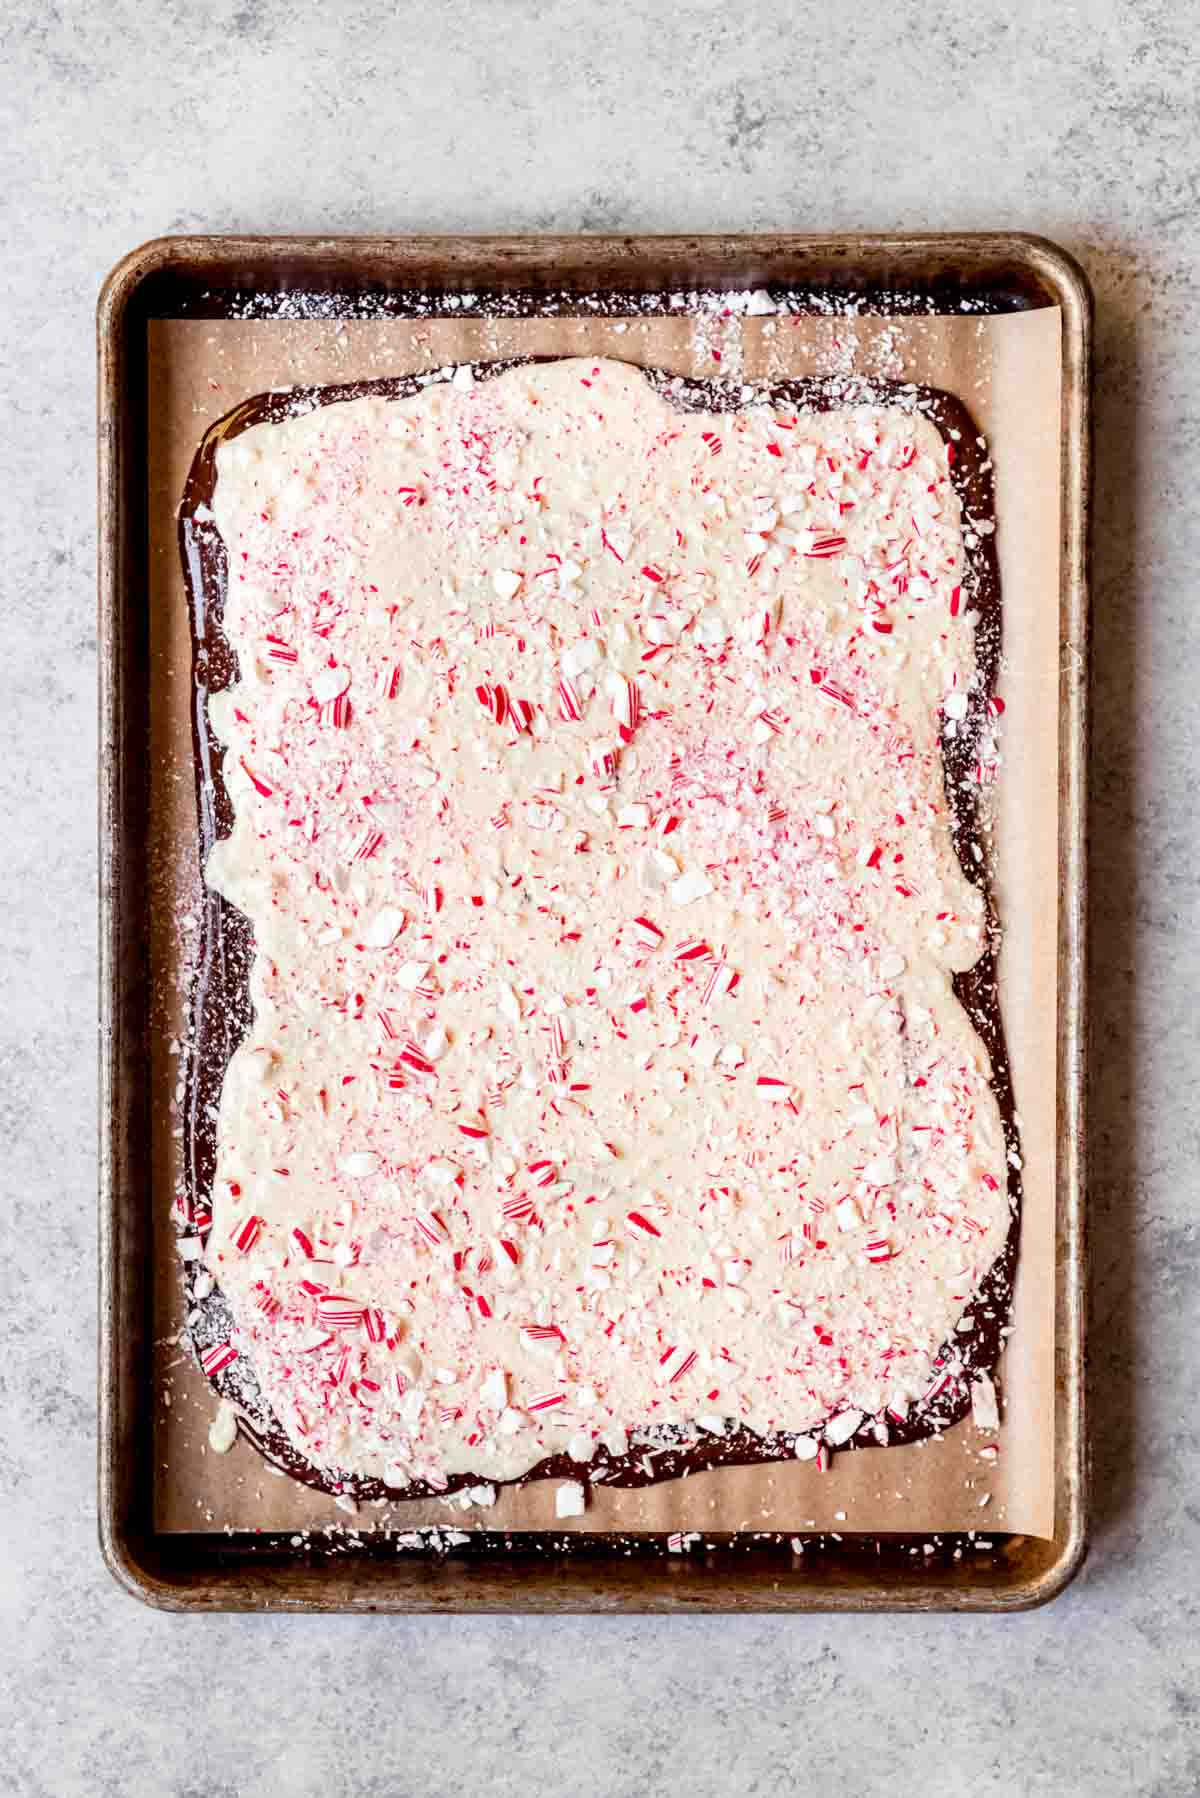
But you don’t have to wait for the dark chocolate to set up completely before adding the white chocolate either. I did this batch while the bottom layer was still completely melted.
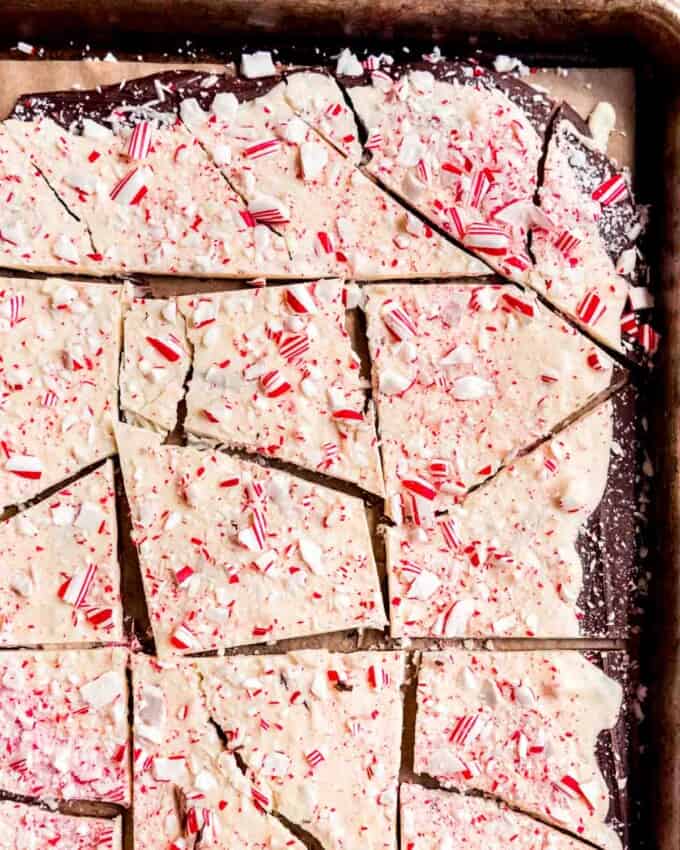
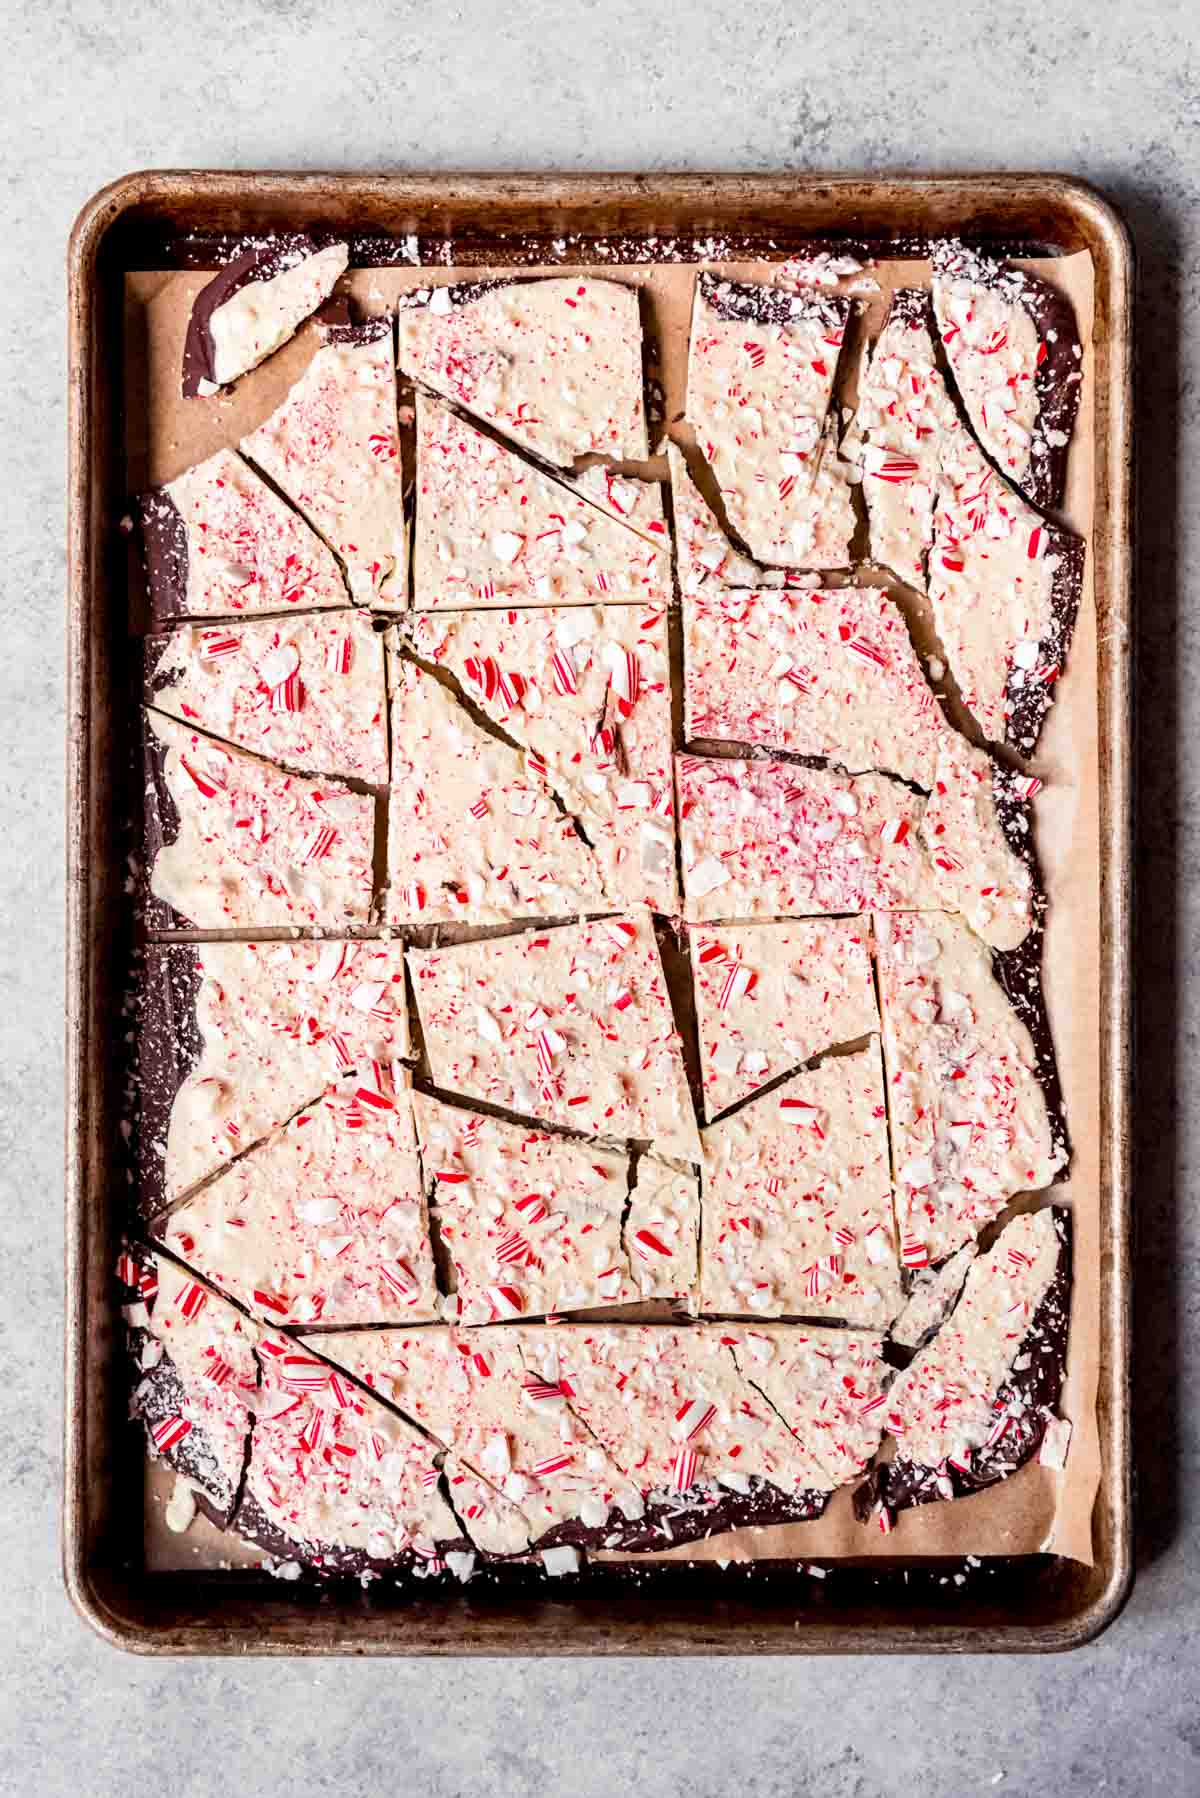
Let the chocolate set up completely at room temperature, which usually takes anywhere from 30 minutes to an hour.
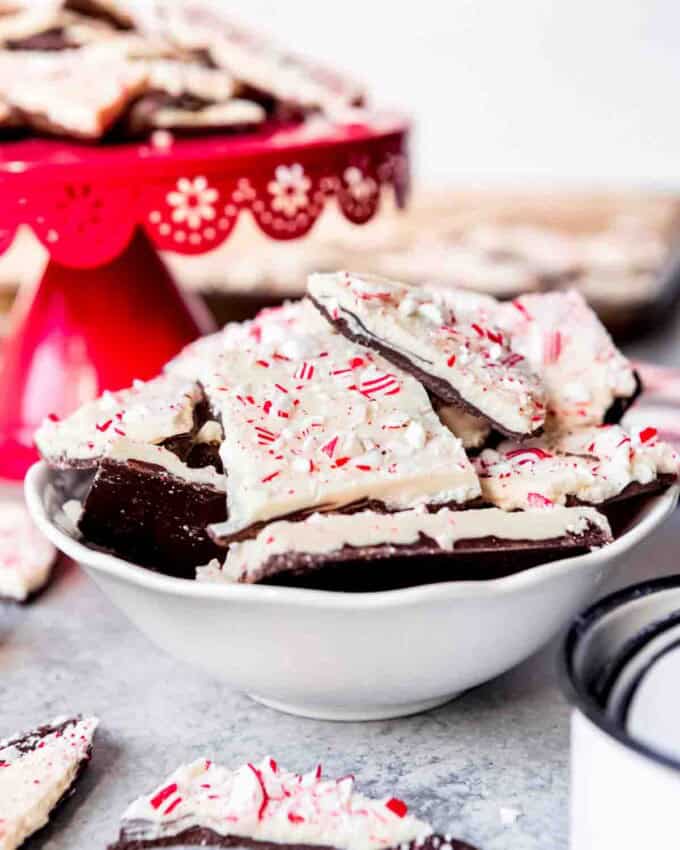
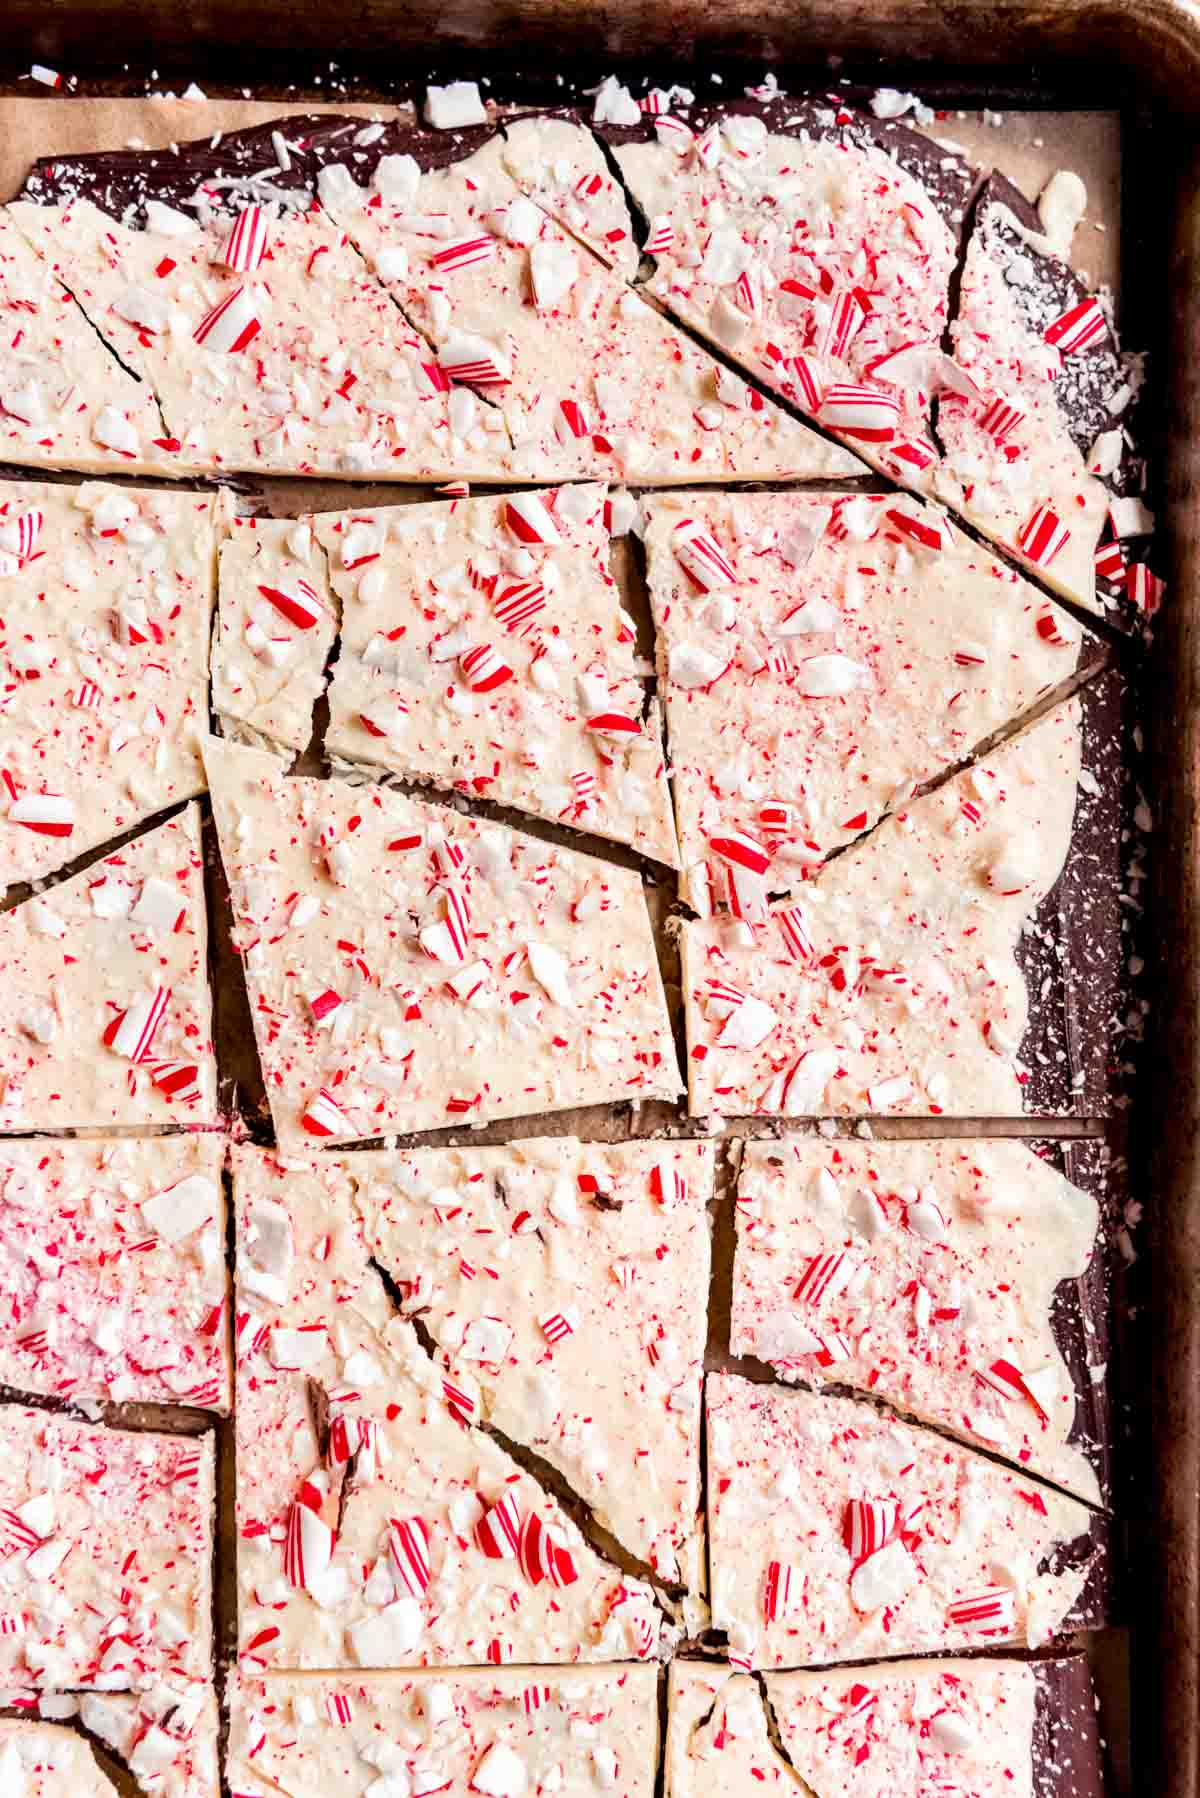
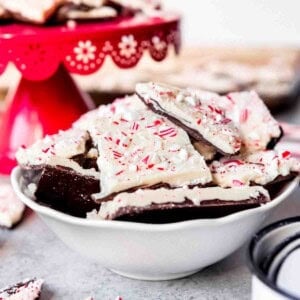
Then cut with a sharp knife or stick your hand in a plastic bag and snap pieces apart. The plastic bag keeps your hand from melting the chocolate and leaving fingerprints all over it.
I do a combination of both cutting and snapping so my pieces have a nice rustic, homemade look to them while still being evenly sized.
Tips for Making Peppermint Bark
- Use high-quality chocolate: Start with good-quality chocolate, both for the dark chocolate base and the white chocolate layer. High cocoa content chocolate (around 70% for dark chocolate) will result in a richer and more flavorful bark.
- Crush the peppermint candies finely: Use a food processor (affiliate link) or place the candies in a sealed plastic bag and crush them with a rolling pin (affiliate link). The smaller the pieces, the easier it will be to bite into the bark without large, hard chunks of candy.
- Line your baking sheet: Line your baking sheet with parchment paper or a silicone baking mat before pouring the melted chocolate. This will make it easier to remove the bark once it’s set and also prevent it from sticking to the pan.
- Layer the chocolate: Pour the dark chocolate onto the prepared sheet and spread it evenly with a spatula. Allow it to set for a short time before adding the white chocolate layer. This will help the layers stay separate and give the bark its characteristic appearance.
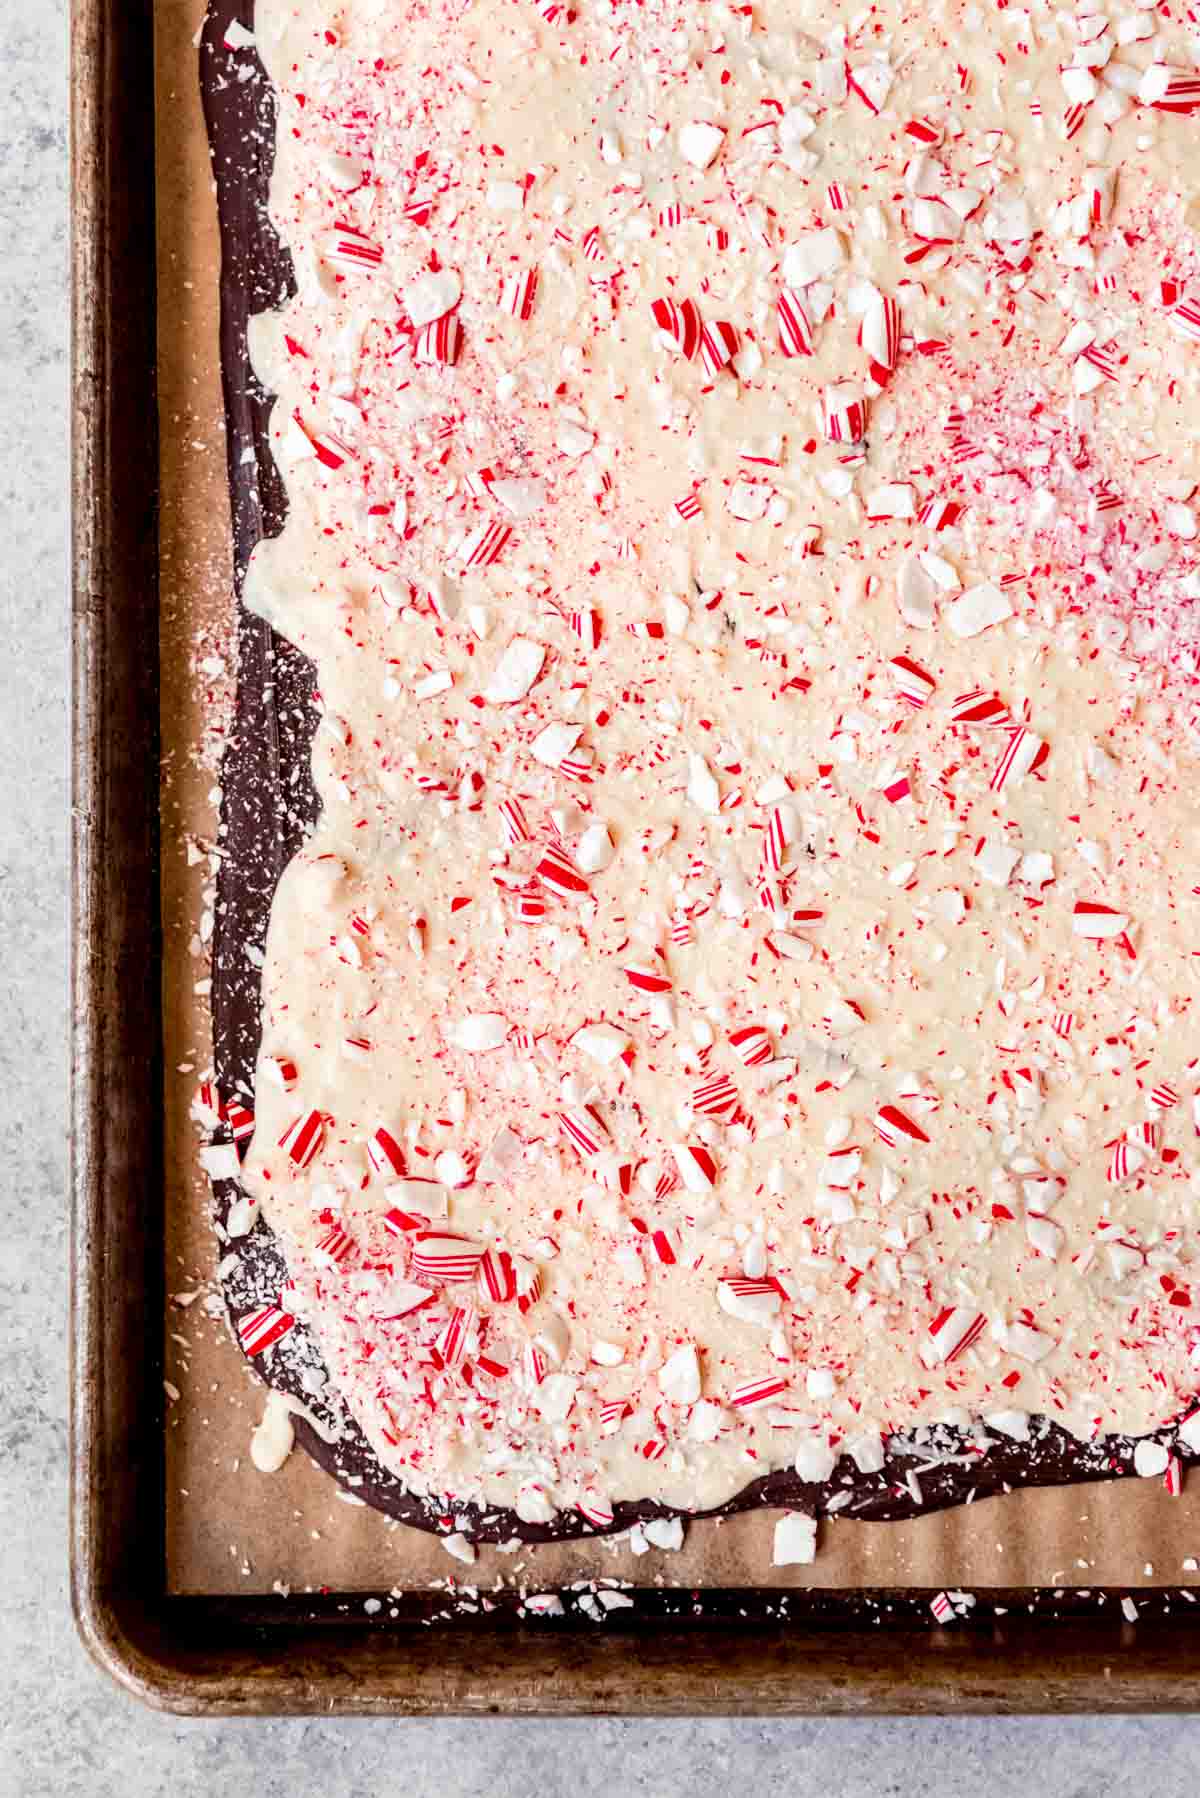
- Add peppermint candy: Sprinkle the crushed peppermint candy over the white chocolate layer immediately after spreading it. This will help the candy pieces adhere to the chocolate before it sets.
- Break into pieces: Once the bark is fully set, use a knife to gently break it into irregular pieces or shards. The beauty of peppermint bark is its rustic appearance, so don’t worry about making perfect shapes.
- Store properly: Store your peppermint bark in an airtight container in the refrigerator to prevent it from melting or getting too soft. It can also be frozen for longer storage.
Easy Peppermint Bark Variations
Swirled Peppermint Bark: Add the white chocolate to the dark chocolate before the bottom layer has a chance to set and swirl them together for a pretty marbled peppermint bark look.
Upside Down Peppermint Bark: Flip the script by making white chocolate your bottom layer and sprinkling the crushed candy canes on a dark chocolate layer on top.
Ultimate Peppermint Bark: Sprinkle some of your favorite peppermint candies like peppermint M&M’s, peppermint Hershey’s Hugs, or chopped red holiday Oreo’s on top. You might need to press them into the chocolate just a bit.
How to Store this White Chocolate Peppermint Bark Recipe
How long can you store peppermint bark?
Homemade peppermint bark will last about 2 weeks in an airtight container on the counter.
In the fridge, it will last up to 3 weeks, although the candy cane pieces on top can become a bit sticky. You can even freeze it for up to 2 months. Just wrap it in foil first.
Best Peppermint Bark FAQs
Peppermint bark is a popular holiday treat made from layers of dark chocolate, white chocolate, and crushed peppermint candies. The process involves melting the two types of chocolate, spreading them in layers, and then sprinkling the crushed peppermint on top. Once it hardens, the bark is broken into irregular pieces. It is a festive and easy-to-make holiday dessert or gift, known for its sweet, creamy chocolate, a refreshing burst of peppermint, and a satisfying crunch.
Peppermint bark gets its name because of its resemblance to tree bark with a layered appearance, where dark and white chocolates represent the “bark” with crushed peppermint.
More Homemade Candy Recipes
- Old-Fashioned Homemade Peanut Brittle
- Old-Fashioned Divinity Candy Recipe
- Grandpa Johnson’s Easy Homemade Rocky Road Fudge
- Grandma Nash’s Best Butter Almond English Toffee
- Chocolate Covered Pretzel Rods
- Southern Pecan Pralines
- Christmas Pretzel Hugs
- Twix Caramel Popcorn
- Homemade Butter Mints

Did you make this recipe?
Let me know what you thought with a comment and rating below. You can also take a picture and tag me on Instagram @houseofnasheats or share it on the Pinterest pin so I can see.
Homemade Peppermint Bark Recipe
Ingredients
- 12 ounces dark chocolate or semisweet chocolate chopped
- 16 ounces white chocolate chopped
- 1 teaspoon peppermint extract
- 6-7 candy canes crushed
Instructions
- Line a baking sheet with parchment paper.
- In a medium microwave-safe bowl, melt the dark or semisweet chocolate at 50% power for 1 minute. Stir, then continue to heat in 20 second increments, stirring between each interval until melted.12 ounces dark chocolate or semisweet chocolate
- Spread the dark chocolate in a large rectangle on the parchment paper, then let it begin to set slightly while you melt the white chocolate.
- Melt the white chocolate in the same way as the dark chocolate, by microwaving at 50% power for 1 minute, then stirring and continuing to melt with short 20 second bursts of heat in the microwave, stirring between each burst until melted.16 ounces white chocolate
- When the white chocolate is melted, stir in the peppermint extract and ½ of the crushed candy canes.1 teaspoon peppermint extract, 6-7 candy canes
- Drizzle the white chocolate over the partially set dark chocolate, gently nudging it around to cover the surface (or swirl, for a marbled effect). Immediately sprinkle with the remaining crushed candy canes.
- Let the peppermint bark set at room temperature for 30-90 minutes until hard, then cut apart with a sharp knife or break apart with your hands inside plastic gloves or a ziploc bag so you don’t leave fingerprints on the peppermint bark.
- Store at room temperature for up to 2 weeks.
Notes
- For best results, I recommend storing at room temperature in an airtight container for up to 2 weeks. But you can refrigerate or freeze to make it last longer, although the candy cane pieces on top might start to get sticky.
- Swirled Peppermint Bark: Swirl the white a dark chocolate layers together for a pretty marbled peppermint bark variation.
- Upside Down Peppermint Bark: Make the white chocolate your bottom layer and sprinkling the crushed candy canes on a dark chocolate layer on top for a different look.
- Ultimate Peppermint Bark: Sprinkle peppermint M&M’s, peppermint Hershey’s Hugs, seasonal sprinkles, or chopped red holiday Oreo’s on top of the chocolate while it is still melted.


Peppermint is a must for me at the holidays, so I knew when I saw this recipe that I’d love it. It’s easy to make and so yummy! Thanks!
Super yummy and so easy to make – this is going to go quick!!
What beautiful bark and I love how easy you’ve shown us it is to make!
One of my most favorite things on a cookie tray!!
This was so fast and easy!! Made it for the December challenge and posted on instagram. I was really pleased with how this turned out and will definitely be a Christmas regular in our home 🙂
I made this recipe to hand out as gifts for Christmas. I made a batch with dark chocolate on the bottom and some without. These were sooo good! Very easy to make too! They smell delicious and Everyone really seemed to love their peppermint bark gifts for Christmas 🙂
At Walmart, I saw this package of white melting wafers. Would those work for this? Also, would the Nestle Tollhouse semisweet (or dark) chunks work for this, instead of a baking bar? Please let me know. Thanks!!
Yes and yes, although I will say that the quality of the white chocolate will make a difference in the taste. Like, I wouldn’t use the white almond bark for this because it doesn’t really taste like white chocolate. But generally speaking, you should be able to use both of those.
Thank you!!
Are melting wafers the same as candy melts?
Yes, they are! I just happen to particularly like the Ghiradelli ones and they call them melting wafers.
In your directions, you say this makes 16 servings. Would you say 1 piece is a serving, since it’s so rich?
Yes, that’s how I feel about it. I tend to eat one piece at a time.
Hello!
This is just the site I’ve been looking for. Things made just like my grandmother. I stood by her side and watched her make to many wonderful treats. Most of these couldn’t be bought in West Texas in the mid 1960s.
I’m going to give my grandchildren the same enjoyment, thanks to you!
Richard Sullivan
I’m so happy to hear that! I grew up learning to make things from scratch as well and distinctly remember learning divinity and fudge. Many things you can buy now, but they just don’t taste the same as homemade versions, even if they are convenient. It really does make a difference using fresh ingredients in small batches that are made with care with the people you love! I’m so glad you can give your grandchildren these memories!
This recipe was a hit at Christmas! Will make again next year. Quick and easy.
Thank you for letting me know! I am glad it was a hit!