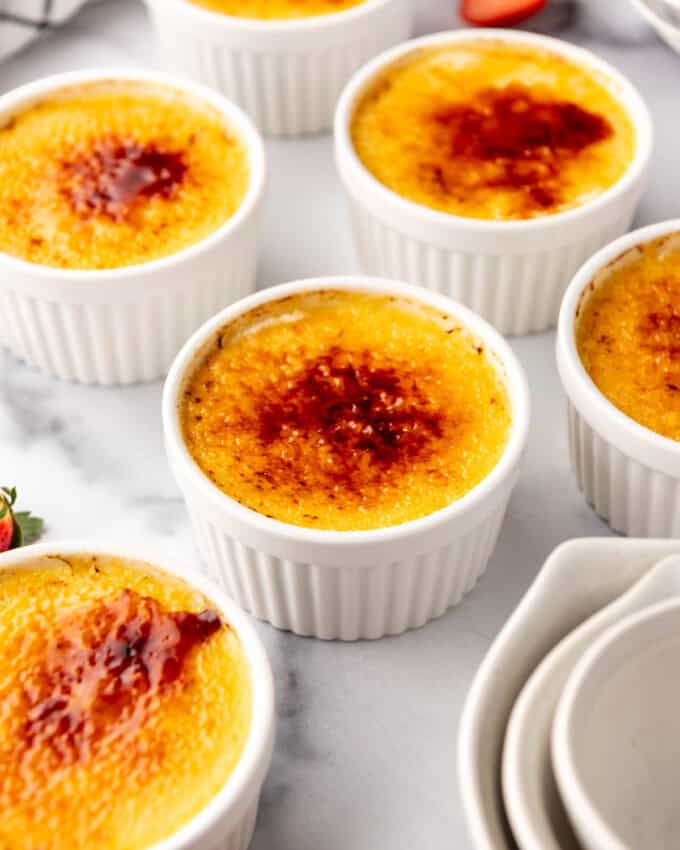


Rich, creamy vanilla custard topped with a crisp, caramelized sugar crust—this classic Creme Brulee is a showstopping dessert that’s surprisingly simple to make at home. With just a few simple ingredients like egg yolks, heavy cream, and real vanilla bean, you’ll create a creamy custard with a burnt-sugar crust that rivals any fancy restaurant version.

Table of Contents
I’ll admit that I was initially intimidated at the idea of making creme brulee. It involves a hot water bath! And a kitchen torch?! You’ve got to temper eggs? But I brought home some real Tahitian vanilla beans from our anniversary trip to Bora-Bora and wanted a special dessert that would showcase the inimitable flavor of real vanilla beans and creme brulee was the obvious choice. It’s actually much, much easier to make than you might think!
This isn’t just any easy dessert—it’s a foolproof way to impress guests, satisfy a sweet tooth, and feel like a true pastry chef in your own kitchen. The combination of a rich, creamy vanilla custard and a perfectly caramelized sugar topping creates a texture contrast that makes every bite irresistible.
I’m sharing more than the best creme brulee recipe in this post. I’m giving you my simple, straightforward tips to help you nail this classic French dessert on your very first try with zero stress.
Using real vanilla bean or vanilla bean paste ensures that deep, aromatic vanilla flavor shines through, giving this classic crème brûlée an elevated taste you won’t get from artificial extracts. And thanks to a gentle hot water bath, the custard bakes evenly, resulting in a luxuriously smooth texture without any curdling. It’s the best way to get restaurant-quality results without ever leaving your home!
If you love elegant treats, you’ll adore my Basque Cheesecake, Molten Lava Cake Recipe, Classic Vanilla Panna Cotta with Raspberry Sauce, Sticky Toffee Pudding, and Flan de Queso!
Why We Love This Recipe
- With just egg yolks, heavy cream, and real vanilla bean, this classic crème brûlée turns into a creamy vanilla custard with a perfectly caramelized sugar topping.
- This easy crème brûlée recipe is simple enough for a first-time baker but still feels like an elegant, fancy restaurant dessert.
- A kitchen torch and superfine sugar create the ultimate burnt-sugar crust, adding a satisfying crunch to every spoonful.


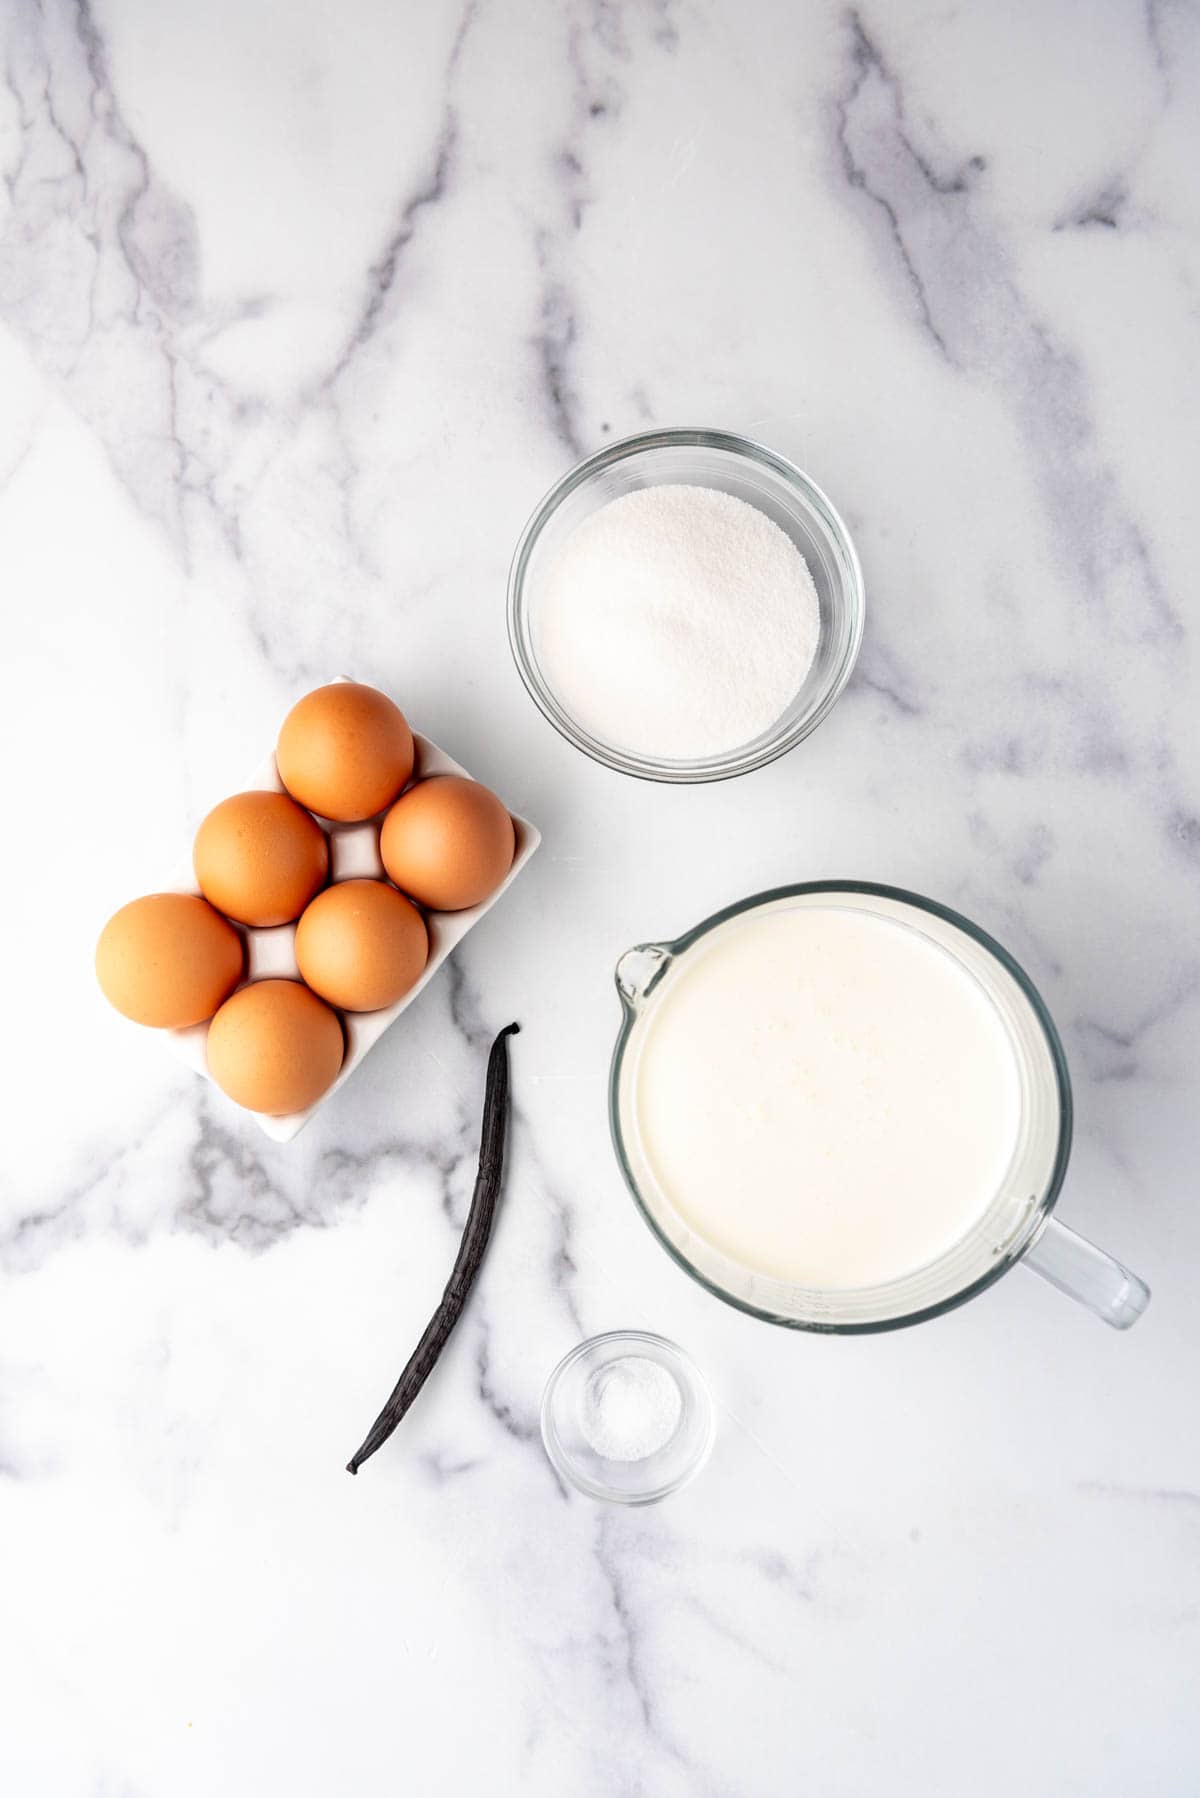
What You’ll Need
Scroll down to the recipe card below this post for ingredient quantities and full instructions.
- Heavy Cream – The base of the creamy custard, giving crème brûlée its rich, silky texture. Use full-fat heavy cream for the best results.
- Vanilla Bean – Infuses deep, real vanilla flavor into the custard mixture. If you don’t have a vanilla pod, you can get away with vanilla bean paste. Even our trusty pure vanilla extract works too, although the flavor won’t be as pronounced and you won’t have the divine little specks of vanilla in your creme brulee.
- Egg Yolks – The key to a smooth, creamy vanilla custard. Save the egg whites for meringues, omelettes, or soufflés!
- Granulated Sugar – Sweetens the custard and caramelizes into that irresistible burnt-sugar crust.
- Salt – A tiny pinch balances the sweetness and enhances the flavor of the vanilla bean and egg yolk mixture.
- Boiling Water – Poured into the large baking dish for a hot water bath, ensuring even cooking and preventing the creamy custard from curdling.
- Kitchen Torch – The best way to create that crackly, caramelized sugar topping. You can find them at kitchen stores or honestly, even at a local hardware store! And in a pinch you can use the oven broiler to do all of the tops at once.
How to Make Creme Brûlée
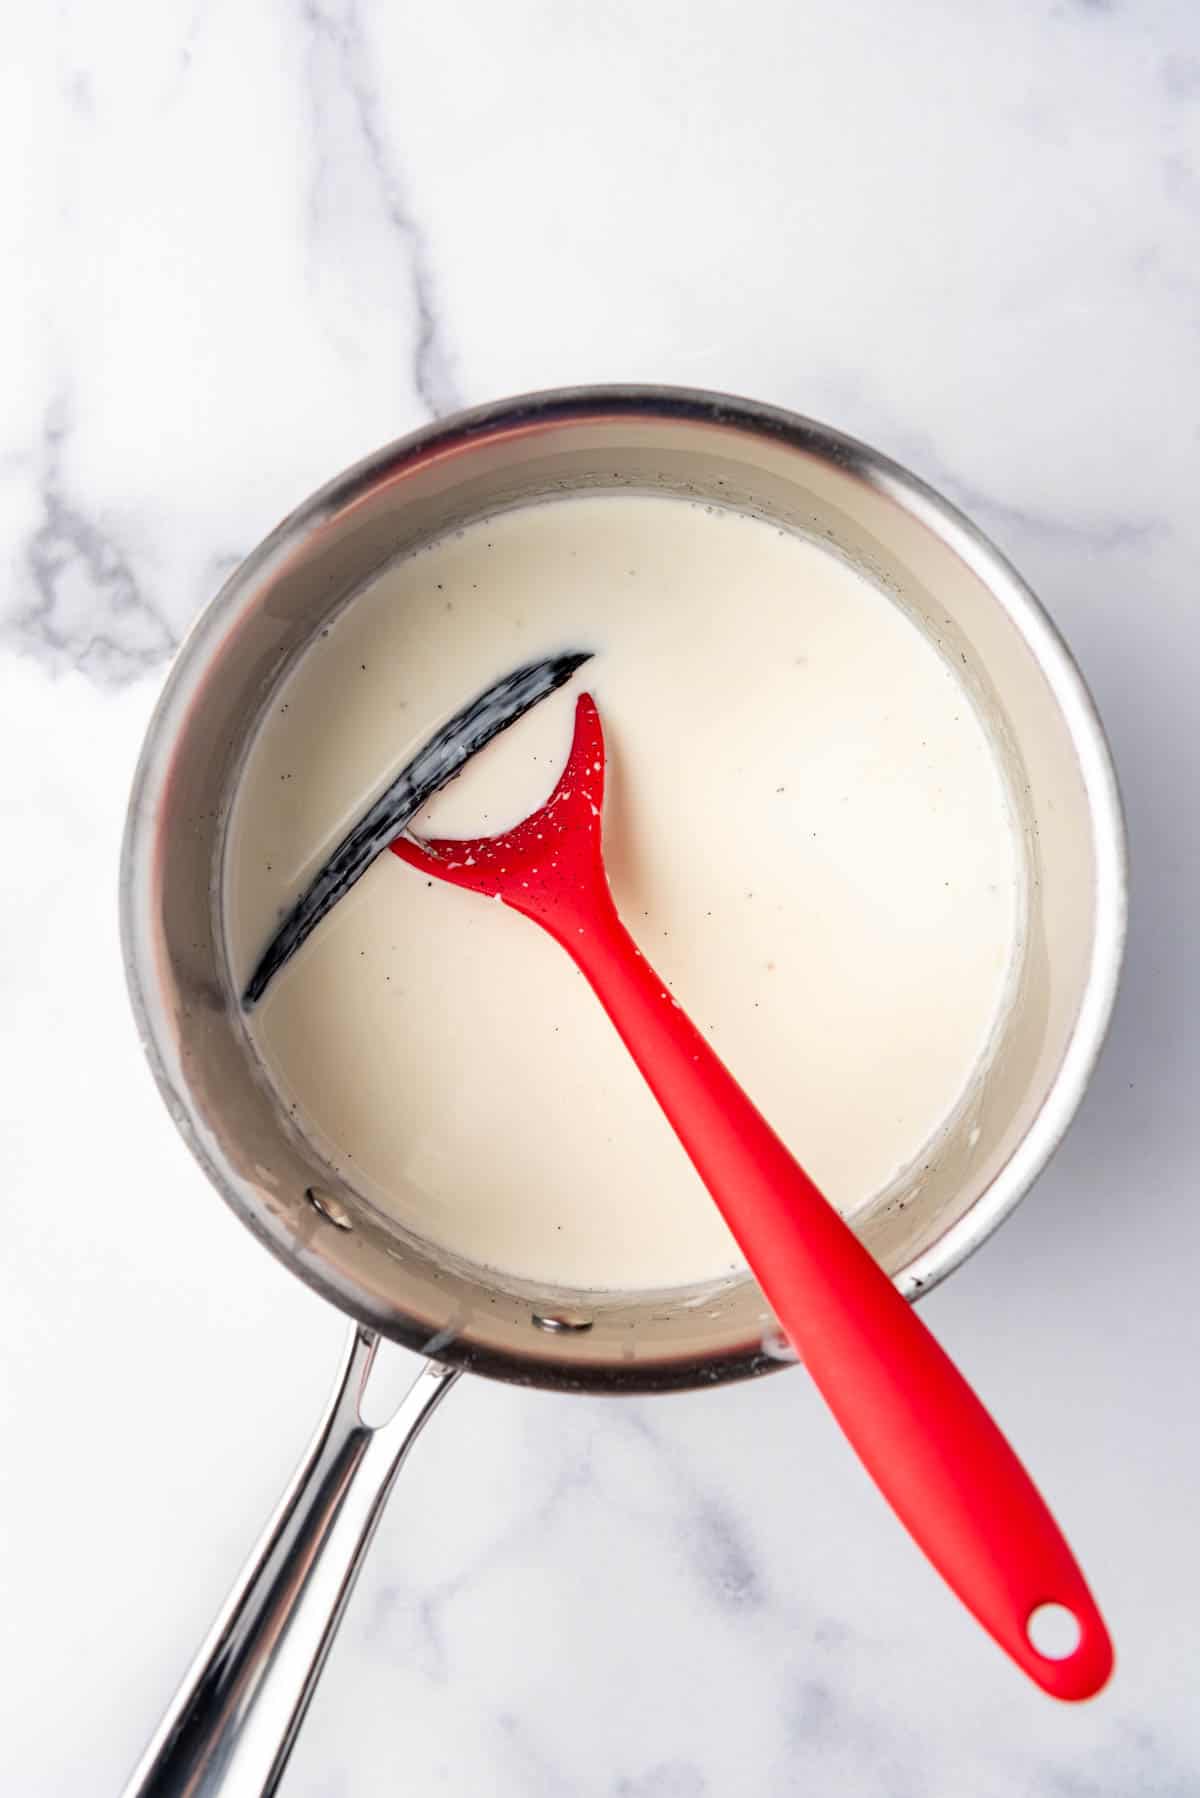
- Heat cream and vanilla. In a medium saucepan over medium heat, warm the heavy cream with the vanilla bean pod and seeds just until it starts to simmer. Remove from heat and let it sit for 15 minutes to infuse the rich vanilla flavor.
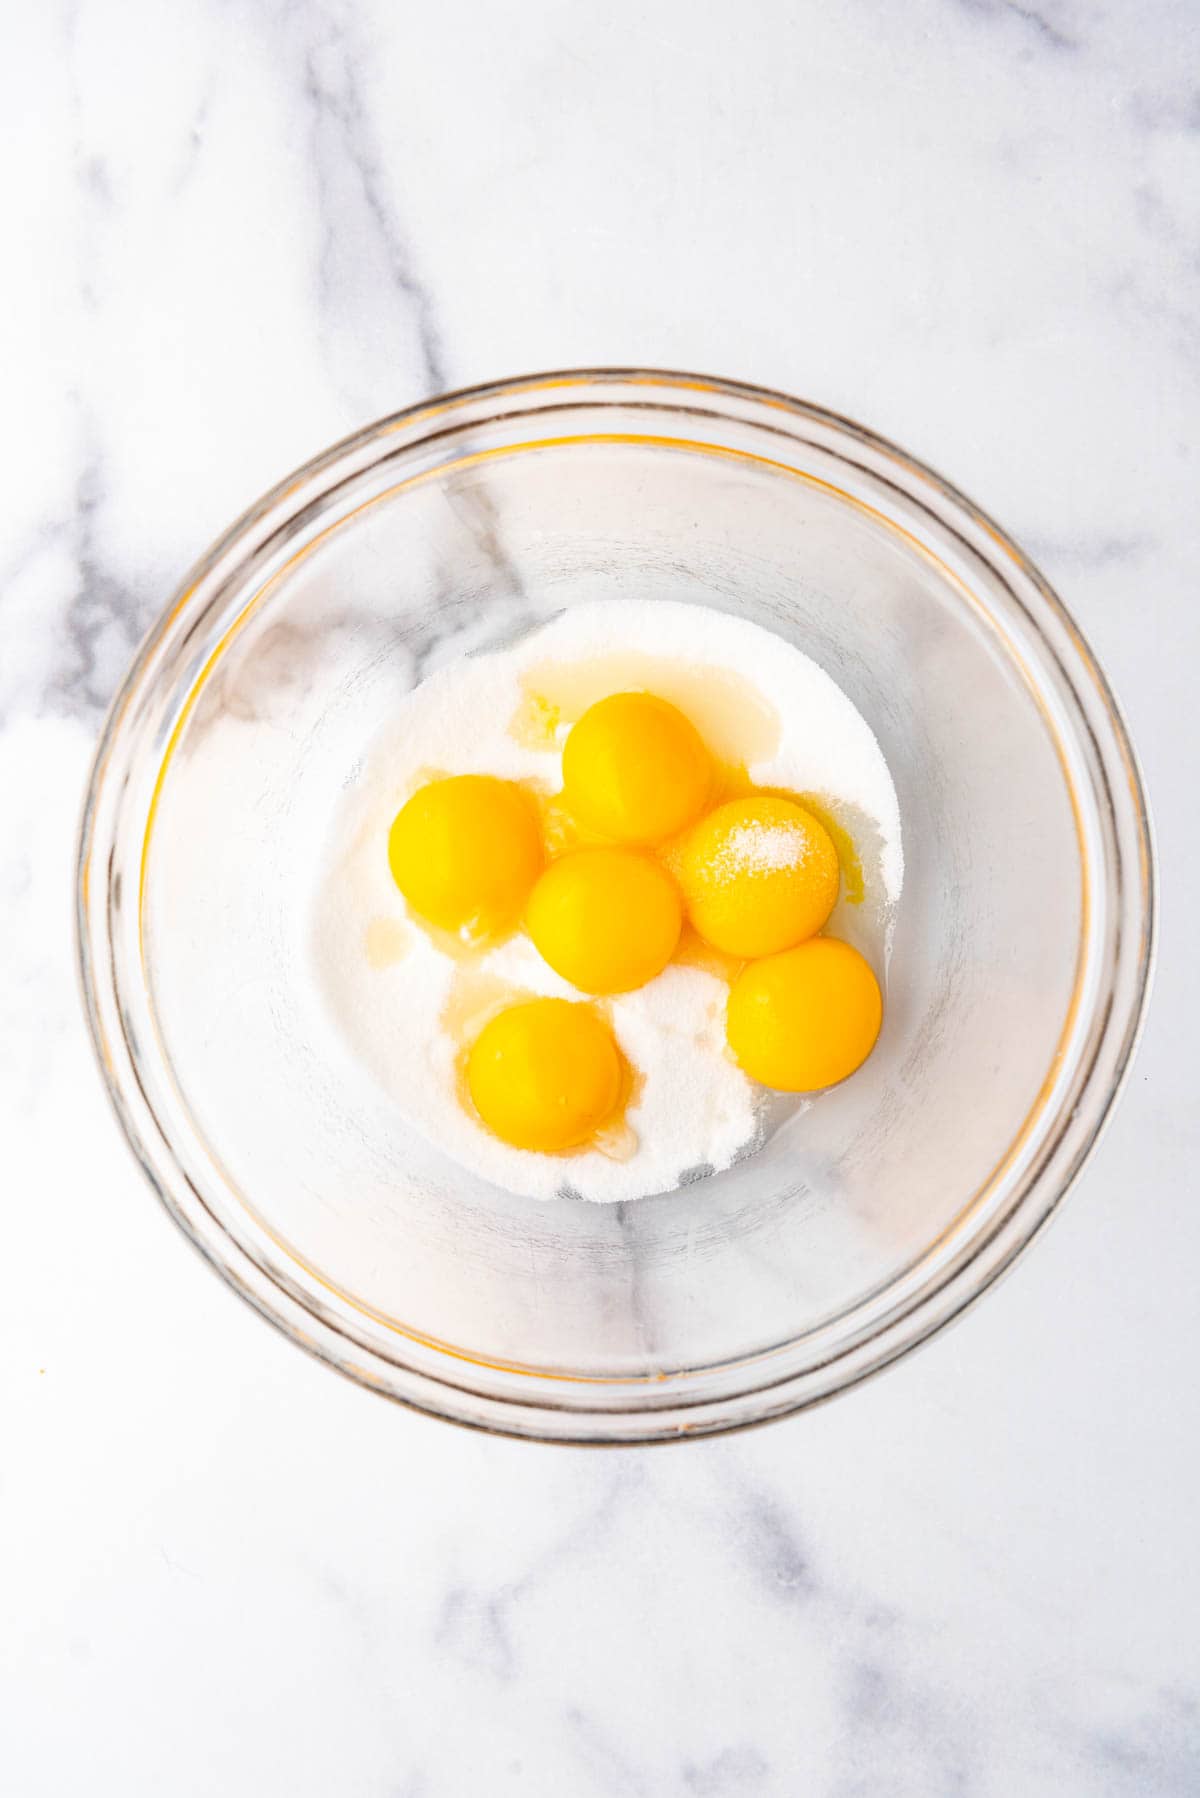
- Prepare egg mixture. In a medium bowl, whisk the egg yolks, granulated sugar, and salt until smooth and slightly thickened. Slowly pour in the hot cream mixture while whisking constantly to prevent scrambling the eggs.
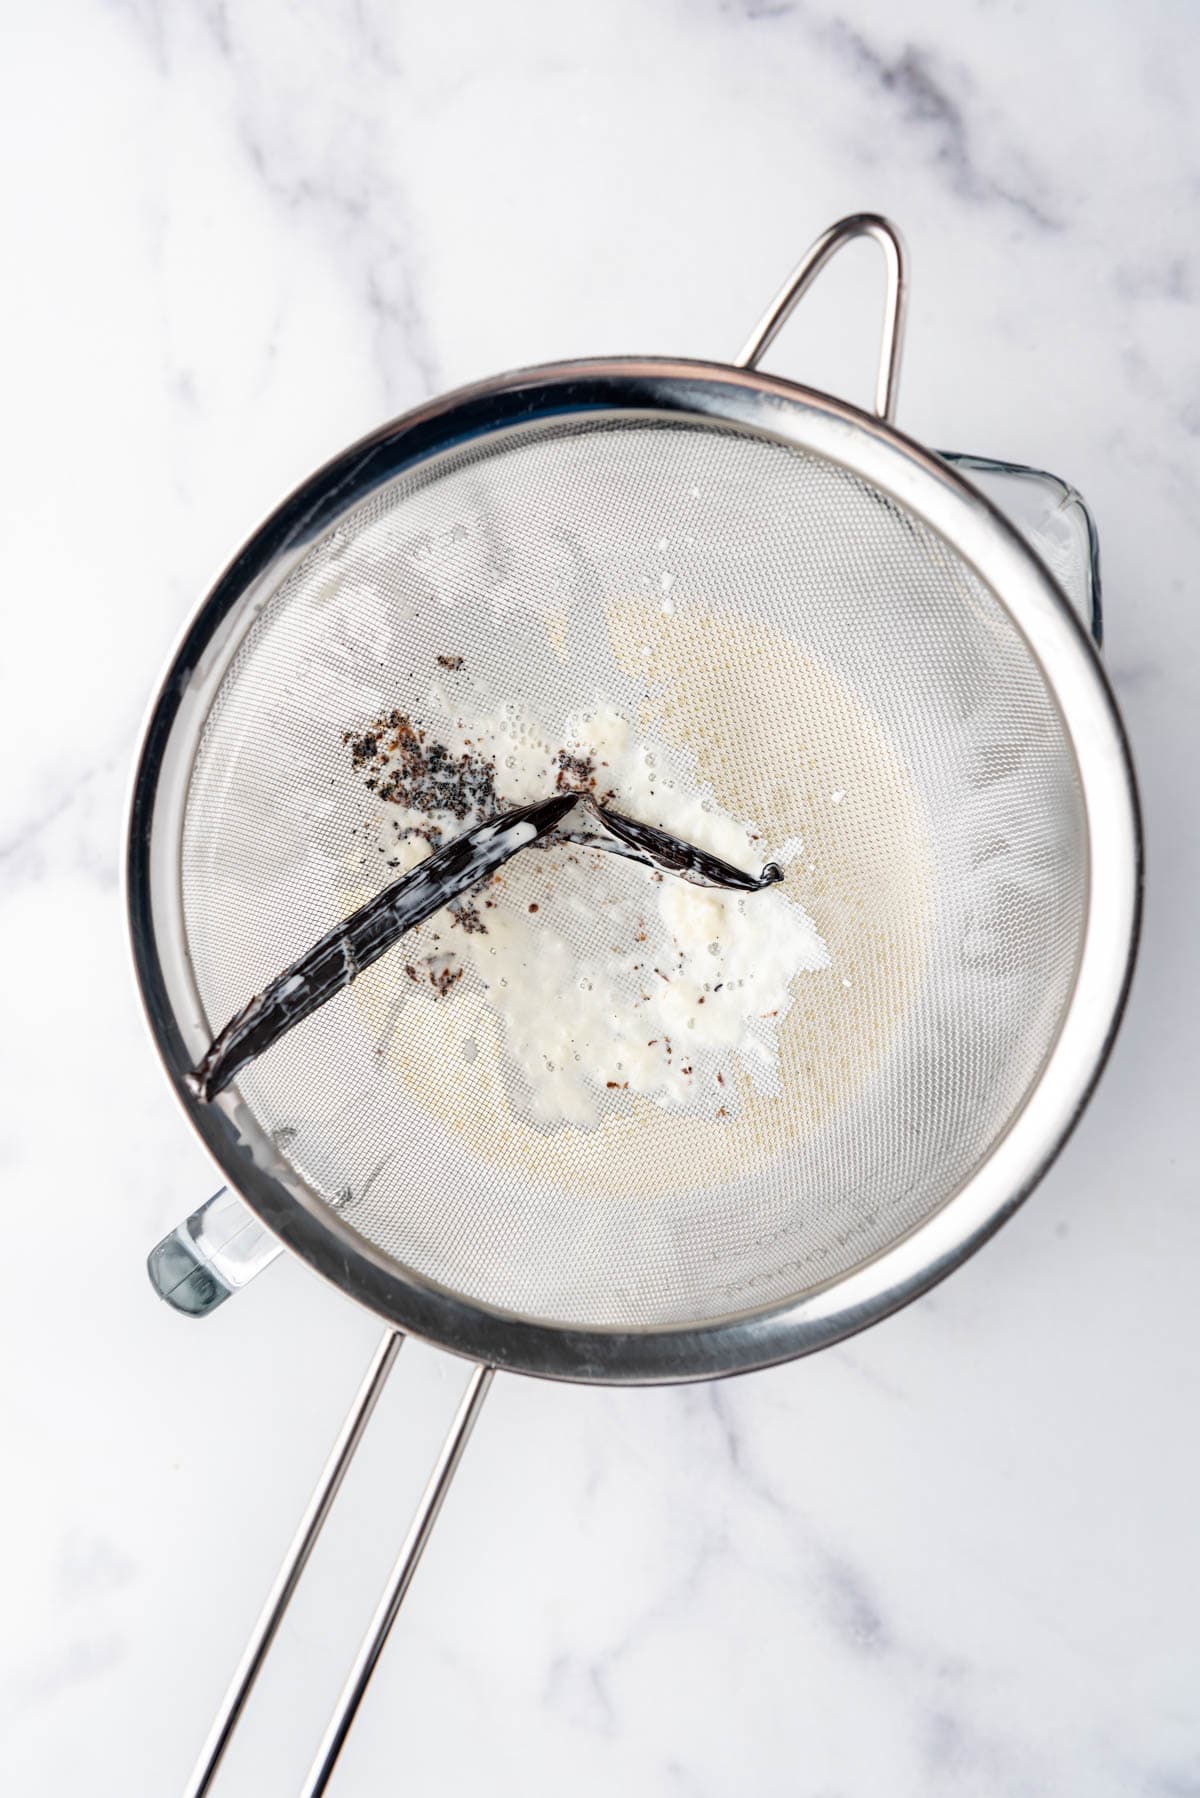
- Strain mixture. Pour the egg yolk mixture through a fine mesh sieve to remove the vanilla pod and seeds, and any little bits of cooked egg, ensuring an ultra-smooth creamy vanilla custard.
- Fill ramekins and bake. Divide the custard mixture evenly between six deeper ramekins or eight shallow ramekins. Place them in a large baking dish lined with a dish towel. Carefully pour boiling water into the dish until it reaches halfway up the sides of the ramekins. Bake at 325°F for 30-40 minutes until just set around the edges.
- Cool and chill. Remove the ramekins from the hot water bath and transfer them to a baking sheet. Let them cool to room temperature, then cover with plastic wrap and refrigerate for at least 6 hours or up to 3 days. I love a good make-ahead dessert!

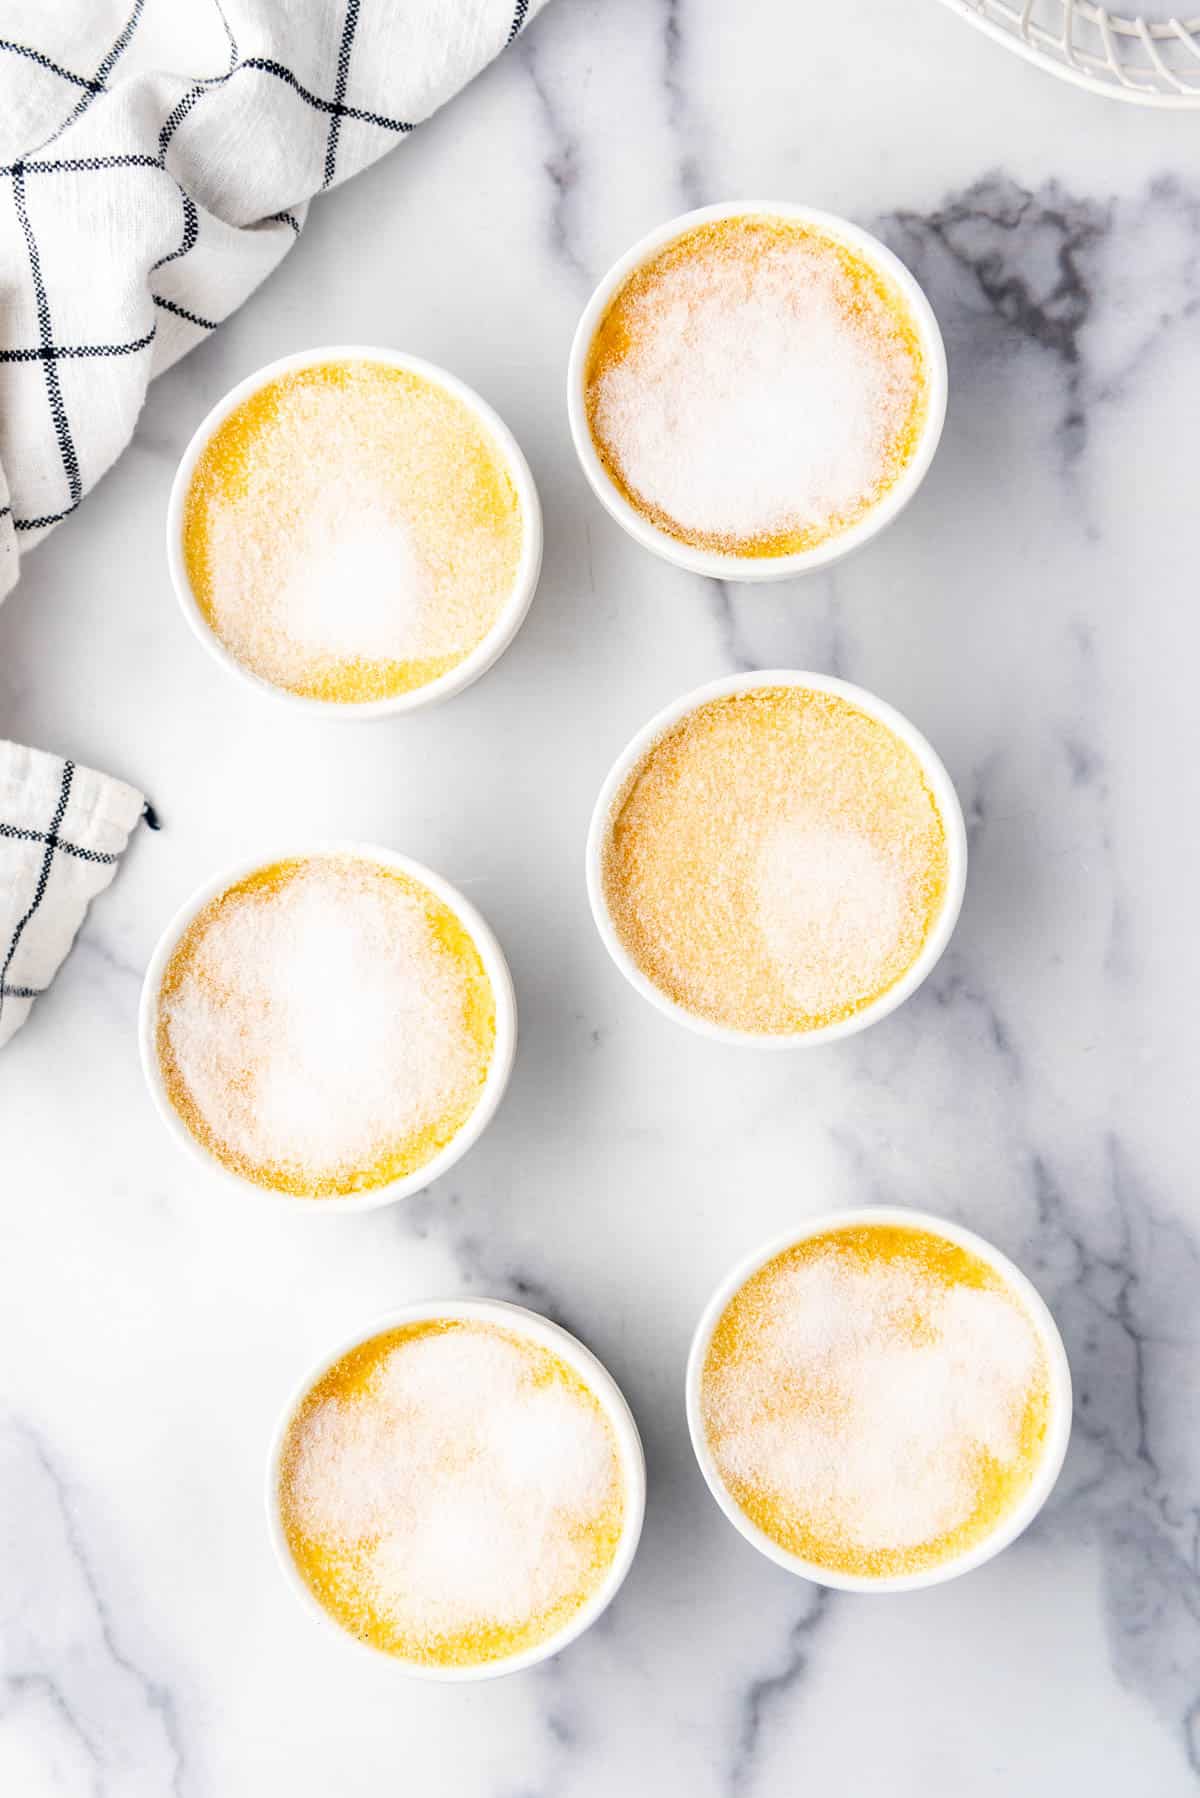
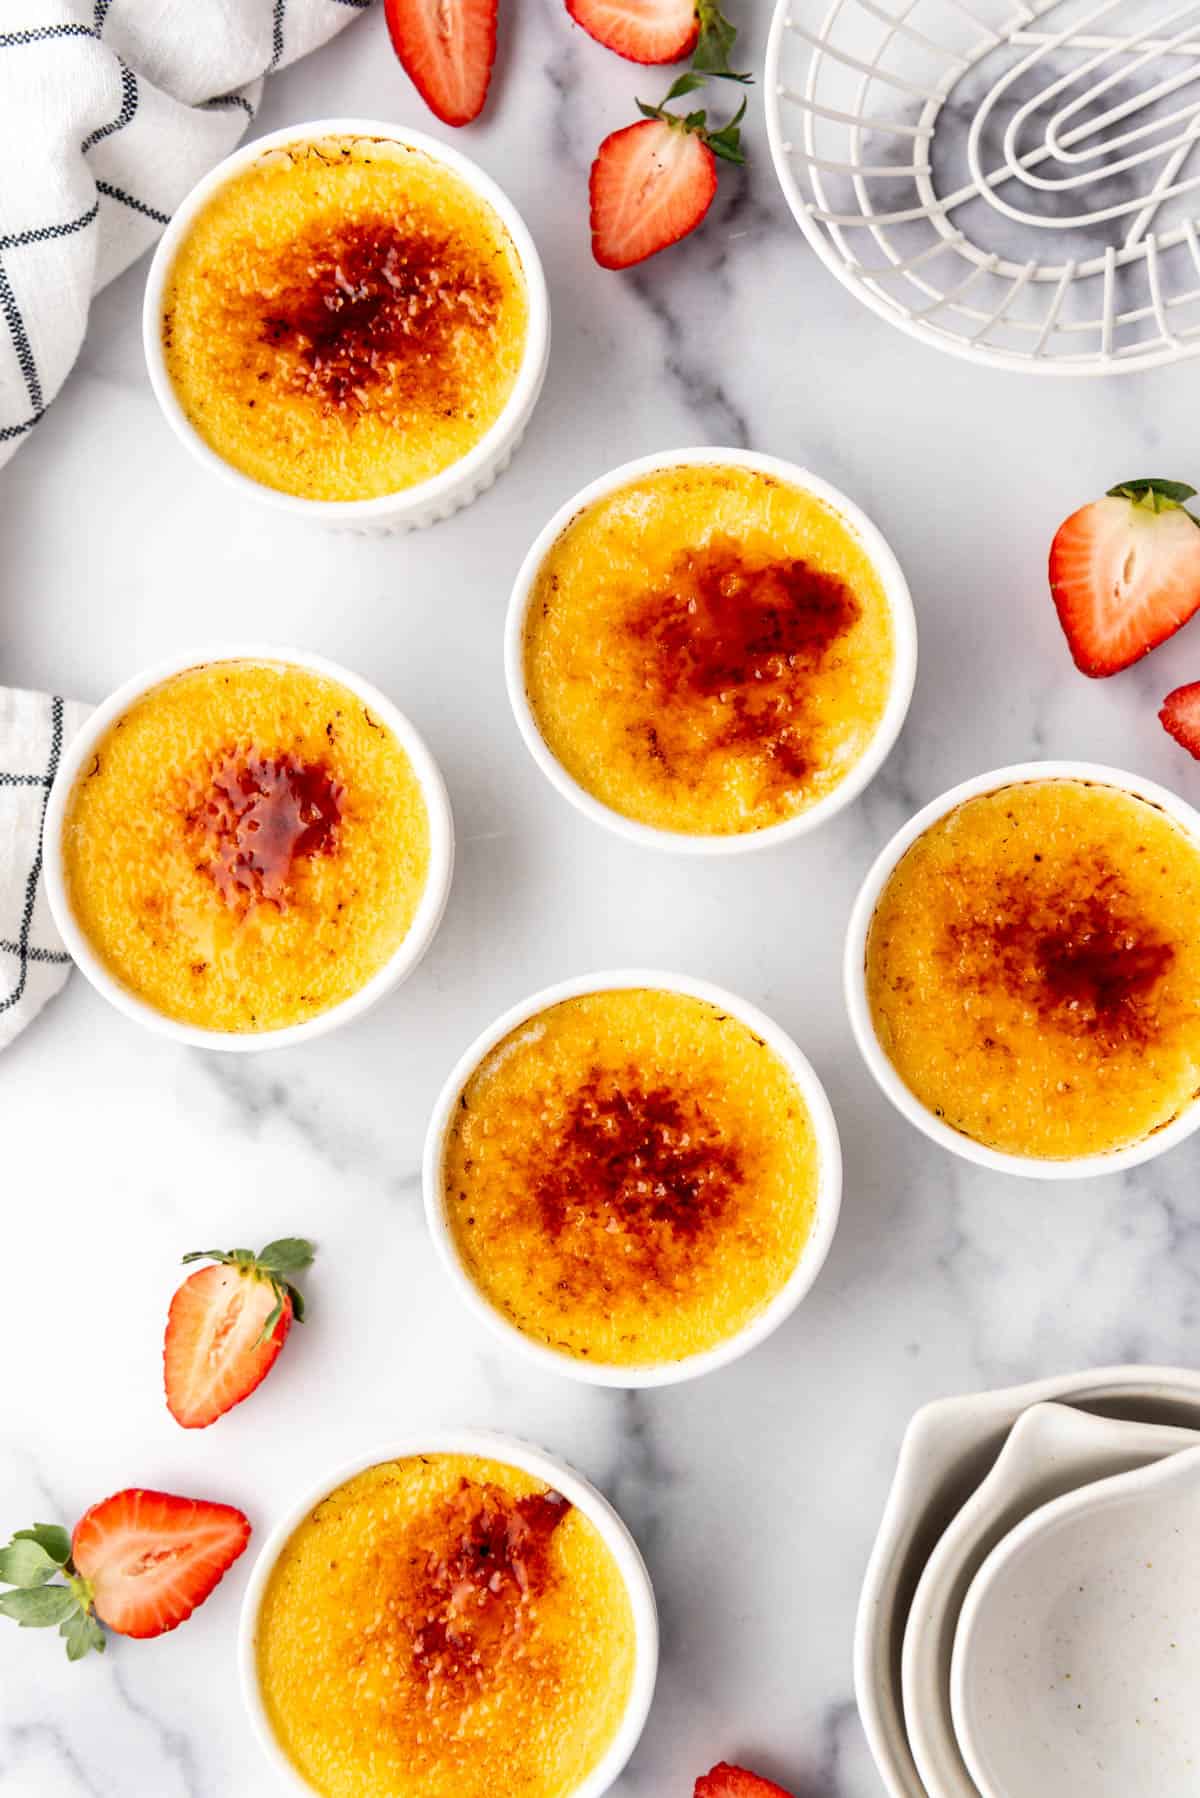
- Caramelize the sugar topping. Let the custards sit at room temperature for 30 minutes before blotting off any condensation. Sprinkle superfine sugar evenly over the surface of the custard, then use a kitchen torch to melt and caramelize the sugar into a crackly, golden topping.
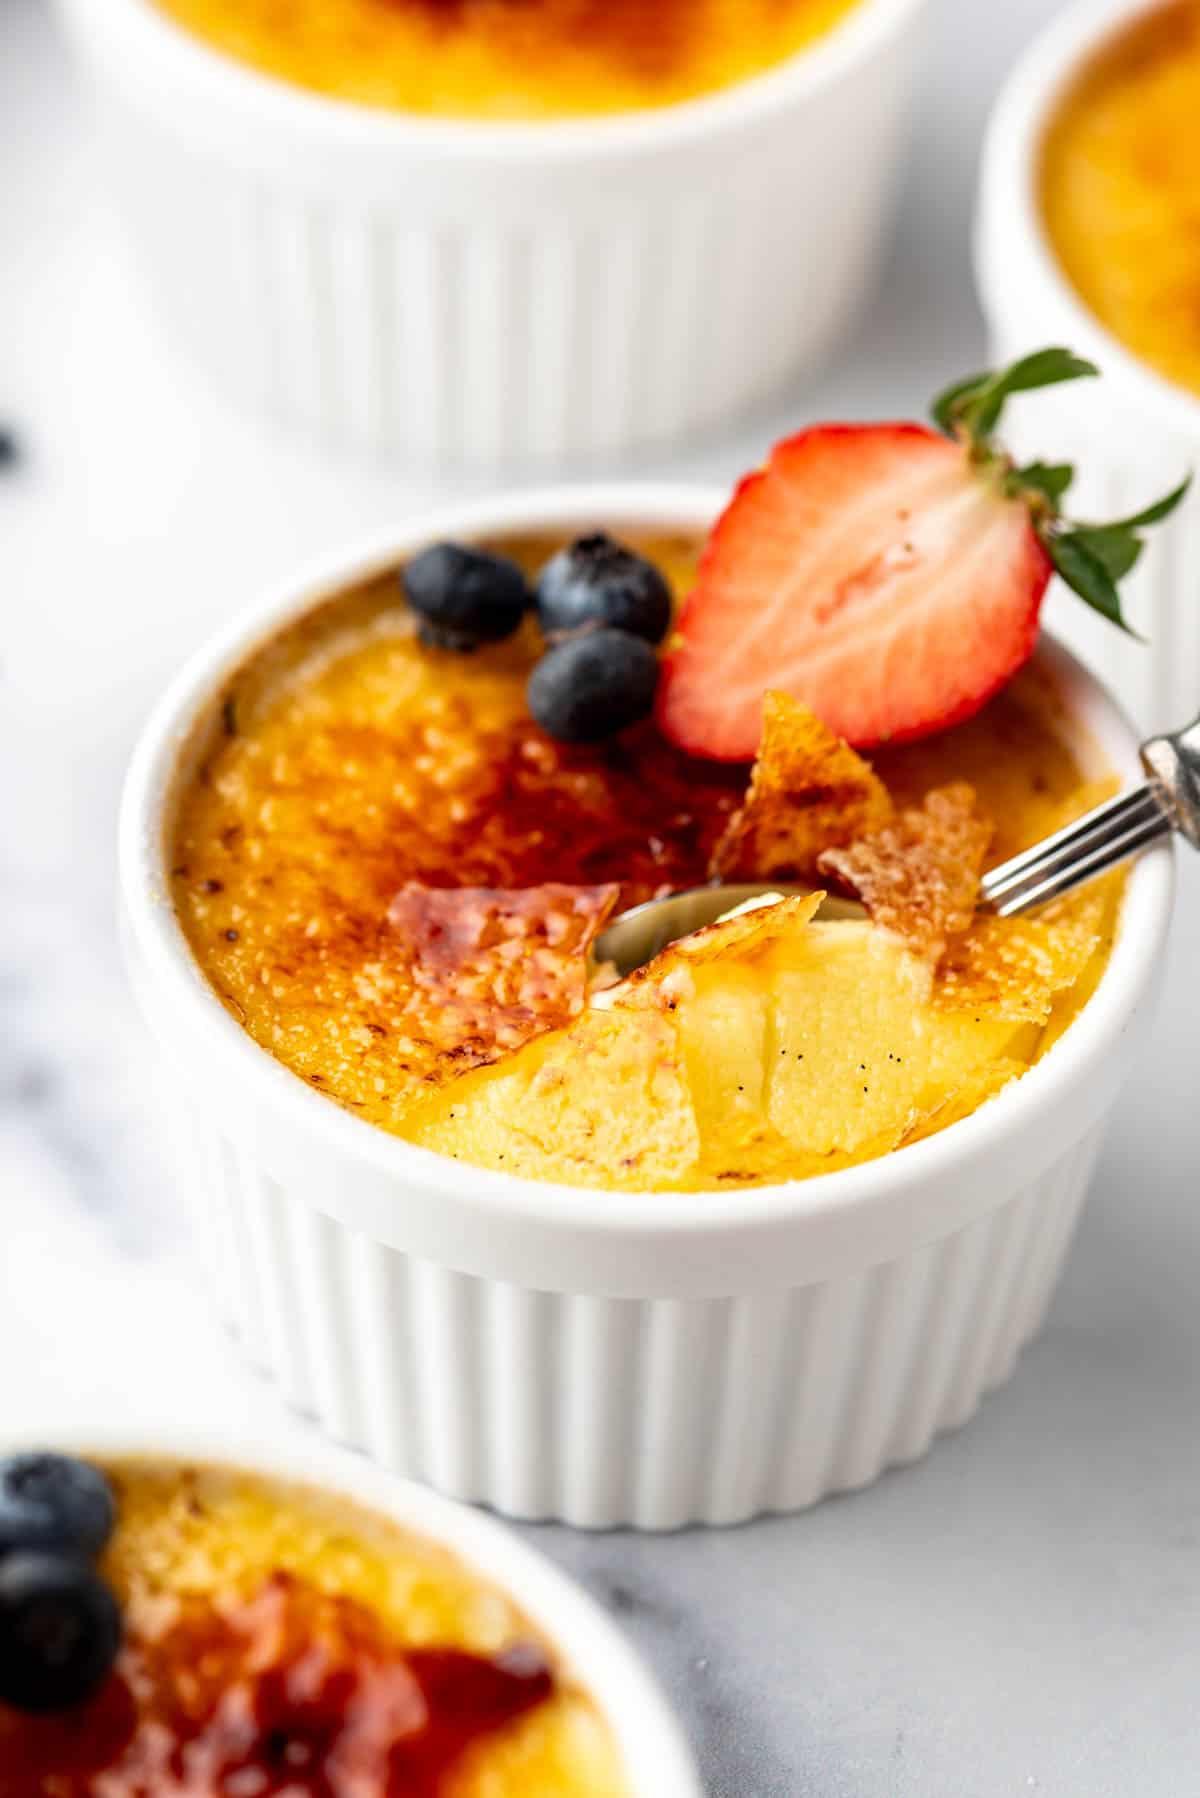
- Enjoy! Let the burnt-sugar crust harden for a minute, then grab a spoon and crack into your creamy, perfectly caramelized crème brûlée!
Recipe FAQ’s
A kitchen torch is the best way to get that perfectly crisp burnt-sugar crust, but if you don’t have one, you can use the broiler. Place the ramekins under medium heat and watch closely until the sugar melts and turns golden brown.
This usually happens when the hot cream mixture is added too quickly to the egg yolks, causing them to scramble. Pour slowly while whisking constantly, and always use a hot water bath when baking for the smoothest custard.
Superfine sugar, raw sugar, or caster sugar work best because they melt evenly and caramelize into a smooth, crackly topping. Regular granulated sugar works too but may take a little longer to melt.
Cover leftover crème brûlée with plastic wrap and store in the refrigerator for up to 3 days. Keep in mind that the sugar topping is best when freshly caramelized, as it will soften in the fridge.
Yes! The creamy vanilla custard can be made up to 3 days in advance. Just keep the ramekins covered with plastic wrap in the refrigerator and caramelize the sugar topping right before serving.
Tips for Success
- Always temper the egg yolk mixture by slowly whisking in the hot cream—this keeps the custard mixture smooth and prevents scrambling.
- Use a fine mesh strainer or sieve to remove any bits of cooked egg for the creamiest custard texture.
- A hot water bath is the best way to ensure even cooking and a silky vanilla custard without cracks.
- Hold the kitchen torch a few inches away and move it in circles for an even burnt-sugar crust that’s crackly but not overly burnt. If your kids are old enough to handle the kitchen torch with supervision, this is actually a super fun thing for them to try.
What to Serve with Crème Brulee
Crème brûlée is already a showstopper, but pairing it with the right flavors makes it even more irresistible.
Fresh berries like raspberries, strawberries, or blueberries add a bright contrast to the rich, creamy vanilla custard.
Substitutions and Variations
- Replace vanilla bean with vanilla bean paste or pure vanilla extract for a similar rich vanilla flavor in the creamy custard.
- Use brown sugar instead of granulated sugar for the topping to create a deeper, caramel-like flavor in the burnt-sugar crust.
- Feel free to experiment with different sugars like raw sugar, superfine sugar, or caster sugar for a perfectly crackly sugar topping.

More Must-Try Single-Serve Recipes
- How to Make Oreo Balloon Bowls
- Strawberry Cheesecake Chia Pudding
- Homemade Fried Ice Cream Recipe (Without Frying!)
- Strawberry Mousse Jello Parfaits
- Salted Caramel Pumpkin Panna Cotta
- Tin Roof Sundae
- Blueberry Cheesecake Tacos
- Cheesecake Jars

Creme Brulee
Ingredients
- 3 cups (720ml) heavy cream
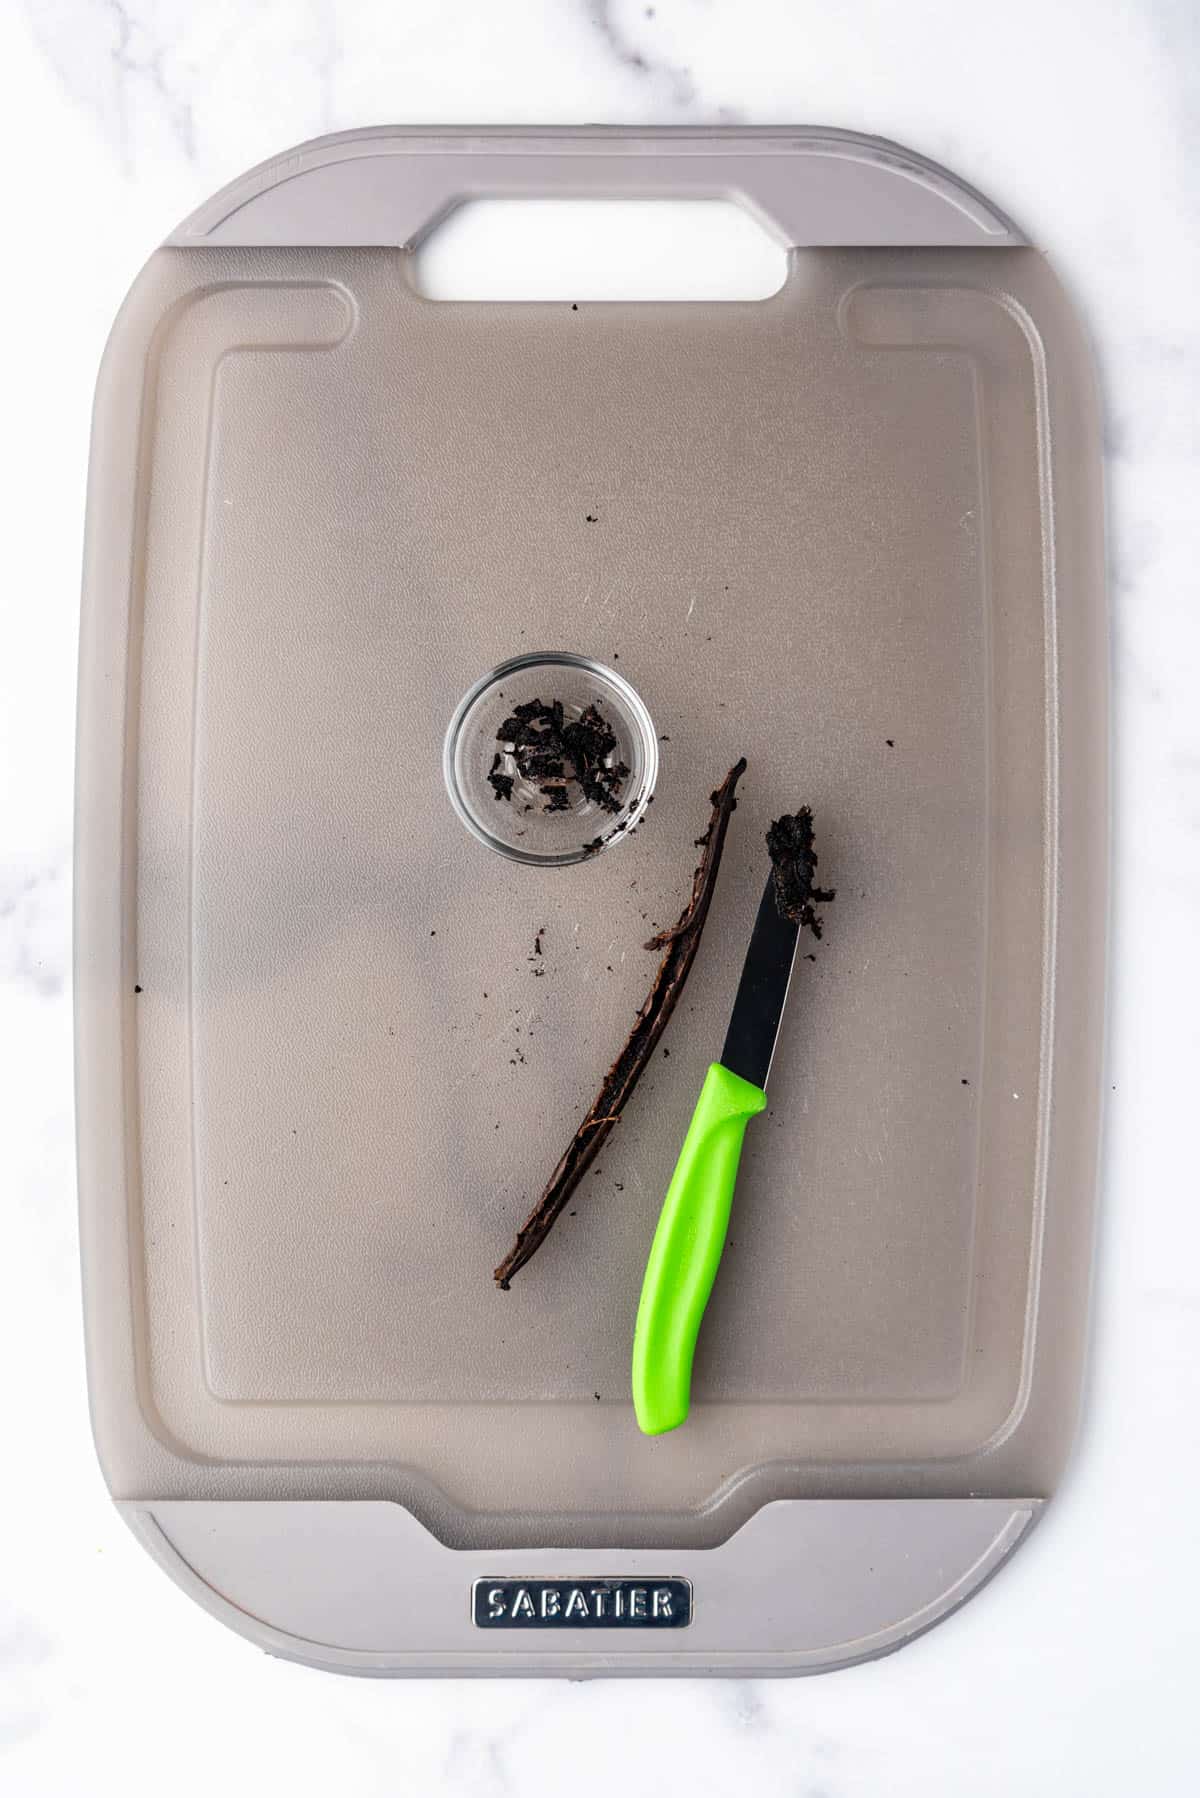
- 1 vanilla bean split and seeds scraped
- 6 large egg yolks
- ½ cup (100g) granulated sugar + 2 Tablespoons more for topping
- ⅛ teaspoon salt
Instructions
- Preheat oven to 325°F.
- Heat cream, vanilla bean pod, and the scraped vanilla bean seeds in a medium saucepan over medium heat just until it barely comes to a simmer. Remove from the heat and let sit for 15 minutes.3 cups (720ml) heavy cream, 1 vanilla bean
- Strain through a fine mesh sieve into another bowl and discard the vanilla bean solids. Bring a kettle or pot of water to a boil for later.
- Whisk egg yolks, sugar, and salt in a large bowl until light. Whisk in the hot cream, then strain again through the fine mesh sieve.6 large egg yolks, ½ cup (100g) granulated sugar, ⅛ teaspoon salt
- Divide the mixture evenly between six 6-8 ounce ramekins (the deeper kind) or eight 4-5 ounce ramekins (the shallower kind) place in a large baking dish or roasting pan lined with a dish towel on the bottom. Transfer the roasting pan to the oven and carefully pour the boiling water into the pan until it is about halfway up the sides of the ramekins.
- Bake for 30 to 40 minutes until set around the edges. Test them for doneness – they should reach 170°F.
- Immediately and carefully remove the ramekins from the hot water and transfer to a baking sheet. Refrigerate for at least 6 hours or up to 3 days.
- Let them sit at room temperature for 30 minutes before blotting any condensation off the tops and sprinkling with sugar. Blow torch to create a crackly, crisp sugar coating on top.
Notes
Storage & Make Ahead
- Store: Keep crème brûlée in the refrigerator, covered with plastic wrap, for up to three days. The custard stays creamy, but the sugar topping is best when freshly caramelized.
- Freeze: Freeze the custard before caramelizing the sugar. Wrap tightly and store for up to one month, then thaw in the fridge before adding the burnt-sugar crust.
- Make Ahead: Prepare the custard mixture up to 24 hours before baking or bake the custards up to three days in advance. Always torch the sugar topping right before serving for the perfect crisp caramelized finish.