This Easy Fudge Recipe makes the best, creamiest chocolate fudge ever, just like grandpa used to make! It’s made with pantry ingredients, can be easily customized with other flavors, and makes plenty for sharing bricks of fudge with friends and neighbors during the holidays!
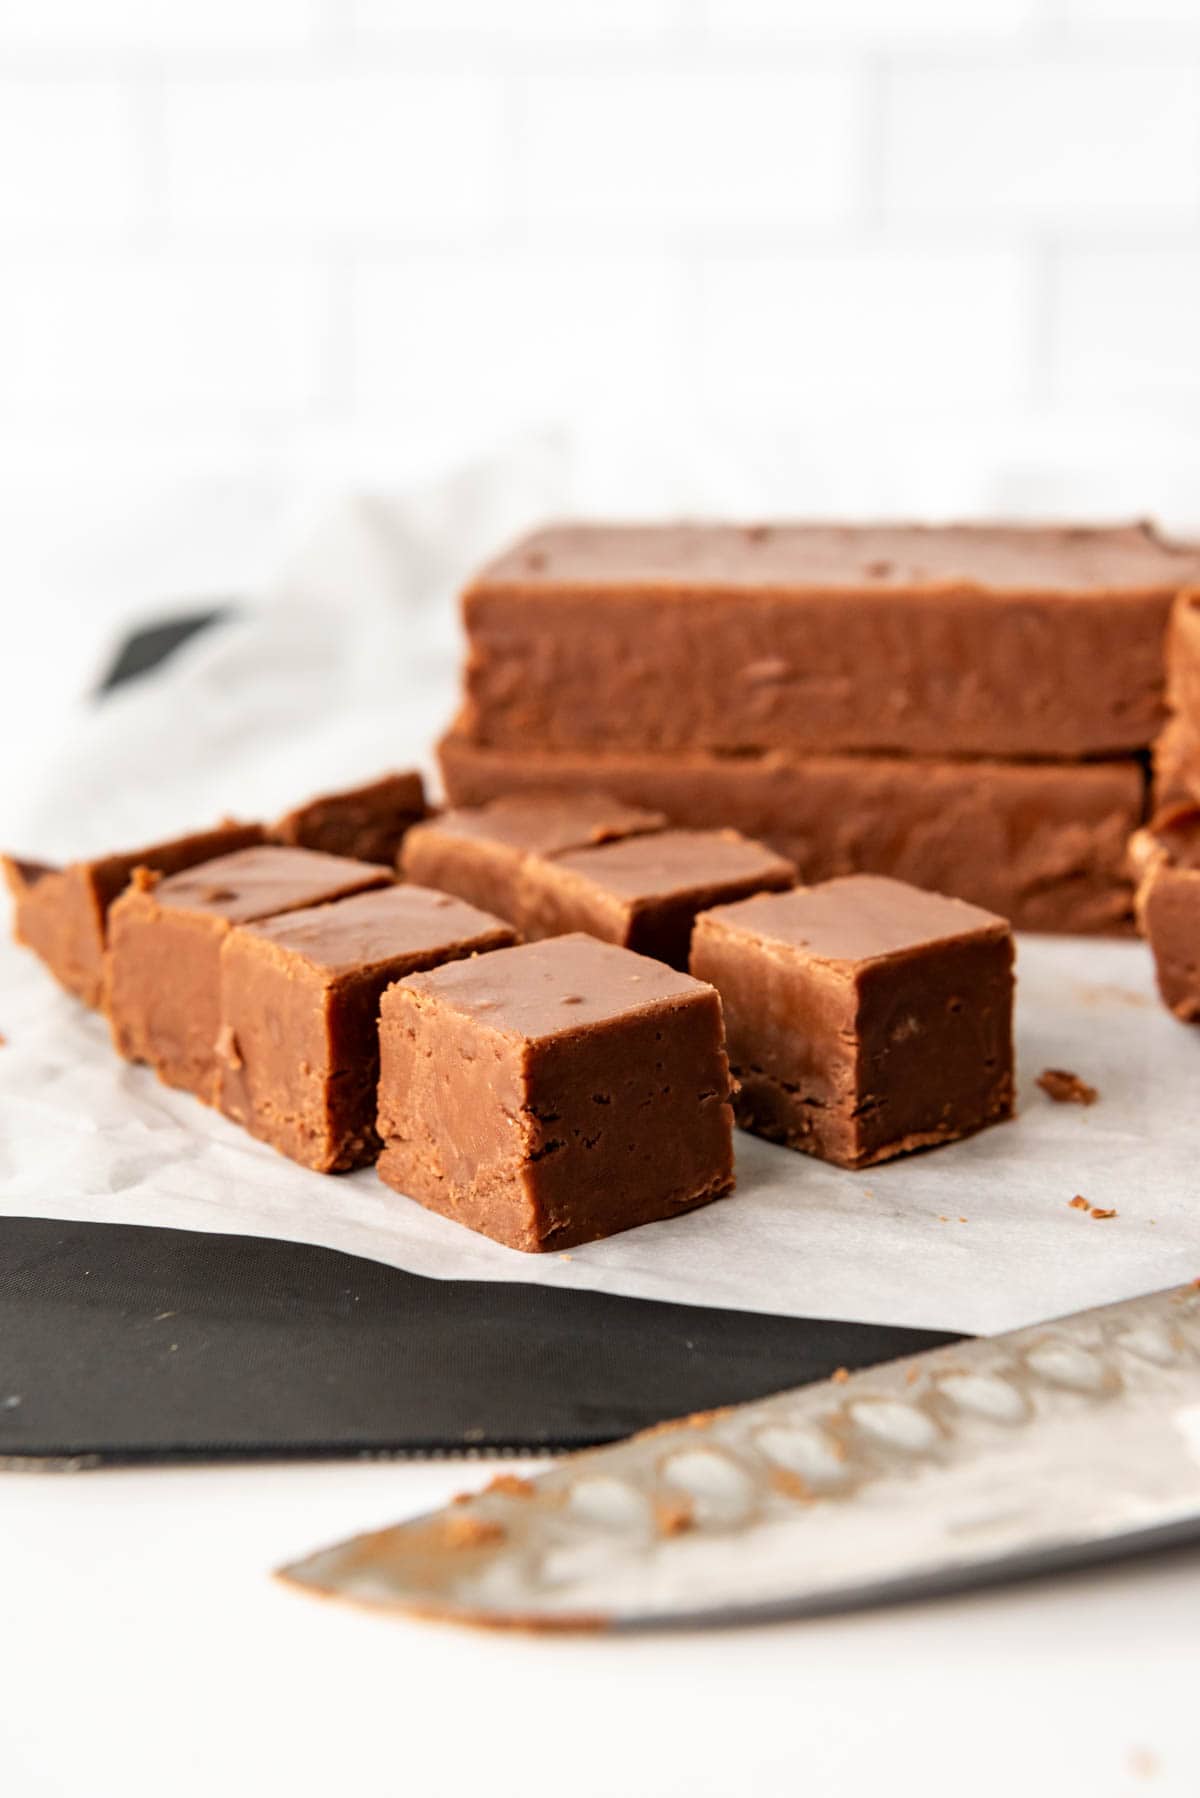
For years now I’ve made Rocky Road Fudge to deliver to friends and neighbors at Christmas time.
But there is something so amazing about this classic fudge recipe. And really, why do I only make fudge at Christmas? It’s so good I ought to be making this year-round!
This smooth, creamy but firm easy chocolate fudge recipe has no frills, no mix-ins, no swirls, and no bells and whistles. But I promise it does not disappoint!
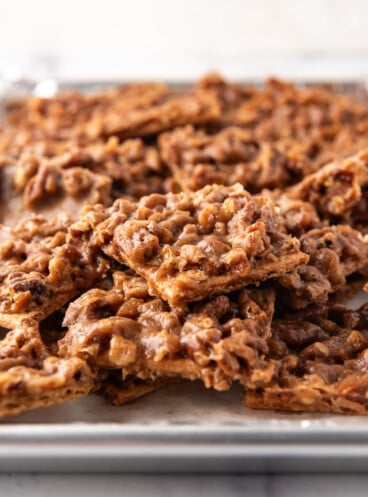
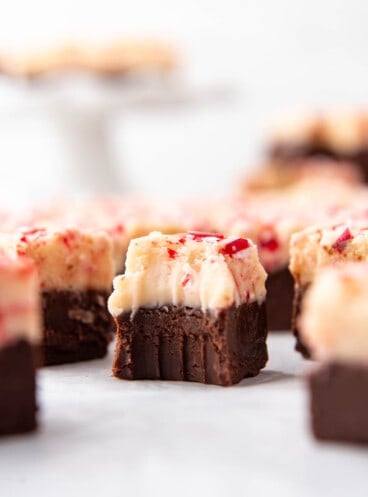
If you love making homemade candy to share during the Christmas season like we do, be sure not to miss my Easy Homemade Cream Caramels, Old-Fashioned Divinity Candy (if you’ve never had it, it’s kinda like fudge, but not – just try it!) and Classic Southern Pecan Pralines. Or to try my other fudge recipes, be sure to check out my Chocolate Chip Cookie Dough Fudge, Chocolate Walnut Fudge, and Rocky Road Fudge!
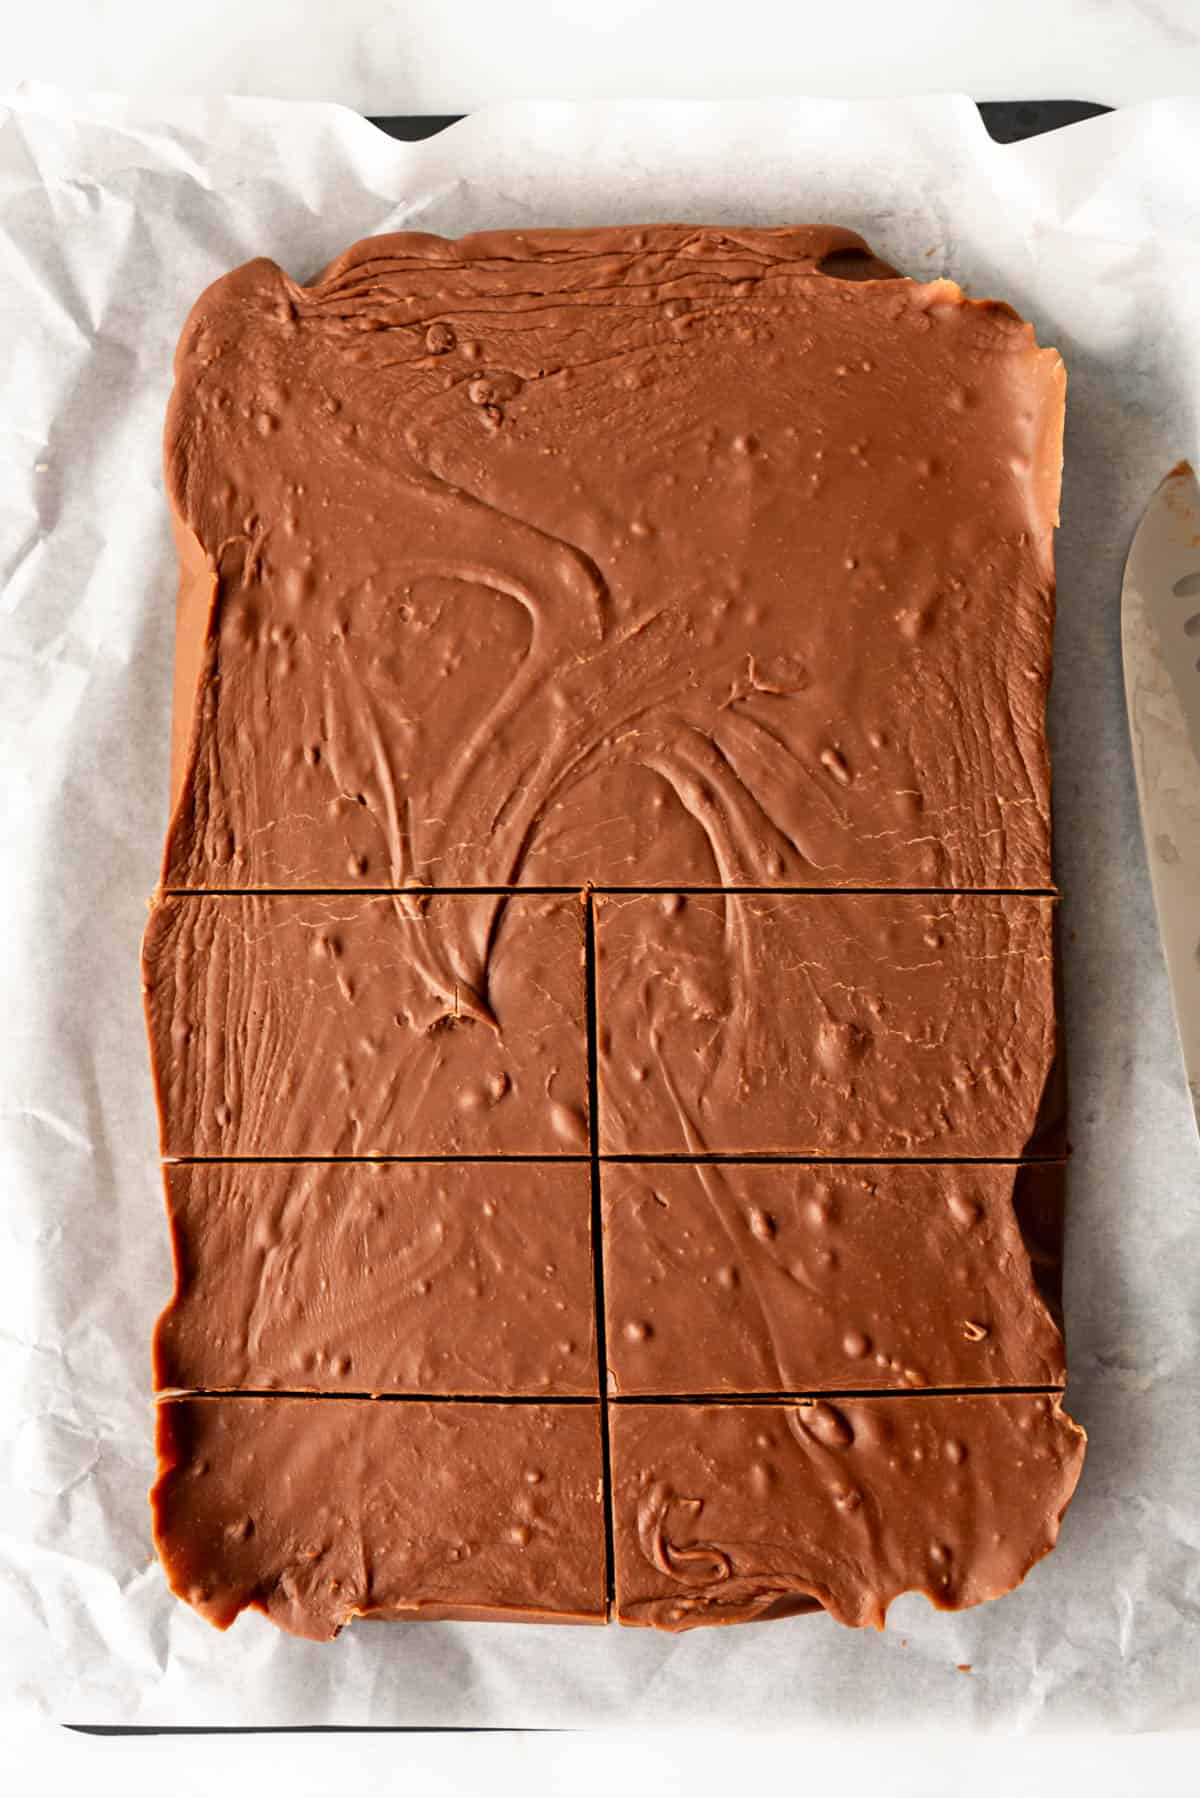
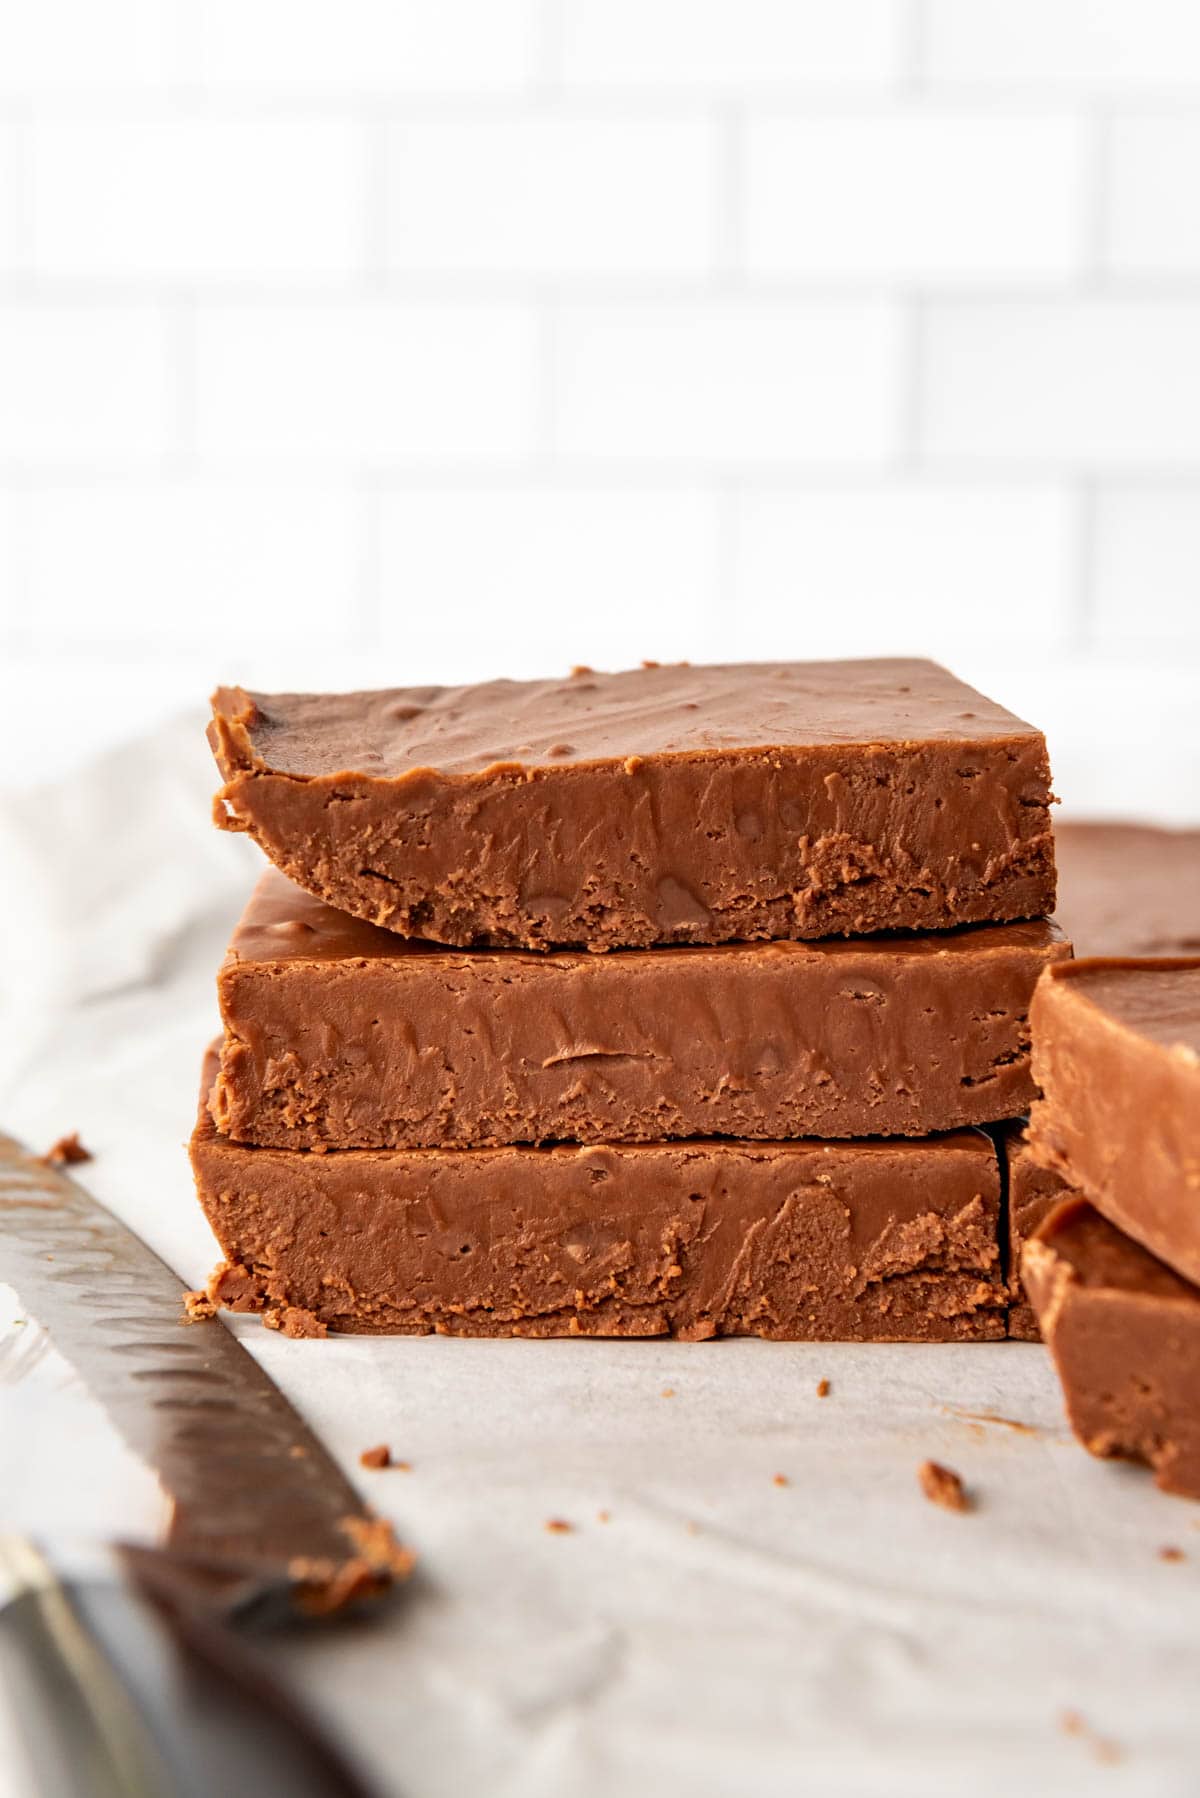
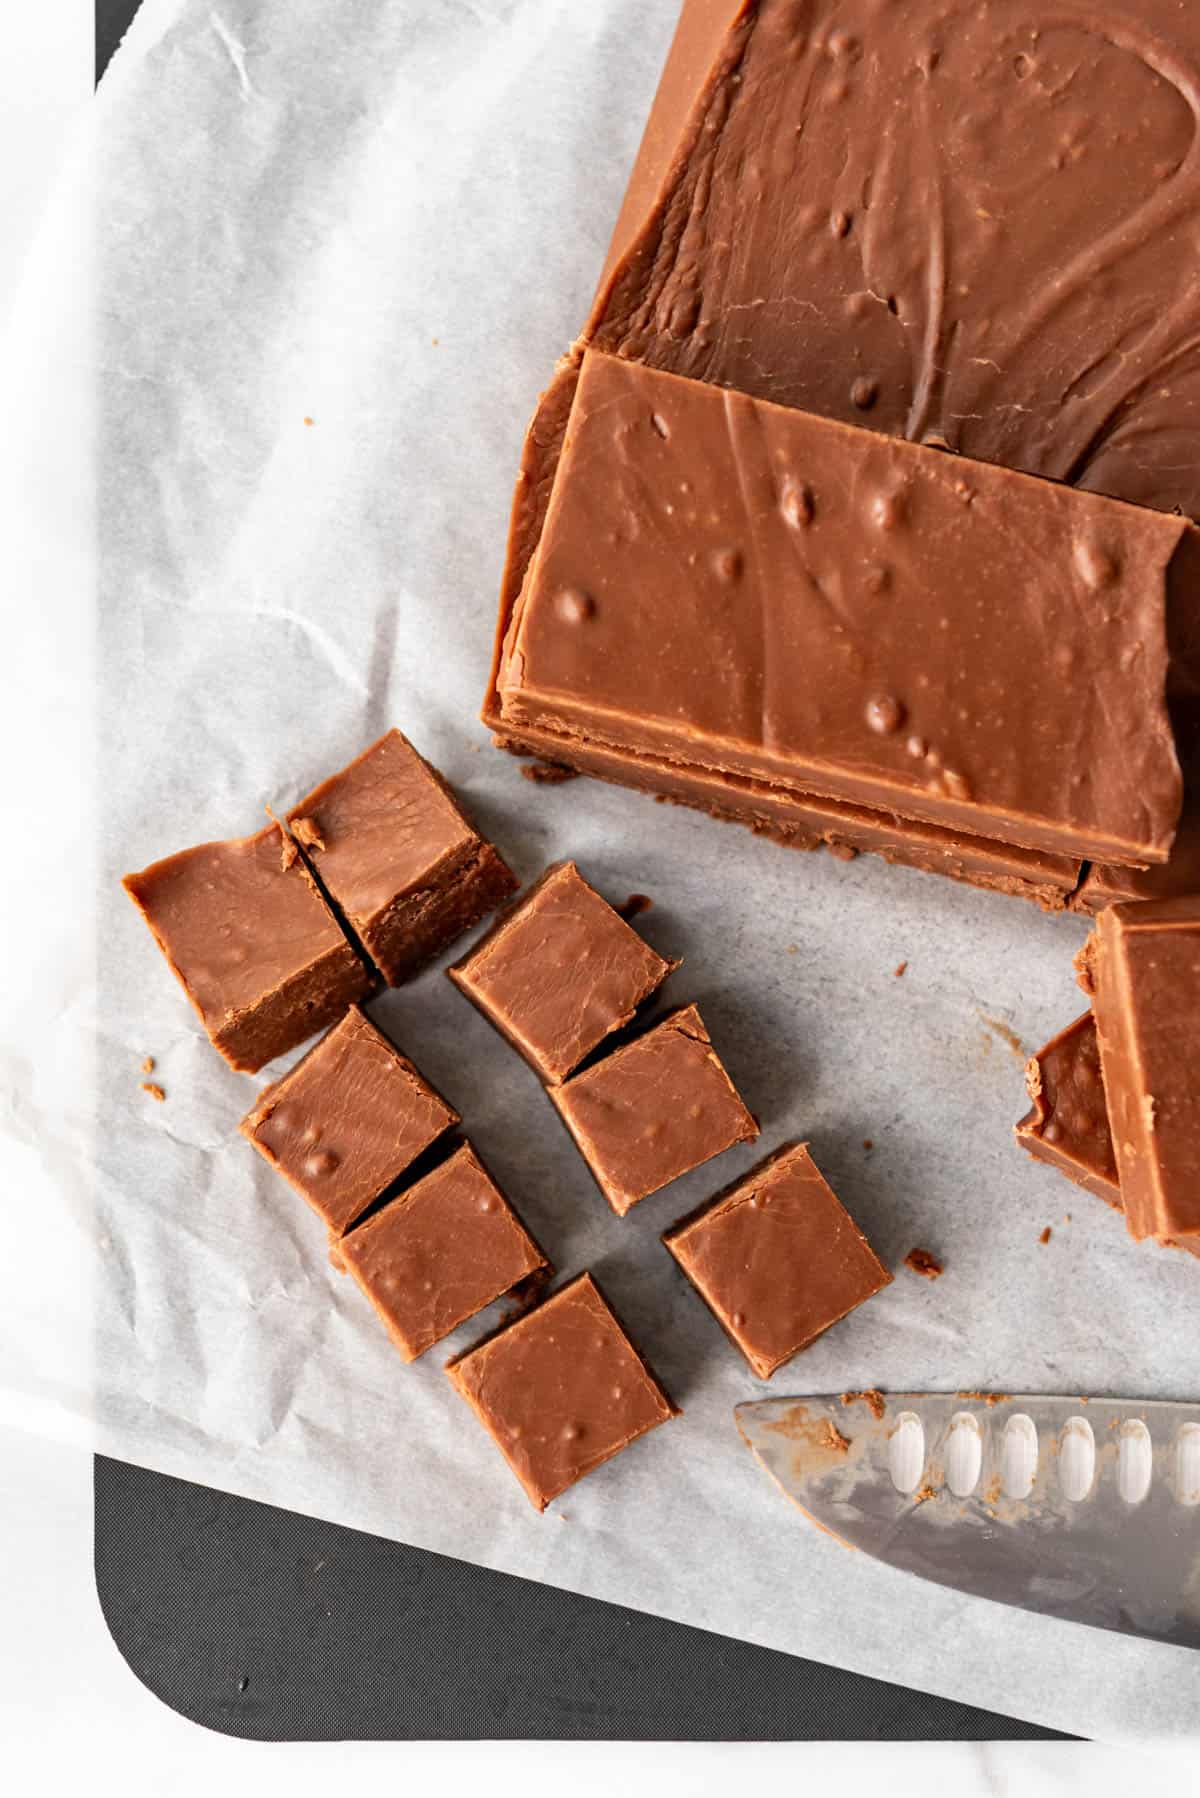
I love to cut the fudge into large bricks to share with others during the season of giving. But fudge is also a great treat to keep on hand for when guests drop by unexpectedly.
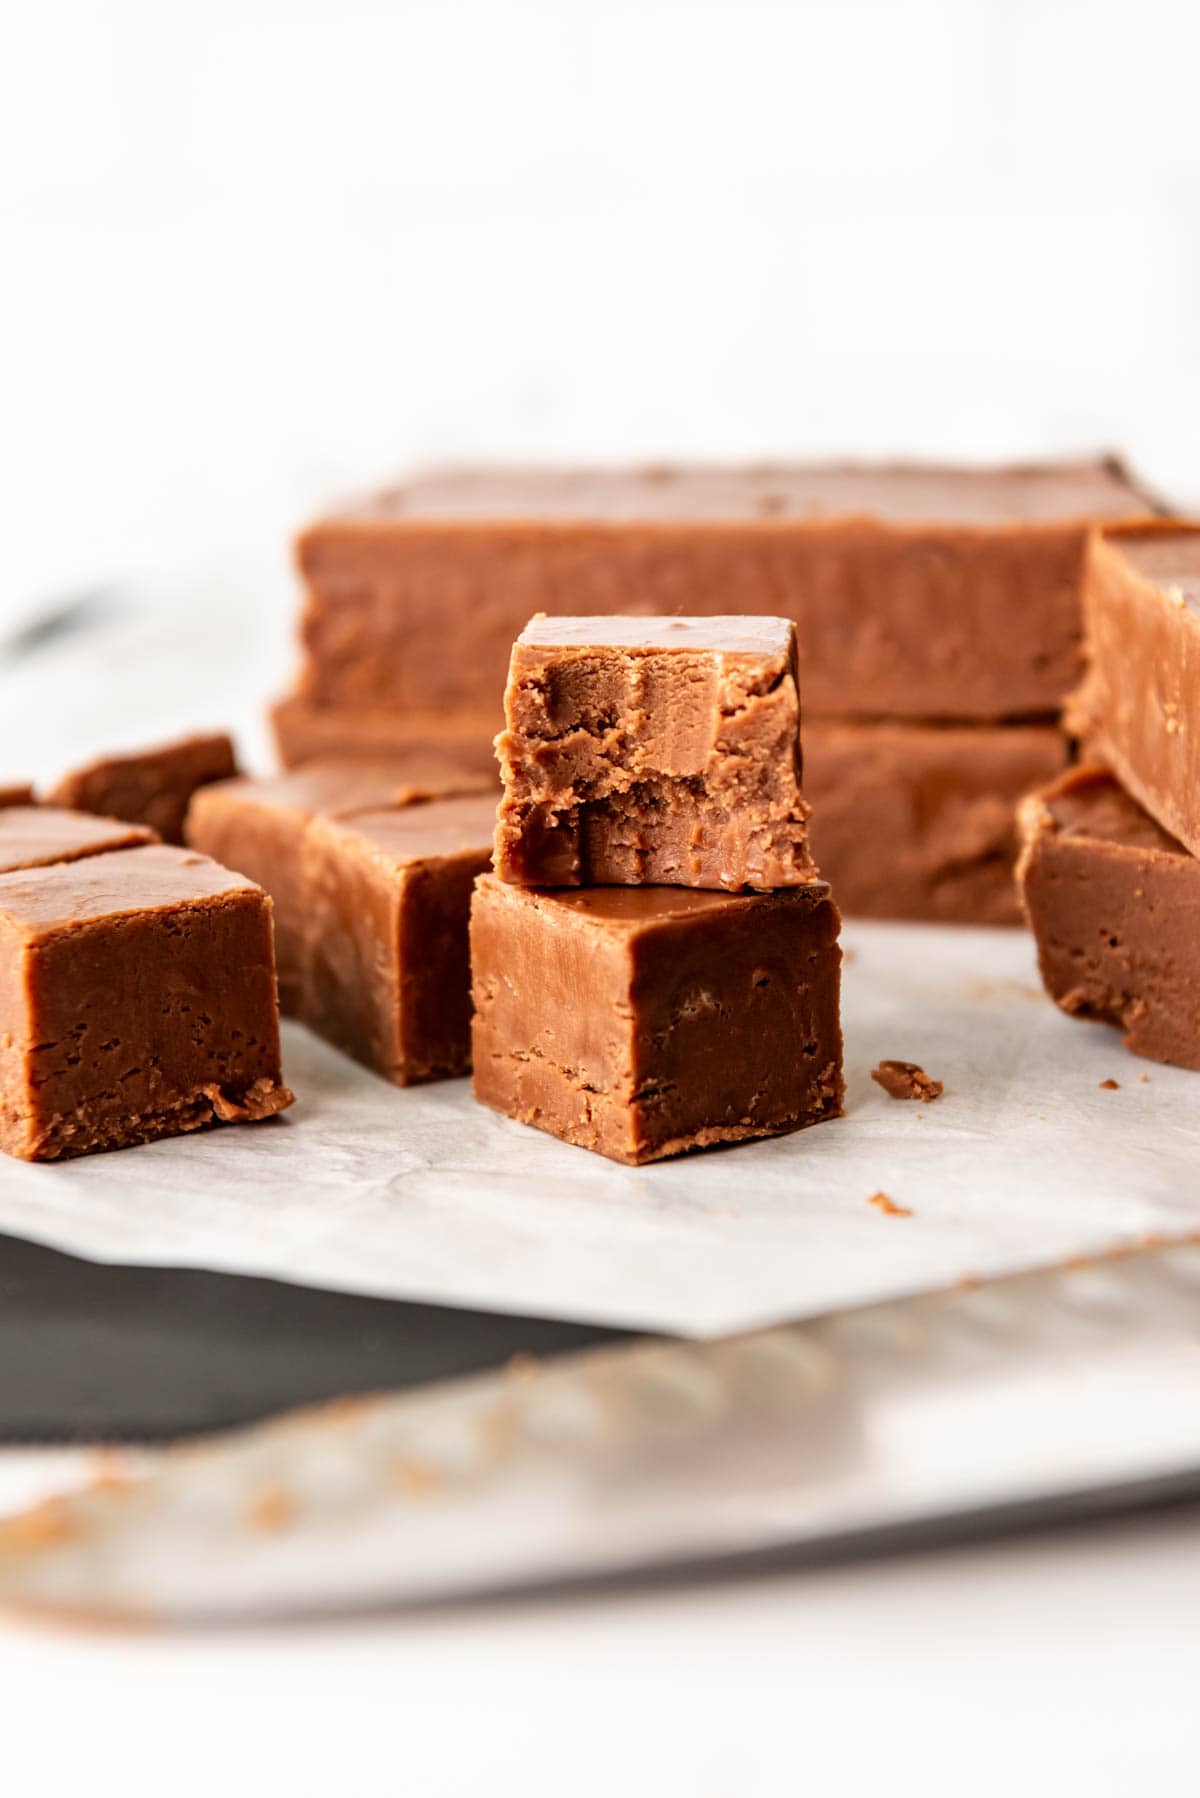
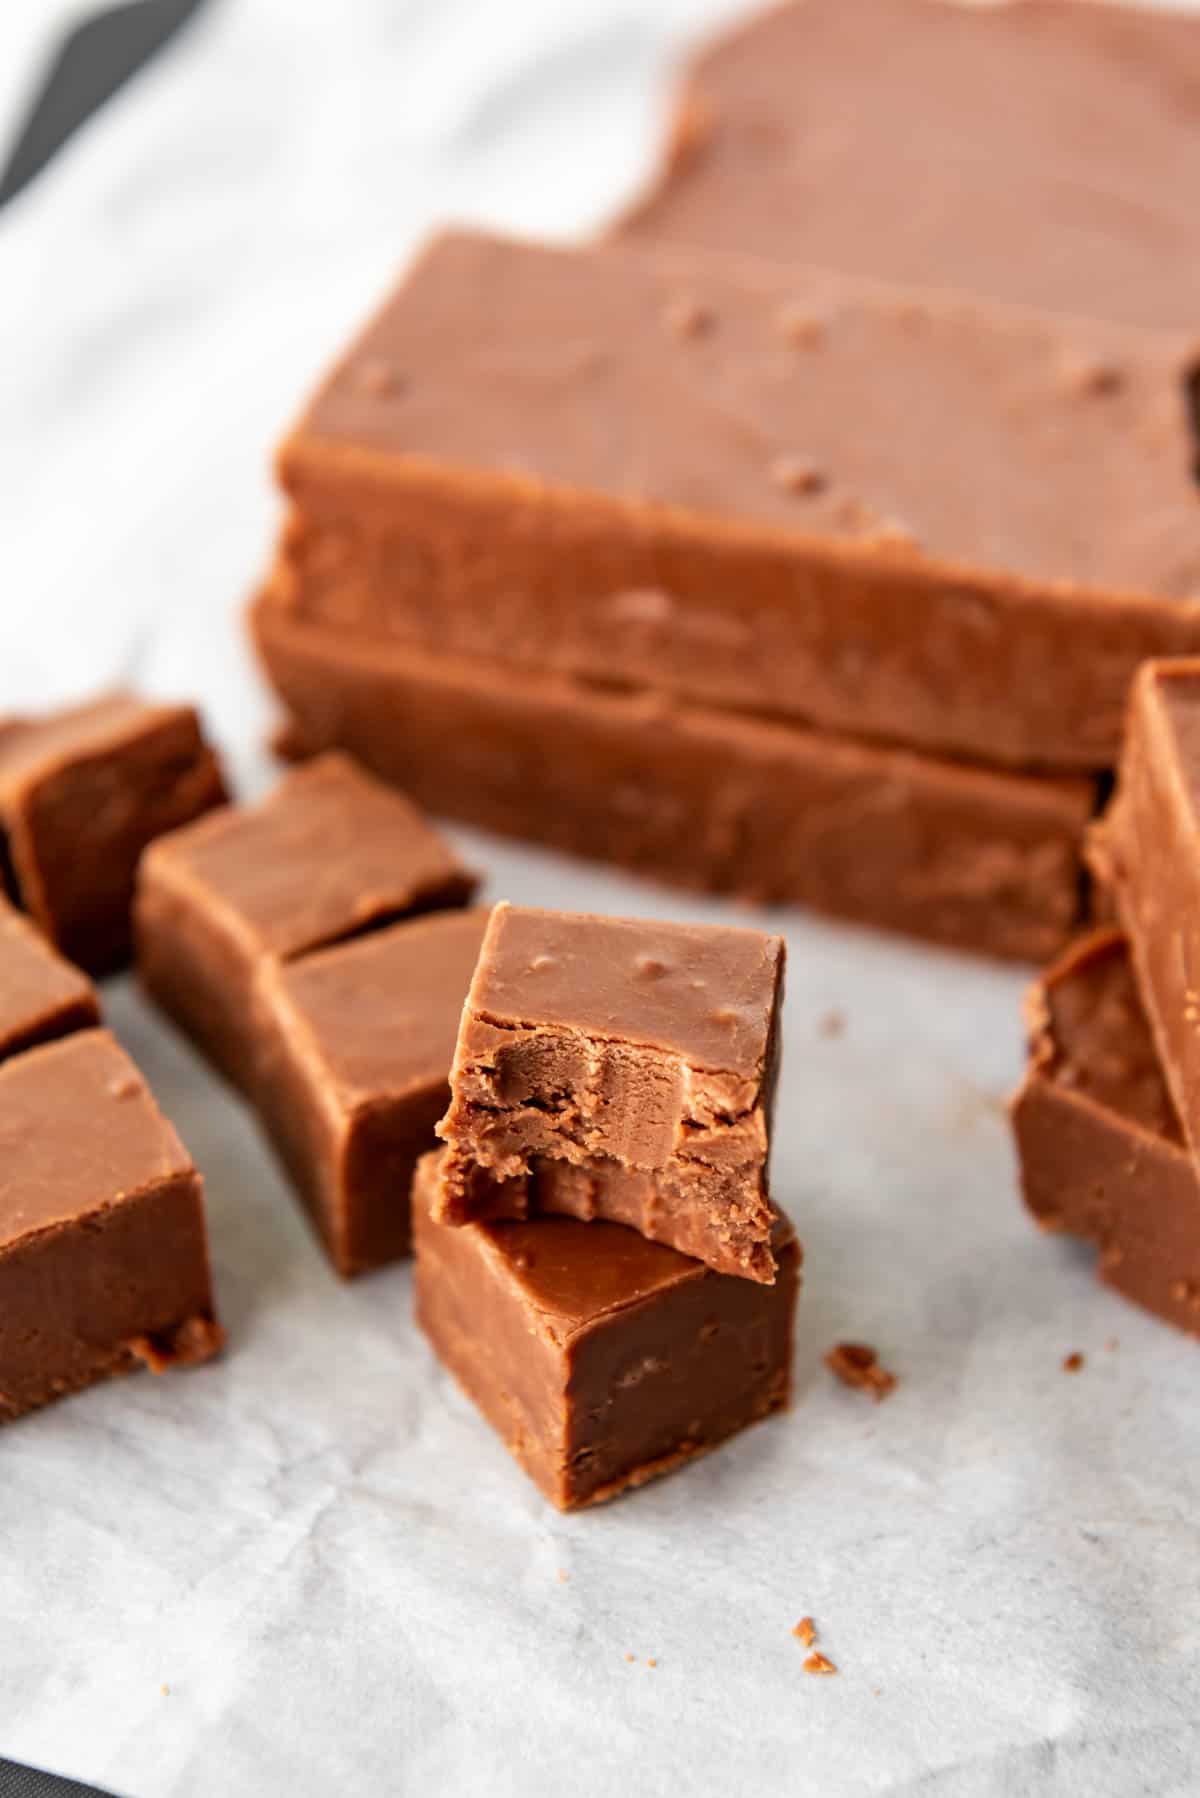
This fudge has the PERFECT creamy texture without being too soft, on the one hand, or too dry and crumbly on the other.
It’s melt-in-your-mouth fudge with the perfect balance of chocolate achieved by combining both milk chocolate and semisweet chocolate chips.
How to Store Fudge
Fudge will keep on the counter for a week or so and it will last even longer – up to 2-3 weeks – in the fridge. Just be sure to keep it in airtight containers or wrap in plastic wrap so it doesn’t dry out.
You can even freeze fudge by wrapping bricks of it in a double layer of plastic wrap and storing in a freezer-safe ziploc bag in the freezer for up to 3 months. Just thaw in the fridge and slice into squares before serving!
How to Make Fudge
There are a number of methods for making fudge, but my favorite fudge is made with evaporated milk and marshmallows. I feel like it gives the best texture and flavor to the finished fudge and it’s really easy to the point of being almost foolproof.
1. Prep a 9×13-inch pan by lining it with aluminum foil or parchment paper. Once the fudge is set, you will be able to lift the entire slab of fudge out of the pan for easy, clean slicing.
Have milk and semisweet chocolate chips, cubed butter, and vanilla on hand to mix in once the sugar mixture finishes cooking so you don’t have to scramble to unwrap and cube butter and measure out chocolate.
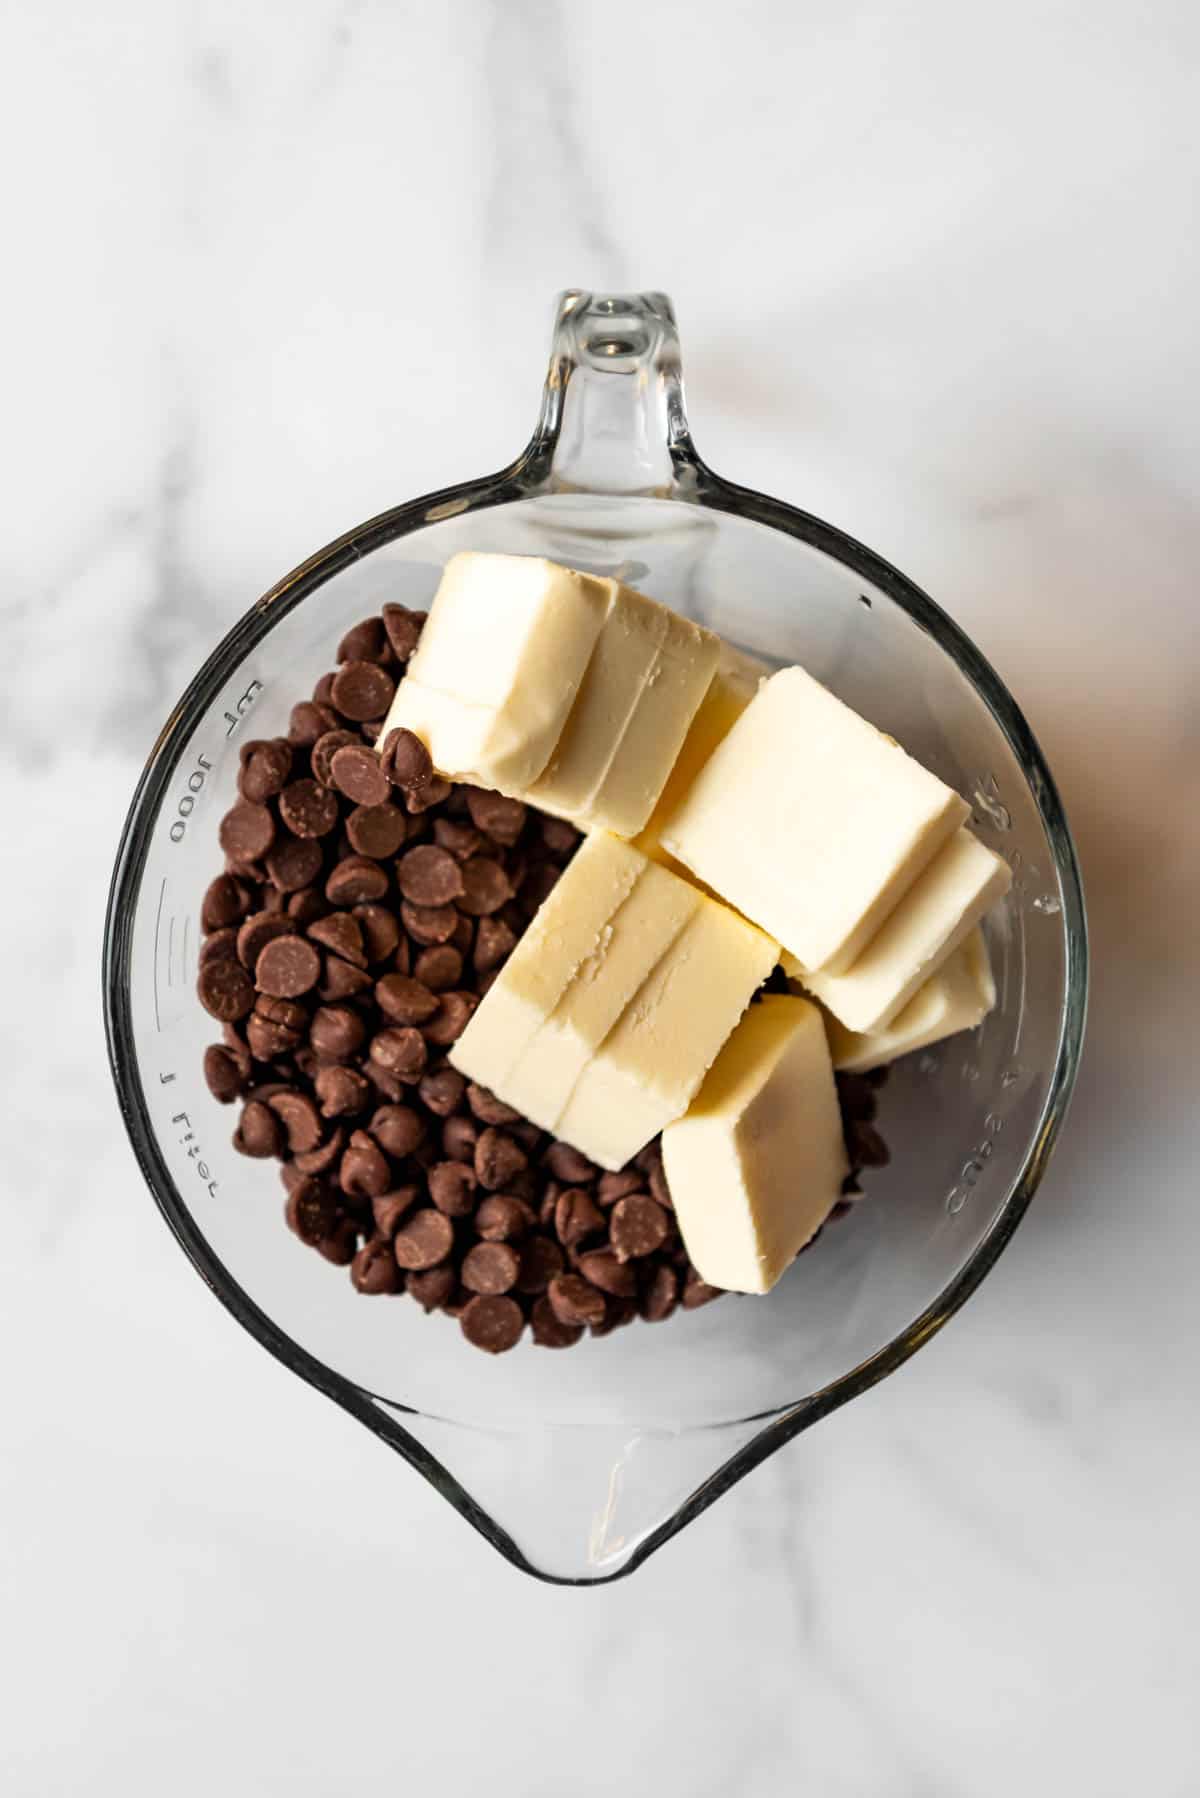
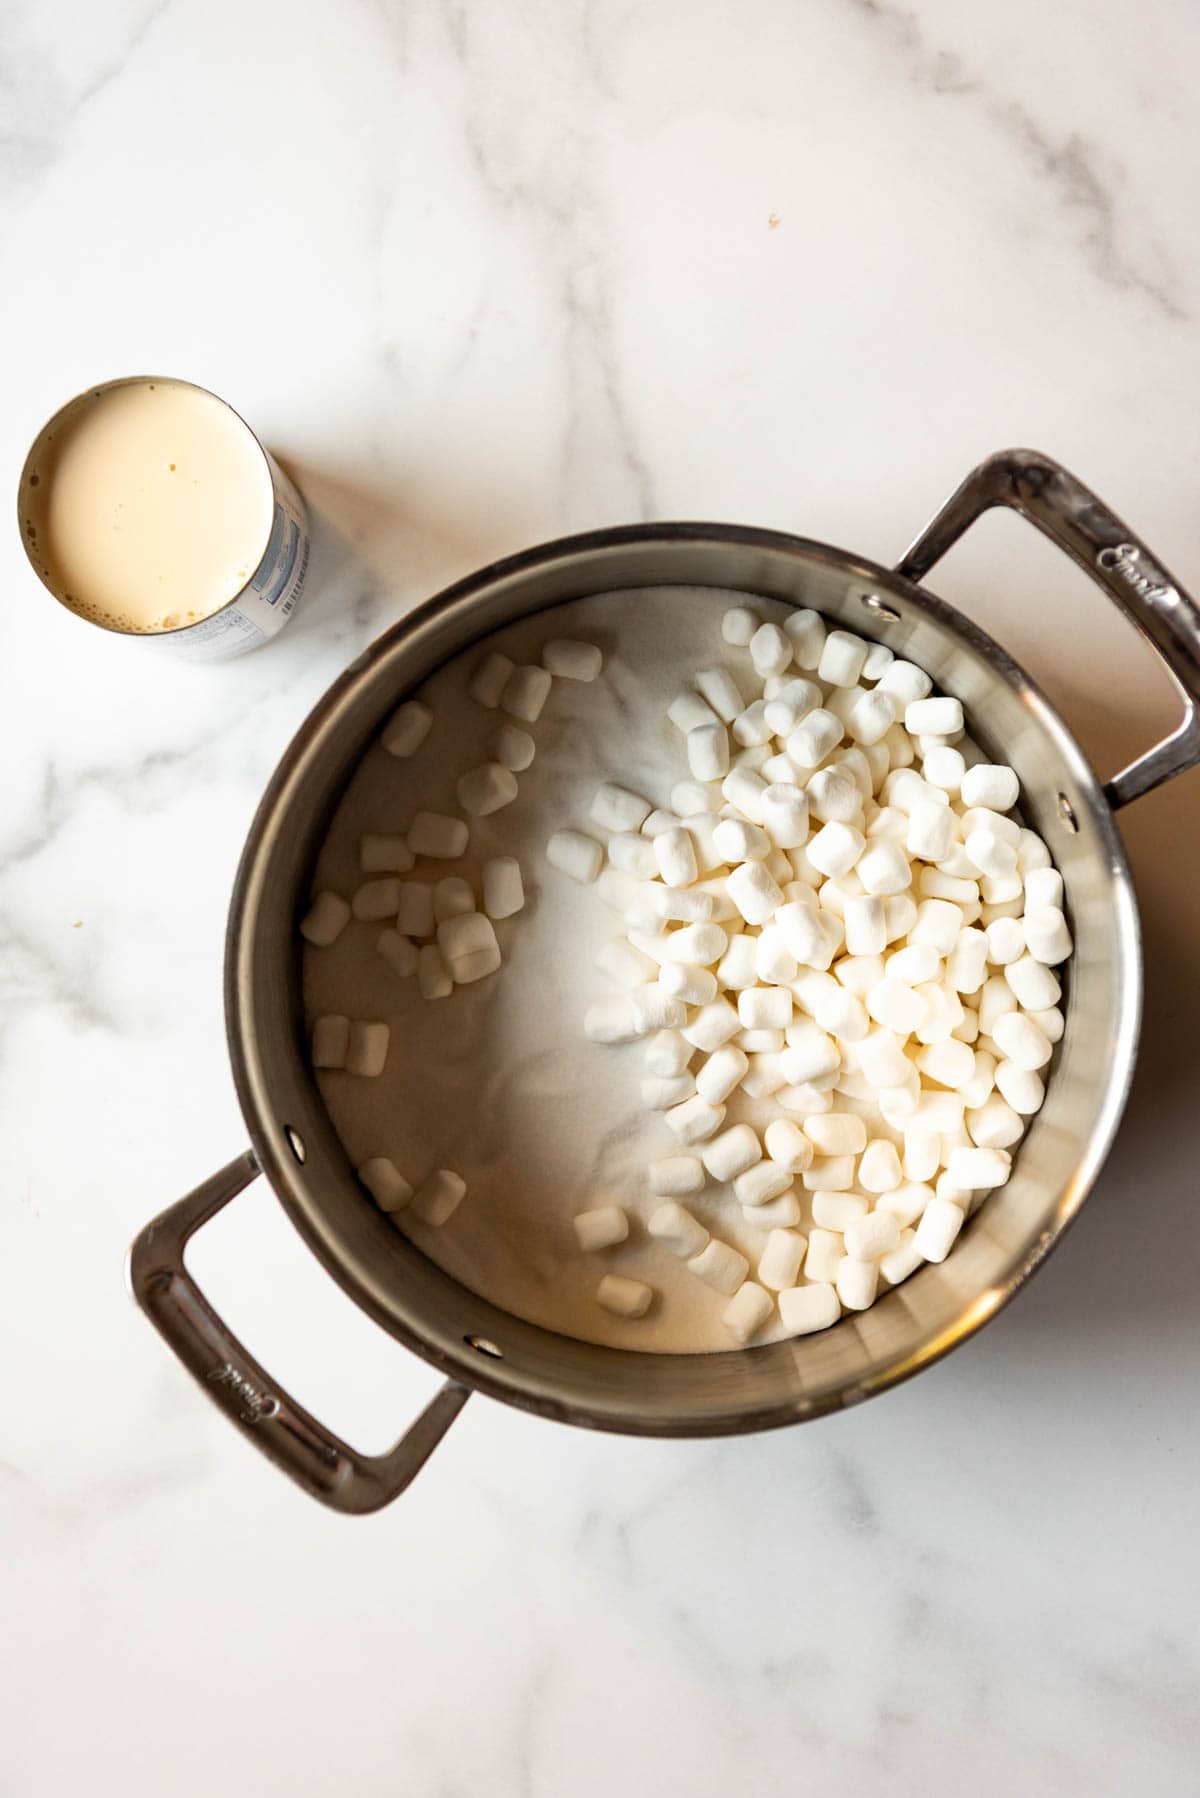
2. Bring the sugar, marshmallows, and evaporated milk to a boil over medium heat in a large heavy-bottomed pot or dutch oven. Once it starts to bubble, you will cook the fudge for about 10 minutes or so until the temperature reaches 235-240°F on a candy thermometer (affiliate link).
3. When the sugar mixture is a light golden brown color, remove it from the heat and add the cubed butter, both kinds of chocolate chips, and vanilla. Stir well with a wooden spoon until the butter and chocolate is completely melted and everything is combined, then pour into the prepared pan.
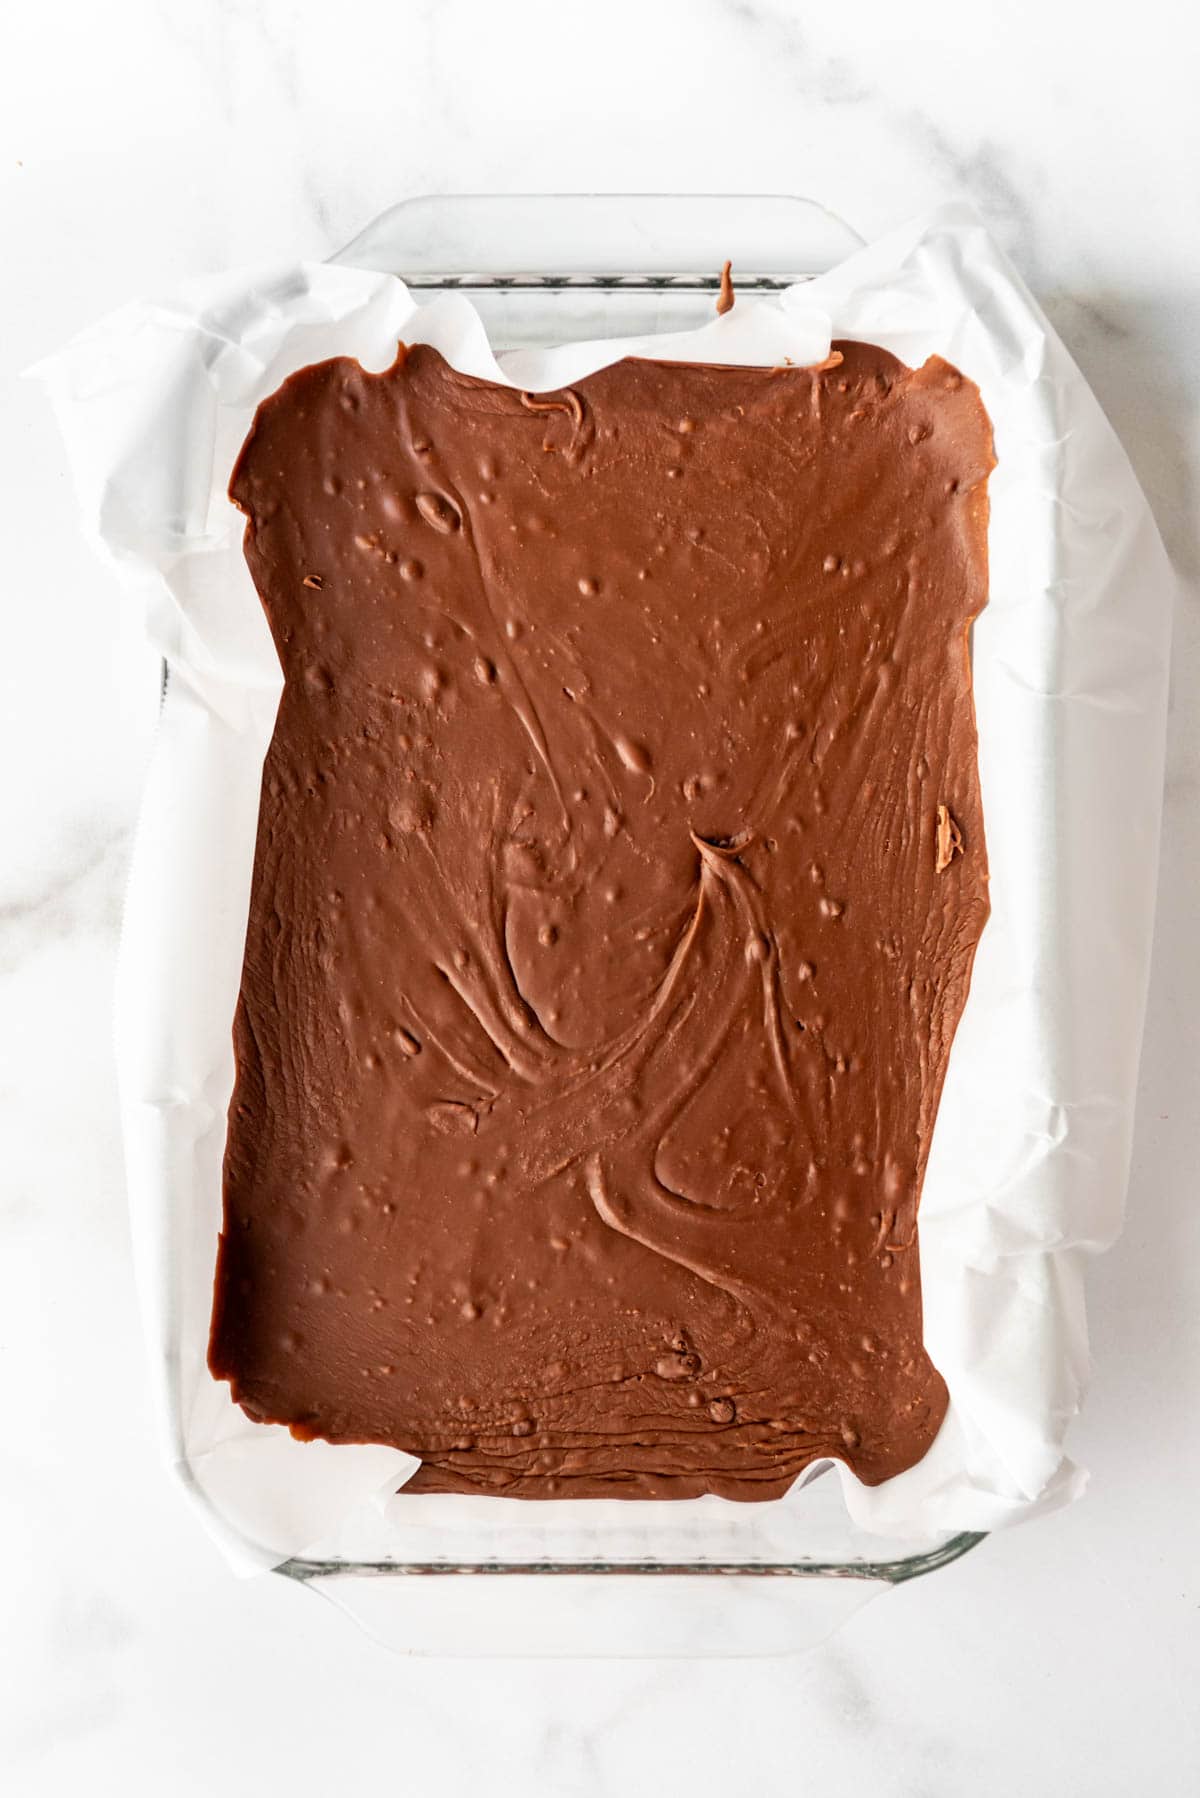
4. Let the fudge cool completely in the fridge before lifting the foil or parchment paper sling out of the pan and cutting bricks or small squares.
Troubleshooting Fudge
If your fudge ends up seeming too dry and crumbly, it was likely cooked at too high of a temperature for too long.
I’ve also made fudge with medium-high heat cooking it for around 6 minutes, but it tends to run more of a risk of getting burned bits scraped up from the bottom of the pan in the fudge.
Cooking at medium heat for the slightly longer time provides more reliable results that are easier to control. It also means you don’t absolutely require a candy thermometer (affiliate link) for this recipe, although I still always recommend one when making candy because it helps me turn out consistently excellent fudge.
Fudge Mix-Ins or Toppers to go with this Easy Fudge Recipe
This basic fudge recipe is what I use for making all kinds of other fudge variations. Most are as easy as sprinkling something over the top of the fudge.
Here are some ideas I’ve been brainstorming of easy ways to fancy up this easy fudge recipe.
- After pouring the fudge into the pan, top with melted caramel and pretzels
- Sprinkle with seasonal M&M’s
- Let the fudge set up, then top with coconut pecan frosting for German chocolate fudge
- Mix in your favorite nuts before pouring the fudge into the pan for a wonderful crunch
- Sprinkle the top with crushed Oreo chunks for a cookie crunch
- Stir in 2 cups of broken up graham crackers and 3 cups of large marshmallows cut into 1/4ths for s’mores fudge
- Stir in toffee bits, then sprinkle more on top for a toffee crunch
More Fudge Recipes You Won’t Want to Miss
Easy Fudge Recipe
Equipment
Ingredients
- 1 cup salted butter cubed
- 1 1/4 cups milk chocolate chips
- 1 1/4 cups semisweet chocolate chips
- 1 teaspoon vanilla extract
- 12 ounces evaporated milk
- 4 cups granulated sugar
- 2 1/4 cups mini marshmallows

Instructions
- Prepare a 9×13-inch pan by lining it with an aluminum foil or parchment paper sling and rubbing the foil with a stick of cold butter. Measure and set aside the butter, chocolate chips, and vanilla.
- Combine the sugar, evaporated milk, and marshmallows in a large, heavy-bottomed saucepan and stir over medium heat until it comes to a boil.12 ounces evaporated milk, 4 cups granulated sugar, 2 ¼ cups mini marshmallows
- Continue to cook and stir over medium heat for 8-10 minutes using a long-handled wooden spoon or heat-resistant spatula, making sure to scrape the bottom and sides of the pan to prevent burning. I like to use a candy thermometer (affiliate link) to make sure the temperature reaches 235-240°F. The mixture is ready when it is a light golden brown color.
- Remove the pan from the heat and stir in the butter, chocolate chips, and vanilla. Mix well until everything is completely melted and smooth, then pour the hot fudge into the prepared pan.1 cup salted butter, 1 ¼ cups milk chocolate chips, 1 ¼ cups semisweet chocolate chips, 1 teaspoon vanilla extract
- Chill for several hours in the fridge until set. When completely cooled, lift the fudge slab out of the pan with the foil or parchment paper sling and cut into bricks or smaller squares for sharing or serving.
- Keep the fudge wrapped in plastic wrap, foil, or in an airtight container on the counter or in the fridge.
Notes
- Cooking Temperature & Time: The cooking temperature makes a difference. If you are on the lower side of medium, the fudge might take a little longer. If you are on the hotter side of medium, it will cook faster and you might notice more browned bits floating to the surface while you stir. This is why I like to use a candy thermometer to know just when my fudge is ready to add the butter and chocolate.
- High-altitude adjustment: You may need to decrease the temperature target by 2°F for each 1,000 feet of altitude. So if you are making this in Utah at around 4,000 feet above sea level, for example, you may try targeting 230-235°F instead of 235-240.
- Best Chocolate To Use: You can swap the milk chocolate for all semisweet chocolate, or use white or dark chocolate chips to change up the flavor of the fudge base. I made this batch of fudge with Nestle milk chocolate chips and Costco semisweet chocolate chips and they worked great. I also like Ghiradelli.
- Mix-ins: Feel free to play with this fudge and add any kind of mix-ins or sprinkle stuff on top as you like. This is the same recipe I use in my chocolate walnut fudge as well.




This fudge is the absolute bomb! So creamy it just melts in my mouth!
This fudge is absolutely addicting! Next time I’m trying it with toffee bits!
Toffee bits would give it such a wonderful crunch!
Hi. Would love to try this recipe but with less sugar .. would that be possible? Or would it not work with less sugar?
I don’t think this recipe would work with less sugar or a sugar substitute. Sorry!