
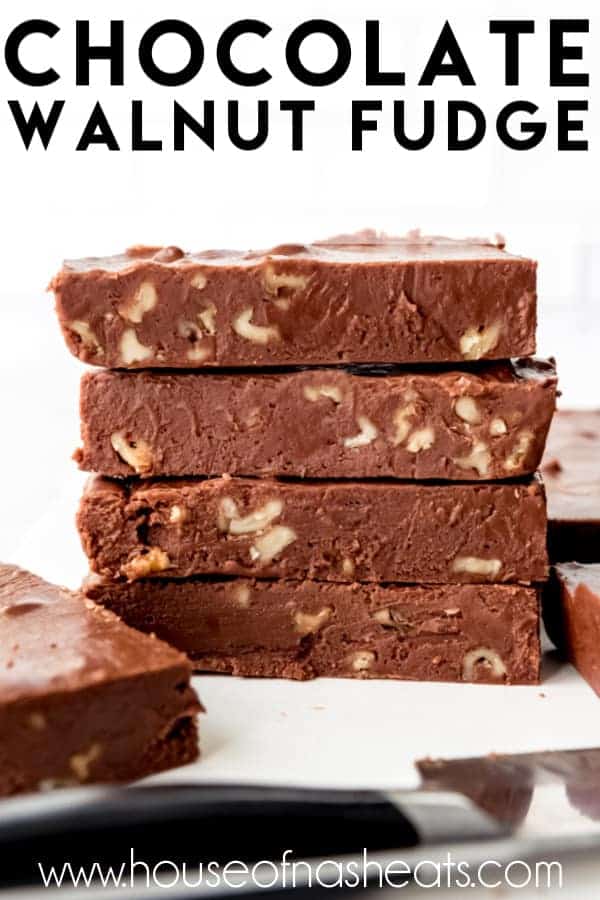
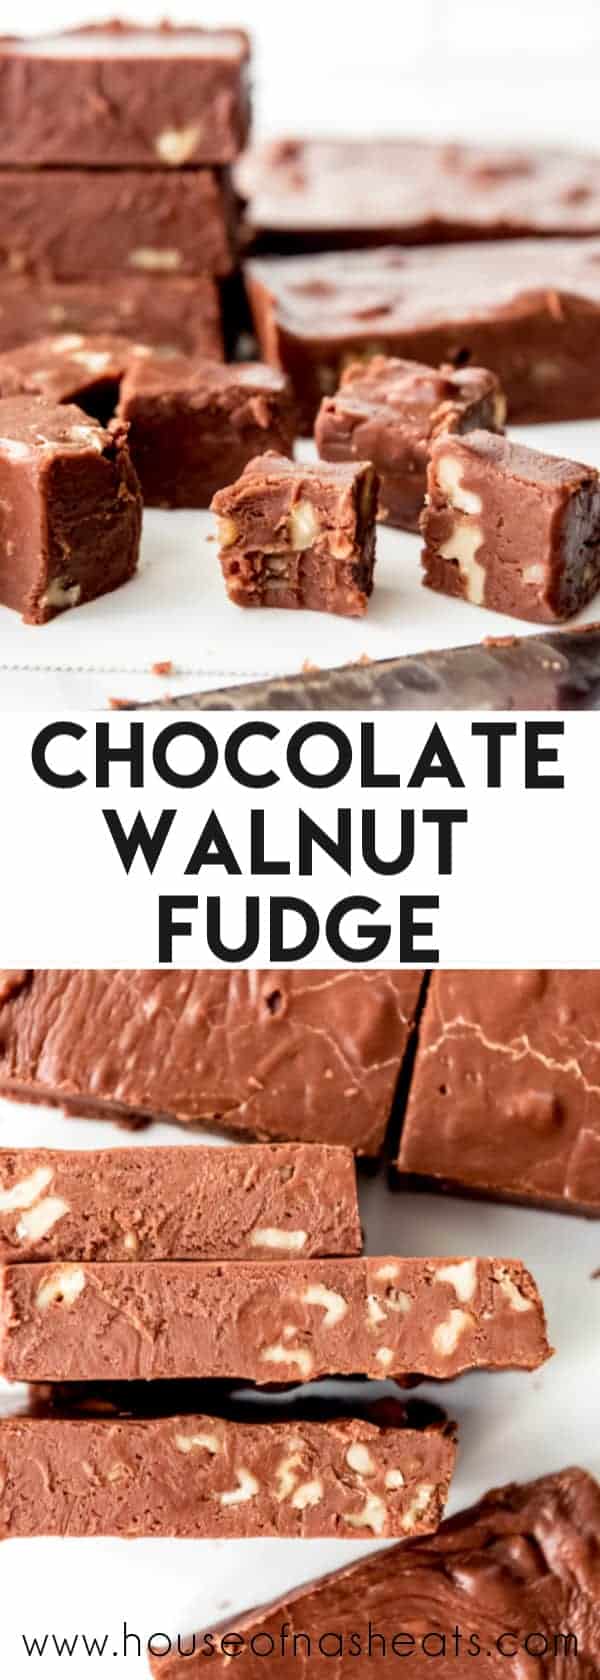
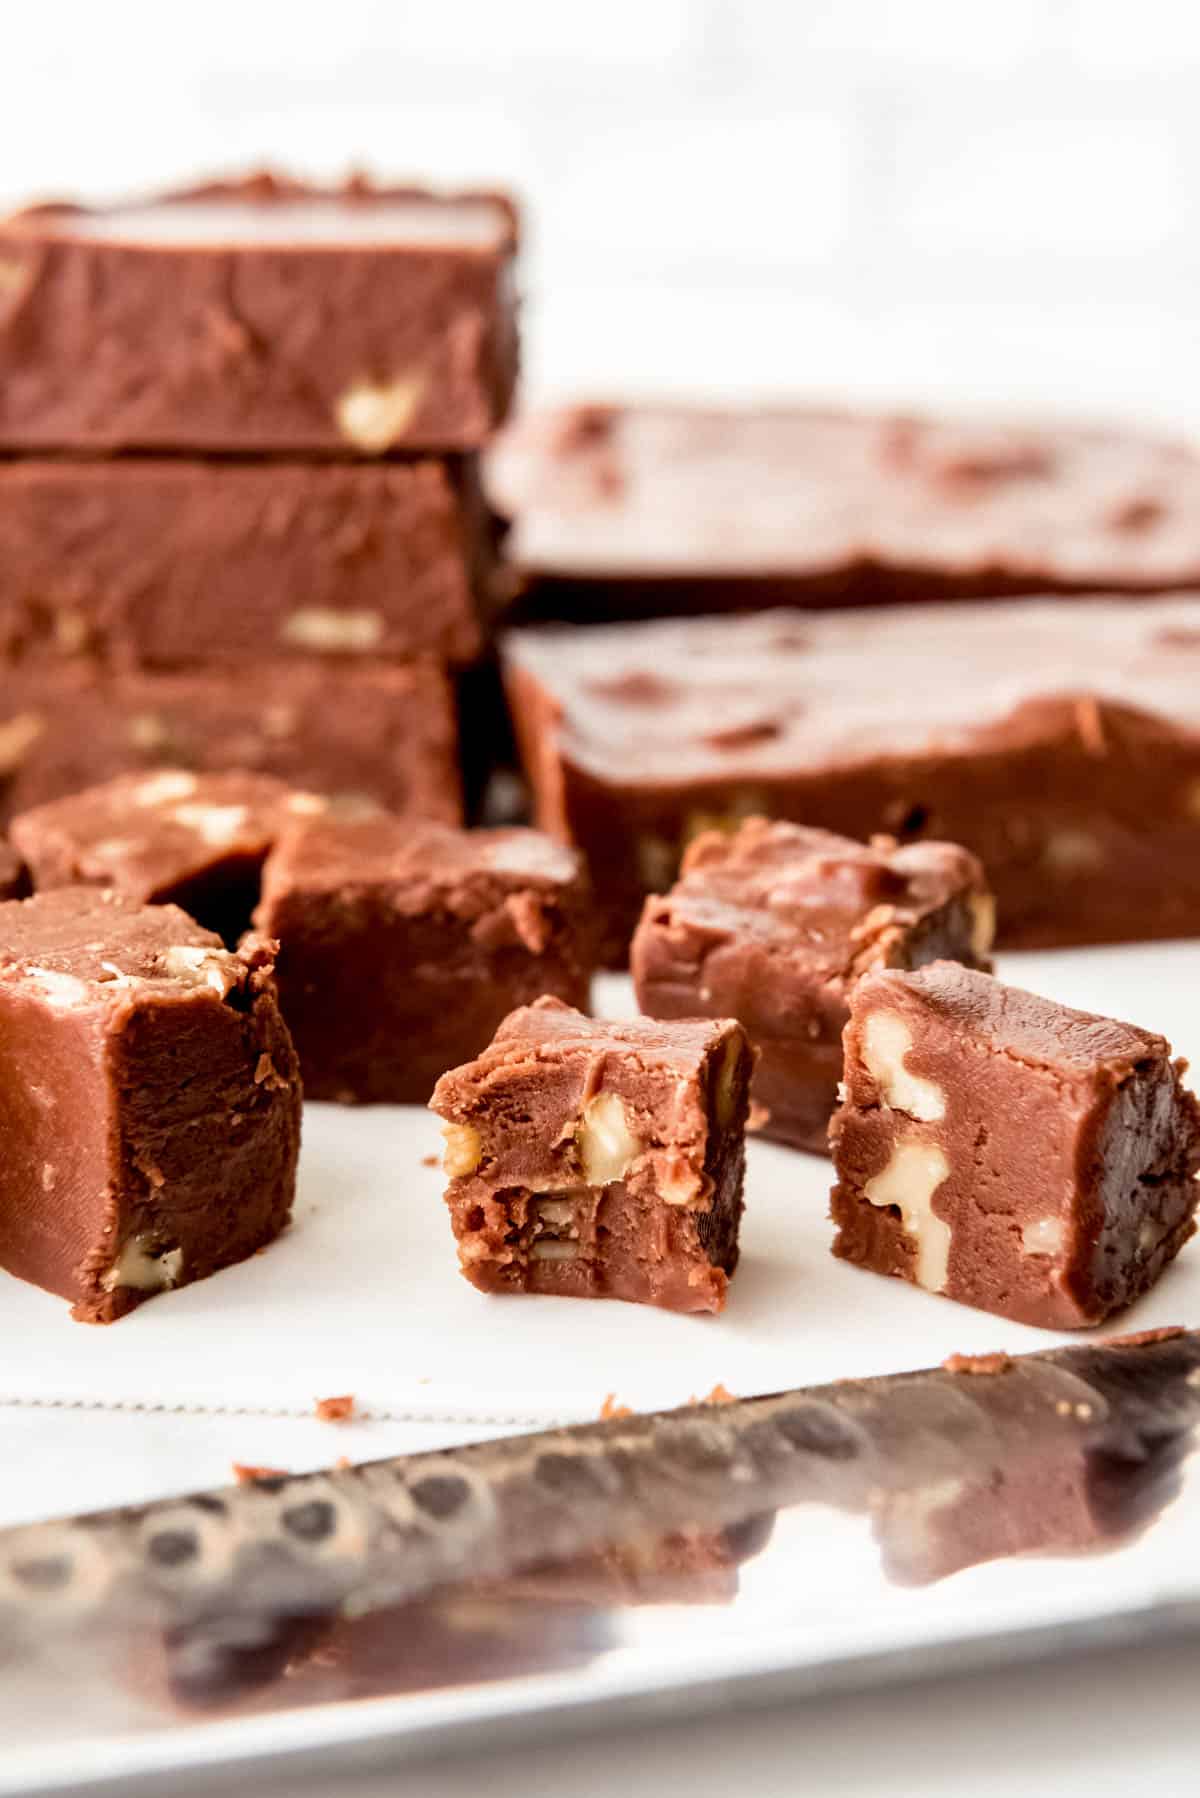
This creamy, old-fashioned Chocolate Walnut Fudge is one of our favorite homemade candy recipes to make and share, especially at the holidays. It’s my favorite ultra smooth and rich fudge base with plenty of walnuts mixed in.

Table of Contents
Chocolate Walnut Fudge
Every summer of my childhood, my family drove from whatever state we were living in at the time to go camping with my grandparents and aunts in Island Park, Idaho. It’s just outside of Yellowstone National Park and one of the most beautiful places in the country.
I loved camping, fishing, hiking, and seeing buffalo, bears, moose (mooses?), and other wildlife. But the highlight for me was going to the Playmill Theater in West Yellowstone. During intermission, the actors and actresses came out hawking goodies for the audience to purchase and I would get a big square of walnut fudge.
Don’t miss any of my fan-favorite candy recipes that are perfect for sharing with friends and neighbors like my English Toffee, Old-Fashioned Divinity, or Homemade Peanut Brittle! Or to try my other fudge recipes, be sure to check out my Chocolate Chip Cookie Dough Fudge, Easy Chocolate Fudge, and Rocky Road Fudge!
Chocolate walnut fudge is something I typically only make at Christmas nowadays, but it tastes like my memories of childhood and summer. It’s one of my all-time favorite treats and as much as I love Christmas cookies, I would take a piece of chocolate walnut fudge over a Christmas cookie any day.
There are a number of methods and recipes for making fudge, but my favorite approach uses evaporated milk and marshmallows. It’s so easy that it’s practically foolproof.
How to Make Chocolate Walnut Fudge
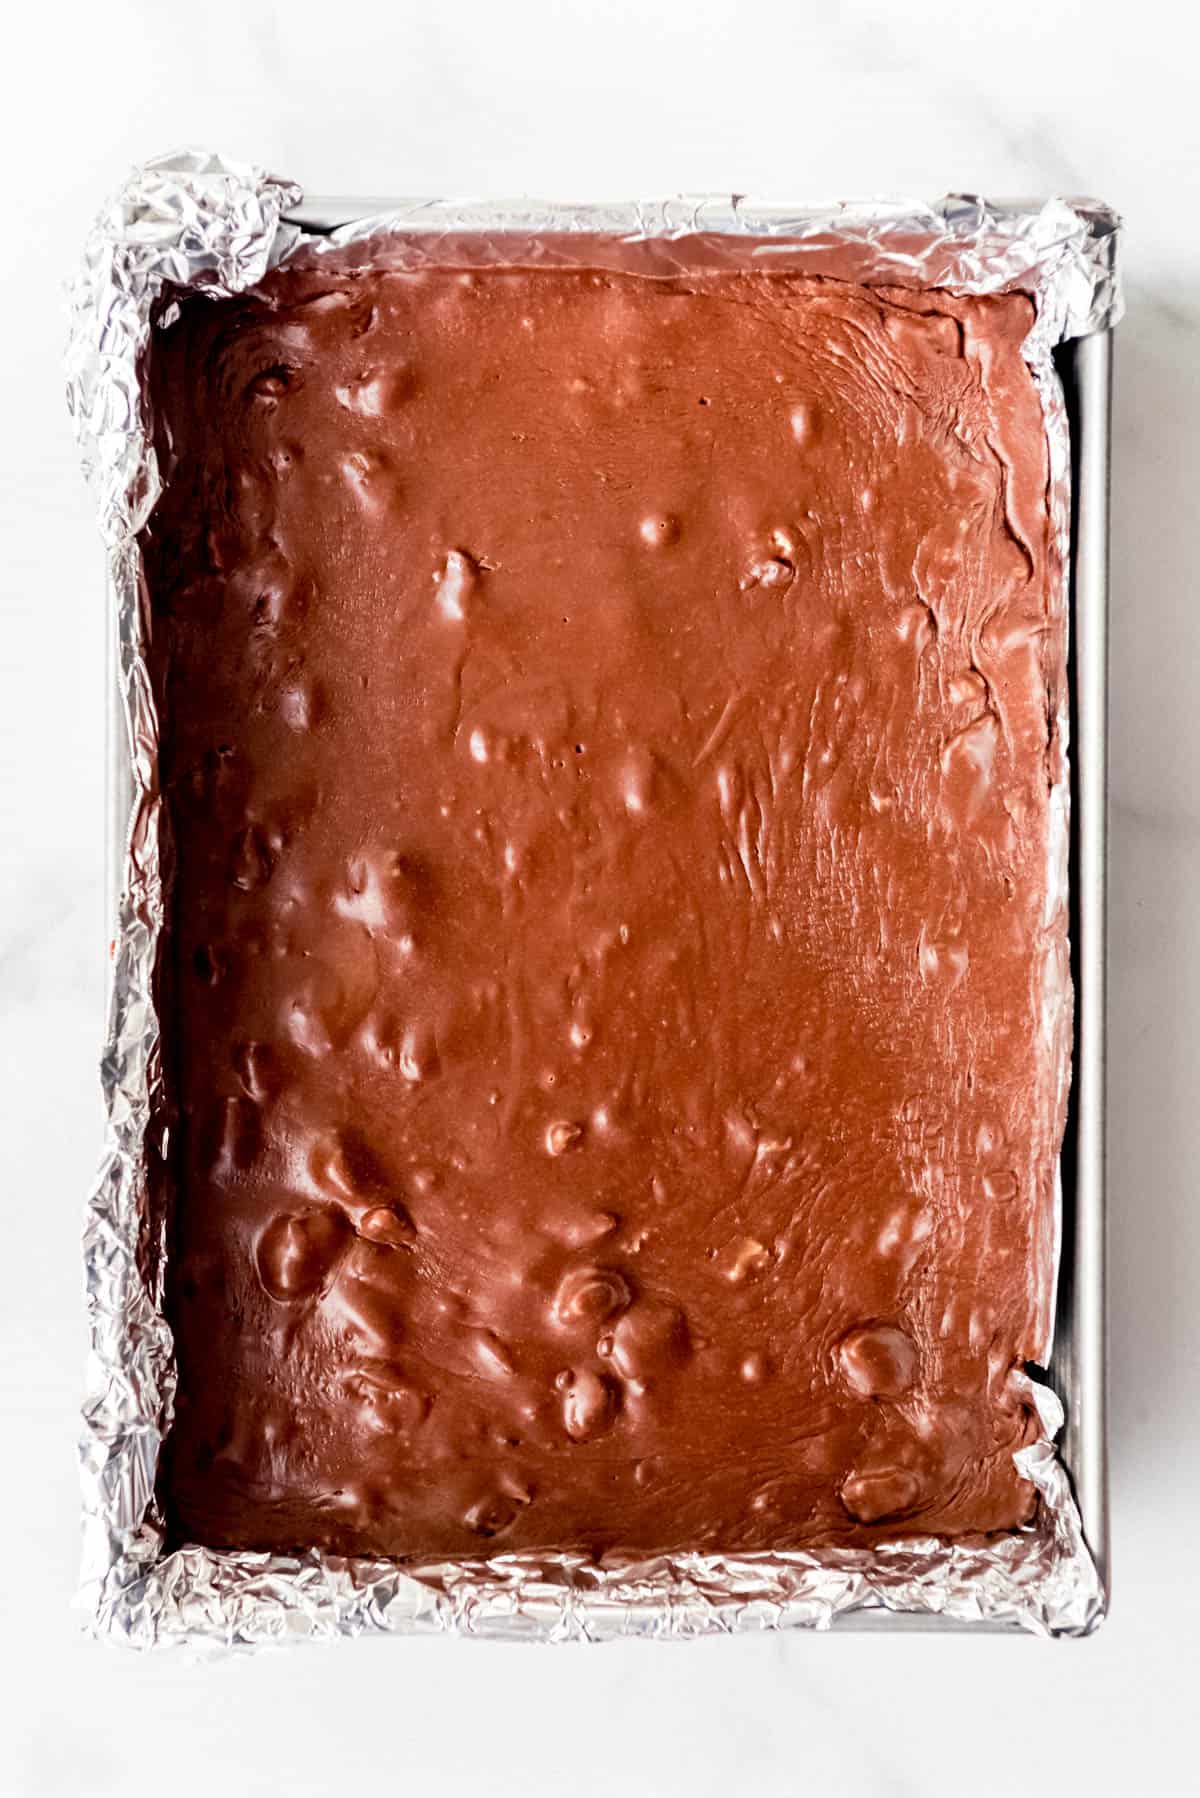
- Prep a 9×13-inch pan by lining it with an aluminum foil or parchment paper sling. Set your milk and semisweet chocolate chips, cubed butter, and vanilla nearby so you don’t have to scramble to unwrap and cube butter and measure out chocolate when it’s time to add them to the rest of the ingredients.
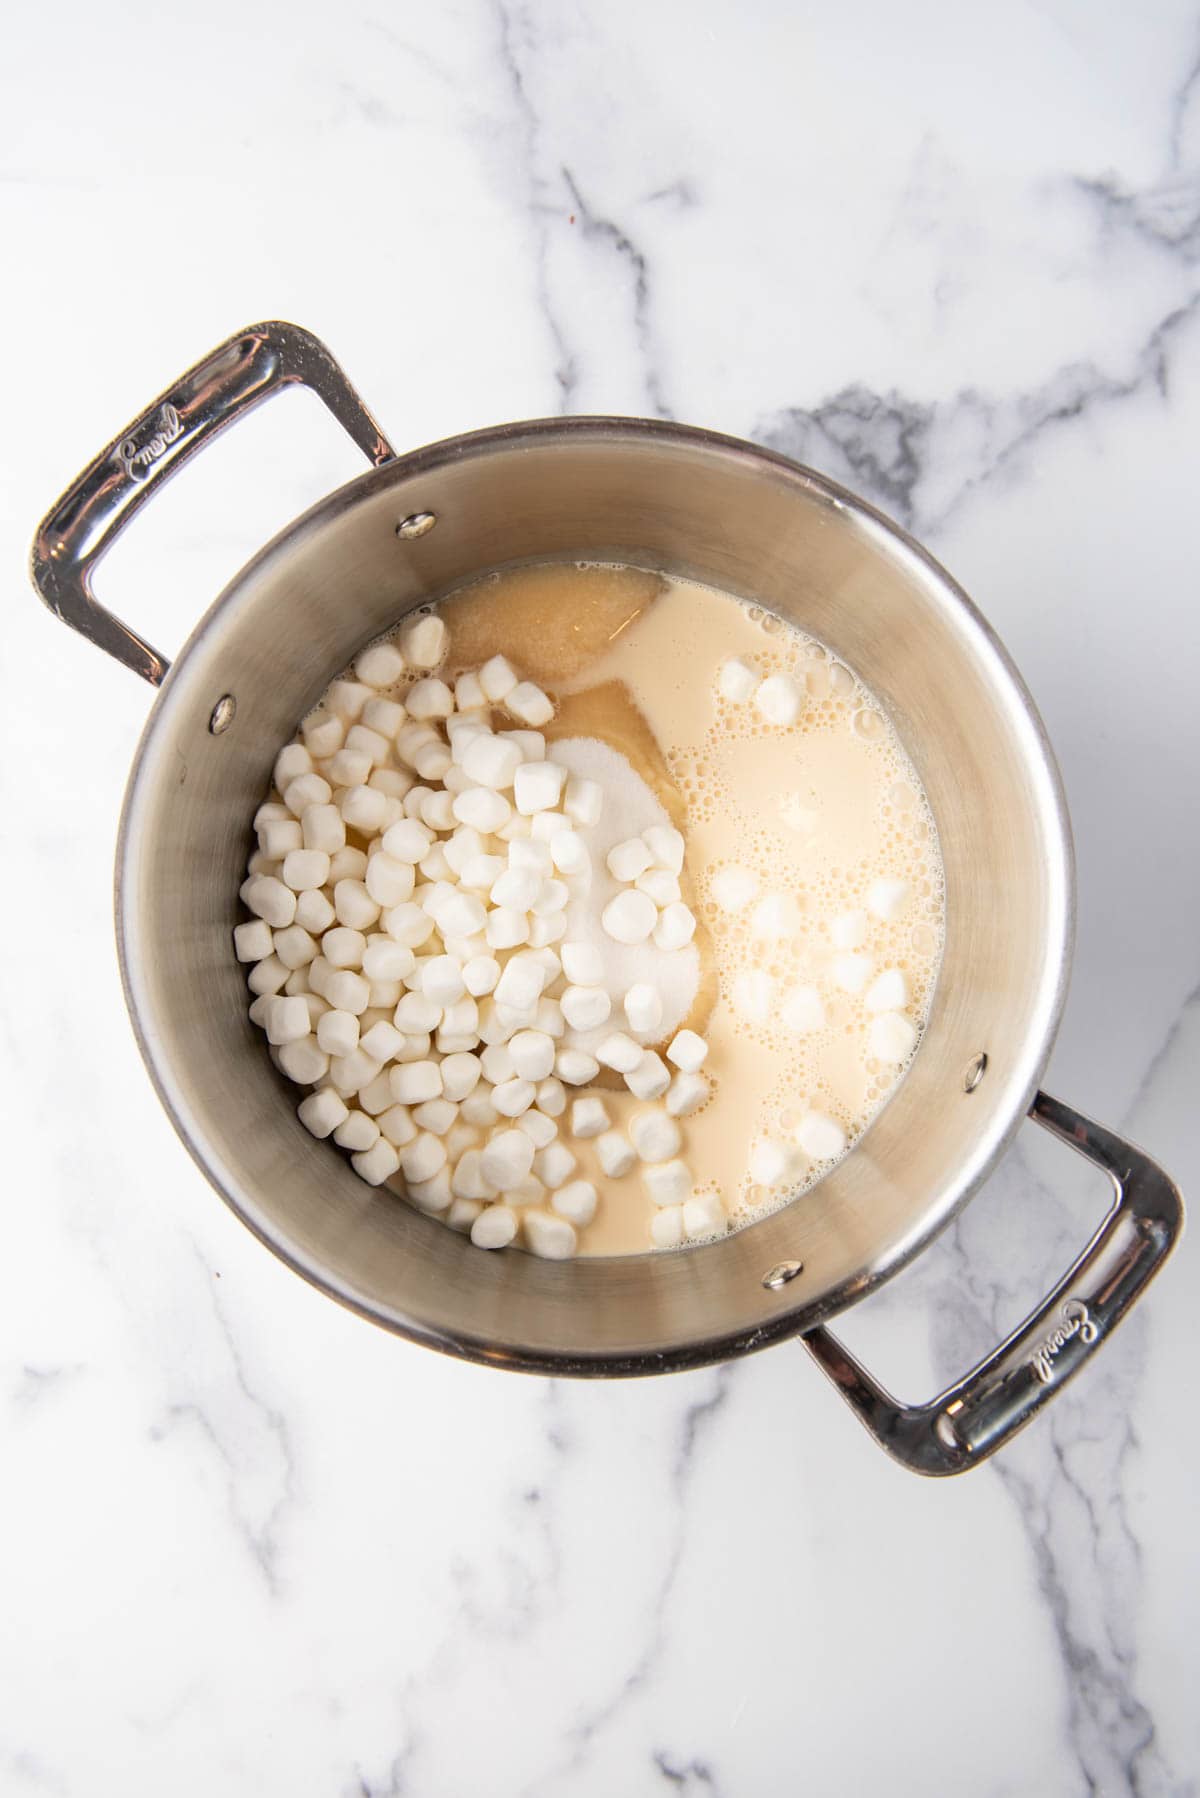
- Bring the sugar, marshmallows, and evaporated milk to a boil over medium heat in a large heavy-bottomed pot or dutch oven. Once it starts to bubble, cook for about 8-10 minutes until the mixture turns a light golden brown color and the temperature reaches 235-240°F on a candy thermometer (affiliate link). You don’t really NEED a thermometer for fudge like you do for peanut brittle or english toffee. But it helps me get consistent results and they aren’t expensive, so I always use one.
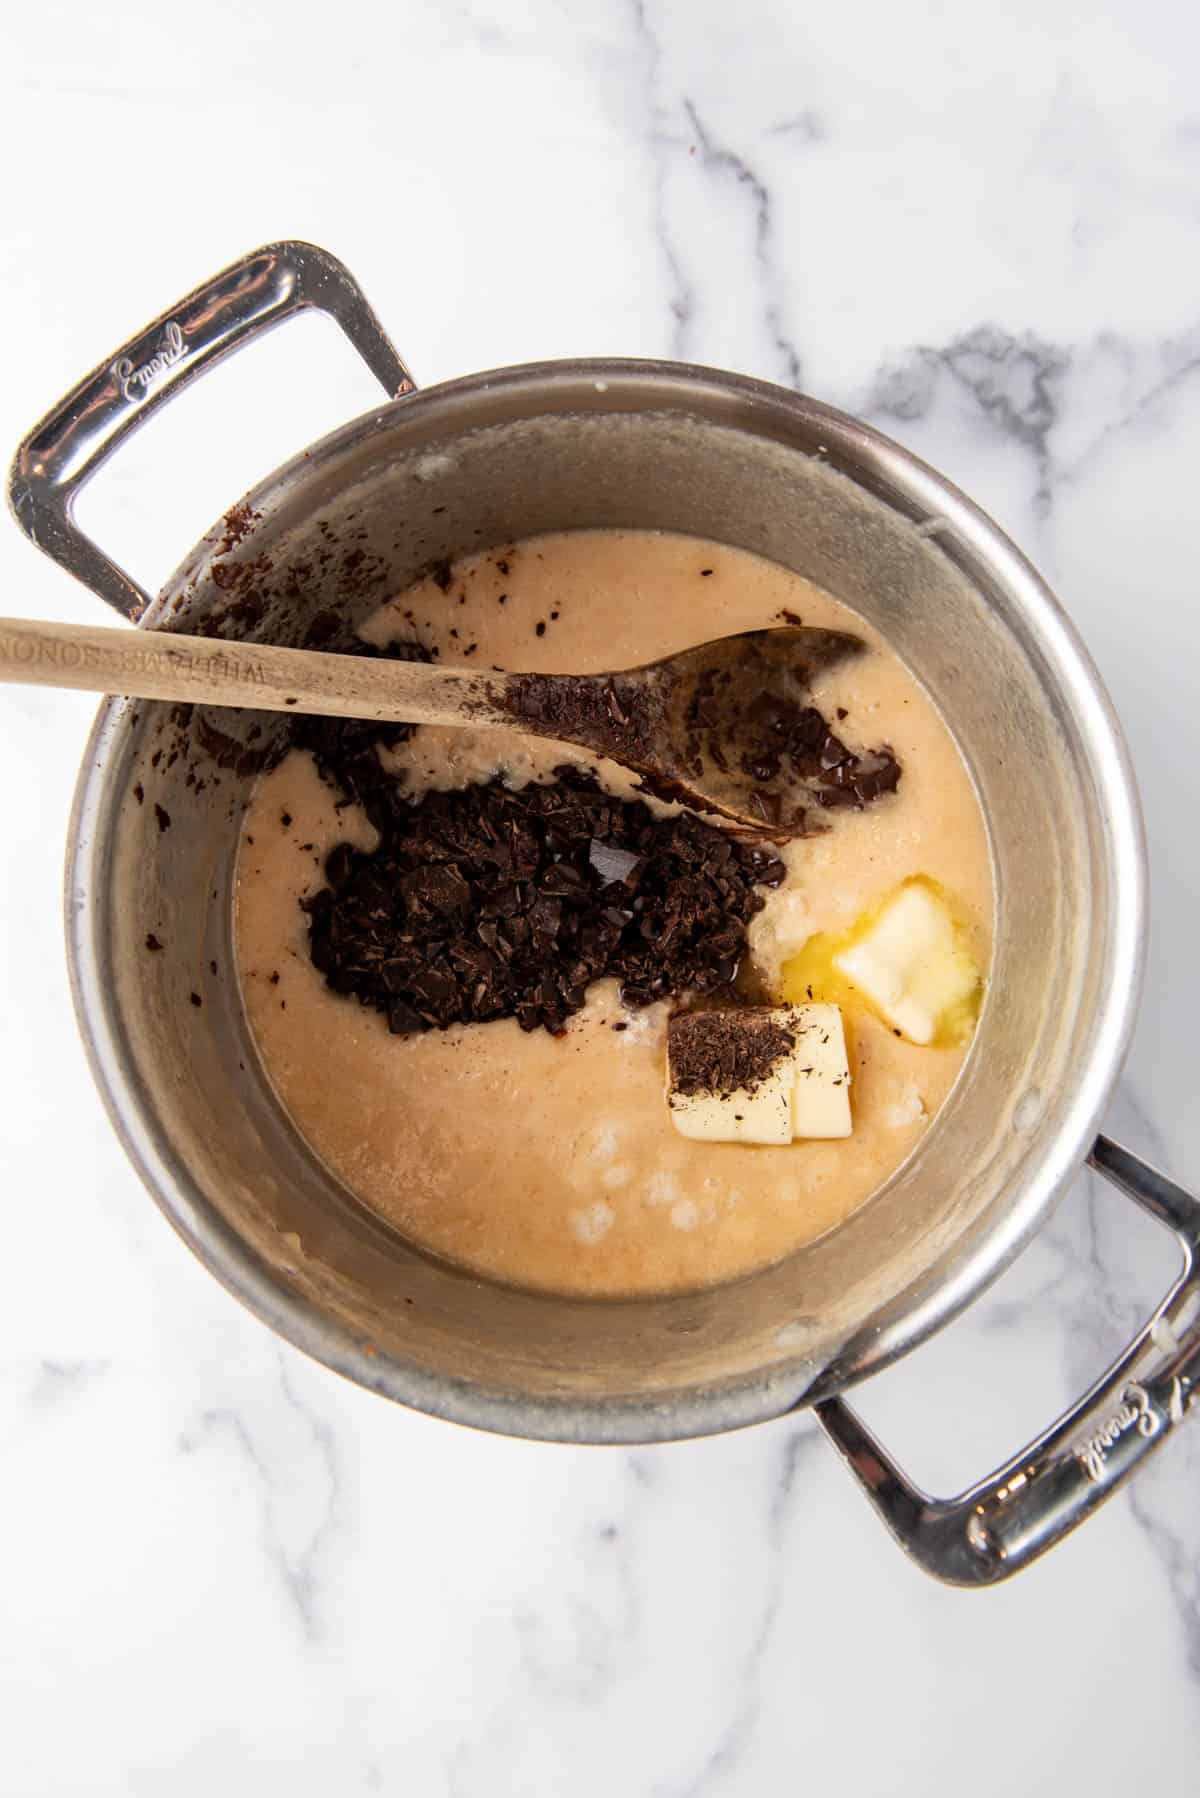
- Remove the hot sugar mixture from the heat and stir in the cubed butter, both kinds of chocolate chips, and vanilla. Use a heavy wooden spoon and keep stirring until the butter and chocolate is completely melted, then stir in the chopped walnuts and pour the fudge into the prepared pan.
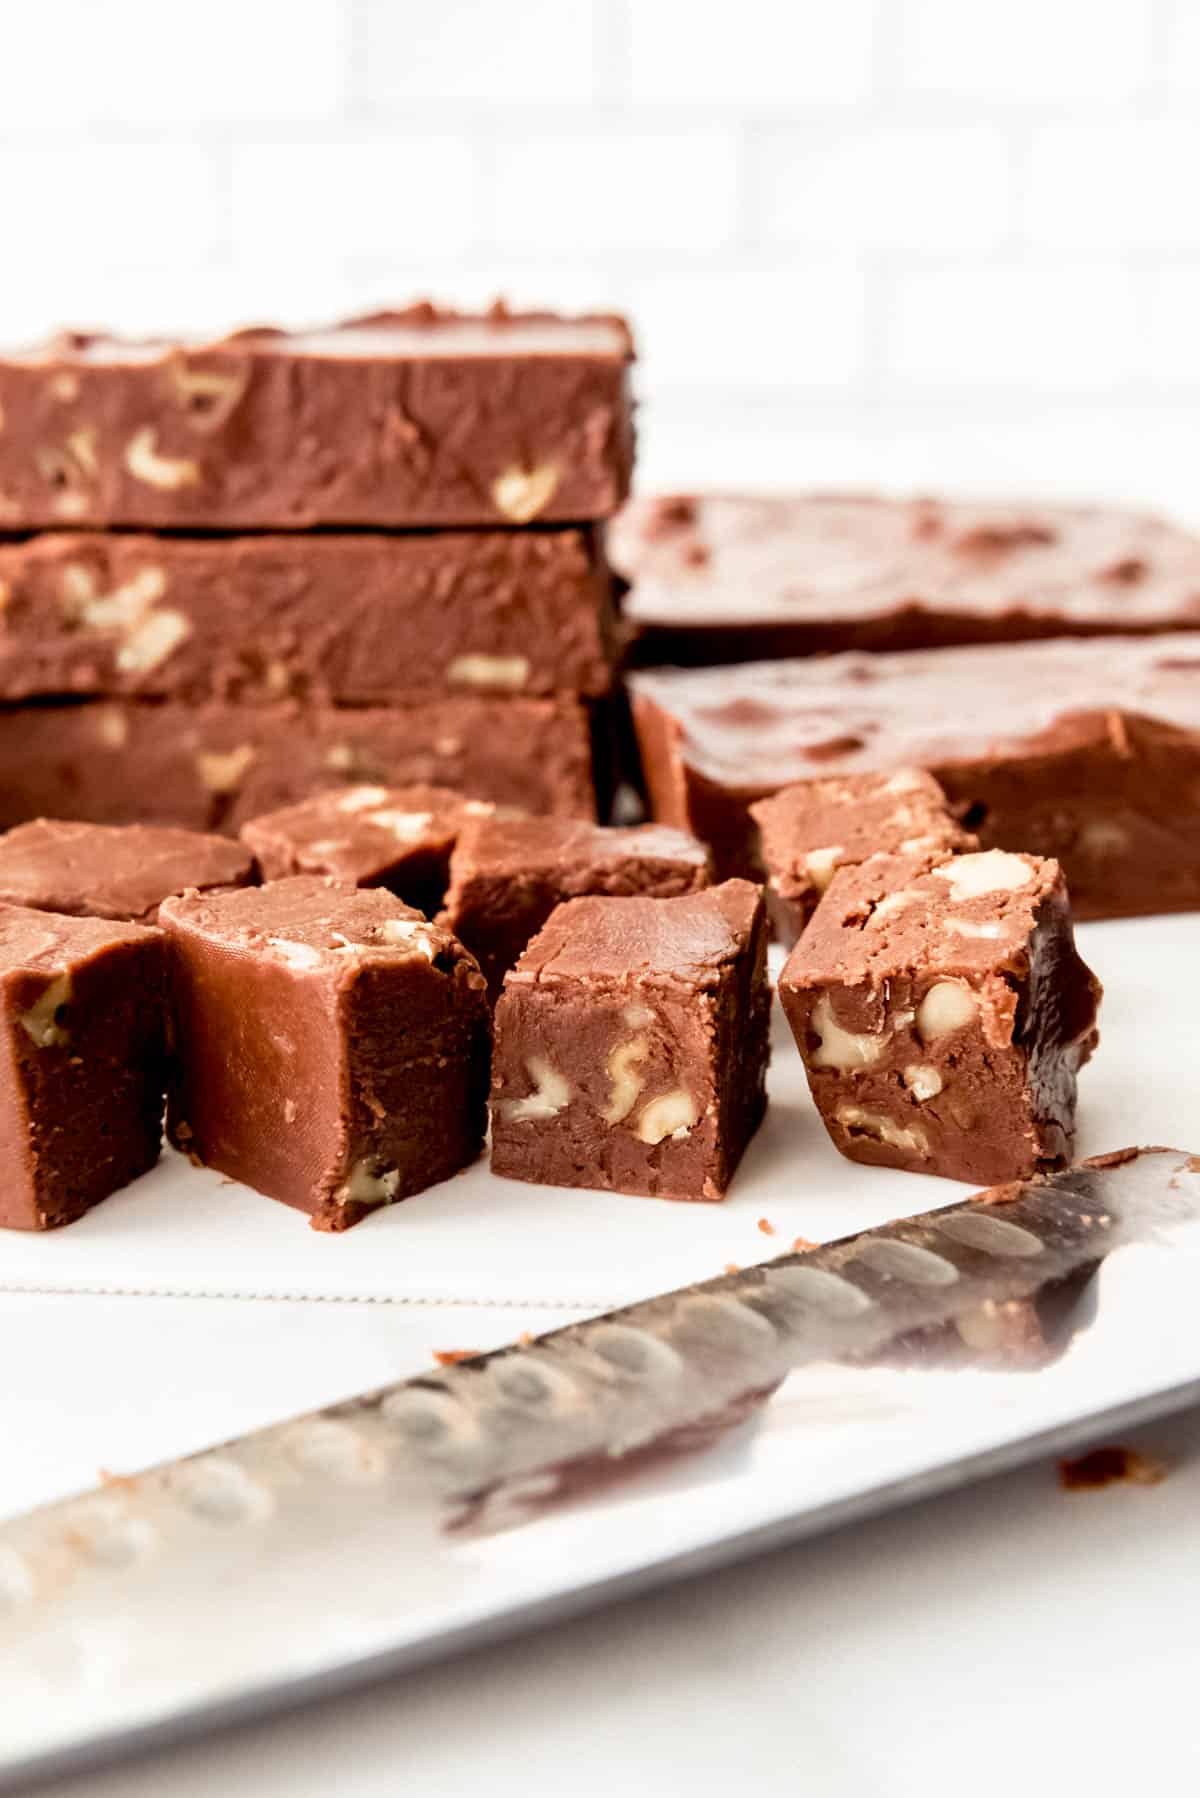
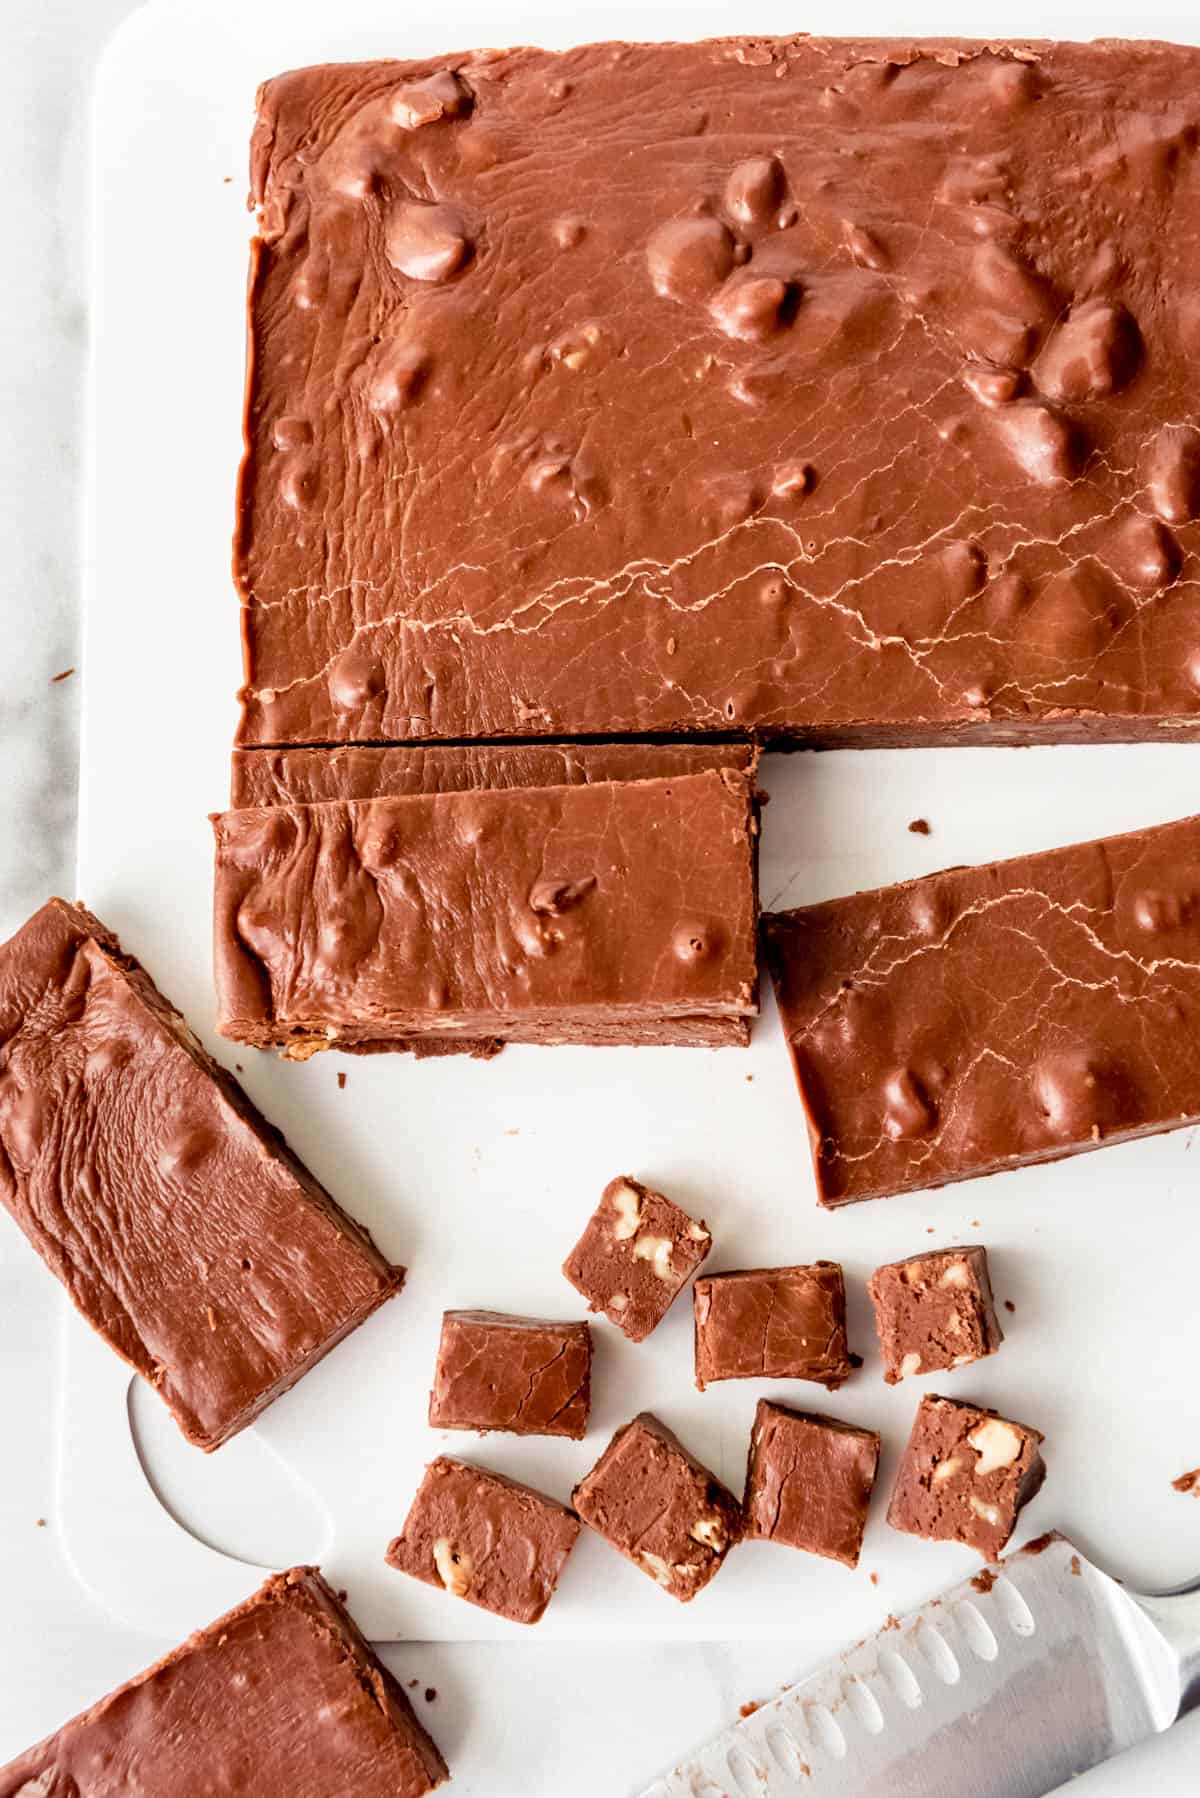
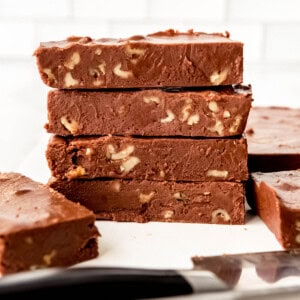
- Let the fudge cool completely for 2-3 hours in the fridge before lifting the foil or parchment paper sling out of the pan and cutting the fudge into blocks or small squares.
Tips for Making the Best Chocolate Walnut Fudge
- Cook over medium heat. It takes a little time to cook the fudge to the right temperature and then to let it set up. Don’t increase the heat too much beyond medium or you will run the risk of burning the fudge.
- Use a heavy-bottomed pan. If you struggle with candy-making, once possible reason might be that the pan you are using isn’t heavy enough. You want a pan that will disburse the heat evenly so no part of the fudge cooks faster than others.
- Don’t rush the process when the fudge is setting up. You might be tempted to stick the fudge in the freezer to try to get it to set up faster. But homemade fudge sets up as it cools down and this won’t happen properly if frozen too soon. Fudge needs about 2-3 hours in the refrigerator to set up all the way so it can be cut into blocks or squares.
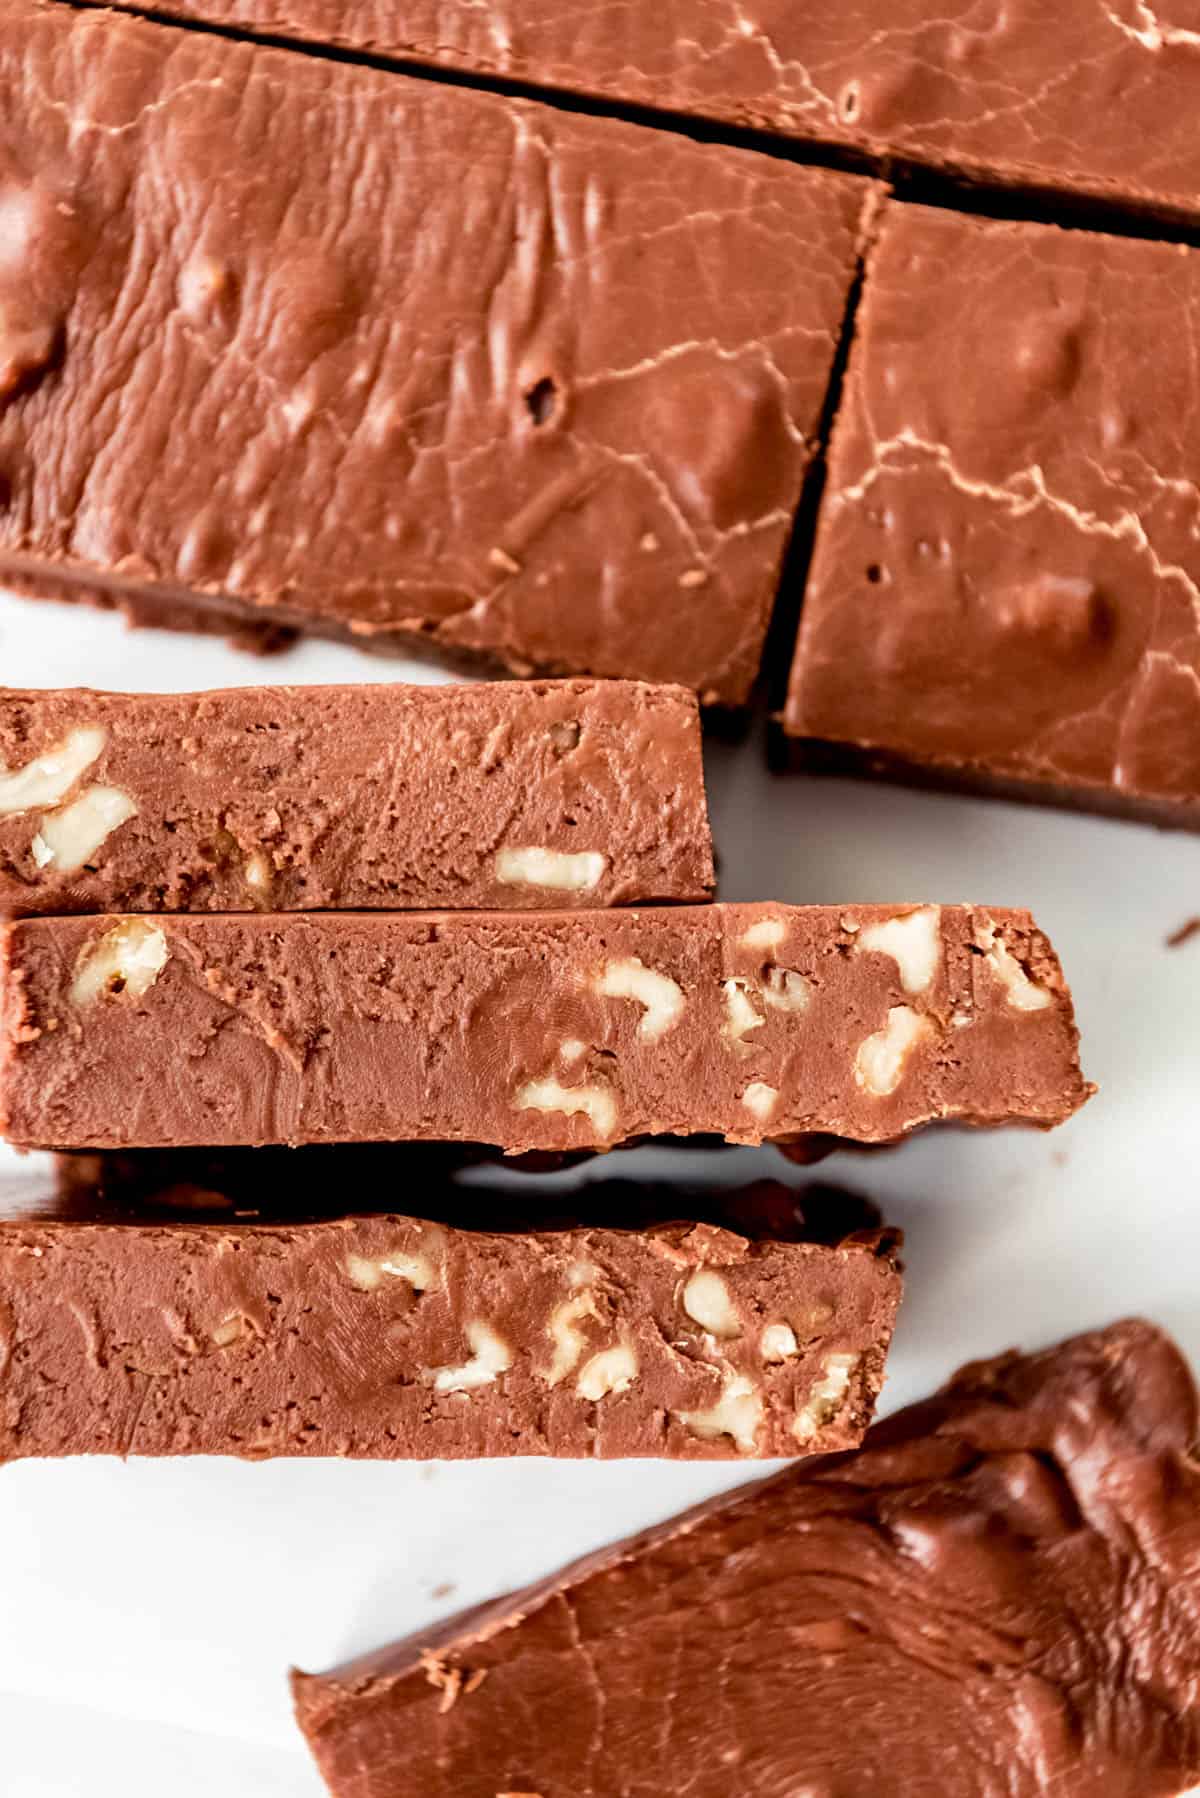
- Coarsely chop the walnuts. I don’t like my walnuts to be too finely chopped so I never use a food processor (affiliate link) or other tool to chop the nuts, other than a large knife and cutting board. A coarse chop to break them up is all the walnuts need for this recipe.
- A foil or parchment paper sling is a lifesaver. Seriously, don’t skip this step. It’s so much easier to slice fudge cleanly when you can lift the entire slab out of the pan and slice it on a cutting board with a large knife.
Storing and Freezing Fudge
Fudge is creamiest and at it’s best when fresh, but it can be stored on the counter at room temperature for 1-2 weeks. Keep it wrapped up in plastic wrap or in an airtight container to keep it from drying out too quickly. It also keeps best in larger blocks, rather than being cut into small squares, which dry out faster.
Stick your fudge in the refrigerator if you want it to last longer (up to 3 weeks), although it will be more firm when it is chilled. Which is not necessarily a bad thing. I can never decide if I prefer ultra creamy room temperature fudge or firmer chilled fudge.
For longer term storage, you can also freeze fudge for up to 3 months. Just be sure to wrap it well in plastic wrap, then again in foil to protect it. Defrost the fudge in the fridge overnight or on the counter at room temperature for a couple hours before serving.
Did you make this recipe?
Let me know what you thought with a comment and rating below. You can also take a picture and tag me on Instagram @houseofnasheats or share it on the Pinterest pin so I can see.
Chocolate Walnut Fudge
Equipment
Ingredients
- 1 cup cold salted butter cubed
- 1 1/4 cups milk chocolate chips
- 1 1/4 cups semisweet chocolate chips
- 1 teaspoon pure vanilla extract
- 1 (12-ounce) can evaporated milk
- 4 cups granulated sugar
- 2 1/4 cups mini marshmallows
- 2 1/2 cups walnuts coarsely chopped
Instructions
- Prepare a 9×13-inch pan by lining it with an aluminum foil or parchment paper sling and rubbing the foil with a stick of cold butter. Measure and set aside the butter, chocolate chips, and vanilla.
- Combine the sugar, evaporated milk, and marshmallows in a large, heavy-bottomed saucepan and stir over medium heat until it comes to a boil.1 (12-ounce) can evaporated milk, 4 cups granulated sugar, 2 ¼ cups mini marshmallows
- Continue to cook and stir over medium heat for 8-10 minutes using a long-handled wooden spoon or heat-resistant spatula, making sure to scrape the bottom and sides of the pan to prevent burning. I like to use a candy thermometer (affiliate link) to make sure the temperature reaches 235-240°F. The mixture is ready when it is a light golden brown color.
- Remove the pan from the heat and stir in the butter, chocolate chips, and vanilla. Mix well until everything is completely melted and smooth, then stir in walnuts and pour the hot fudge into the prepared pan.1 cup cold salted butter, 1 ¼ cups milk chocolate chips, 1 ¼ cups semisweet chocolate chips, 1 teaspoon pure vanilla extract, 2 ½ cups walnuts
- Chill for 2-3 hours in the fridge until set. When completely cooled, lift the fudge slab out of the pan with the foil or parchment paper sling and cut into bricks or smaller squares for sharing or serving.
- Keep the fudge wrapped in plastic wrap, foil, or in an airtight container on the counter or in the fridge.
Notes
- Cooking Temperature & Time: The cooking temperature makes a difference. If you are on the lower side of medium, the fudge might take a little longer. If you are on the hotter side of medium, it will cook faster and you might notice more browned bits floating to the surface while you stir. This is why I like to use a candy thermometer to know just when my fudge is ready to add the butter and chocolate.
- High-altitude adjustment: You may need to decrease the temperature target by 2°F for each 1,000 feet of altitude. So if you are making this in Utah at around 4,000 feet above sea level, for example, you may try targeting 230-235°F instead of 235-240.
- Best Chocolate To Use: You can swap the milk chocolate for all semisweet chocolate, or use white or dark chocolate chips to change up the flavor of the fudge base. I made this batch of fudge with Nestle milk chocolate chips and Costco semisweet chocolate chips and they worked great. I also like Ghiradelli.
Nutrition
More Recipes for Chocolate Lovers
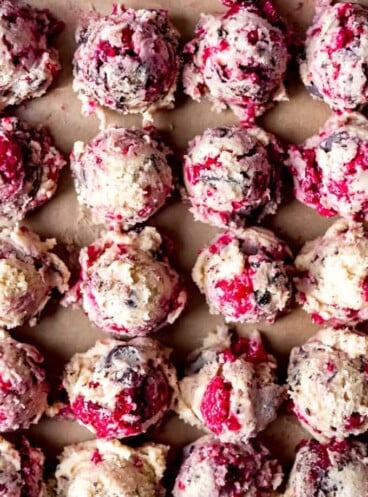
- Chocolate Marshmallow Almond Rocky Road Cookies
- Chocolate Andes Mint Cookies
- One-Bowl Chocolate Cake Recipe
- Flood Mud Microwave Hot Fudge Sauce
- Burnt Almond Fudge Ice Cream
- Chocolate Molten Lava Cakes
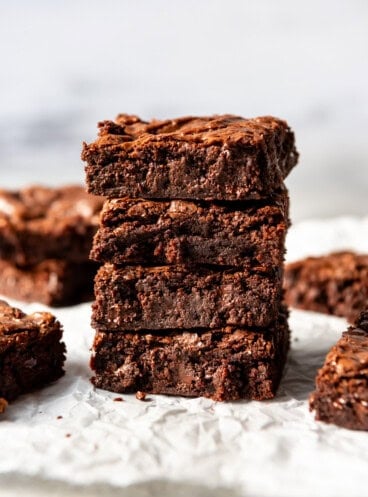
- Irresistible Mississippi Mud Brownies
- Best Fudgy Chewy Chocolate Brownie Cookies


Is the temperature when cooked, soft-ball stage?
Thank you
Adna
Yes, softball stage is at 235 degrees F.
Wonderful recipe!
Thanks for fudge walnut recipe just like my moms.
I’m so glad you enjoyed it and it brought back memories!
To triple the recipe, you increase the peanut butter by a factor of 6 over the single recipe. Is that correct?
I think maybe there was a typo here because there is no peanut butter in this fudge recipe!
I made this fudge, as well as the PB fudge, for Christmas. When I pulled out my candy thermometer, it was cracked, so I had to guess at boil time and used 10 minutes. It came out slightly hard, so may have cooked a little too long. But it tasted great. 2 things I wanted to share, When the pot starts to boil, the mixture rises about 30% during the sugars caramelization process, so make sure your pot is high enough. Second, when adding the walnuts at the end, they start the hardening process pretty quick and the mixture does get harder to stir. At least it did for me, but that could have been due to my off cooking time.
Thanks again, Any.
Danny