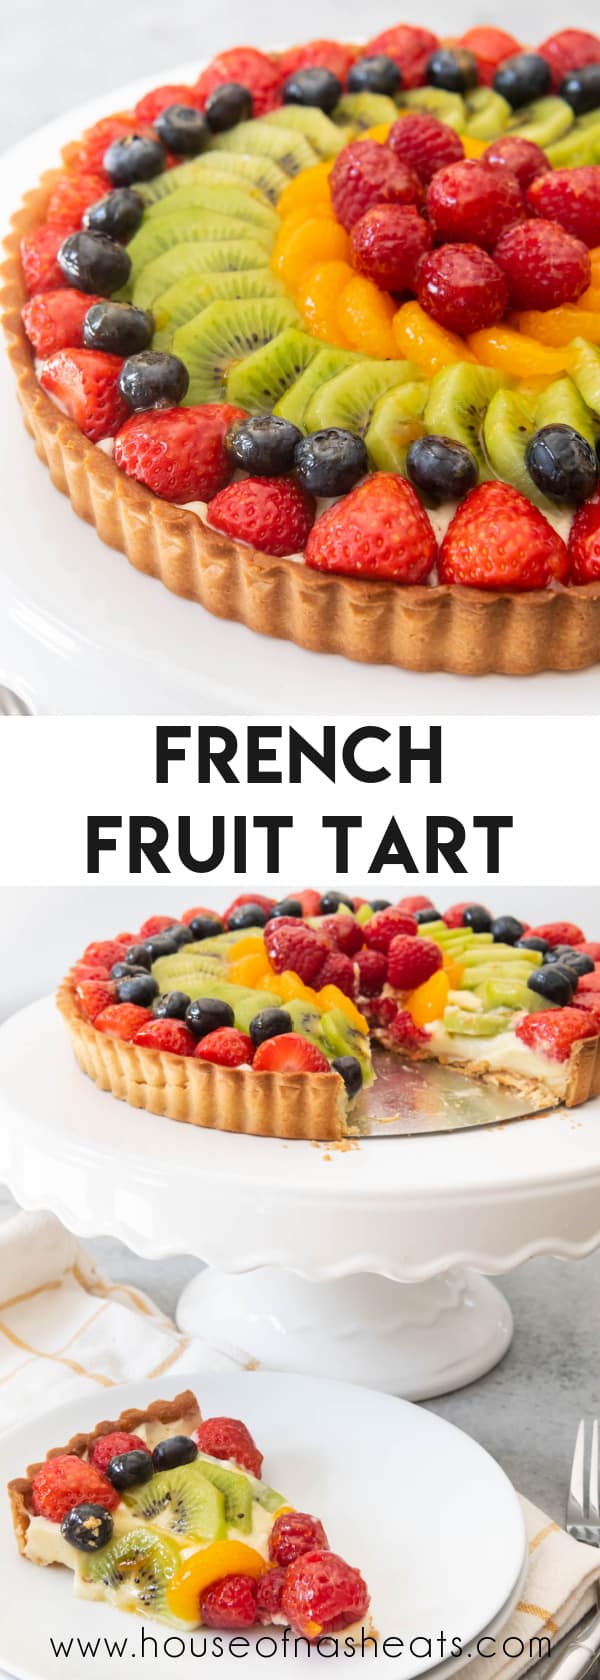
With 3 million page views and counting, this French Fruit Tart recipe is one of our most popular dessert recipes and tastes exactly like the fruit tarts we enjoyed in Paris, France! Fresh, colorful, and bursting with juicy fruit, rich pastry cream, a deliciously sweet pastry crust, and an easy fruit tart glaze, this French Fruit Tart recipe makes a showstopper dessert that is perfect for any occasion!
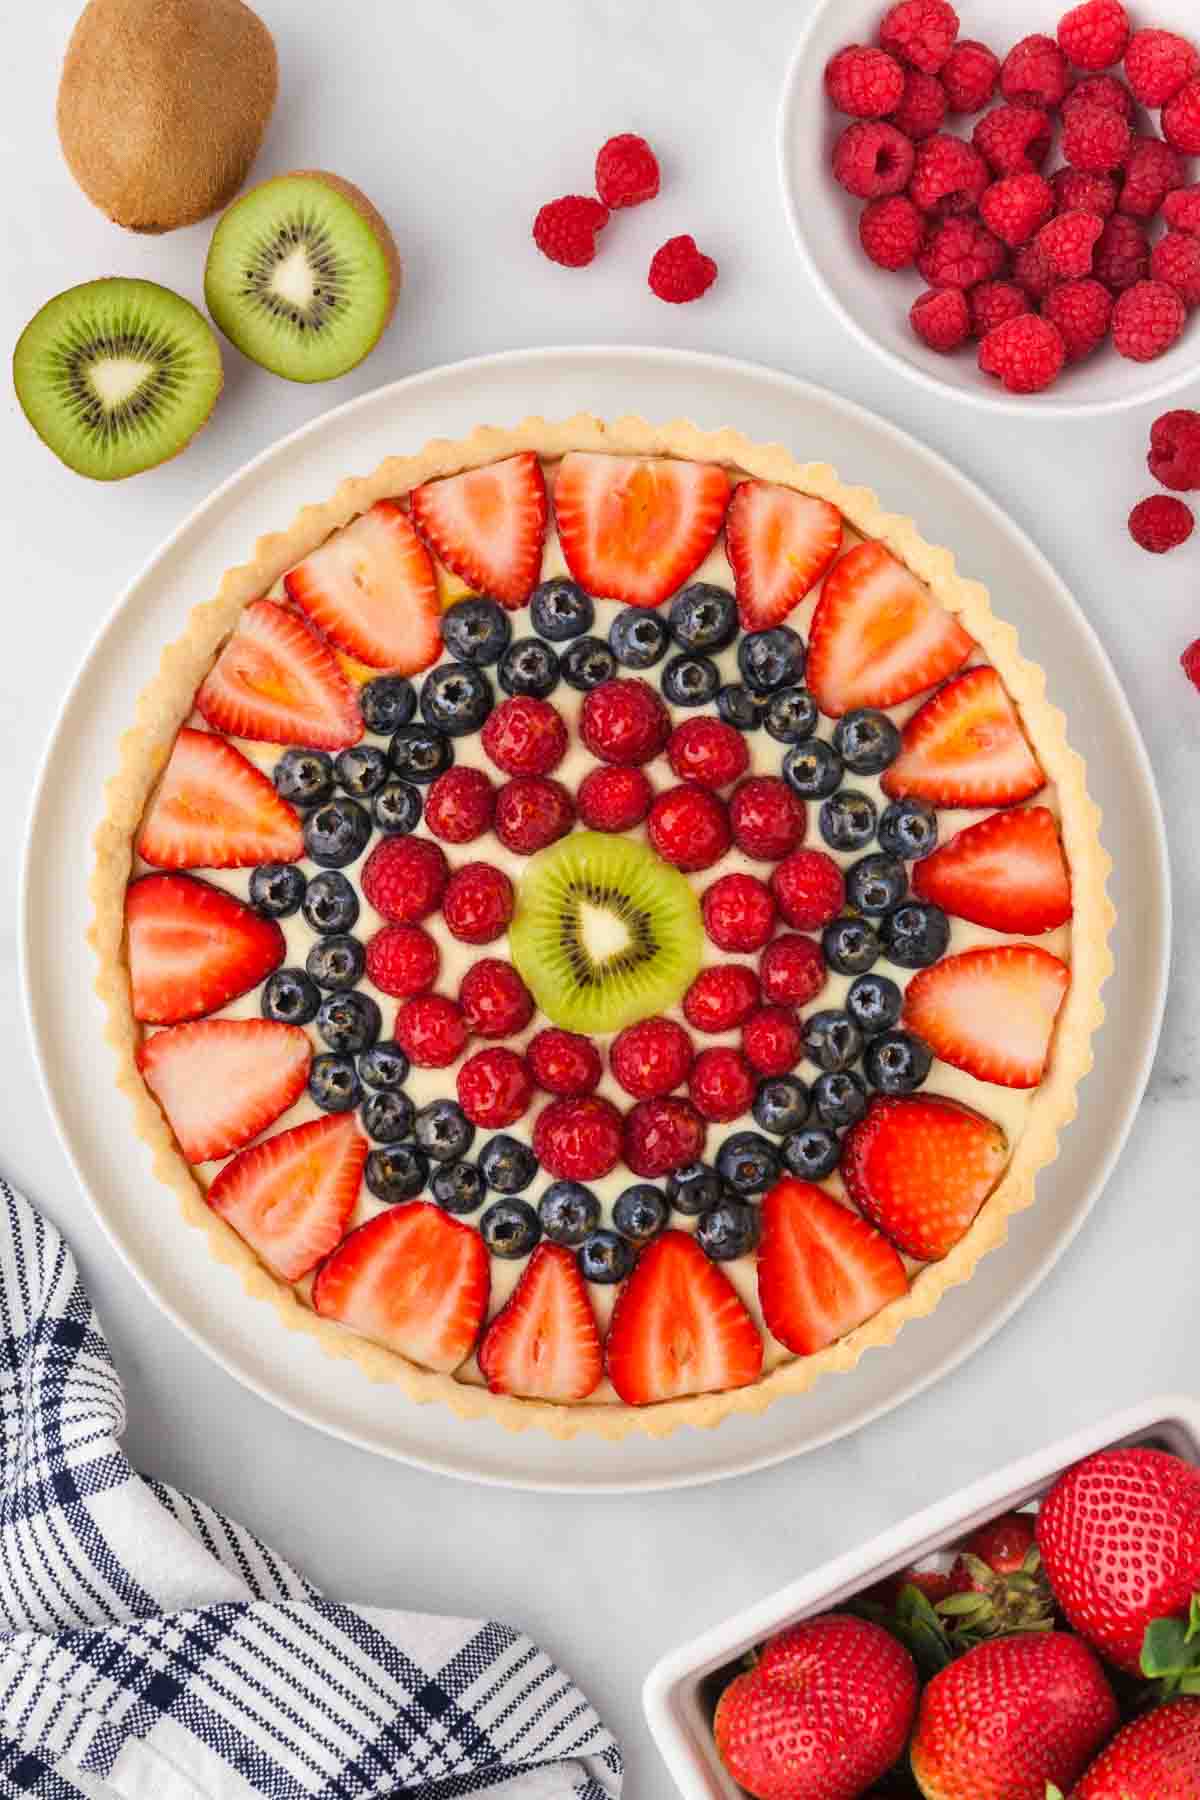
Table of Contents
- How to Make an Authentic French Fruit Tart
- What is Pâte Sucrée (also known as a Sweet Pastry Crust or Shortcrust Pastry Dough)?
- How to Make a Tart Crust
- What is Pastry Cream?
- How to Make Pastry Cream
- Fruit Tart Glaze
- Assembly
- How to Store a Fruit Tart
- Can this recipe be frozen?
- FAQ’s
- More Tart Recipes
- French Fruit Tart Recipe Recipe
If you have ever been to Paris, chances are those stunning jewel-colored fruit tarts and French pastries displayed in the windows of every patisserie (aka French pastry shops) caught your eye.
As much as I love chocolate croissants, baguettes, macarons, and crepes, of all the foods I tried in France, it was their fruit tarts that were my favorite over anything else. A classic fruit tart is the thing I’ve missed most back home.
French fruit tarts are a wonderful dessert idea for entertaining, especially with during berry season when fresh berries and other fruit are at their best!
If you love this French fruit tart recipe as much as we do, be sure try out our Fruit Pizza, Classic Pavlova, Raspberry Chocolate Tart!
How to Make an Authentic French Fruit Tart
A tart is a sweet or savory dish made from pastry dough with a firm, crumbly crust. Tarts are typically baked in a pan with shallow sides and a removable bottom since they only have a bottom crust, and are unmolded before serving. There are 4 components to most classic French fruit tart recipes:
- A sweet pastry crust
- The vanilla pastry cream filling
- Juicy, fresh fruit
- A fruit tart glaze
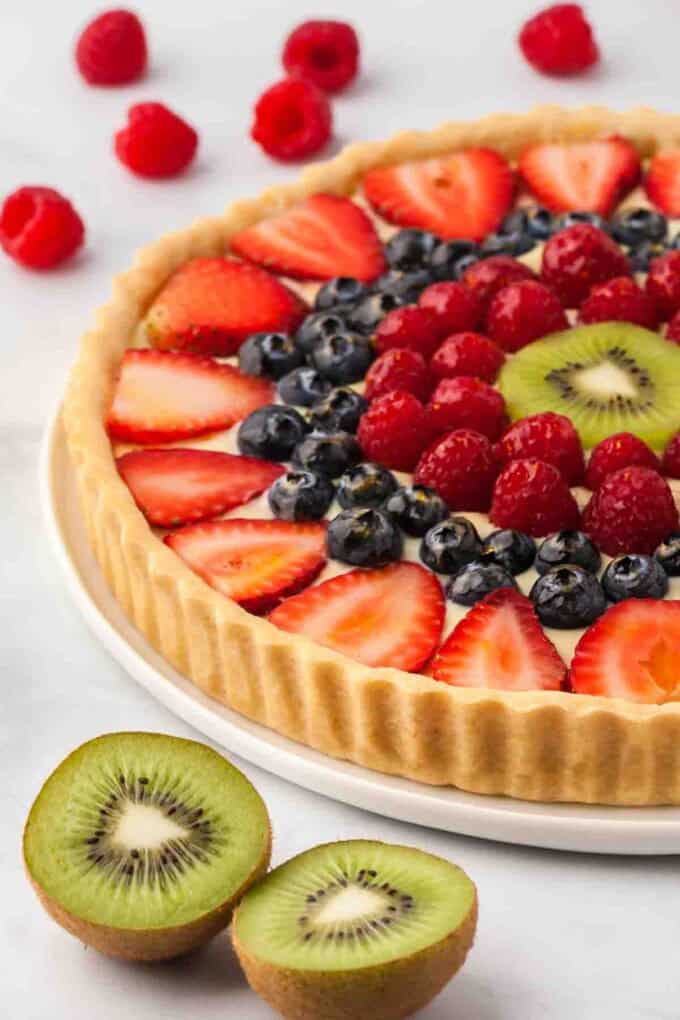
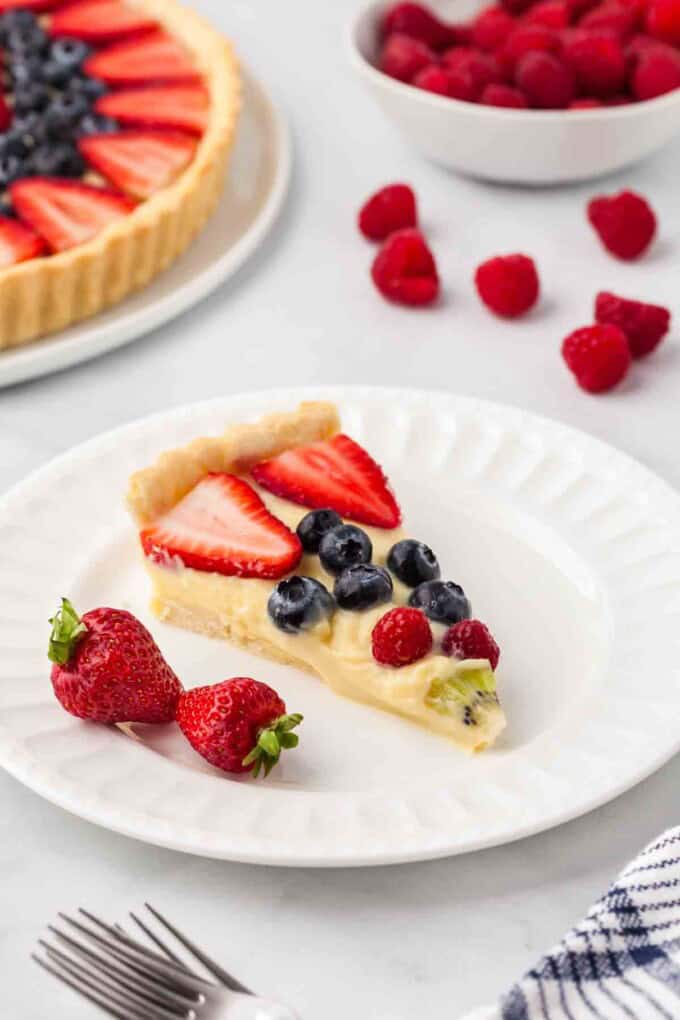
You can use almost any fruit you like to create a French fruit tart!
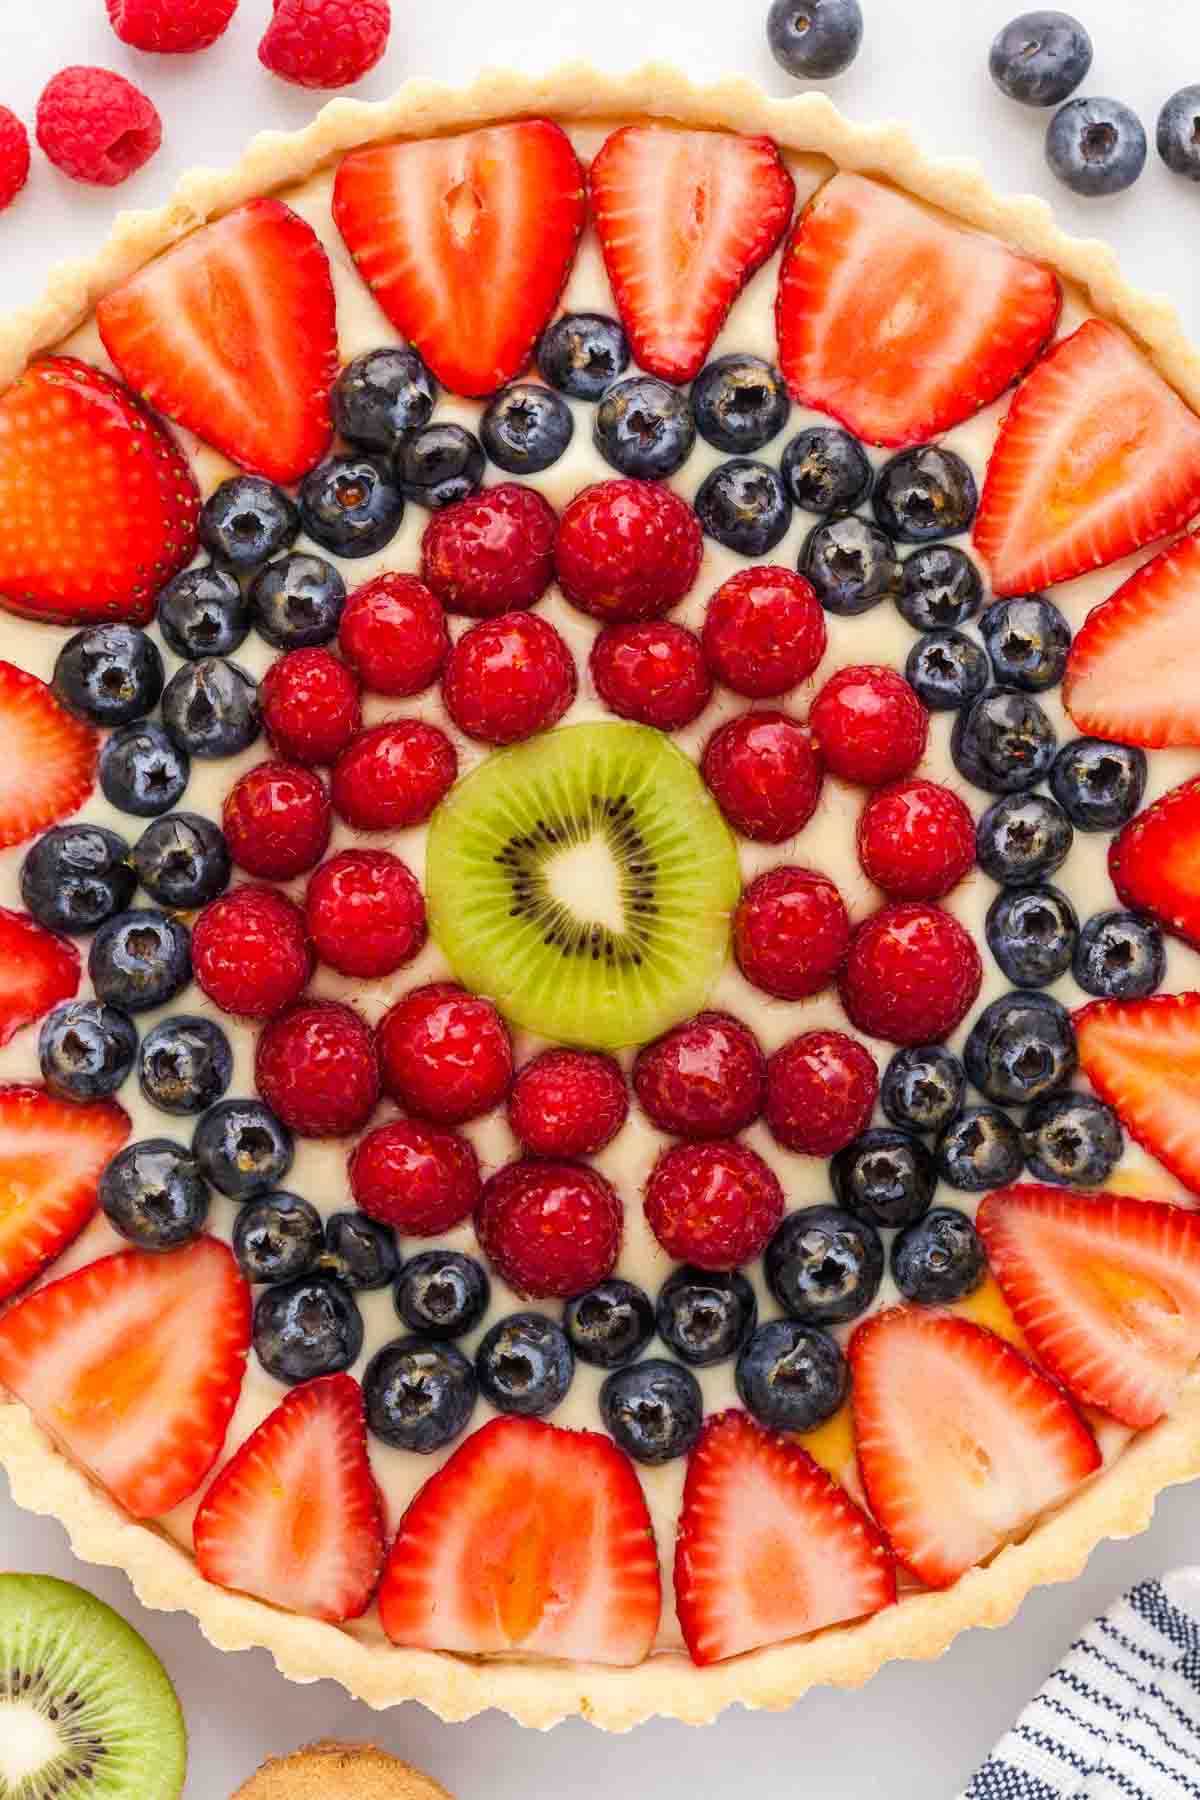
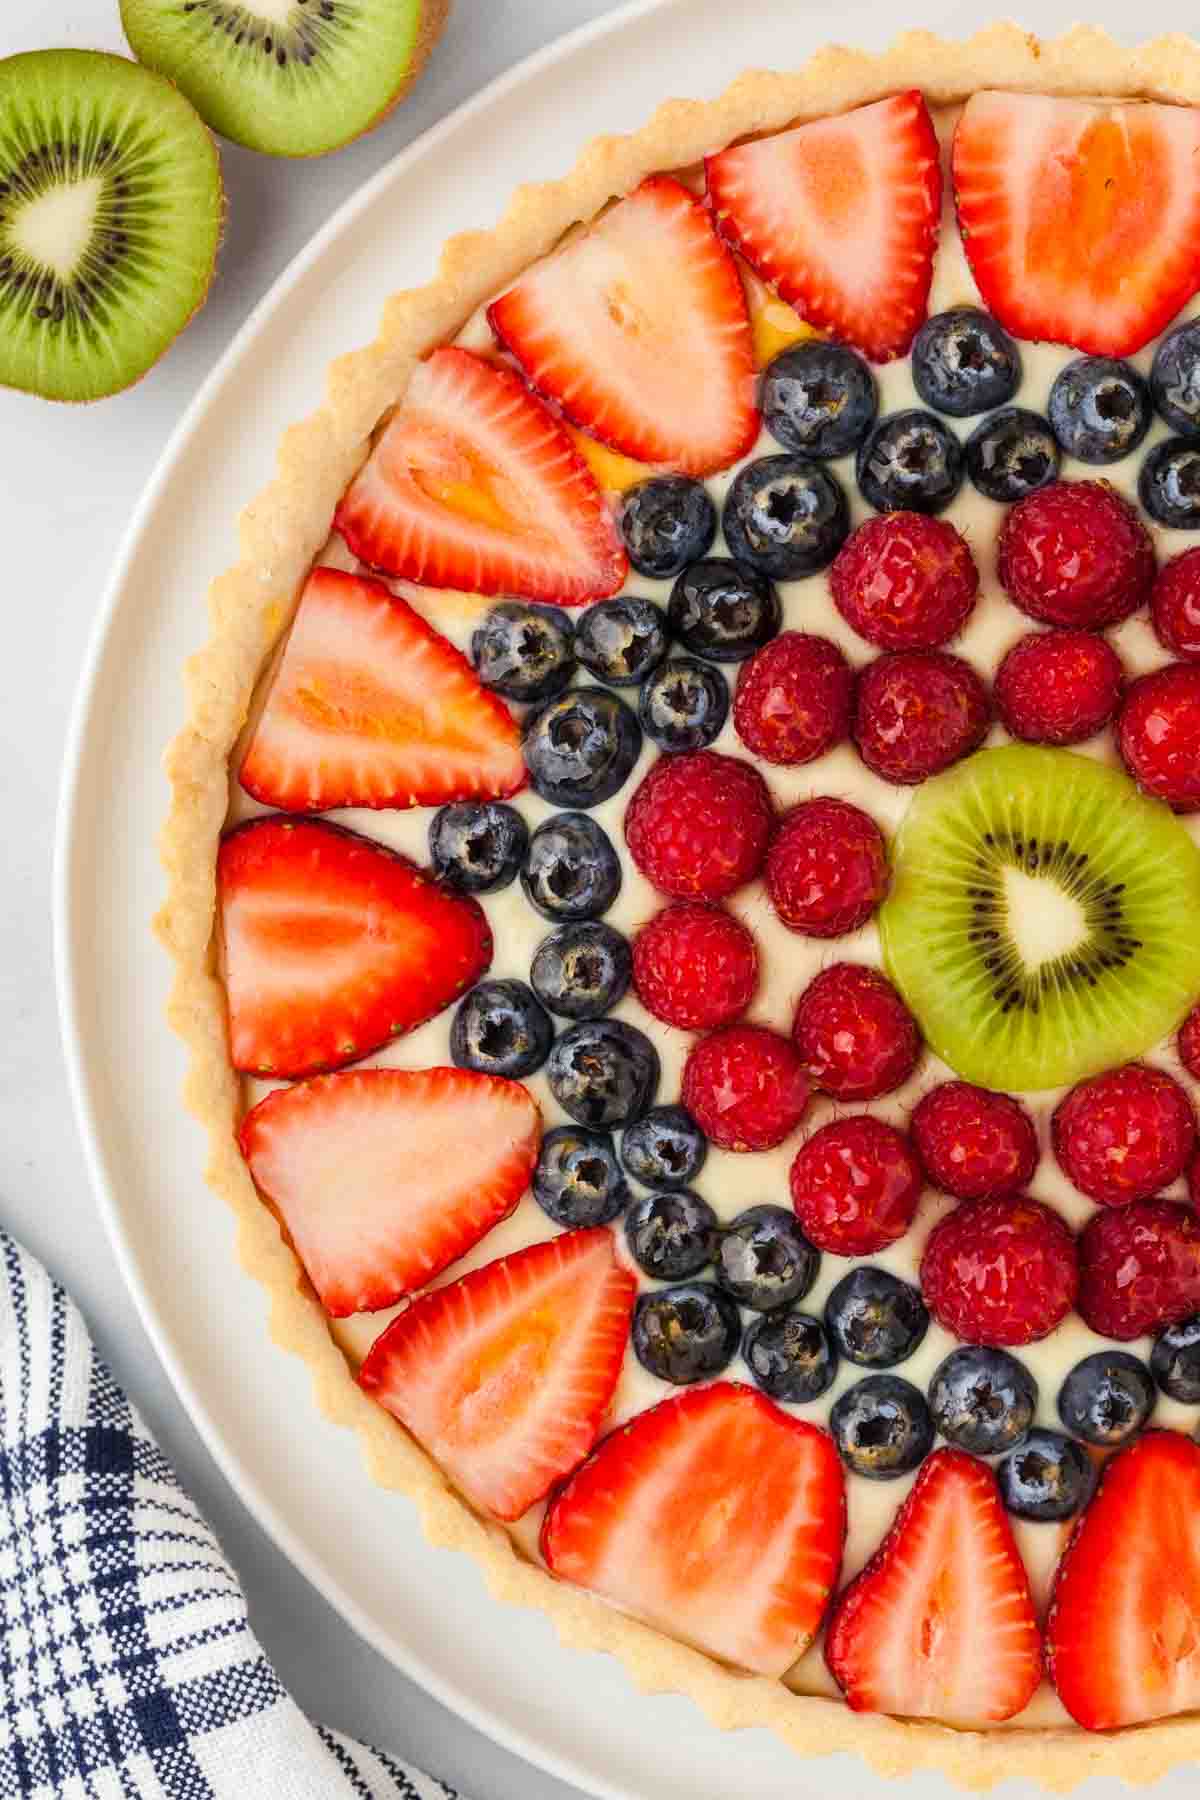
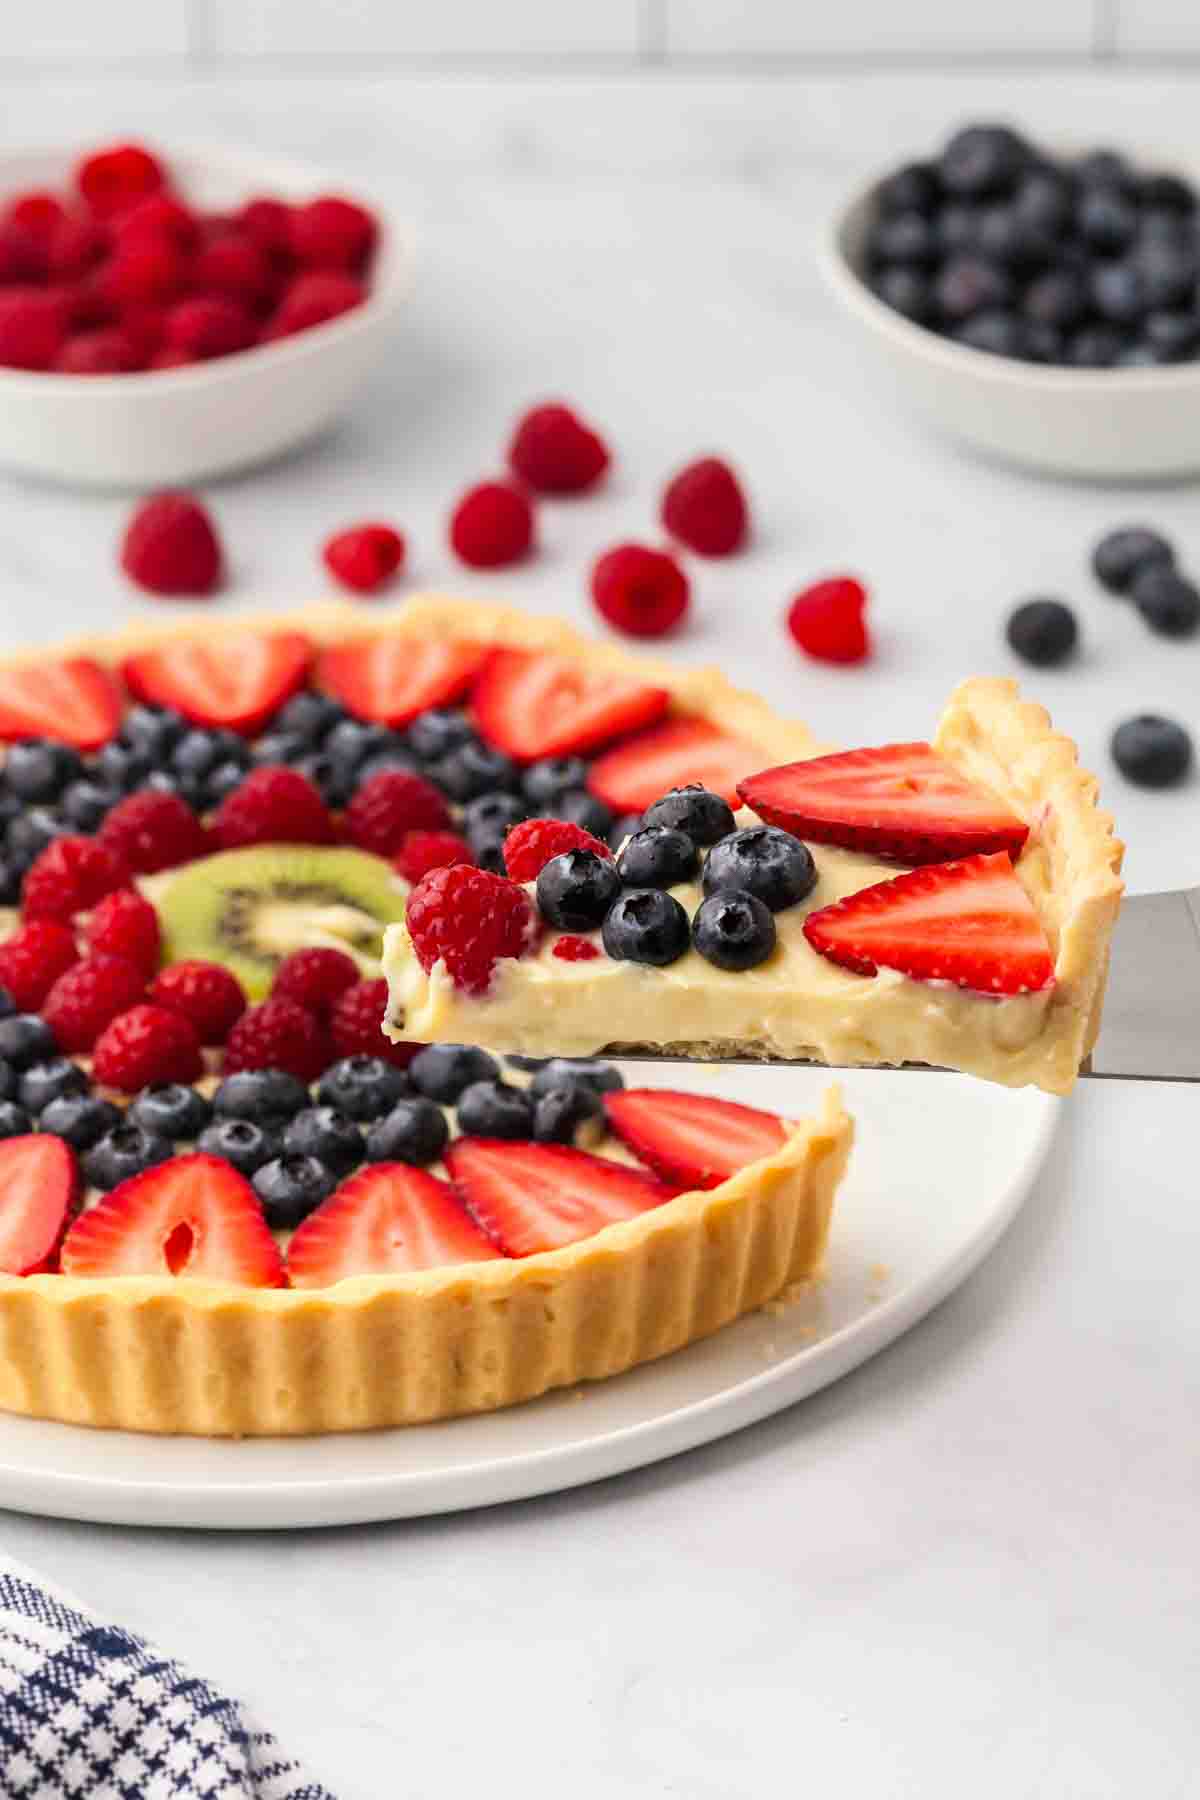
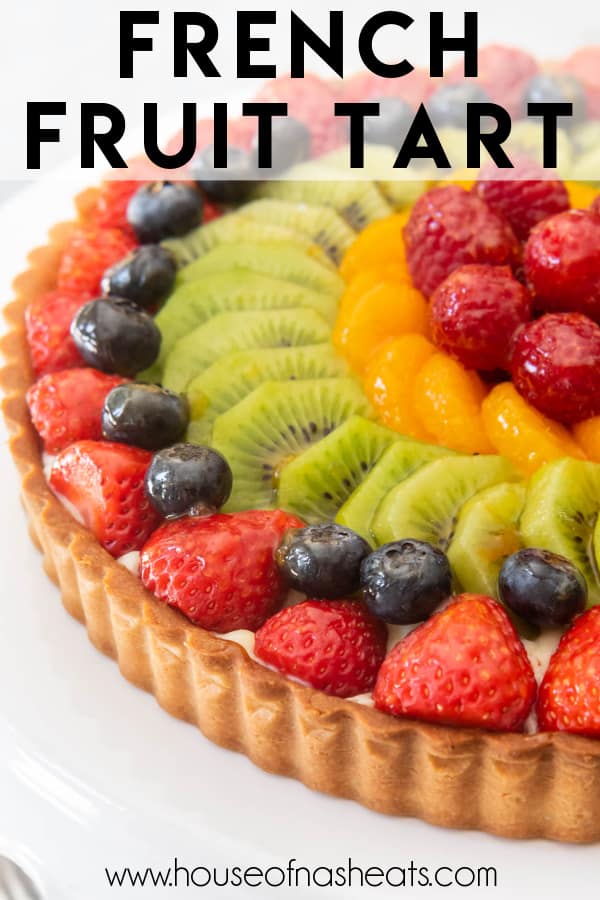
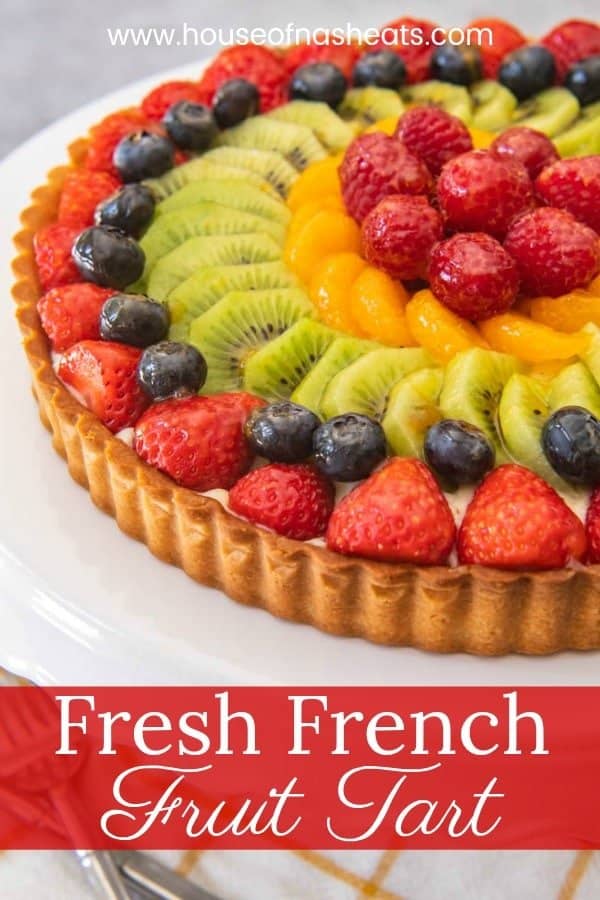
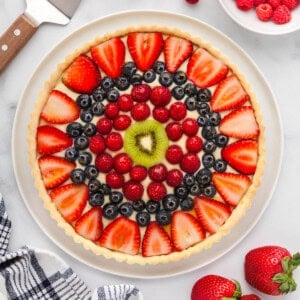
In Paris, you will see strawberry tarts with whole strawberries standing on end, raspberry tarts with piles of delicious red or golden raspberries, or mixed fruit tarts like this one that I made with strawberries, blueberries, sliced kiwi fruit, mandarin oranges, and raspberries arranged in a decorative pattern over the vanilla pastry cream.
But blackberries, peaches, cherries, or almost any other fruit you can think of would be delicious with a sweet, shortcrust tart crust and creamy, silky pastry cream.
Don’t assemble your French fruit tart too early before serving as the pastry crumb will start to soak into the crust over time. I think it’s best when the tart is eaten within 1 to 2 hours of filling the tart shell.
There is a work-around I saw where you can melt a little chocolate and spread that in the bottom of your baked tart shell, then let it set to create a barrier between the crust and the filling to keep it from getting soggy, but your best bet is waiting to assemble just before serving.
Since all of the components of the fruit tart can be made in advance, assembly is actually pretty quick and easy. It’s a great make-ahead dessert idea that is especially fun for entertaining because of how impressive and beautiful they look!
What is Pâte Sucrée (also known as a Sweet Pastry Crust or Shortcrust Pastry Dough)?
The tart crust recipe I use for my French fruit tart is called pâte sucrée in France. But don’t let the fancy name throw you!
Pâte sucrée is just a sweet pastry crust that is actually easier to make than pie dough. This buttery, sweet tart crust is actually more of a firm, crumbly shell with an almost cookie-like texture, as opposed to pie crust which is known for being flaky and light.
My sweet tart dough recipe calls for powdered sugar rather than granulated sugar, which gives it the unique, melt-in-your-mouth yet sturdy texture that really sets it apart and makes it the perfect vessel for holding the delicious vanilla pastry cream and loads of fresh fruit that we are going to fill it with.
How to Make a Tart Crust
Combine the egg yolk, cream, and vanilla together in a small bowl and whisk together with a fork.
Using a food processor, cut the butter into the flour, powdered sugar, and salt until it resembles coarse crumbs. This can also be done by hand using a pastry cutter.
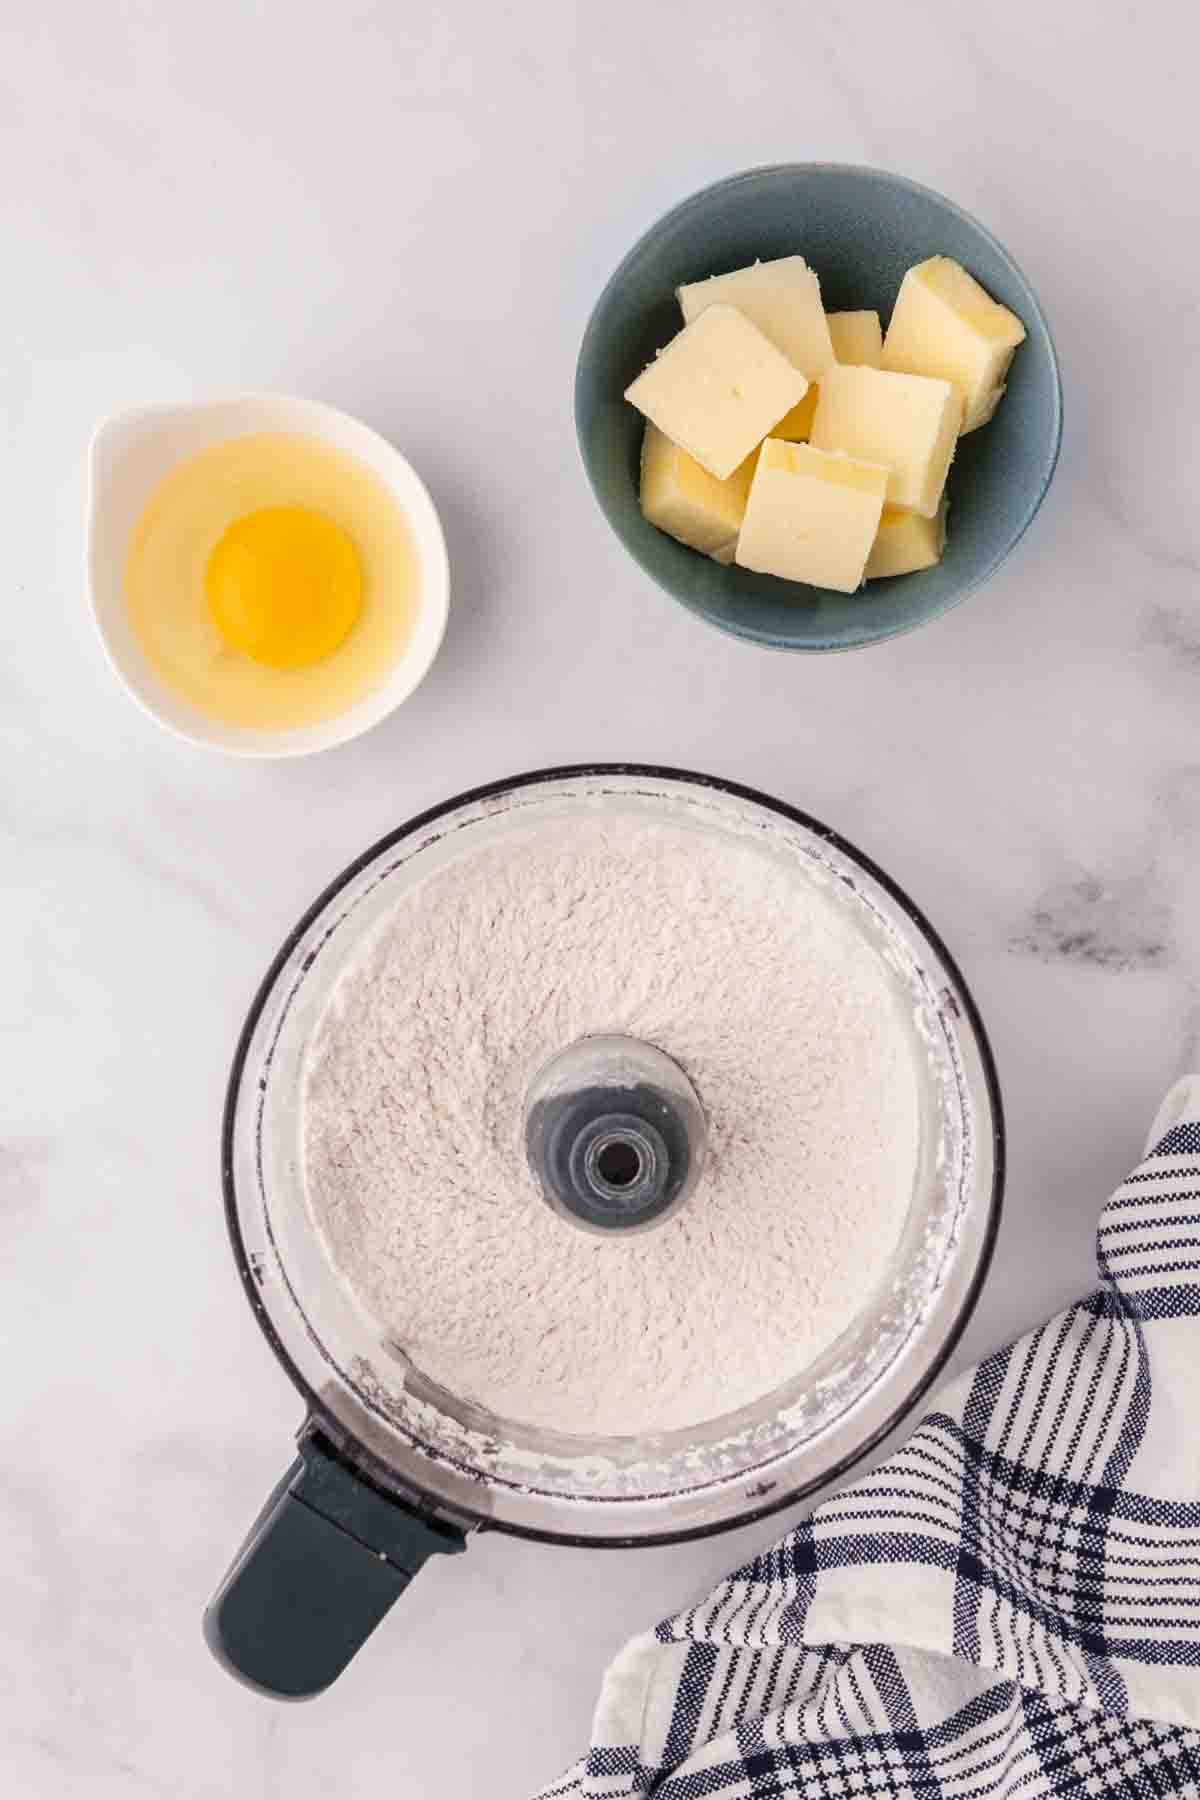
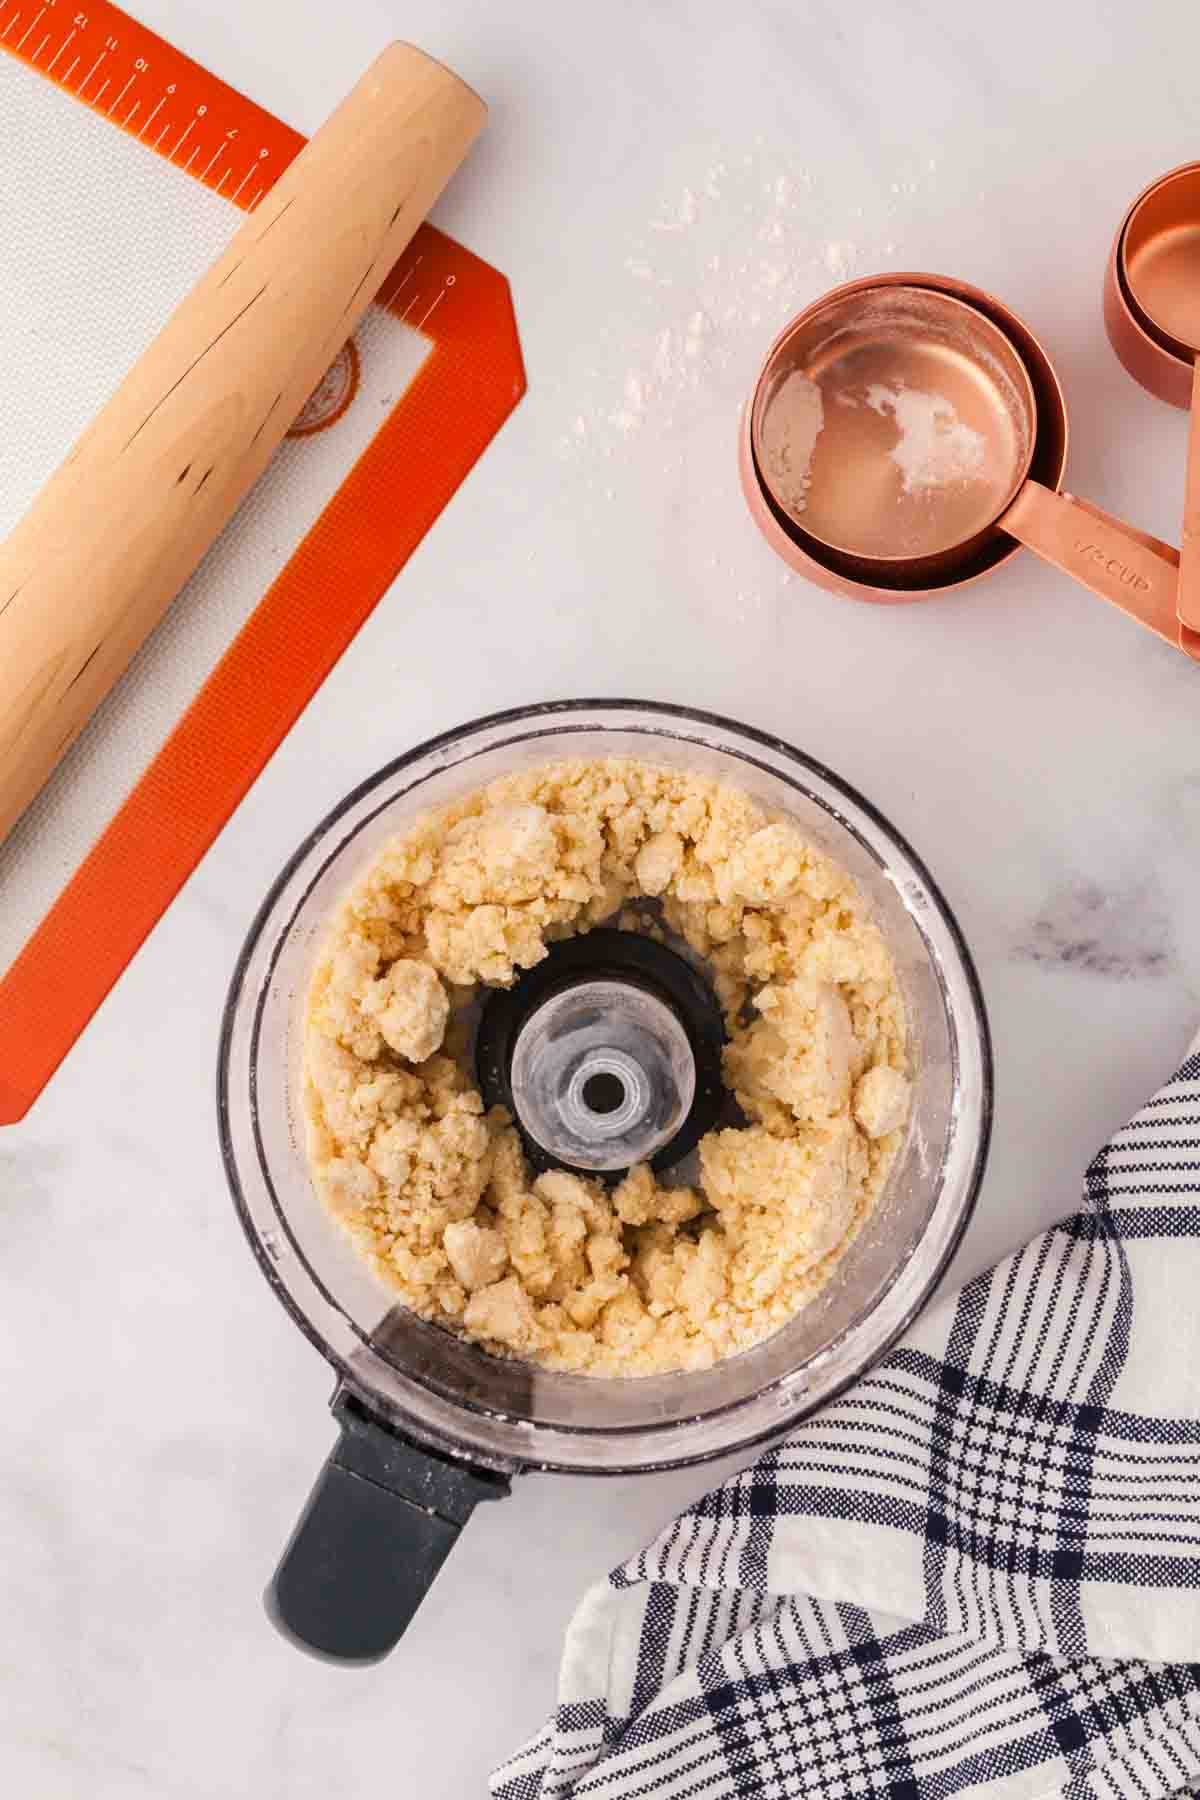
Slowly pour the liquids into the flour mixture while the food processor is running and let it process until it begins to come together.
Remove the tart dough and flatten it into a disc, then wrap in plastic wrap and chill for at least an hour in the fridge.
When the dough has chilled, roll it out on a lightly-floured surface into a circle slightly larger than your tart pan. Mine is a 9-inch pan but readers have reported that they have enough tart dough to fit a 10-inch pan.
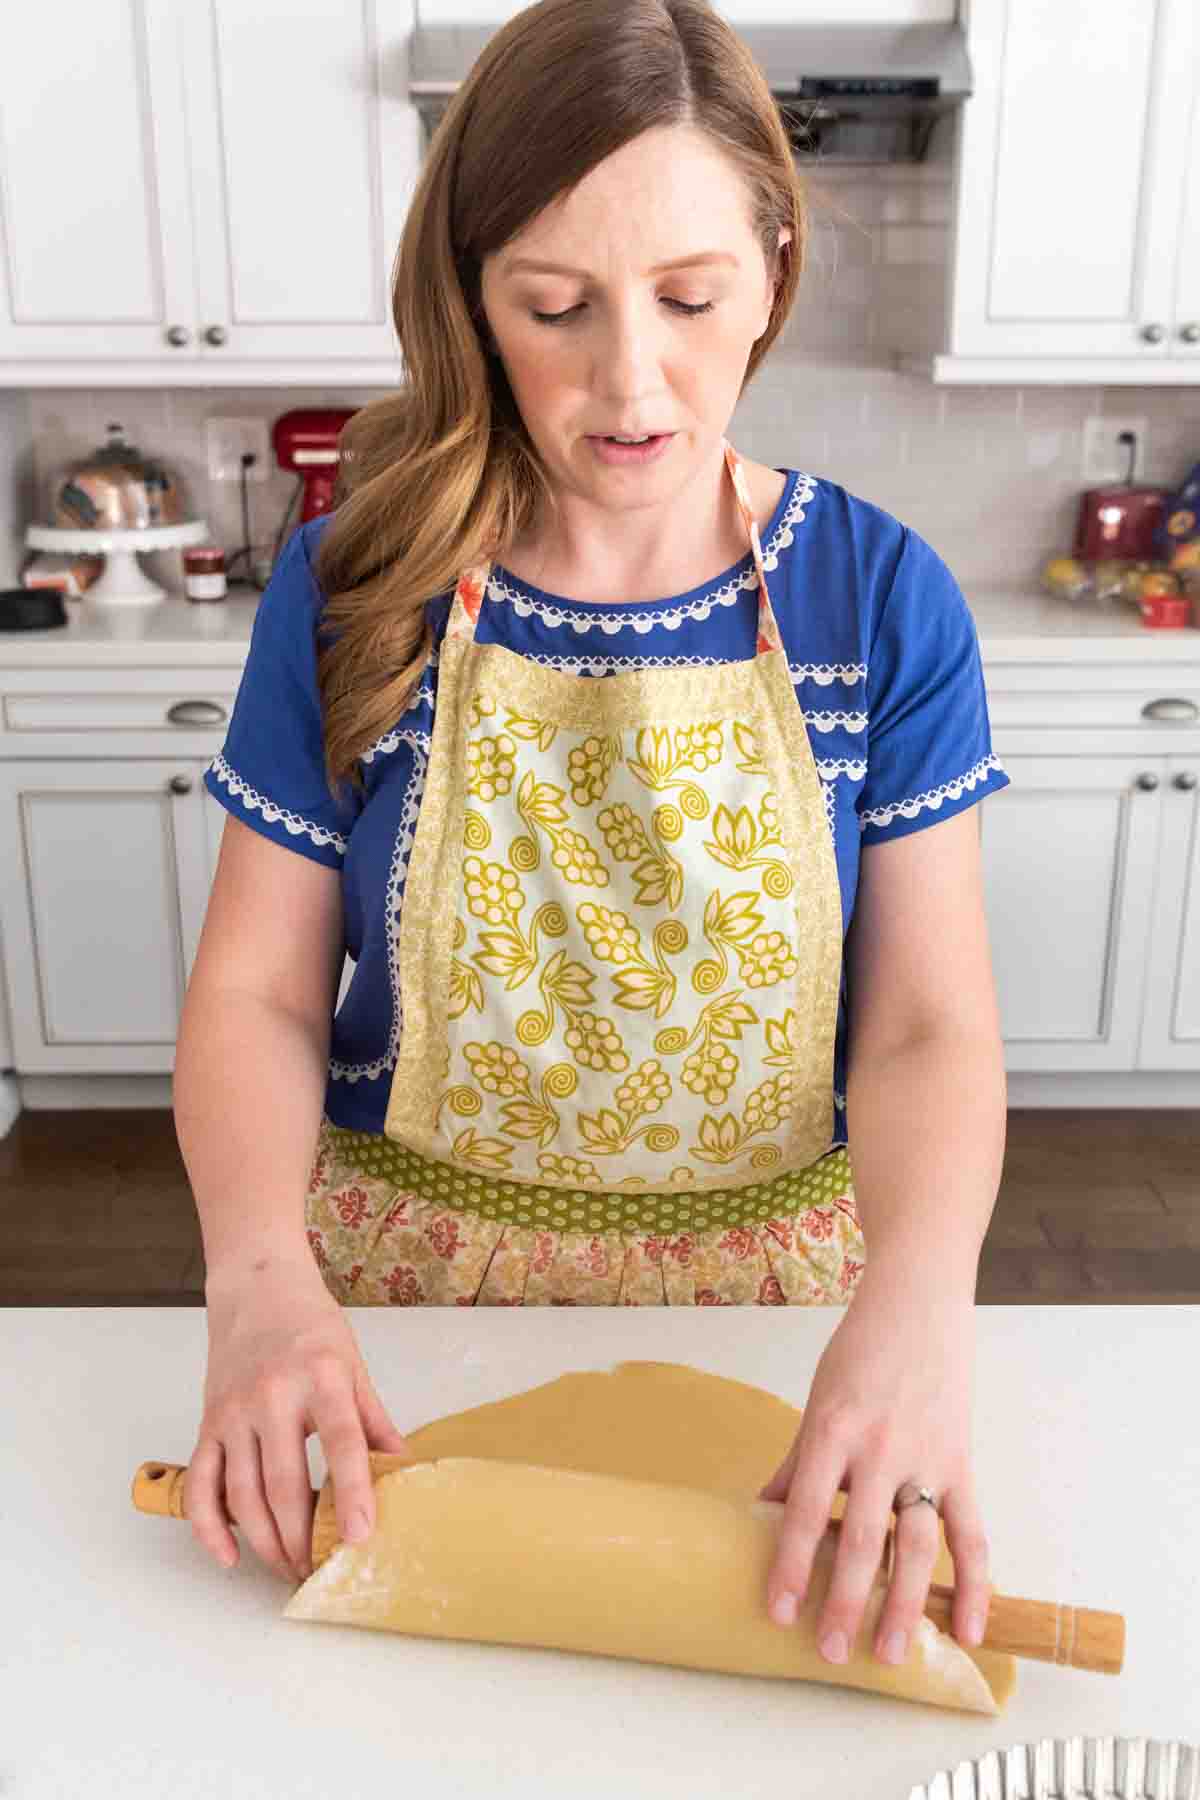
Gently lift the tart shell over your tart pan. I find it easiest to roll the tart dough onto my rolling pin (affiliate link) and using that to help lift it into place to avoid tears.
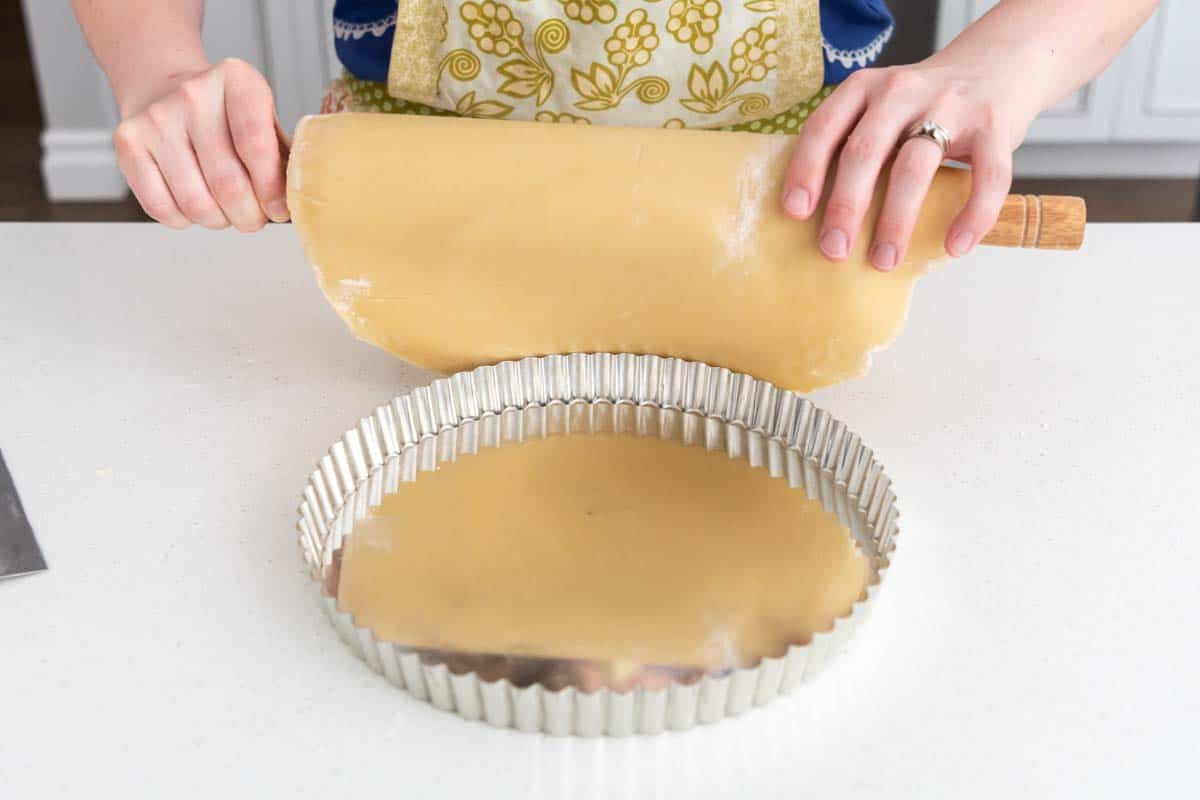
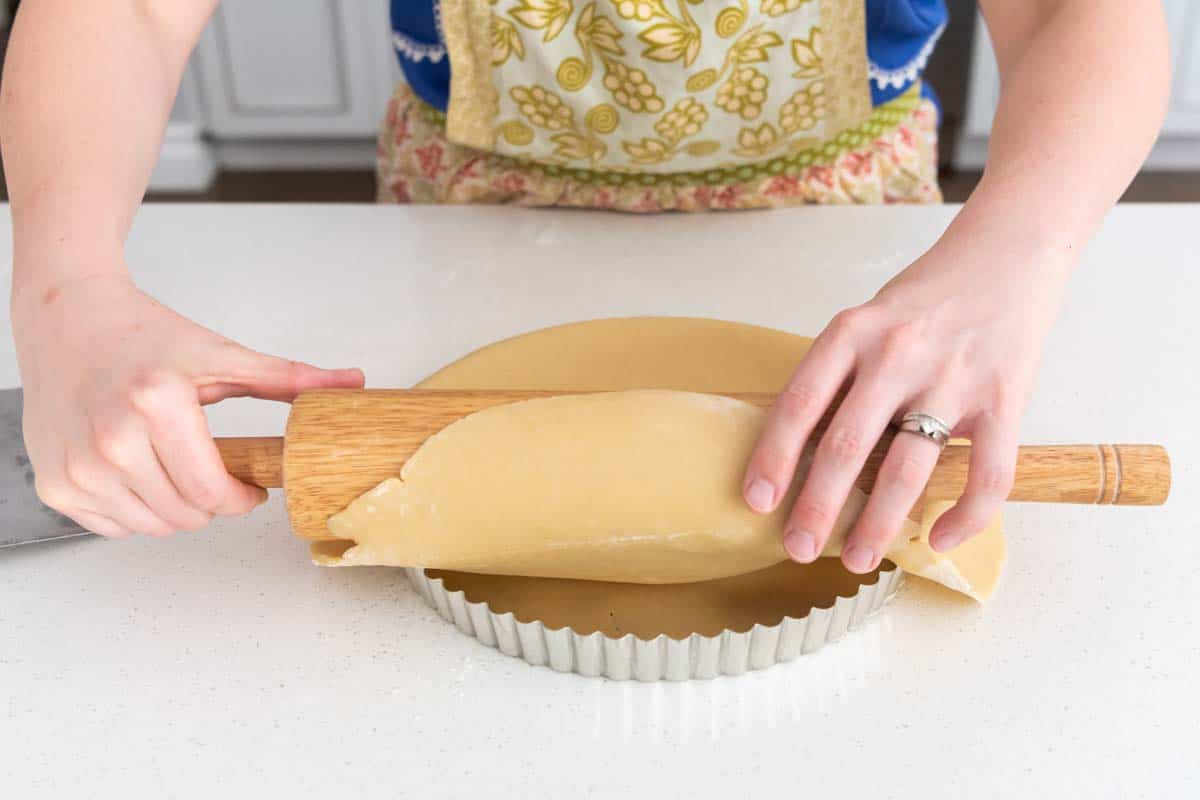
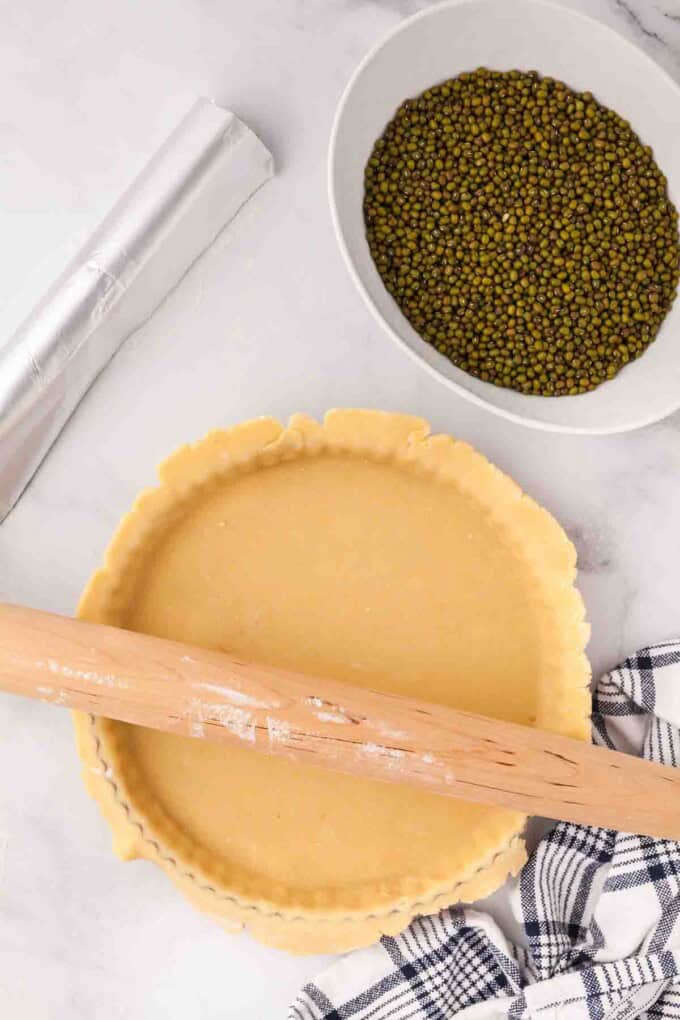
Press the crust into the corners and fluted sides, then run a rolling pin over the top to cut off any excess dough.
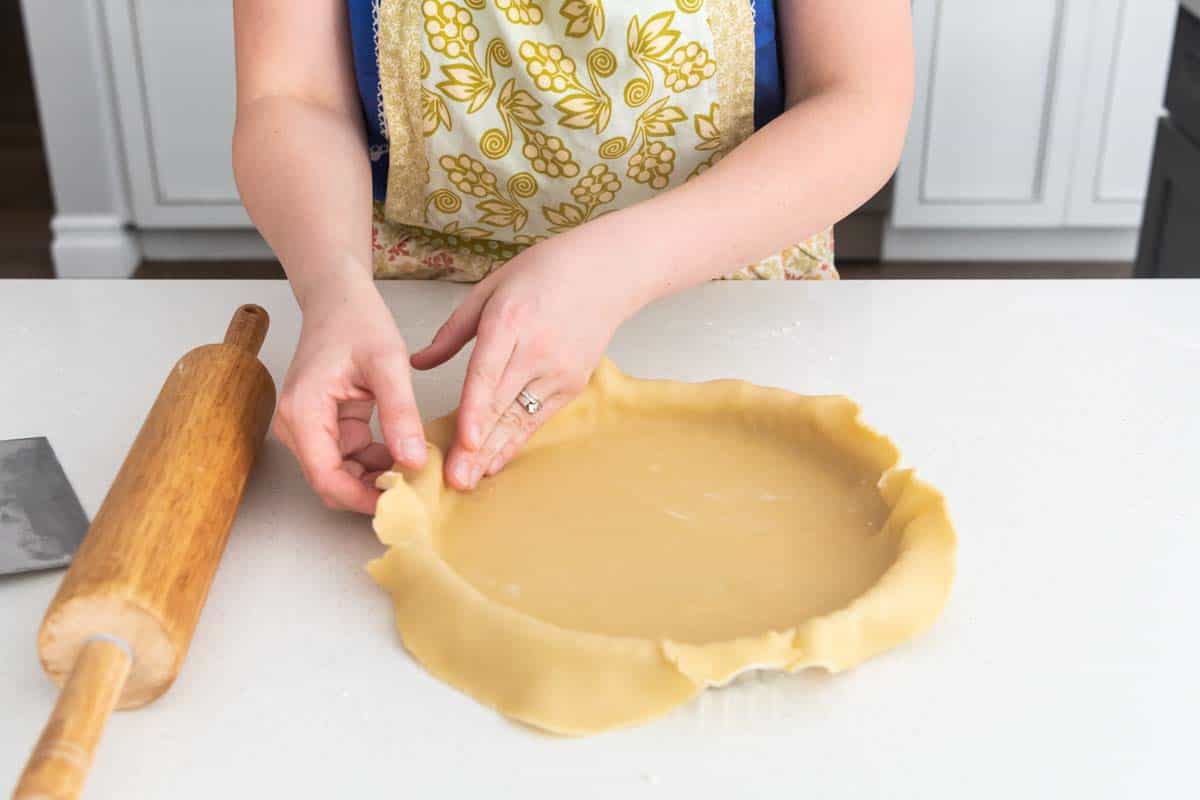
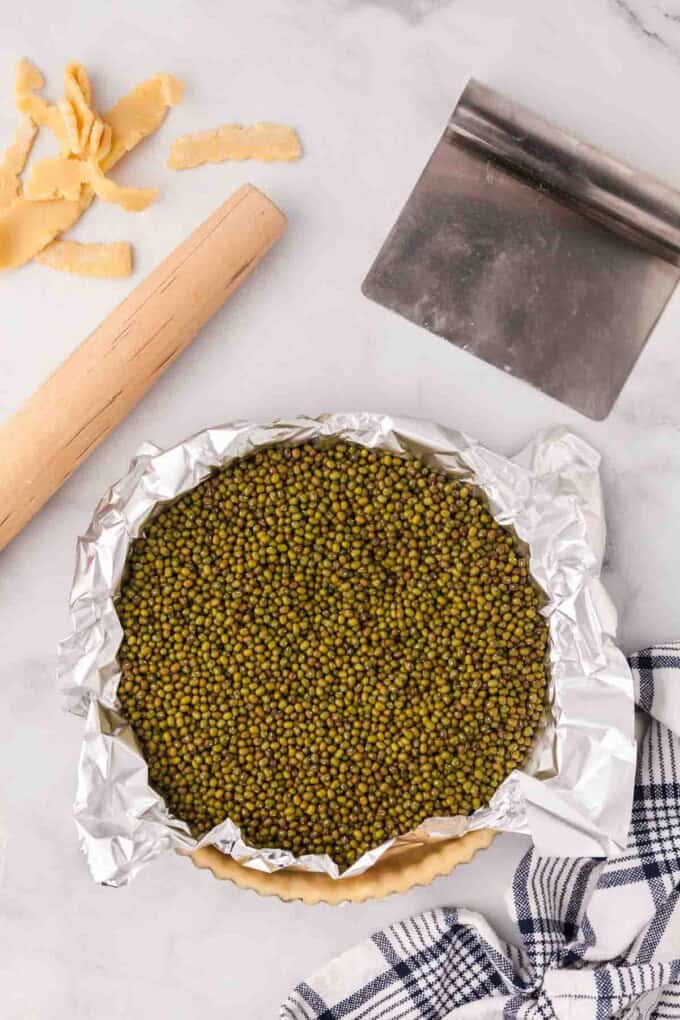
Freeze the tart shell for 30 minutes, then press a double layer of foil into the tart shell and fill with pie weights. Do not prick the shell with a fork like you might for a pie crust! Here is a helpful resource with step-by-step pictures about how to blind bake a tart crust using pie weights.
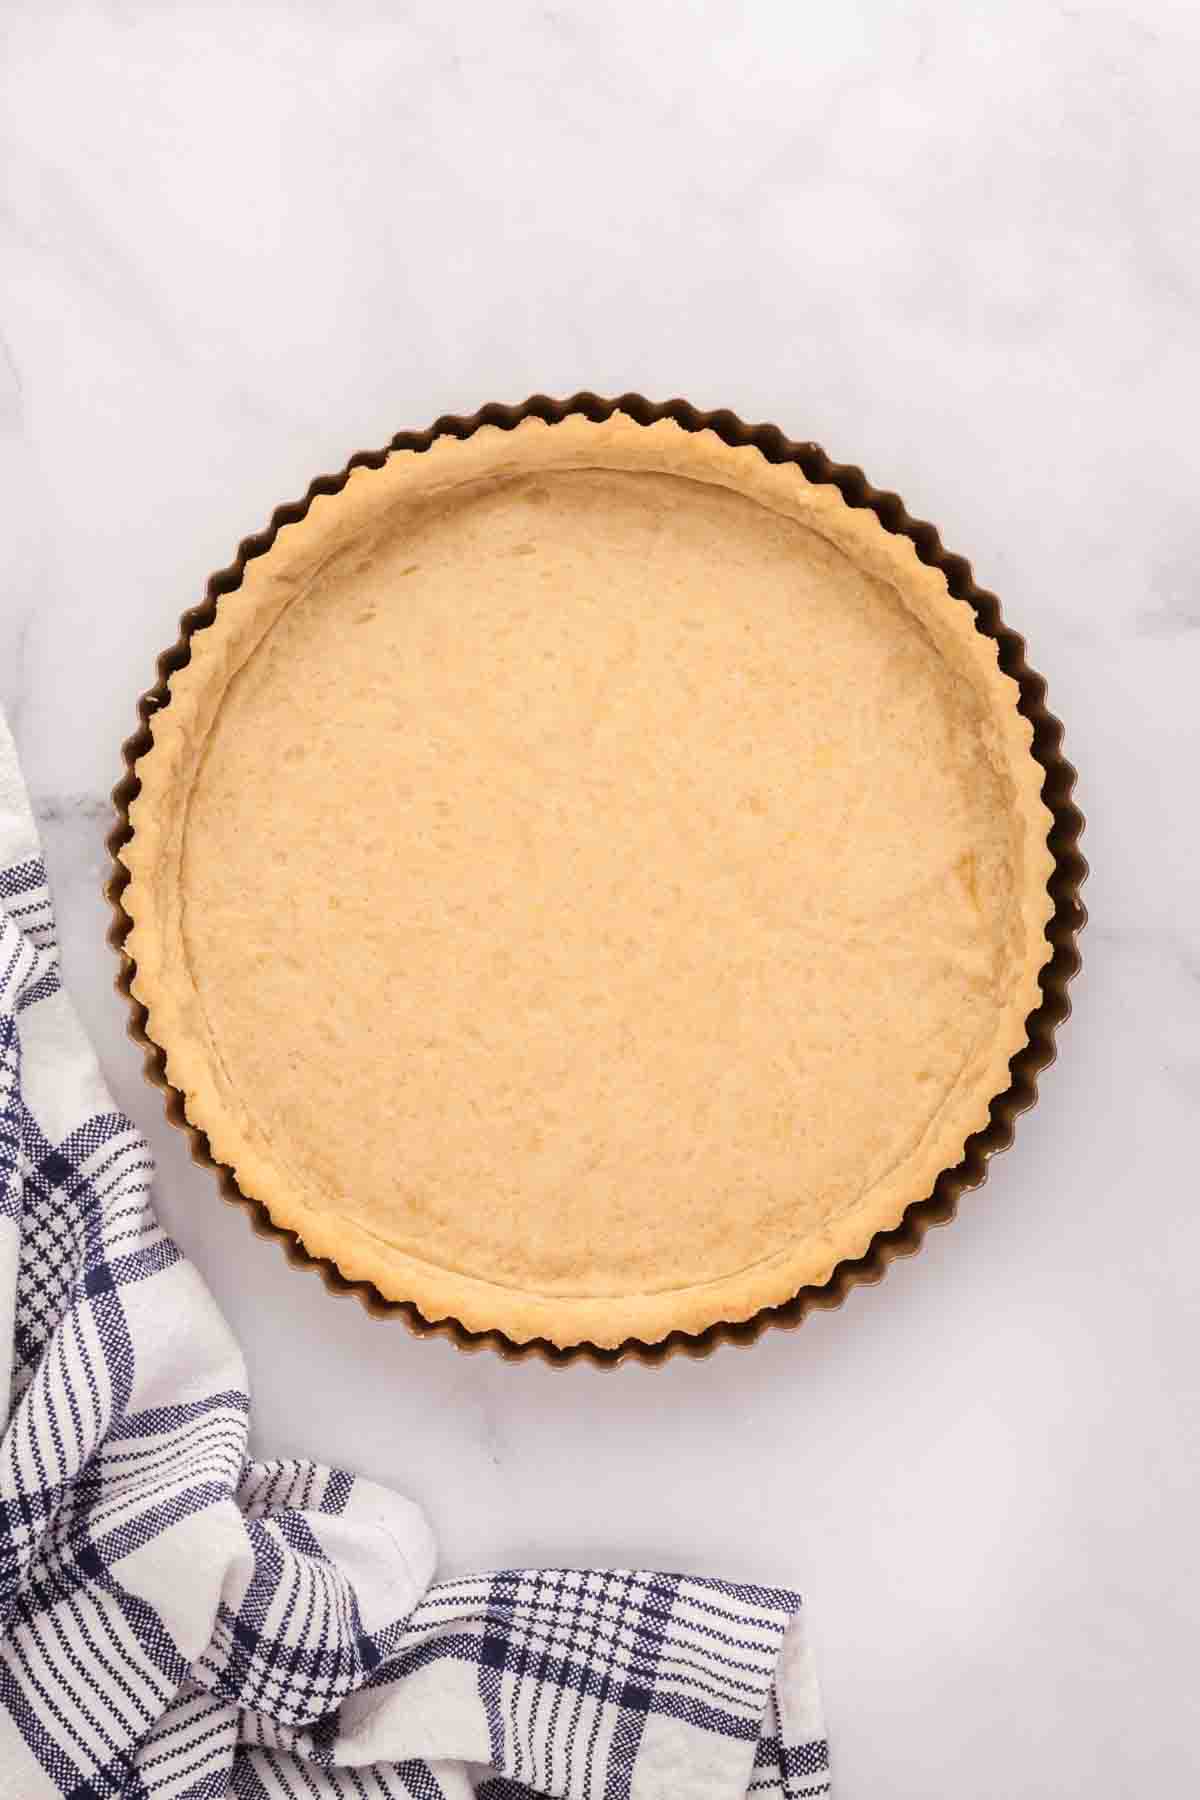
Bake for 30 minutes at 375 degrees before removing the pie weights and foil and baking for another 5 to 10 minutes, until golden brown, then remove from the oven and cool completely.
What is Pastry Cream?
Pastry cream (also known as crème pâtissière) is a thick, creamy custard with a silky smooth texture that can be used for filling cakes, tarts, cream puffs, eclairs, and other desserts. I use it so often and in so many ways that I actually ended up doing another post entirely dedicated to how to make vanilla pastry cream!
It was actually the component of this dessert that I felt most intimidated by having attempted a few different pastry cream varieties in the past that were either too thick, too gummy, or just plain too bland.
That’s the tricky part about pastry cream – it needs to be tasty on it’s own, but it also needs to be a team player in this dessert so as not to override the brightness of the fresh fruit or sweet, buttery crust.
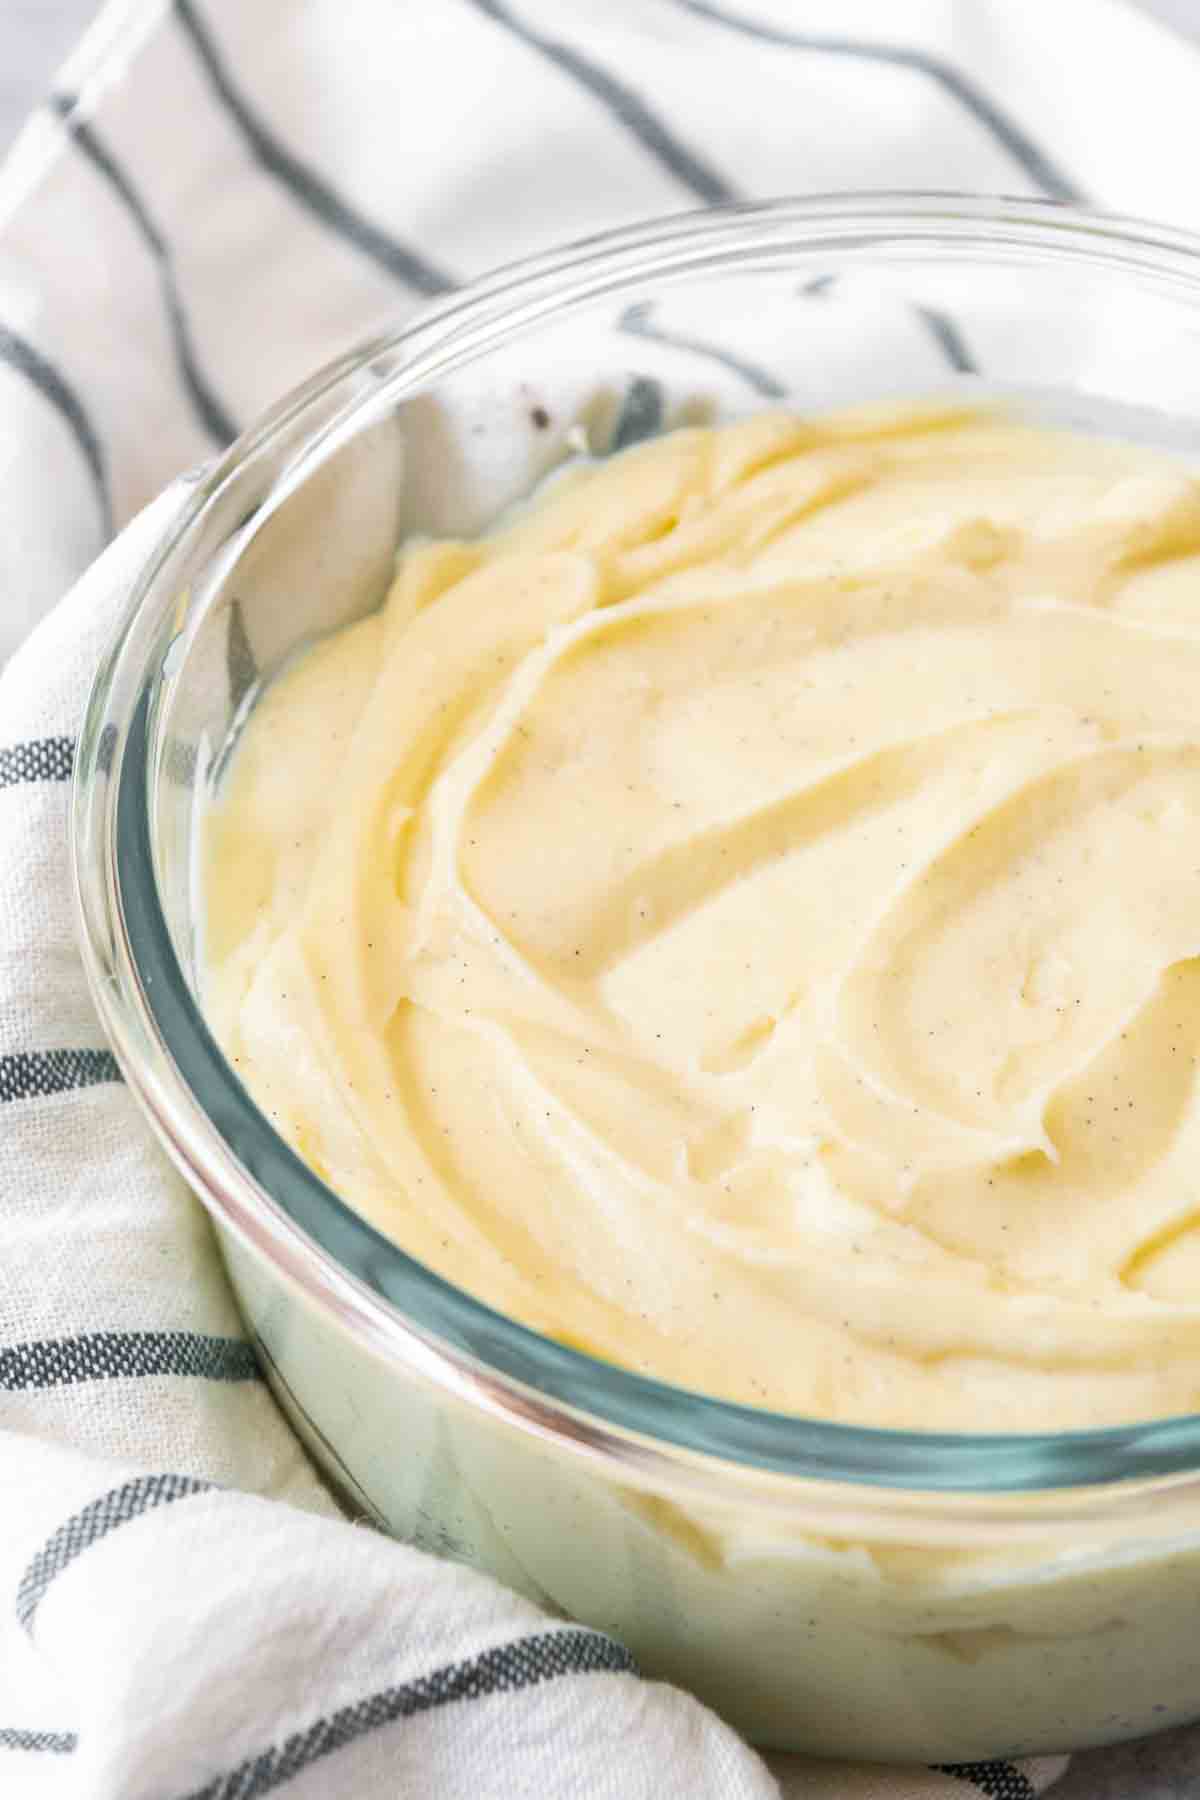
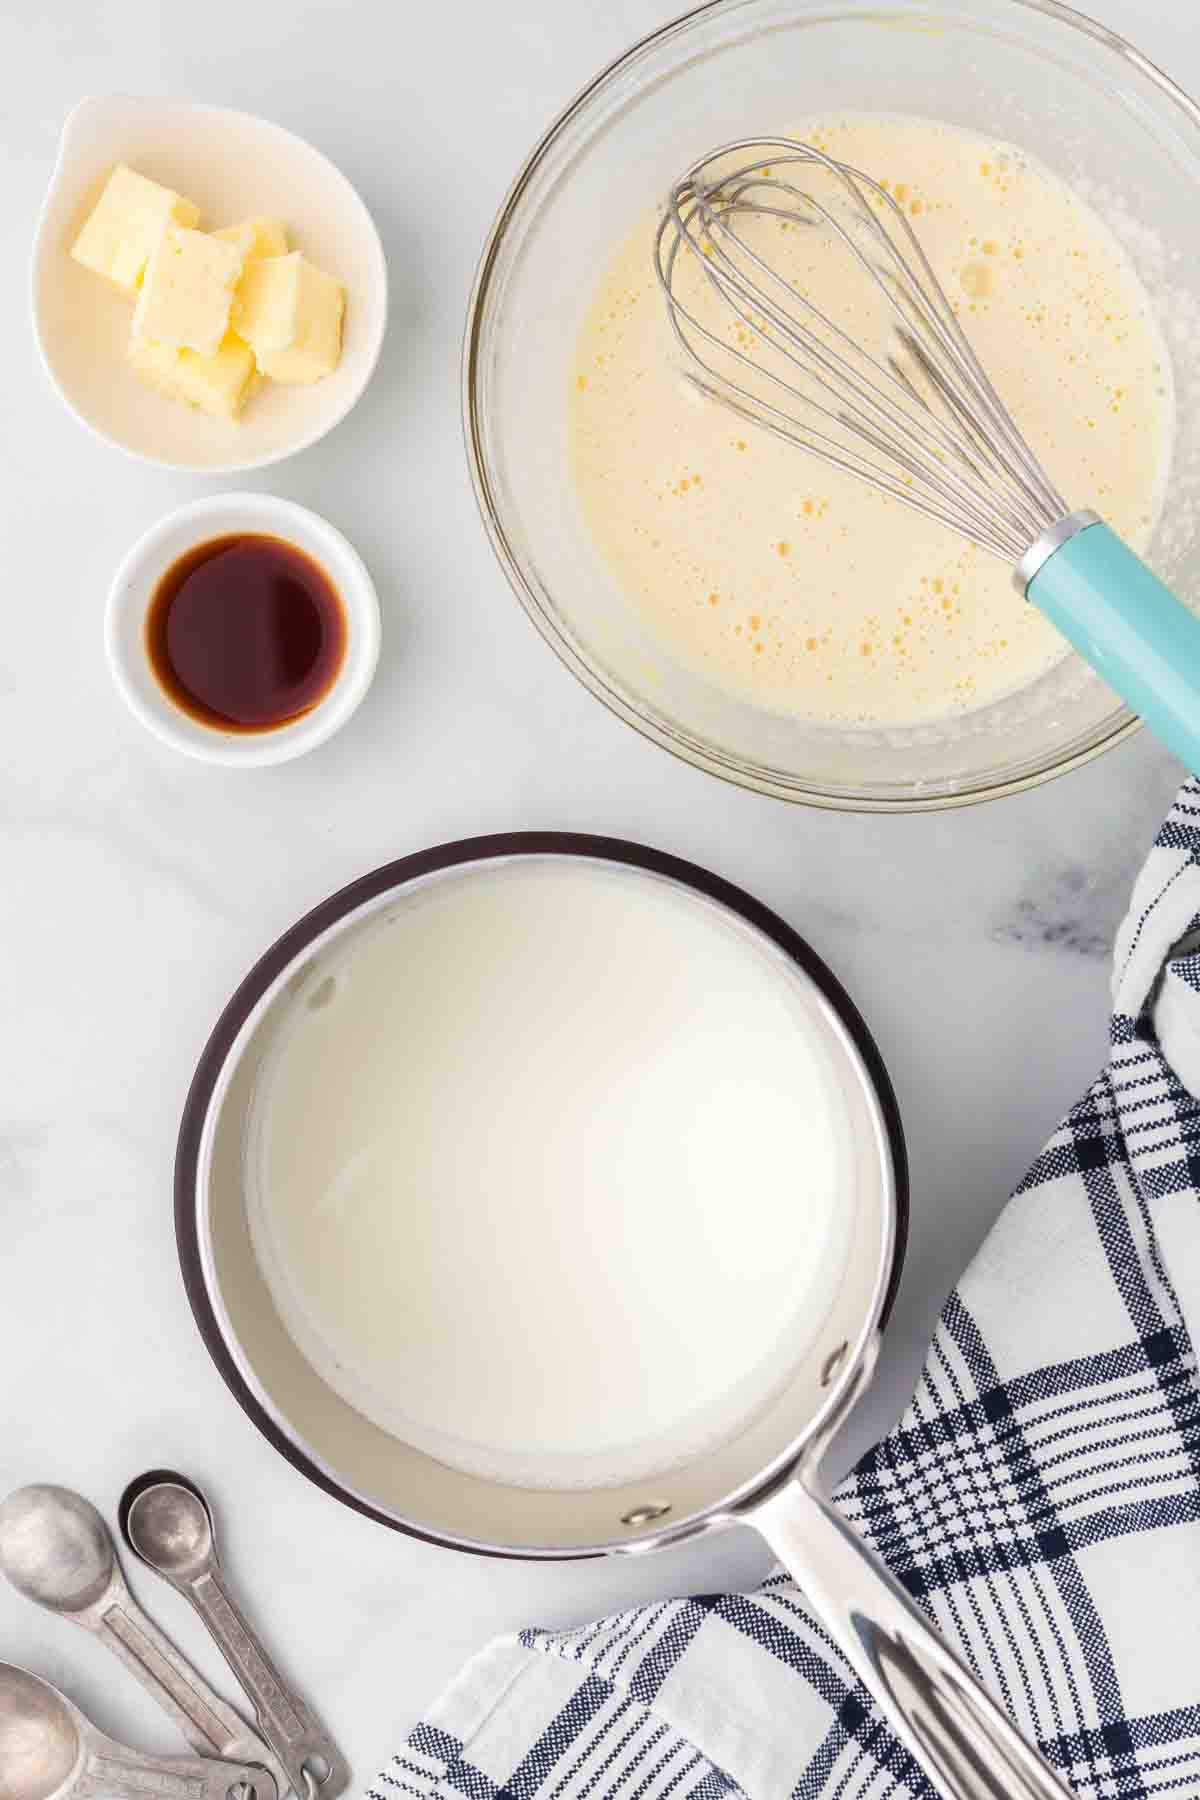
Pastry cream is made with milk, cream, sugar, salt, cornstarch, egg yolks, butter, and vanilla for flavoring (although you could use different extracts to change it up in other desserts).
I actually use Nielsen-Massey’s vanilla bean paste instead of plain vanilla because I love the flecks of vanilla bean in the pastry cream, although the same thing can be achieved by using actually vanilla beans and infusing them with the milk and cream at the start of the cooking process, then scraping out the seeds. But you can just use regular vanilla extract if that’s what you have on hand.
How to Make Pastry Cream
Bring the milk and cream to a simmer in a medium saucepan with half of the sugar. It doesn’t need to boil and it doesn’t take long. Medium-high heat will do the trick in less than 5 minutes.
While the milk mixture heats, whisk together the sugar and cornstarch in a bowl so that it is evenly combined. Then whisk in the egg yolks until the mixture is light and creamy.
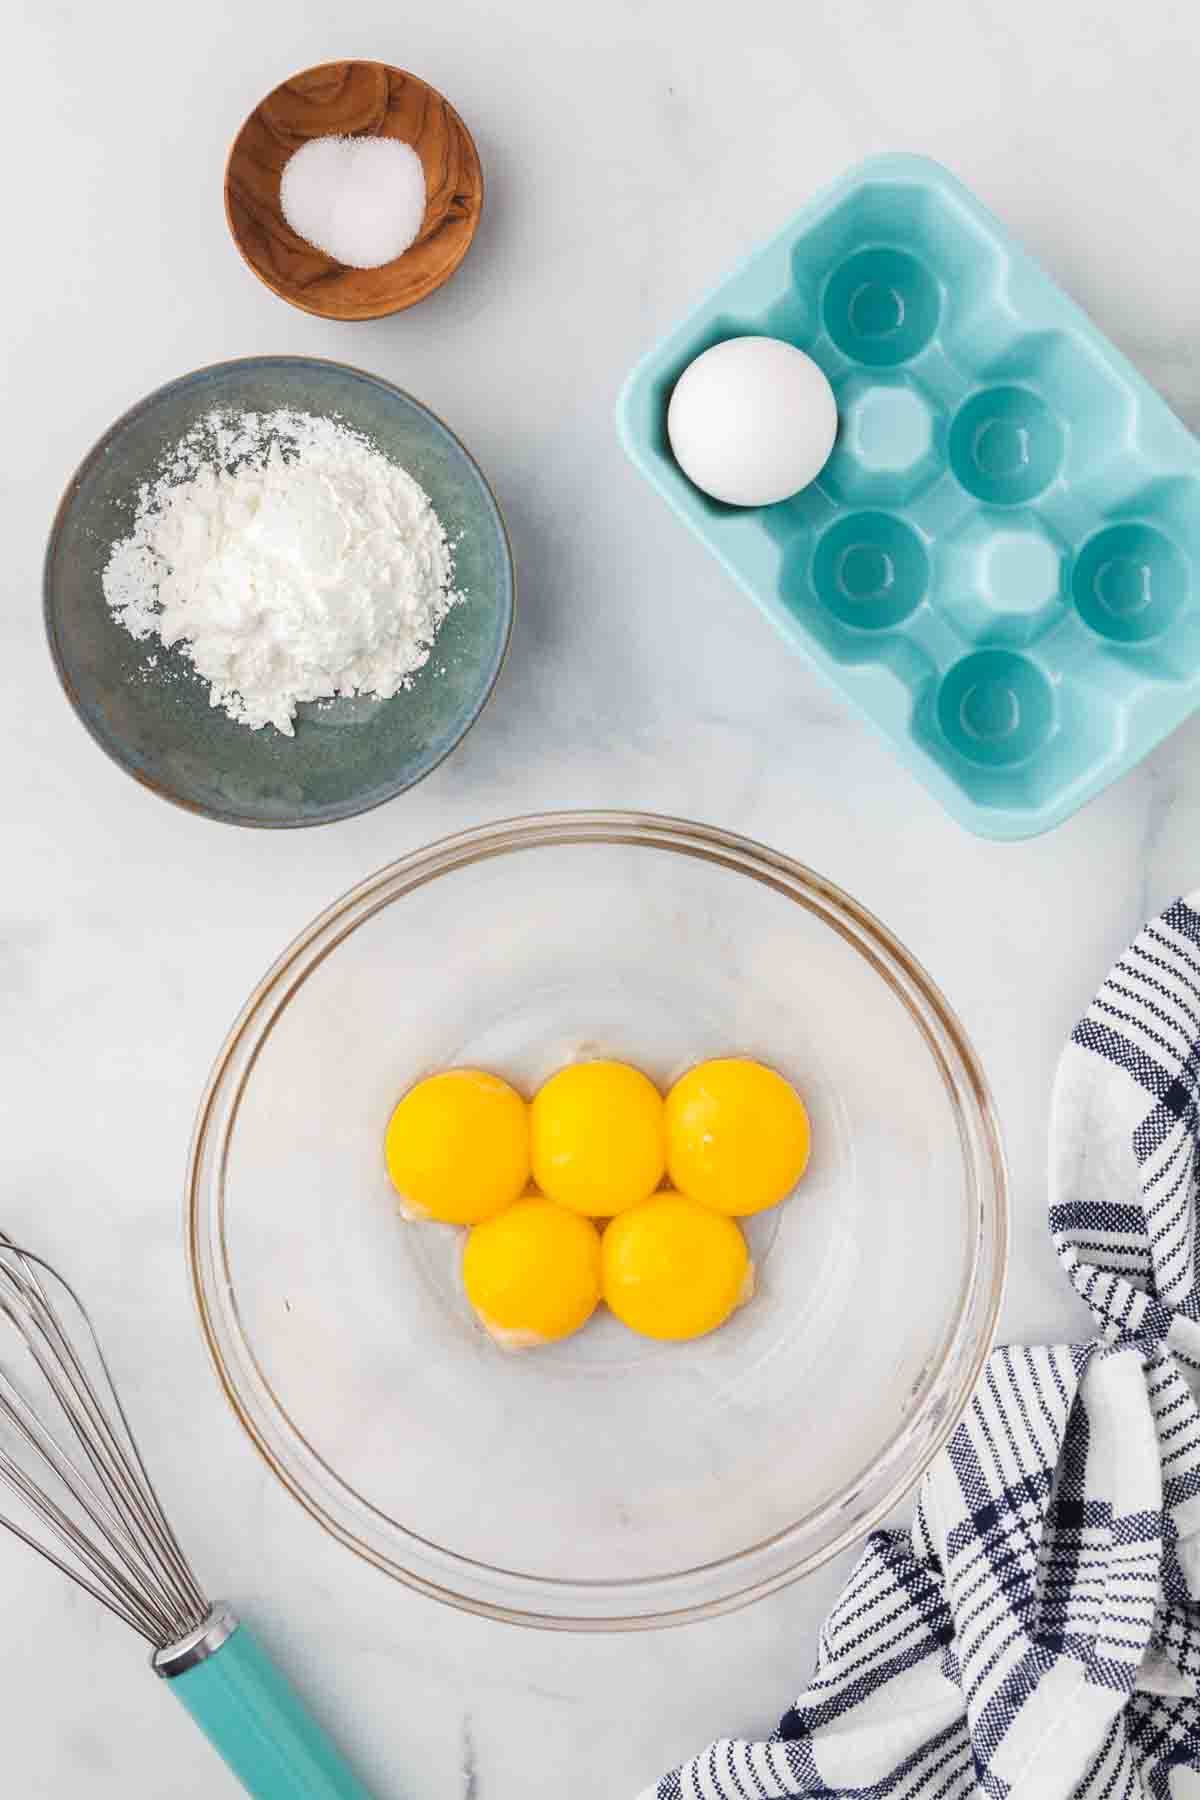
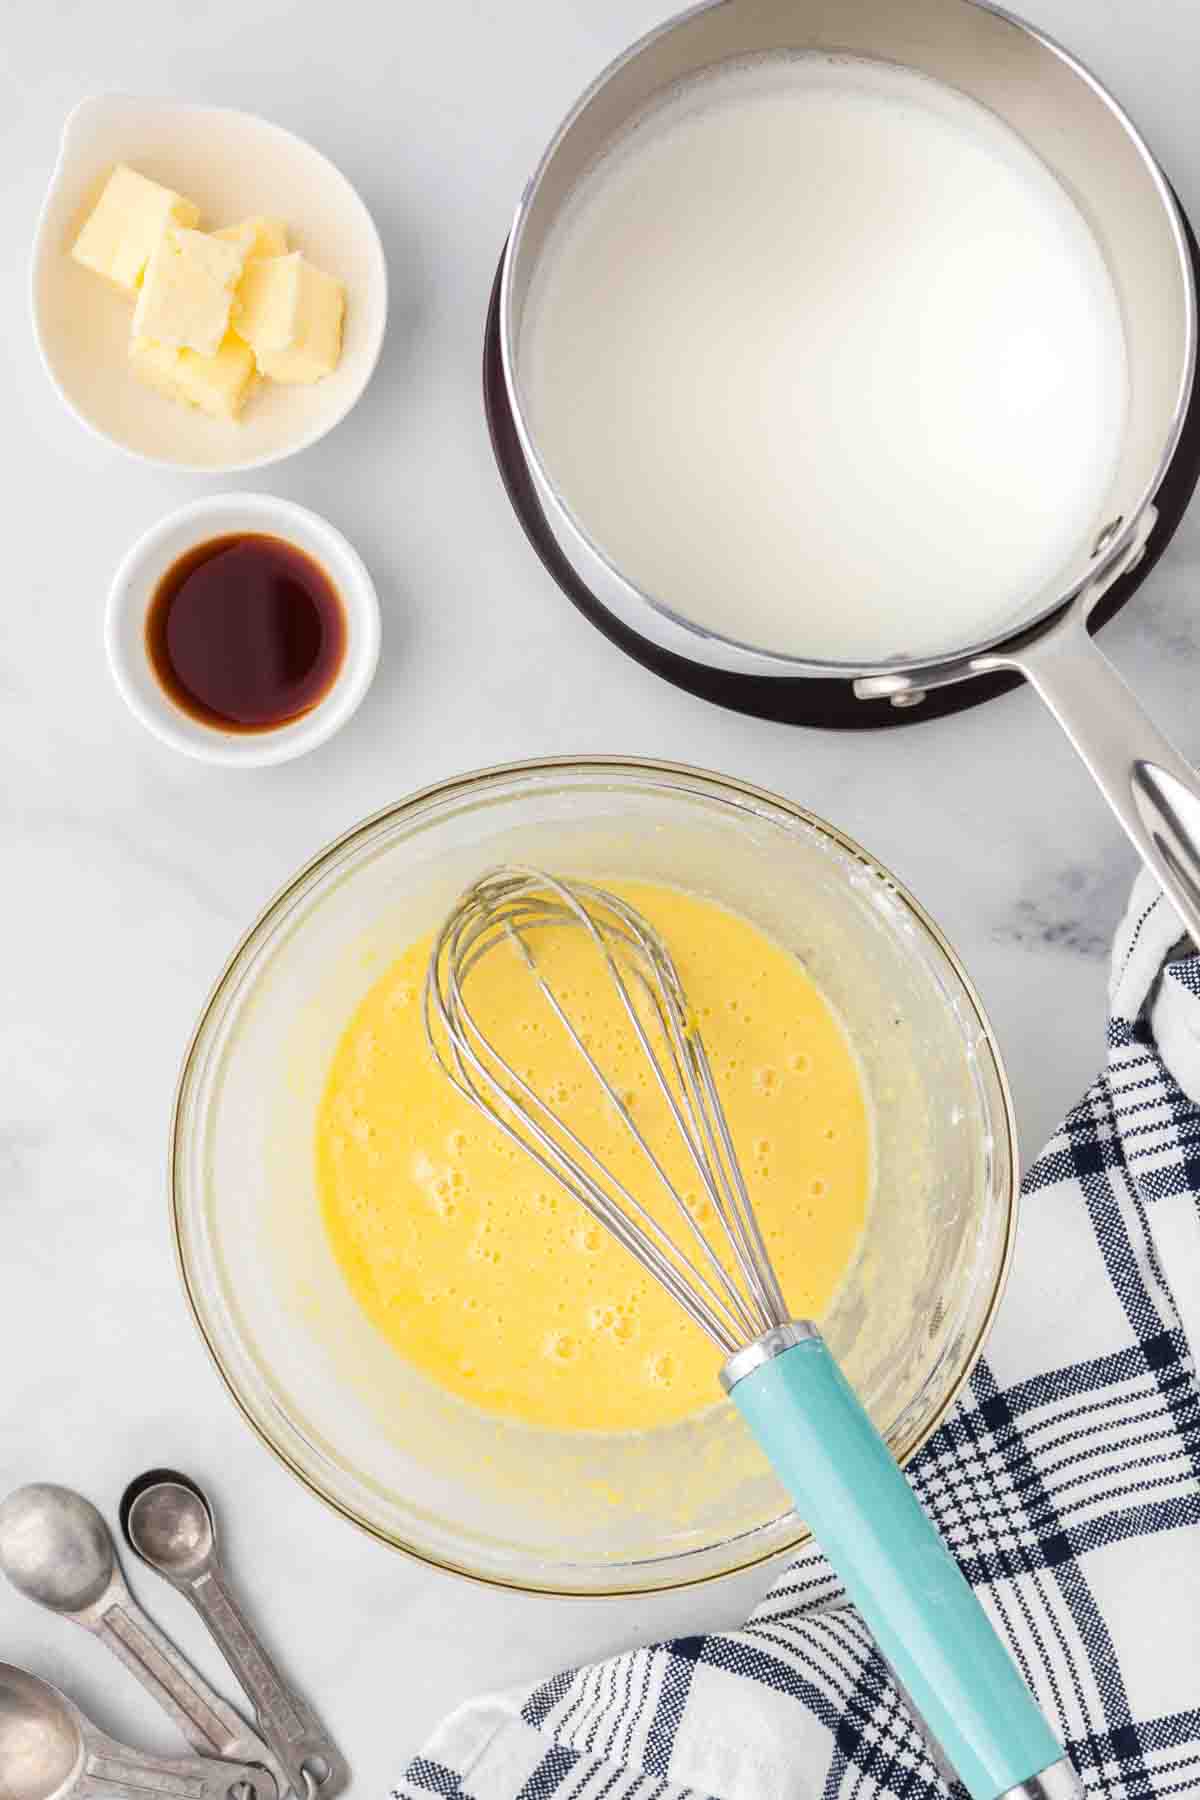
When the milk is hot, temper the egg yolks by slowly pouring half of the hot liquid in to the yolks, whisking constantly. This will keep the egg yolks from scrambling when added to the pan.
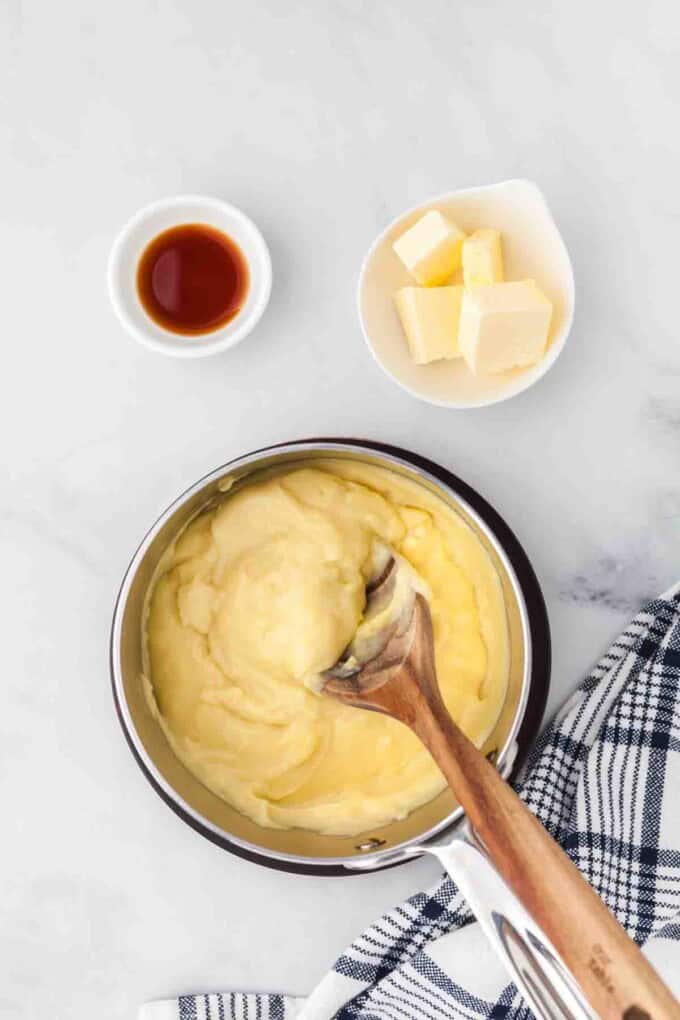
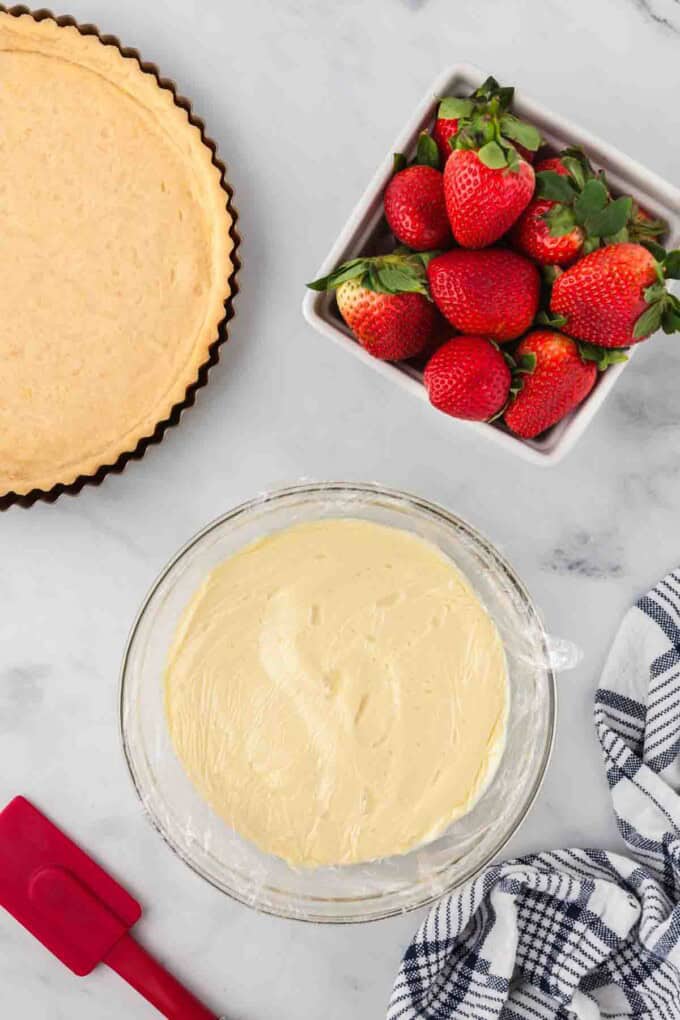
Pour the tempered egg yolk mixture into the pan with the remaining liquid, reduce the heat, and continue to whisk constantly until the pastry cream is thick and a few bubbles start to pop on the surface, then remove from the heat.
Stir in some cold butter and vanilla bean paste (or an equal amount of vanilla extract). And that’s it!
Transfer to a shallow pan or a bowl and lay plastic wrap directly on top of the pastry cream so a skin doesn’t form while it cools. Then cool completely in a fridge for 3 hours before using.
Fruit Tart Glaze
This step is so easy, but a fruit tart glaze was missing from many of the fruit tart recipes I looked at when researching how to make this lovely French dessert.
I knew from my time in Paris that the tarts there absolutely glisten in the patisserie shop windows, so I had be sure my recreation of a French fruit tart had the same jewel-like quality.
And really, all that is used to glaze a fruit tart is a warmed up, light colored jelly or apricot jam that gets gently brushed on to make the fruit shine. Although I also like the extra little bit of flavor it adds as well.
Apple jelly or apricot preserves are my favorite options for a fruit tart glaze, although I’ve seen other sources call for red currant jelly.
You won’t use the full amount called for in the recipe, but I find it’s easiest to heat up half a cup of the preserves or jelly just until warm and stirring until it is smooth. Then just dip a pastry brush into the apricot glaze and dab it on the fruit decorating your tart.
Assembly
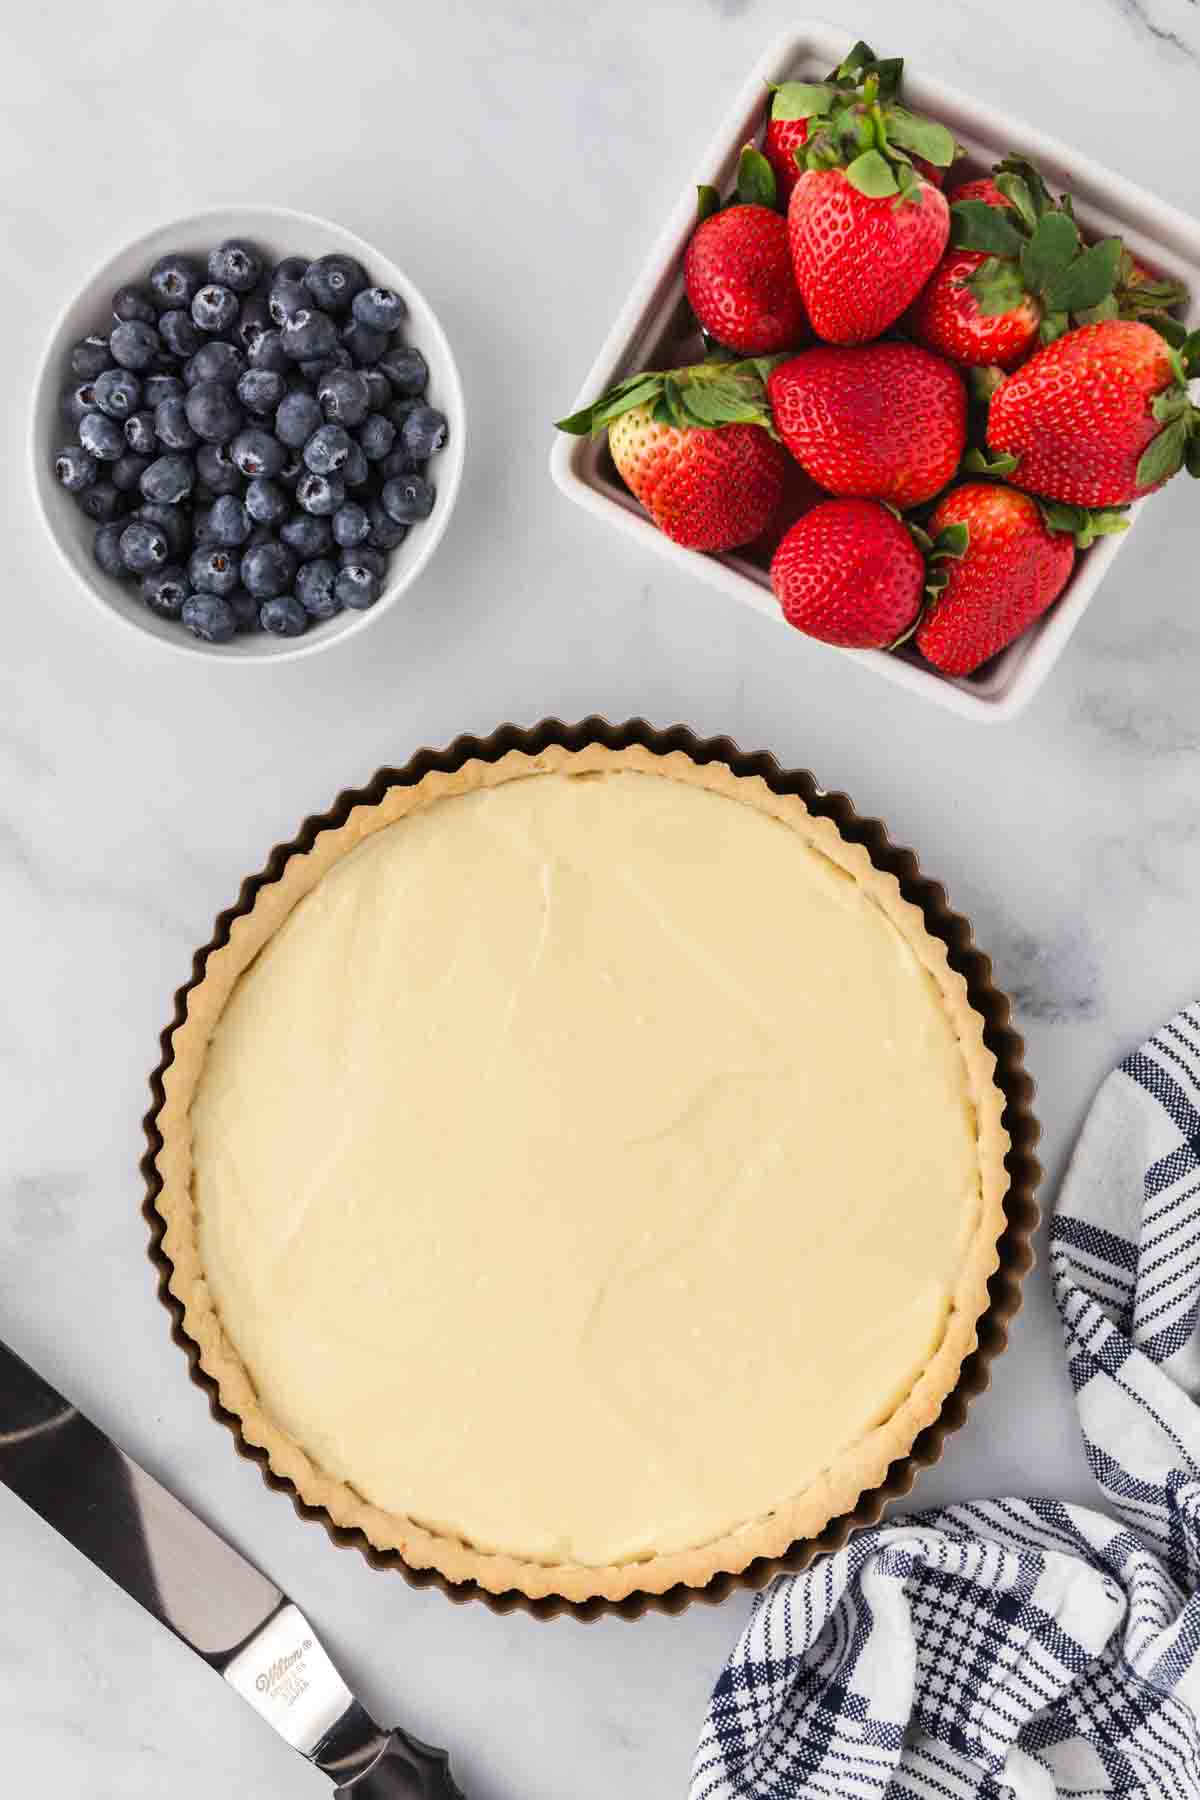
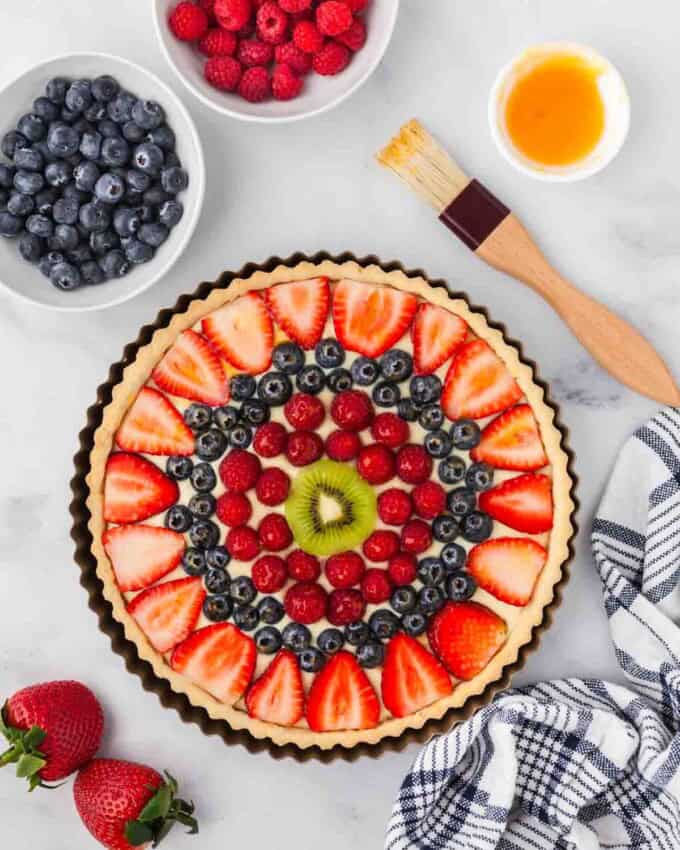
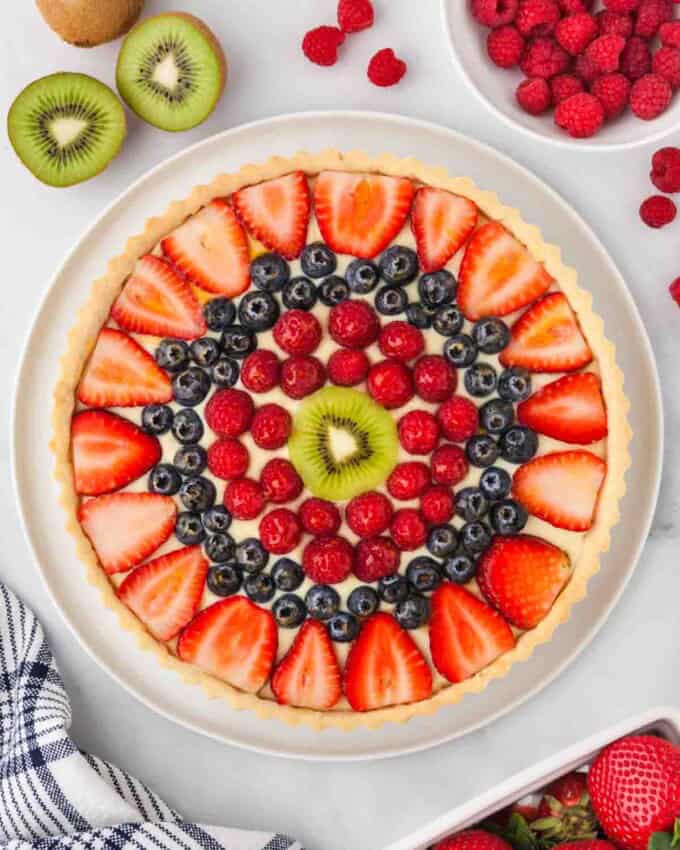
When you are ready to assemble your tart, wash and dry your fruit, cutting any large fruit into bite-size pieces. Spread the cooled pastry cream into the bottom of your tart shell, then top with fruit in a pleasing design arranging kiwi slices so they are overlapping or filling in gaps with smaller fruits like blueberries or blackberries that have been cut in half. Brush with the glaze and serve!
How to Store a Fruit Tart
A fruit tart is best enjoyed the day it is assembled although it’s still good the next day as well, even if the crust has softened slightly. To store leftovers, cover with plastic wrap or store in an airtight container in the fridge overnight. It can be eaten for up to 3-4 days but is best when it’s freshest.
Can this recipe be frozen?
You can bake and freeze the tart shell for up to 1 month. Wrap it carefully in plastic wrap and store in a freezer-safe bag until ready to use.
I don’t recommend freezing the pastry cream or freezing the assembled tart because they don’t thaw well.
FAQ’s
If I am making this ahead I like to melt a small amount of chocolate and spread it on the bottom of the baked crust before filling with pastry cream. This helps prevent the crust from getting soggy or soft as quickly.
If you want to make it in advance, I recommend making the crust up to 3 or 4 days ahead and storing in an airtight container. The pastry cream can also be made 3 or 4 days ahead and stored in the refrigerator. Then everything can be assembled the day you plan to serve it.
More Tart Recipes
- Spring Vegetable Ricotta Tarts
- Raspberry Chocolate Tart
- Mixed Berry Tart with Lemon Pastry Cream
- Asparagus Tart
Did you make this recipe?
Let me know what you thought with a comment and rating below. You can also take a picture and tag me on Instagram @houseofnasheats or share it on the Pinterest pin so I can see.
French Fruit Tart Recipe
Equipment
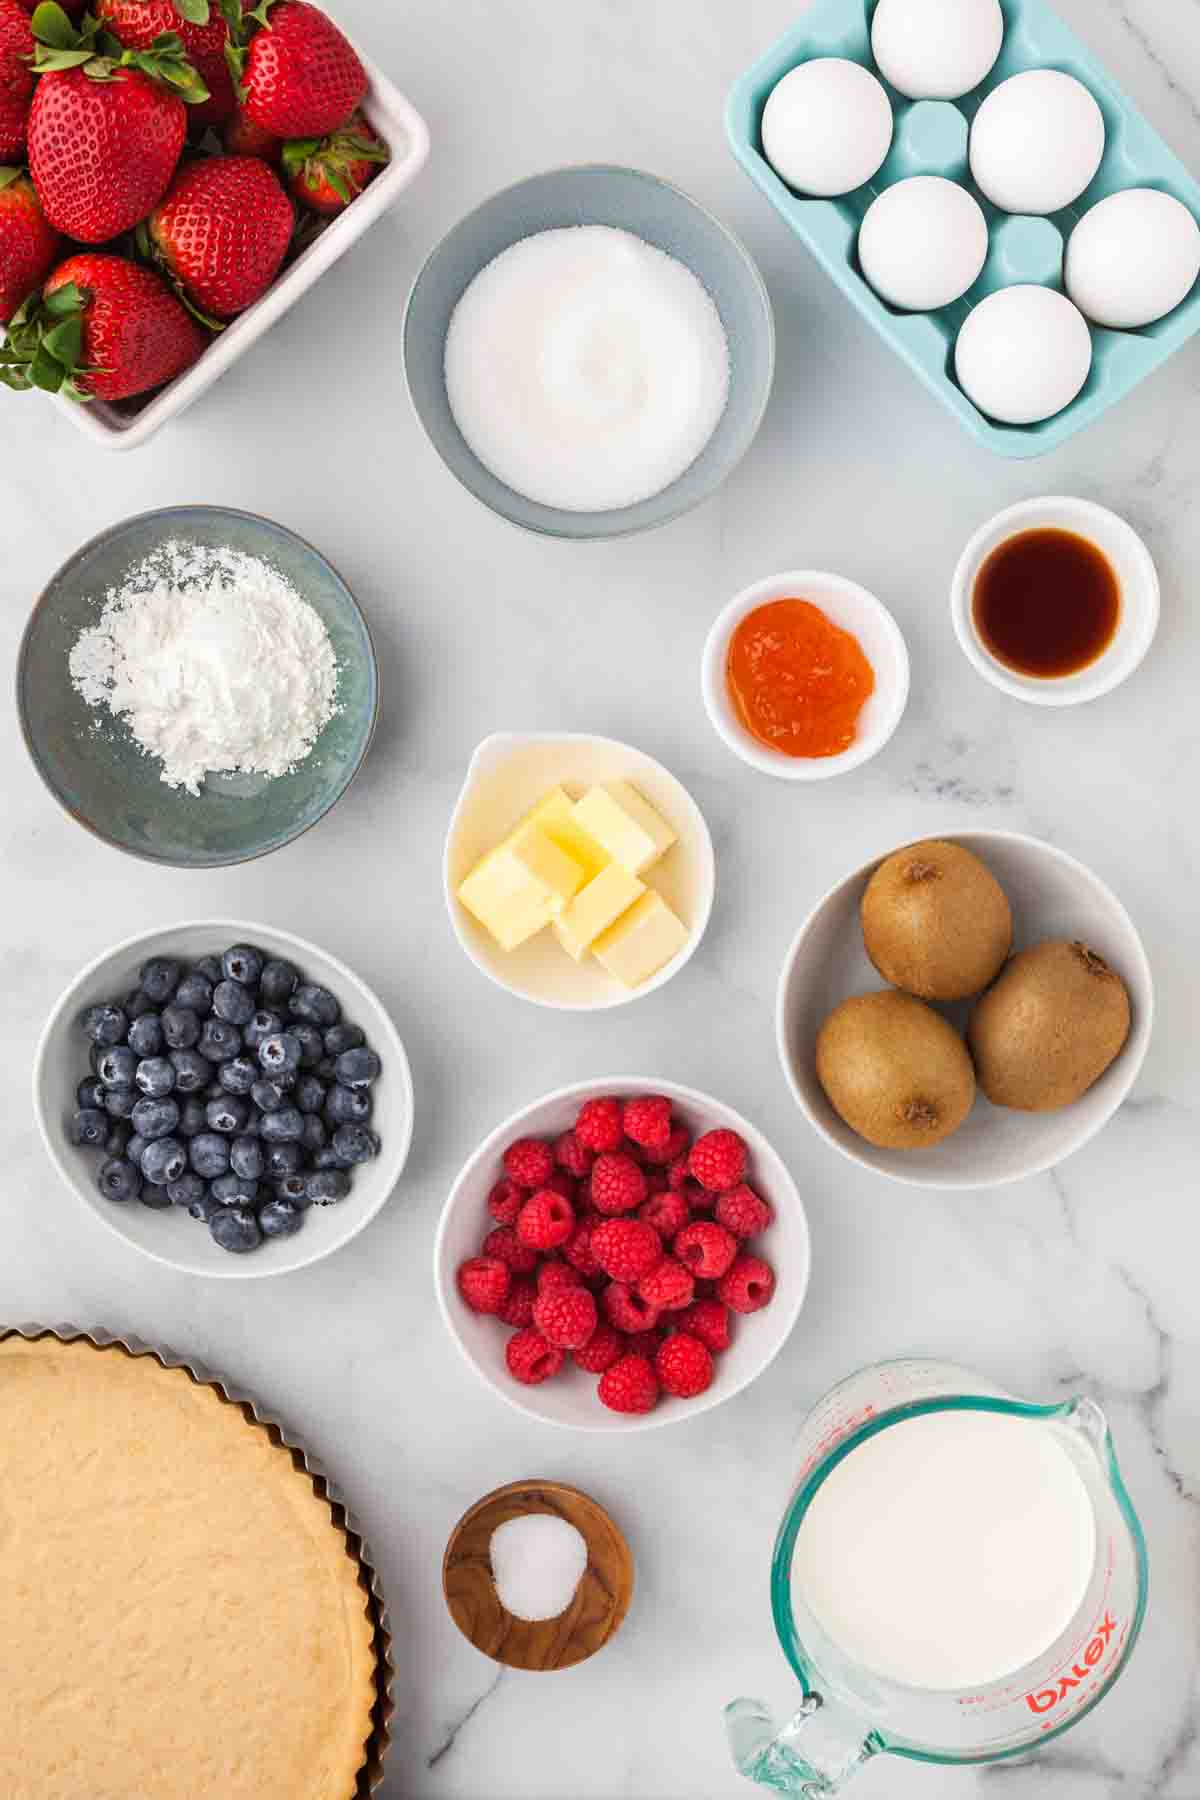
Ingredients
Pastry Cream
- 1 1/2 cups whole milk
- 1/2 cup heavy cream
- 1/2 cup (100g) granulated sugar divided
- Pinch of salt
- 3 Tablespoons cornstarch
- 5 egg yolks
- 4 Tablespoons cold salted butter cut into chunks
- 1 1/2 teaspoons vanilla bean paste
Pastry Crust
- 1 egg yolk
- 1 Tablespoon heavy cream
- 1/2 teaspoon vanilla extract
- 1 1/4 cups (156g) all-purpose flour
- 2/3 cup (65g) powdered sugar
- 1/4 teaspoon salt
- 8 Tablespoons cold salted butter cut into chunks
Topping
- 3 kiwis peeled, halved lengthwise, and sliced 3/8-inch thick
- 10-12 strawberries hulled and sliced in half
- 1/2 cup mandarin oranges drained
- 1/2 cup blueberries
- 1/4 cup raspberries
- 1/2 cup apple jelly or apricot preserves warmed
Instructions
Pastry Cream
- Combine the milk, cream, and half of the sugar in a medium sauce pan over medium-high heat, stirring occasionally until the liquid comes to a simmer.1 ½ cups whole milk, ½ cup heavy cream, ½ cup (100g) granulated sugar
- As the liquid heats, whisk together the remaining sugar, salt, cornstarch, and egg yolks in a medium bowl until light and creamy.Pinch of salt, 3 Tablespoons cornstarch, 5 egg yolks
- Once the milk mixture is hot, slowly whisk about 1 cup of the liquid into the egg mixture to temper the yolks. Pour the tempered egg mixture back into the saucepan with the hot milk mixture and , reduce the heat, and continue to whisk constantly until the pastry cream is thick and a few bubbles start to pop on the surface, then remove from the heat.
- Remove the pastry cream from the heat and whisk in the butter and vanilla, then transfer to a bowl and cover with a sheet of plastic wrap placed directly onto the surface of the pastry cream so a skin doesn't form. Refrigerate until chilled and firm, about 3 hours.4 Tablespoons cold salted butter, 1 ½ teaspoons vanilla bean paste
Tart Shell
- Whisk together the egg yolk, cream, and vanilla in a small bowl.1 egg yolk, 1 Tablespoon heavy cream, ½ teaspoon vanilla extract
- Combine the flour, powdered sugar, and salt in a food process and briefly process to combine. Add the cold butter pieces to the flour mixture and pulse to cut into the flour until the mixture resembles coarse meal, about 15 pulses.1 ¼ cups (156g) all-purpose flour, 2/3 cup (65g) powdered sugar, ¼ teaspoon salt, 8 Tablespoons cold salted butter
- While the food process is running, add the liquid through the feed tube and continue to process just until the dough comes together around the blade.
- Turn out the tart dough onto a sheet of plastic wrap and flatten into a 6-inch disk, then wrap it tightly and refrigerate for 1 hour. Let sit out on the counter for 10 minutes to soften slightly before rolling out.
- Roll out the pastry crust on a lightly floured surface until it is slightly larger than your tart pan (mine is a 9-inch pan). Carefully transfer the dough to the pan by rolling it onto the rolling pin (affiliate link), then gently easing the dough into the pan, pressing into the corners and fluted sides of the pan.
- Run the rolling pin (affiliate link) over the top of the pan so that the excess dough gets cut off on the edge of the pin, making a clean edge. Patch any edges that are too thin with excess dough, trimming away the edge again as necessary. Freeze the tart shell for 30 minutes.
- When ready to bake the tart shell, heat oven to 375 degrees F. Press a double layer of foil into the frozen tart shell, covering the edges of the pan and filling the tart shell with pie weights. Bake for 30 minutes, rotating halfway through, then carefully remove the pie weights and foil and bake another 5 to 10 minutes, until the tart shell is fully baked and golden. Cool completely before filling.
Tart Assembly
- When the tart shell is completely cooled, spread the pastry cream over the bottom of the shell. Arrange the fruit in a decorative fashion over the cream, overlapping the sliced kiwi or mandarin oranges, and mounding raspberries or blueberries in the center of the tart.3 kiwis, 10-12 strawberries, ½ cup mandarin oranges, ½ cup blueberries, ¼ cup raspberries
- Melt the jelly or preserves in a small saucepan or the microwave, stirring until smooth. Use a pastry brush to gently dab the melted jelly over the fruit. You may not use all of the jelly. Slice and serve.½ cup apple jelly or apricot preserves
Video
Notes
- Make-Ahead: If I am making this ahead I like to melt a small amount of chocolate and spread it on the bottom of the baked crust before filling with pastry cream. This helps prevent the crust from getting soggy or soft as quickly. Or you can make the crust up to 3 or 4 days ahead and storing in an airtight container. The pastry cream can also be made 3 or 4 days ahead and stored in the refrigerator. Then everything can be assembled the day you plan to serve it.
- Storing: A fruit tart is best enjoyed the day it is assembled although it’s still good the next day as well, even if the crust has softened slightly. To store leftovers, cover with plastic wrap or store in an airtight container in the fridge overnight. It can be eaten for up to 3-4 days but is best when it’s freshest.
- Freezing: You can bake and freeze the tart shell for up to 1 month. Wrap it carefully in plastic wrap and store in a freezer-safe bag until ready to use.
- Substitutions: You could also use 2 cups half-and-half in place of the whole milk and cream, or 1 ⅓ cup skim or low-fat milk with 2/3 cup heavy cream.
- Vanilla: If you do not have vanilla bean paste, you could just use regular vanilla extract instead.
Nutrition
This post was originally published in April, 2018. The photos and content were updated in August, 2022.

This looks divine! It’s simple, classic flavors and I want it right now!!
You have made me a bit of a hero. This has become one of the most loved and requested desserts in my family for special occasions. It is great substitute for cake for birthdays. We have several that don’t like cake much. Earlier this year I had a baker I highly respect offer to make me her version of a French tart. My family was so disappointed. This speaks volumes for your fabulous recipe. Thank you so much for sharing it! – Larry
Your fruit tart looks absolutely stunning! This would be a showstopper at any dinner party or gathering. I really appreciate the detailed directions you included for each step of the tart as well!
Send me a slice (or two)! It just screams ‘SUMMER’ to me. 🙂
I need to wait for a few more weeks to make this here in Stockholm though — I want to make this using the best fresh berries of the season 🙂
It’s been a long time since I made French Fruit Tart. When my kids were younger they would have it often because they love pastry cream. This looks so pretty.
This looks amazing! I love the idea of added the chocolate layer to keep it from getting soggy…I would have never thought of that.
It’s tasty! I had it that way but haven’t tried it myself before as I always tend to make my tarts fresh and don’t need the extra layer.
Hi Amy. I was wondering if you can make the filling a day in advance
Thank you
Dorinda Pitton
Yes, absolutely.
This might be a silly question, but I don’t have a food processor so my options are Vitamix or hand held mixer. Which is my best bet? Making it for my sisters 30th tomorrow so I want to make sure everything turns out perfect — thanks 🙂
Not silly at all! Do you have a pastry cutter? Because that would be the next best thing actually. You could use it to cut the butter into the flour mixture for the tart crust, then add the cream a little at a time, stirring with a fork to combine. Another option would be to freeze your butter and grate it on the holes of a grater over the flour mixture. I wouldn’t recommend using either a vitamix or a hand mixer for this tart dough.
So I ended up making it and loving it!! After a solid 30 minutes of struggling with the butter we found a food processor hidden in the house, thank goodness. I had to improvise because I didn’t have the correct pan, so I used a ceramic pie dish and the crust was very thin and flaky when I cut it, it just broke to the touch. Do you think it’s because I didn’t use the proper tin? I’m making it for another birthday coming up – thanks for the help!
Sorry for my slow response! I’ve been so busy with homeschooling thrust on me that I have been letting other things slide. Based on what you described, I’m wondering if the reason the crust broke is because the butter was overworked into the dough. It doesn’t seem like a ceramic pie dish would make that much of a difference.
Made this and it is amazing!!!! So good. Thank you for the recipe, will make again, and again
i had a similar tart for my birthday and LOVED IT. I am so happy to see this homemade version which I need to recreate it soon.
Wow! This looks so delicious! I love a good tart, but haven’t made one for many years!! Your beautiful fruit tart has made me want to get back into the game of tart making!!
Years ago, when I was just starting out with my husband, I bought one of each type of pan that was available at a discount store. One of those pans was a tart pan. I’ve never used it, but your post has inspired me to do so. I love all of the instructions that you’ve provided to make certain that my final result will turn out right. The only problem is that this fruit tart is almost too pretty to cut and eat. It’s like a work of art.
Honestly? French and fruit in the same dessert title? Say no more. I am trying this ASAP. Going to test drive it for myself and my husband first and then surprise my ma for Mother’s Day!
I have been to France a few times and my eyes always drew to the pastry cases as we walked by any pastry shop. Everything looks so good and tasty. So does this.
I ate a wonderful fruit tart a few weeks ago and have been craving another one ever since. Your pastry cream looks absolutely perfect – can’t wait to bite into this!
Even in Italy this fresh fruit tart is present in every bakery, pastry shops and everybody love it. I made it for my husband’s birthday, it is a showstopper. Yours look wonderful And your tips and pictures are so helpful.
Your tart looks delicious and your presentation is gorgeous! I definitely want to give this a try and your step-by-step instructions make it seem so easy!
This is one beautiful looking tart! This is something I would not normally attempt to make, but your instructions make it sound less intimidating!
this looks SO freaking good! when I was a little kid my Mum and I used to go to our local French bakery and get mini french fruit tarts, this looks gorgeous!
I LOVE fruit tarts so much. I love your tips for making the perfect shortcrust and fruit options! Super gorgeous!
Hi, this looks so yummy. I’m wondering what size tart tin this will fill? Mine in 26cm/ 10in so I don’t want to run out of filling upon assembly! Thanks
That’s the size I have as well! You will be fine!
I am trying this recipe but do not have a food processor. Do you think a blender(like I would use for smoothies) would do for the dry ingedients in the crust, and then should I switch to a mixer (like I would use for cookie dough)? Thank you! I can’t wait to try!
I haven’t tried it, but I think it should work even without switching to a mixer. I would just add the liquid on a low speed until things start to come together and try not to overmix, which would be the biggest concern using a blender.
I made this all without using a food processor or blender! Pretty easy but be aware that you’re hands will get a little messy from the dough.
Hi, when I slice the assembled tart, the fruits start sliding off and it becomes somewhat messy looking. May I know if it’s normal for this to happen? Thanks!
Yes, that can happen since the pastry cream is very soft. Some helpful tips are to make sure the fruit is small enough that you aren’t slicing through the fruit and to also use a very sharp knife. I press directly into the tart and slide the knife off being careful not to use a sawing approach, which will also destablize the look of each slice. But in truth, once the tart gets sliced it just won’t look as beautiful.
Mine was very runny. Should I cook the pastry cream longer?
I have just made this and mine was extremely runny as well! As soon as I cut it, it basically fell apart. I’m thinking if more corn starch would have helped it.
That’s too bad! I really don’t think more cornstarch is the answer because you don’t want a thick, gummy pastry cream. I would recommend cooking it a little longer and make sure you are measuring your liquids correctly.
OK, so I made this a couple of weeks ago to impress my Italian man and his family on his 30th birthday. No pressure, they only run an Italian restaurant! It was so worth the effort, everyone loved it and the feedback was even that it was better than some of the cakes in the restaurant. So thank you!
Your comment made my day! 🙂 I’m so glad it was a hit with everybody!
This looks excellent and will make it for my dinner party in December. Can I use liquid vanilla instead of the paste?
Yes, just use an equal amount.
Hi Amy, I ended up doing the tart today and it was excellent. Thank you so much for sharing this great recipe. The only problem is that my pastry cream was too runny. Should I cook it longer next time?
Yes, chances are it just needed a little bit longer to thicken a bit more. Timing can take a bit longer if the heat of the stovetop is a bit lower too.
Yes my pastry cream also was too runny and just poured off the slice and tart with the berries. I followed the recipe exactly.
I’m sorry to hear that! I’m guessing you either needed to cook it longer or just forgot to add the cornstarch to thicken it.
Hi Am y – looks amazing and got the thumbs-up approval to serve on Xmas. However, to minimize potential issues, I’m guessing a pre-purchased short crust pastry would work in place of making my own?
Absolutely you could use a premade crust!
Great recipe! I did put a thin layer of chocolate between the crust and the pastry cream. No soggy crust and adds a bit of decadence with the chocolate.
Hi, I’m planning on making this for Xmas day!
Can I make both the pastry shell and the Creme pat a day in advance?
If I can, how do I store the shell? I’m assuming the creme pat is just stored in the fridge with the plastic film? Thank you!
Wow! I tried all different pastry creams and this by far is the best. What a great tart too! Nice touch with the powdered sugar. Makes all the more so difference.
I’m planning to make individual tarts for my new year party. Can I use this recipe?
Absolutely! Go for it!
This is a very good recipe! I made individual tarts and my guests loved them. They were all gone. My husband was impressed! My first batch of tarts burnt a little because I forgot to adjust the time since im baking them individually. But they still tasted ok. The pastry cream is so delicious and went well with the fruits. This recipe is definitely a keeper! Thanks!
The directions aren’t complete.
Says to cool the custard (which will harden in fridge). Then once shell is done, pour custard into shell.
Huhhh???? You can’t pour hardened custard. How is it supposed to look appealing if hard custard is placed into shell? It will be uneven and sloppy.
Can you please explain if there is a mistake in directions and how to properly our custard into the shell?
Thank you
The custard doesn’t harden and the instructions indicate to spread it, rather than pour into the shell. It’s pastry cream and has a wonderful smooth texture that spreads beautifully into the prepared shell. I hope that helps!
What liquid and quantities go in the pasty dough? The recipe doesne’t Say and I’m at that point? Help!!
Hi Kim – I’m not sure what you mean? All the ingredients are listed in the recipe. There is no additional liquid needed beyond the egg yolk and cream for the tart shell.
My custard never solidified, waited 4 hours and it was still very liquidy so I added 2 extra tablespoons of cornstarch and left it overnight and it still has the consistency o3f milk
did you cook it for long enough? if its still runny you should let it thicken a little more on the stove.
Made it tonight. Thank you for this recipe it was so very good 😊 wish it would allow me to post a picture of the one i made.
Making this right now. Everything is setting in the fridge. Do I spray my tart pan? First time making a tart.
No, you don’t need to spray the tart pan.
This recipe looks amazing and I may try it tonight for a family party! What are your thoughts about making a graham cracker crust in a tart shell instead of the short crust pasty?
My thoughts are that sounds delicious! Obviously not traditional for a French fruit tart, but I LOVE graham cracker crusts and am positive it would taste fabulous.
Amy,
I tried it with a graham cracker crust and it turned out amazing!!! The pastry cream was so lovely paired with the fresh fruits and sweet graham cracker crust! I’ll post a picture on Pinterest and Instagram! Thanks for a great recipe!!💛
You are so welcome! And thank you SO much for sharing on social media! That means so much to me, you have no idea!
I loved this fruit tart!! I’ve made pasty cream many times, but this recipe in particular I felt was the best pasty cream I’ve ever made. The combo of fresh berries and cream is to die for. I substituted the pasty crust for a traditional graham cracker crust and thought it turned out amazing! Overall very quick and easy with the graham cracker crust… highly recommend this recipe! I will be making again!
I’m so glad you loved it! And the graham cracker crust is a great idea for a non-traditional fruit tart! I’m going to have to try that one too!
Hi Amy, your tart looks delicious, do you think I can susbstitute the whole milk for evaporated milk ?
Evaporated milk is richer and creamier than regular milk. I think you could try but I honestly can’t say what the result would be like (although it might be amazing and crazy delicious!). I’ve also heard of substituting 1/2 evaporated milk and 1/2 water for the same amount of whole milk in recipes (but again, haven’t tried it in this recipe).
I made this tart yesterday in a 6″ tin. I just halved all the ingredients, and adjusted the baking time for the crust accordingly. I had to cook the cream for 3-4 mins until it thickened, and it stayed put on tart slices.
I did struggle with the pastry as it turned out to be very short, it kept falling apart while handling. But overall, everything was delicious and refreshing.
My tart pan must be larger than the one you used., mine is an 11 inch one. The dough would not roll out to size without breaking. Maybe you should indicate size of the tart pan. The filling was delicious but ultimately had to throw out dough and do a quick graham cracker crust
Oh dear! Yes, mine is a 9-inch pan. I will make a note of that in the post.
Up above you say it’s a 10” pan!
Hmm, I’m not seeing where I said that. I think there is enough crust to fit a 9-inch OR a 10-inch pan. The larger size will be slightly thinner and take less time to bake, but will still work fine.
I tried your recipe, it was absolutely amazing and actually well described and easy to follow. Thank you for posting it.
I did not realize it was this easy! I wish I would have tried making this years ago! I only used half a vanilla bean, next time I’m using a whole one. It was not as intense as I would have preferred. Thank you!
Hi Amy, you mention in a post of July 12, 2018, with Sophie that you use a 26cm/10″ pan, but your shell instructions say 9″ pan. I have a 10″ tart pan. Does your recipe for the dough and pastry creme stretch enough for a 10″ tart? It looks wonderful and plan to make it for Easter!
Yes, this makes enough for a 10-inch tart pan.
I am making it right now! I am so excited to make this for my Easter dessert! I have my pastry cream in the fridge right now! Can’t wait to taste it! I am staying up late to make it! Seemed like the perfect Easter dessert!
It’s such a fun Easter dessert! Let me know how yours turns out!
Making this for Easter – although, I had to pout in quite a bit more liquid than indicated to get the dough to come together – like 1 cup of heavy cream instead of 1 TBSP. I hope it turns out okay! Looks delicious.
Pastry cream was so runny. I followed the instructions on cooking time and temp and added the cornstarch. It tasted good, but was so thin, even after hours in the fridge.
If the correct amount of cornstarch was added, it sounds like it needed to be cooked slightly longer or at a slightly higher heat. Different stovetops will cook differently and altitude can affect things too. But the pastry cream definitely should not have been runny.
Hi Amy, i’m Confused why did you list 9/16 cup heavy cream under dairy in your list of ingredients and then when you choose make it -you have the heavy cream 1/2 cup under pastry cream and 1 tablespoon in the pastry crust section, (thank goodness for Alexa because I don’t know about anyone else but I don’t have a measuring cup that has a 9/16 measurement). As a person who likes to have all the ingredients measured before I start cooking it would have been better to list 1/2 cup heavy cream plus 1 Tablespoon .
Reading comments I did use layer of chocolate and the next day the crust was still crisp. I suggest that if the people who said their pastry cream didn’t solidify that they check the expiration date of there corn starch, also could you say what size eggs you used, recently my sister in law who makes the best cream puffs realized that when she used large eggs instead of medium, her puffs flopped , she has an old recipe when medium eggs was the norm, nowadays it seems large is the norm. That’s about it , I made this for Easter and it was a huge hit, been wanting to make one for years and happy to report it will not be my one and only time, I will definitely check out more of your recipes this is a keeper.
I’m not sure where you see the 9/16 cup measurement. Could that have been on the pinterest pin? Pinterest tends to accumulate measurements, but they are broken out in the recipe card for you (just as you described because I agree that a 9/16 measurement would be confusing!).
Does tbe pastry cream HAVE to be refrigerated for 3 hours ?? So eager to bring this over to my boyfriends house but I also don’t want to rush it ! Thanks ! Also, my pastry cream came out beautifully, not runny whatsoever !! =]
Thanks for the awesome recipe<3
Well, I guess you could use it while still warm! I’m glad it turned out well for you!
I am so excited to try and make this tart tomorrow! Your instructions and tips are just wonderful. I have a question. My tart pan is 11 inches. Do you have a recommendation on how to adjust the recipe to accommodate that? Or if I just make more dough and put the excess in smaller individual tart pans, how long should I cook the crusts? Thank you!
Yes, in this case I would just make extra dough to make sure you aren’t stretching the dough too far on the tart pan. I wish I could say how long to cook the smaller individual tart crusts but I don’t know off the top of my head. My best guess is around 18-20 minutes and then go from there until they have a nice color.
Thank you so much! I appreciate your help! Your tart looks absolutely gorgeous! It’s like a work of art and you don’t even want to cut because it’s so perfect and beautiful!
This tart was delicious. I made it for my daughter’s 20th birthday – fruit tarts are her favorite. If you follow the prep instructions carefully like I did you would not have any runny pastry cream or not enough pie pastry I will sure make it again. It is not difficult to make, it is just time consuming but it is worthy at the end.
Hi Amy,
Thank you so much for posting this recipe – it’s the best looking fruit tart I’ve seen. I attempted to make the tart pastry but it didn’t come as the recipe states or displays. The pastry dough kept breaking when I tried to roll it out to put in the tart pan. Any advice on how to fix this? Maybe I didn’t mix it well enough in the processor or maybe I overmixed? What exactly should the dough look like while in the food processor? Additionally, could I make the tart shell in advance?
Thanks!
Yes, you can make the tart shell in advance. That’s strange that it kept breaking – my guess is that there was not enough liquid to dry ingredients. Have you tried using the spoon and sweep method when measuring your flour where you spoon flour into the measuring cup then sweep it level with a knife so you don’t compact the flour by scooping? Because my first troubleshooting thought is to make sure to measure the flour correctly. Then I would maybe add an extra 1/2 to 1 tablespoon of cream for a little extra moisture. The dough really should start to come together and clump almost like a cookie dough. You can see in the images how it should roll out even easier than a pie crust. I hope this helps!
Thank you so much for taking the time to provide us with the tips that are needed that a straight up recipe doesn’t provide. My pastry cream thickened & bubbled and I let it cook a bit longer. It set up nicely but it did prove to be too runny once the tart was cut. I believe one or two extra egg yolks might solve this issue? I will make this again but will add at least one extra yolk.
Thank you again,
Zoë
Interesting – I haven’t had the same thing happen before where it thickens then is runny when cut. But I definitely don’t think an extra yolk would hurt.
Could you bake the pastry and make the cream then assemble the following day?
Absolutely!
Great recipe!! My pastry cream was extremely extremely runny. Like total liquid. Even after 4 hours. I just put it back on the stove on a low heat and it thickened up very quickly then I just put it back in the fridge to cool. ***sigh of relief *** Just a little FYI for anyone freaking out like I did lol.
I’m so glad you put it back on the stove!