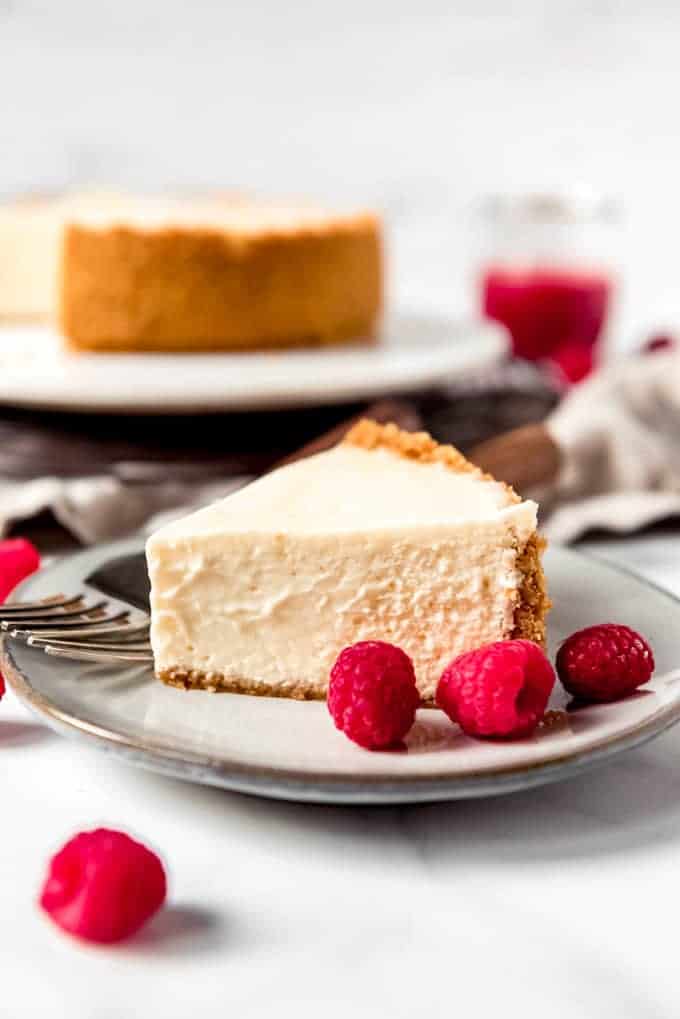
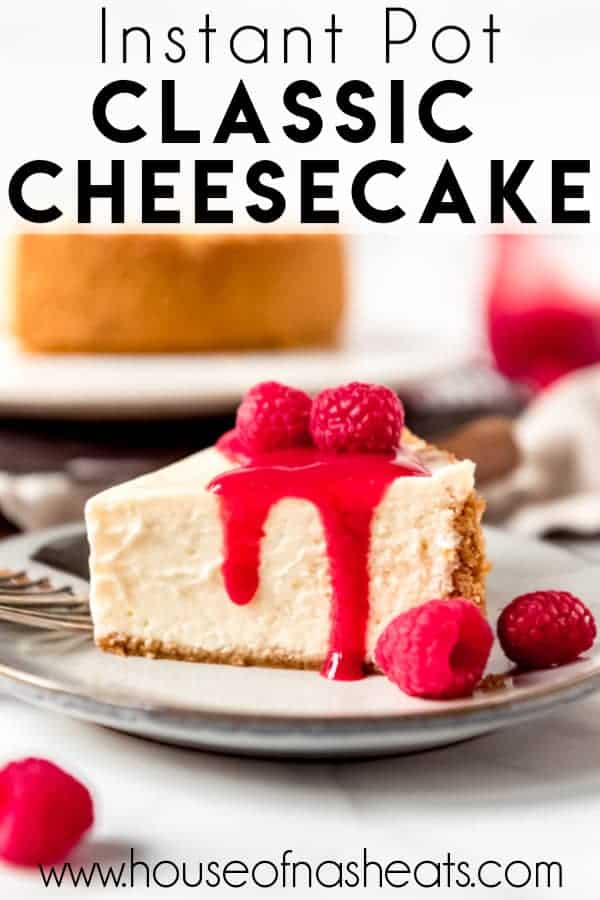
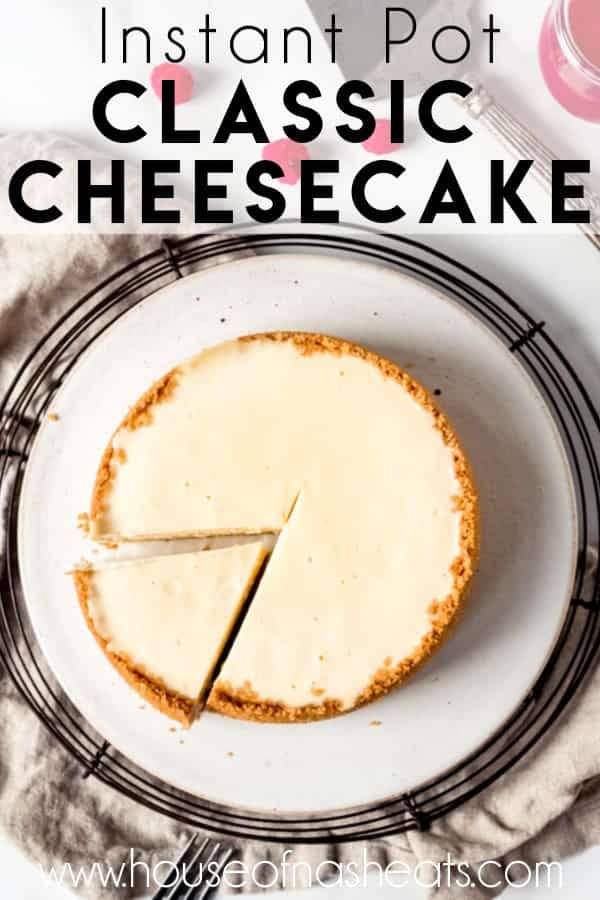
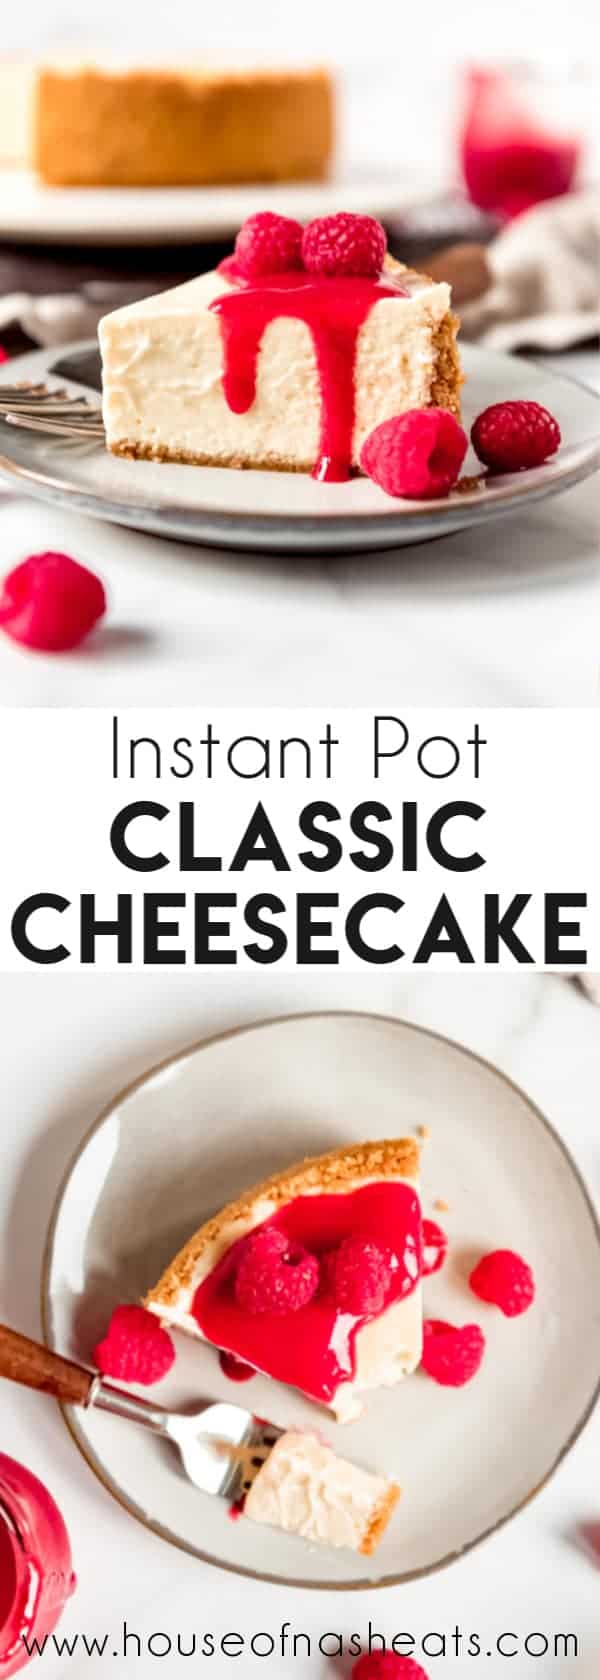
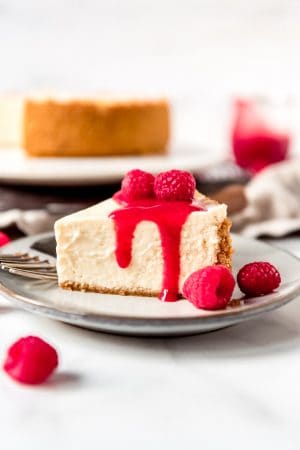
This classic, creamy Instant Pot Cheesecake recipe is always a winner and completely foolproof! A perfect graham cracker crust with a smooth, rich cream cheese filling is perfect plain or topped with raspberry sauce, cherries, or sliced strawberries!
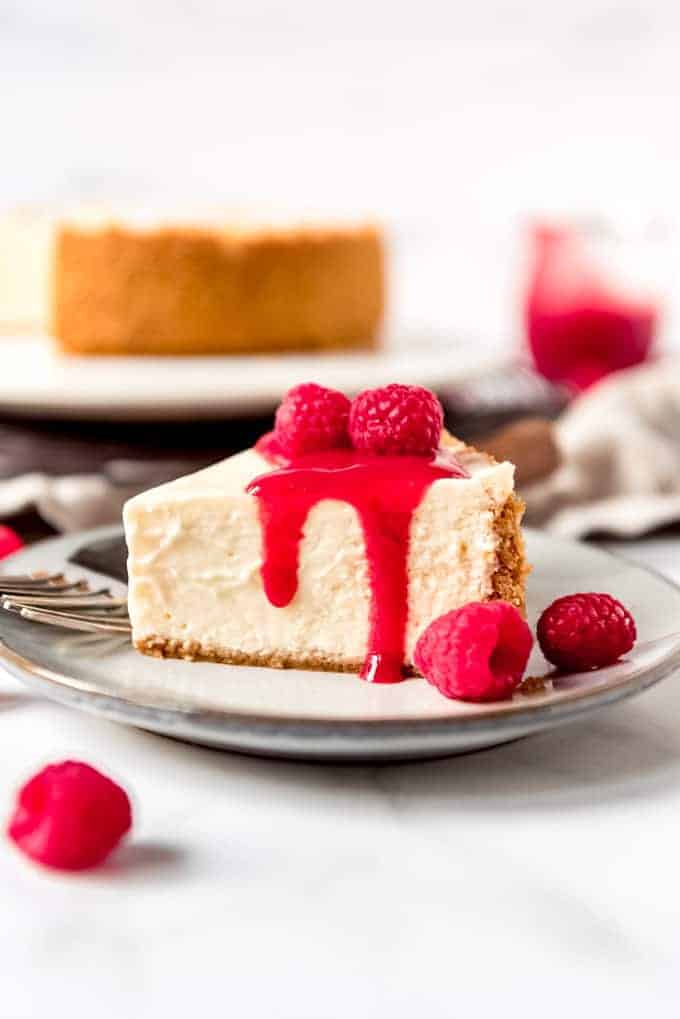
Table of Contents
- Instant Pot Cheesecake
- Ingredients for Cheesecake in Instant Pot
- Equipment needed to make Instant Pot Cheesecake
- How to Make Easy Instant Pot Cheesecake
- Tips for the Best Instant Pot Cheesecake
- How to serve this Instant Pot Cheesecake Recipe
- How to store the Best Instant Pot Cheesecake
- Cheesecake Instant Pot FAQS
- More Dessert Recipes You’ll Love
- Easy Instant Pot Cheesecake Recipe
Instant Pot Cheesecake
Who DOESN’T love a slice of cheesecake? I mean, there is an entire restaurant chain based around the classic dessert for crying out loud.
But if I’m being completely honest, I have failed many, many times at baking cheesecakes at home. It has been my white whale for many years.
From leaky aluminum foil wraps and waterbaths to cracks on top to fussy baking temperatures and instructions, I feel like cheesecake is even more intimidating that candy-making!
Plus, most cheesecake recipes are for larger 9- or 10-inch cheesecakes, which is kind of a ton of cheesecake, especially since the slices are so rich.
Enter the Instant Pot Cheesecake, which has taken my life by storm. It’s so easy and straightforward that it is one of a handful of recipes that I’m willing to call foolproof.
If you are craving cheesecake but don’t have an Instant Pot, be sure to check out my Pecan Pie Cheesecake Bars and Black Forest Cheesecake!

And it’s just right for 6-8 people, which is perfect for a small dinner party without leaving me eating cheesecake for days or filling my freezer with the leftovers (not that leftover frozen cheesecake is a bad thing, it’s just that I’m very bad at resisting temptation and a freezer full of cheesecake isn’t exactly smart in my situation, if ya know what I mean).
This instant pot cheesecake recipe is a great way of making the best cheesecake without all of the hassles of a traditional cheesecake. You don’t need to worry about it cracking or becoming dry. You don’t have to worry about overbaking or ending up with a soggy crust from a leaky waterbath.
No, this classic New York-Style cheesecake is so simple you may need to invest in extra stretchy pants because you’ll want to make it over and over again.
Ingredients for Cheesecake in Instant Pot
- Cream Cheese
- Graham Crackers
- Granulated Sugar
- Large eggs
- Salted Butter
- All-purpose Flour
- Sour Cream
- Vanilla Extract
Equipment needed to make Instant Pot Cheesecake
Totally necessary:
- Instant Pot: I have a 6-quart, which works perfectly for this cheesecake and is a pretty standard size for most individuals.
- 7- or 6-inch springform pan: Either pan will work for this recipe and will fit in your Instant Pot. I have a 7-inch springform pan that I used to make this cheesecake.
Helpful, but not completely necessary:
- Food processor (affiliate link): It makes crushing graham crackers into fine crumbs so much easier. But a good old rolling pin (affiliate link) will do the same thing for you.
- Parchment paper: Cut out a circle to line the bottom of your springform pan. The delicious graham cracker crust can be a little pesky and want to stick sometimes otherwise.
- Additional Instant Pot sealing ring: Some people claim to notice a faint taste to the cheesecake of whatever it was that was cooked in the Instant Pot previously if they don’t change out the rubber sealing ring. I bought these sealing rings (affiliate link), which are color coded so I know to always use my red one for Instant Pot desserts! But I have had this cheesecake made with a ring that had been used for all sorts of savory recipes and I didn’t notice any strange flavors that shouldn’t be in a cheesecake.
- Hand mixer: You could probably just whisk the cheesecake batter together by hand, but a mixer makes it so much easier.
How to Make Easy Instant Pot Cheesecake
- Prep the pan. Cut out a circle of parchment paper to line the bottom of a 7-inch springform pan. Set aside.
- Make the crust. In a food processor (affiliate link), pulse the graham crackers until they form fine crumbs. Mix in the sugar and melted butter, then press firmly into the bottom and halfway up the sides of the springform pan. Stick the crust in the freezer while preparing the filling.
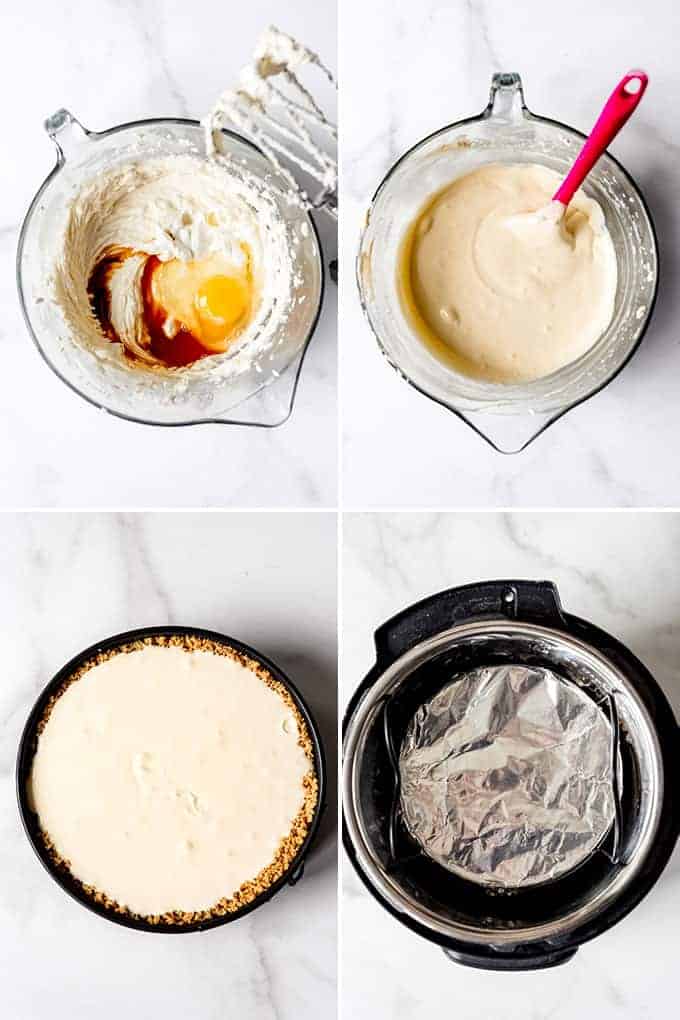
- Beat the cream cheese. For the filling, place the cream cheese, sugar, and flour (or cornstarch) in a large bowl and then beat with a hand mixer until smooth.
- Add remaining ingredients. Scrape down the sides, then add in the eggs, sour cream, and vanilla, mixing just until combined. Make sure to stop and scrape the bottom and sides before mixing again. Pour the filling into the prepared and chilled crust.
- Remove excess air bubbles. Tap the cheesecake on the counter a couple of times to release any of the air bubbles. Cover the top of the pan with a piece of foil to prevent condensation from building up on the cheesecake.
- Prep the Instant Pot. Pour 1 ½ cups of water into a 6-quart Instant Pot, then carefully lower the cheesecake down using the trivet so that the cheesecake is setting above the water on the trivet.
- Cook for 35 minutes. Secure the lid and make sure the pressure release valve is in the sealed position. Press “Manual Cook” and make sure it is set to high pressure. Set the timer for 35 minutes. The Instant Pot will take 8-10 minutes to come up to pressure, then it will begin to count down the cooking time.
- Do a natural release. Once the Instant Pot has finished cooking, do a natural release (which means don’t do anything at all) for 25-30 minutes. Then remove the lid and carefully lift the cheesecake out of the Instant Pot using the trivet handles.
- Cool then chill. Let the cheesecake cool on the counter for 1 hour, then chill in the fridge for at least 4 hours.
- Slice and serve. When ready to serve, release the sides of the springform pan, slice the cheesecake, and top with your favorite toppings.
Tips for the Best Instant Pot Cheesecake
- You don’t HAVE to buy a separate rubber ring to go around the inside lid of your instant pot for making desserts, but it might be a good idea. I think you’re fine using your regular ring, but if you use your instant pot for curries nonstop, you might want to have a new one just to be on the safe side.
- Cover the cheesecake with foil. So much steam is created with the Instant Pot that if you don’t cover your cheesecake, you will end up with quite a bit of condensation on the top when you remove the lid. Which you can blot away with paper towel, if you forget the foil. But it’s just easiest to cover the cheesecake to protect it, then remove the foil after the cheesecake is done cooking.
- You want to beat the cheesecake filling until it’s smooth, but try not to go crazy beating it or you might have bubbles on the top of the cheesecake. These can usually be dealt with by just tapping the cheesecake pan on the top of the counter a few times before dropping it into the Instant Pot.
How to serve this Instant Pot Cheesecake Recipe
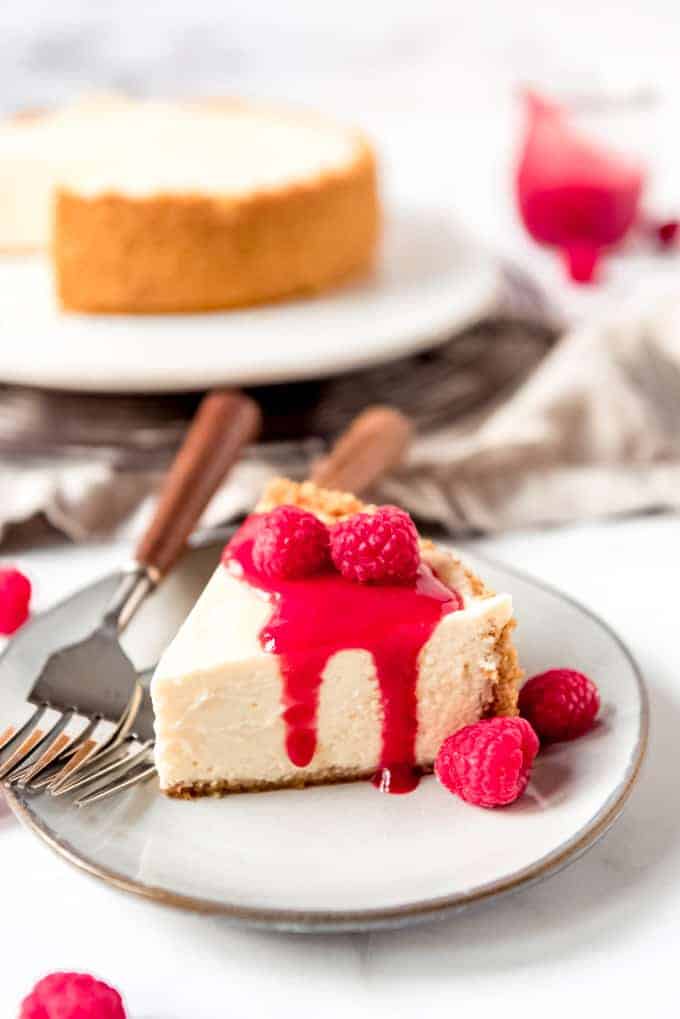
The choice is really up to you when it comes to topping your cheesecake! There are so many delicious and wonderful ideas! Our personal favorites are pretty classic: raspberry coulis, fresh or macerated strawberries, or cherry pie filling (from my Best Homemade Cherry Pie Recipe).

But here are some other choices that would also be amazing on top of this classic New York-Style cheesecake.
- chocolate syrup
- homemade salted caramel sauce
- blueberry or apple pie filling
- whipped cream and fresh fruit
- sour cream topping (just mix 1 cup of sour cream with 3 tablespoons of powdered sugar and ½ teaspoon of vanilla, then spread this on top of the cheesecake and chill)
How to store the Best Instant Pot Cheesecake
Store the cheesecake in the fridge covered with plastic wrap for up to 5 days to keep it fresh.
Cheesecake also freezes well for up to 2 months. Just be sure to wrap it in plastic wrap and store in an airtight container to prevent it from freezer burn. Let it thaw in the fridge overnight and then on the counter for an hour before enjoying.
Cheesecake Instant Pot FAQS
If you started with cold ingredients and they didn’t fully mix together during, then you’ll notice your cheesecake is lumpy as a result. It’s important to follow this recipe with ingredients that are the requested temperatures and to make sure that when you’re beating the batter that you do it until everything is very smooth.
Of course! Depending on your flavor choice you may find that using gingersnaps, shortbread, or Biscoff cookies instead of graham crackers gives it a festive holiday feel. And of course Oreos make a fantastic cheesecake crust as well.
More Dessert Recipes You’ll Love
- Moist Chocolate Cupcakes
- Chocolate Thumbprint Turtle Cookies
- Meyer Lemon Pudding Cake
- Irish Apple Cake with Custard Sauce
- White Chocolate Raspberry Truffle Ice Cream
- Blueberry Sour Cream Custard Pie
- Homemade Strawberry Ice Cream
- No Bake Chocolate Peanut Butter Bars
- Smores Lasagna
Did you make this recipe?
Let me know what you thought with a comment and rating below. You can also take a picture and tag me on Instagram @houseofnasheats or share it on the Pinterest pin so I can see.
Easy Instant Pot Cheesecake
Ingredients
Crust
- 1 1/4 cups graham cracker crumbs about one sleeve of graham crackers
- 2 Tablespoons granulated sugar
- 1/4 cup salted butter melted
Filling
- 16 ounces cream cheese softened to room temperature
- 1/2 cup granulated sugar
- 2 Tablespoons all-purpose flour
- 2 large eggs room temperature
- 1/4 cup sour cream room temperature
- 2 teaspoons vanilla extract

Instructions
- Cut a circle of parchment paper to line the bottom of a 7-inch springform pan. Set aside.
- In a food processor (affiliate link), pulse the graham crackers until they form fine crumbs. Mix in the sugar and melted butter, then press firmly into the bottom and halfway up the sides of the springform pan. Stick the crust in the freezer while preparing the filling.1 ¼ cups graham cracker crumbs, 2 Tablespoons granulated sugar, ¼ cup salted butter
- For the filling, beat the cream cheese, sugar, and flour in a large bowl using a hand mixer until smooth.16 ounces cream cheese, ½ cup granulated sugar, 2 Tablespoons all-purpose flour
- Scrape down the sides, then add the eggs, sour cream, and vanilla, mixing just until combined, and stopping to scrape the bottom and sides before mixing again. Pour the filling into the chilled crust.2 large eggs, ¼ cup sour cream, 2 teaspoons vanilla extract
- Tap the cheesecake on the counter a couple of times to release air bubbles. Cover with a piece of foil to prevent condensation from building up on the cheesecake.
- Pour 1 ½ cups of water into a 6-quart Instant Pot, then carefully lower the cheesecake down using the trivet so that the cheesecake is setting above the water on the trivet.
- Secure the lid and make sure the pressure release valve is in the sealed position. Press "Manual Cook" and make sure it is set to high pressure. Set the time for 33 minutes.
- The Instant Pot will take 8-10 minutes to come up to pressure, then it will begin to count down the cooking time. Once the Instant Pot has finished cooking, do a natural release (which means don’t do anything at all) for 25-30 minutes. Then remove the lid and carefully lift the cheesecake out of the Instant Pot using the trivet handles.
- Let the cheesecake cool on the counter for 1 hour, then chill in the fridge for at least 4 hours.
- When ready to serve, release the sides of the springform pan, slice the cheesecake, and top with your favorite toppings.
Notes
- Cornstarch can be used in place of the flour in the cheesecake filling. Either ingredient helps stabilize the cheesecake and prevent it from cracking.
- Freezing Instructions: You can freeze the entire cheesecake whole if you need to make a bunch of cheesecakes in advance. Or slice and freeze individual slices, then wrap in plastic wrap and store in a freezer safe bag for up to 3 months. Thaw completely in the fridge overnight before serving.






You are the second person this week to tell me about the different sealing rings for the Instant Pot. I really had no idea! I have not made a dessert in my Instant Pot yet. This will be my first one!!
Wow such an amazing dessert in the IP. Love it!
Just got your instant pot cheesecake recipe. Love using the IP in the summer when it’s hot. Saw your notes about IP rings holding flavors. You can get new ones, or you can actually put them in the oven on a baking sheet at about 350° F for about 20 minutes. Let cool, smell should be gone.
Wow thanks Anna! What a good tip for the rings.