
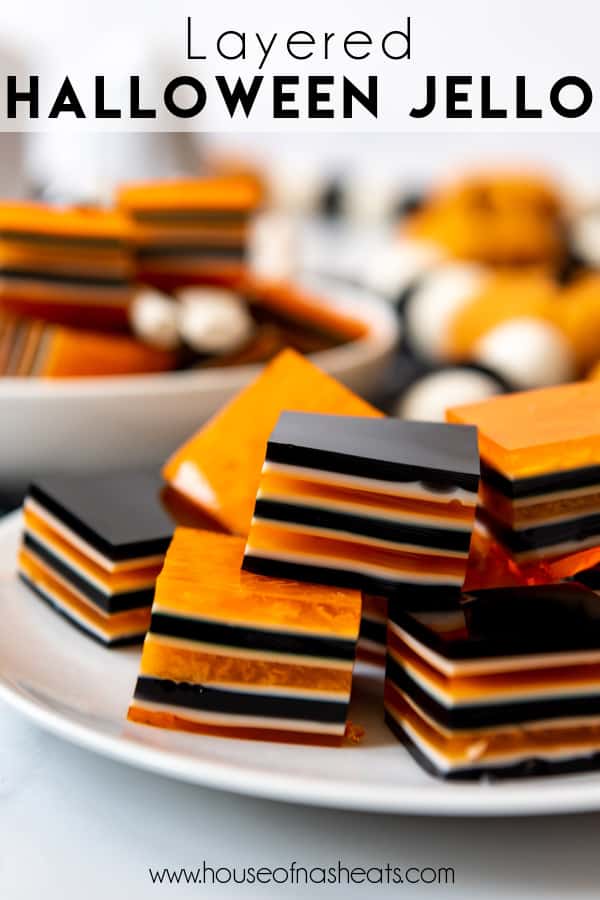
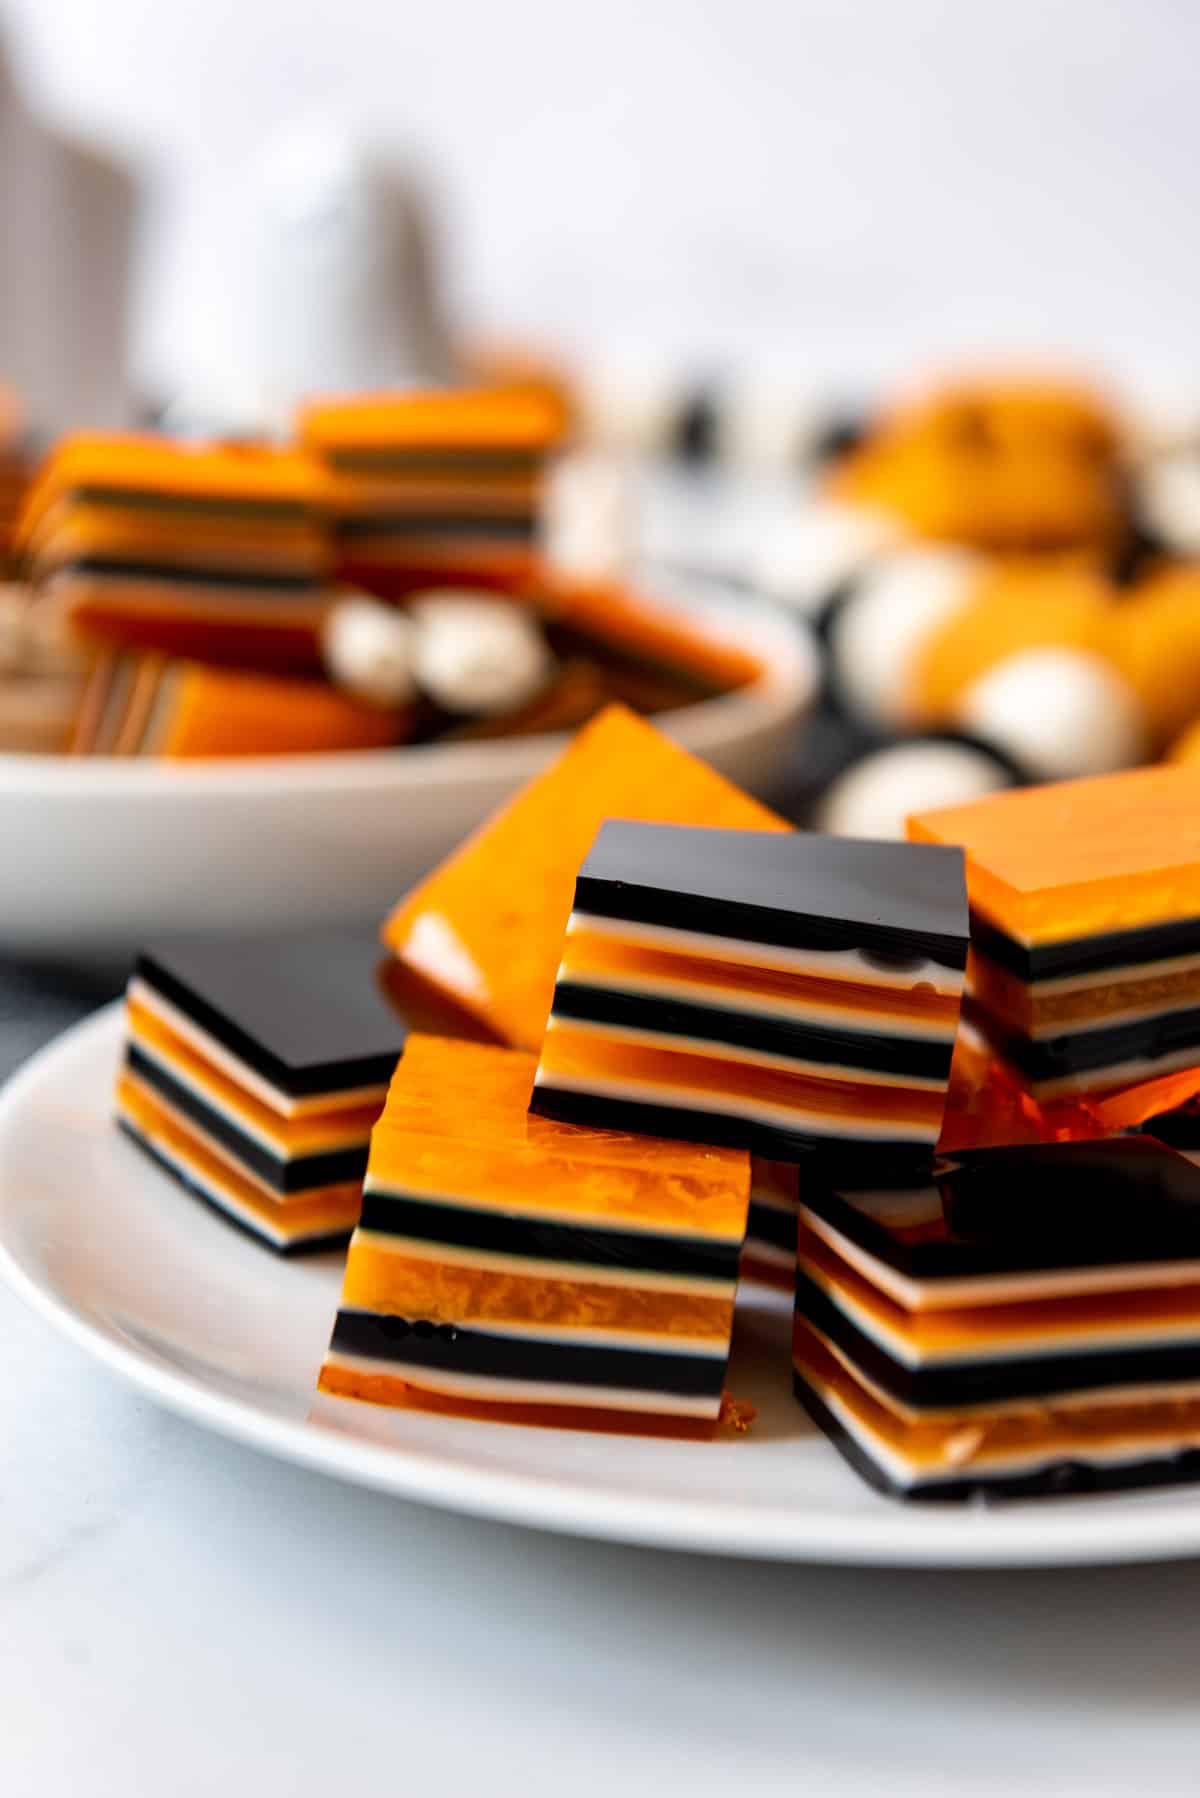
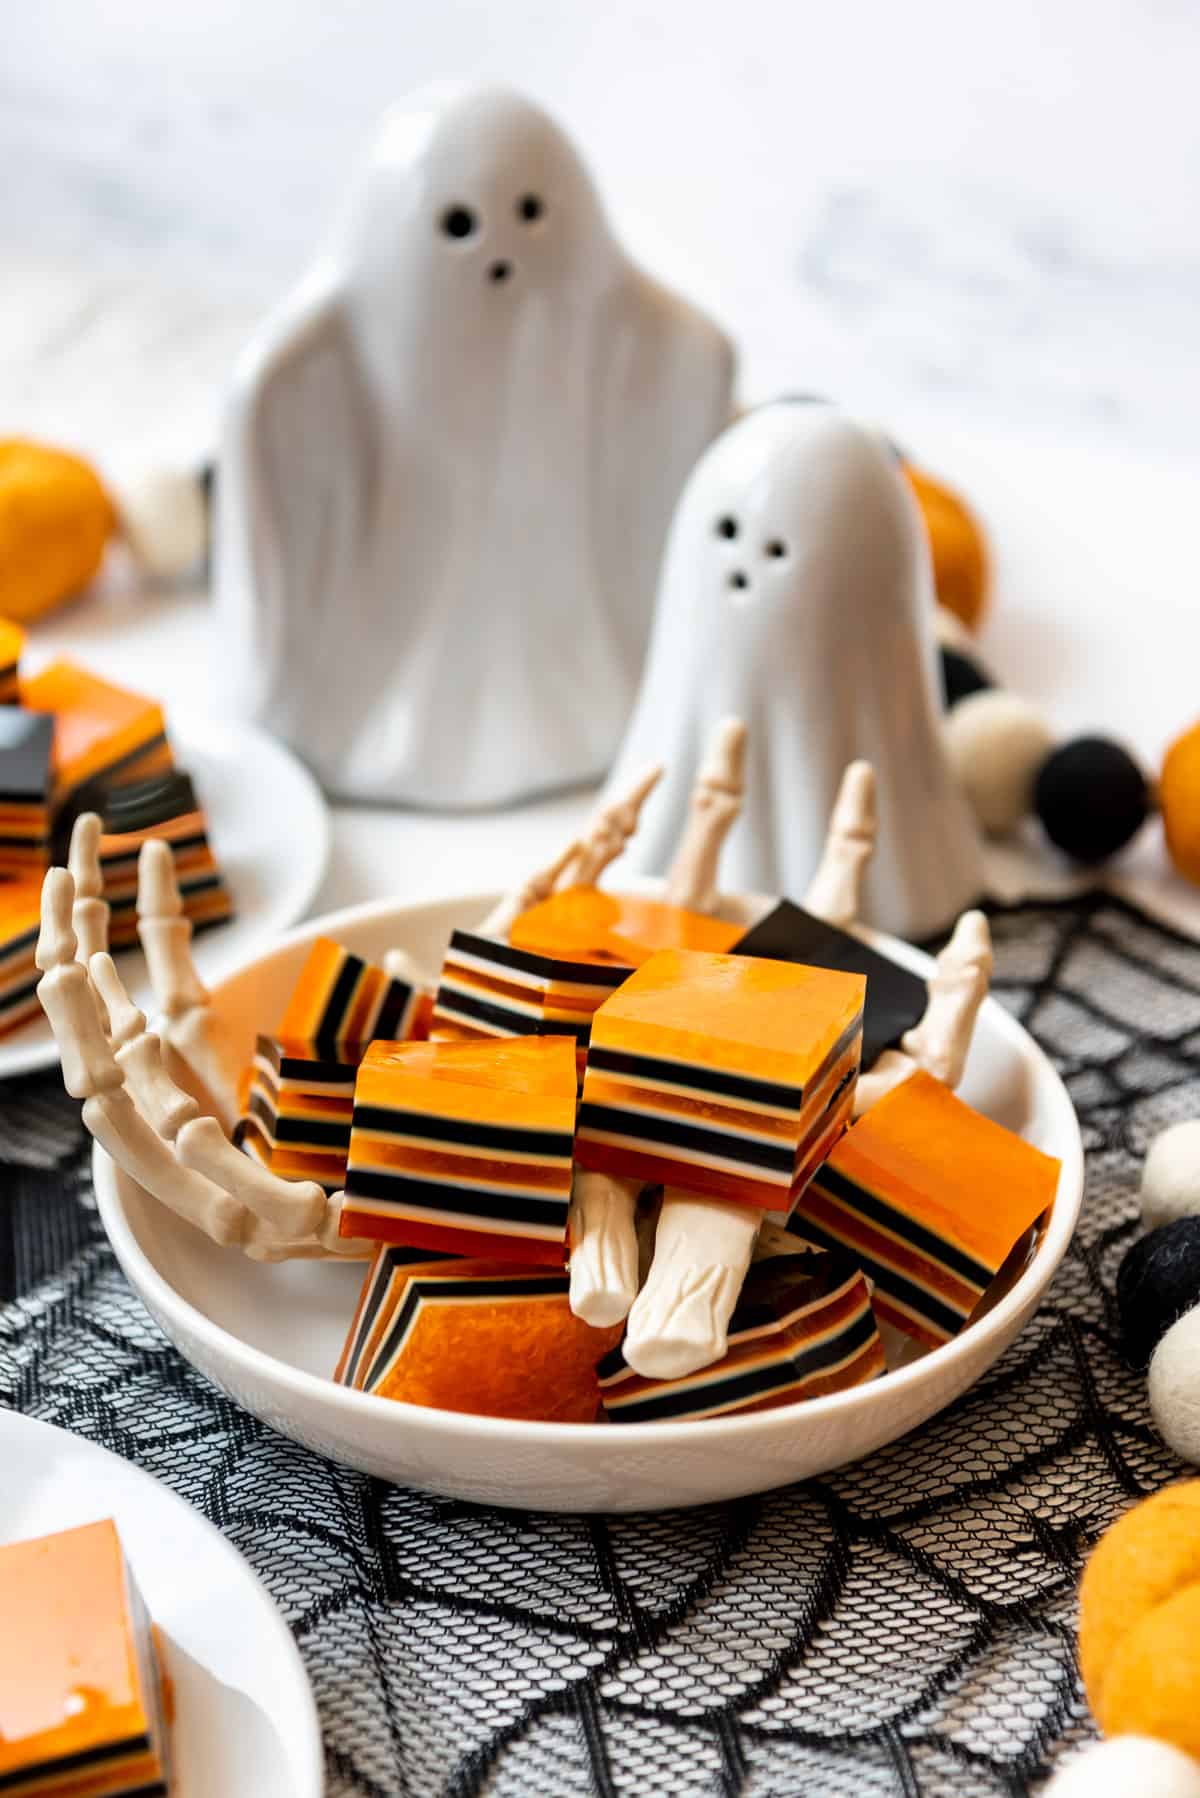
This black, orange, and white striped Halloween Jello is a jiggly treat that kids and grown-ups will both enjoy! Cut them into little squares for a fun finger food that is perfect for a party!
If you really want to surprise and delight your kids, this layered Halloween jello is just the thing. Every spring I make my wildly popular Layered Rainbow Jello recipe that always gets rave reviews, so when I was brainstorming ideas of what I could make for Halloween I had the thought it would be fun to make a black and orange version as well. We like to serve it with Mummy Chicken Pot Pies for a fun themed dinner!
While it does take a little time to set each layer of the jello, this recipe is really easy to make and the results are pretty spooktacular. All the little goblins and witches will squeal with delight at the cool, wobbly treat!
We love Halloween and all the spooky treats that can be made this time of year. Be sure to also check out our Chocolate Covered Halloween Pretzels, Panna Cotta Eyeballs, and Halloween Chex Mix Muddy Buddies!
You can serve it as bite-size 1-inch cubes, which are perfect for a party, or slice larger squares and top with a dollop of whipped cream for a plated dessert to finish a Halloween meal. Either way it is delicious and has a refreshingly cool, fruity taste that is a nice change of pace from all the chocolate and caramel.
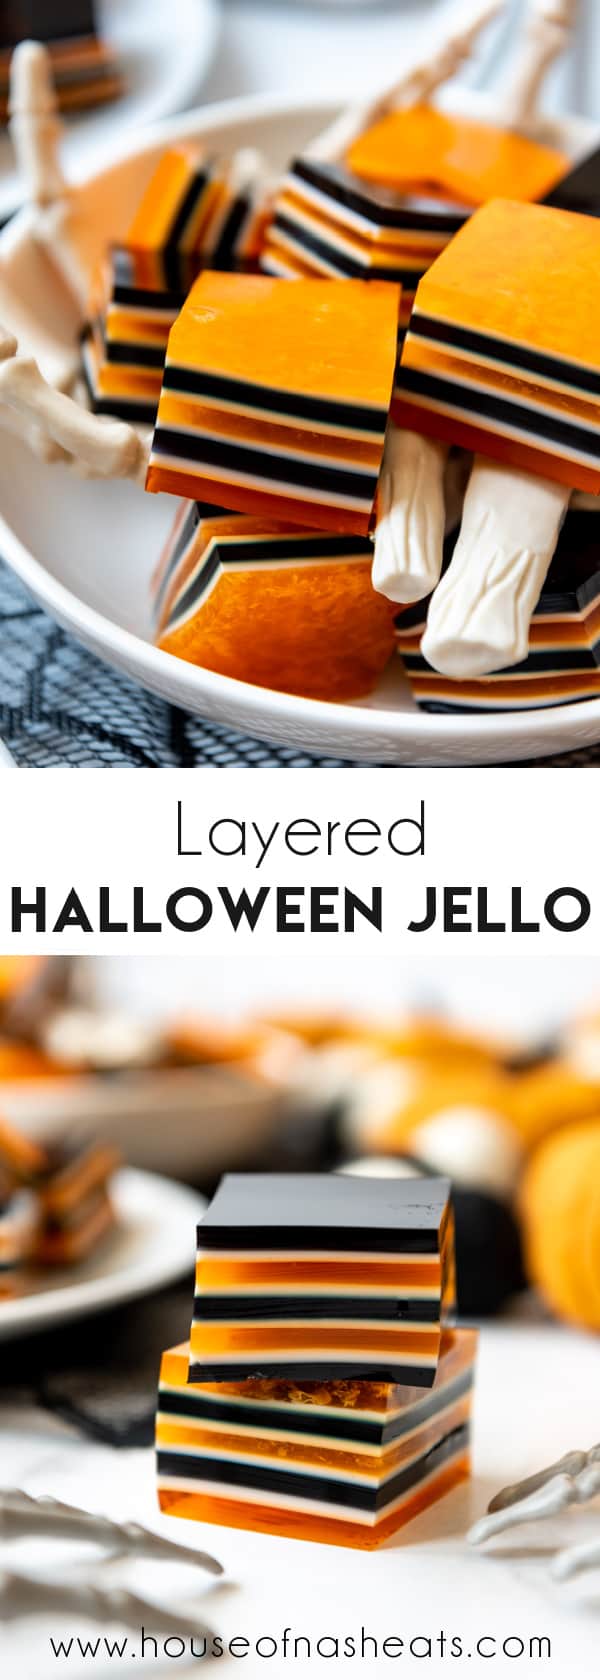
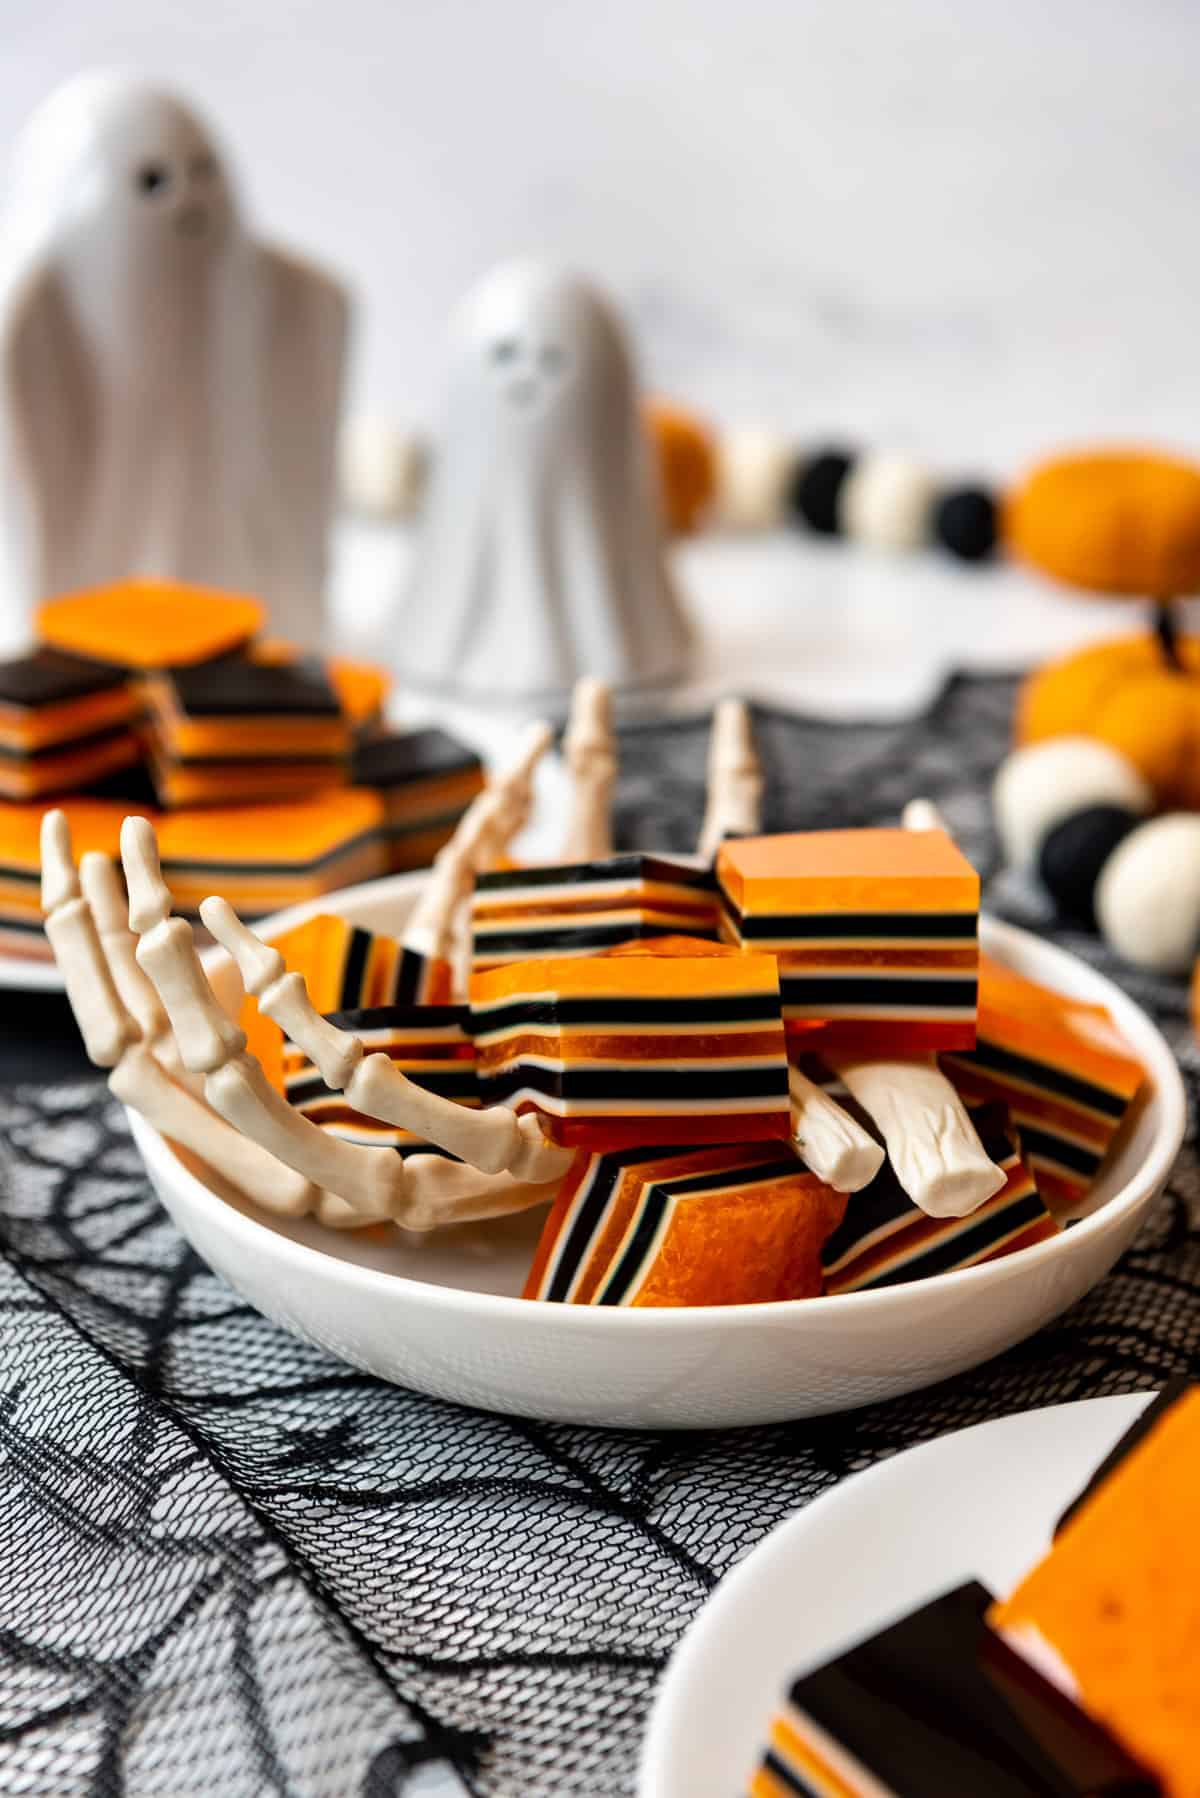
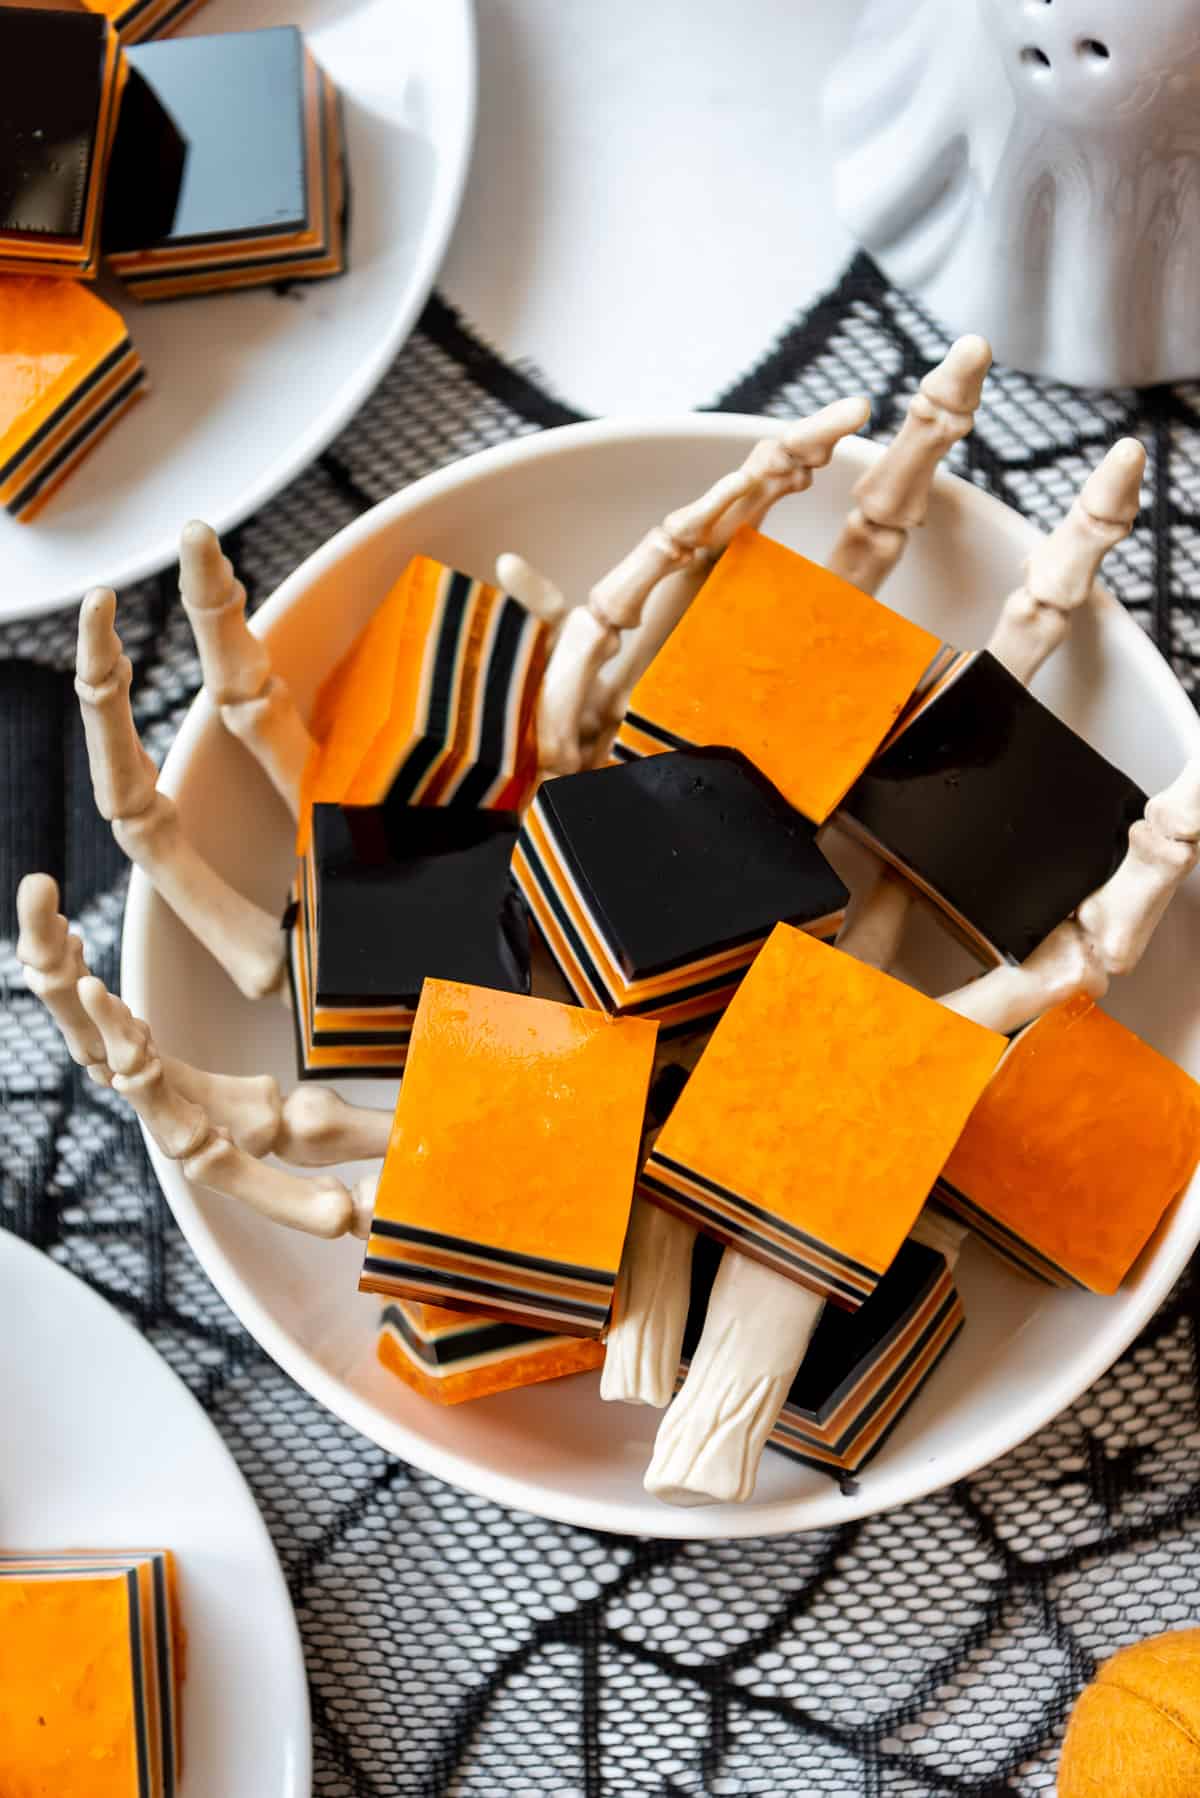
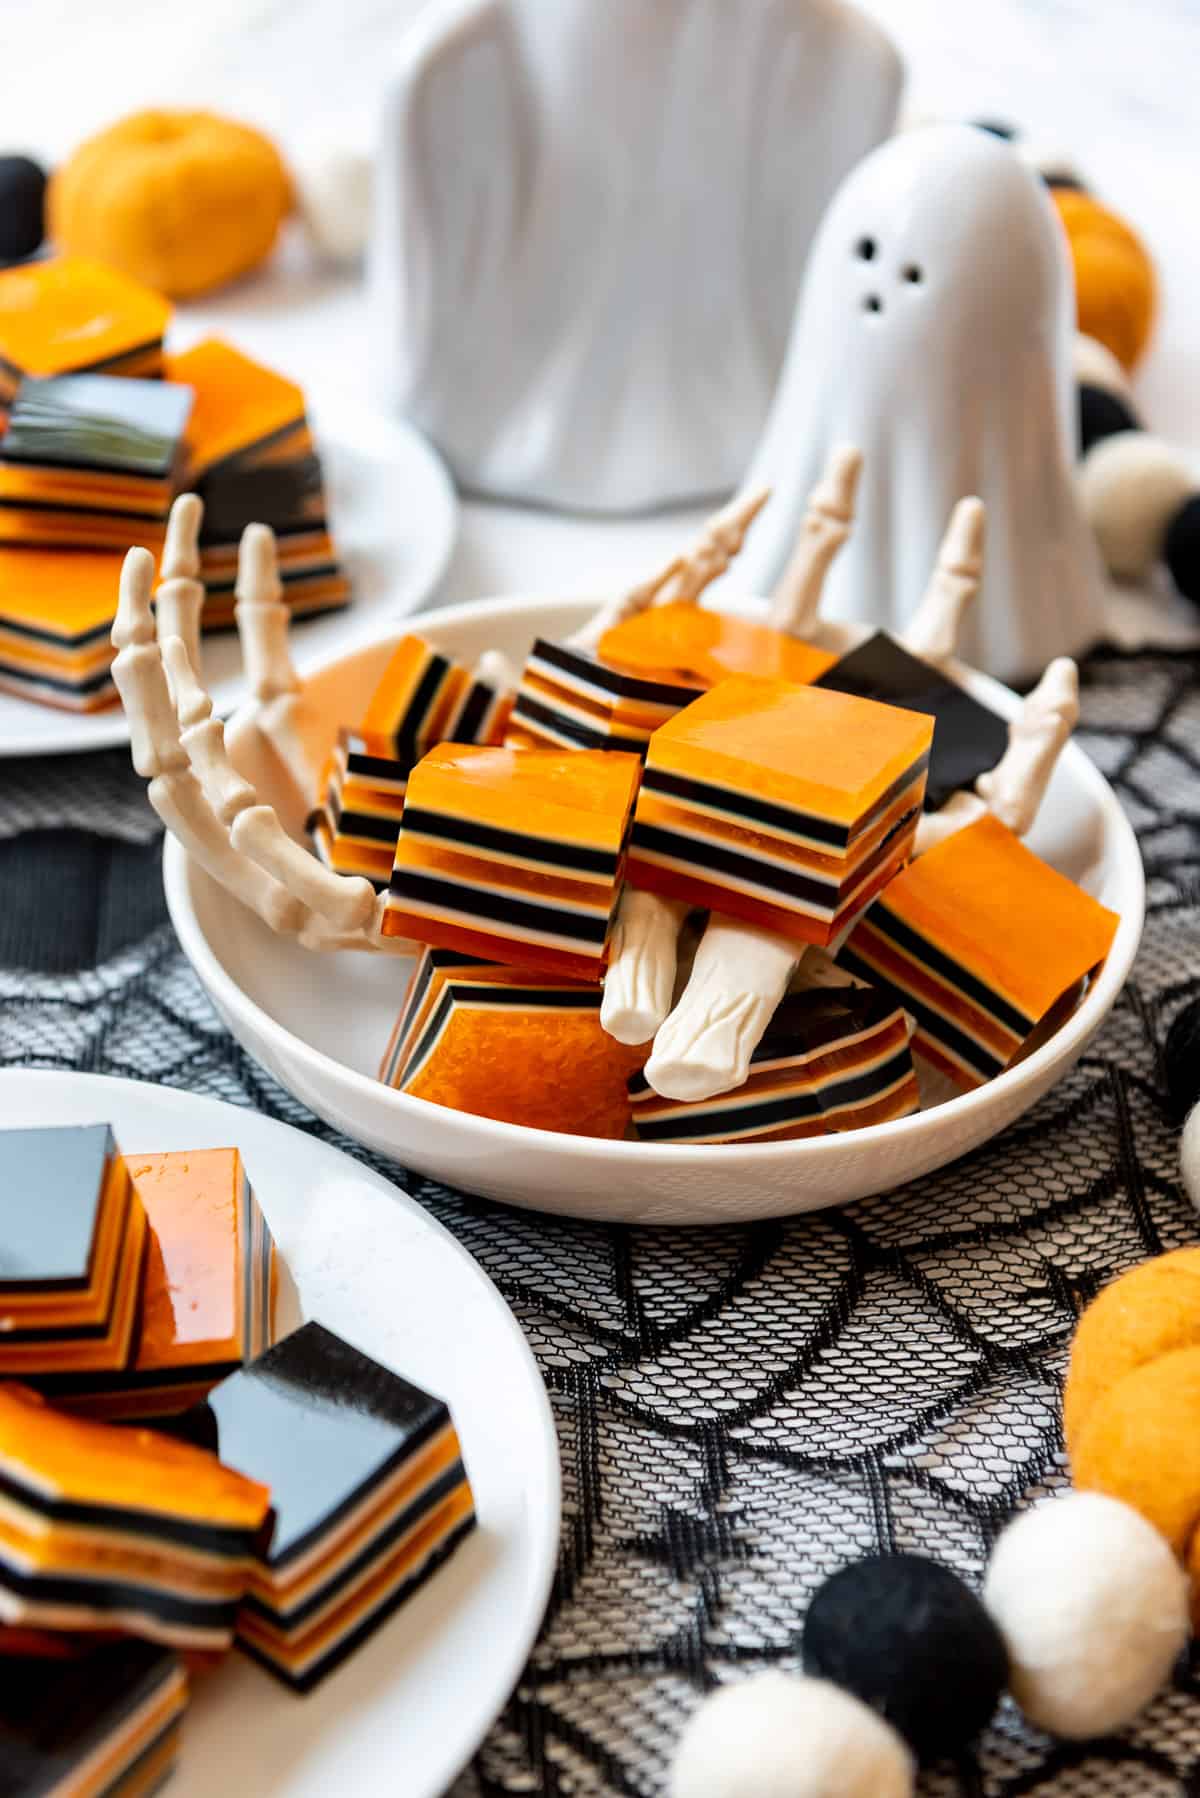
Bonus points if you arrange them on a festive platter or scatter plastic spiders or skeleton hands around for a creepy presentation!
What You’ll Need
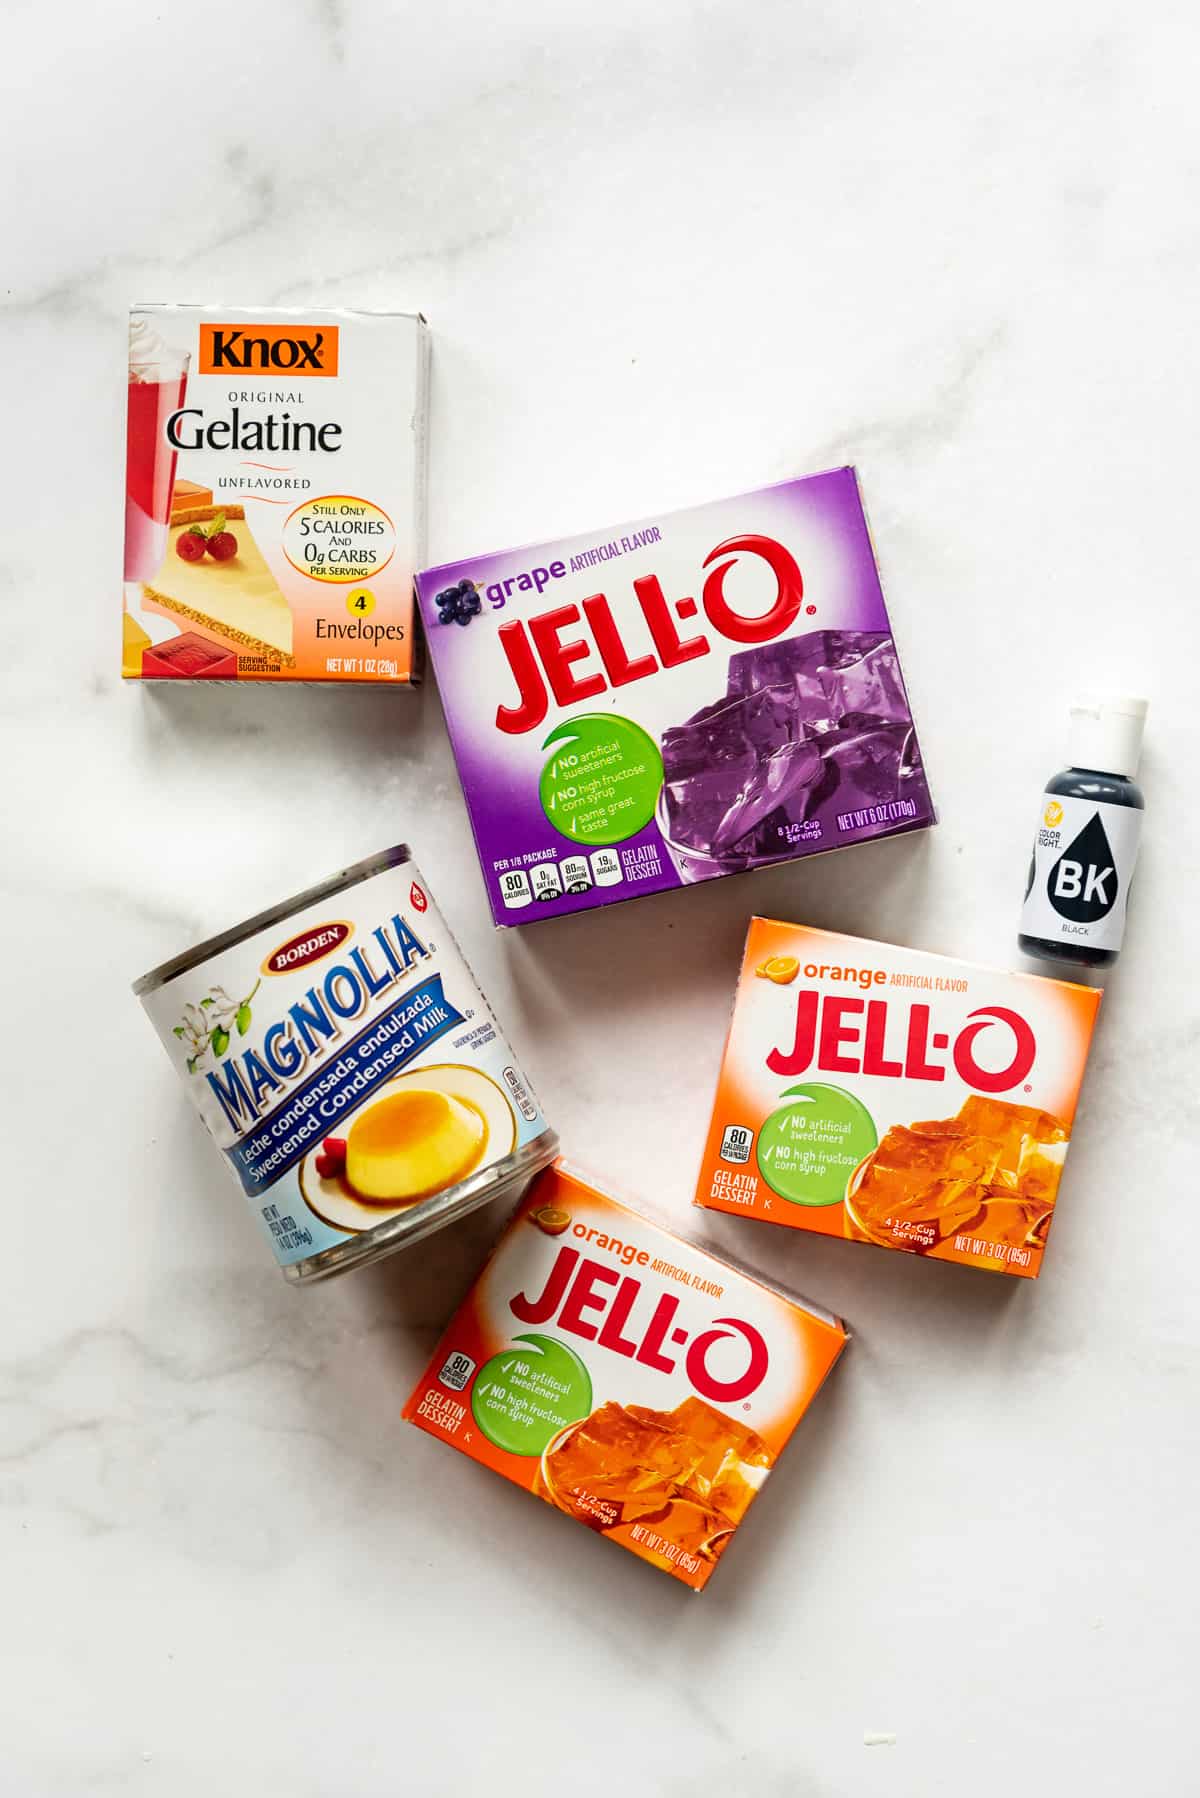
- Jello: You’ll need a dark colored Jello flavor like grape or black cherry and orange jello to make this recipe.
- Sweetened condensed milk: This gives a creamy sweetness to the white layer, which would be unflavored otherwise. You could also sub coconut cream instead.
- Unflavored gelatin powder: This product is readily available in most grocery stores close to where you normally find other jello products.
- Black food coloring (affiliate link): I prefer using gel food coloring (affiliate link) because you get the best color using less of the dye.
How to Make Layered Jello
You will need to make the jello layers one at a time and let them set in the fridge before adding the next color. The process can’t really be rushed, so turn on a Halloween movie like Sleepy Hollow or Hocus Pocus and just use your timer to help you keep track.
The full recipe makes a 9×13-inch pan. But I decided to split it into two 8×8-inch pans so I could have one batch that was all black on the bottom and top layers and another that was orange on the top and bottom layers. But if you want to keep things simple, you can just do the whole thing in a 9×13-inch pan
Go ahead and make all three jello flavors at the same time. This is so you aren’t pouring hot liquid onto a set layer of gelatin, which can cause it to dissolve even if that layer was already set.
Orange Layer: For the orange, you will need to dissolve a small 3-ounce box of orange jello along with 1 teaspoon of unflavored gelatin powder (it’s ½ of an envelope of the Knox unflavored gelatin) in 1 cup of boiling water. Stir until the jello is dissolved.
Black Layer: For the black, you will need to dissolve half of a 6-ounce box of grape jello (I can never seem to find this in the smaller size boxes) along with 1 teaspoon of unflavored gelatin powder in 1 cup of boiling water. Stir until the jello is dissolved then add a few drops of black gel food coloring (affiliate link) to darken the color. It doesn’t take a lot since the grape or black cherry jello is already pretty dark.
White Layer: Make the white layer by dissolving 2 teaspoons (1 envelope) of Knox unflavored gelatin in 1 cup of boiling water by stirring well. Add ½ can of sweetened condensed milk and stir until combined. This should sit out on the counter until cooled to room temperature while the bottom layer sets up in the fridge.

Assembly
If you are just making one large 9×13-inch pan, pour all of the orange (or black, whichever color you prefer for the top and bottom) into the pan and chill on a flat surface in the fridge.
If you are making two 8-inch pans, pour half of the orange jello into one pan and half of the black jello into the other pan. Transfer them to the fridge to chill for 20-30 minutes until set. The layers actually set up pretty fast because they are thin and because they are have a higher gelatin concentration than typical jello.
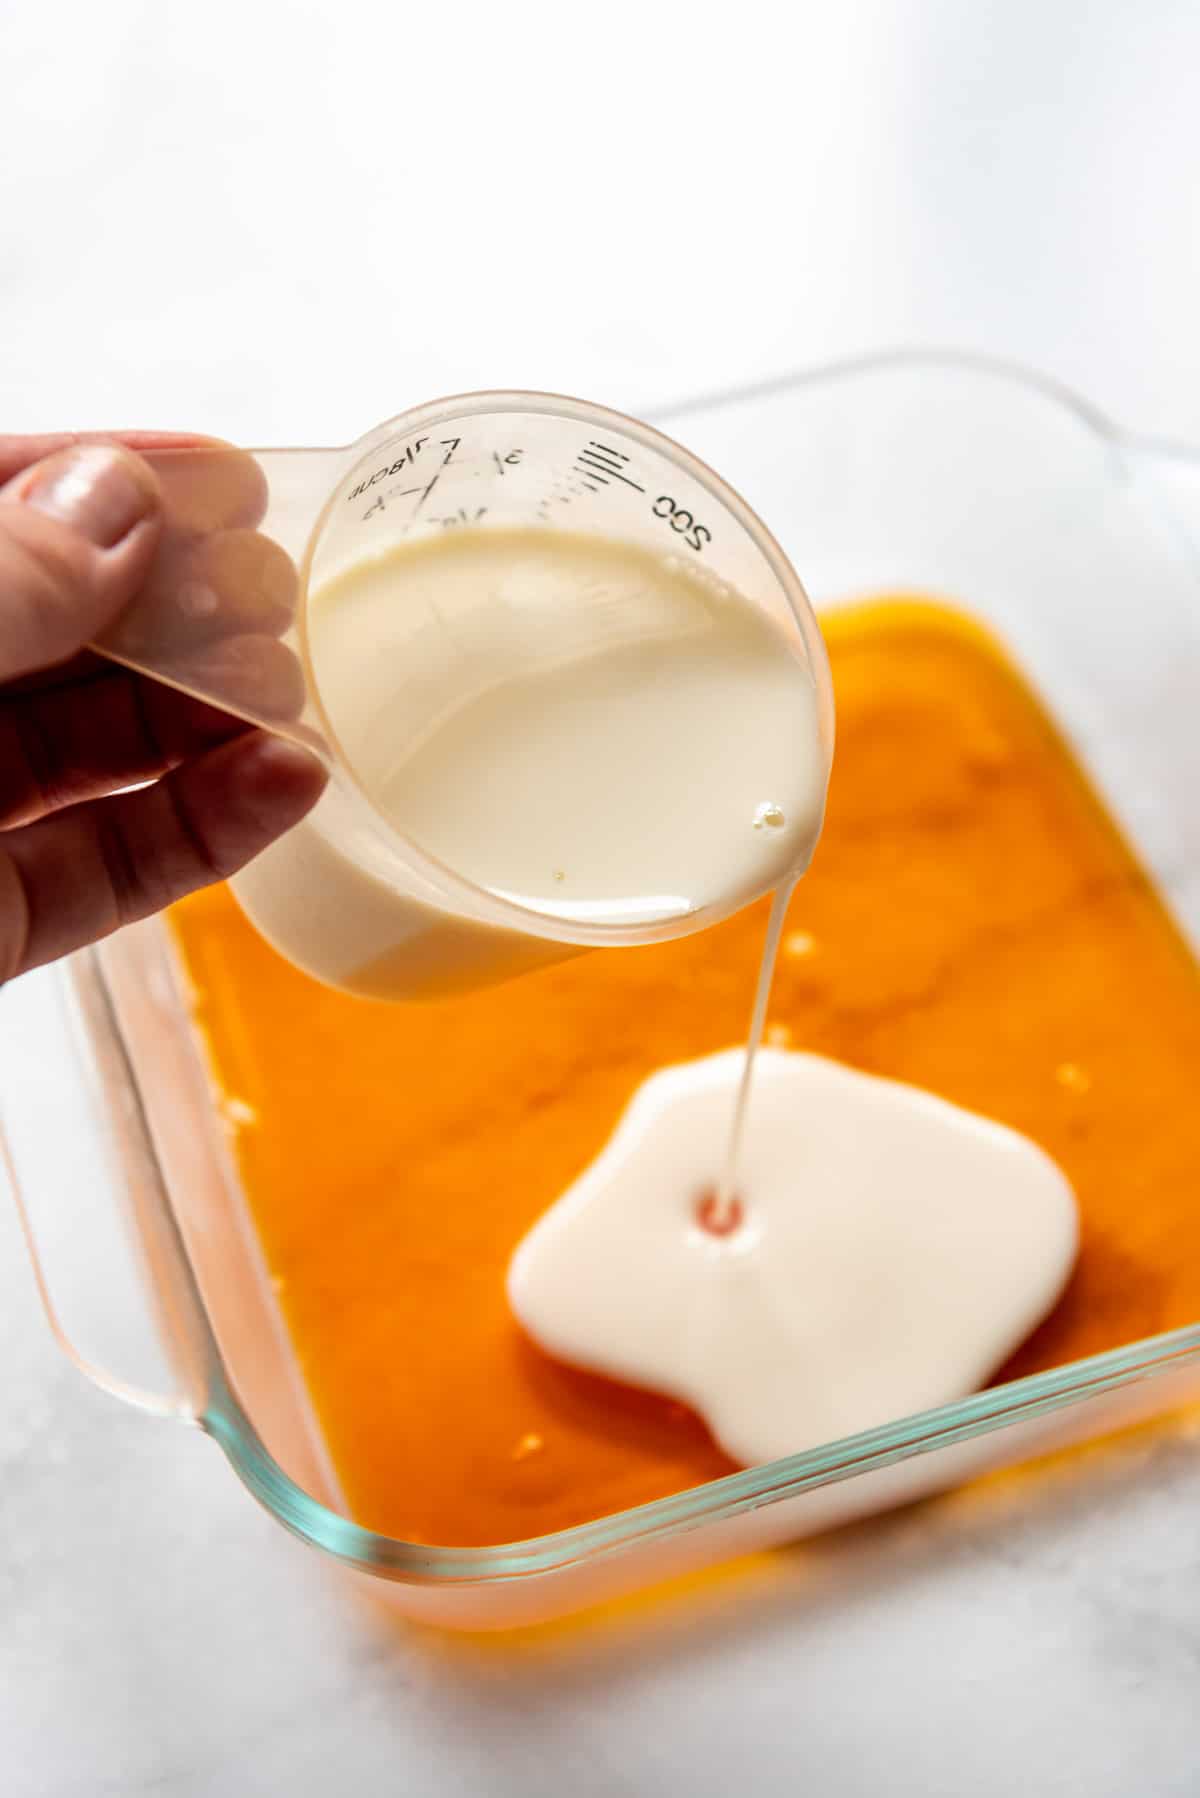
Once the bottom layer is set up, carefully pour ¾ cup of the room temperature white layer over the first color if using the 9×13-inch pan. It can help to spoon it on our pour over a spoon to avoid the liquid drilling a hole into the previous layer of jello.
If you are using the approach of making two 8-inch pans, the ¾ cup of white jello needs to be divided between the two pans. So pour 6 tablespoons of the cooled white liquid over the black layer and another 6 tablespoons over the orange layer. Tilt the pans to make sure it evenly covers the bottom layer of jello in a very thin layer.
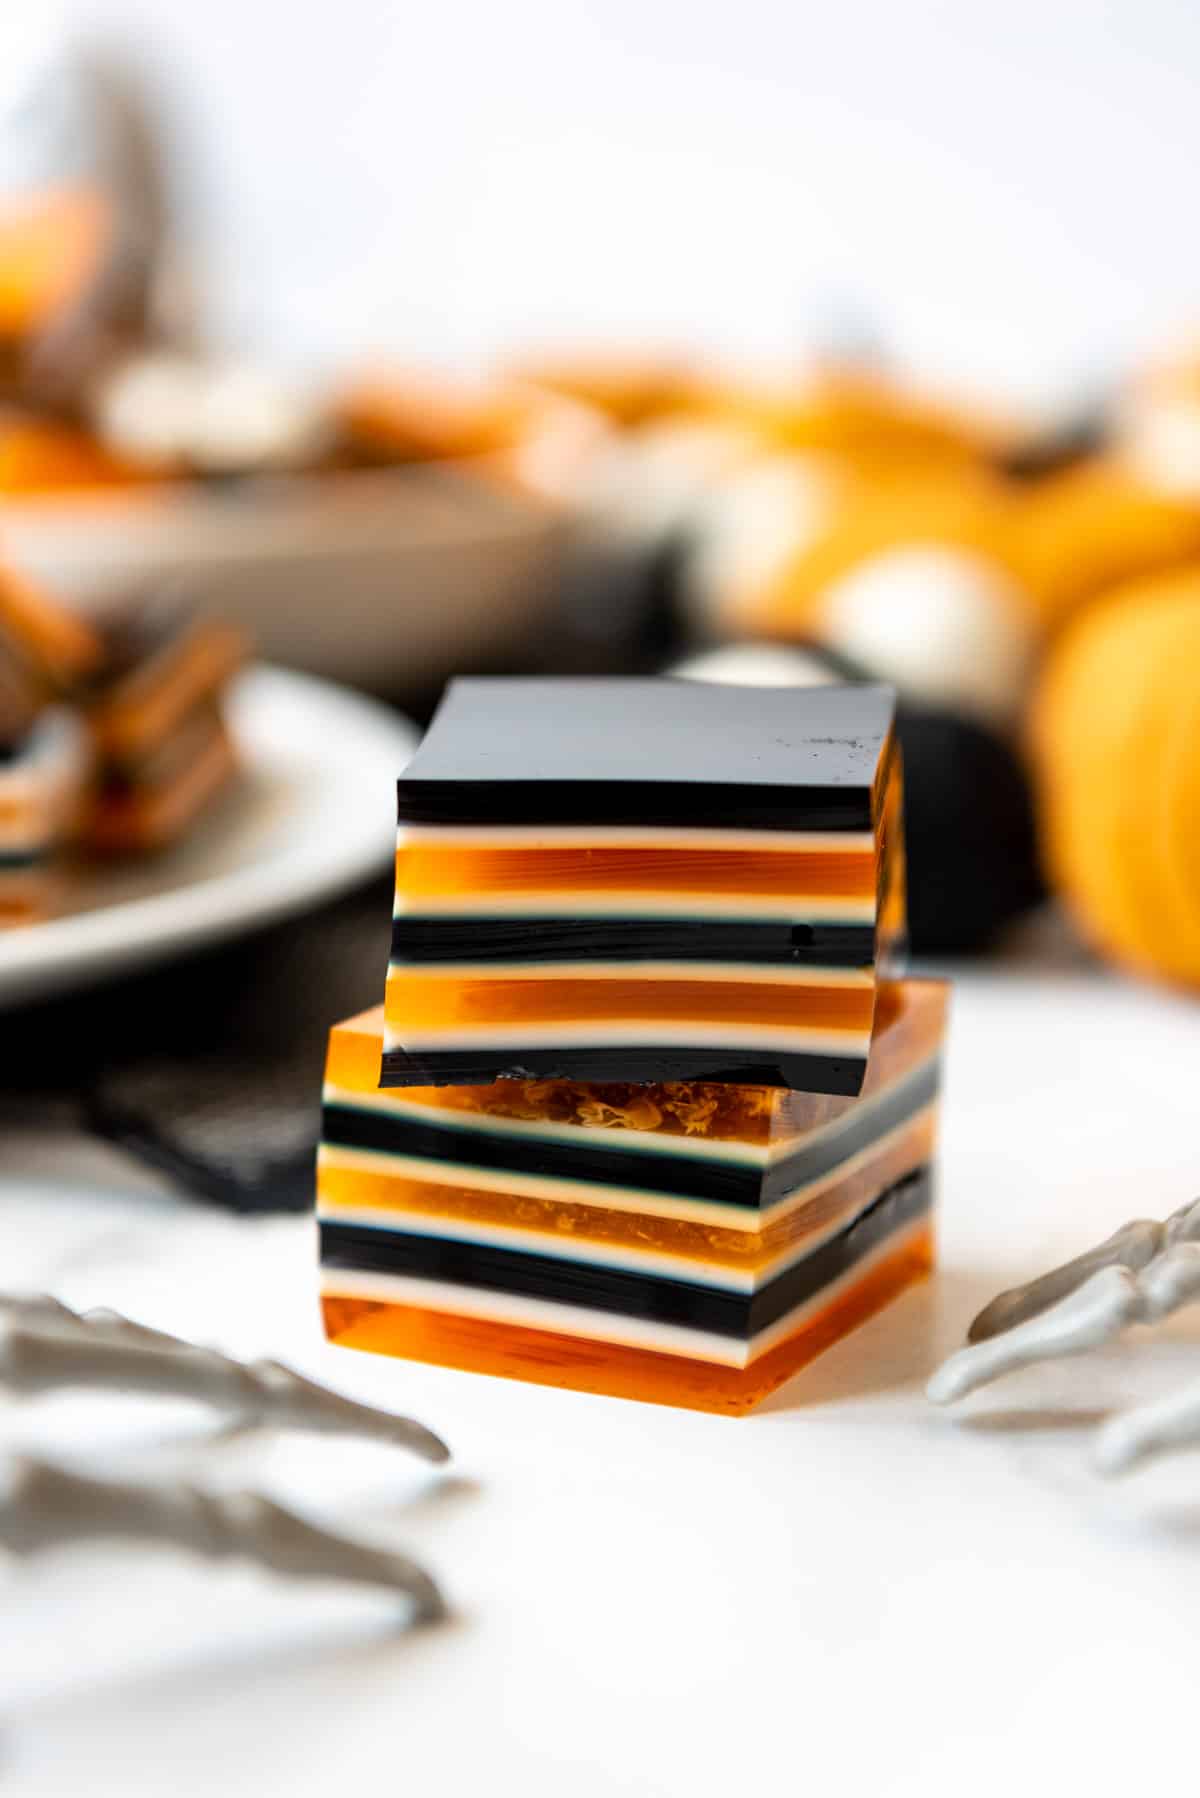
Let this set up in the fridge for another 20 minutes. Once the white layer is set, you can add the next layer of cooled black or orange jello and continue repeating the process until all of the layers have been added. You will end up with three layers of your primary (either orange or black) color and two layers of your secondary color, with four white layers in between.
You will need to remake the orange, black, and white layers partway through because if you make all of them right at first they will often start setting up even at room temperature if your house happens to be cool like ours often is in October.
If this DOES happen, you can easily fix the problem by setting your bowl of gelatin in a larger bowl filled with hot water for a minute or two and stir until it is melted and liquid again.
FAQ’s
Sure! This recipe works just the same with sugar free jello instead of regular jello, if you can find it in the right flavors.
No, unfortunately you won’t have great results if you try to make this ahead and freeze it. The jello gets watery when it thaws. But you can make it 3 or 4 days in advance and just keep it in the fridge! Just don’t slice the jello until shortly before you plan to serve it for best results.
Expert Tips
- Use a smooth-edged, sharp knife like a paring knife rather than a serrated knife to slice the jello for clean edges.
- Don’t rush adding the layers! My best tip is to let each batch of liquid cool so you aren’t adding hot liquid to a set layer of jello, which can cause the thin layers to melt and result in a cloudy appearance. If you look really closely at my pictures, you’ll notice I got impatient on one or two of my orange layers and made this mistake. Obviously it’s not the end of the world, but if you want perfection, learn from my mistakes.
- These are best served the same day that you slice them. The layers stay pretty and distinct until they are cut into cubes, then after a few hours stored humbled in a bowl (like you’ll see in these images), the colors start to bleed into each other a bit. It’s still totally fine to eat, but just won’t be as pretty the next day.
- If you take the 2 pan approach, you will have a little extra jello leftover that doesn’t get used. You can always fill little cups with it or just discard.
More Halloween Recipes
Layered Halloween Jello
Ingredients
- 7 cups water
- 2-3 (3-ounce) packages orange jello
- 2-3 (3-ounce) packages grape jello
- 1 (1-ounce) box unflavored gelatin powder (comes with four .25-ounce envelopes of powdered gelatin)
- Black gel food coloring (affiliate link)
- 1 (14-ounce) can sweetened condensed milk
Instructions
Make Jello Flavors
- Make the orange layer: Heat 1 cup of water to boiling in a microwave-safe bowl, about 2-3 minutes in the microwave. Dissolve one of the small 3-ounce boxes of orange jello along with 1 teaspoon of unflavored gelatin powder (it's ½ of an envelope of the Knox unflavored gelatin) in the boiling water. Stir until the jello is dissolved.7 cups water, 2-3 (3-ounce) packages orange jello, 1 (1-ounce) box unflavored gelatin powder
- Make the black layer: Heat 1 cup of water to boiling in a microwave-safe bowl, about 2-3 minutes in the microwave. Dissolve one of the small 3-ounce boxes of grape or black cherry jello along with 1 teaspoon of unflavored gelatin powder in the boiling water. Stir until the jello is dissolved. Add a few drops of black gel food coloring (affiliate link) until you achieve the desired color.2-3 (3-ounce) packages grape jello, Black gel food coloring (affiliate link)
- Make the white layer: Heat 1 cup of water to boiling in a microwave-safe bowl, about 2-3 minutes in the microwave. Dissolve one .25-ounce envelopes of unflavored gelatin powder in the boiling water. Stir until dissolved. Add ½ can of sweetened condensed milk and stir until combined.1 (14-ounce) can sweetened condensed milk
Assembly
- If you are just making one large 9×13-inch pan, pour all of the orange (or black, whichever color you prefer for the top and bottom) into the pan and chill on a flat surface in the fridge for 20-30 minutes while the white layer cools to room temperature.
- Once the bottom layer is set up, carefully spoon or pour ¾ cup of the room temperature white layer over the first color. Return to the fridge to set for another 20 minutes.
- Repeat with the next color, followed by more of the white layer, and repeating until all of the jello has been used up. You will need to repeat the process of making each color layer so they don't set up at room temperature partway through the assembly process.
- If you are making two 8-inch pans so one can have black on bottom and top and the other can be orange on bottom and top, pour half of the orange jello into one 8×8-inch pan and half of the black jello into the other 8×8-inch pan for the first layer. Transfer them to the fridge to chill for 20-30 minutes until set. Repeat adding white jello layers followed by contrasting color layers until finished.
- Slice the finished jello into 1-inch cubes before serving as a finger food, or slice into larger squares and top with whipped cream for more of a plated dessert.
Notes
- The recipe is written with orange being the primary color with 3 layers of orange and only 2 layers of black, with 4 layers of white in between. If you prefer to have black as the primary color, you will need 3 packages of grape jello and only 2 packages of orange jello. If you take the approach of doing 2 separate 8-inch pans so you can have a batch of each, you will need 3 packages of each flavor and will have a little leftover that you don’t use at the end.
Nutrition
More Halloween Treats
- Graveyard Pudding Cups from Fresh April Flours
- Churro Cookies from Devour Dinner
- Halloween Monster Donuts from Hezzi-D’s Books and Cooks
- Skull Cake from Lemon Blossoms
- Ghostly Poptarts from An Affair from the Heart


Haven’t made one of your layered jello recipes yet, but I would NOT recommend substituting coconut cream for sweetened condensed milk as you suggest in the notes. Not only is coconut cream not sweet at all, but the high fat content will likely cause your lovely layers to separate and turn into a slippery mess. Cream of coconut, a different and somewhat niche product used mostly in drinks, *would* be appropriate here.
source: I work in a vegan restaurant kitchen and use coconut cream daily