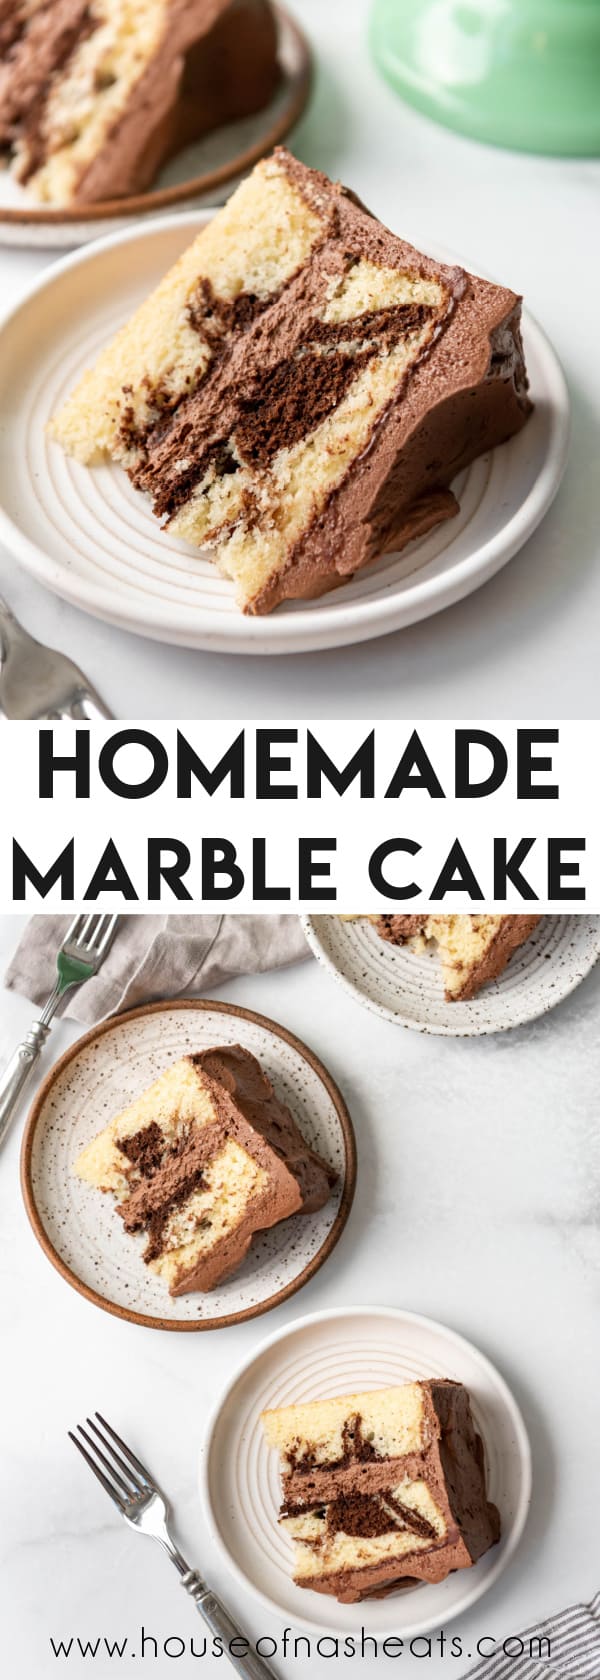
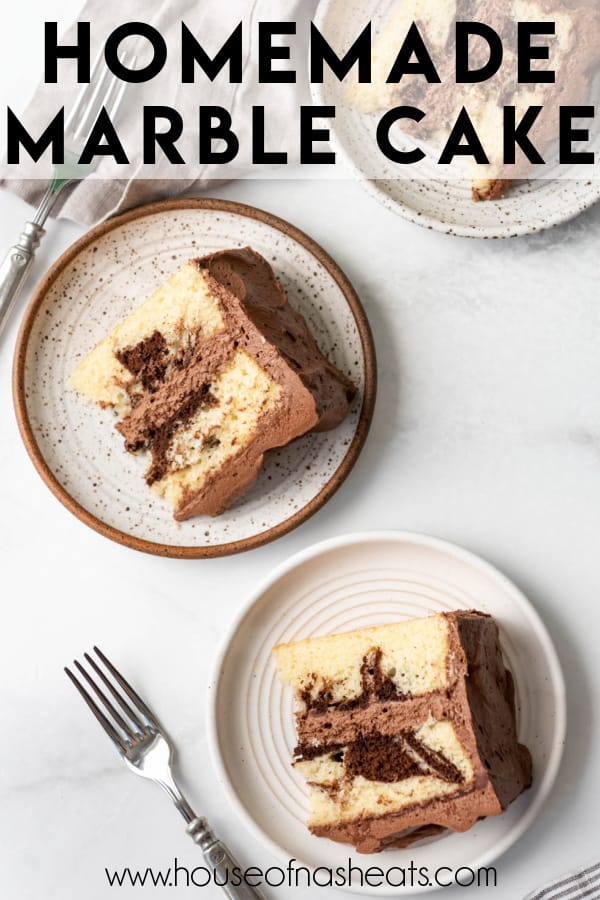
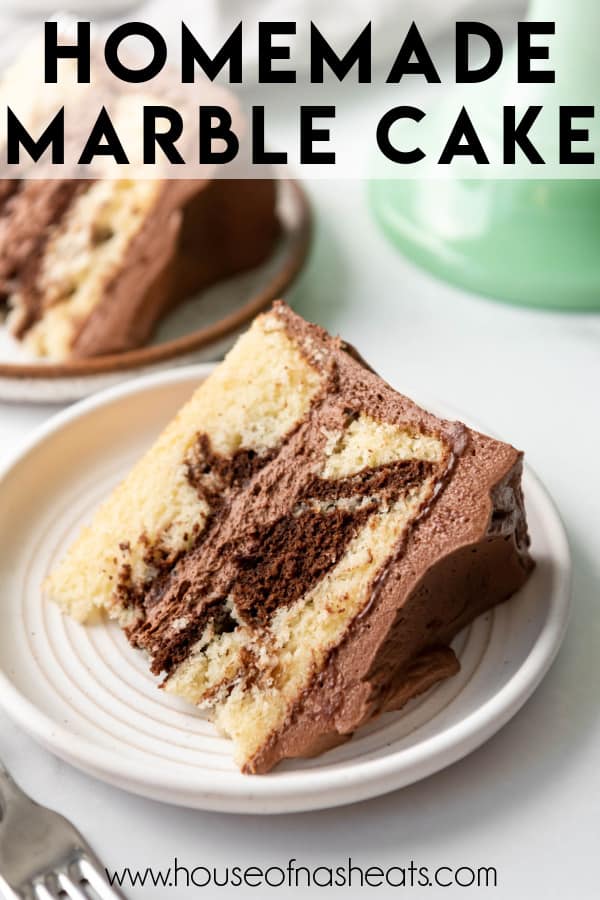
Swirls of homemade vanilla and chocolate cake batter are baked into soft, fluffy cake layers that are frosted with a rich chocolate buttercream frosting in this Homemade Marble Cake that is 1,000x better than any cake mix or canned frosting from the store!
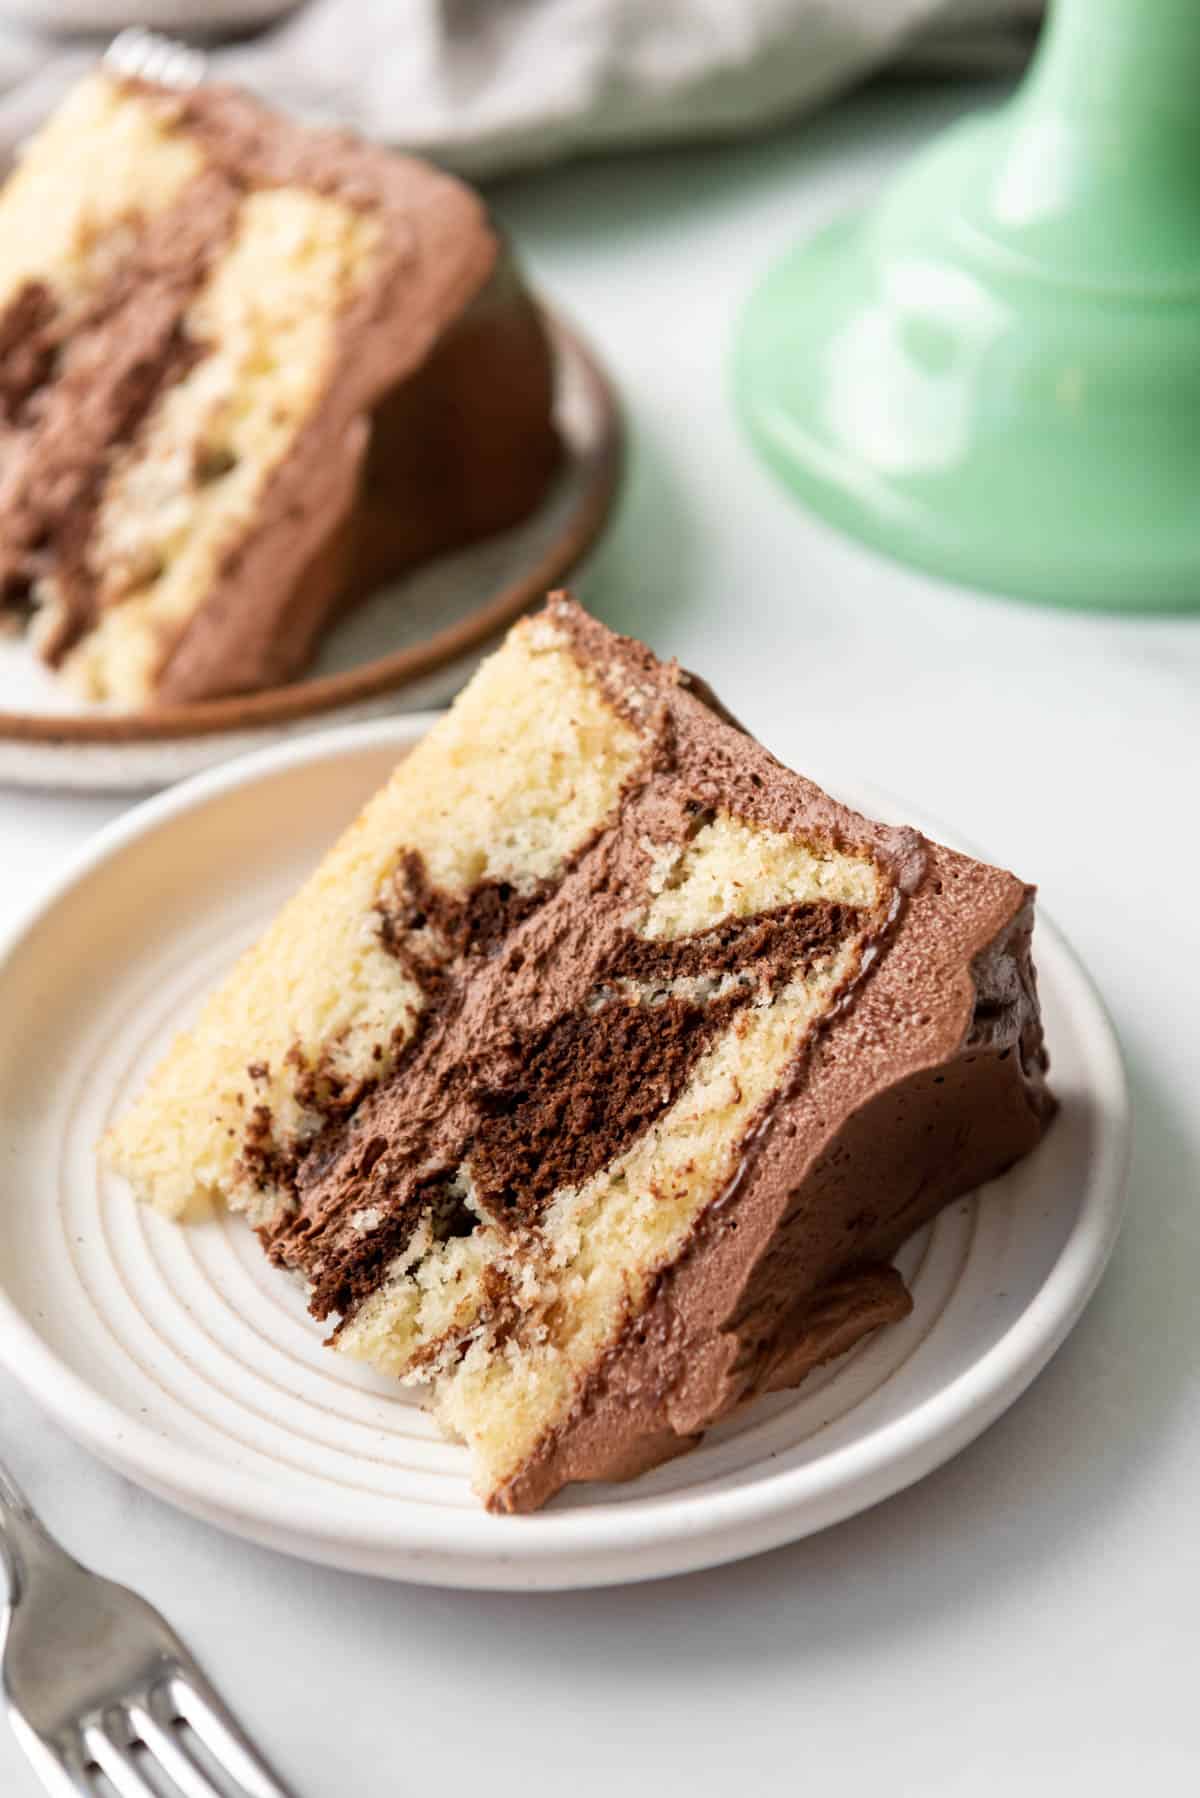
Table of Contents
Marble cake has been a family favorite ever since Paul and I got married. Back then we would buy a box cake mix and a can of chocolate frosting from the store to make for a special treat. But then I started baking cakes from scratch and never looked back! Homemade is just so much more flavorful and every bit as fluffy and moist as a box mix.
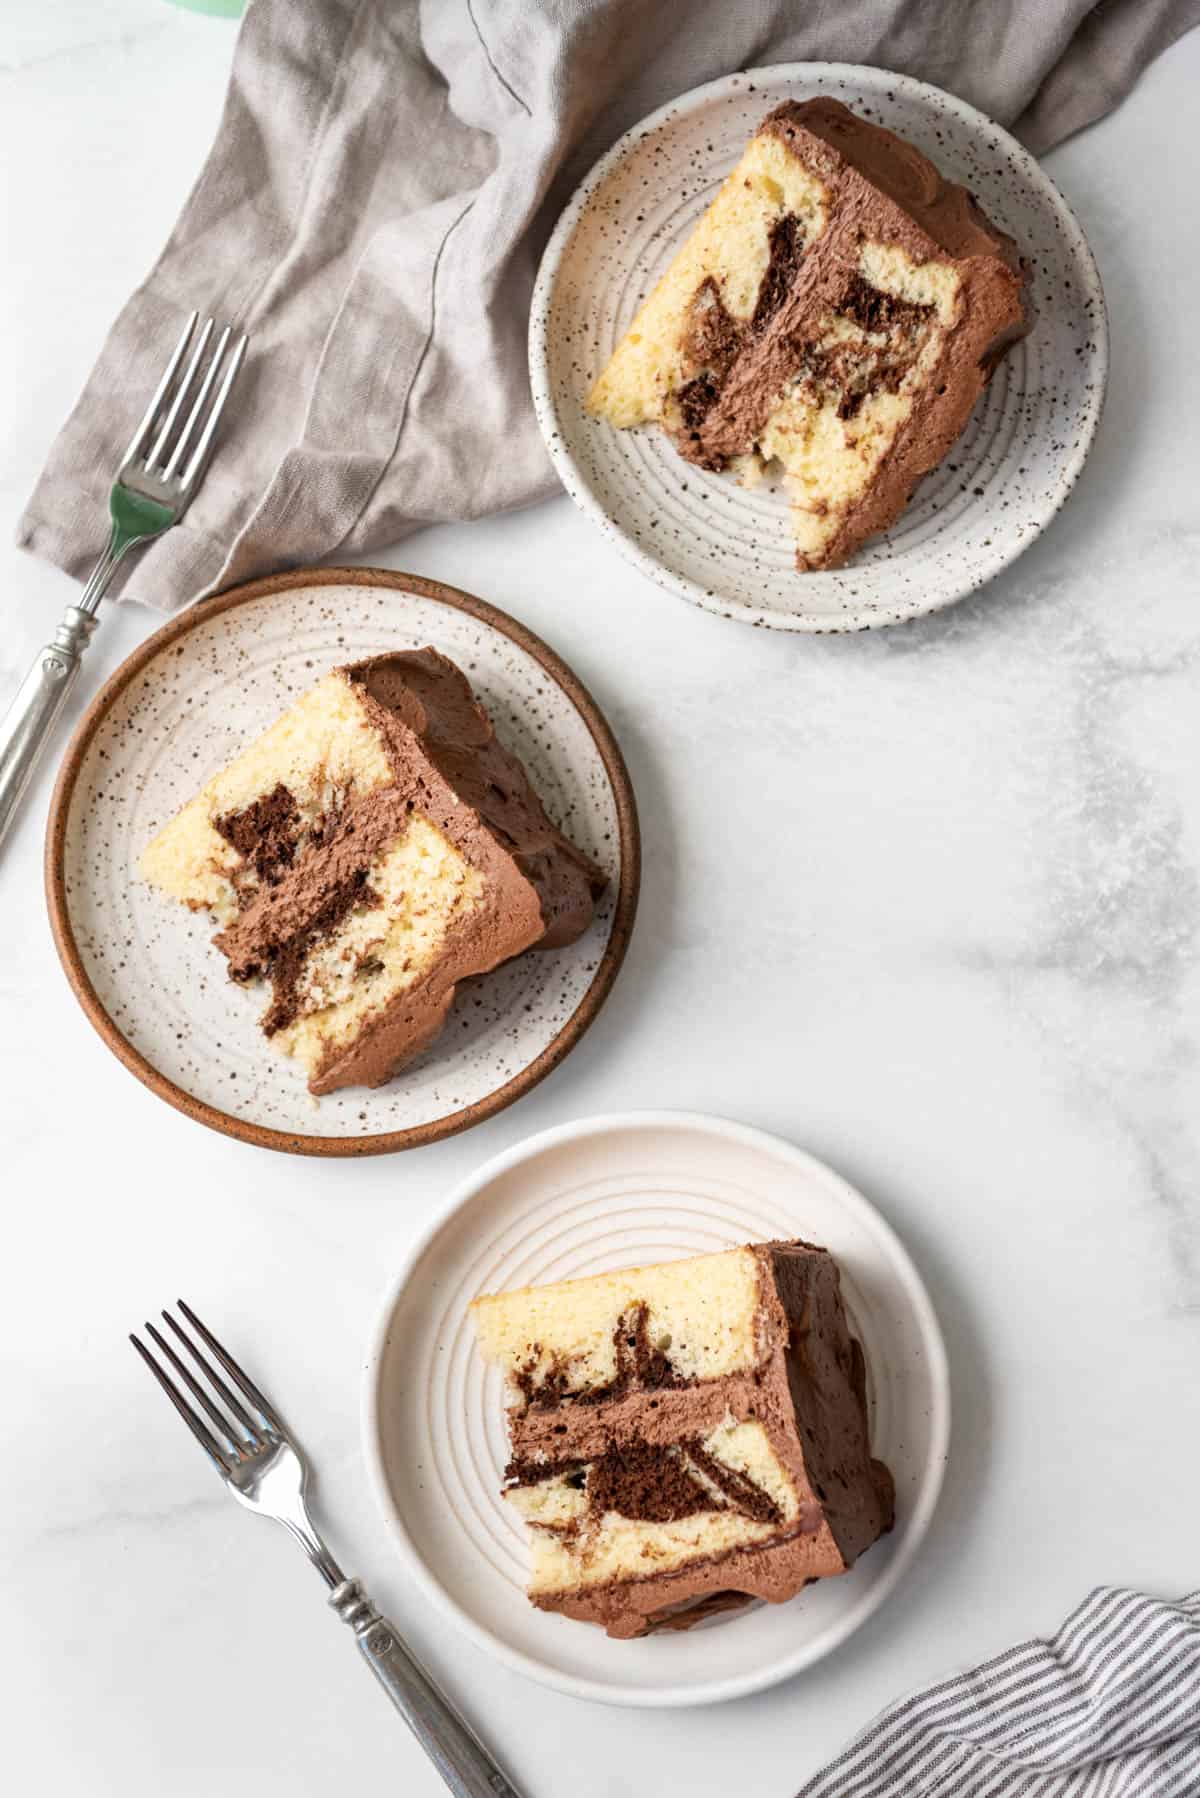
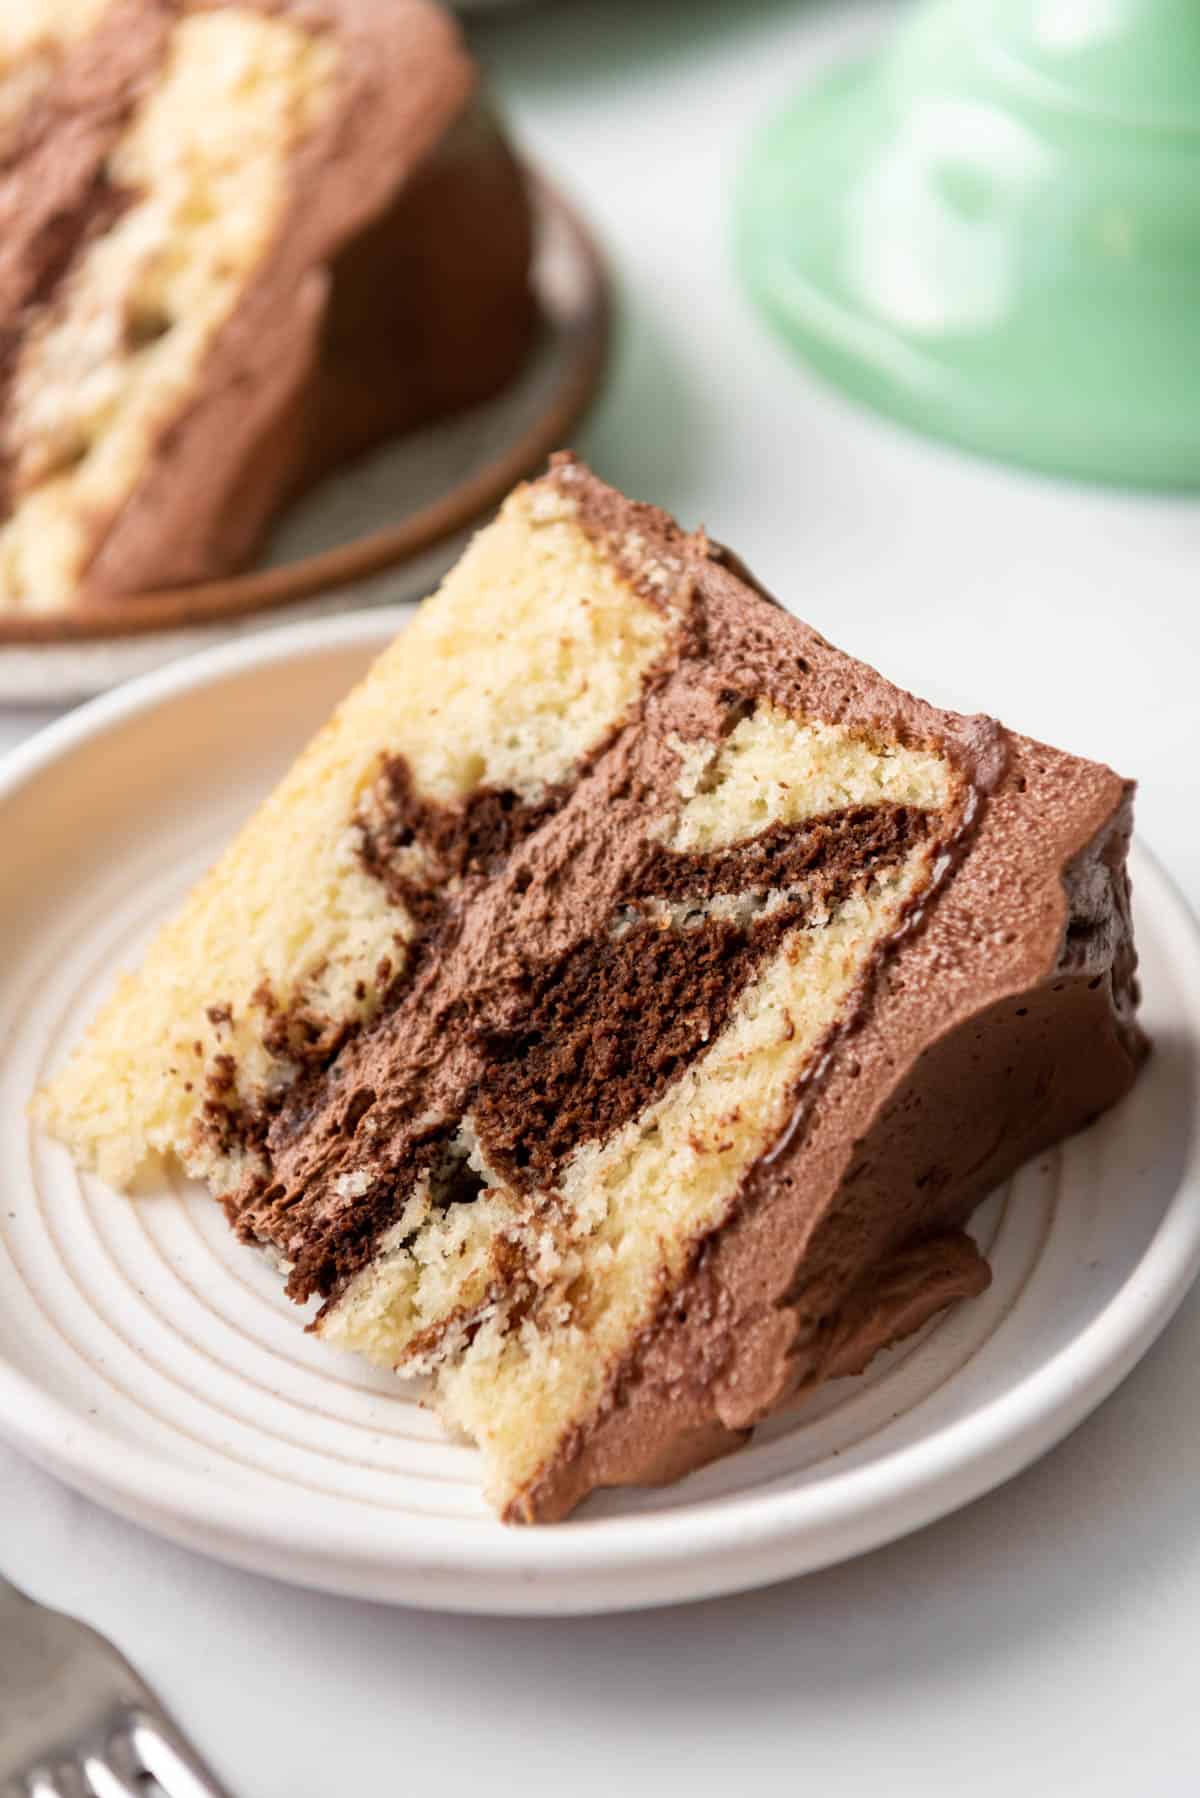
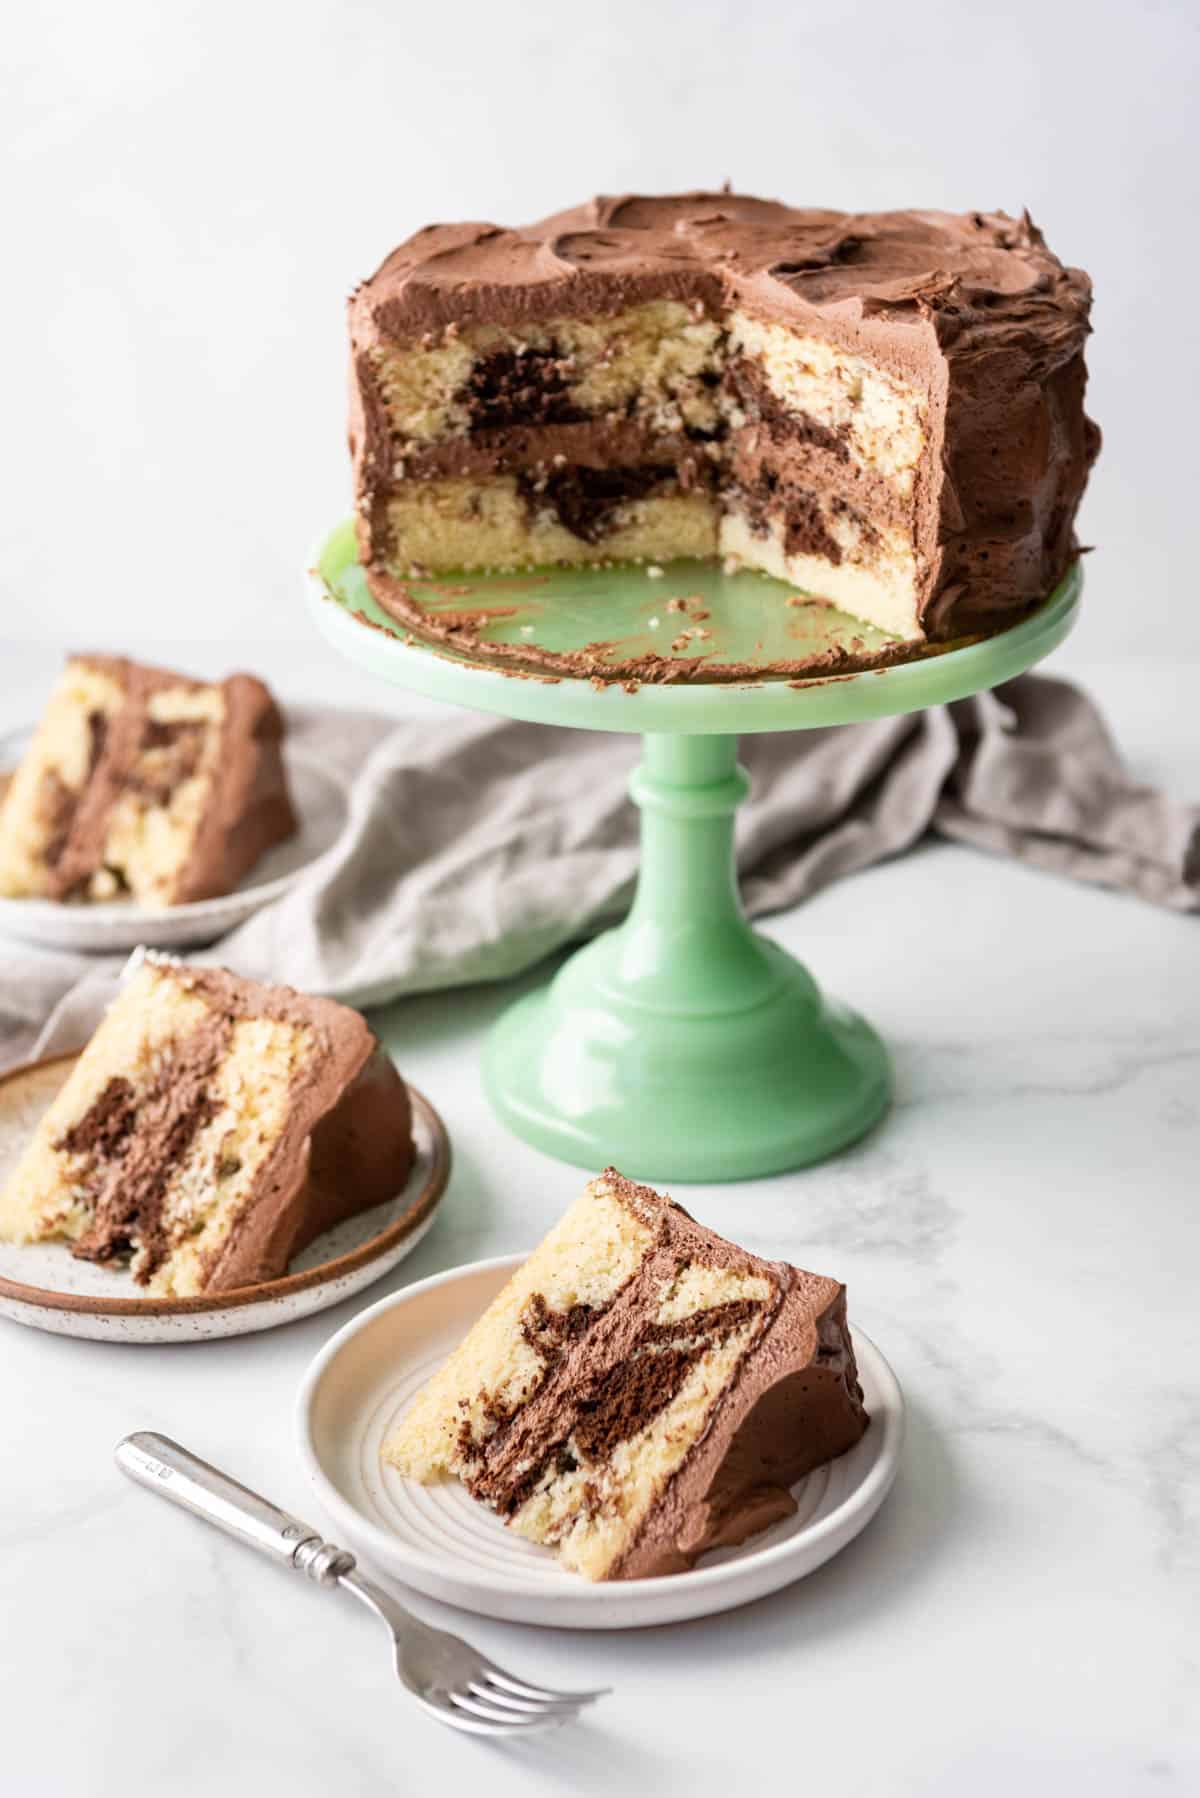
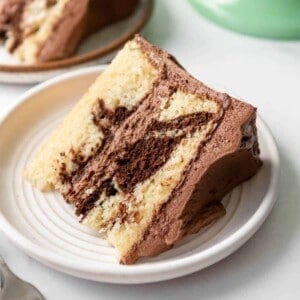
Making a marble cake is an easy way to impress your guests with delicious, home baked goods. The beauty of the marbled effect is achieved by alternating chocolate and vanilla batters and it makes this cake truly unique, both in terms of flavor and looks when you slice into it.
Whether you enjoy vanilla cake or chocolate cake, this marble cake recipe is the perfect middle-ground for bringing peace to the masses. We most often make it into a layer cake, as seen here, but the recipe works for cupcakes, a loaf cake, a bundt pan, or as a sheet cake baked in a 9×13-inch pan and there are bake times for each in the recipe notes below.
In this post, we will be covering how to make an easy marble cake recipe using just one cake batter, as well as tips and tricks to get the best results. So let’s get baking!
What is a marble cake?
A marble cake is a cake made with a mixture of both chocolate and vanilla cake batter. Marble cake gets its name because the chocolate batter is swirled into the vanilla cake batter in a way that creates light streaking and globs which when baked, and cut, look like they were marbled together.
I love that each marble cake has its own personality and no two ever look just the same!
Technically you could marble any two cake flavors you like, like chocolate and strawberry or carrot and vanilla. Or just do one flavor but color part of the batter to create a marbled effect without changing the taste. It’s trickier to do two flavors from one batter, but it can be done using a vanilla base, then dividing and flavoring separately by adding in shredded carrots, cinnamon, and nuts, or chocolate and strawberry puree, for example.
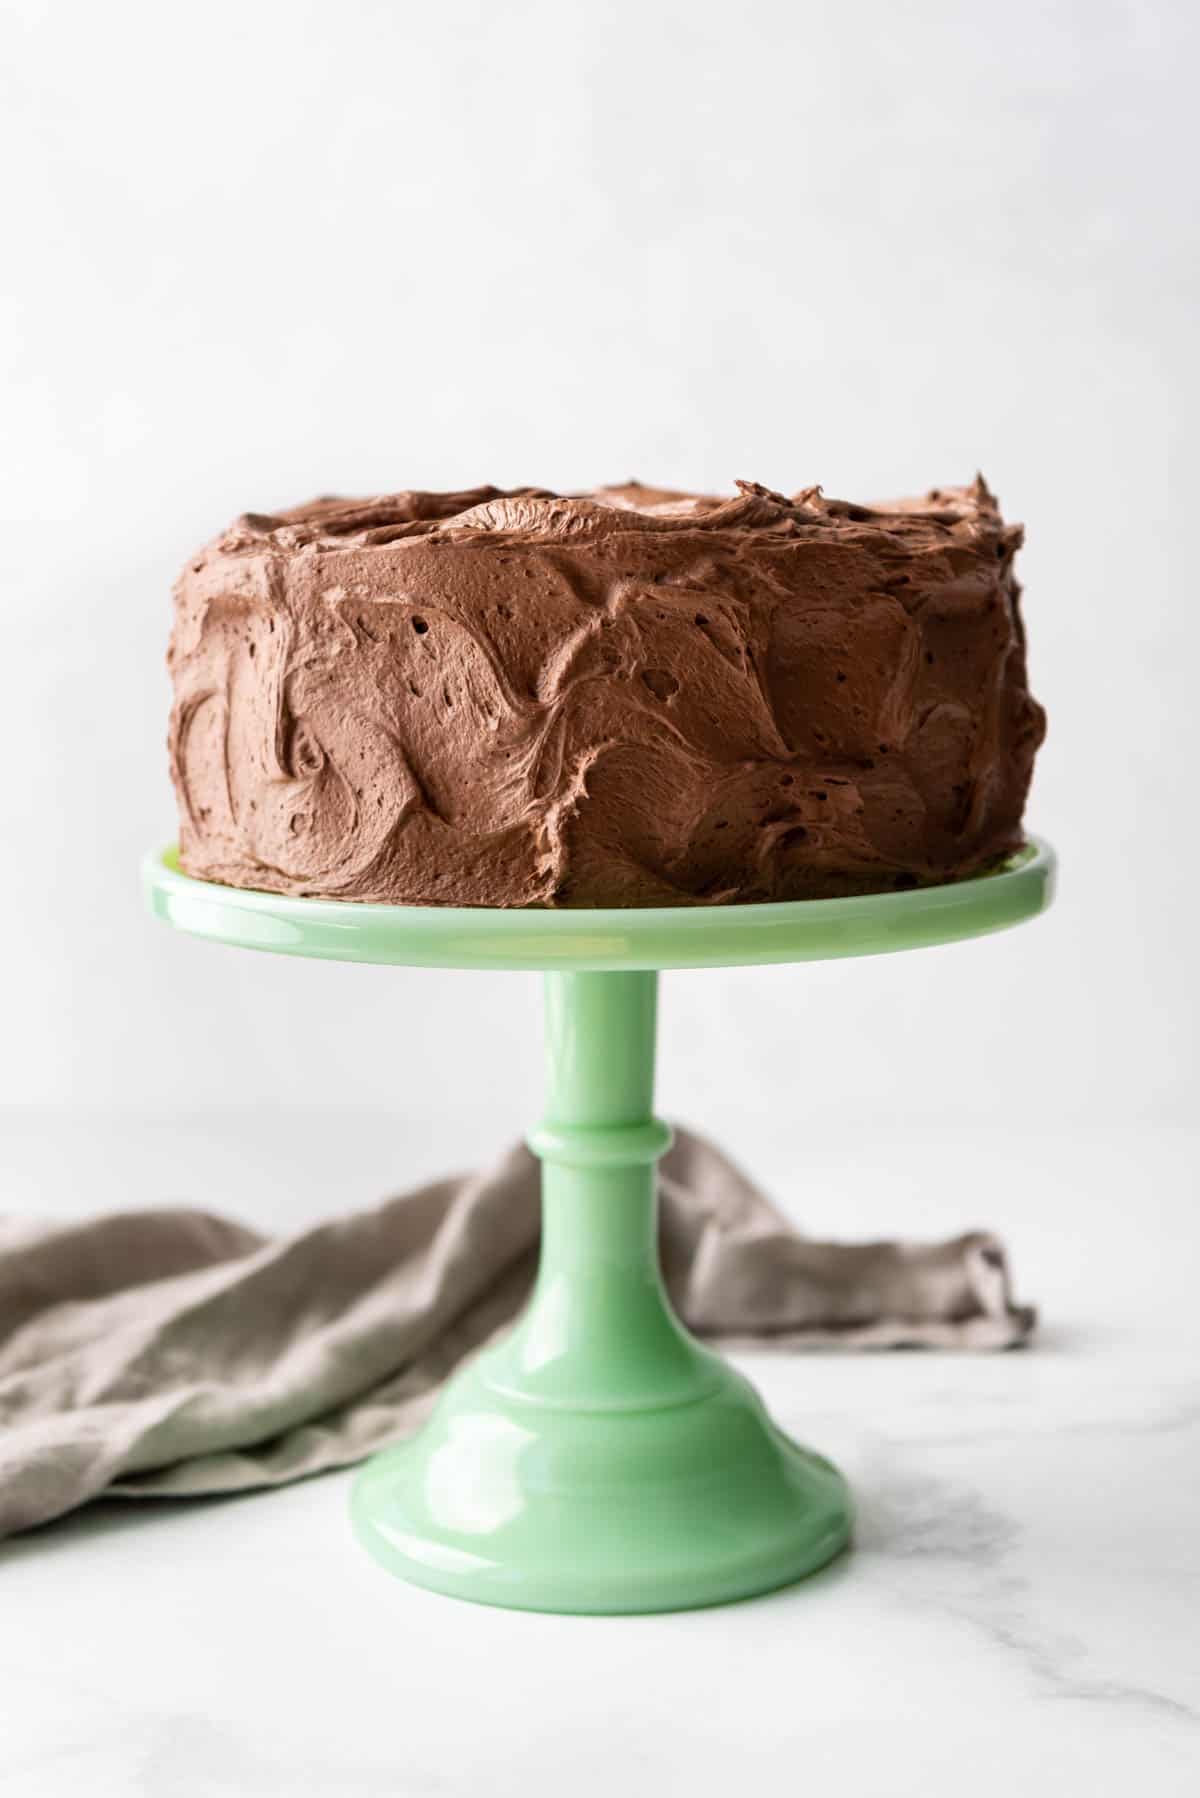
What You’ll Need
Scroll down to the recipe card below this post for ingredient quantities and full instructions.
- All-purpose flour – For even lighter results you can use cake flour, but all-purpose flour works really well for this cake and most of us already have it on hand.
- Baking powder – This is what gives the cake lift and helps it be fluffy and light.
- Salt
- Butter & oil – A combination of butter softened to room temperature and vegetable oil gives the best of both worlds when it comes to moistness and flavor.
- Granulated sugar
- Large eggs at room temperature
- Vanilla extract
- Whole milk – You can sub buttermilk for the whole milk if you like for a little more tang.
- Bittersweet or semisweet chocolate chopped
How to Make the Best Marble Cake
- Prepare. Preheat oven to 350°F. Grease and flour two 8-inch round cake pans or line the bottoms of each pan with parchment paper circles.
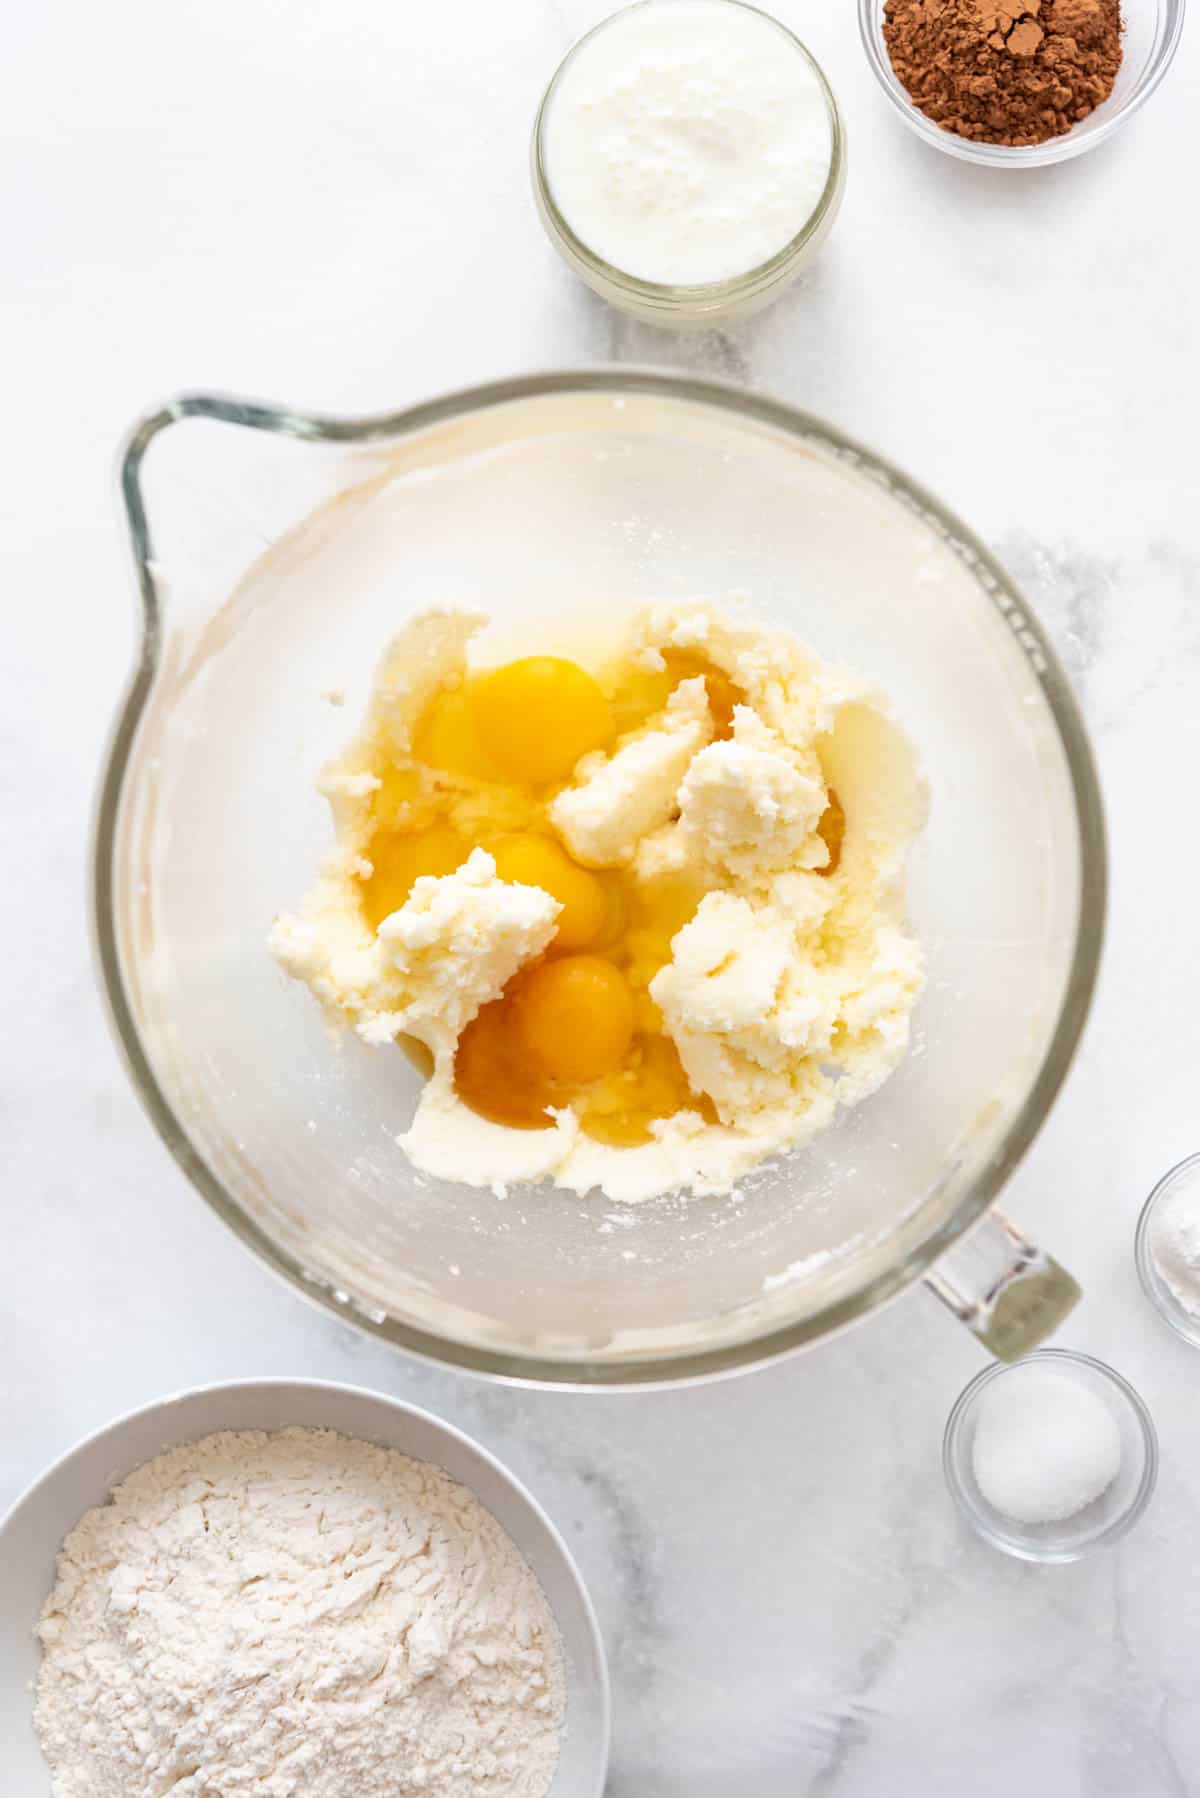
- Combine wet ingredients. In the bowl of a stand mixer, cream the butter, oil and sugar together until light and fluffy, about 2-3 minutes, scraping down the sides of the bowl a couple of times during mixing. Add the vanilla and eggs one at a time, beating well after each addition.
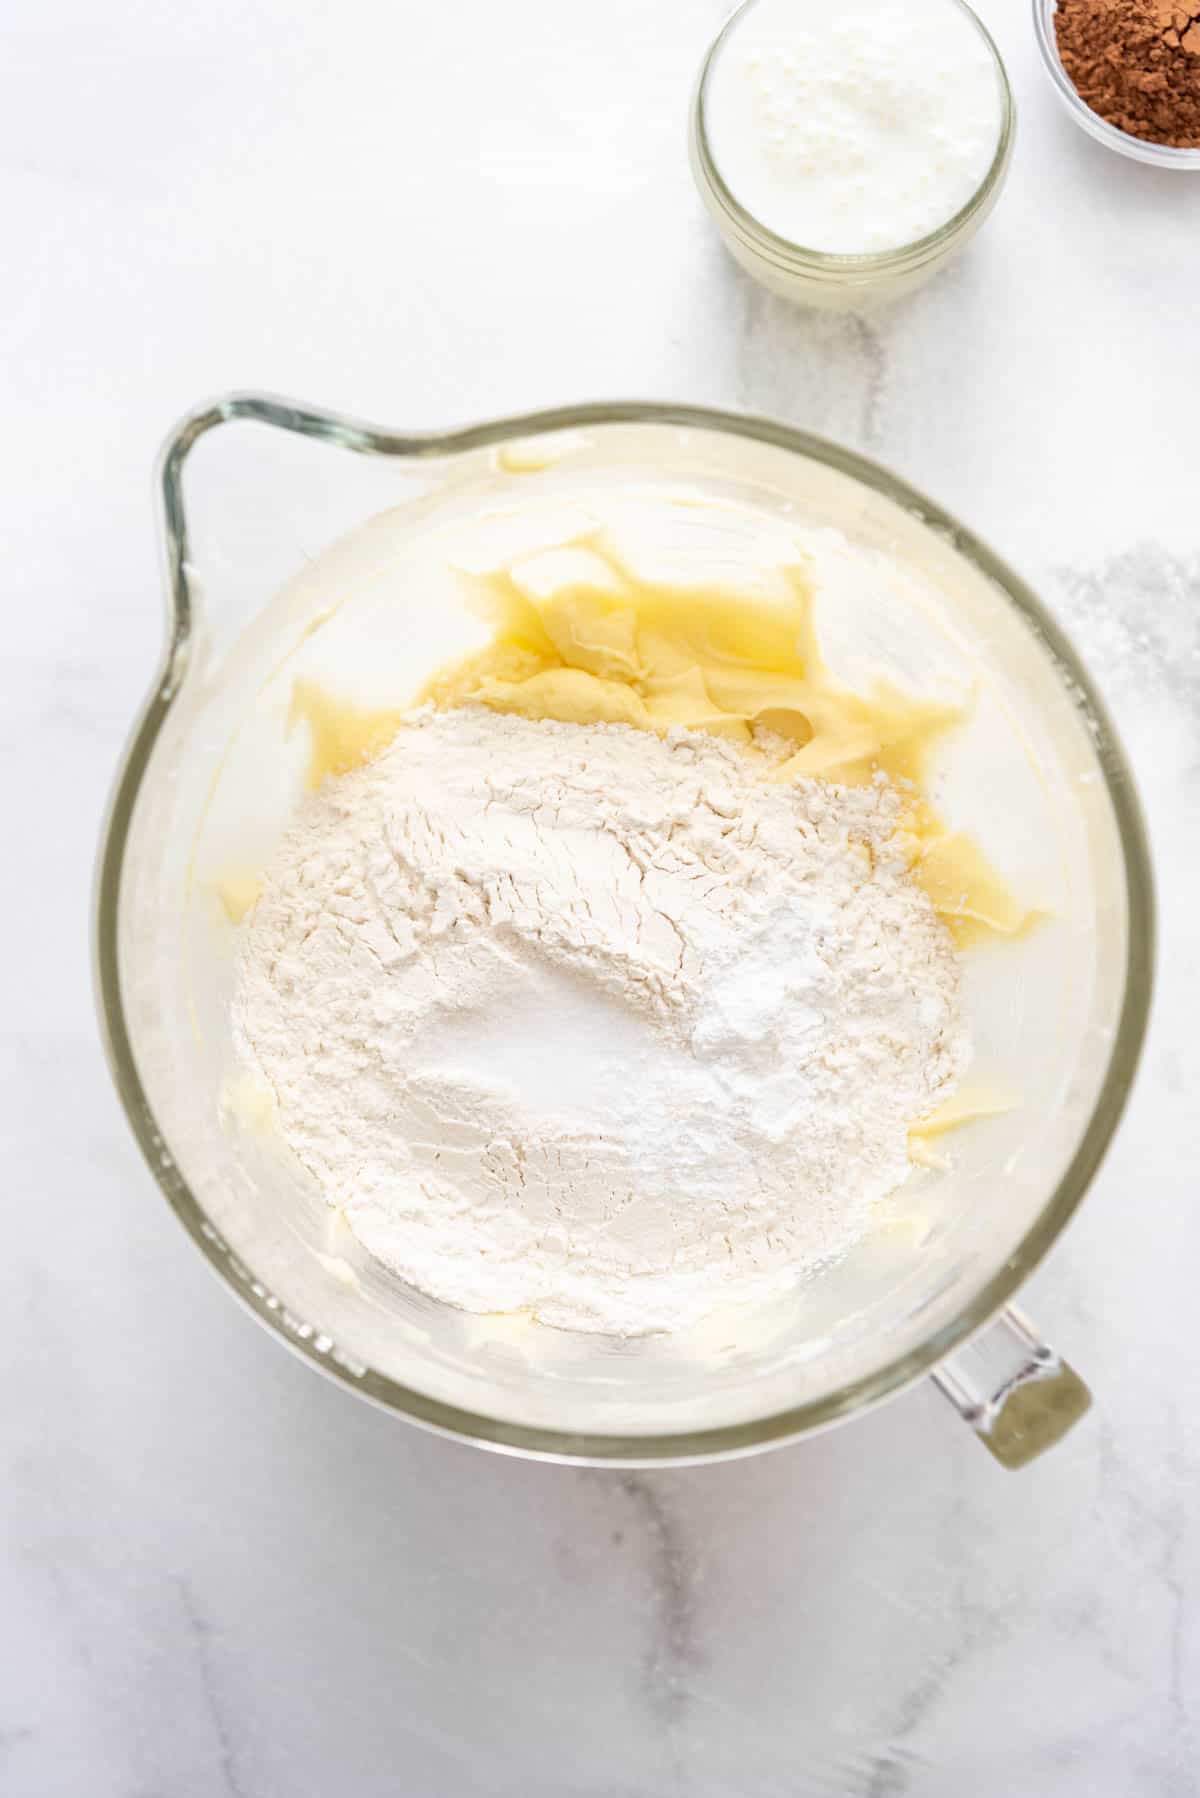
- Add dry ingredients. Add flour, baking powder, and salt alternately with the milk, about ⅓ of each at a time, mixing between additions just until combined. You don’t want to overmix the cake batter at this point because that’s what creates a more dry, dense cake.
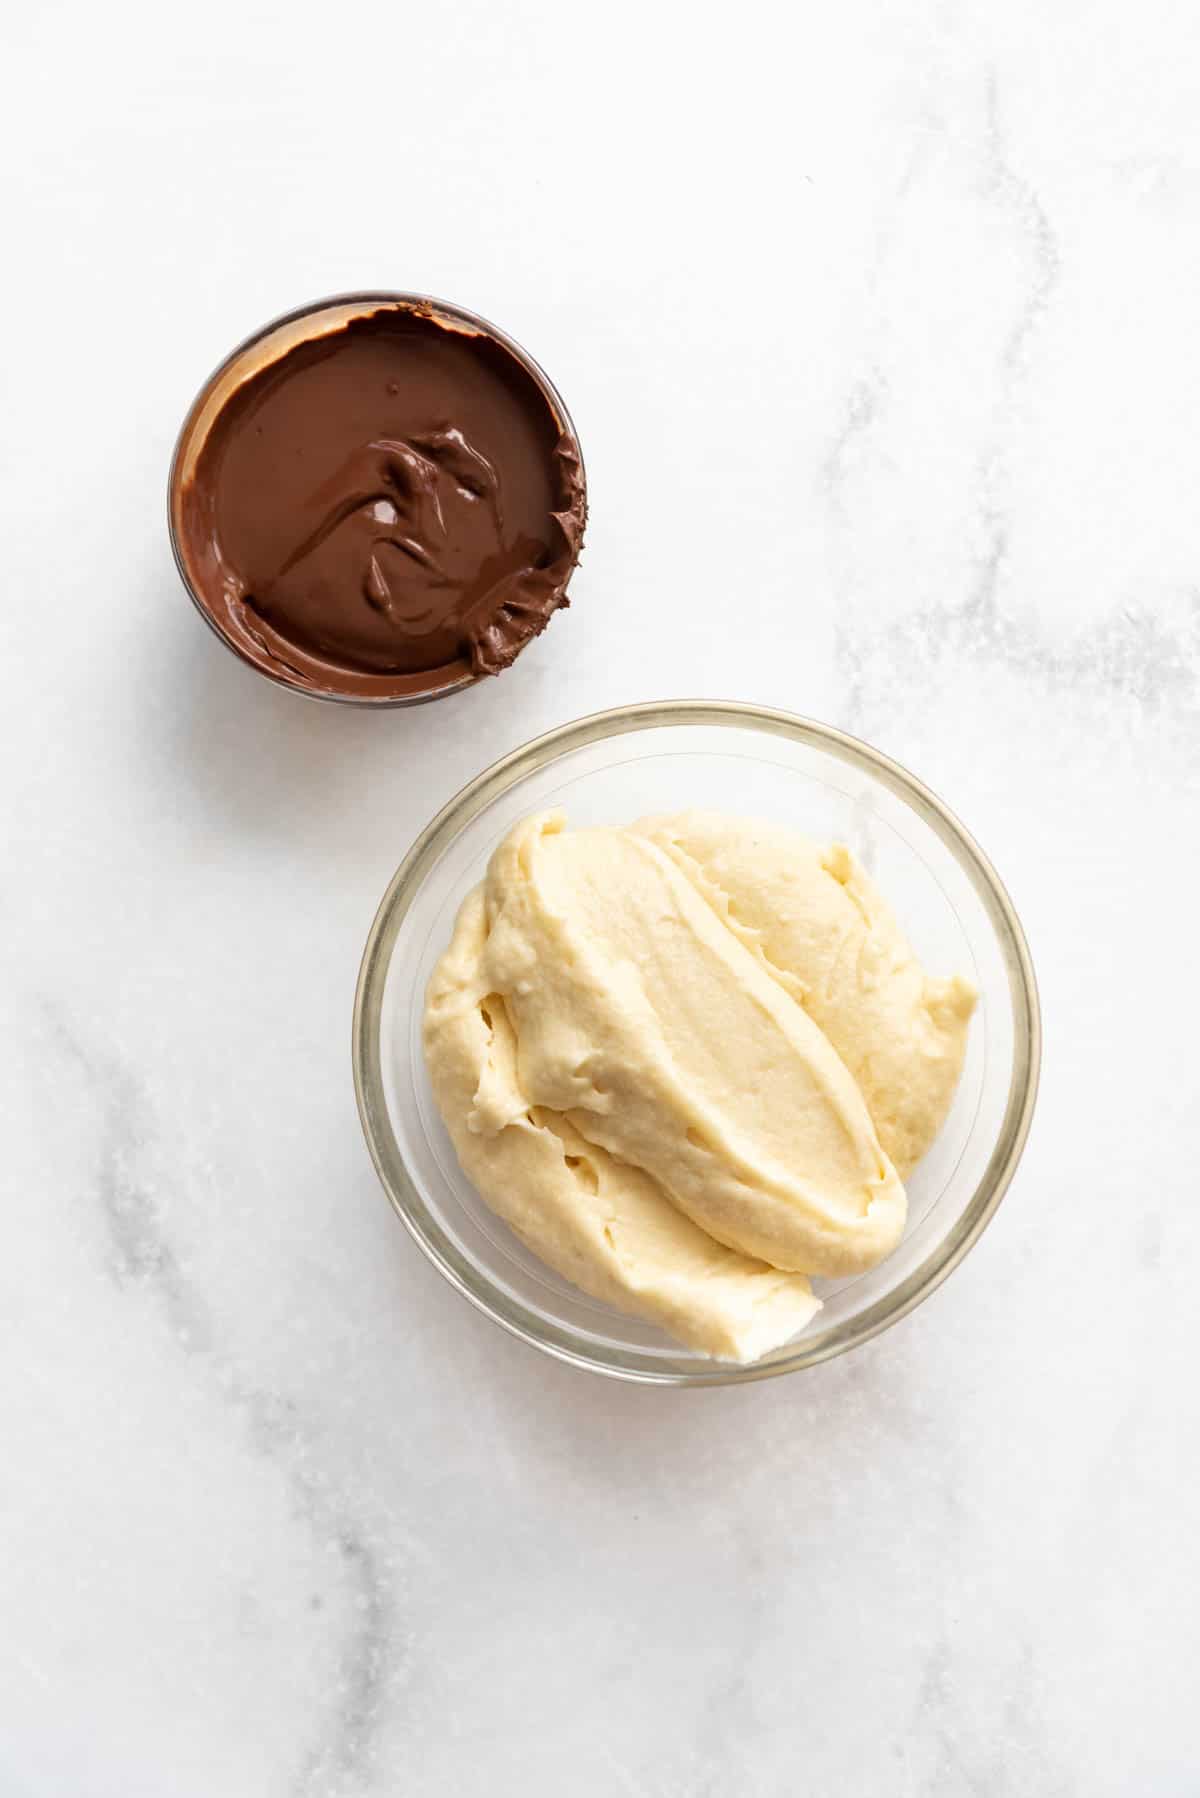
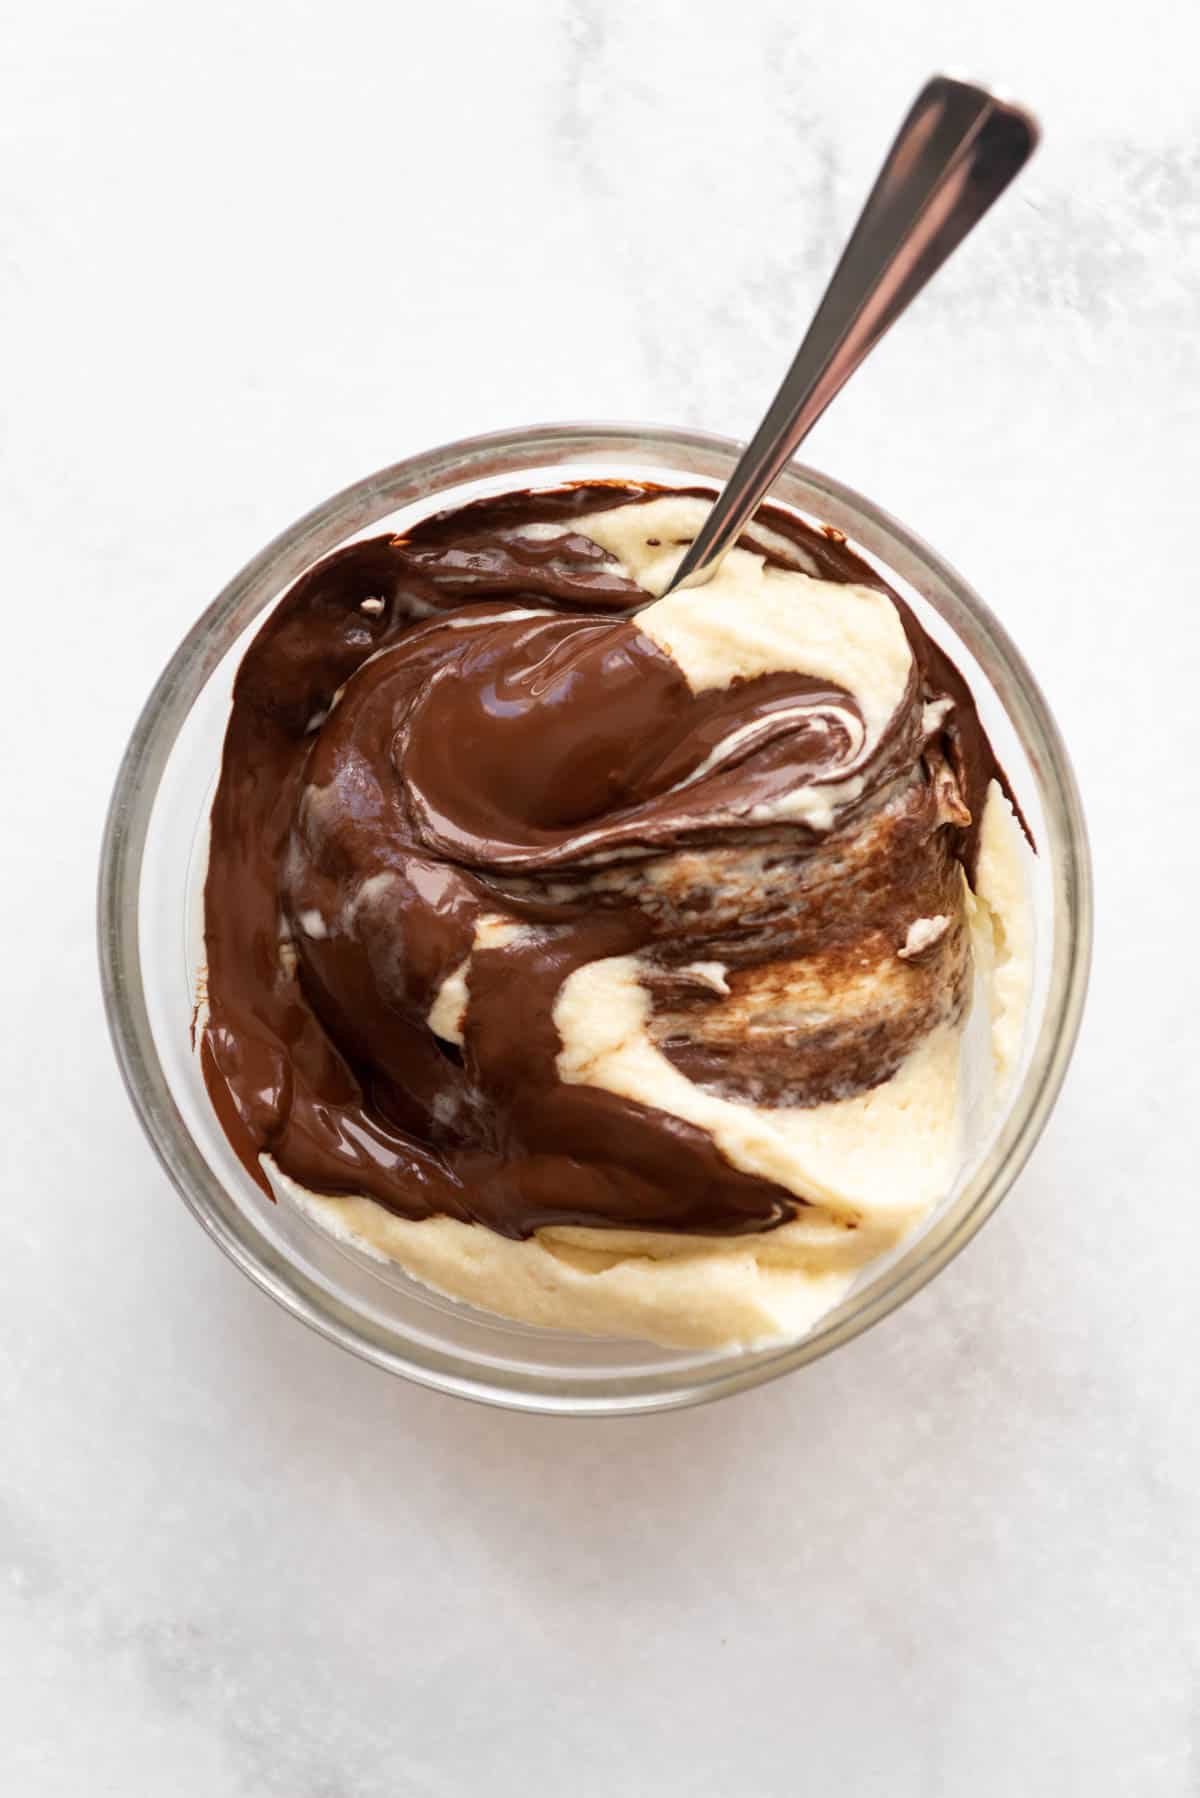
- Flavor. Remove 1 cup of batter to a medium bowl (it’s okay if you use a little more than that – I just eyeball it usually). In a separate, microwave-safe bowl, melt the chocolate in short bursts in the microwave, stirring every 20 seconds, until smooth. Pour the melted chocolate into the yellow cake batter, stirring to combine.
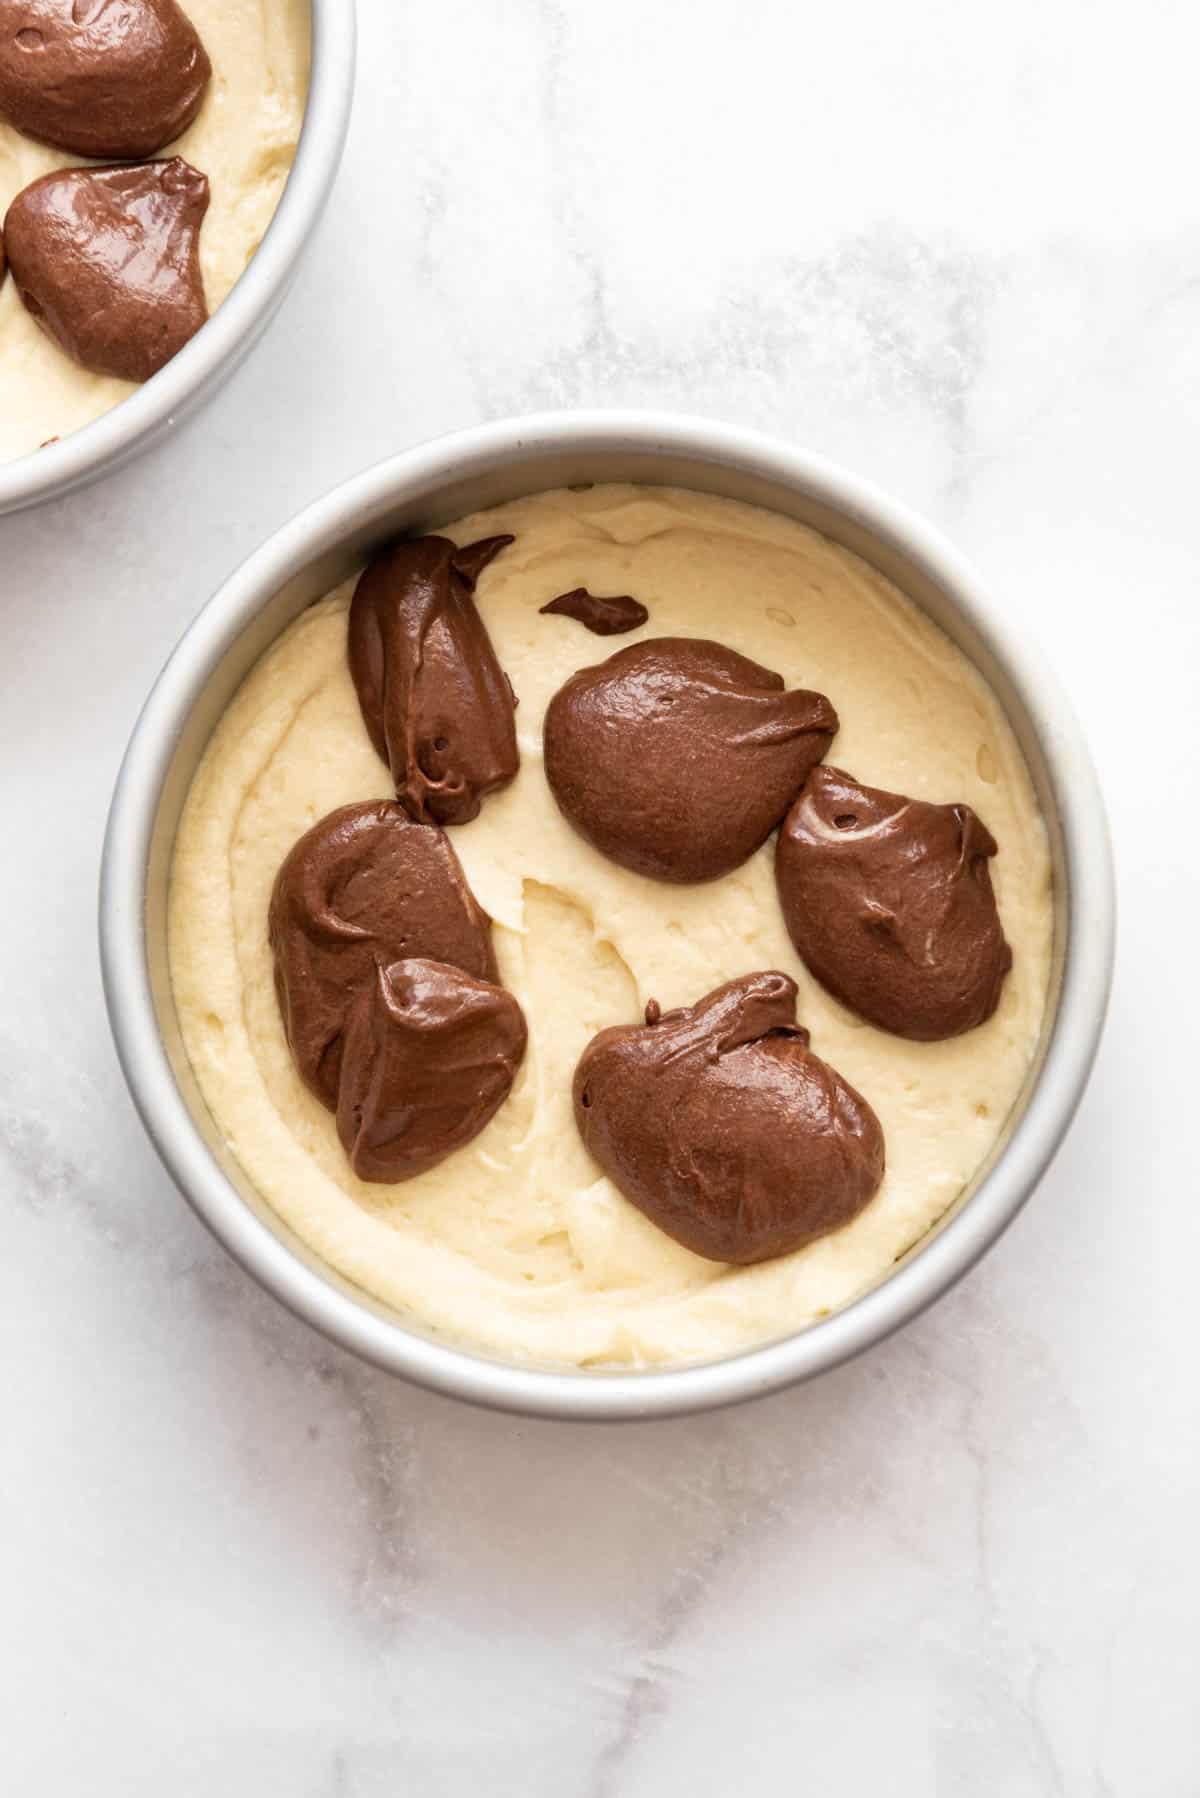
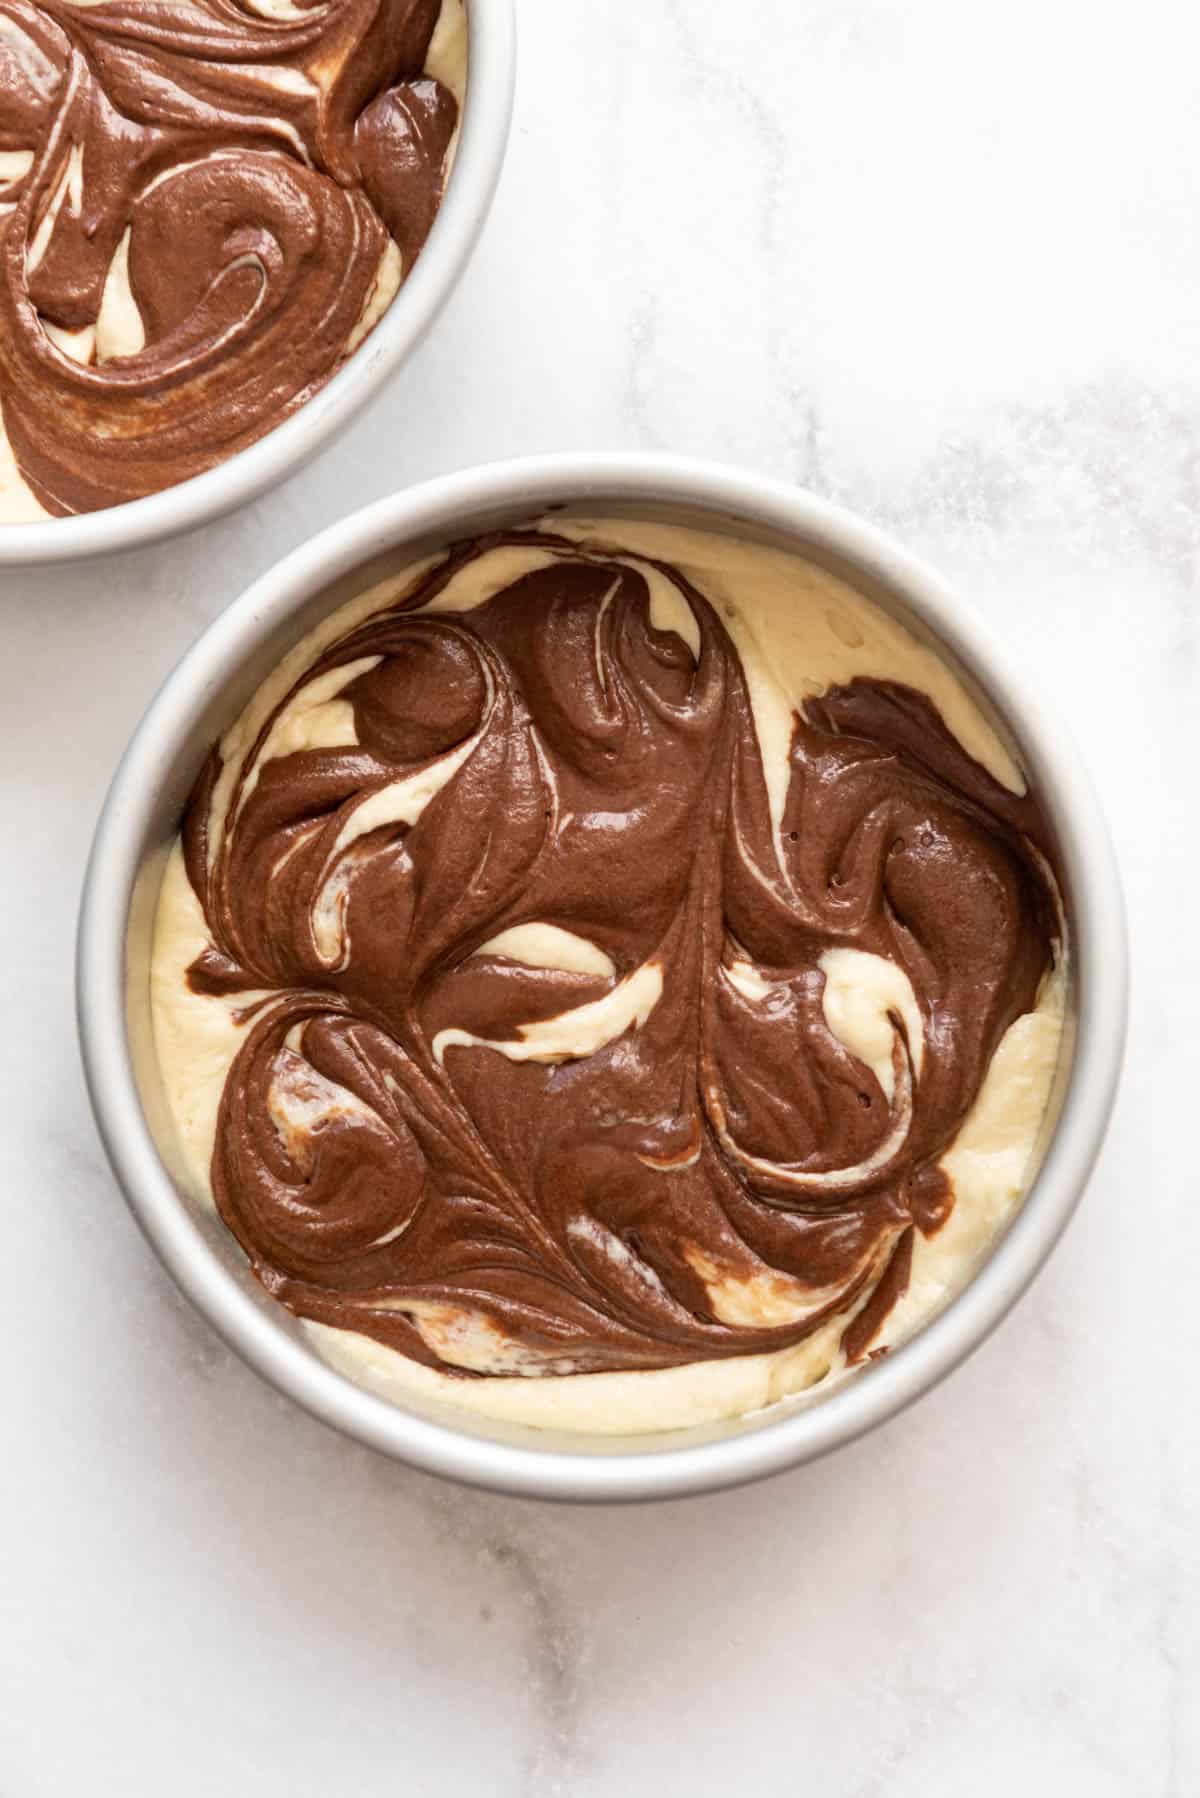
- Swirl. Divide the batter evenly between the two prepared round pans, then dollop spoonfuls of the chocolate batter on top, swirling the two batters together with a knife.
- Bake. Bake for 30-35 minutes until a toothpick inserted into the center of each cake comes out clean.
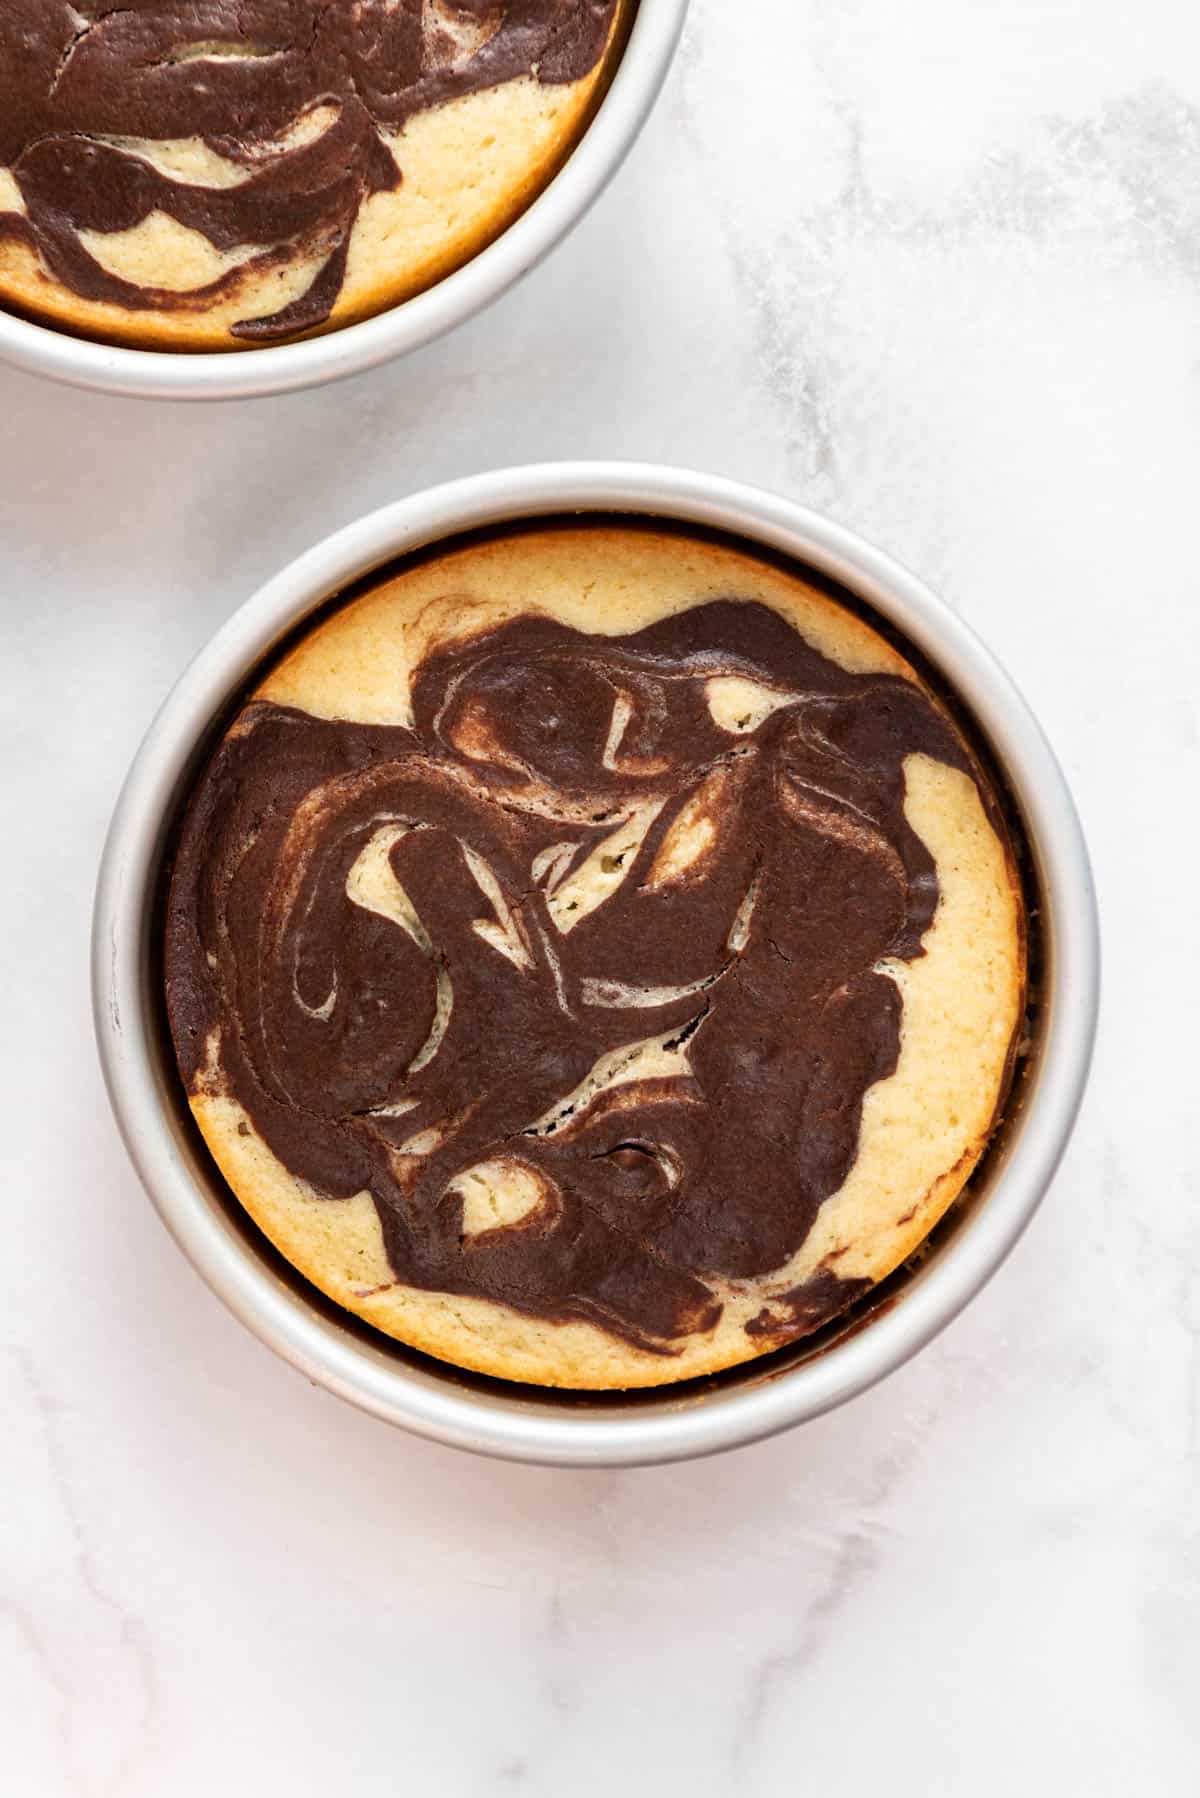
- Cool. Remove the cakes from the oven and cool for 10 minutes before running a sharp knife around the edges, then gently turning the cakes out onto a wire cooling rack to cool completely.
- Frost. Trim the tops of the completely cooled cakes so they are level if necessary, then frost them with chocolate buttercream and decorate with sprinkles.
Adjusting Bake Times for Different Size Cakes
These times will depend on your ovens, pans, and other factors, but in general, here are estimated baking times if you want to make this recipe in various pan sizes.
- 9-inch cake pans: Bake for 23-28 minutes.
- 9×13 pan: Bake for 33-36 minutes.
- Cupcakes: Bake for 18-21 minutes.
- Bundt cake pan: Bake for 55-65 minutes.
How to Make Chocolate Buttercream Frosting
In a large bowl, beat the butter and cocoa powder together until creamy and smooth.
Gradually add the powdered sugar 1 cup at a time, with 1 tablespoon of the milk or cream at a time, mixing between each addition and scraping down the sides of the bowl as needed.
Add in the vanilla and the salt. Mix well and adjust the consistency by adding powdered sugar or milk as needed. I have a whole post on how to make chocolate frosting if you want more details or step-by-step images.
Recipe FAQ’s
I use salted butter in almost all my baking. If you are using unsalted butter, just add an extra ¼ teaspoon salt to the cake batter. That’s the amount of salt in a typical stick of salted butter.
So many things! A good moist cake recipe will have the proper ratios of flour to fat to sugar as well as a leavening agent like baking powder. Some people use sour cream or buttermilk to keep their cakes moist. This recipe uses the approach of combining both butter and oil to help cake the cake crumb nice and light and moist with great flavor.
Tips for Success
Here’s how to make sure your marble cake recipe turns out perfect!
- Use room temperature ingredients. This makes a difference in how the ingredients combine and you will get cake layers that bake more evenly and level if your eggs, milk, and butter have a chance to come to room temperature before baking.
- Melted chocolate. For a chocolate layer that’s extra rich and fudgy, add melted chocolate to the batter rather than cocoa powder. If you want an even more intense chocolate flavor in your frosting, you can use melted dark or bittersweet chocolate chips instead of cocoa powder.
- Perfect your swirl technique. When combining the vanilla and chocolate batter, don’t overmix, or the marble effect will be lost. A few swirls with a butter knife are all you need!
- Cake flour is an option. To get an especially tall marble cake with a light and fluffy texture, use cake flour instead of all-purpose flour in the recipe. Cake flour has a lower protein content which makes for a softer crumb.
- Don’t frost the cake while the layers are still warm. Let your cakes cool completely before frosting them. I’ve tried rushing it before and even mostly cool layers can cause the frosting to melt and the layers to slide.
Storage Instructions
If stored at room temperature, you can expect that your cake will keep for up to 2 to 3 days before it starts drying out. If you store your cake in the fridge, be sure to let it come to room temperature before eating it or the cake might taste stale when it really is not.
Freezing Instructions
You can freeze the cake layers, a whole frosted cake, or do like we do and slice the cake, then wrap each slice in plastic wrap and store in an airtight container in the freezer so you can enjoy a slice of cake whenever you like! Just let the cake thaw completely on the counter for a few hours before eating.
This marble cake recipe can be frozen for up to 3 months!
If you freeze unfrosted cake layers, wrap them well in plastic wrap, then store in an airtight container. Thaw overnight in the fridge before assembling the next day.
If freezing the entire assembled cake, it will take at least 3-4 hours on the counter at room temperature for it to thaw. You might expect to see a little weeping from the frosting as it thaws, but the cake will still taste delicious and should still look pretty good.
More Cake Recipes
- Aunt Becky’s Black Forest Cake
- Vintage Cherry Cake
- German Chocolate Cake
- Luscious Lemon Layer Cake
- Best Red Velvet Cake
Marble Cake
Ingredients
Cake
- 2 1/4 cups all-purpose flour (317g)
- 2 1/2 teaspoons baking powder
- 1/2 teaspoon salt
- 1 1/2 cups granulated sugar
- 1/2 cup salted butter softened to room temperature (115g)
- 1/2 cup oil (120ml)
- 2 teaspoons vanilla extract
- 3 large eggs, room temperature
- 1 cup whole milk room temperature
- 4 ounces bittersweet or semisweet chocolate chopped
Chocolate Buttercream Frosting
- 1 1/2 cups salted butter, softened (341g)
- 1 cup unsweetened cocoa powder (118g)
- 5 cups powdered sugar (625g)
- 1/3 cup milk or cream
- 2 teaspoons vanilla extract
- Pinch of salt

Instructions
Cake Layers
- Preheat oven to 350°F. Line the bottoms of two 8-inch round cake pans with parchment paper circles and spray with baking spray or just grease and flour the pans.
- In a medium bowl, whisk together flour, baking powder and salt. Set aside.2 ¼ cups all-purpose flour, 2 ½ teaspoons baking powder, ½ teaspoon salt
- In bowl of a stand mixer, cream sugar, butter, and oil together until light and fluffy, about 2-3 minutes, scraping down the sides of the bowl a couple of times during mixing.1 ½ cups granulated sugar, ½ cup salted butter, ½ cup oil
- Add vanilla and eggs, one at a time, beating well after each addition.2 teaspoons vanilla extract, 3 large eggs,
- Add the flour mixture and the milk alternately, about ⅓ of each at a time, mixing between additions just until combined.1 cup whole milk
- Remove 1 cup of the batter to a medium bowl. In a separate, microwave-safe bowl, melt the chocolate on short bursts in the microwave, stirring every 20 seconds, until smooth. Pour the chocolate into the yellow cake batter, stirring to combine.4 ounces bittersweet or semisweet chocolate
- Divide the batter evenly between the two prepared round pans, then dollop spoonfuls of the chocolate batter on top, swirling the two batters together with a butter knife.
- Bake for 30-34 minutes, until a toothpick inserted into the center of each cake comes out clean.
- Remove the cakes from the oven and cool for 10 minutes before running a sharp knife around the edges, then gently turning the cakes out onto a wire cooling rack to cool completely.
- Trim the tops of the completely cooled cakes so they are level, then frost with chocolate buttercream and decorate with sprinkles.
Chocolate Frosting
- In a large bowl, beat the butter and cocoa powder together until creamy and smooth.1 ½ cups salted butter,, 1 cup unsweetened cocoa powder
- Add the powdered sugar and milk or cream. Beat well, scraping down the sides of the bowl as needed, for 5 minutes until creamy and light.5 cups powdered sugar, ⅓ cup milk or cream
- Add vanilla and salt and mix well, adjusting the consistency by adding powdered sugar or milk as needed. Use to frost a 2-layer cake.2 teaspoons vanilla extract, Pinch of salt
Notes
- Storage: Store any leftover cake covered in an airtight container at room temperature for up to 3 days or in the fridge for up to 5 days.
- Freezing: This marble cake recipe can also be frozen for up to 3 months. Simply wrap each layer of the cooled cake in plastic wrap, then aluminum foil to protect it from freezer burn. Thaw on the counter for a few hours before serving.
- 9-inch pans: If using larger 9-inch pans, the cakes will be a little thinner and bake in around 23-27 minutes.
- Cupcakes: Fill cupcake liners no more than 2/3 full. Bake for 18-21 minutes.
- 9×13-inch sheet cake: Bake for 33-36 minutes.
- Bundt pan: Bake for 55-65 minutes.



For some reason mine tasted a bit eggy but that might’ve just been on my end, overall my mom loved it for Mother’s Day 😋
The mix for 2 layers way overflowed 2, 9 inch bake pans. Maybe the batter sat too long and gained some air but it was an overflowing mess
The cake was delicious and easy to make. The only change I will make the next time – I will only hold out 1 cup of batter for the chocolate portion instead of 2. I felt that 2 cups diluted the chocolate flavor and minimized the marble effect.
Hi, your early instructions say to take out one cup of batter, melt the chocolate and add the chocolate. The actual recipe says to take out 2 cups of batter and add the chocolate. Please clarify.
I’m sorry! That was just a mistake. It should be just 1 cup of batter (although it won’t hurt the cake to use more). I fixed it in the post!