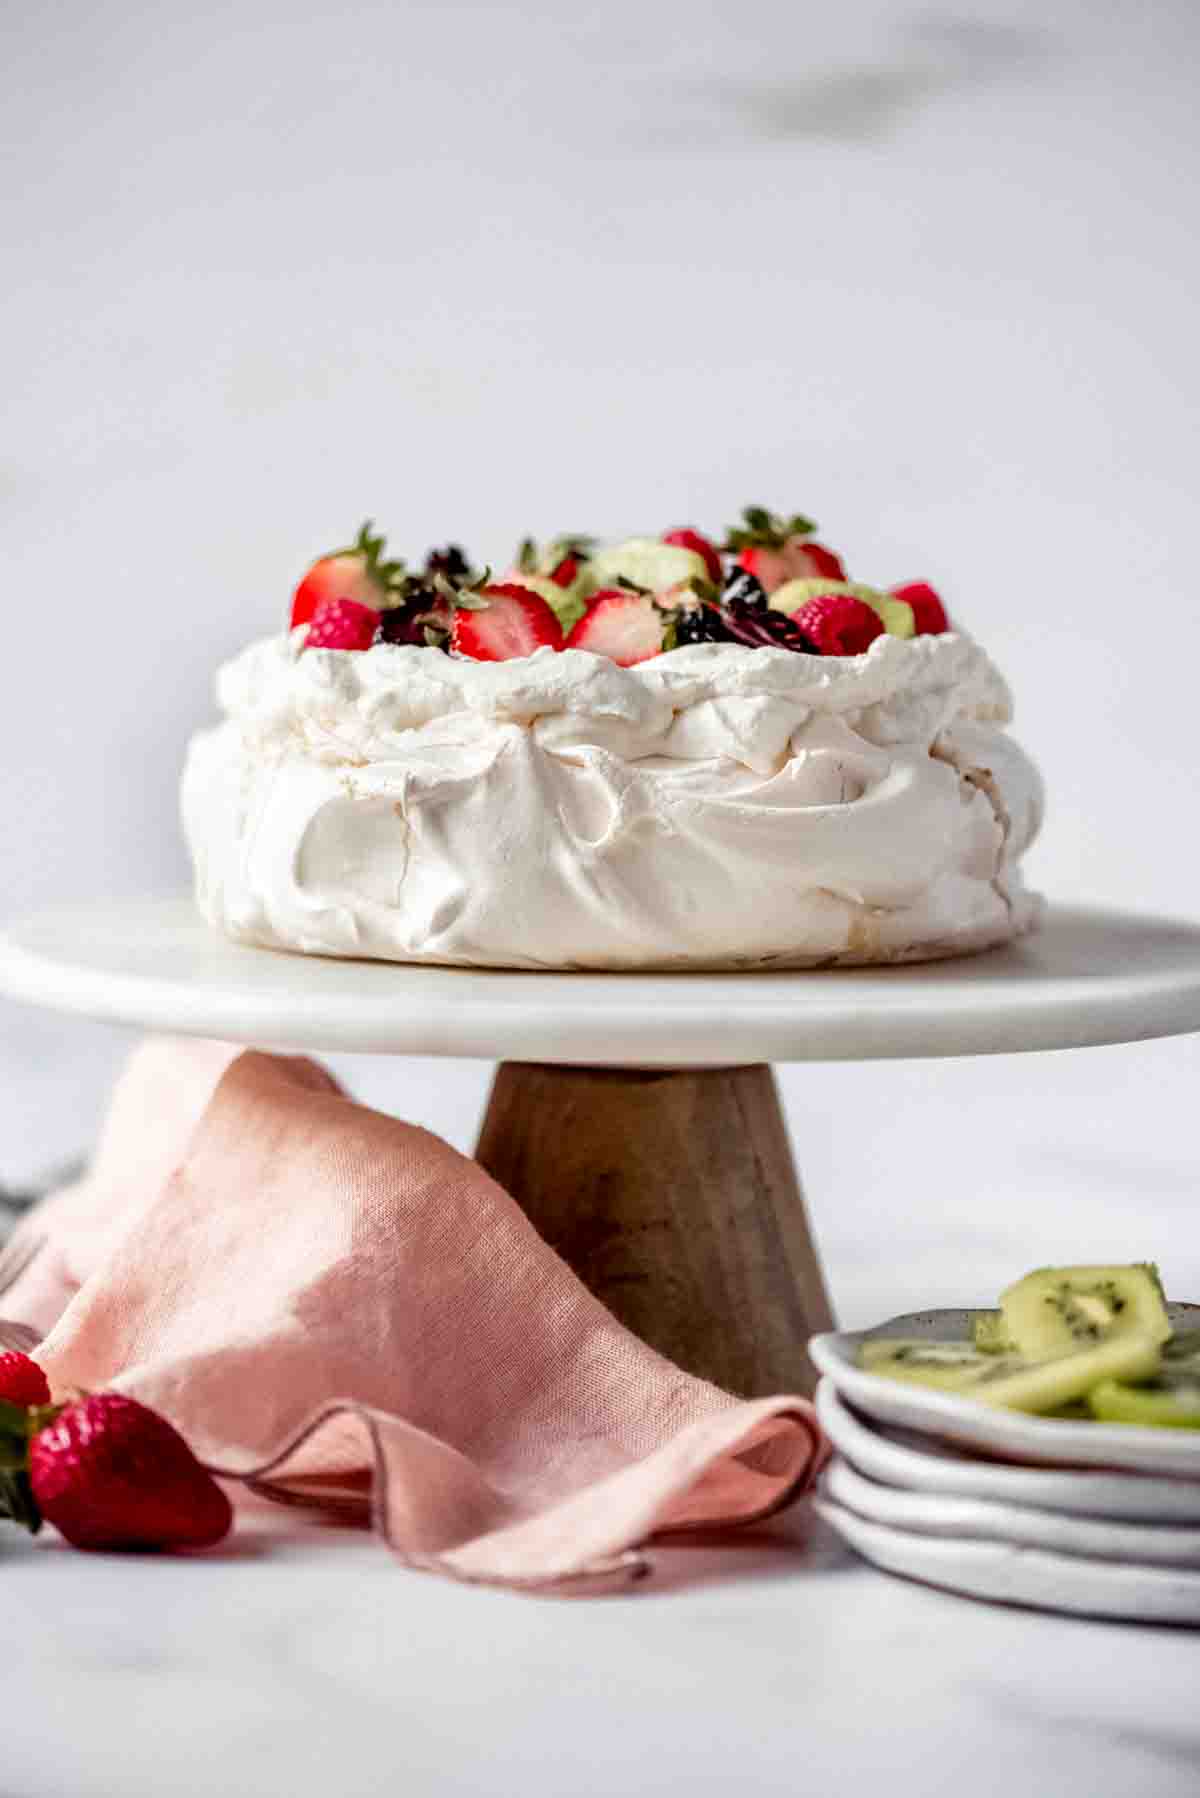
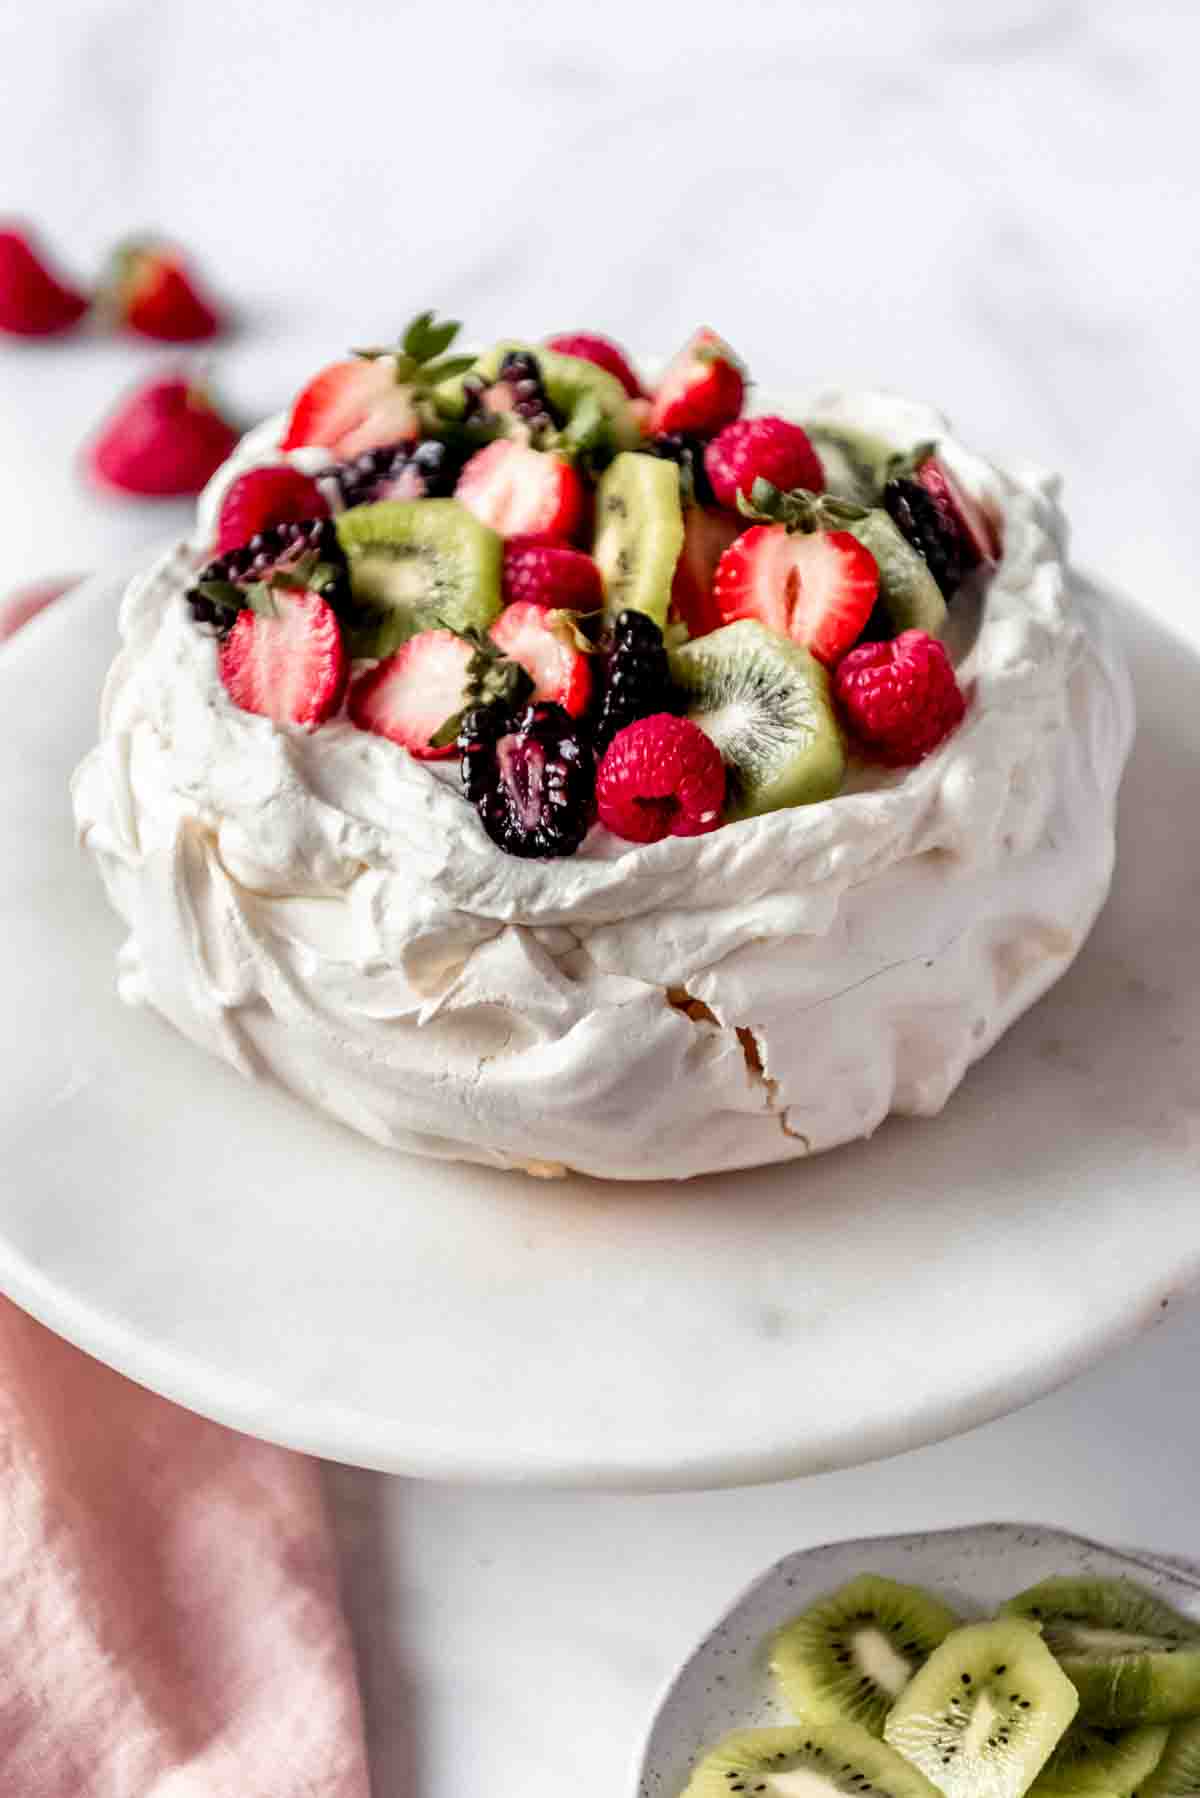
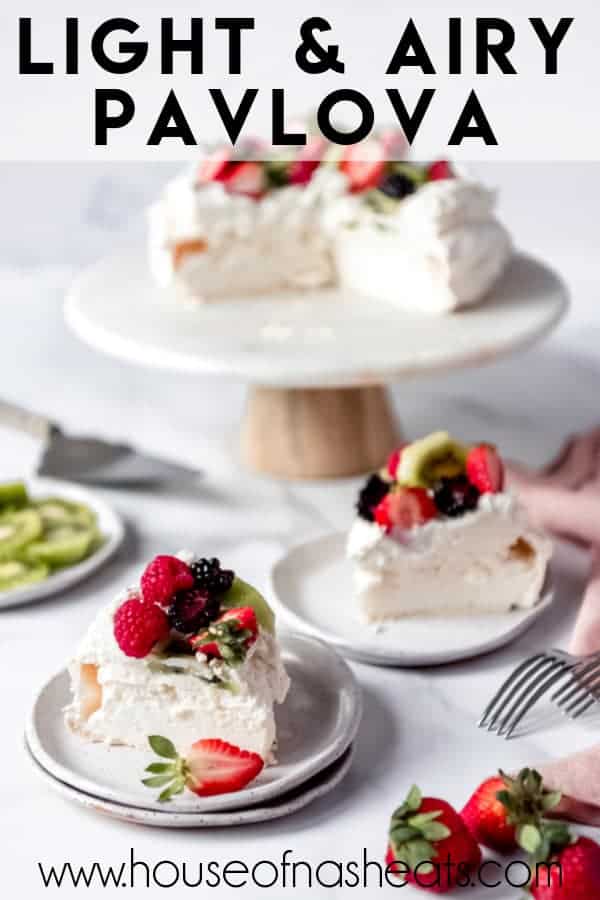
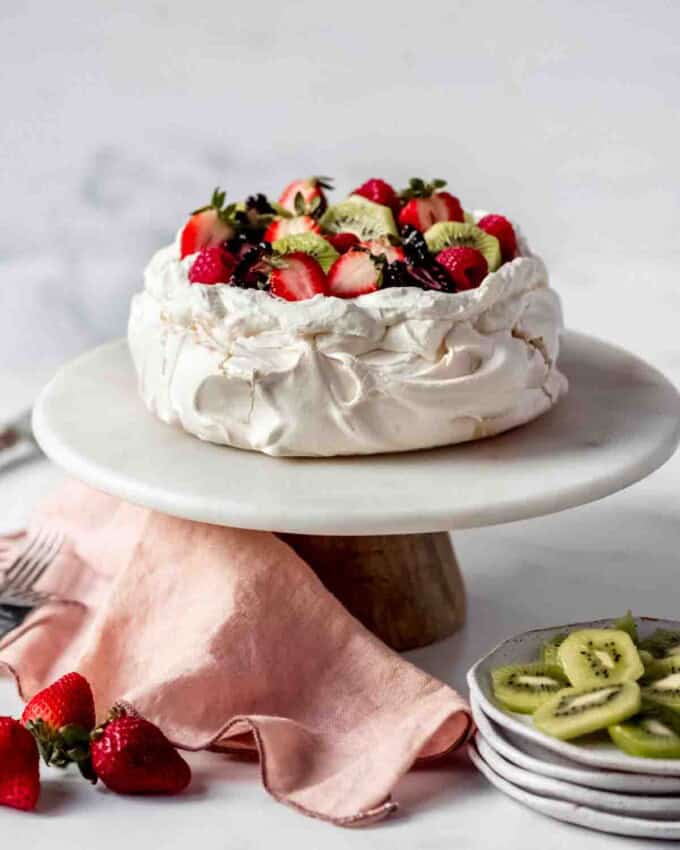
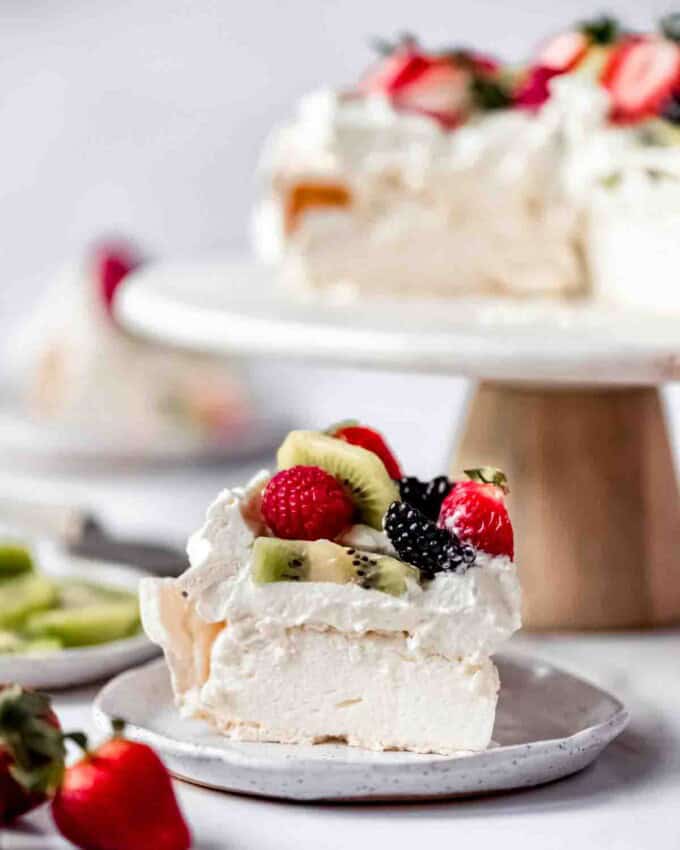
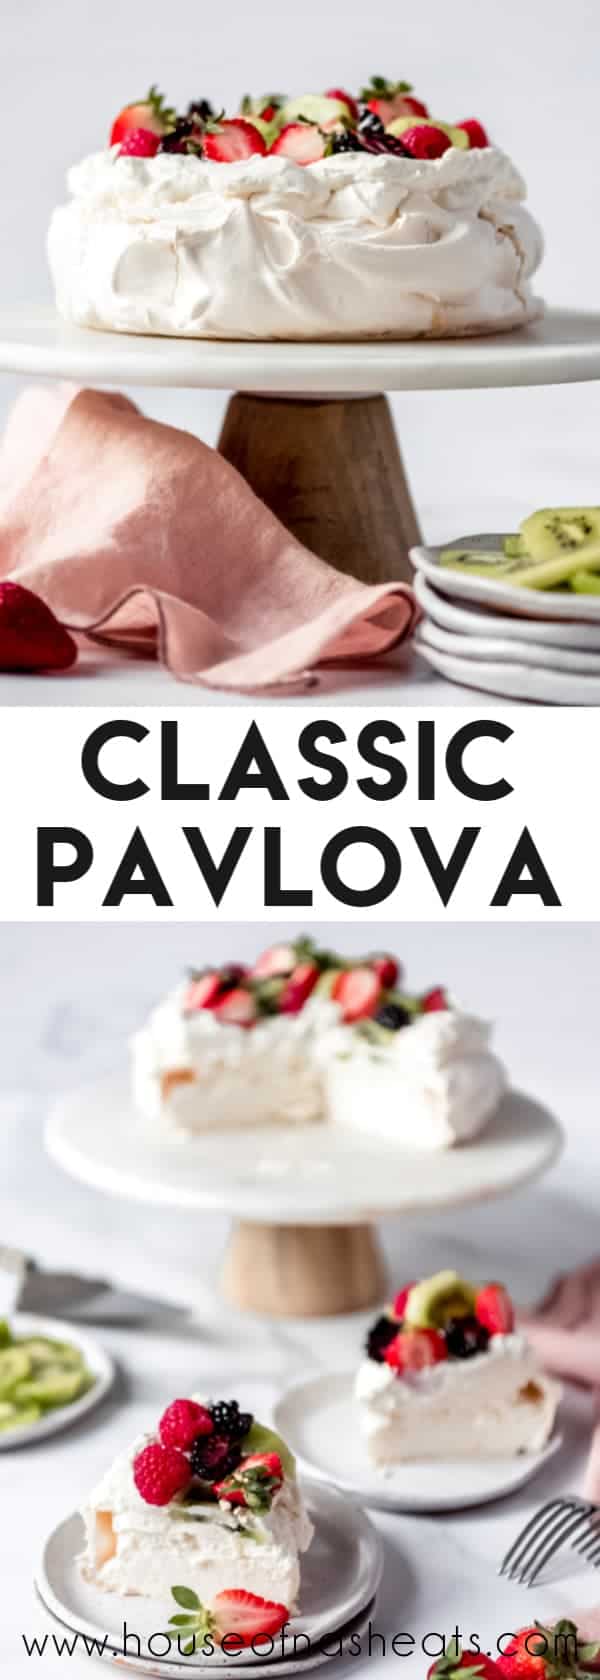
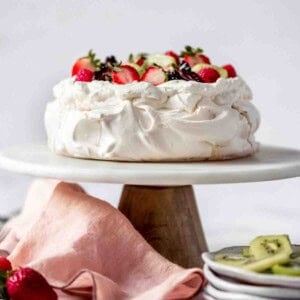
An Australian & New Zealand classic, Pavlova is a heavenly dessert confection that is light as a cloud with a crunchy meringue outside and soft, marshmallow-like interior. Topped with sweetened whipped cream and piled with fresh fruit, this dessert is naturally gluten-free, always a crowd-pleaser and the perfect finish for any meal!
Classic Pavlova Recipe
Our family recently visited New Zealand and I looked everywhere for Pavlova, hoping to get an authentic slice. But not one single bakery or restaurant on the south island that I visited had it! The closest dessert I found was eton mess, and that’s not the same at all. So I came home and baked my own!
I have actually made pavlova a few times in the past but it’s still always a delight to open up the oven after hours of a long, slow cooling process to find a beautiful cloud of crunchy meringue shell filled with soft marshmallow filling just waiting to be piled with cream and fresh fruit!
You can make chocolate pavlova too! It’s on my constantly-growing list of desserts that I want to try! Although to be completely honest, I think it would be difficult to photograph given it’s shocking resemblance to a cow pie.
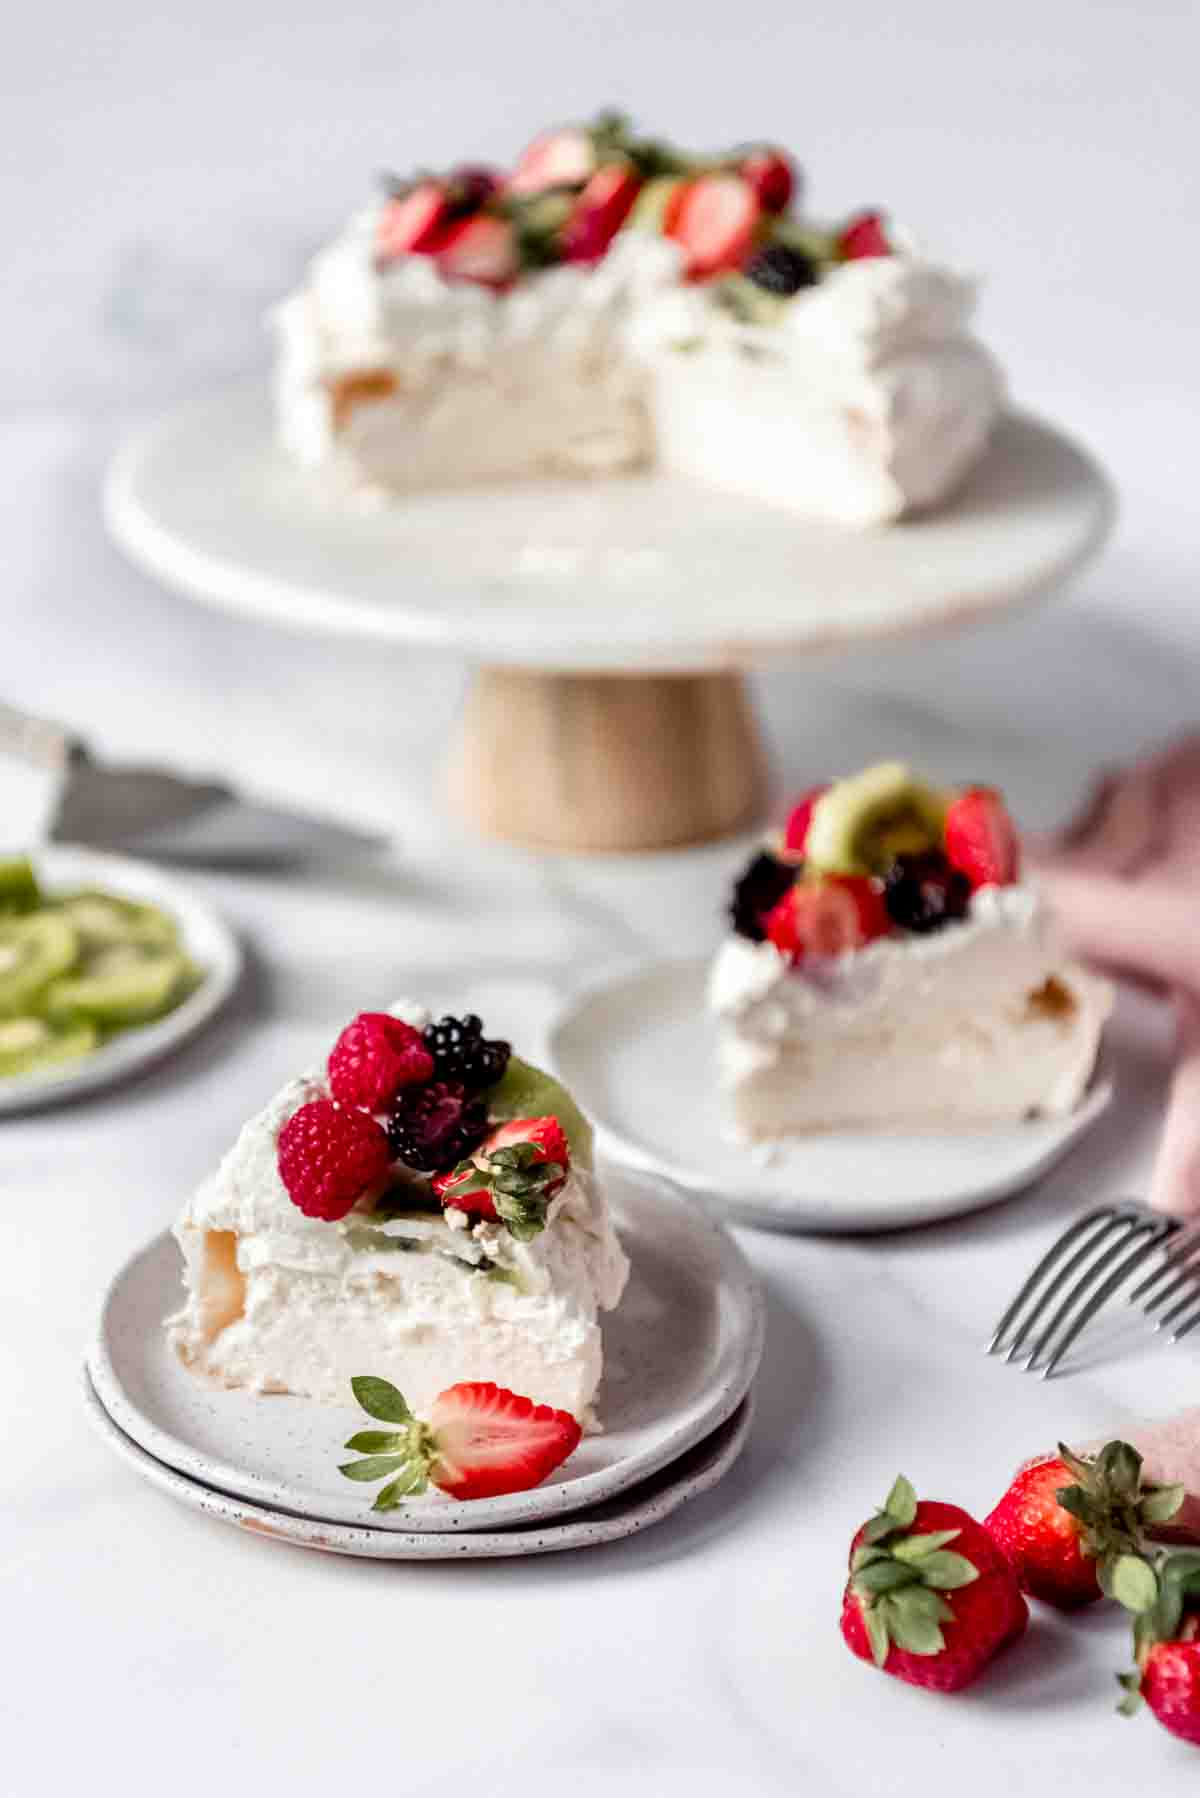
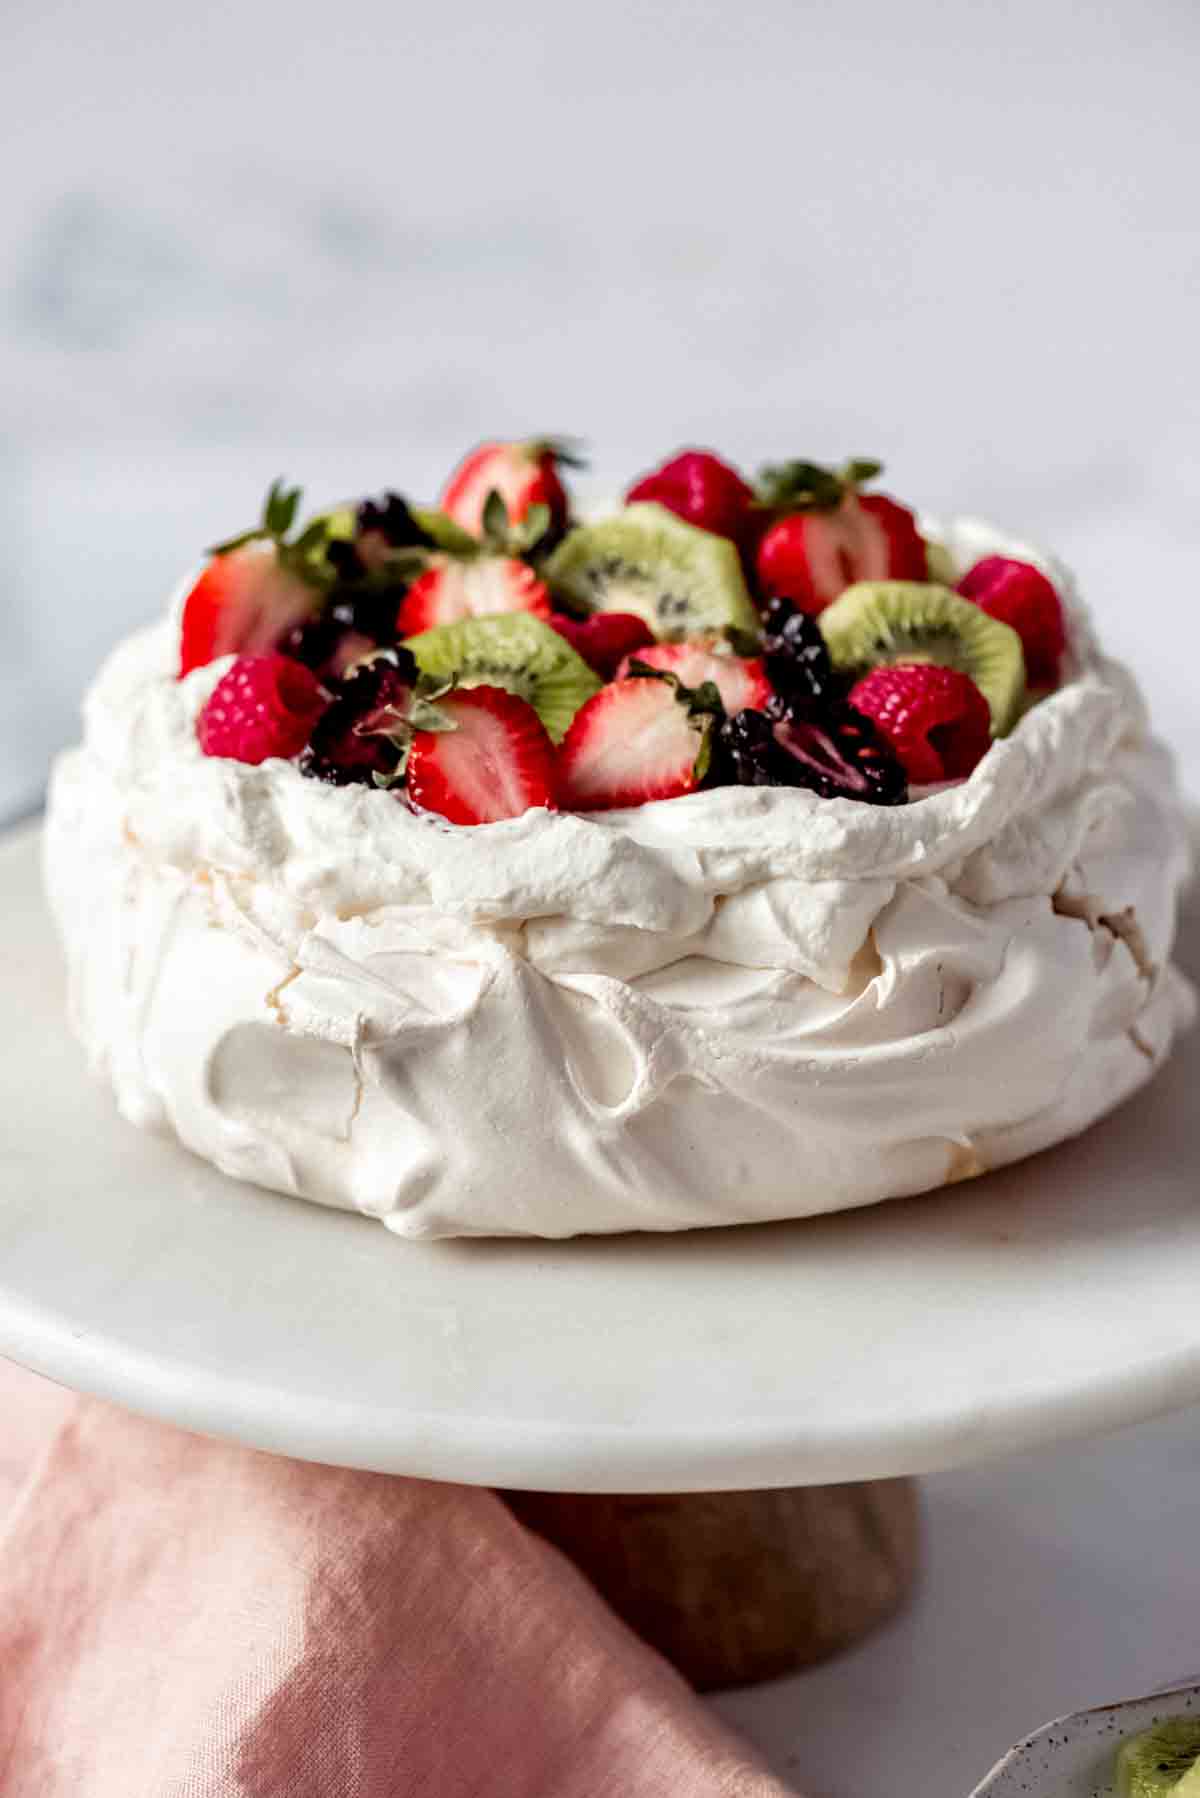
But a bright white classic pavlova like this one topped with jewel-colored fruit? It’s every bit as divine as it looks. My entire family gushed enthusiastic praise over this dessert.
If you are a fan of fruity spring or summer desserts, you will also enjoy our Authentic French Fruit Tart, Raspberry Pretzel Salad, or Easy Blueberry Custard Pie!
What is Pavlova?
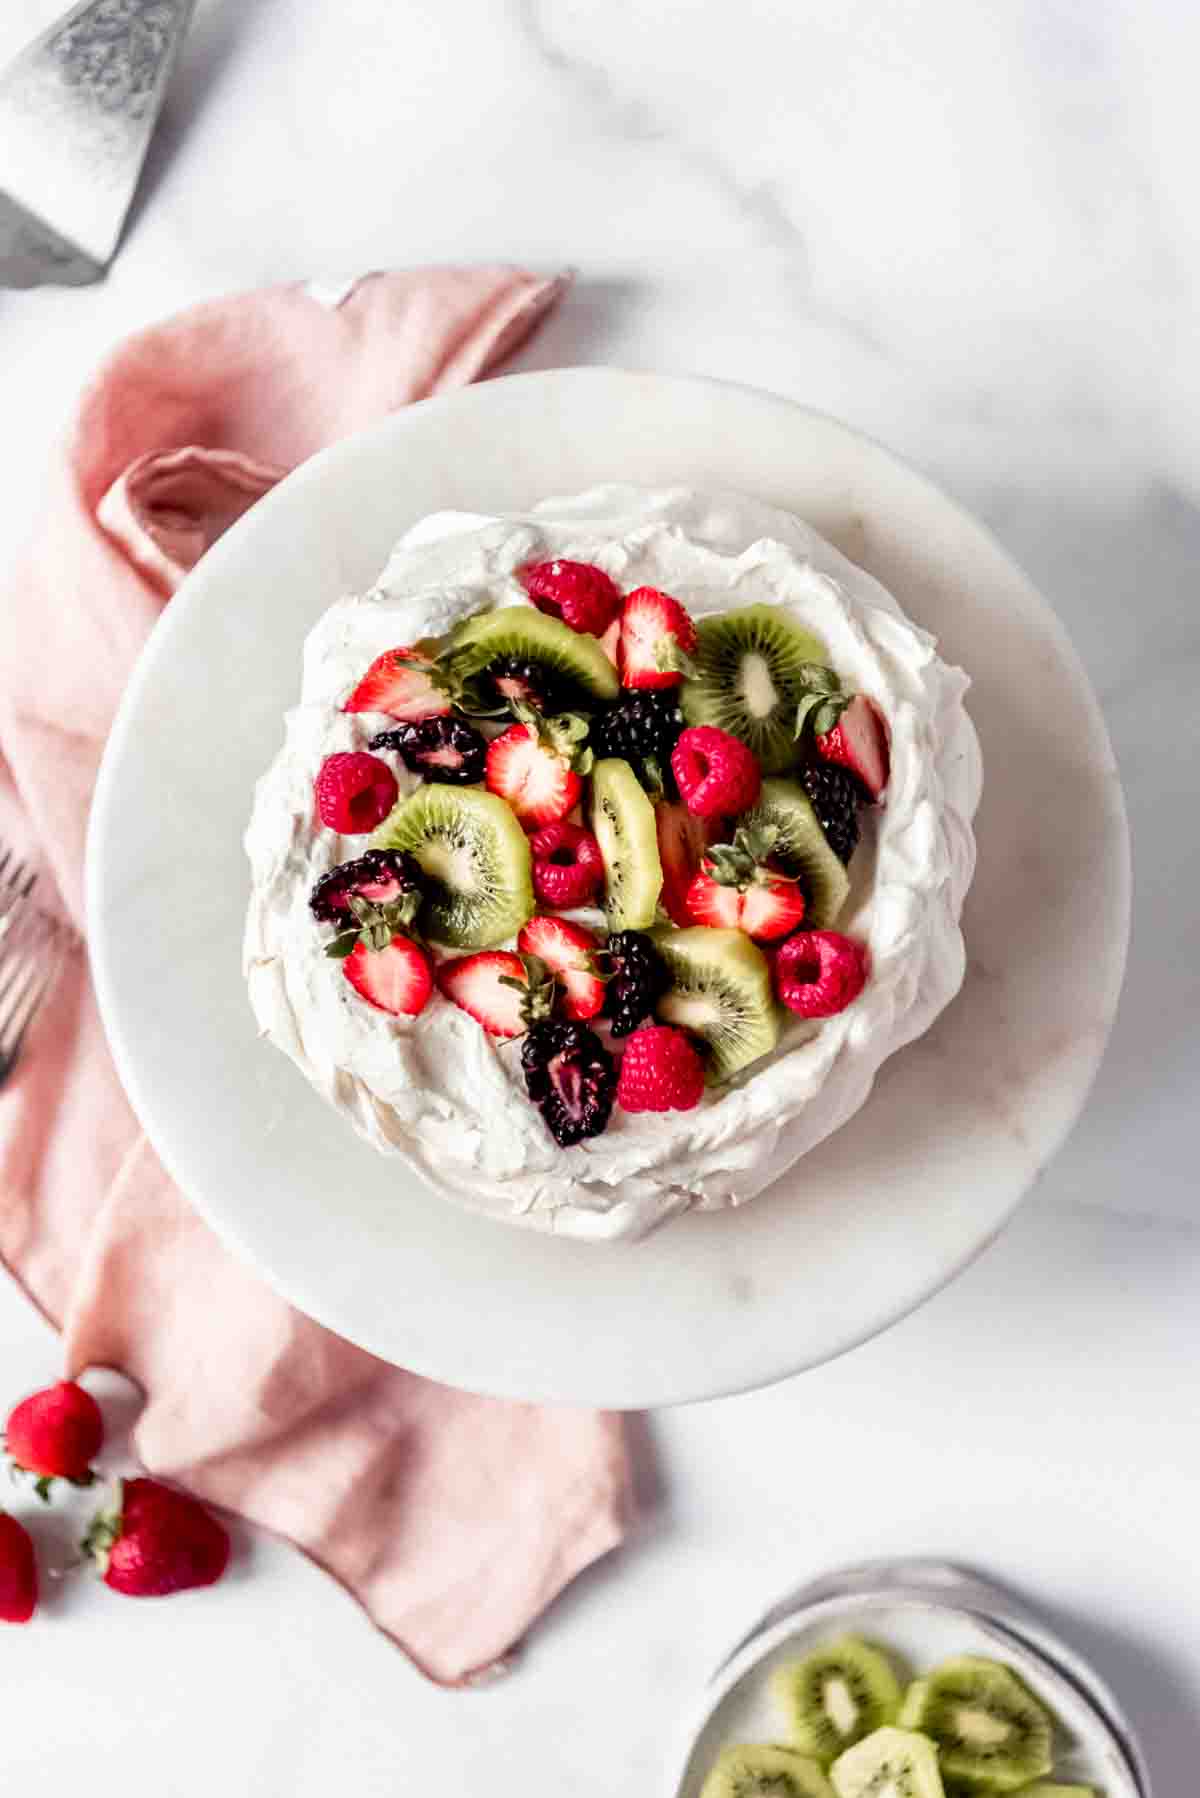
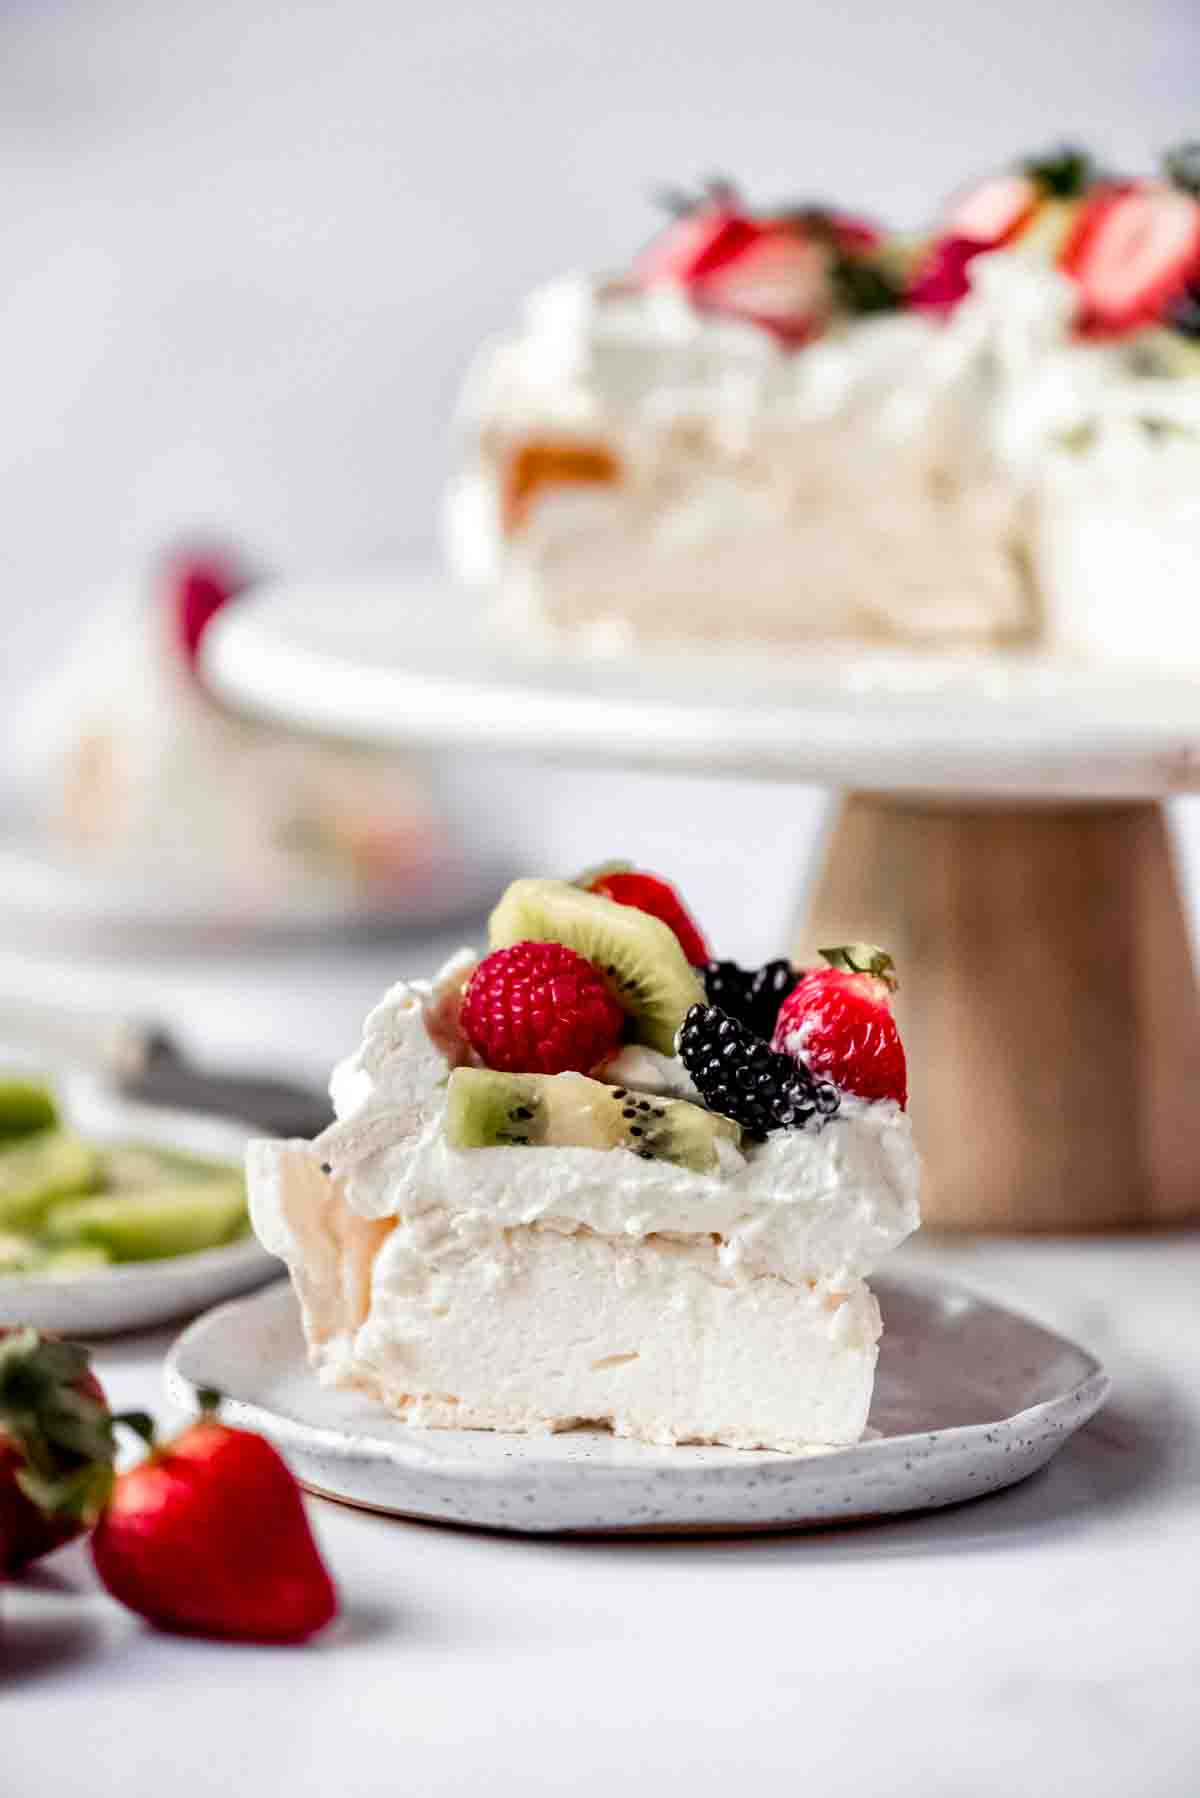
A pavlova cake, as it’s sometimes called, is like a cross between a meringue cookie and a homemade marshmallow. It’s made with egg whites, sugar, cornstarch, vinegar or lemon juice, and vanilla.
After beating the whites until frothy and very gradually adding the sugar until it is dissolved, a slurry of the remaining ingredients is whisked in before baking the meringue slowly in a low temperature oven, then letting it cool gradually.
The pavlova dessert was named for Anna Pavlova, a Russian ballerina who performed in Australia and New Zealand in the 1920’s. The question of which country created the first pavlova recipe is supposedly hotly contested between the Aussies and the Kiwis. Some say it was inspired by Ms. Pavlova’s tutus or her light and graceful style of dance.
How to Make Pavlova
- Whip the egg whites. I have found that whipping egg whites all the way on high-speed tends to overwhip them and the pavlova can crack more. Don’t go higher than medium speed when using your mixer for this pavlova recipe.
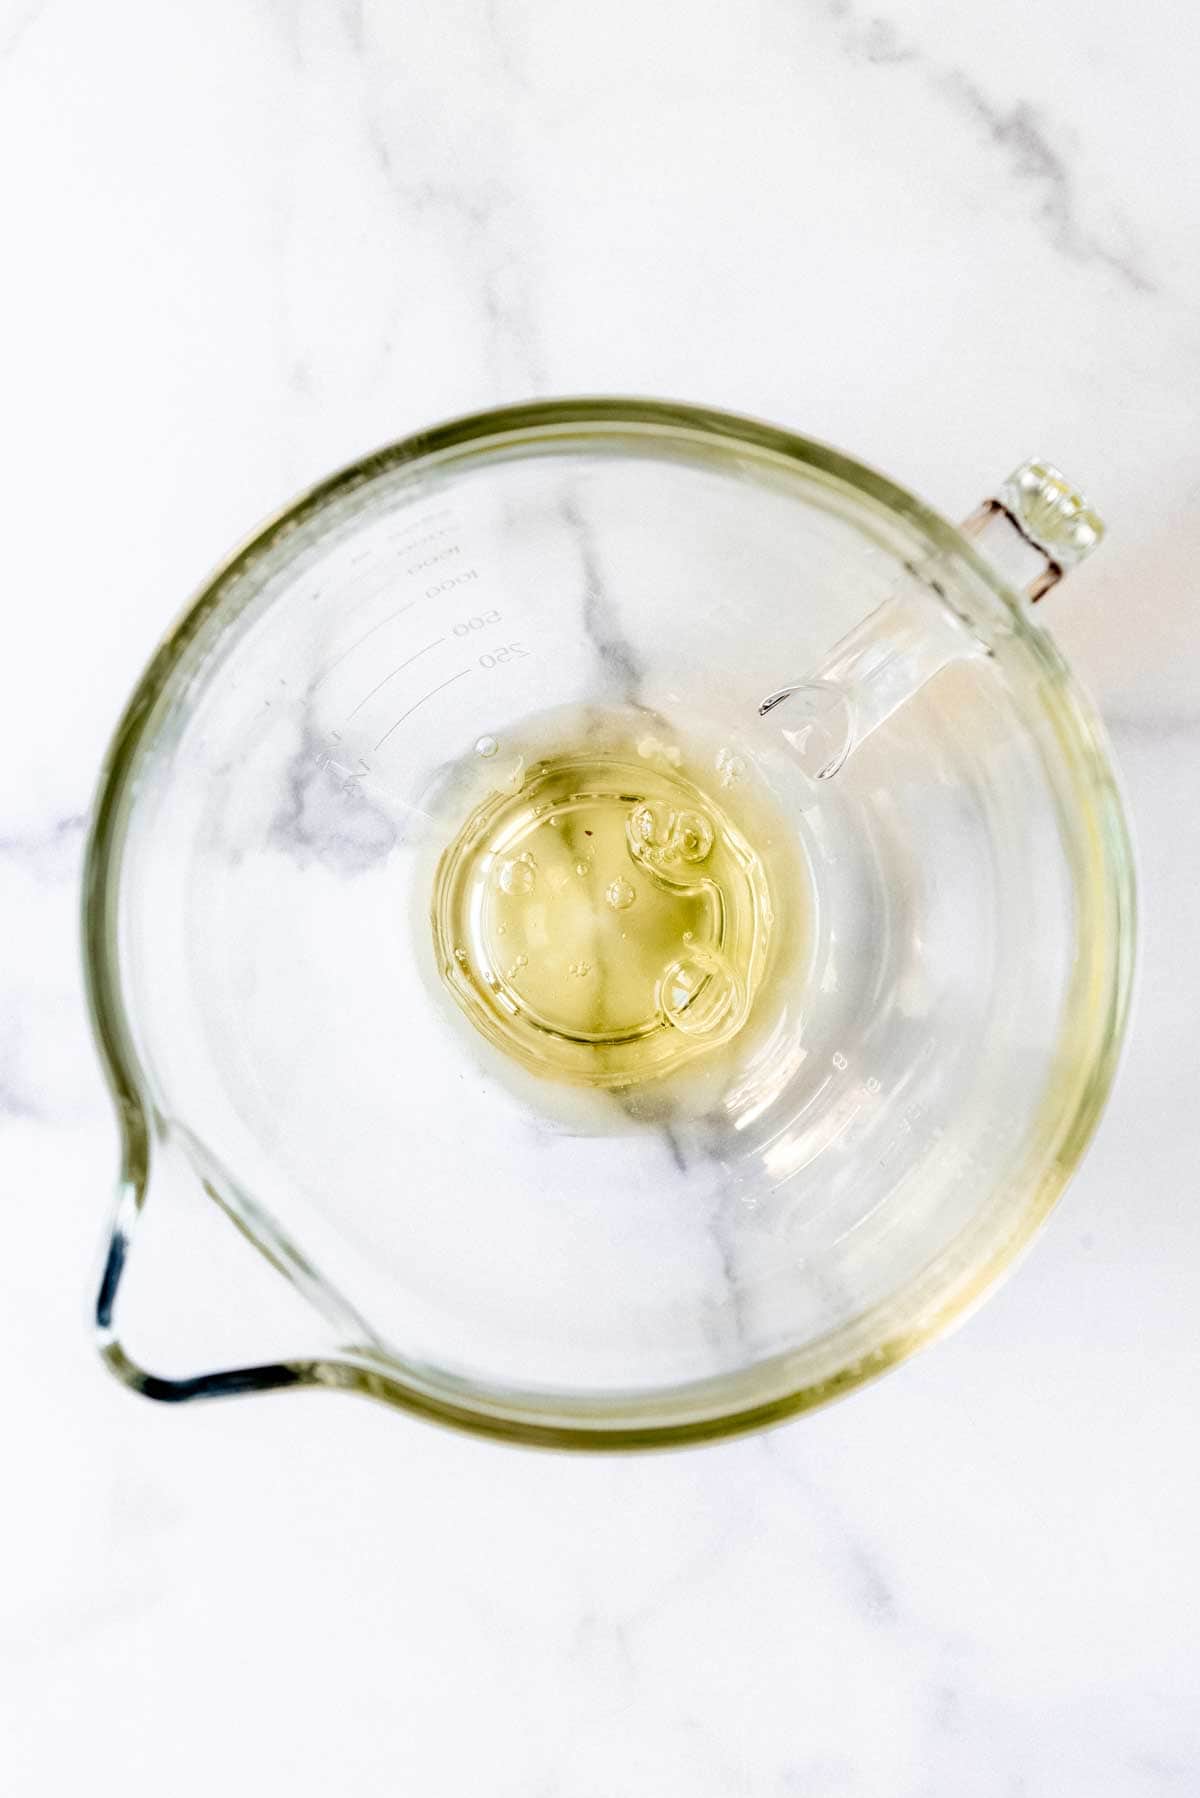
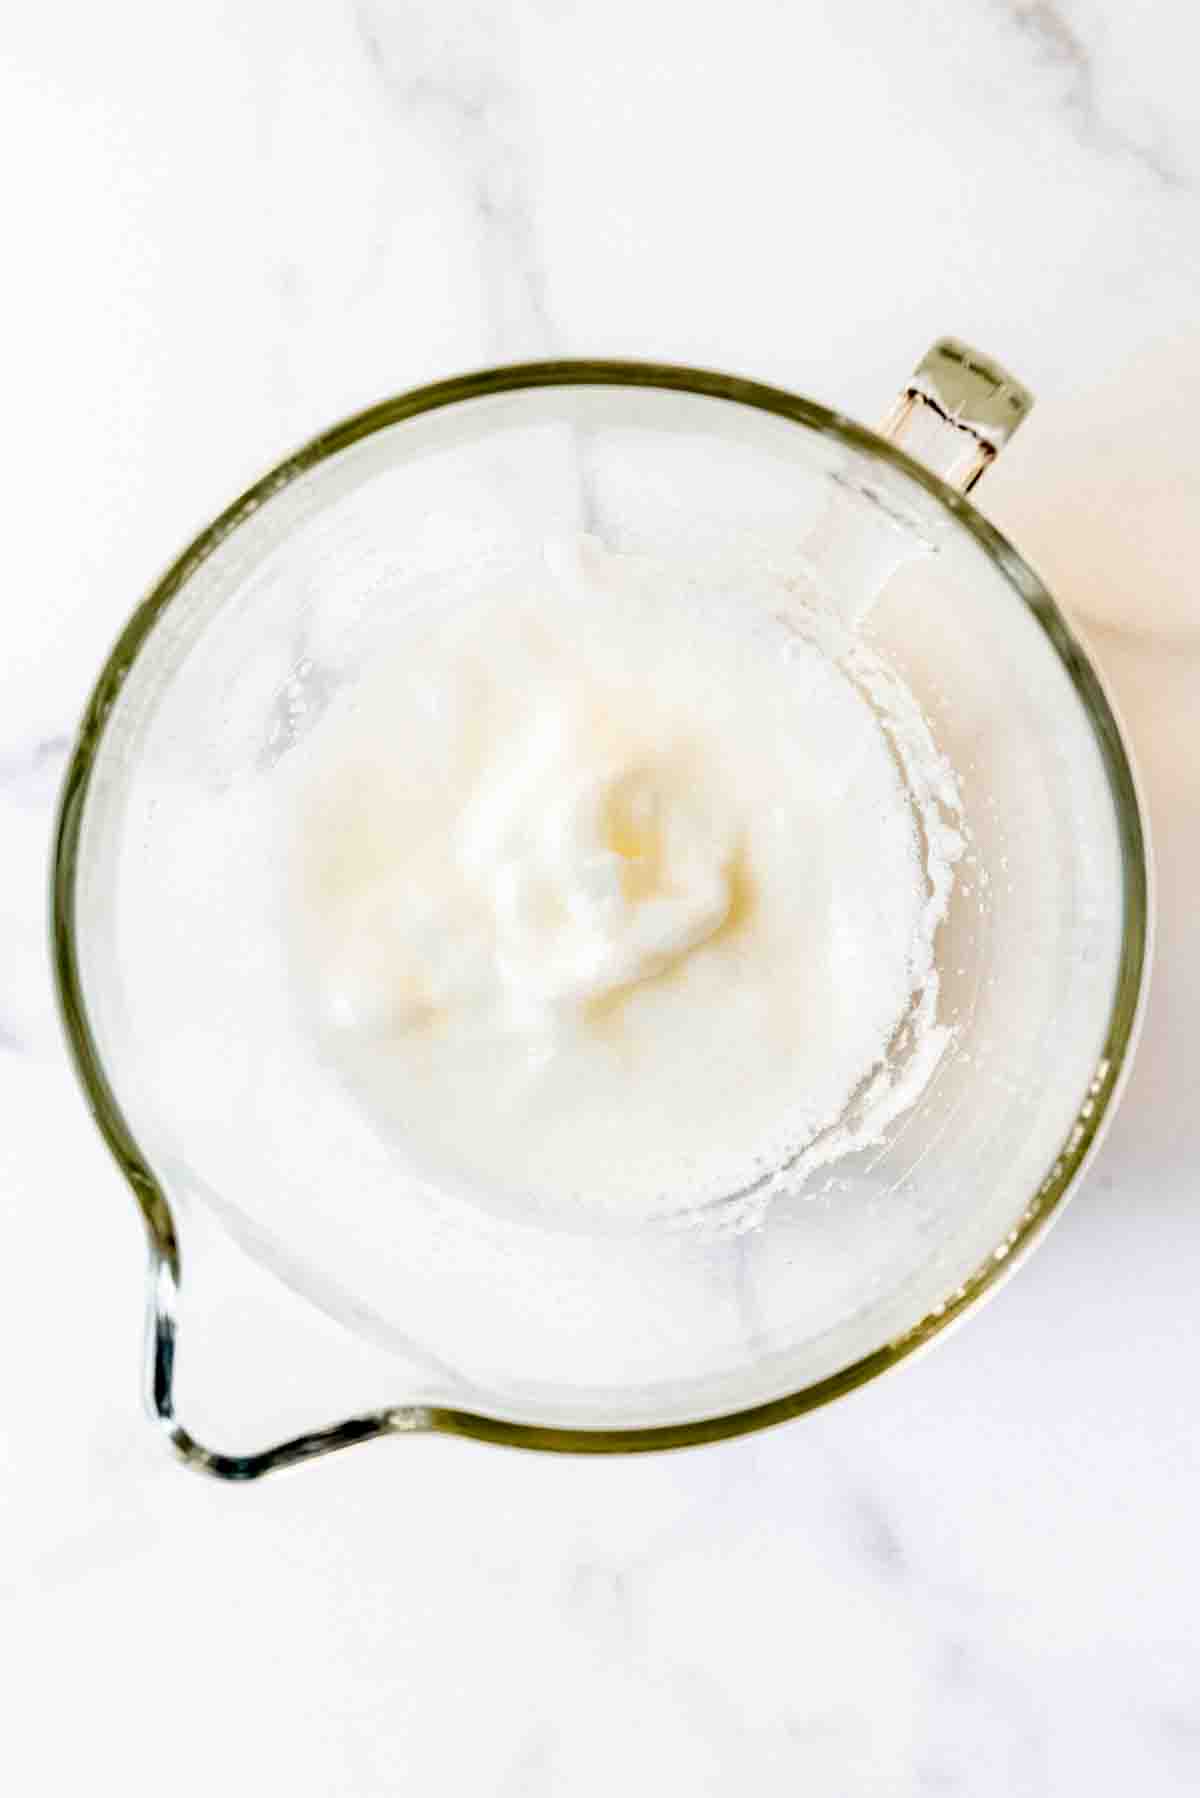
- Gradually add the sugar. You will see in the recipe that I recommend pulsing your granulated sugar in the food processor (affiliate link) before adding it 1 tablespoon at a time to the frothy egg whites. This helps the sugar dissolve better and helps the pavlova not to weep so much when you bake it. If you happen to have caster sugar (a finer grain than standard granulated sugar) you can just use that.
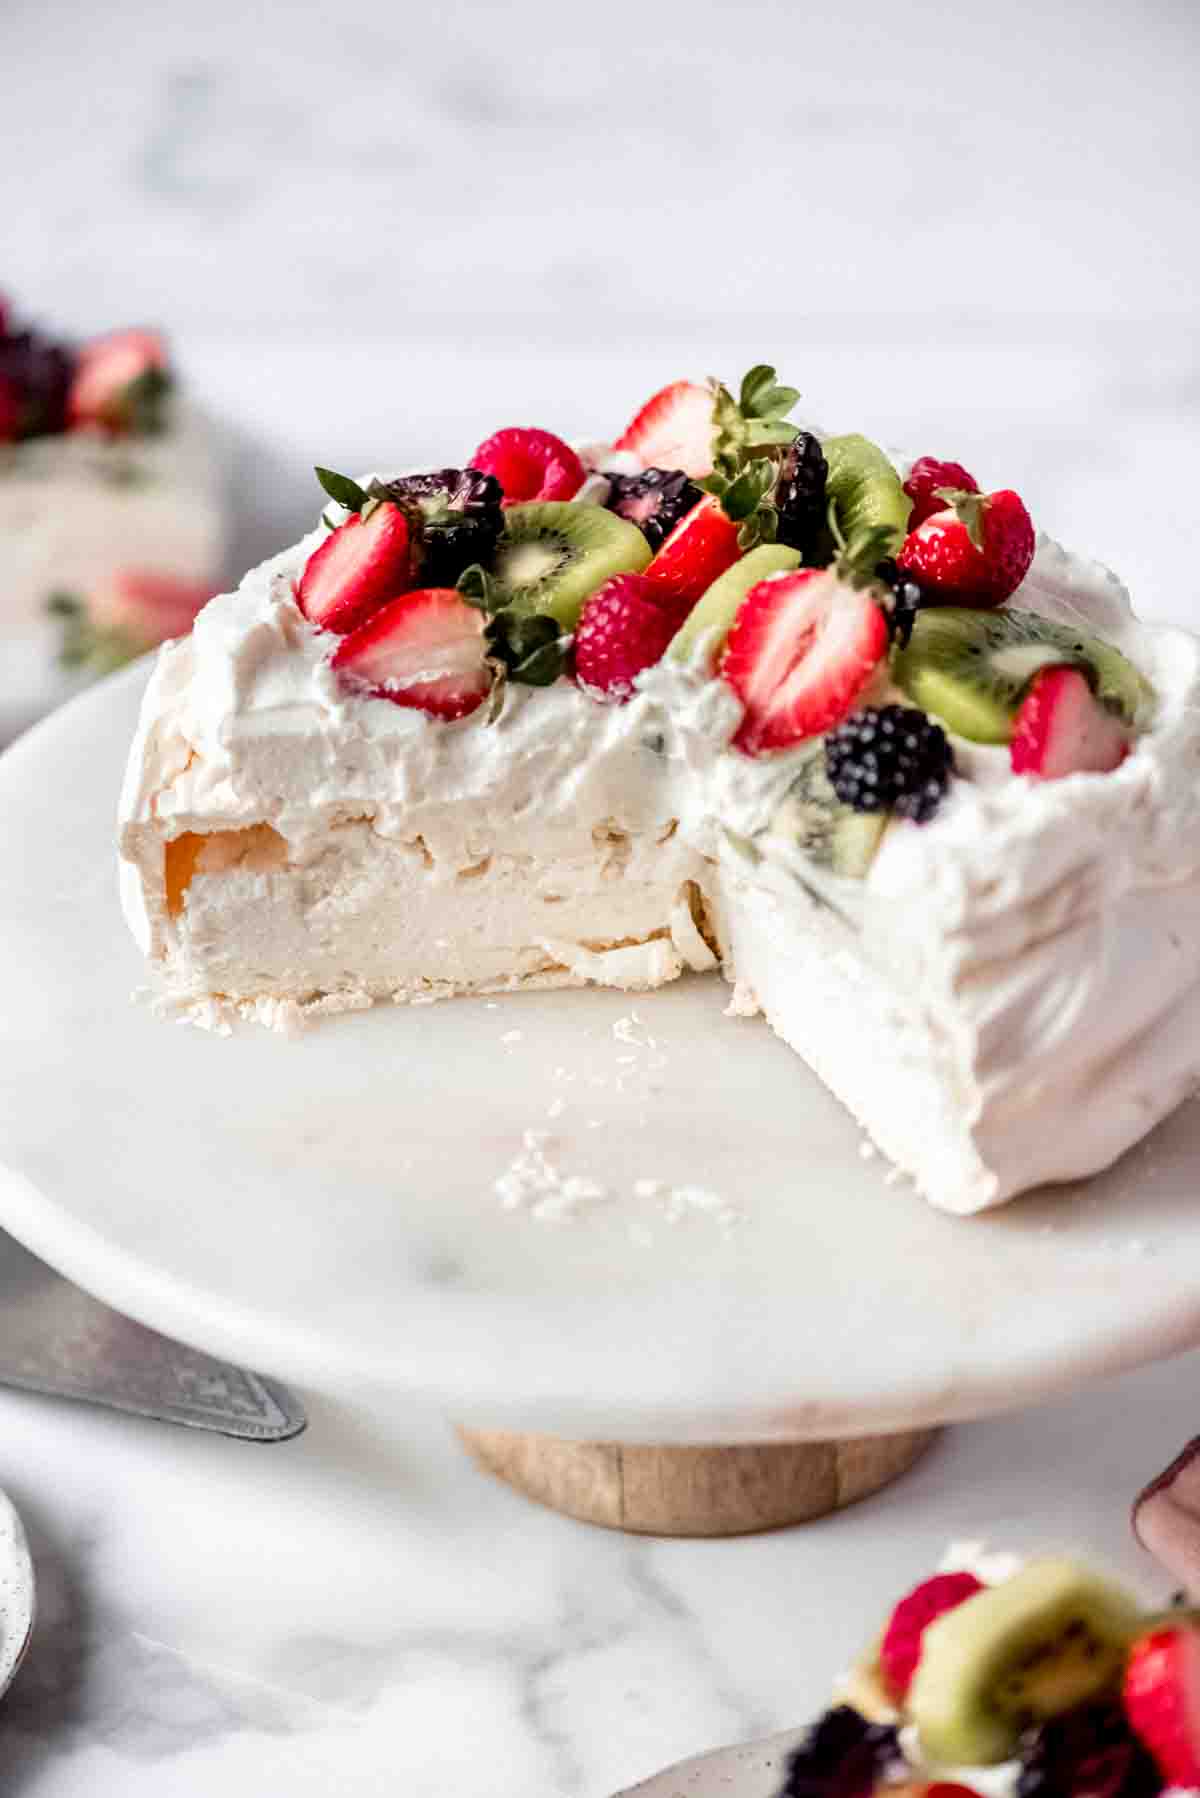
- Mix in a slurry of cornstarch, vinegar, and vanilla. If you have lemon juice on hand, that will work just as well as vinegar. I’ve used both and don’t notice any difference in the flavor of the pavlova, but you need one or the other with the cornstarch to get that signature billowy marshmallow texture that is so incredible about pavlova.
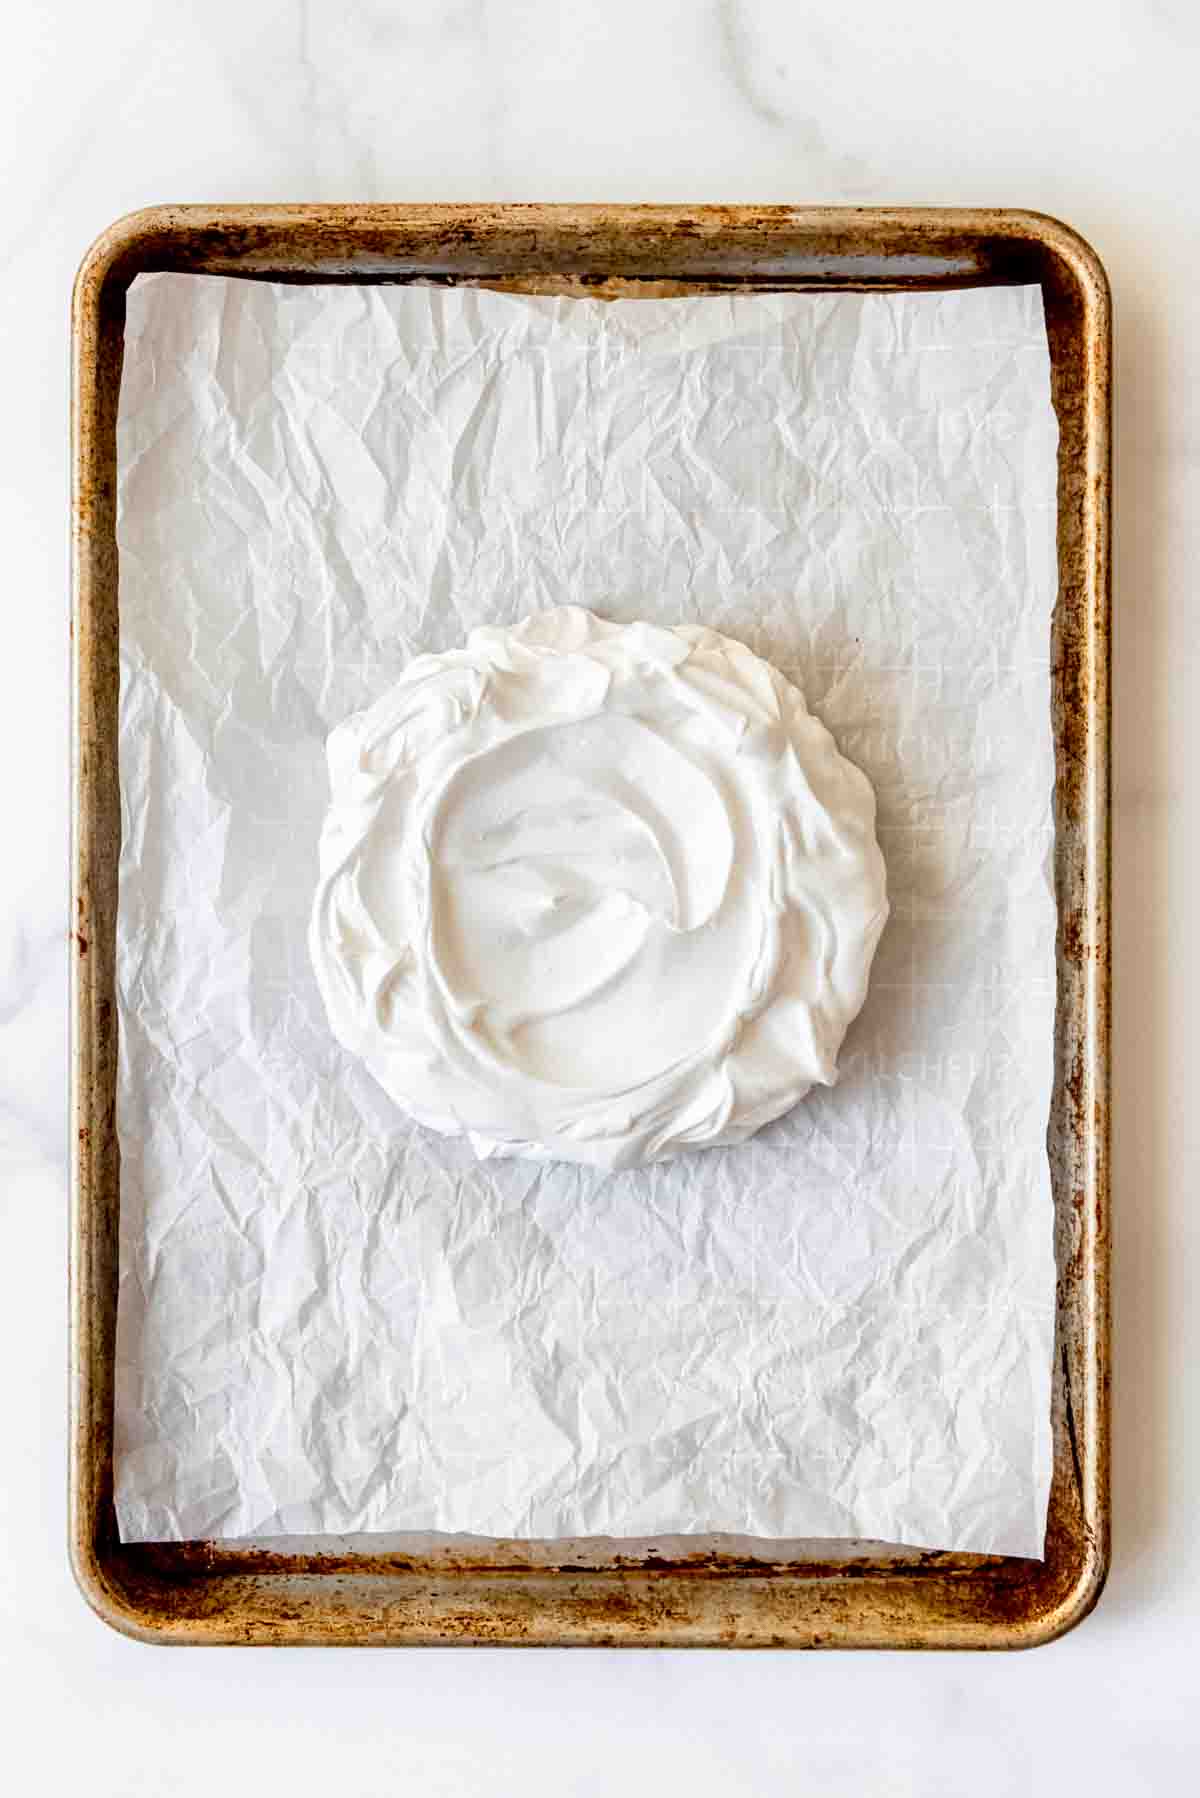
- Shape the pavlova on parchment paper. Just pile the whipped meringue in the center of the parchment paper, using the back of a spatula or spoon to swoop up the sides, creating an 8-inch circle with a flat-ish or even slightly concave top. This will help hold the fruit and cream better than a rounded, domed top after baking.
- Bake in a well-preheated oven, but immediately decrease the temperature. By preheating the oven to a higher temperature, then decreasing it immediately after placing the pavlova in the oven to bake, the outer surface of the pavlova cooks and sets more quickly than the interior.
- Cool slowly in the oven. Once the pavlova is done, just turn the oven off and let it cool down slowly for at least 2-3 hours.
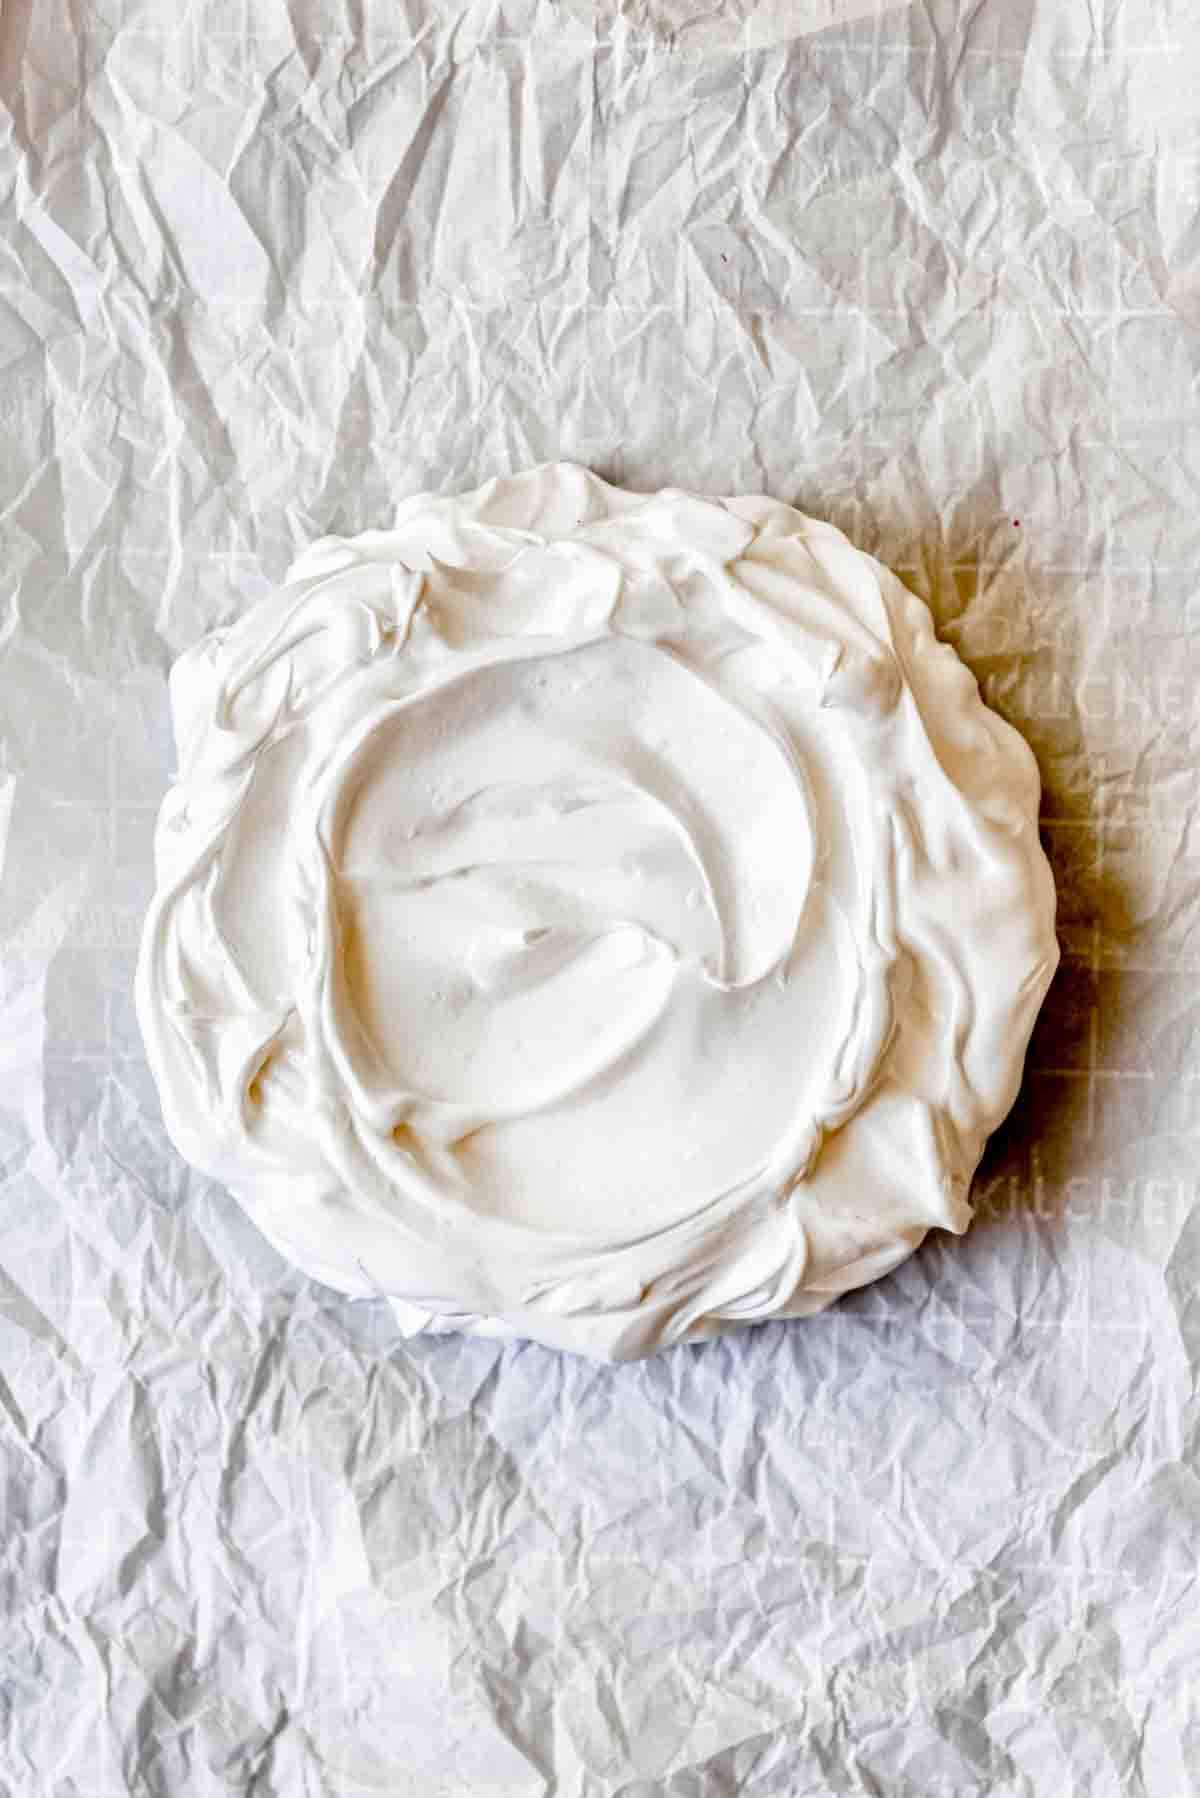
- Top & serve! Don’t get overeager and decorate too early. The moisture from the cream and fruit will soften the pavlova fairly quickly. It’s still delicious and I’ve definitely eaten leftover pavlova that is still tasty, but it doesn’t have the same delicious textural contrast that is so unusual and wonderful about pavlova.
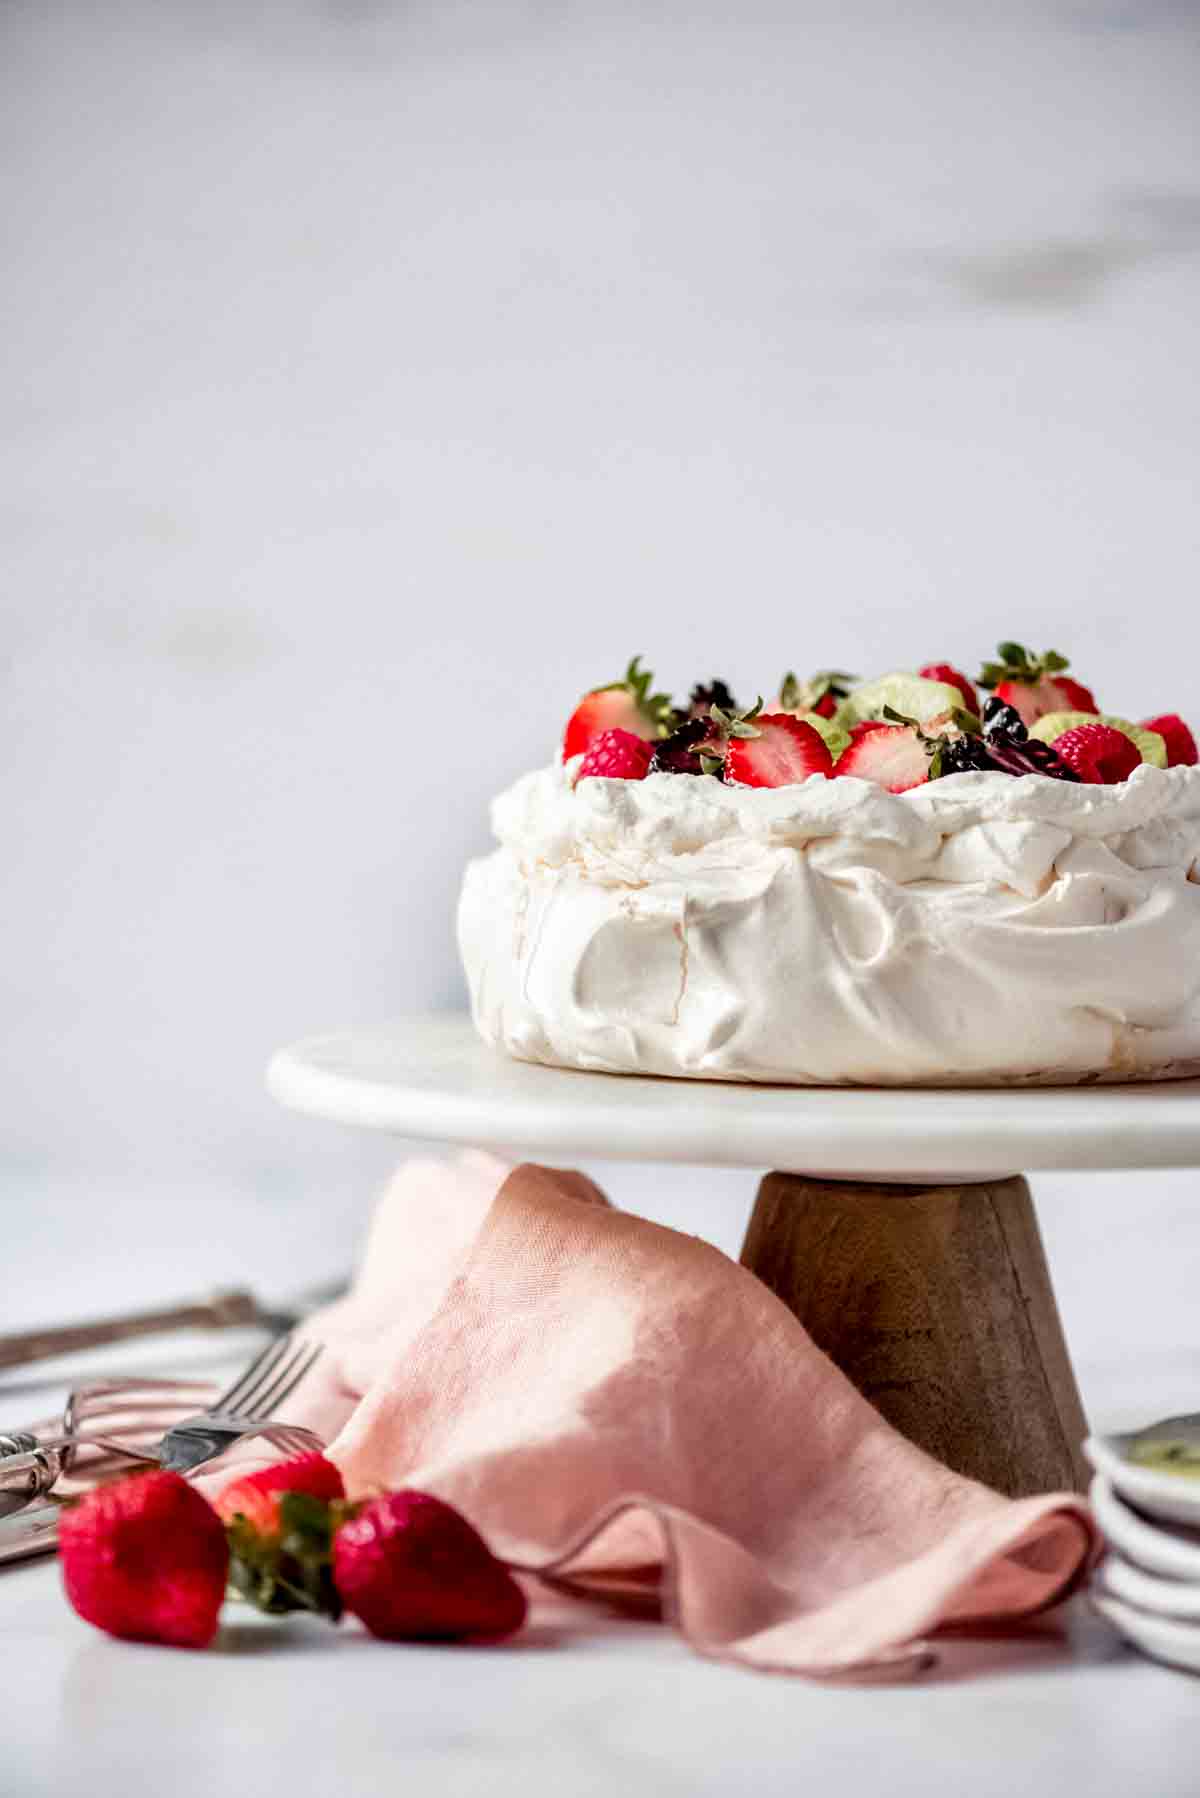
How to top Pavlova
- Whipped Cream: I like it sweetened with a little powdered sugar and vanilla extract, but you could probably use unsweetened whipped cream since the meringue itself is already quite sweet.
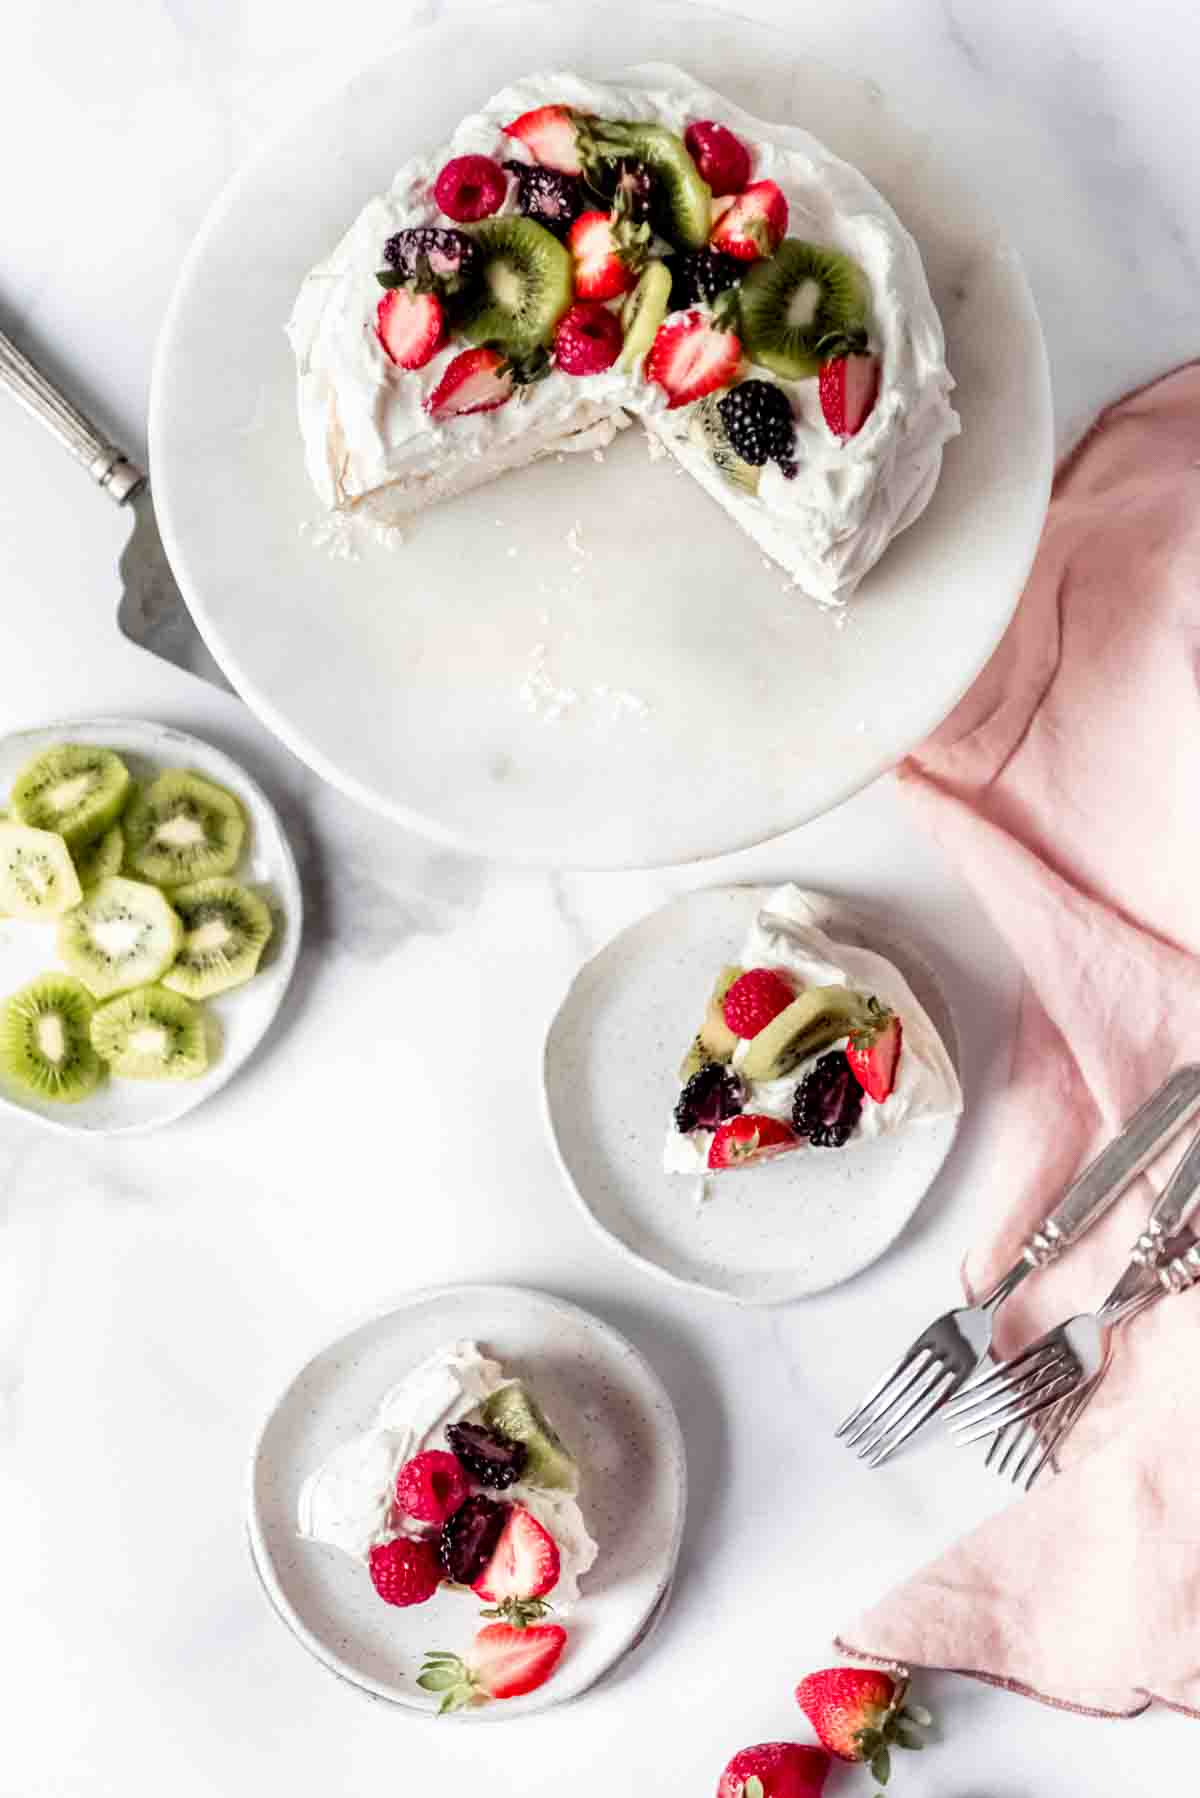
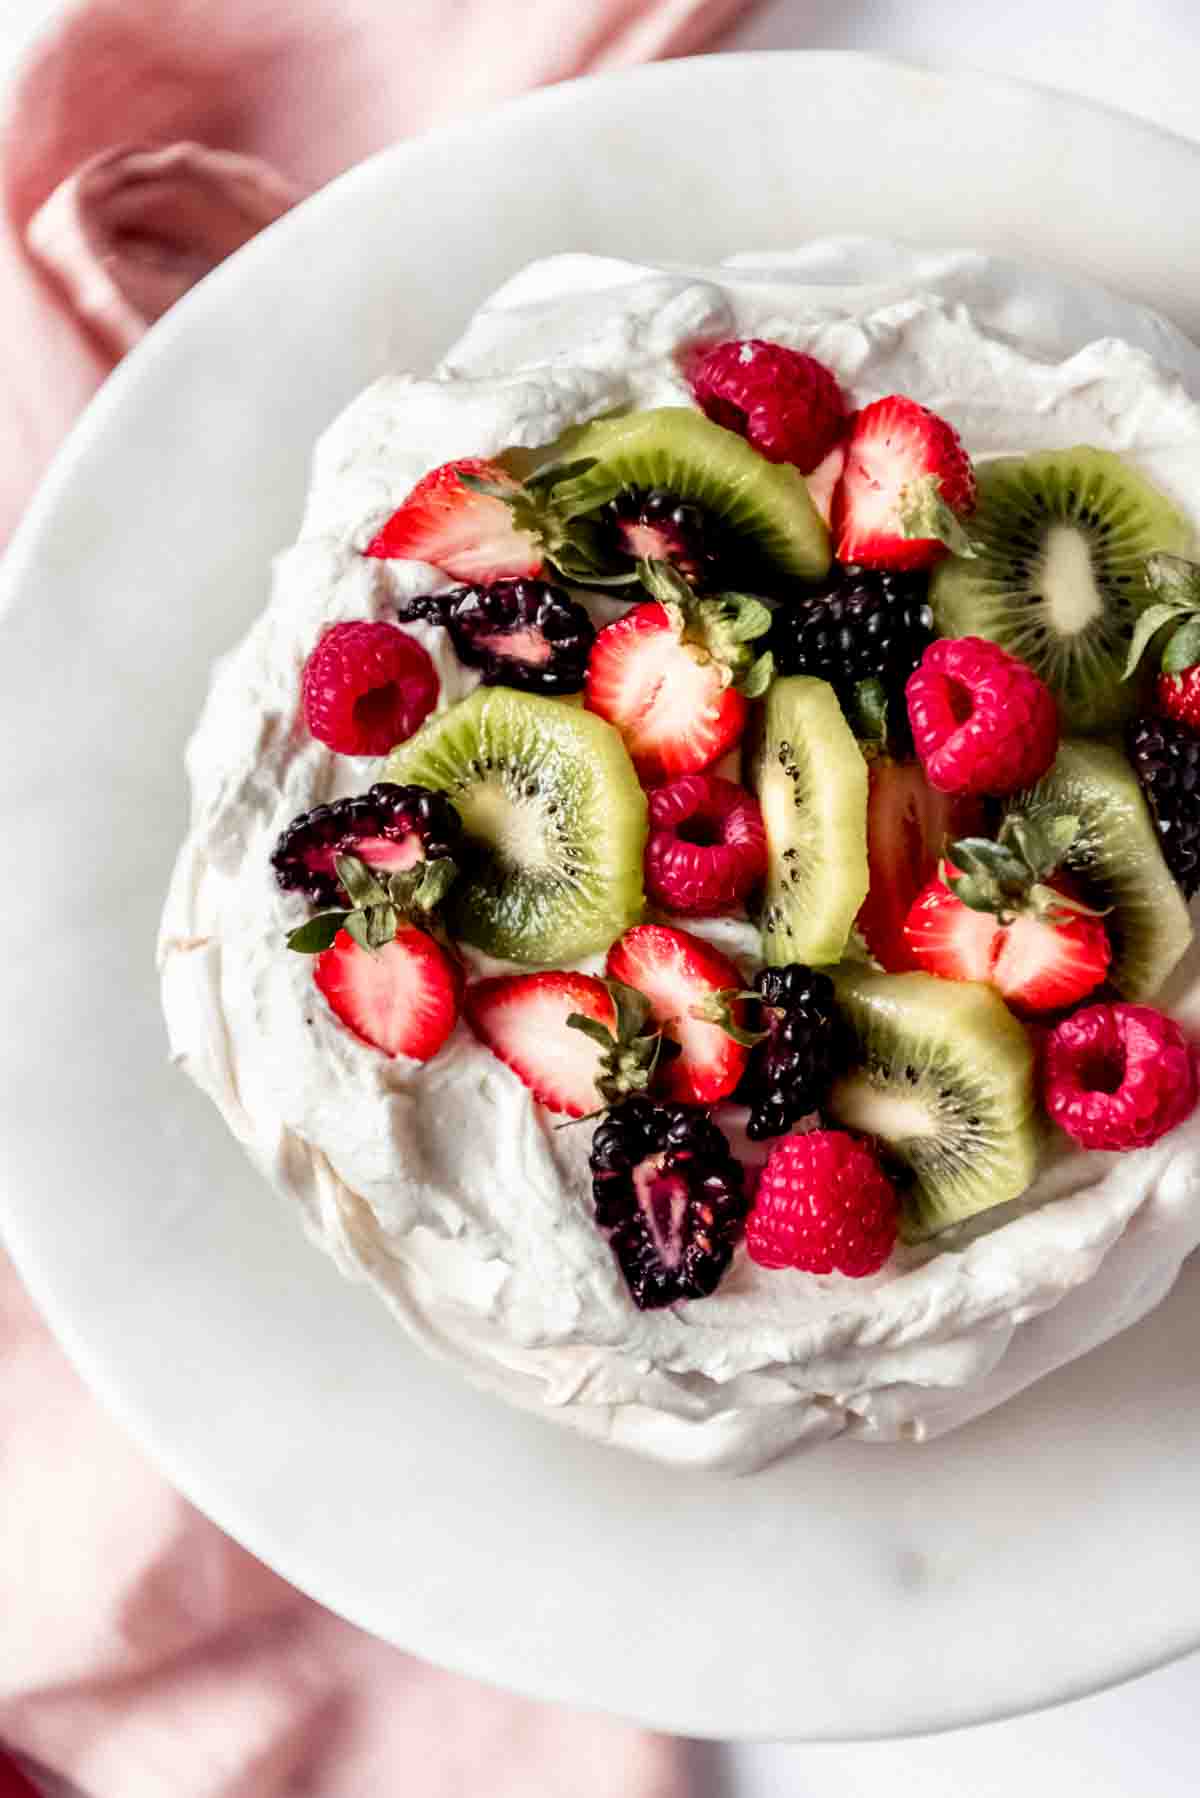
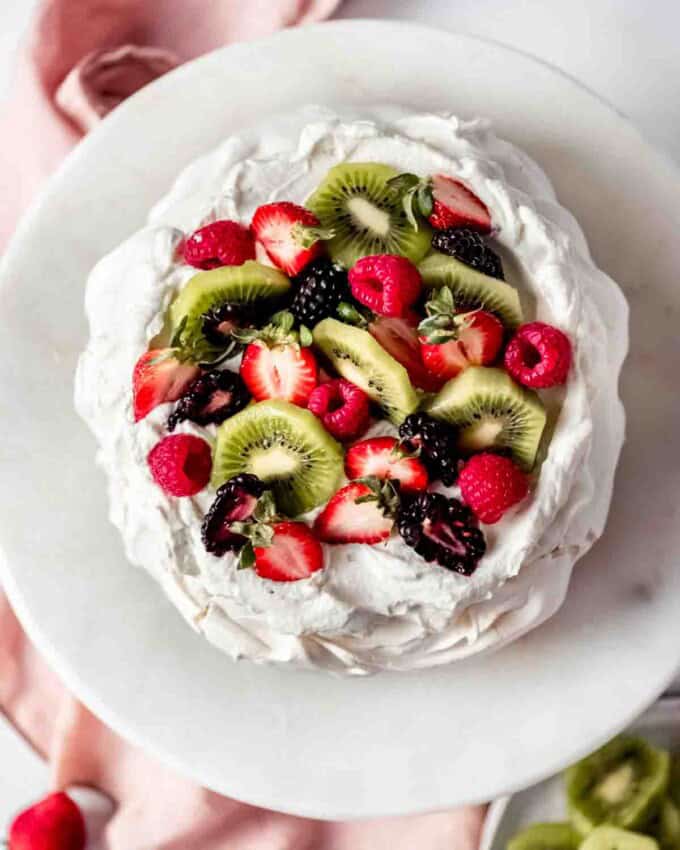
- Fruit: Strawberries & kiwi are classic choices, but raspberries, blackberries, or blueberries are also excellent choices. You can even use mandarin orange segments, sliced peaches, cherries, mango, or frankly, almost any other fruit you like.
- Fruit Sauce: Lemon curd, passionfruit curd, mango curd, ANY kind of curd, Easy Raspberry Coulis Dessert Sauce or other fruit compote or sauce would be great toppings.
- Chocolate: I’m thinking you could drizzle a pavlova with Nutella or pile some chocolate shavings on it and it would be pretty darn amazing.
- Sprigs of mint: I would probably do this more as a garnish than as something I would eat, but it would certainly be pretty!
Tips for the Best Pavlova
- Don’t use cold ingredients. Use room temperature, fresh eggs for the best results. It really does make a difference when making a meringue dessert to have eggs that aren’t super cold from the fridge. You will get better volume and texture in your pavlova this way.
- Make sure your bowl and whisk are clean. Grease in your bowl or on the whisk can cause the egg whites not to increase in volume. Also, be careful not to accidentally get egg yolk in with your whites when separating them.
- Use parchment paper. It’s really important to use parchment paper, otherwise the pavlova will stick to the pan. And don’t use any cooking spray! I didn’t have a problem peeling my pavlova off the parchment paper, but if you are worried you can dust it with a light dusting of cornstarch first.
- Assemble right before serving. Don’t top it with whipped cream and fruit until right before you are ready to eat it! A big part of what makes a pavlova so unique and fantastic is in the texture of crispy outside and soft, fluffy interior. But once you add the cream it starts to soften that outer shell. Even 20 minutes is enough to lose the crispiness of that top layer.
- Can be made in advance. Pavlova doesn’t freeze well, but you CAN make it up to 3-4 days in advance and store in an airtight container at room temperature.
- Family-style or mini—you choose! You can make one large pavlova, or 4-6 individually sized pavlovas. Just decrease the bake time to about 35-40 minutes.
More Show-Stopping Dessert Recipes
Dessert
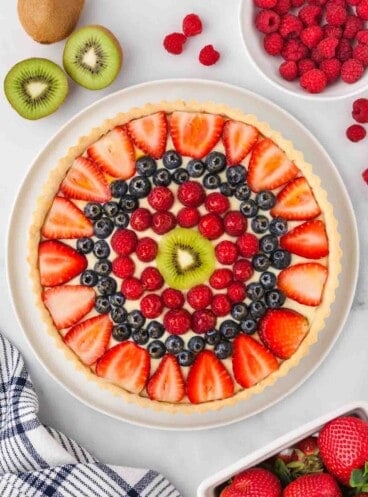
French Fruit Tart
Sweets & Treats
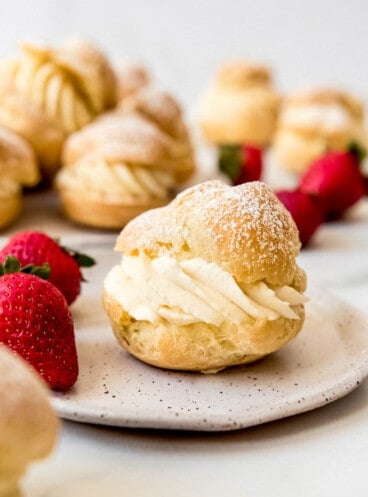
Easy Classic French Cream Puffs
Dessert
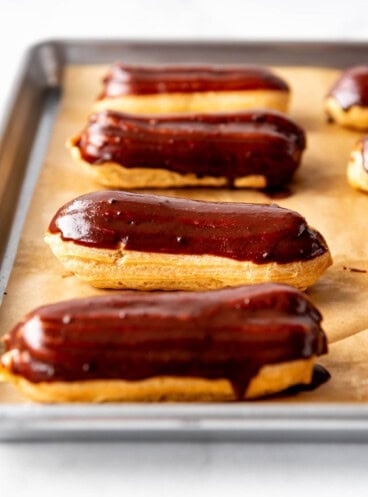
Classic Homemade Eclairs
Did you make this recipe?
Let me know what you thought with a comment and rating below. You can also take a picture and tag me on Instagram @houseofnasheats or share it on the Pinterest pin so I can see.
Pavlova
Ingredients
Pavlova
- 4 egg whites room temperature
- 1 cup granulated sugar
- 2 teaspoons cornstarch
- 1 teaspoon lemon juice or vinegar
- 1 teaspoon pure vanilla extract
To Finish
- 1 1/2 cups heavy cream
- 2 Tablespoons powdered sugar
- 1 teaspoon pure vanilla extract
- Fresh fruit such as kiwis, strawberries, and blackberries

Instructions
- Preheat oven to 350°F. Pulse sugar 12-15 times in a food processor (affiliate link) so it is more fine like caster sugar. Line a baking sheet with a piece of parchment paper and set aside.1 cup granulated sugar
- In a large bowl of a stand mixer fitted with a whisk attachment, beat the egg whites until foamy and soft peaks begin to form.4 egg whites
- With the mixer on medium-low speed (setting 3 on a 10-speed mixer), gradually add the sugar, 1 tablespoon at a time, waiting 20-30 seconds between each addition to allow the sugar to better dissolve in the egg whites. Be sure to stop the mixer and scrape the bowl once or twice during this process.
- Once all of the sugar has been added, increase the mixer speed slightly (setting 4 on a 10-speed mixer) and let it whisk the egg whites and sugar until the sugar is completely dissolved and the meringue is glossy and thick, with stiff peaks. This may take about 15 minutes at this speed, but don’t rush it using a higher speed which is more likely to break the egg whites. You won’t get the same wonderfully fluffy texture if you beat the meringue too quickly. Stop the mixer and scrape the sides of the bowl once or twice to be sure it mixes evenly.
- While the egg whites and sugar are mixing, combine the cornstarch, lemon juice or vinegar, and vanilla in a small bowl to create a slurry. When the meringue is glossy and thick and you feel very few grains of sugar when rubbing a bit of it between your fingers, increase the speed slightly and add in the cornstarch slurry. Mix for 30 seconds, scraping the side of the bowl to be sure it is evenly combined.2 teaspoons cornstarch, 1 teaspoon lemon juice or vinegar, 1 teaspoon pure vanilla extract
- Pile the meringue into the middle of the parchment paper and use spatula or the back of a spoon to shape it into a mound roughly 8-inches in diameter. Use the spatula to gently push some of the meringue from the middle of the mound toward to edges to build them up so the pavlova is flat instead of rounded on top. You can make decorative swirls up the sides, if you wish, but smooth any pointy peaks with the spatula.
- Place in the preheated oven and immediately decrease the heat to 225°F.
- Bake for 1 hour 15 minutes. Turn off the oven with the pavlova inside and allow it to cool slowly for 2-3 hours. It will be crisp on the outside and soft and fluffy on the inside.
- Just before serving, top the pavlova with a generous amount of sweetened whipped cream and your favorite fresh fruit, chocolate, lemon curd, or fruit sauce!1 ½ cups heavy cream, 2 Tablespoons powdered sugar, 1 teaspoon pure vanilla extract, Fresh fruit
Nutrition
Adapted from All Recipes.



I followed your recipe exactly and I didn’t have one crack in my pavlova ! It was a easy recipe to follow thank you for sharing !!
That makes me so happy to hear, Christine!
I’ve been making pavlova for about 10 years and I’ve never been totally satisfied with the outcome of any of the many recipes I’ve tried. So this one, I can say with confidence, is the BEST! I’m not sure if it’s the mixing speeds, the cooking temperatures or the ingredient amounts, but the pavlova didn’t weep, it didn’t crack and I was able to flip it over and peel the paper off of it!!! I can stop searching because I’ve found my perfect pavlova!
Thank you for commenting, Emily! I’m so happy to hear that!
Thanks for this recipe. I will definitely use it.
Made this for company and got rave reviews. It is so fluffy in the middle. My husband said this might change his mind about meringue.
I’m so glad to hear it!
Excited to try this! Just to clarify: during the 2-3 hours that the pavlova cools, it’s still sitting in the turned off oven?
Yes, that’s right.
Can you just have the lemon curd and pipe some whipped cream around the edges?
Are you topping it with the lemon curd? Yes, you can top it however you like!
Very excited to try this as all the pavlovas I’ve made do crack, and the reviewers said this one didn’t. I’ve heard it has to do with adding the sugar slowly and waiting between each additional tablespoon. So let’s see!
Impressed by the level of detail.馃憤 I鈥檒l definitely recommend this to others..