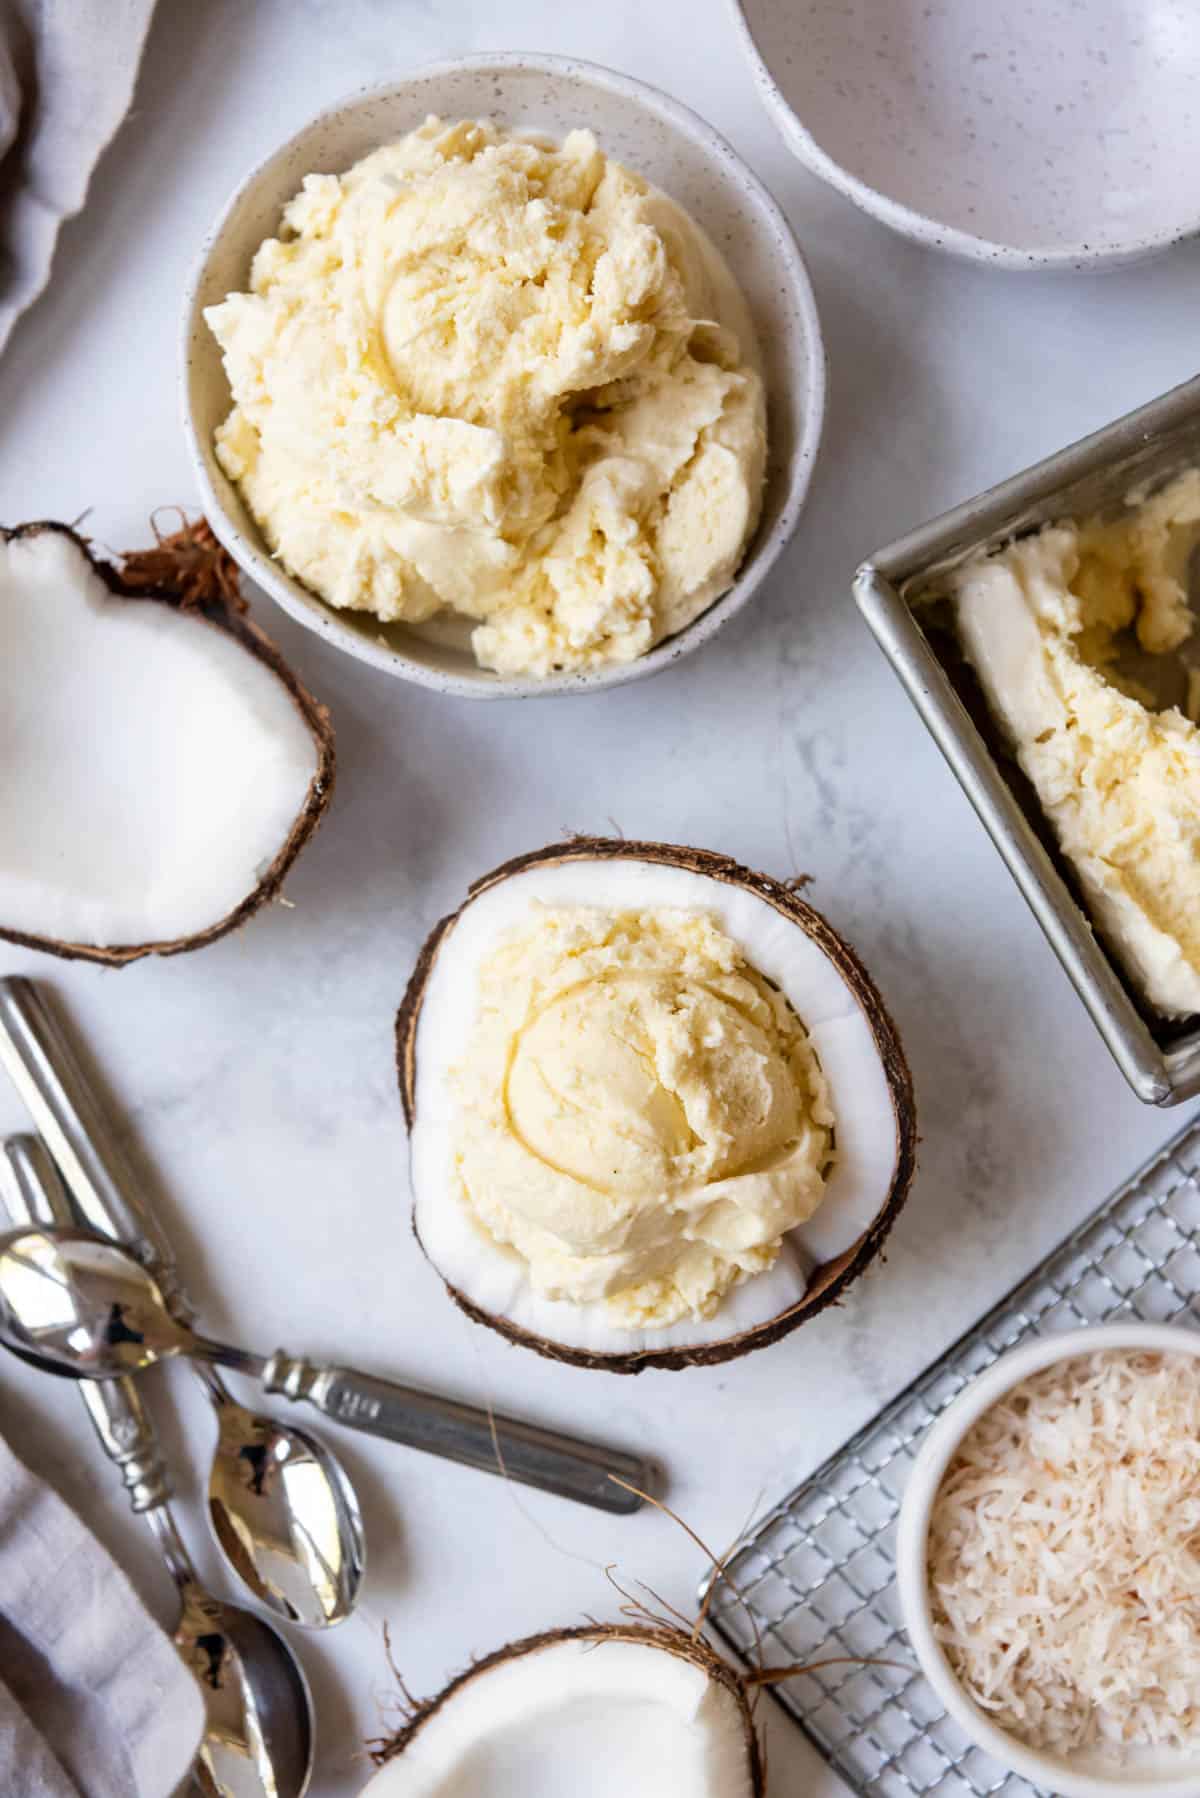
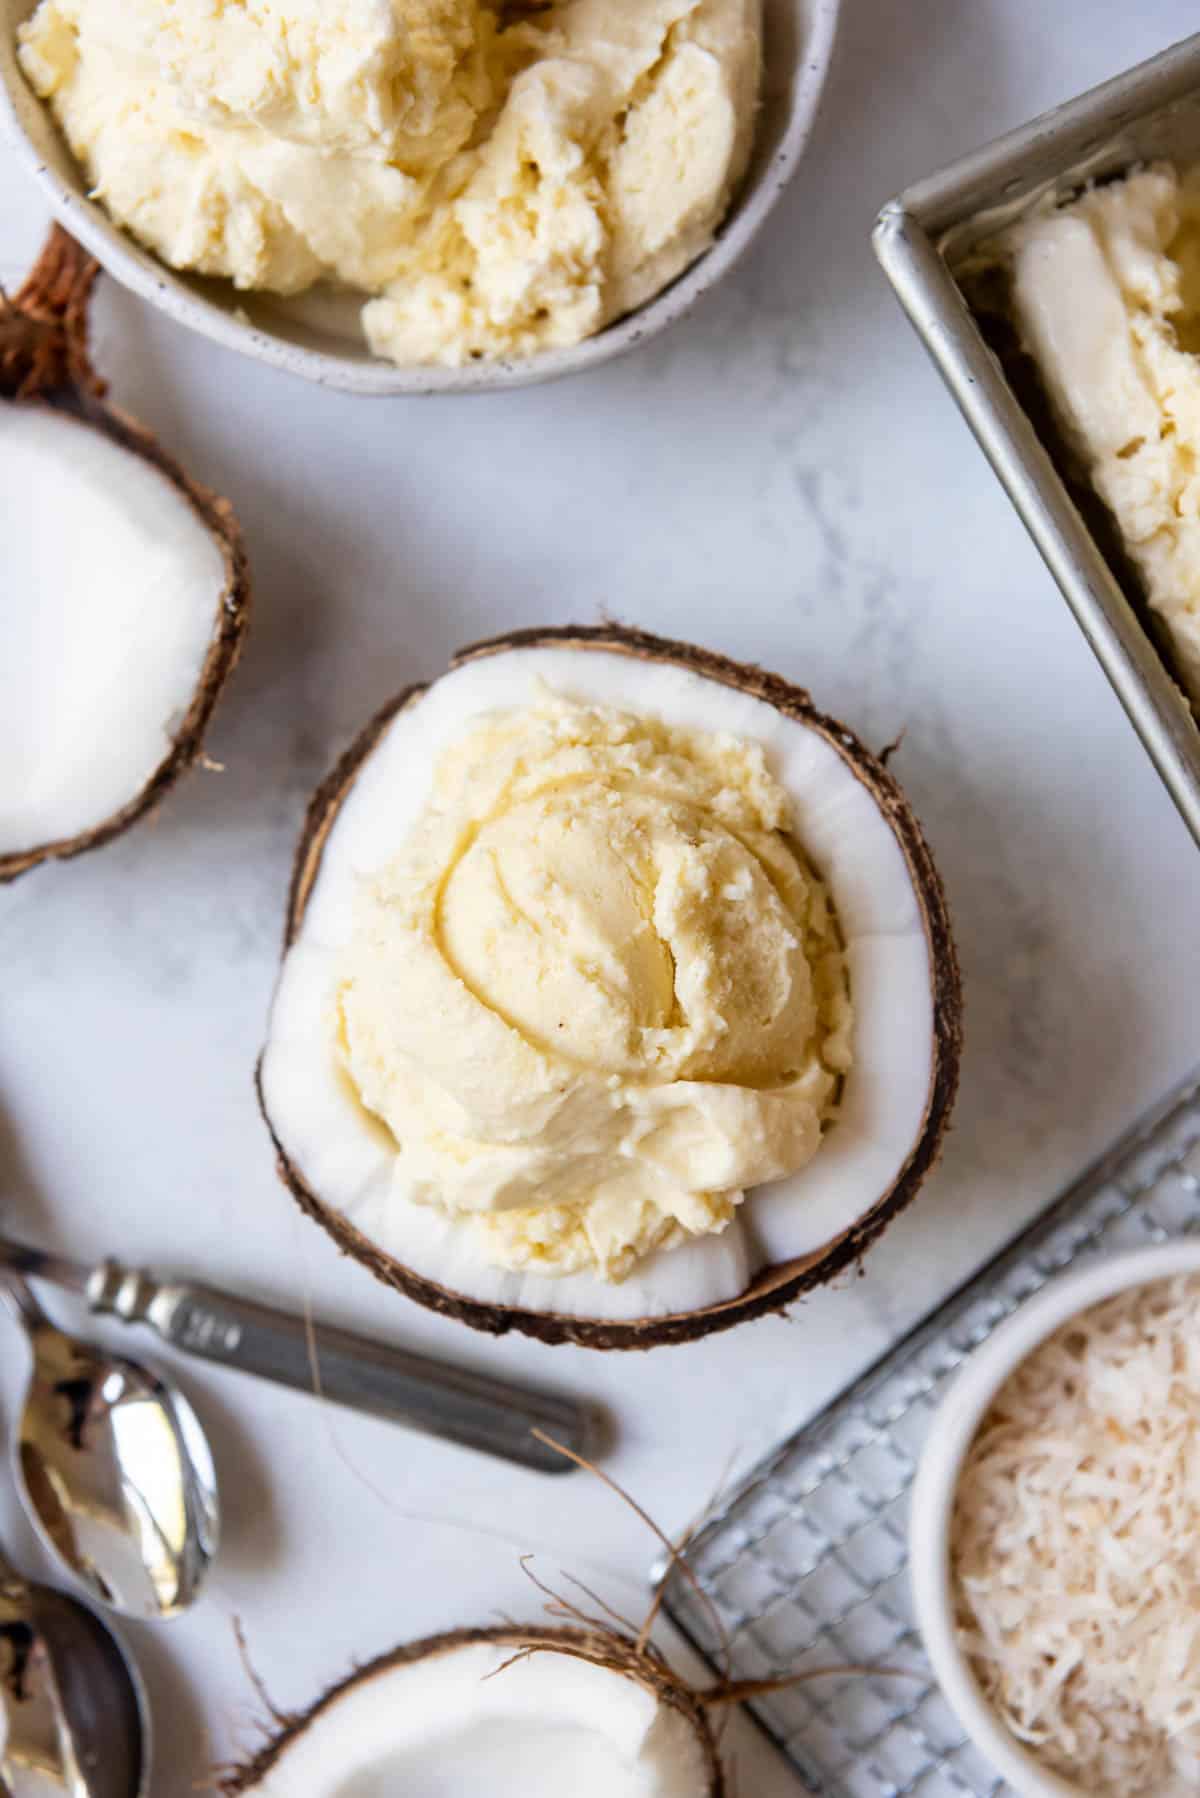
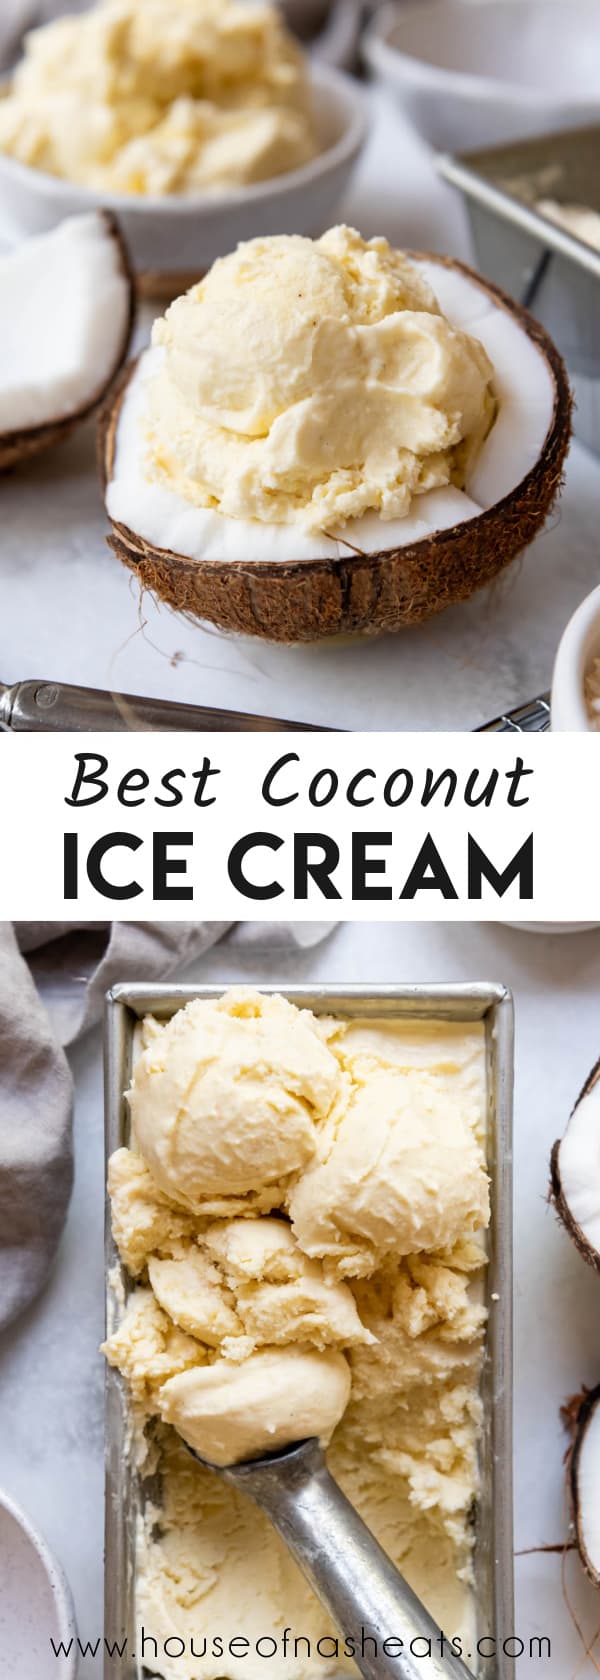
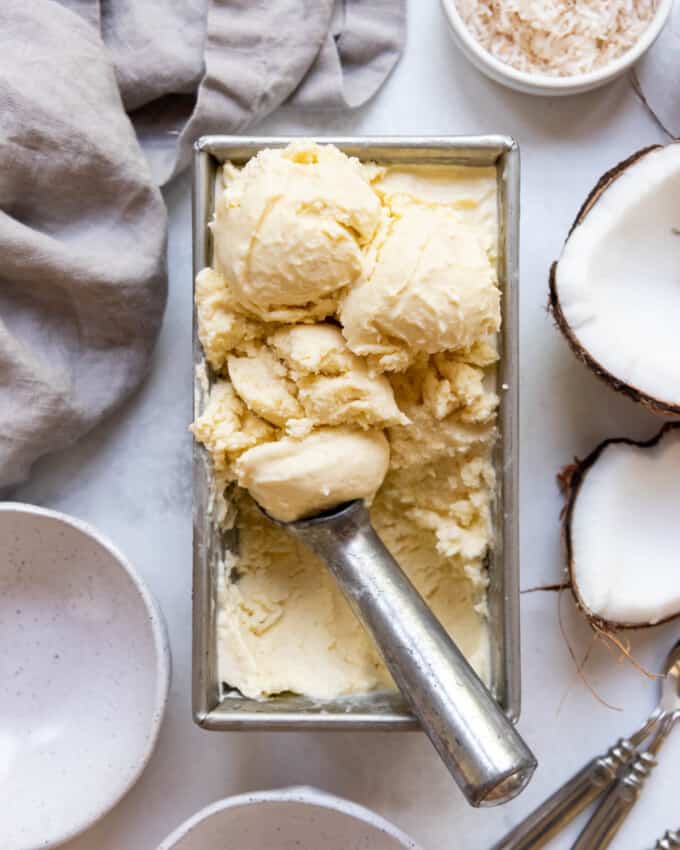
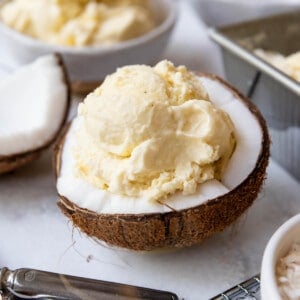
This custard-style Coconut Ice Cream recipe uses just a few simple ingredients to create a deliciously smooth and rich ice cream that tastes as good as any you’d buy from a store. Whether you’re hosting a summer party or looking for a late-night sweet treat, this coconut milk ice cream recipe is sure to impress.
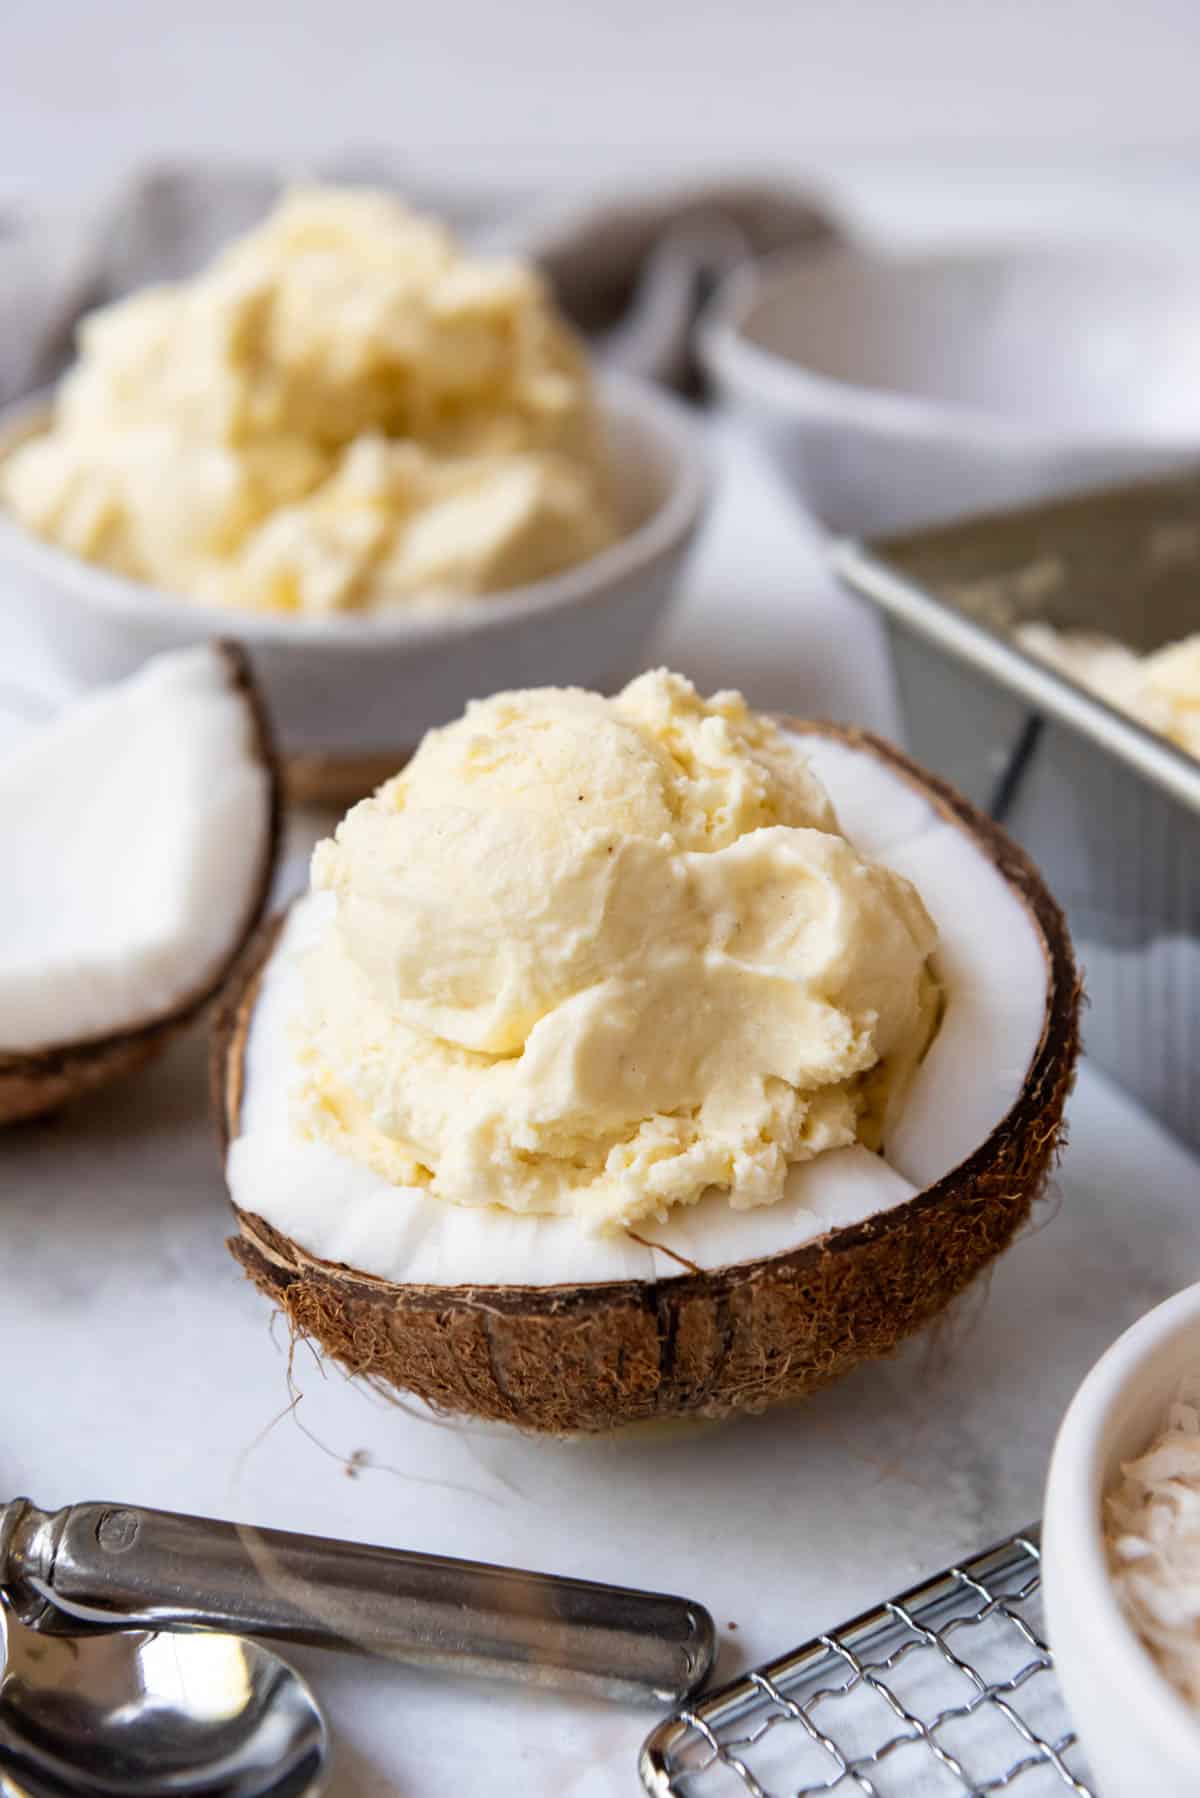
Table of Contents
This homemade ice cream recipe offers two variations: a simple coconut milk version for those who prefer a lighter, dairy-free ice cream recipe and a custard style for those who love a richer texture.
I tried making homemade coconut ice cream multiple ways before landing on my favorite version that I’m sharing with you today. Originally I started with a dairy-free base using just coconut milk and coconut cream, but while good, it didn’t have the same richness and smooth mouthfeel of the custard-style ice cream recipe that ended up being our favorite.
Both versions use basic ingredients like coconut milk, sugar, and vanilla extract, but the custard style adds egg yolks for a more traditional ice cream base recipe. I ended up including both variations in the recipe card below, with the dairy-free option in the notes section.
Our ultimate coconut ice cream uses full-fat coconut milk and heavy cream to ensure a creamy texture, with just the right amount of white sugar to perfectly complement the coconut flavor.
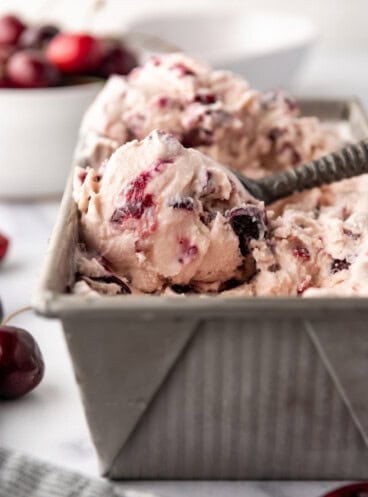
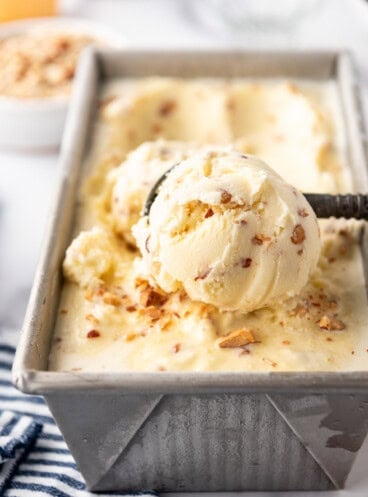
For more delicious ice cream recipes, check out my Pineapple Ice Cream, Coconut Macadamia Nut Ice Cream, Toasted Almond Ice Cream, and Cherry Pistachio Ice Cream!
Why We Love This Recipe
- Homemade ice cream is by nature a make-ahead dessert, which can help relieve the pressure for when you’re hosting a party or a get-together.
- The just coconut milk recipe is not only great for coconut lovers but also for those seeking a vegan ice cream option.
- Both of the recipes contained in this post are quick and easy to put together, with the fridge and the freezer doing most of the heavy lifting.

What You’ll Need
Scroll down to the recipe card below this post for ingredient quantities and full instructions.
- Full-Fat Coconut Milk – Provides a rich and creamy texture that serves as the foundation of the ice cream. High-fat coconut milk is the best to use for ice cream, but you can alternatively use normal coconut milk mixed with coconut cream for similar results.
- Whole Milk and Heavy Cream – Contributes to the creamy, rich texture of the custard base.
- Granulated Sugar – Sweetens the ice cream.
- Salt – Just a pinch is all you need to enhance the flavor of this ice cream.
- Vanilla Extract – The hint of vanilla complements the coconut taste.
- Egg Yolks – Creates a creamy custard base, giving the ice cream a rich and smooth texture..
- Shredded Sweetened Coconut – Adds a burst of coconut flavor and some texture to the ice cream.
- Vanilla Bean Paste – Offers a deep, aromatic vanilla flavor with little specks of vanilla bean. You can use an equal amount of regular vanilla extract if you don’t have vanilla bean paste on hand.
- Coconut Flakes or Chips – Used for garnishing and adding texture.

How to Make Coconut Ice Cream
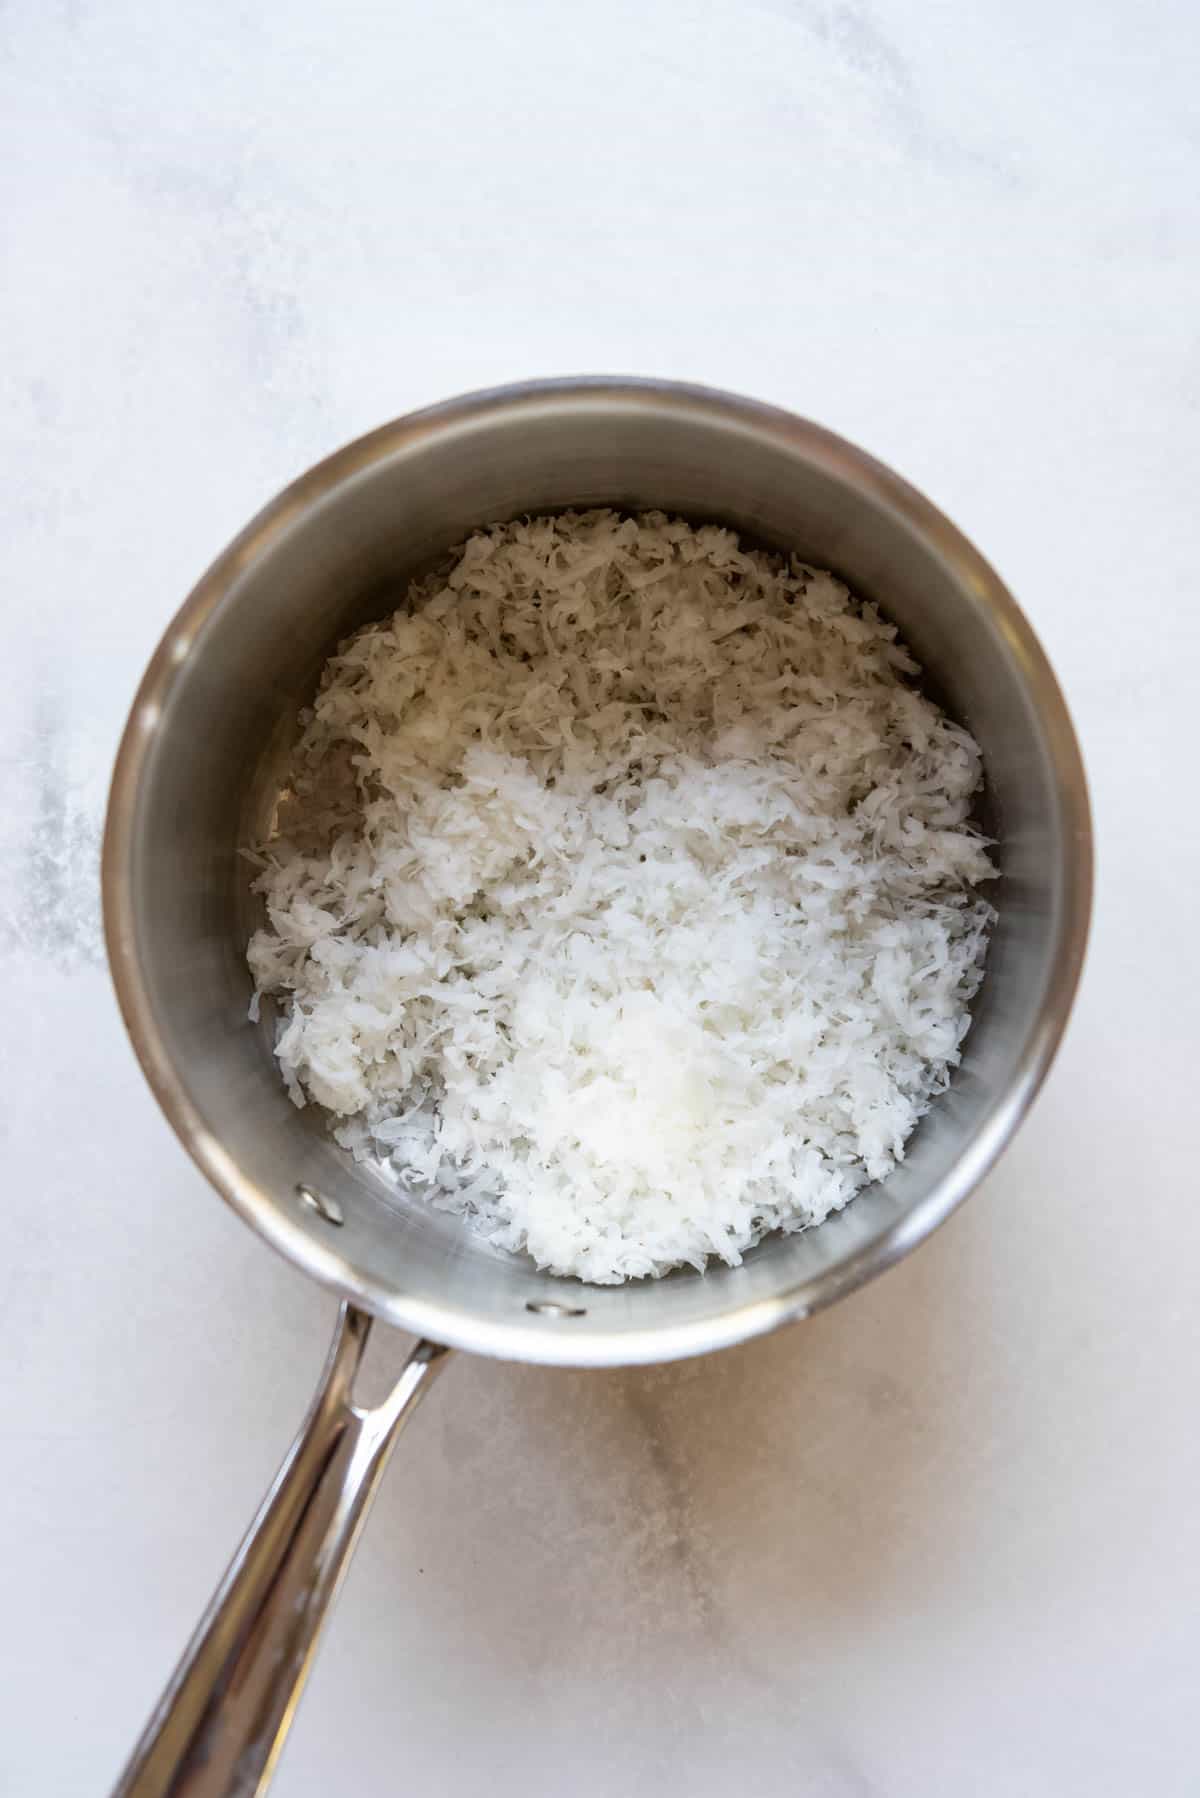
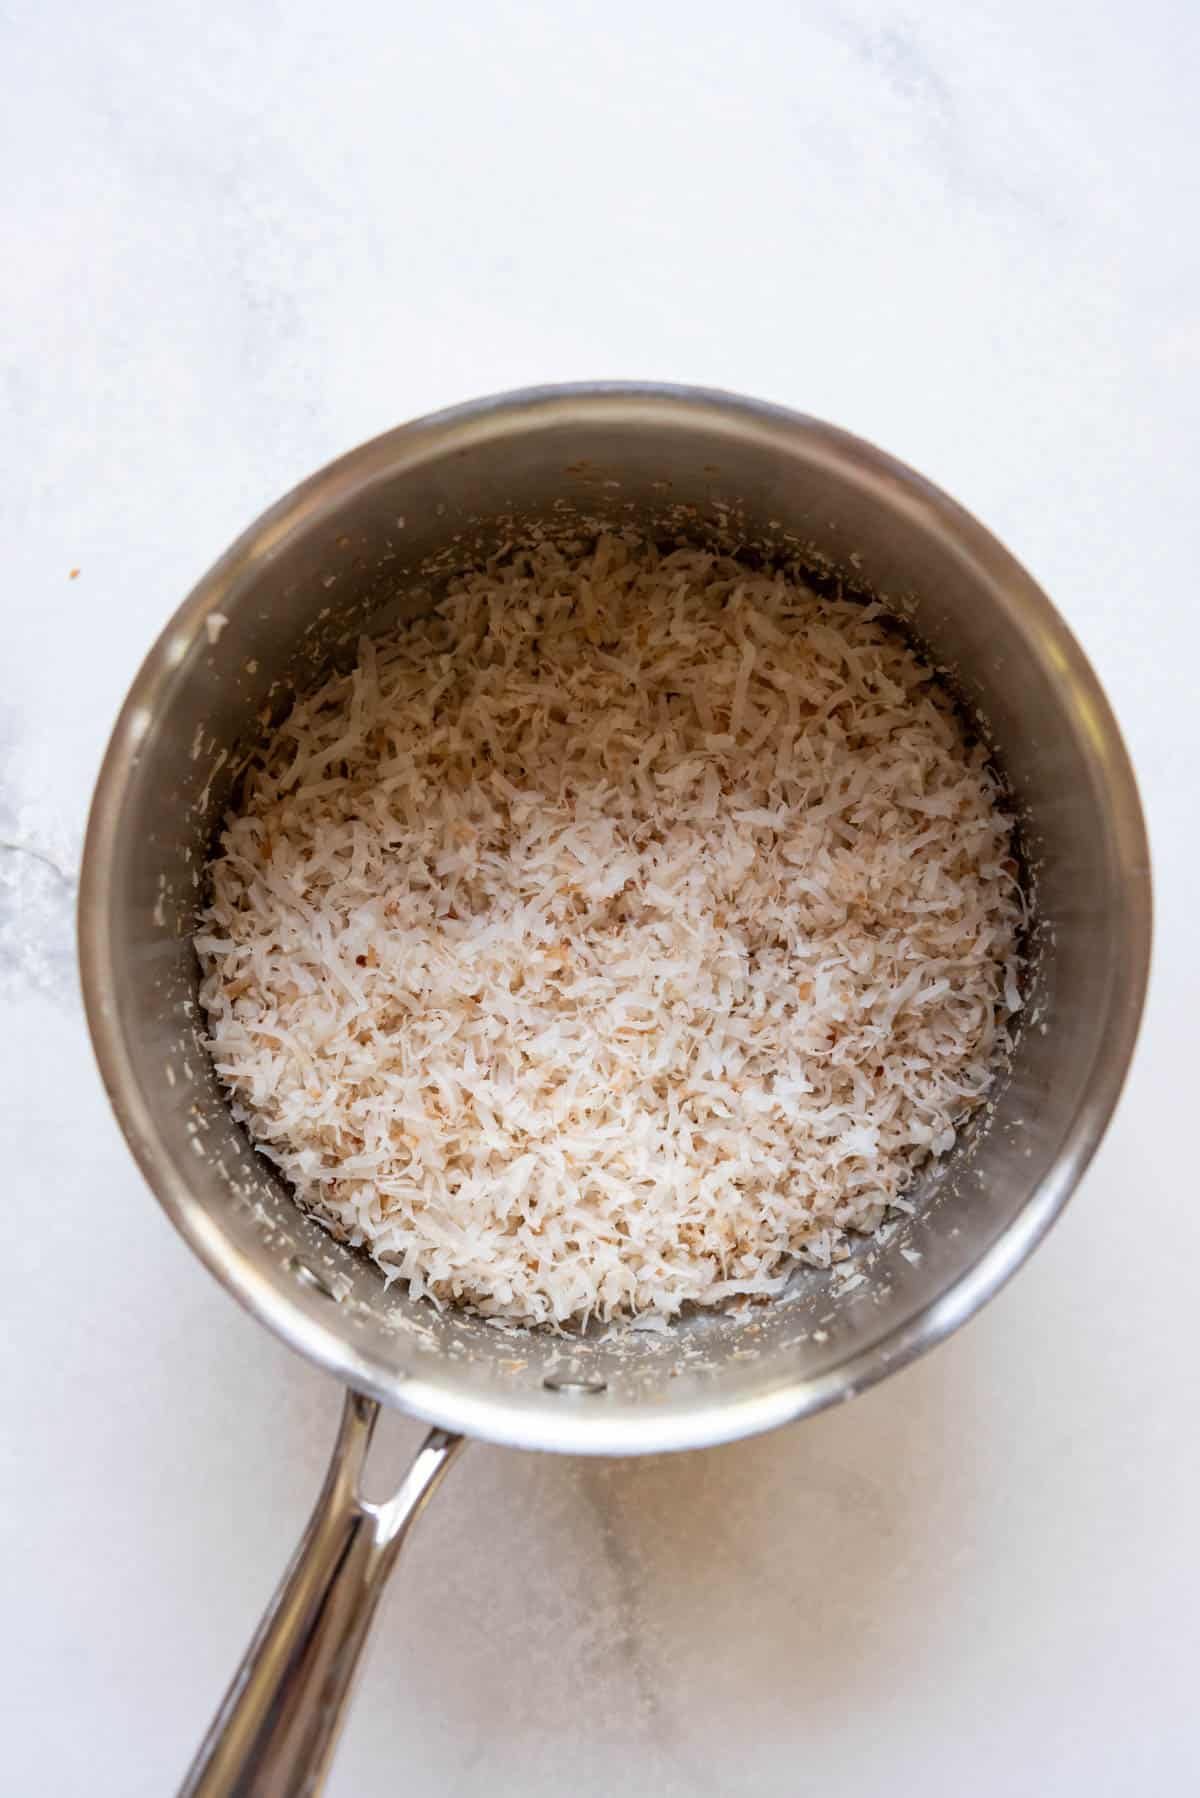
- Toast the coconut. Toast the shredded coconut in a medium-size dry pan over medium-high heat for 5-7 minutes until it starts to toast. Watch it carefully, stirring frequently, and do not let it burn. Remove from heat and set aside ½ cup of the toasted coconut for sprinkling over the top of the ice cream later.
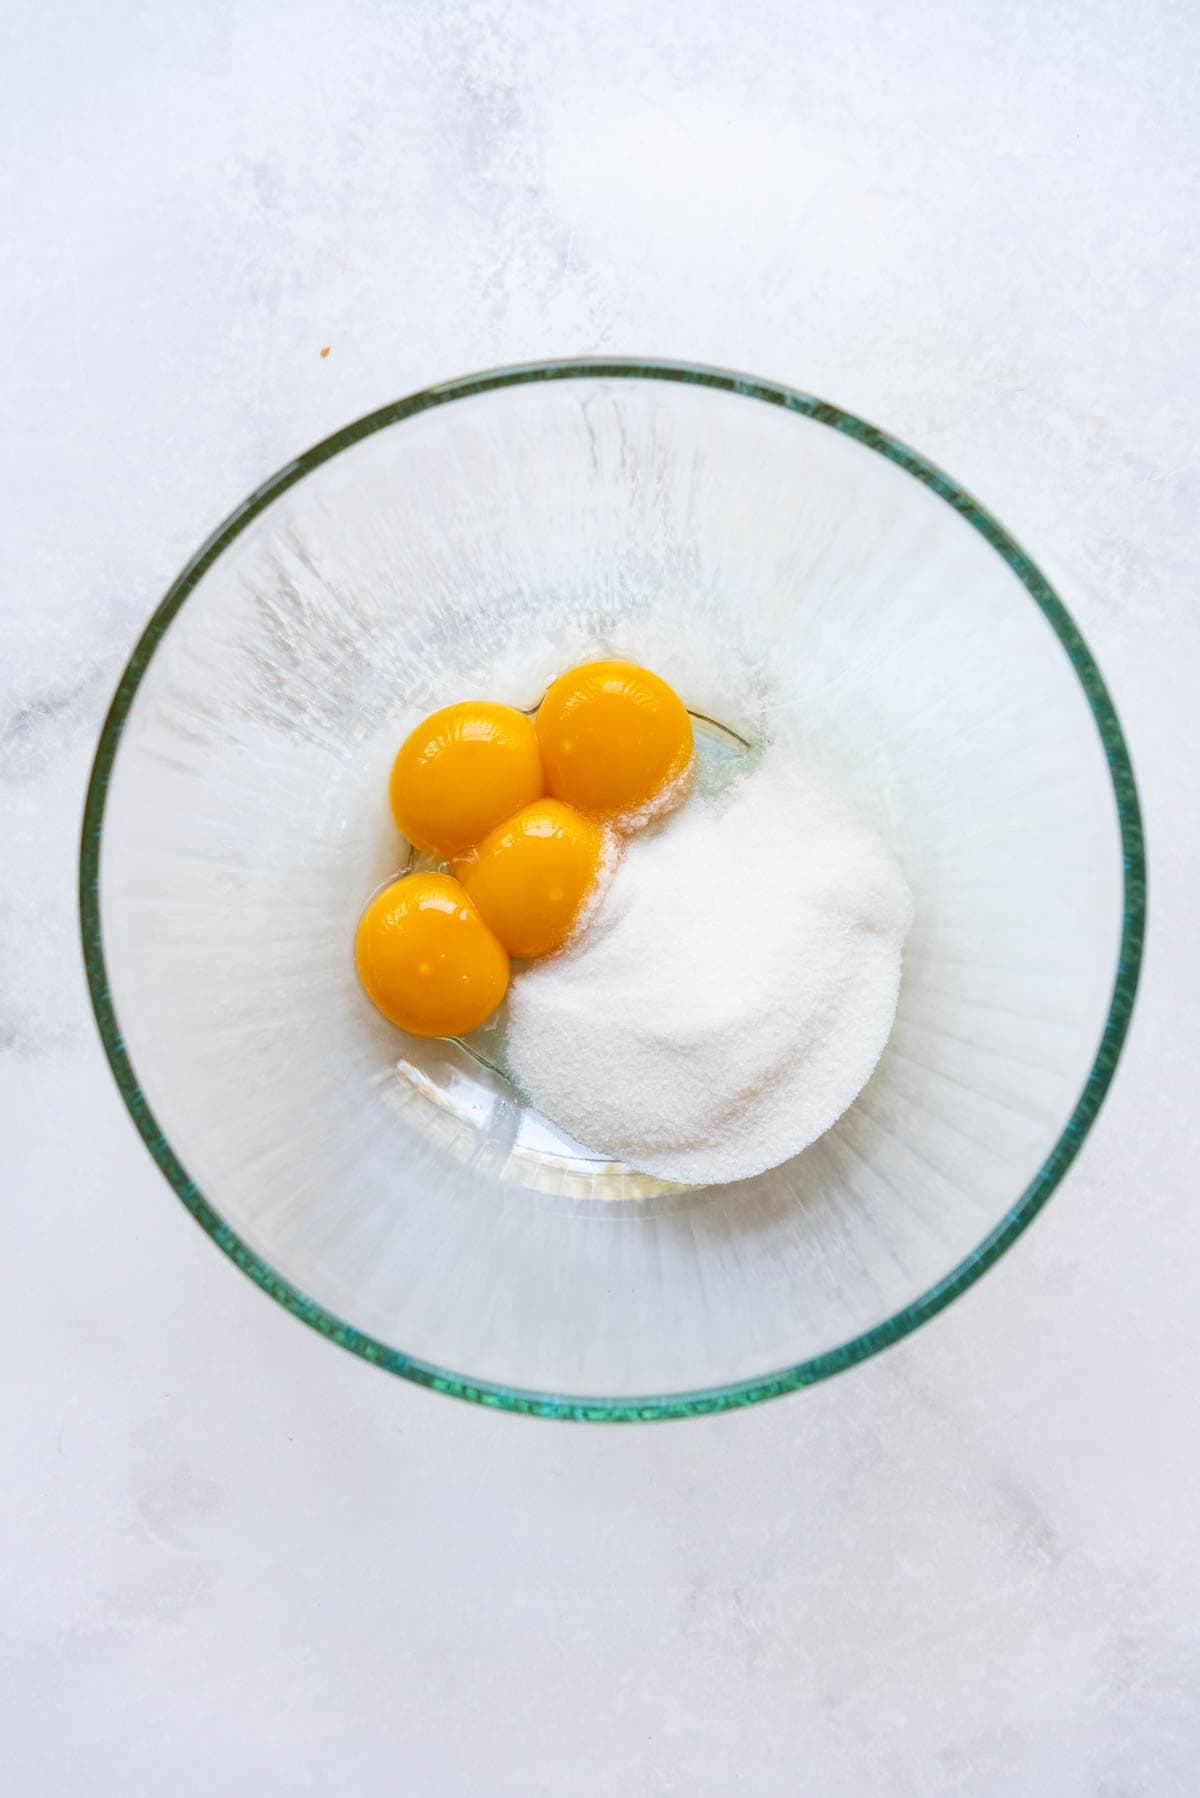
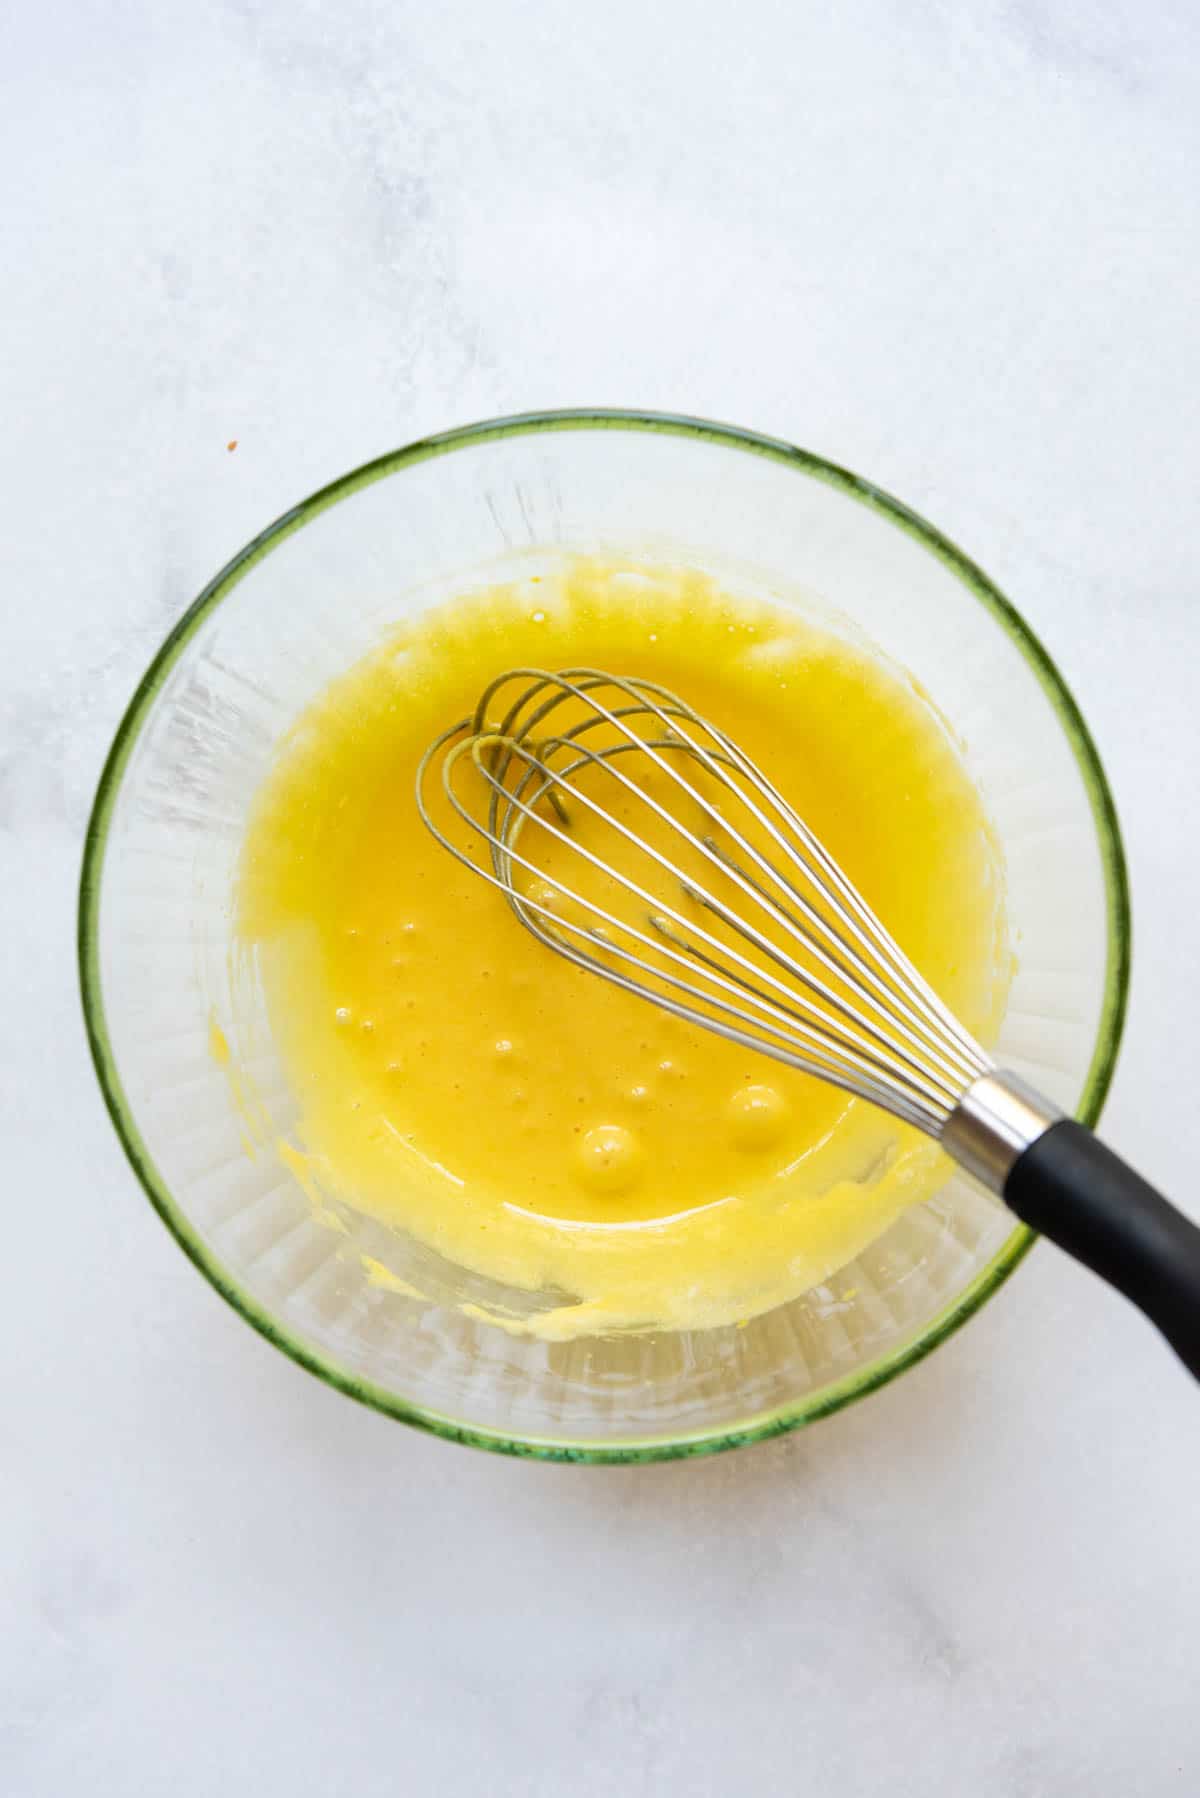
- Whisk sugar and eggs. Place egg yolks and white sugar in a medium bowl. Whisk until lightened in color and slightly thickened.
- Heat the coconut milk mixture. Add milk, heavy cream, coconut milk, and salt to the toasted coconut in the pan. Heat over medium-high heat, stirring frequently, until gently steaming and tiny bubbles start to appear around the edges of the pan. Do not let the mixture come to a simmer.
- Temper eggs. When the cream mixture is hot, temper the eggs by adding about 1 cup of the hot liquid to the egg mixture, whisking or stirring to gently warm the eggs so they don’t scramble when adding them to the hot base mixture.

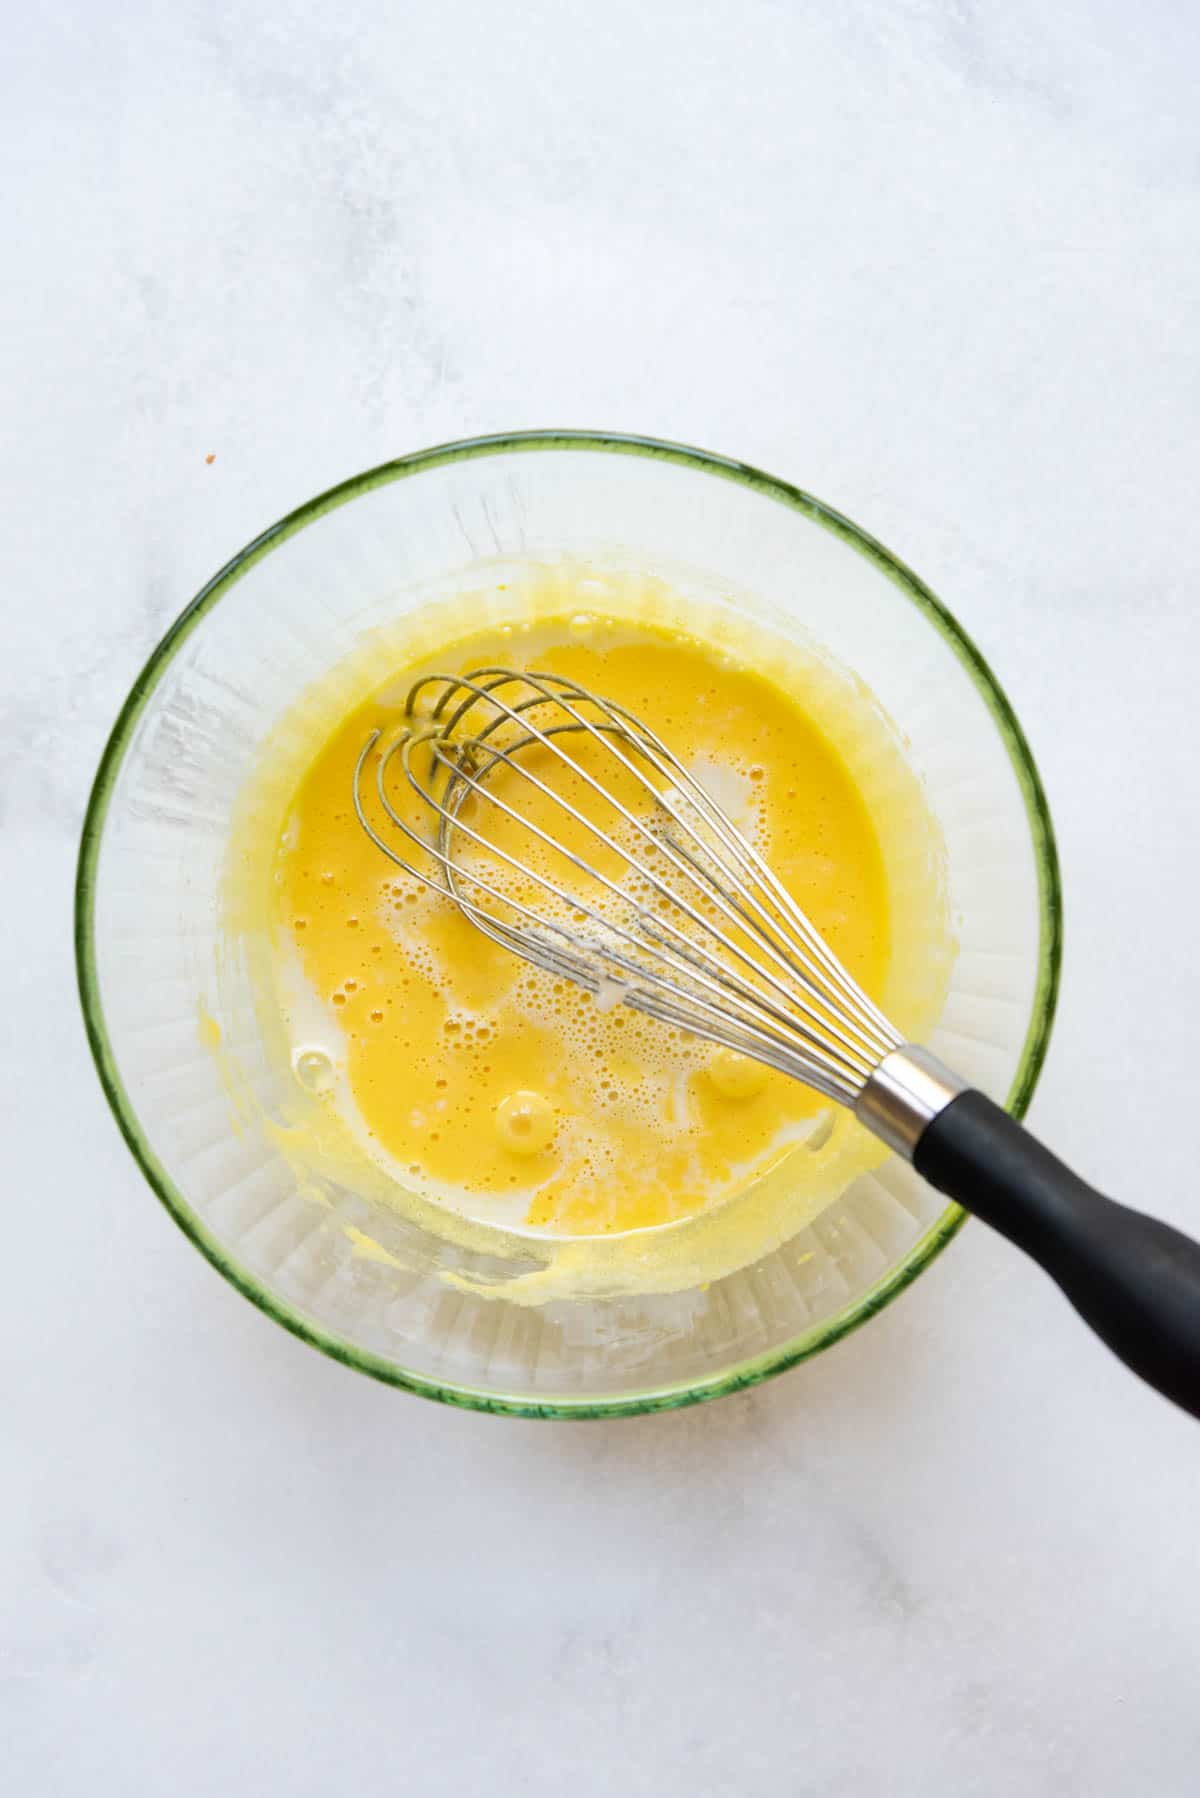
- Combine all and heat. Add the egg mixture to the cream mixture in the pan. Continue to cook, while stirring, until the base reaches 170°F on the back of a digital thermometer or is thick enough to coat the back of a spoon. Remove from the heat and stir in the vanilla extract.
- Chill. Allow the ice cream mixture to cool to room temperature before chilling it in the fridge until very cold, at least 3 hours or overnight.
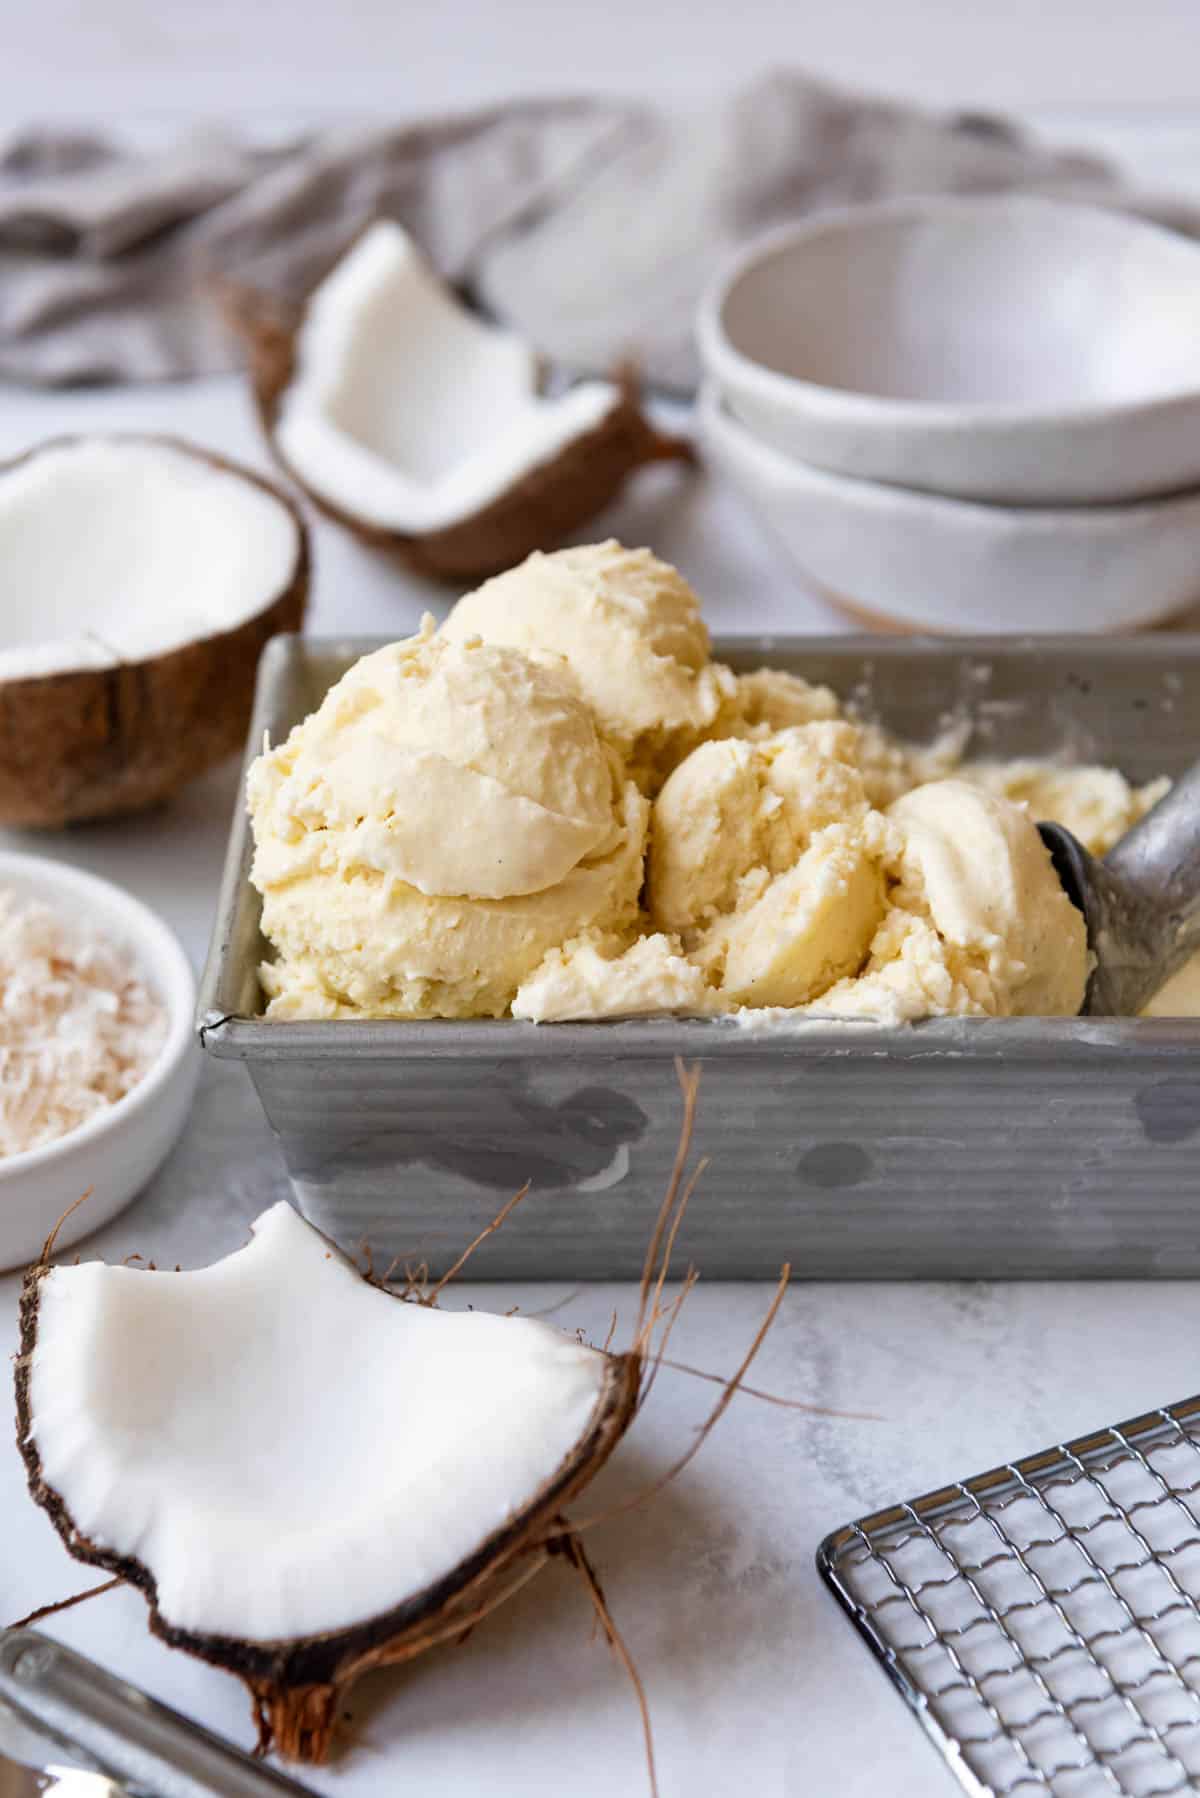
- Churn and freeze. Pour the chilled ice cream base mixture into the ice cream maker and churn until it is the consistency of soft-serve ice cream, about 20-30 minutes. It can be served immediately at this consistency, but for a firmer scoop, it will need to be transferred to a container like a bread pan and frozen for 4-6 hours until hard. Overnight freezing is often best for the perfect scoopable texture. When ready to serve, remove the ice cream from the freezer and let it sit out for 15 minutes to soften slightly so it is easy to scoop.


Recipe FAQ’s
Yes, although it will require a bit more effort and it may have a slightly different texture. For a no-churn ice cream recipe, after mixing the ingredients, pour the mixture into a freezer-safe container and freeze. Stir every 30-60 minutes to break up ice crystals until the ice cream is frozen and creamy.
The version using just coconut milk is naturally vegan-friendly. For a vegan custard-style version, simply replace the egg yolks with a plant-based thickener such as cornstarch.
You could, but it will result in a thinner and less creamy texture. Full-fat coconut milk is recommended for the creamiest texture.
Coconut water won’t work as a substitute because it lacks the fat and creaminess needed to make ice cream. Stick to full-fat coconut milk or a mix of coconut milk and coconut cream.
Properly stored in an airtight container, coconut ice cream can last in the freezer for about 2 weeks before it starts getting icy.
Tips for Success
- Always go for full-fat coconut milk for the creamiest texture. Also, the brand of coconut milk that you use can also make a difference, so try a few different brands to find the one that works best for you.
- When preparing the custard base, the mixture should reach 170°F to properly thicken while avoiding boiling temperatures, as this can cause the eggs to curdle. Use a thermometer for accuracy.
- To scoop the ice cream easily, let it sit out at room temperature to soften a bit and dip your ice cream scoop in warm water before scooping. This will help cut through the ice cream more smoothly.
- If adding mix-ins like chocolate chips or nuts, do so after the churning process. Keep in mind that too many mix-ins can affect the texture and freezing of the ice cream, so keep your ice cream simple for the best results.
Churning To Perfection
Follow your ice cream maker’s instructions carefully for the best results.
The ice cream should reach a soft serve consistency after churning.
Over-churning can make the ice cream go too hard, while under-churning can leave it too soft.
Substitutions and Variations
- To make the custard-style vegan-friendly, omit the egg yolks and use a vegan thickener like cornstarch or guar gum.
- After churning, consider adding some mix-ins, like chopped nuts, chocolate chips, crushed cookies, or fruit pieces for added texture and flavor. You could add sweetened coconut flakes after churning for a little bit of extra sweetness and texture without straying too far from the original recipe.
- Experiment with different flavors like cocoa powder for a chocolate coconut ice cream. You can also infuse the milk with spices like cinnamon or cardamom, and Vanilla bean can be used in place of vanilla extract for a more intense flavor.
- You can elevate this ice cream easily by serving it with an amazing topping, such as chocolate fudge sauce, sea salt and caramel sauce, honey, or a simple flavored syrup like raspberry, strawberry, chocolate, or maple syrup. Then go the extra mile by adding extra shredded coconut flakes on top of the sauce!
More Homemade Ice Cream Recipes
- Peach Ice Cream
- Easy Grasshopper Ice Cream Pie
- Homemade Strawberry Ice Cream
- Cookies and Cream Ice Cream
- Apple Pie Ice Cream
Did you make this recipe?
Let me know what you thought with a comment and rating below. You can also take a picture and tag me on Instagram @houseofnasheats or share it on the Pinterest pin so I can see.
Coconut Ice Cream Recipe
Equipment
Ingredients
- 4 egg yolks
- ⅔ cup granulated sugar
- 1½ cups shredded sweetened coconut
- 1 cup whole milk
- 1 cup heavy cream or coconut cream
- 1 cup full-fat coconut milk
- 1 pinch of salt
- 2 teaspoons vanilla bean extract or vanilla bean paste
- ¾ cup coconut flakes or chips, for garnish (optional)
Instructions
- Place shredded coconut into a dry pan. Toast over medium-high heat for 5-7 minutes until it starts to toast. Do not burn. Remove from heat and set aside ½ cup of the toasted coconut for sprinkling over the top of the ice cream later.1½ cups shredded sweetened coconut
- Add milk, heavy cream or coconut cream, coconut milk, and salt to the remaining 1 cup of toasted coconut in the pan. Heat over medium-high heat until steaming slightly and there are small bubbles around the edges of the pan. Do not bring to a simmer.1 cup whole milk, 1 cup heavy cream, 1 cup full-fat coconut milk, 1 pinch of salt
- Meanwhile, whisk egg yolks and white sugar in a medium bowl until lightened in color and slightly thickened.4 egg yolks, ⅔ cup granulated sugar
- When the cream mixture is hot, temper the eggs by whisking 1 cup of the hot liquid into the egg and sugar mixture.
- Add the tempered egg mixture to the cream mixture in the pan and continue to cook, stirring almost constantly, until it reaches 170°F on a digital thermometer or is thickened enough to coat the back of a spoon. Remove from heat and stir in vanilla. Allow the ice cream mixture to cool to room temperature before chilling it in the fridge for at least 3 hours or overnight.2 teaspoons vanilla bean extract
- Pour the chilled ice cream base into the ice cream maker and churn until it is the consistency of soft-serve ice cream, about 20-30 minutes. It can be served at this consistency if desired, but for a firmer scoop, it will need to be transferred to a container like a bread pan and frozen for 4-6 hours until hard. When ready to serve, remove the ice cream from the freezer and let it sit out for 15 minutes to soften slightly so it is easy to scoop.
Notes
- Storage: Store this recipe in an airtight container in the freezer for up to 2 months.
- Dairy-Free Version: Combine 2 cups full-fat coconut milk (or 1 of coconut milk and 1 of coconut cream), 2/3 cup granulated sugar, a pinch of salt, and 1 Tablespoon vanilla extract in a large bowl. Whisk to help dissolve the sugar crystals, then chill the mixture in the fridge for 2-3 hours until very cold. Pour the chilled base into the ice cream maker and churn until it is the consistency of soft-serve ice cream, about 20-30 minutes. It can be served at this consistency if desired, but for a firmer scoop, it will need to be transferred to a container like a bread pan and frozen for 4-6 hours until hard. Overnight freezing is often best for the perfect scoopable texture. Let it sit out for 15 minutes to soften before serving.



Hi – when do I add the salt and the vainilla? It is not clear from the instructions. Also, you mentioned coconut cream in step 2 but it is not listed in the ingredients list – not sure if I am reading this right but there seems to be a mismatch between ingredients and instructions
Thanks for the feedback – I fixed the instructions to be more clear!