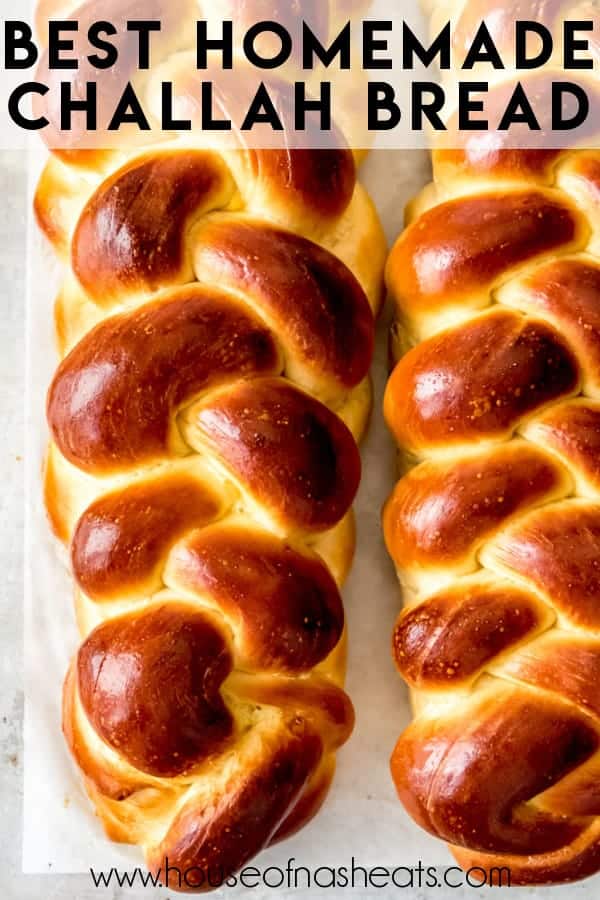
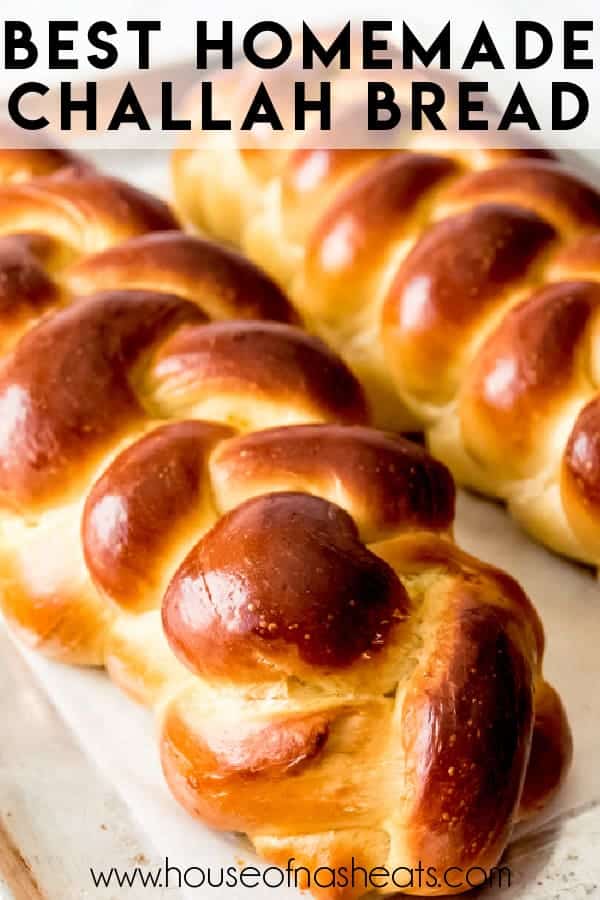
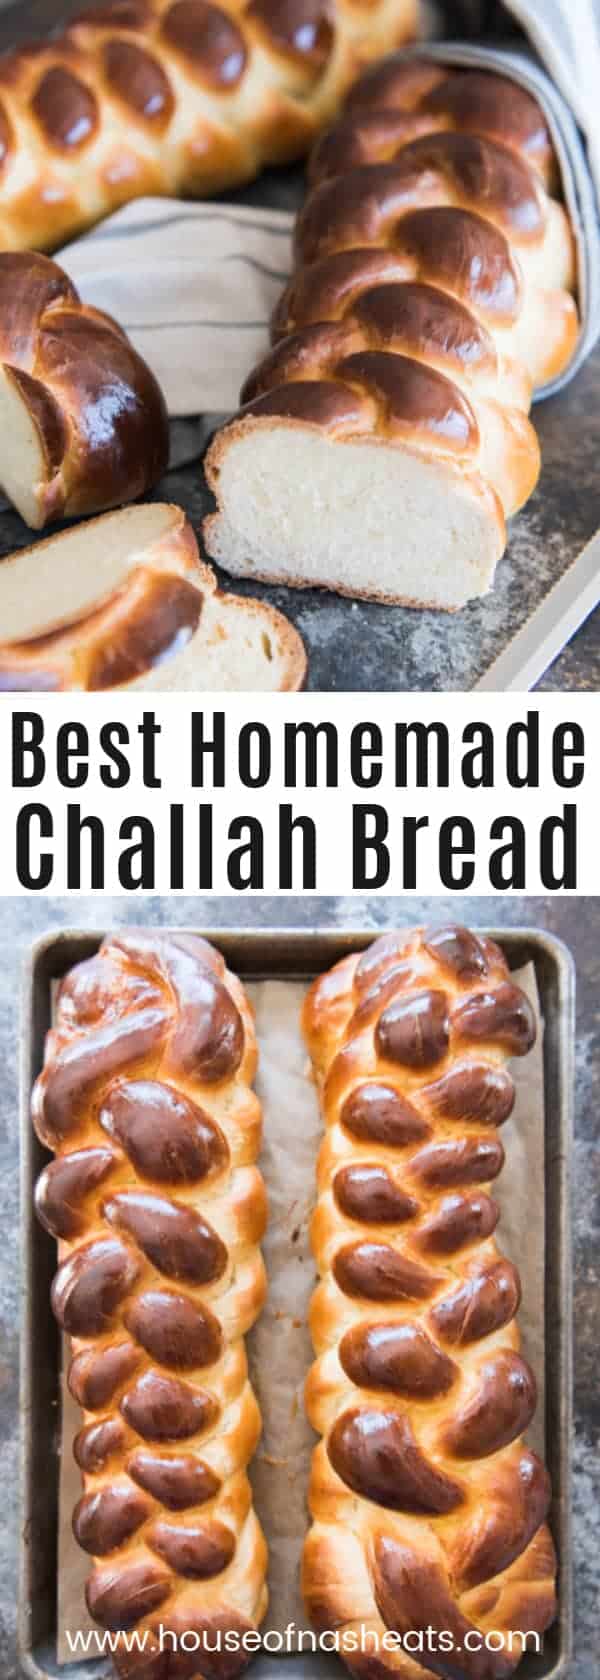
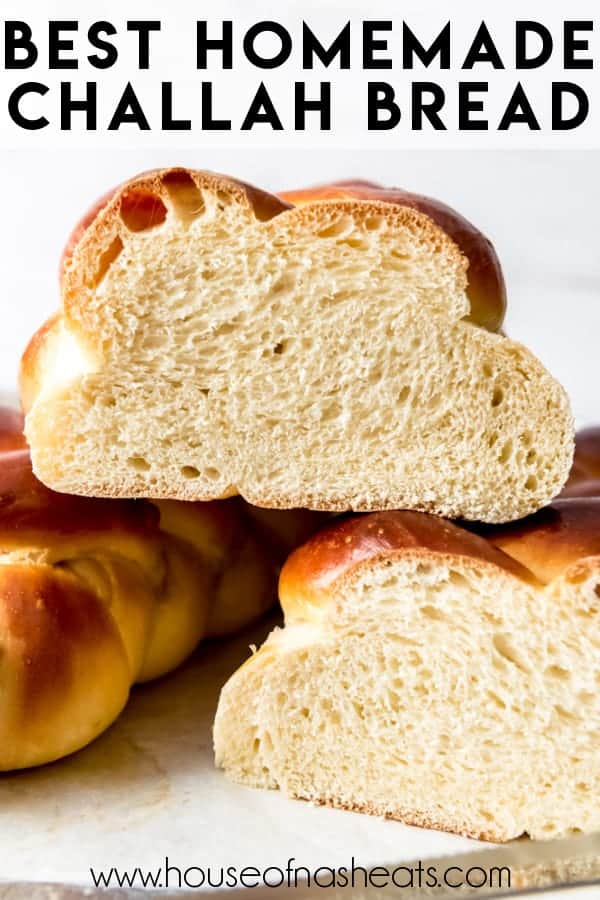
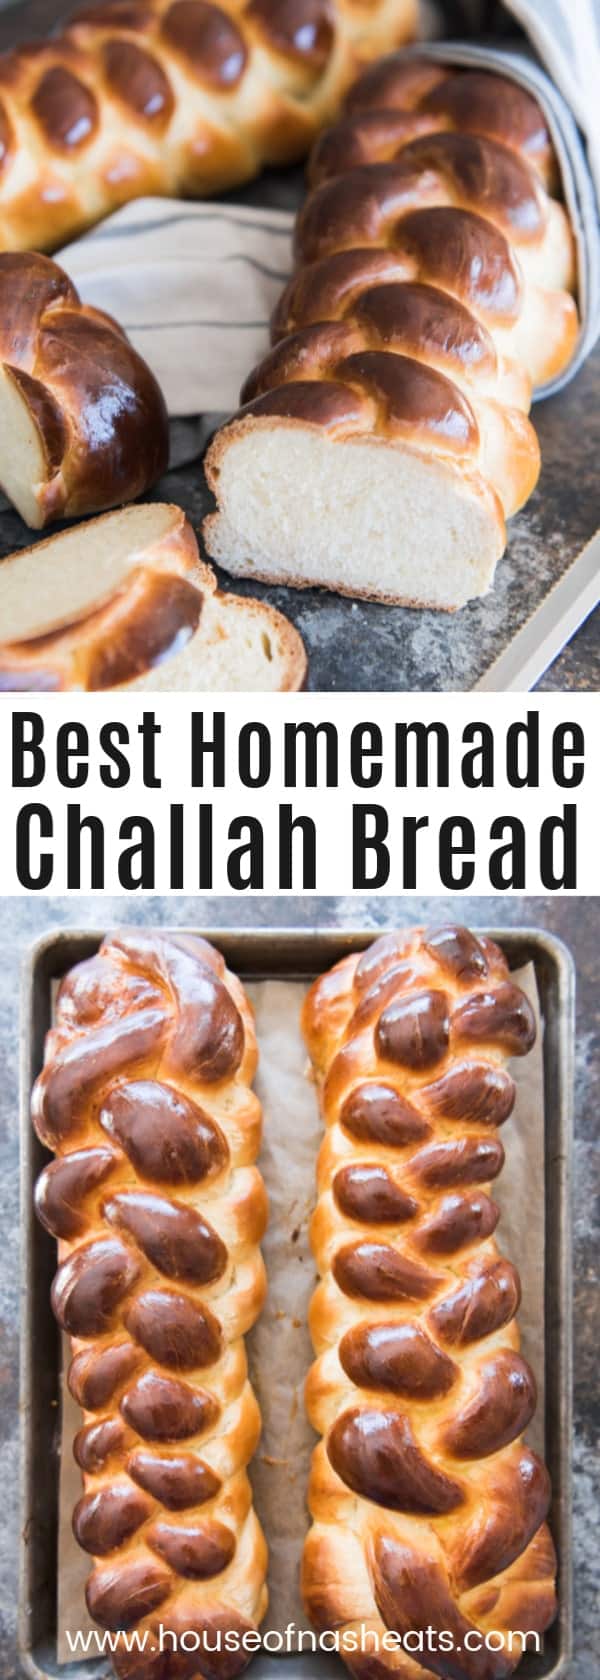
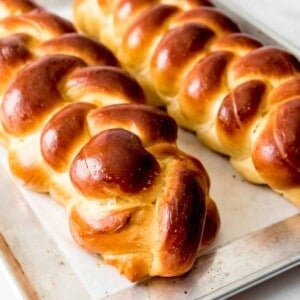
This braided Challah Bread recipe makes two of the best, most gorgeous braided loaves you will ever eat! Enjoy one loaf warm from the oven and save the other loaf for French toast a few days later!
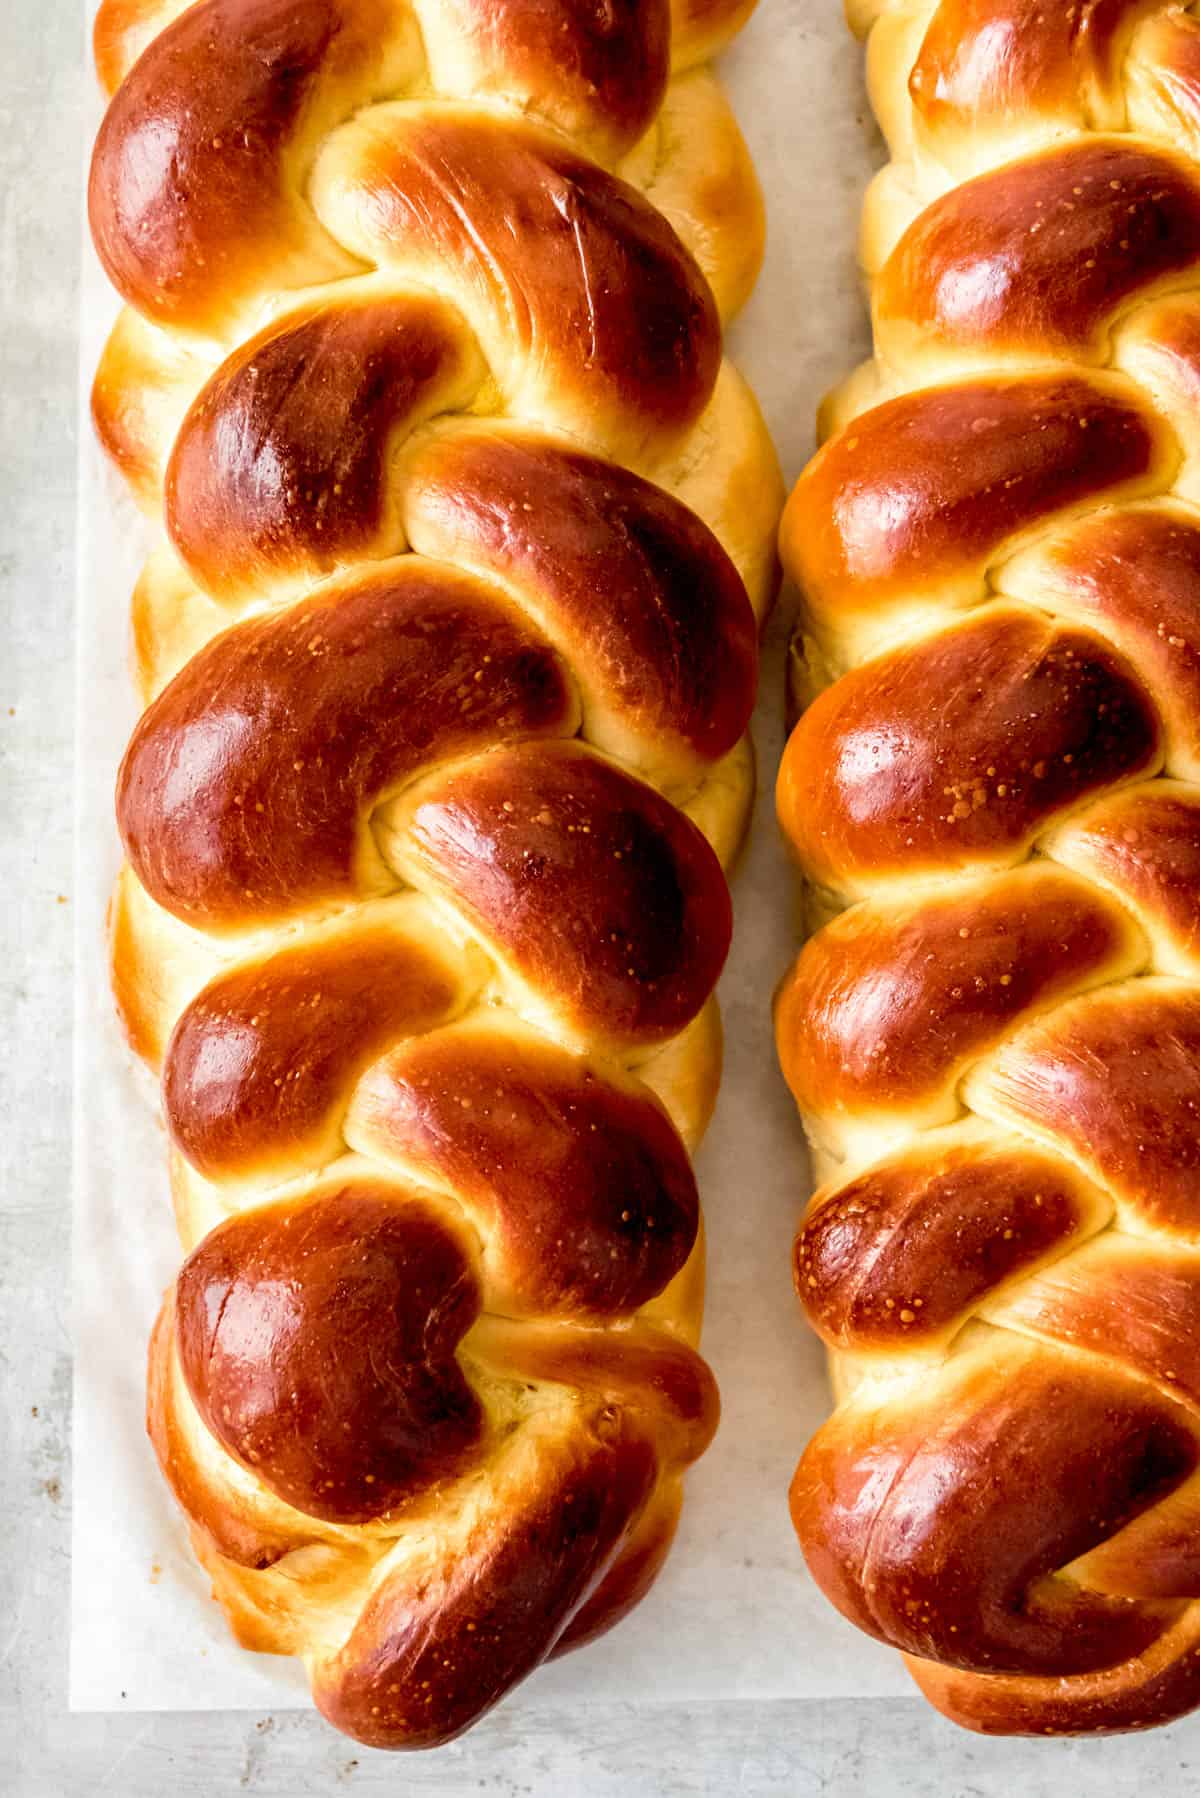
Table of Contents
- What is Challah Bread?
- Challah Pronunciation
- Best Challah Recipe ingredients
- How to Make Challah Bread
- Braiding Challah
- Best Challah Bread Recipe FAQ
- Challah Bread Tips
- Rosh Hashanah Challah Bread
- How to store this Challah Bread Recipe
- What to do With Challah Bread
- Substitutions and Variations
- More Homemade Bread Recipes
- Best Challah Bread Recipe Recipe
There is nothing quite like the smell of freshly baked homemade bread, coming out of the oven piping hot. Be sure to also try our Sweet Molasses Brown Bread, Homemade French Bread, and Easy Homemade Rye Bread.
I was surprised when my DNA results came back informing me that I have a small amount of Eastern European Jewish ancestry that I previously did not know about. Even though I make no claims to the authenticity of this challah bread recipe, I love the idea of exploring ancestry through food and this challah bread reminds me of the millions of women who have braided loaves of this rich egg bread to serve in their homes. This is a recipe and tradition I hope to pass down to my girls.
Sure, you can buy loaves of challah bread at a decent bakery. But there is nothing like a fresh loaf baking in your own oven. It fills your home with the most wonderful aroma and when it comes out all glistening and golden brown, it is a thing of beauty. I’ve been making this challah bread recipe for years now and it still makes me giddy to pull these gorgeous loaves out of the oven. This challah bread recipe really is THE BEST.
What is Challah Bread?
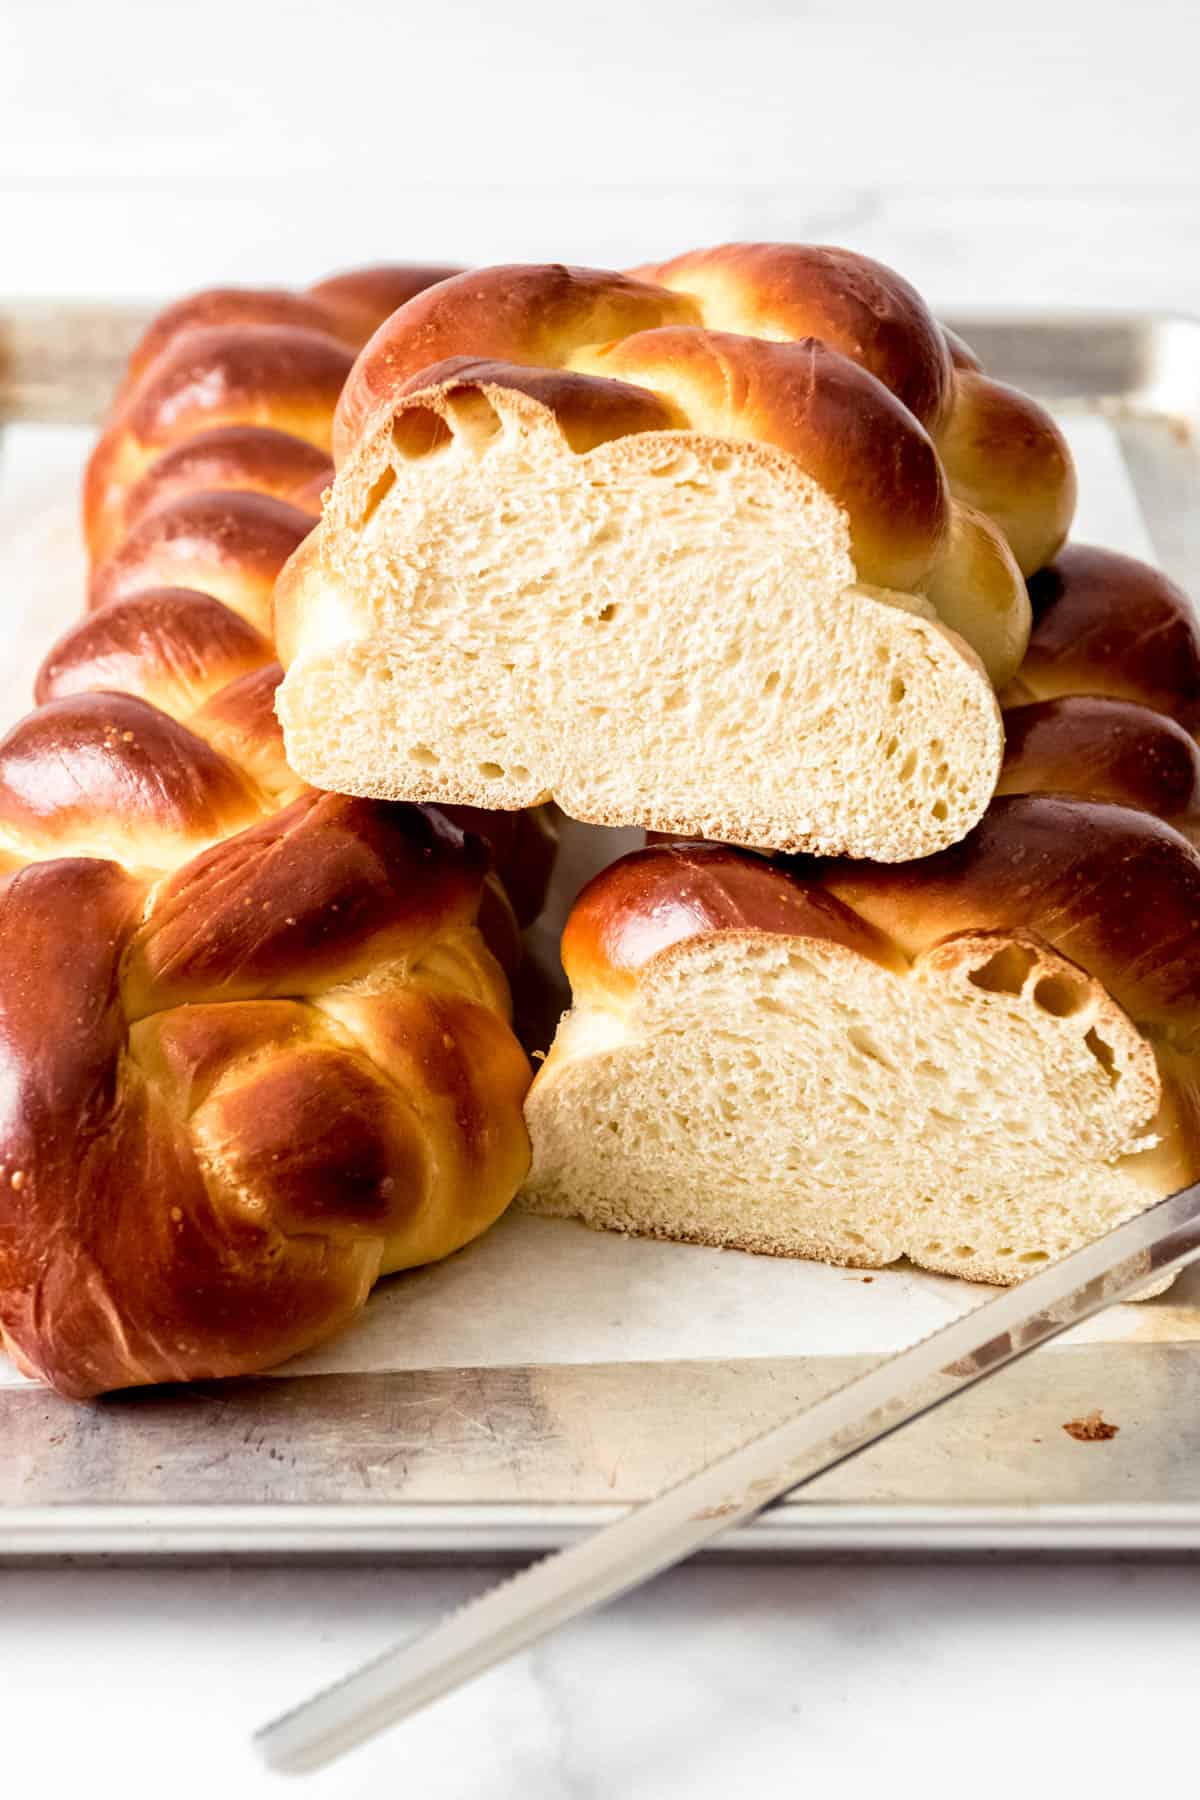
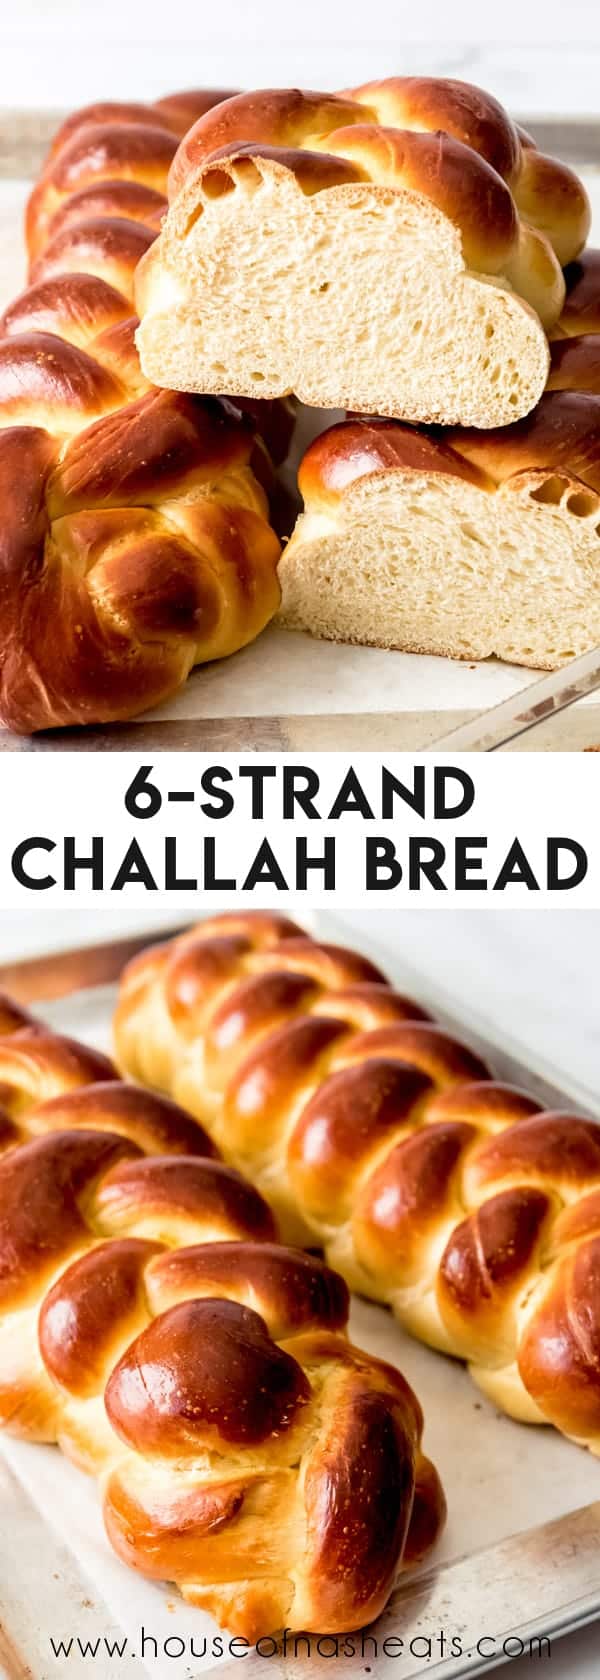
Challah is a rich, traditional Jewish bread served on the Sabbath or to celebrate holidays. Challah (also sometimes known as “egg bread”) is a made with eggs, a little sugar, and some oil, along with common bread ingredients of water, flour, yeast and salt. Because of the added eggs and fat, this challah recipe has a rich flavor and wonderful texture that makes it perfect for Monte Cristo Sandwiches, french toast, or bread pudding!
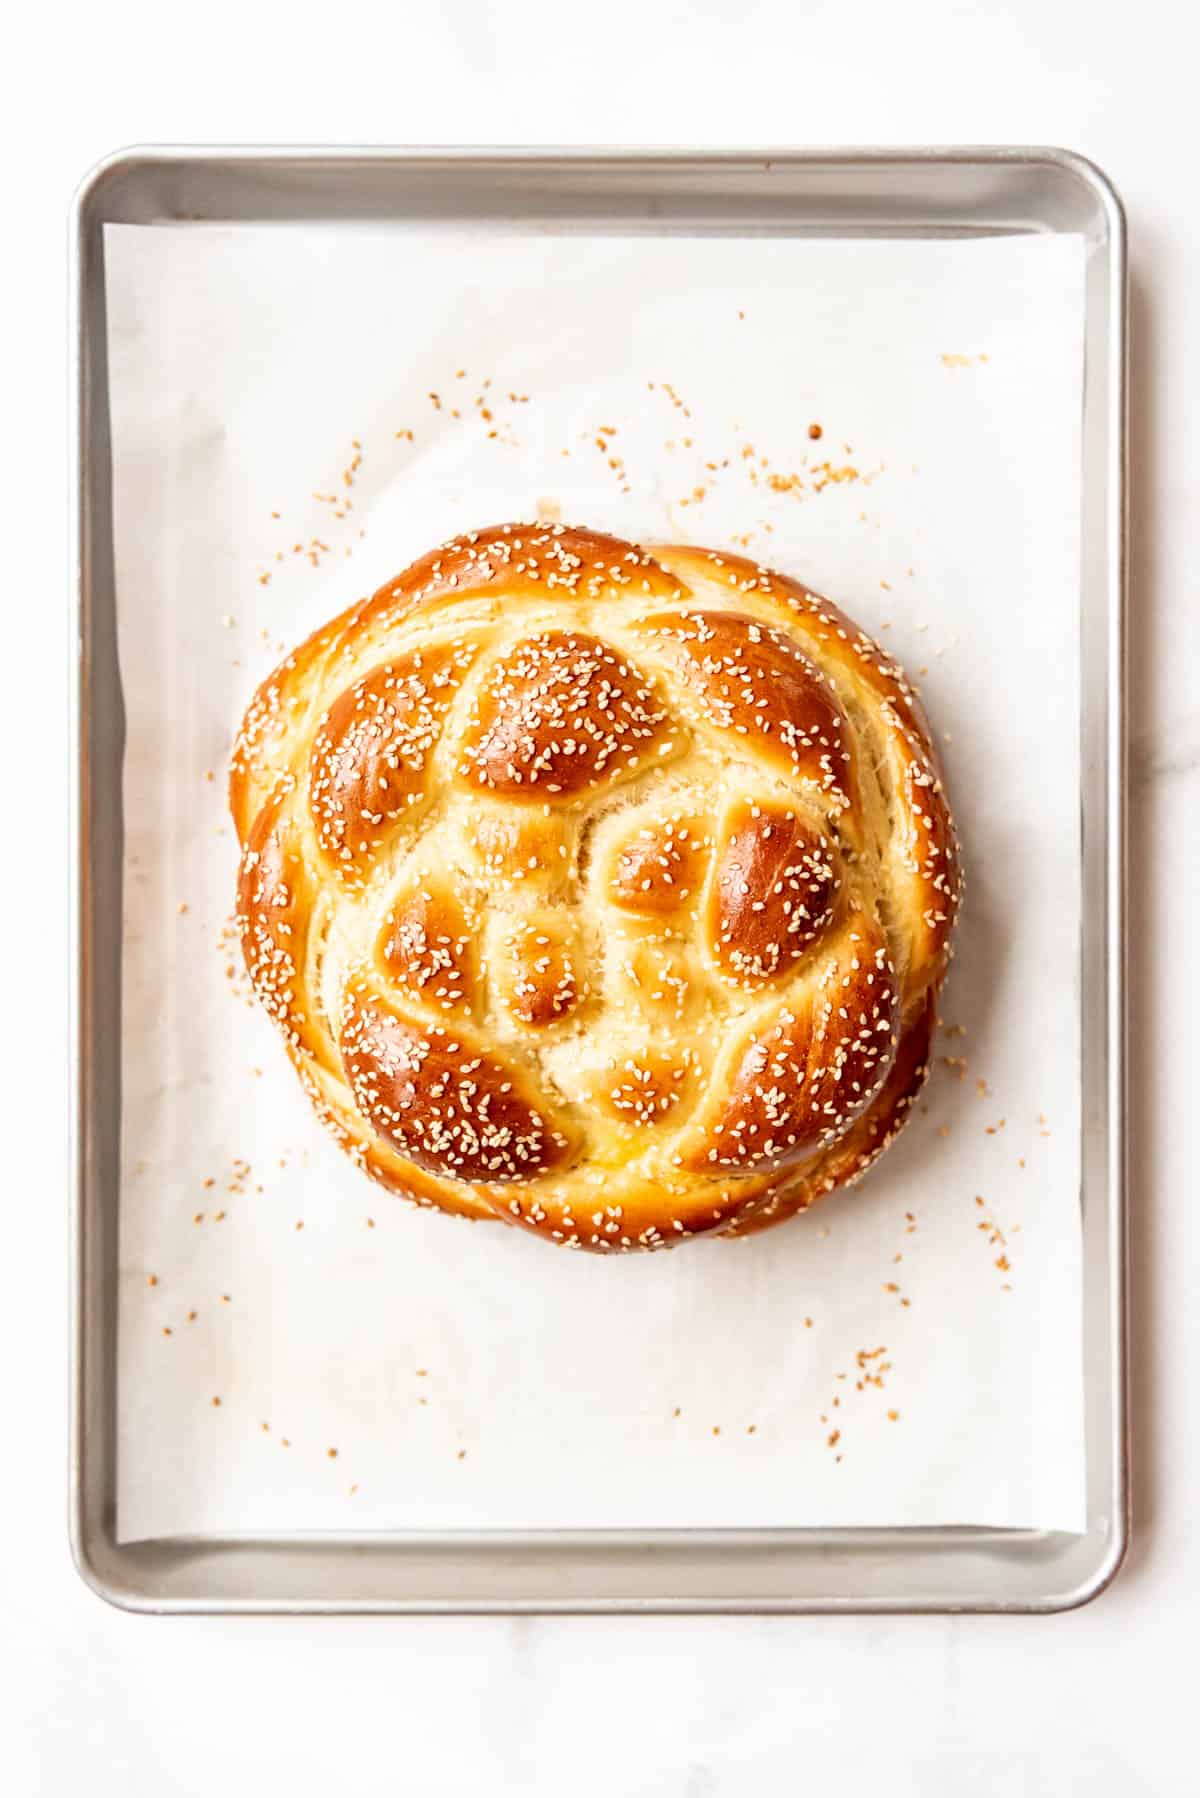
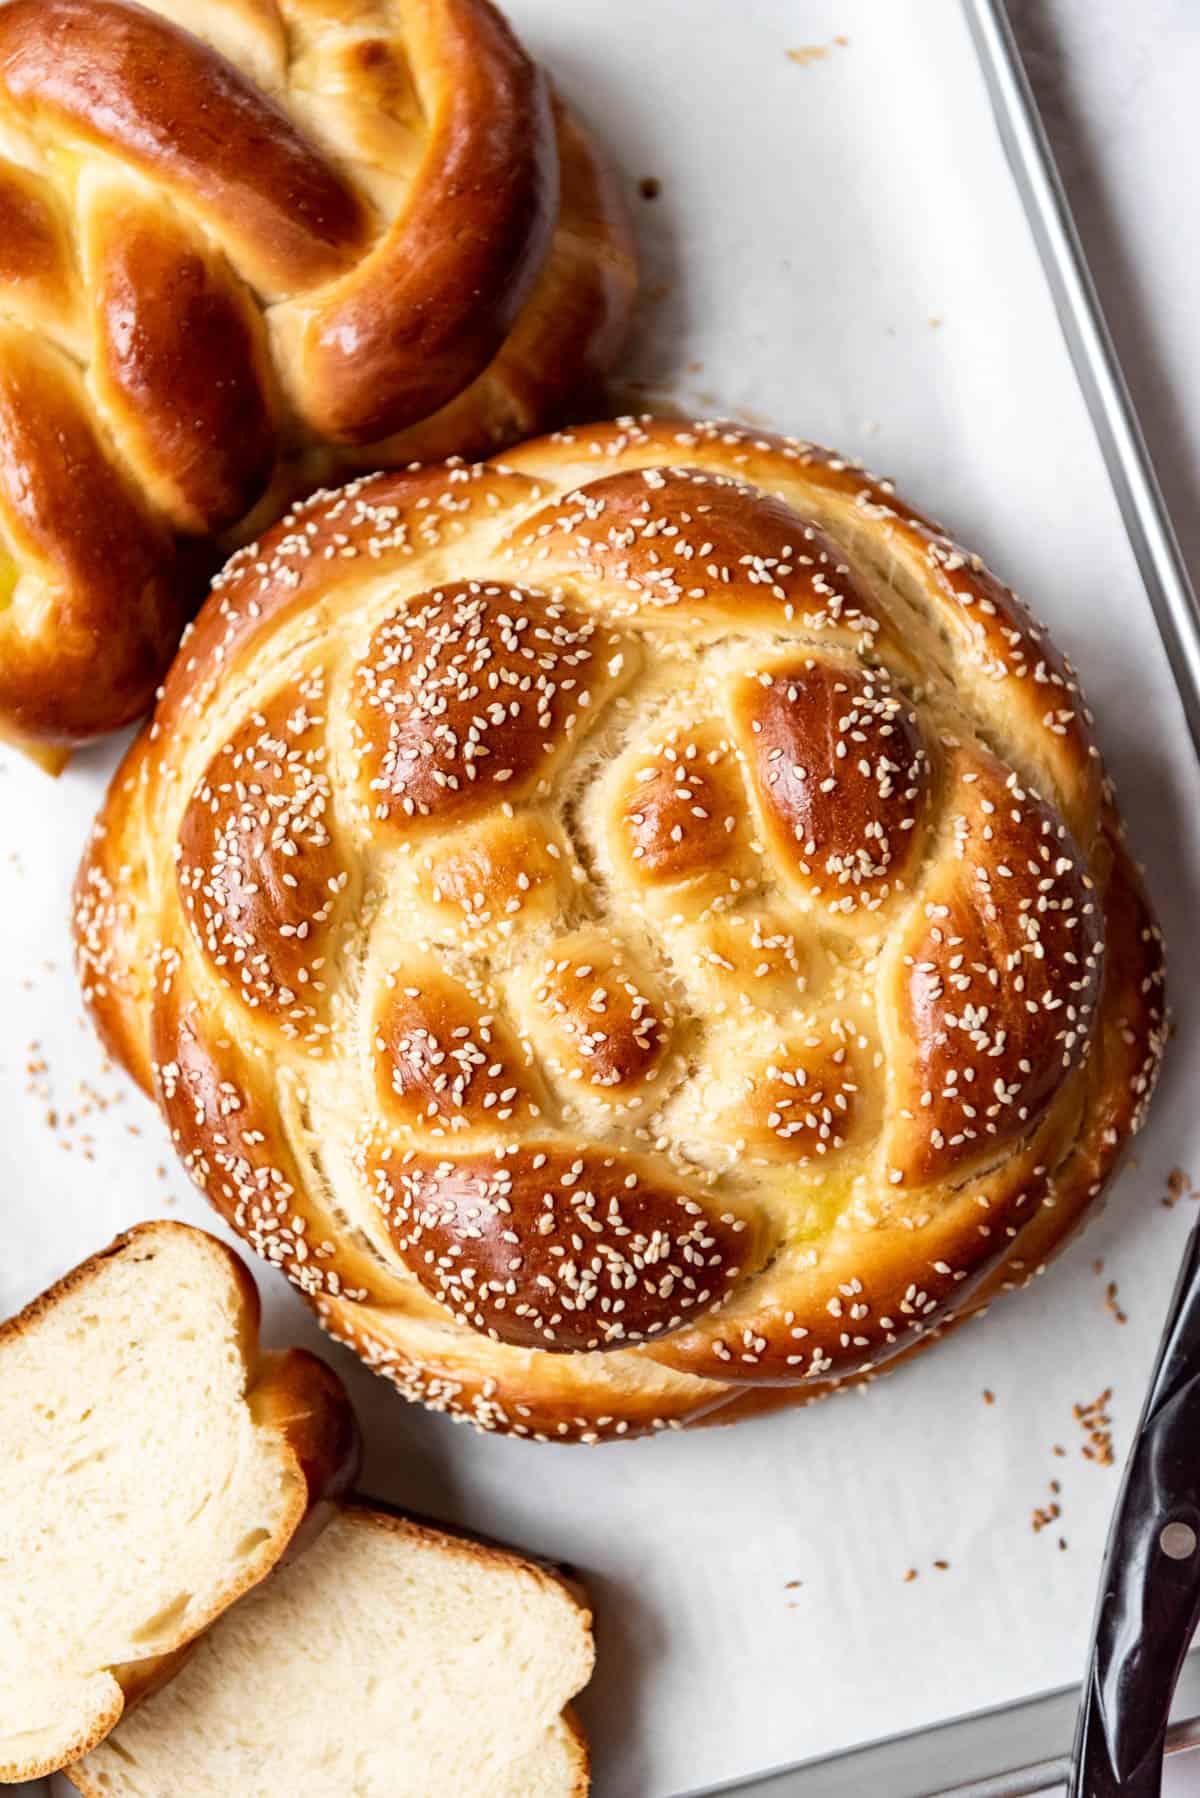
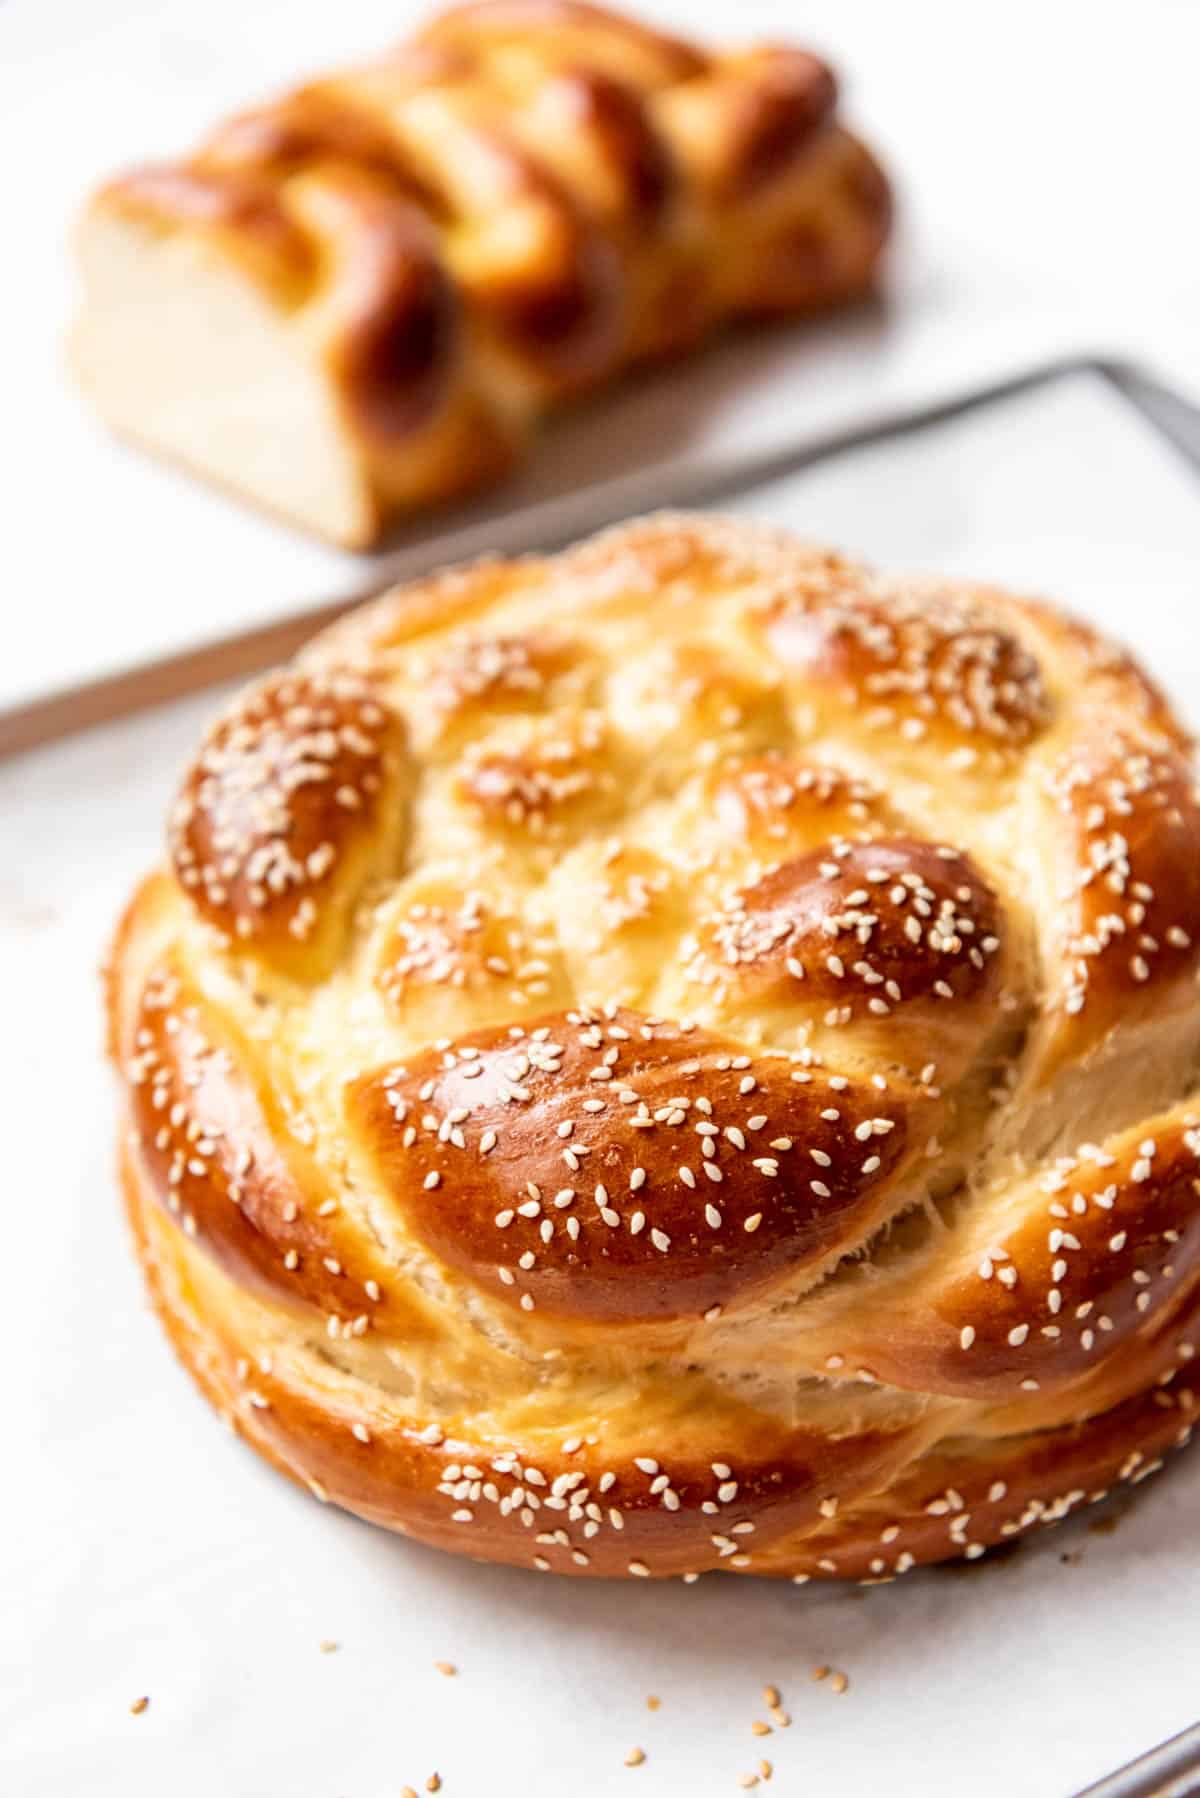
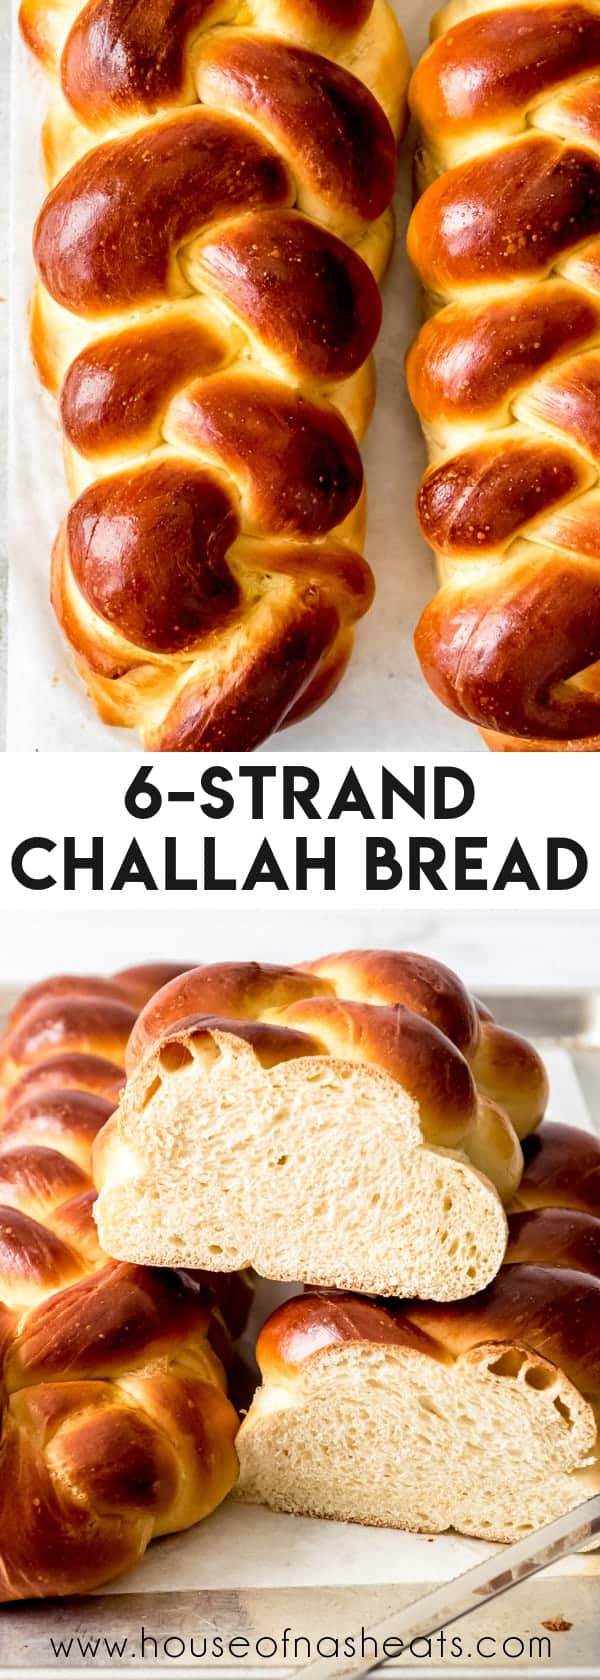
Challah bread is most often braided into long six-strand braids or round braided loaves. Then the loaves are brushed with an egg wash two times which gives wonderful color to these stunning loaves.
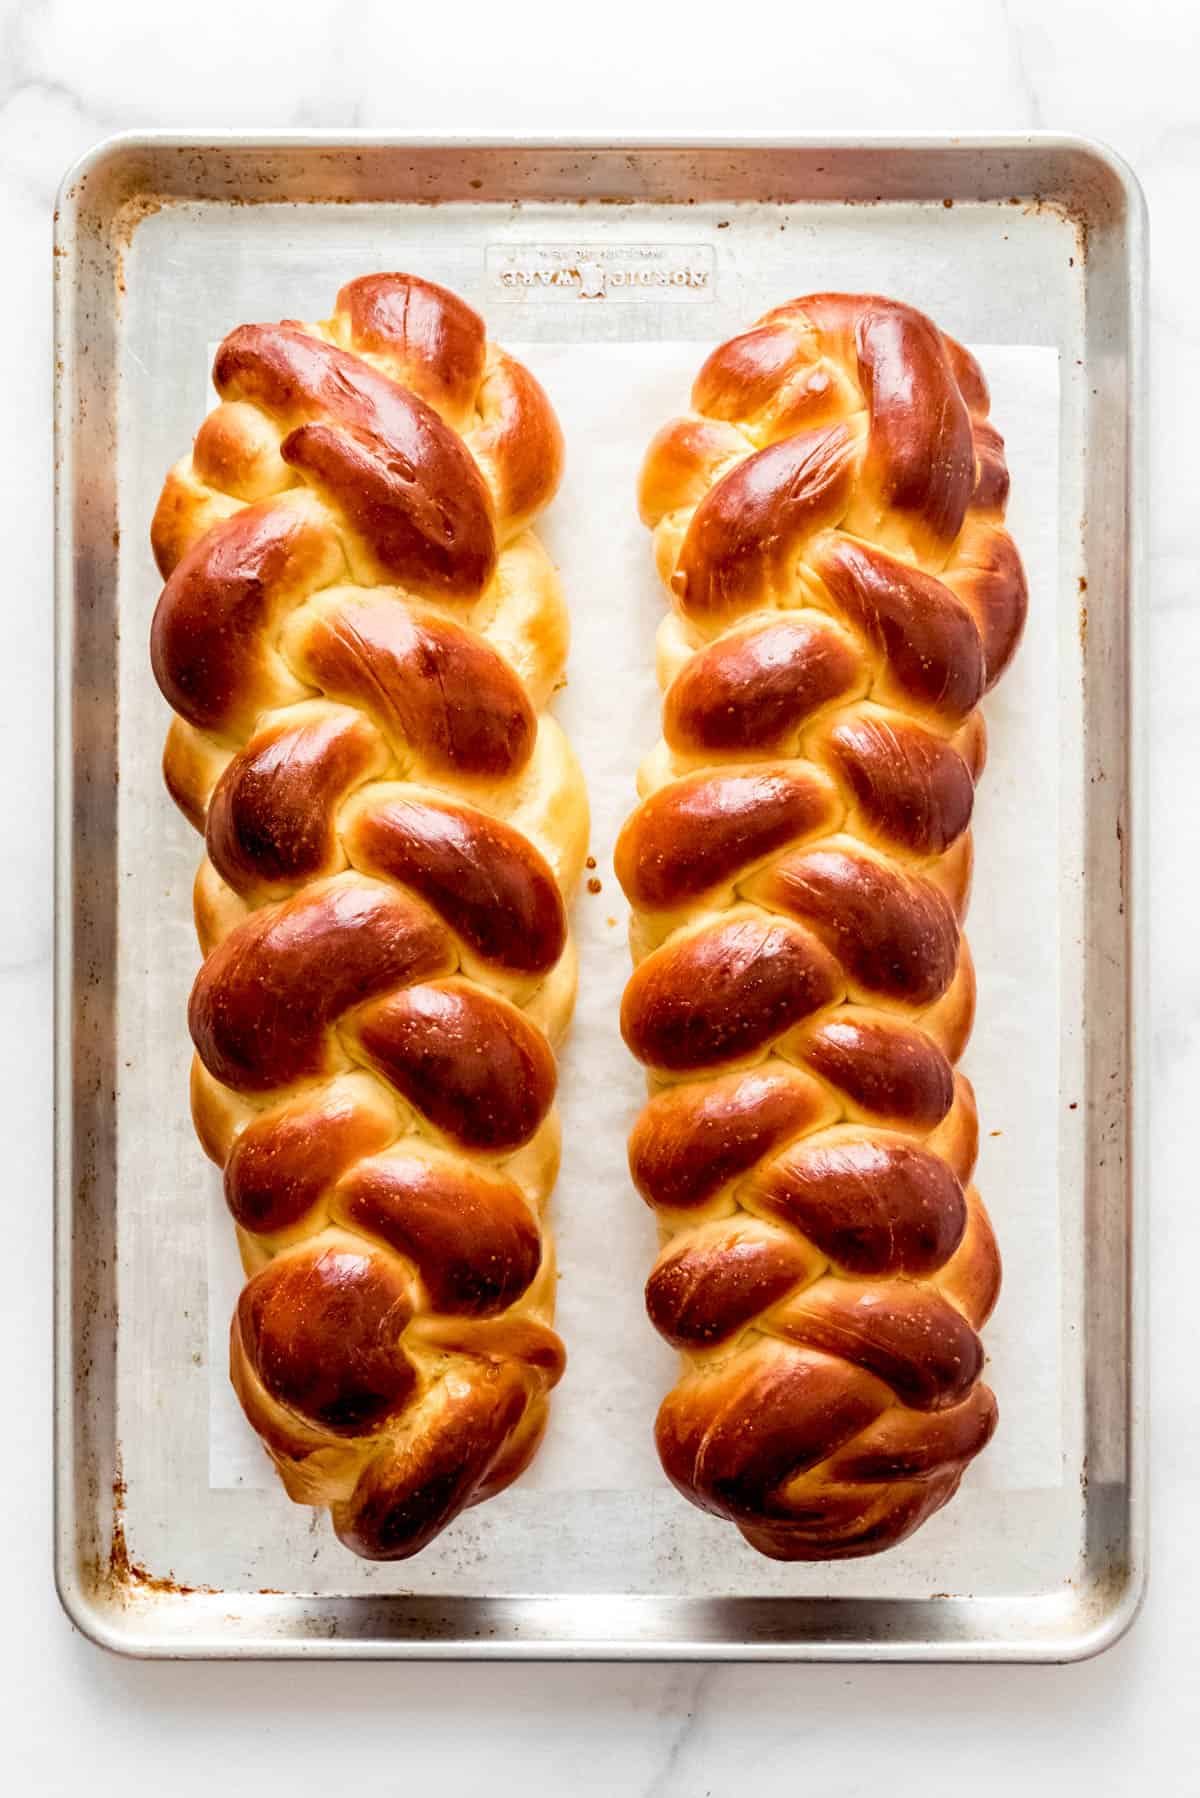
We like to eat one of the loaves with dinner when it’s freshly made and save the other one to use for something else later. Like many bread recipes, this challah bread is best when fresh, within the first day or two, but it freezes beautifully as well. You can freeze challah bread for up to 1 month wrapped tightly in plastic wrap. Just let it thaw at room temperature for a few hours before slicing.
Challah Pronunciation
Challah is most easily pronounced “haa-luh” (as in “holla back” – I can’t believe I just typed that).
The “ch” can also be pronounced the same as in the German word “buch” or the Scottish word “loch”. But it’s not actually pronounced with a hard “ch” sound like in the English word “cherry”, even though it’s tempting for most of us English speakers to read it that way.
Best Challah Recipe ingredients
Scroll down to the recipe card below this post for ingredient quantities and full instructions.
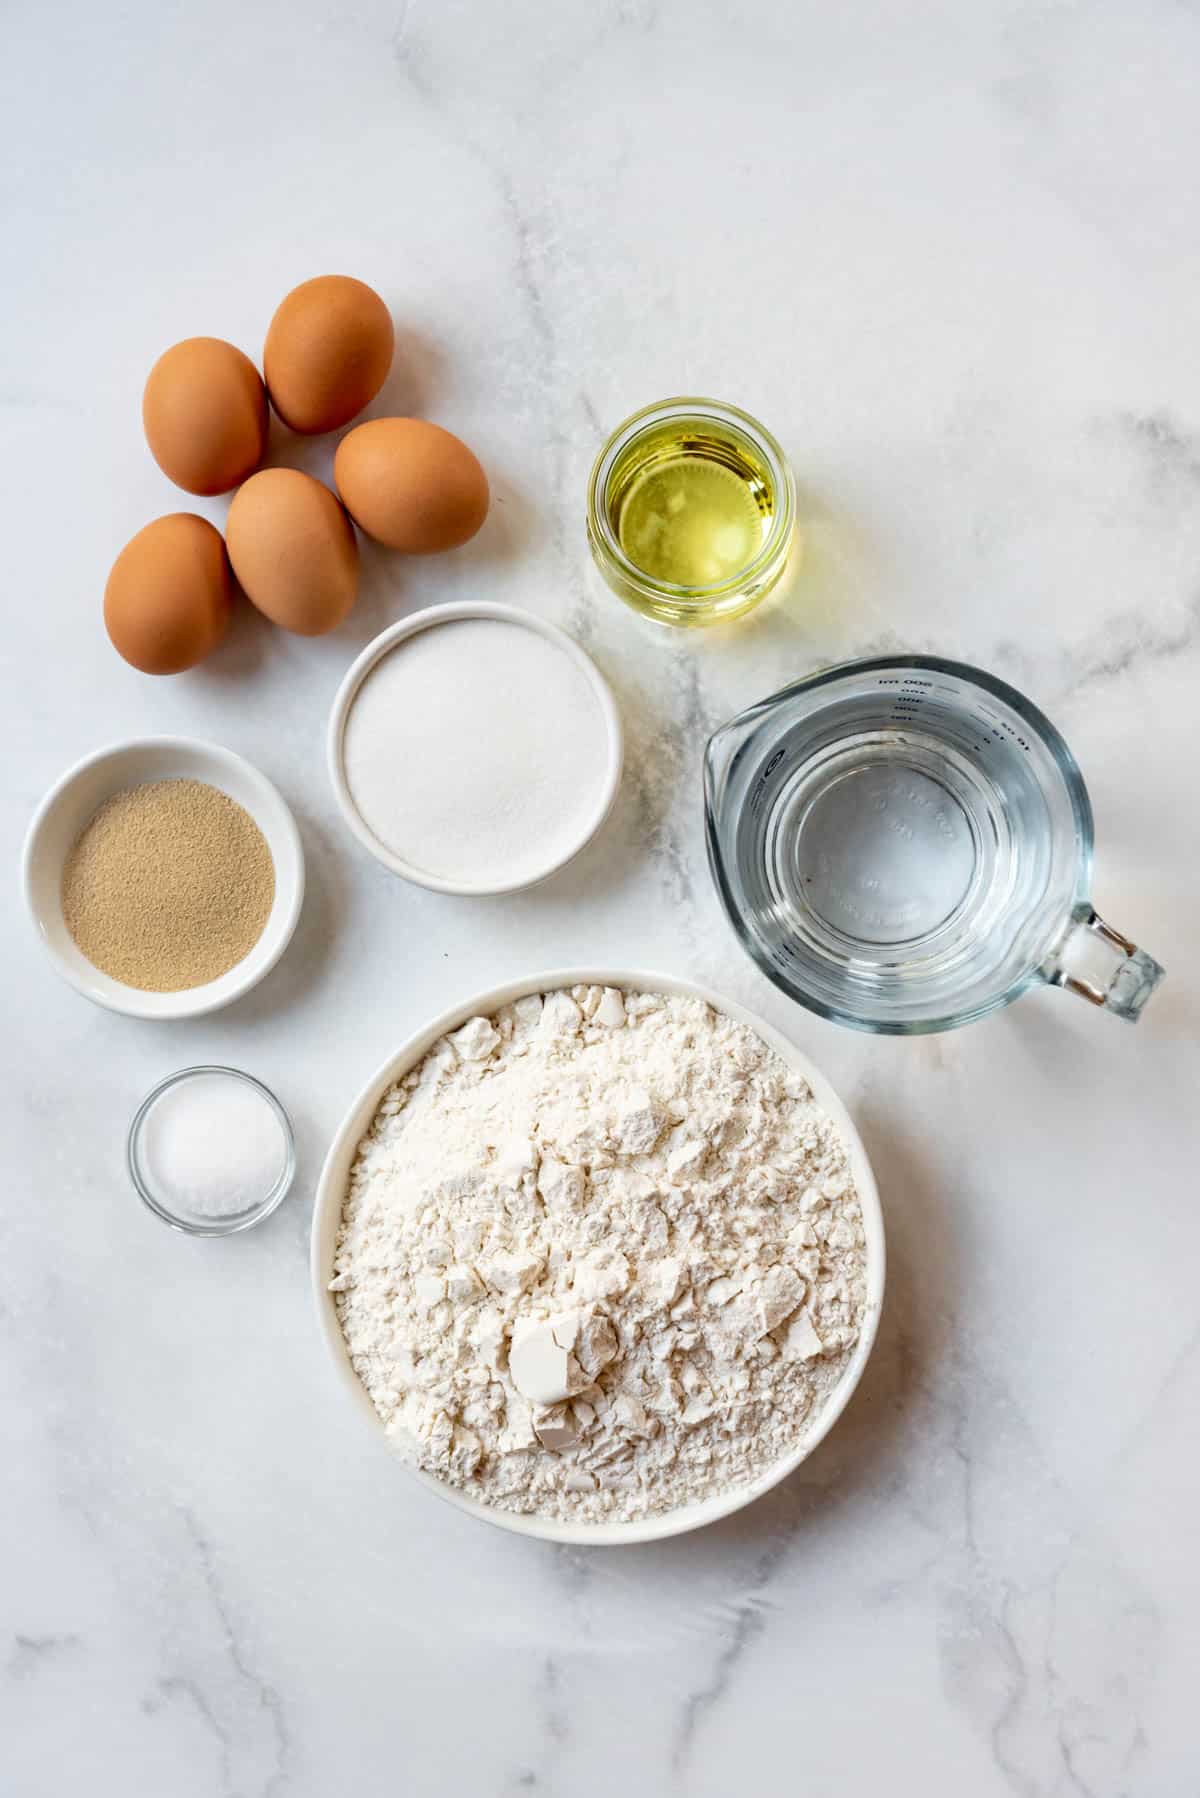
- Water: You want your water to be lukewarm-warm, not cold, and not hot.
- Yeast: Use active dry yeast for best results.
- Sugar: White granulated sugar will work fine.
- Oil: I use vegetable oil, but you can use olive oil or extra virgin olive oil too.
- Eggs: Lots of eggs to help the bread rise into its signature fluffiness!
- Salt: Enhances the flavors of the bread.
- Flour: All-Purpose Flour works well for challah bread; you don’t need specific bread flour!
- Topping: Sesame seeds or poppy seeds. (Optional)
How to Make Challah Bread
The reason this is the best challah bread is not only that it tastes delicious, but it is easier to make than it looks. I know it might sound intimidating, but you will be surprised at how simple challah is to make.
- Proof yeast. Proof the yeast by dissolving it in lukewarm water with a tablespoon of sugar in a large mixing bowl until foamy, about 5 minutes.
- Add oil and eggs. Stir in the oil and 4 of the eggs (reserve 1 egg for an egg wash after braiding), with the remaining sugar and salt.
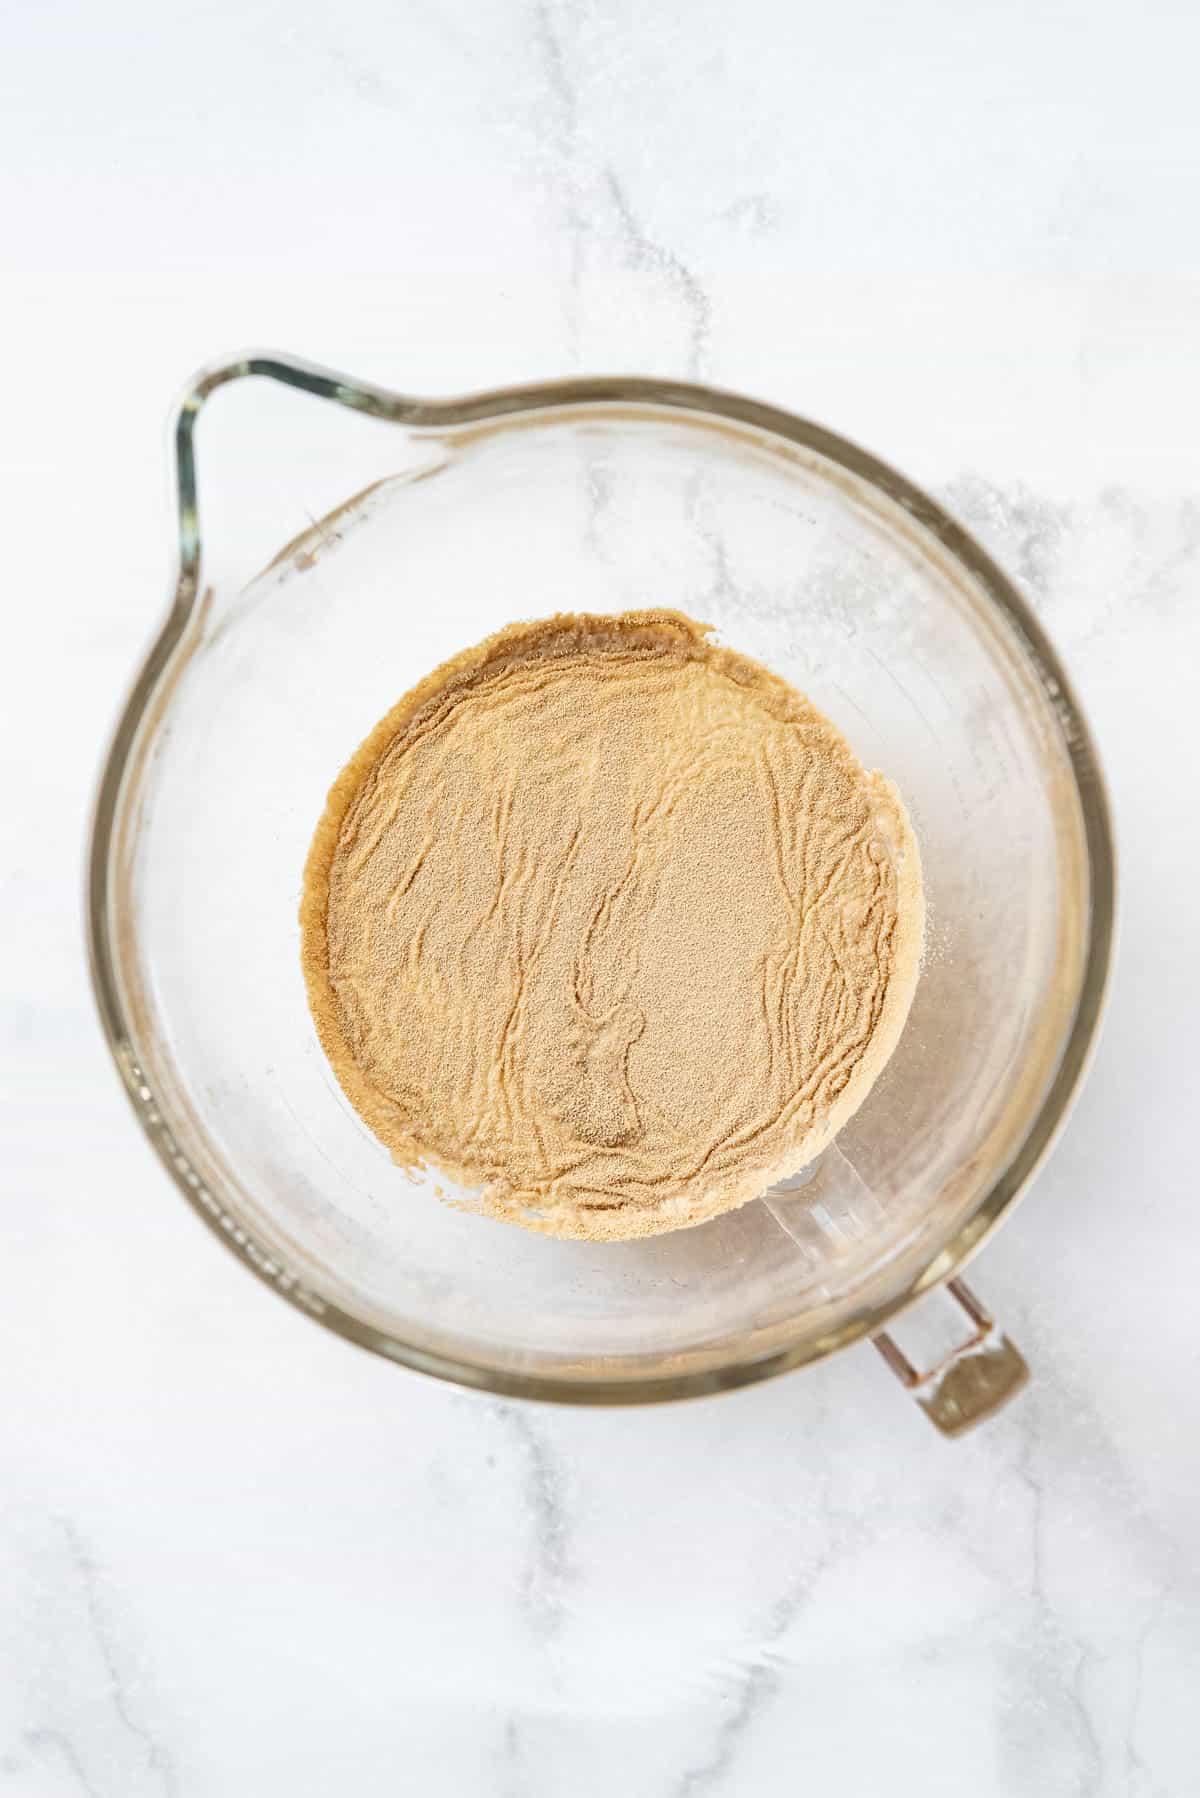
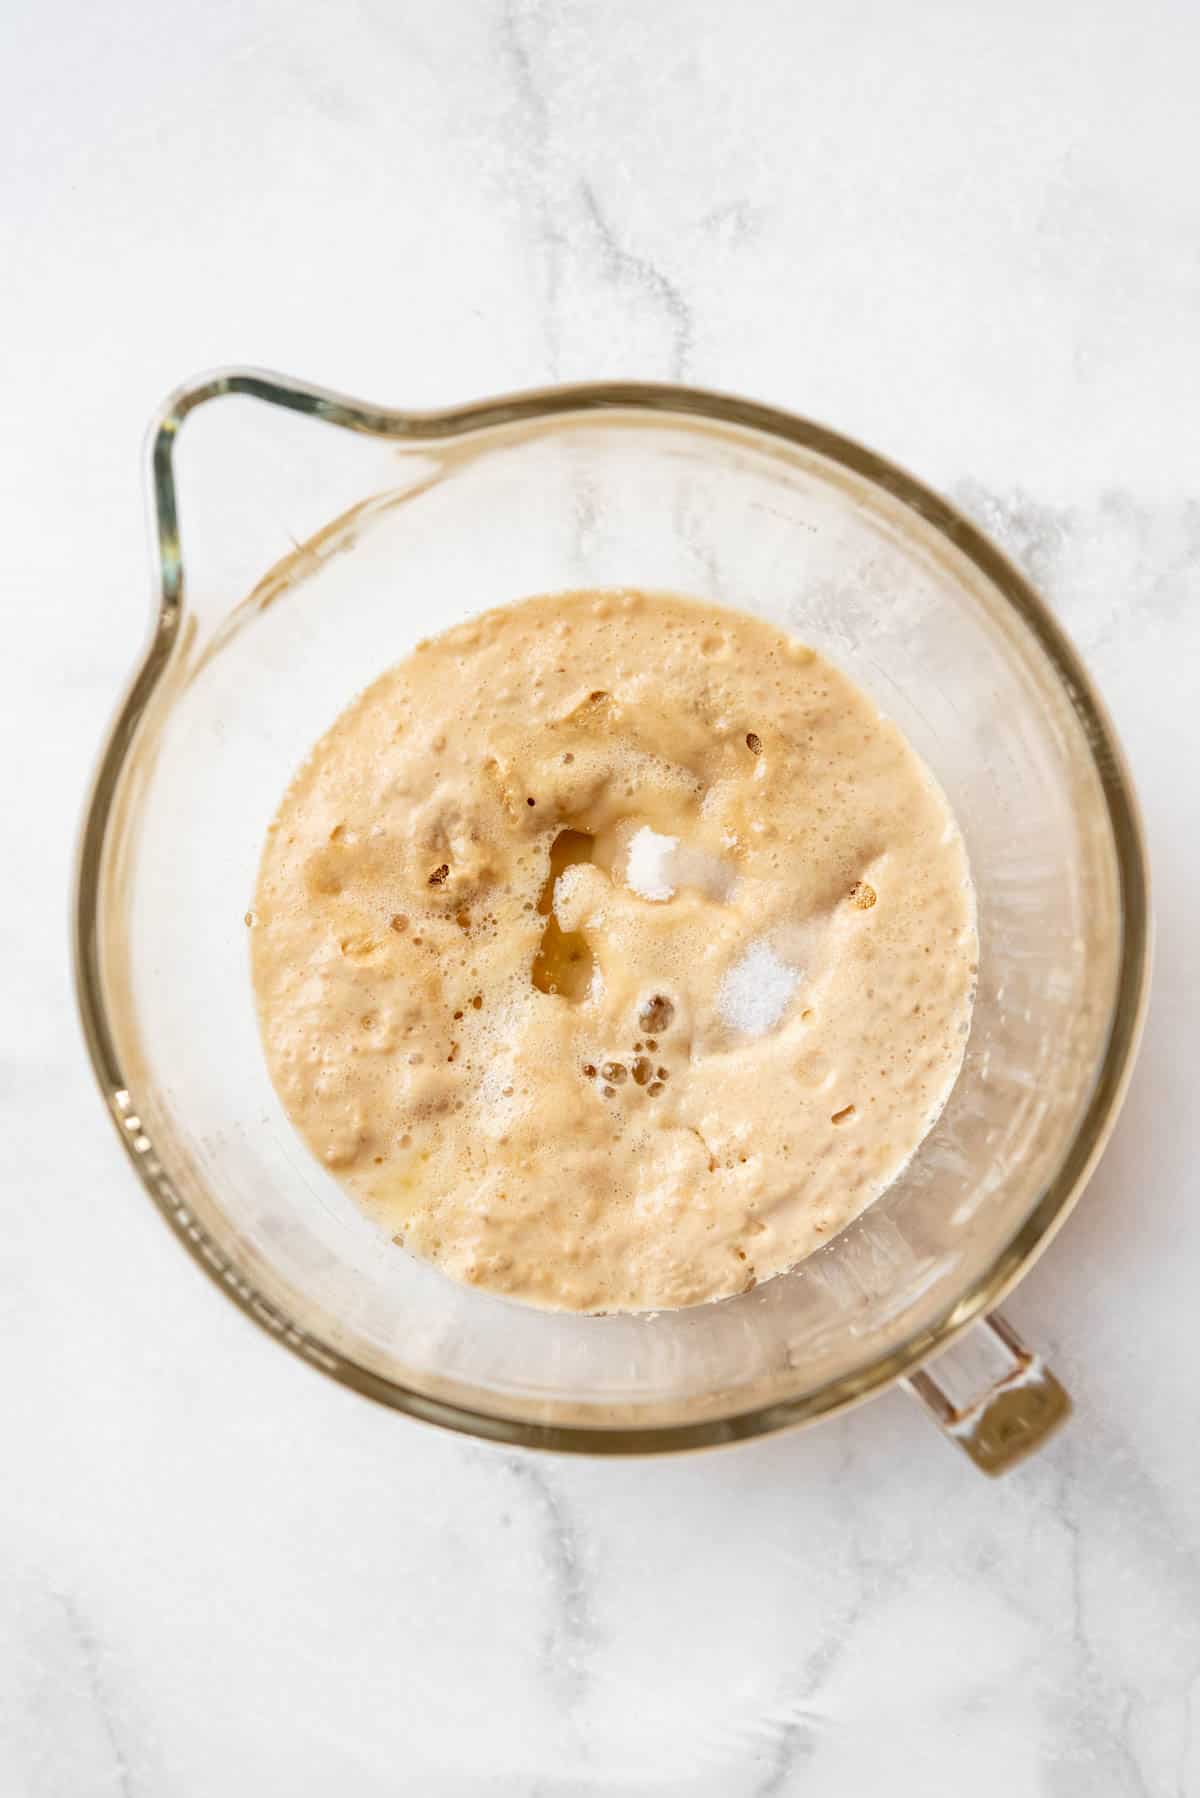
- Add flour. Gradually add the flour, 1 cup at a time, stirring it in to make a soft dough.
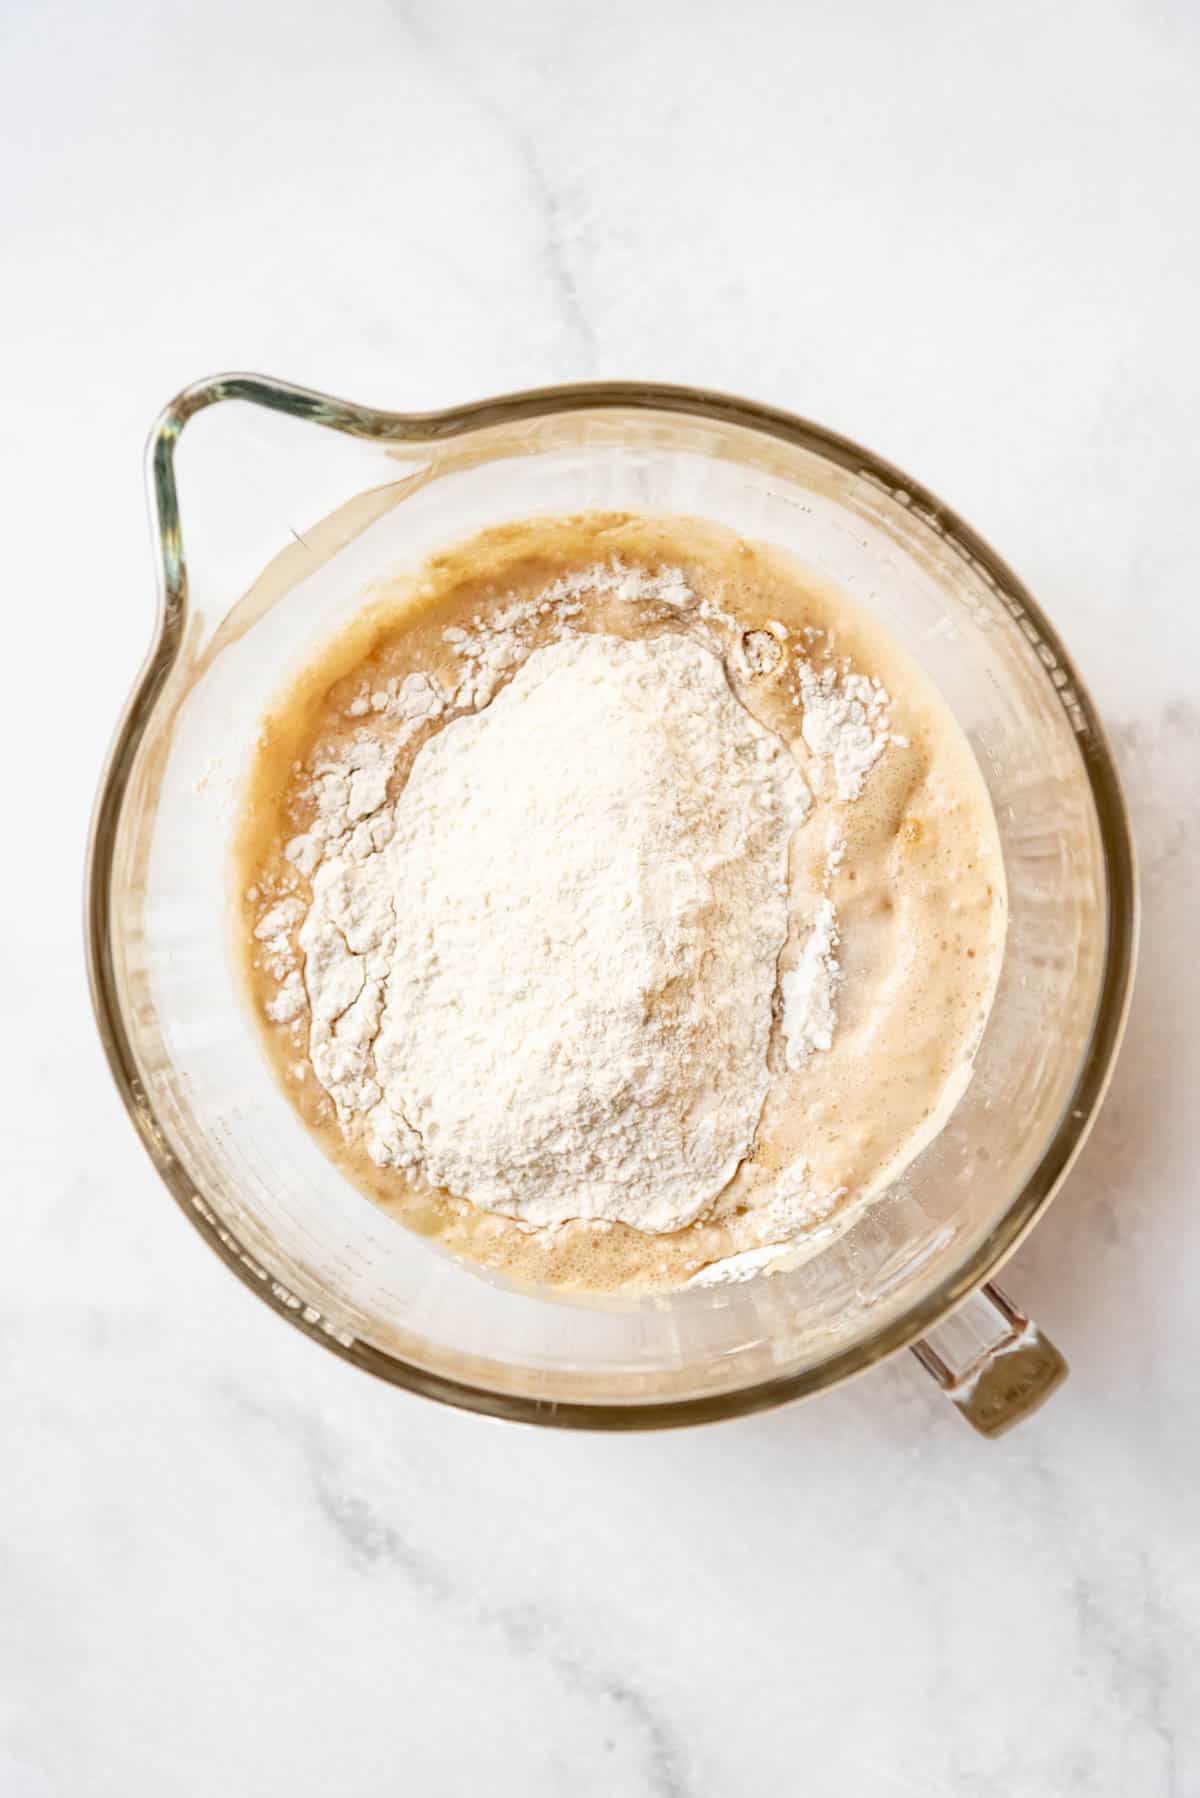
- Knead dough. My standard-size KitchenAid mixer can’t quite handle this much dough so I pretty much always finish kneading by hand by turning the dough out onto a lightly floured surface and kneading until smooth.
- Oil the bowl. Clean out and lightly oil the bowl before returning the dough to it.
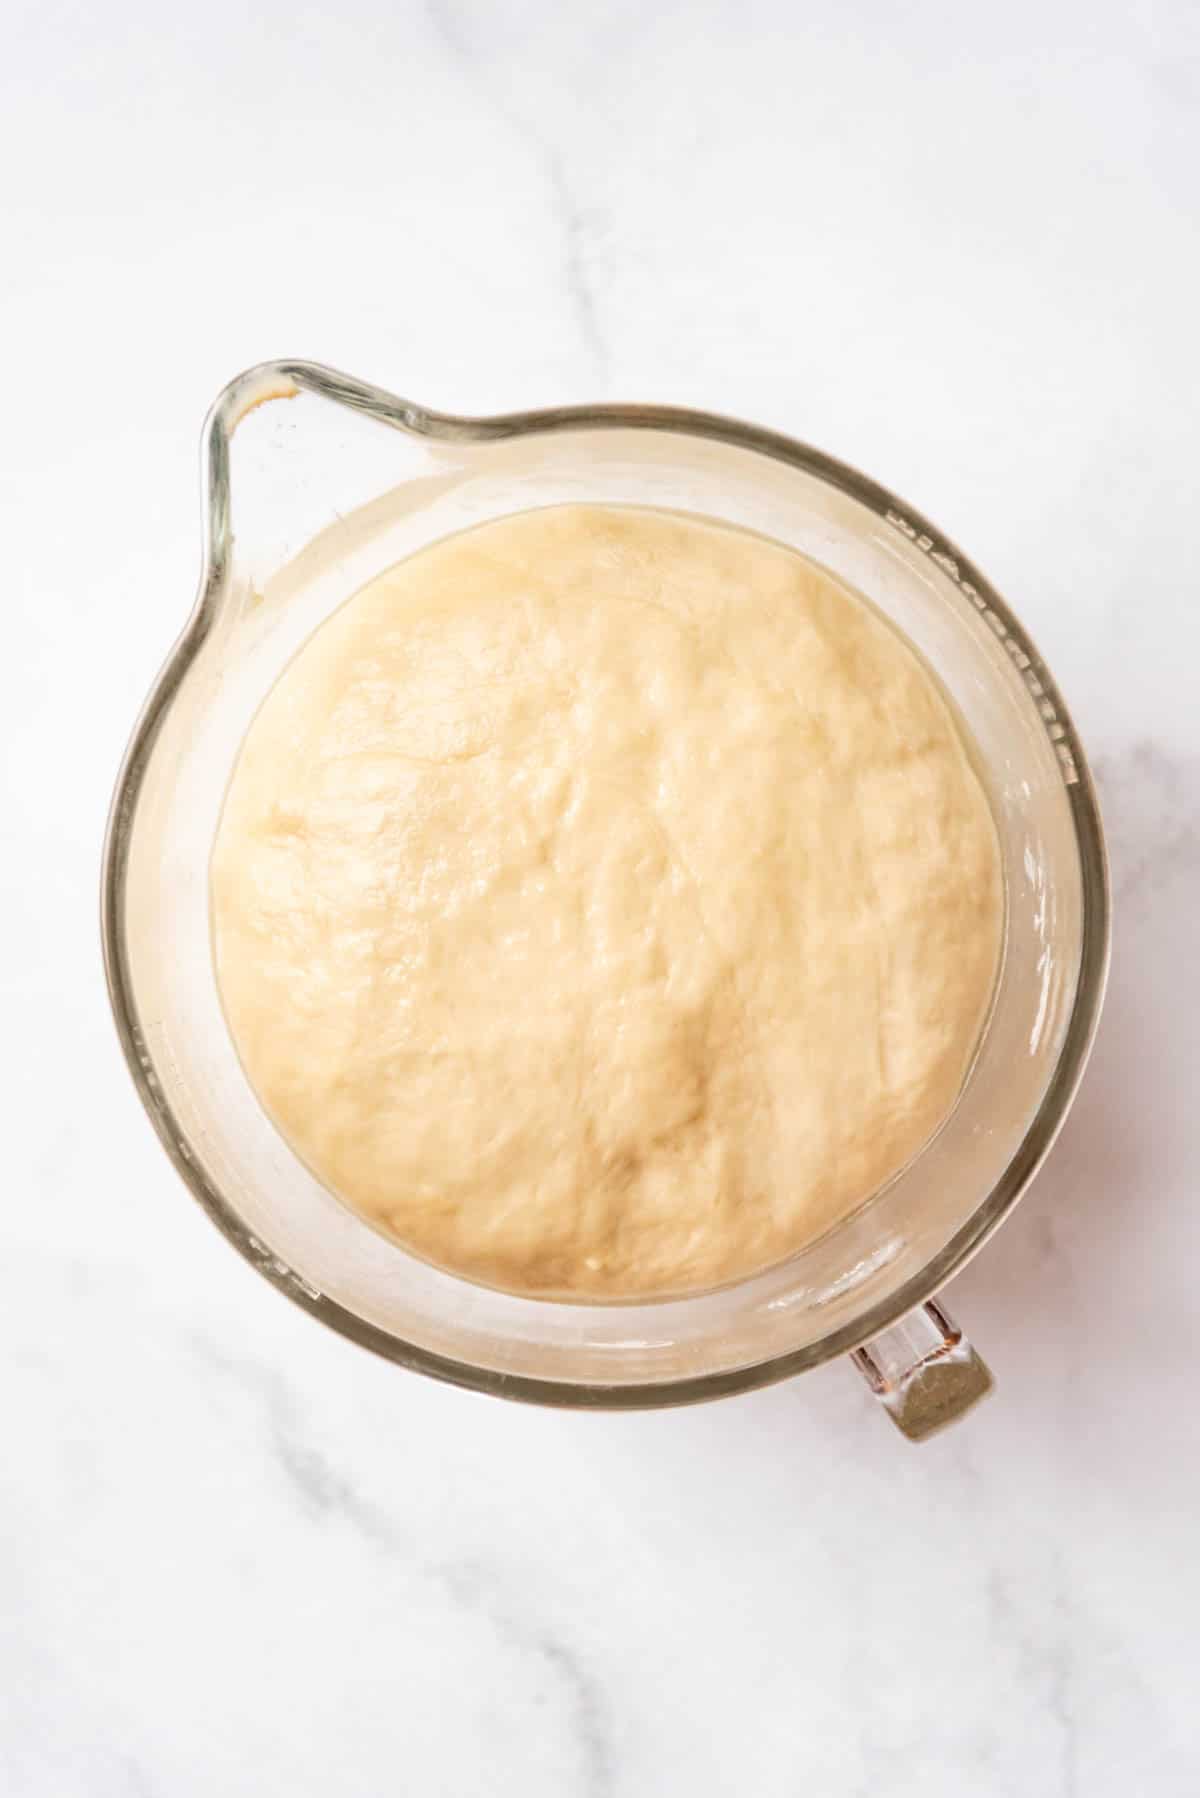
- Cover and let rise. Cover the bowl with plastic wrap and let the challah dough rise in a warm, draft-free spot for about an hour, until almost doubled in size.
- Punch and rise. Punch the dough down (literally, just stick your fist right into the center of the dough and push it down), then cover it with plastic wrap and let it rise again for another half hour.
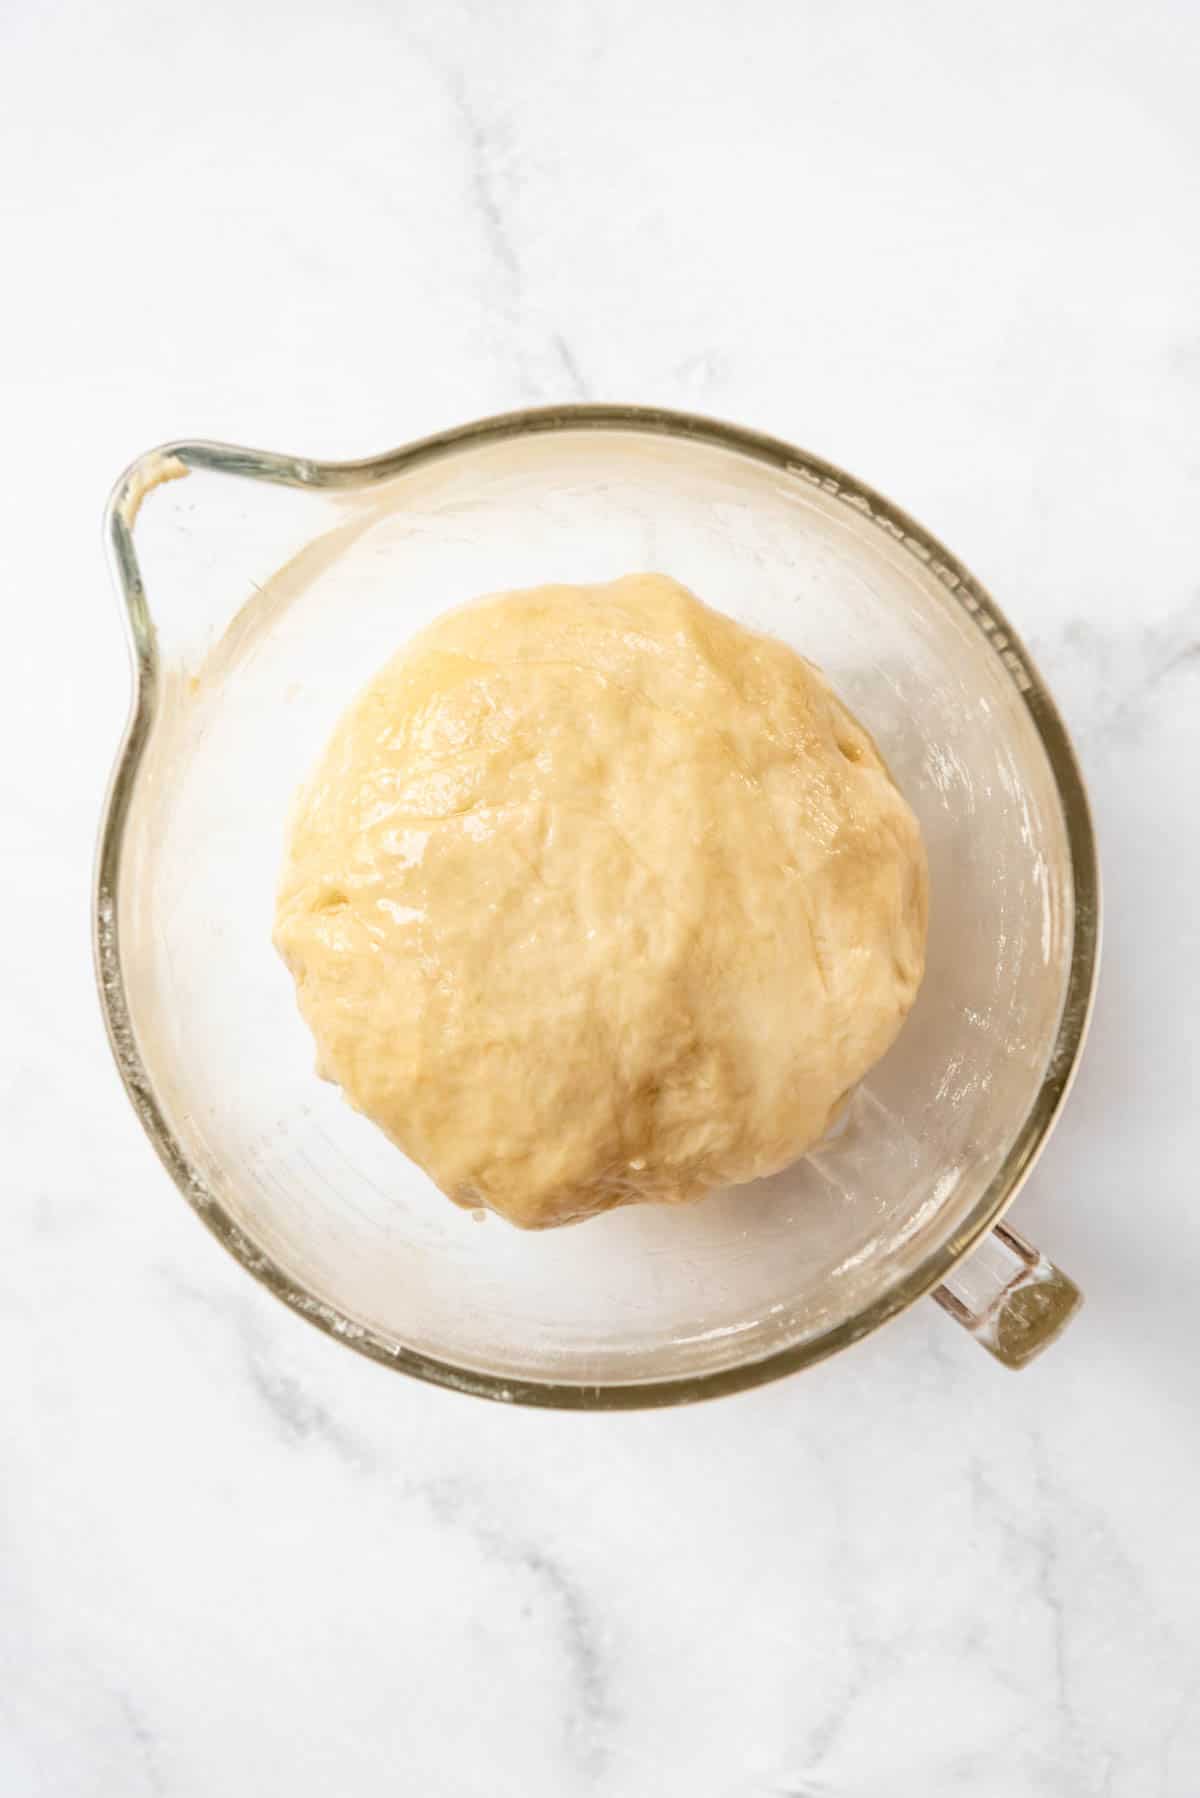
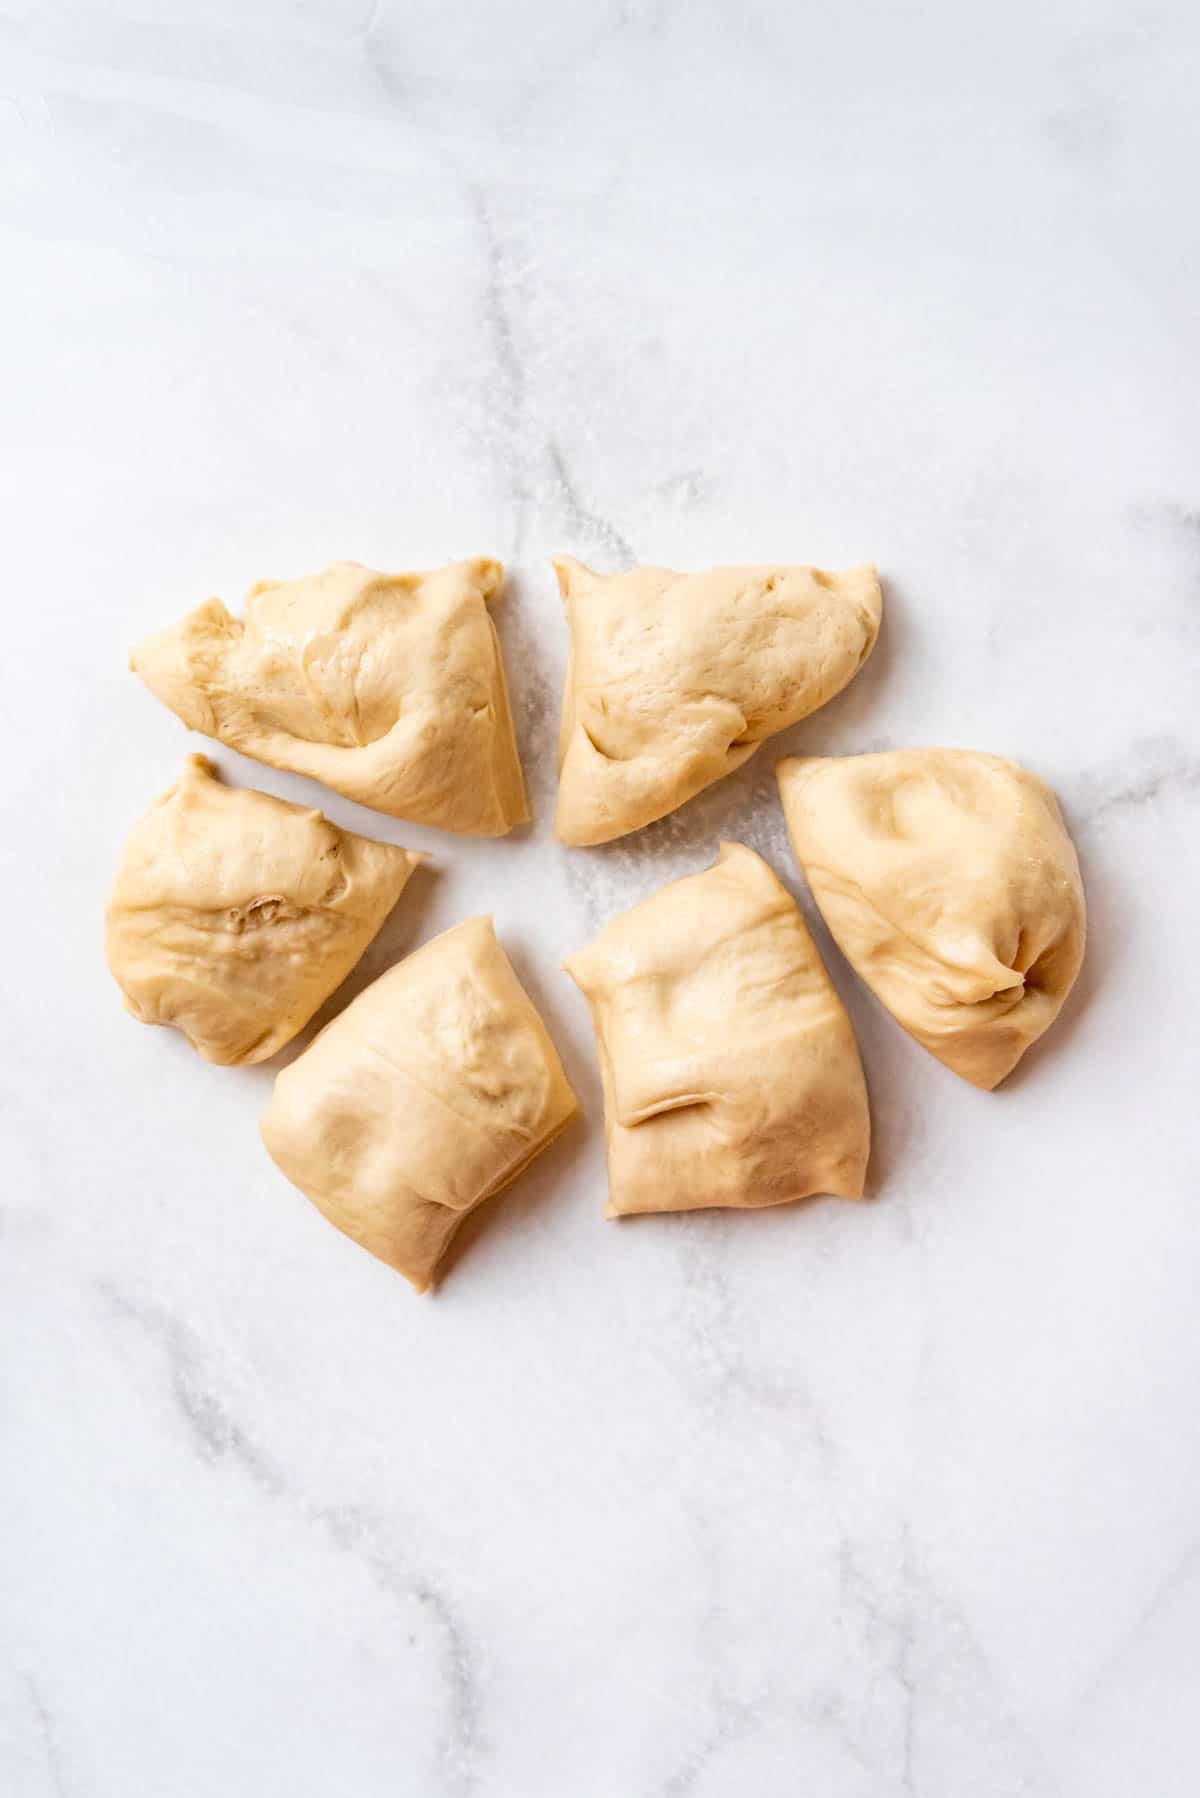
- Divide the dough. To form the 6-strand challah braid, first, divide the dough on a clean surface. Divide it in half to make two loaves. Then divide each half into 6 equally sized portions and roll the balls of dough into 6 equally sized strands, each about 16 inches long. Place the strands side by side and pinch the tops together. See below for step-by-step pictures to guide you through this particular braid or you could do an easier 3-strand or 4-strand braid.
- Add egg wash. Next, beat the remaining egg and brush half of it on the loaves using a pastry brush. Be sure to get in the crevices of the braid and down the sides of the loaves.
- Rise again and add egg wash. Allow the loaves to rise another hour in a warm place, then brush again with the remainder of the egg wash.
- Add topping. Sprinkle with sesame seeds, if using them (I almost always skip them, but it would make the loaf even more traditional to use them).
- Bake. Preheat the oven to 375°F and bake the challah for 30-35 minutes until golden brown (or until the internal temperature of the bread reaches 190°F on an instant-read thermometer). Eat one loaf warm with butter for dinner and save the other loaf for the most delicious french toast ever!
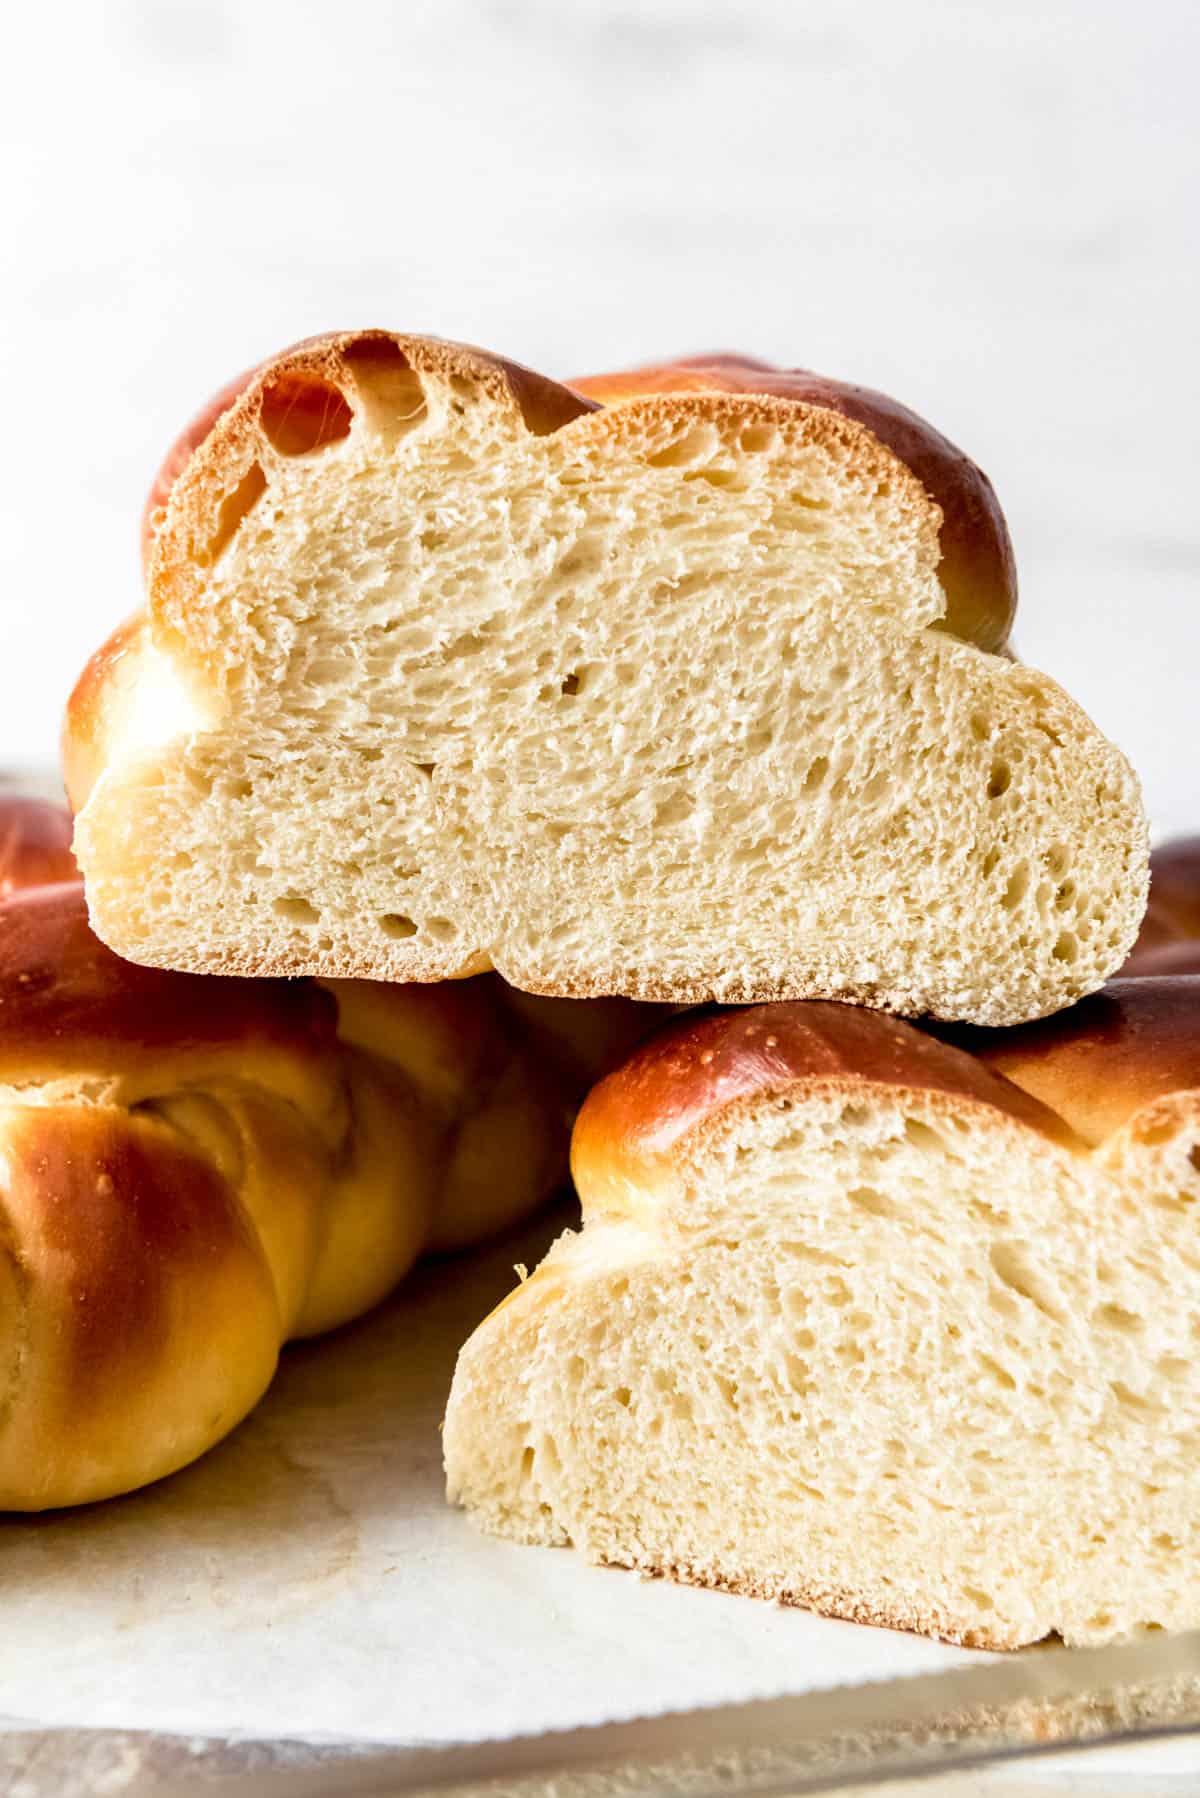
Yes, it does take a little time – a few hours from start to finish – but hardly any longer than a simple loaf of Amish White Bread and definitely not as long as a babka (incidentally, another braided Jewish bread, though I don’t make it on regular basis like I do challah).
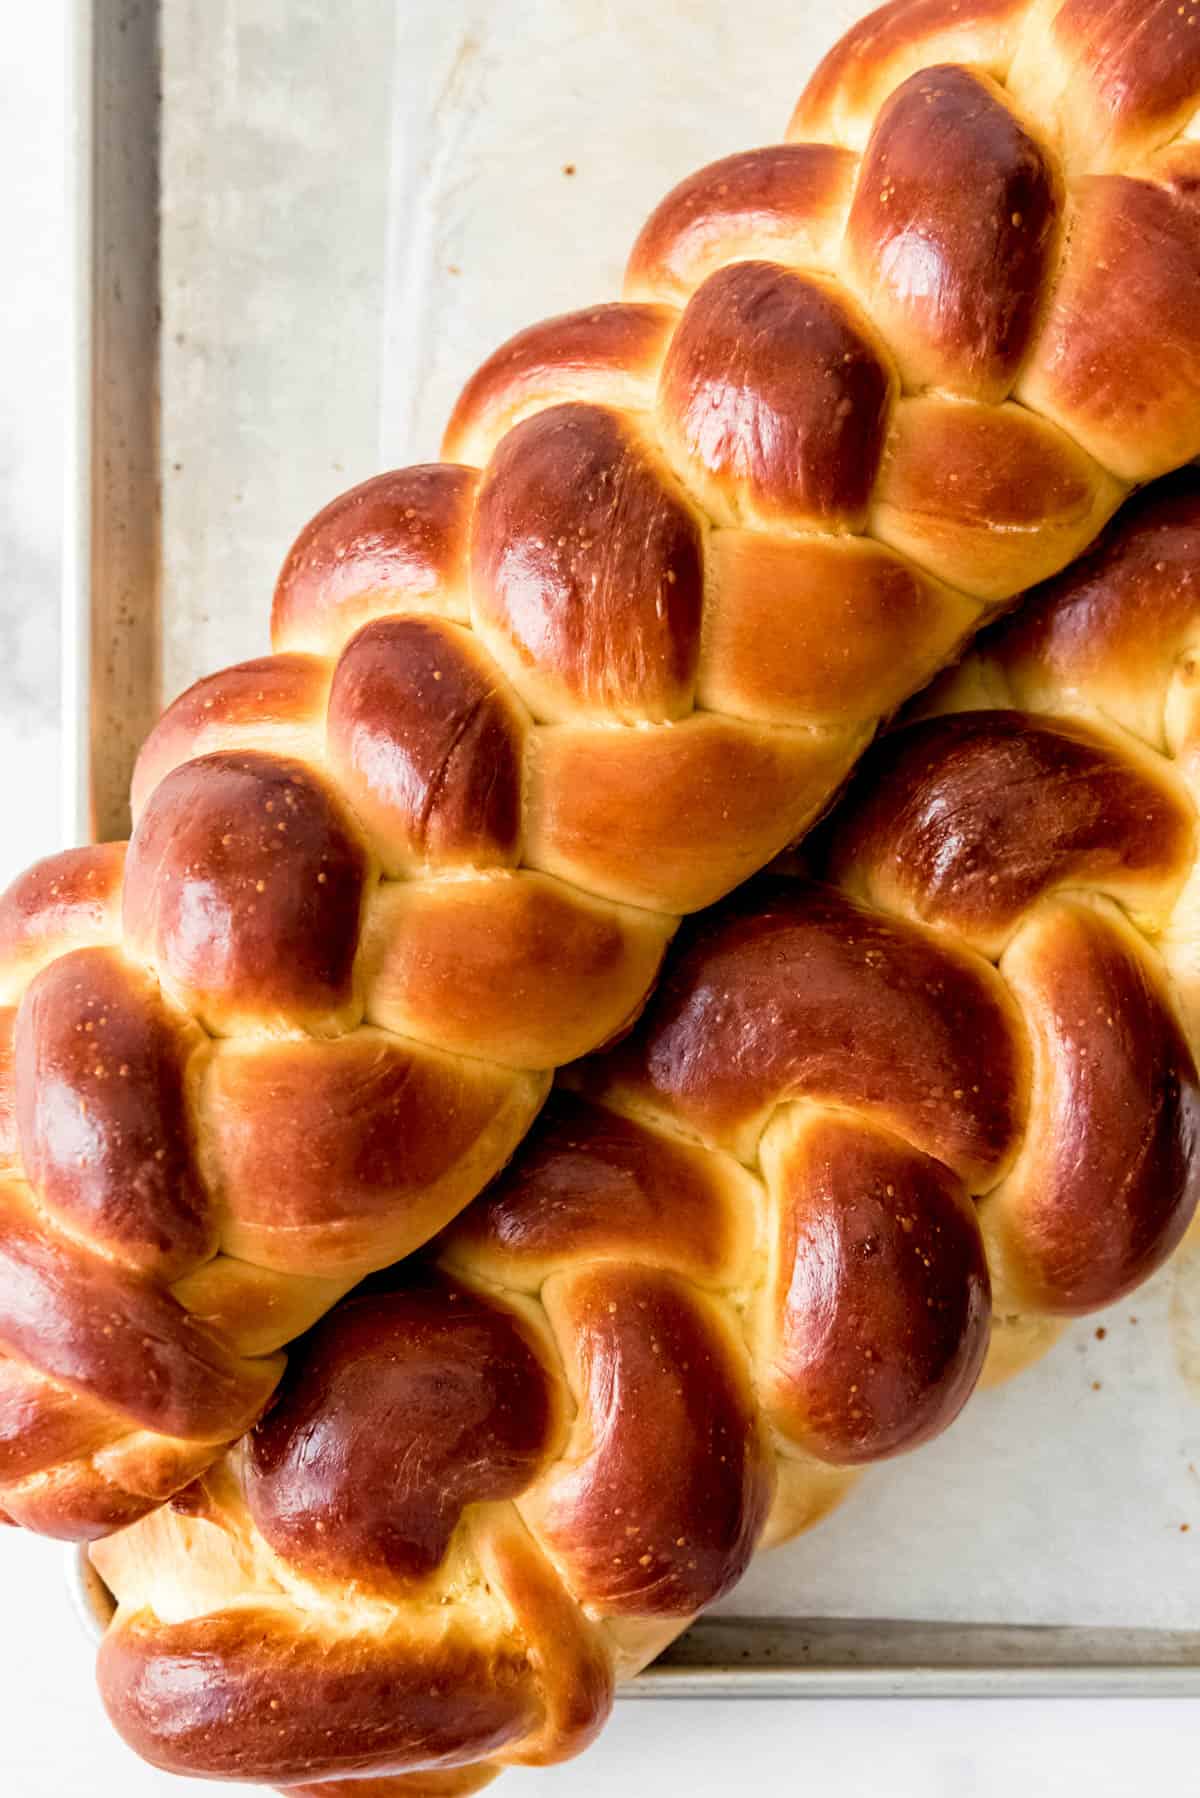
Braiding Challah
There are many ways to braid challah bread. 3-strand braid, 4-strand braid, or 6-strand braids are all popular. So is a round braided challah loaf. I’m sharing how to do a 6-strand braid and a round braid since those are the two we use most often.
Six-Strand Challah Braid
- First, roll out six long strands of dough, line them up side-by-side, then pinch the tops together.
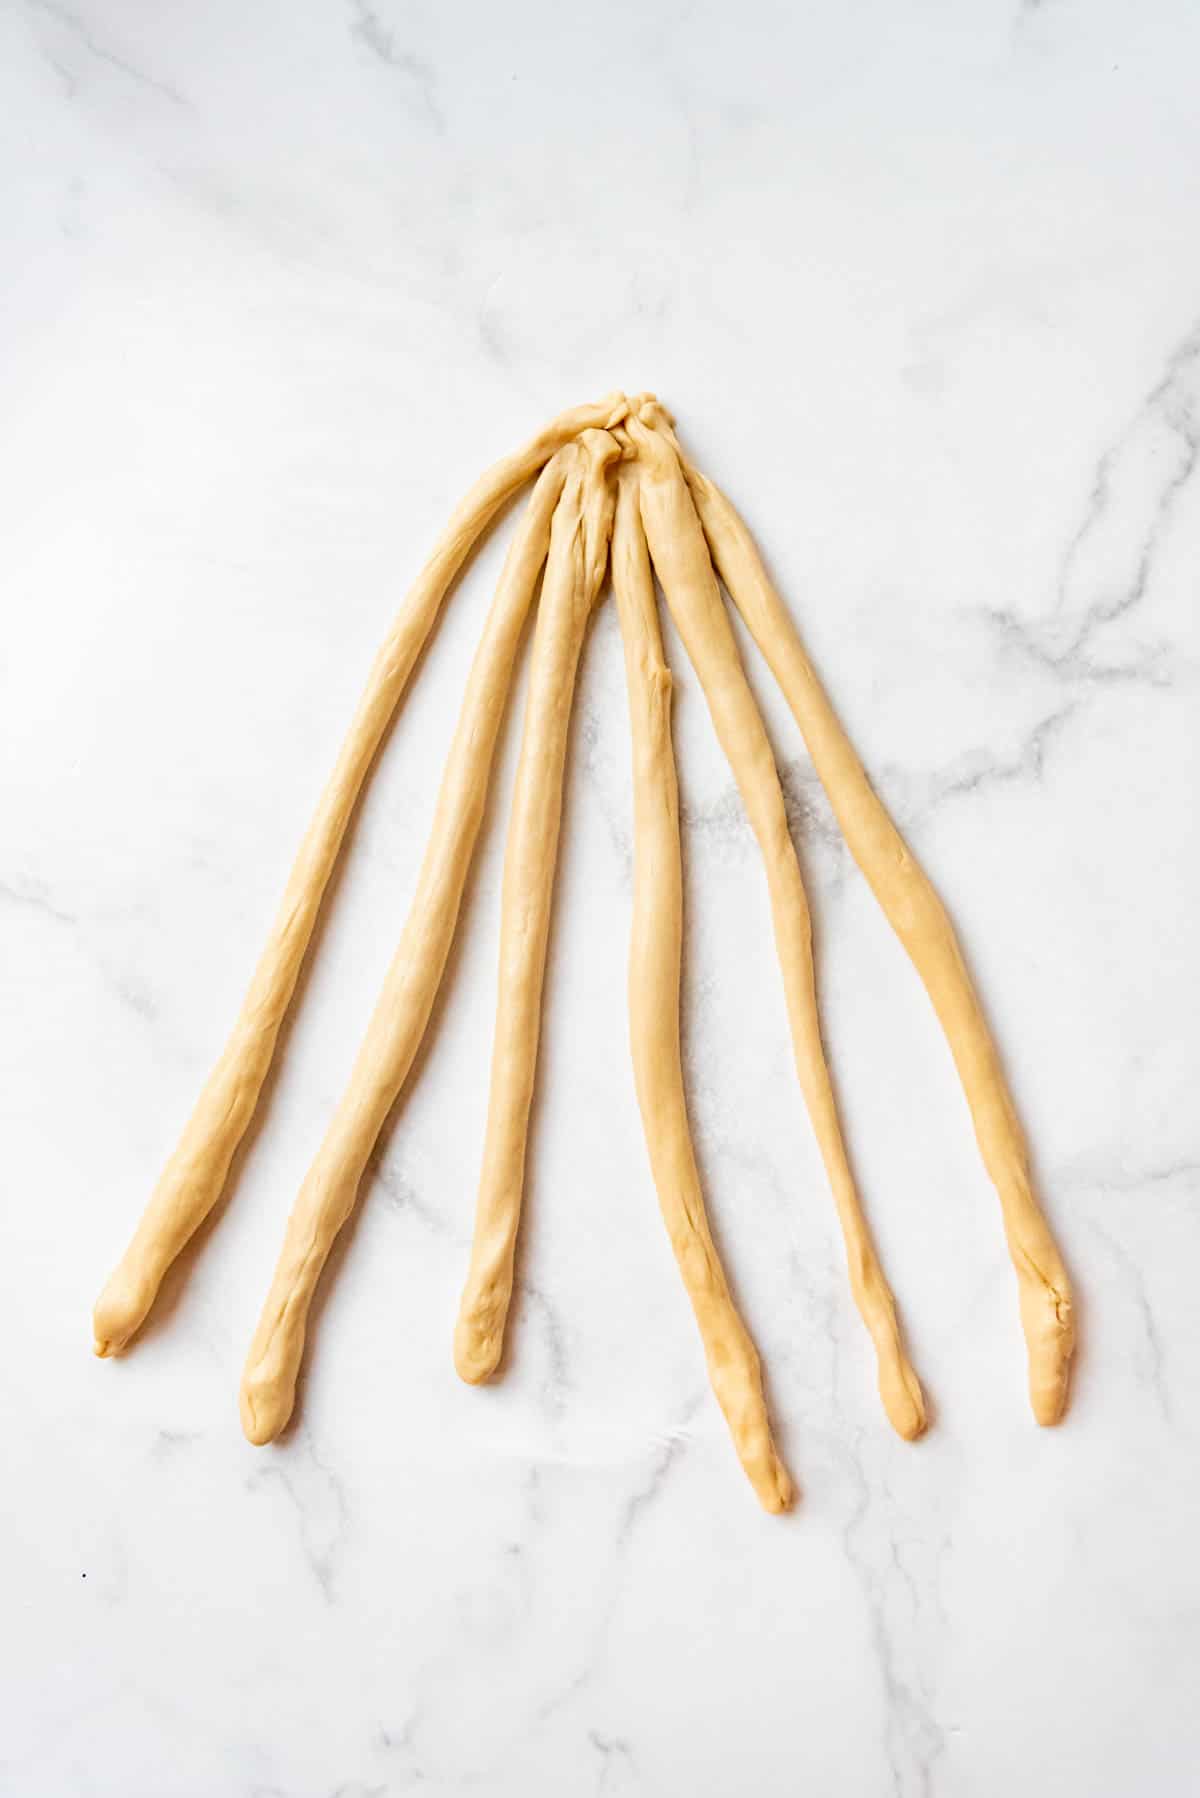
- Move the outside RIGHT strand over two strands to the left.
- Next, move the 2nd strand from the left to the far right.
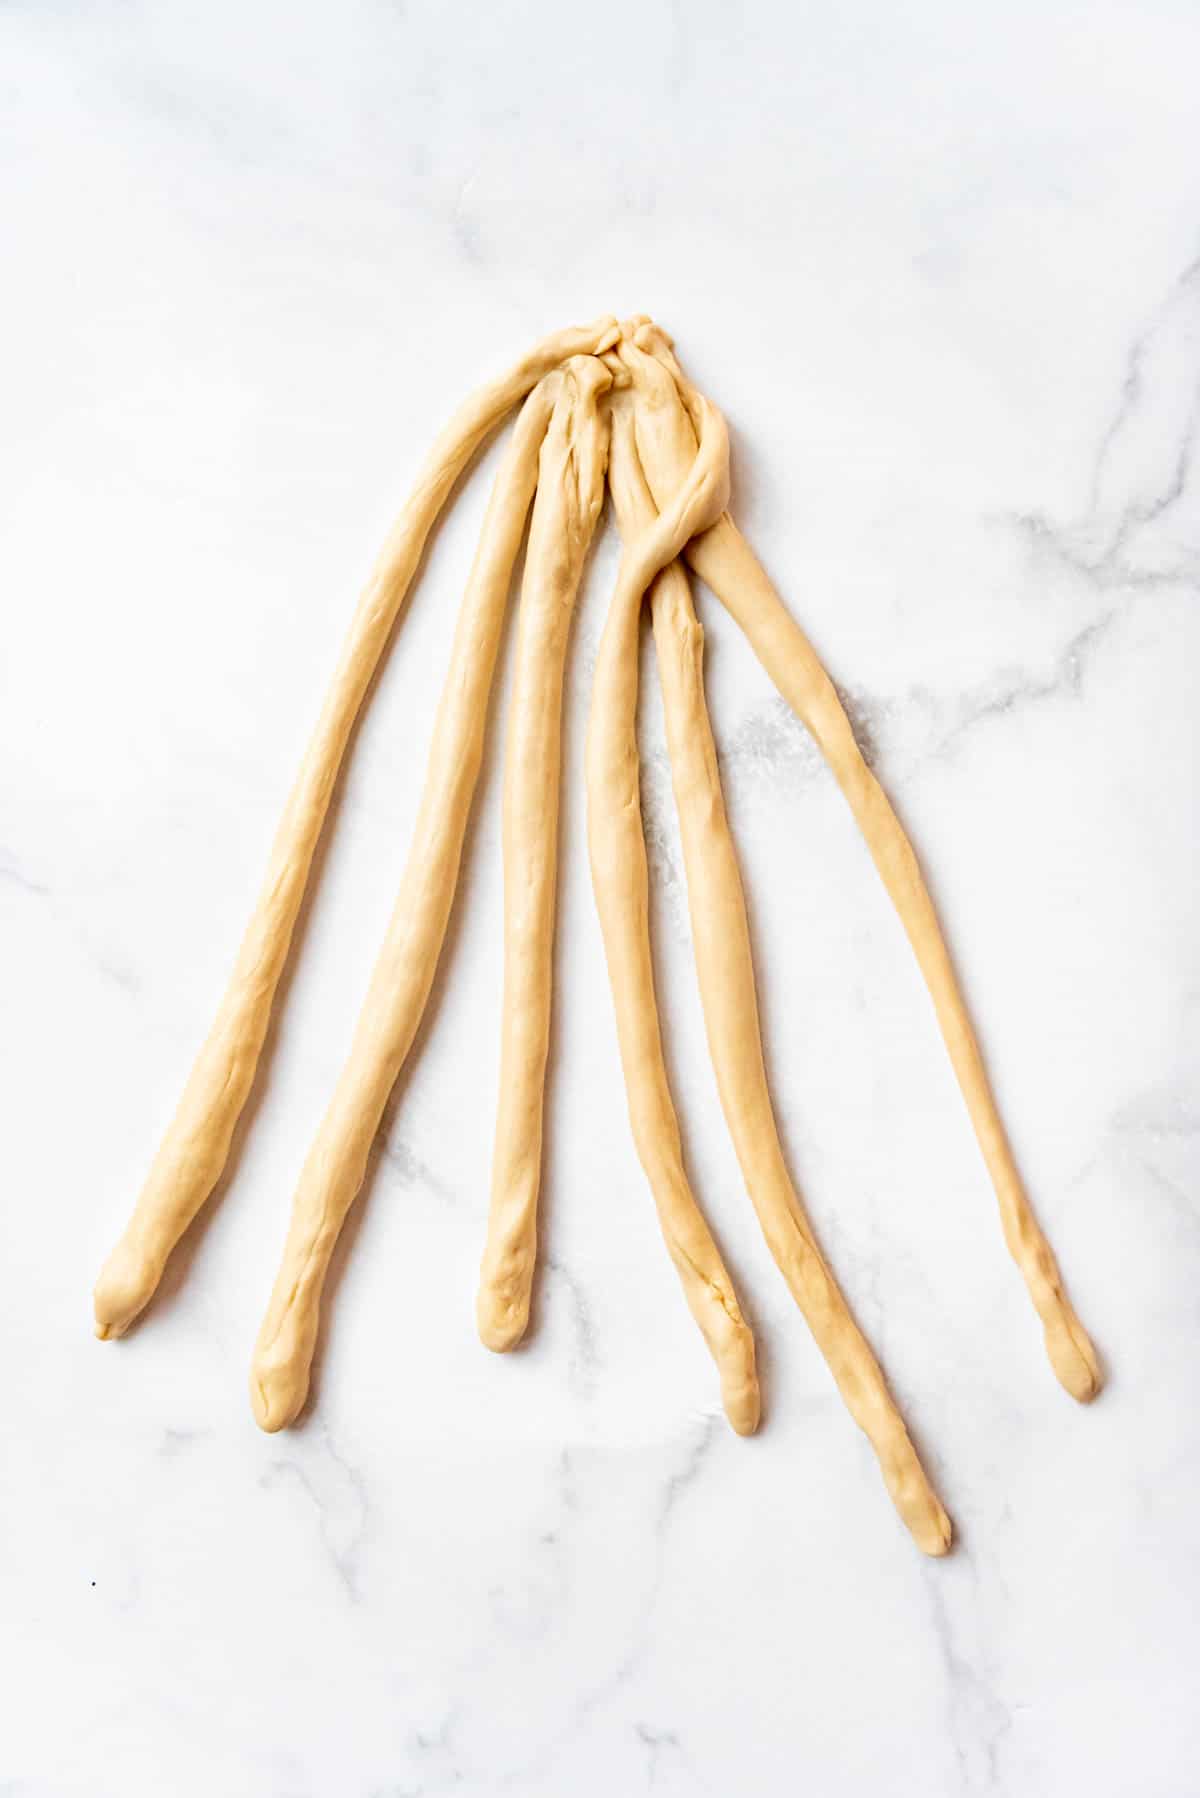
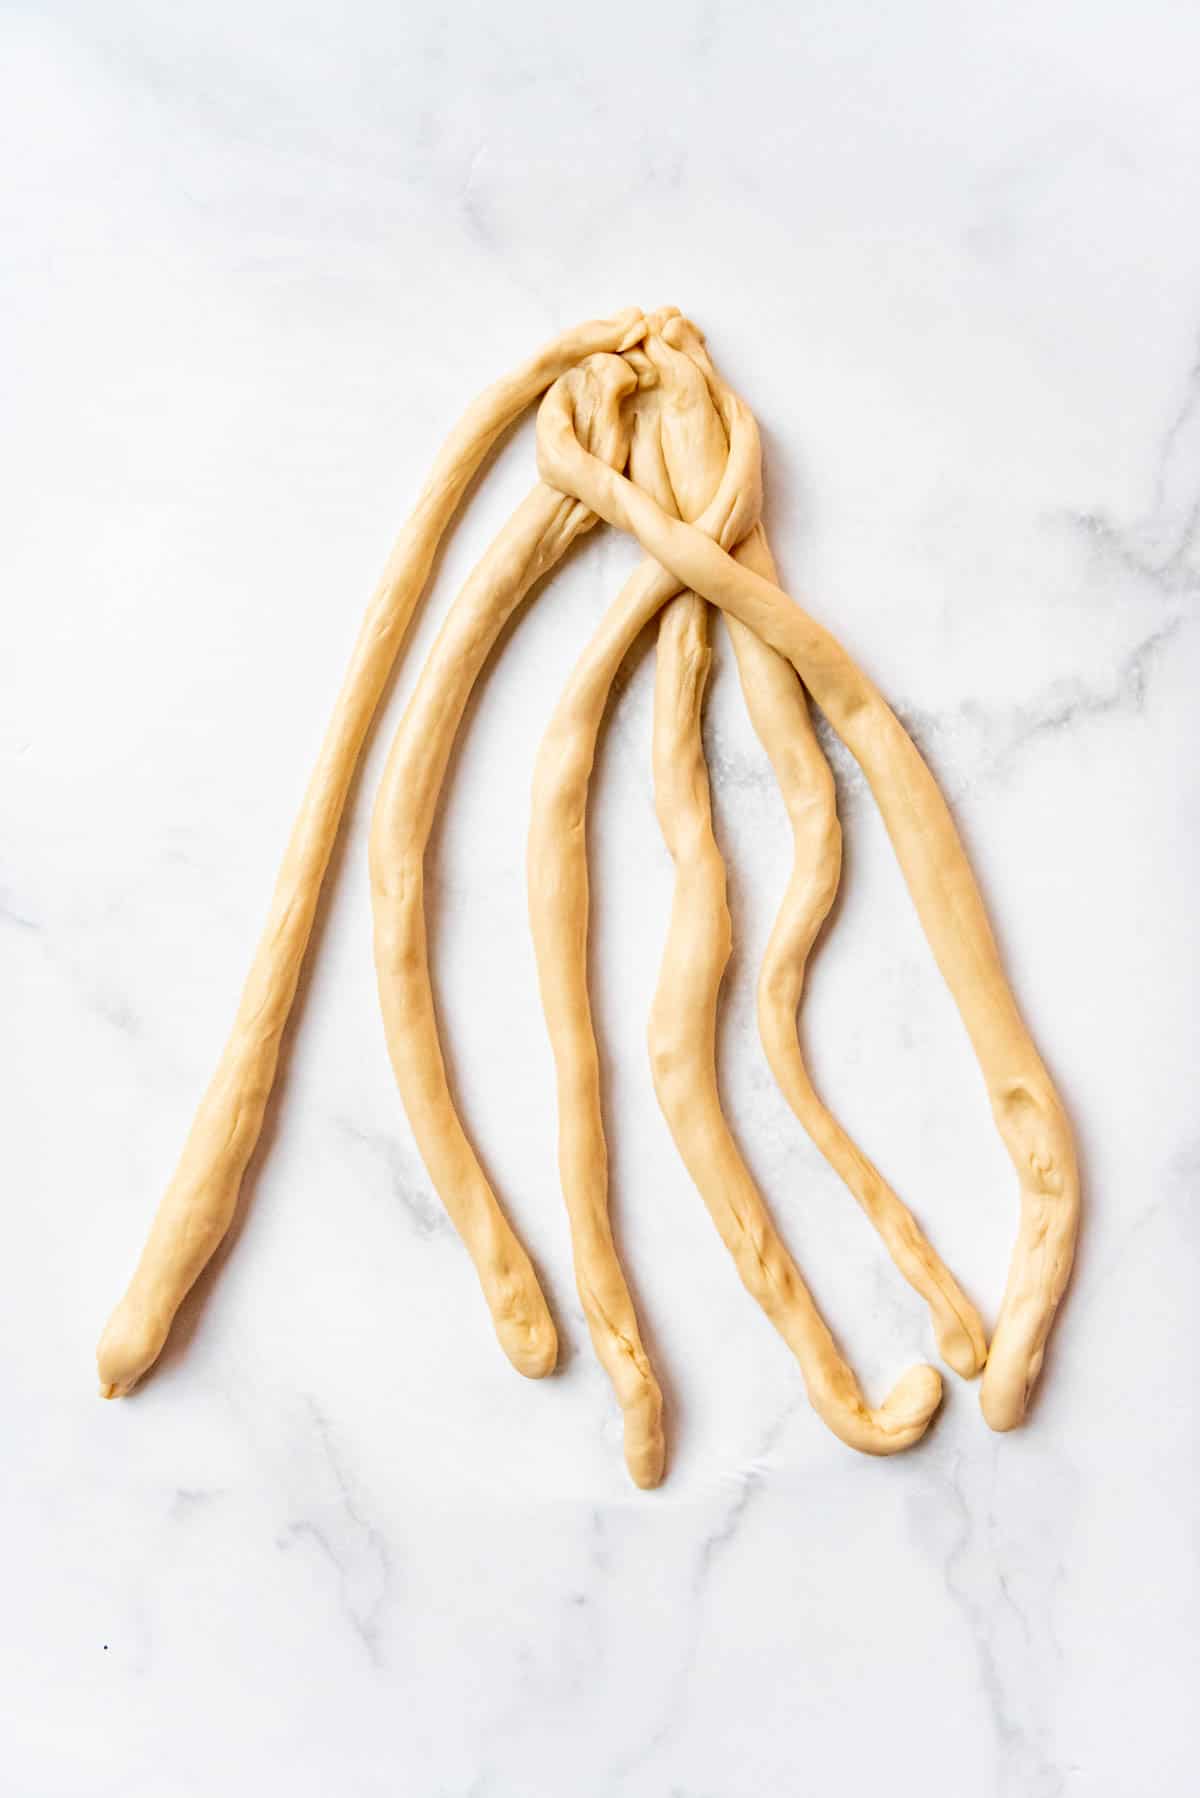
- Now move the outside LEFT strand over two strands to the right.
- Then move the 2nd strand from the right to the far left.
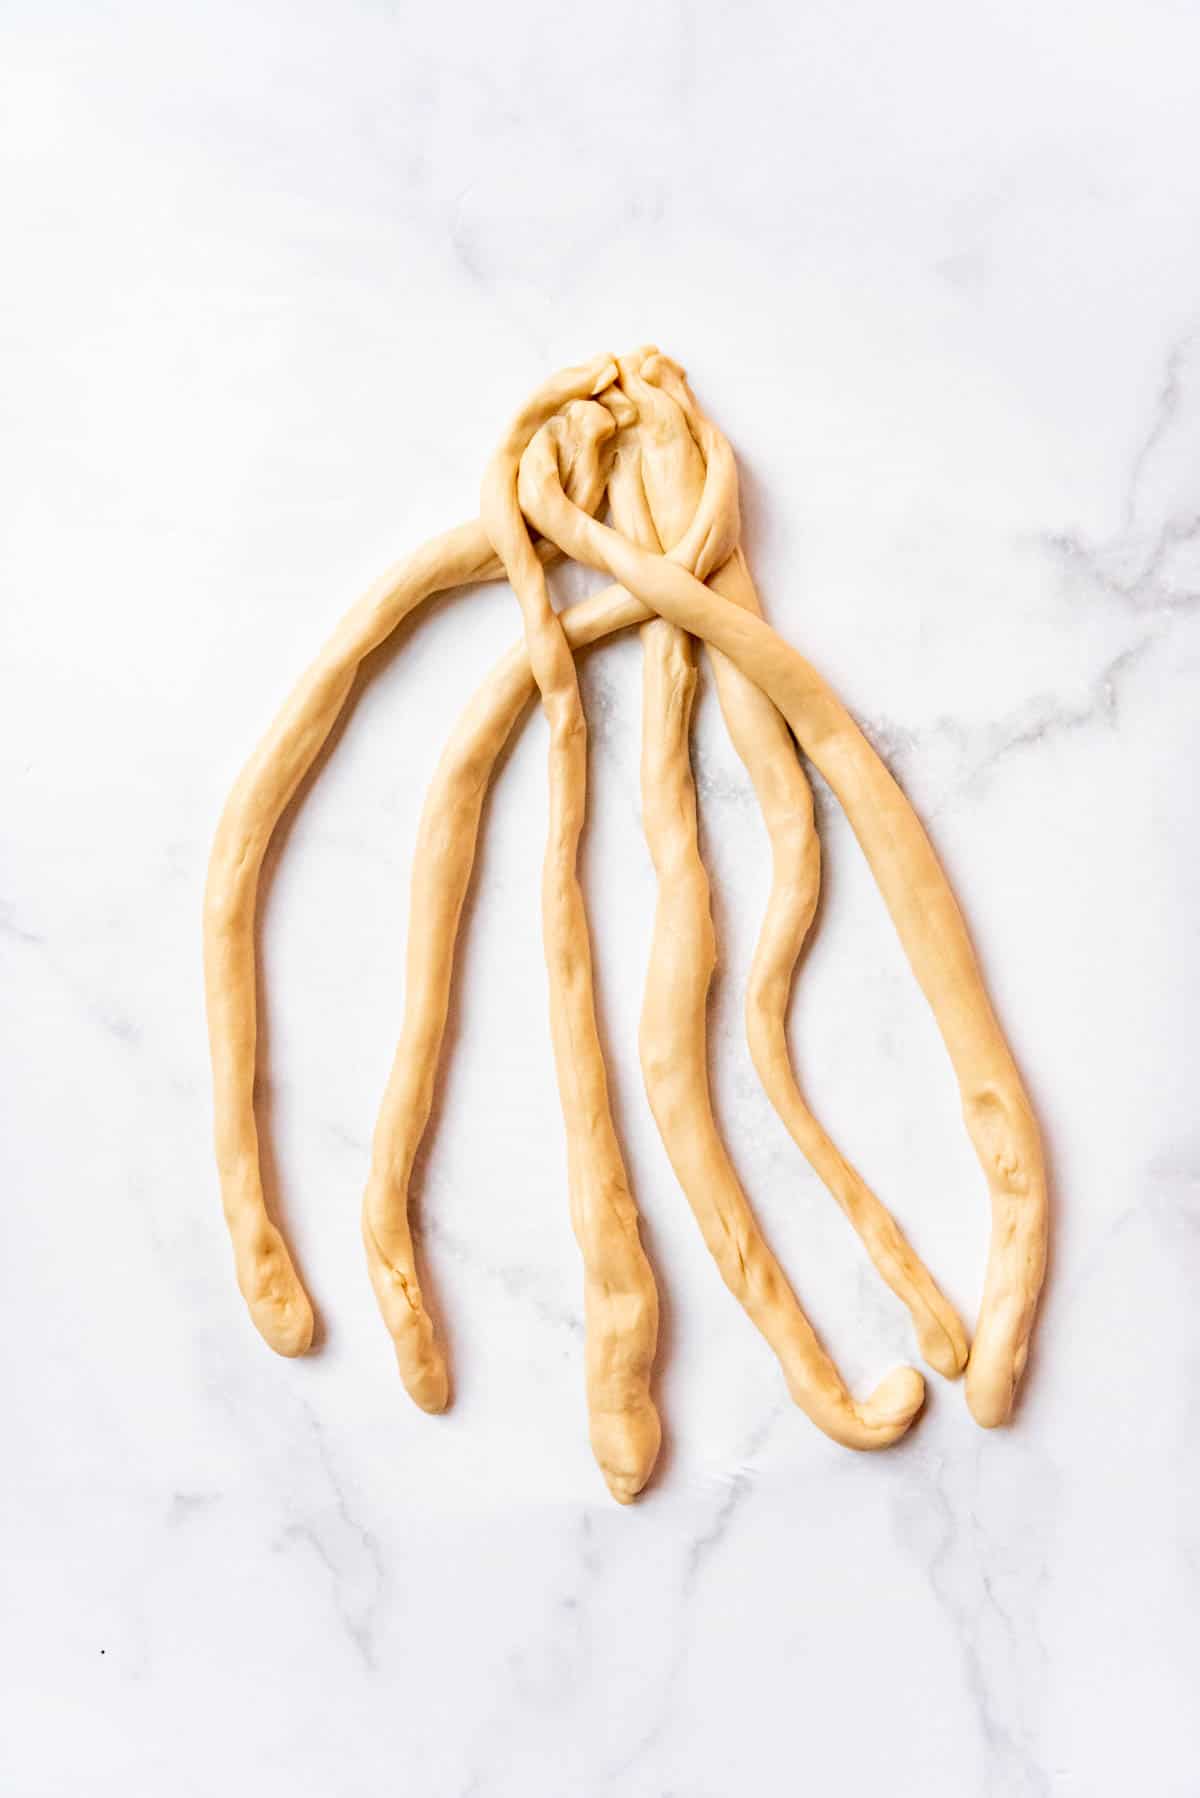
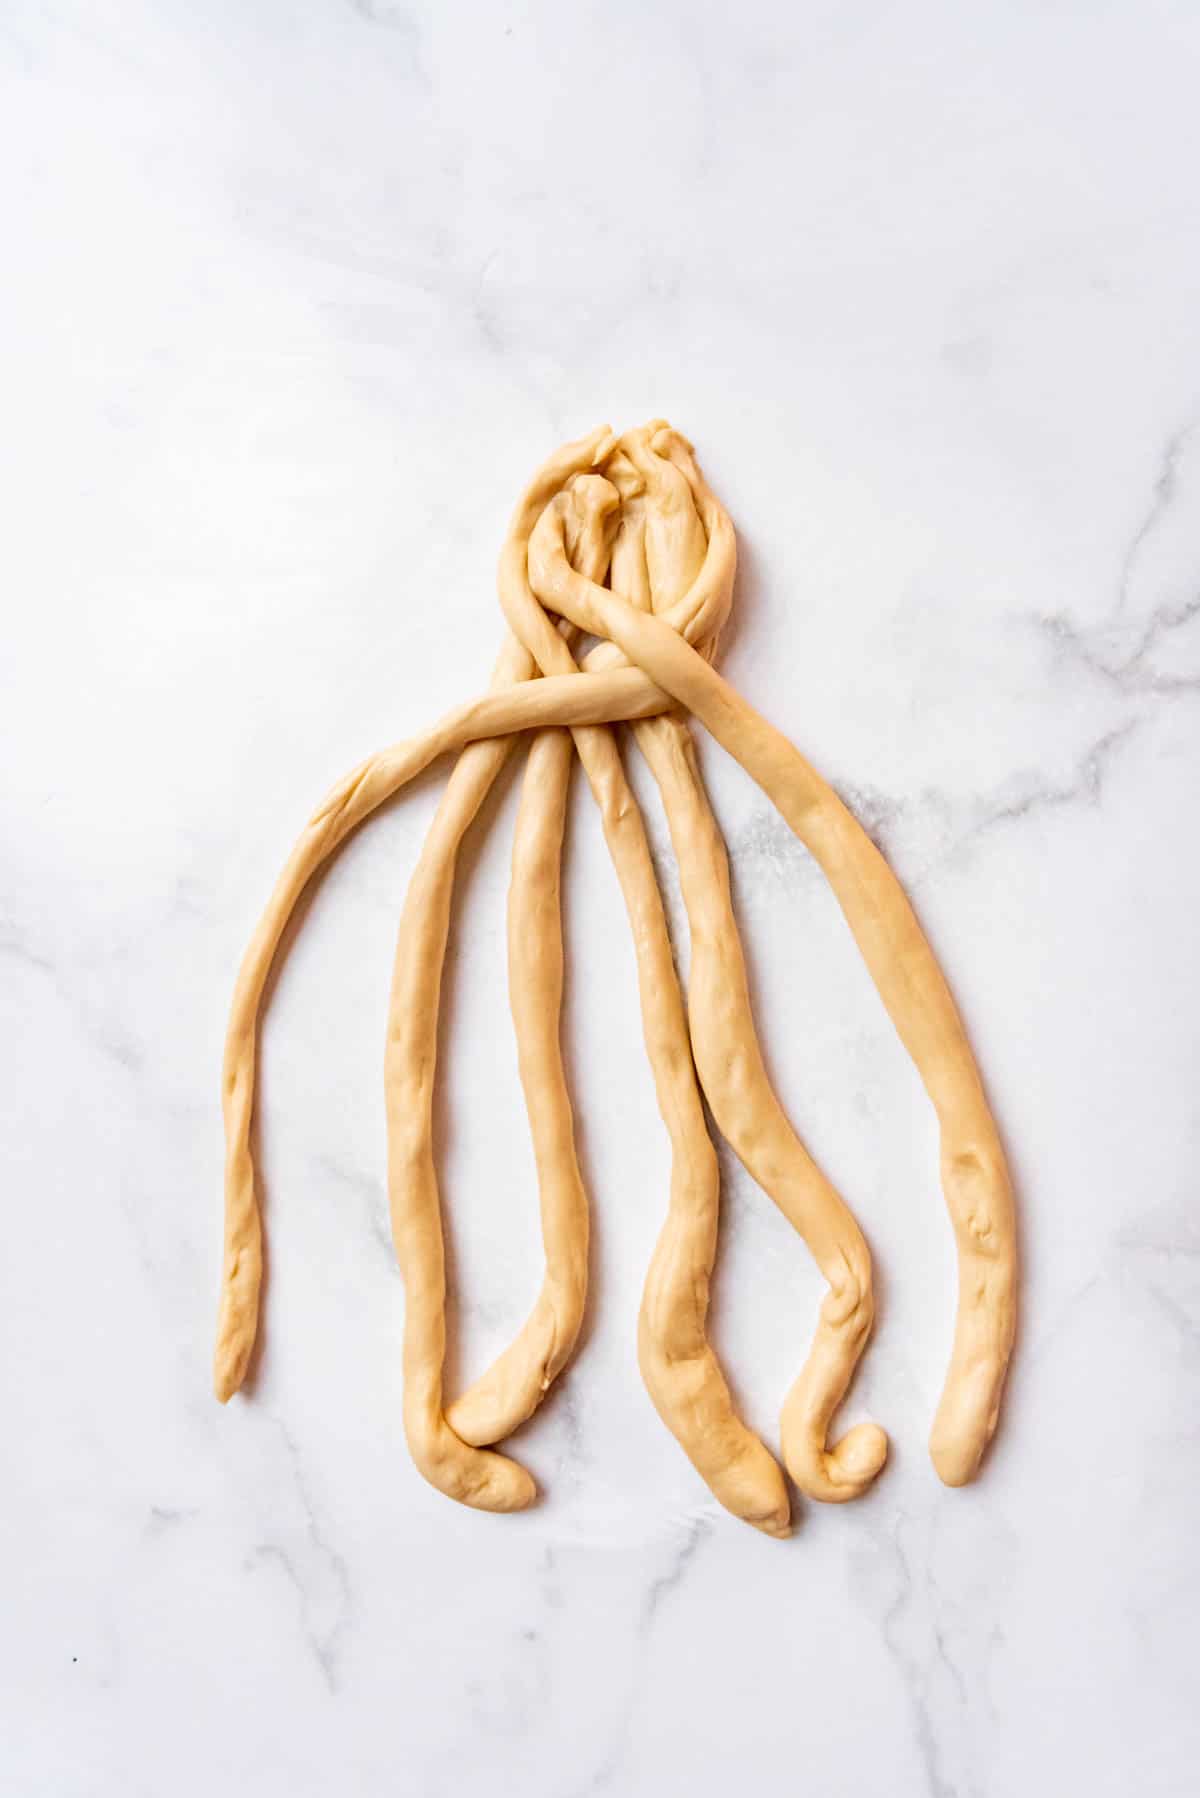
- Repeat until finished. Repeat these steps until the braid is complete.
- Pinch and tuck the ends. Pinch the ends together and tuck them underneath the loaf to secure them. Your braid is likely to be fairly long and skinny at this point, and that’s completely normal.
- Plump the loaf. Finally, to finish shaping the loaf, you need to plump it a bit into more of a loaf shape by sort of lifting and smooshing the braid in on itself a bit and wiggling it a bit to make the loaf a bit shorter, wider, and even, from the top to the bottom. The braid shouldn’t come undone – you just want to even out the shape here and there to make your loaf look nicer. This step can be done as you are transferring the braid from the floured surface where you formed it onto a parchment-lined baking sheet.
- Place on baking sheet. Transfer the the braided loaves to a parchment-lined baking sheet pan, with at least 2 inches in between the braids so they don’t meld together as they rise.
Round Braided Challah Bread
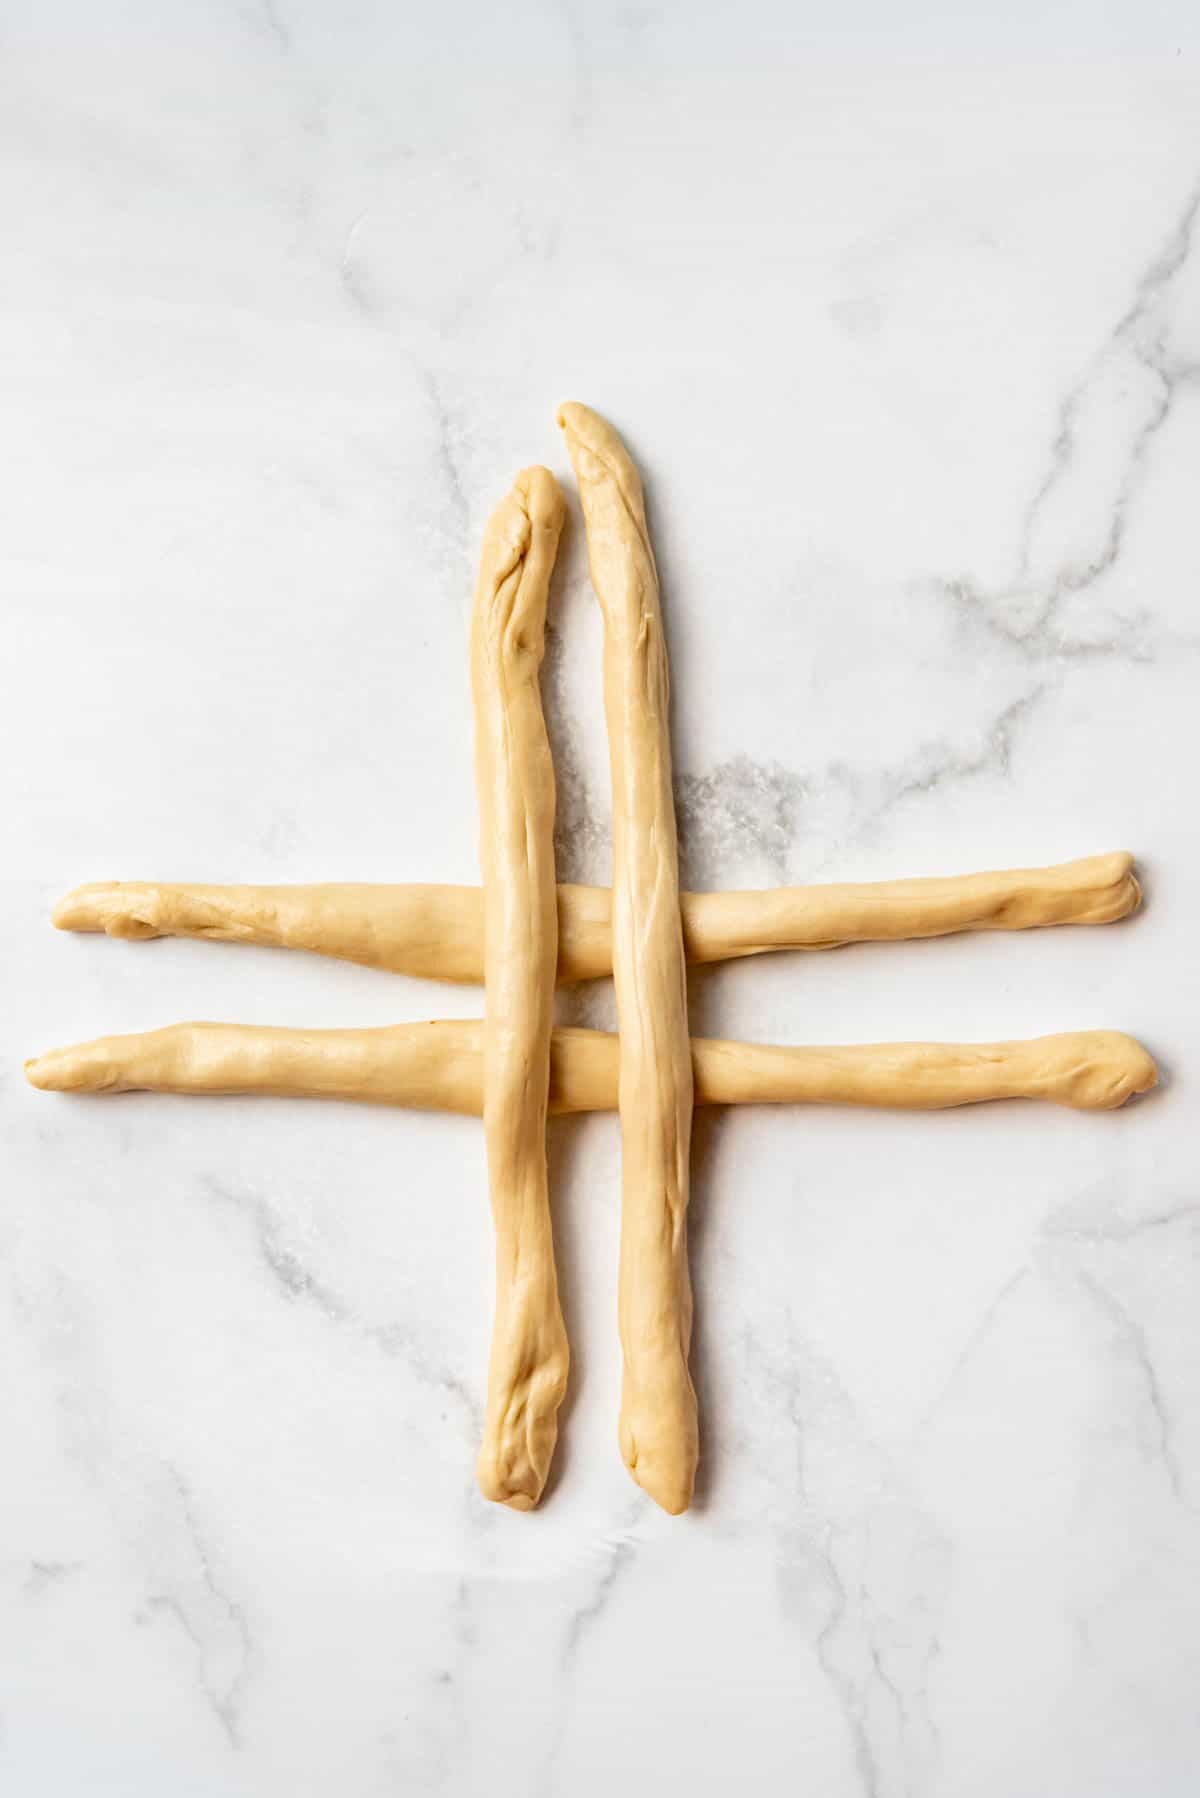
- Divide half of the dough recipe into 4 even balls and roll them into ropes. Lay two horizontally, about an inch apart, with the other two laid perpendicularly across the top.
- Lift the top horizontal strand and place it over the right vertical strand. Lift the bottom horizontal strand and place it over the left vertical strand, as demonstrated in the pictures below.
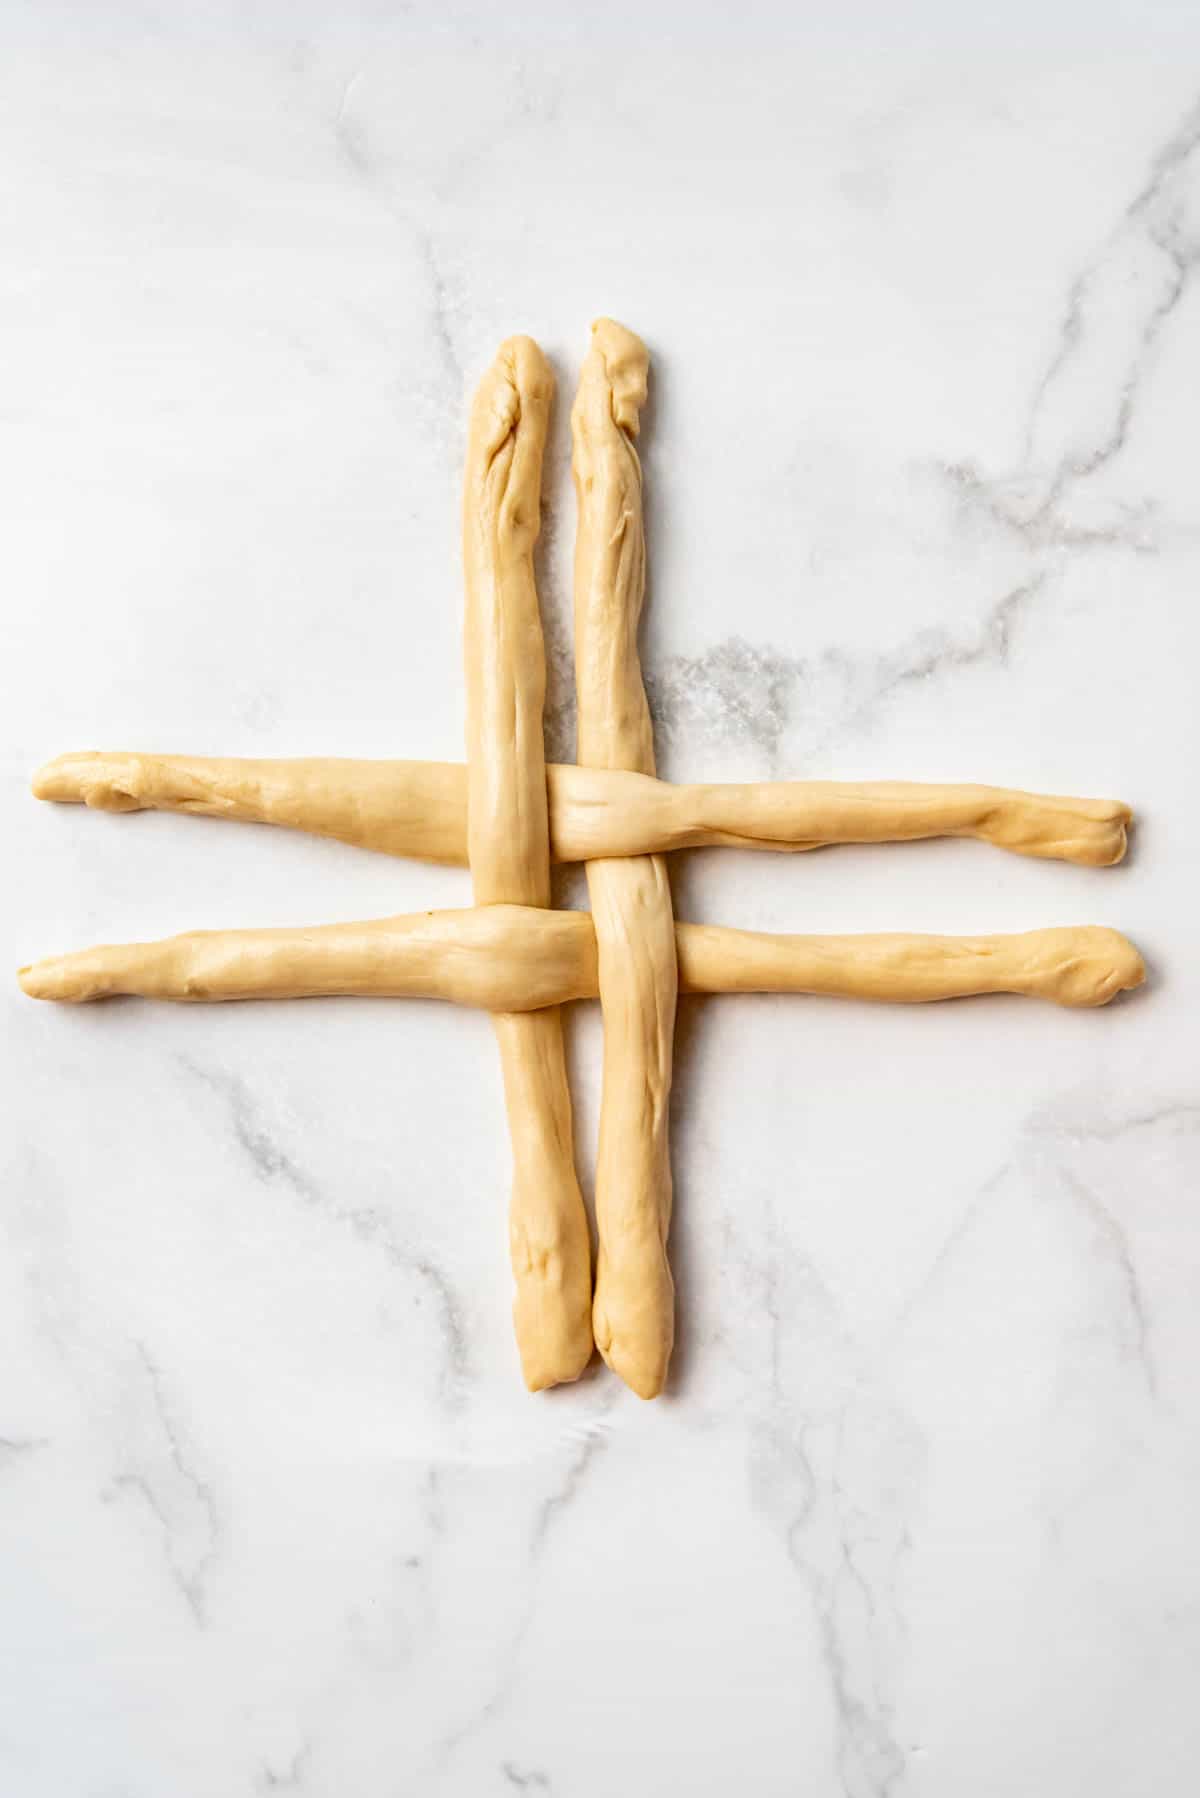
- Next, take the right strand of each set of two strands that are close together and cross it over the left strand.
- Then take the bottom left strands and cross them over the neighboring strands, creating a new set of two strands, like in the images below.
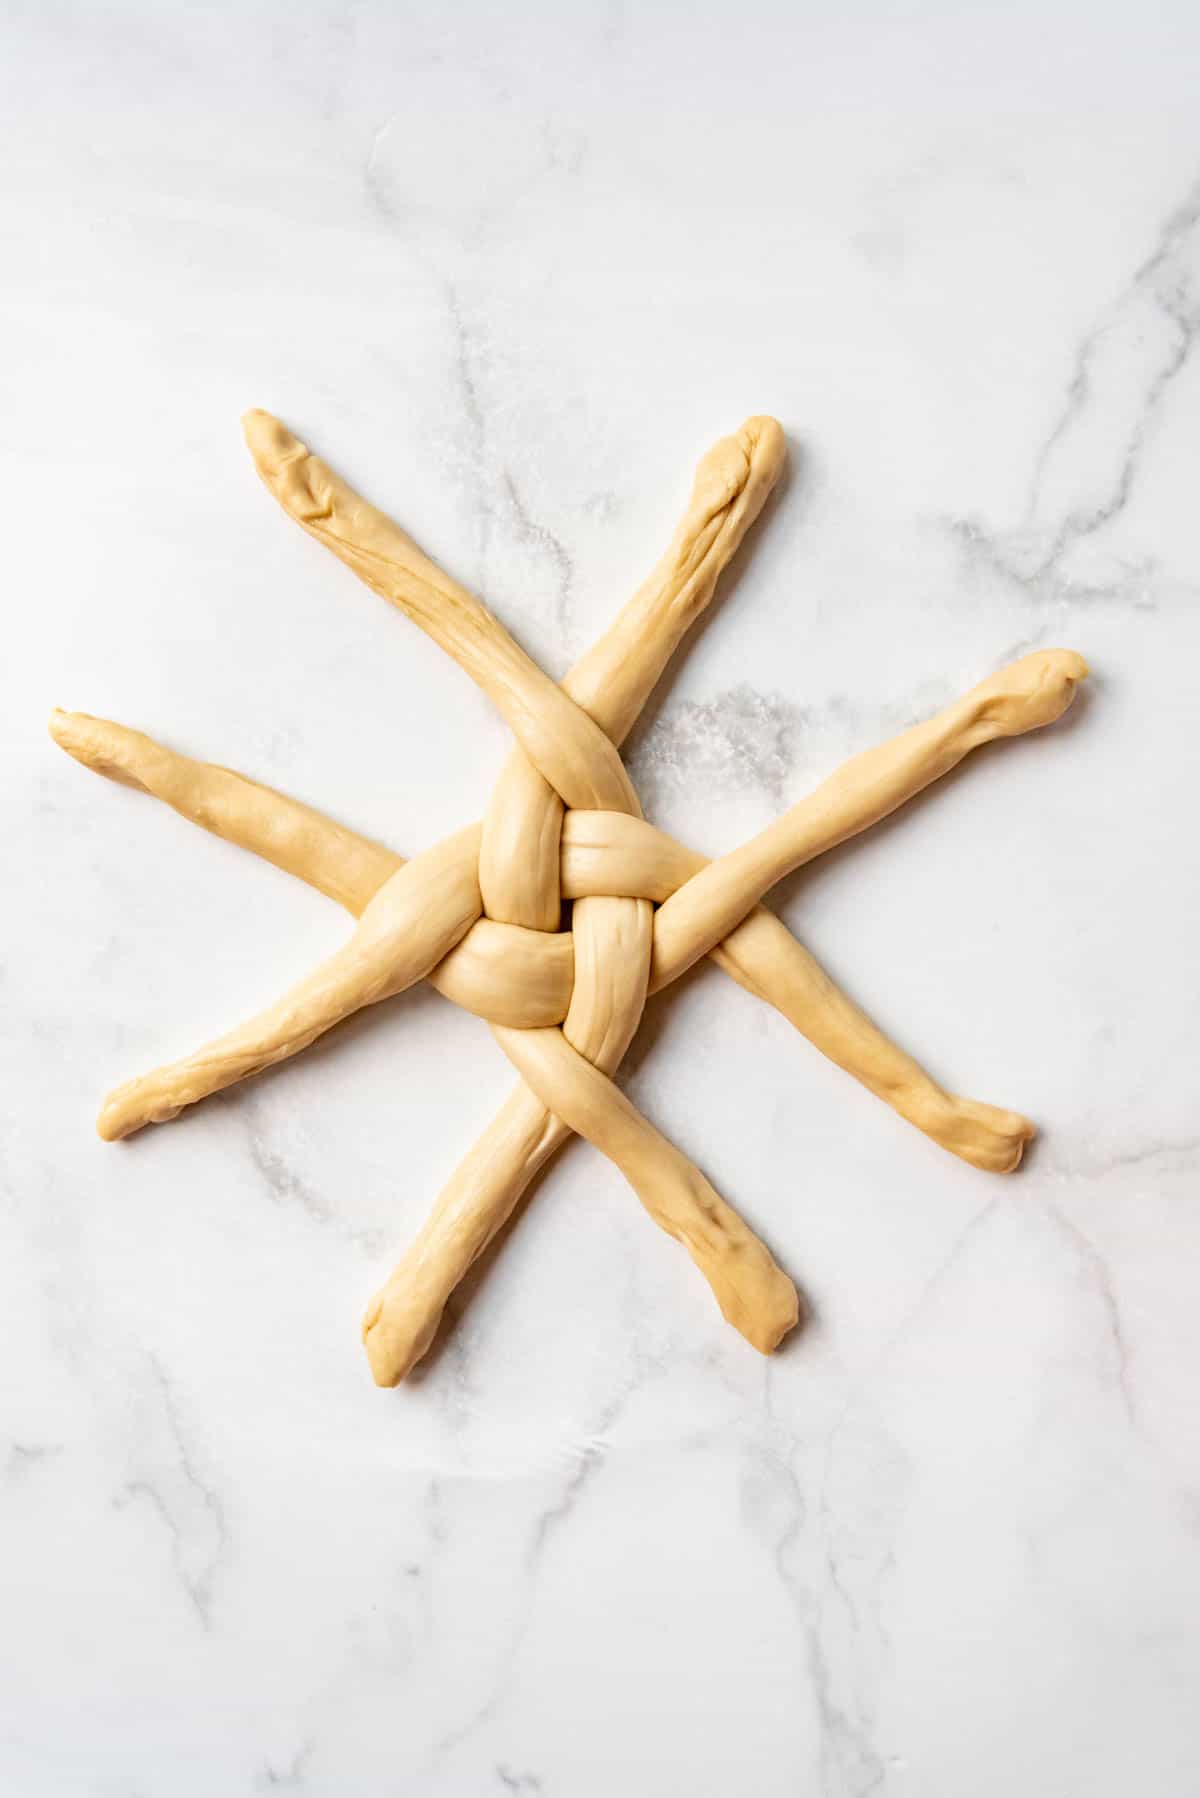
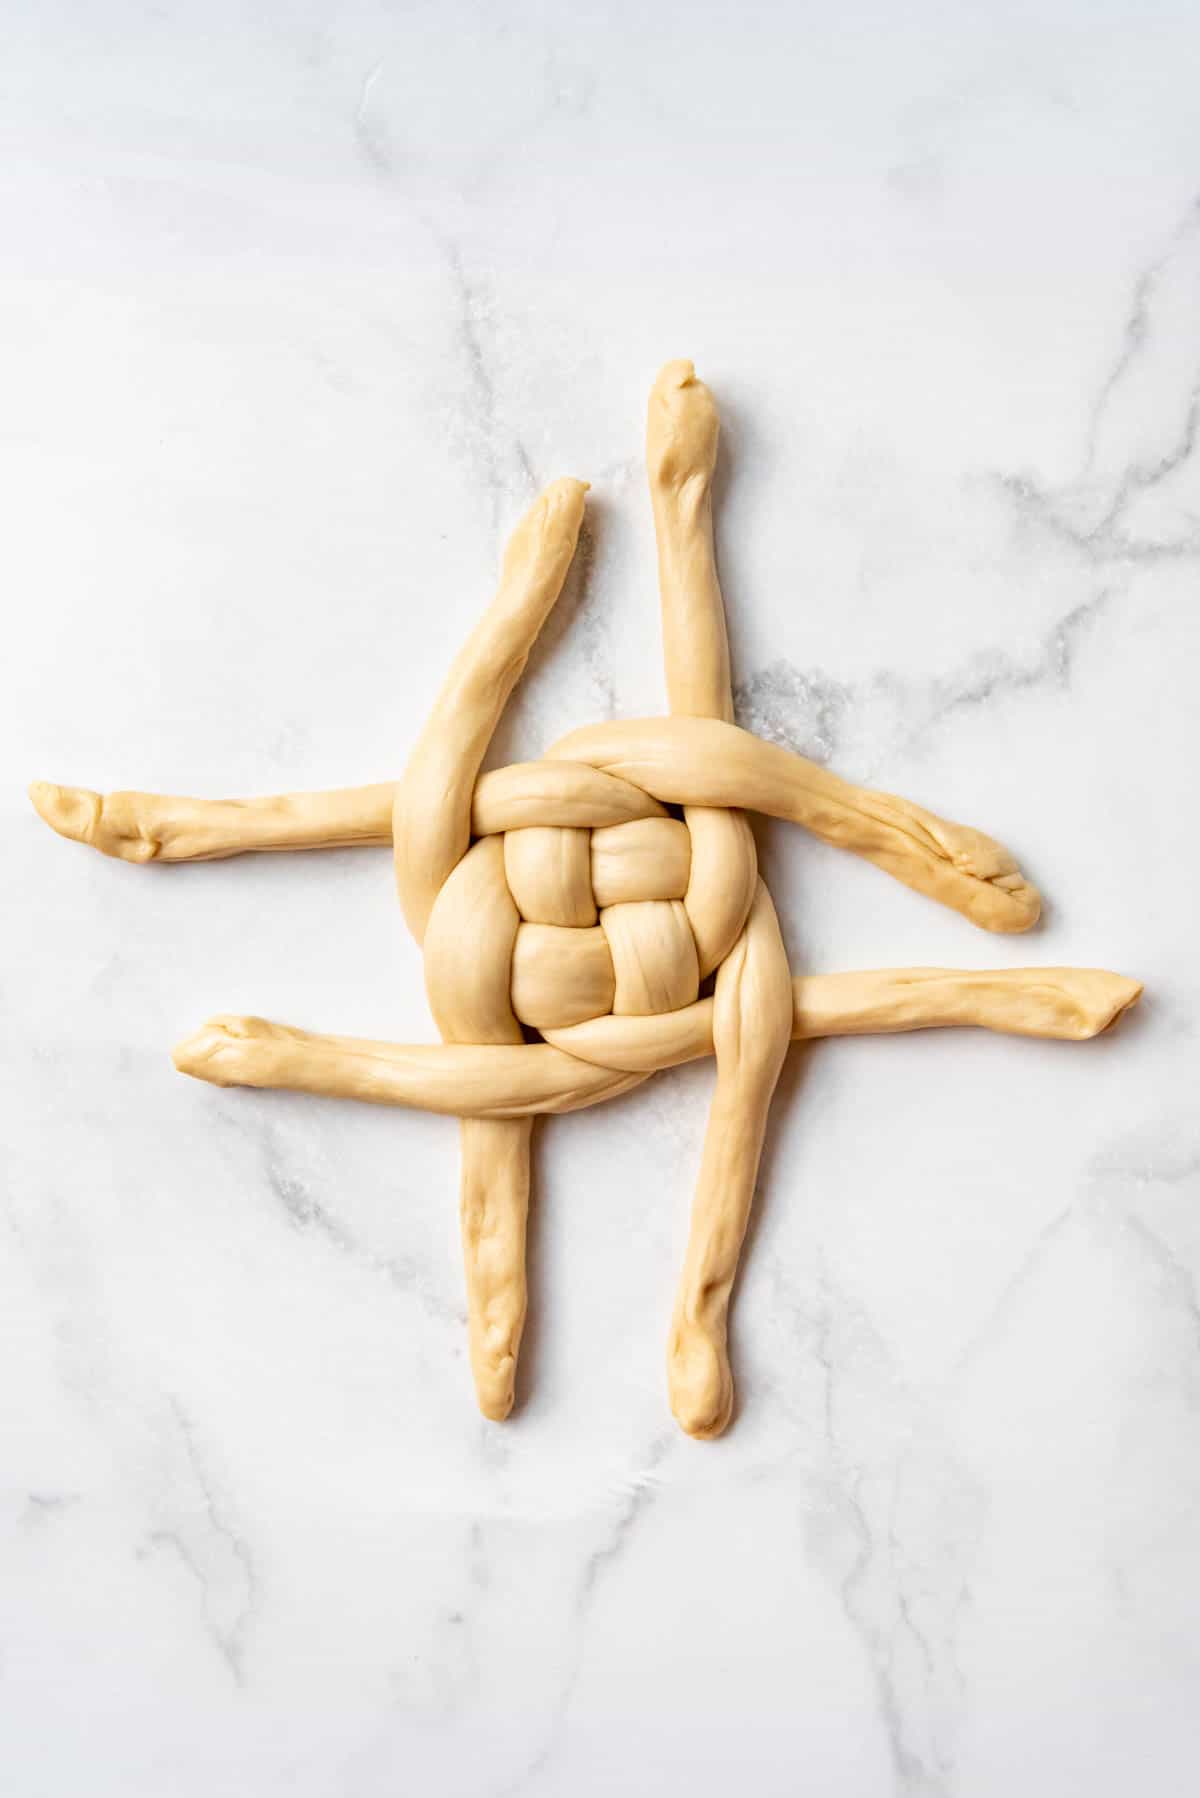
- Continue the process of crossing the right pair of the strand over the left, then the left strand over the neighboring pair until a round loaf takes shape.
- Tuck any loose pieces under the loaf, then transfer to a baking sheet lined with parchment paper.
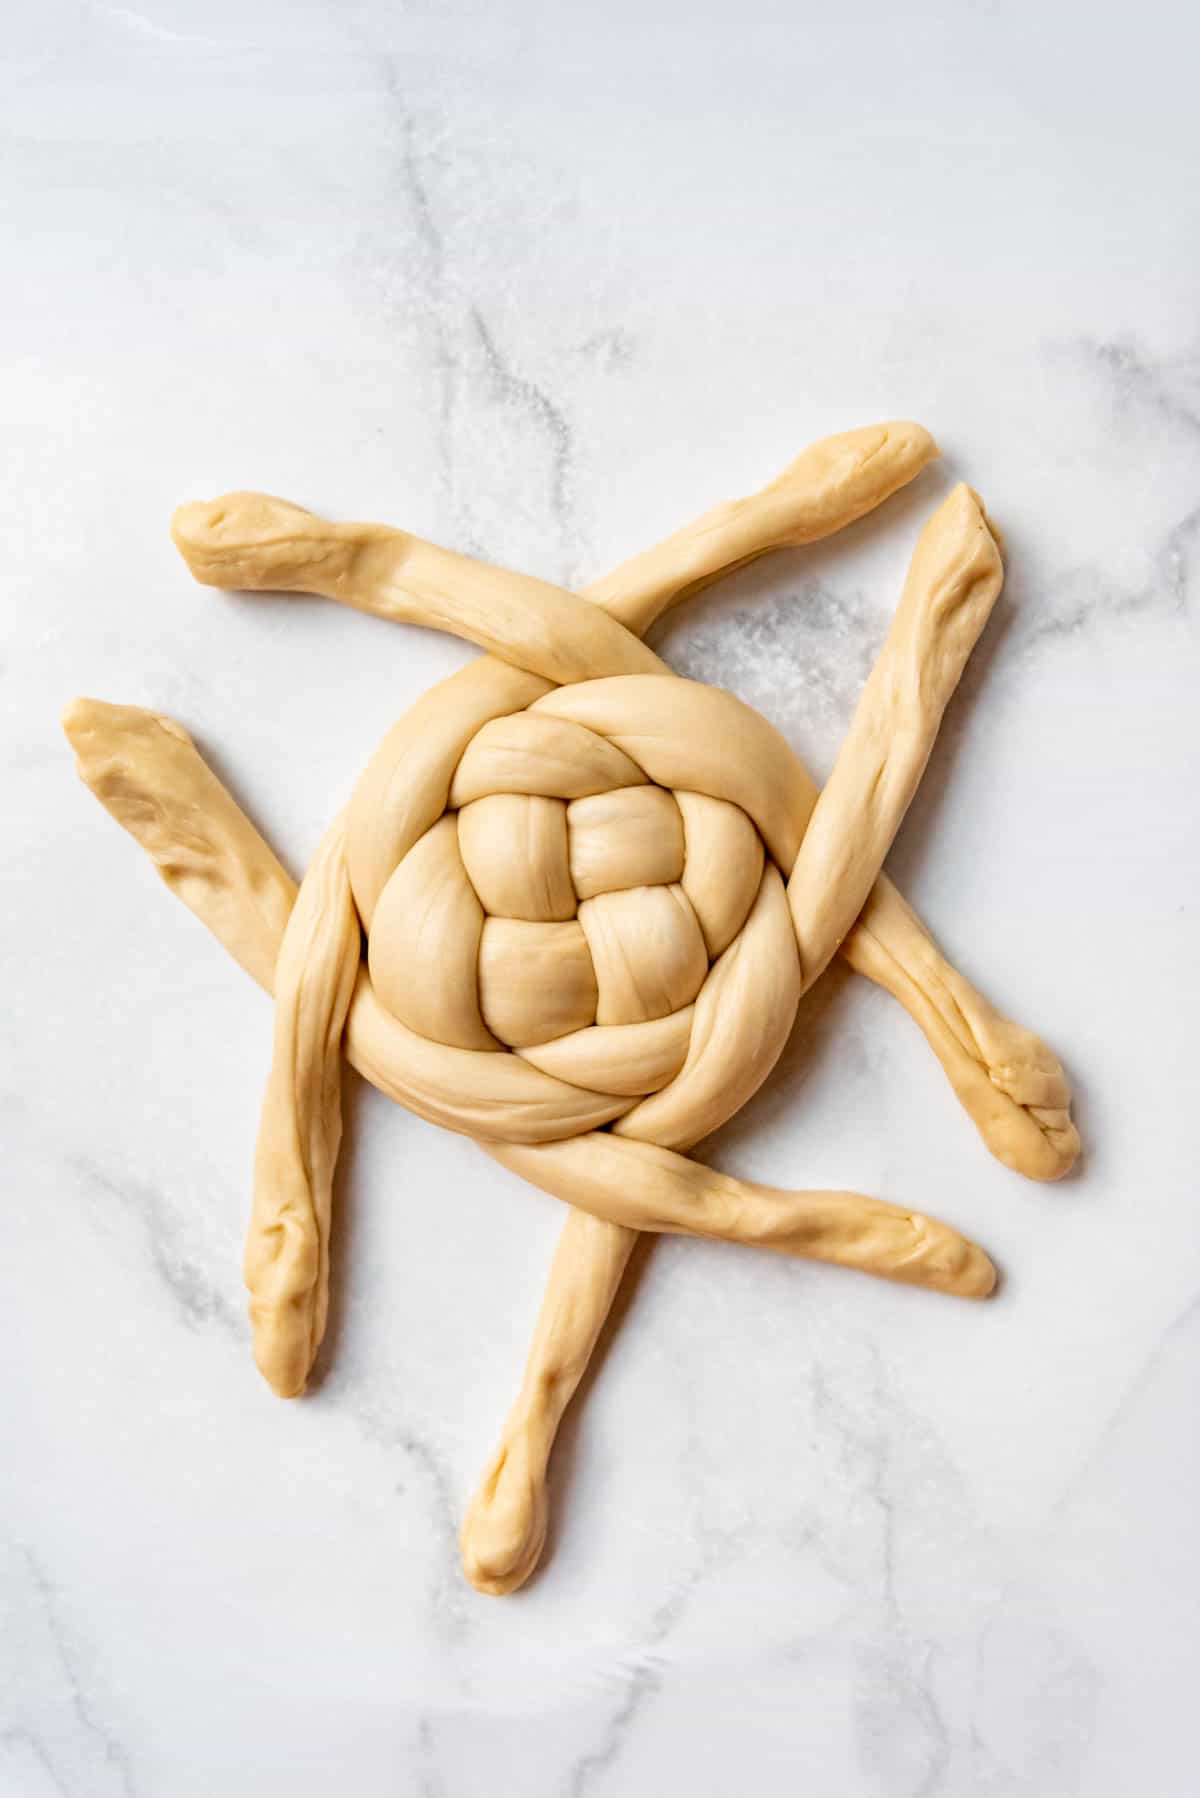
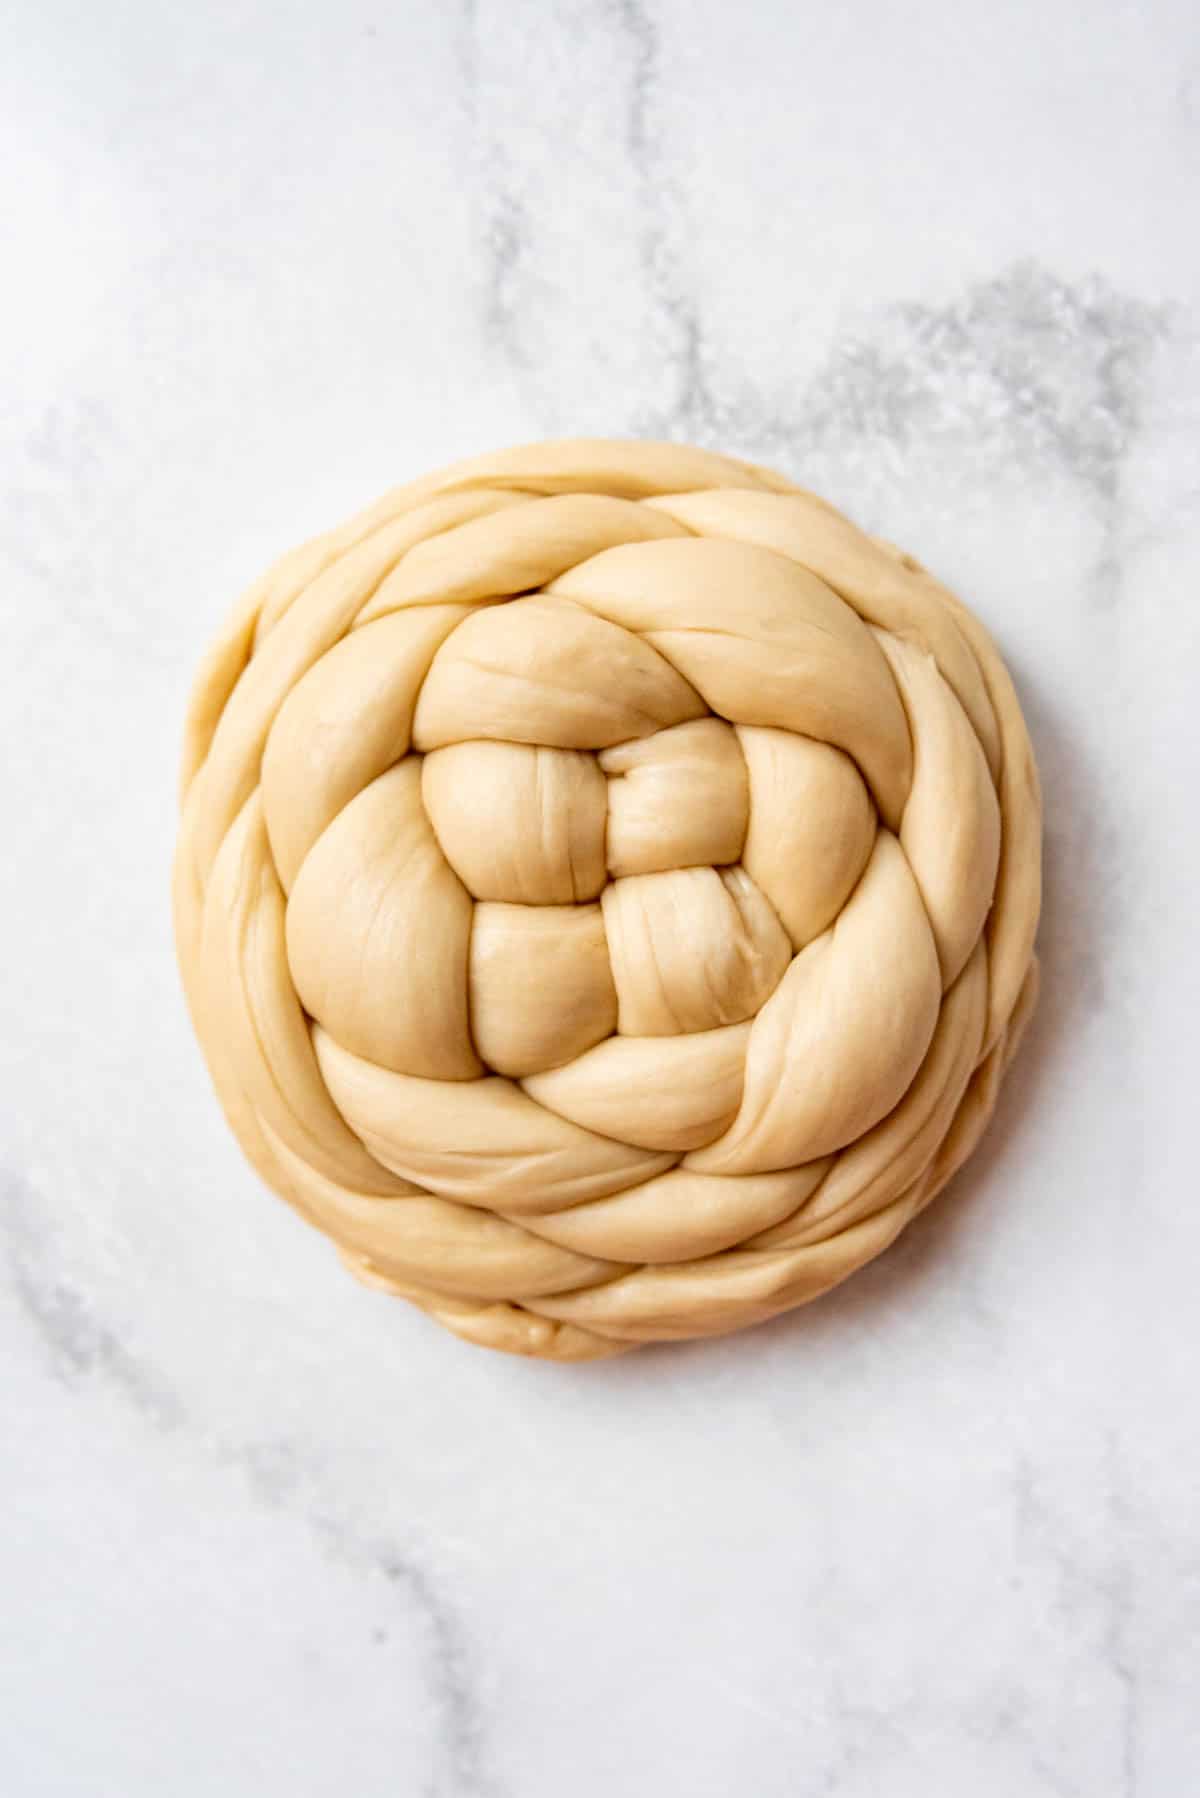
Now go on and give that six-strand or round braided challah a try! Get the full recipe below and I guarantee it will be the best challah bread you have ever tried!
More Braids
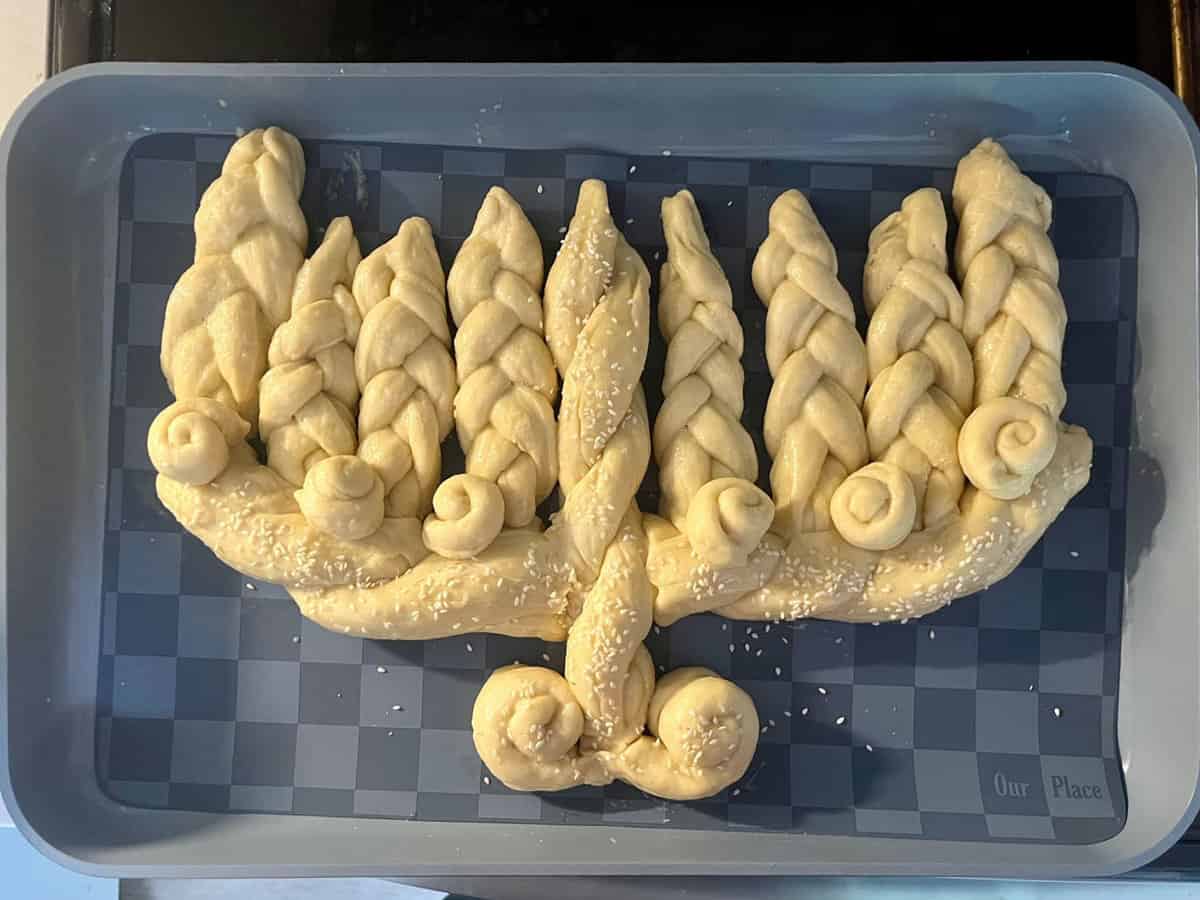
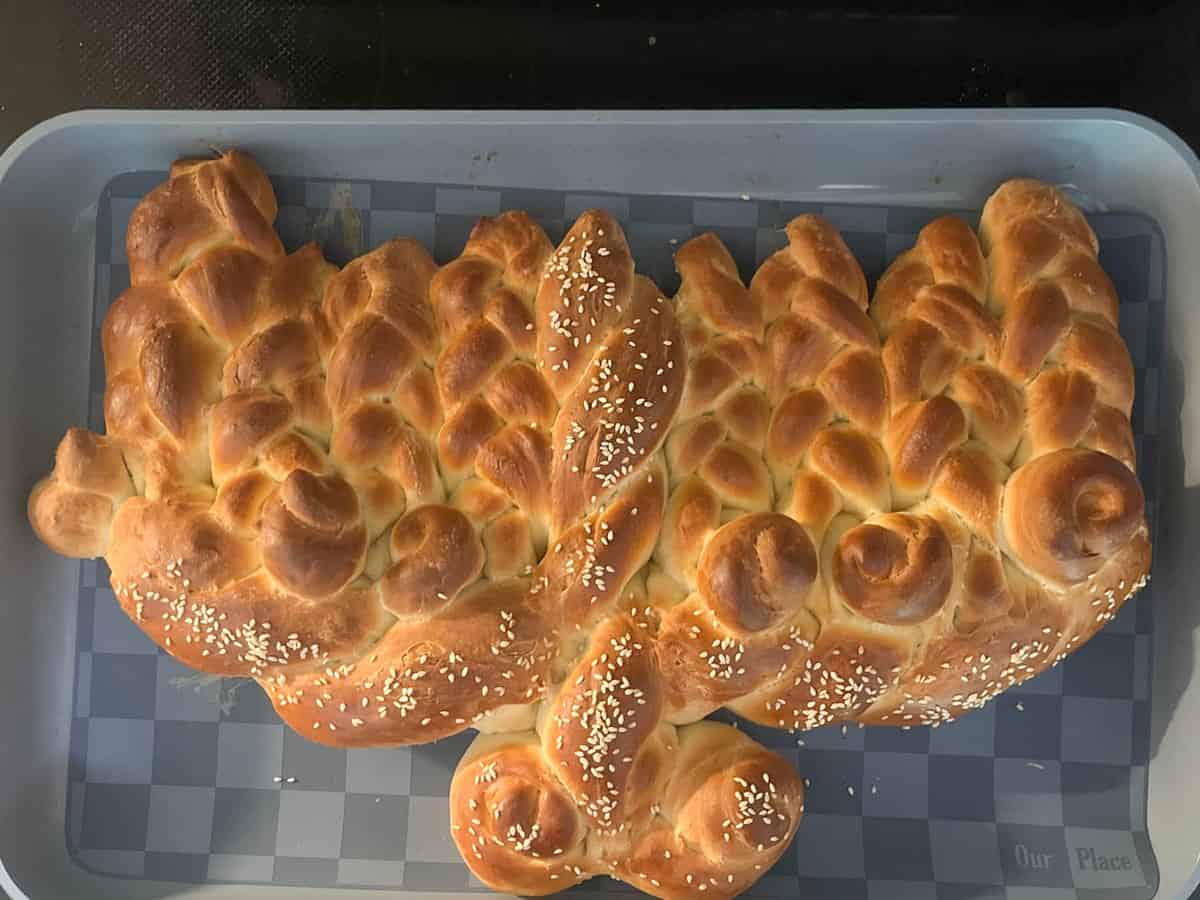
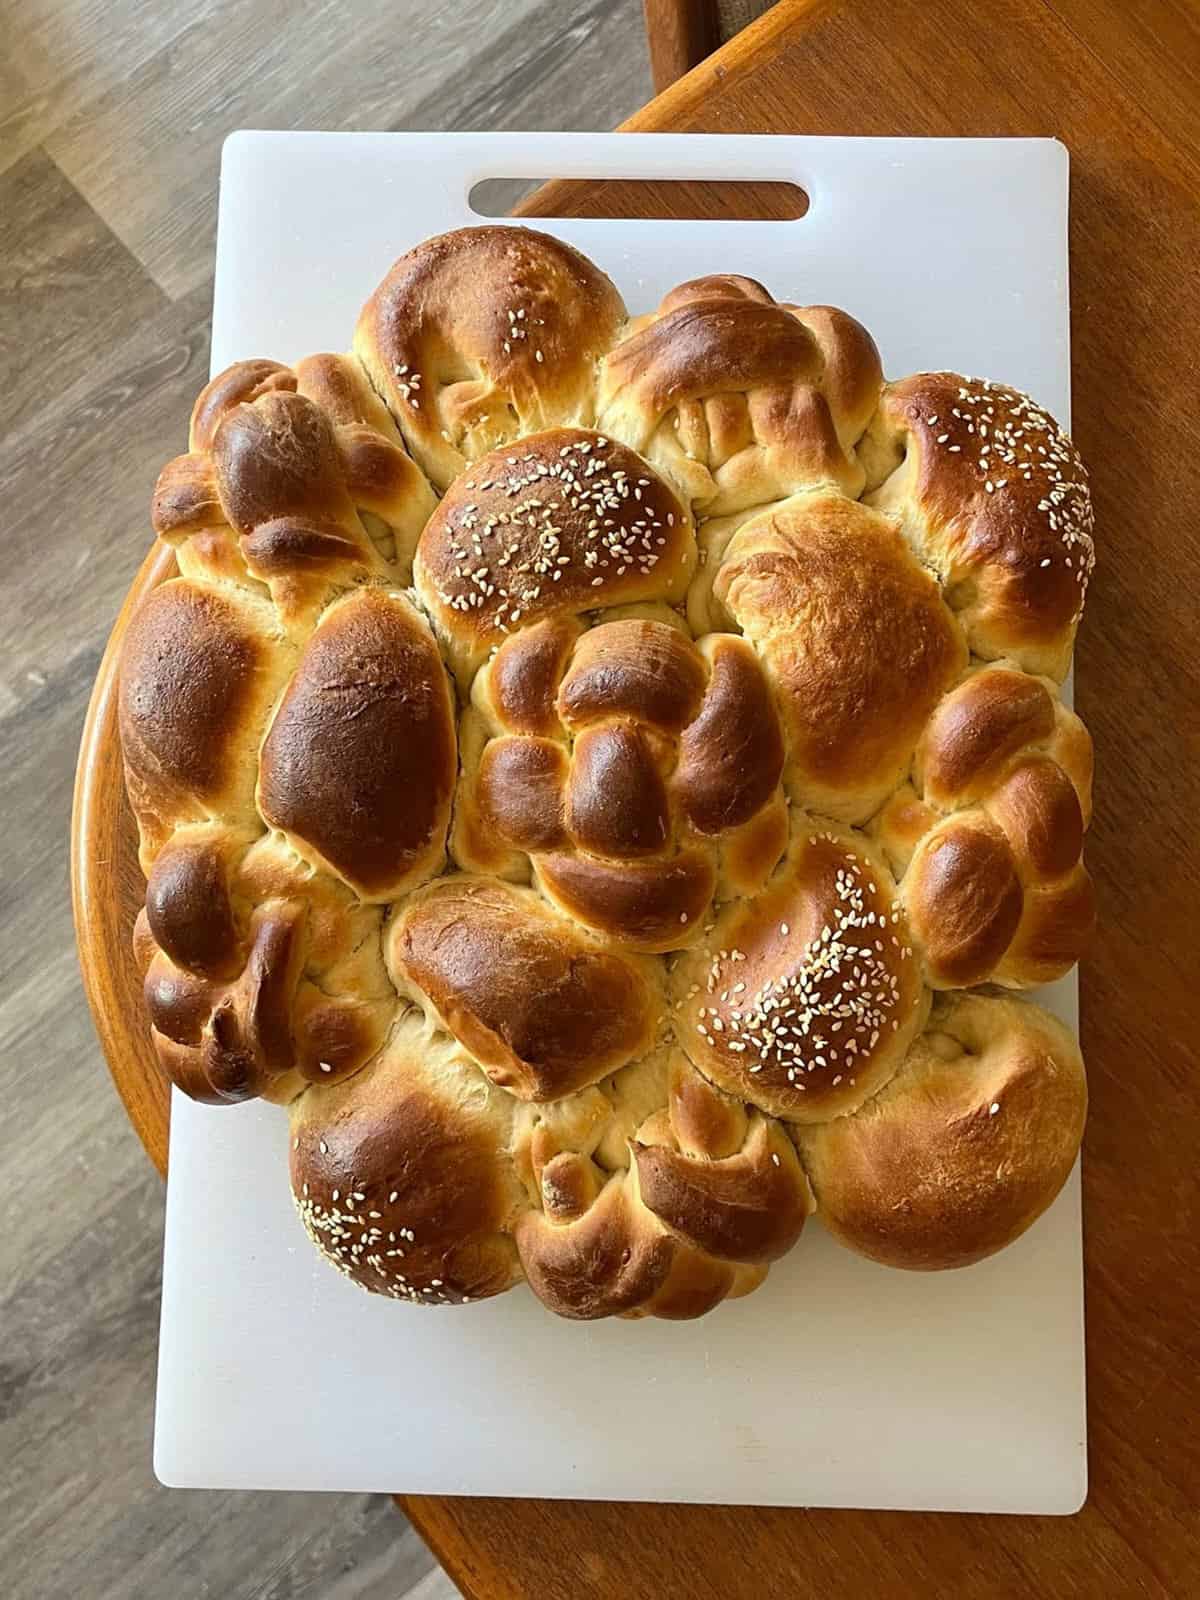
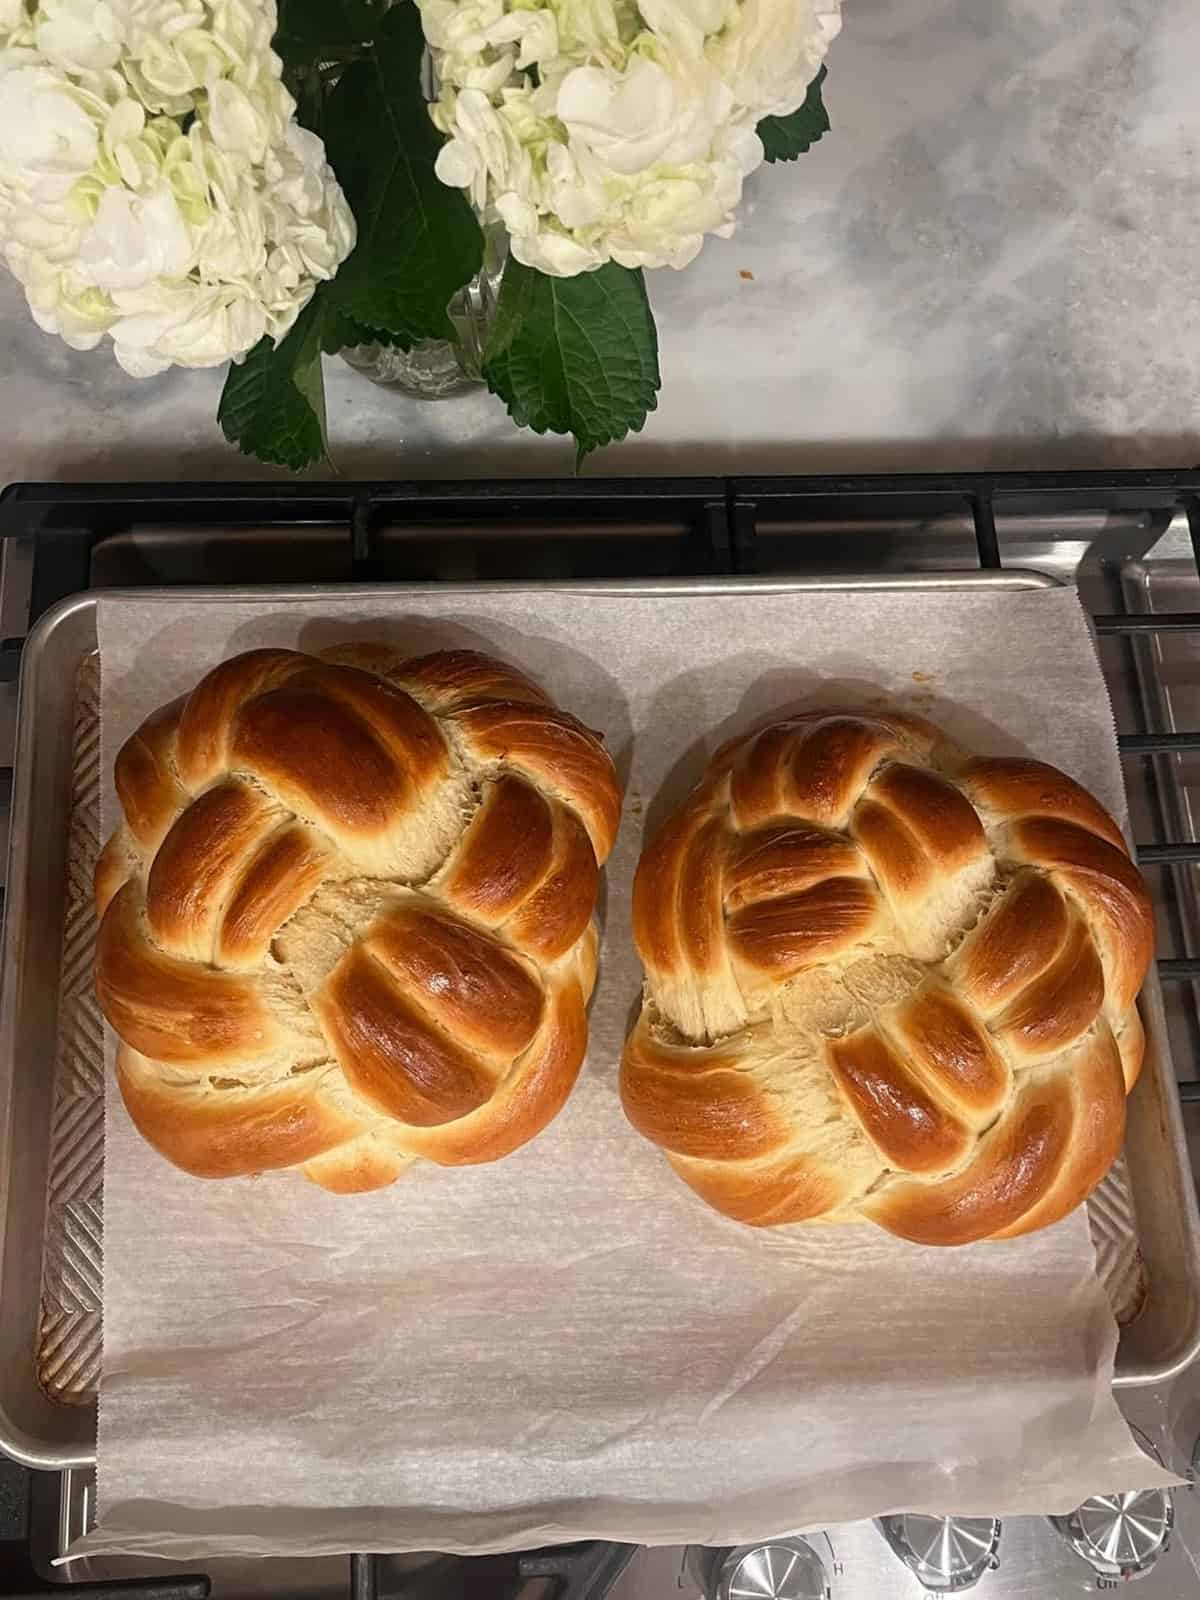
This is one of my most popular, well-loved recipes and sometimes I receive images from readers who made this. I wanted to share some of the beautiful challah bread loaves they have sent using this recipe!
Best Challah Bread Recipe FAQ
Challah and brioche bread are similar, but differ from each other in important ways. Both are ever so slightly sweet and enriched with eggs and fat, making them richer than other breads.
But challah uses more eggs and less fat than brioche bread. Also, the fat used in challah is oil, whereas brioche bread calls for butter.
Challah bread has a rich, eggy taste that is similar to brioche. The flavor of this challah bread recipe is slightly sweet thanks to just the right amount of sugar in the dough.
Challah bread is a traditional Jewish braided bread that is made every Friday before Shabbat, the Jewish Sabbath, in many households. It is also a part of many Jewish holidays, including Rosh Hashanah when it is braided into a round challah loaf to symbolize the close of the previous year and the start of the new one.
You don’t need any special bread flour to make the perfect challah loaf. Some recipes call for bread flour, but I juts use all-purpose flour and it works perfectly every time!
Challah is different from regular white sandwich bread, french bread, or a baguette in that it is a type of enriched bread with added fat in the form of oil and eggs. It’s very similar to a brioche dough, except that challah is made with oil instead of butter.
Challah Bread Tips
- Let it rise. Twice. Set the dough in a warm place to rise in order to get the deliciously fluffy centers. It will need to properly double in size and this can take about 1½ – 2 hours. After braiding the bread it will need to rise for a second time, for about 30 to 45 minutes. Letting it rise twice gives it that signature fluffy texture.
- Stand mixer. You can use a stand mixer that has a large bowl, with a dough hook attachment on low speed to knead the dough if you like. My standard-size KitchenAid mixer can’t quite handle this much dough so I pretty much always finish kneading by hand. Simply place dough on a lightly floured surface and knead until smooth.
- Parchment paper. Make sure to line your baking sheet with parchment paper, otherwise, the bread will stick to the pan. Alternatively, use a silicone mat.
Rosh Hashanah Challah Bread
For the Jewish New Year, Rosh Hashanah, challah bread is traditionally made into a spiral, symbolizing the cyclical nature of the year. To make a spiral shape, either use my rounded braided challah bread approach or you can roll the dough into a 36″ long rope, and coil it round completely on the baking tray, or use a round cake tin to better keep its shape. Leave it for the second rise time, then add eggwash and bake as directed in the original recipe.
How to store this Challah Bread Recipe
Like many bread recipes, this challah bread is best when fresh, within the first day or two, although it will still be good for up to about a week if you are planning to use it for French toast. Store it on the counter wrapped in plastic wrap or in an airtight ziplock or bread bag.
Challah bread also freezes beautifully. You can freeze challah bread for up to 1 month if it is wrapped tightly in plastic wrap and then placed in a freezer-safe ziplock bag or wrapped again in foil for protection from freezer burn. Just let it thaw at room temperature for a few hours before slicing it.
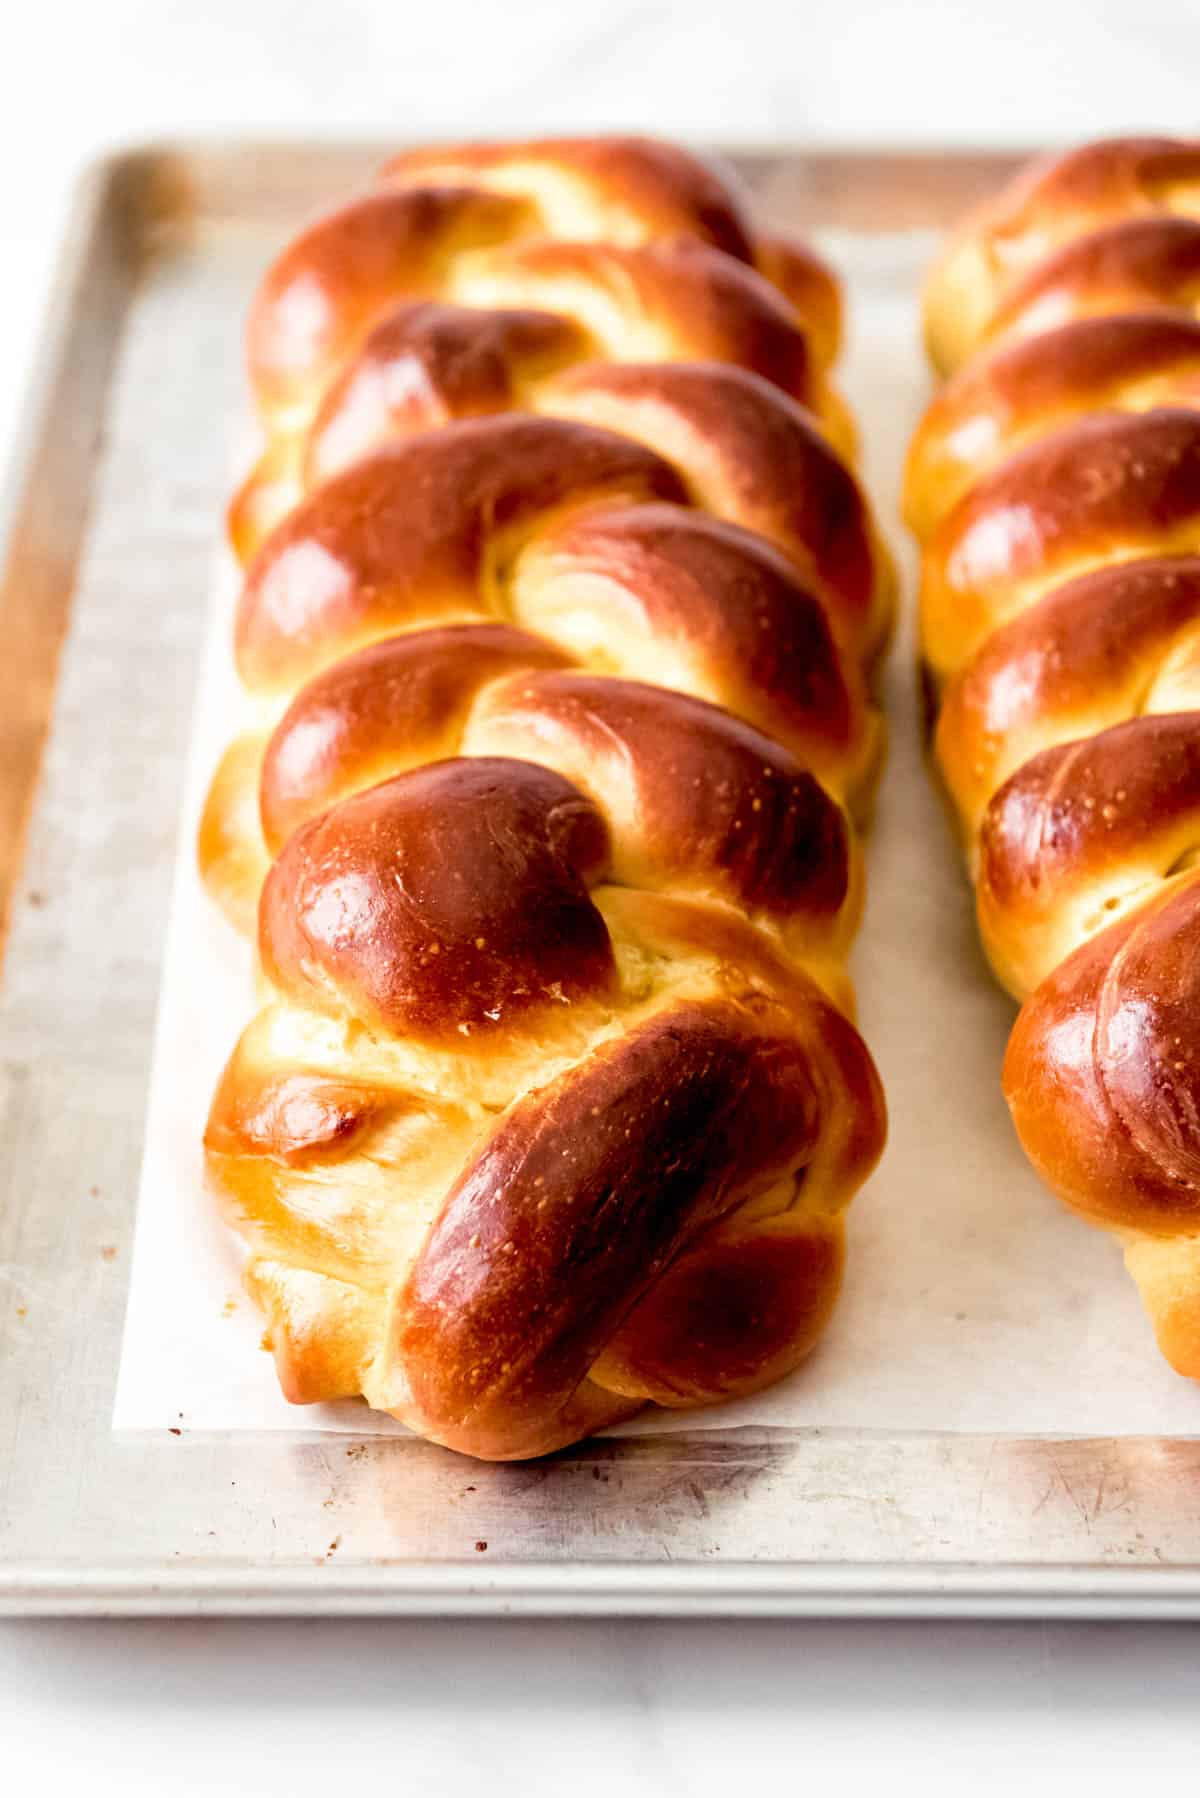
What to do With Challah Bread
Eat it plain or with butter, honey, or jam. This challah recipe has a rich flavor and wonderful texture, thanks to the added eggs and fat. It’s almost impossible to resist slicing right into eat and eating thick slices while the bread is still warm. We love it plain, but it’s mind-blowingly good with a drizzle or honey or a smear of nutella or jam.
Use it for breakfast. Challah bread makes the best French toast ever. You can use it for regular French toast or go whole-hog with a stuffed French toast recipe instead. It’s also great for a breakfast casserole.
Make dessert. Challah bread makes truly fantastic bread pudding. You can even use it to make a shortcake-style dessert by serving it with macerated berries and cream on top.
It’s great for grilled cheese or other sandwiches, including our favorite Monte Cristo sandwiches. Let me know how you used your challah bread in the comments below!
Substitutions and Variations
- Seeds. You can use different kinds of seeds to top the bread, like sesame seeds, poppy seeds or even sunflower seeds or everything bagel mix for something a bit different.
- Savory flavors. Give your bread a more savory flavor by adding garlic and rosemary to the dough mix.
- Sweet flavors. Add some raisins or other dried fruits to make this into more of a sweet bread.
- Shapes. Make your loaf into different shapes depending on how or when you’d like to serve it.
More Homemade Bread Recipes
Did you make this recipe?
Let me know what you thought with a comment and rating below. You can also take a picture and tag me on Instagram @houseofnasheats or share it on the Pinterest pin so I can see.
Best Challah Bread Recipe
Ingredients
- 1 ¾ cups warm water
- 1 ½ tablespoons active dry yeast
- ½ cup sugar plus 1 tablespoon extra for proofing the yeast
- ½ cup vegetable oil
- 4 large eggs lightly beaten + 1 additional egg for an egg wash
- 1 tablespoon salt
- 8 to 8½ cups all-purpose flour plus extra for kneading/dusting
- Sesame seeds for dusting (optional)

Instructions
- Proof the yeast by dissolving it in lukewarm water with a tablespoon of sugar in a large mixing bowl until foamy, about 5 minutes. Stir in the oil and 4 of the eggs (reserve 1 egg for an egg wash after braiding), with the remaining sugar and salt. Gradually add the flour, 1 cup at a time, to make a soft dough. My standard-size KitchenAid mixer can’t quite handle this much dough so I pretty much always finish kneading by hand by turning the dough out onto a lightly floured surface and kneading until smooth.1 ¾ cups warm water, 1 ½ tablespoons active dry yeast, ½ cup sugar, ½ cup vegetable oil, 4 large eggs, 1 tablespoon salt, 8 to 8½ cups all-purpose flour
- Clean out and lightly oil the bowl before returning the dough to it. Cover the bowl with plastic wrap and let the challah dough rise in a warm, draft-free spot for about an hour, until almost doubled in size. Punch the dough down (literally, just stick your fist right into the center of the dough and push it down), then cover it with plastic wrap and let it rise again for another half hour.
- To form the 6-strand challah braid, first divide the dough on a clean surface. Divide it in half to make two loaves. Then divide each half into 6 equally sized portions and roll the balls of dough into 6 equally sized strands, each about 16 inches long. Place the strands side by side and pinch the tops together.
- Starting with the outside right strand, move it over 2 strands to the left. Then take the second strand from the left and move it all the way across to the far right. Next, take the outside left strand and move it over 2 strands to the right. Then move the second strand from the right over to the far left. Repeat the pattern by starting again with the outside right strand being moved over 2 strands to the left, and so on until you have a long, braided loaf.
- Tuck the end of the braid underneath the loaf to secure it. Your braid is likely to be fairly long and skinny at this point, and that’s completely normal. To finish shaping the loaf, you need to plump it a bit into more of a loaf shape by sort of lifting and smooshing the braid in on itself a bit and wiggling it a bit to make the loaf a bit shorter, wider, and even from top to bottom. The braid shouldn’t come undone – you are just evening out the shape here to make your loaf look nice. This step can be done as you are transferring the braid from the surface where you formed it onto a parchment-lined baking sheet.
- Repeat steps 4 & 5 with the remaining half of the dough for the second loaf. Place the braided loaves on a parchment-lined baking sheet pan, with at least 2 inches in between the braids so they don’t meld together as they rise. Beat the remaining egg and brush half of it on loaves using a pastry brush. Be sure to get in the crevices of the braid and down the sides of the loaves. Allow the loaves to rise another hour in a warm place, then brush again with the remainder of the egg wash. Sprinkle with sesame seeds, if using them (I almost always skip them, but it would make the loaf even more traditional).Sesame seeds
- Preheat the oven to 375°F then bake the challah for 30-35 minutes until golden brown (or when the internal temperature of the bread reaches 190°F on an instant-read thermometer). Eat one loaf warm with butter for dinner and save the other loaf for the most delicious french toast ever!
Notes
- Store: Store this challah bread at room temperature, well wrapped. It is best when fresh, within the first day or two.
- Freeze: Freeze challah bread for up to 1 month. Once it has fully cooled, wrapped it tightly in plastic wrap. Let it thaw at room temperature for a few hours before slicing it.
Nutrition
Recipe from Smitten Kitchen.
This post was originally published in February, 2017. The photos and content were updated in December, 2022.



Amy! I am so impressed with this…. bread is something I love making, but it never looks this good! Your step by step pics are fantastic! I cant wait to try to make this for our Easter Overnight French Toast where I USED to buy the Challah bread!!
Thanks, Michele! I want some of that Overnight French Toast! Sounds awesome and I have actually been looking for a good recipe for something like that!
thanks Amy, never came close to a six-strand braid before, usually made the challah from 3 strands…
your explanation inspired me to give it a shot
thanks
I’m so glad you found my explanation helpful, Yaron! It sounds harder than it really is!
This looks so delicious and so fun to make!!
Such an impressive braid! I love Challah, it’s so fluffy and flavorful.
Does this freeze well?
Yes! It freezes really well!!
Love love your step by step photos! This challah bread looks perfect. I love using leftover for French toast. This totally gets my inspired to make this again!
Amy this challah bread looks fantastic. SO light textured and flavorful. It’s perfect addition to my Easter family dinner table. I love how easy this recipe is.
What a beautiful looking bread. I make bread about once every two weeks, but I do not stray much from my mother yeast and bread dough. It is on my list to adventure out a bit in my breadmaking world and maybe I need to start with this.
Oh, I envy you – 6 strands! I make the five strands very effortlessly but the six..! Have still to try. Love the brown glazed color you have on these challahs – Looks perfect.
Hey! This looks great and I think I’m going to try it. However, I only wanted to make one loaf. Could I just make the bread using only half of each ingredient?
Challah is sooooo wonderful to use for French toast! I’ve only made it from scratch once, and it was even better fresh out of the oven! Love your braiding tutorial here – your loaves look divine!
Looks like a great explanation of the six strand braids. And that rich bread does make the best French toast. I hope you convince people to try it!
I love the details in this post! It makes me want to give it a try!
This bread looks GORGEOUS! Truly mouthwatering. I appreciate the step by step pictures of just how you braided it…very helpful.
Your challah loaves are so beautifully braided! I’ve always wanted to try to make my own, but I’ll admit the braiding is a little intimidating. You make it look so easy! I’ll definitely have to give it a try now that I have your handy step-by-step photos to go by.
Thank you! The step by step braiding instructions were perfect & so helpful! This is my 1st challah & it’s beautiful & delicious!!
The pictures of each step and instruction makes this a breeze. I had a lot of confusion on a couple of steps because the description seemed to not braid at certain points. The pictures really helped. Takes awhile if you don’t normally make bread – and even if you do there is a decent amount of proofing time and then rolling and braiding. Great recipe. I wish I could share the picture of how it came out.
Thanks for commenting and letting me know the step-by-step pictures were helpful to you!
This was so.yummy! Thank you! Found a KitchenAid trick. If you add six cups of flour and let it run five min with the hook, you can add cups 7 + 8 over the next five min and it rises beautifully 😀 with a great deal less kneading.
thank you so much for details on the braiding process. I’ve never tried to make it but this time I will; can’t wait!
I’ve used this recipe a few times and everyone raves about how good my Challah looks and tastes. I make two variations – I substitute a 1/4 cup of the sugar with honey and I add a little bit of simple syrup to the egg wash for a touch of sweetness. Lastly, I’ve been using the 2 over 1 under technique for the six strand, always from the far right. I’ve found that it works well for me.
Thanks for the recipe!
Hi Richard, I made the bread tonight and thought the texture was perfect, but the bread waist sweet enough. I’m going to try your method and add syrup to the egg wash. What type of syrup and how much? Thanks!
*The bread wasn’t sweet enough. I think it will be perfect if I can figure out how to make it a little sweeter!
I used simple syrup, which is just equal parts water and sugar, boiled down to a syrup.
How much sugar and water would you recommend? I’ve never added a simple syrup but I think this is the touch of sweetness the challah is missing right now. Thank you!!
Hey! This looks great and I think I’m going to try it. However, I only wanted to make one loaf. Could I just make the bread using only half of each ingredient?
Yes, that should work for this recipe. Although it freezes really well!
One loaf in the oven and other rising. These are massive! Testing it now to use for Xmas eve bread pudding with rum sauce
Bread pudding with rum sauce sounds AMAZING for Christmas Eve!
Can you make the dough 48 hours in advanced and store in the fridge until ready to bake?
I haven’t done a full 48 hours, but I have done overnight and it works well. I think it would probably be okay to make it that far in advance though.
Thank you so much for this recipe.
It was so easy to follow through.
I was worried about the loaves when I was done baking, that they might waste but most of it is gone now.
How do you know how long to knead the dough before you let it proof?
I usually knead it for about 6-7 minutes until it’s nice and smooth.
Beautiful recipe!
This was my first attempt at a yeasted bread and it turned out great. The step by step photos for the braiding were super helpful.
Thanks!
I forgot to add salt, and I’ve already braided my bread and it’s about to go in the oven. What should I do?
There’s not a whole lot to do at this point, other than you could sprinkle some coarse salt over the top of the bread (like a pretzel). Lesson learned for next time!
This was the first time I tried baking Challah bread. In fact I’ve never made any braided bread before. Your instructions made it incredibly easy. My loves came out beautifully. And the taste superb! My family said it was the best bread I’ve ever made and when are you making more! Thank you!
I would like to make hamburger buns with this dough. I was wondering if you had any advice on how much dough I should use per bun. Thanks Again.
I’m so happy you enjoyed this recipe! For buns it really kind of depends on how large you like them, but what I have done in the past is either halved the recipe and made around 10 buns or I make the full recipe and do one loaf of the braided challah and make buns with the remaining dough. I haven’t weighed the dough though – just eyeballed it by dividing first in half, then into five smaller pieces that all look about the same size. I hope that helps!
Yes, Thank you. I’m going to give it a try.
Did a 3-strand and 4-strand loaf. Gotta get this braiding down!
This looks like a good recipe. If I want to freeze half of the uncooked dough, at what point should I do it?
I would braid and immediately freeze the dough before it has time to rise. Then when you want to bake it, pull the loaf out, let it thaw and rise, then bake like normal.
Can I use bread flour and rapid yeast in the recipe?
Yes to the bread flour and I think rapid yeast would work but have to admit that I haven’t used it much. Please let me know if you try it that way!
I have now made this Challah well over a dozen times with fantastic success. Since we are not big bread eaters I typically half the recipe and make one round and one three braided instead of six.
I have never made challah bread before. This was my first time it was very easy to make the dough. When it came time to braid the dough I had to have my boyfriend read it to me so I could understand it but by the second loaf it came easy. It looks gorgeous and smells amazing!!
I always make bread home but this dough came out very hard. It was almost impossible to make the strands, so i made one and the other one baked in individual pieces.
Also, adding the flour to the liquids made a complete mess in my kitchen using the Kitchenaid stand mixer, so if I’ll ever try this again, I’ll definitely use less flour and add the liquids and eggs to the flour, not vice versa…
I was very disappointed at how heavy the dough felt even after baking it… no fluff… 😟
How do yoy store leftover bread? Fridge or counter.?
Delicious recipe. I tend to half the recipe then make it into 3 smaller loaves as there are only two of us in the family! Also use my bread machine on the dough setting for the stages before braiding.
Just did my first attempt at making this bread yesterday. After only 25 minutes, it was slightly darker than yours on top, so I went ahead and took it out. The taste was good but I felt it was dry and not fluffy but dense instead. Google said if the bread was too dry, it had too much flour, but if too dense, not enough flour or not the right kind of flour! So I’m confused! Any suggestions? Should I lower the temp since my oven obviously cooks too fast? Get bread flour instead of my all-purpose flour? Knead longer? I used the Dough setting on a breadmaker but took it out as soon as it had formed into a ball. My dough was sticky – internet said that meant not kneaded long enough. Any suggestions for what to change next time?
All great questions! I don’t think that bread flour vs. all-purpose flour would make a difference in terms of color. I think your best option might be to gently lay a piece of aluminum foil over the top of your loaf about 10 minutes into the bake. It’s the same as idea as using a shield on a pie crust – it protects the edges from getting too dark or burning while they cook through. As far as too much or too little flour, I would err on the side of less flour and a stickier dough that you knead a little longer and see how that goes and if that helps. Wish I could be there to bake with you to figure this out!
I made this and it turned out beautifully! I little difficult than a basic bread recipe but do-able. I’ve never done a 6 strand braid before but after a few attempts it turned out so pretty! Thank you for sharing!
Wonderful to make this recipe. Contrary to others, I thought it was too sweet. Please don’t hate me. But we don’t need that much sugar in bread.
The best recipe ever. Easy to follow. Love this page!
First time making thus. Was so easy and fun definite keeper!
I would like to know if I can cut this recipe in half. Thank you.
You can cut it in half. Some of the measurements like the 5 eggs may be tricky to cut in half. You can always whisk the egg in a bow and pour out half of the egg.
Amy,
Could I add a little honey to this recipe? And would I have to reduce the oil or another ingredient to compensate?
Vicki
Yes, you could add a couple tablespoons of honey and either leave all the other ingredients the same or use the honey to completely replace the sugar.
It was beautiful and delicious. The instructions and descriptions were great so it was easy to make for this first time thank you.
Challahs turned out beautifully! Easy to follow directions, delicious! If I’d like to make them a little sweeter, is it ok to add honey? How much and when? Thank you!
Yes, you could add honey. I would add it with the hot water along with the sugar before dissolving the yeast. How much depends on how much sweeter your would like your challah, but I would start around 2 tablespoons and go from there.
Dough was easy but mine burnt a bit by 22 mins. Second egg wash not recommended.
Please fix the recipe so that it says 5 eggs, separated or 4 eggs + 1 egg for egg wash because when I am in a hurry it’s very confusing and has led me to add too many eggs twice now.
Thanks for mentioning that this was a confusing instruction. Your point is valid and I can see others having the same trouble so I updated it to be more accurate! I hope that helps for the future!
Love the recipe and I would like to made it but I’m terrible at braiding dough (or hair). Can I form the dough as you would a regular loaf of white bread and bake it in a loaf pan?
Yes, you absolutely could.
the amount of each ingredient are listed where ?
Right in the recipe card. If you are having trouble finding it, there is a “jump to recipe” button at the very top of every post. If you click it it will take you straight to the ingredients and instructions so it’s easy to find.
I have made this before and it turned out delicious! Great recipe.
I was wondering if you could make the dough the day before baking the bread or is it best to do it all in one day?
Thank you!
Yes, you can make the dough the day before and just refrigerate it until ready to bake!
Great recipe and fantastic instructions! Love the 190 degree tip 🙂
THANK YOU! It came out exactly like yours 🙂 That’s always a good thing!
Can I use my bread machine with this recipe? Looks delicious and I’ve been on the hunt for the perfect challah recipe!
Yes, I’m sure you can!