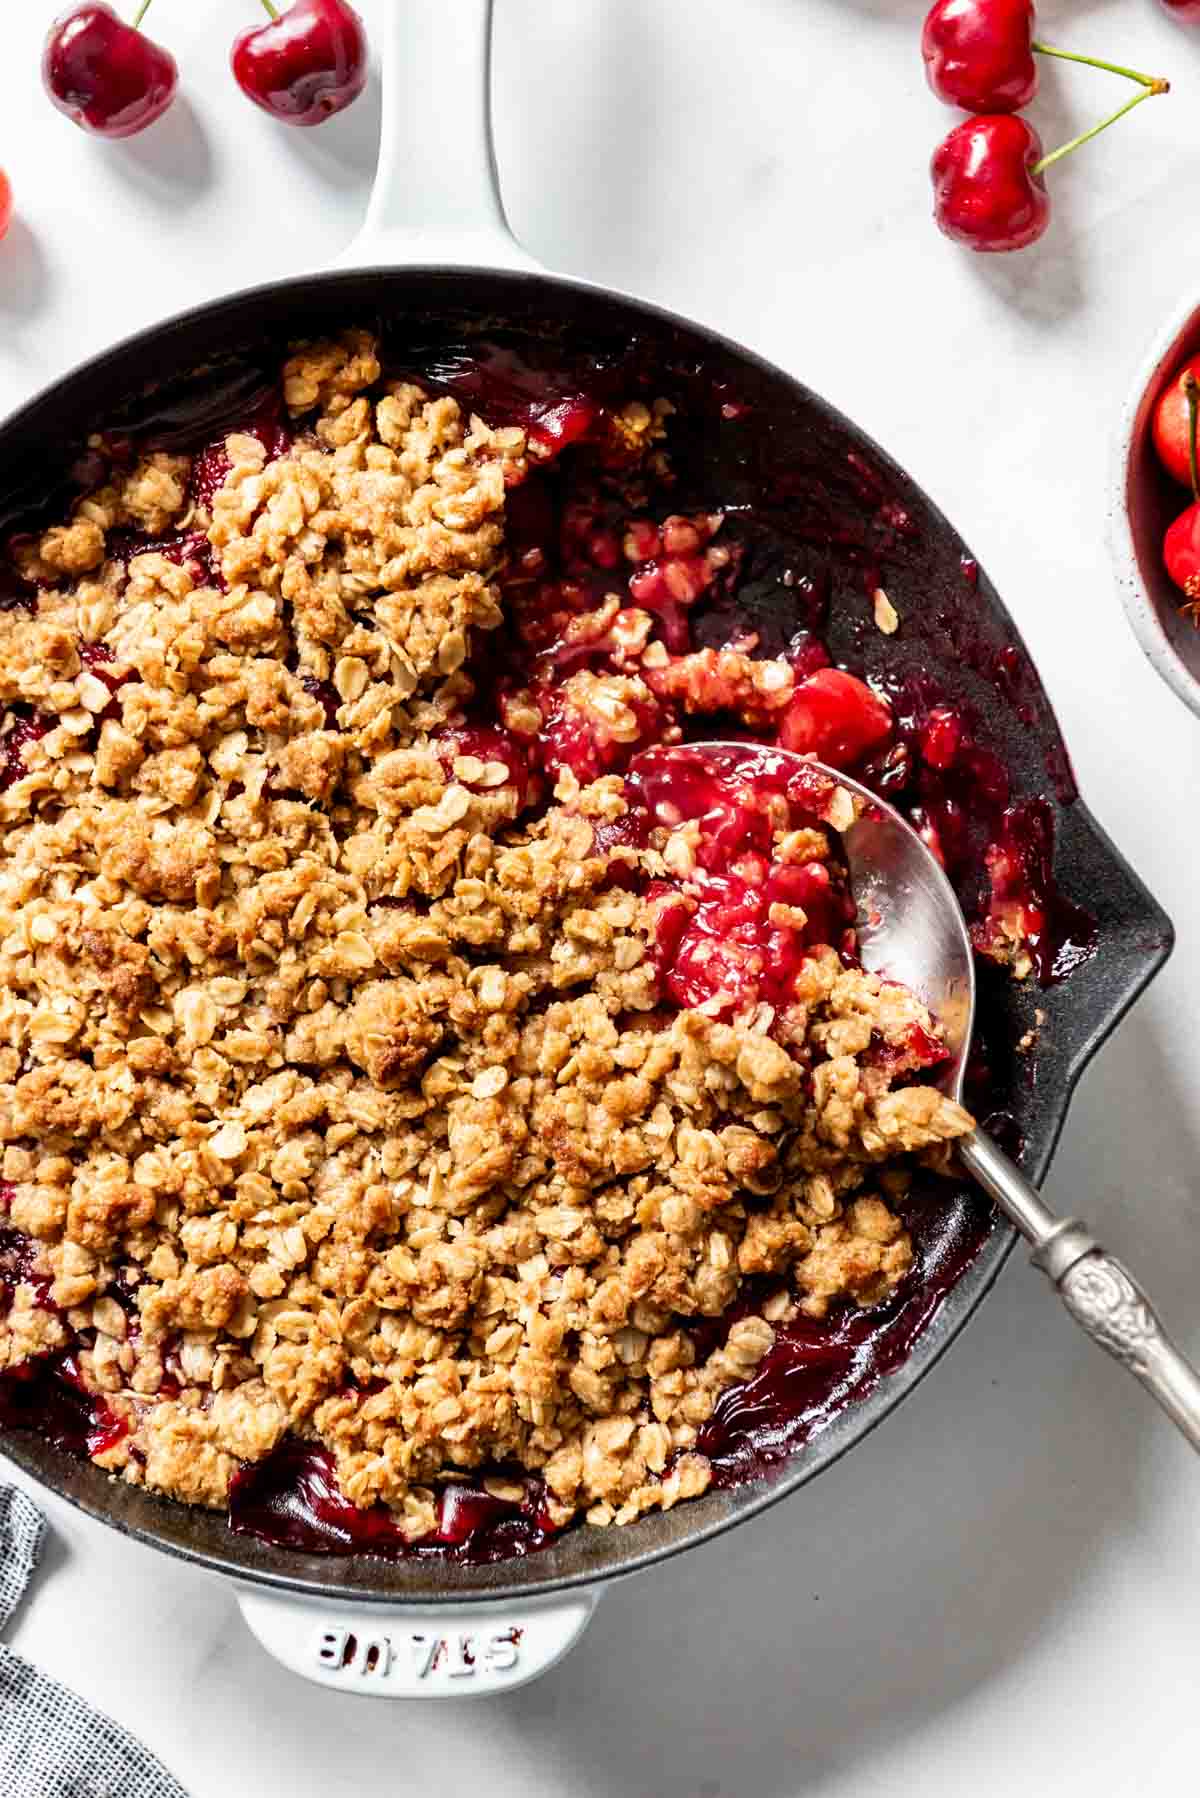
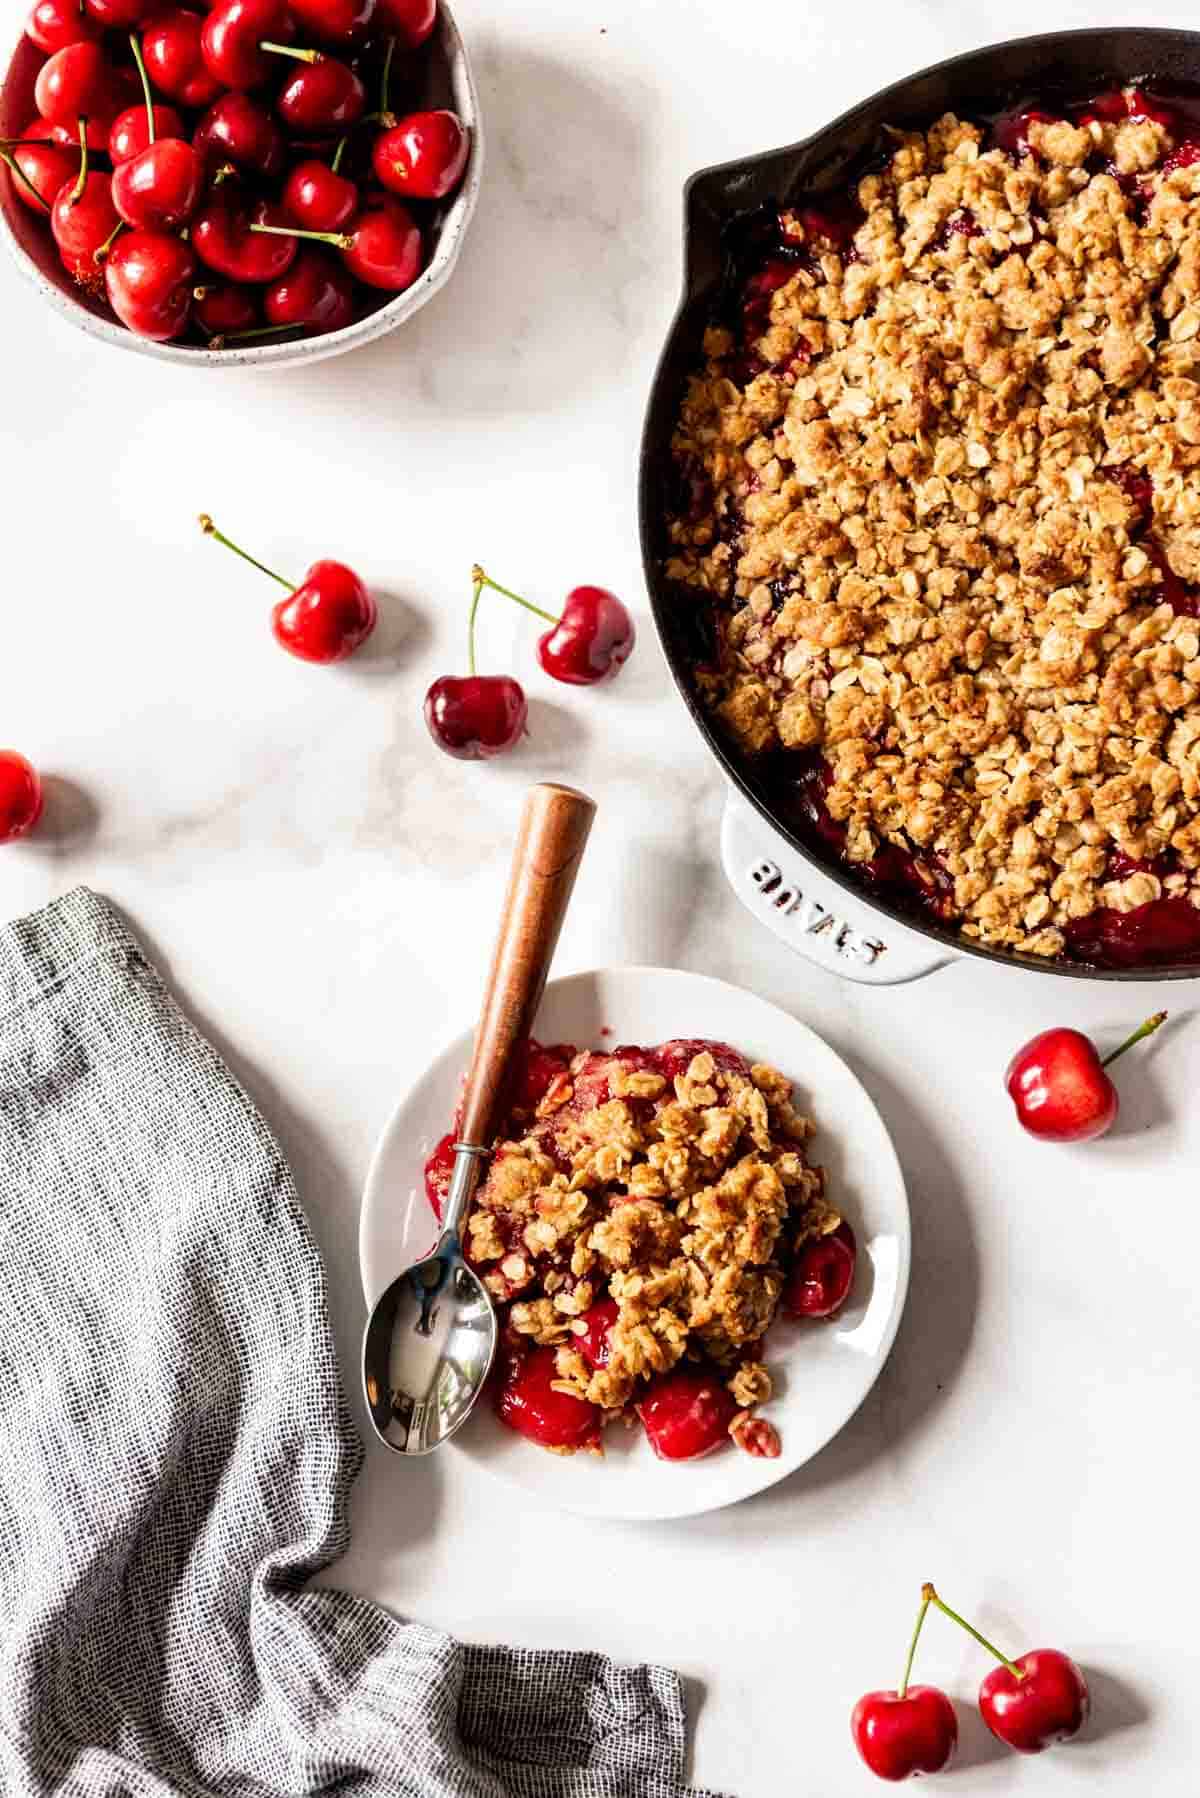
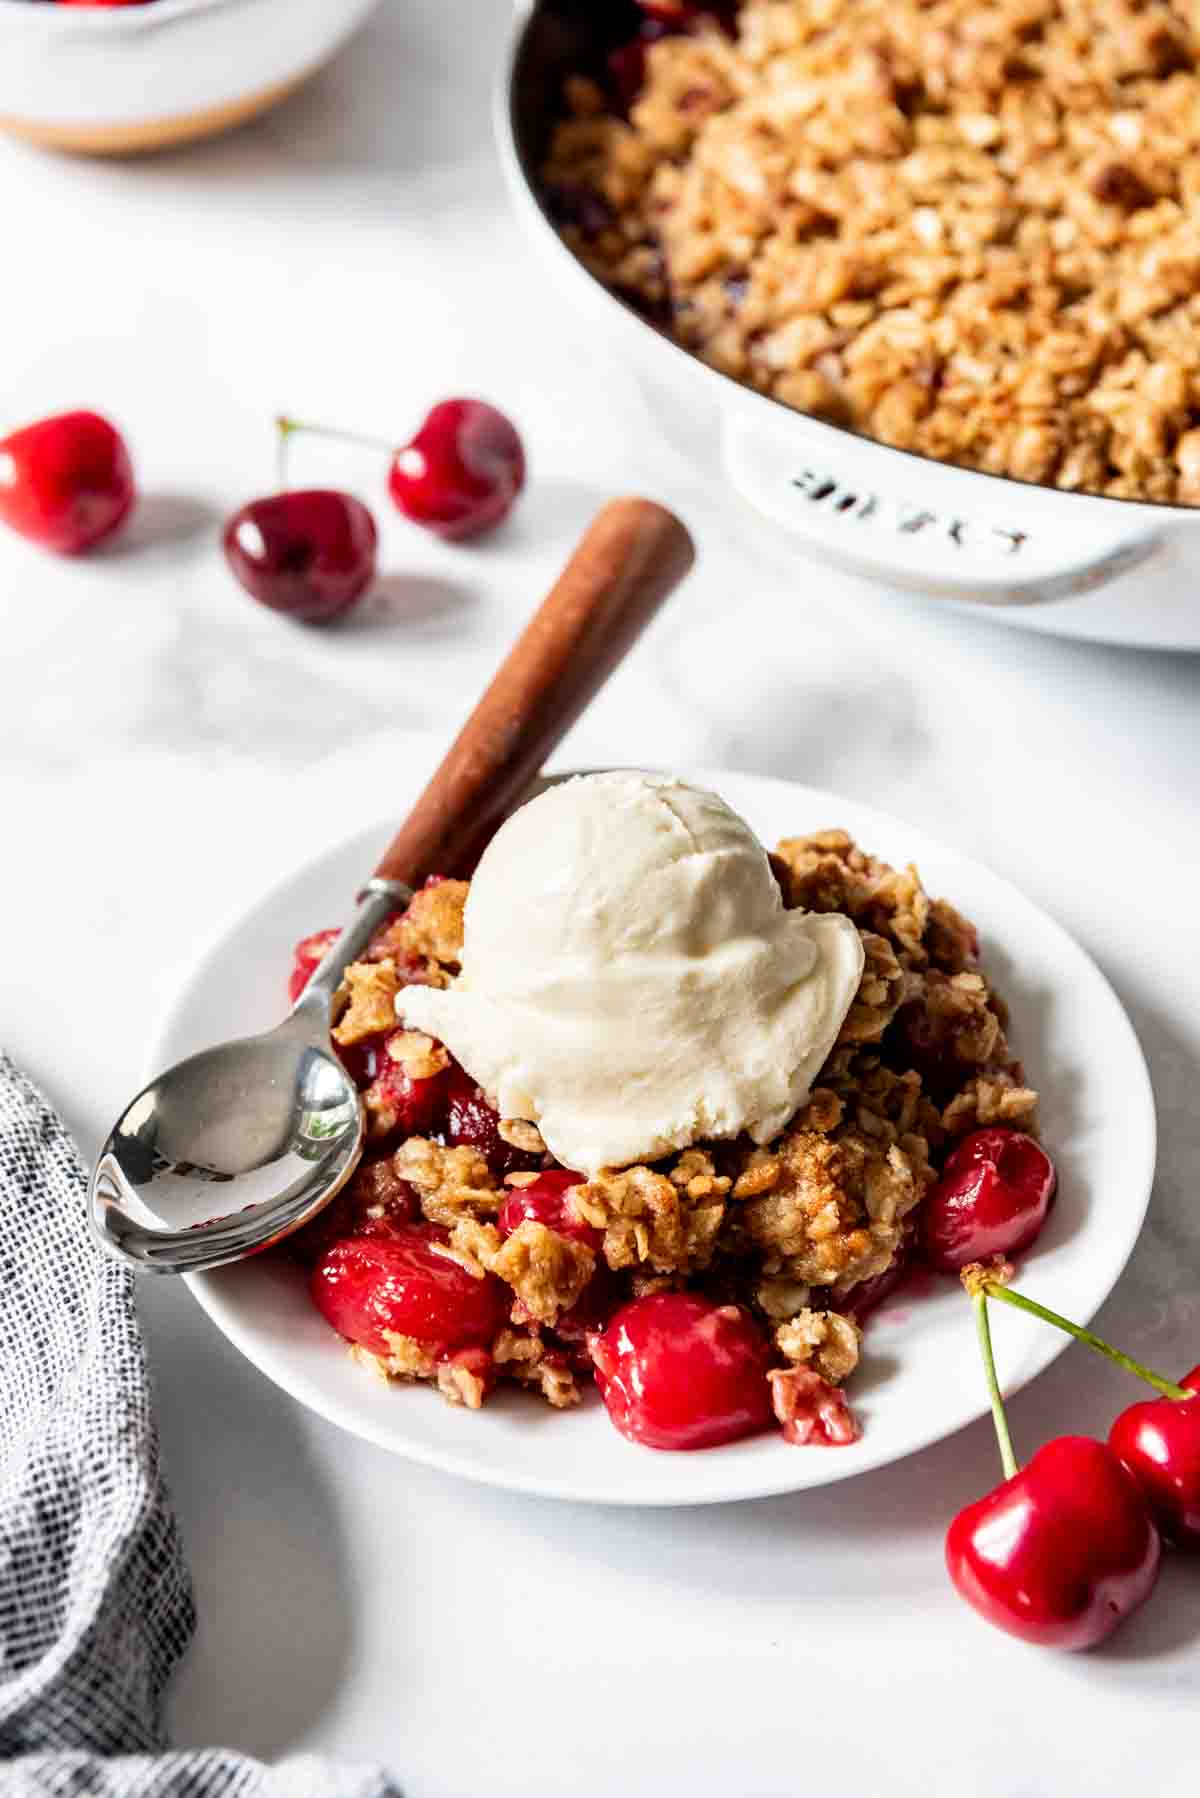
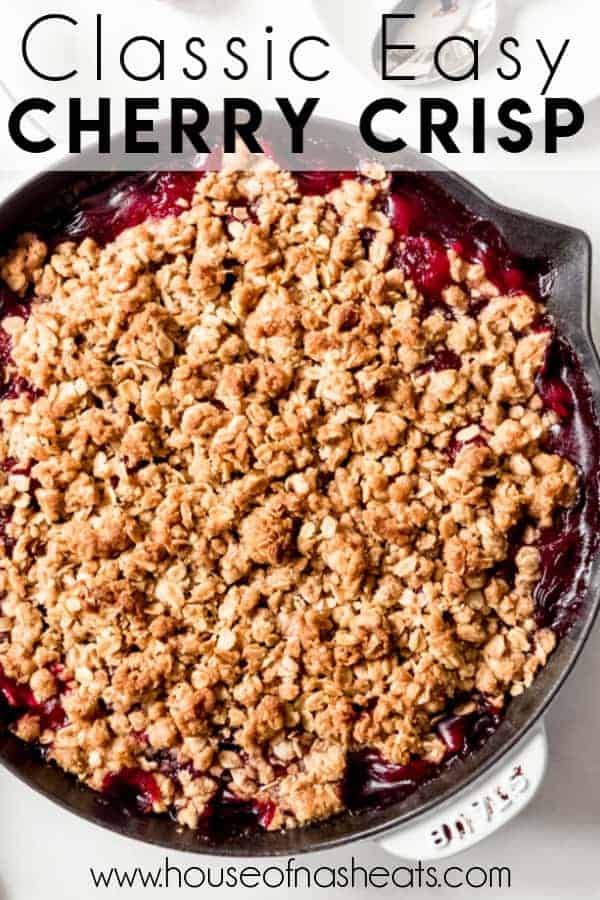
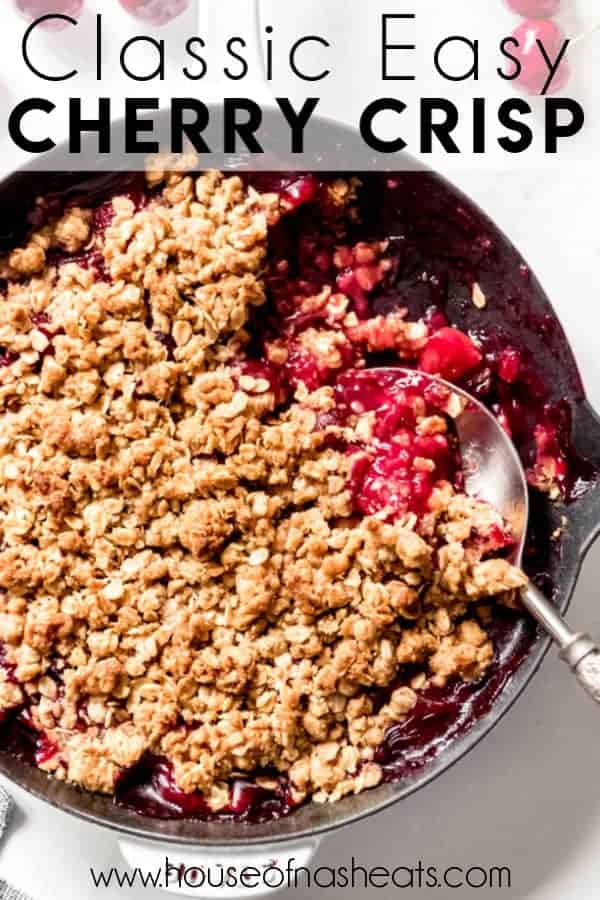
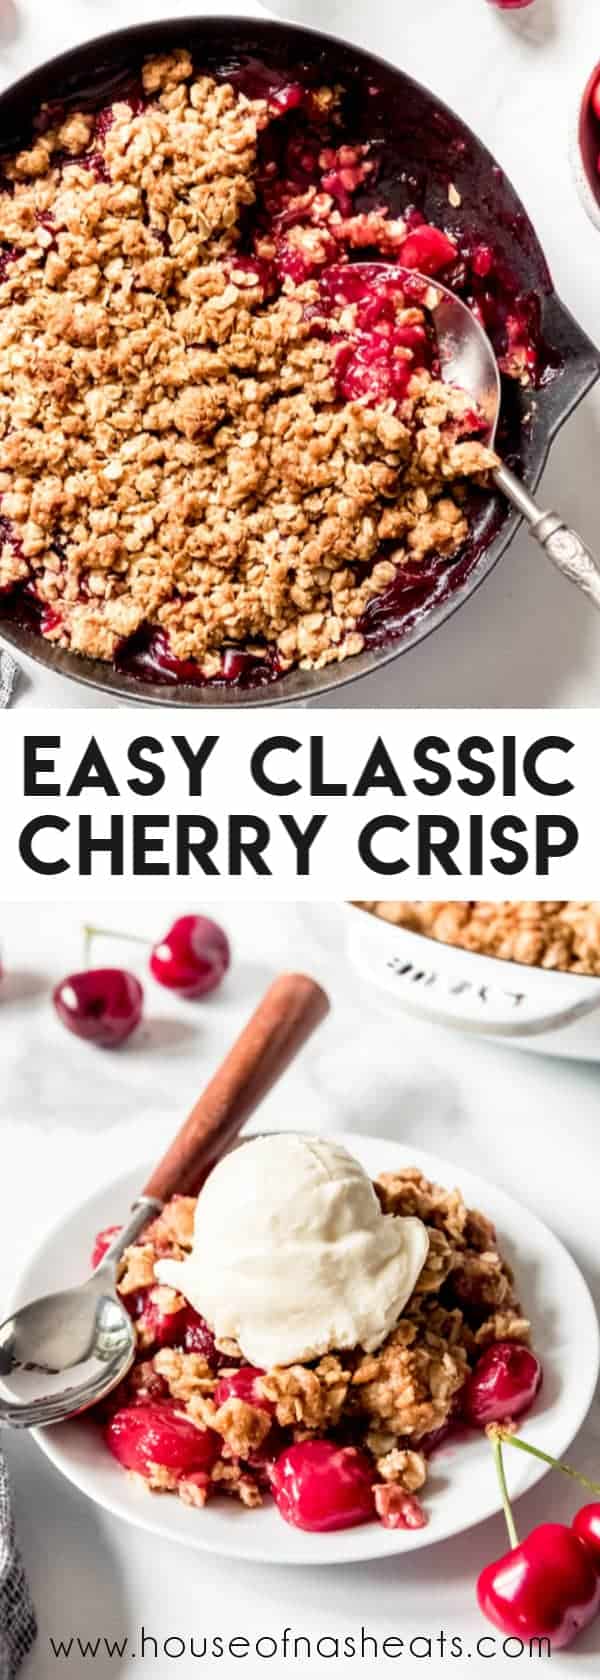
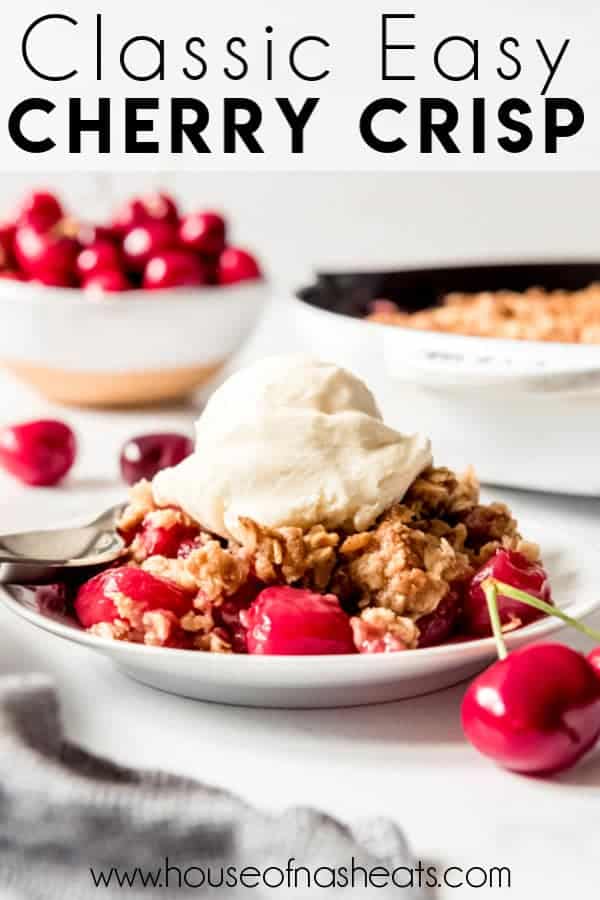
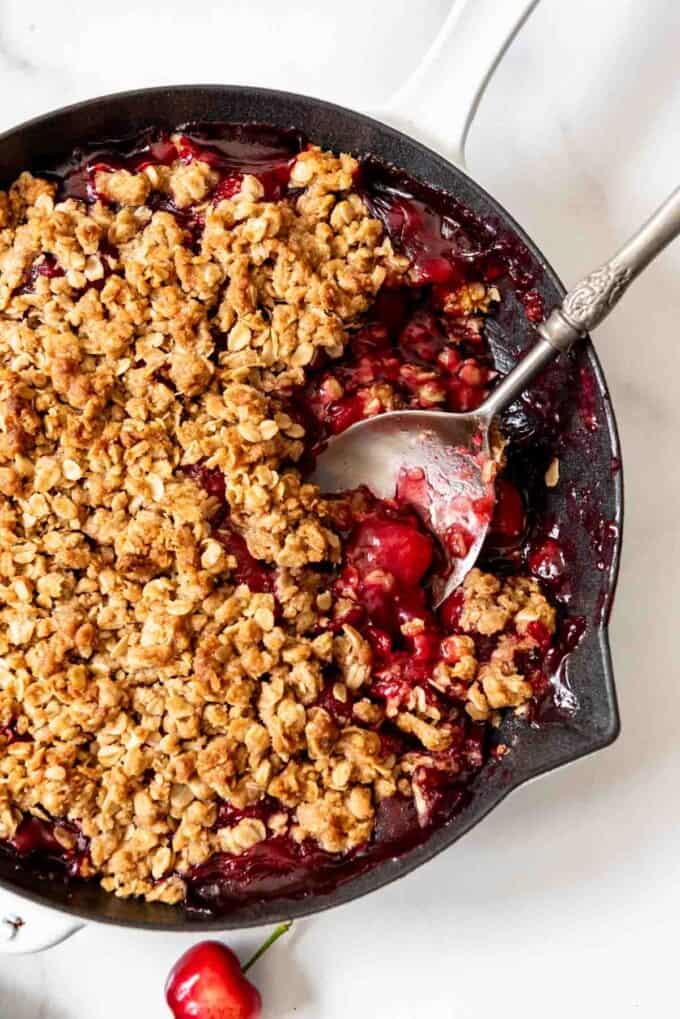
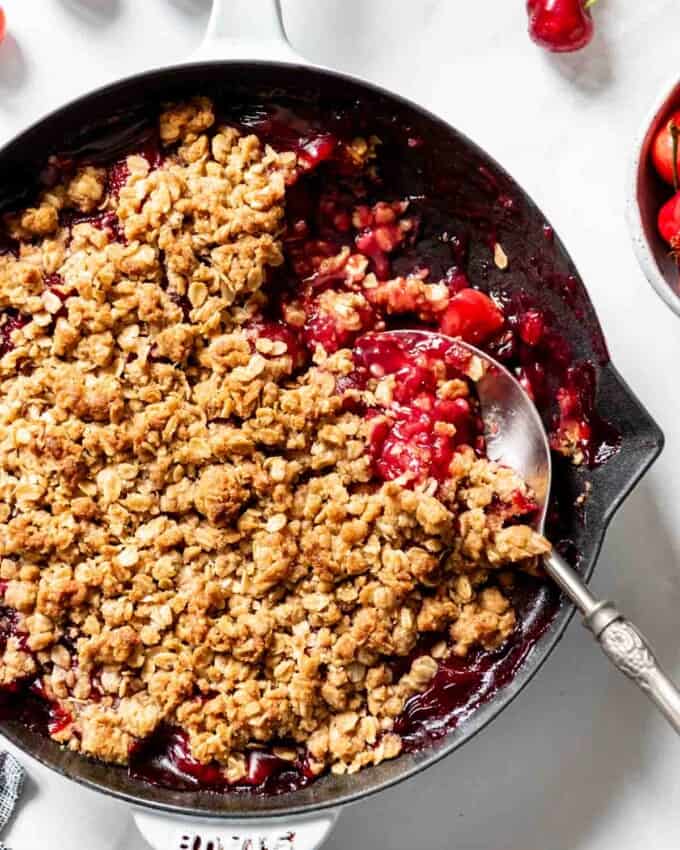
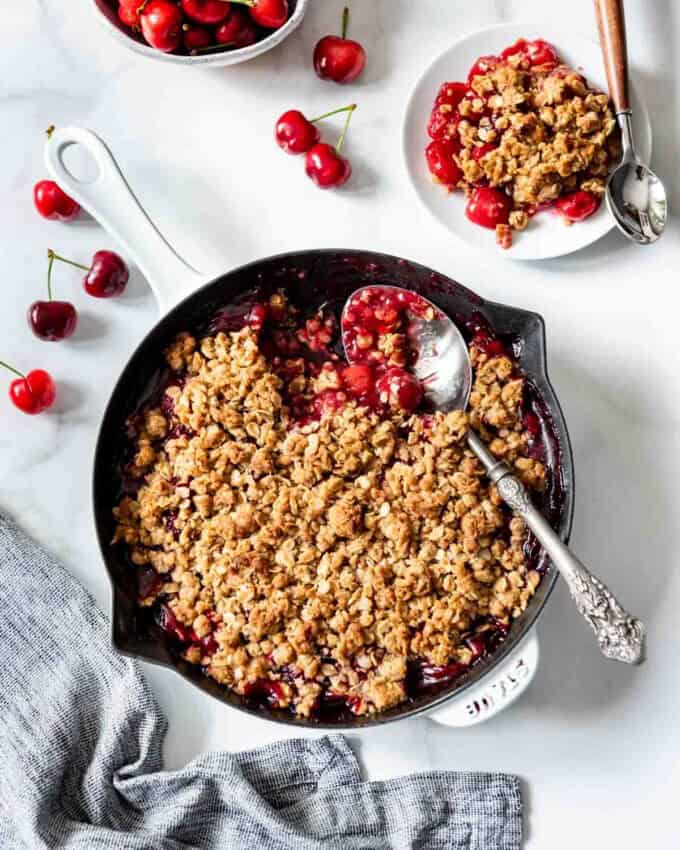
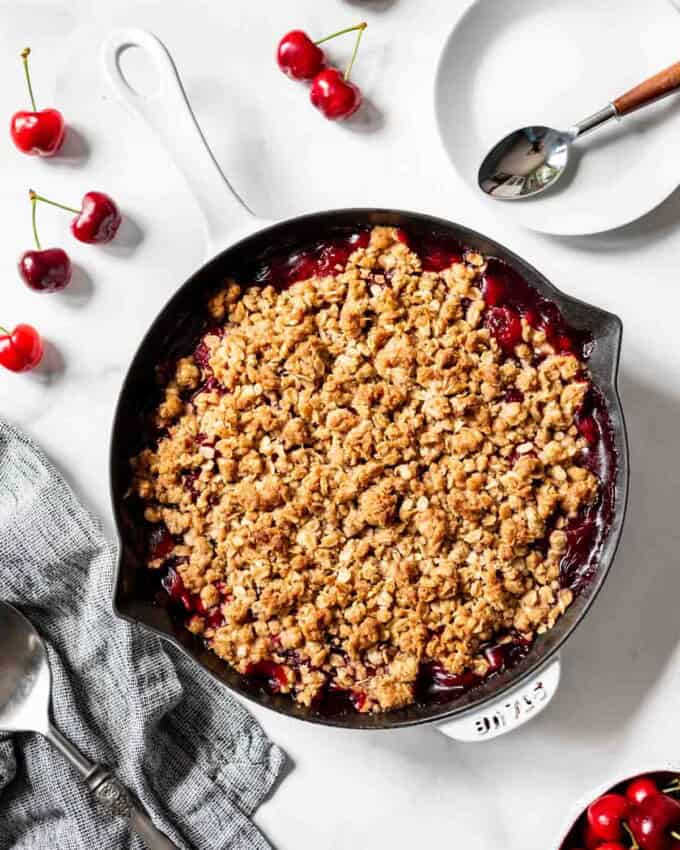
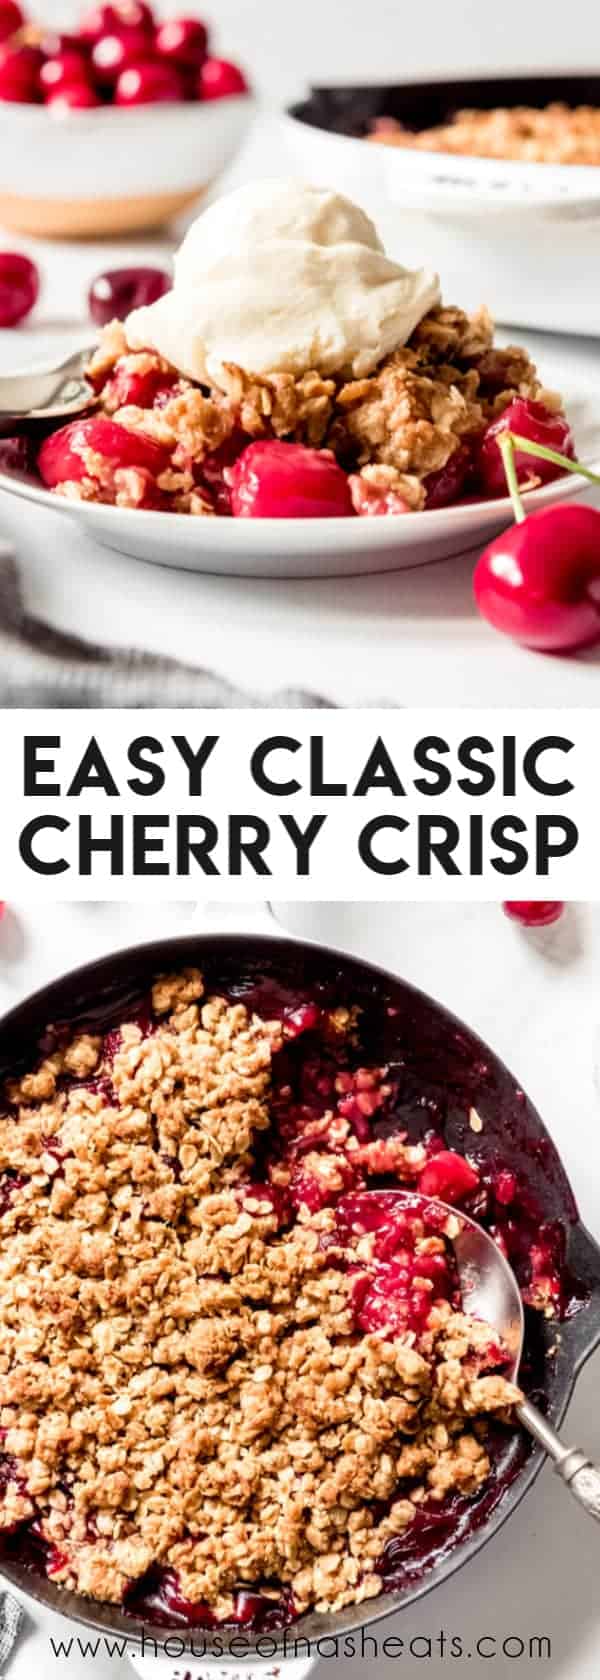
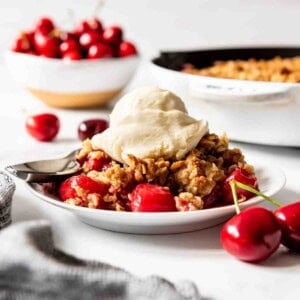
There is perhaps nothing quite so delightful as a serving of warm Cherry Crisp with a big scoop of vanilla ice cream melting on top! The fruity filling is sweet and tart with the warm taste and crunchy texture of the oat crisp topping to balance every spoonful!
We love cobblers, crisps, and crumbles any time but especially in the summer. Don’t miss some of our other favorites like Fresh Peach Cobbler, Blackberry Nectarine Crumble, Strawberry Peach Crumble, and Mixed Berry Cobbler.
Table of Contents
We went cherry picking a few weeks ago and had such a wonderful time plucking the ripe jewel-colored fruit off the trees to fill our buckets. It was hard not to go overboard and we ended up coming home with almost 20 pounds of fresh cherries!
Somehow between eating them fresh and baking them into pie filling and cake and crisps we managed to get through them all within a week. If you ever find yourself in the same boat, make a couple of batches of cherry pie filling. It freezes beautifully and then you will have some on hand any time you want to throw an easy cherry crisp together.
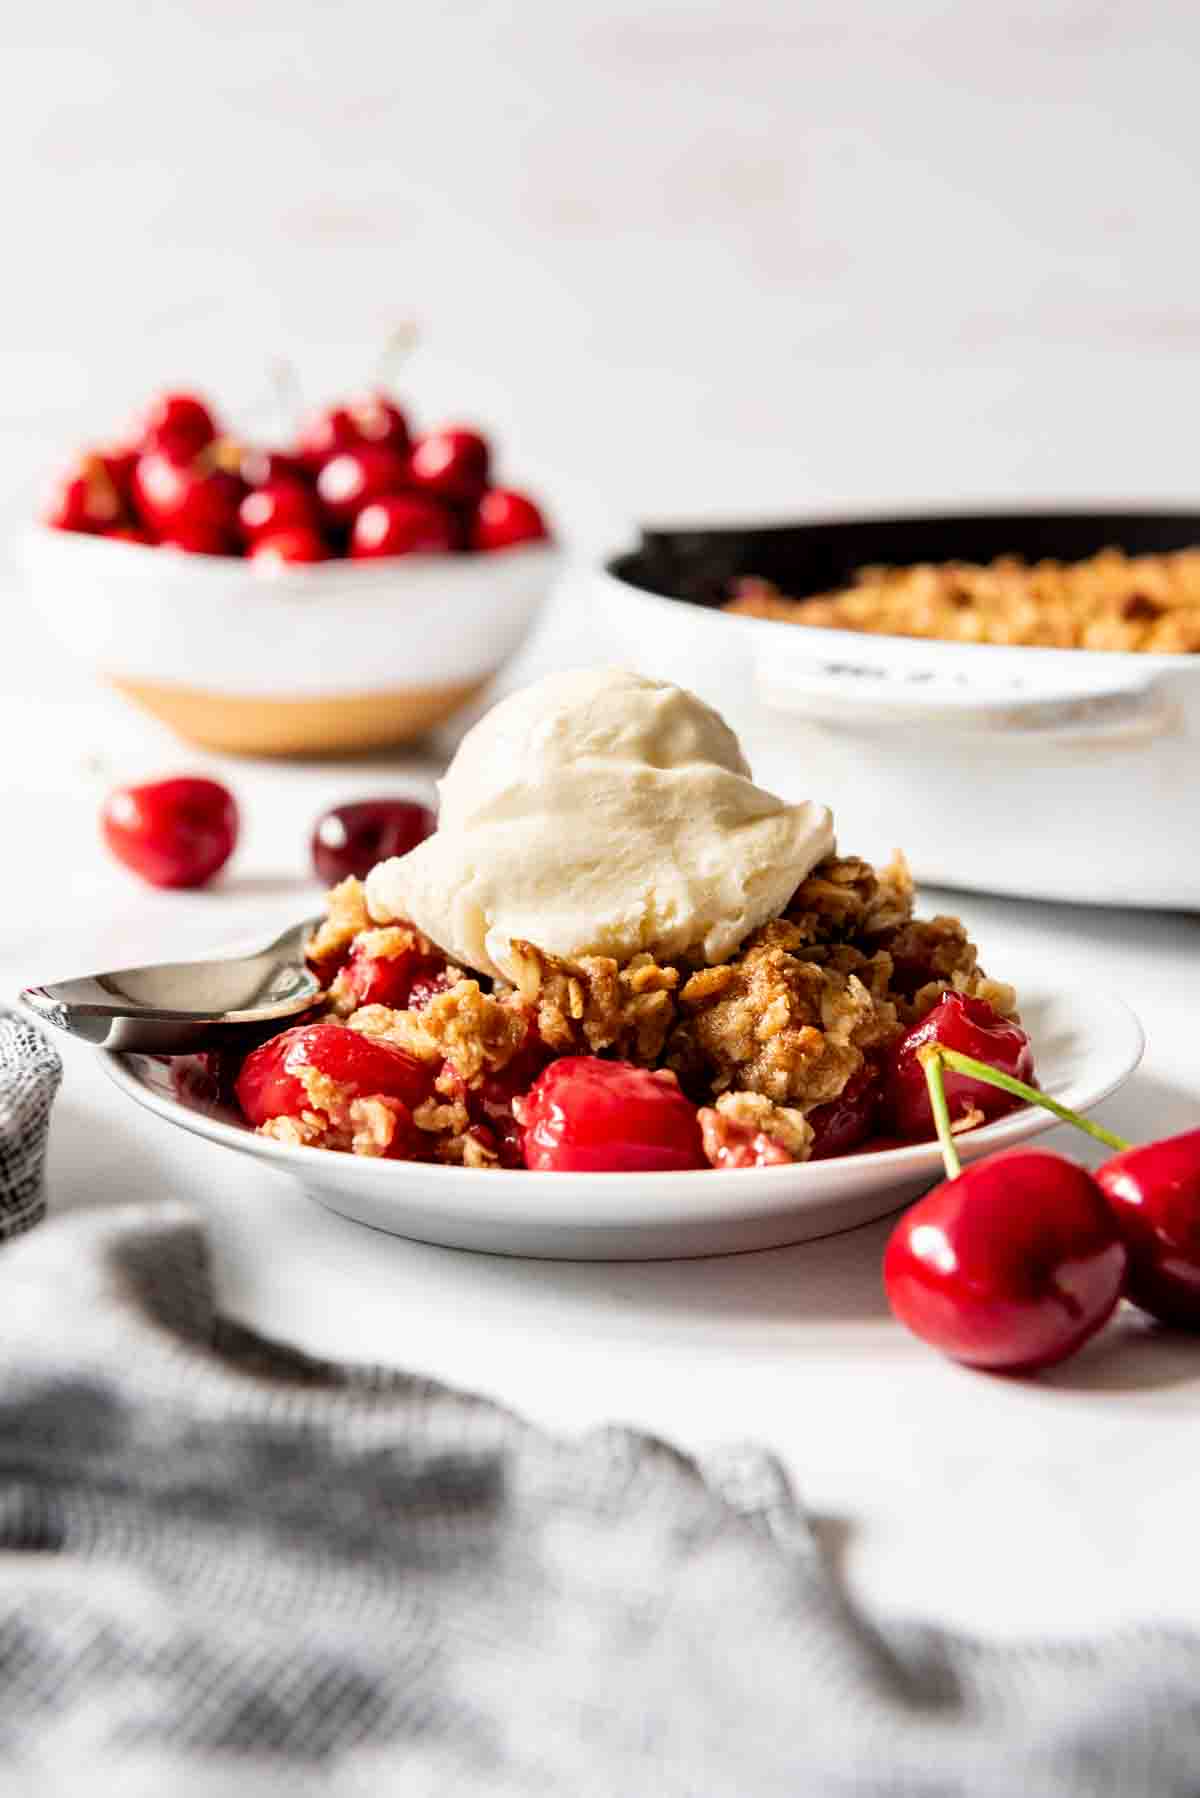
Making cherry crisp is 100x easier than making an actually cherry pie. There is no crust to worry about rolling out or baking through on the bottom. And instead of delicately arranging the perfect lattice crust and crimping the edges, you literally just sprinkle the crisp topping on top and bake. It’s so simple my 6-year old can make a fruit crisp without help.
It’s easy to double this recipe if you are feeding a lot of people. And it tastes delicious even after a few days.
You can make this cherry crisp with fresh cherries, frozen cherries, or homemade or storebought cherry pie filling.
Cherry crisp ingredients
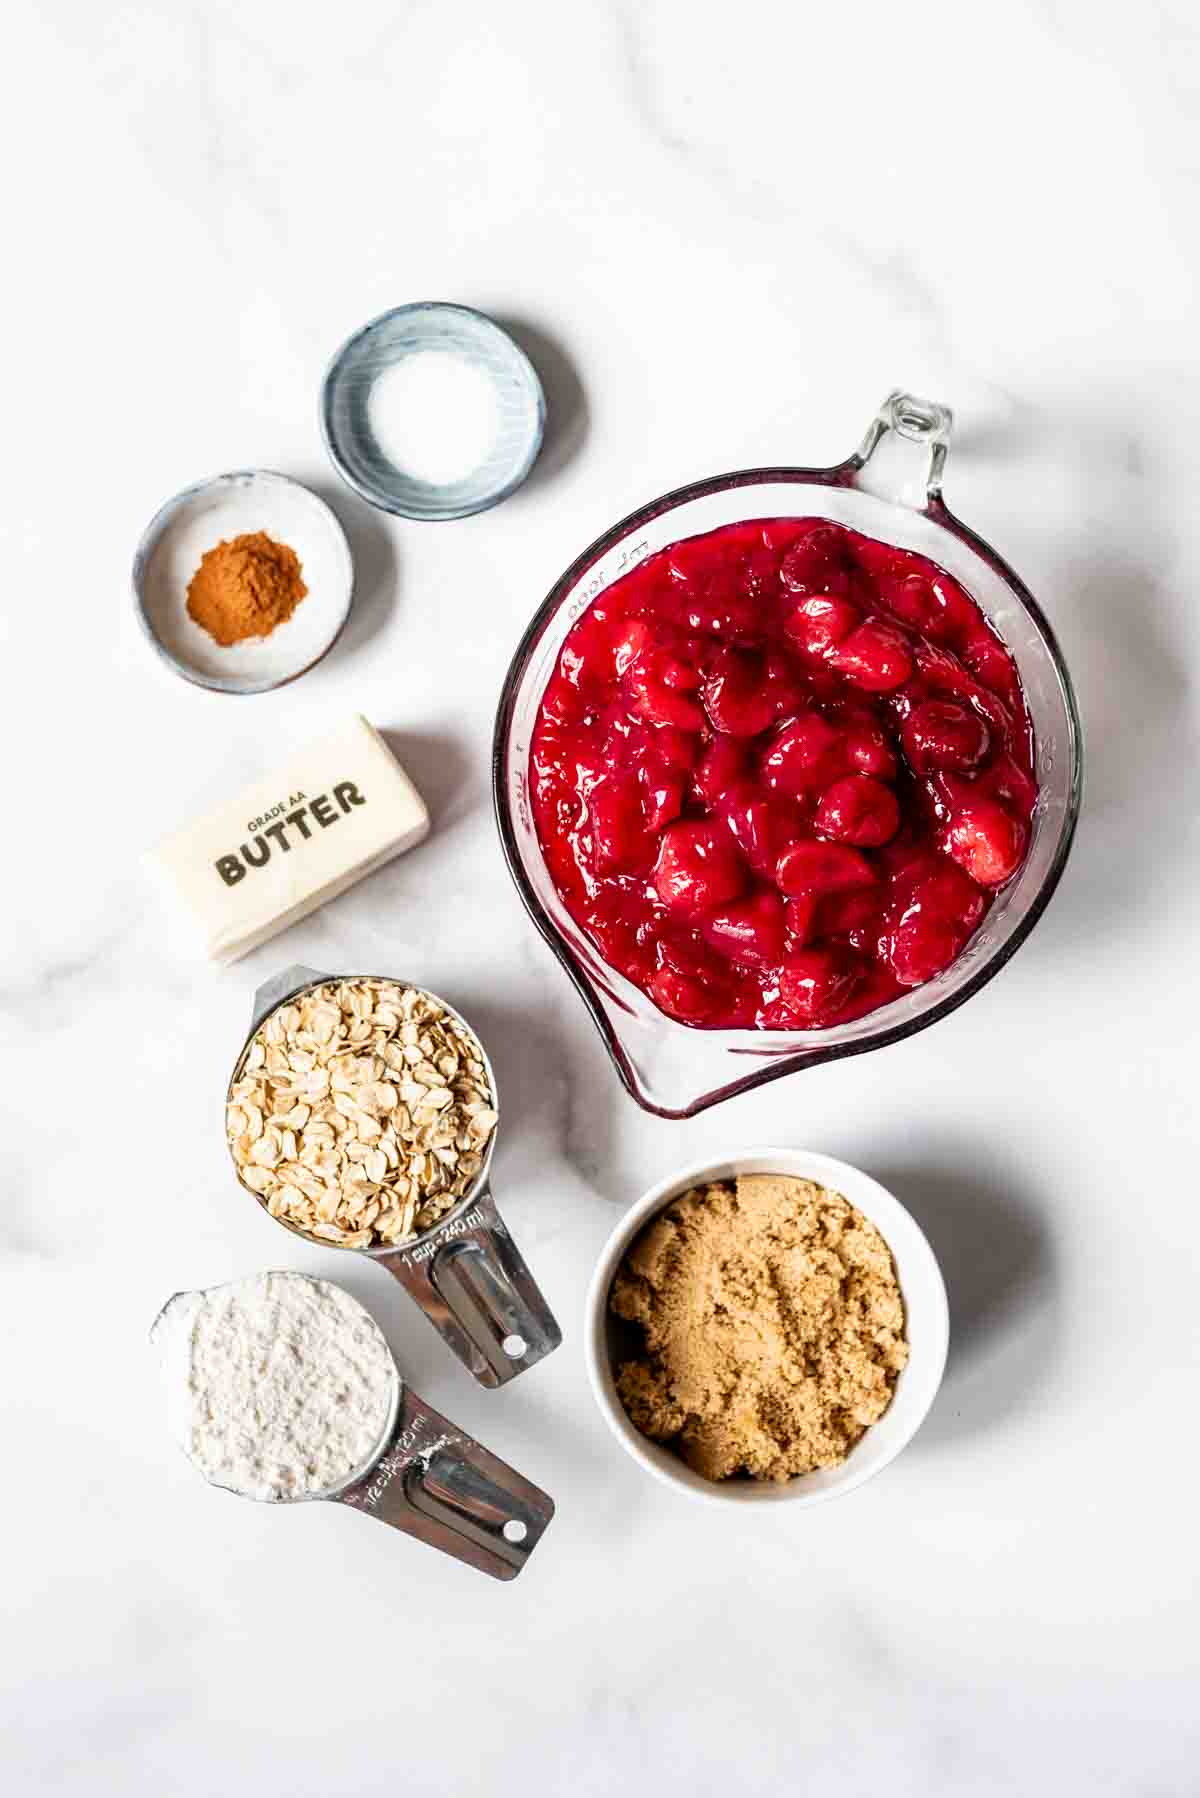
It’s a piece of cake to make cherry crisp if you have the cherry pie filling on hand because then it’s just a matter of dumping the filling into the bottom of a skillet or square baking dish and mixing the crisp topping together to sprinkle on top.
Either way, cherry crisp is the unfussy, unpretentious solution to dessert for anyone who isn’t in the mood to mess around with making a homemade cherry pie or who doesn’t care much for pie crust.
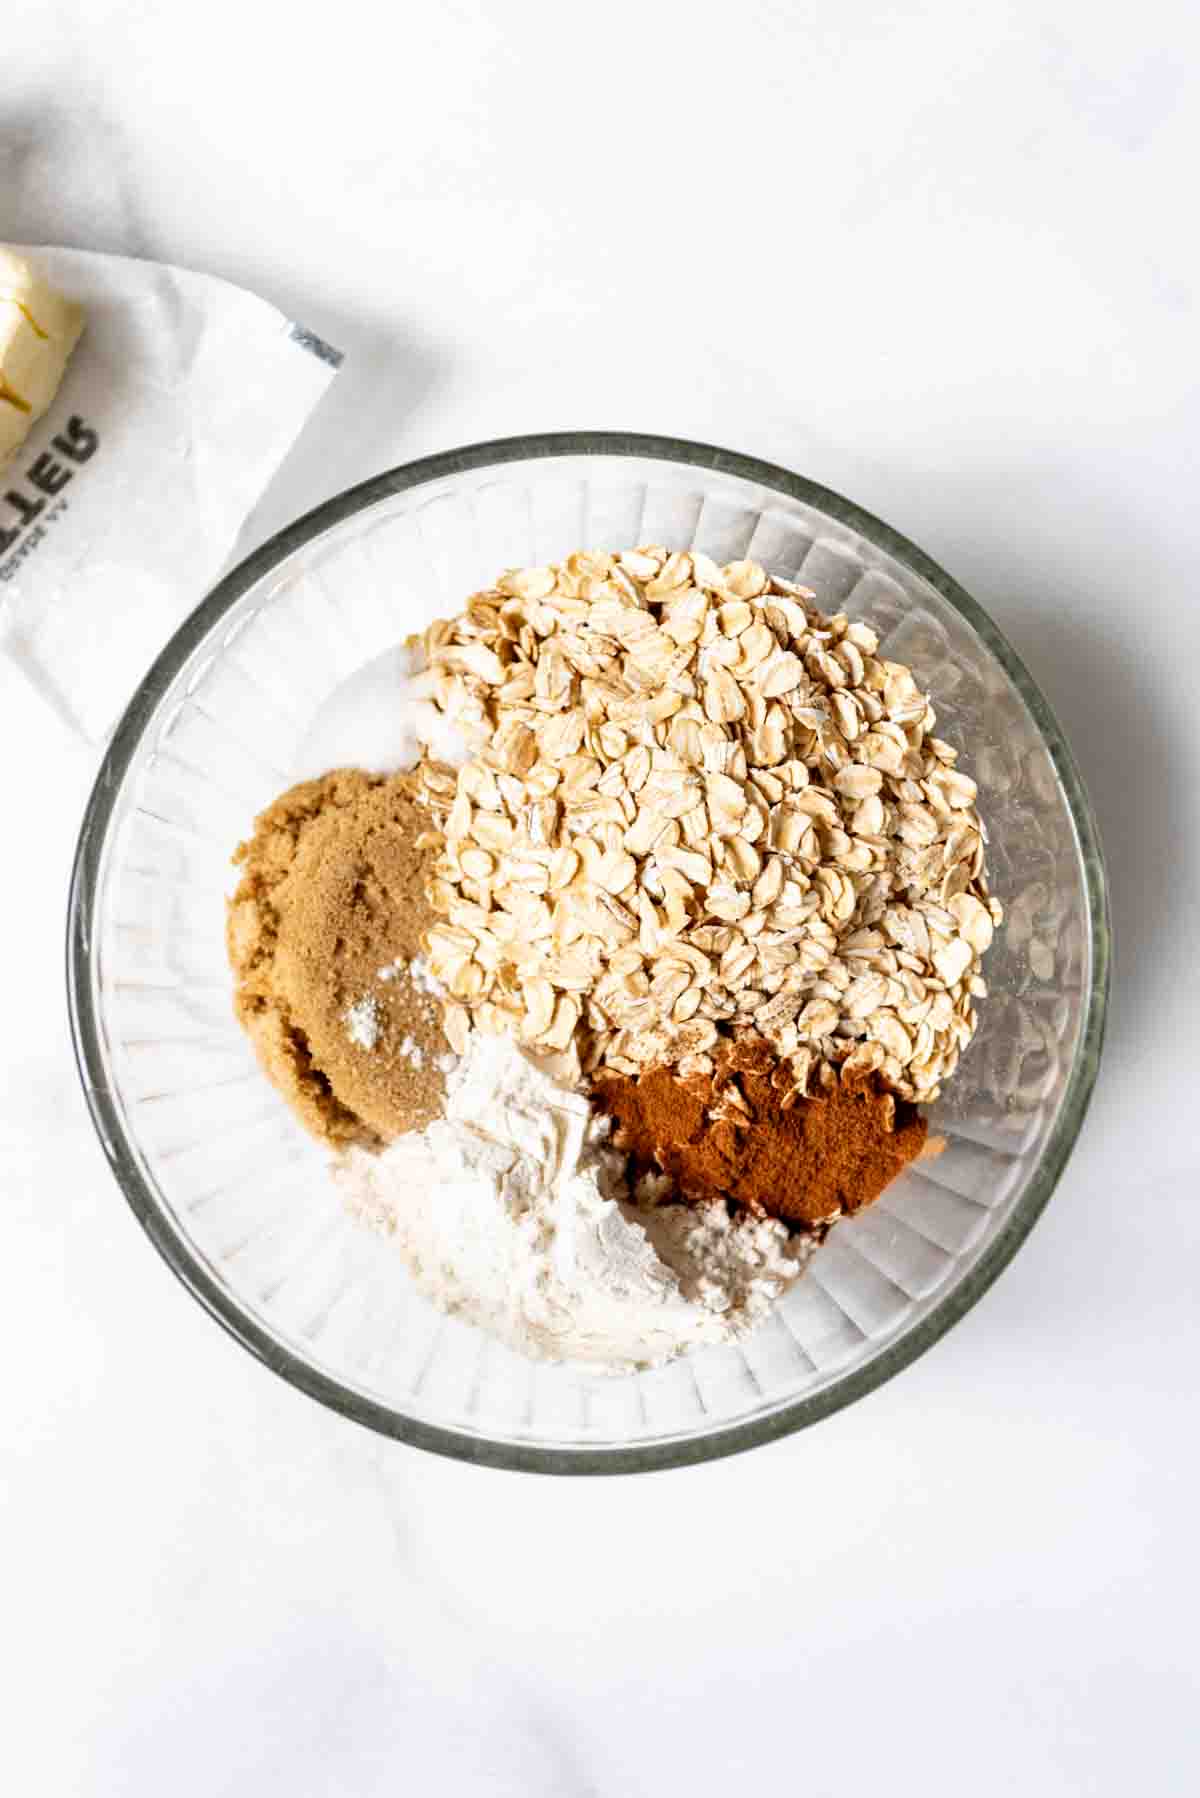
The crisp topping is just oats (old-fashioned, not instant or quick oats), all-purpose flour, brown sugar, a little cinnamon, salt, and butter. It’s a cinch to throw together and sprinkle over the top of the fruit filling.
Technically, you could use any fruit with this crisp and have an easy, wonderful dessert! Blueberry crisp, apple crisp, peach crisp, rhubarb crisp, and more are all popular combinations that we love.
If you are a fan of nuts, you might consider adding chopped pecans, walnuts, or sliced almonds to your crisp topping.
How to make cherry crisp with cherry pie filling
This approach is definitely the easiest because the hard work of pitting cherries and making the filling is already done for you.
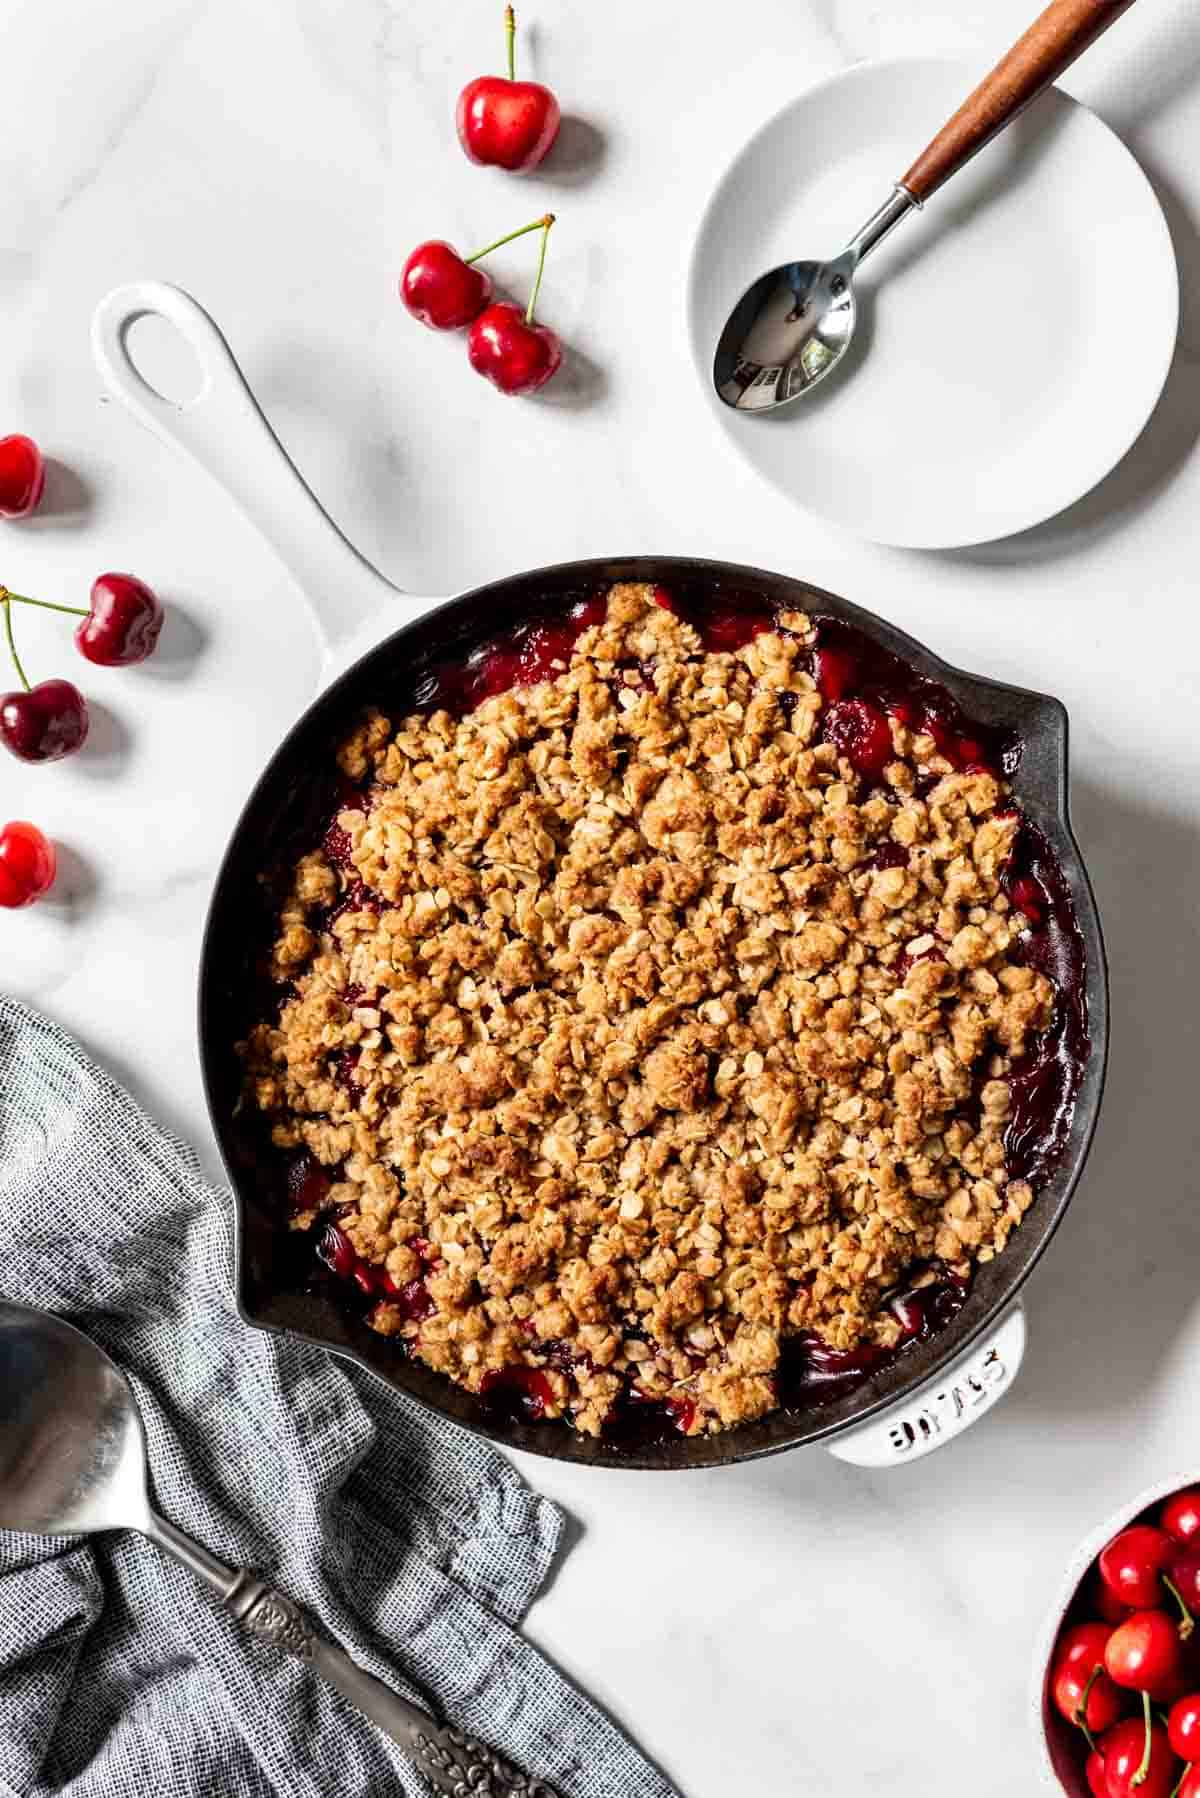
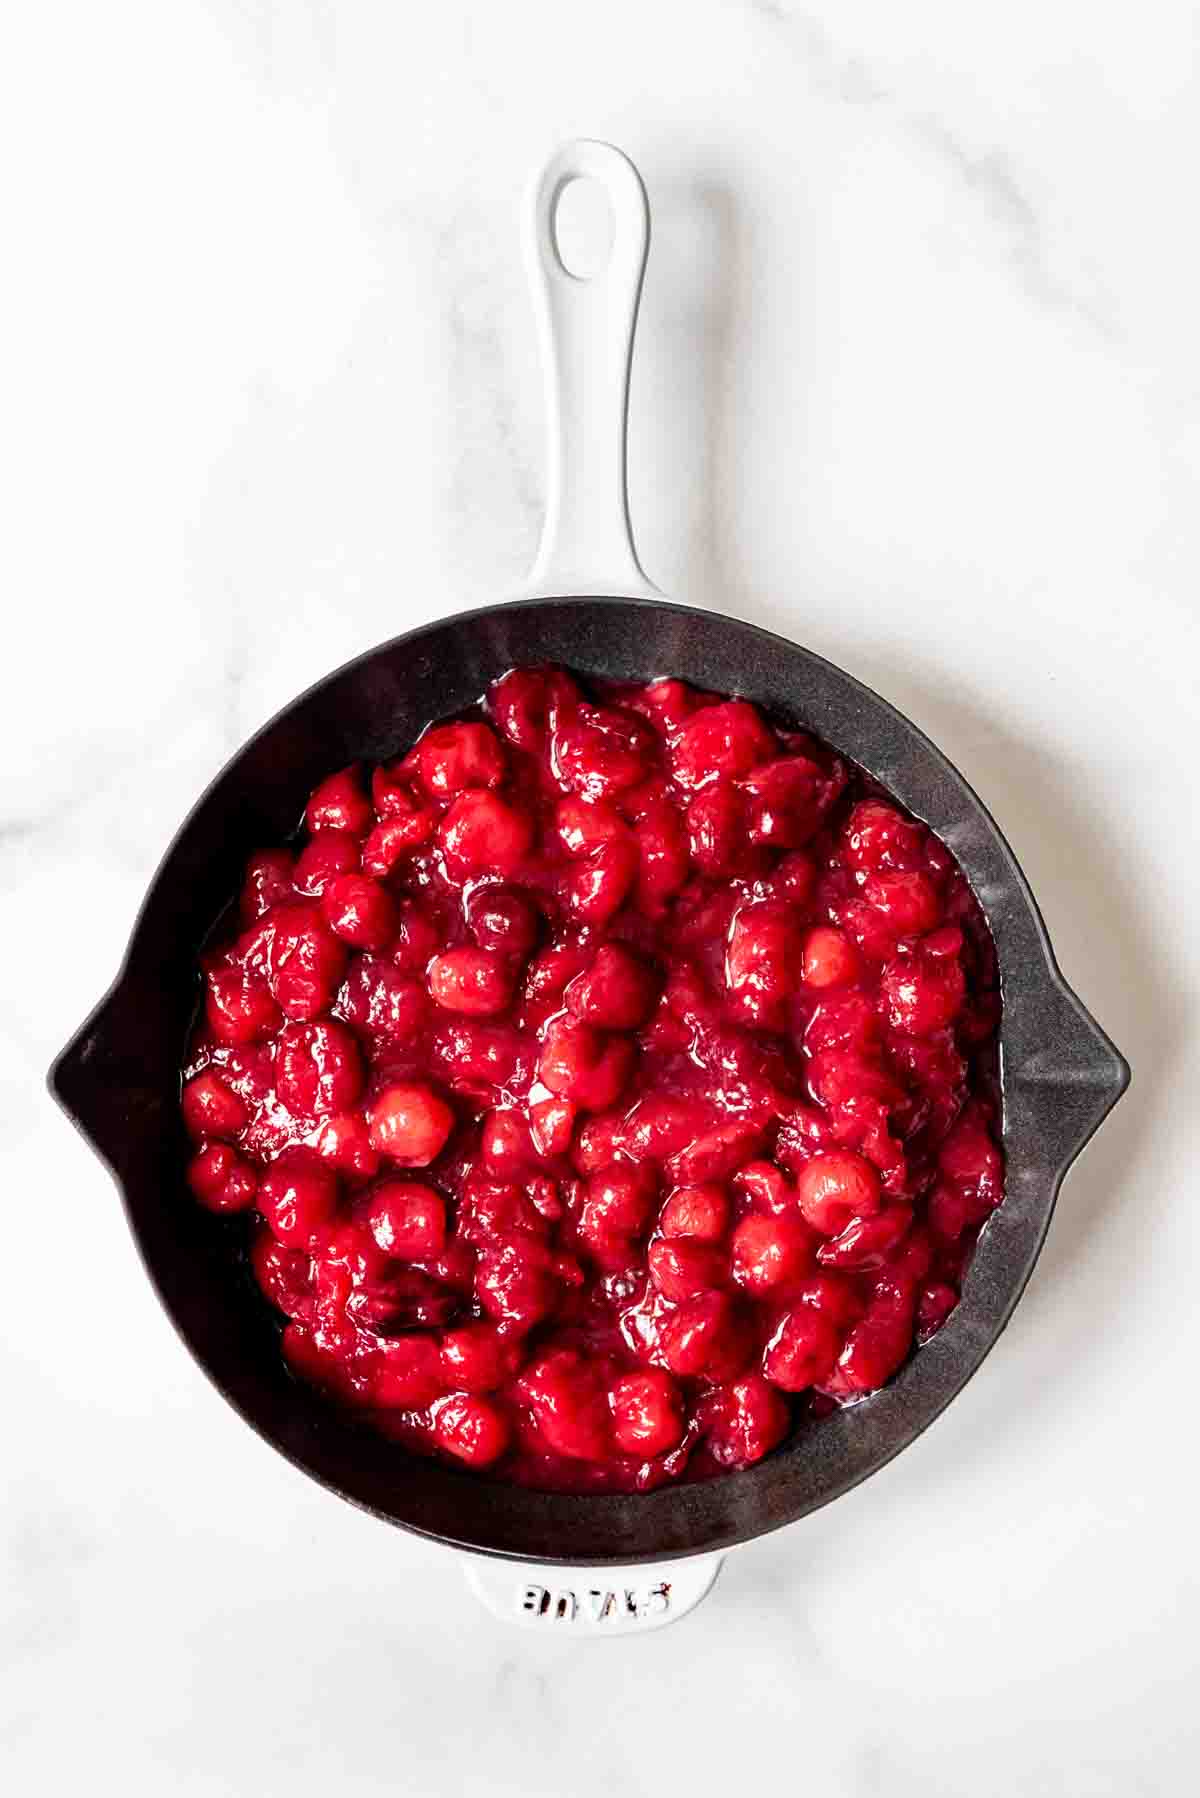
- Dump the cherry pie filling into an 8×8-inch square baking dish, a large skillet, or a deep dish pie plate (affiliate link). I use a 10-inch skillet because I love the presentation, but it doesn’t make a difference in how this cherry crisp recipe turns out.
- Make the crisp topping by combining the oats, flour, brown sugar, cinnamon, salt, and butter in a large mixing bowl. Mash the butter into the other ingredients using a fork or even just your hands until crumbs form. Sprinkle this over the top of the cherry filling.
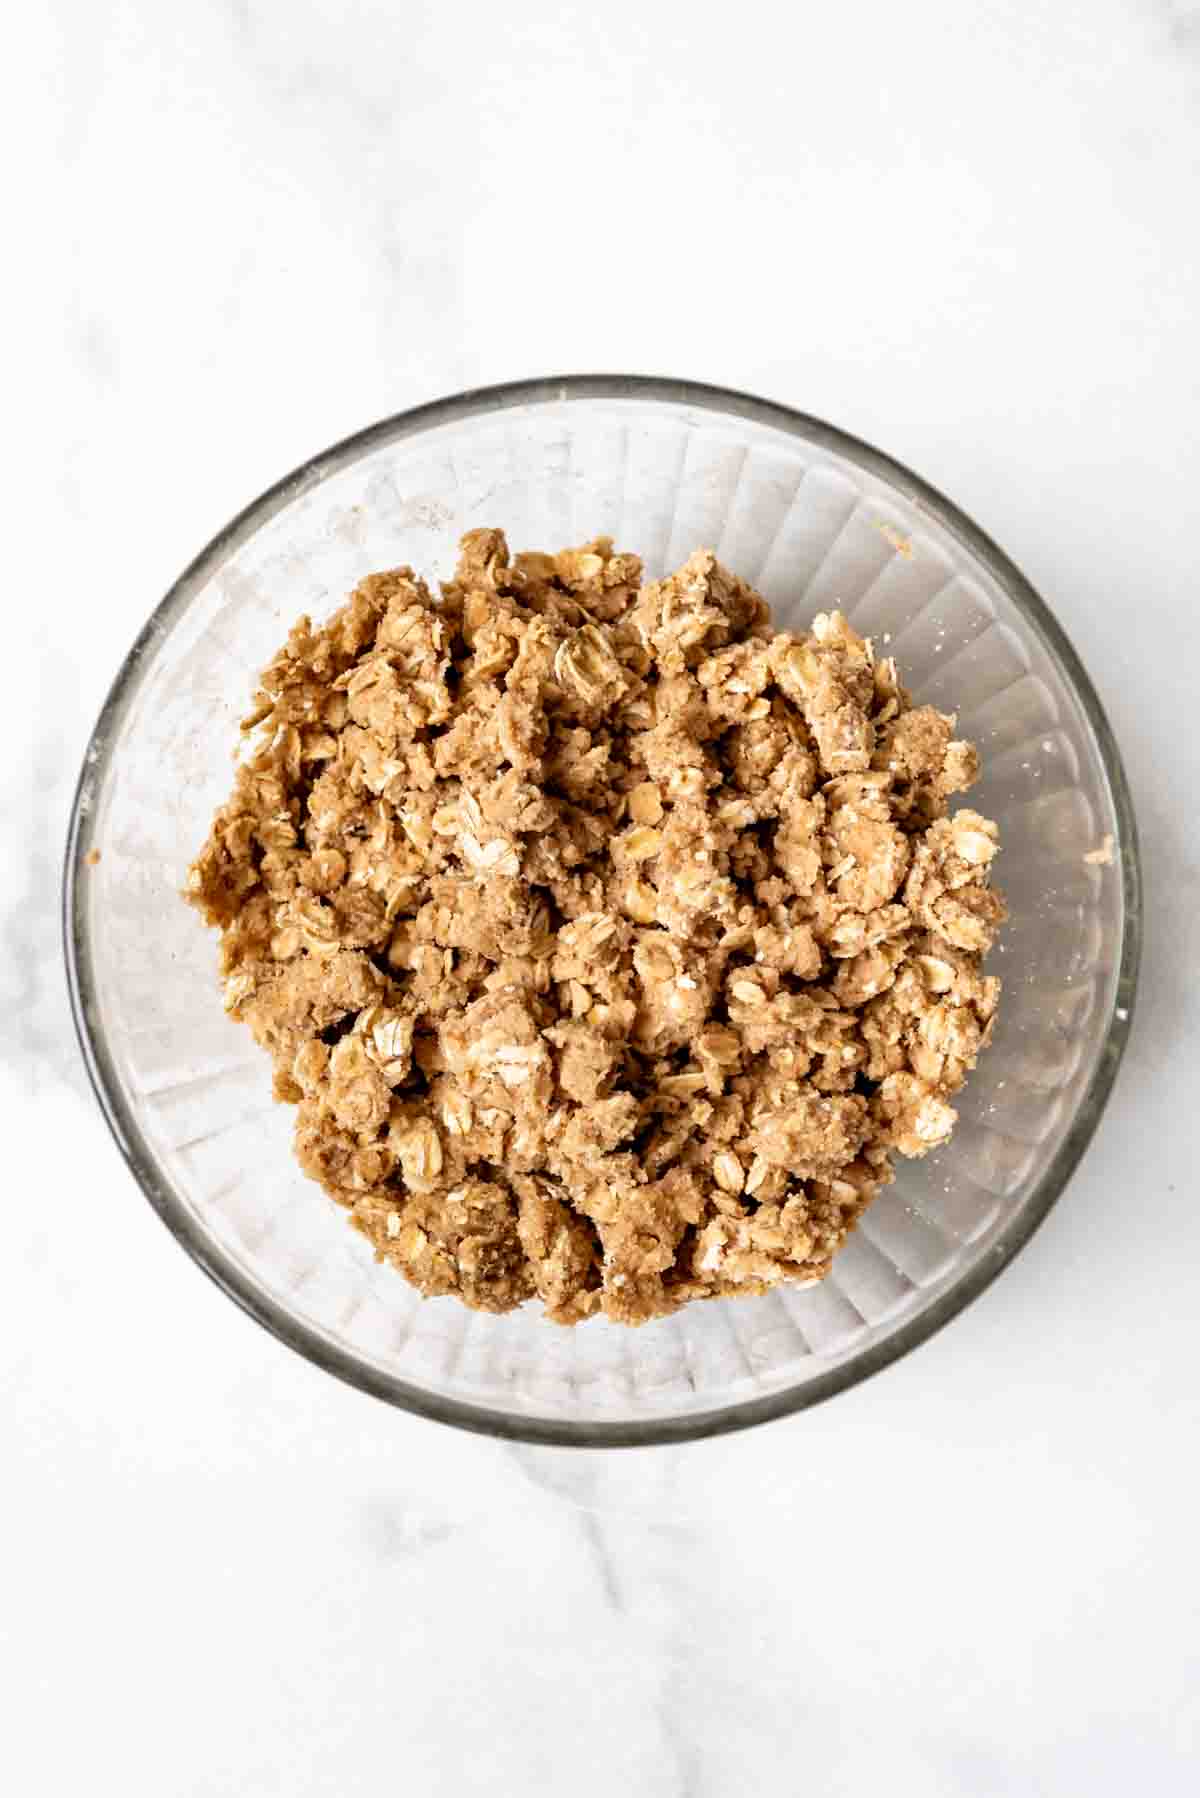
- Bake for 30 to 35 minutes at 400°F until the filling is bubbling and the crisp topping is golden brown.
- Let cool for at least 15 minutes before serving warm with a big scoop of vanilla ice cream on top.
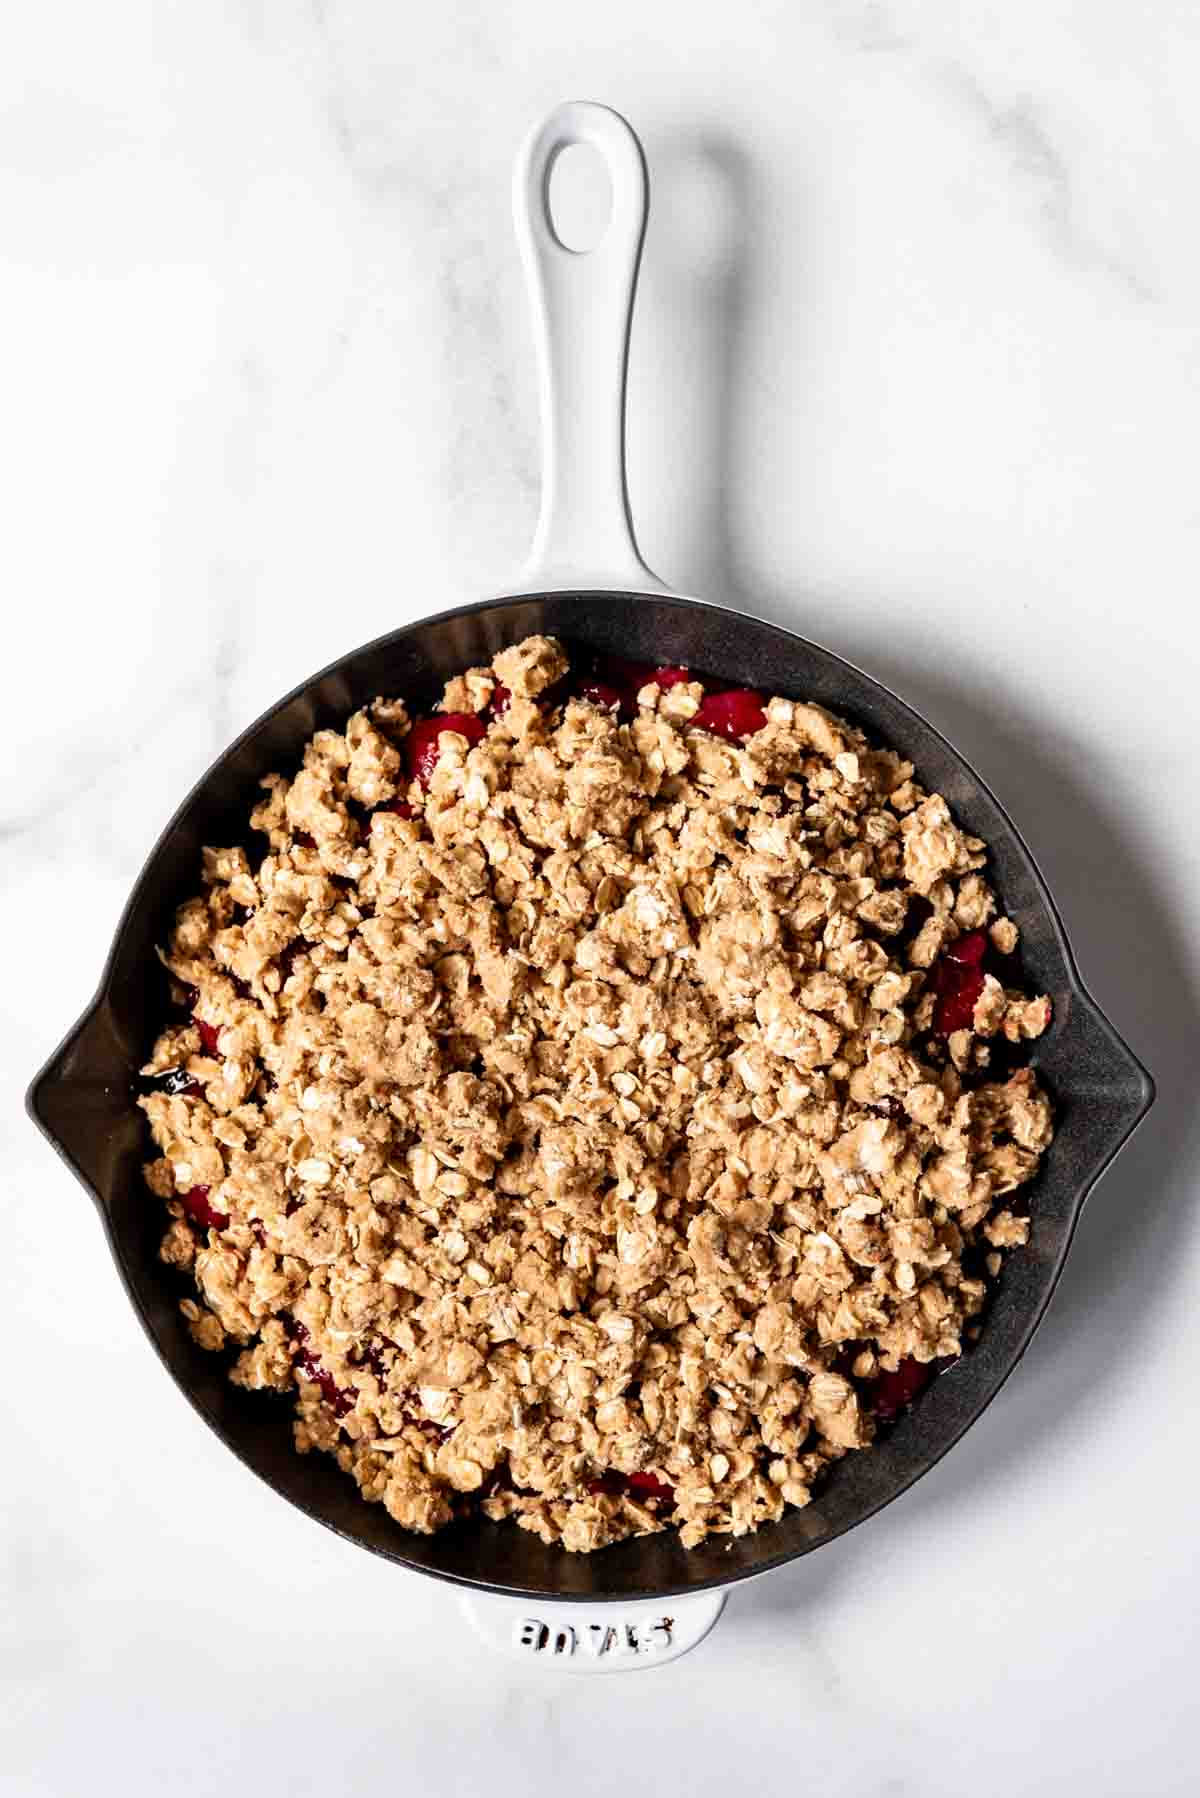
How to make cherry crisp with fresh, frozen, or bottled cherries
This approach is the same as the previous one, except with the added steps of preparing the cherry filling.
- Washed and pit about 2 ½ pounds of fresh sweet cherries (it’s about 4-5 cups). You can slice the cherries in half or leave them whole. Frozen cherries should be thawed first and drained of liquid. You could also use bottled or canned sour cherries instead. Oregon brand canned cherries and Trader Joe’s bottled Moreno cherries are my favorites.
- Add the cherries to an 8×8-inch square baking dish, a large skillet, or a deep dish pie plate (affiliate link) along with the ½ cup sugar, 2 tablespoons cornstarch, and a pinch of salt. Toss to distribute evenly. No sense dirtying an extra bowl when all of this can be done in the pan! If using sour cherries, you will want to add an additional ¼ cup of sugar. Add the water and lemon juice, and give everything a toss again.
- Make the crisp topping as directed above and sprinkle evenly over the cherry filling.
- Bake for at 400°F for 40-45 minutes until the filling is bubbling and the crisp topping is golden brown. The longer bake time at the lower temperature is needed so that the cherries can soften completely. You may need to cover the crisp with foil during the last 15-20 minutes of baking if it starts browning too much before the filling is done.
- Let cool for at least 15 minutes before serving warm with a big scoop of vanilla ice cream on top.
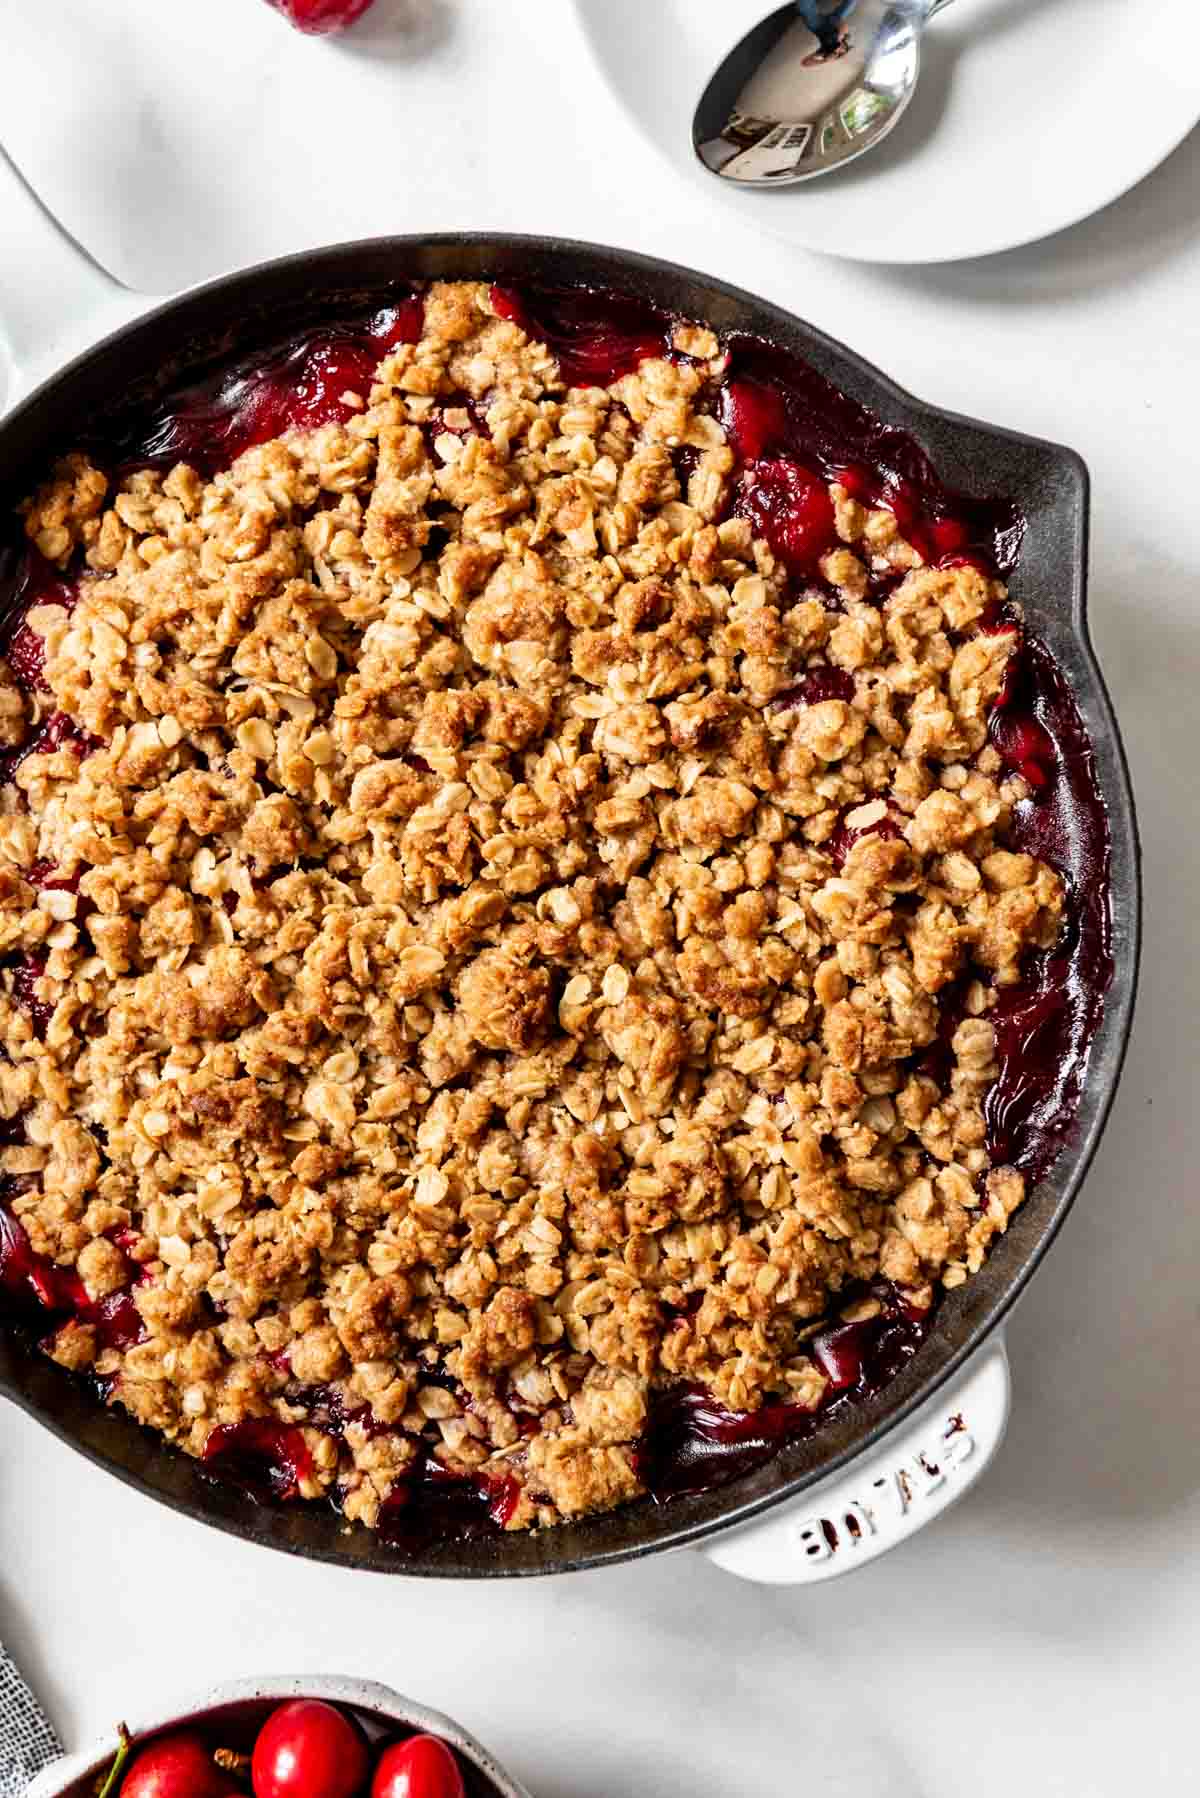
What’s the difference between a crumble and a crisp?
There is plenty of controversy over what actual constitutes a crumble or a crisp. In my experience, a crisp has oats while a crumble does not.
If you want to make a cherry crumble, just use this same recipe except leave out the oats and replace them with the same amount of additional flour.
Tips for making cherry crisp
- I recommend investing in a cherry pitter to help easily remove the pits from fresh cherries. It makes the process so quick and painless.
- Leftover cherry crisp will keep on the counter overnight or up to about 5 days in the fridge. It makes a delicious breakfast treat the next morning!
- Switch up the flavors by using your favorite canned pie filling. Or if using fresh fruit, swap out half of the cherries for another fruit. Peaches, rhubarb, blueberries, or blackberries would all go well with cherries I think!
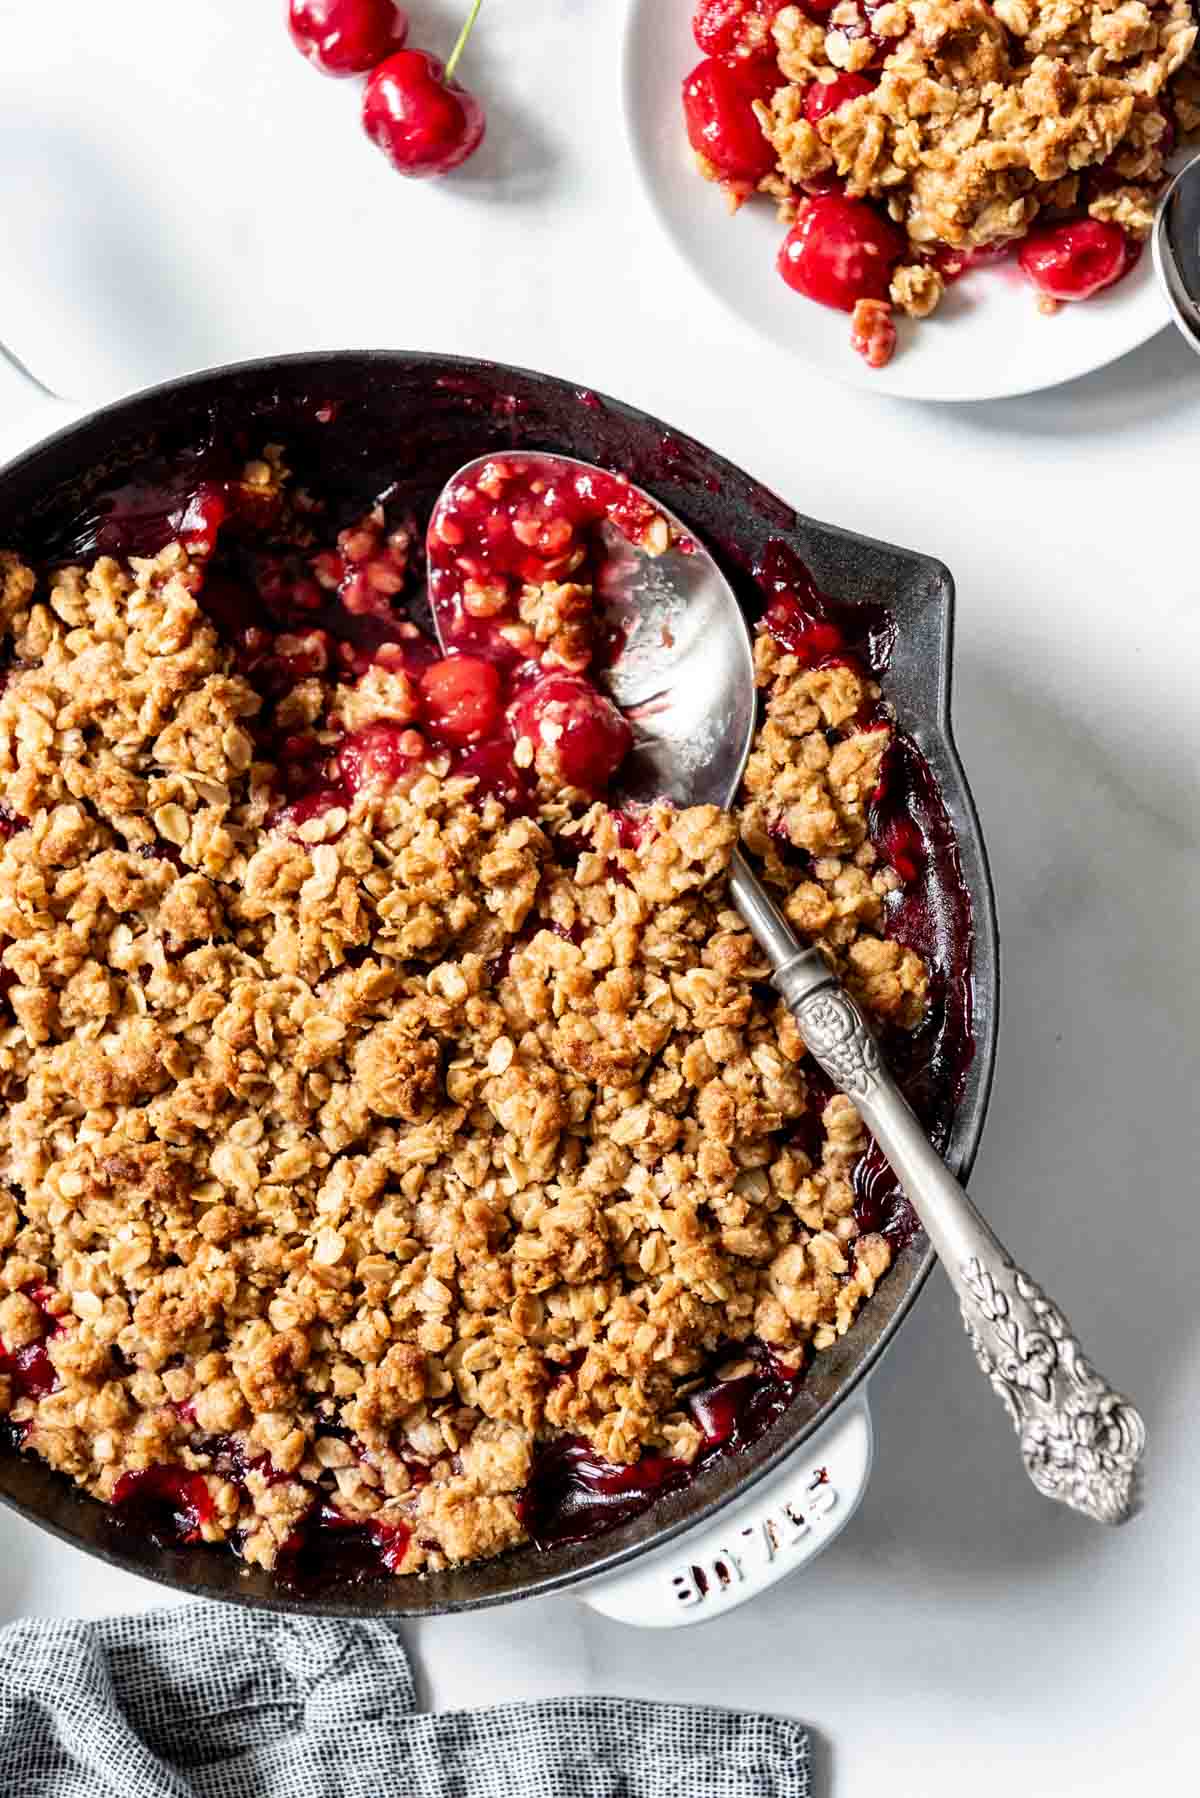
More Cherry Recipes
- Best Homemade Cherry Pie
- Cherry Vanilla Ice Cream
- Cherry Chip Cake
- Chocolate Cherry Hand Pies
- Puff Pastry Cherry Turnovers
Did you make this recipe?
Let me know what you thought with a comment and rating below. You can also take a picture and tag me on Instagram @houseofnasheats or share it on the Pinterest pin so I can see.
Cherry Crisp
Ingredients
Filling
- 4 cups [homemade cherry pie filling] or two 21-ounce cans of storebought (see notes for using fresh or frozen cherries)
Crisp
- 1 cup old-fashioned oats
- 1/2 cup brown sugar
- 1/2 cup all-purpose flour
- 1 teaspoon ground cinnamon
- 1/2 teaspoon salt
- 1/2 cup salted butter softened
- 1/2 cup walnuts pecans, or slivered almonds (optional)

Instructions
- Preheat oven to 400°F. Pour the cherry pie filling into an 8×8" baking dish, large skillet, or deep dish pie plate (affiliate link).4 cups [homemade cherry pie filling]
- Combine oats, sugar, flour, cinnamon, salt, and butter. Mash with a fork or with your hands until crumbly. Sprinkle evenly over the cherry pie filling.1 cup old-fashioned oats, ½ cup brown sugar, ½ cup all-purpose flour, 1 teaspoon ground cinnamon, ½ teaspoon salt, ½ cup salted butter, ½ cup walnuts
- Bake for 30 to 35 minutes until filling is bubbling and the top is golden brown. Cool for 5-10 minutes before serving with vanilla ice cream.
Notes
- Cherry Crisp with fresh or frozen cherries: Combine 4-5 cups pitted sweet cherries (about 2 ½ pounds) with ½ cup granulated sugar (if using sour or tart cherries, add an additional ¼ cup of sugar), 2 tablespoons cornstarch, and a pinch of salt, tossing to coat. Stir in ¼ cup water and 1 tablespoon fresh lemon juice, then top with the crisp topping from above. Bake at 350°F for 40-45 minutes. Cover the crisp with foil during the last 15-20 minutes so the cherries can cook through and soften without the crisp browning to, well, a crisp.
- You can easily double the recipe and make it in a 9×13-inch pan if you are serving to a larger group.
Nutrition
Recipe adapted from All Recipes.



This looks so good and there is something special about cherries this time of year.
If I am using the Oregon red tart cherries, will I need to drain them before adding?