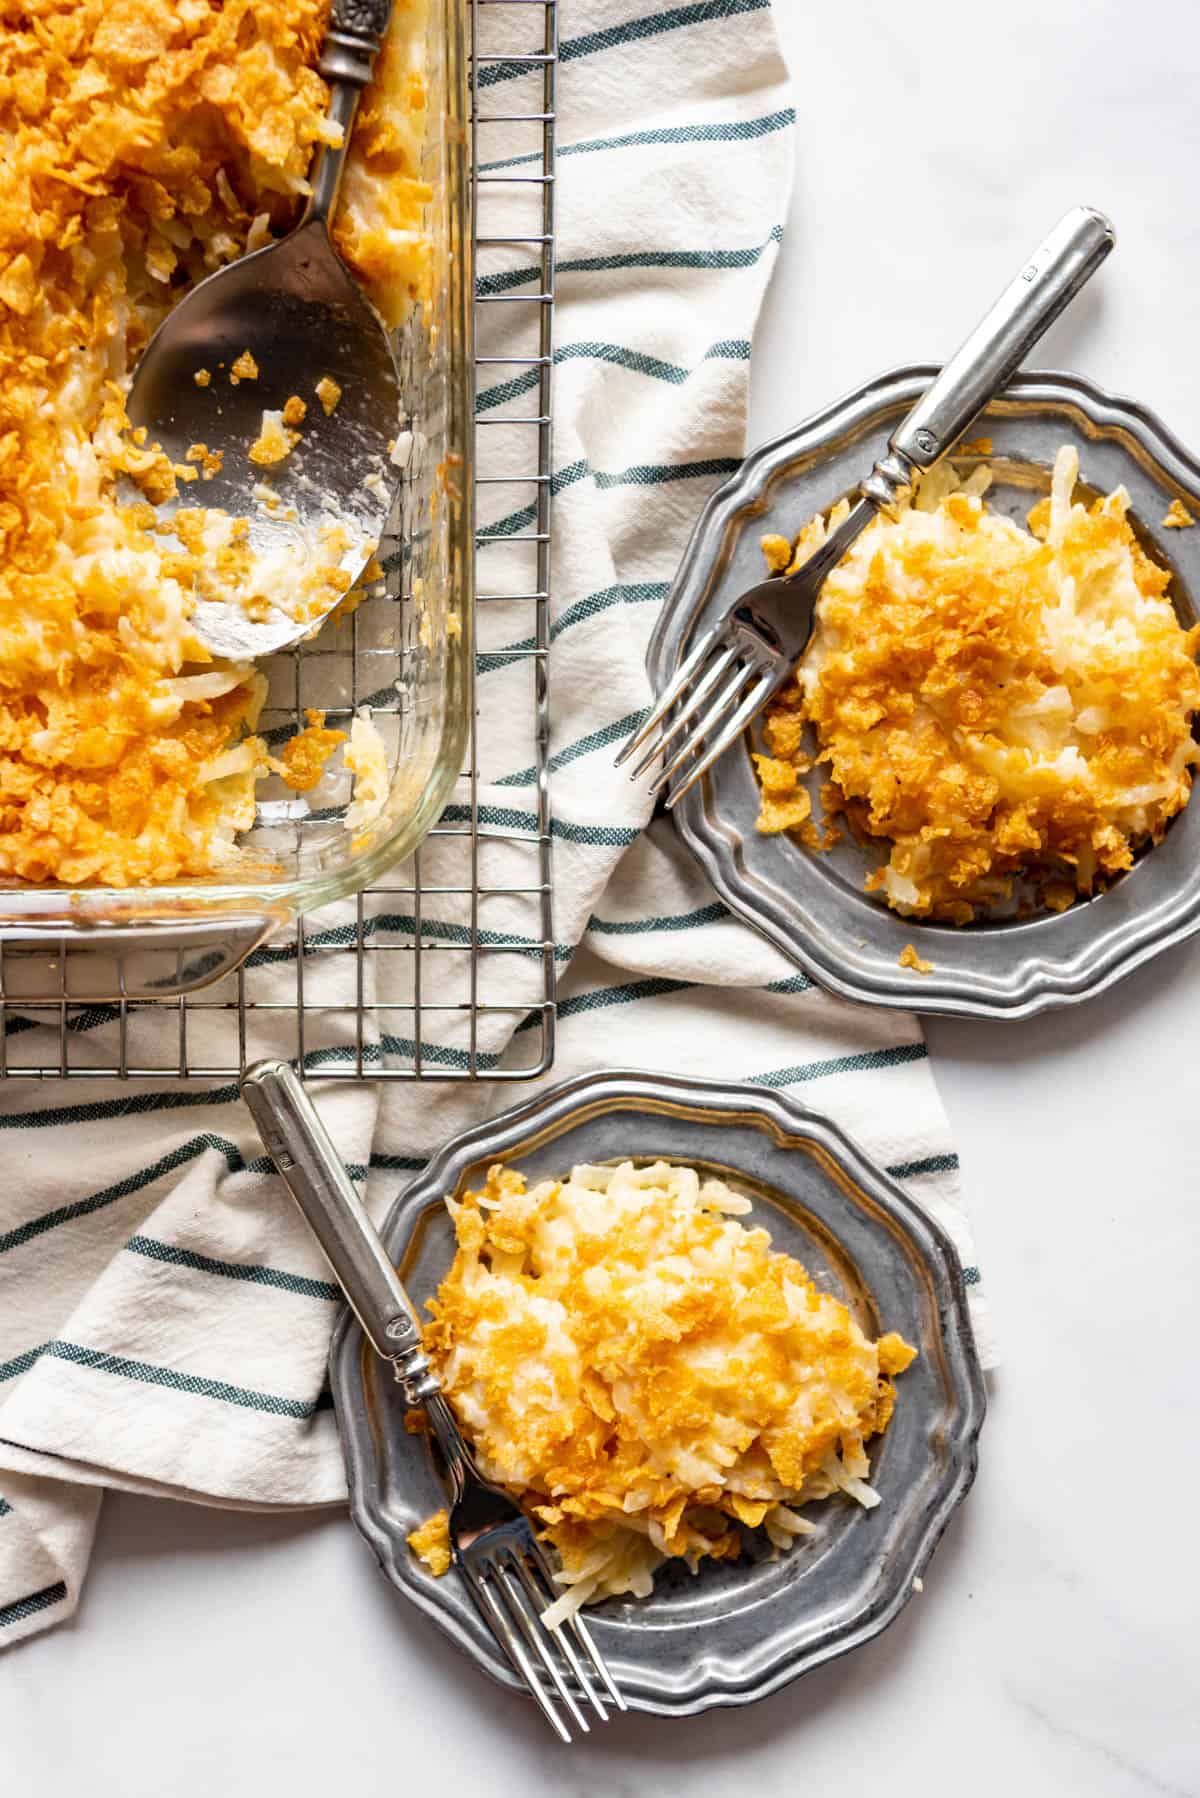
Funeral Potatoes, also known as “party potatoes” or “cheesy potato casserole,” are a classic side dish perfect for any event. From holiday dinners to family gatherings and special occasions, funeral potatoes have been a mainstay of the dinner table for a long time.
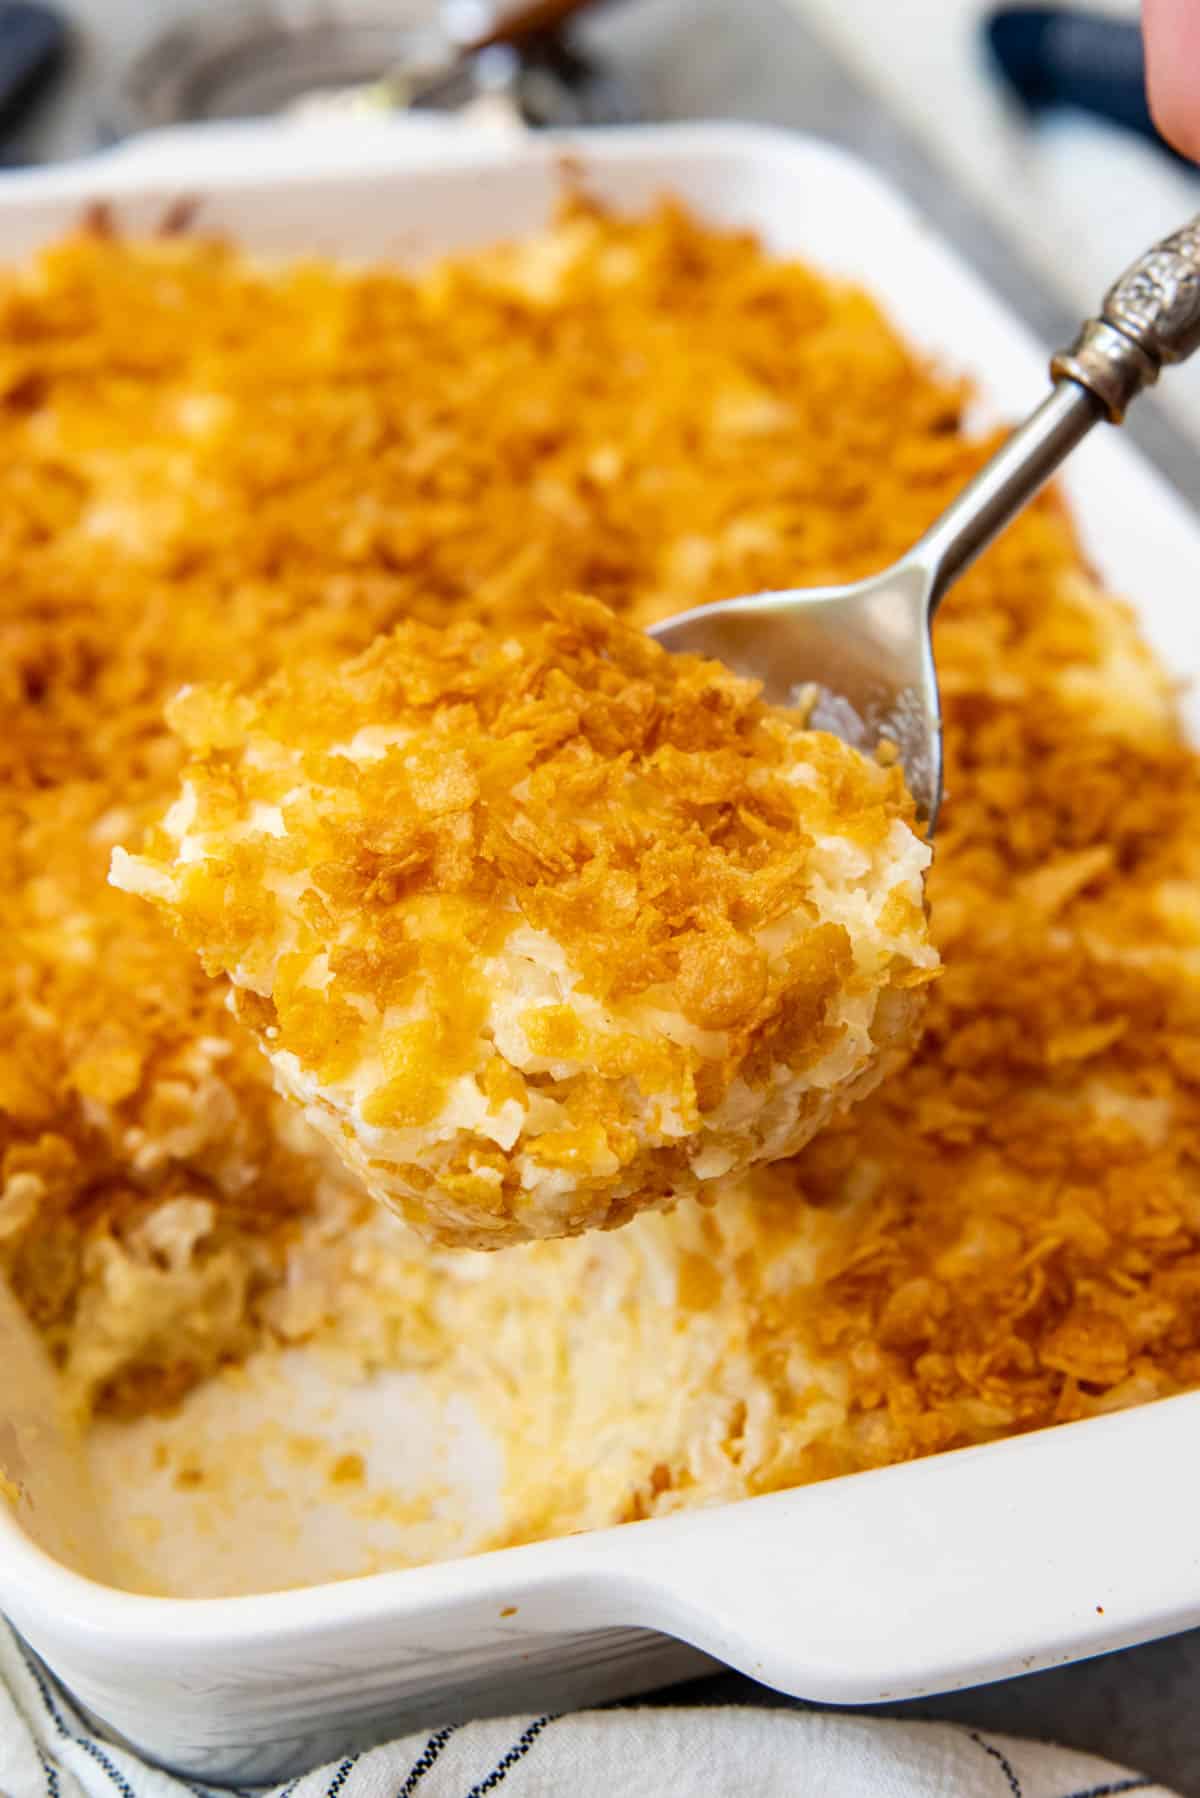
Table of Contents
Most of my relatives are from Utah and Idaho and I think these funeral potatoes were at every potluck I have ever been to. It’s a great potato side dish that’s full of flavor, easy to throw together, and it’s perfect for large crowds too!
With a small bit of prep time, you let the oven work its cheesy bubbly magic, and this yummy, easy funeral potatoes recipe is will be on the table in no time!
Why do they call it funeral potatoes?
You know you’re from Utah if you don’t blink an eye when someone says they will make the funeral potatoes. This unusually and somewhat morbidly named potato-based casserole dish has been a mainstay for potlucks and funeral luncheons served for bereaved families after funeral services for decades.
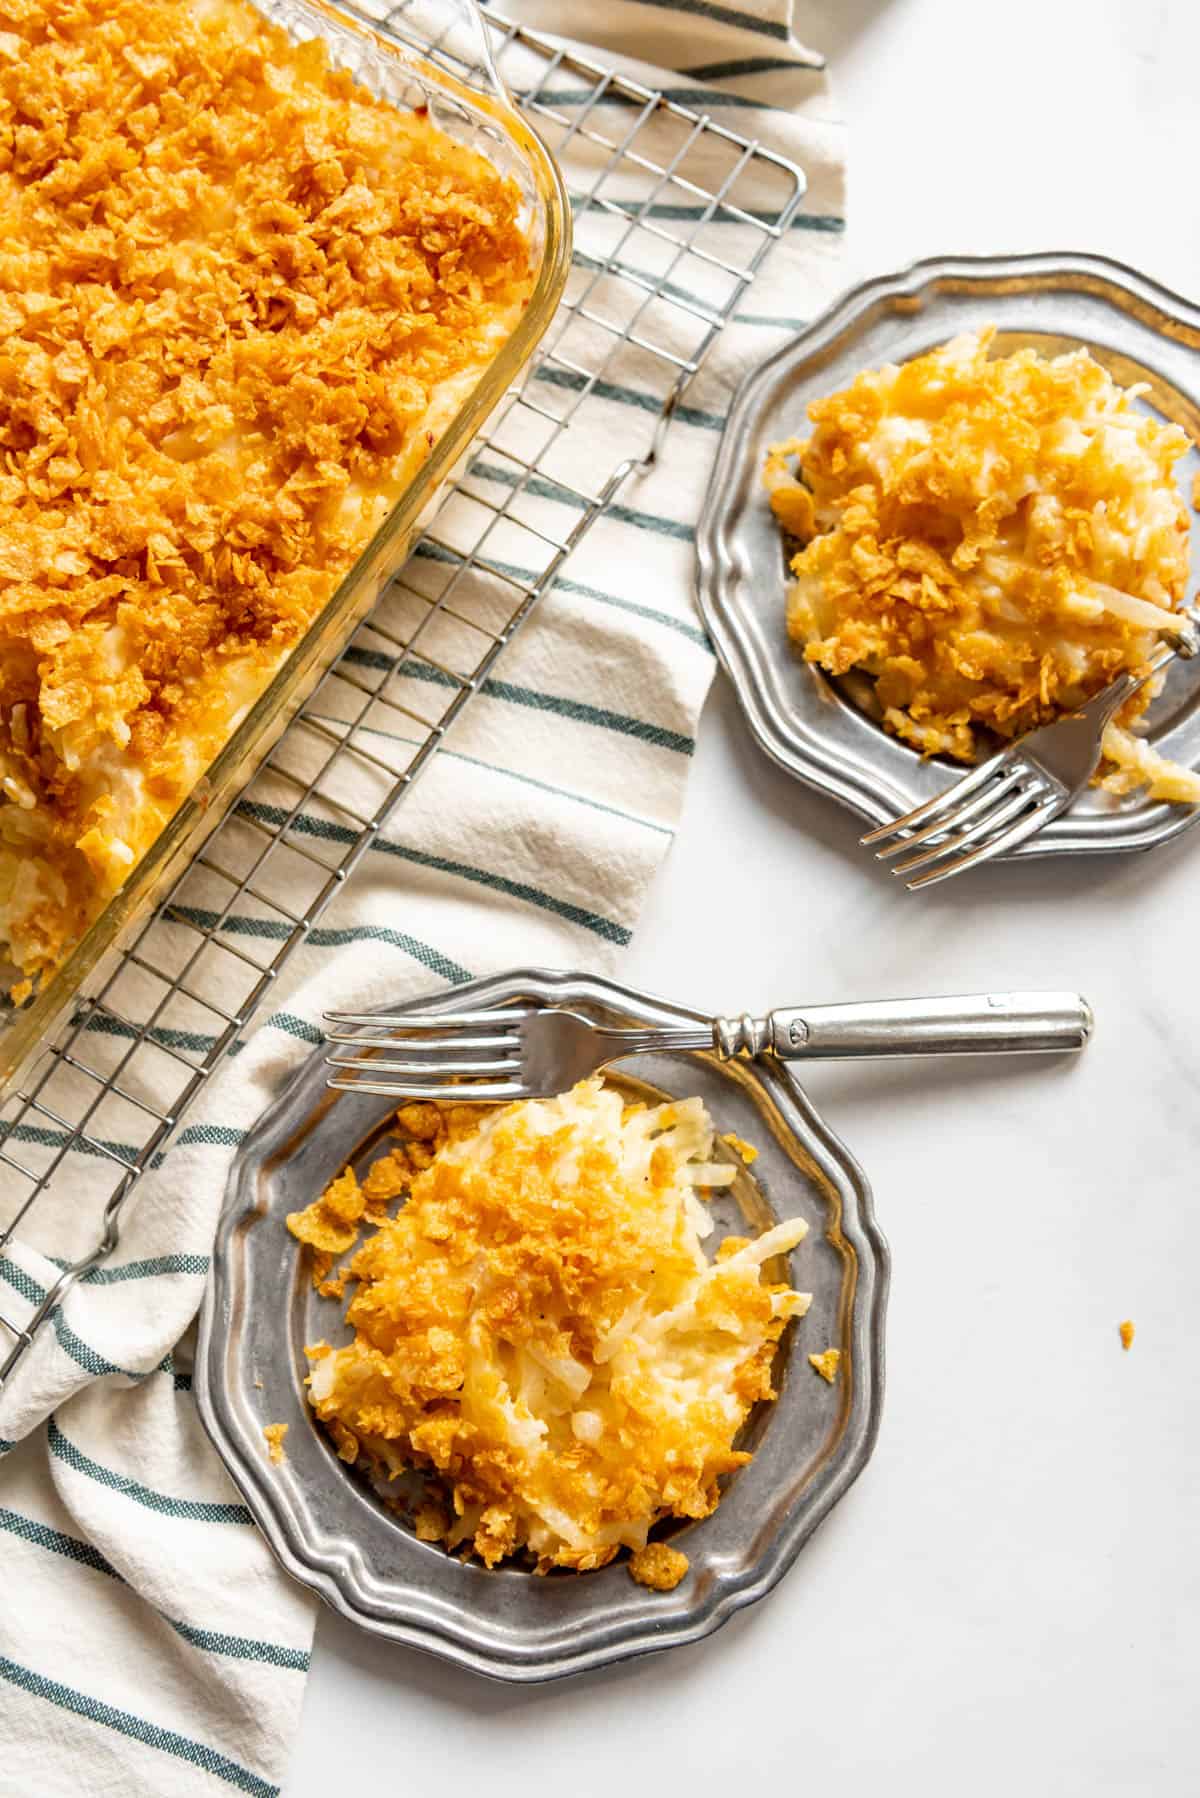
It makes perfect sense when you think about it. Who wouldn’t feel comforted by a big pan of creamy, cheese shredded potatoes with a buttery, crunchy topping that pairs perfectly with a sliced ham and homemade rolls?
Try my Scalloped Potatoes, Creamy Potluck Potatoes, and these fancy Duchess Potatoes for some other delicious potato side dishes!
Why We Love This Recipe
- It’s so easy to throw together, and is freezer-friendly too!
- This funeral potatoes recipe feeds a crowd. We have done this for many church Christmas parties and Easter dinners.
- It may not be the fanciest dish, but it’s nostalgic and always satisfying.
- We’re skipping the can of cream of chicken soup and making the sauce from scratch for an updated modern version of this comfort food favorite.
What You’ll Need
Scroll down to the recipe card below this post for ingredient quantities and full instructions.
- Hash Browns – I’ve used frozen hashbrowns that I’ve thawed. You can use store-bought hashbrowns, or make them yourself by peeling and grating a few russet potatoes.
- Butter – Use salted butter to sauté the onion and garlic, to coat the cornflakes, and also in the sauce. Salted butter will bring out the flavor more than unsalted butter.
- Chicken broth & milk – We’re essentially making homemade cream of chicken soup here, rather than using the canned kind, and these two ingredients provide the base of the sauce.
- Sour Cream – Full-fat sour cream will give you the creamiest flavor, and it adds a bit of tang to the dish as well.
- Cheese – I used a block of medium cheddar cheese that I grated myself because it melts much better than the pre-shredded variety.
- Onion & Garlic – Freshly chopped onion and freshly minced garlic cloves have an intensely delicious savory flavor.
- Salt & Pepper – Use kosher salt and freshly ground black pepper to enhance the flavors and season the dish.
- Cornflakes – Any brand of plain cornflakes will work well here.
How to Make Cheesy Funeral Potatoes
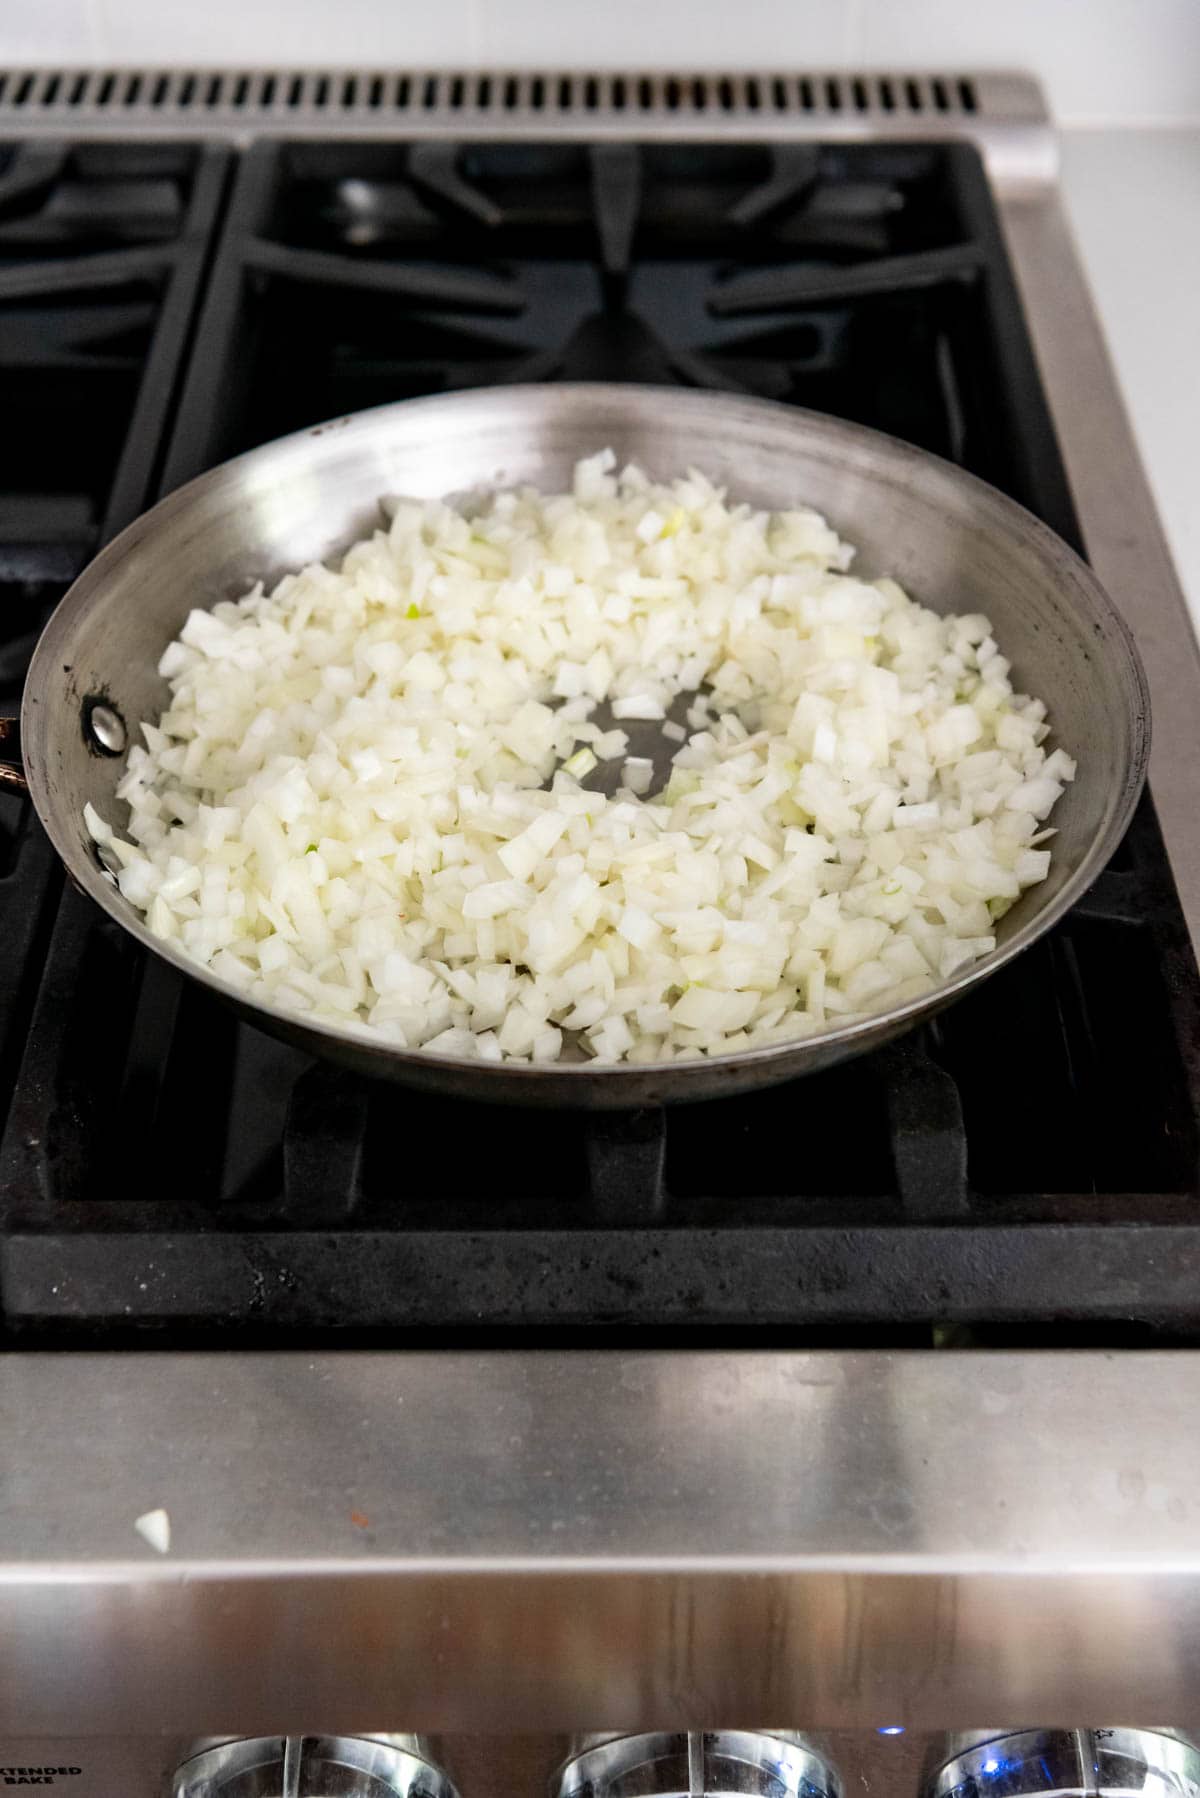
- Prepare equipment. Heat the oven to 350 degrees Fahrenheit. In a large pan over medium heat, add 1 tablespoon of the butter. Once it’s melted, add the diced onion.
- Sauté. Sauté for 3 to 5 minutes until the onion is soft and translucent. Add the minced garlic and cook for another 30 seconds.
- Make the sauce. Sprinkle the flour over the sauteed onions and whisk for 1 minute to remove the raw flour taste. Pour in the chicken broth and milk while whisking. Season with the salt and pepper, then continue to cook, whisking constantly, until thickened. Remove from heat and whisk in the sour cream until combined.
- Combine ingredients. In a large bowl, combine the thawed and drained shredded potatoes, the prepared sauce, and the grated cheese. Stir until everything is evenly combined.
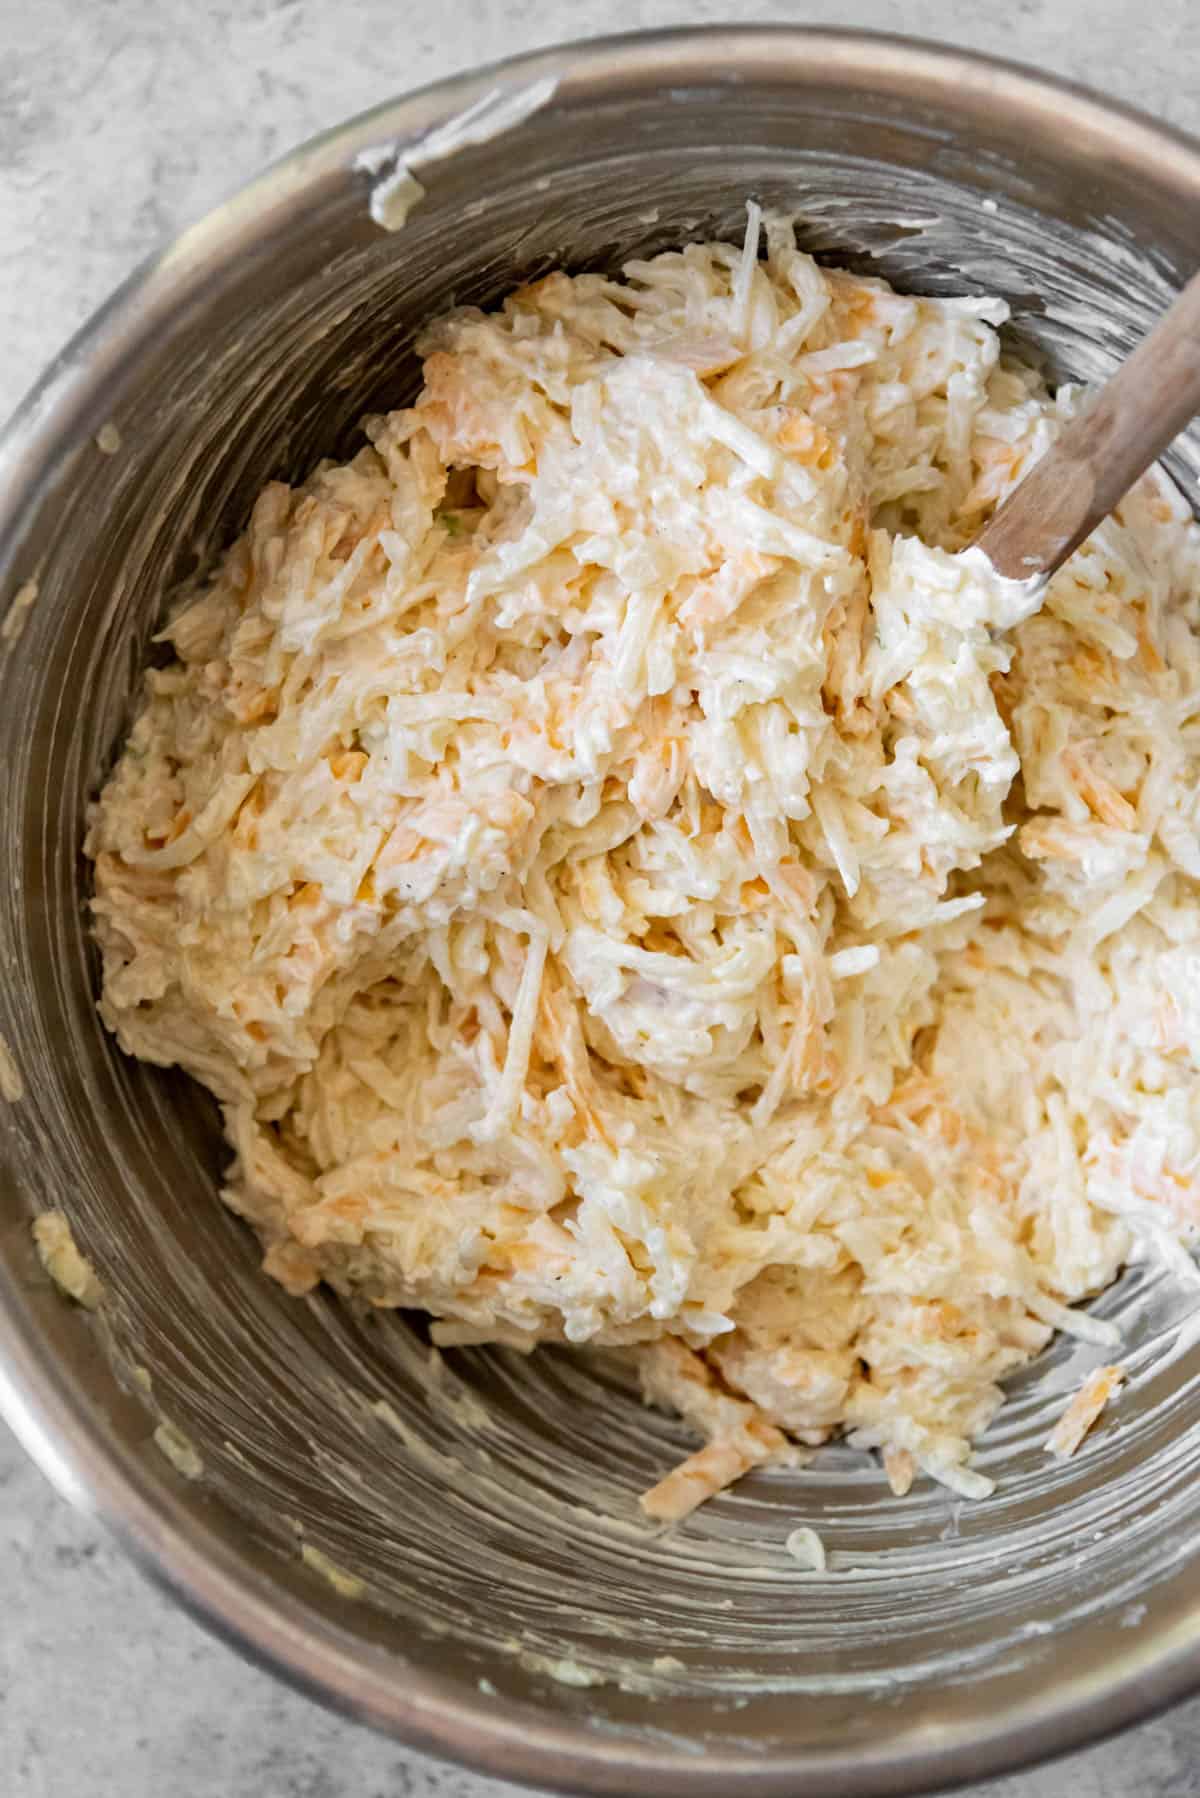
- Put into the dish. Spread the cheesy potato mixture into a large 9″ x 13″ baking dish that has been sprayed with nonstick cooking spray and press it into an even layer.
- Bake. Cover the potatoes with aluminum foil and transfer to the preheated oven and bake for 45 minutes.
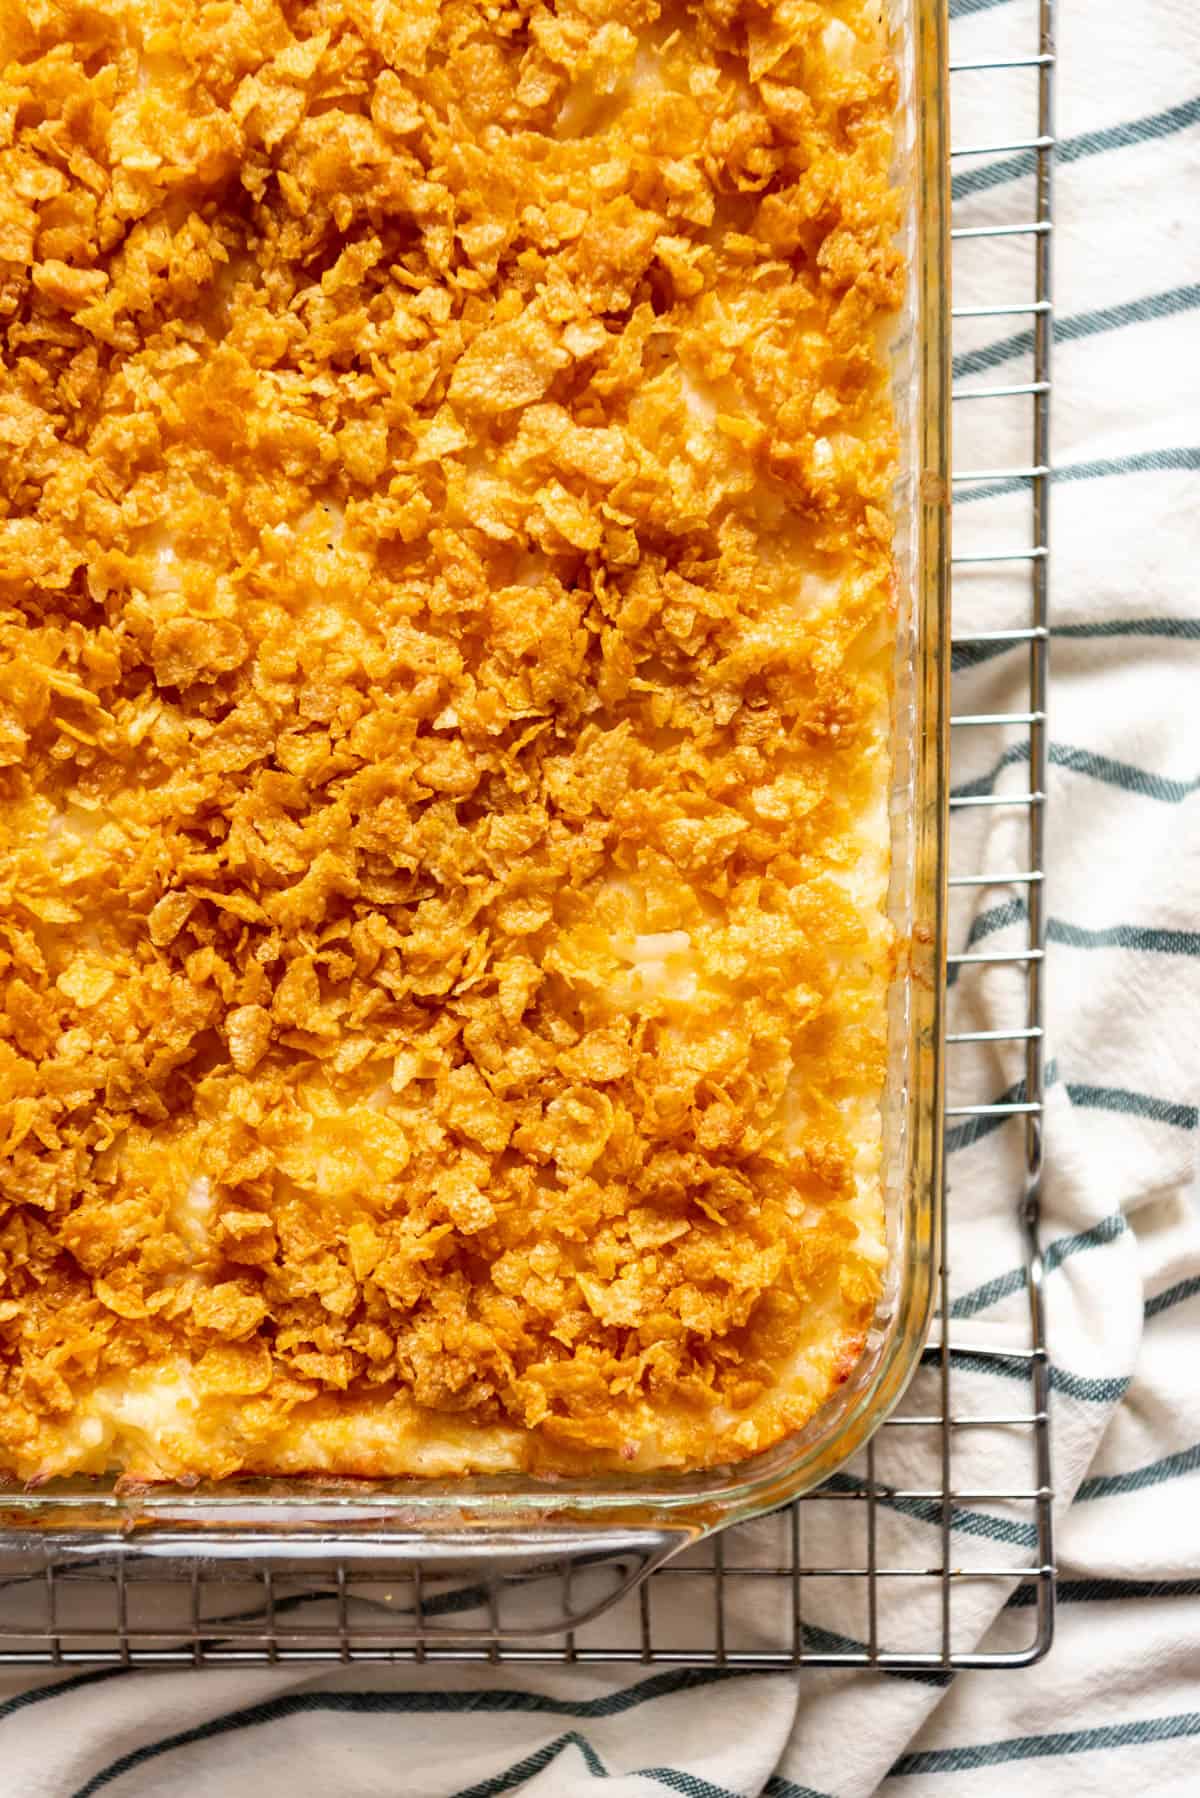
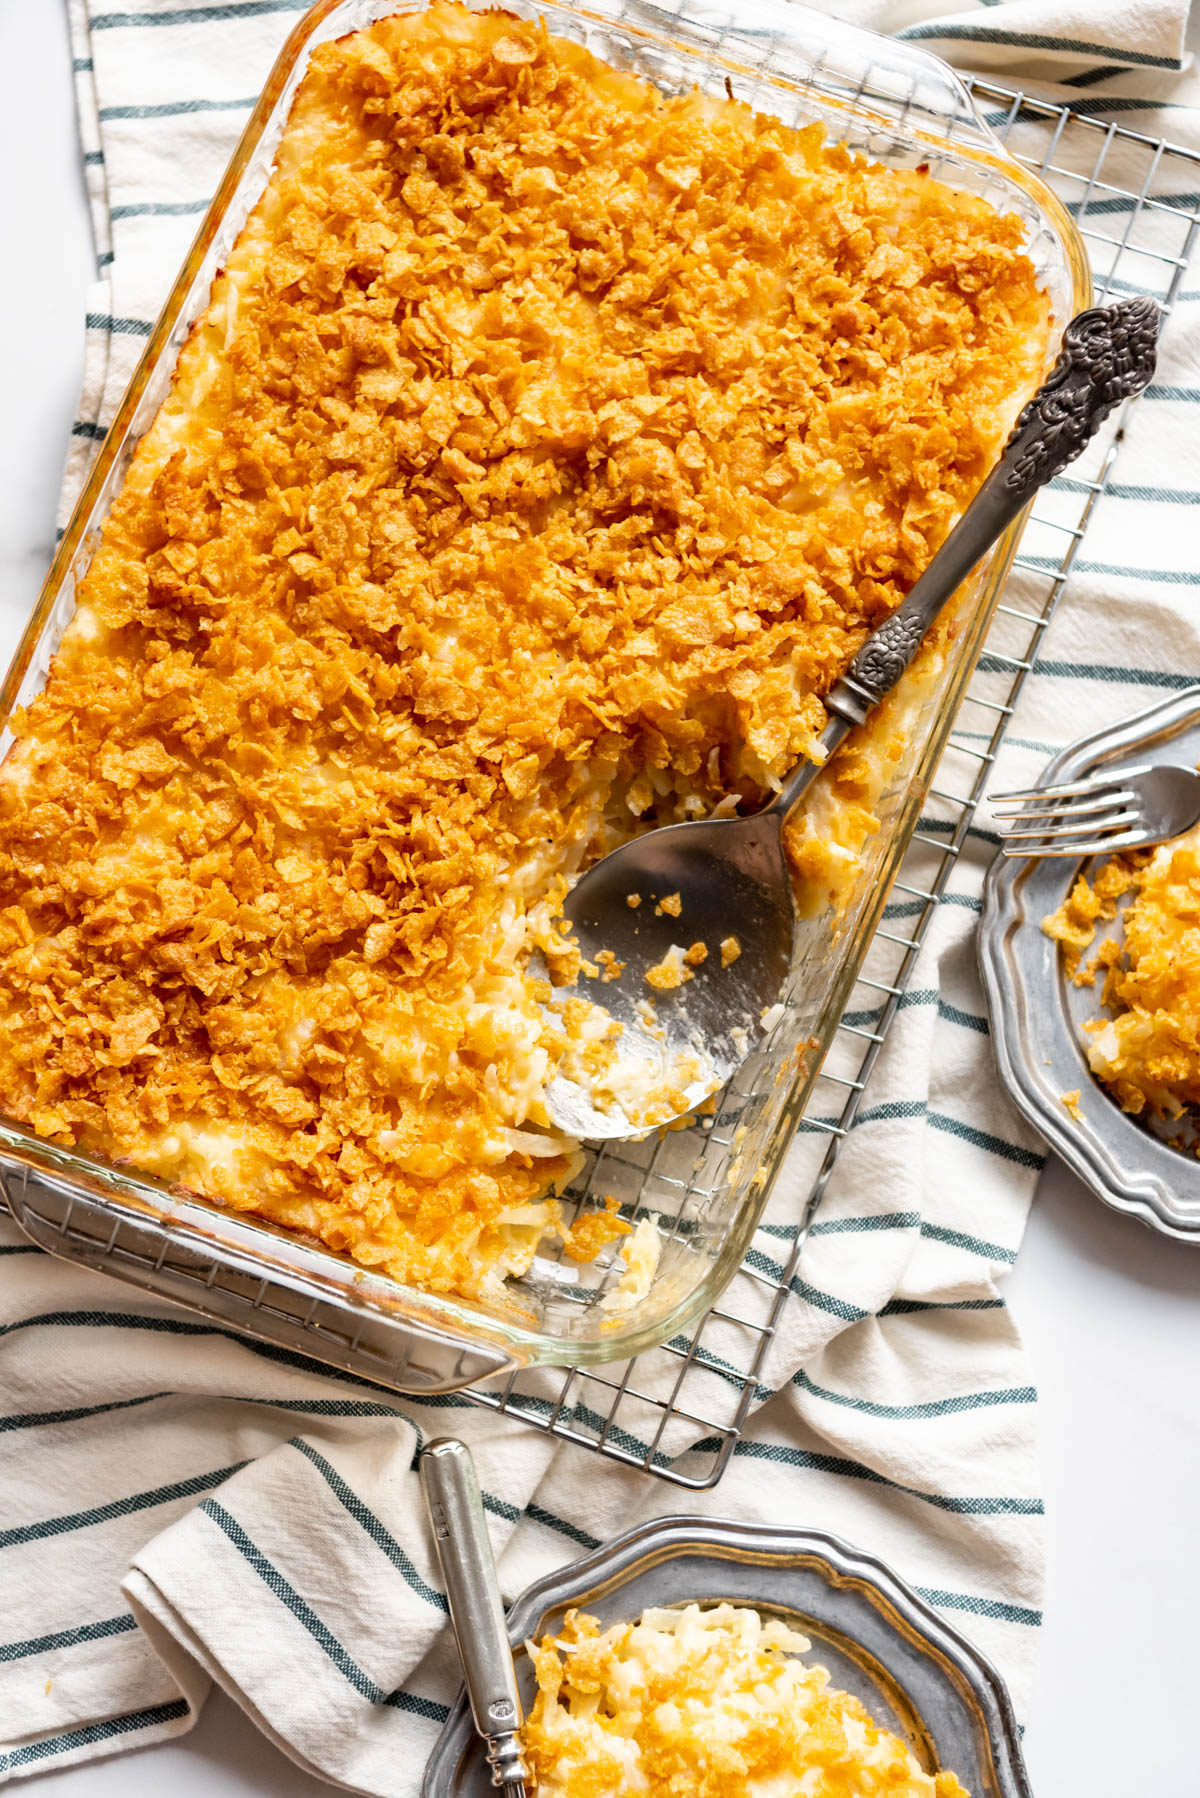
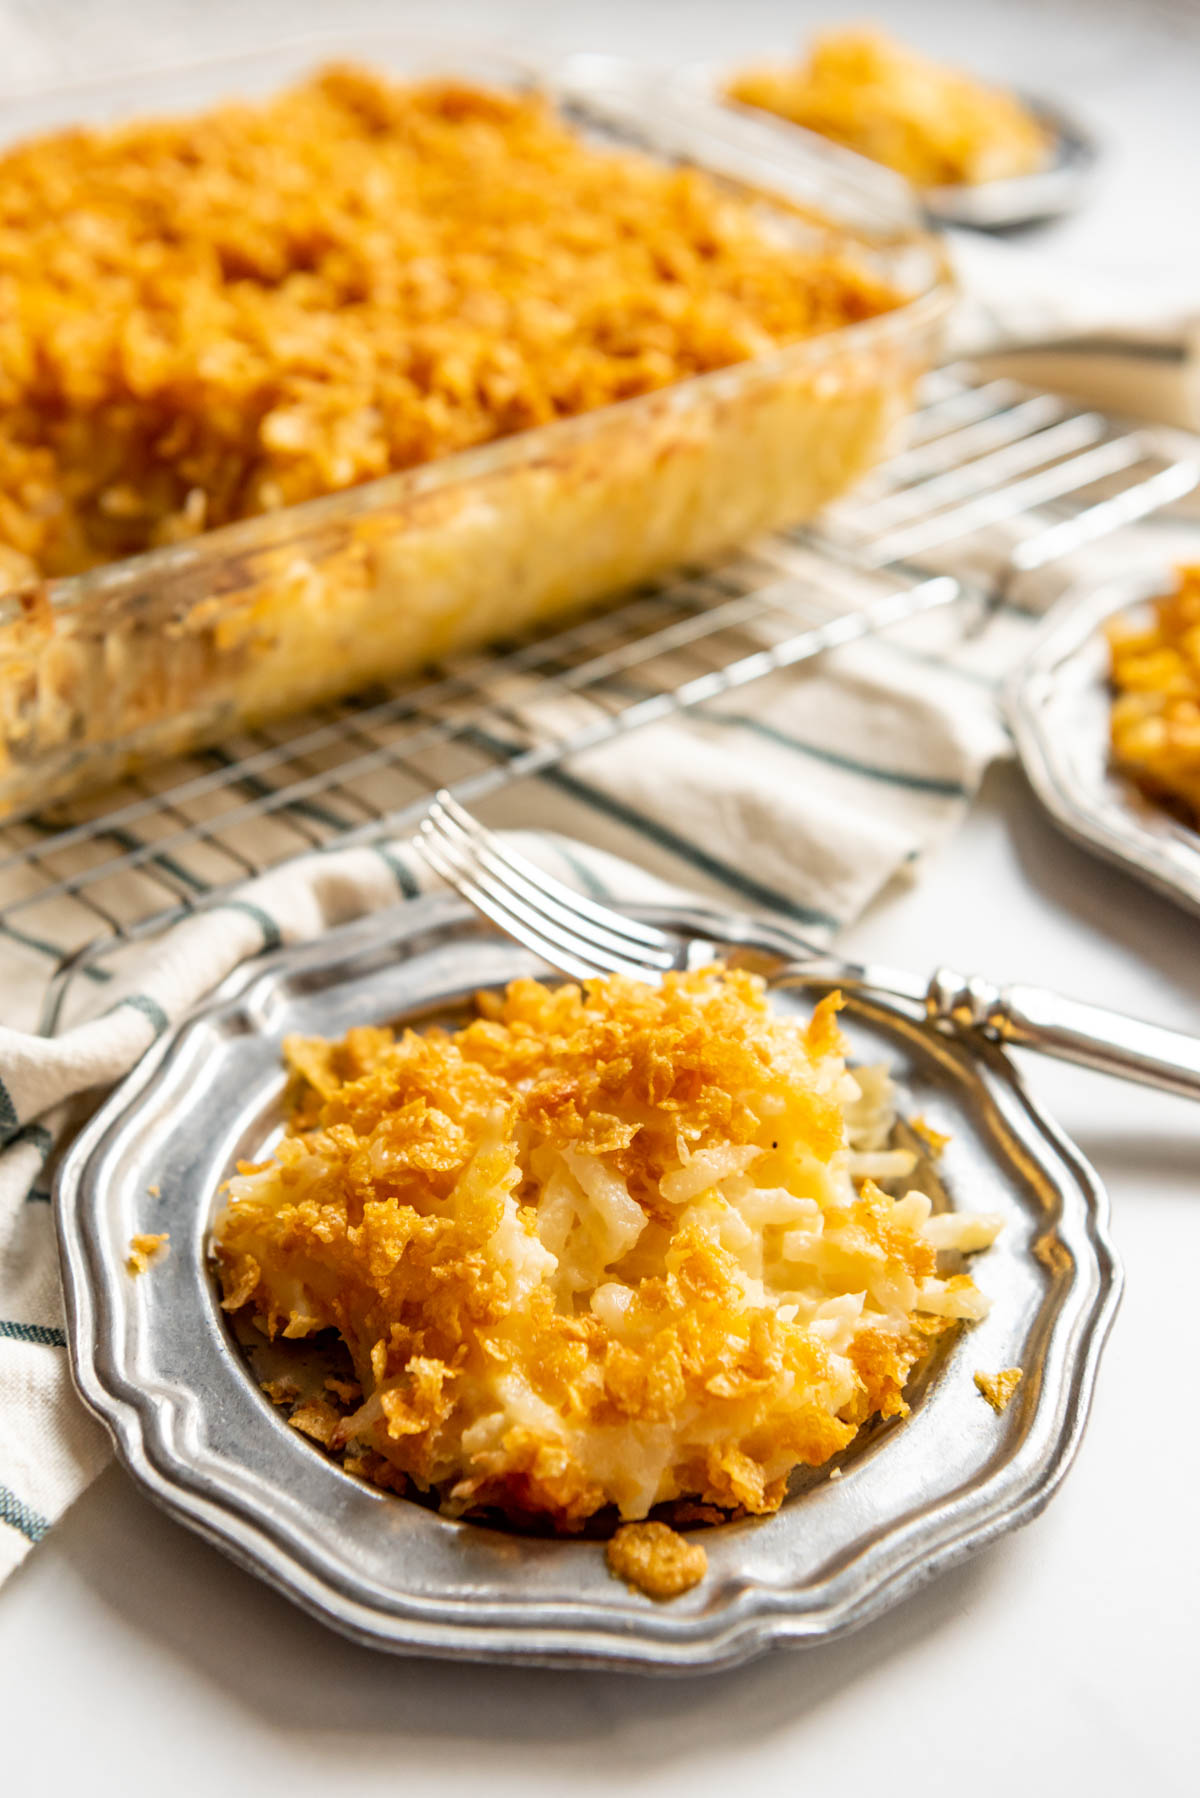
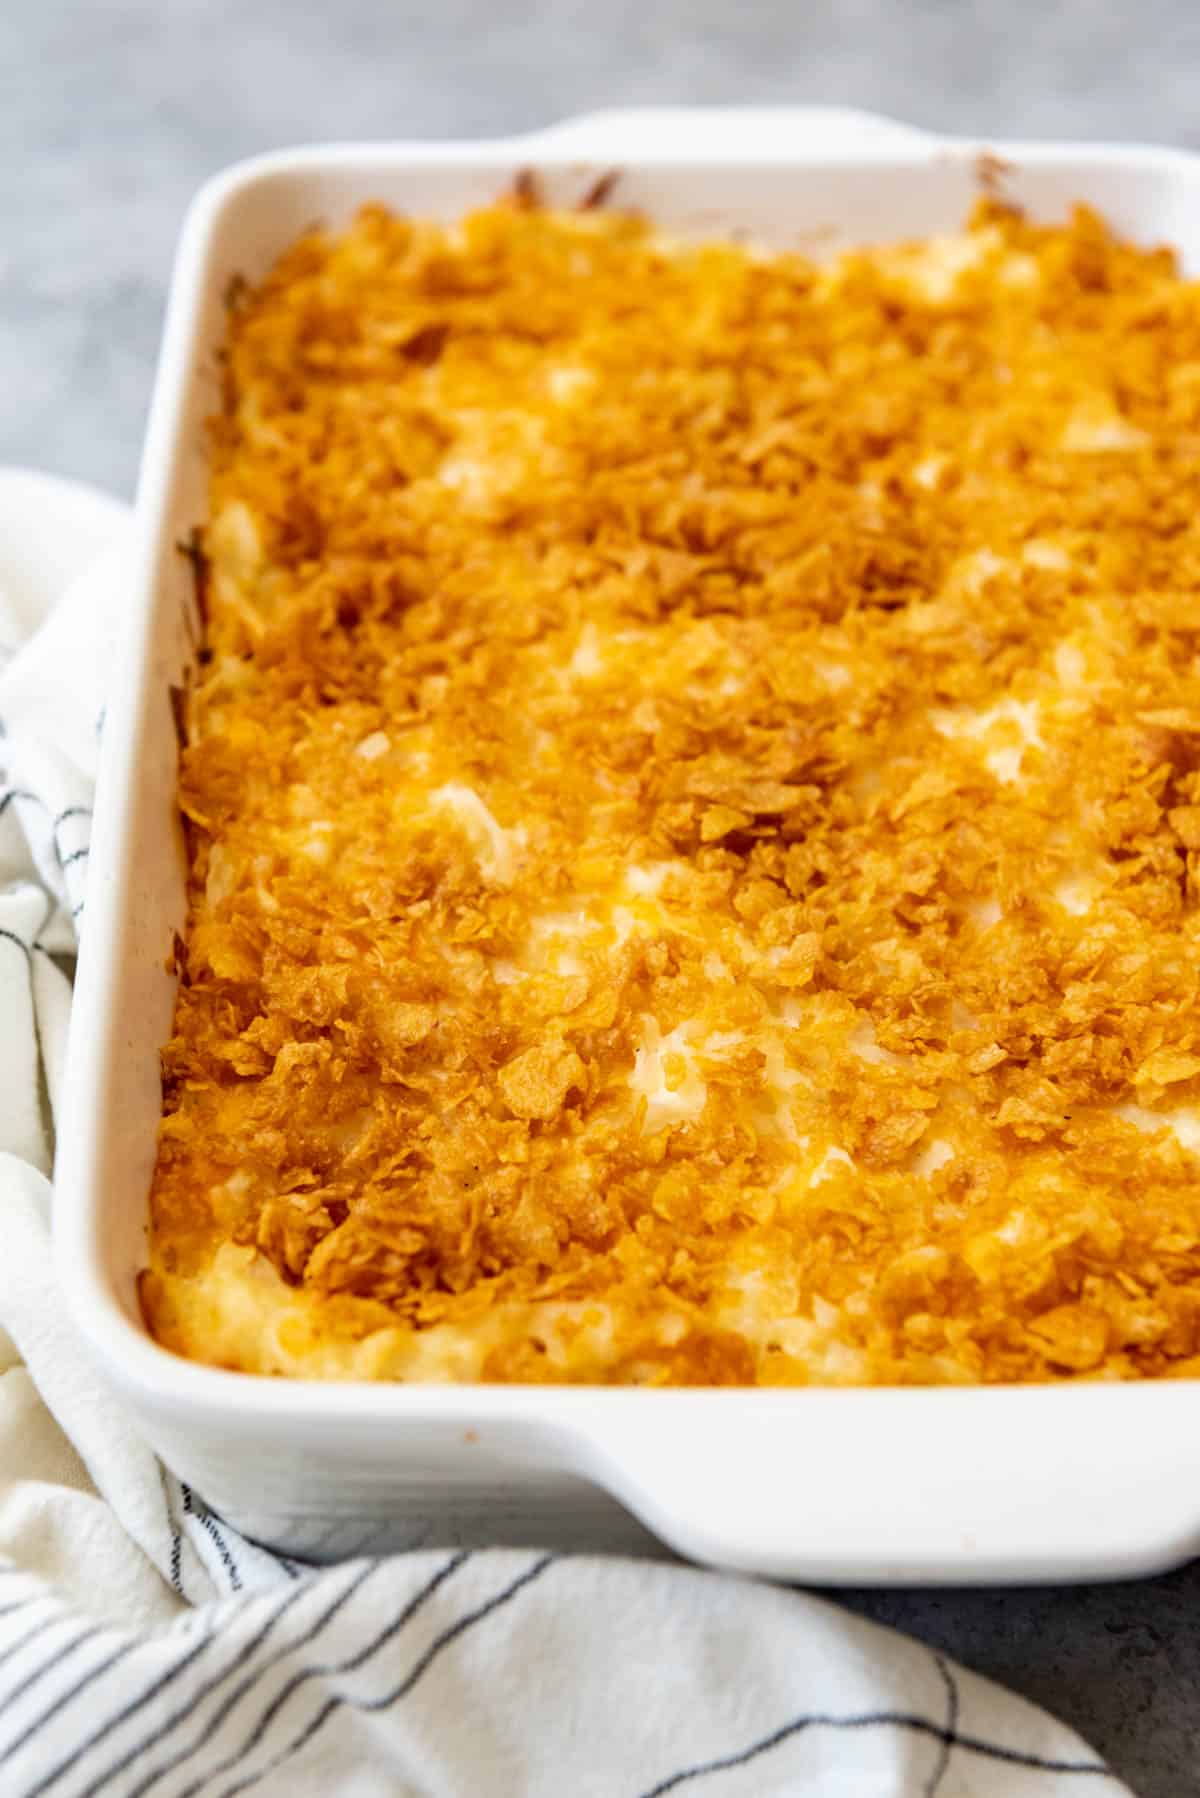
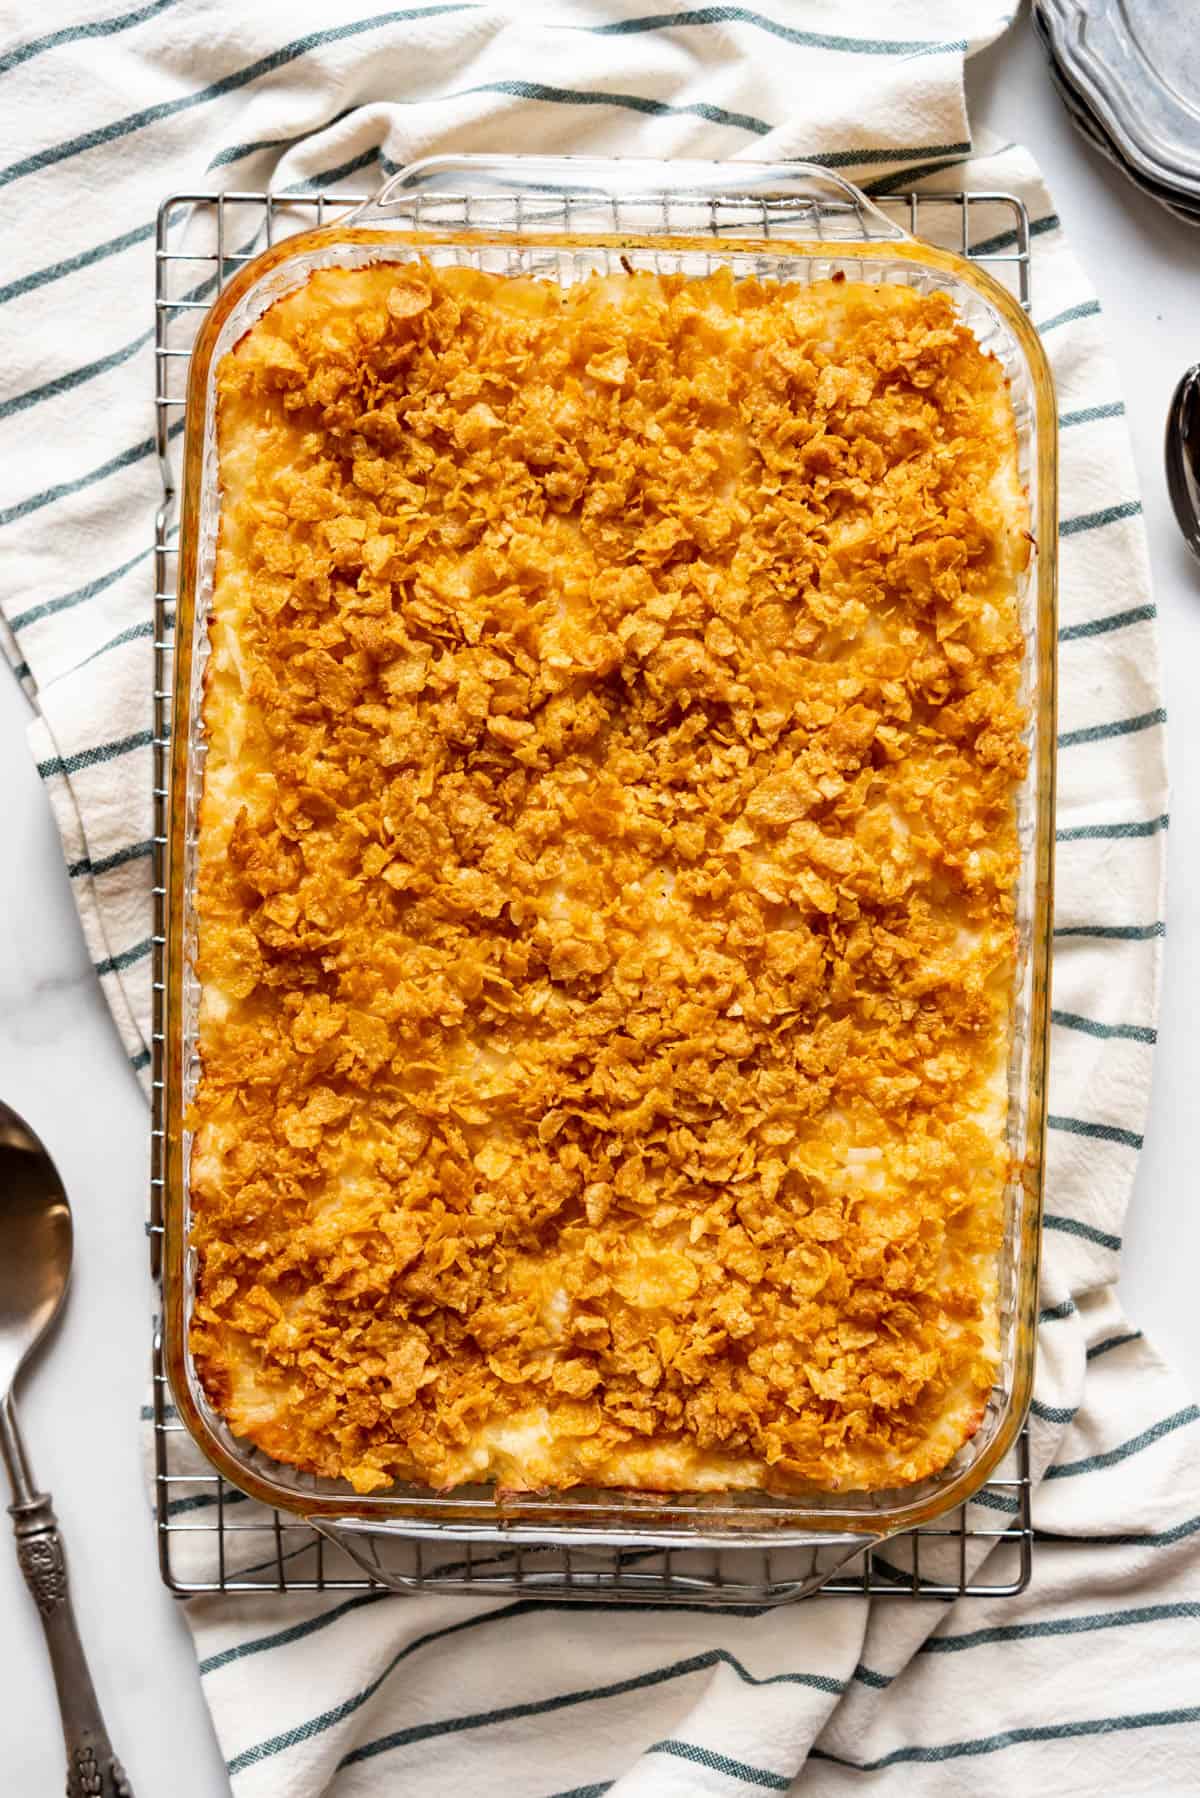
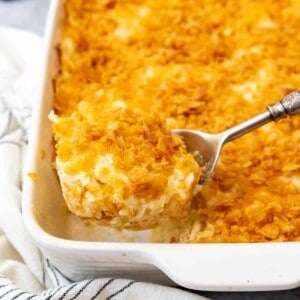
- Add cornflake topping. In a separate bowl, combine the crushed cornflakes with 4 tablespoons of melted butter. Toss together with a fork to coat the cornflakes with butter, then remove the baking dish from the oven and uncover. Sprinkle the cornflake mixture over the top of the cheesy potatoes, then return to the oven, uncovered, for 15 minutes until golden brown and crunchy.
Recipe FAQ’s
Funeral Potatoes are an easy side dish that has been around for decades. It’s popularity has grown due to it’s comforting taste, and ease of preparation. During the Salt Lake City Winter Olympics in 2002, a collector pin honoring funeral potatoes was produced.
Leftover funeral potatoes can be stored in an airtight container in the refrigerator for up to 3 days. Reheat them in a 350°F oven for about 10 minutes before serving.
Yes! It’s a great make-ahead recipe, as it can be stored in the freezer for up to 3 months. Defrost overnight, then reheat in a 350°F oven for about 40 minutes or until heated through and crispy on top. You can freeze with or without the cornflake topping, although I think it does best if you wait to top it with the cornflakes until the day you bake it.
Tips For Success
Here’s how to make sure your funeral potato casserole turns out perfectly!
- To save time, prepare the creamy funeral potatoes ahead of time and refrigerate it until you are ready to bake it, up to 2-3 days. If you need to make it more than a day ahead of time, just make the base layer and refrigerate it, then add the cornflake topping just before baking so it doesn’t get too soggy.
- Even slightly stale cornflakes will work for this recipe because tossing them with butter and then baking them on top of the potato casserole dish will crisp them up so they are extra crunchy texture.
Substitutions and Variations
- Top the hashbrown casserole with crunchy potato chips or panko crumbs instead of cornflakes for a different flavor and extra crunch. Or if you don’t like cornflakes, try crushed Ritz crackers or buttery cracker crumbs as a topping.
- For an extra cheesy layer, sprinkle and additional 1-2 cups shredded cheese between the hashbrowns and the topping.
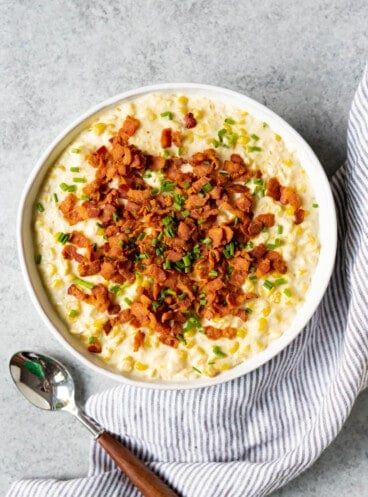
- Top with some chopped green onions and bacon bits for extra crunch, flavor, and color.
- Use sharp cheddar cheese instead of medium for an extra strong cheese flavor.
- Use parboiled small potatoes if you want chunkier potato pieces in place of the hashbrowns.
- Experiment with the flavor profile by using a can of cream of chicken soup, cream of celery soup, or cream of mushroom soup instead of chicken broth in the sauce.
More Side Dish Recipes
- Ultimate Twice Baked Potatoes
- Sweet Potato Casserole with Marshmallows
- Soft & Fluffy Lion House Rolls
- Scalloped Potatoes (Au Gratin Potatoes)
- Lemon Pineapple Jell-O with Pineapple Whipped Cream Topping
Did you make this recipe?
Let me know what you thought with a comment and rating below. You can also take a picture and tag me on Instagram @houseofnasheats or share it on the Pinterest pin so I can see.
Cheesy Funeral Potatoes Recipe
Ingredients
- 1 (28- to 32-ounce) bag frozen hashbrowns, thawed
- ½ cup salted butter
- 1 medium onion, chopped
- 3 cloves garlic, minced
- ¼ cup all-purpose flour
- ½ cup chicken broth
- ½ cup milk
- 1 teaspoon kosher salt
- ¼ teaspoon black pepper
- 2 cups sour cream
- 2 cups cheddar cheese, grated (medium or sharp)
Topping
- 3 cups crushed cornflakes
- ¼ cup salted butter, melted
Instructions
- Heat oven to 350°F.
- In a large pan over medium heat, add butter. Once the butter has melted, add the chopped onion and saute 3 to 5 minutes, until the onion is soft and translucent. Add the minced garlic and cook another 30 seconds.
- Sprinkle flour over the softened onions, then whisk for about 1 minute to remove the raw flour taste. Whisk in the chicken broth and milk. Add salt and pepper, then continue to cook, whisking frequently, until thickened, about 2-3 minutes.
- Remove the sauce from the heat and whisk in sour cream.
- In a large bowl, combine the thawed and drained shredded potatoes, sauce, and cheese. Stir until everything is evenly combined.
- Spread the cheesy potato mixture into a large 9×13" baking dish and press into an even layer.
- Cover with foil and bake for 45 minutes, until heated through and bubbly.
- In a separate bowl, combine the crushed cornflakes with ¼ cup melted butter. Toss together with a fork to coat the cornflakes with butter, then sprinkle over the top of the cheesy potatoes.
- Bake, uncovered, for another 15 minutes until hot, toasted, and bubbling.
Notes
- Storage: Leftover funeral potatoes can be stored in an airtight container in the refrigerator for up to 3 days. Reheat them in a 350°F oven for about 10 minutes before serving.
- Make-Ahead & Freeze: Baked or unbaked funeral potatoes can be stored in the freezer for up to 3 months. Defrost overnight, then reheat in a 350°F oven for about 40 minutes or until heated through and crispy on top.

I want to bring already baked to a party. Do i cook with the topping or wait till I get to the party, add the topping and put on once its sufficiently reheated for an additional 15 or so minutes?
I would just cook it with the cornflakes at home and bring it to the party all ready to go. But that is my personal preference. You could do whatever is easiest for you!