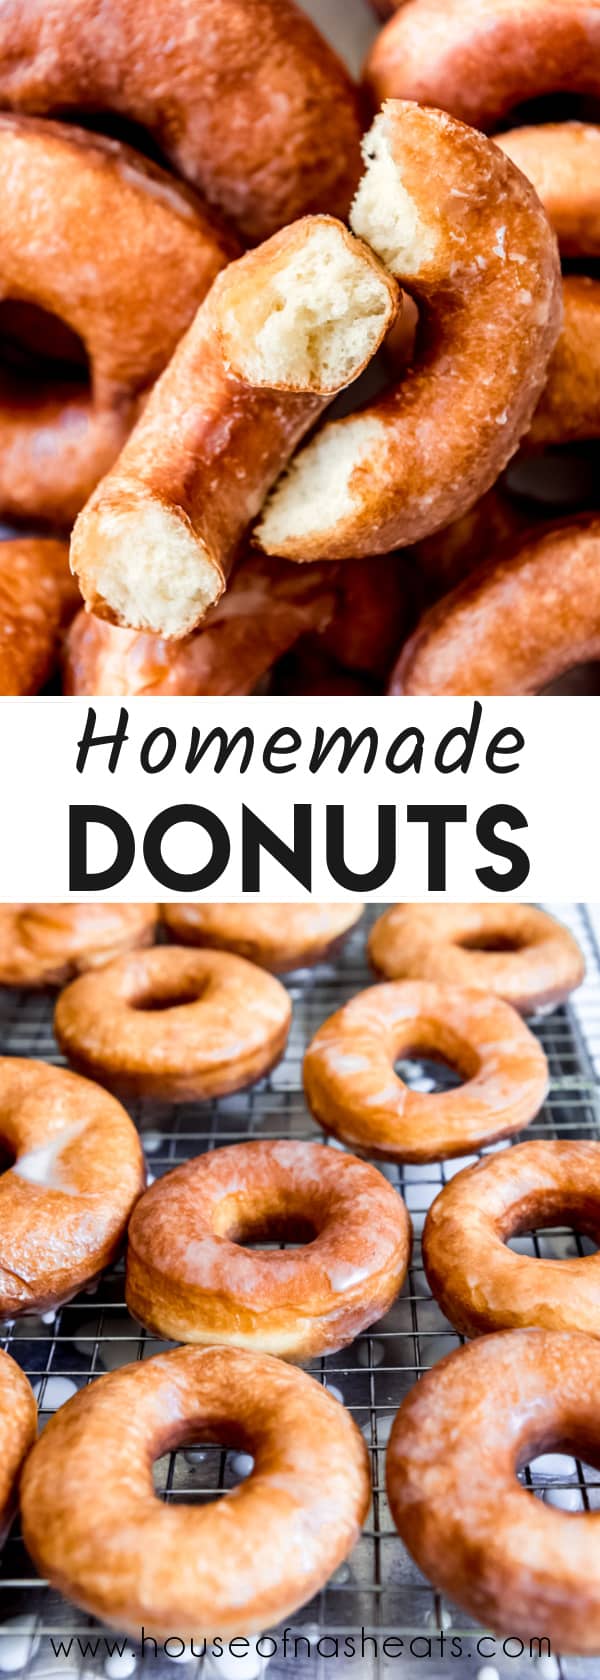
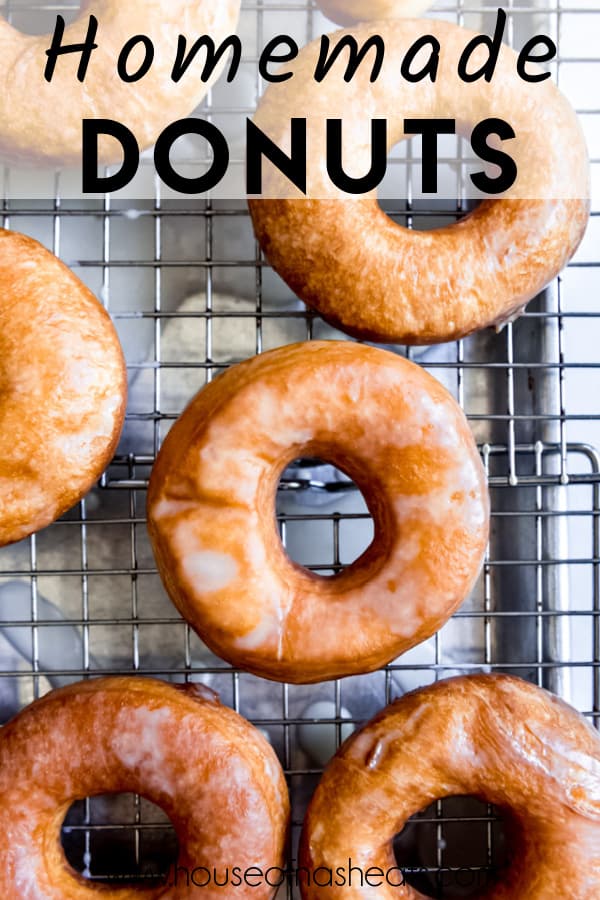
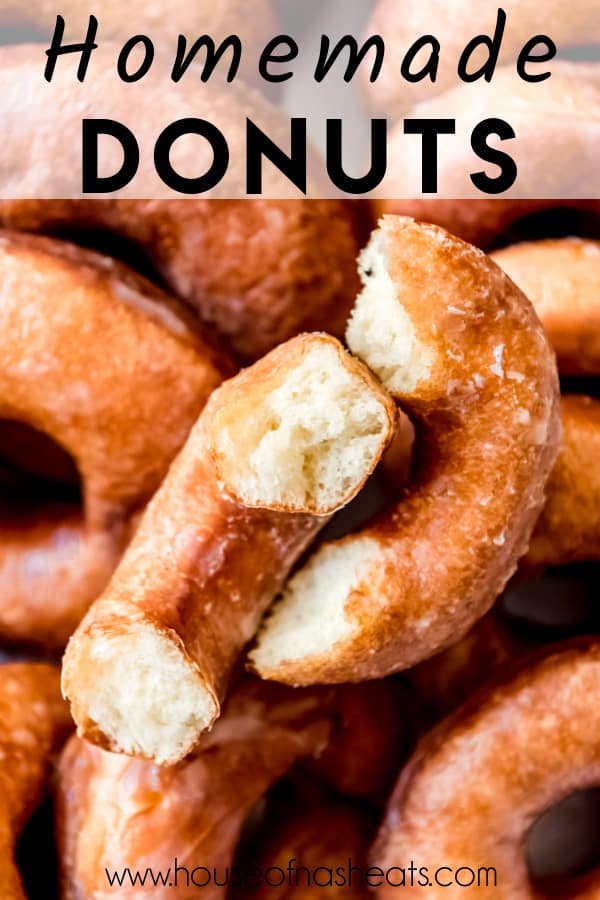
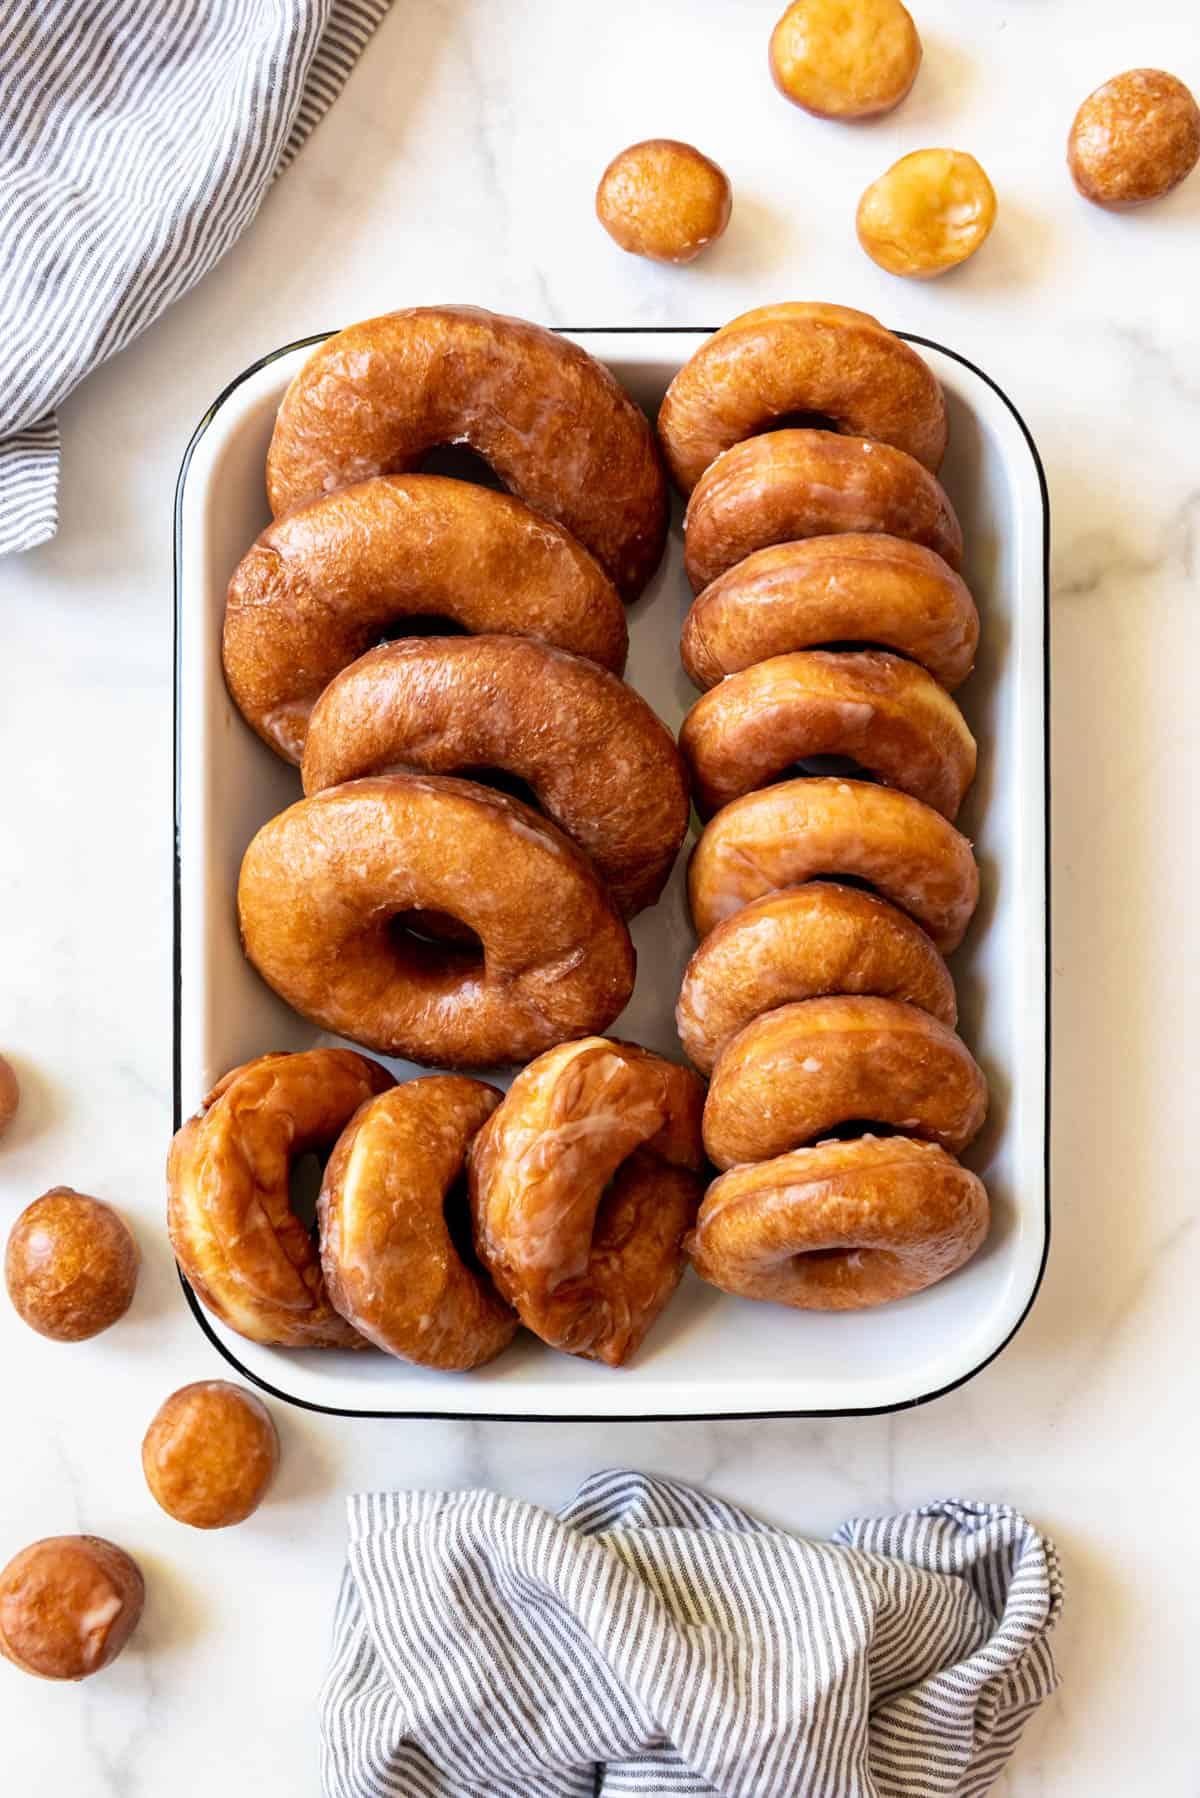
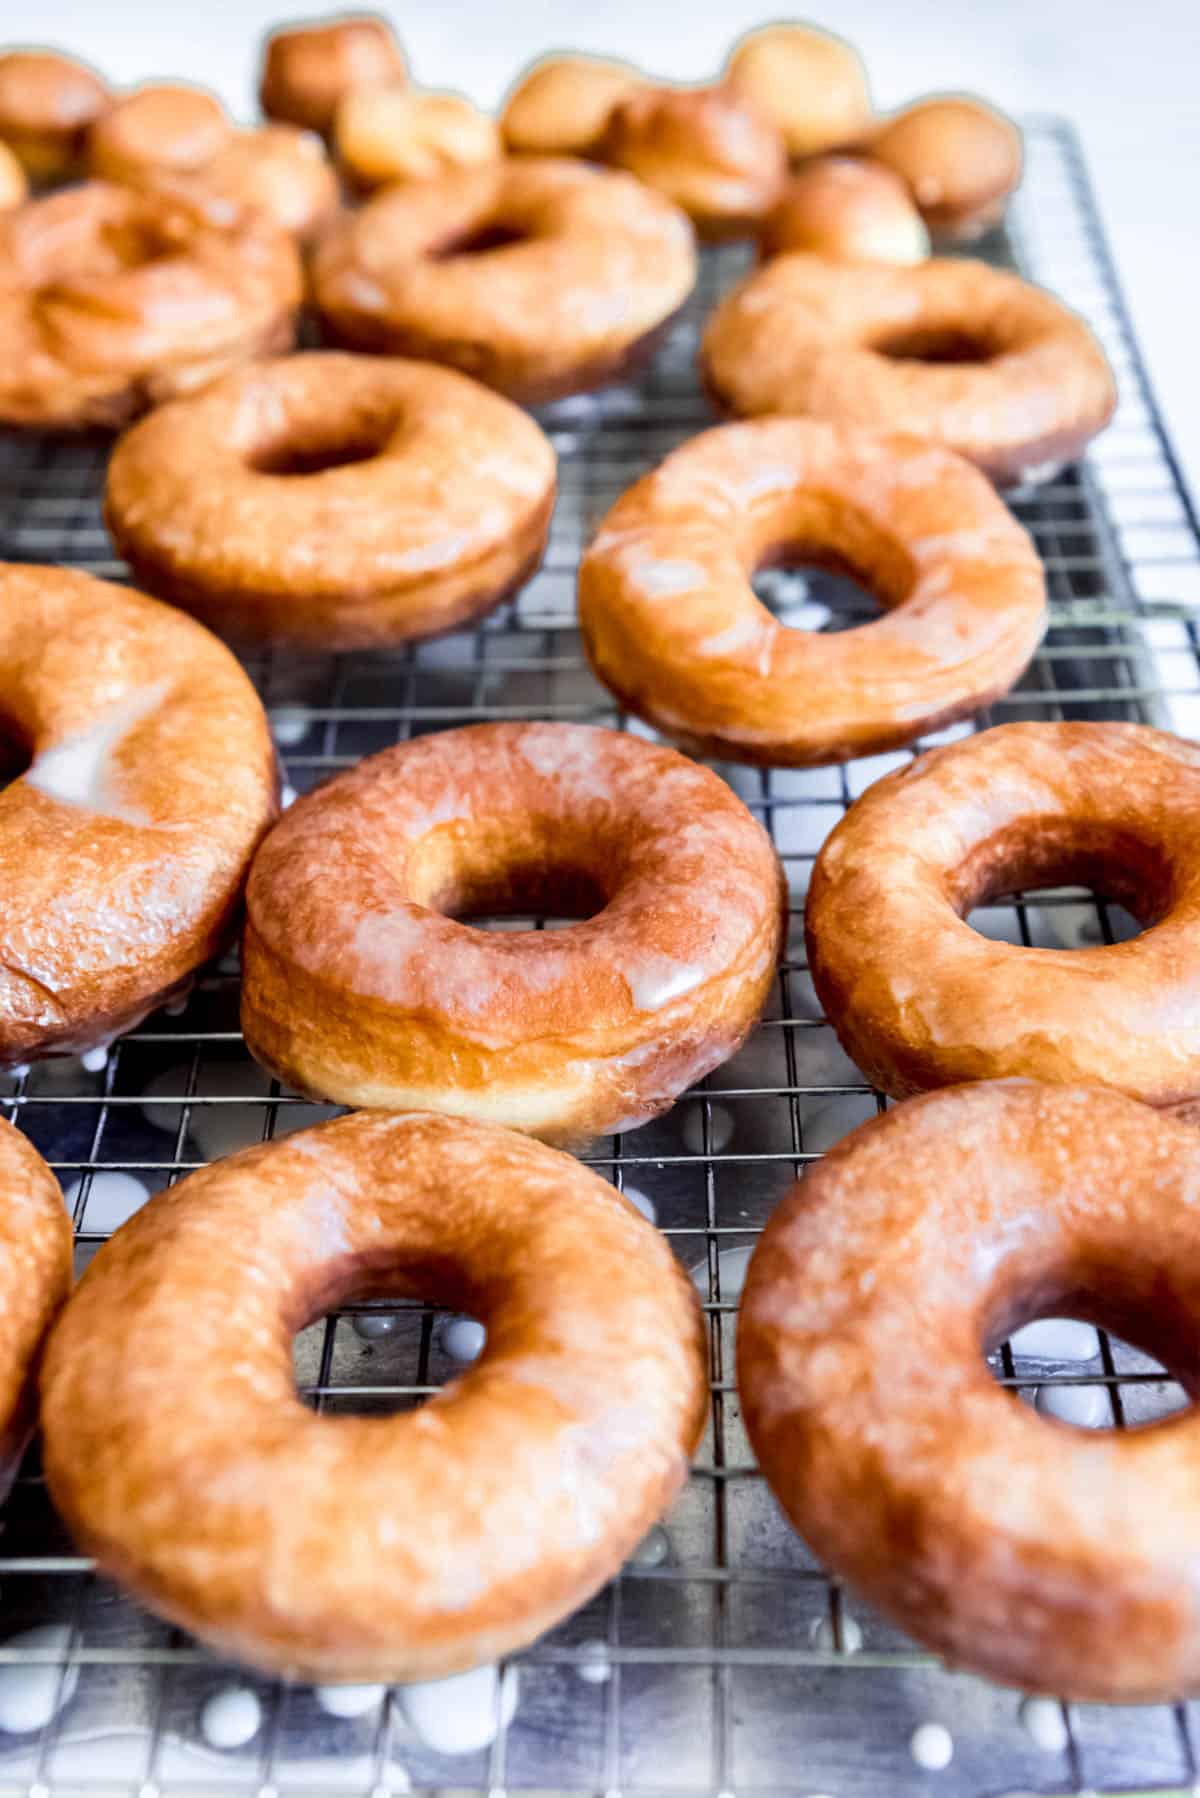
These ultra soft Homemade Glazed Donuts and made from scratch with a delicious yeast dough, then fried to golden perfection and dunked in a simple glaze. Skip the donut shop and enjoy these as the perfect breakfast treat or afternoon snack!
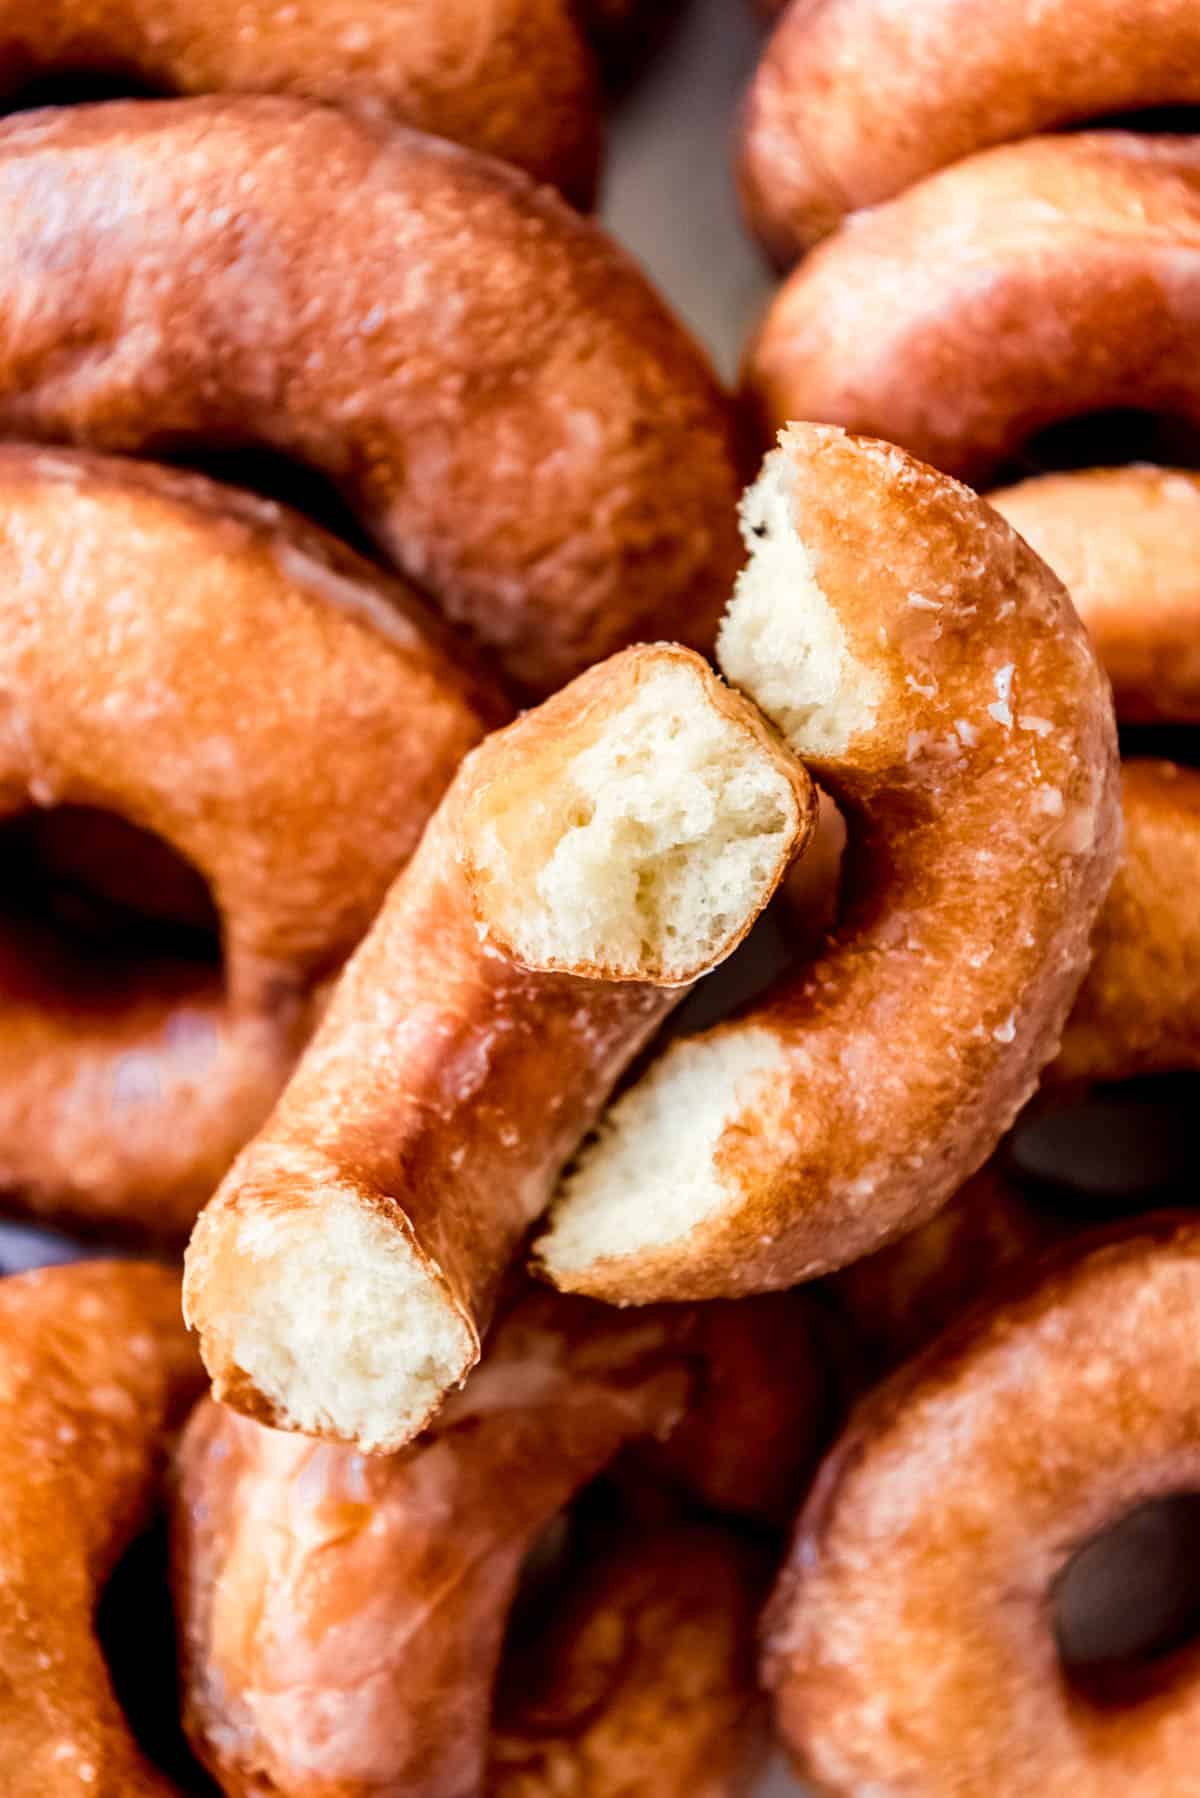
Table of Contents
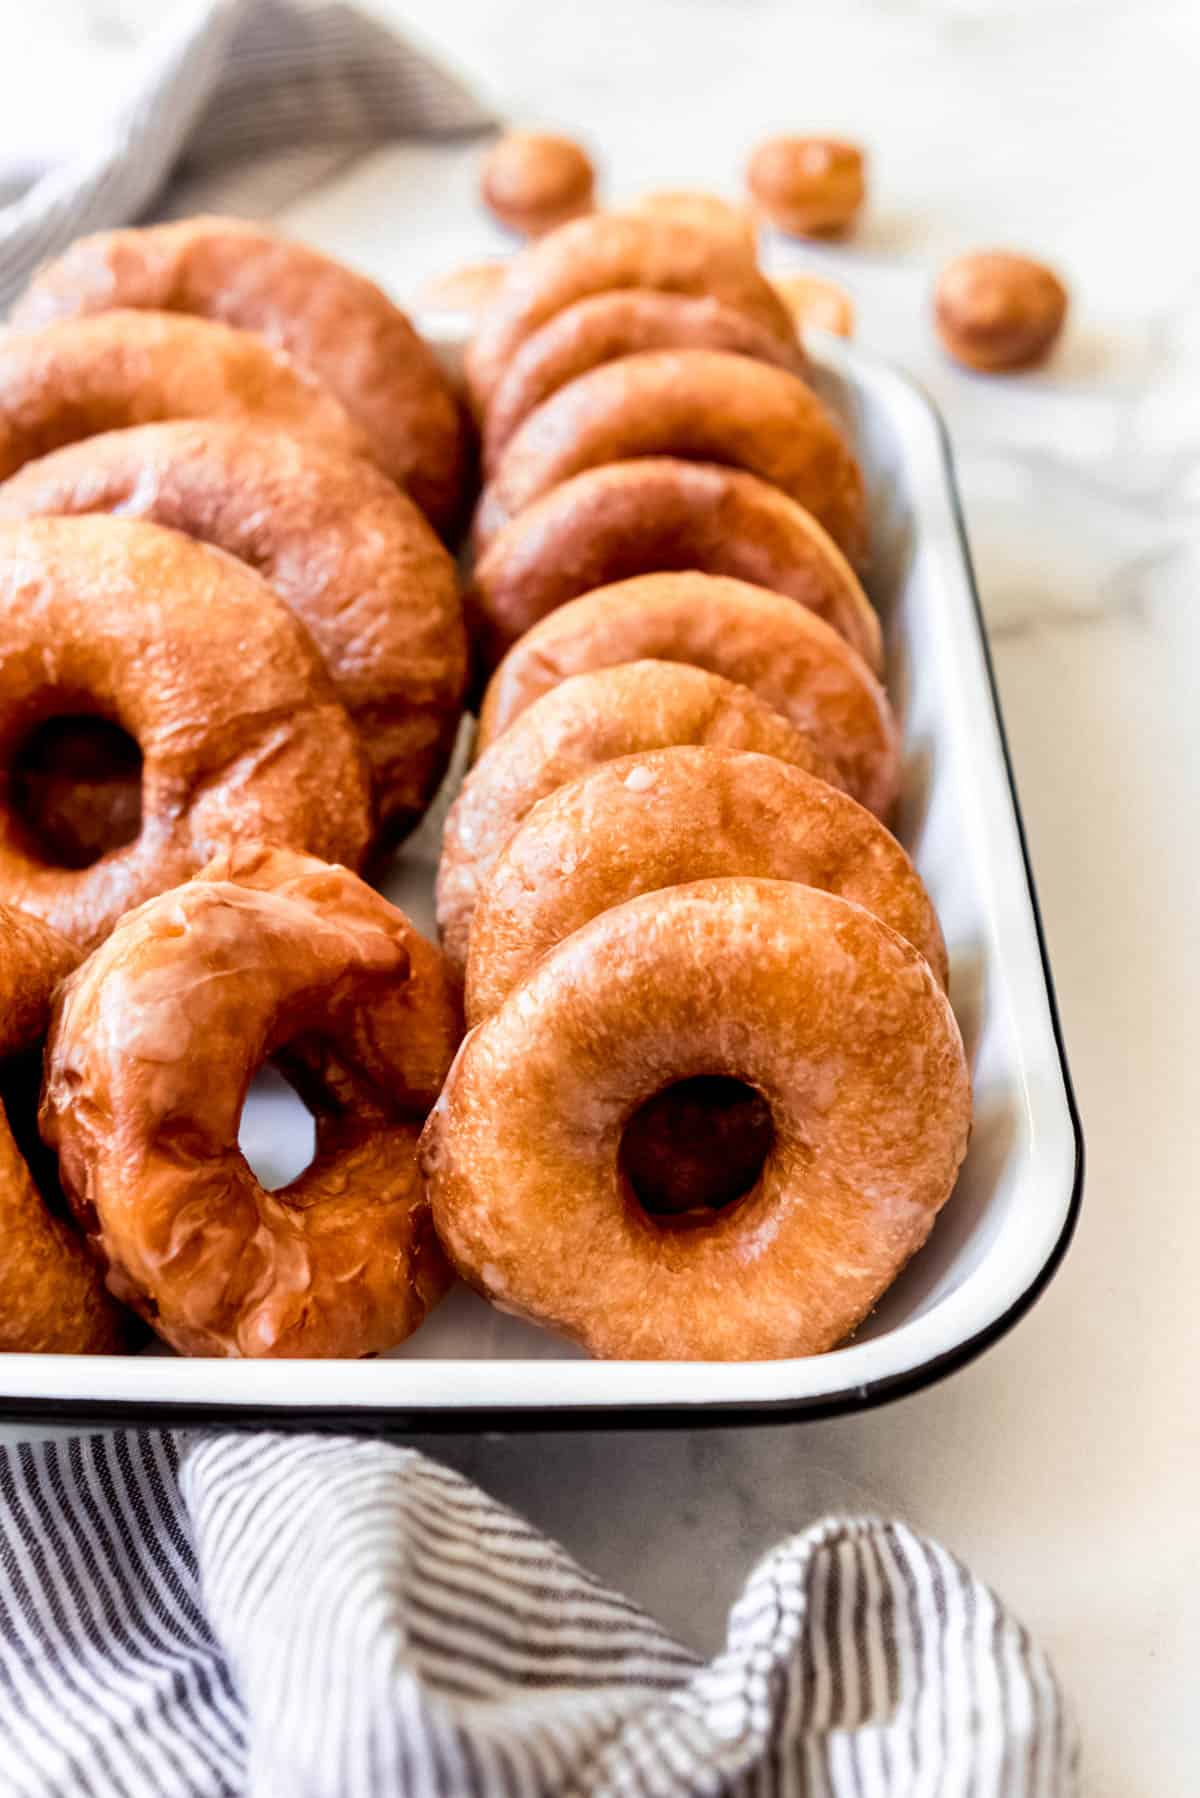
We are a donut-loving family and you simply can’t go wrong with a classic soft & fluffy glazed donut. I’ll take fresh homemade donuts over Krispy Kreme or grocery store donuts any day of the week.
Making homemade donuts can be a bit of a project, but not much more than making a batch of cinnamon rolls. And the crisp-on-the-outside soft & fluffy-on-the-inside donuts are oh so worth it. With simple ingredients and a few tips for success, you’ll be able to make perfect donuts every time!
Whether you’re an experienced baker or trying this recipe for the first time, we have the perfect recipe for creating light and fluffy doughnuts topped with a smooth and irresistible glaze. So fire up that hot oil and get ready to indulge in some of the best donuts you’ll ever taste!
If you love glazed donuts and want to make more breakfast pastries, be sure to also try our Quick and Easy Almond Croissants, Homemade Apple Fritters, and Almond Bear Claws!
What is a glazed donut?
Typically, donuts have some kind of topping on top, such as icing, powdered sugar, or a glaze composed of milk, sugar, vanilla, or cocoa powder. For a gourmet doughnut, the glaze might be flavored with additional ingredients.
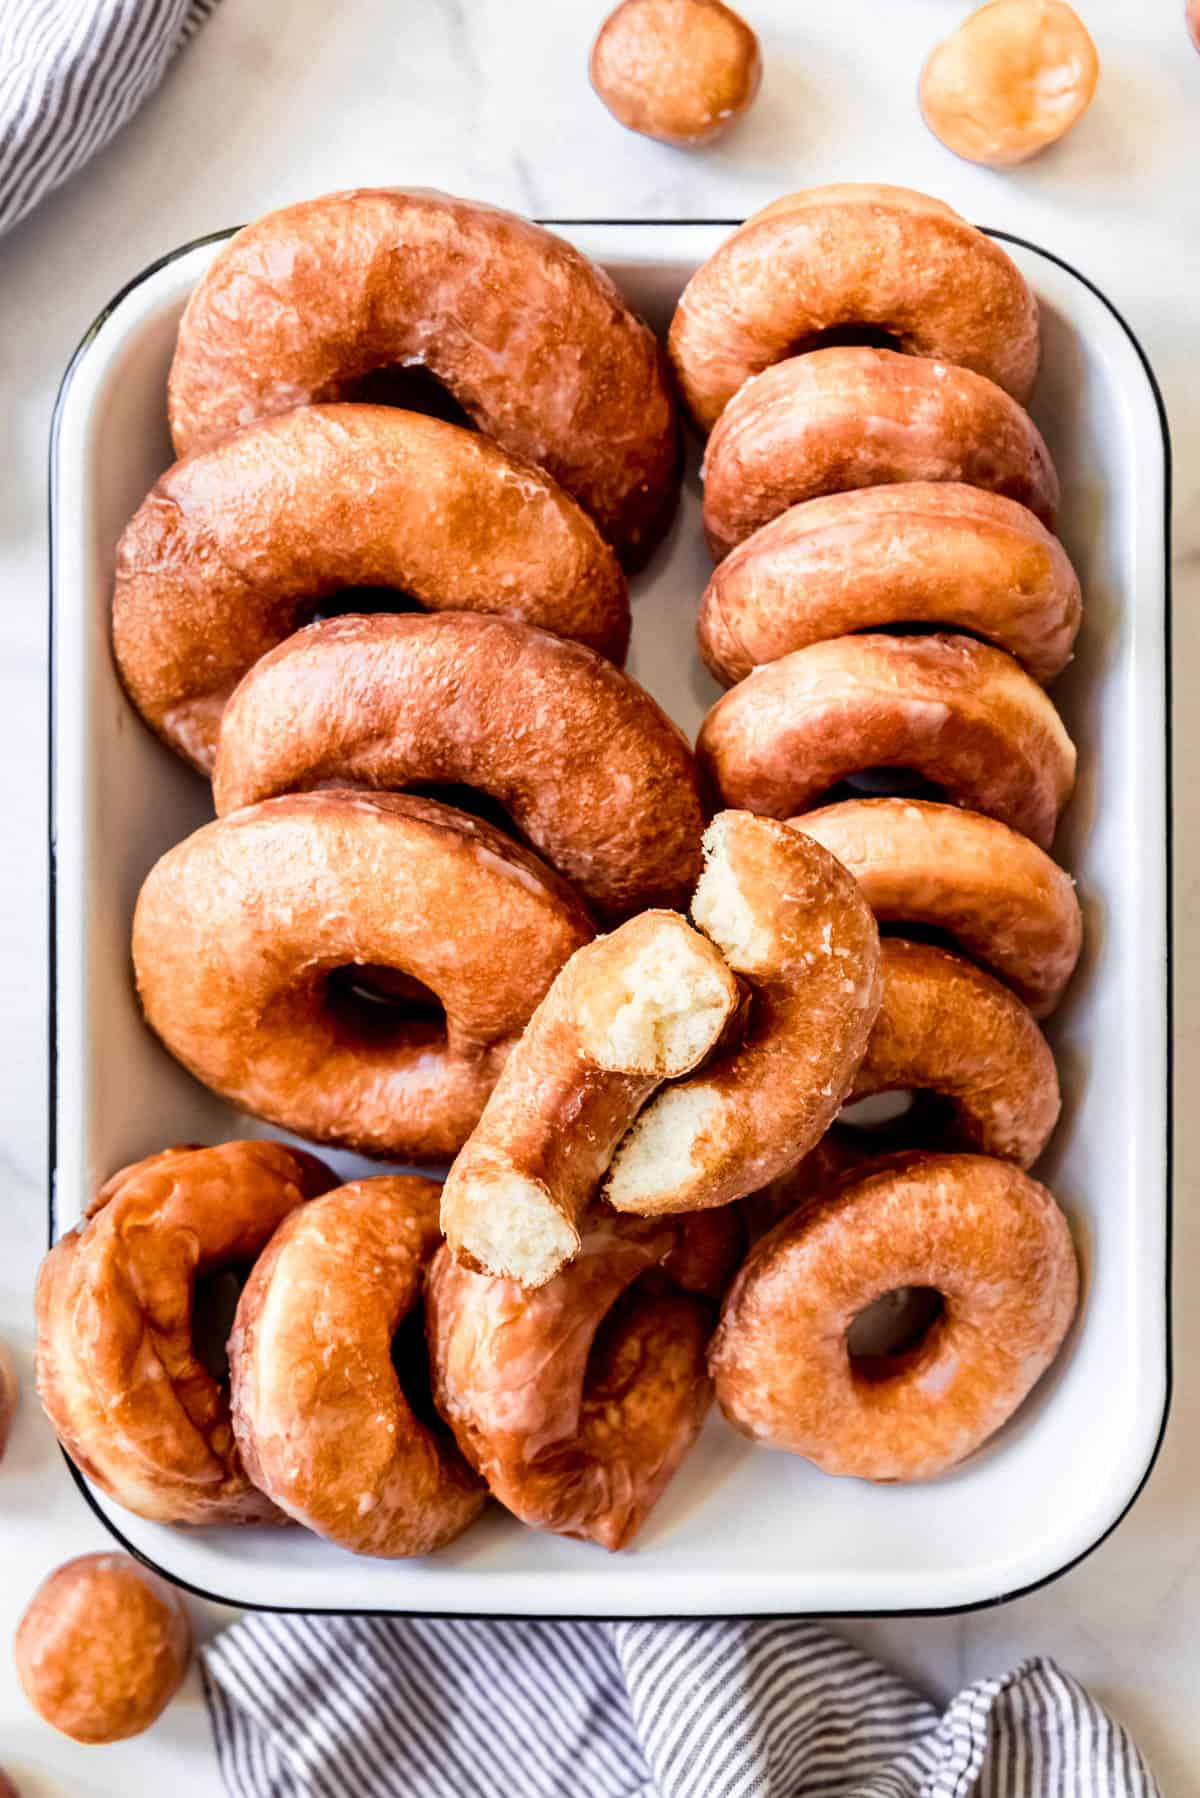
Also, there are cake donuts and then there are yeast donuts. The homemade donut recipe I’m sharing here is the yeast-raised variety which are known for being light and fluffy with an almost melt-in-your-mouth but still slightly chewy texture as opposed to being more dense and cakey like a typical cake donut. You can glaze both cake donuts and yeast donuts, but it’s my experience that when people order a glazed donut they are talking about the yeast-raised variety.
This basic recipe for classic fluffy yeasted doughnuts is a great starting point if it’s your first time making donuts from scratch. Feel free to skip the glaze and roll the plain donuts in granulated sugar or a cinnamon-sugar combo.
Donut Ingredients
Scroll down to the recipe card below this post for ingredient quantities and full instructions.
- All-purpose flour – Regular, unbleached all-purpose flour works great for donuts. No need to use cake flour or bread flour.
- Yeast – You can use instant yeast or active dry yeast. For active dry yeast, you will need to proof it in the warm milk for a few minutes until foamy before proceeding with the recipe. If using instant yeast, you just add it to the other ingredients and mix everything together.
- Granulated sugar – Adds just the right amount of sweetness and softness to the dough.
- Warm milk – The enzymes in the milk actually make for a more tender, flavorful dough, although you could get away with just water if necessary.
- Salted butter – For a wonderful flavor and richness.
- Large eggs – Letting the eggs come to room temperature first will help them incorporate into the dough better.
- Vanilla extract – Adds depth and a sweetness to the dough.
- Salt – Keeps your baked goods from tasting bland.
- Powdered sugar & corn syrup – For the simple donut glaze.
- Oil – Use canola oil or another high smoke point oil like vegetable oil or peanut oil to fry your donuts.
How to Make This Homemade Donut Recipe
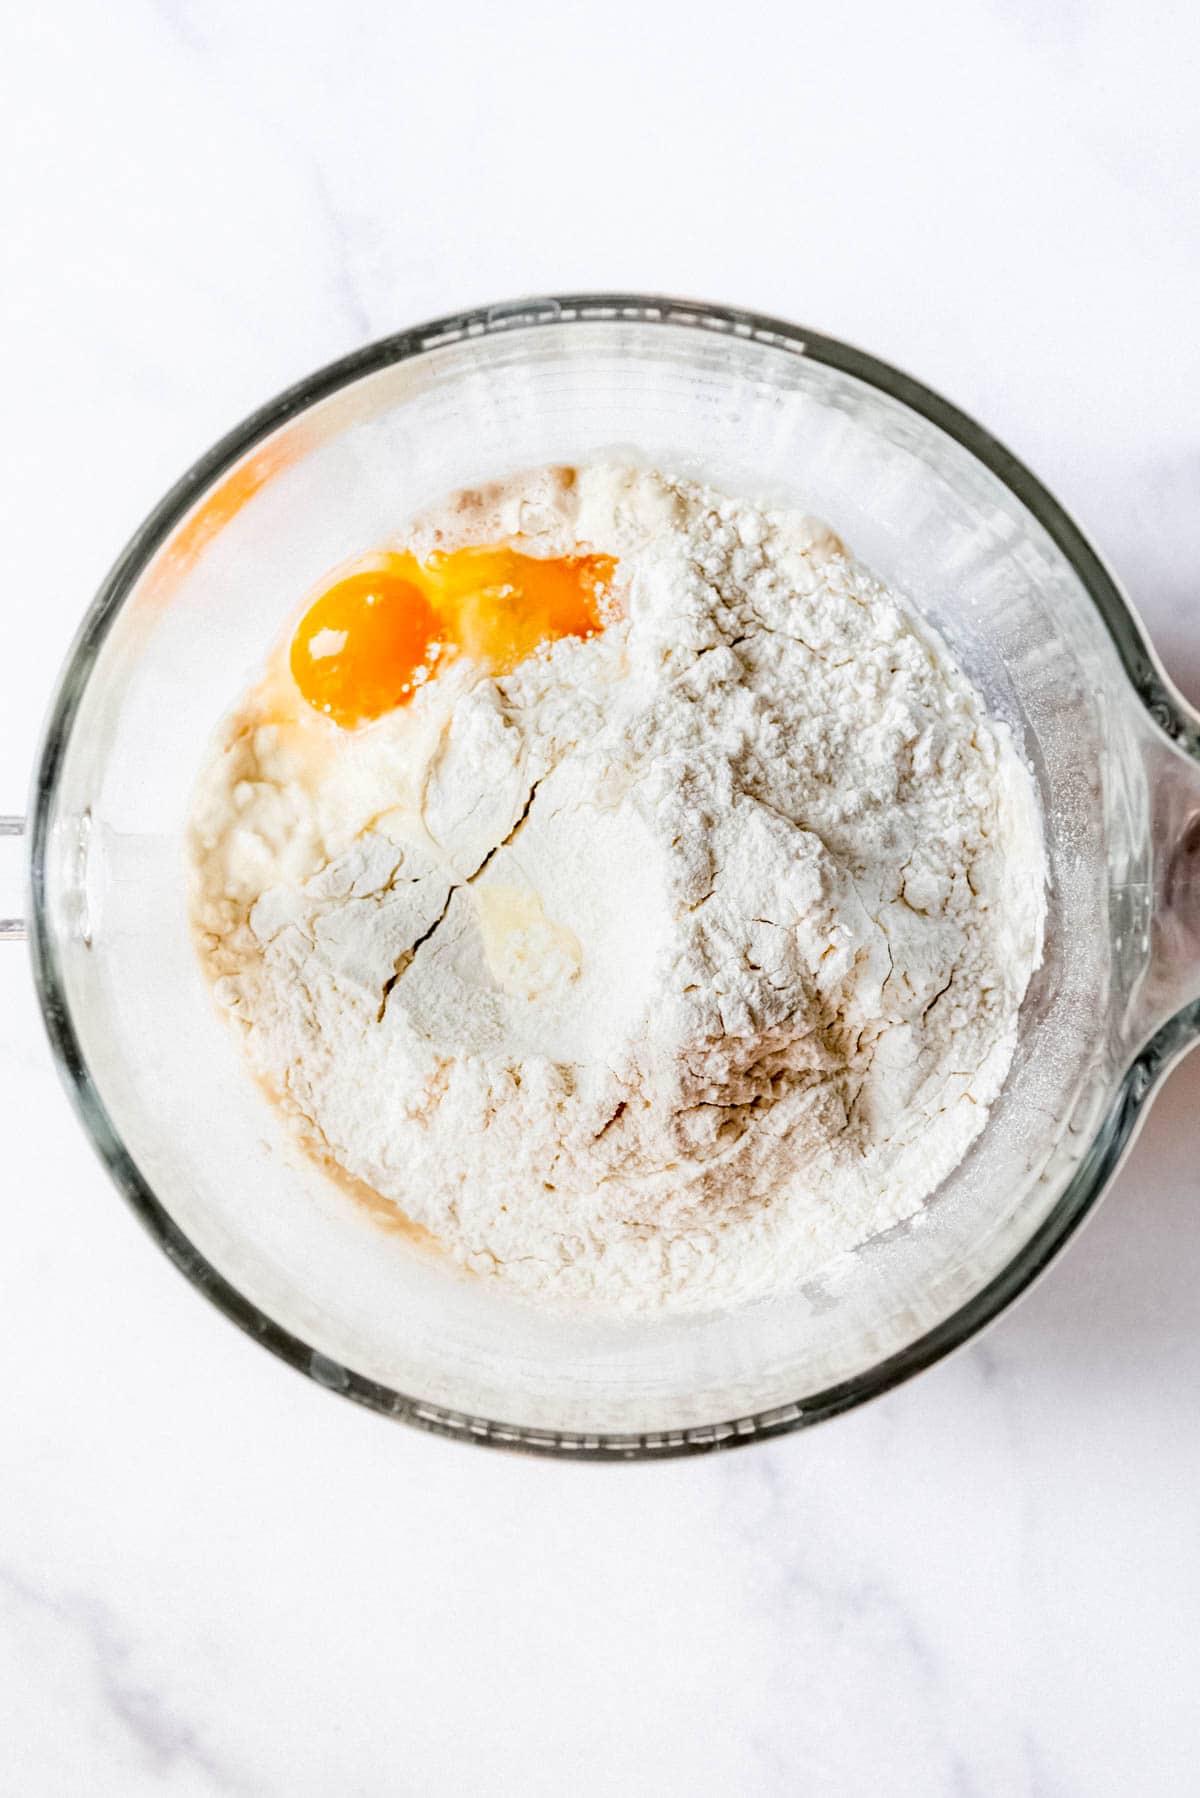
- Prepare. Combine flour, instant yeast, sugar, and salt in a large mixing bowl. Stir to combine, then add milk, melted butter, eggs, and vanilla extract and mix well.
If using active dry yeast, stir it into the warm milk in a large mixing bowl with 1 teaspoon of the sugar and let sit for 5 minutes until foamy before proceeding to add the flour, remaining sugar, salt, butter, eggs, and vanilla extract.
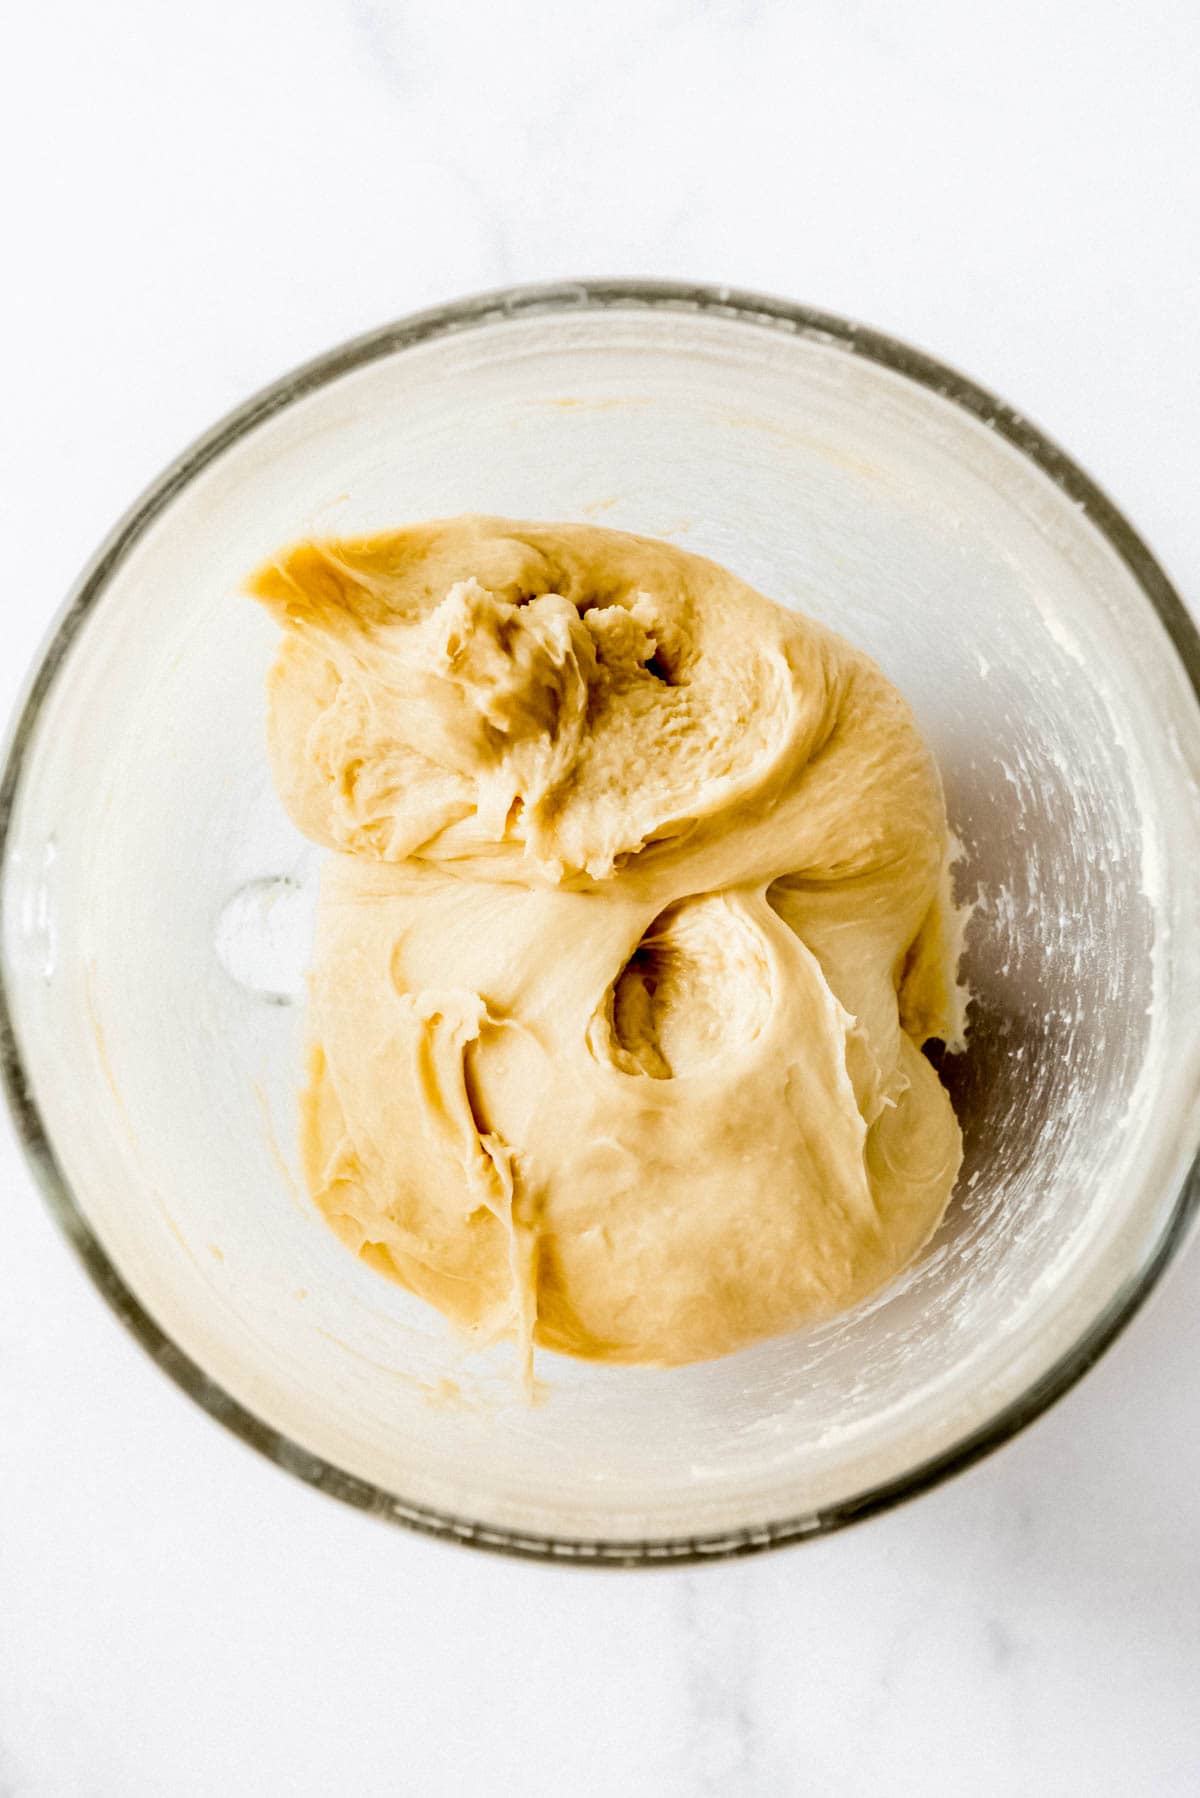
- Knead. Knead for 5-7 minutes using a stand mixer fitted with a dough hook attachment or by hand on a lightly floured surface for 8-10 minutes. Add the additional ½ cup flour in the recipe card only if needed. The dough should be soft and sticky but still manageable.
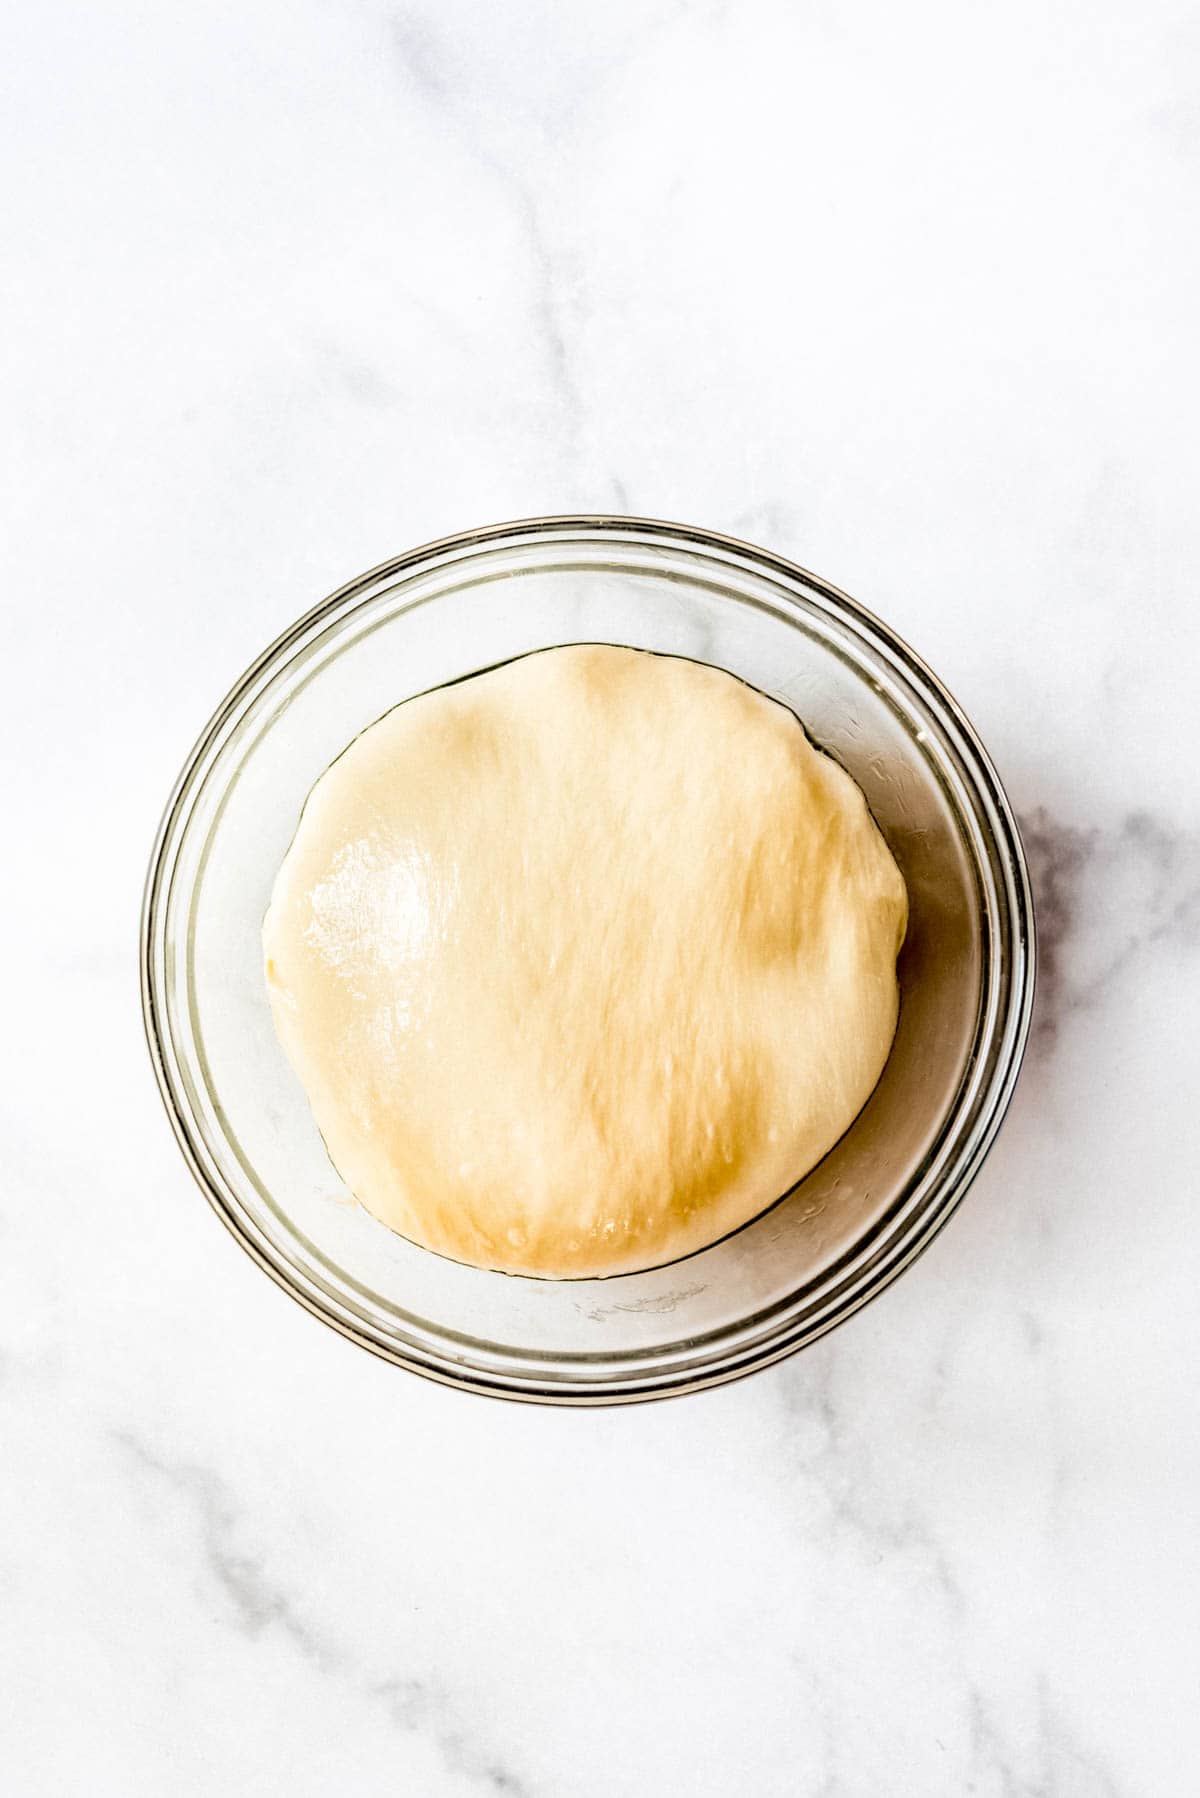
- Rise. Transfer the dough to a lightly greased large bowl and cover with plastic wrap. Let the dough rise for 1-2 hours in a warm place until doubled in size, or do a slow rise overnight in the fridge (preferable). If slow rising, keep the dough in a large bowl wrapped lightly with plastic wrap.
PRO TIP: Alternatively, you can make the donut dough a day ahead and do an overnight rise in the refrigerator instead. This results in slightly lighter donuts with a more developed flavor and an easier to work with chilled dough that can be rolled out while cold.
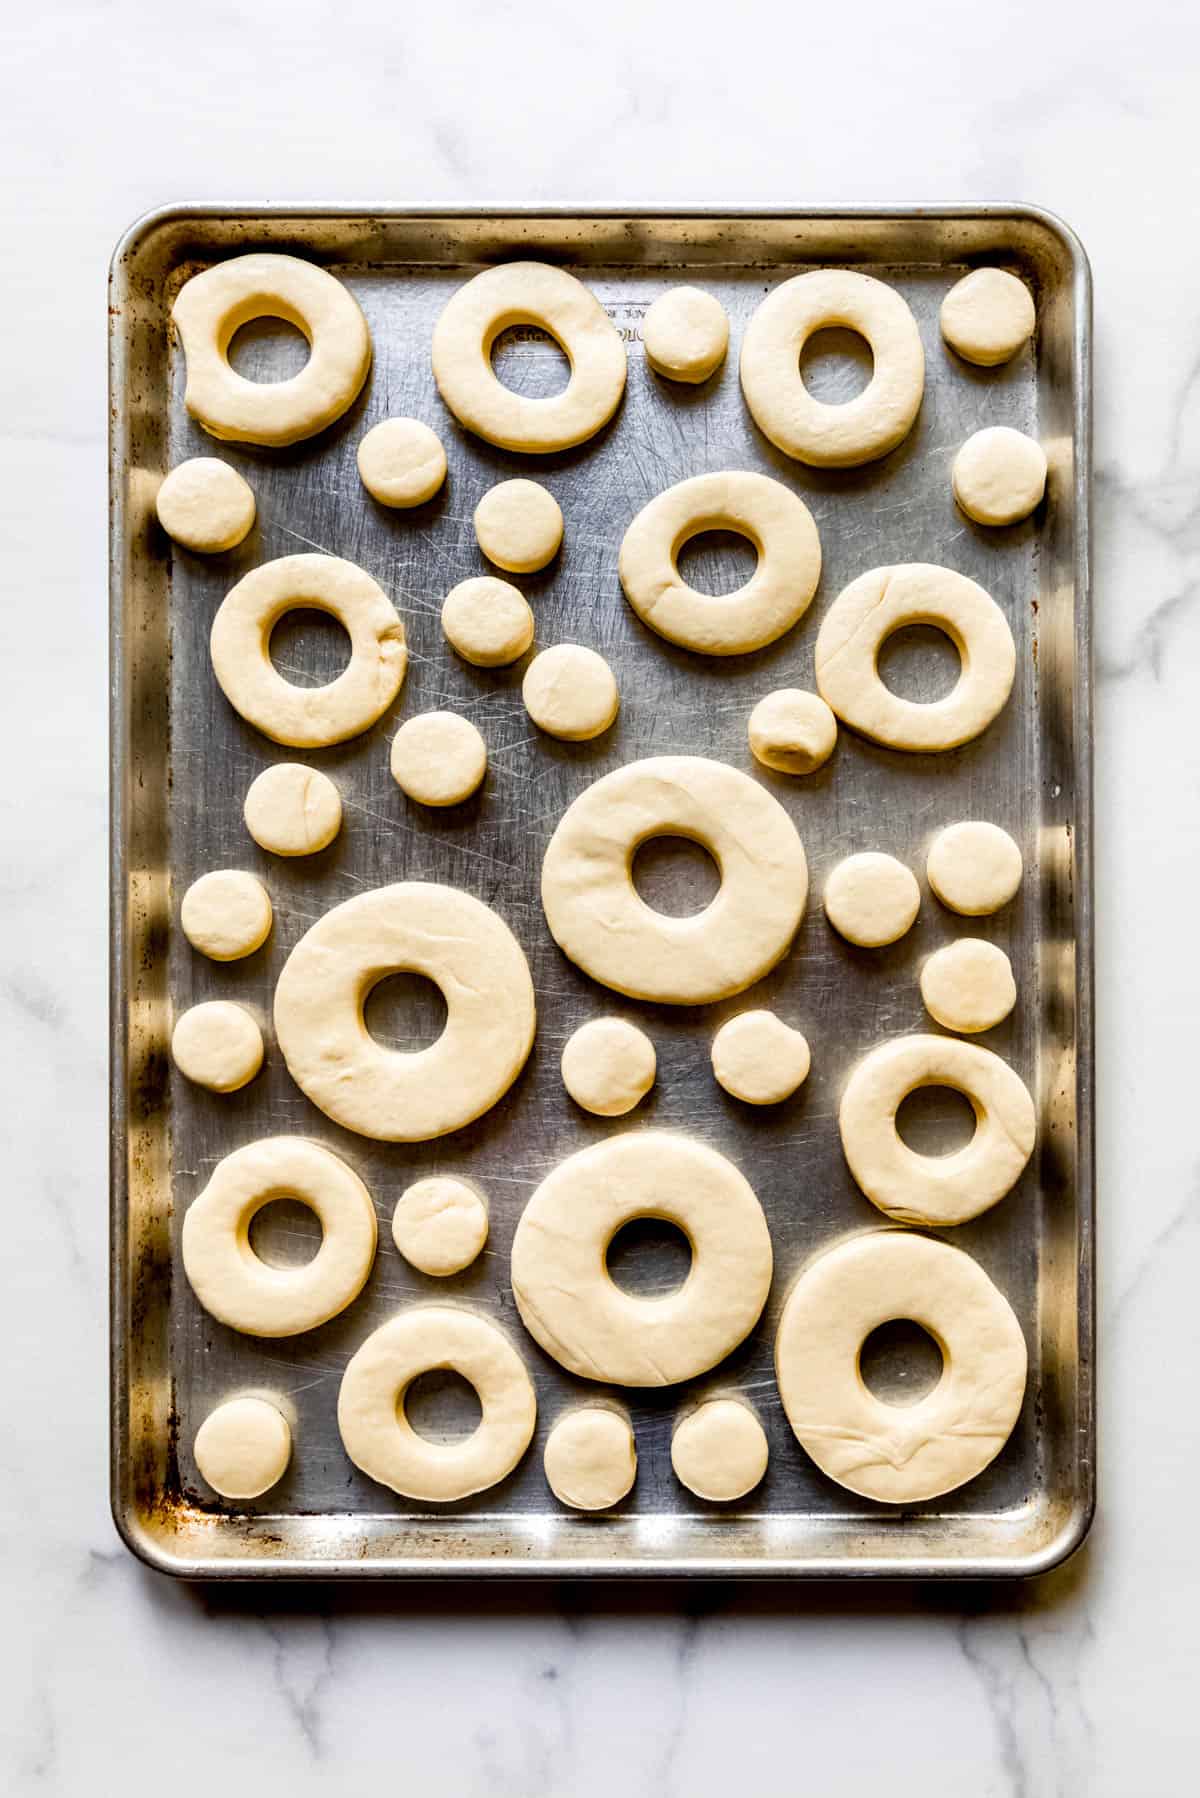
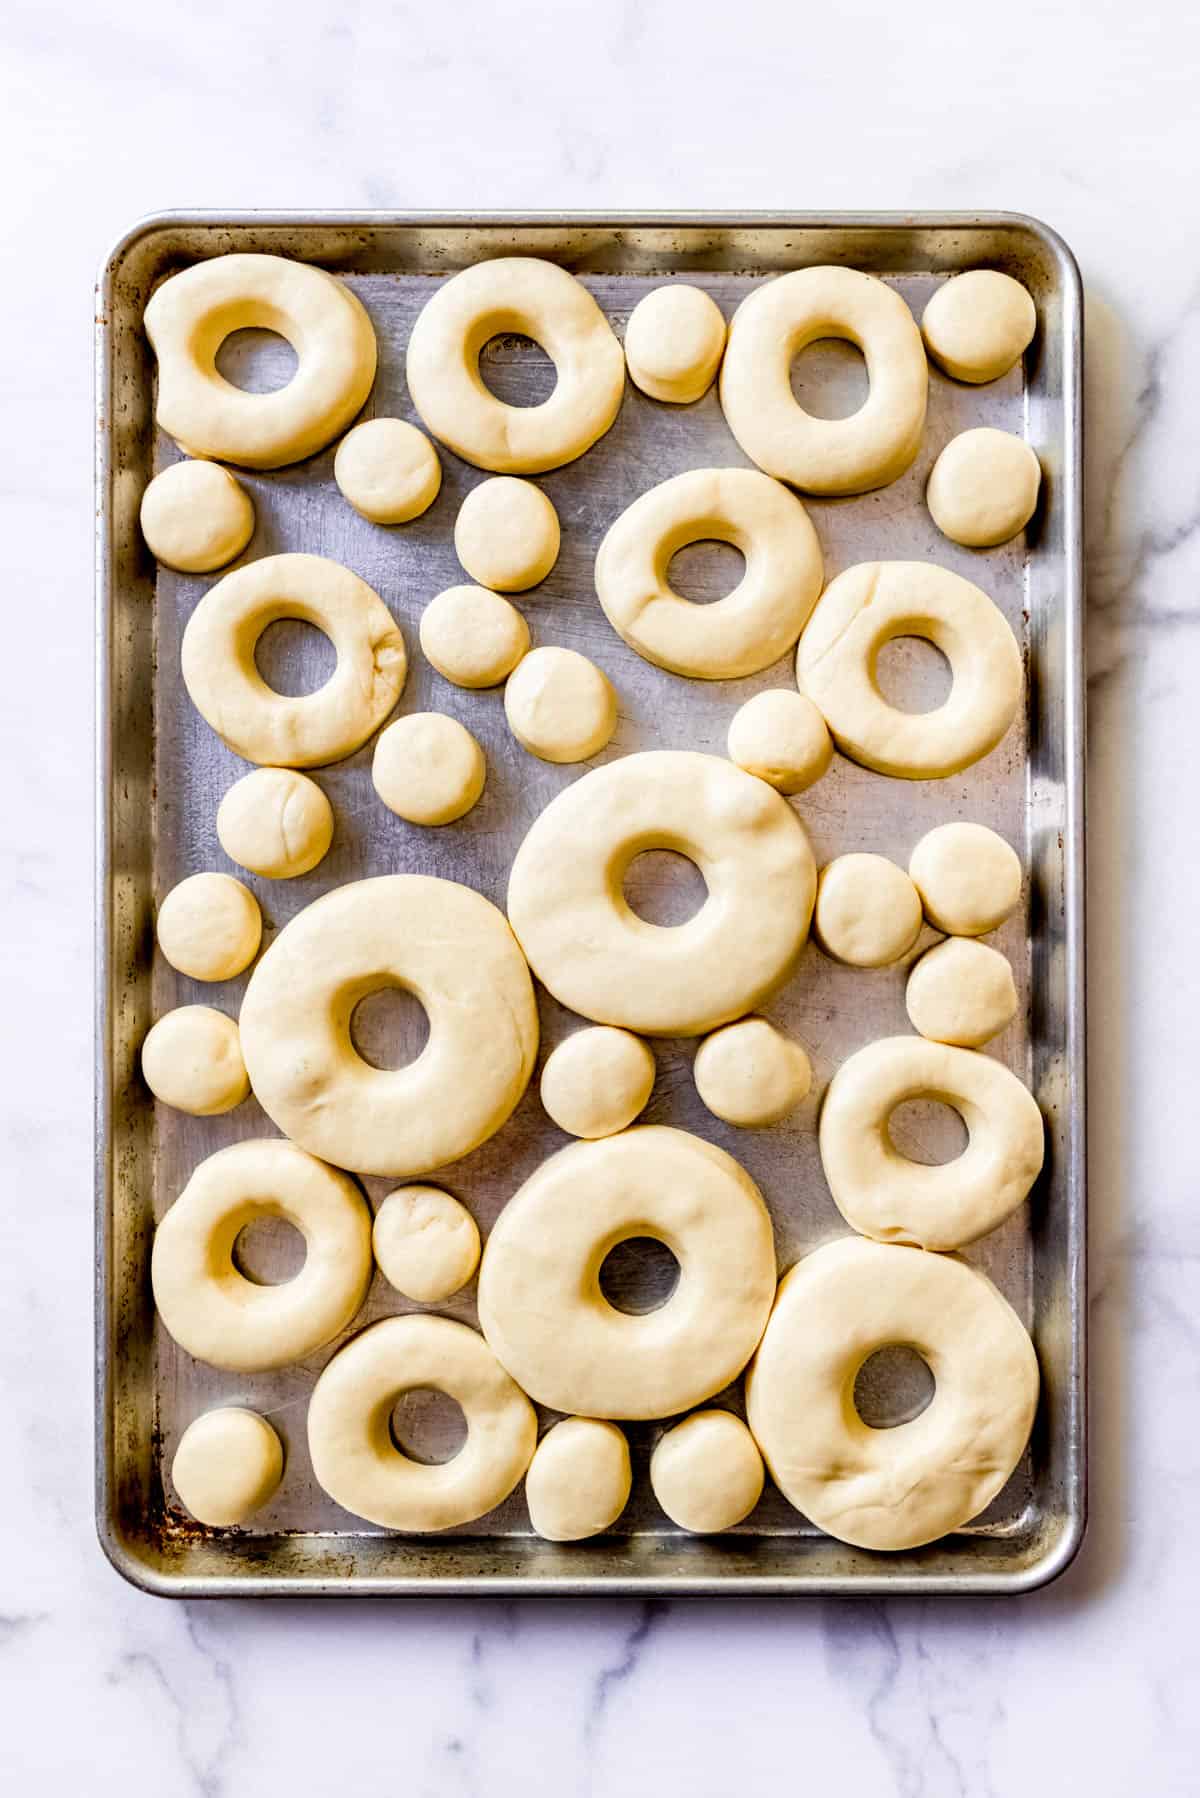
- Roll and cut. Roll out the donut dough on a clean greased or lightly floured surface until about 1/2-inch thick. Use a large 3- or 3 1/2-inch round donut cutter with a center hole or a large round biscuit cutter, cookie cutter, or even a cup with a small circular cutter or the wide end of a large piping tip for the centers to cut out donuts. Save the centers for donuts holes. You can combine scraps and reroll for more donuts. Gently move the donuts to a baking sheet lined with parchment paper. Cover loosely with plastic wrap and let the donuts rise for 30-60 minutes until slightly puffy.
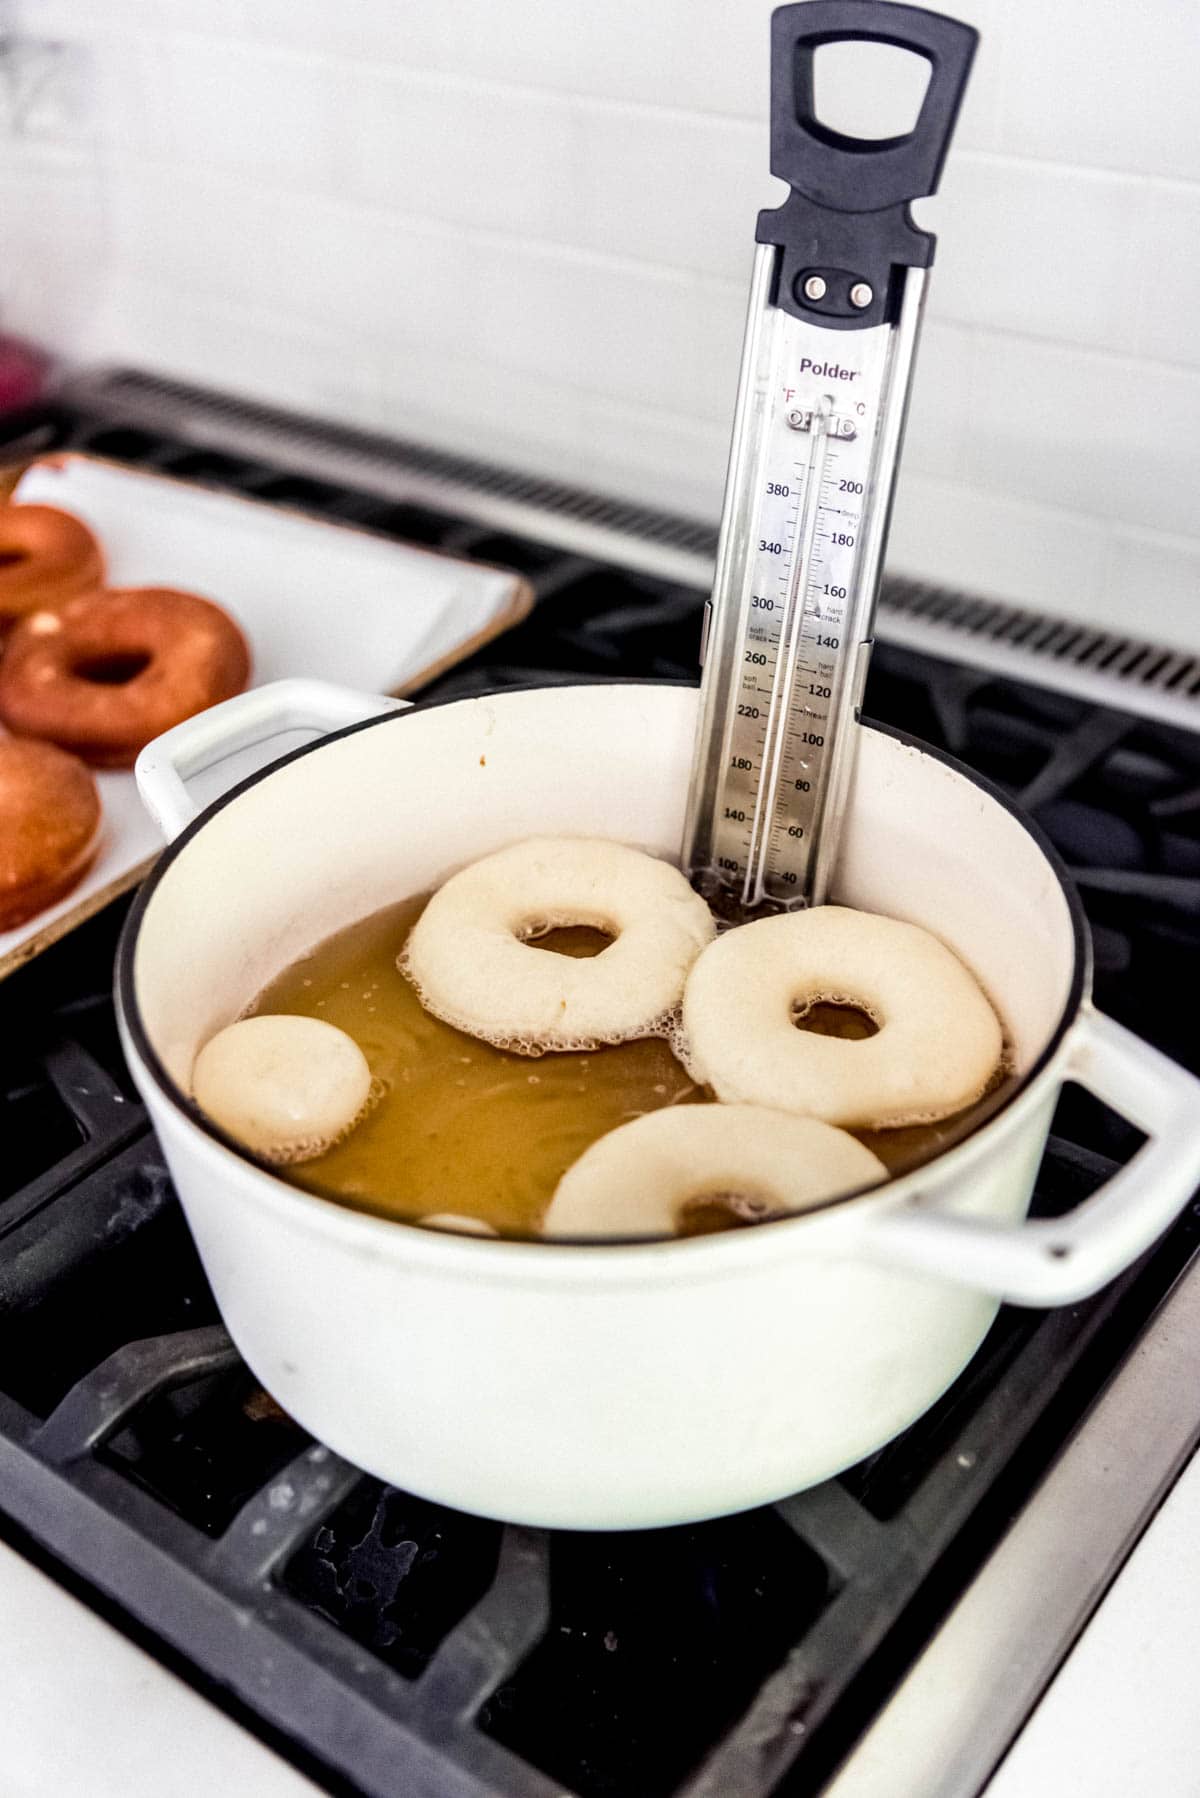
- Prep oil. Heat 2-3 inches of oil (usually about 2 quarts) in a large heavy-bottomed pan or dutch oven over medium-high heat to 350°F. Use a candy thermometer (affiliate link) to monitor the temperature while frying and try to keep it within the 350°F to 375°F range.
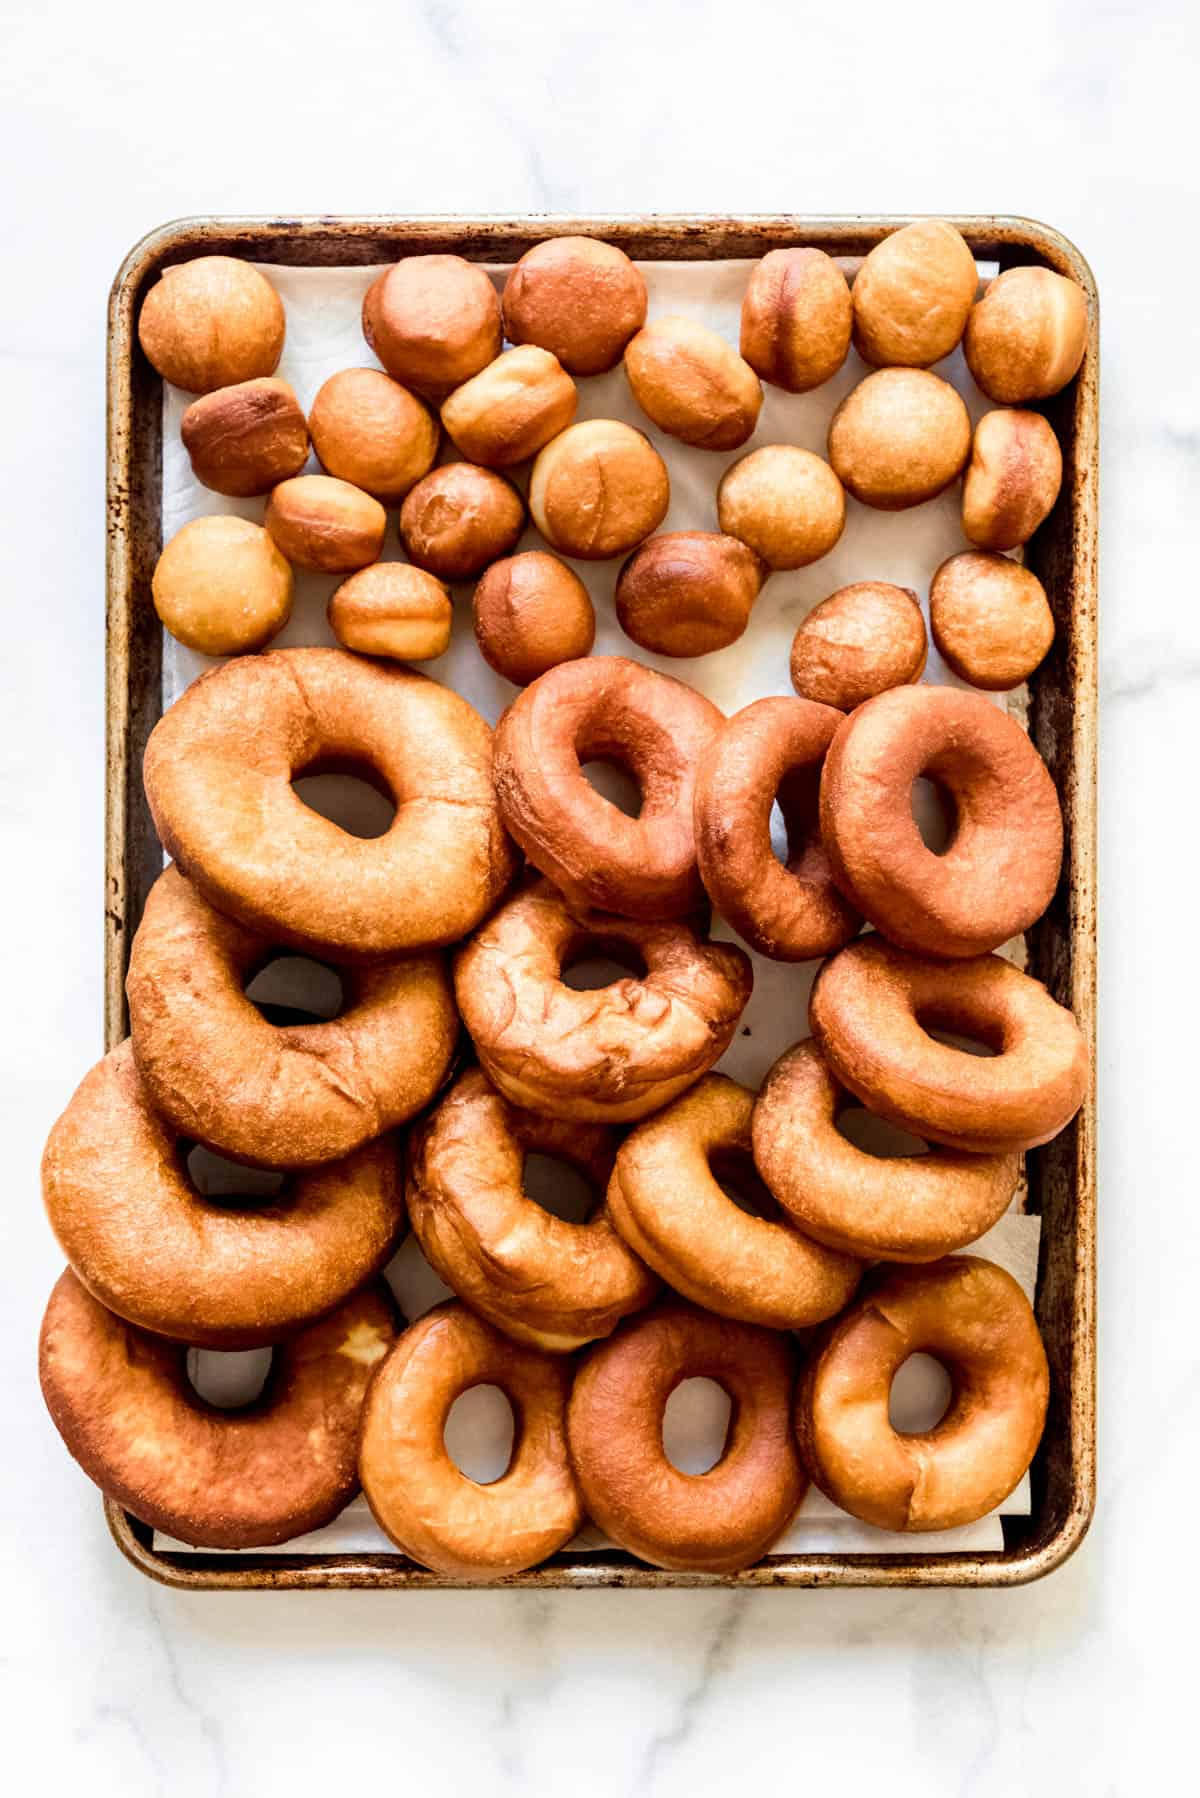
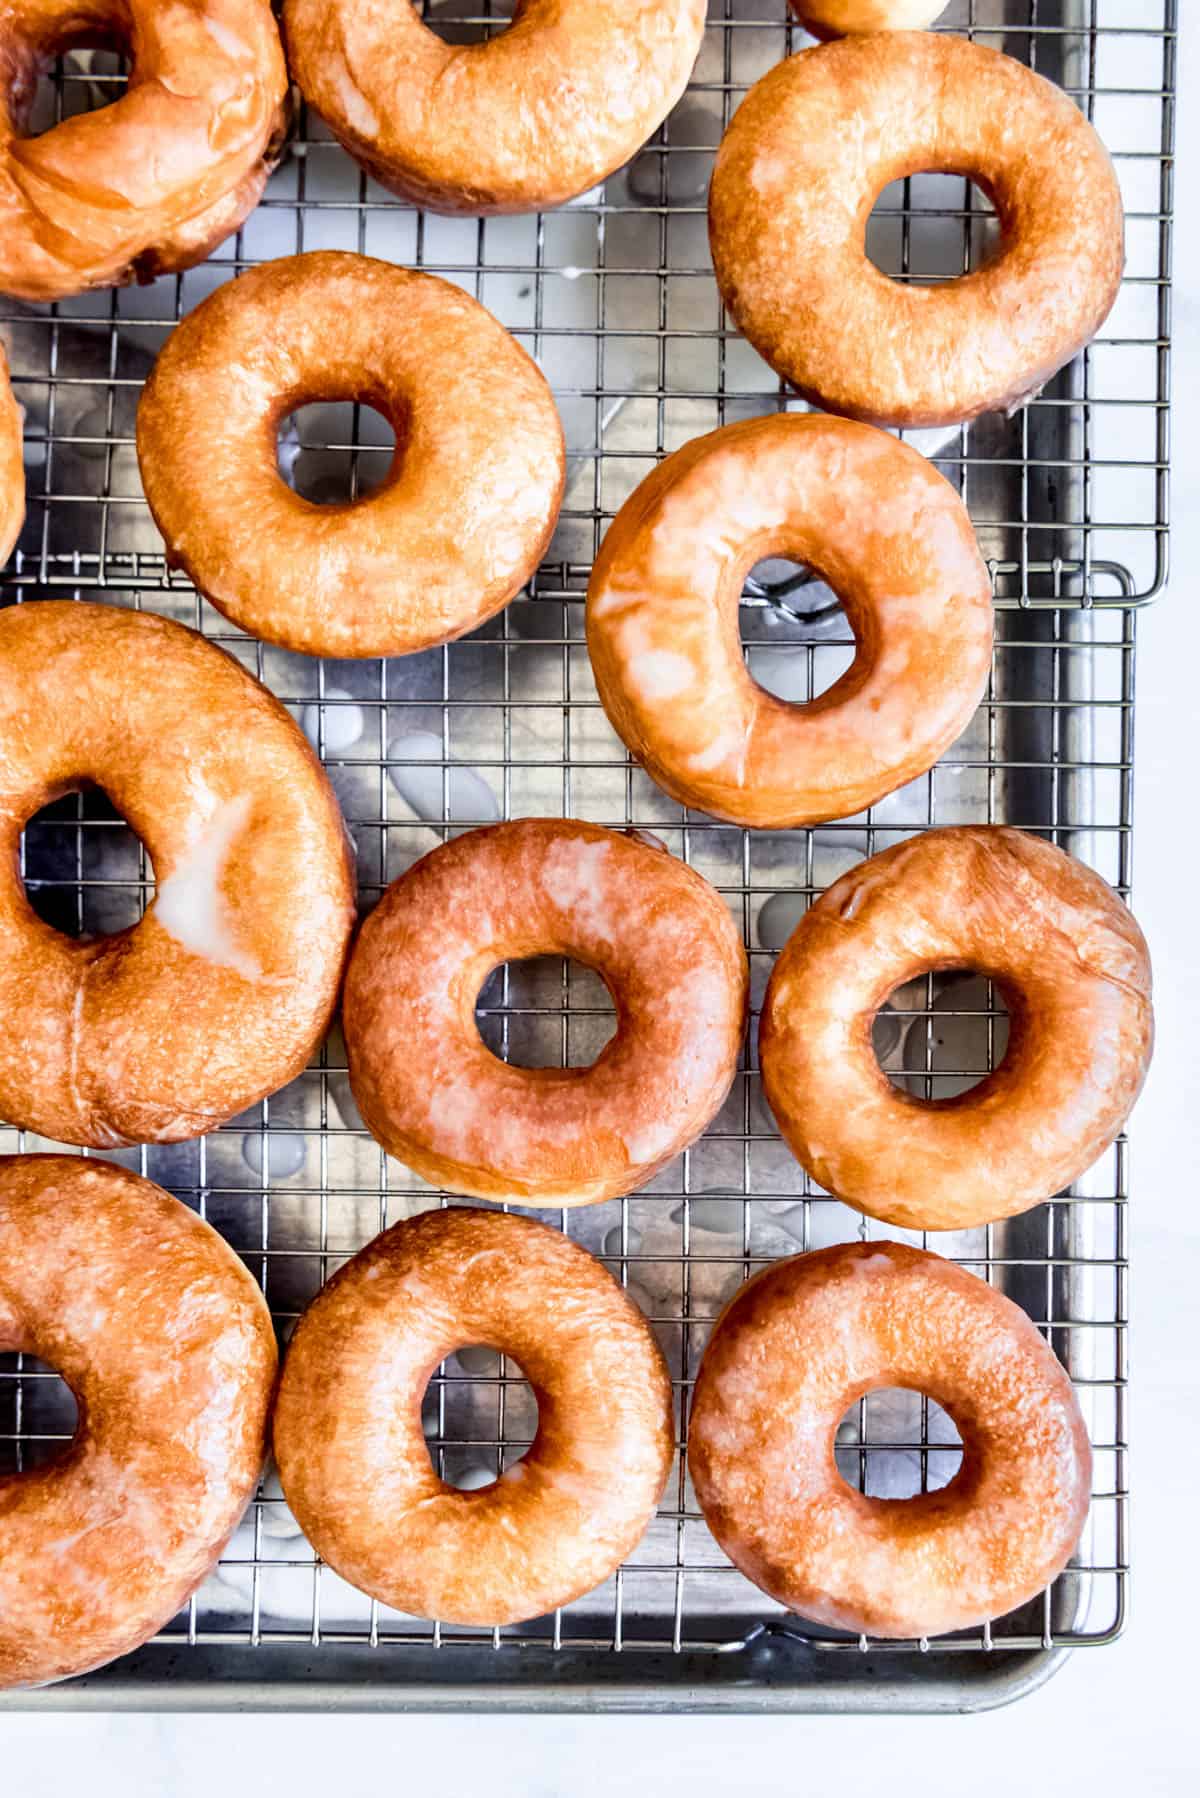
- Cook. Use a metal spatula to carefully transfer 3-4 donuts to the hot oil to fry for about 2-3 minutes, flipping halfway through, until golden brown on both sides. Donut holes will cook faster in more like 1-1 ½ minutes. Remove the fried donuts from the oil and transfer them to a wire rack set over a baking sheet with paper towels underneath while you fry the remaining donuts and donut holes. Let donuts cool slightly before dipping in glaze.
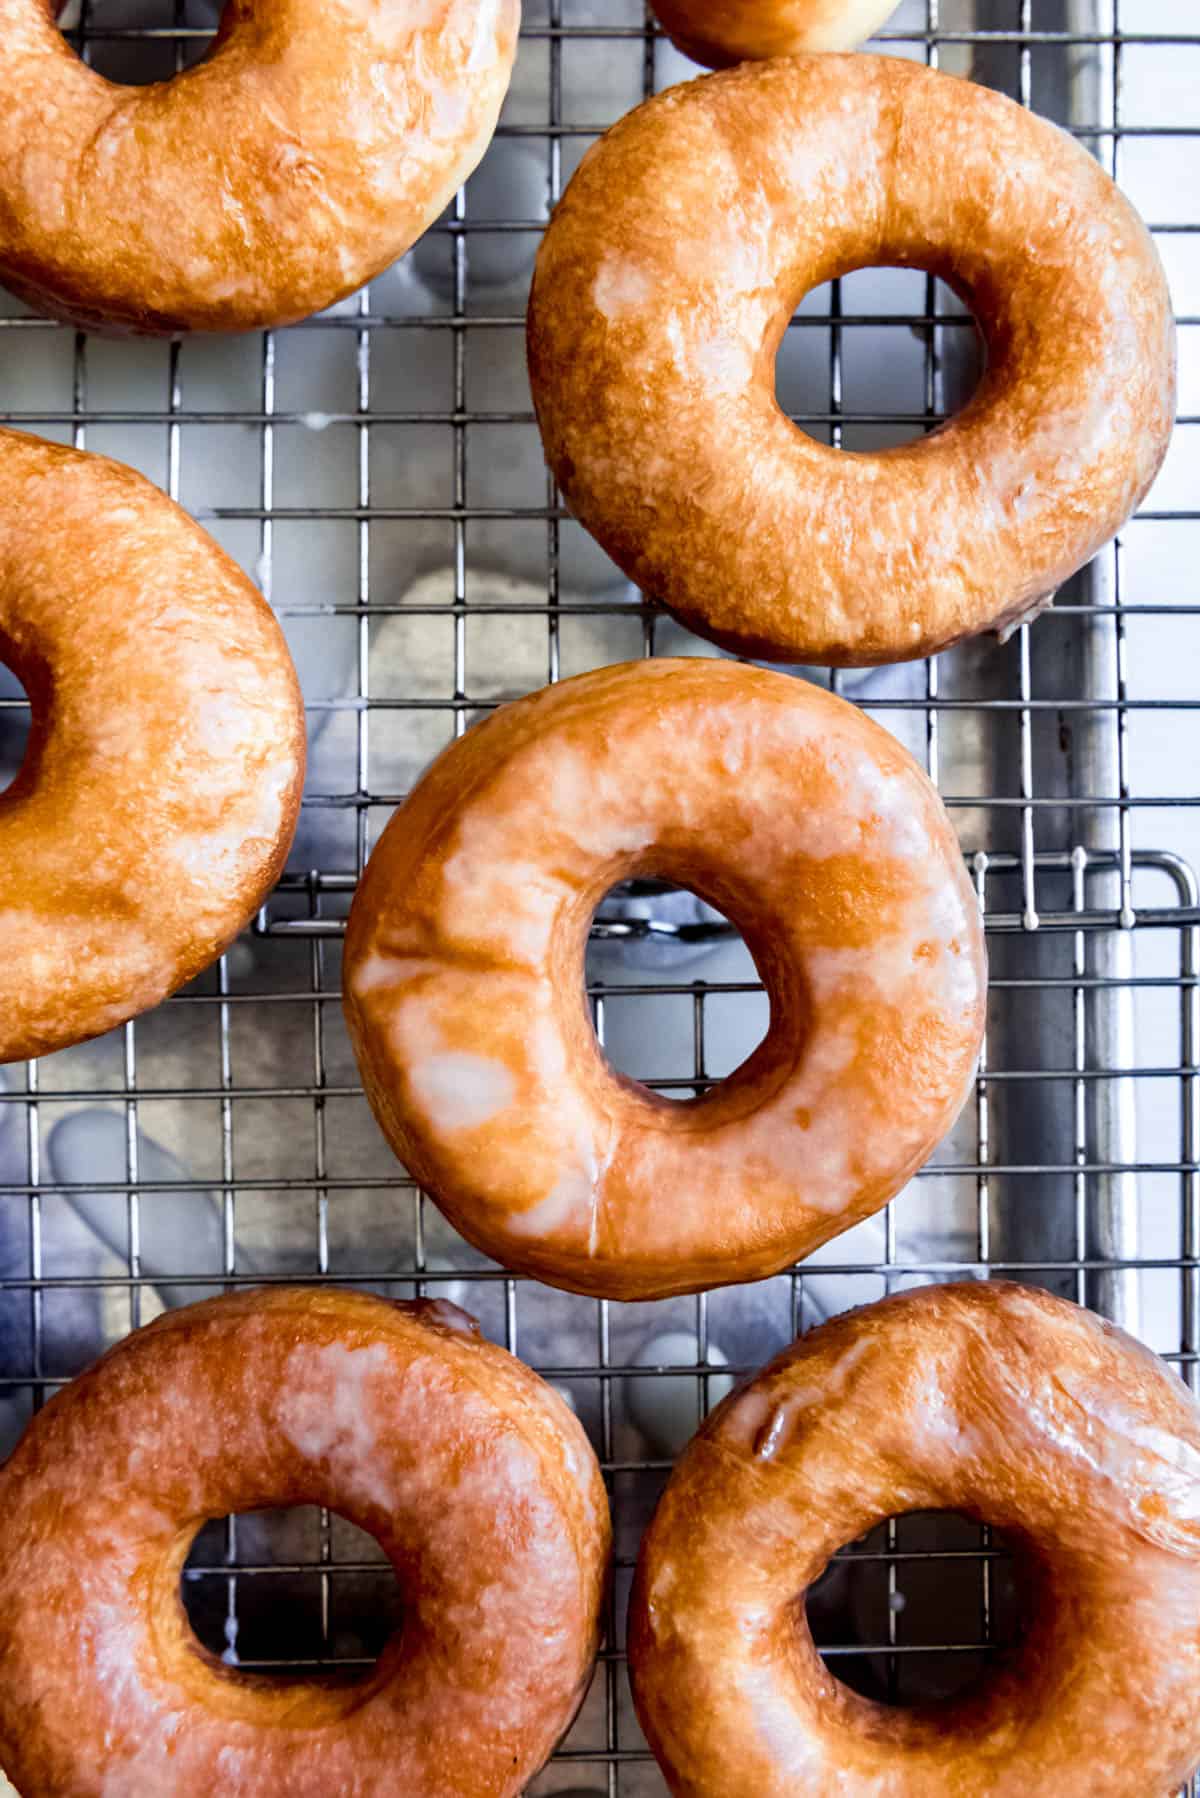
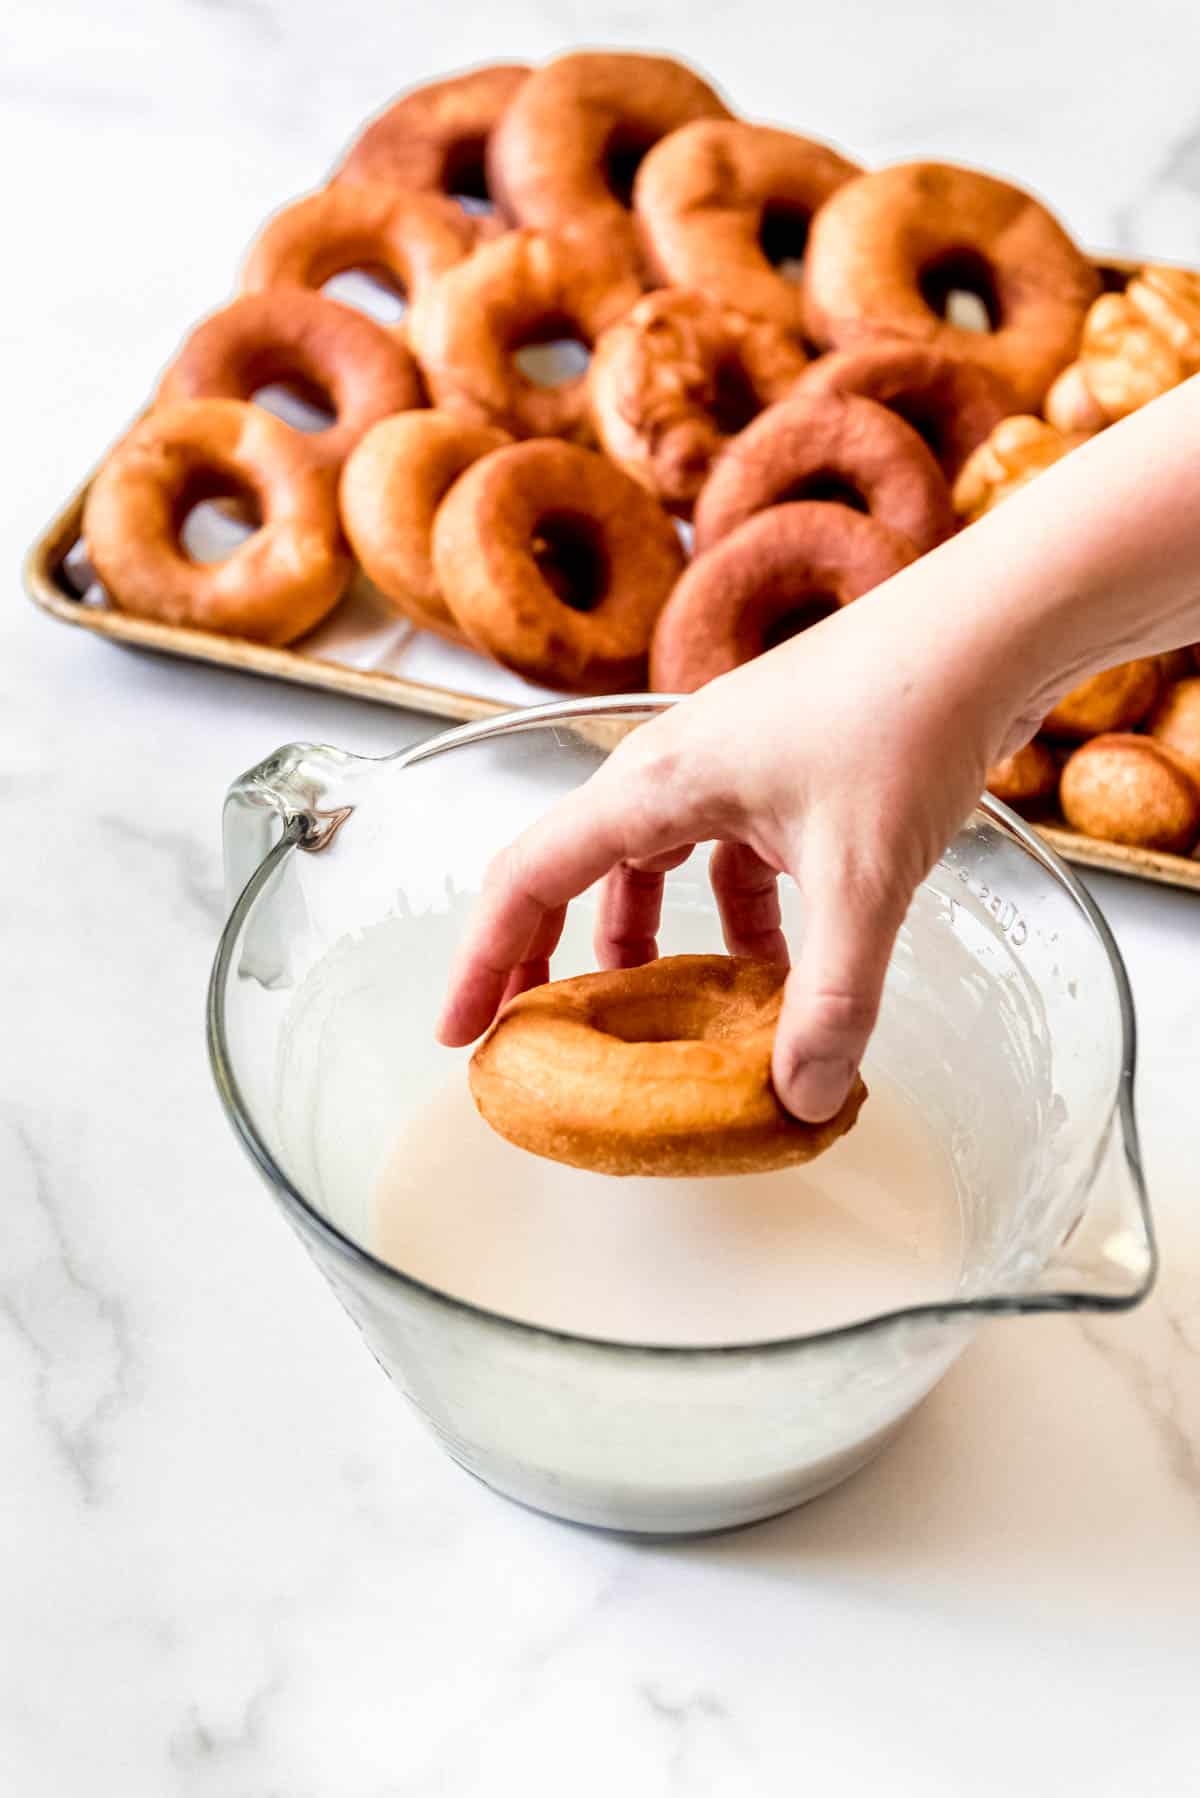
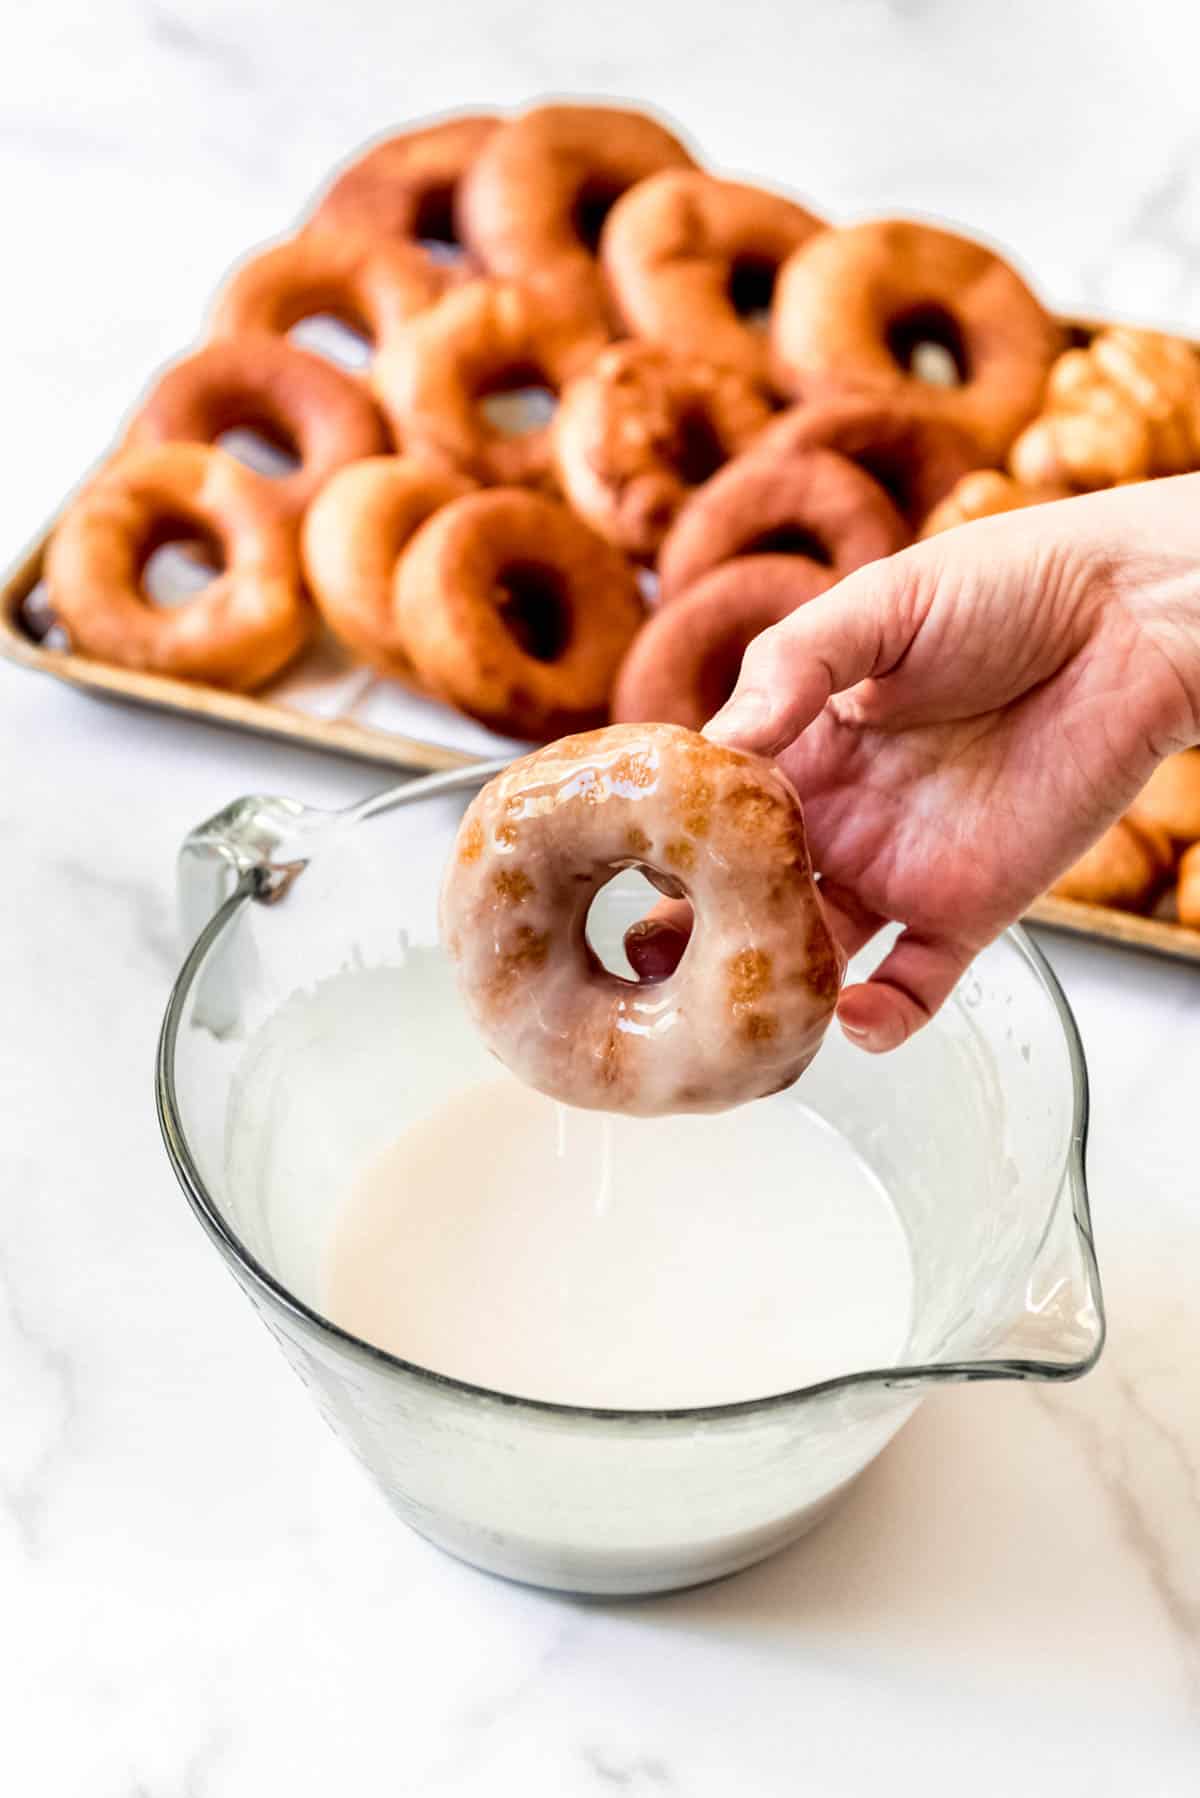
- Glaze. Whisk powdered sugar, milk, and vanilla together to make the glaze until smooth and thin enough to dip the donuts. Dip the donuts to coat with the glaze, then return to a wired rack until the glaze has had a chance to set up (about 20 minutes).
Substitutions and Variations
- For added flavor, you can also add different spices to your donut dough like ¼ to ½ teaspoons of nutmeg, cinnamon, or cardamom.
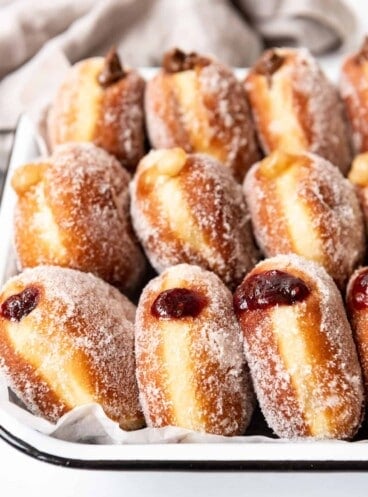
- Get creative with your donuts! You can top the donuts with frosting, sprinkles, chopped nuts, or shredded coconut if you don’t want glazed donuts!
- For the glaze, you can substitute heavy cream, half & half, or even coffee creamer in place of milk.
Storage Instructions
For best results, try to eat your homemade donuts within a day of frying, so they stay fresh and fluffy. If you have leftovers, they can be stored in an airtight container at room temperature or frozen for up to two months.
To reheat, simply pop a frozen donut in the microwave for about 30 seconds and enjoy! With these tips and tricks, you’ll be making delicious homemade donuts in no time.
Recipe FAQ’s
This is a very soft dough, which results in incredibly soft donuts, but it should still be thicken enough to be workable. If the dough is runny like a batter, you should try adding additional flour to the dough, about ¼ cup at a time and kneading that in until the dough starts coming together, then be sure to refrigerate it overnight, which will help the dough firm up enough to be manageable as well as developing the flavor.
Like most fried foods, donuts are best eaten fresh within a few hours of making them. However, you can make the donut dough 1-2 days ahead and let it rise slowly in the refrigerator covered with plastic wrap. You can roll out the dough while still cold from the fridge, then let them rise more after shaping. They will take slightly longer to get puffy after rolling them out.
Yes, you can freeze the finished donuts in a single layer in ziploc freezer bags for up to 2 months. Thaw at room temperature before enjoying. They aren’t nearly as good as freshly made donuts and the glaze might get sticky (you could always freeze them unglazed, then thaw and glaze before serving), but honestly they are still pretty tasty.
This dough freezes well for up to 2 months. There are two ways to do this – either before shaping the donuts of after shaping the donuts. For the first approach, transfer the donut dough to an airtight container and cover with plastic wrap immediately after kneading before letting it rise and freeze. Let thaw and rise in the refrigerator overnight 1-2 days before you plan to roll out and shape the doughnuts.
Alternatively, you can make the dough, let the dough rise, then roll out, cut out, and freeze the unfried donuts on a baking sheet lined with parchment paper. Once frozen, store the donuts in the freezer with parchment paper between layers in an airtight container for up to 2 months. When you are ready to cook the donuts, let them thaw at room temperature for 4-5 hours before frying. This is also a great way to enjoy fresh donuts with less work because you can make half the batch and freeze the other half of the batch of dough for later.
Recipe Tips and Tricks
- Monitor the oil temp. Be sure to check the temperature of your oil. You want to make sure it is the right temperature in order to yield the perfect fluffy donuts.
- Overnight rise: The donuts turn out lighter, fluffier, and more tender when you let them rise overnight in the fridge. They are more dense and chewy when you fry them right away. Personally, I prefer them more chewy. My husband likes them lighter.
- Coating in sugar: If you prefer to coat the donuts in granulated sugar, toss them while still hot from the oil to coat evenly.
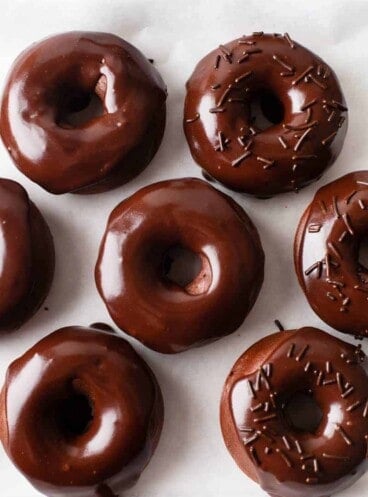
- Chocolate Glaze: Whisk together 4 Tablespoons dutch-processed cocoa powder, 2 Tablespoons melted salted butter, 1 ½ cups powdered sugar, 1 teaspoon vanilla extract, 2 Tablespoons hot water, and 2 teaspoons corn syrup in a medium bowl.
More Donut Recipes

Did you make this recipe?
Let me know what you thought with a comment and rating below. You can also take a picture and tag me on Instagram @houseofnasheats or share it on the Pinterest pin so I can see.

Homemade Glazed Donuts Recipe
Ingredients
Donuts
- 4 to 4 1/2 cups all-purpose flour (500g to 575g)
- 2 1/4 teaspoons instant or active dry yeast* (one package)
- 1/3 cup granulated sugar
- 1 teaspoon salt
- 1 cup warm milk (about 100°F to 110°F)
- 8 Tablespoons salted butter melted
- 2 large eggs beaten and at room temperature
- 1 teaspoon vanilla extract
- Oil for frying (about 2 quarts)
Plain Glaze
- 3 cups powdered sugar
- 1/3 cup milk
- 1/2 teaspoon vanilla extract
Instructions
- Combine 4 cups flour, instant yeast, sugar, salt in large bowl. Stir to combine. Heat the milk in the microwave for about 20-30 seconds. Add warm milk, melted butter, eggs, and vanilla extract to the flour mixture. Mix until combined, then knead for 5-7 minutes in a stand mixer using the dough hook attachment until the dough is smooth and elastic. Add the additional ½ cup of flour only if needed. The dough should be soft and sticky but still manageable.4 to 4 ½ cups all-purpose flour, 2 ¼ teaspoons instant or active dry yeast*, ⅓ cup granulated sugar, 1 teaspoon salt, 1 cup warm milk, 8 Tablespoons salted butter, 2 large eggs, 1 teaspoon vanilla extract
- Cover the bowl of dough with plastic wrap and let rise at room temperature until doubled in size (1-2 hours) or in the fridge overnight. An overnight rise results in slightly lighter donuts with a more developed flavor and an easier to work with chilled dough, but they are almost just as good with the shorter rise time at room temperature so that is what we often do.
- Roll out the donut dough on a clean greased or lightly floured surface until about 1/2-inch thick. Use a large 3- or 3 1/2-inch round donut cutter with a center hole or a large round biscuit cutter with a small circular cutter or the wide end of a large piping tip for the centers to cut out donuts. Save the centers for donuts holes. You can combine scraps and reroll for more donuts. Gently move the donuts to a baking sheet lined with parchment paper. Cover loosely with plastic wrap and let the donuts rise for 30-60 minutes until slightly puffy.
- Heat 2-3 inches of oil in a large heavy-bottomed pan or dutch oven over medium-high heat to 350°F. Use a candy thermometer (affiliate link) to monitor the temperature while frying and try to keep it within the 350°F to 375°F range.Oil
- Use a metal spatula to carefully transfer 3-4 donuts to the hot oil to fry for about 2-3 minutes, flipping halfway through, until golden brown on both sides. Donut holes will cook faster. Remove the fried donuts from the oil and let them drain on a wire rack, while you fry the remaining donuts and donut holes. Let donuts cool slightly before dipping in glaze.
- Whisk powdered sugar, milk, and vanilla together to make the glaze until smooth and thin enough to dip the donuts. Dip the donuts to coat with the glaze, then return to a wired rack until the glaze has had a chance to set up (about 20 minutes).3 cups powdered sugar, ⅓ cup milk, ½ teaspoon vanilla extract
- Homemade donuts are best enjoyed the day they are made when they are fresh but can be stored in an airtight container at room temperature or in the fridge for a day or two.
Notes
- *Active dry yeast: If using active dry yeast, stir it into the warm milk in a large mixing bowl with 1 teaspoon of the sugar and let sit for 5 minutes until foamy before proceeding to add flour, remaining sugar, salt, butter, eggs, and vanilla and kneading as directed.
- Make-Ahead: You can make the dough 1-2 days ahead and let it rise slowly in the refrigerator. They will take slightly longer to get puffy after rolling them out.
- Freezing dough: This dough freezes well for up to 2 months. After kneading, cover the dough with plastic wrap and freeze. Let thaw and rise in the refrigerator overnight 1-2 days before you plan to roll out and shape the doughnuts. Alternatively, you can make the dough, let the dough rise, then roll out, cut out, and freeze the donuts on a baking sheet lined with parchment paper. Thaw at room temperature for 4-5 hours before frying.
- Freezing donuts: You can freeze the finished donuts in a single layer in ziploc freezer bags for up to 2 months. Thaw at room temperature before enjoying.
- Overnight rise: The donuts turn out lighter, fluffier, and more tender when you let them rise overnight in the fridge. They are more dense and chewy when you fry them right away. Personally, I prefer them more chewy. My husband likes them lighter.
- Coating in sugar: If you prefer to coat the donuts in granulated sugar, toss them while still hot from the oil to coat evenly.
- Chocolate Glaze: Whisk together 4 Tablespoons dutch-processed cocoa powder, 2 Tablespoons melted salted butter, 1 ½ cups powdered sugar, 1 teaspoon vanilla extract, 2 Tablespoons hot water, and 2 teaspoons corn syrup in a medium bowl.