
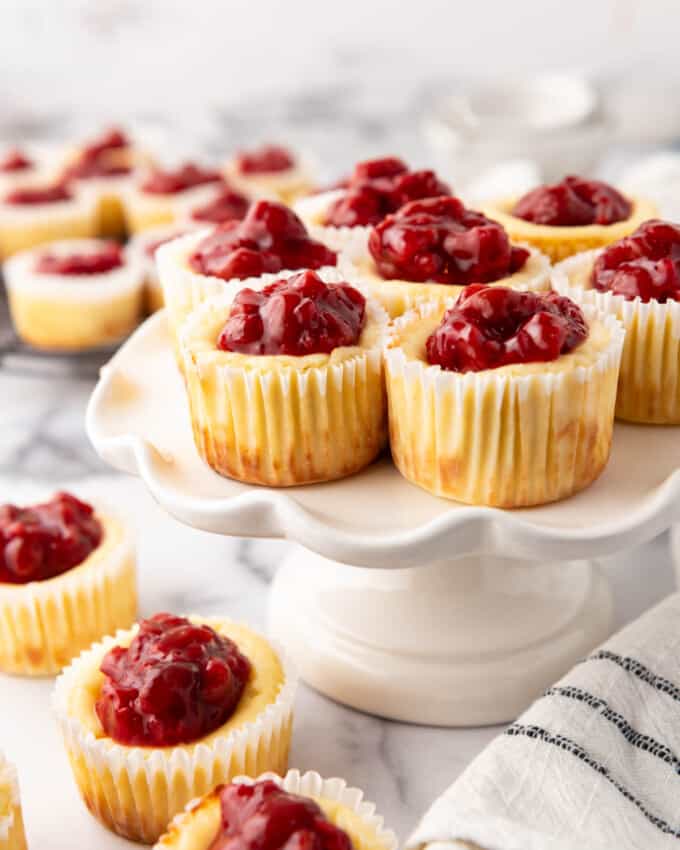
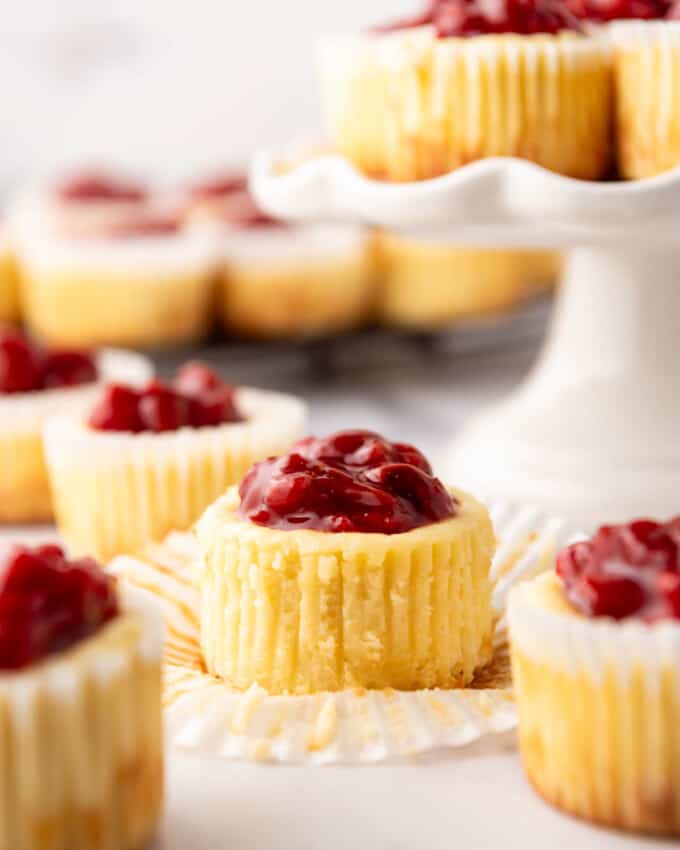
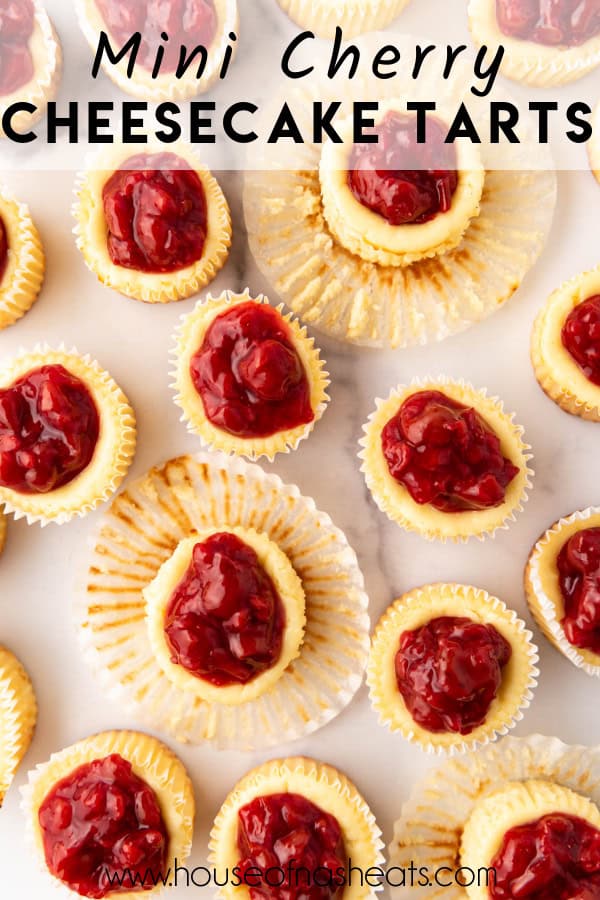
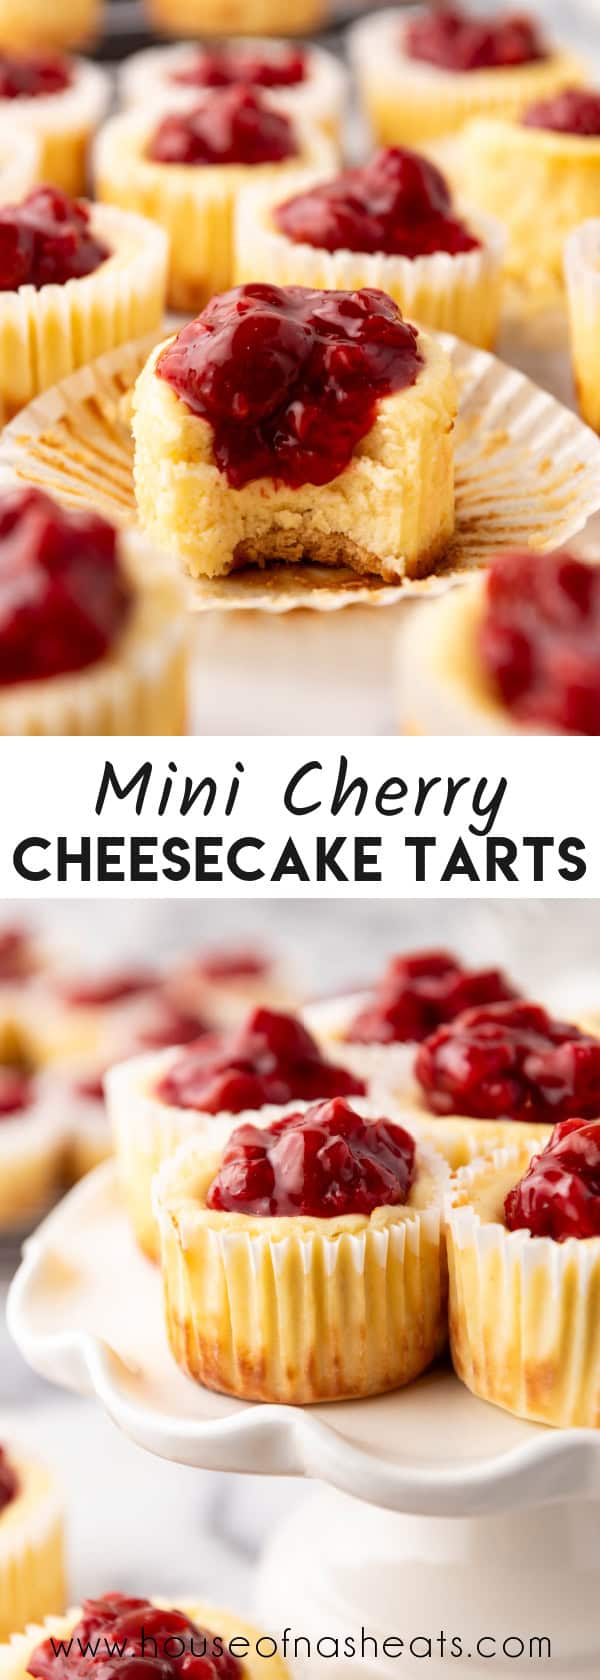
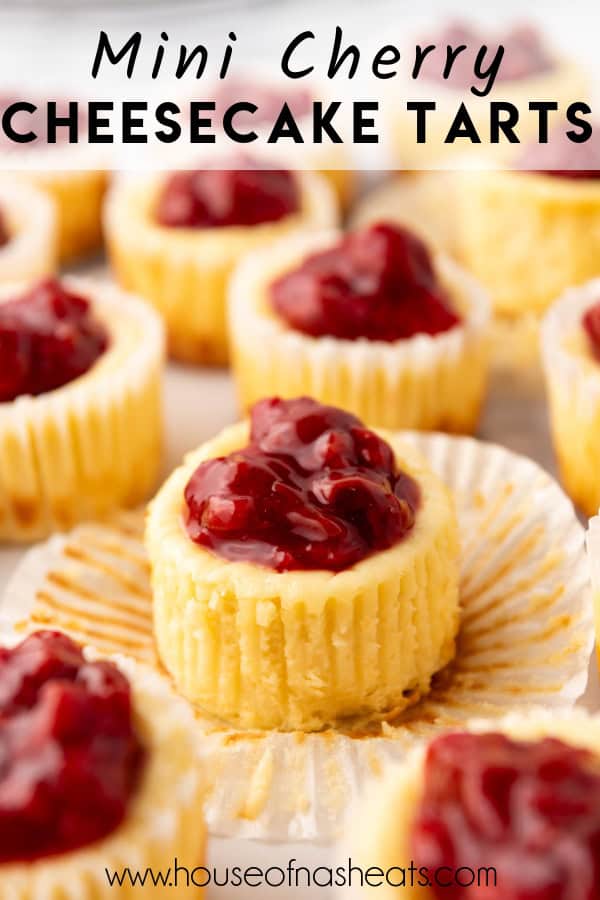
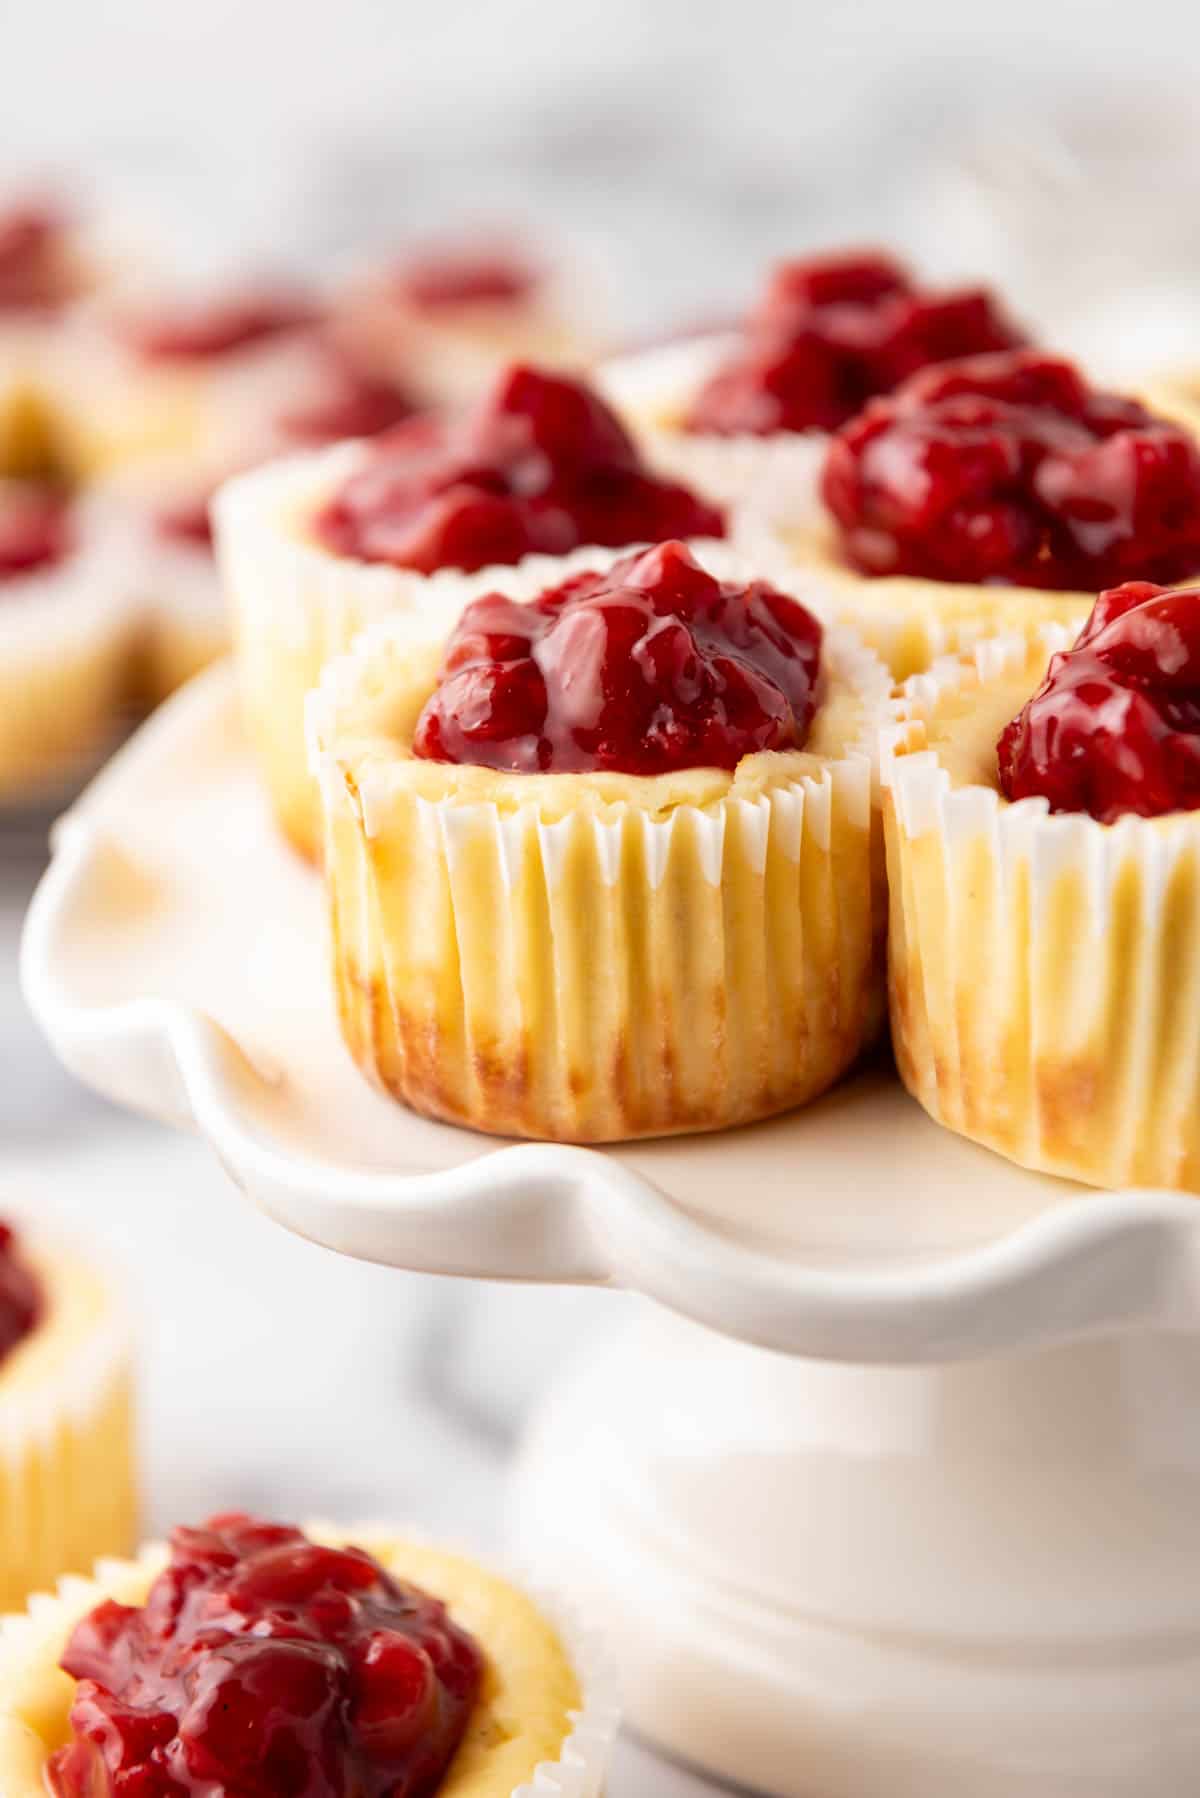
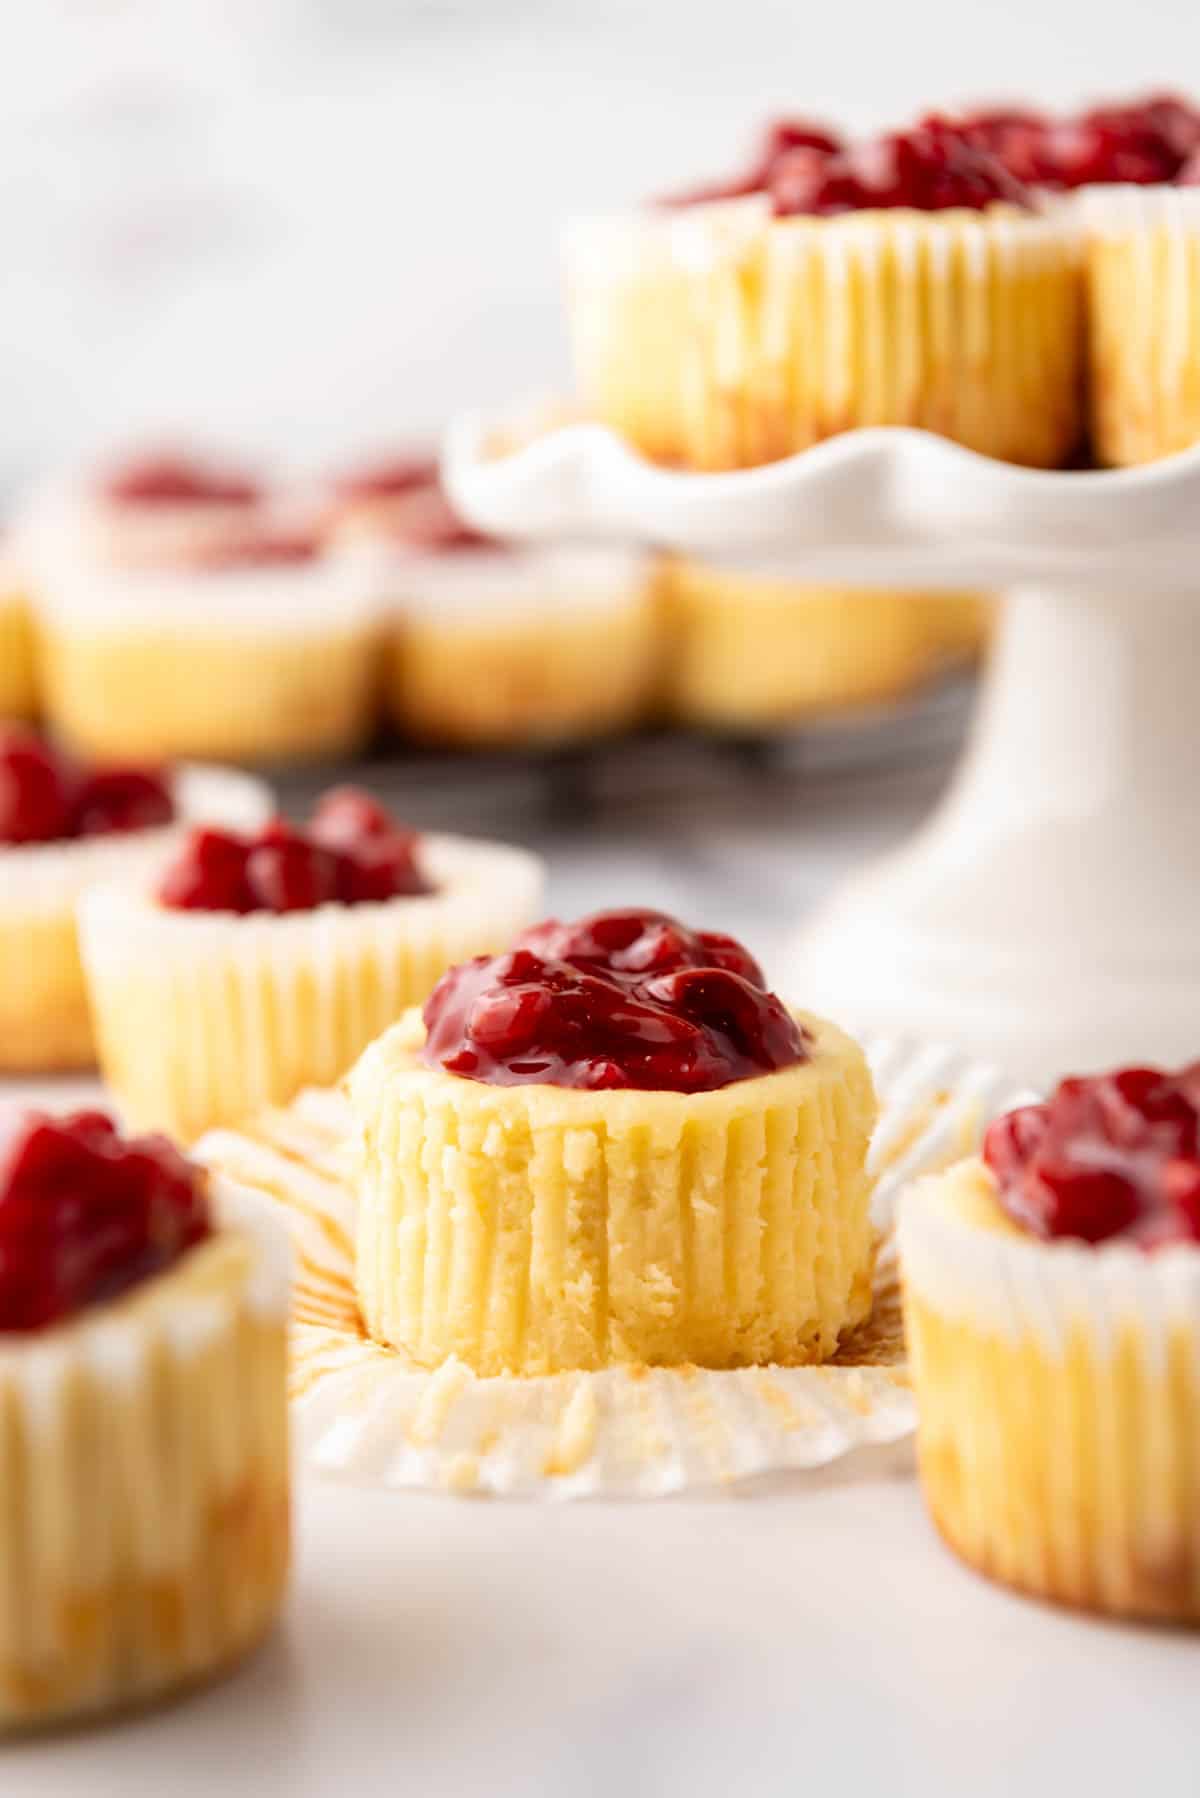
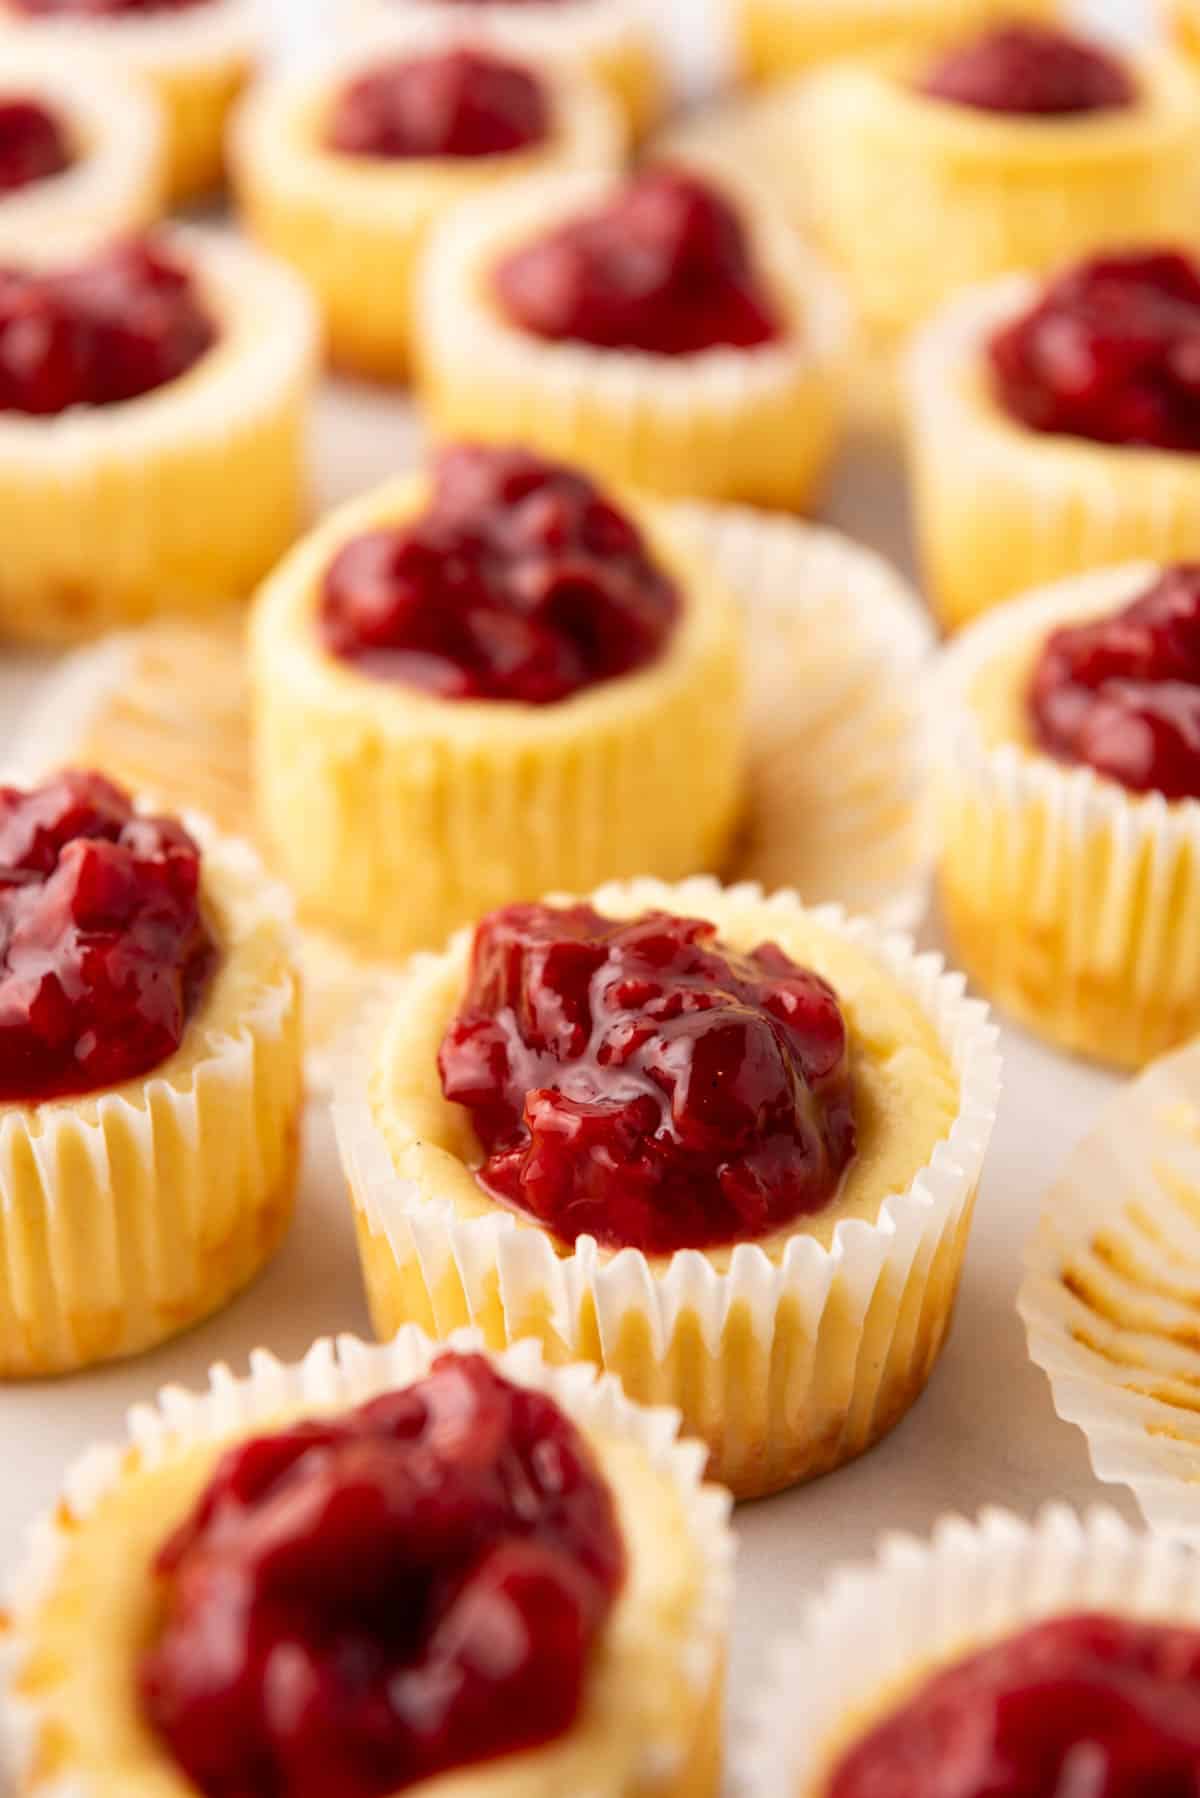
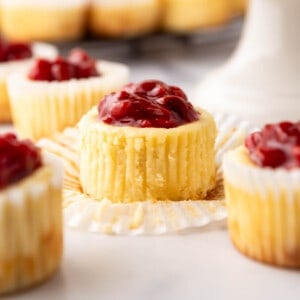
Cherry Cheesecake Tarts combine the creamy texture of cheesecake with the sweet tang of cherry pie filling and a crisp Nilla wafer as the base! These scrumptious tarts are ideal for parties, family gatherings, or as tasty treats to enjoy throughout the week!
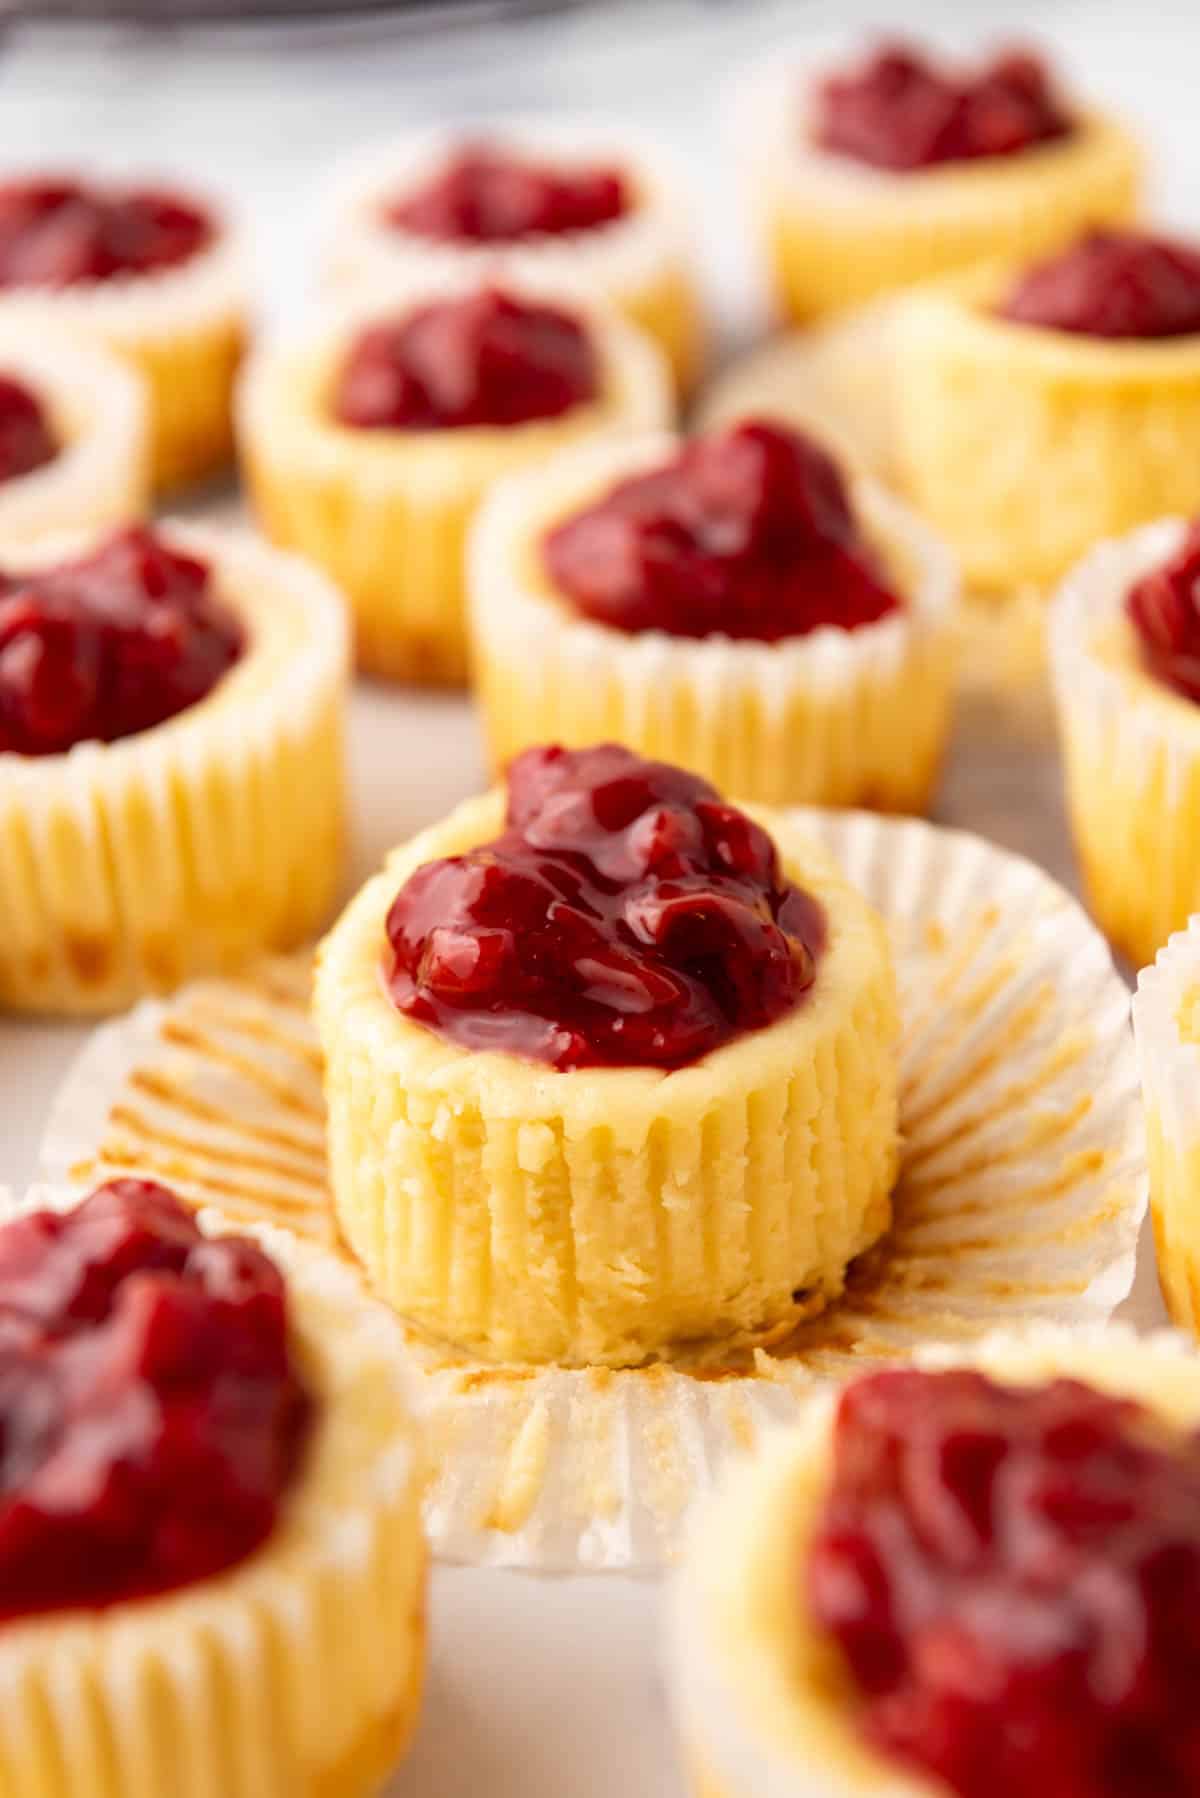
Table of Contents
My mom used to make these mini cherry cheesecakes every year around Christmas and New Year’s and they were my favorite! The creaminess of the cheesecake with the tart cherry filling and sweet Nilla Wafer crust is dessert perfection in my book. I’m pretty sure she got this recipe from our neighbor Kim decades ago when we were living in Omaha, Nebraska, and it’s been in our family ever since.
This recipe for Cherry Cheesecake Tarts takes the classic cherry cheesecake flavor combination and presents it in an adorable, easy-to-serve format, perfect for any special occasion, a holiday gathering, or just as a delicious little tart to brighten your day.
For more bite-sized cheesecake treats, check out my recipes for Mini Lemon Blueberry Cheesecakes, Easy Blueberry Cheesecake Bars, Easy Chocolate Cheesecake Truffles, Raspberry Cheesecake Cookies, Football Cookies & Cream Cheesecake Dip, and Mini White Chocolate Peppermint Cheesecakes!
Why We Love This Recipe
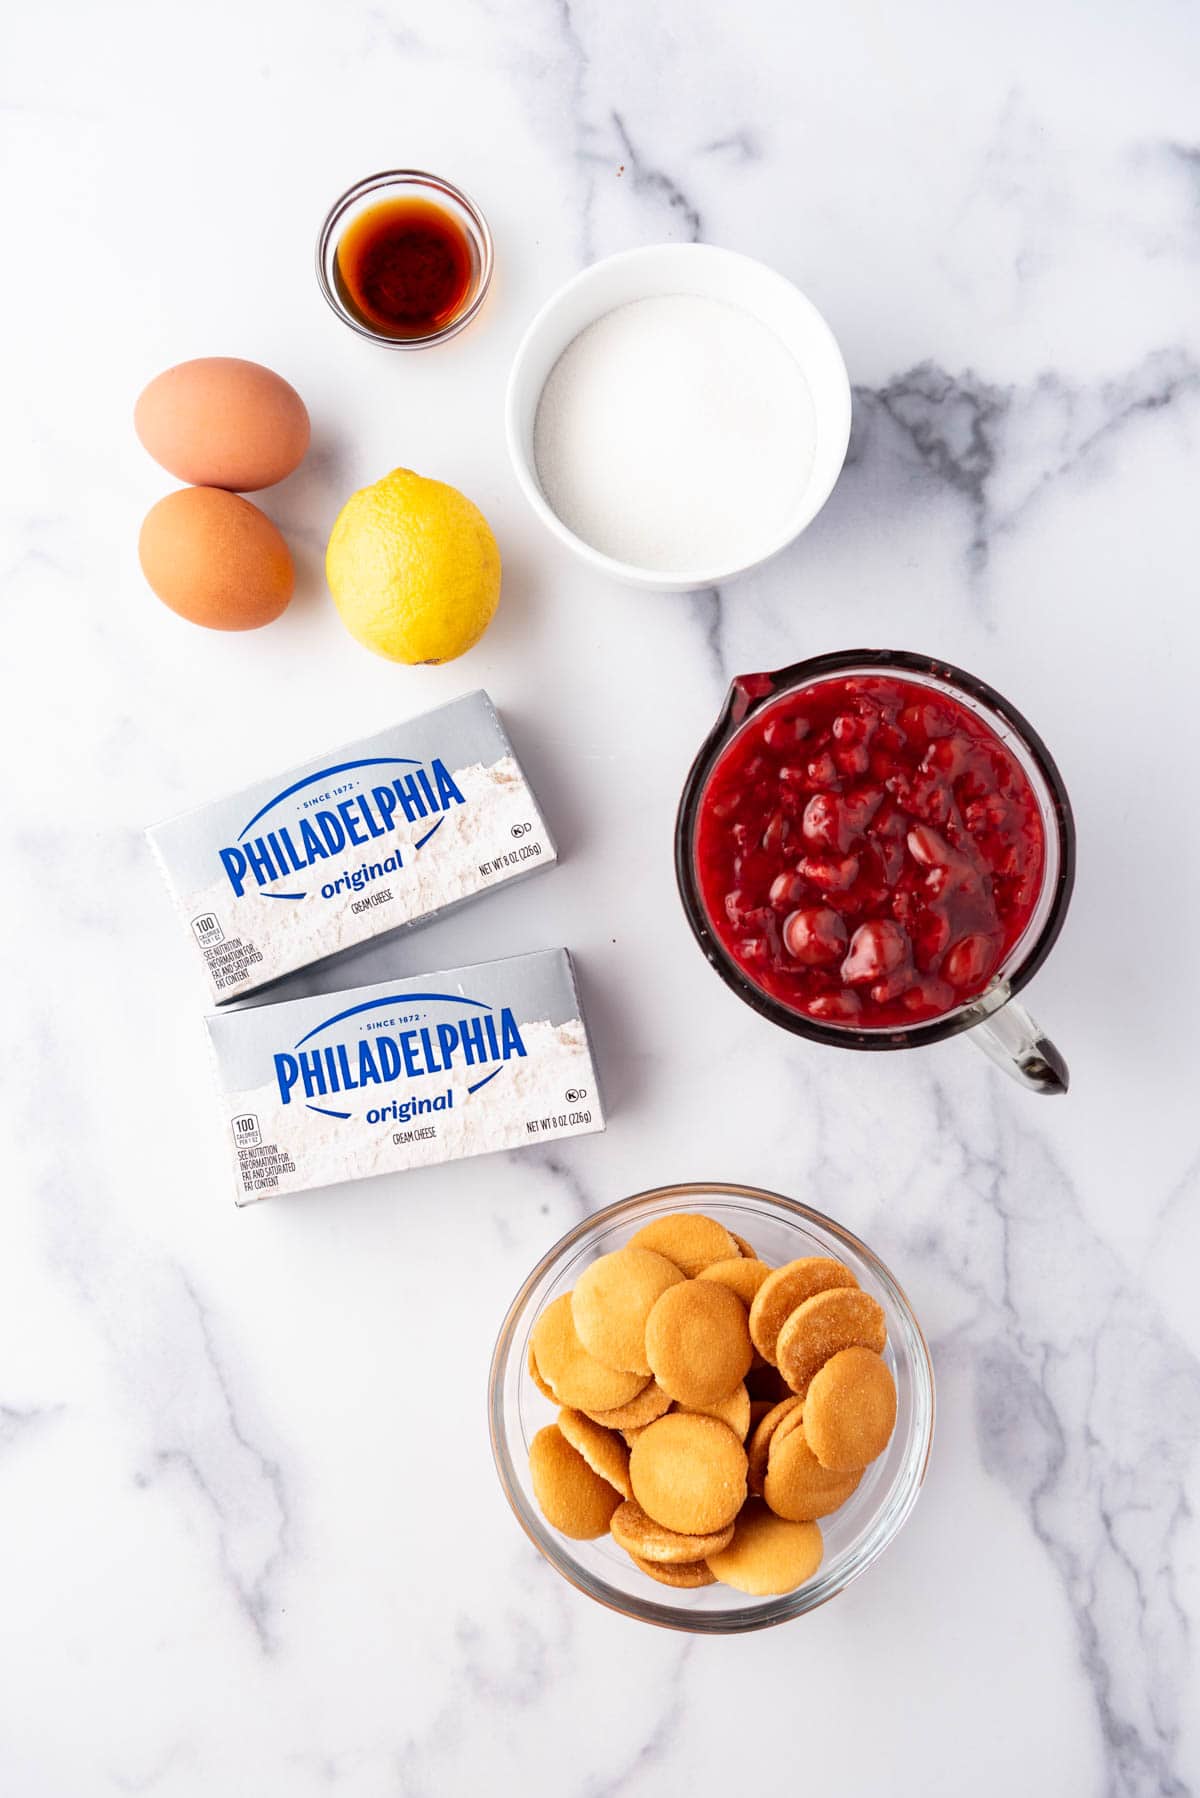
- With just a few basic ingredients—cream cheese, sugar, eggs, lemon juice, vanilla extract, Nilla wafers, and cherry pie filling—you can create a great dessert that looks and tastes as if it came from a gourmet bakery.
- Whether you’re a fan of blueberry, strawberry, salted caramel, or even lemon curd, the topping possibilities are endless, making this a versatile recipe you’ll be coming back to again and again.
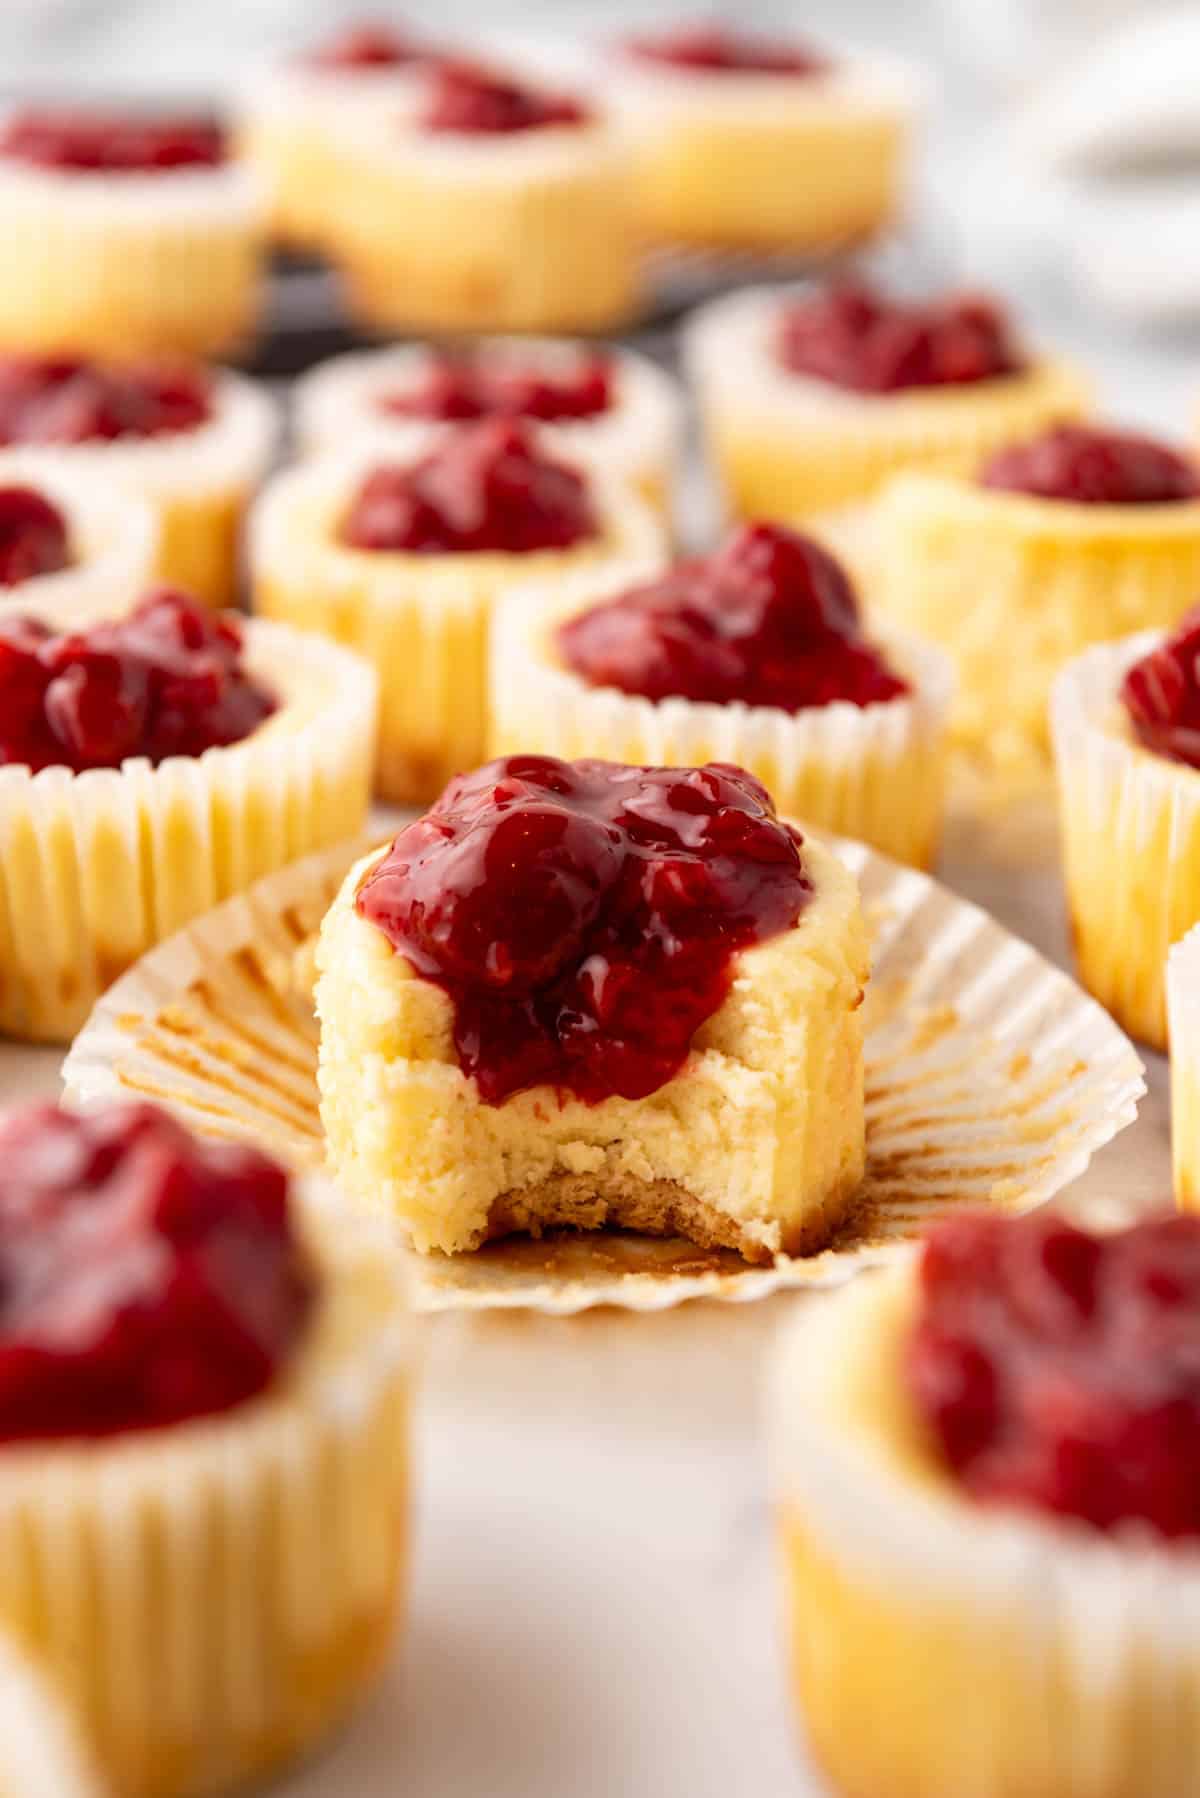
- The recipe for these little tarts is incredibly forgiving, making it a great option for bakers of all skill levels. It doesn’t even matter that they sink and aren’t flat because they form the perfect little cups for holding toppings!
What You’ll Need
Scroll down to the recipe card below this post for ingredient quantities and full instructions.
- Nilla Wafers – These serve as the base of each tart, offering a crunchy texture and a sweet flavor that complements the creamy filling.
- Full-Fat Cream Cheese – The cornerstone of any cheesecake, full-fat cream cheese gives the filling its rich, creamy texture. For a lighter version, you could use reduced-fat cream cheese, but the texture and flavor of the tarts may be slightly altered.
- Granulated Sugar – This sweetens the cheesecake filling. If you prefer, you can adjust the amount slightly based on your taste preferences.
- Eggs – Eggs help to bind the filling together, giving it a smooth, custard-like texture once baked.
- Lemon Juice – The acidity of the lemon juice enhances the flavor of the cheesecake and adds a slight tartness that balances the sweetness of the filling and the cherry topping.
- Pure Vanilla Extract – Vanilla adds depth and warmth to the flavor profile of the cheesecake filling.
- Can of Cherry Pie Filling – This is used as the topping for each tart, providing a sweet and tangy contrast to the creamy filling. If you want to make your own cherry pie filling from scratch, then check out my Homemade Cherry Pie Filling recipe with Fresh Cherries!
How to Make Mini Cheesecakes with Sweet Cherries Topping
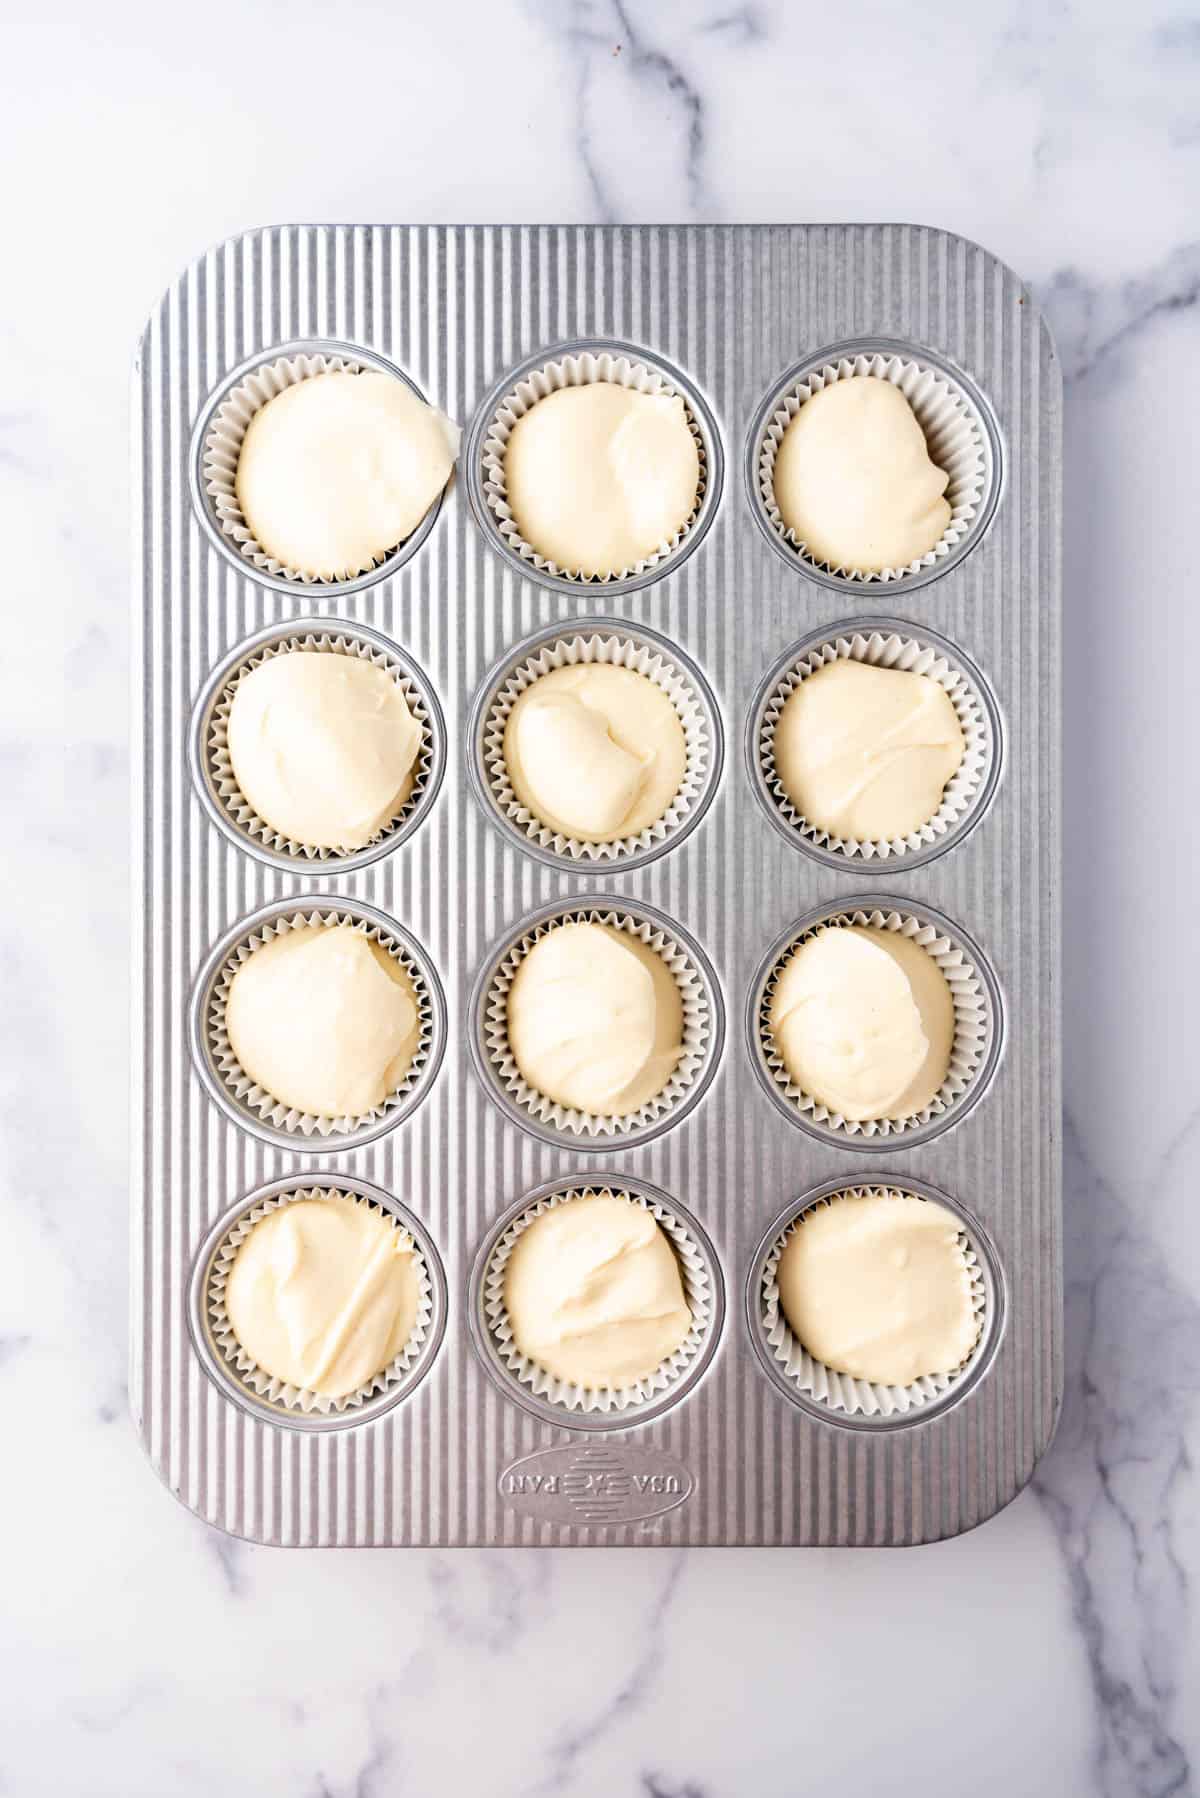
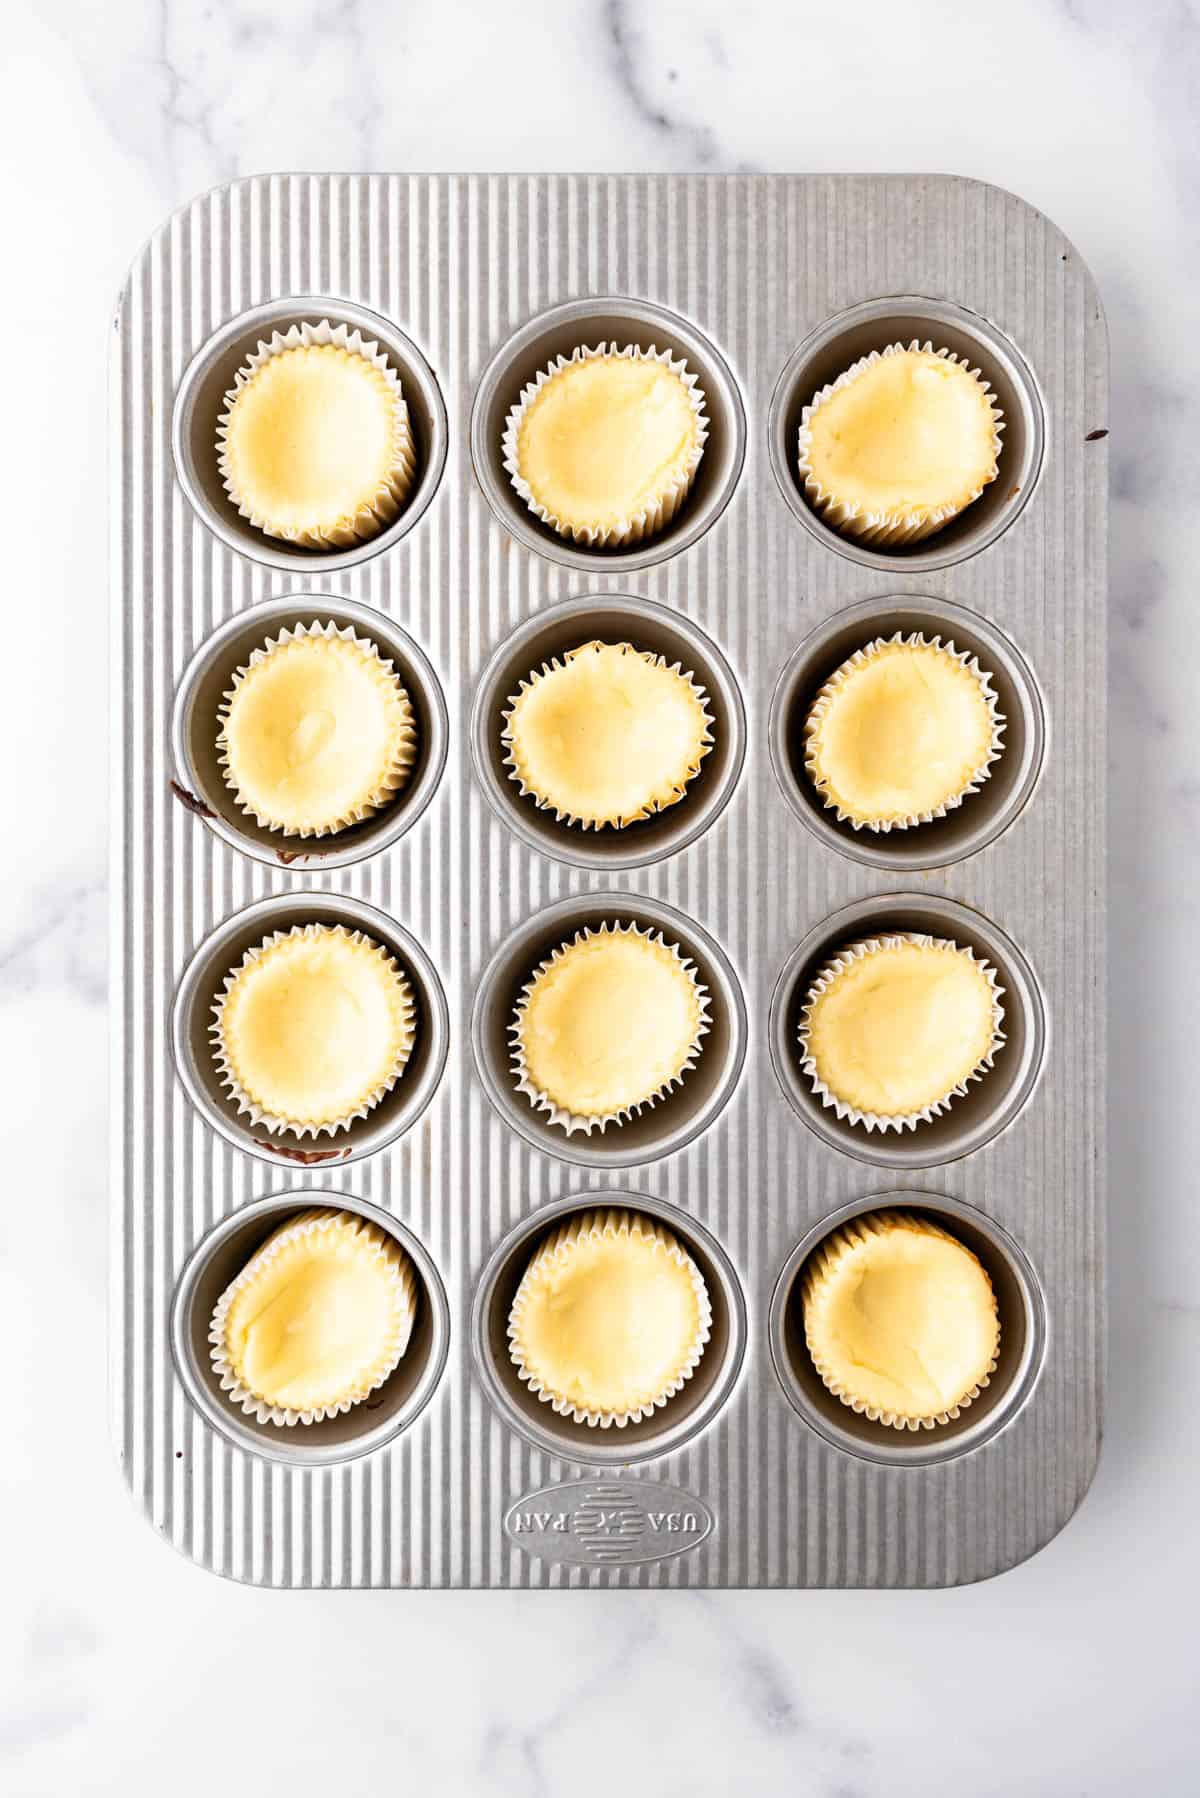
- Prepare equipment. To start, preheat your oven to 350°F (175°C) and get your 12-count muffin tin ready by lining each cup of muffin pan with a paper cupcake liner. This step ensures easy removal of the tarts once they’re baked and cooled.
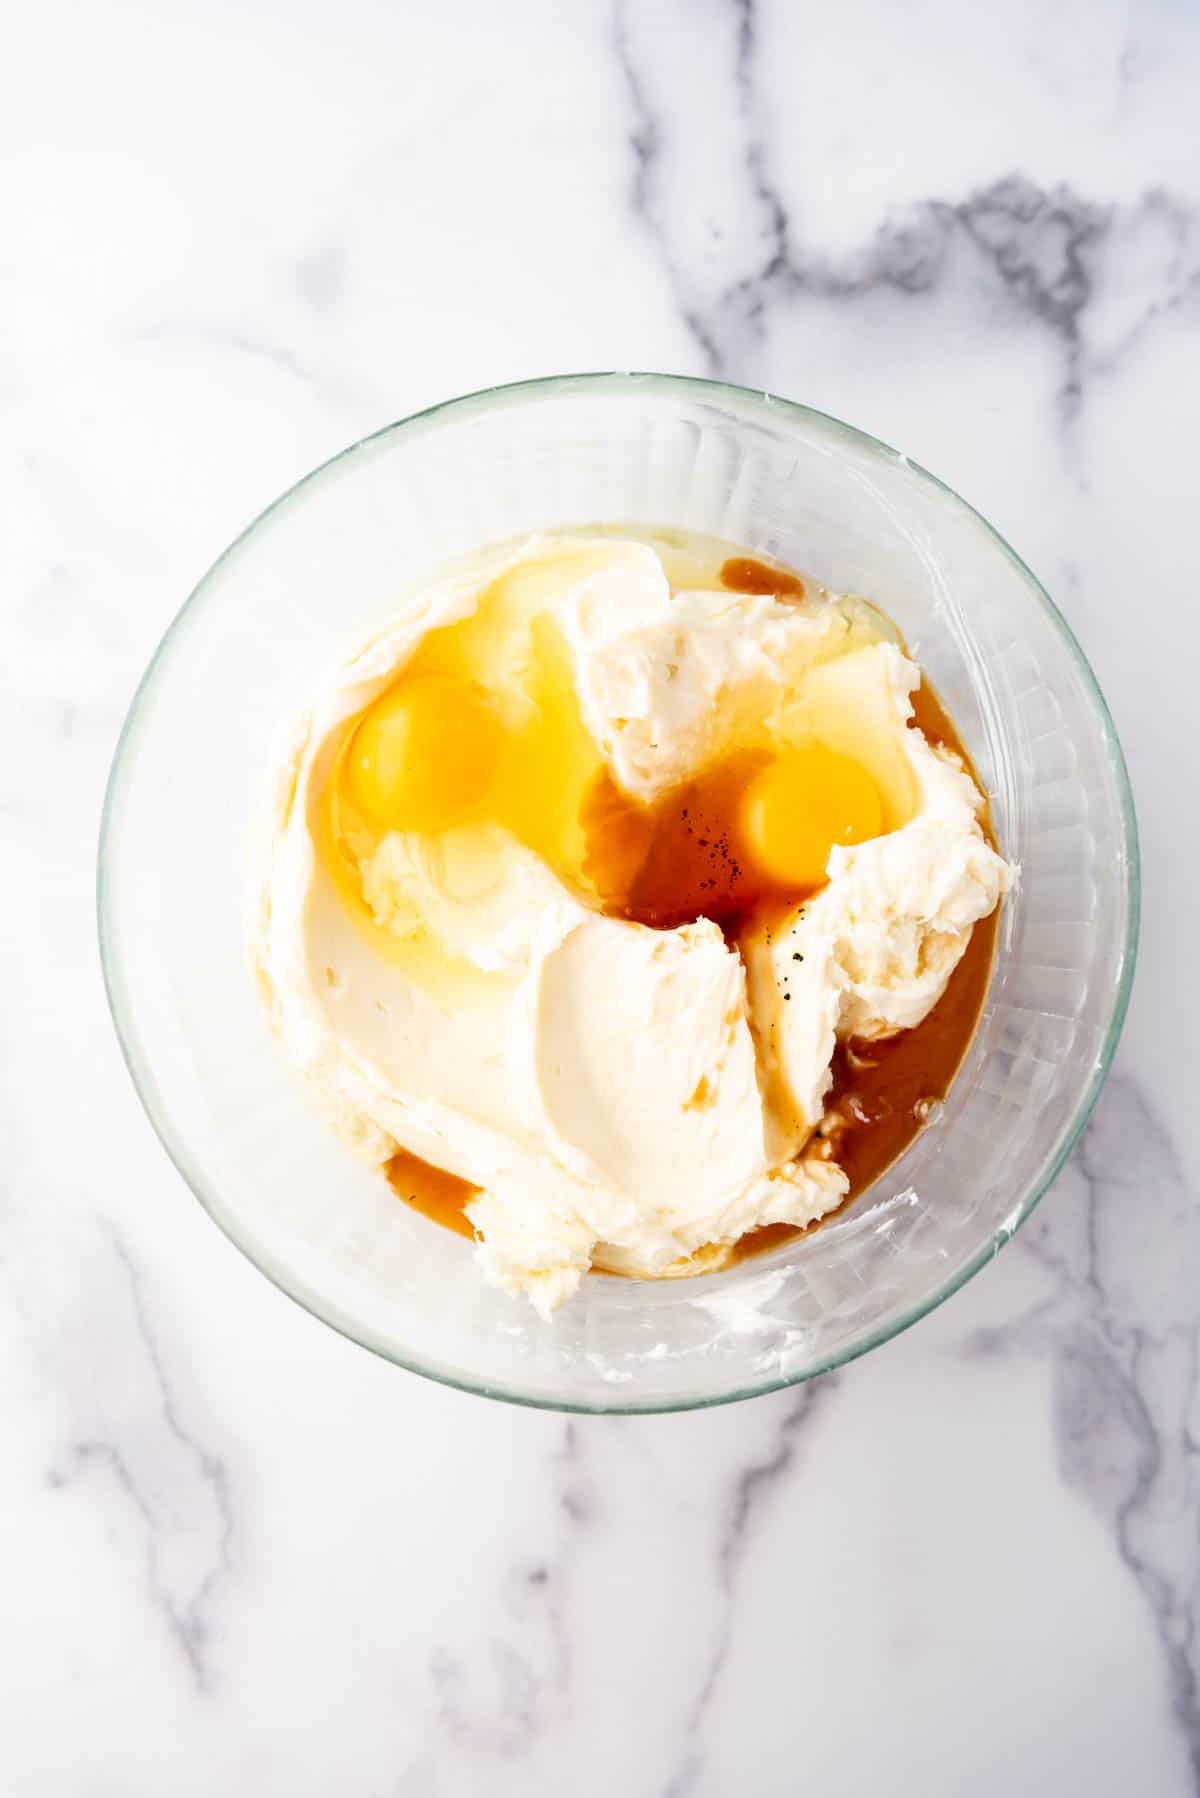
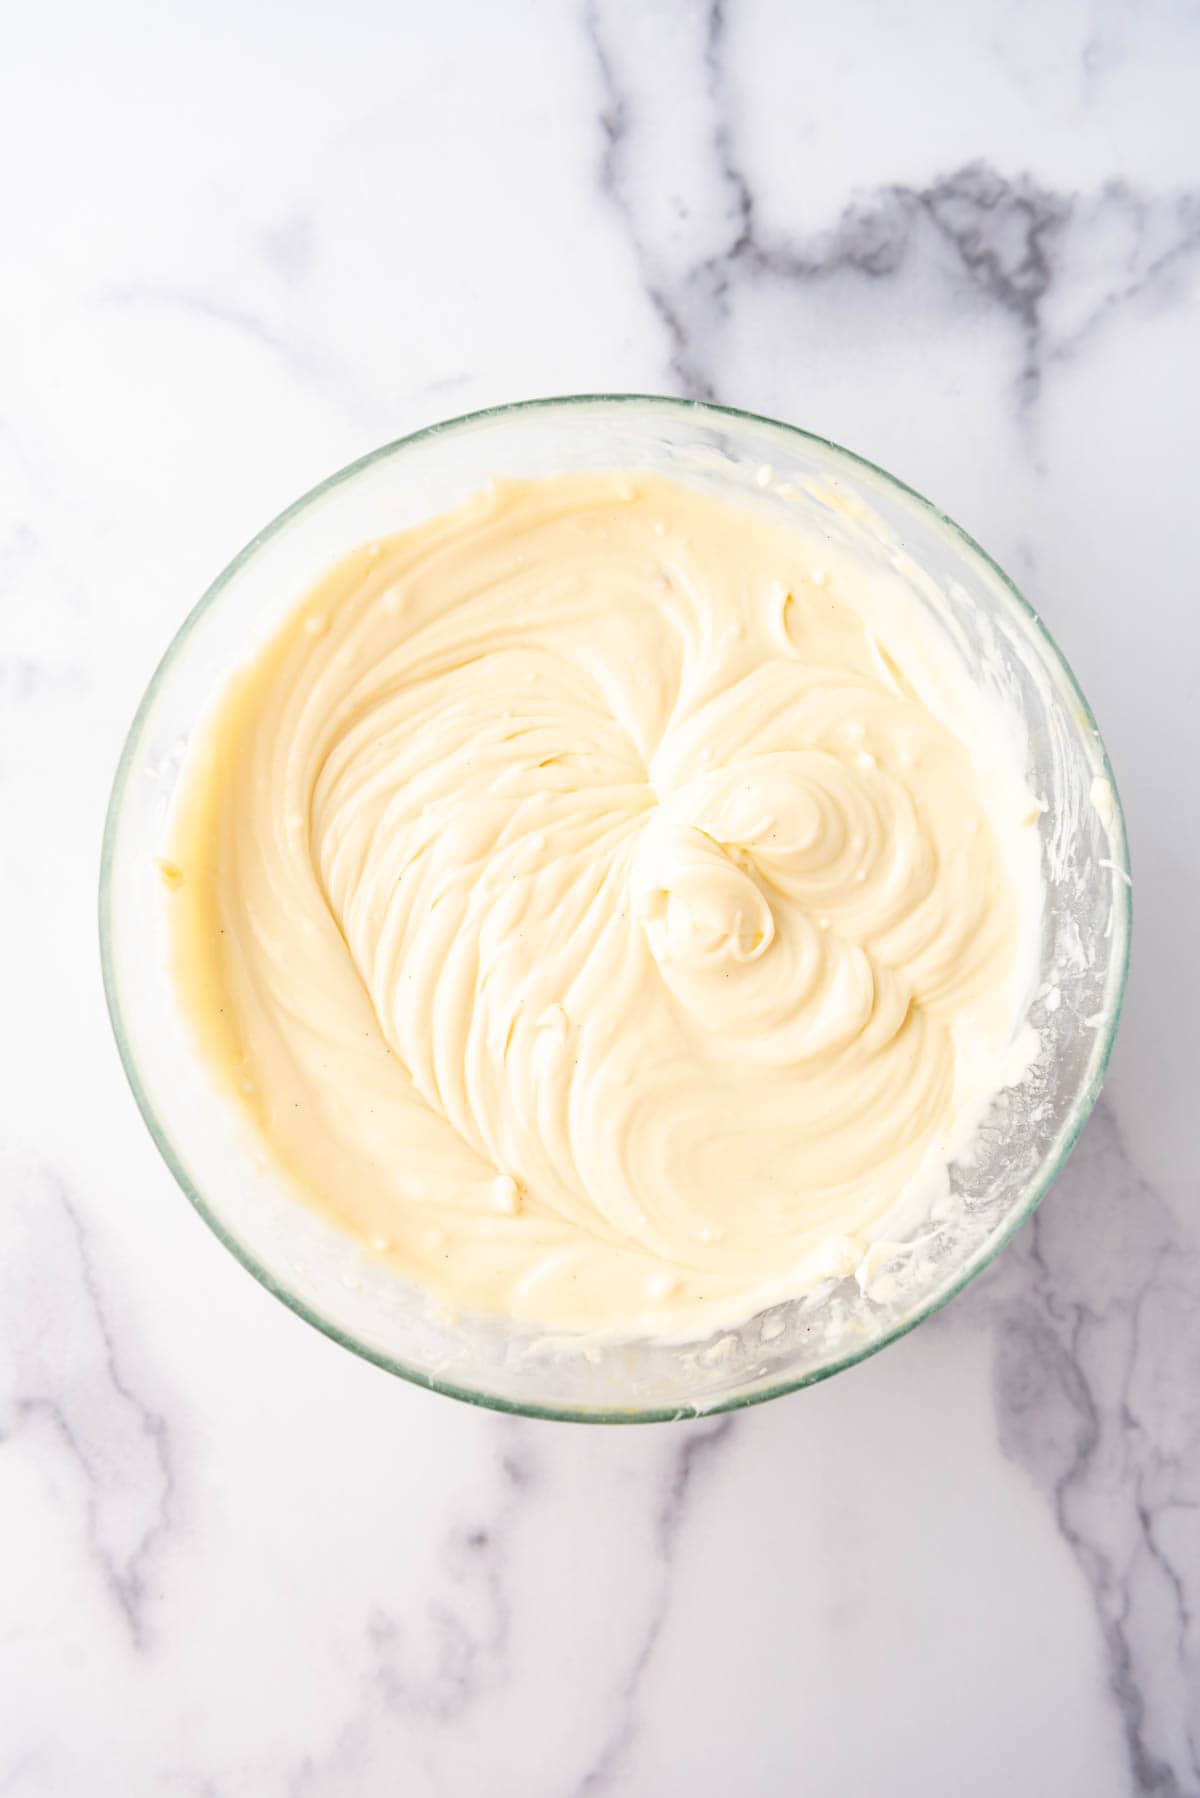
- Making the Filling. In a large bowl, combine the softened full-fat cream cheese with granulated sugar. Using a hand mixer, blend these ingredients until the mixture is smooth and creamy. Next, add the eggs, lemon juice, and vanilla extract to the bowl. Continue to beat the mixture with the handheld mixer on low speed, making sure to scrape the bottom and sides of the bowl to ensure everything is well combined.
- Add vanilla wafer pie crust. Place a Nilla wafer, flat side down, into each liner. The wafers will serve as the crust for your cheesecake tarts, providing a sweet and crispy foundation that contrasts beautifully with the creamy filling.
- Fill with cheesecake mixture. Carefully spoon cream cheese mixture into the cupcake liners, filling them almost to the top. The cheesecake will puff up during baking, so leaving a little space prevents it from spilling over.

- Bake and Cool. Bake cheesecakes in the preheated oven for 15-20 minutes, or until they are just set. It’s normal for the tops to puff up and even crack a little; they will settle back down as they cool. After baking, allow the tarts to cool completely at room temperature before chilling them in the fridge for 3-4 hours. This chilling time helps the cream cheese layer to firm up and enhances the flavor.
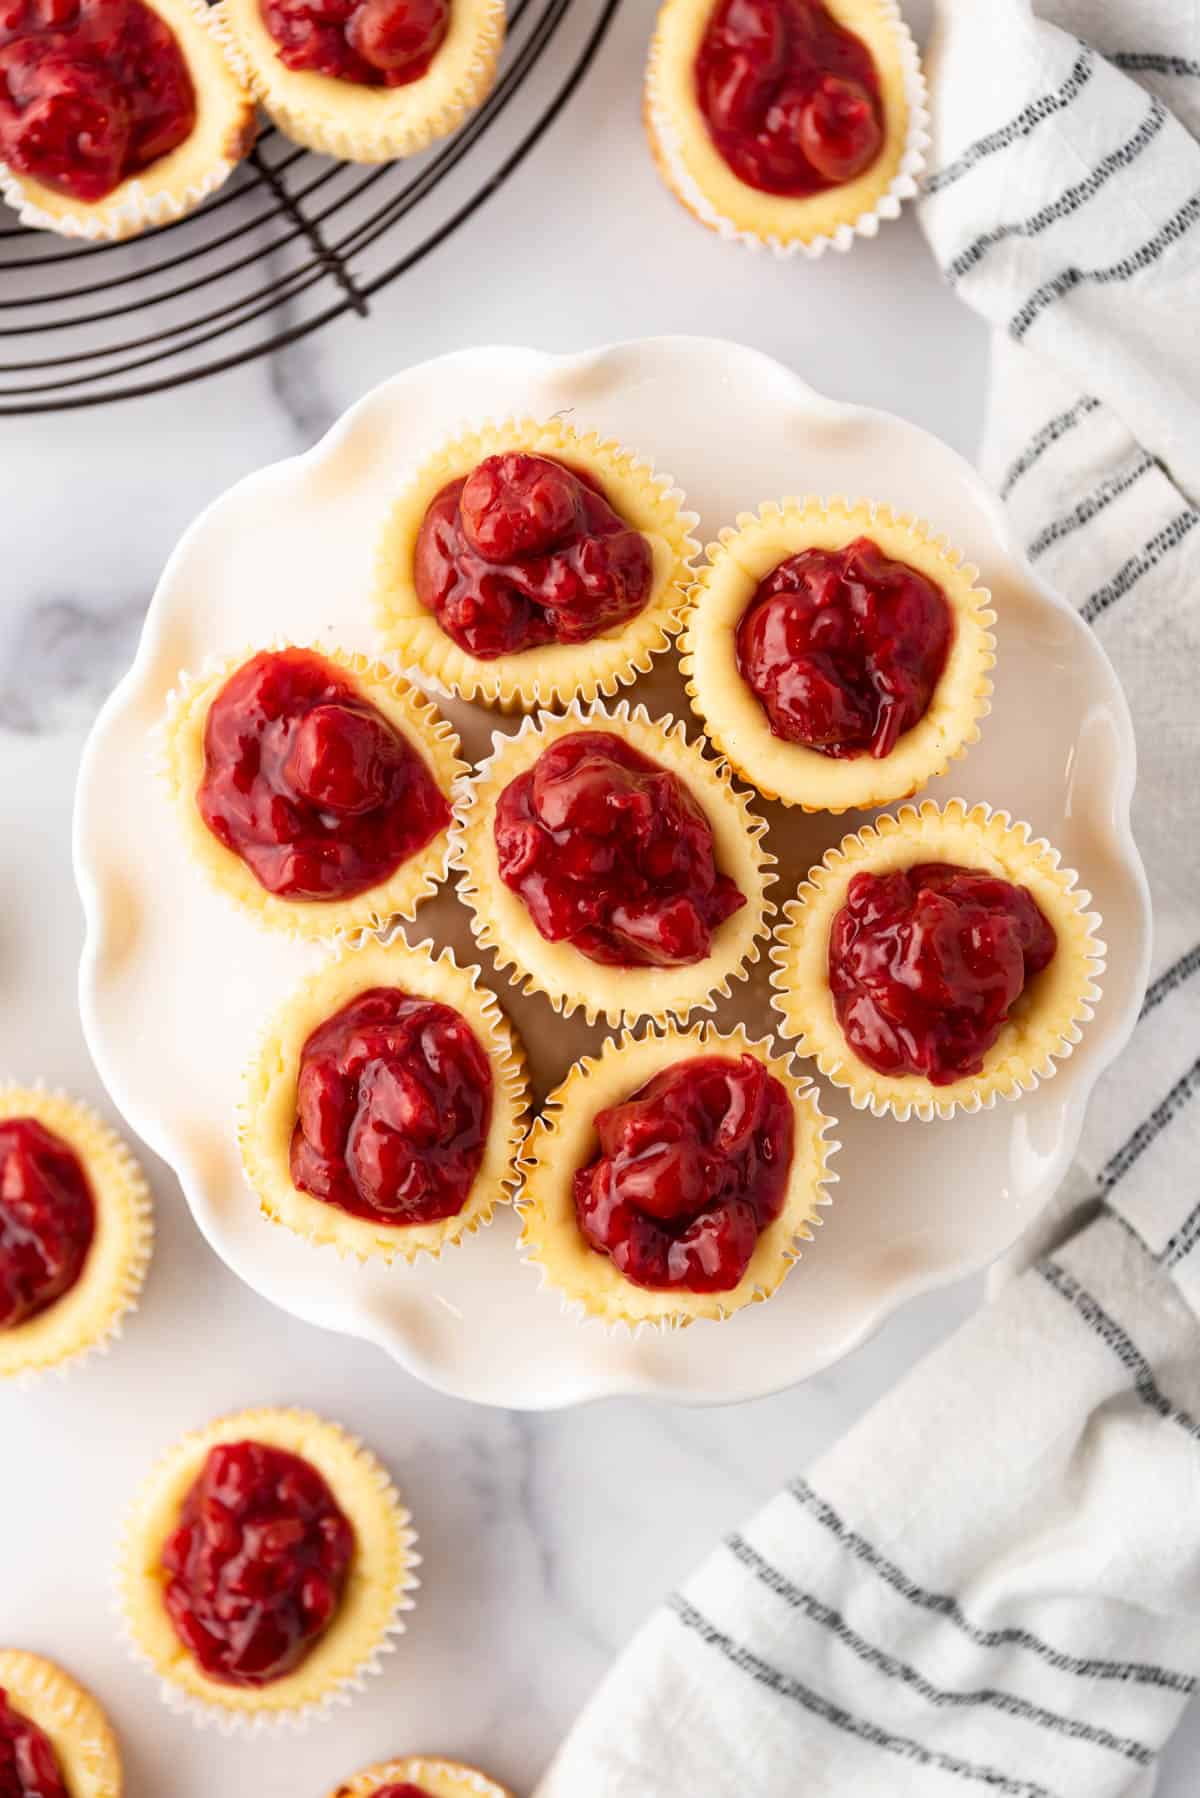
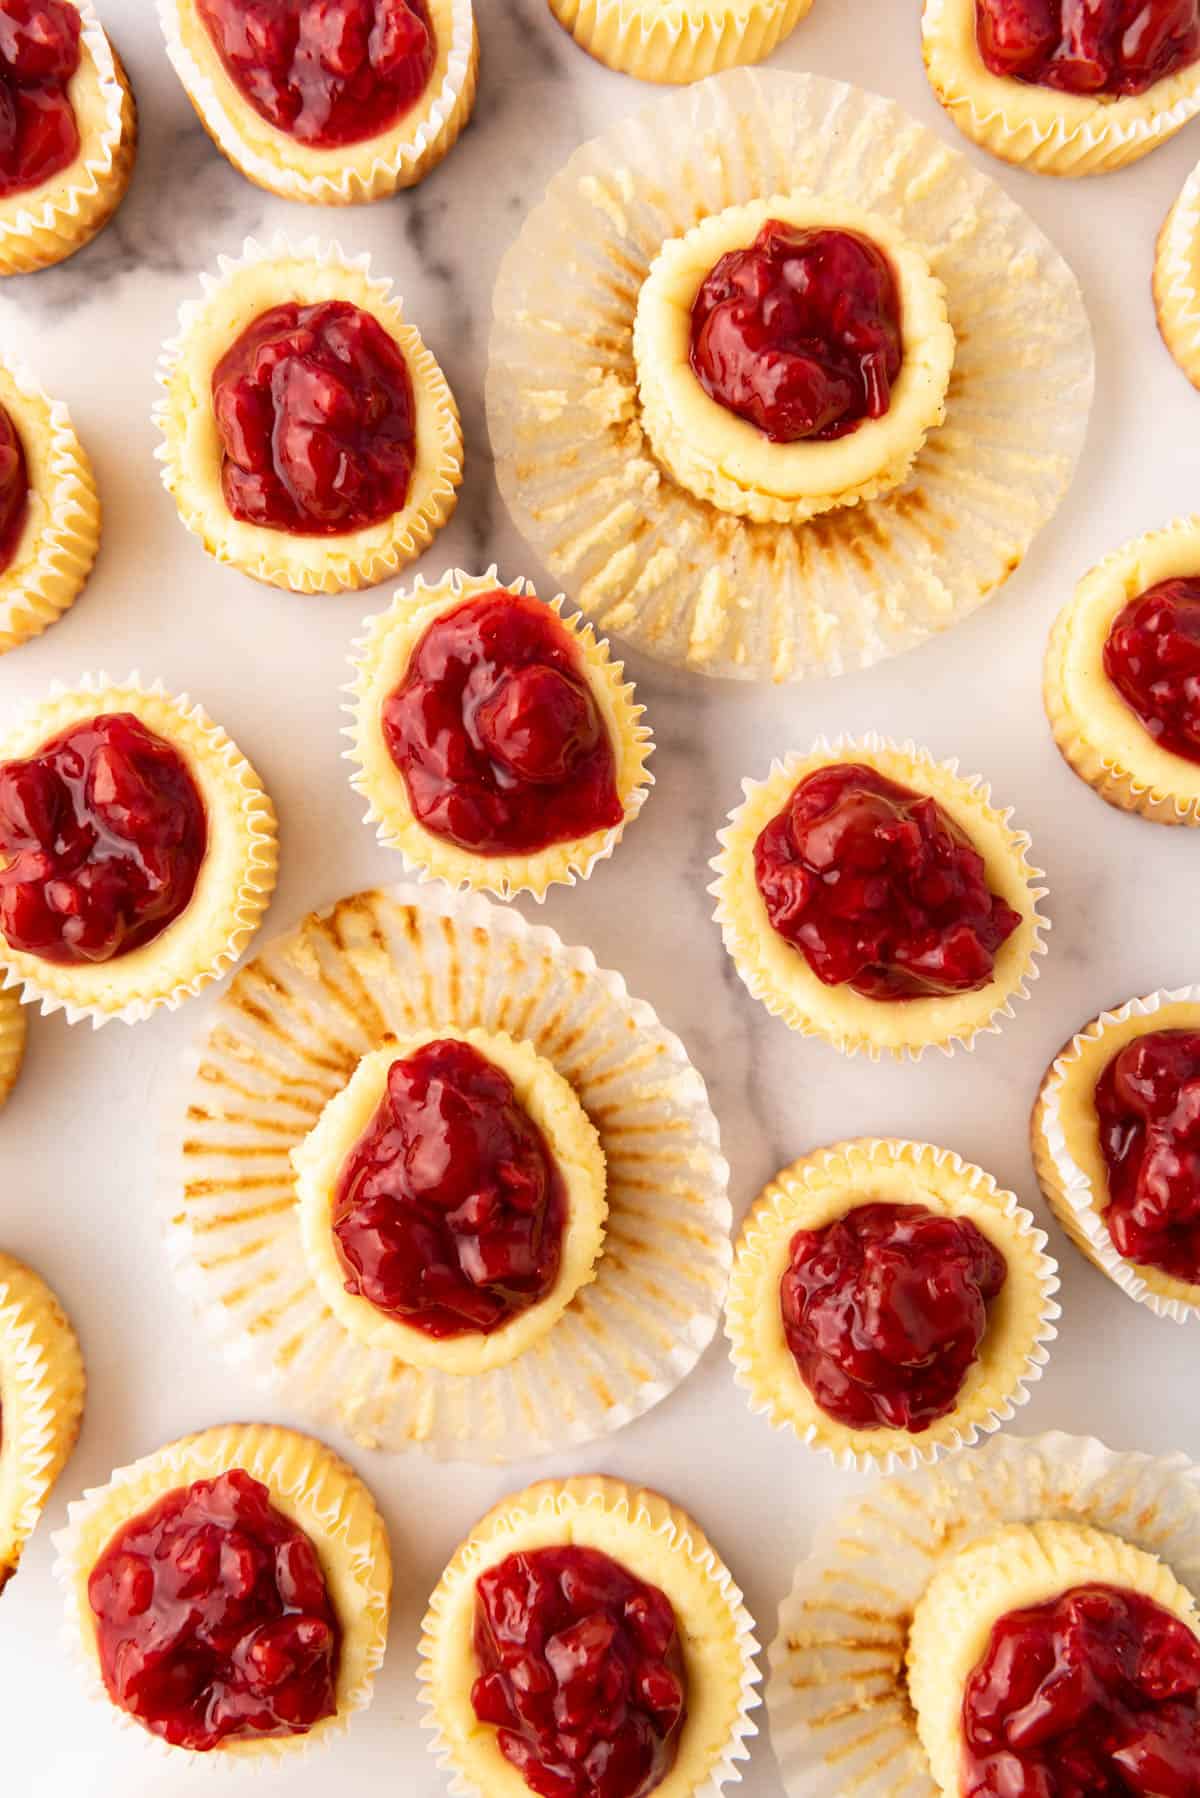
- Add cherry pie topping. Just before serving, top each cheesecake tart with the cherry pie filling as a topping.
Recipe FAQ’s
Yes, you can substitute Nilla wafers with any similar cookie. Graham crackers or shortbread cookies are excellent alternatives and can be crushed to fit the cupcake liners if they aren’t the right size. Oreos are another great choice with lots of fun flavors to choose from!
While this recipe requires baking, you can adapt it to a no-bake cheesecake filling by mixing softened cream cheese with powdered sugar and whipped cream and setting it in the fridge. However, you won’t get the same custard-like texture as the baked version for this no-bake version.
Absolutely. You can reduce the sugar in the filling according to your taste. However, keep in mind that this will affect the sweetness.
Yes, fresh fruit can be used as a topping. For the best results, you may want to toss the fruit in a little sugar or let it macerate to release some juices before topping the tarts.
Properly stored in an airtight container, the cheesecake tarts can last up to 5 days in the refrigerator. Unless you are in my house and there is no way a batch of these will possibly make it to day 5 before being devoured.
Yes, these tarts freeze well. Place them in a single layer on a baking sheet to freeze them individually first, then transfer them to an airtight container or freezer bag. They can be frozen for up to 3 months. Thaw in the refrigerator before serving.
Tips for Success
- Use room temperature ingredients to ensure a smoother, lump-free filling.
- When combining your filling ingredients, use a handheld electric mixer to beat the cream cheese and sugar until well combined before adding the eggs. This helps incorporate air into the mixture, resulting in a lighter, creamier texture.
- Make sure each Nilla wafer is firmly placed at the bottom of the cupcake liner, flat-side down. This acts as the base of your tart, so it should be stable.
- Although it’s not common with this recipe, to prevent any potential sogginess, you can slightly pre-bake the wafers in the oven for about 5 minutes before adding the filling. This step can help crisp up the base.
- Cheesecakes continue to cook once removed from the oven. Bake until just set, and the center is slightly wobbly for the best texture.
- Allow the tarts to cool gradually at room temperature before moving them to the refrigerator. This helps prevent cracking and ensures a smooth top.

Substitutions and Variations
- If Nilla Wafers are not available, any similar vanilla-flavored wafer can be substituted. For a graham cracker crust, combine ¾ cup finely crushed graham cracker crumbs (about 6 whole graham crackers put through a food processor), 1 tablespoon granulated sugar, and 3 Tablespoons melted butter. You could also use crushed Oreo Cookies instead of graham crackers!
- While the sweet and tart cherry layer is the classic topping, feel free to experiment with the pie filling of your choice, such as apple, strawberry, mixed berry, or blueberry pie filling.
- For a lighter version, substitute full-fat cream cheese with low-fat or neufchatel cheese.
- Add 1 teaspoon almond extract to the cheesecake mixture for a subtle nutty flavor that complements the cherry topping beautifully. Alternatively, zest a lemon or orange into the cheesecake batter for a citrusy zest.
More Creamy Cheesecake Recipes
- Black Forest Cheesecake With Sweet & Sour Cherries
- No-Bake Cheesecake Recipe (+ 8 Simple Homemade Toppings!)
- Cinnamon Roll Cheesecake
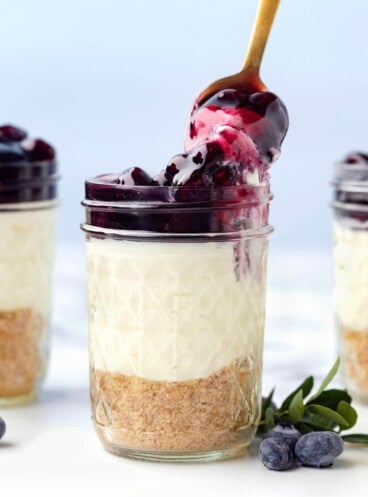
- Cheesecake Jars
- Best Chocolate Cheesecake Recipe
- Classic Cheesecake Recipe (No Water Bath!)
- Swirled Cranberry Cheesecake
- Chocolate Chip Cookie Dough Cheesecake
Cheesecake
Cheesecake Jars
Brownies and bars
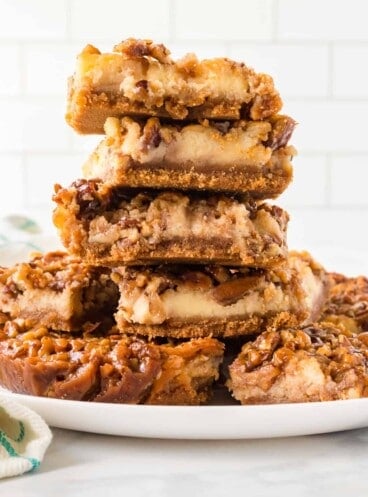
Pecan Pie Cheesecake Bars
Brownies and bars
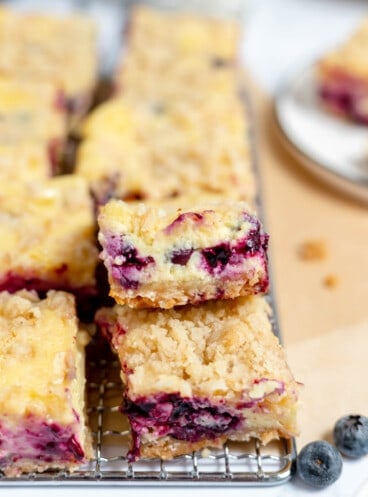
Easy Blueberry Cheesecake Bars
Did you make this recipe?
Let me know what you thought with a comment and rating below. You can also take a picture and tag me on Instagram @houseofnasheats or share it on the Pinterest pin so I can see.
Mini Cherry Cheesecakes
Ingredients
- 12 Nilla wafers
- 2 (8-ounce) packages full-fat cream cheese softened
- ¾ cup granulated sugar
- 2 large eggs
- 1 tablespoon lemon juice
- 1 teaspoon pure vanilla extract
- 1 (21-ounce) can cherry pie filling
Instructions
- Preheat oven to 350°F. Line a 12-count muffin pan with paper cupcake liners.
- Place a Nilla wafer flat side down into each cupcake liner.12 Nilla wafers
- Combine cream cheese and sugar in a large bowl. Mix well using a hand mixer until creamy and smooth.2 (8-ounce) packages full-fat cream cheese, ¾ cup granulated sugar
- Add eggs, lemon juice, and vanilla. Beat on low speed, scraping the bottom and sides of the bowl, until combined.2 large eggs, 1 tablespoon lemon juice, 1 teaspoon pure vanilla extract
- Divide the cheesecake mixture evenly between the cupcake liners, filling them almost to the top.
- Bake for 15-20 minutes until just set. The tops will puff and crack, but that's alright. Cool completely, then chill in the fridge for 3-4 hours until cold.
- Top each cheesecake with the cherry pie filling before serving.1 (21-ounce) can cherry pie filling
Notes
- Store: Store Cherry Cream Cheese Tarts in an airtight container, for up to 5 days in the refrigerator.
- Freeze: Flash-freeze in a single layer on a baking sheet, then transfer to an airtight container or freezer-safe bag where they can be frozen for up to 3 months. Thaw in the refrigerator before serving.


All I can say is HOLY NUMMINESS!!!
Made these today and they literally took 10 minutes to mix up. I used 1 full fat cream cheese and 1 reduced fat cream cheese and then added 1/2 TBS sour cream. Turned out fabulous! My husband didn’t even wait until they were cooled off to have one. What a fantastic dessert! Served them with cherry pie topping…WOW! One of our guests commented that these tasted like a “high-end” dessert…..and looked it too! Thank you, Amy, for posting this recipe! It’s a keeper! PS: I baked them for 25 minutes and they were perfect!!!
Been making these for years! Always a big hit!
Oh I do love this recipe. I agree Caroline, it’s a classic that is always a big hit.
Regarding using canned cherry pie filling, I do my best not to use anything with high fructose corn syrup so chose to make my own and it was so easy