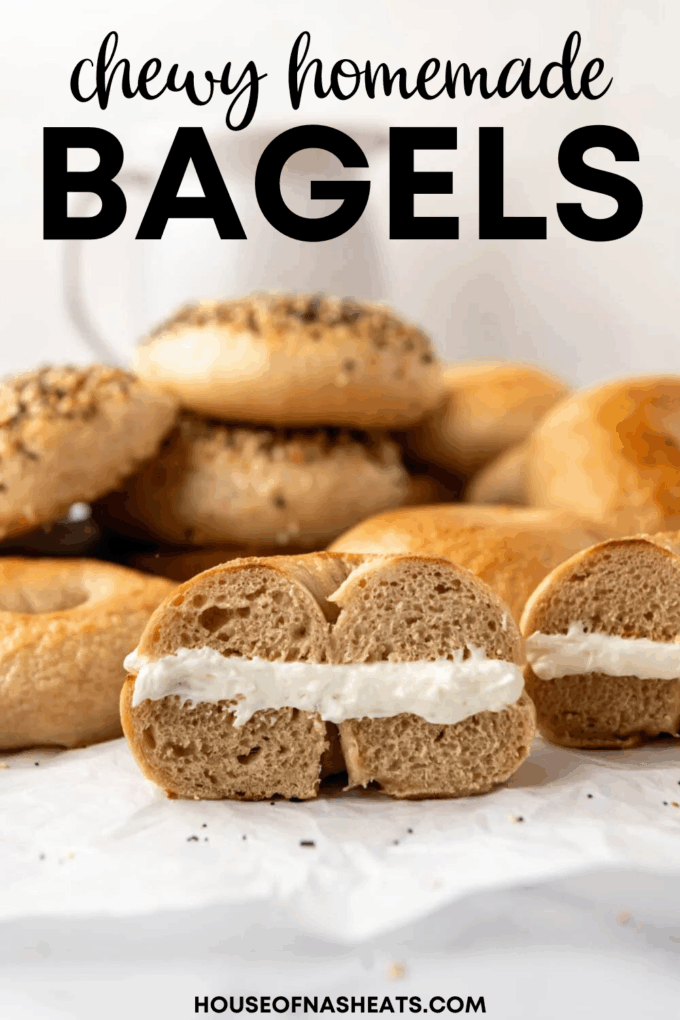
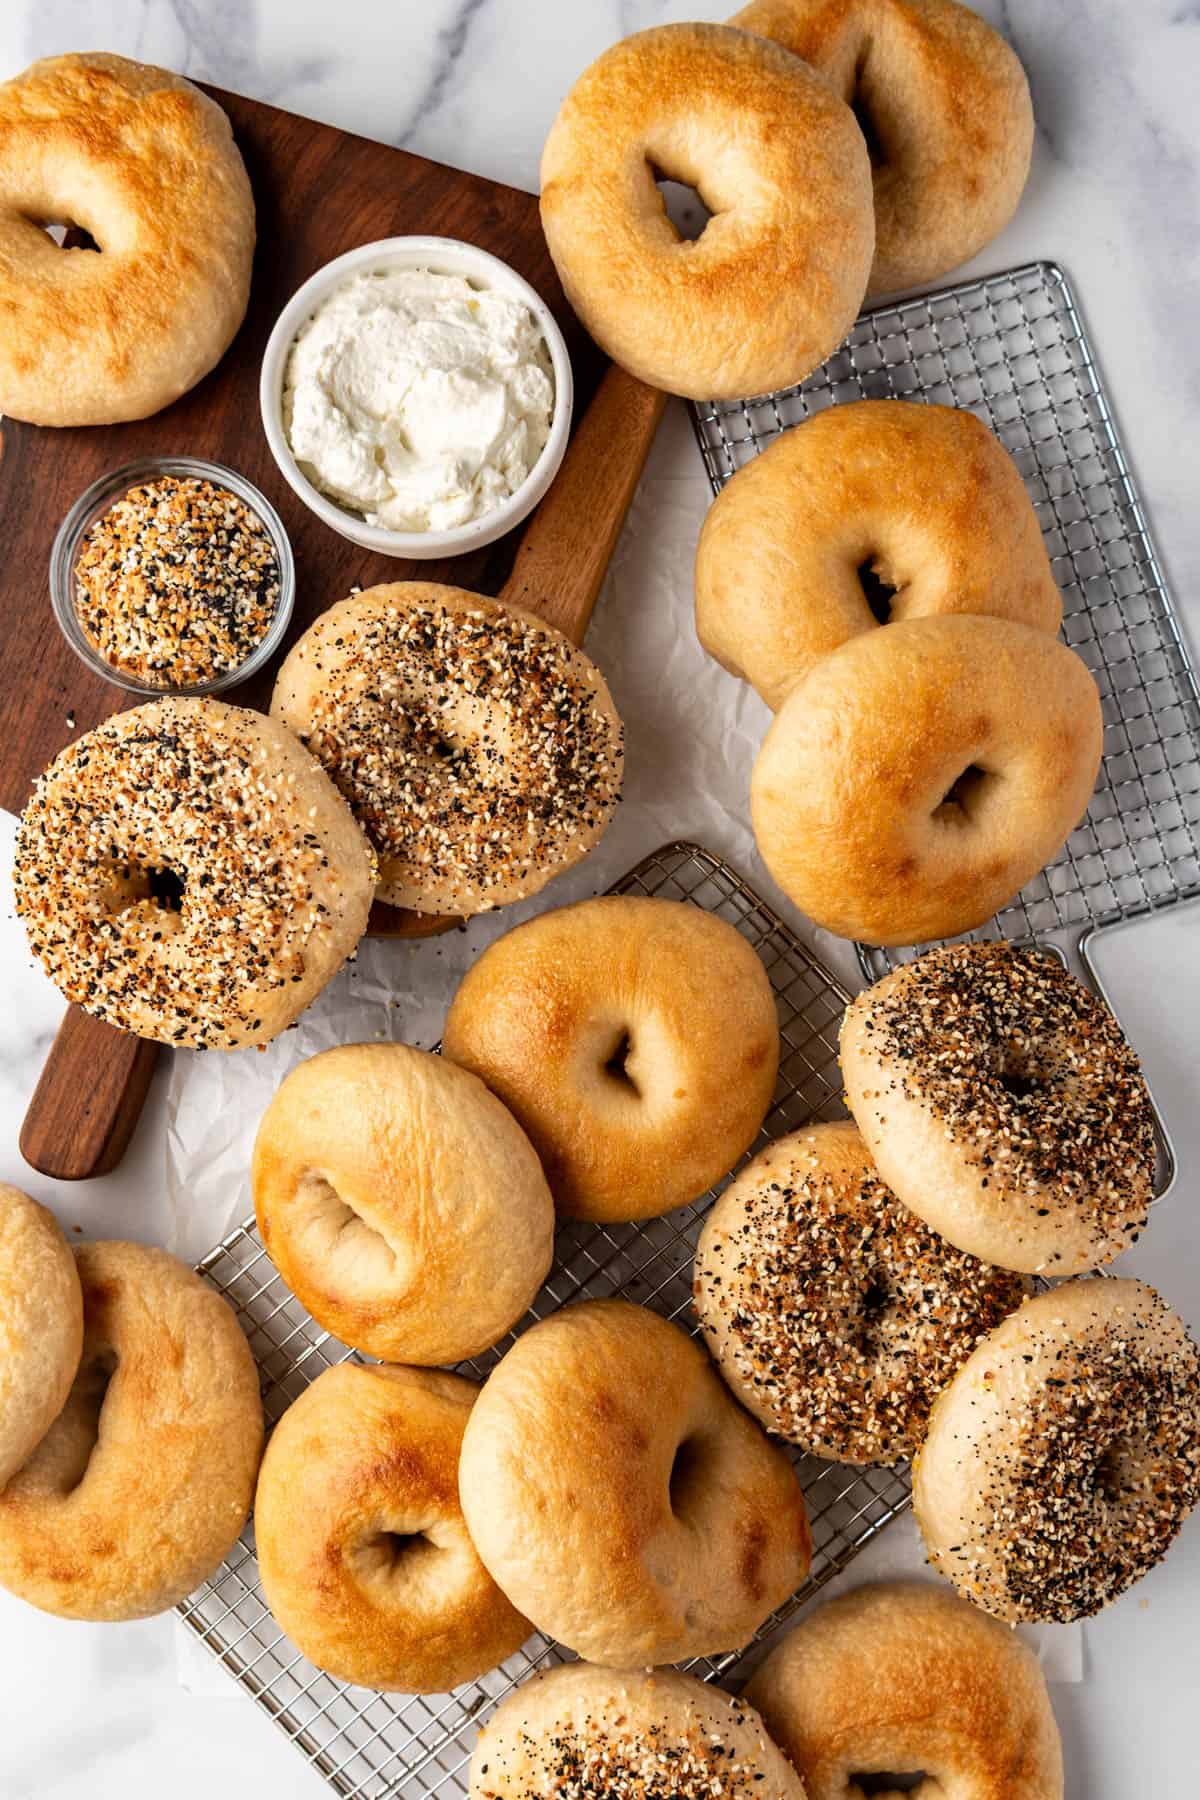
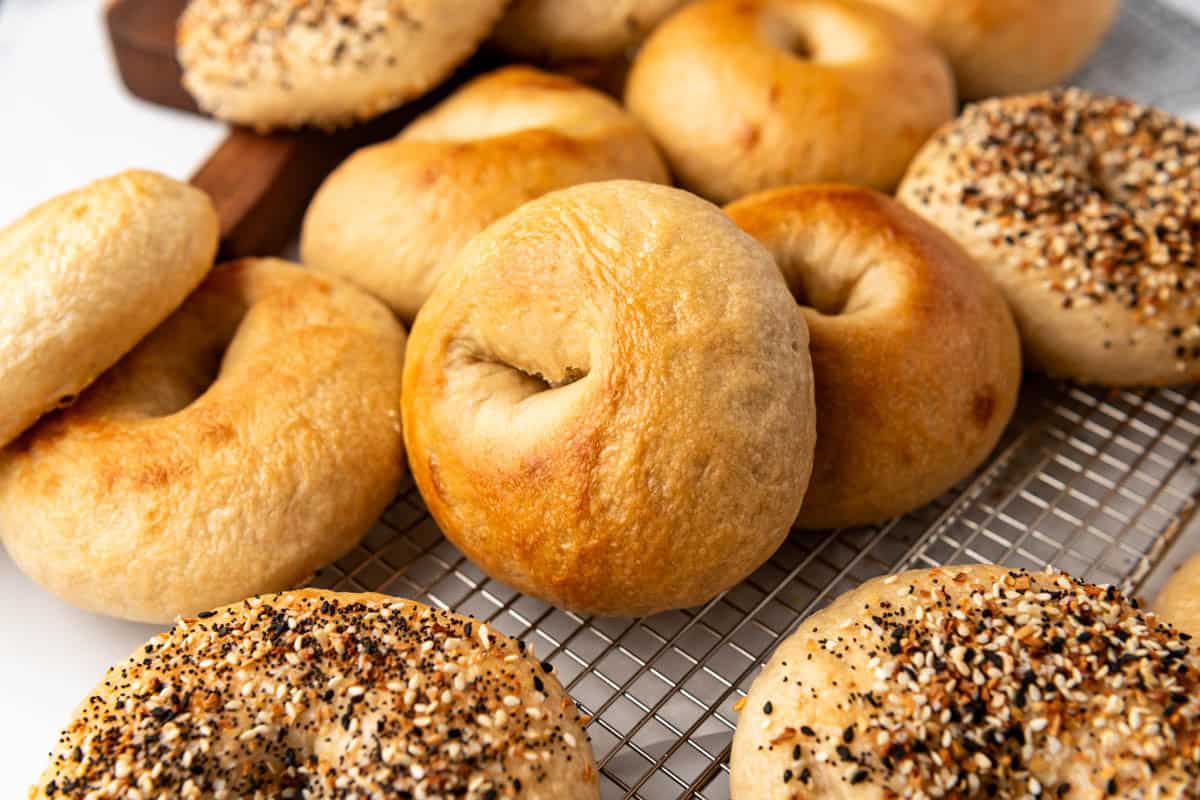
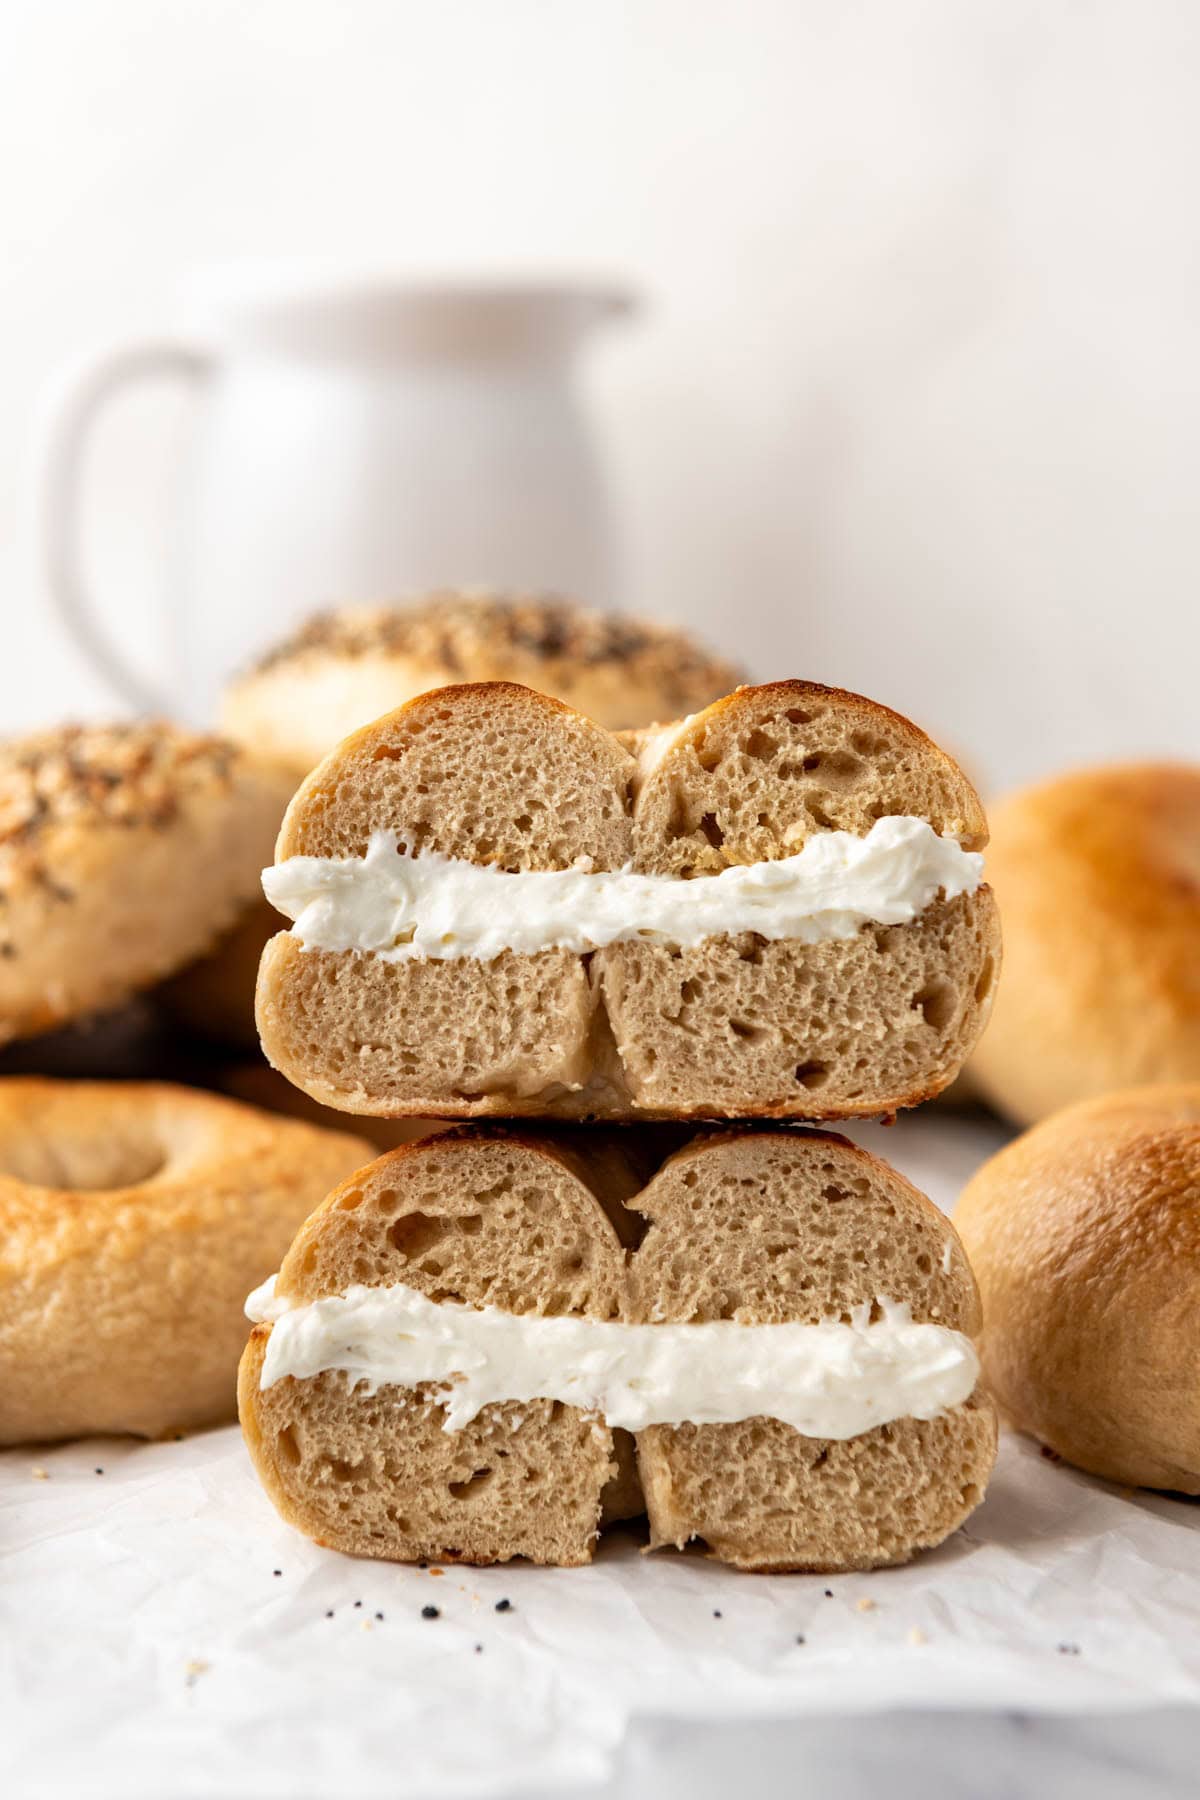
Skip the sad grocery store bagels and make a batch of these homemade bagels instead! Chewy on the outside while soft on the inside, this classic bagel recipe is easily adapted and rivals the best bagels you’ll find in any New York bagel shop.
I consider myself something of a bagel snob. I’m just not a fan of the stale, dry, prepackaged ones that are really just glorified rolls that you get in the bread aisle at the grocery store. I’ve been spoiled by too many incredible New York-style bagels at really good bagel shops and despaired that I would never have really good bagels again without a flight across the country to visit the Big Apple. Until now.
My ultimate bagel is chewy, crisp, and could even be considered slightly tough on the outside while being soft and supremely flavorful on the inside. Too many bagels (including all storebought bagels) are just too bready and soft without enough distinction between the outside and the middle.
I tested and retested my bagel recipe, until landing on this version that is essentially Peter Reinhart’s bagel recipe from The Bread Baker’s Apprentice with a few adaptations like a slight increase in salt (our main complaint during recipe testing was that the stand-alone bagels were too bland), using honey instead of baking soda in our water bath (better flavor and outer skin, less pretzel-y), and a slight simplification of the method to uncomplicate this recipe.
But enough yapping! Let’s make bagels!


What You’ll Need to Make Bagels at Home
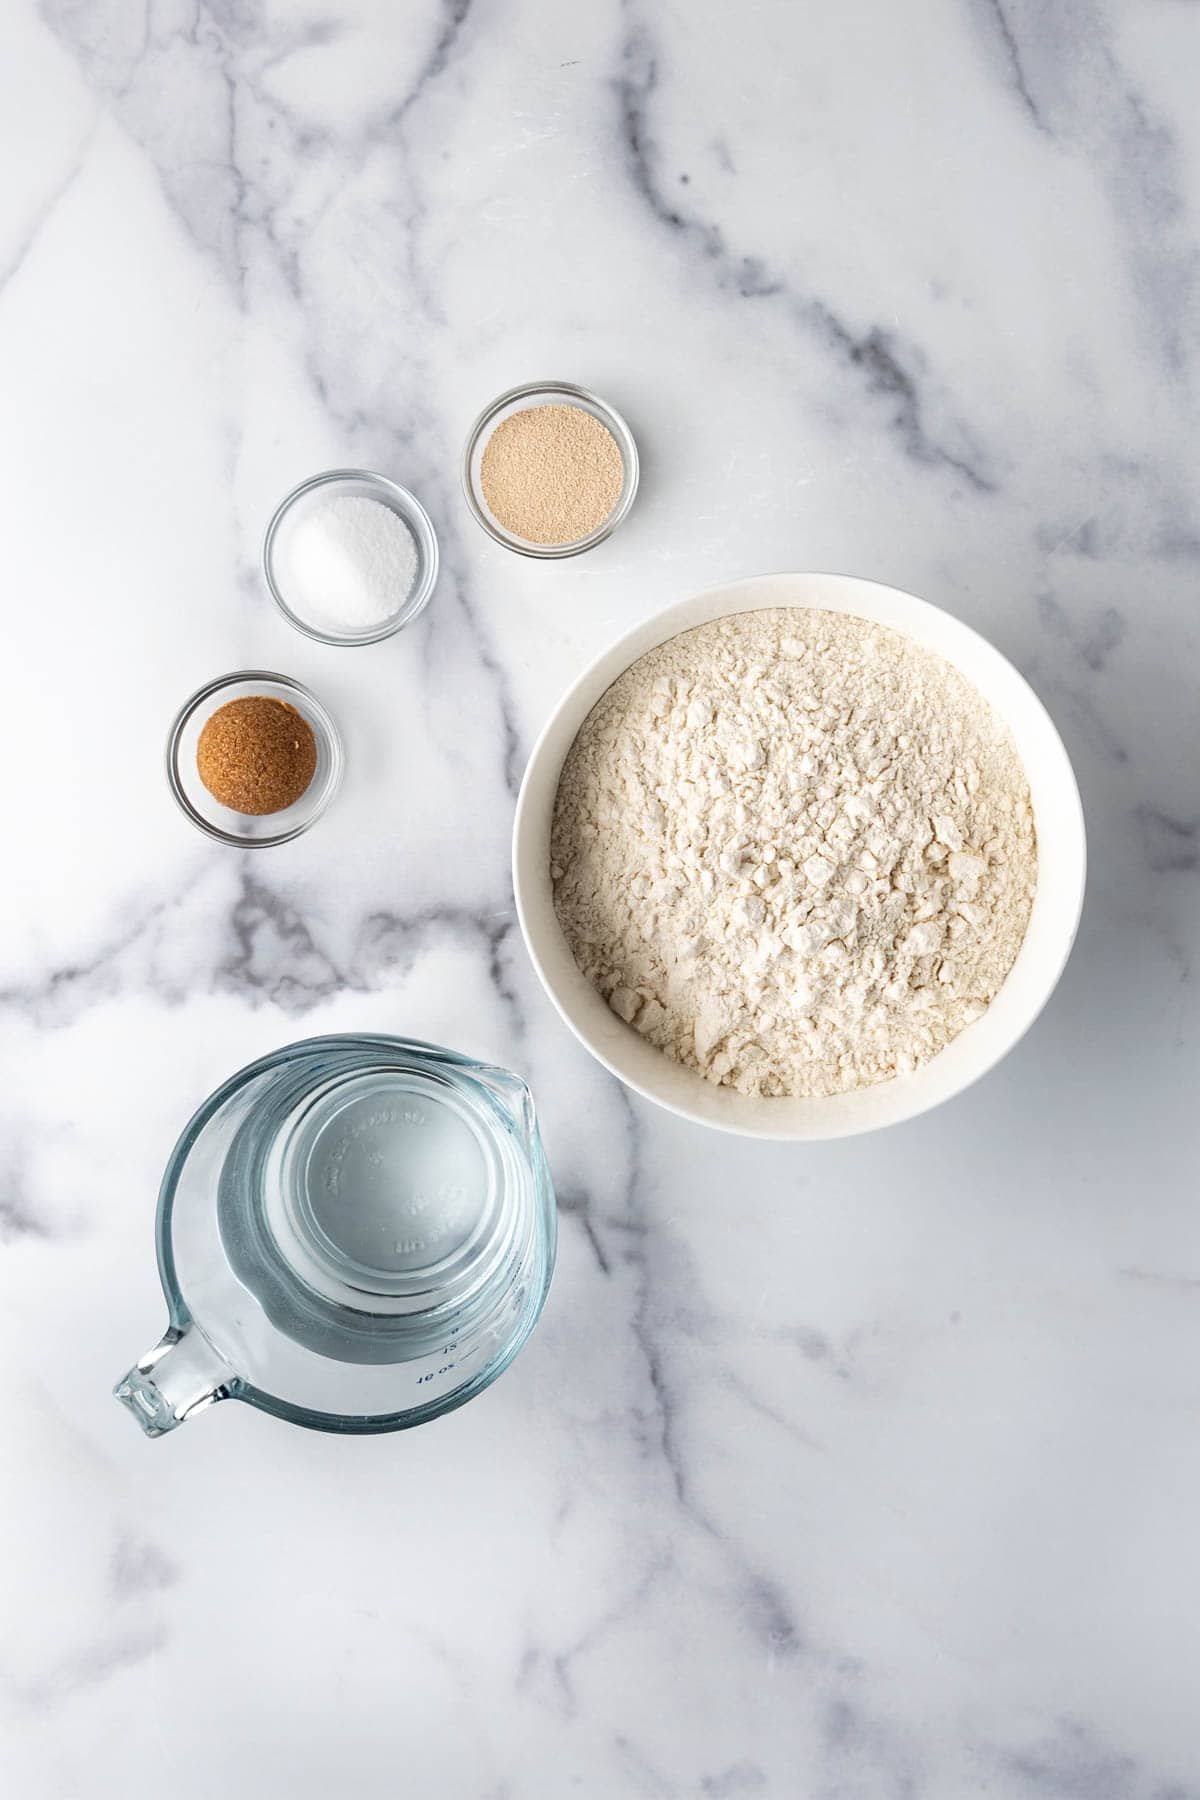
Bagels are made with simple ingredients and the list is quite short! This is an overview of the key ingredients, but you can find specific measurements and printable instructions in the recipe card below.
- Bread Flour: This type of high-gluten flour has a higher protein content than all-purpose flour. It makes for chewier, better bagels. I did my recipe testing using King Arthur brand unbleached bread flour with 12.7% protein content.
- Instant Yeast: I switched to using instant yeast instead of active dry yeast years ago, not only because it is simpler but it is also more reliable.
- Brown Sugar: Contributes the slightest sweetness to the dough and adds depth of flavor.
- Salt: An important ingredient in baked goods so they don’t turn out bland.
- Water: You need this for both the bagel dough and for boiling the bagels before baking to develop the signature skin.
- Honey: I tried making bagels using brown sugar, baking soda, and honey in my boiling water and honey was the clear winner for me.
Step-by-Step Overview
- Make a sponge. In a large mixing bowl, stir together yeast, flour, and water until combined. It should look like a really thick pancake batter that is kind of lumpy and wet. Cover with plastic wrap and let it sit on the counter at room temperature for 2 hours or until almost double in size with some bubbles starting to appear on top.

- Make the dough. Add the rest of the yeast and flour to the sponge, along with the brown sugar and salt. Mix in a stand mixer fitted with a dough hook attachment or by hand using a sturdy wooden spoon until everything starts to come together in a ball. The dough will be pretty firm and only slightly tacky. If it is took sticky, add additional flour a tablespoon or two at a time.
- Knead. Use a stand mixer fitted with a dough hook attachment to knead for at least 6-8 minutes on medium speed or you can also knead by hand for around 10-15 minutes to develop the gluten. The dough should be firm, but still pliable and smooth. It should be pliable but not so tacky that it sticks to the countertop or your fingers.
Windowpane Test
To know if your bagel dough has been kneaded enough to sufficiently develop the gluten, it should pass the “windowpane test” that you have probably seen if you have ever watched the Great British Baking Show. This is where you pinch off a small piece of dough and stretch it between your fingers until you can see light through the dough without it tearing. If the dough tears while stretching, add a little water (maybe 1-2 tablespoons at a time) and keep kneading the dough for another 1-2 minute before testing again. If the dough is too sticky, add more flour (maybe ¼ cup at a time) until the dough is fairly stiff and firmer than most other bread dough.
- Divide into balls. Use a bench scraper or sharp knife to divide the dough into twelve even pieces that are each about 4 1/2-ounces (128g) for large bagels. Roll the dough pieces into tight balls, then cover with plastic wrap or a damp towel and let them to rest for 20 minutes to allow the gluten to relax.


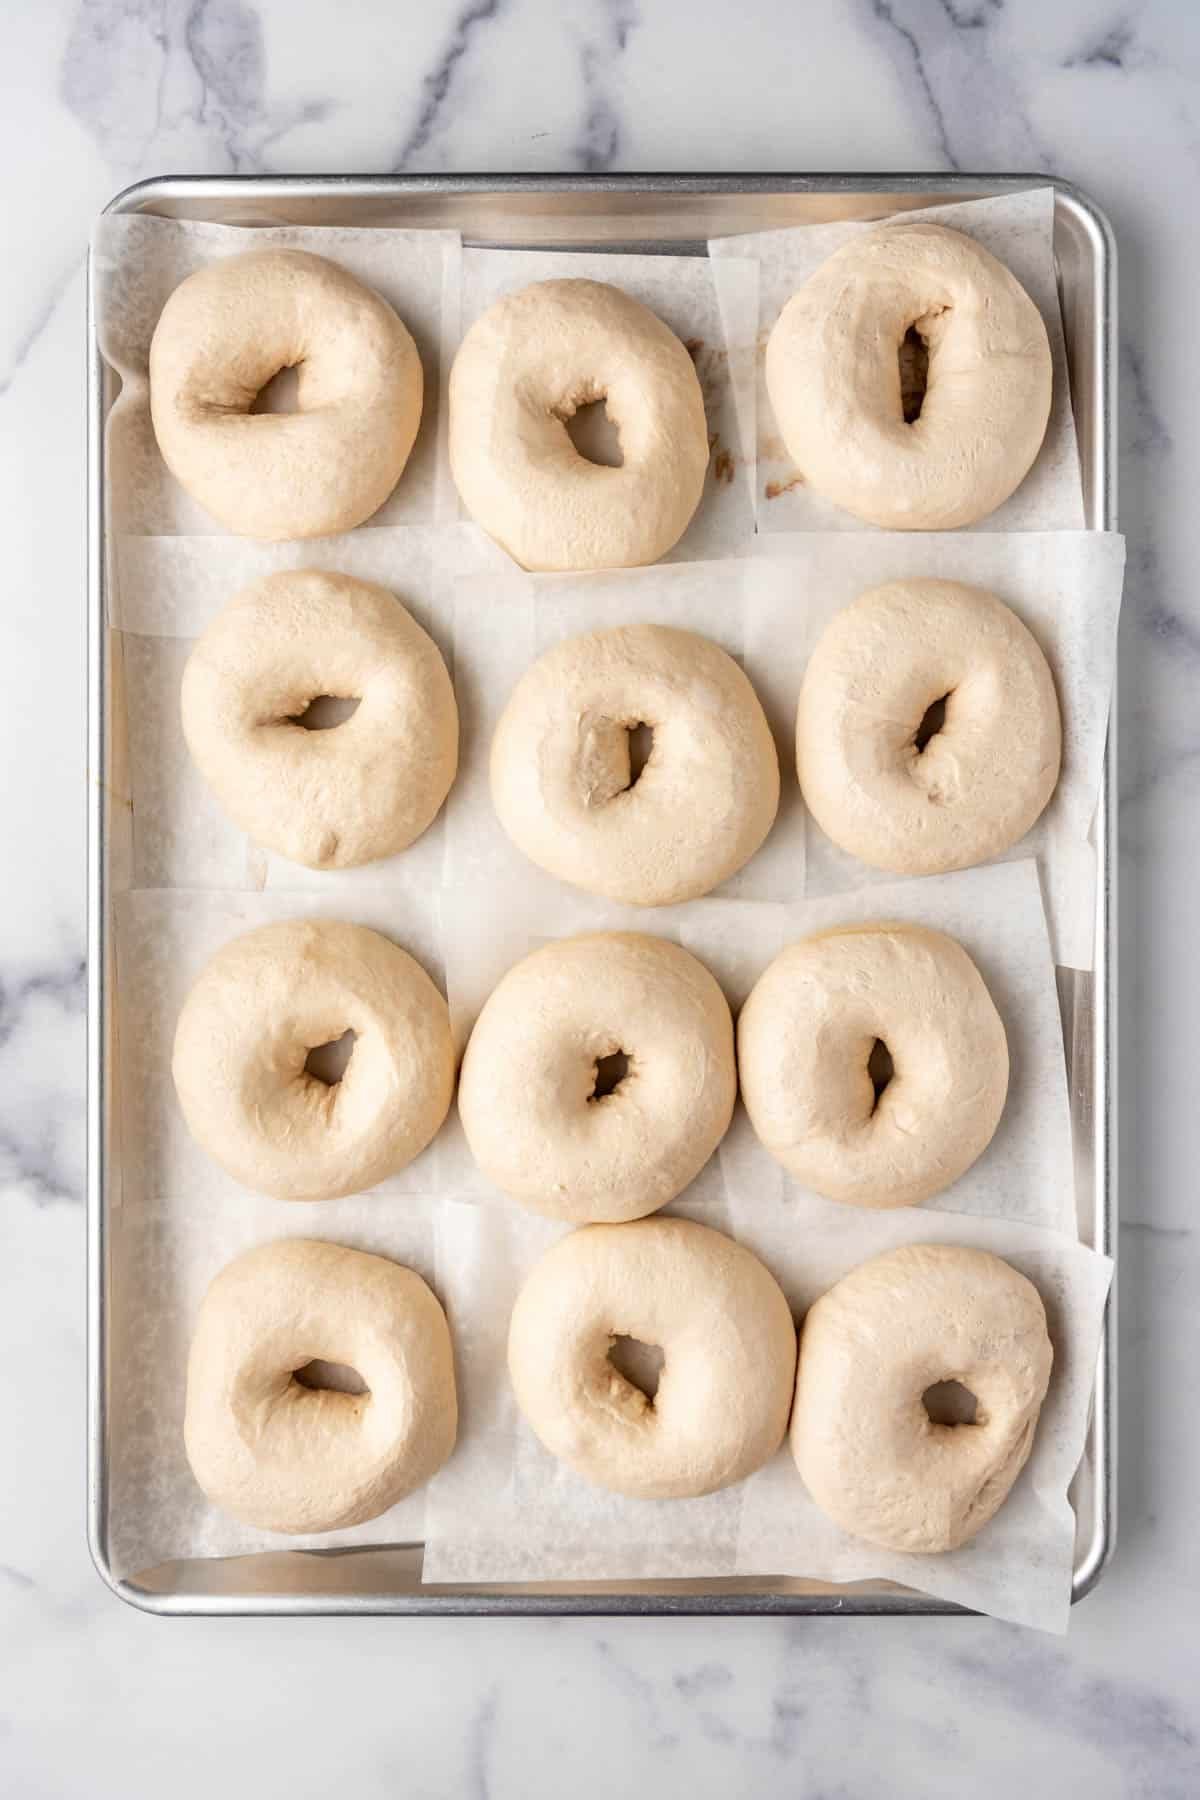
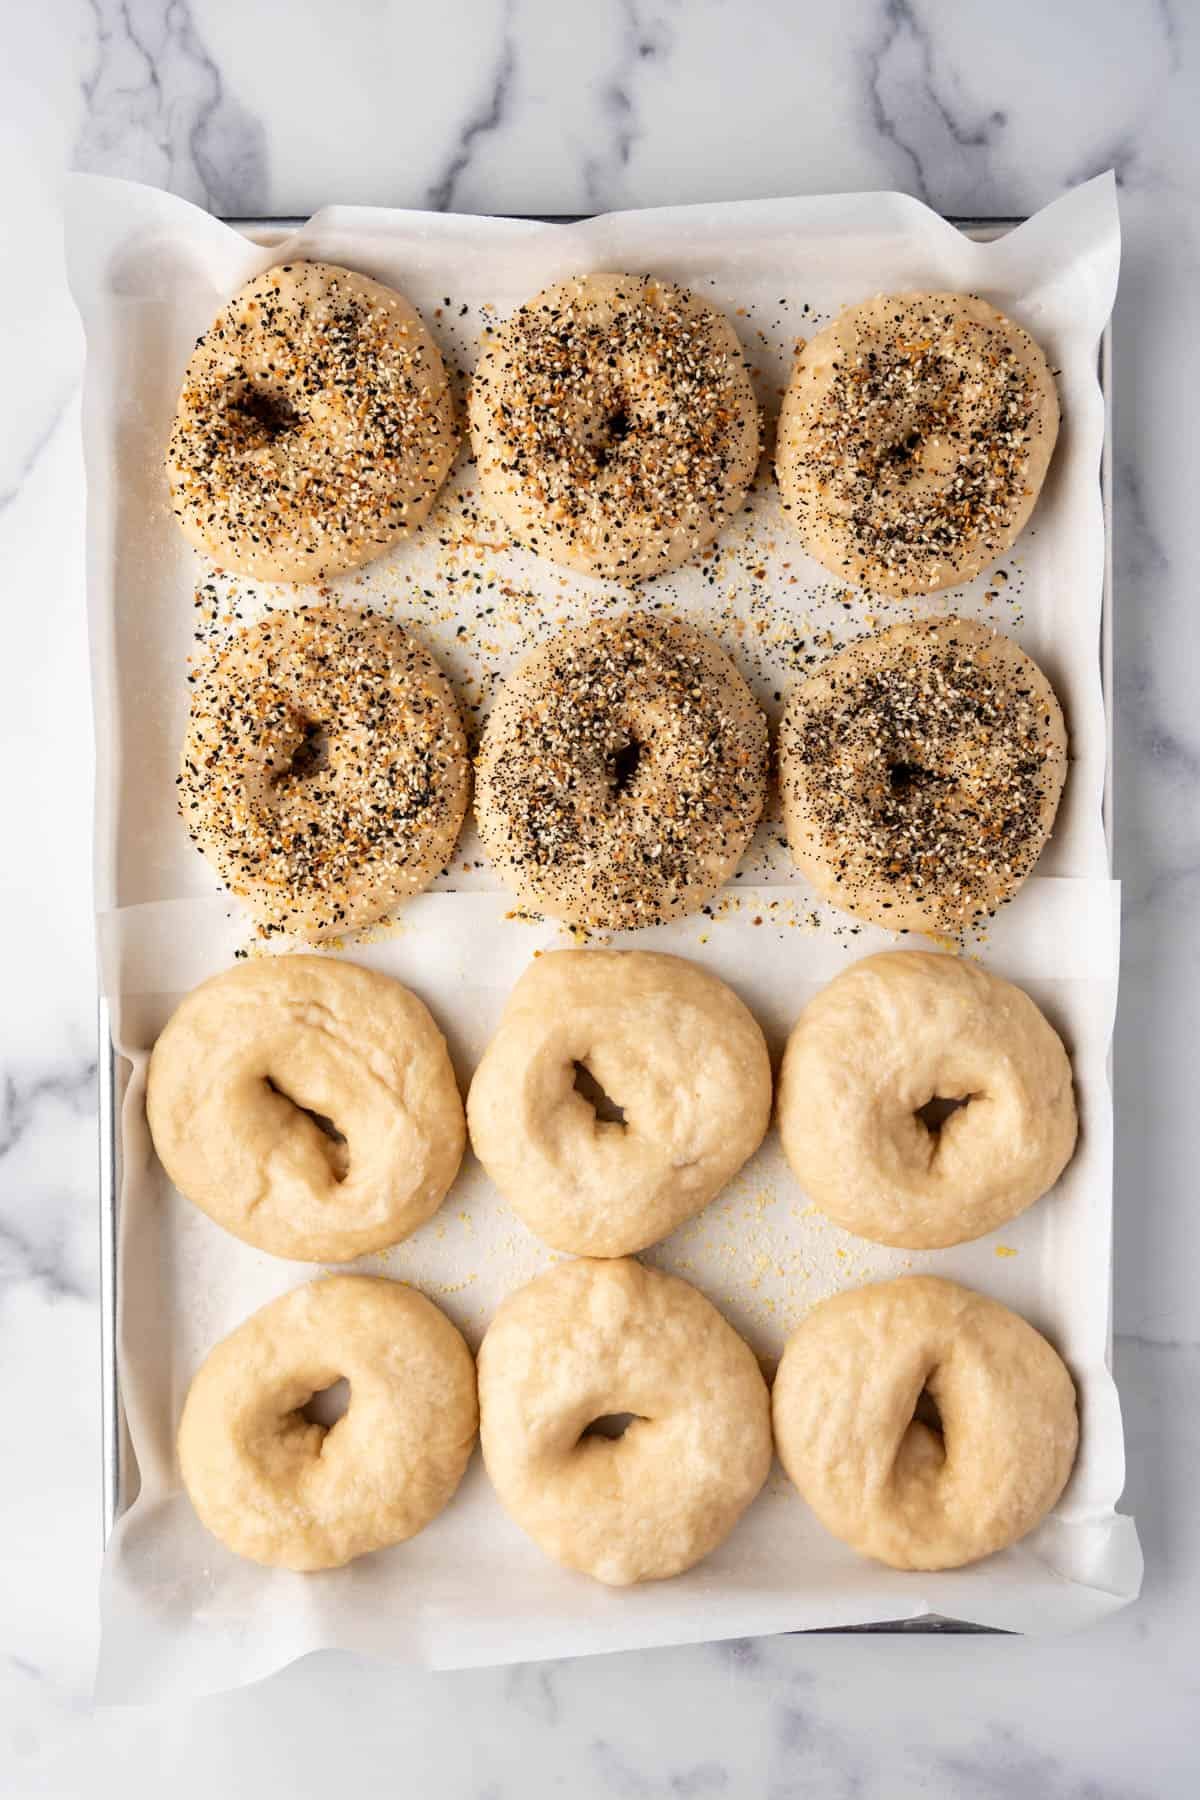
- Shape. There are two main methods for shaping bagels but my favorite is the ball & poke method where you make a tight ball, then poke a hole right in the middle of the ball either with the handle end of a wooden spoon or a finger and stretch it out evenly to create the bagel shape. The other method is to roll the dough into a rope and then squish the ends together to connect them into a loop. Either method works, but keep in mind that the hole should look bigger than you want it because it will shrink as the bagels boil and bake.
- Slow rise in the fridge overnight (optional). Place each shaped bagel on a square of parchment paper and arrange on a full-size baking sheet. Loosely cover with plastic wrap and let the bagels rest for 20 minutes on the counter at room temperature. Transfer the bagels to the refrigerator to slowly rise overnight. This is called retarding the dough and it allows the flavor of the bagel to develop. I like to make my bagels the night before and bake them fresh in the morning anyway, so this step is worth the wait, but you could let them rise at room temperature for 60-90 minutes at this point, then boil and bake the same day if you want.
- Prep. When you are about ready to bake the bagels, preheat the oven for at least 20 minutes until it reaches 425℉ (218℃). Line a full-size baking sheet with parchment paper and sprinkle with cornmeal or semolina flour. Fill a wide pot of water and bring it to a full rolling boil on the stovetop. Add the honey, brown sugar, or barley syrup.
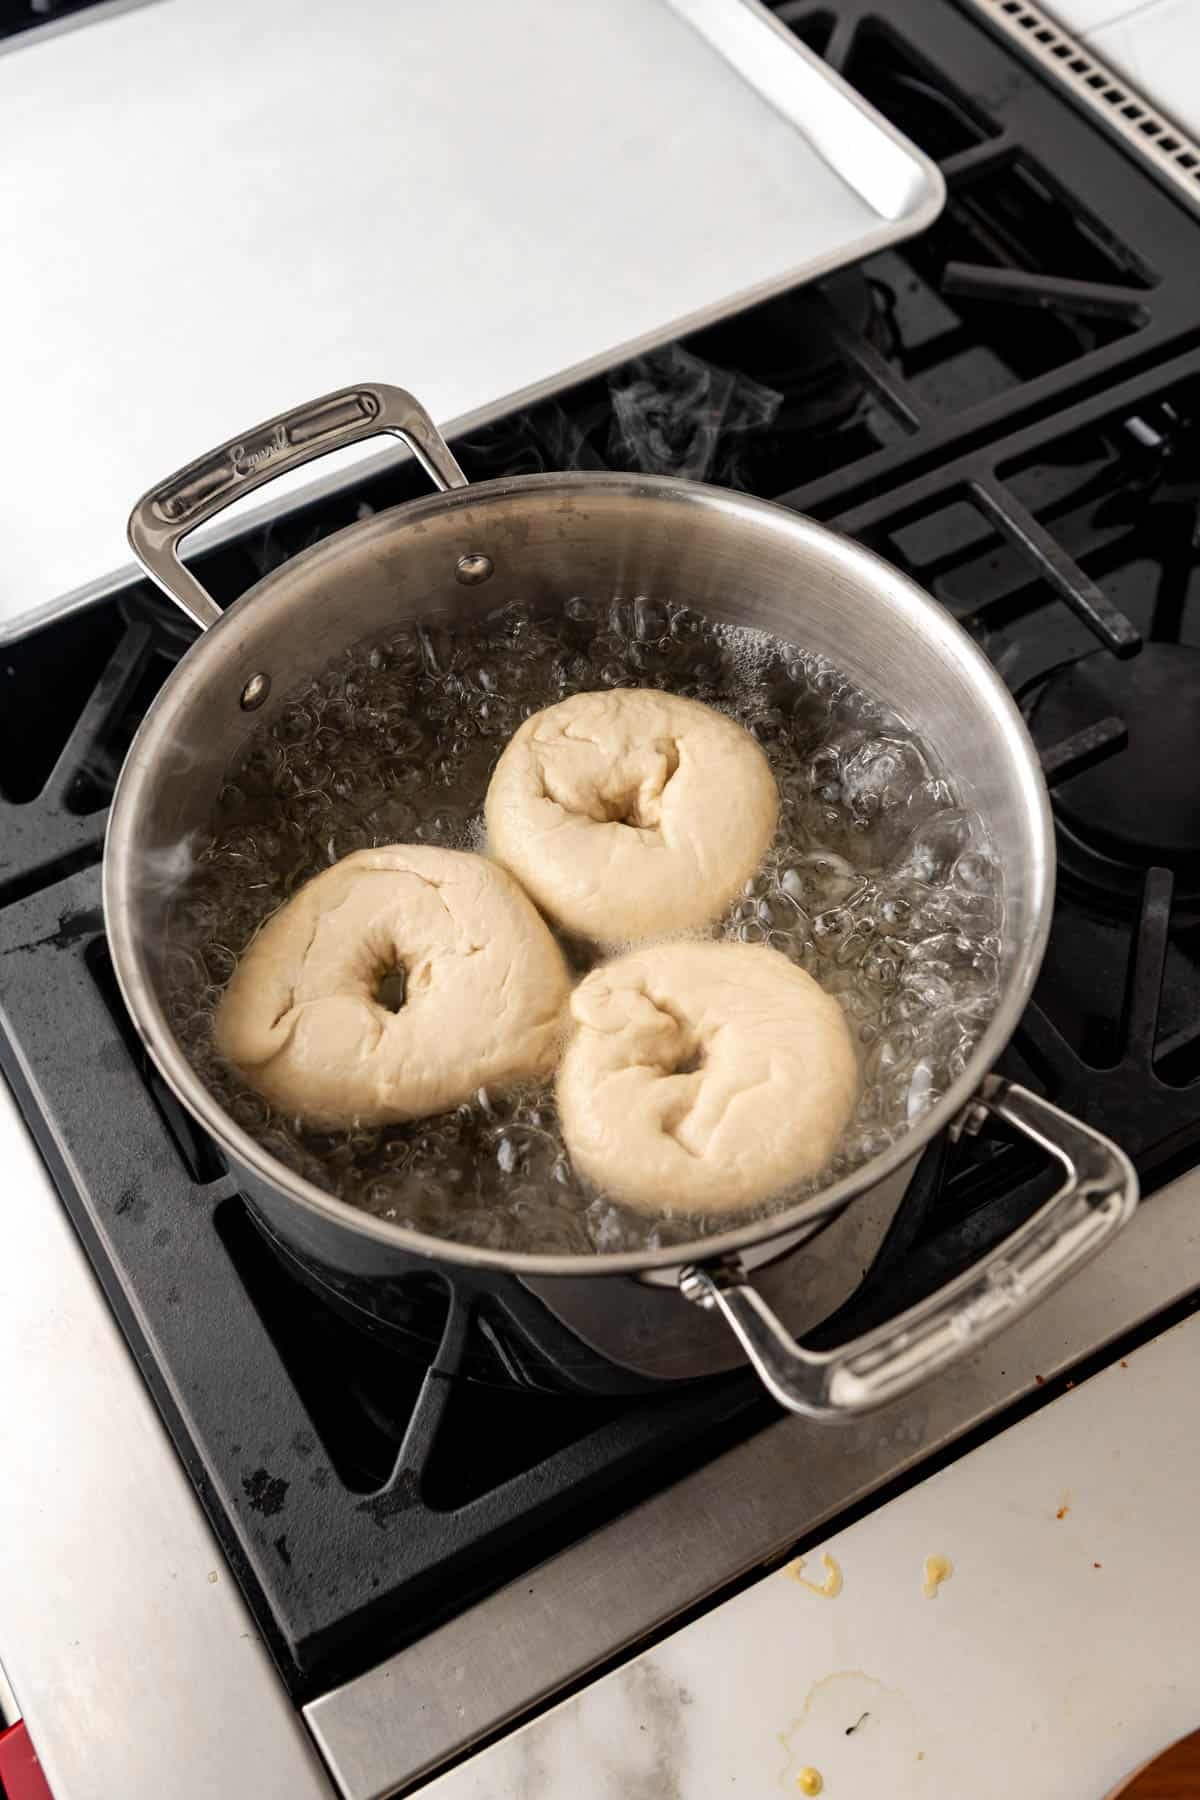
- Boil. Remove the bagels from the fridge and carefully drop 2 to 3 of them into the boiling water. They should immediately rise to the surface. Boil for 1 minute, then flip them over and boil on the other side for another minute. If you want extra chewy bagels, you can boil for 2 minutes per side. Remove the boiled bagels from the water using a slotted spoon and arrange on the prepared baking sheet. Sprinkle the bagels with your toppings, if using, as soon as they come out of the water so the toppings will stick. Repeat with the remaining bagels.
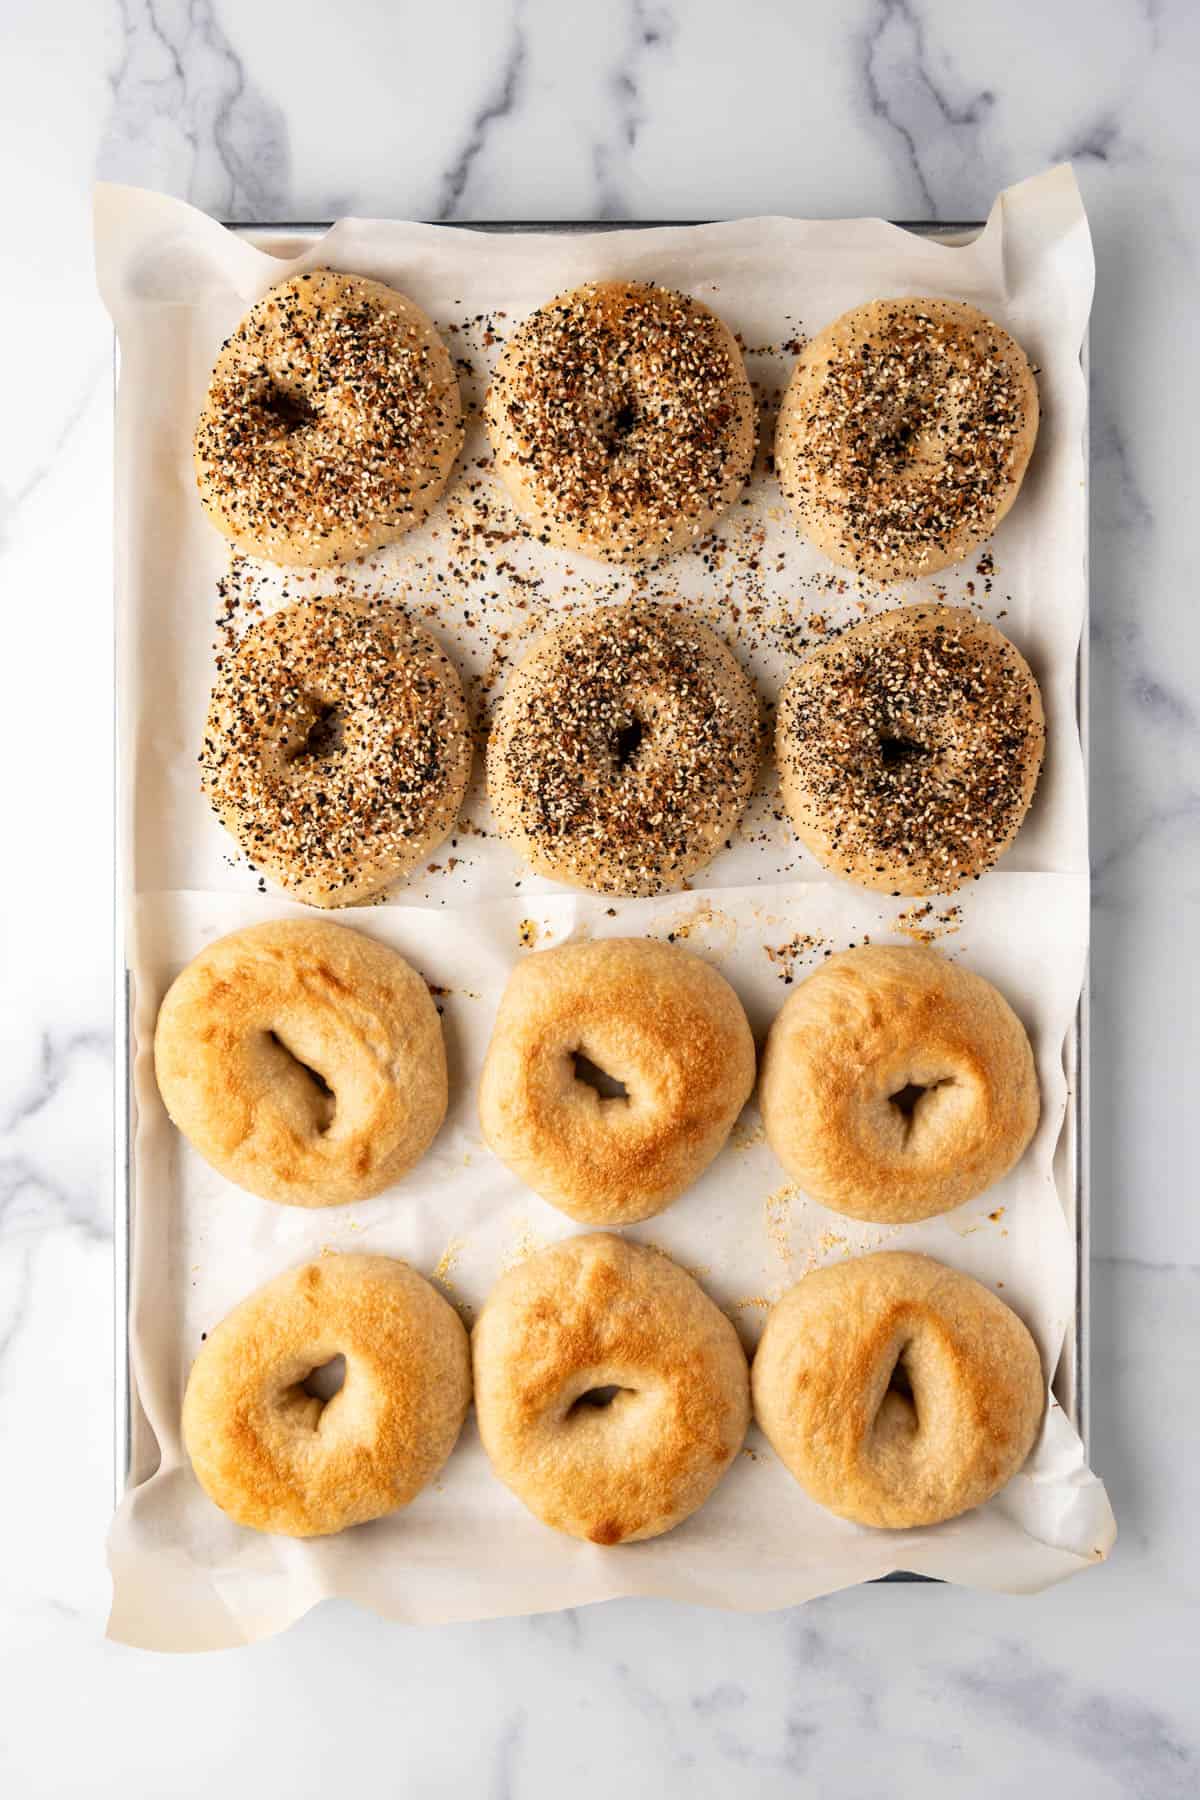
- Bake. Bake for 14-20 minutes, rotating the pan partway through. They should be a light golden brown, although you can bake them slightly longer if you prefer them darker in color. Let the bagels cool for at least 20 minutes before slicing and enjoying!
Recipe FAQ’s
Yes, if you are tight on time, you could let your bagels rise for 60-90 minutes on the countertop (longer if your house is on the cool side), then shape, boil, and bake same day without letting the bagel dough proof in the fridge overnight.
Maybe, but none of the real home bakers I know have that on hand and using honey as a substitute works just as well. Some people like to add 1 to 2 teaspoons of diastatic malt powder to the dough and baking soda in the boiling water but this version honestly turns out just as good with ingredients most folks already have on hand.
Yes, in a pinch, but you will want to increase the kneading time to 15-20 minutes to really help develop the gluten.
Yes! Go half-size for 24 mini bagels if you want a The boiling time is the same but you can reduce the bake time to 10-14 minutes.
Recipe Tips
- Expect a dough that is more dense and stiff, compared to other yeast doughs. It should feel tight and even a bit resistant to kneading. Resist the urge to add more water to the dough.
- Measure the flour carefully. It really does make a difference, especially with this particular dough, so if possible I recommend going by the weight measurement below rather than relying on cups.
- Knead longer than you think. More kneading means more gluten and more gluten means chewier bagels.
- Use parchment paper & cornmeal. Although the dough is easy to work with before boiling, as soon as you boil the bagel dough it becomes very heavy and sticky. Lining your baking sheets with parchment paper helps prevent the bagels from sticking to the pan. Cornmeal serves the same function while also adding a nice texture and crunch to the bottom of the bagel.
- Sprinkle with toppings immediately after boiling. They stick best while the bagels are still sticky and hot before they have a chance to dry out.
- Let the bagels cool before slicing. If you cut into these right away when they come out of the oven, they are going to be gummy. You need to let them cool for at least 20 minutes (an hour is even better) before slicing for best results.
Remember, even misshapen bagels taste delicious. Don’t fret if your first batch turns out to be a practice batch. This is one of those bakes that get better with every batch.
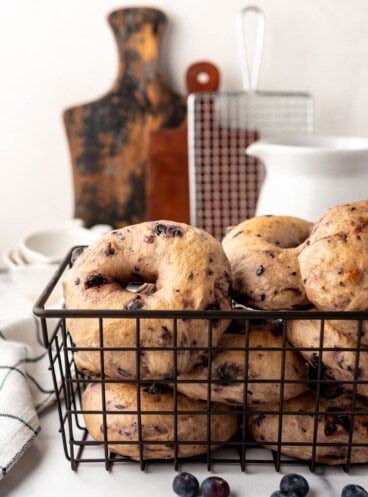
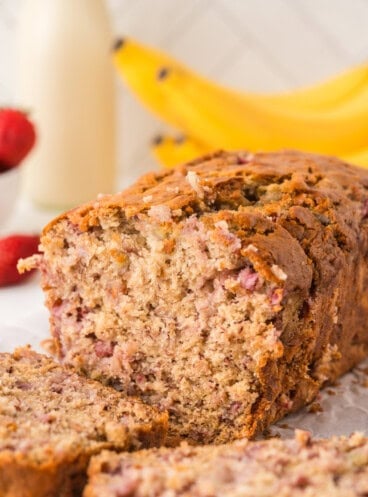
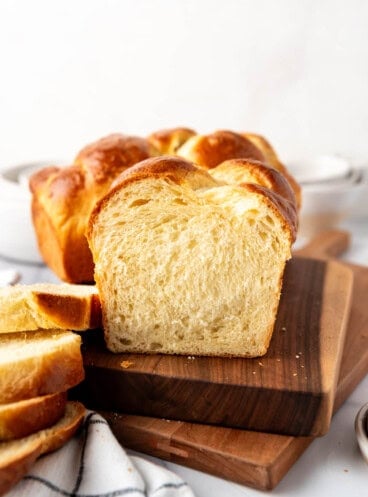
More Homemade Bread Recipes

New York-Style Homemade Bagels
Ingredients
Sponge
- 1 1/2 teaspoons instant yeast
- 4 cups (510g) bread flour
- 2 1/2 cups (567g) room temperature water
Dough
- 1/2 teaspoon instant yeast
- 3 3/4 cups (482g) bread flour
- 1 Tablespoon dark brown sugar or granulated sugar, light brown sugar, or barley malt syrup
- 3 teaspoons table salt
For Boiling
- 2 quarts water
- 2 Tablespoons honey or barley malt syrup
- Cornmeal or semolina for dusting (optional)
- Toppings like sesame seeds, poppy seeds, kosher salt, dried minced garlic or onion, or everything bagel seasoning, grated Asiago, parmesan, cheddar cheese, or melted butter with cinnamon sugar (added after baking) (if desired)

Instructions
- Start by combining the yeast and flour in a large mixing bowl. Add the water, stirring just until combined. The sponge will be very sticky, thick and look almost like pancake batter. Cover with plastic wrap and let this sit for 2 hours or until bubbles appear on top of the sponge. It should almost double in size and collapse when the bowl is tapped on the counter.1 ½ teaspoons instant yeast, 4 cups (510g) bread flour, 2 ½ cups (567g) room temperature water
- Once the sponge is bubbly and foamy looking, sprinkle the additional ½ teaspoon of yeast on top and stir. Add 3 cups of the flour along with the brown sugar and salt. Mix on low speed with the dough hook or with a sturdy wooden spoon until the dough starts to form into a bowl. Gradually add the remaining ¾ cup of flour to the dough until it is fairly firm and only slightly tacky.½ teaspoon instant yeast, 3 ¾ cups (482g) bread flour, 3 teaspoons table salt, 1 Tablespoon dark brown sugar
- Knead for at least 6-8 minutes with the dough hook attachment or 10-15 minutes by hand to develop the gluten. The dough should be firm, but still pliable and smooth. It should pass the windowpane test where you pinch off a smallish piece of dough and stretch it between your fingers. You should be able to see light through the dough without it tearing. If the dough tears while stretching, add a little water (maybe 1-2 tablespoons at a time) and keep kneading the dough for another 1-2 minute before testing again. If the dough is too sticky, add more flour (maybe ¼ cup at a time) until the dough is fairly stiff and firmer than most other bread dough. It should be pliable but not so tacky that it sticks to the countertop or your fingers.
- Use a bench scraper or sharp knife to divide the dough into twelve even pieces that are each about 4 1/2-ounces (128g). Roll the dough pieces into tight balls, then cover with plastic wrap or a damp towel and let them to rest for 20 minutes to allow the gluten to relax.
- Cut 12 squares of parchment paper and set aside. Poke a hole in the center of each ball of dough and use your fingers to evenly stretch the hole until it is about 2 1/2-inches in diameter. Remember that the whole should look larger than you think it will because it will shrink when baking.
- Place each shaped bagel on a square of parchment paper and arrange on a full-size baking sheet. Loosely cover with plastic wrap and let the bagels rest for 20 minutes on the counter at room temperature.
- Transfer the bagels to the refrigerator to slowly rise overnight (at least 8 hours or up to 2 days). This allows the flavor of the bagel to develop and is worth the wait, although you could let them rise for 60-90 minutes at room temperature, then boil and bake at this point if you desire. I like to make my bagels the night before and bake them fresh in the morning anyway, so this overnight retard approach is my preferred method anyway.
- When you are about ready to bake the bagels, preheat the oven for at least 20 minutes to 425℉ (218℃). Line a full-size baking sheet with parchment paper and sprinkle with cornmeal or semolina flour. Fill a wide pot with water and let it come to a full rolling boil on the stovetop. Add the honey, brown sugar, or barley syrup.2 quarts water, 2 Tablespoons honey, Cornmeal or semolina
- Remove the bagels from the fridge and carefully drop 2 to 3 of them into the boiling water. Boil for 1 minute, then flip them over and boil on the other side for another minute. If you want extra chewy bagels, you can boil for 2 minutes per side. Remove the boiled bagels from the water using a slotted spoon and arrange on the prepared baking sheet. Sprinkle the bagels with your toppings, if using, as soon as they come out of the water so the toppings will stick. Repeat with the remaining bagels.Toppings like sesame seeds, poppy seeds, kosher salt, dried minced garlic or onion, or everything bagel seasoning, grated Asiago, parmesan, cheddar cheese, or melted butter with cinnamon sugar (added after baking)
- Bake for 14-20 minutes, rotating the pan partway through. The bagels should be a light golden brown, although you can bake them slightly longer if you prefer them darker in color.
- Let the bagels cool for at least 20 minutes before slicing and serving.
Notes
- Storage: If you will eat these within 1-2 days, then I recommend storing them in a paper bag on the counter so the crust says more crisp. If you won’t get to them for 3-4 days, store them in a plastic bag or airtight container on the counter. I don’t recommend refrigerating these because that seems to dry them out, but they do freeze great!
- Freezing: Transfer the bagels to a freezer-safe bag and freeze for up to 3 months.
- Recipe adapted from a number of sources including King Arthur Flour, The Bread Baker’s Apprentice, and National Geographic.