
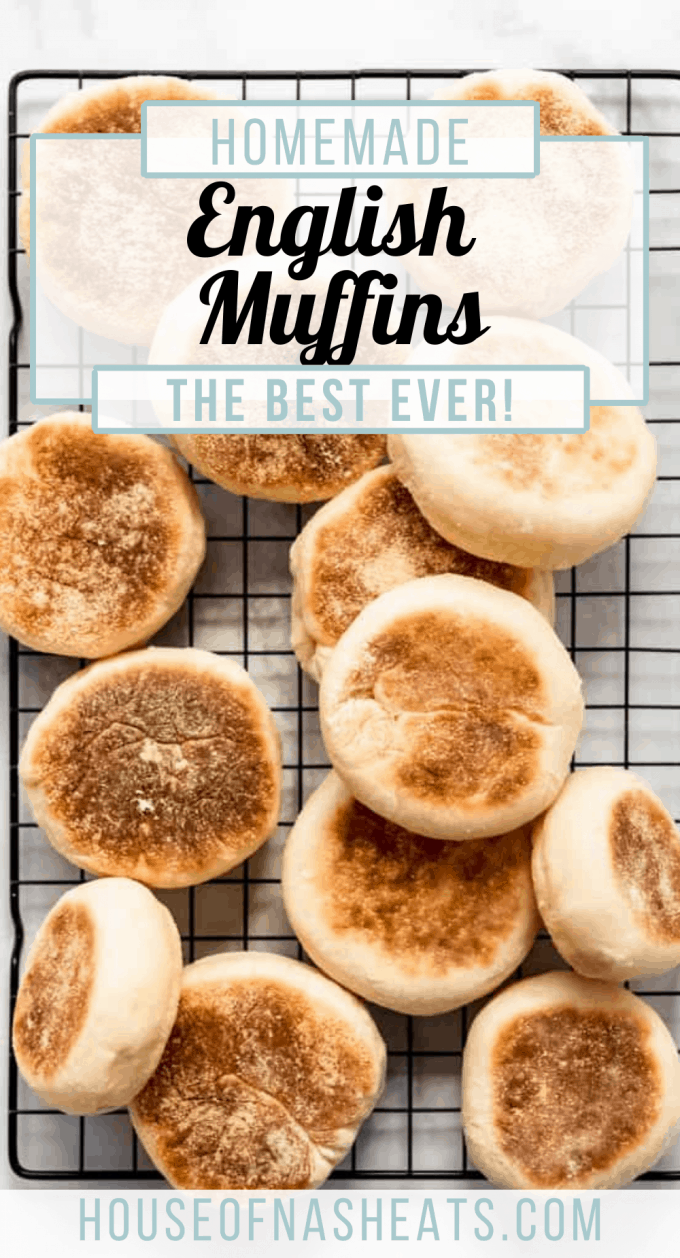
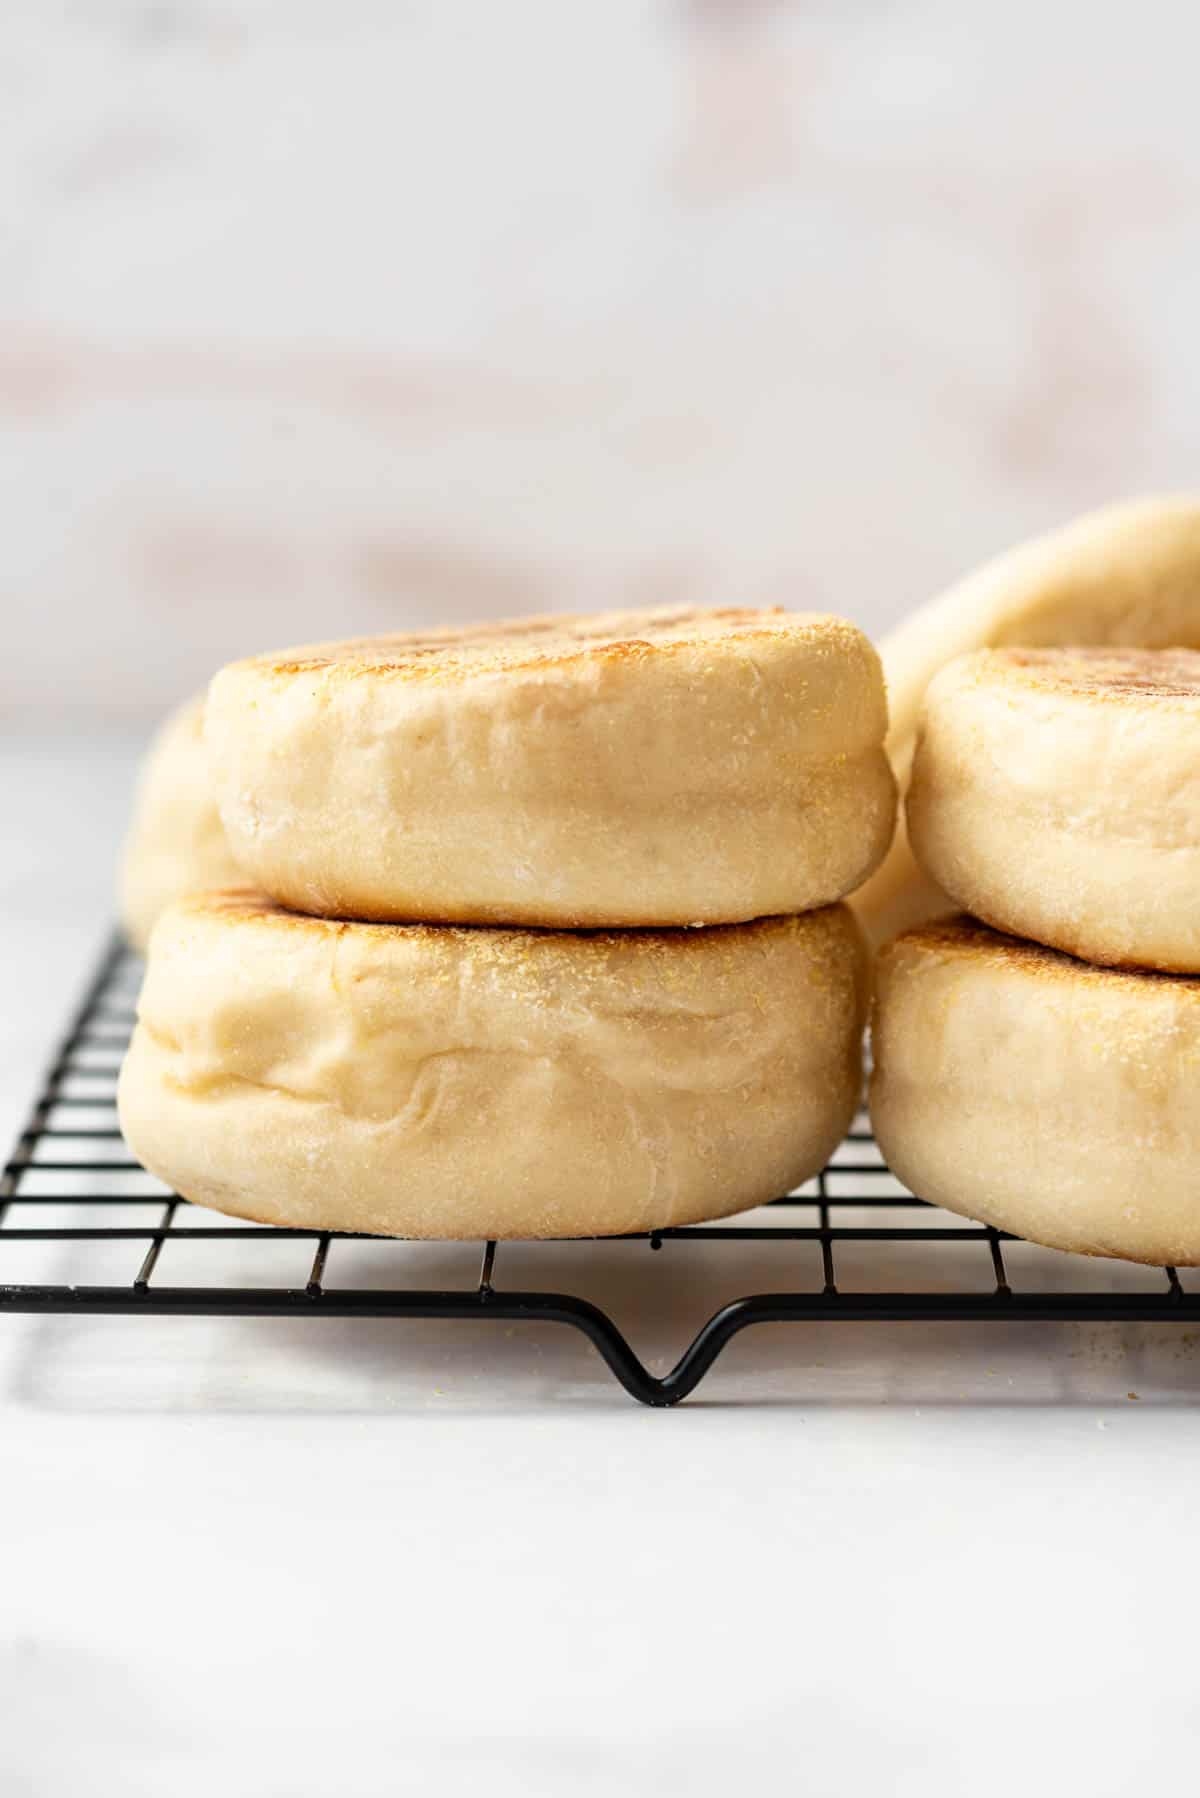
Homemade English Muffins are one of my favorite go-to breakfast breads. They’re made with an easy yeast dough, excellent when toasted on the griddle, and full of all the nooks and crannies you crave! These easy English Muffins from scratch are the perfect way to start off your day!
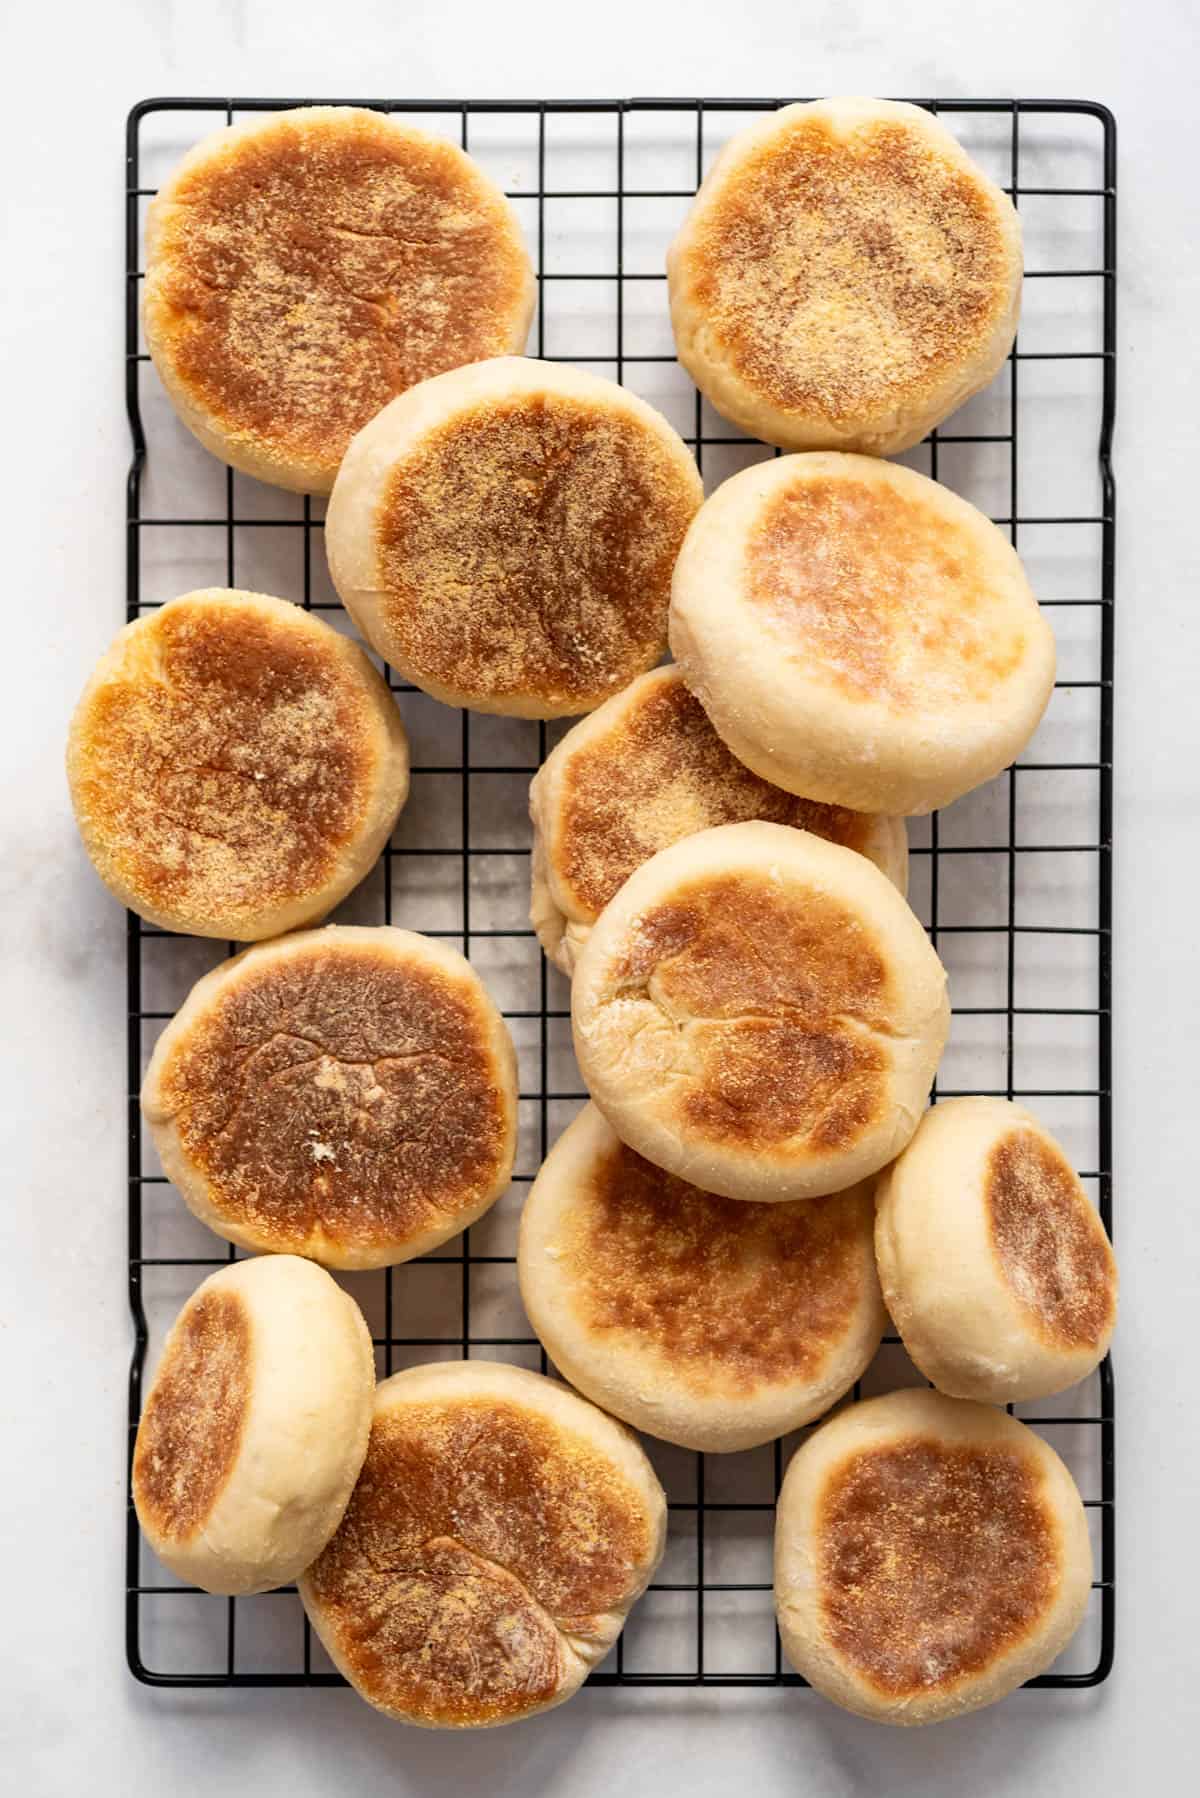
Table of Contents
- What you’ll need to make this English Muffin Recipe
- How to Make Homemade English Muffins
- Can I use regular flour to make English Muffins?
- Can I bake these in the oven?
- Can this recipe be made ahead of time?
- How do I freeze English Muffins?
- All I have is instant yeast, will that work?
- Do you need to refrigerate English Muffins?
- How do I get nooks and crannies in my muffins?
- Do I have to use cornmeal?
- Homemade English Muffins Recipe
- More Easy Breakfast Recipes
I get it. Making any type of bread product can be intimidating. Bet let me tell you, these Homemade English Muffins are so much easier than you think! The bread flour makes the texture perfect and the corneal makes them very easy to handle. You’ll get a crispy crust on the outside and a soft, chewy inside that make breakfast time just delightful.
The first time I ever made English muffins was a few years ago at a food blogging retreat in Oregon where we had a professional chef come do a cooking demonstration where we made brunch complete with lemon blueberry scones, eggs benedict, and candied bacon. Honestly, up until then I had never even thought about making homemade English muffins! But they were so much fun to make on the griddle that I put them on my bucket list of must-try baking projects.
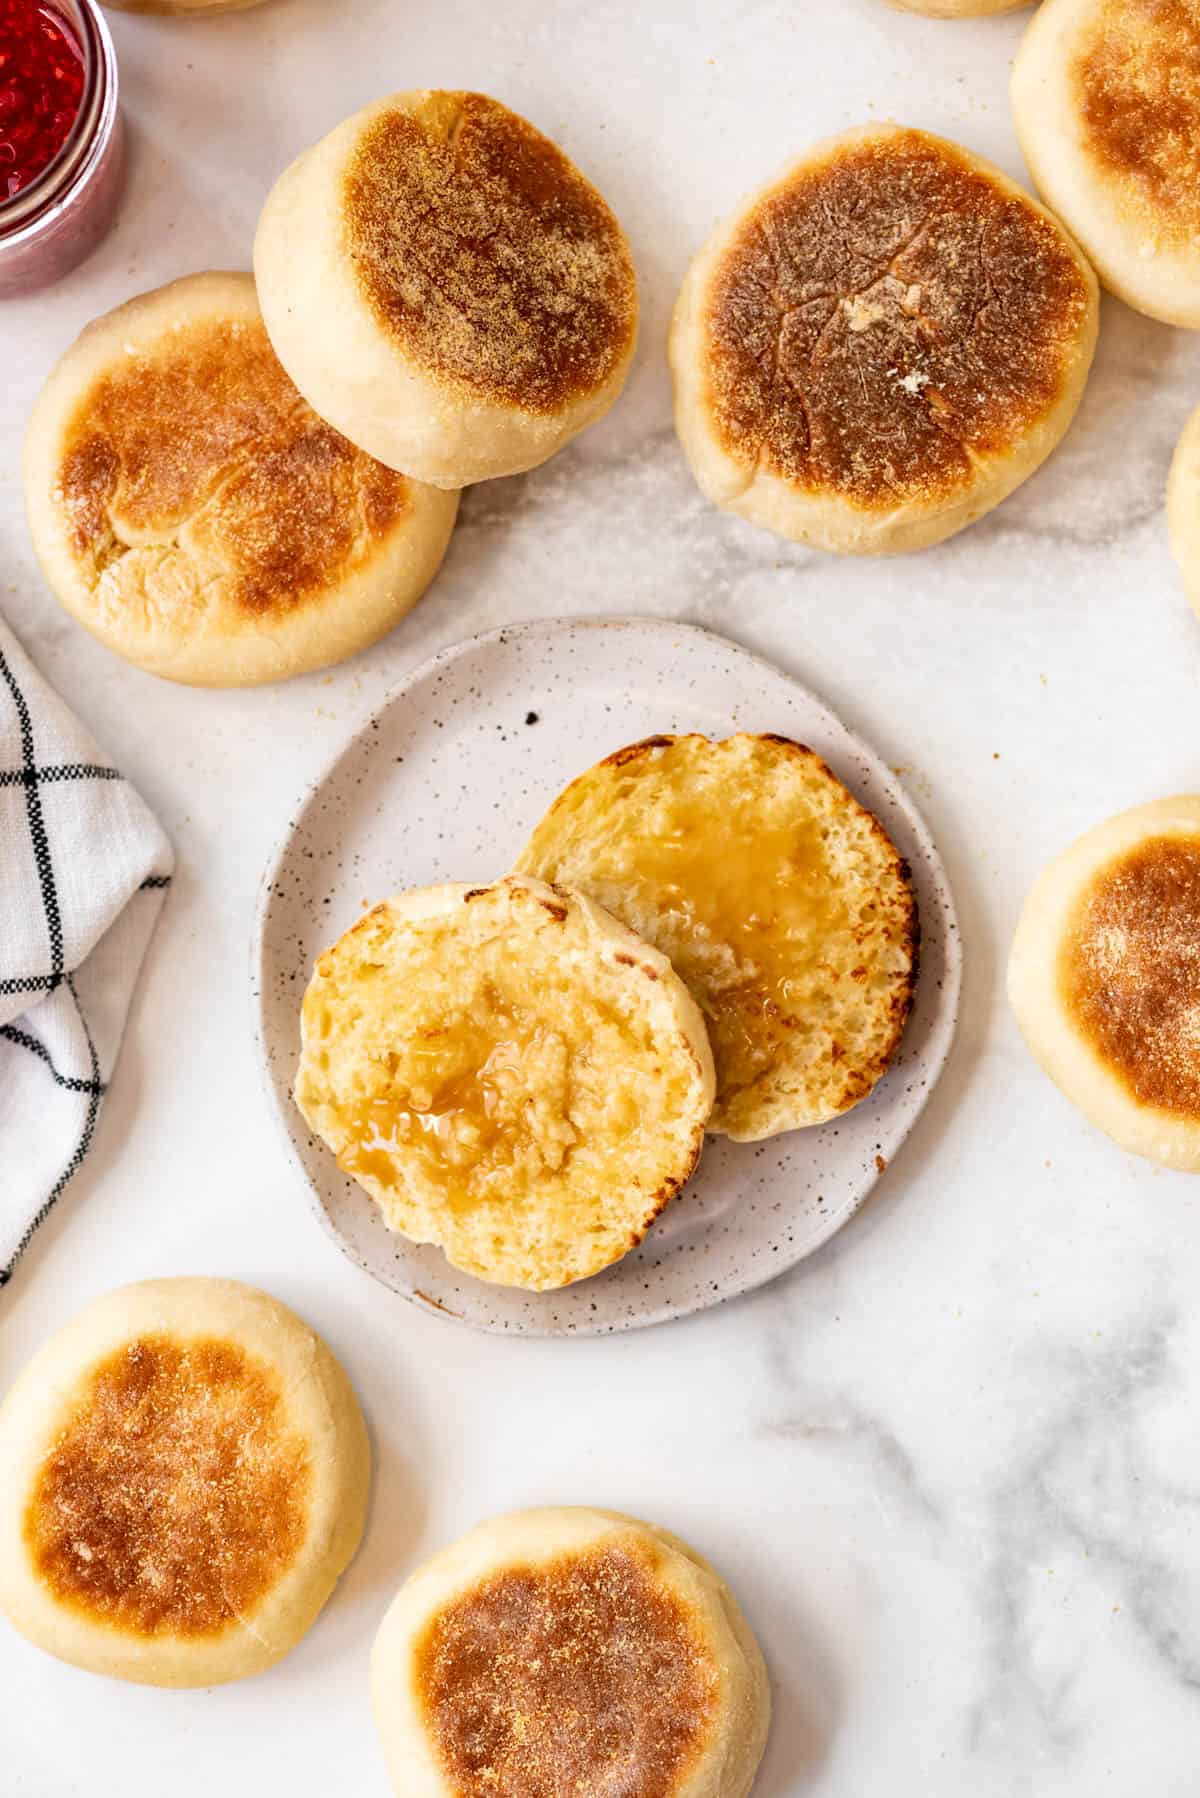
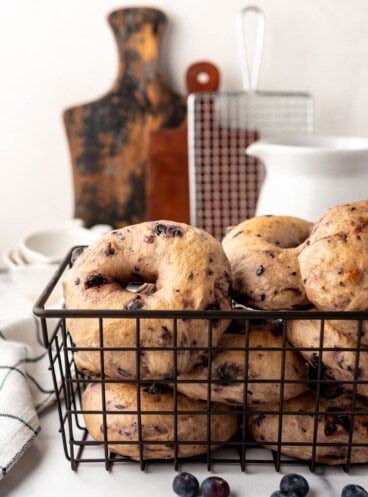
I know everybody always going wild for the famous nooks and crannies that you get when you split apart the English muffin, but can we just take a second to appreciate the perfection of the slightly gritty (but in the best way!) outside? You get that by sprinkling cornmeal on your surface when shaping the muffins. It helps the sticky dough not stick too bad, but it also adds a wonderful textural element and flavor that I love.
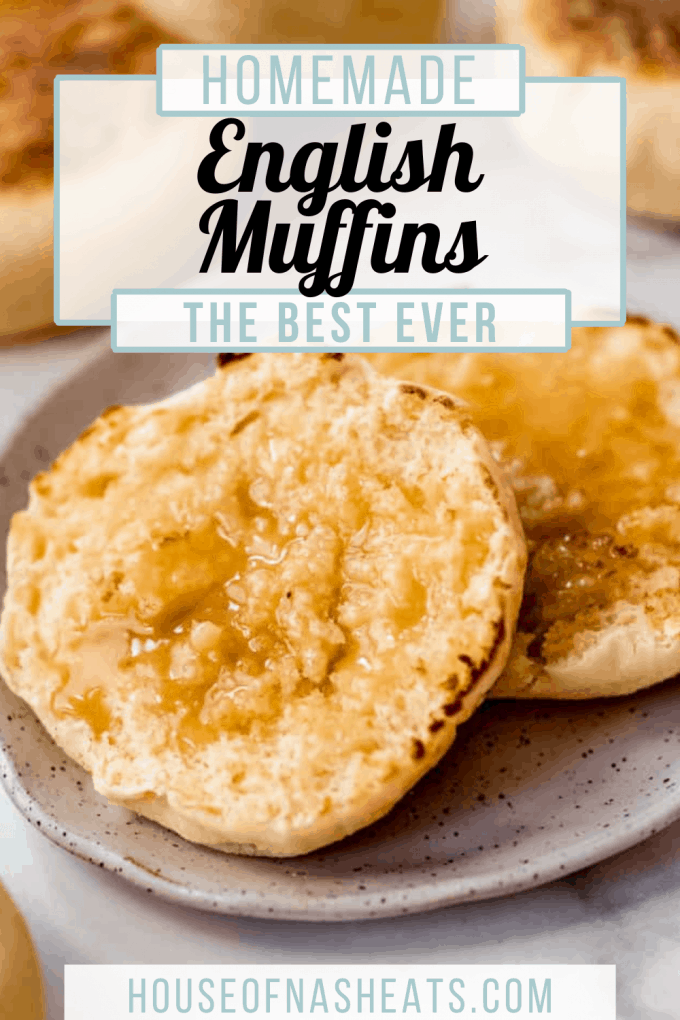
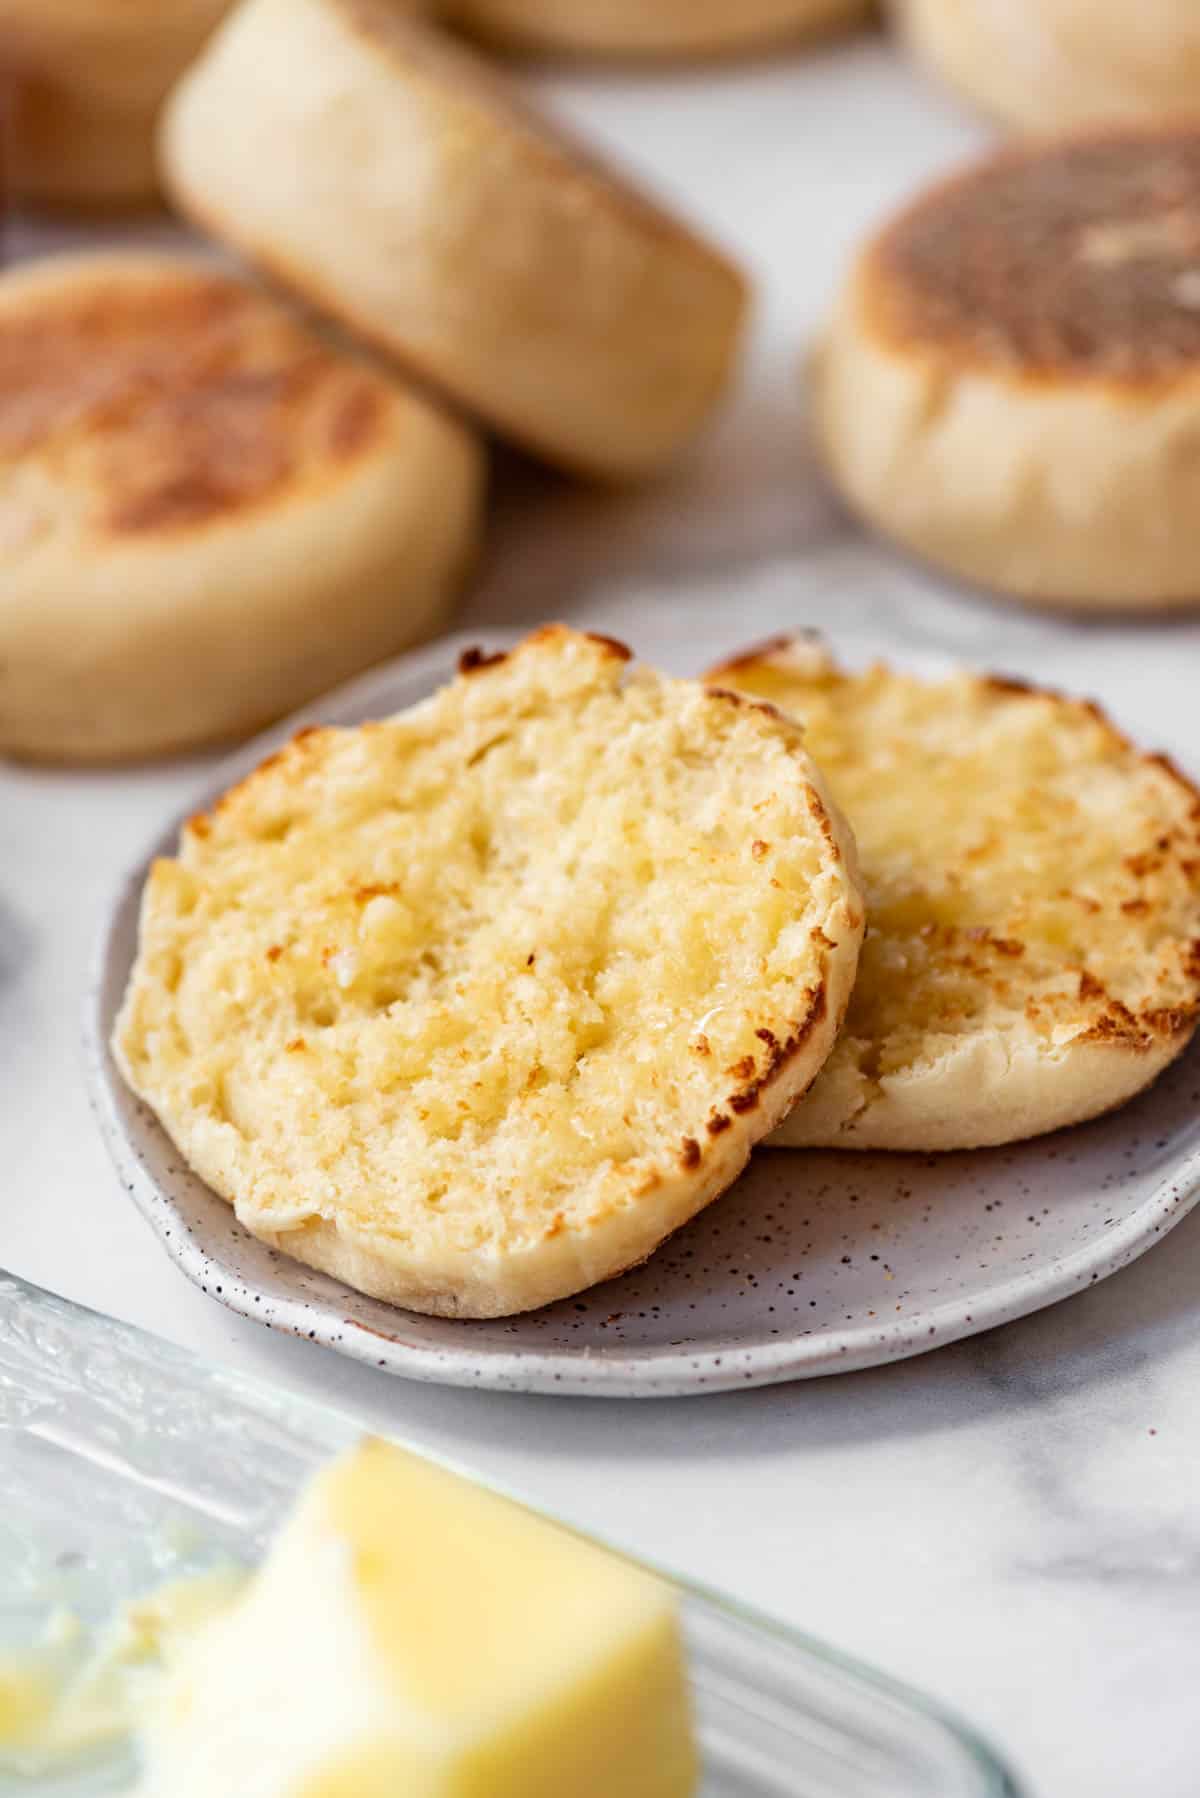
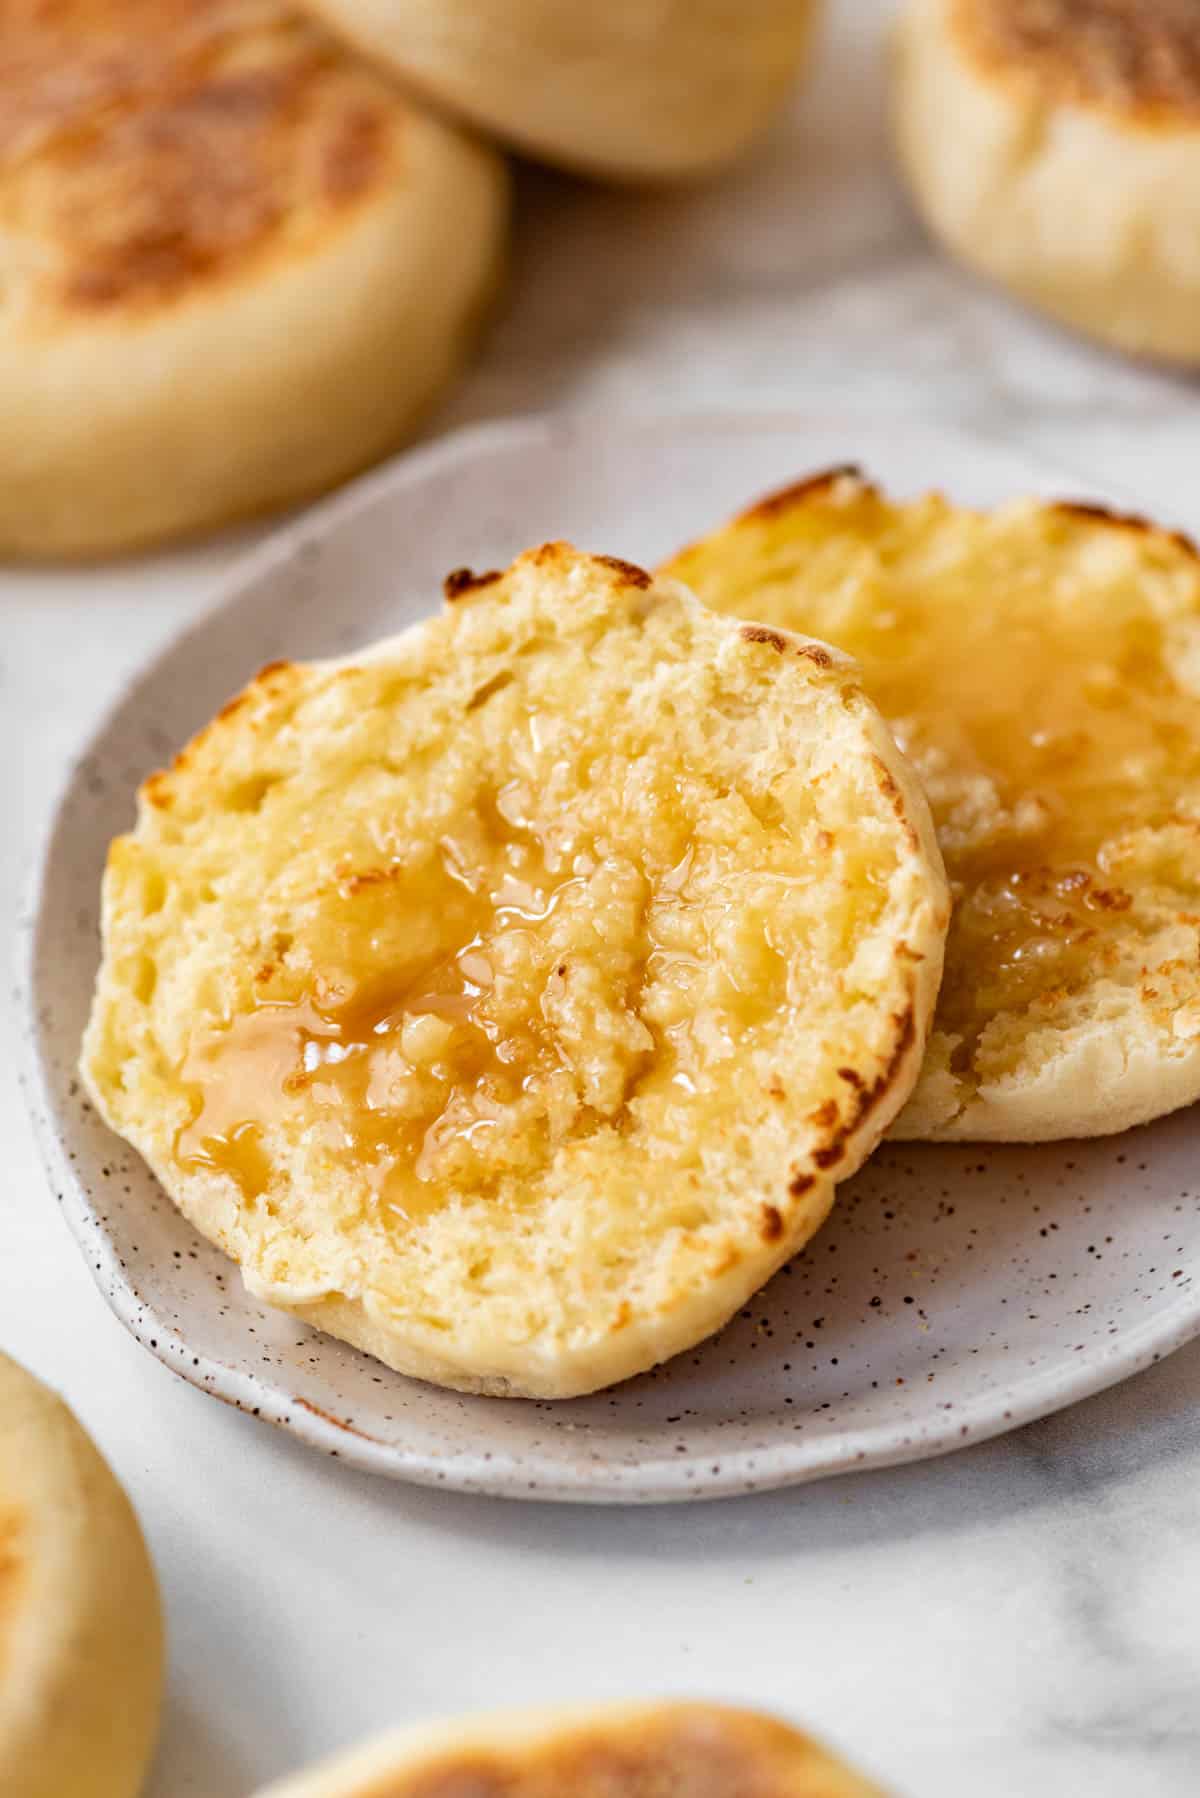
And yes, there are plenty of nooks and crevices, which occur because of the slightly more hydrated dough combined with splitting the English muffins open with a fork rather than slicing through them with a knife. This creates more of a jagged edge that reveals air bubbles trapped inside the dough, which then toast up really well and are just begging to be slathered in butter and honey!
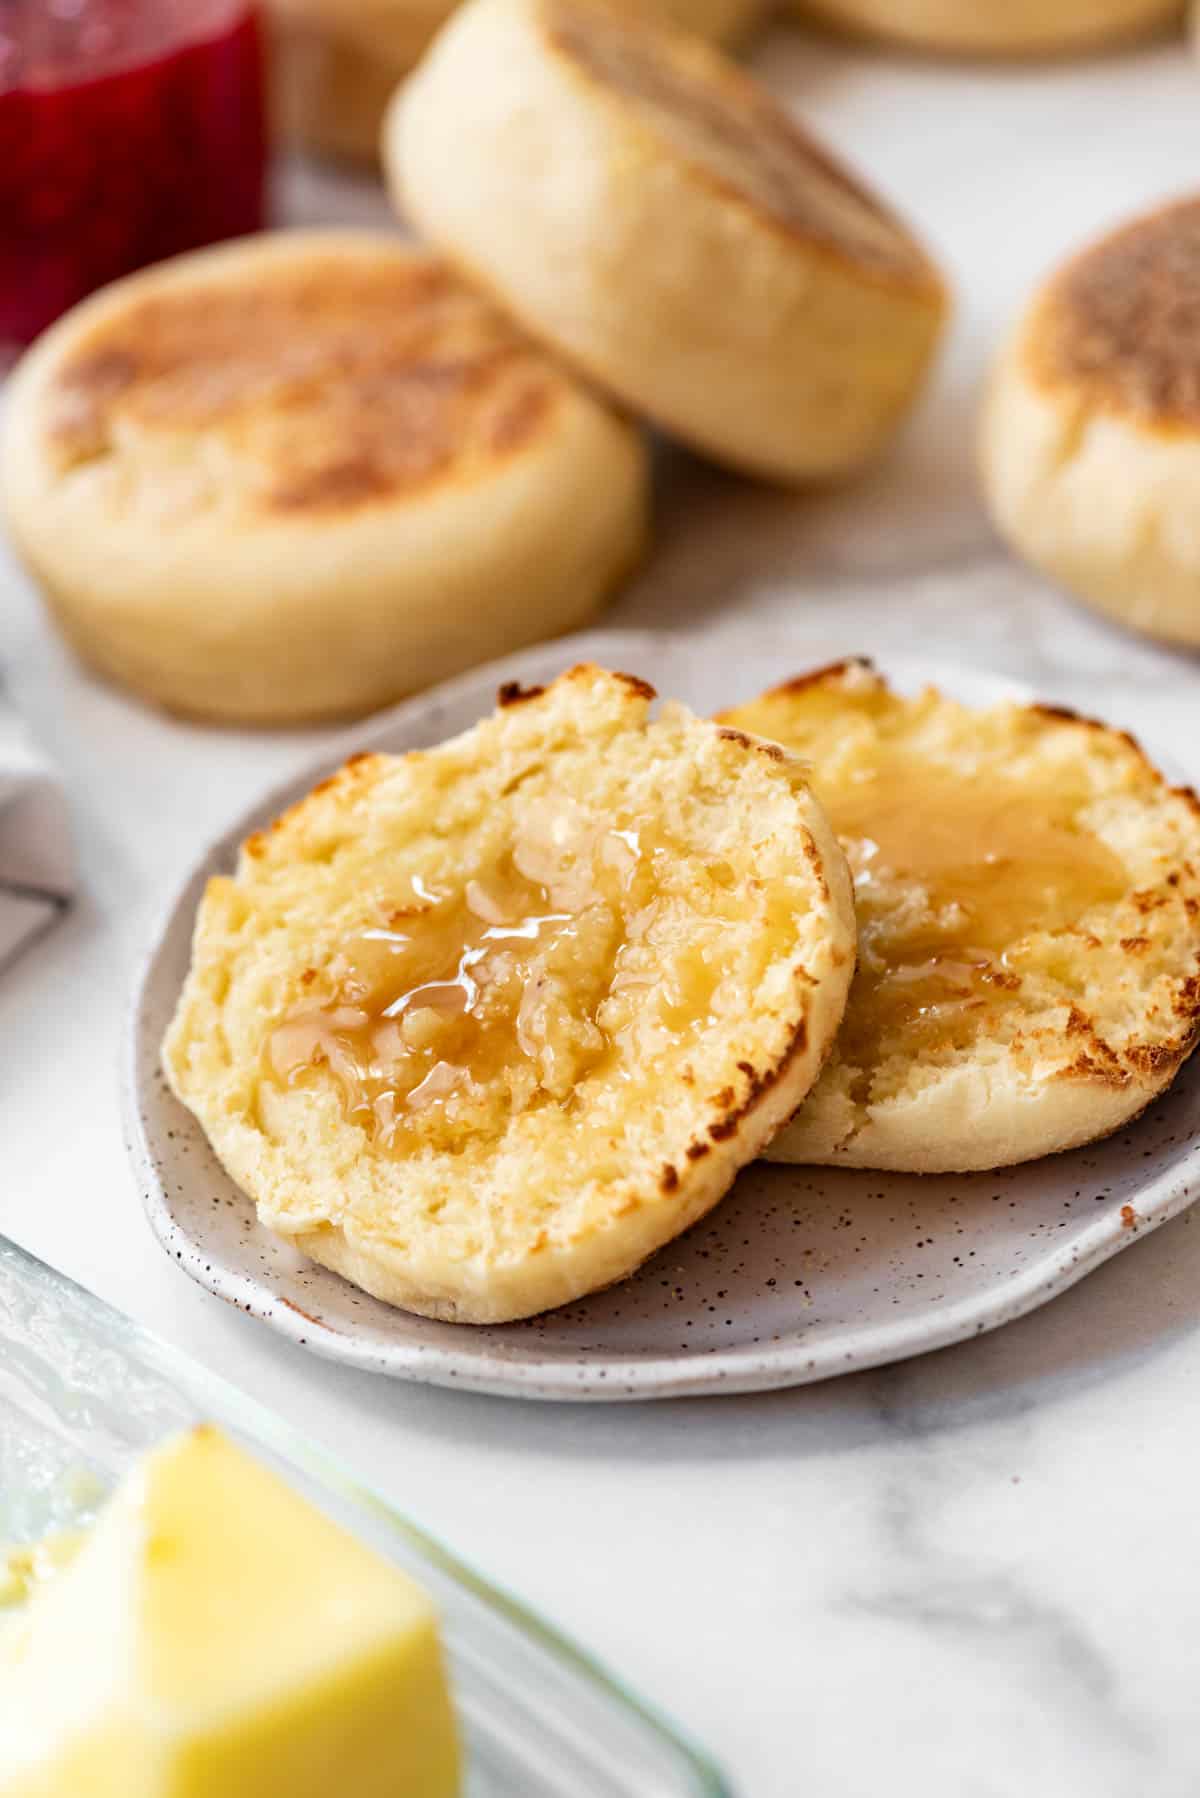
You can fry an egg and slather on some mouth-watering Bacon Jam to make a delicious egg sandwich out of these Homemade English Muffins or spread on some soft butter and fruit jam or honey after toasting. Be sure to check out some of our other breakfast ideas to whip up while you’re in the kitchen and satisfy the whole family!
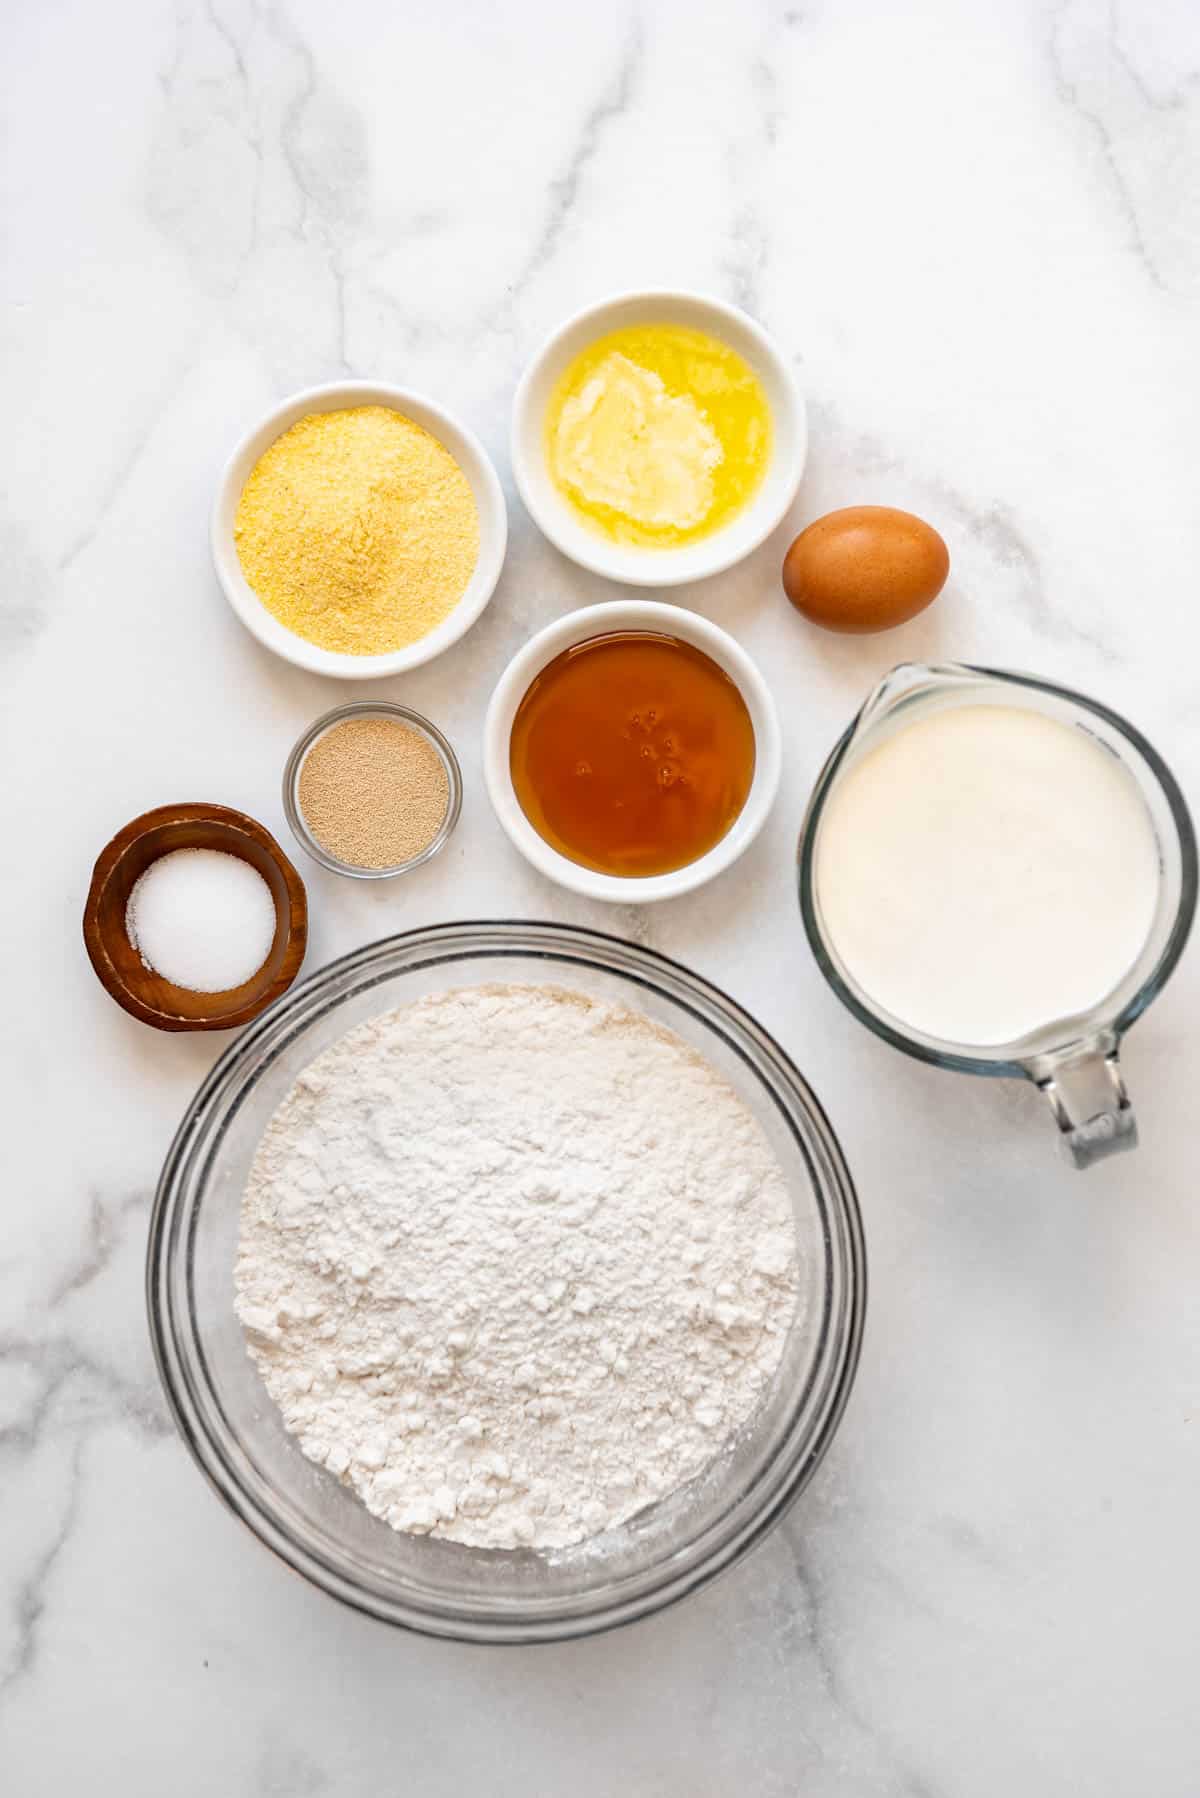
What you’ll need to make this English Muffin Recipe
- Active Yeast: I like to use active yeast in this recipe. However, the same amount of instant yeast will work just fine.
- Water: You’ll want to make sure your water is warm (between 100-110°F). Too cold of water won’t activate the yeast and too hot of water can kill the yeast.
- Sugar: Regular granulated sugar is all you need here.
- Milk: Whole milk works great for this recipe!
- Egg: This is going to help with the texture of the dough.
- Butter: I always like to use salted butter.
- Salt: Salt gives everything good flavor!
- Bread Flour: I like to use bread flour as it gives an additional chewiness that English muffins tend to have.
- Cornmeal: For dusting and make them easy to handle.
How to Make Homemade English Muffins
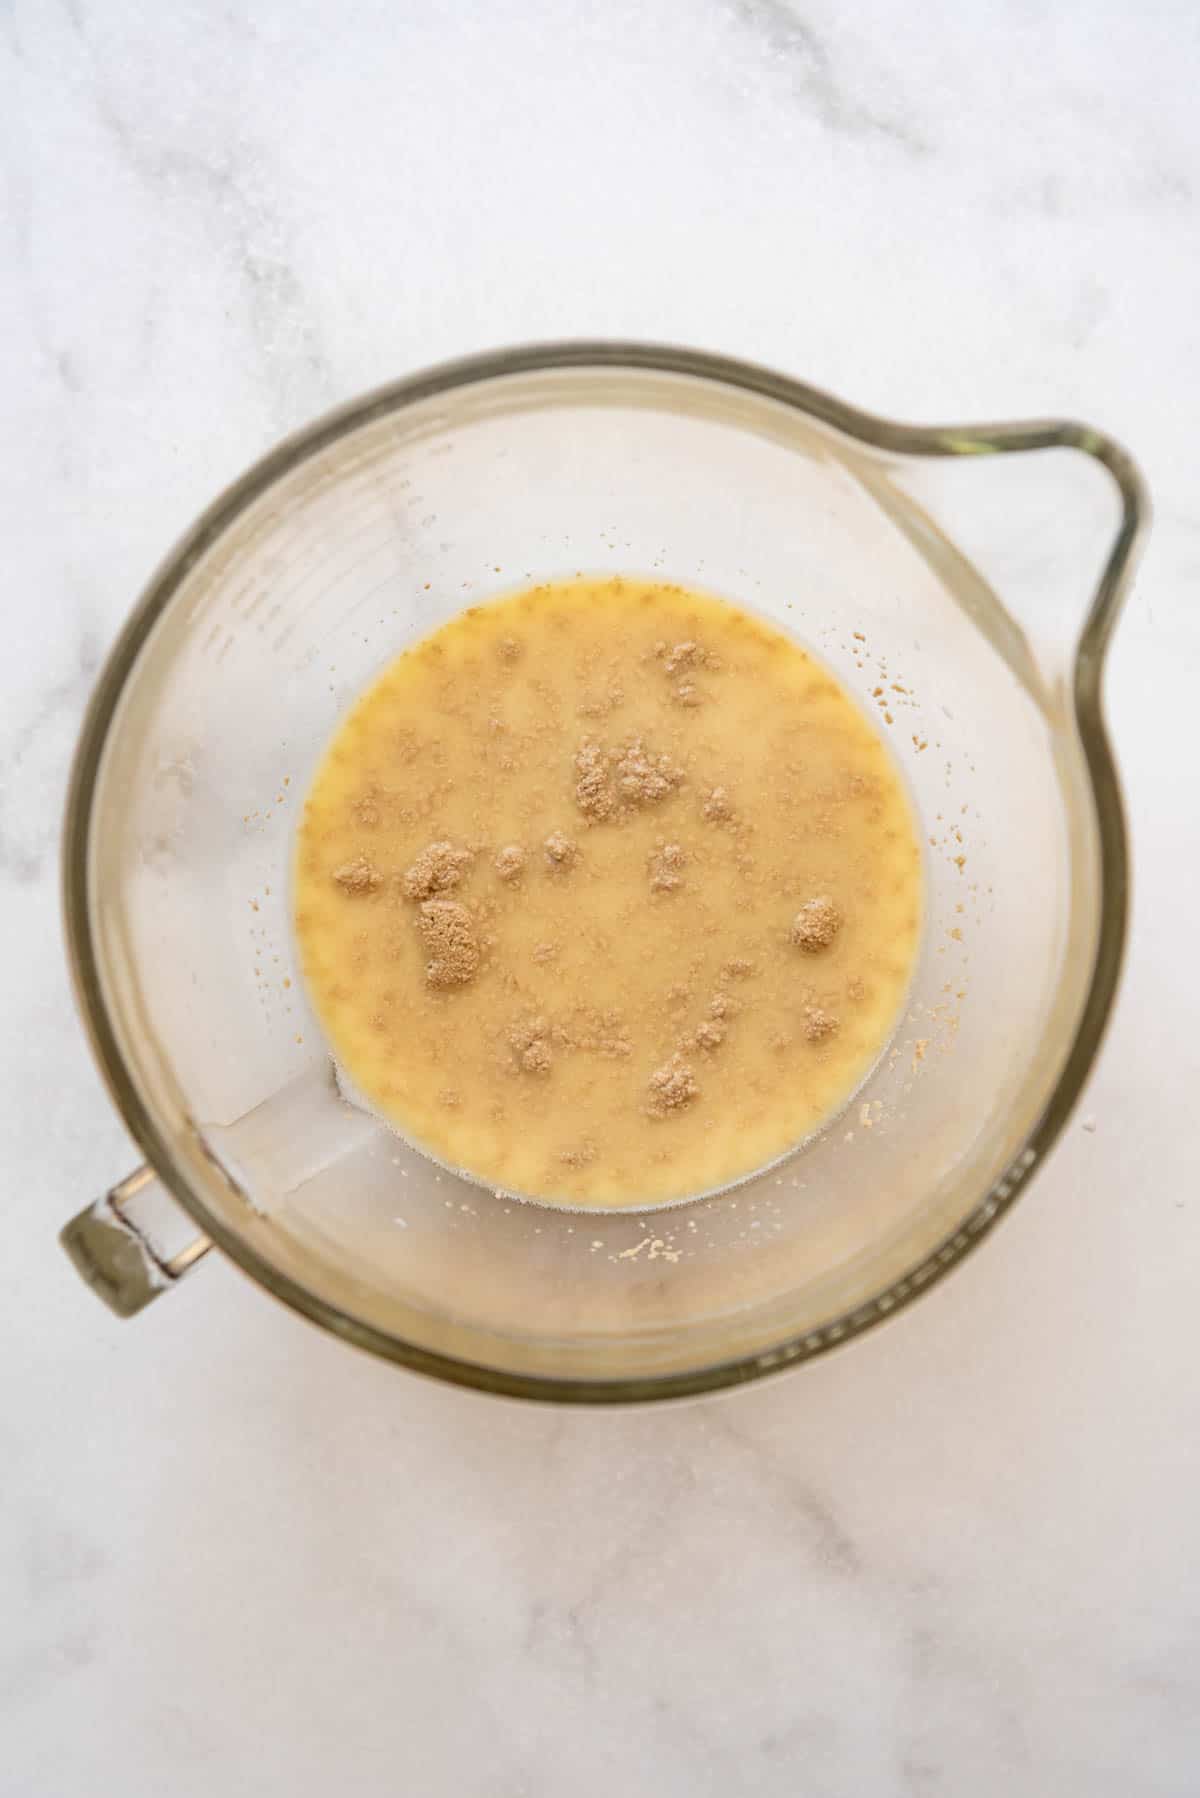
- Proof the yeast. Combine yeast water and sugar in a bowl and set aside until the mixture is foamy.
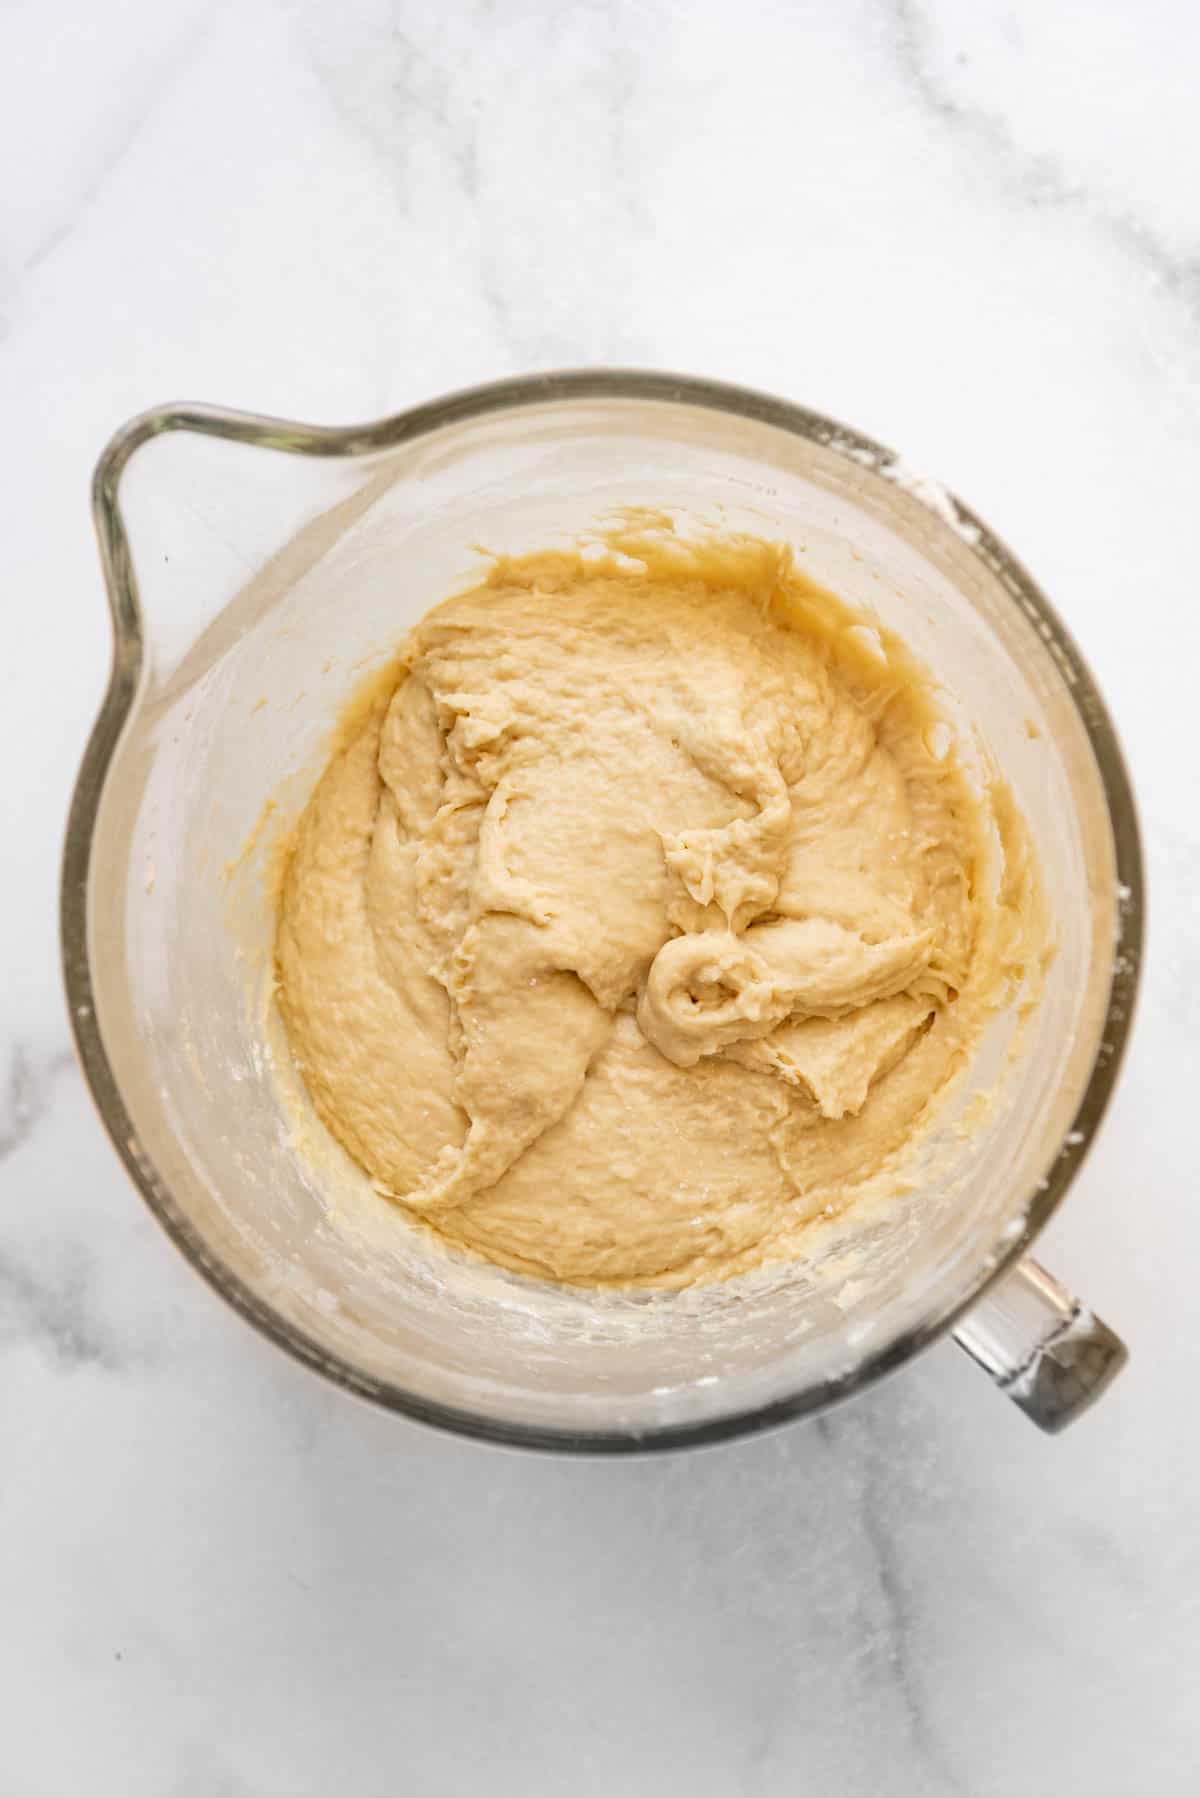
- Mix in milk, sugar, egg, butter, salt, and flour. Beat in a mixer until smooth, then add the remaining flour and mix with the dough hook for 4-5 minutes on medium speed to create a smooth but very sticky dough. It may be tempting to add more flour, but the dough is supposed to be very sticky, which helps create the nooks and crannies that English muffins are famous for.

3. Allow rising. Scrape the dough into a large, greased bowl and cover with a piece of plastic wrap sprayed with cooking spray. Set in a warm spot to rise until doubled in size. This process usually takes about 1 hour.

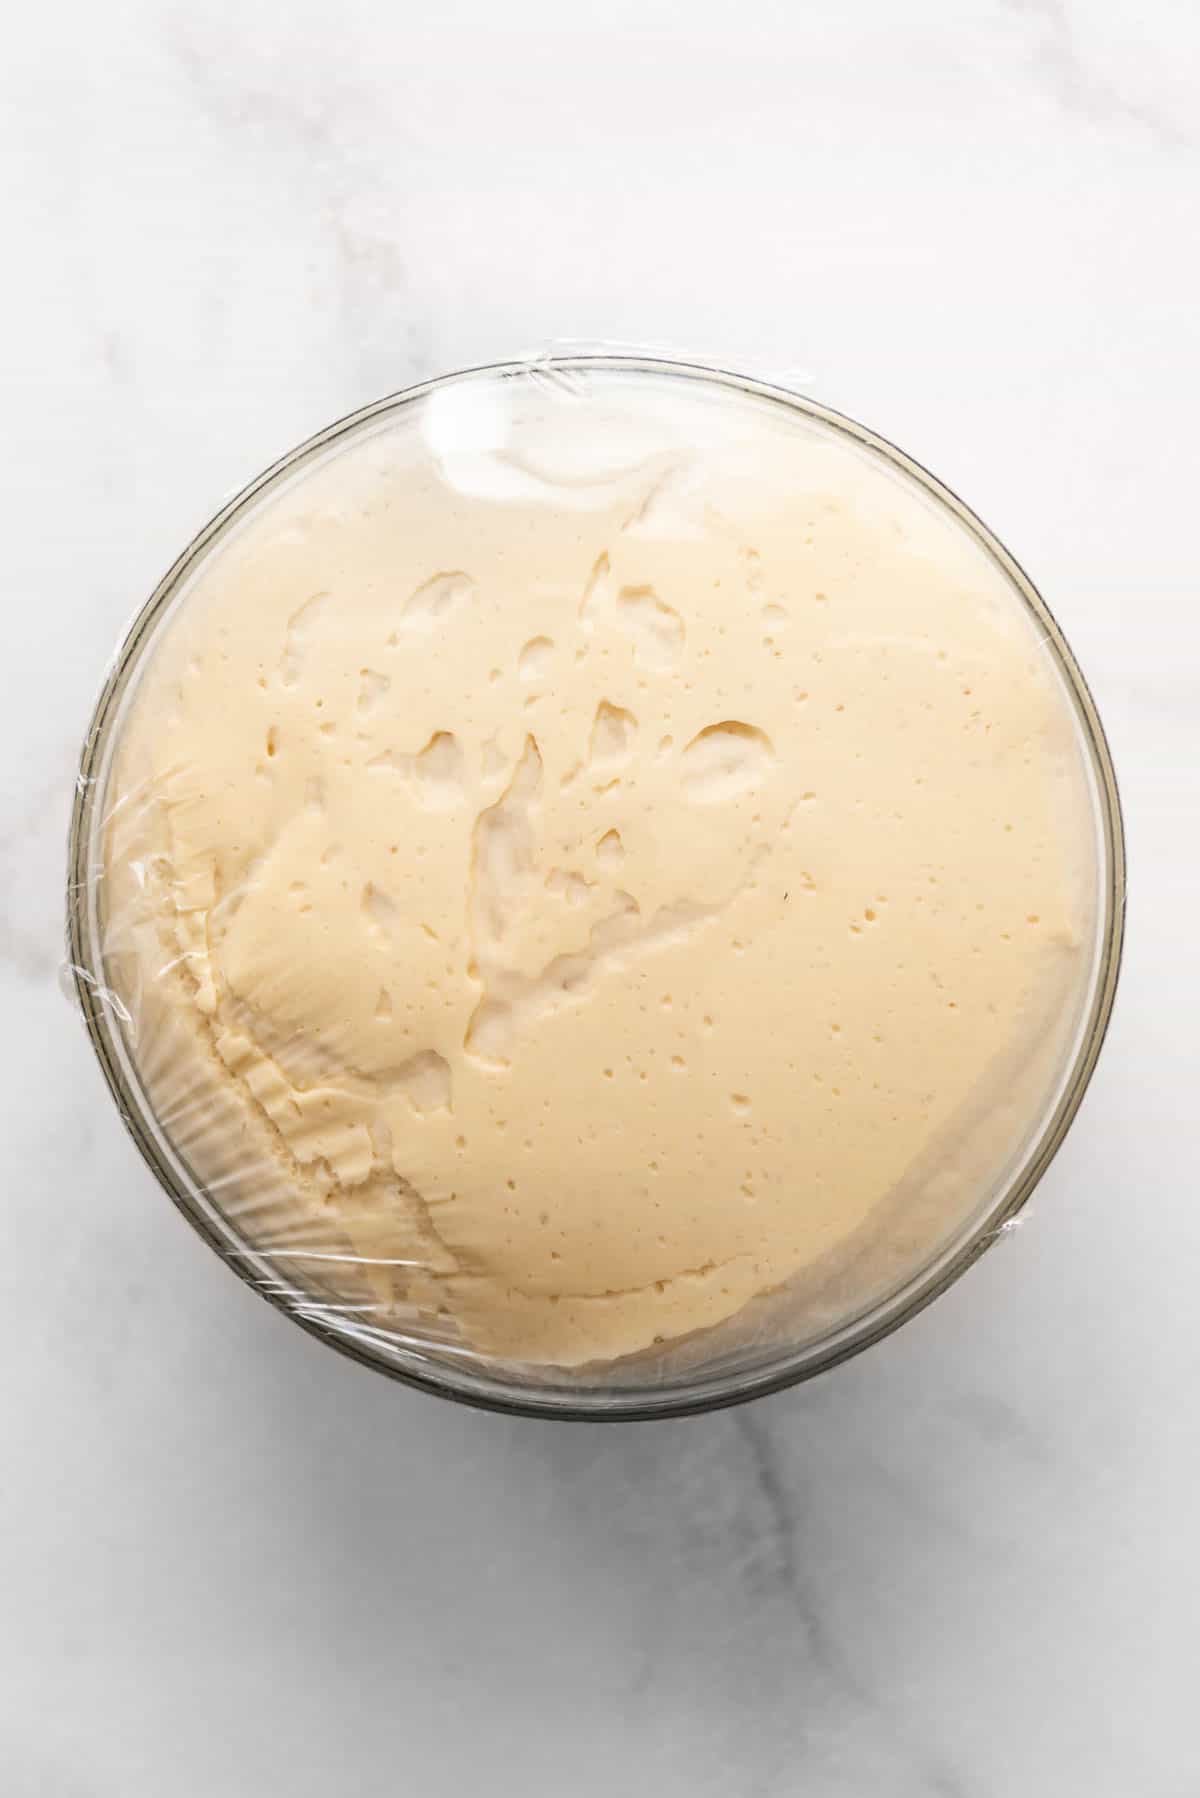
4. Punch down the dough: If you have ever wondered what this means, you literally just make a fist and stick it right into the center of your bowl of dough to intentionally deflate it a bit. Then turn it out onto a lightly floured surface.
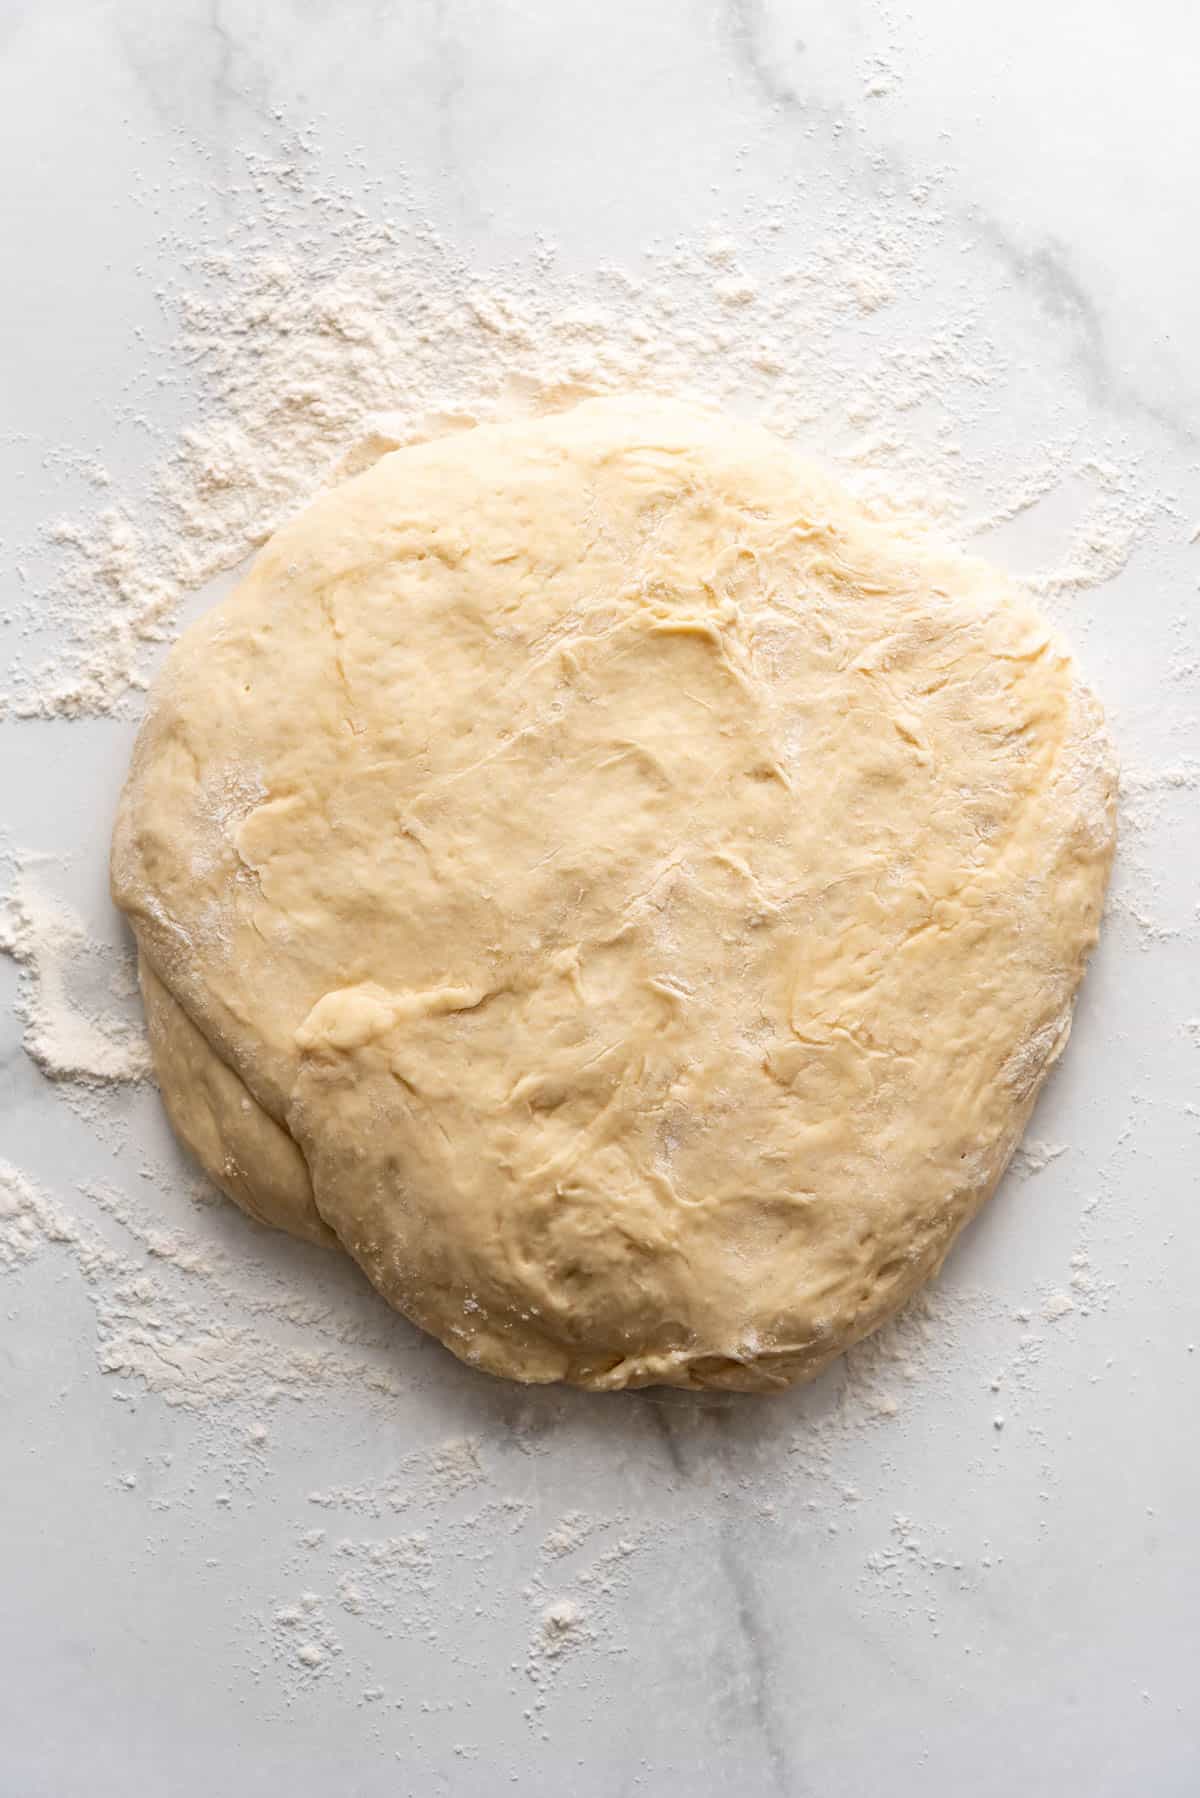
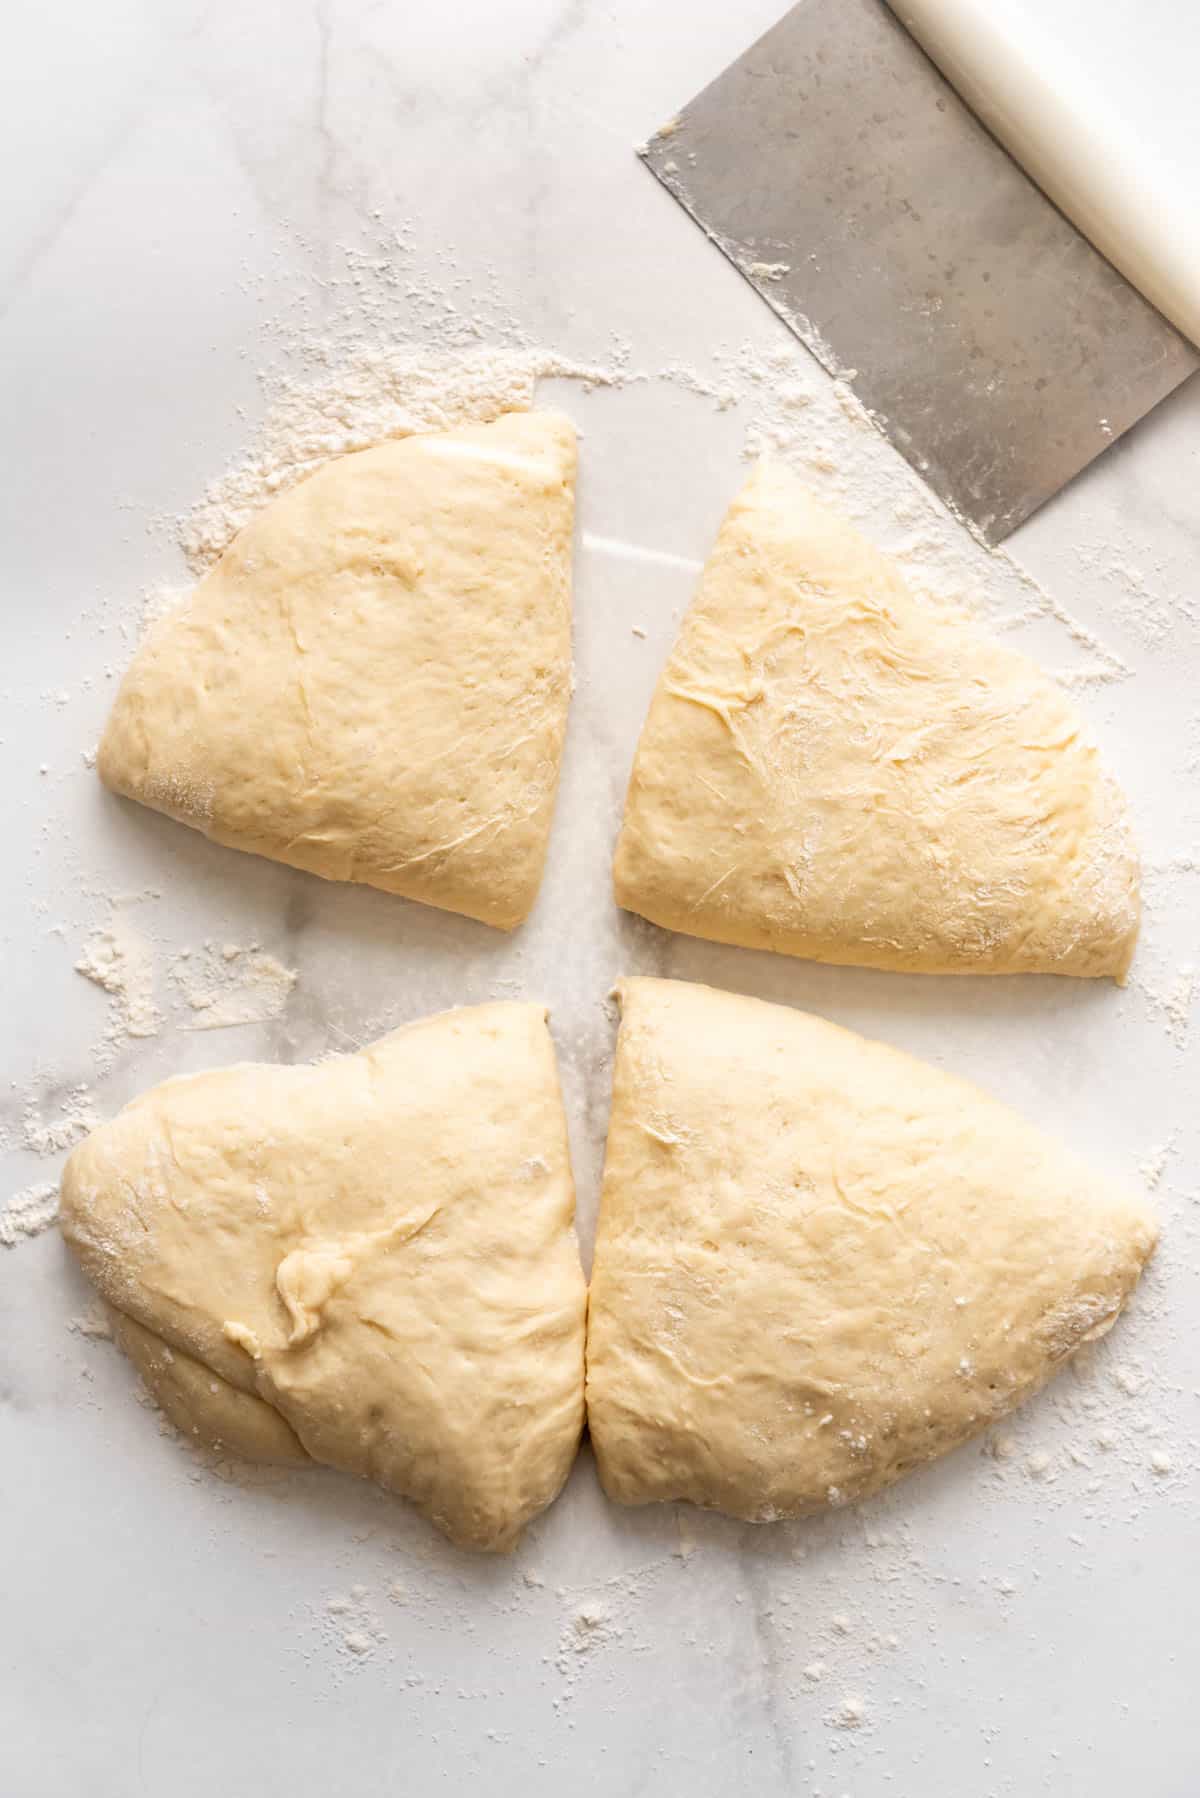
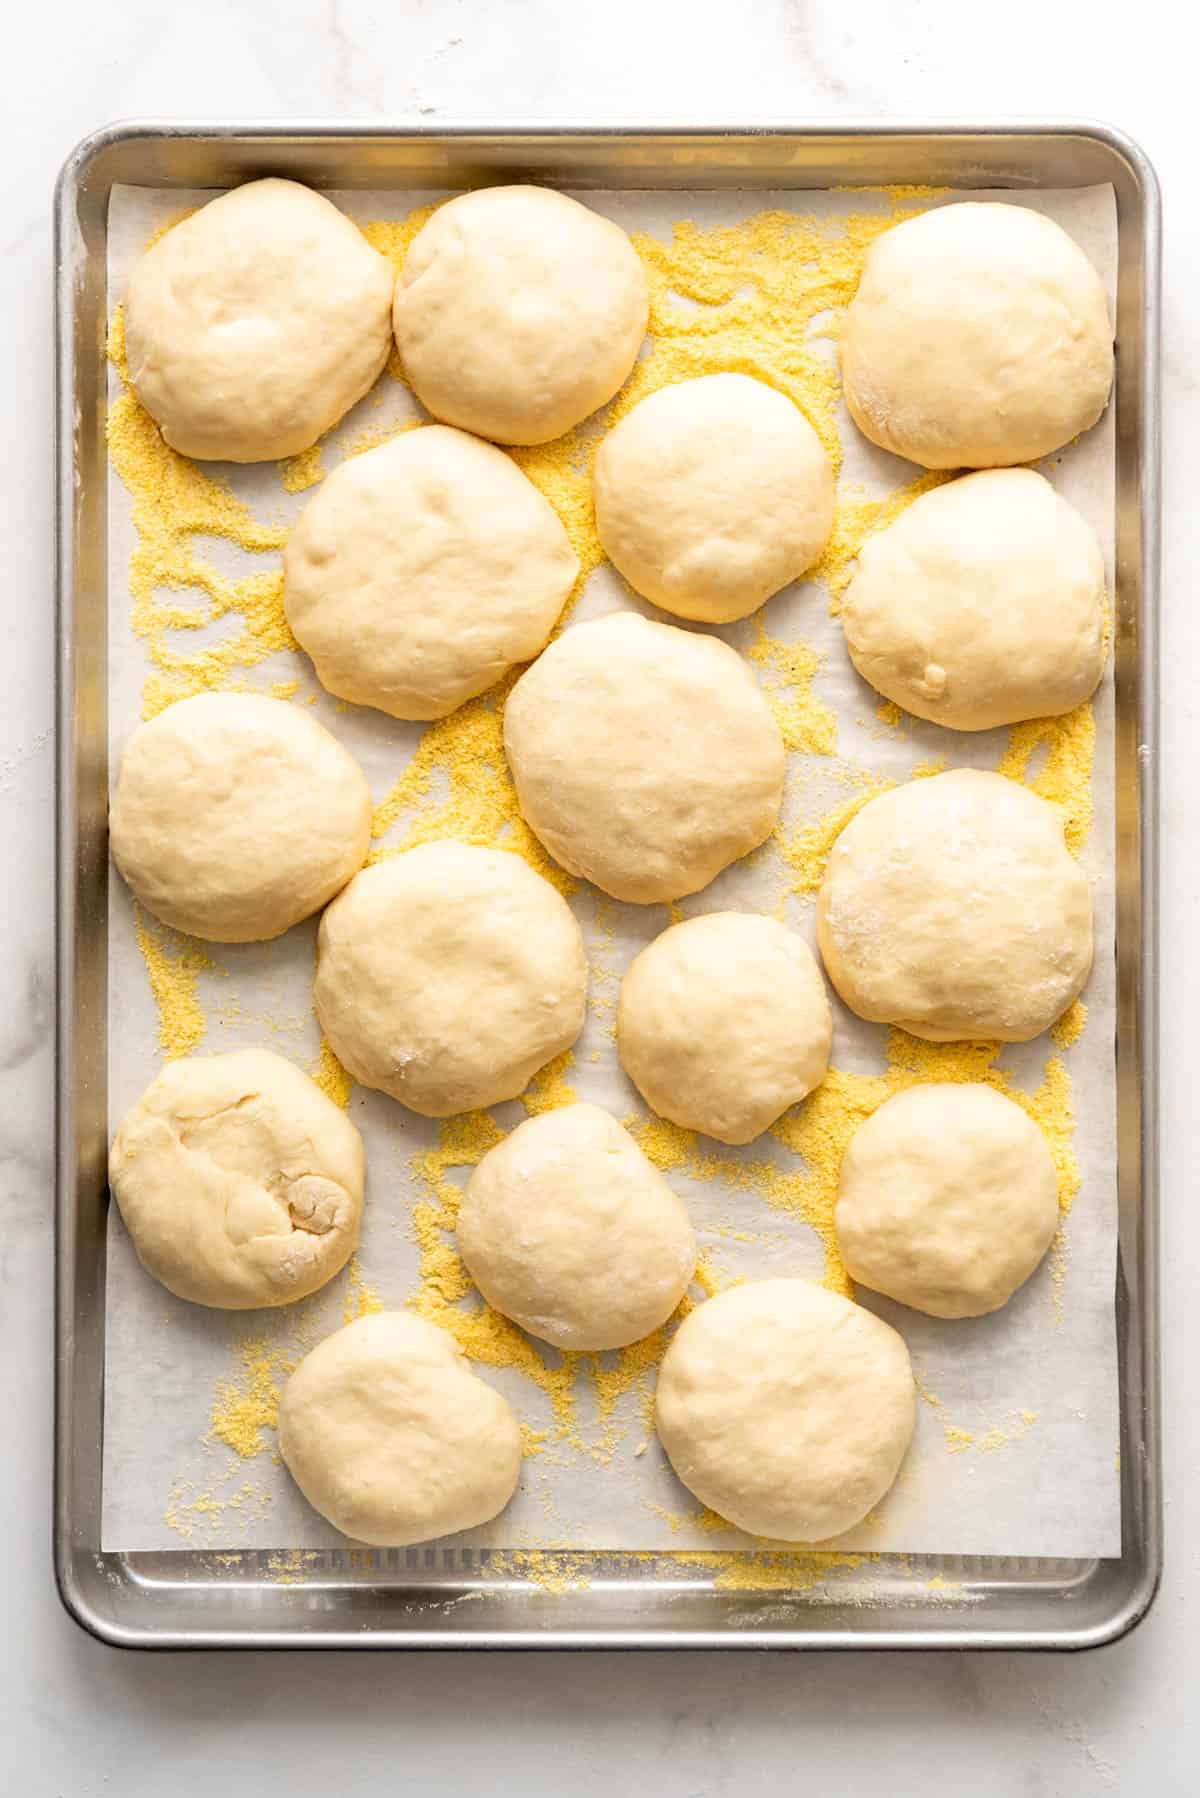
5. Divide into 16 even pieces. Basically cut in half, and cut in half, and cut in half until you have your 16 even pieces of dough. I like to do this with a bench scraper. My pieces aren’t always the exact same size, but I can usually get them pretty close this way. Other people like to weigh each ball of dough to be exact, but I just don’t ever have time for that.
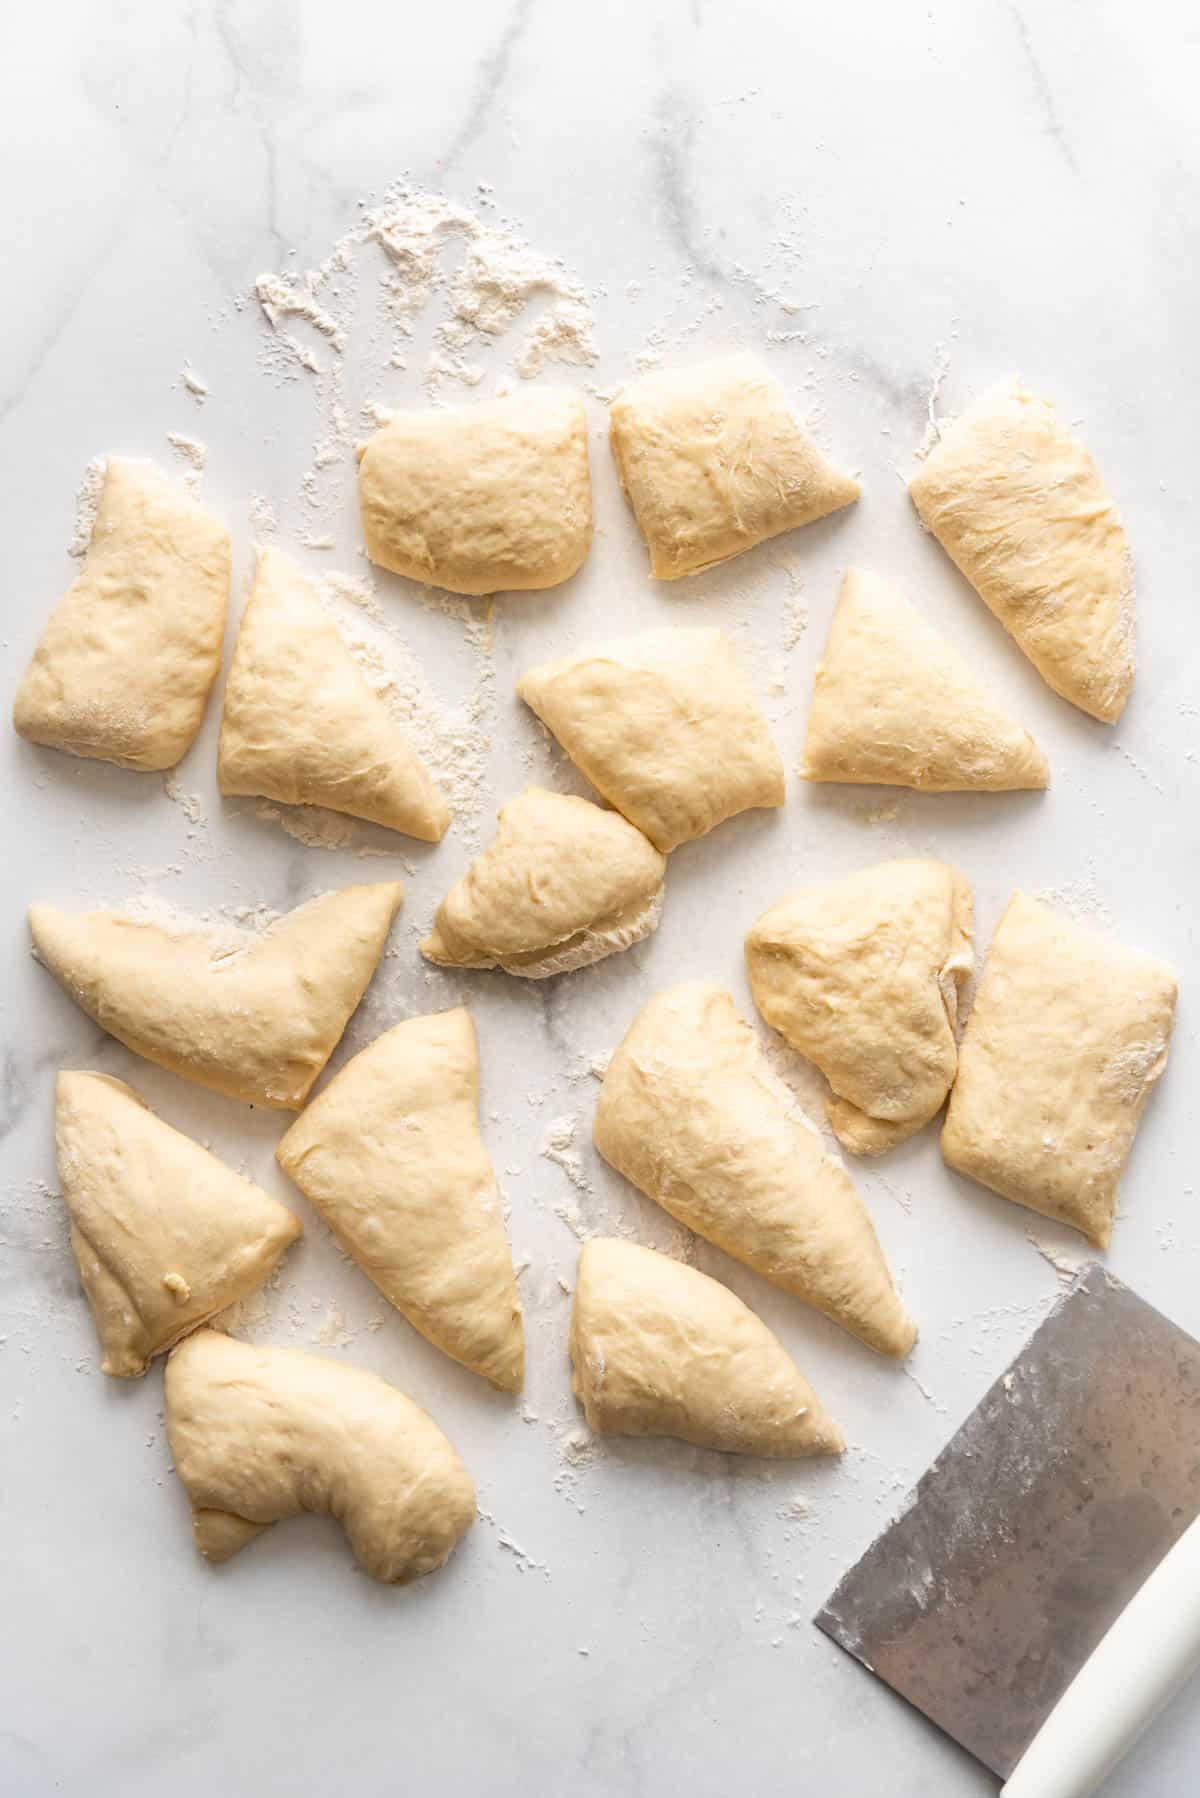
6. Shape into balls (you may need to dust your hands with a little flour so they don’t stick), then pat into discs and arrange on two baking sheets sprinkled with the cornmeal so the English muffins don’t stick to the pan. Sprinkle the tops of each muffin with some additional cornmeal.
7. Cover and rise again. I like to use a clean dishcloth to cover and allow them to rise until they are puffy. This usually takes about 30-60 minutes.
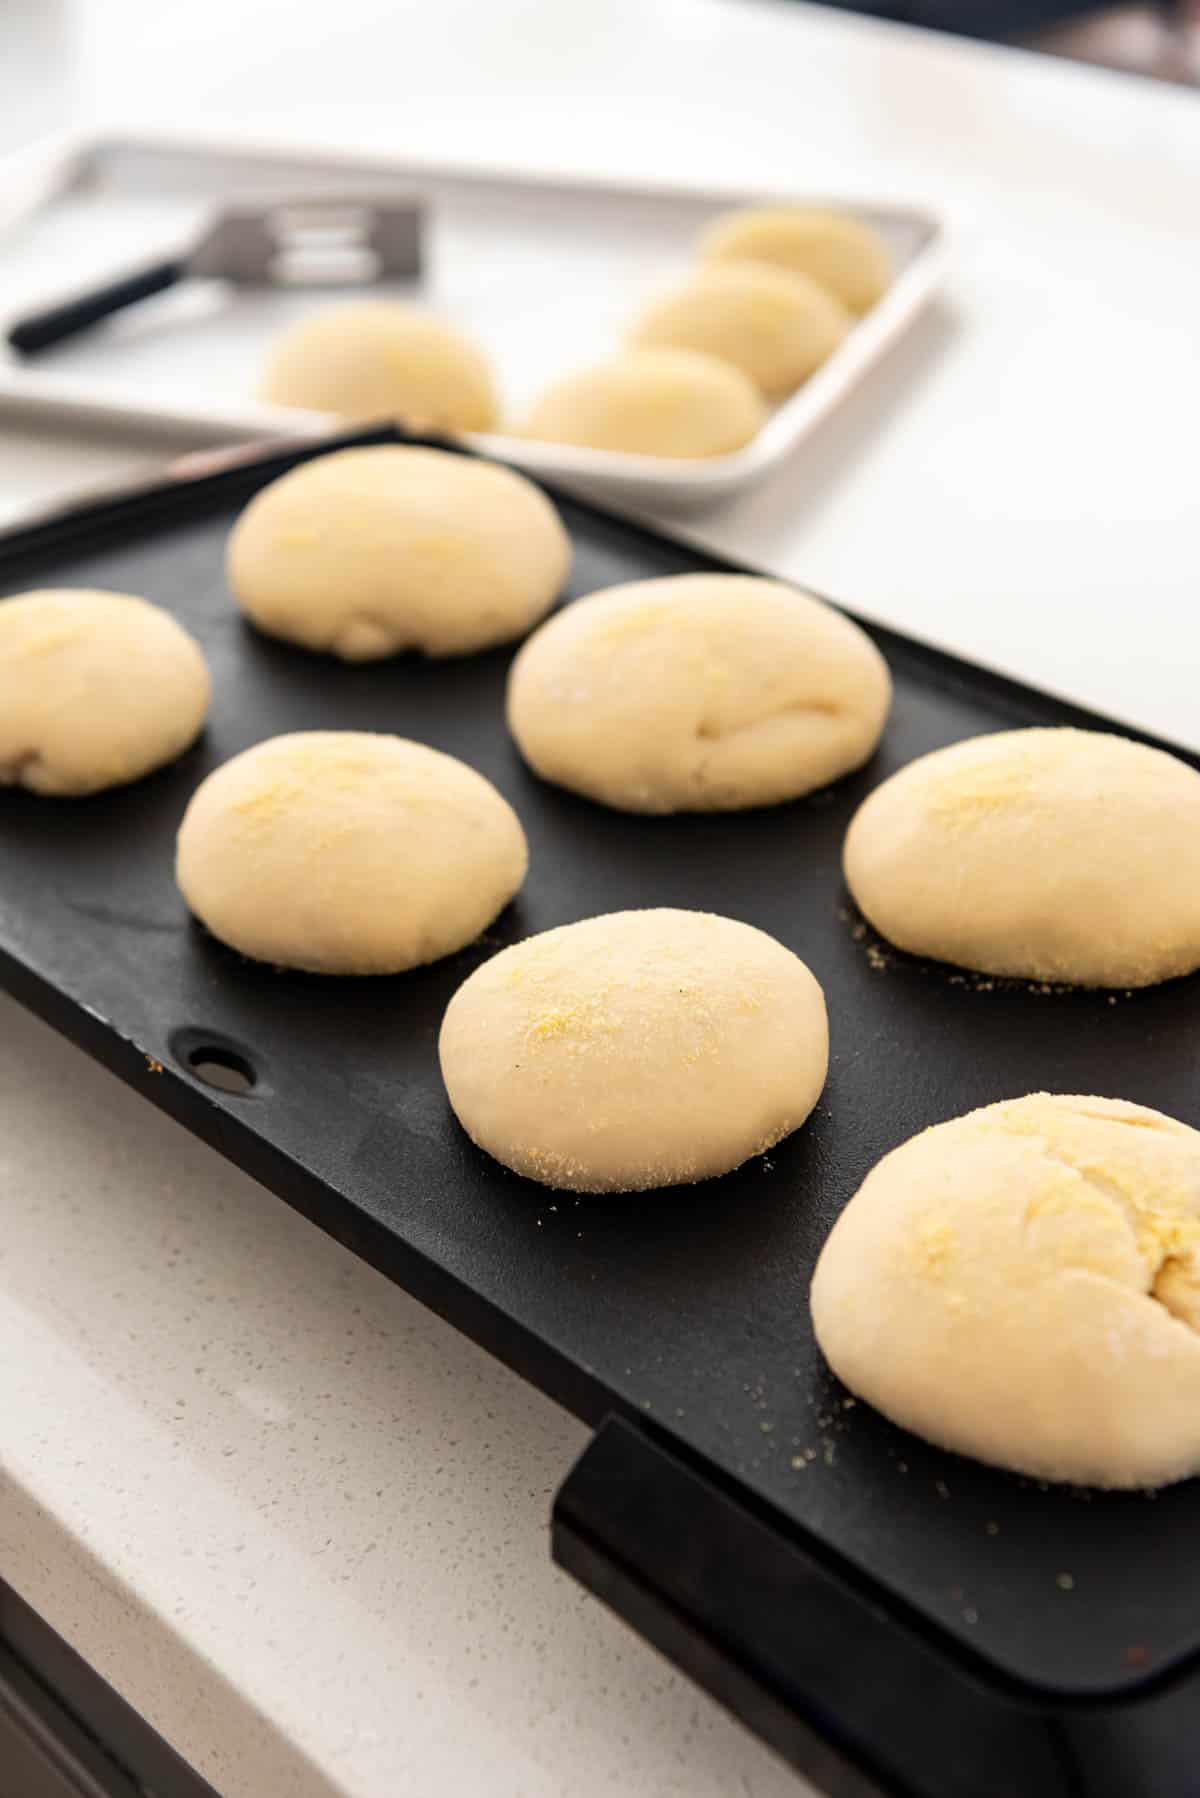
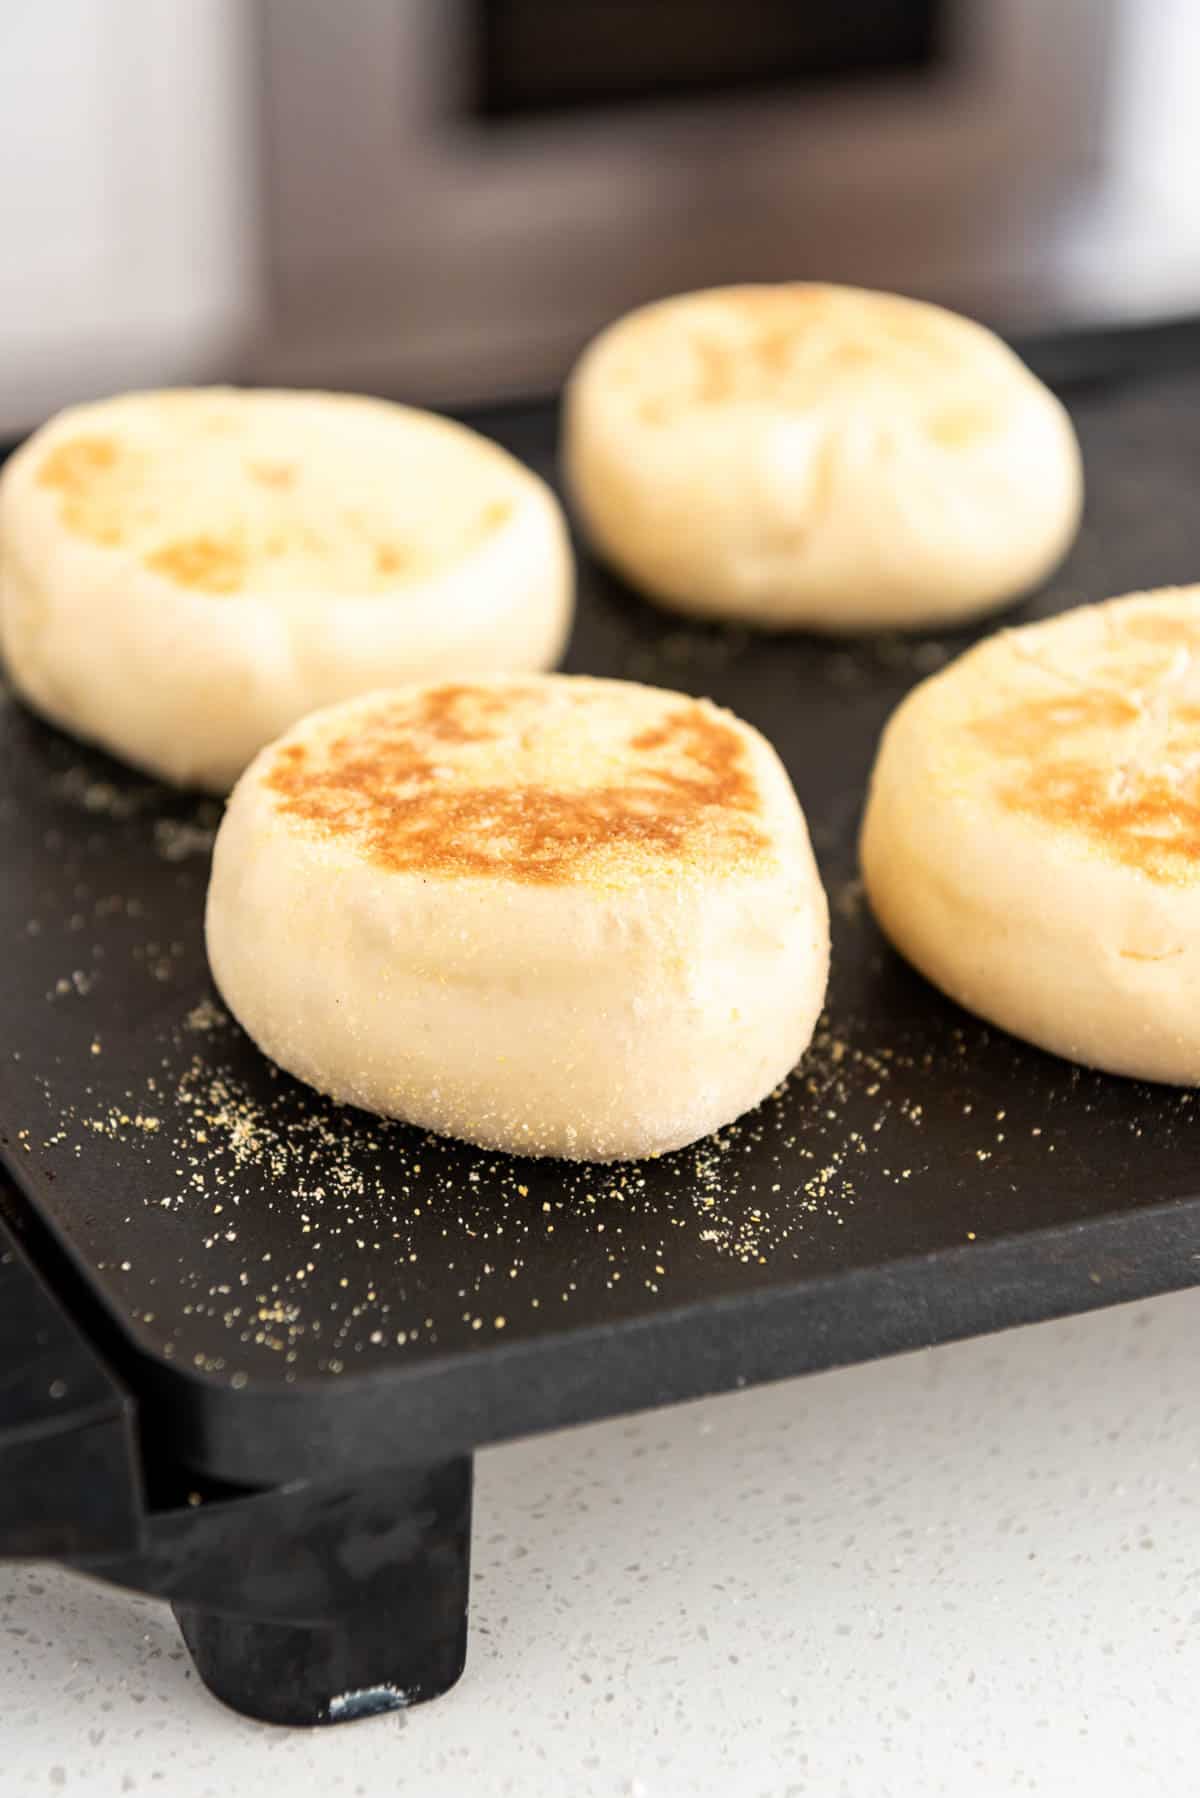
8. Cook English Muffins. If you have a griddle, go ahead and use it so you can cook more of these at once! But if not, a cast iron skillet or other large, dry pan will work just fine. I like to cook my English Muffins on a preheated griddle for about 6-7 minutes on each side. There is no need to grease the griddle or pan first.
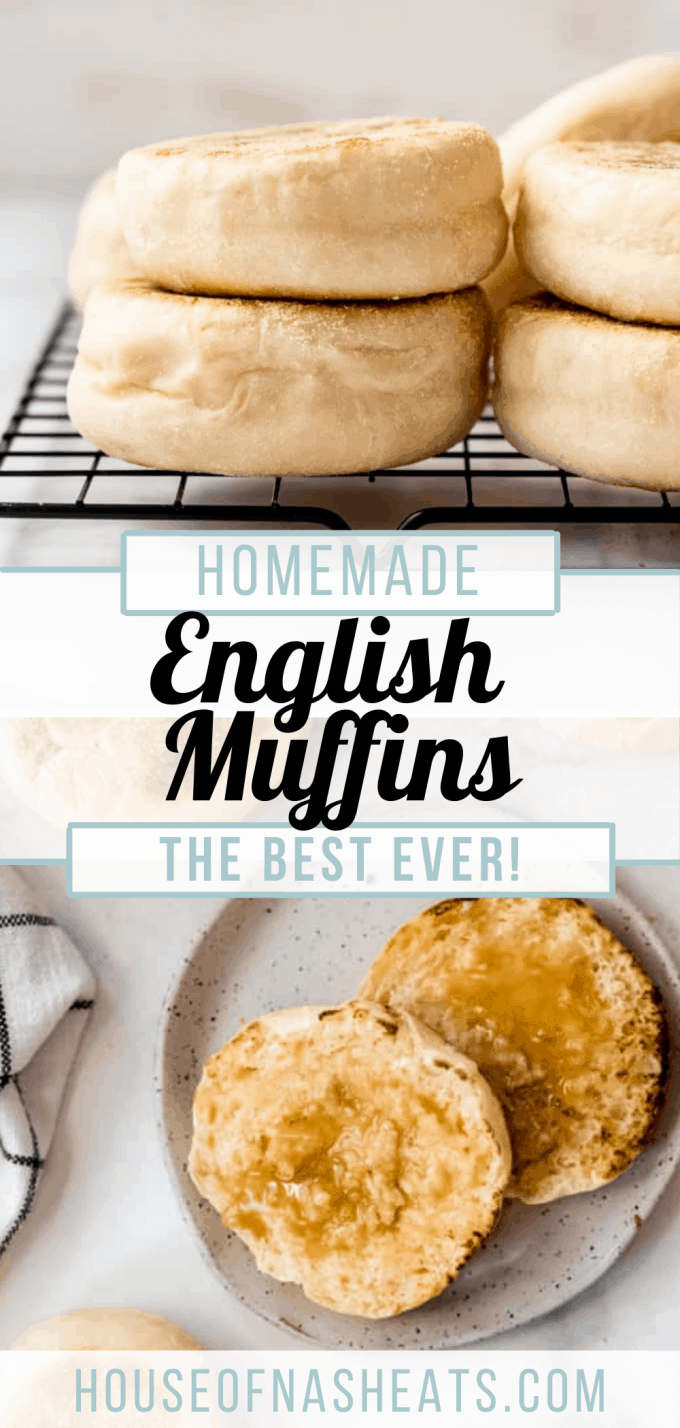
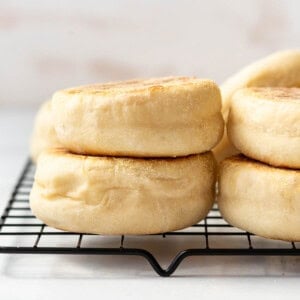
9. Cool and enjoy! Cool the muffins on a wire rack, split open with a fork, toast the inside and enjoy!
Can I use regular flour to make English Muffins?
You can make this recipe just fine with all-purpose flour, but I do think bread flour gives an additional chewiness that English muffins tend to have. I resisted buying bread flour for years, but was converted when I started using it for our homemade pizza dough and now always keep a bag or two of it on hand.
Can I bake these in the oven?
If you don’t want to worry about cooking the english muffins all the way through on the griddle, you can just brown them for 2 minutes on each side, then transfer them to a 325°F oven for 10-15 minutes until they are cooked through. You really can’t skip the griddle step for at least a couple minutes though or you won’t end up with the classic browned and flat top and bottom and the dough will just look more like buns instead.
Can this recipe be made ahead of time?
These can be made up to 5 days in advance and stored at room temperature or in the fridge in an airtight container.
How do I freeze English Muffins?
You can freeze the muffins for up to 3 months in an airtight container. Thaw on the counter, then toast the english muffins before serving. They actually freeze really well and the batch makes 16 so we almost always freeze half of them for later so we always have english muffins on hand for quick and easy breakfasts!
All I have is instant yeast, will that work?
Instant yeast will work just fine and in that case there is no need to proof the yeast first. In this case, you can either use ¼ cup of water in the recipe so the amount of liquid stays the same or just increase the milk to 2 cups and leave out the water altogether. The real reason I proof in water is because it’s easiest to just use warm tap water than to bother heating the milk!
Do you need to refrigerate English Muffins?
No, english muffins don’t need to be refrigerated. You can store them for up to 5 days in an airtight container at room temperature on the counter.
How do I get nooks and crannies in my muffins?
The best way to make sure you get nooks and crannies is to not add too much flour to the dough. It can be tempting, especially since it’s a pretty sticky dough, but the hydration is what helps create the signature texture. Also, be sure to split the english muffins open with a fork instead of cutting them open with a knife, which makes a big difference too.
Do I have to use cornmeal?
Cornmeal is part of what makes the English Muffin, but it is actually optional. If you are not a fan of the affect of the cornmeal, then you can leave it out.
Did you make this recipe?
Let me know what you thought with a comment and rating below. You can also take a picture and tag me on Instagram @houseofnasheats or share it on the Pinterest pin so I can see.
Homemade English Muffins
Ingredients
- 2 1/4 teaspoons active dry yeast
- 1/4 cup warm water
- 2 Tablespoons granulated sugar
- 1 3/4 cups whole milk
- 1 large egg beaten
- 3 Tablespoons salted butter melted
- 1 1/2 teaspoons salt
- 4 ½ to 5 cups bread flour*
- 1/3 cup cornmeal for dusting
Instructions
- Proof the yeast by combining it in a bowl with the water and 1 tablespoon of the sugar. Stir these together, then set aside for 5 minutes until the yeast is foamy.2 ¼ teaspoons active dry yeast, ¼ cup warm water, 2 Tablespoons granulated sugar
- In a large bowl of a stand mixer, combine the proofed yeast with the milk, remaining sugar, beaten egg, butter, salt, and 2 cups of flour. Beat until smooth, then add the remaining flour and mix with the dough hook for 4-5 minutes on medium speed to create a smooth but very sticky dough. It may be tempting to add more flour, but the dough is supposed to be very sticky, which helps create the nooks and crannies that english muffins are famous for.1 ¾ cups whole milk, 1 large egg, 3 Tablespoons salted butter, 1 ½ teaspoons salt, 4 ½ to 5 cups bread flour*
- Scrape the dough into a large, greased bowl and cover with piece of plastic wrap sprayed with cooking spray. Set in a warm spot to rise for 1 hour until doubled in size.
- Punch down the dough and turn it out onto a lightly floured surface. Use a bench scraper to divide it in half, then in half again, then once more until you have 16 even-sized pieces of dough. Shape into balls (you may need to dust your hands with a little flour so they don’t stick), then pat into discs and arrange on two baking sheets sprinkled with the cornmeal so the english muffins don’t stick to the pan. Sprinkle the tops of each muffin with additional cornmeal, then cover loosely with a clean dishcloth and let rise for 30-60 minutes until puffy.⅓ cup cornmeal
- Heat a griddle or large frying pan over low heat. Gently transfer the muffins to the griddle and cook for 6 to 7 minutes until nicely browned on the bottom, then flip and cook for another 6 to 7 minutes on the other side. I find it helpful to use an instant-read digital thermometer to test the internal temperature of a few of the muffins. It should read 200°F when the muffins are cooked through and done.
- Remove from the pan and cool on a wire rack. Split open by poking the tines of a fork around english muffin rather than cutting open with a knife, then toast in a toasted until lightly browned.
Notes
- Bread Flour: You can make this recipe just fine with all-purpose flour, but I do think bread flour gives an additional chewiness that English muffins tend to have.
- Oven Method: If you don’t want to worry about cooking the english muffins all the way through on the griddle, you can just brown them for 2 minutes on each side, then transfer them to a 325°F oven for 10-15 minutes until they are cooked through.
- Make-Ahead: These can be made up to 5 days in advance and stored at room temperature or in the fridge in an airtight container.
- Freezing: You can freeze the muffins for up to 3 months in an airtight container. Thaw, then toast the english muffins before serving.
- Instant Yeast: Instant yeast will work just fine and in that case there is no need to proof the yeast first. You can either use ¼ cup of water or just a full 2 cups of milk.
- Nooks and crannies: The best way to make sure you get nooks and crannies is to not add too much flour to the dough and to split the english muffins open with a fork instead of cutting them open with a knife.
Nutrition
More Easy Breakfast Recipes
- Make-Ahead Breakfast Sandwiches
- The BEST Easy Homemade Buttermilk Biscuits
- The Best Homemade Cinamon Rolls
- Macadamia Nut Sticky Buns
- Easy Streusel Topped Raspberry Muffins
- Glazed Lemon Bread
- Easy Blackberry Turnovers

Savory Breakfast
Green Chili Egg Bake Casserole
Muffins
Banana Walnut Muffins
Recipes
TikTok Cinnamon Rolls
Recipe adapted from Baked by an Introvert.

Made these for my family today and they are delicious. I used 1% milk and they still are just as amazing.
Perfect every time!!
These turned out SO incredible. I’ll never go back to store bought again!!
I’m so happy to hear that!
These turned out so good! I’m going to use them for breakfast sandwiches for my son (in college).
Made these yesterday evening for some breakfast sandwich meal preps and they turned out AMAZING. I’ve been making yeast bread/sourdough bread for quite some time but love how quick you can whip these up. Already have my family asking me for a few more batches!
I am currently in the process of making these, but I have a question where you show the ingredients, what is the brown almost honey looking ingredient you show?
You have keen eyes! That was honey! But you might also have noticed that there is no granulated sugar in that image. I must have taken this particular shot when recipe testing and decided to switch to granulated sugar as the sweetener in the final version of the recipe and not remembered to take a final ingredient shot. I will have to add that to my list of things to update. Thank you!
I was wondering the same thing about the ‘brown stuff”. Thank you for your response.
It took a lot longer for it to rise for me (about 6 hours) but I attribute that to the colder weather recently. After 6 hours I put them in the fridge overnight and let them rise at room temp the next day for a few hours then followed instructions. They taste amazing….thank you for the recipe! I love all the recipes of yours that I have tried so far.
Wow thank you so much! I’m glad you enjoyed the English muffins! Thanks for using my recipes!
My dough came out not sticky but dry…is there a way to fix that?
Yes, if you slowly add some water while mixing it can soften the dough.
Do you have any recipes for bread and rolls to make in a bread machine? Also do you have any recipes for a butterscotch pie? I love your recipes.
Thanks so much, Bobbie! I don’t have a bread machine, unfortunately! I don’t have a butterscotch pie recipe either, but I added it to my list. I’m so glad you enjoy the recipes I share!