
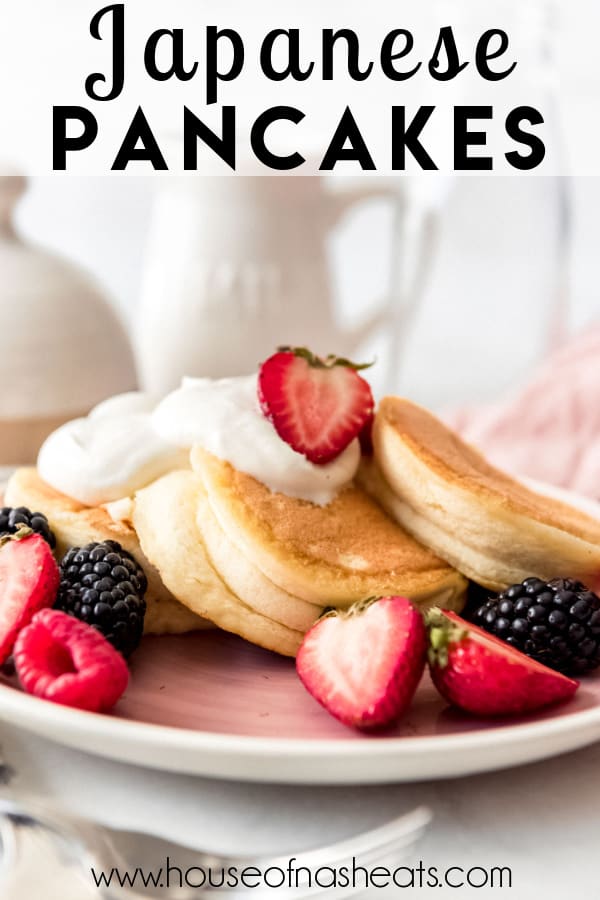
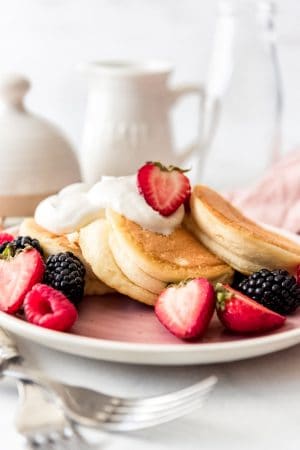
These light and fluffy Japanese Pancakes are airy and almost souffle-like with their custardy texture and sweet, wonderful flavor. Top them with whipped cream and fresh fruit or syrup for a delicious breakfast or a simple but tasty dessert!
It’s always fascinating to me how so many cultures develop their own versions of similar recipes. If you love these Japanese pancakes, then you might also enjoy trying Aebleskiver (Danish Pancakes), German Pancakes, or Hotteok (Korean Sweet Pancakes)!
Japanese pancakes aren’t anything new and were actually super popular a few years ago when they were all the rage on social media. I have always wanted to make them at home and ended up doing these as a dessert, even though they are most often eaten for breakfast in Japan, from what I understand.
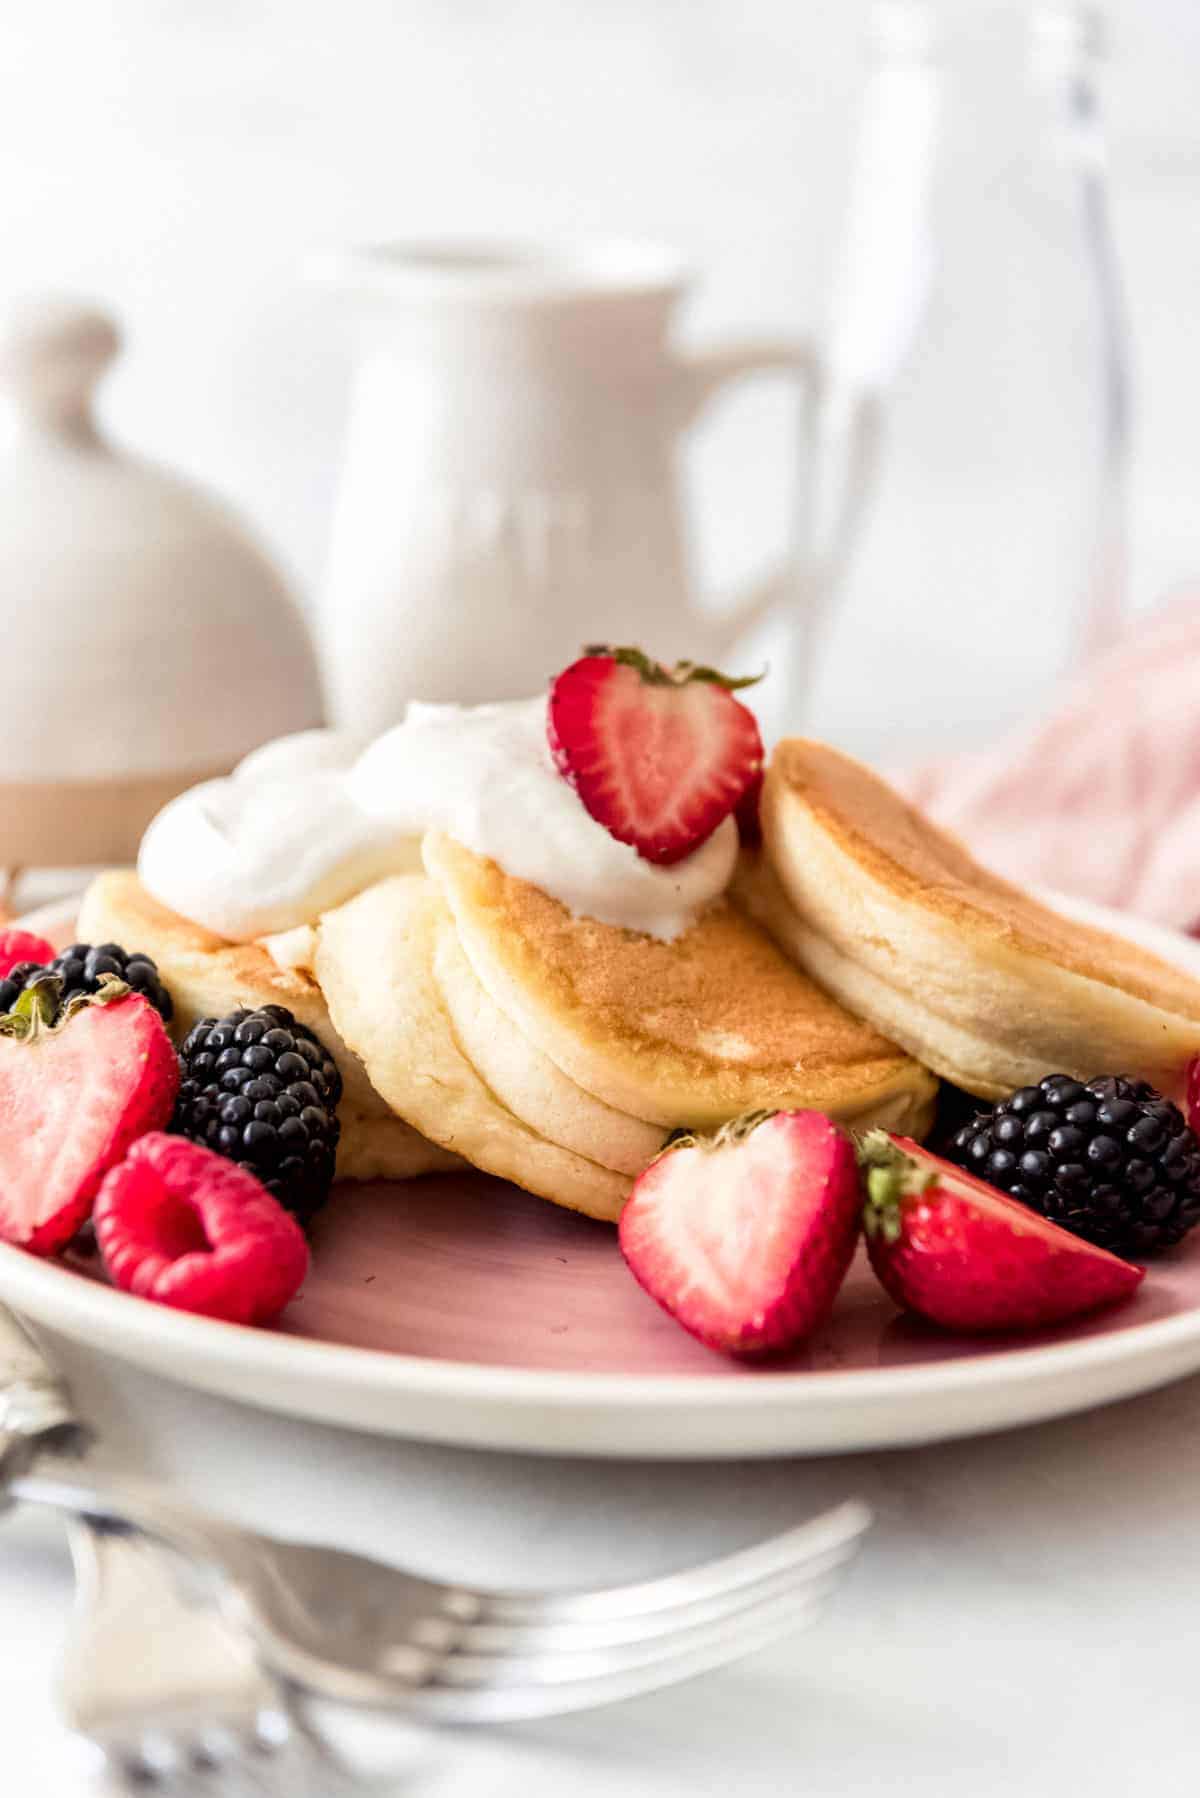
Although Japanese pancake ingredients are very similar to any other pancake recipe, the technique is unusual, which results in the tall, fluffy pancakes with a little jiggle to them. They eventually deflate a bit if you don’t serve them immediately, so keep that in mind, but when you nail the cooking technique they are wonderfully tall and beautiful, with an incredible texture that we all loved.
I failed miserably the first time I attempted making these. I made all the mistakes!
- I got impatient and cooked them at too high of a temperature.
- I tried flipping them too early before the bottoms were done and my batter spilled all over.
- I made the pancakes too wide so they couldn’t support the height.
But on my second attempt I achieved lovely, tall pancakes with incredible texture and flavor that is perfectly sweet and vanilla-y. They aren’t going to be everyday kind of pancakes for us, but I would definitely make these for special occasions or weekend breakfasts, much like when I make French crepes.
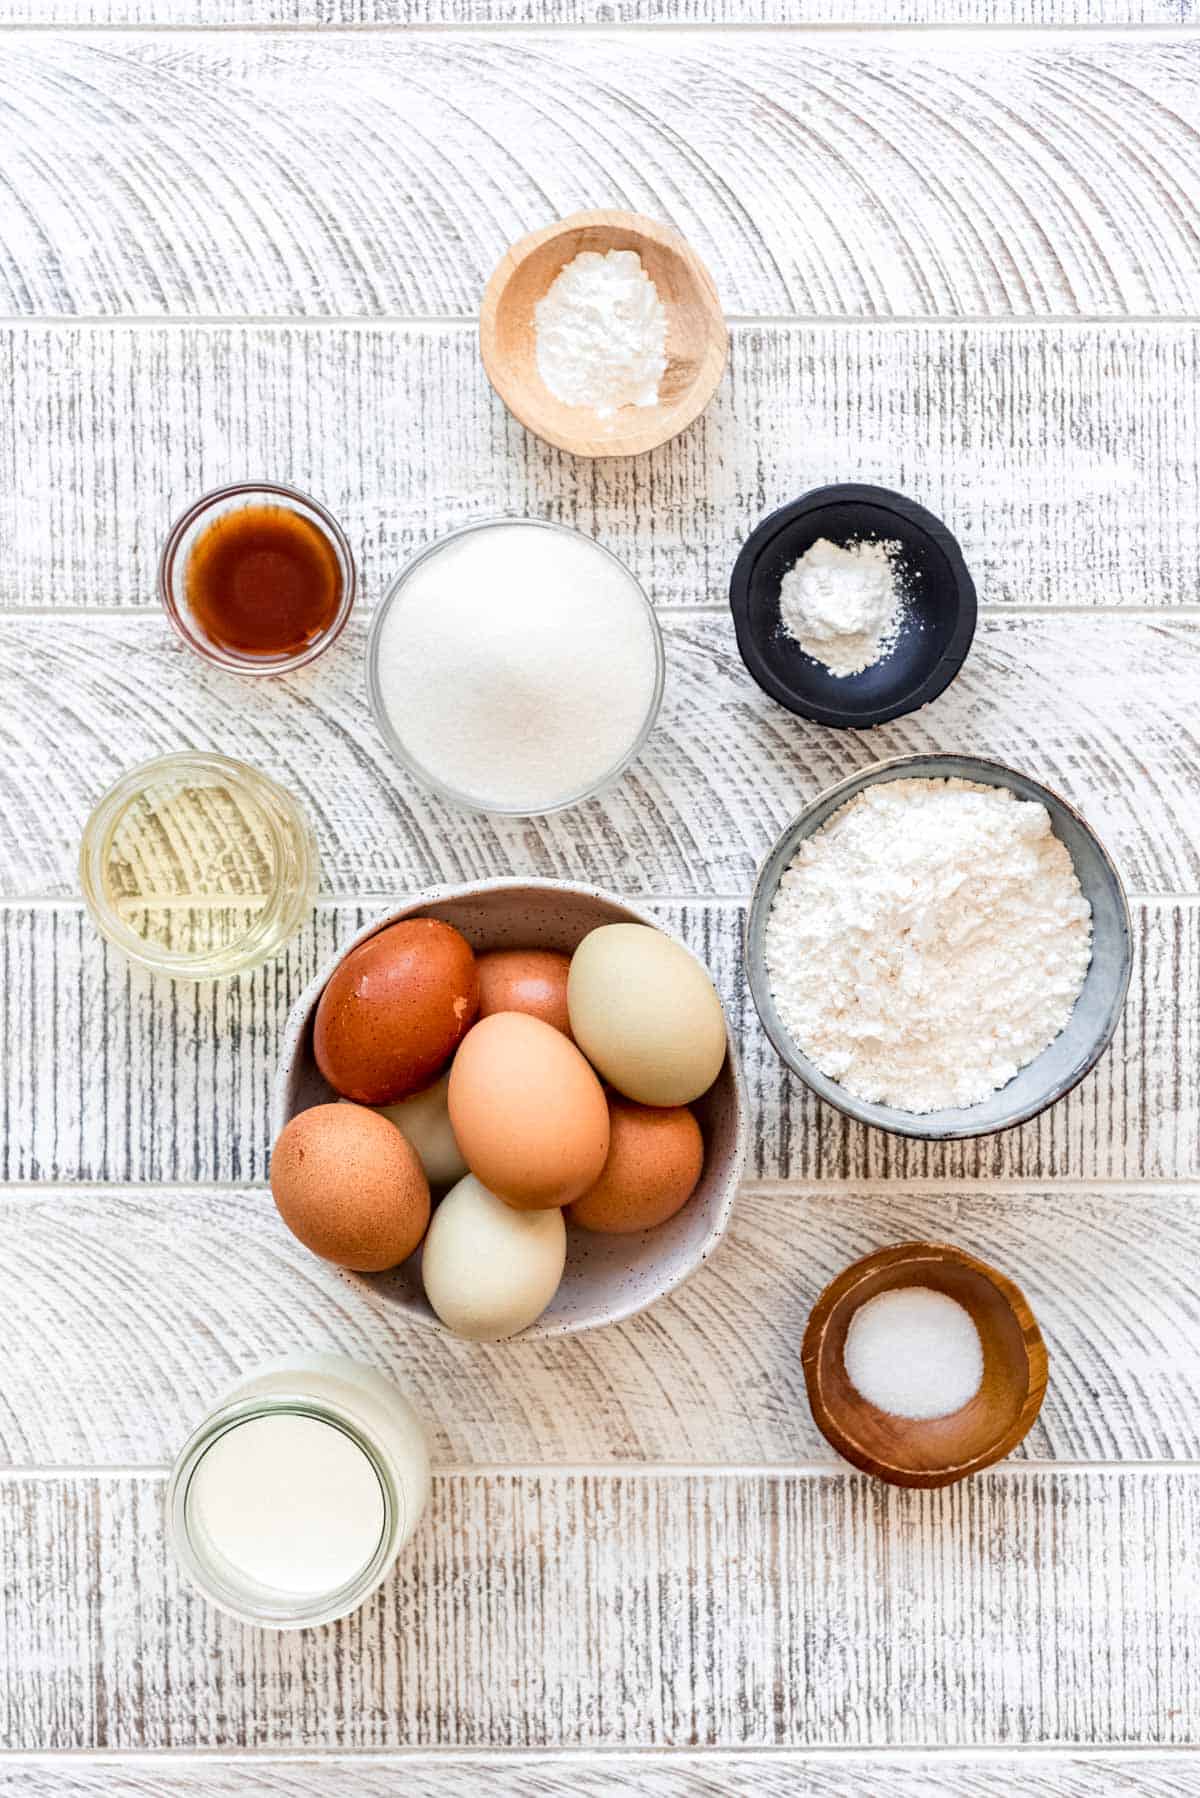
Recipe Ingredients
- Large eggs: You will need to separate the egg yolks from the egg whites for this recipe, which is what helps give the pancakes their lofty height.
- Flour: Cake flour will give the lightest, most delicate and airy texture to these pancakes, but regular all-purpose flour can be used in a pinch.
- Sugar: A little granulated sugar helps keep the pancakes perfectly sweet and is divided between the pancake batter and the egg whites as they are beaten before they get folded in.
- Salt: This ingredient helps bring out all of the other flavors.
- Baking powder: Although the egg whites get most of the credit for these jiggly, light pancakes, baking powder definitely contributes to the rise.
- Vanilla extract: This gives a wonderful vanilla-y, custard-y flavor and sweetness to the pancakes.
- Cream of tartar: This ingredient helps give the egg whites some additional structure as you whip them into stiff peaks.
- Oil: You could use melted butter, instead, but oil keeps the pancakes nice and moist with a neutral taste.
- Milk: Regular or whole milk works just fine here. No need for buttermilk, which would add a tang to your pancakes that I don’t think it authentic to real Japanese pancakes, as far as I can tell.
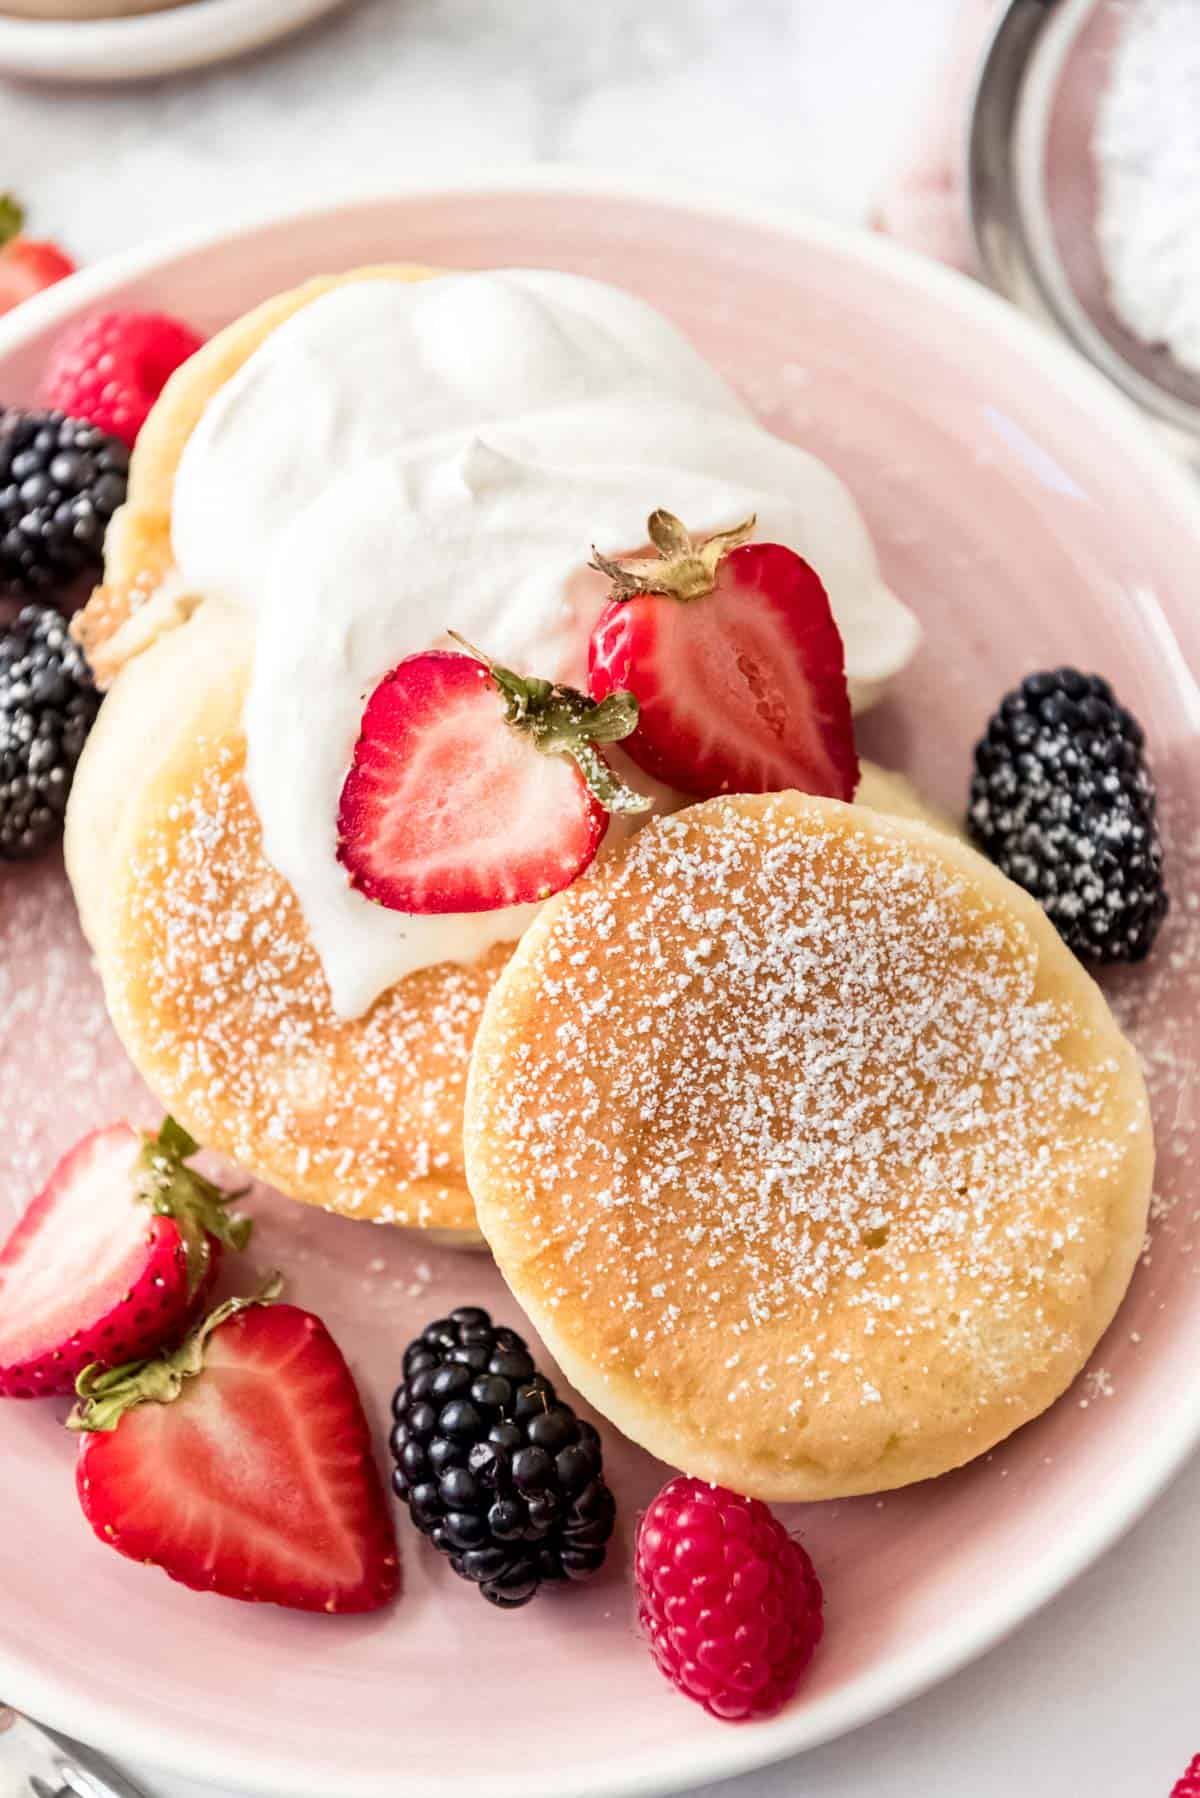
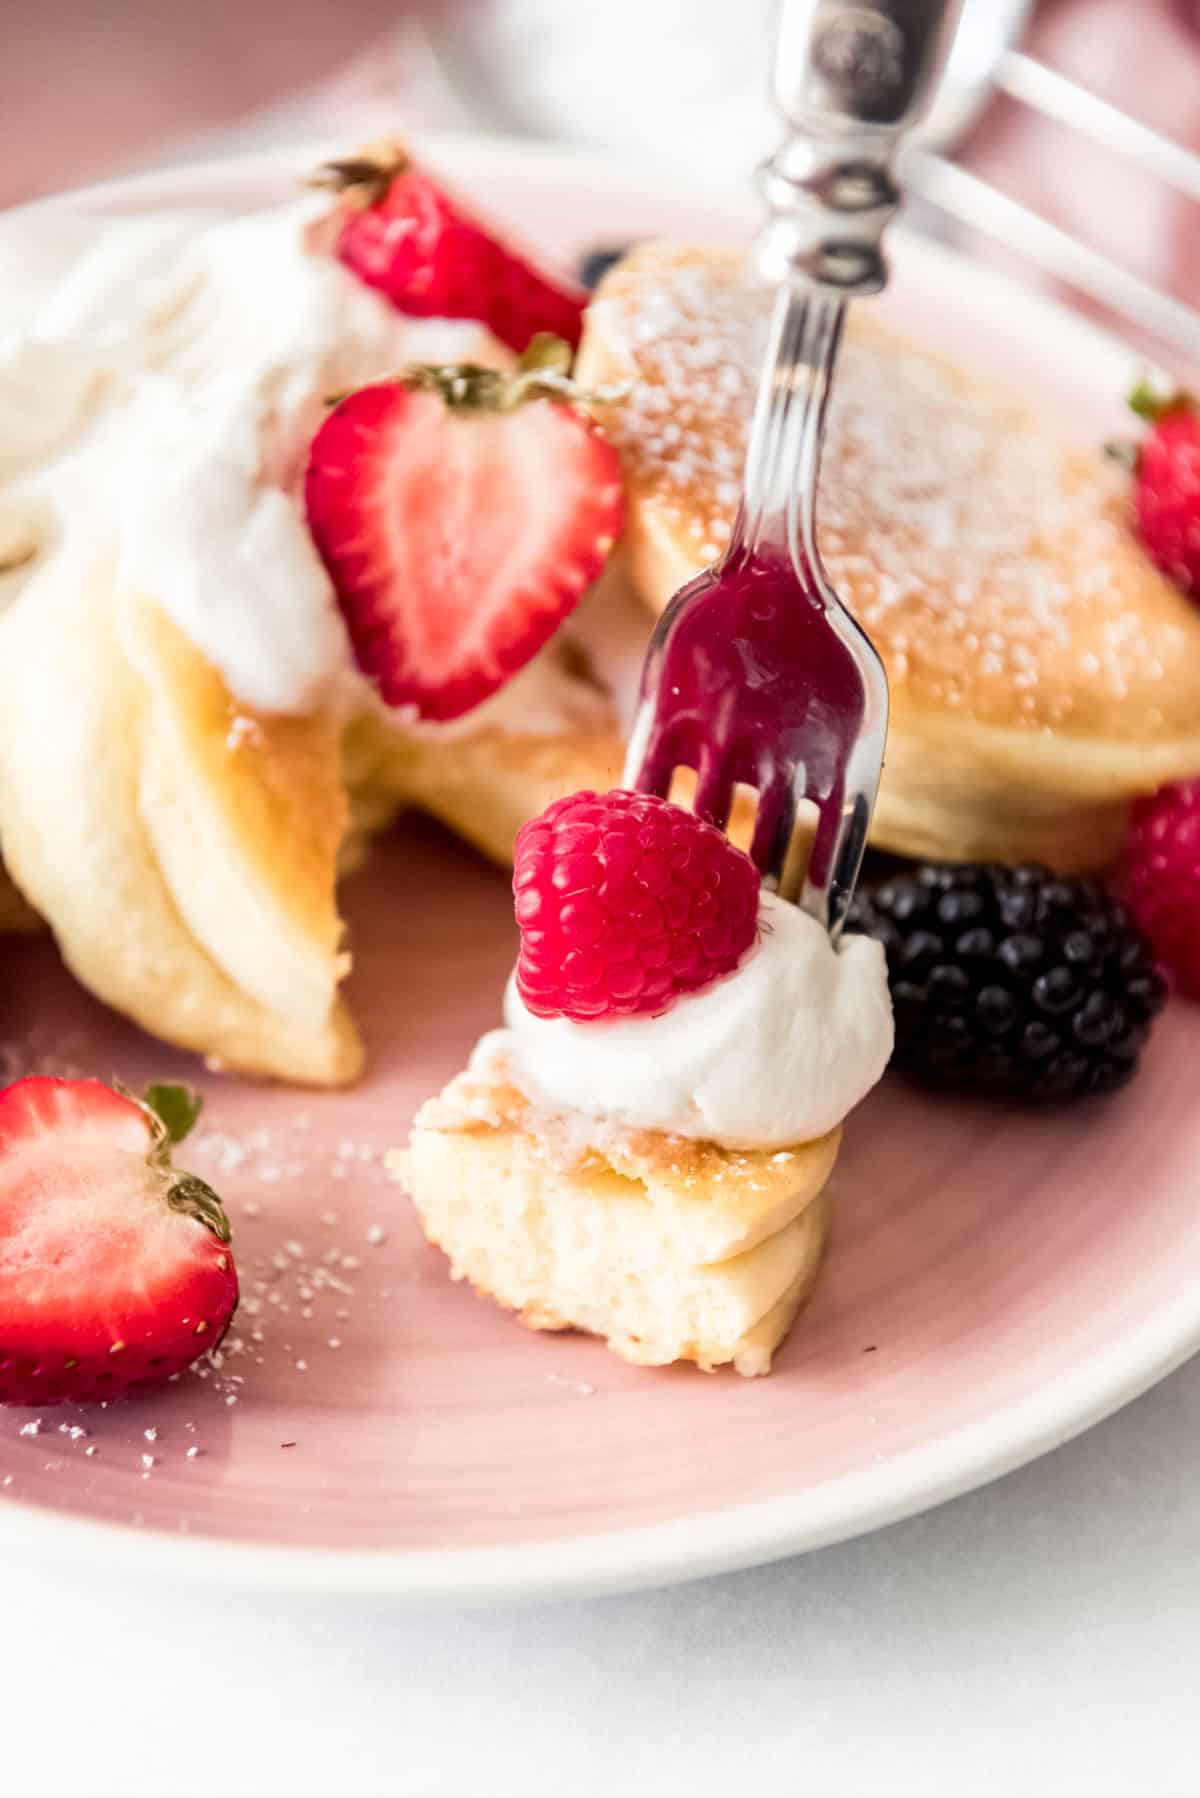
- Toppings: We prefer these pancakes served with a light dusting of powdered sugar, a dollop of whipped cream, and fresh fruit like strawberries, raspberries, and blackberries. But fresh, sliced peaches would also be delicious!
You will also need a large 12-inch non-stick skillet with a tight-fitting lid to cook the pancakes in.
How to Make Japanese Pancakes
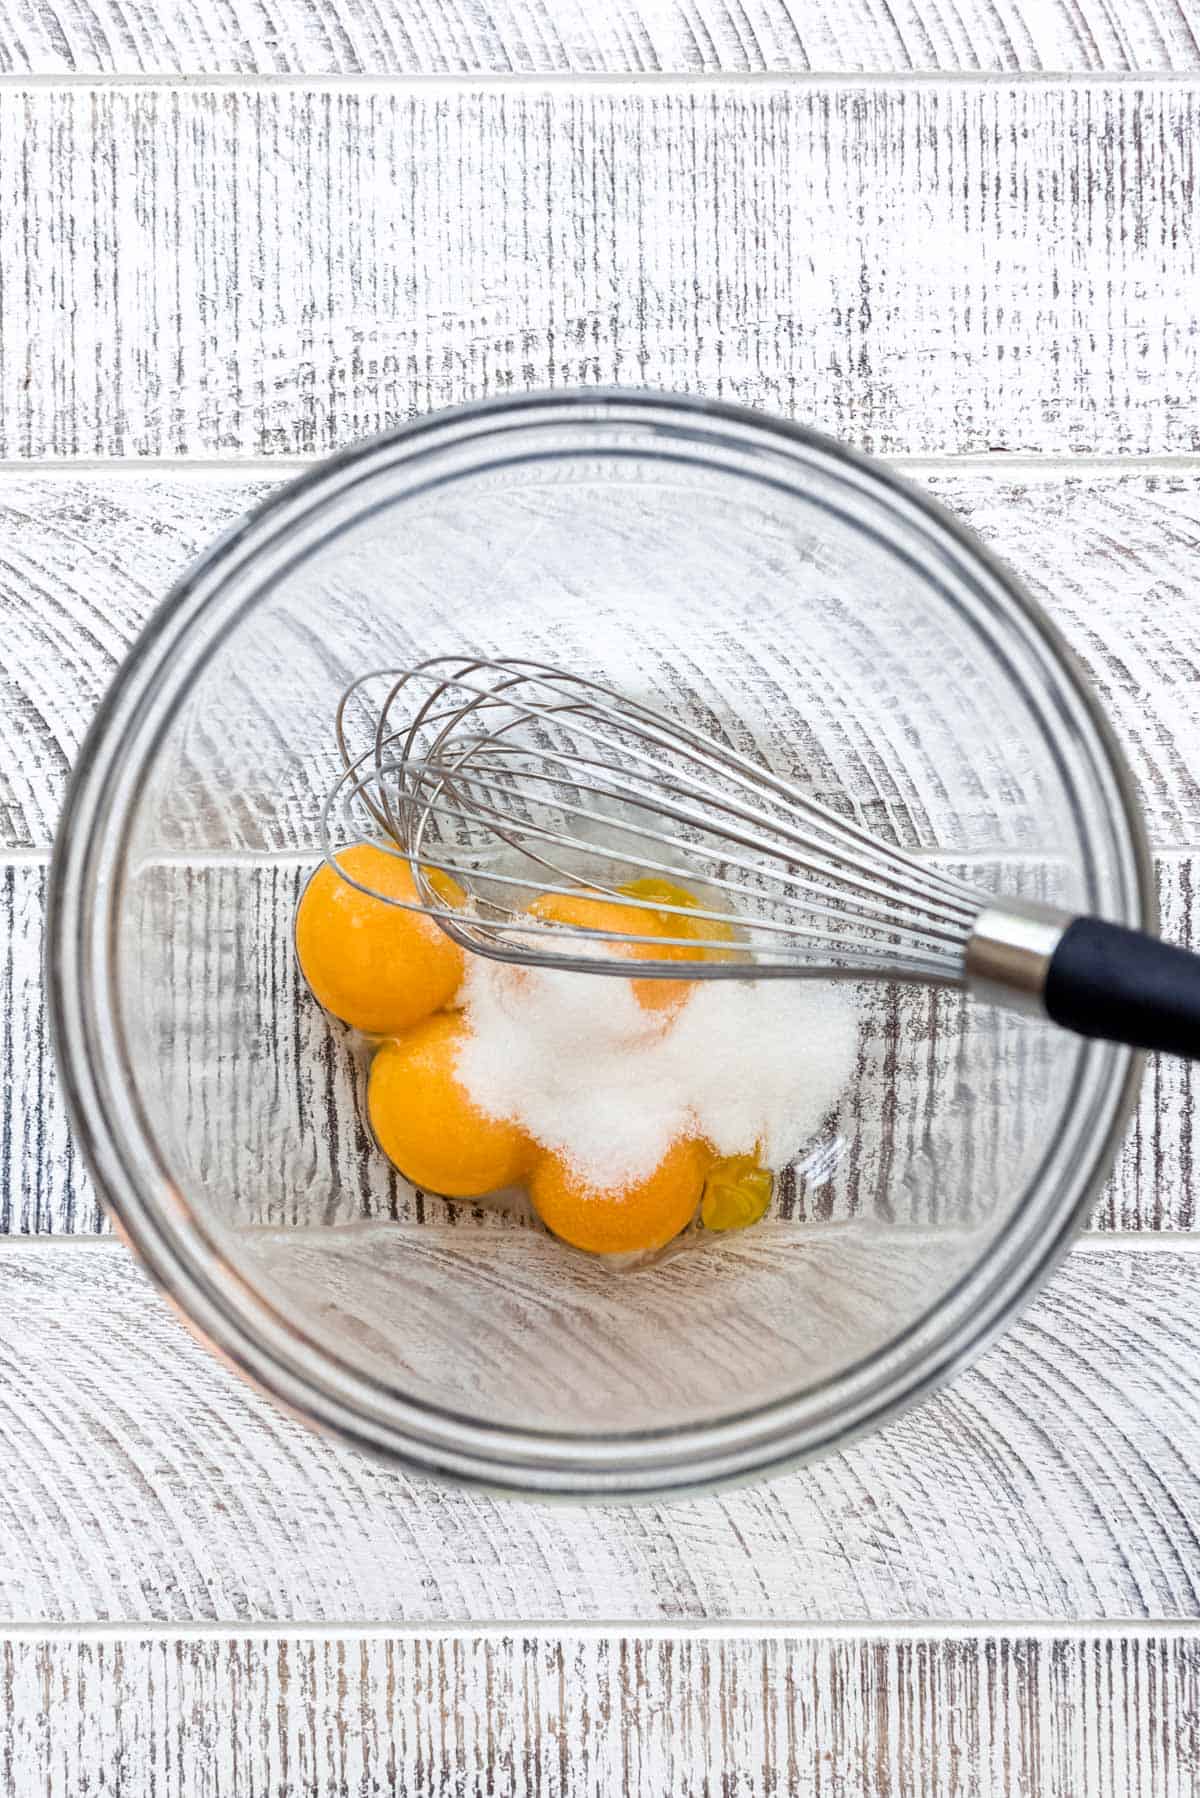
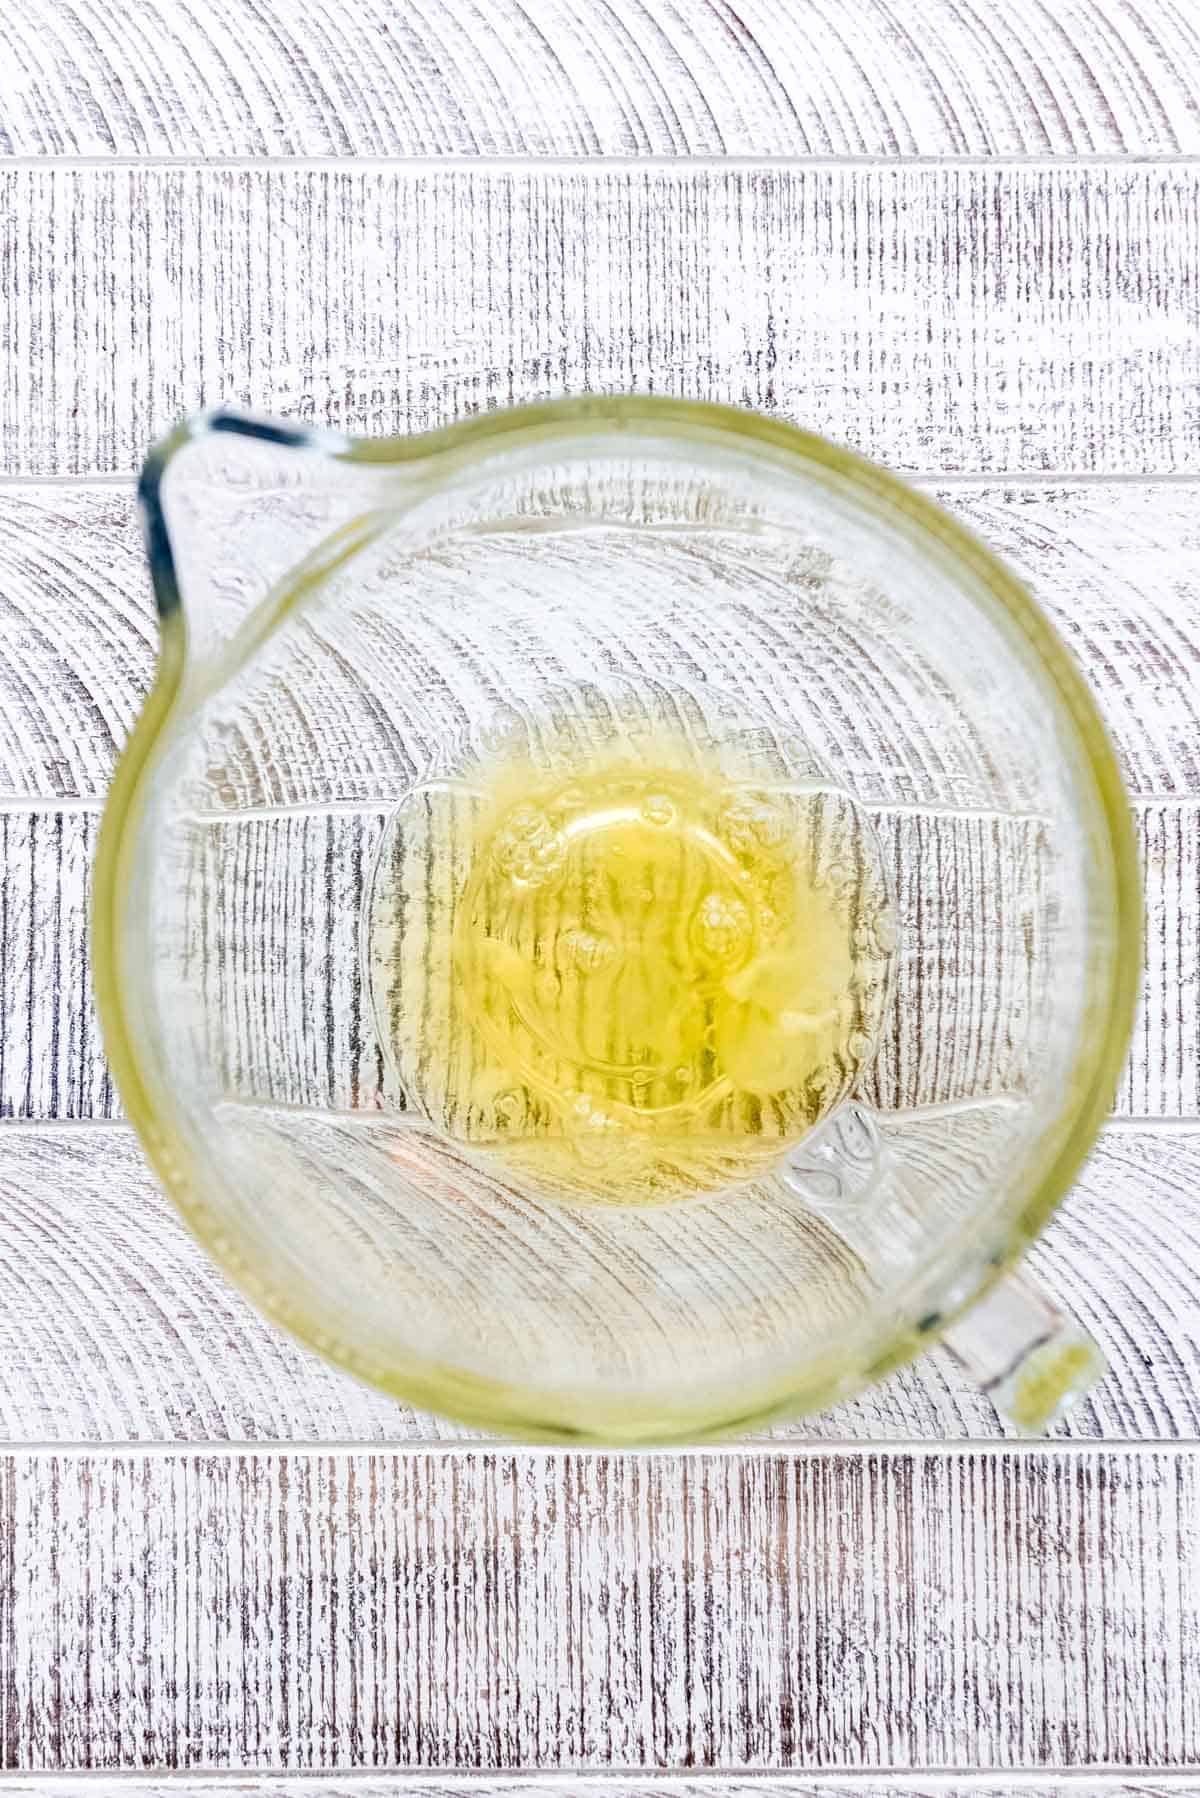
- Make the batter: Separate egg whites and egg yolks into two separate, large bowls first. Whisk the egg yolks and a little bit of the sugar together in a large bowl until light. Add the milk, oil, and vanilla, whisking to combine.


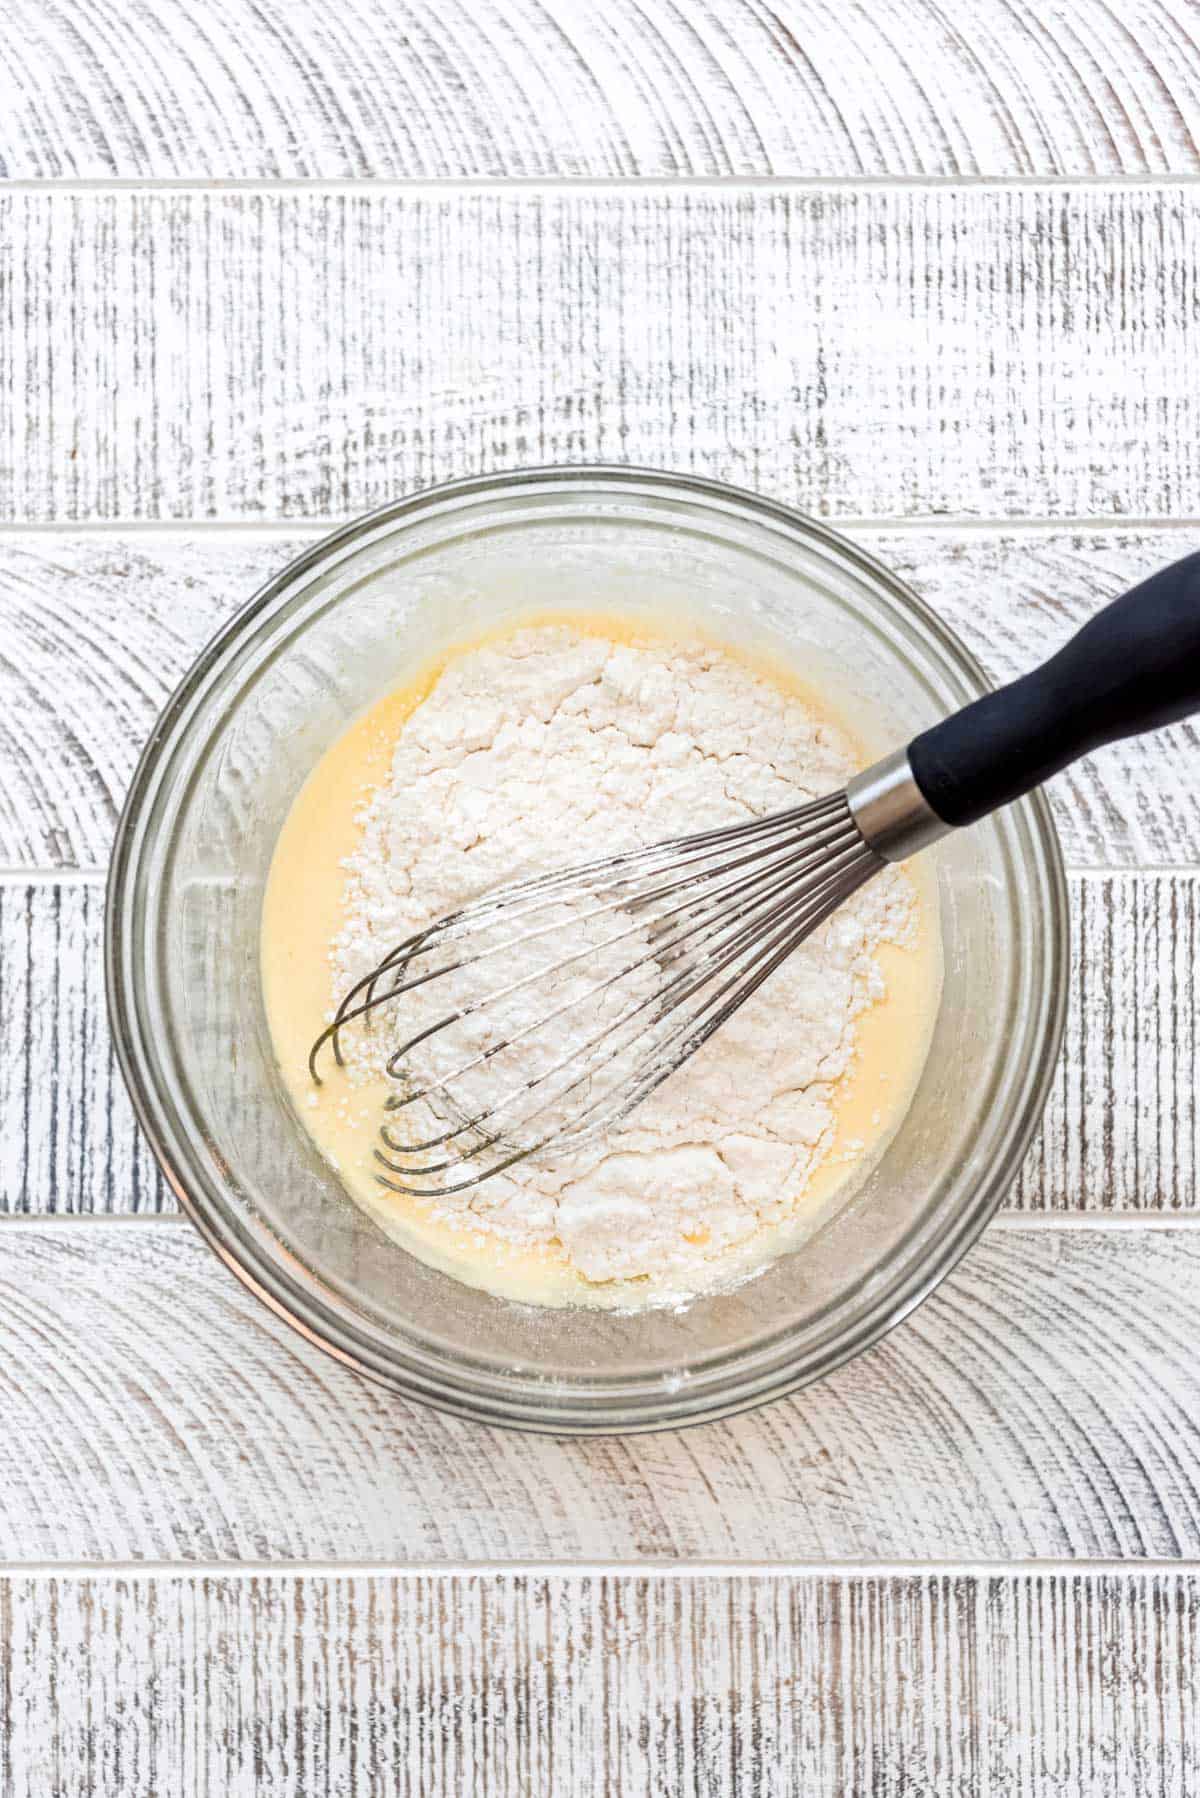
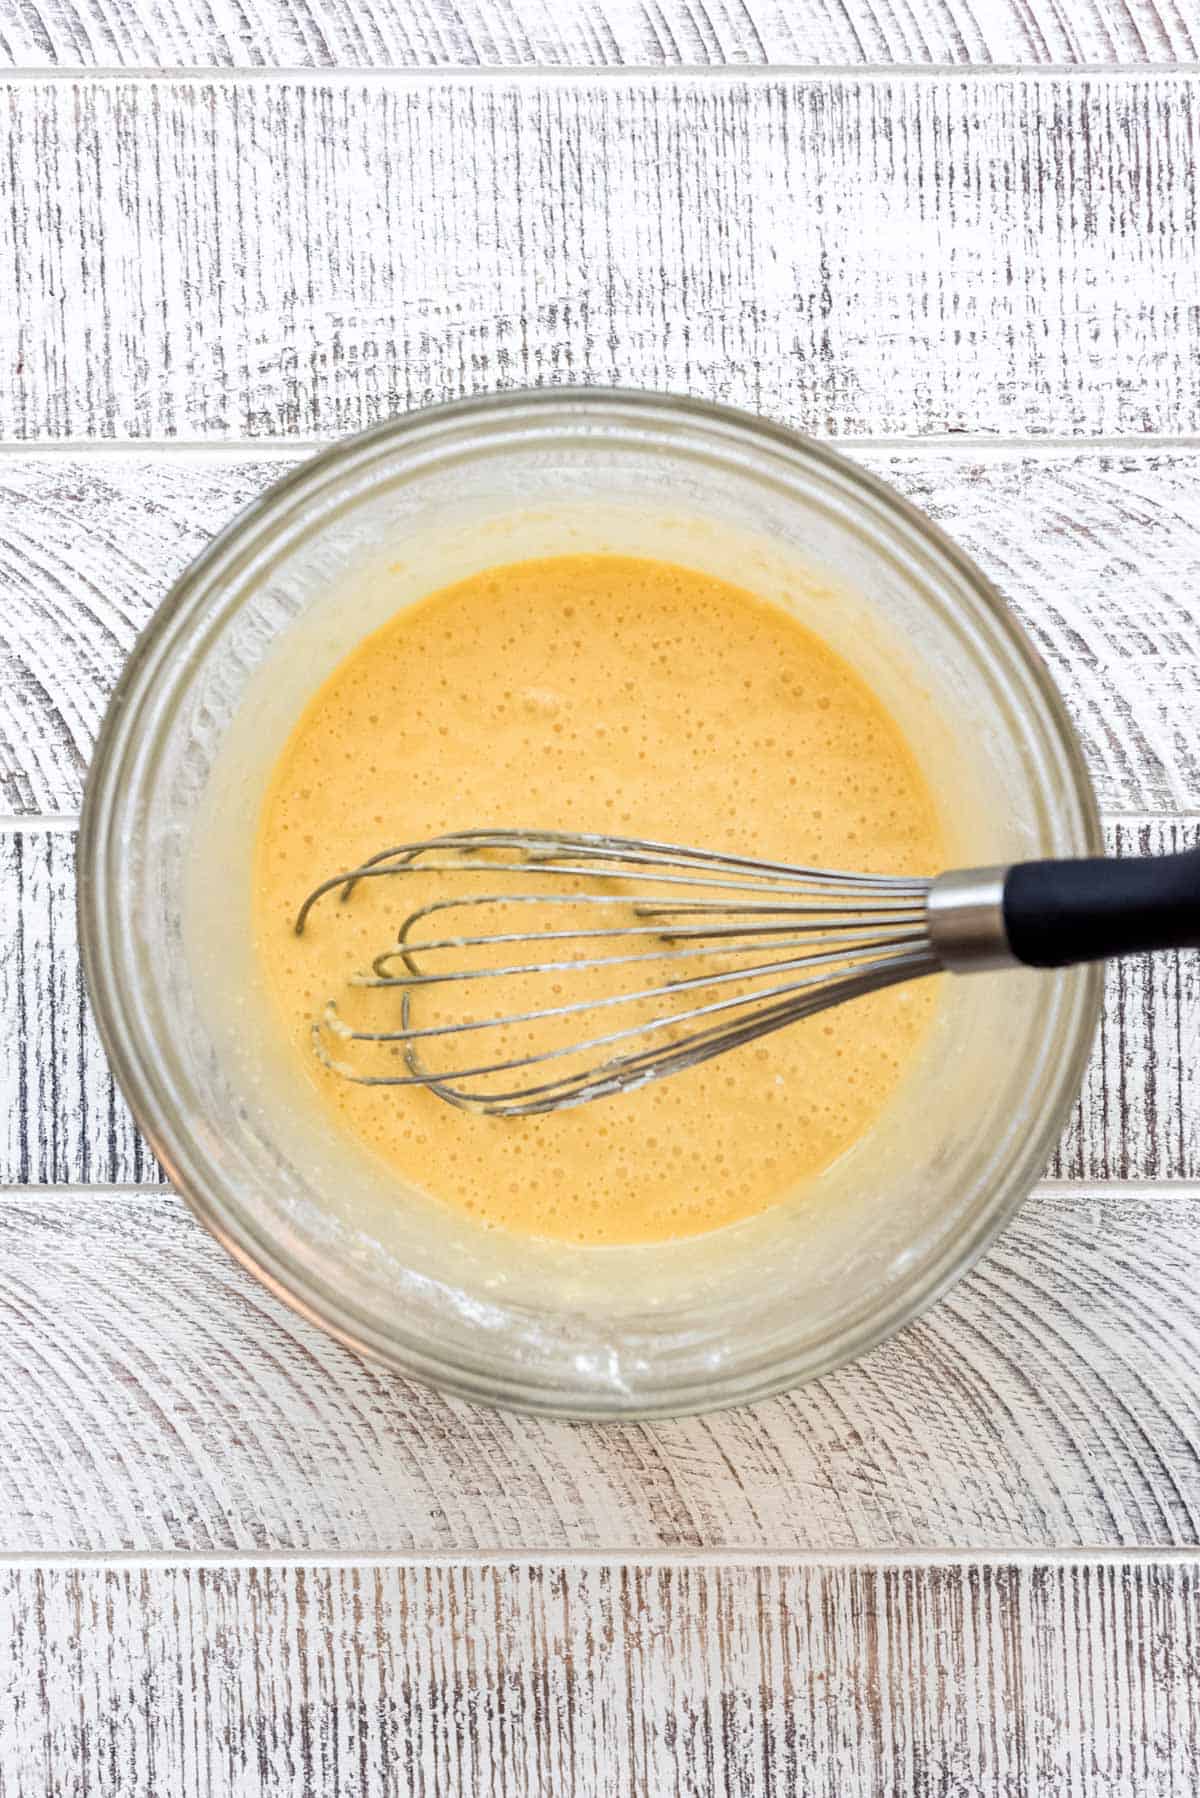
- Add dry ingredients: Whisk in the flour, salt and baking powder until combined.
- Beat egg whites: In a separate bowl, beat the egg whites with the cream of tartar using a hand mixer or stand mixer fitted with the whisk attachment until frothy. Add the remaining sugar gradually, a tablespoon at a time, while beating until stiff peaks form.

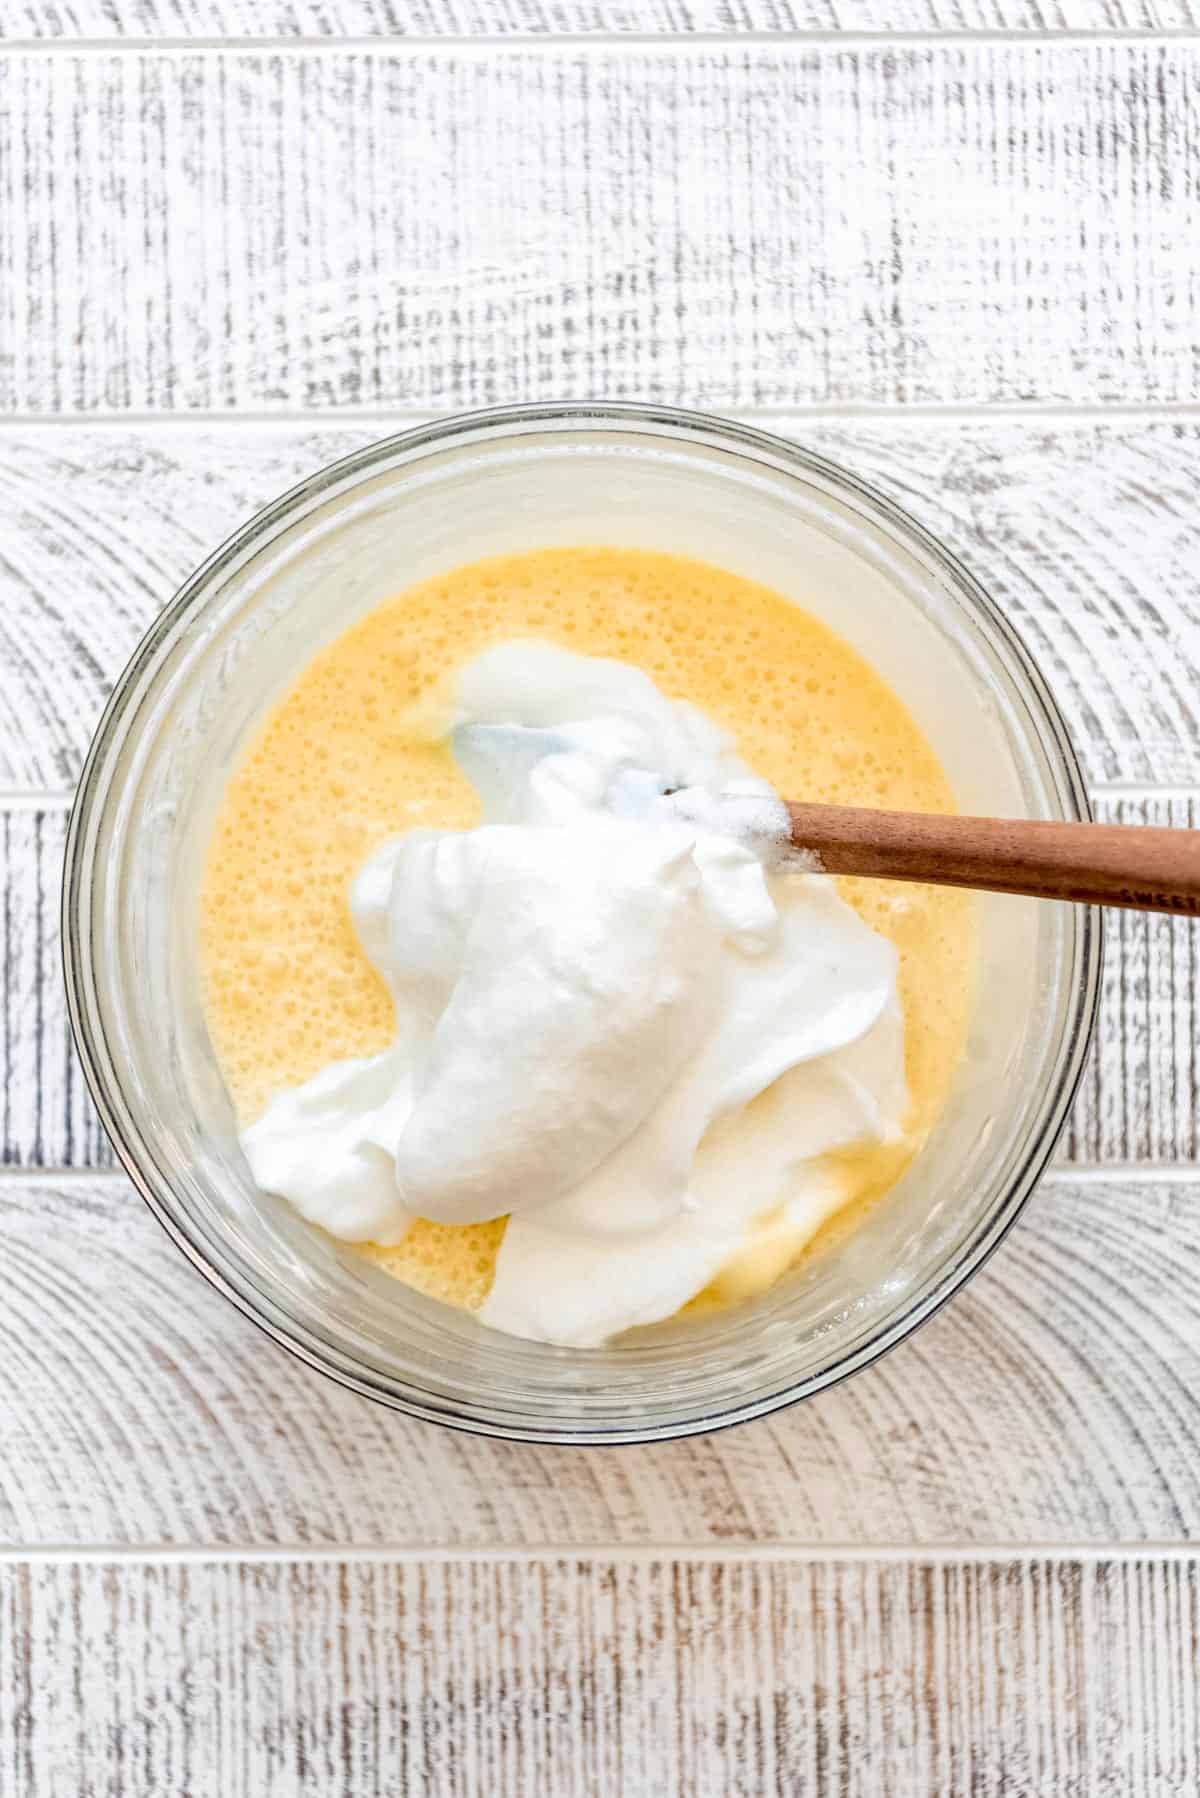
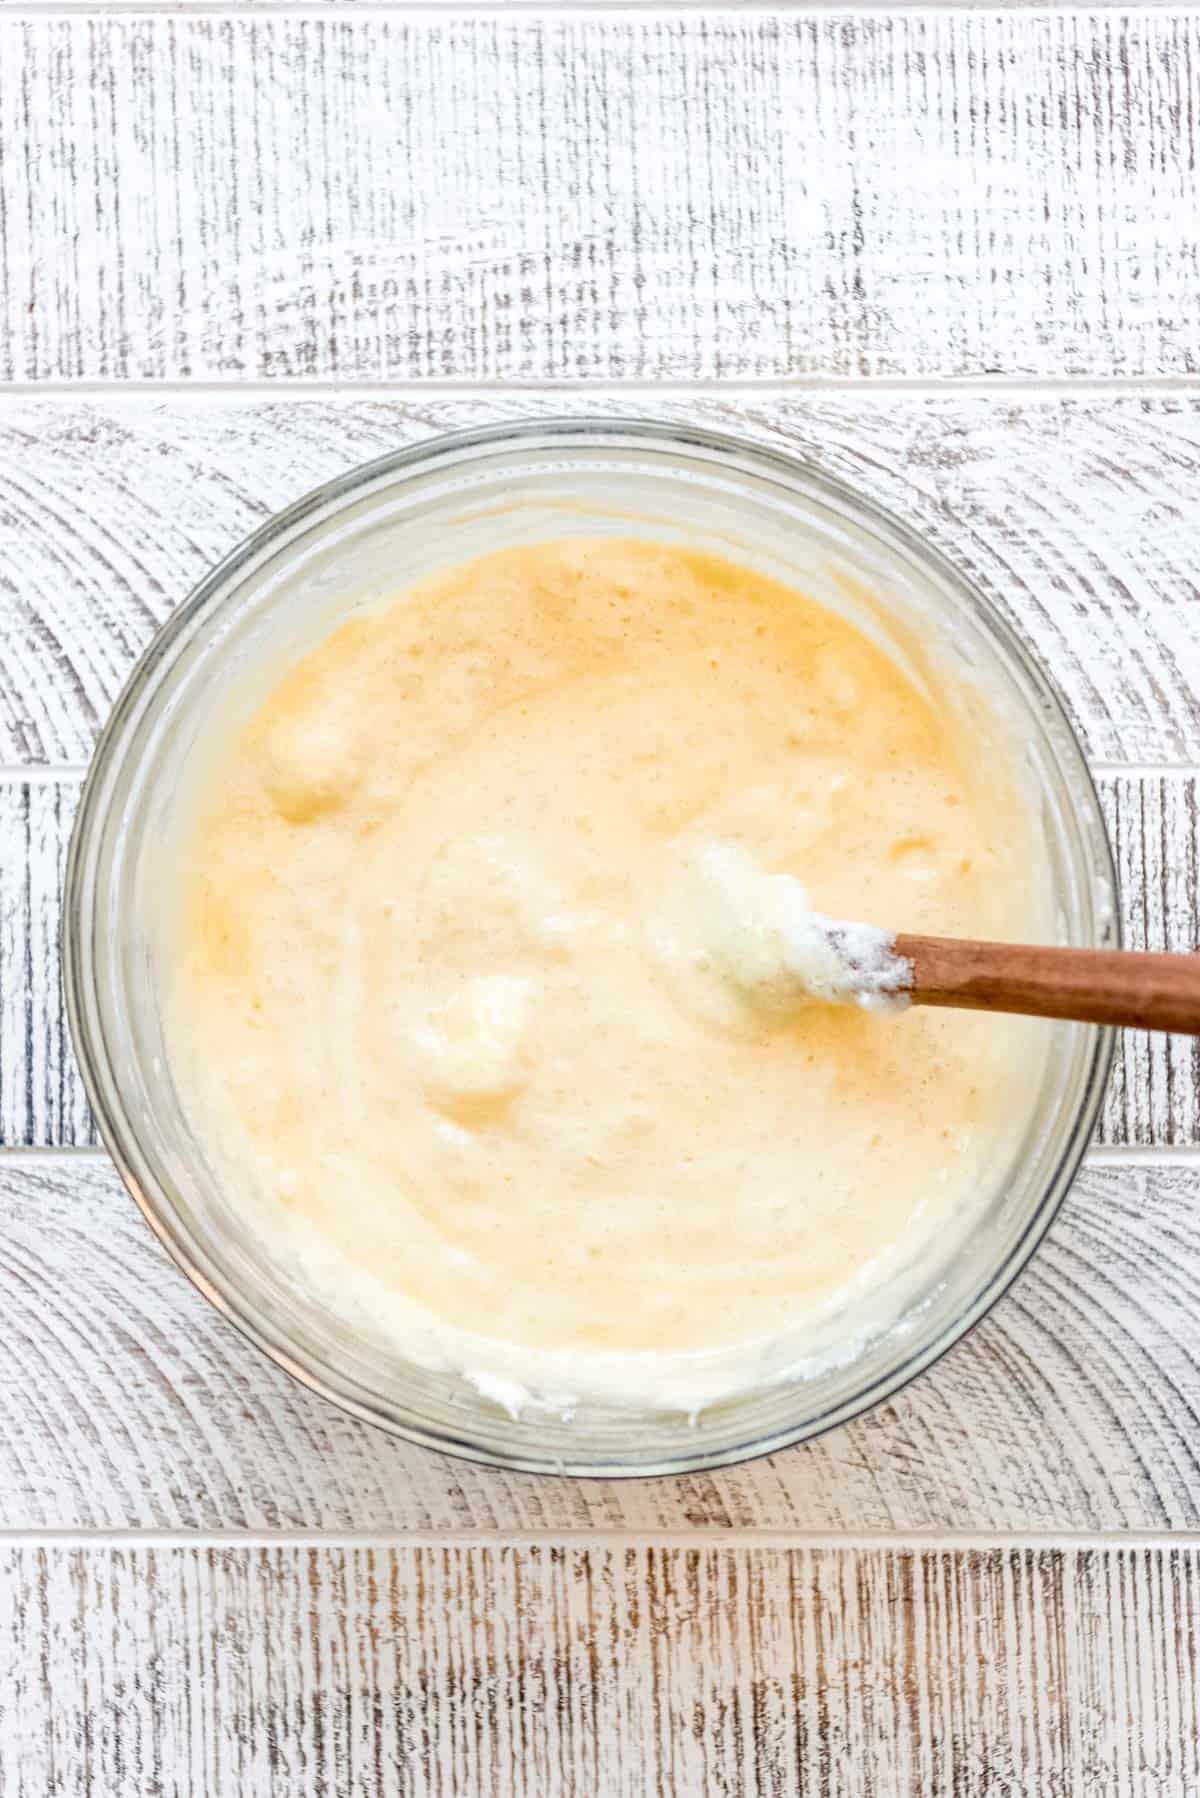
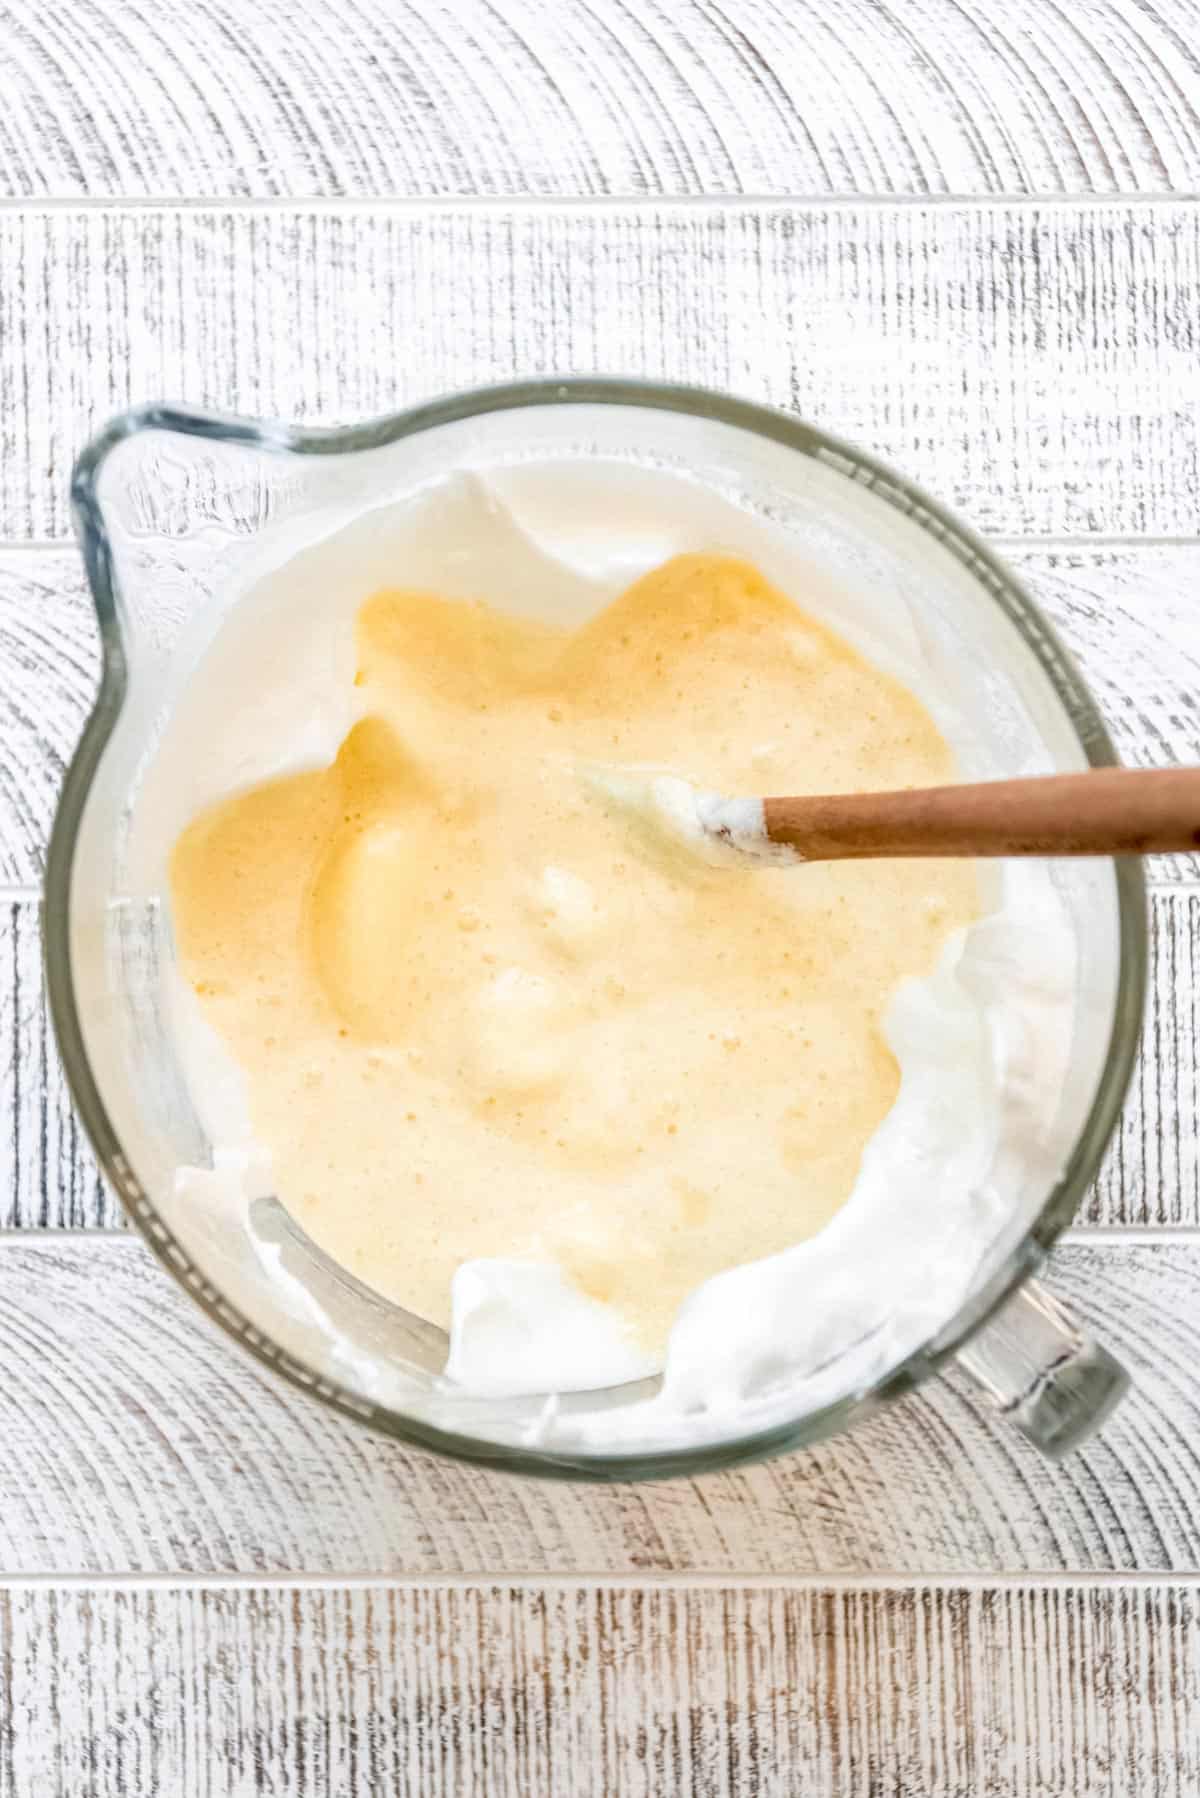
- Add egg whites: Whisk ⅓ of the egg whites into the pancake batter. We aren’t worried about deflating the batter too much at this point. Add another ⅓ of the egg whites and stir in with a spatula, taking care not to deflate the egg whites too much at this point. Transfer this mixture to the bowl with the remaining egg whites and fold just until combined.

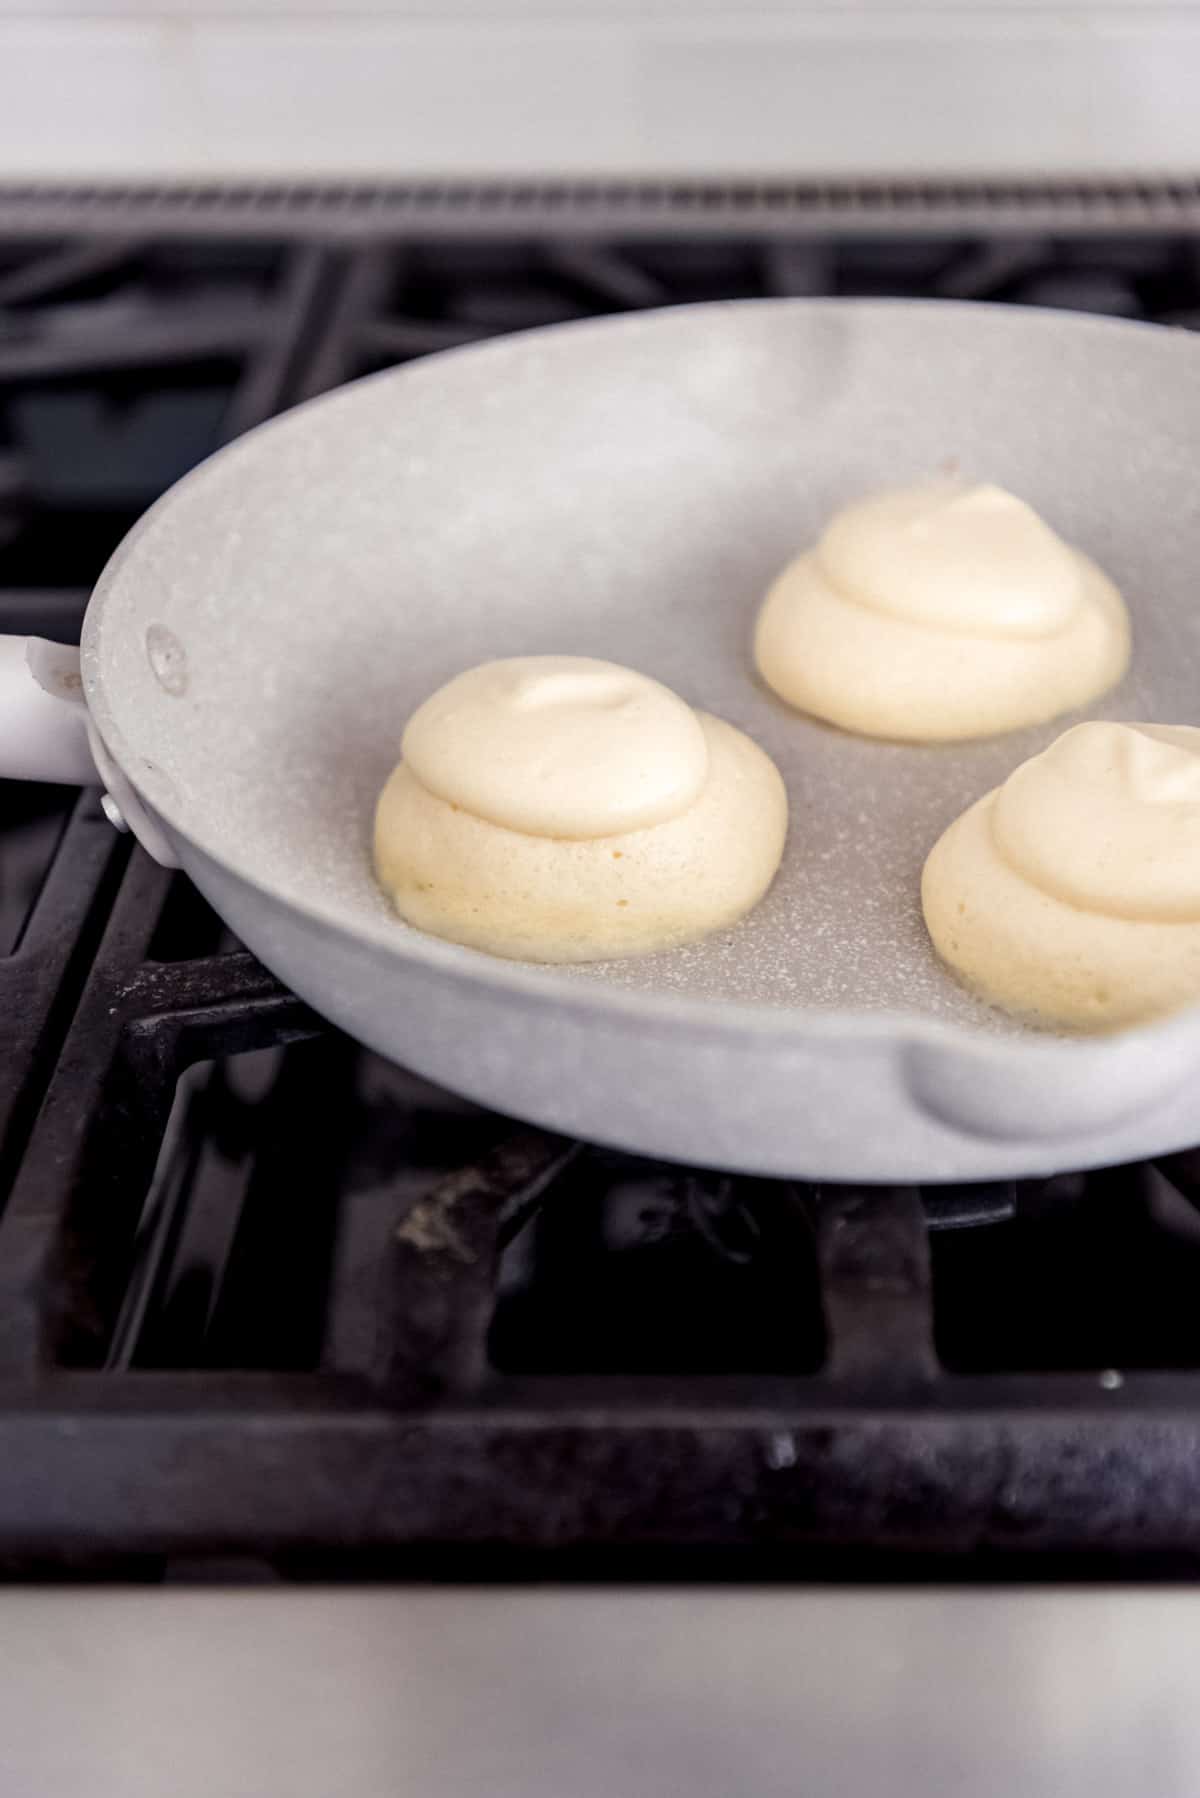
- Cook pancakes: Heat a non-stick skillet over low heat. Very lightly grease the pan with a little oil or non-stick cooking spray, then add three small scoops of batter to make 3 pancakes. Each scoop should only be 1-2 tablespoons since you will continue adding batter to each pancake. Spoon another 1-2 tablespoons of batter directly on top of each pancake, then add a couple tablespoons of water to the pan around the pancakes and immediately cover with the lid. Cook for 2-3 minutes, then lift the lid and add a 3rd scoop of batter to each pancake mound and put the lid back in place. Cook 1-2 minutes more.
- Add additional batter, then flip: Once the pancakes have cooked for 5-6 minutes on the first side, add a 4th spoonful of batter onto the top of each pancake. You will ultimately use between ⅓ and ½ cup of batter total for each pancake. Carefully flip each pancake, then add another 1-2 tablespoons of water around the pancakes and cover with the lid again. Cook another 5 minutes or so until the pancakes are browned on both sides and cooked through.
- Plate and serve: Stack 3 pancakes on a plate and dust with powdered sugar. Top or serve with freshly whipped cream, fresh fruit, and maple syrup.
Recipe Tips
- Don’t forget to add the water around the pancakes. The water will create a moist environment to help the pancakes cook with an almost custardy texture. It also helps them cook more evenly, similar to the way a water bath helps cheesecake to cook evenly.
- If the pancakes feel like they are stuck when you go to flip them, don’t force it. Let them cook another minute or two longer until they release when you slide a spatula under them.
- Stack the pancake batter high, not wide. These pancakes will look pretty small at first, but as you keep piling up the batter, the pancakes will continue to fluff up rather than spread out.
- Don’t rush the cooking process. These cook at a low heat (maybe medium-low if it feels like your pan or stovetop is taking a really long time). This allows the thick pancakes to cook all the way through instead of being doughy inside and dark on the outside.
- You can try using 3-inch by 2 1/2-inch ring molds sprayed with cooking spray to get even taller Japanese pancakes, but after trying both methods I just preferred this simpler approach of building up the pancakes with a little more batter at a time. Plus, it’s one less random kitchen tool to store in my already overflowing drawers. If using the ring molds, fill with ½ cup of batter from the start and cover with the lid. The pancakes will rise almost to the tops of the molds, then you need to carefully slide a spatula under the ring mold and use tongs to flip the mold over before letting the pancakes cook another 5-6 minutes on the second side. Unmold from the ring molds before serving.

I always do my best to research recipes from other cultures thoroughly to represent them as best I can. If this recipe is from your country or culture and you have suggestions for how I can improve its authenticity, please let me know in the comments below! It’s important to us to share beloved foods of other cultures with as much accuracy as possible, while also considering things like accessibility of ingredients and ease of preparation for most home cooks.

More Breakfast Recipes
- Easy Belgian Waffles
- How to Make the BEST French Toast
- Lemon Ricotta Pancakes
- Easy Rhubarb Breakfast Cake
- German Pancakes
- Overnight Sourdough Waffles
Did you make this recipe?
Let me know what you thought with a comment and rating below. You can also take a picture and tag me on Instagram @houseofnasheats or share it on the Pinterest pin so I can see.
Japanese Pancakes
Ingredients
Pancakes
- 4 egg yolks
- 8 egg whites
- 1/2 cup granulated sugar
- 1/2 cup milk
- 1 teaspoon vanilla extract
- 1 cup cake flour
- 2 teaspoons baking powder
- 1/2 teaspoon salt
- 1/4 cup vegetable oil
- 1/2 teaspoon cream of tartar
- 6 Tablespoons water for steaming
Toppings
- Fresh whipped cream
- Fresh berries
- Powdered sugar
- Maple syrup
Instructions
- Separate egg whites and egg yolks into two separate, large bowls. Whisk the egg yolks with 2 tablespoons of the sugar until light. Add the milk, oil, and vanilla, then whisk well to combine. Whisk in the flour, salt and baking powder until combined.4 egg yolks, ½ cup granulated sugar, ½ cup milk, 1 teaspoon vanilla extract, 1 cup cake flour, 2 teaspoons baking powder, ¼ cup vegetable oil, ½ teaspoon salt
- In a separate bowl, beat the egg whites with the cream of tartar using a hand mixer or stand mixer fitted with the whisk attachment until frothy. Add the remaining sugar gradually, a tablespoon at a time, while beating until stiff peaks form.8 egg whites, ½ teaspoon cream of tartar
- Add ⅓ of the egg whites to the batter, whisking until incorporated. We aren’t worried about deflating the batter too much at this point.
- Add another ⅓ of the egg whites and stir in with a spatula, taking care not to deflate the egg whites too much at this point. Transfer this mixture to the bowl with the remaining egg whites and fold just until combined.
- Heat a non-stick skillet over low heat. Very lightly grease the pan with a little oil or non-stick cooking spray, then add three small scoops of batter to make 3 pancakes. Each scoop should only be about 2 tablespoons since you will continue adding batter to each pancake. Spoon another 2 tablespoons of batter directly on top of each pancake, then add a couple tablespoons of water to the pan around the pancakes and immediately cover with the lid. Cook for 2-3 minutes, then lift the lid and add a 3rd scoop of batter to each pancake mound and put the lid back in place. Cook 1-2 minutes more.6 Tablespoons water
- Once the pancakes have cooked for 5-6 minutes on the first side, add a 4th spoonful of batter onto the top of each pancake. You will ultimately use about ½ cup of batter total for each pancake. Carefully flip each pancake, then add another 1-2 tablespoons of water around the pancakes and cover with the lid again. Cook another 5 minutes or so until the pancakes are browned on both sides and cooked through.
- Stack 3 pancakes on a plate and dust with powdered sugar. Top or serve with freshly whipped cream, fresh fruit, and maple syrup.Fresh whipped cream, Fresh berries, Powdered sugar, Maple syrup
Notes
- Regular all-purpose flour can be used if that’s all you have on hand, although cake flour will give the lightest, best results.
Nutrition
Recipe and technique adapted from I am a Food Blog and Just One Cookbook.
More International Recipes
- Crepes representing France by Lemon Blossoms
- German Pancakes representing Germany by Devour Dinner
- Japanese Royal Milk Tea representing Japan by Hezzi-D’s Books and Cooks
- Beef Empanadas representing Argentina by Take Two Tapas
- Vegetable Fried Rice for One representing China by The Spiffy Cookie

The lift on those pancakes are something else. They look amazing. Can’t wait to try these.
Wow, these Japanese pancakes are calling my name. Light, fluffy and completely amazing!
These look amazing. I want to make them but I am going to have to find some patience. Thanks for explaining the process so carefully.
These sound incredible! I’d totally eat these for dessert.
They look soft and fluffy like a cloud! Delicious pancakes!