This post was created as in partnership with Imperial Sugar. All thoughts and opinions are 100% my own.
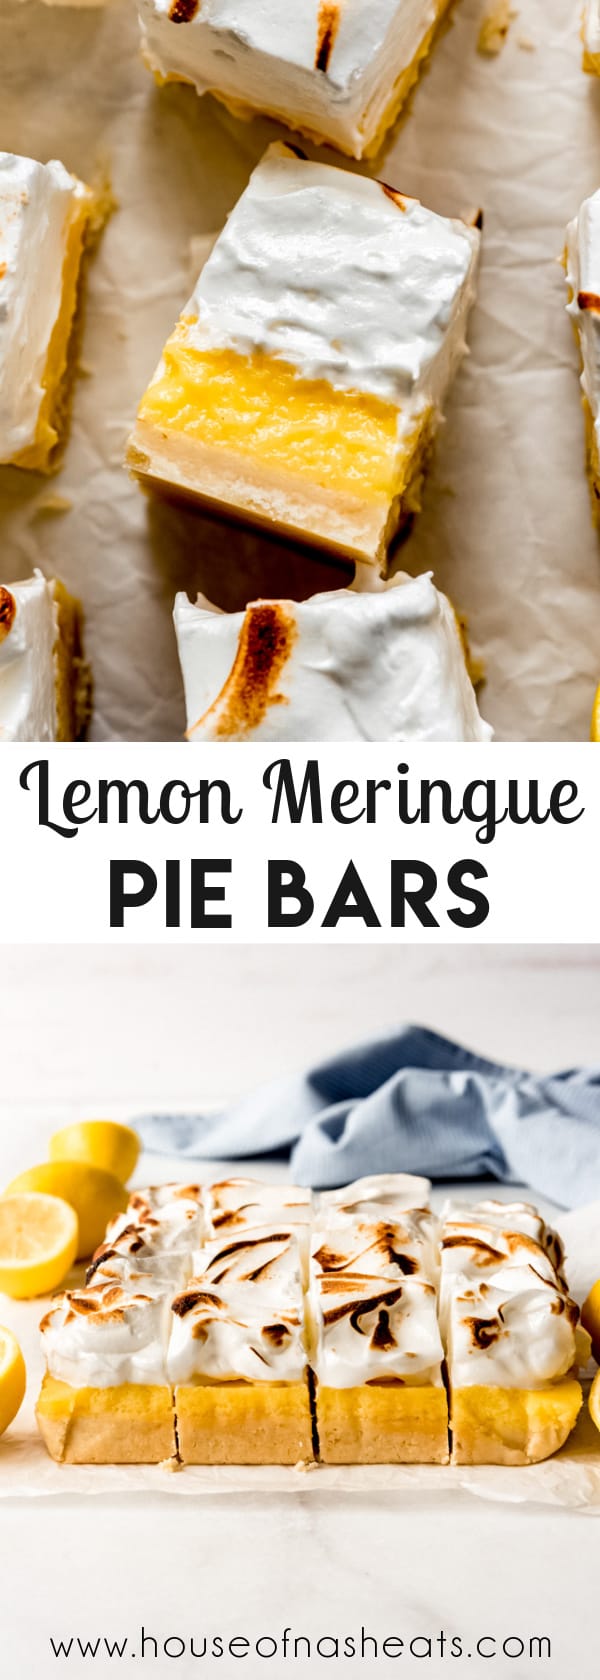
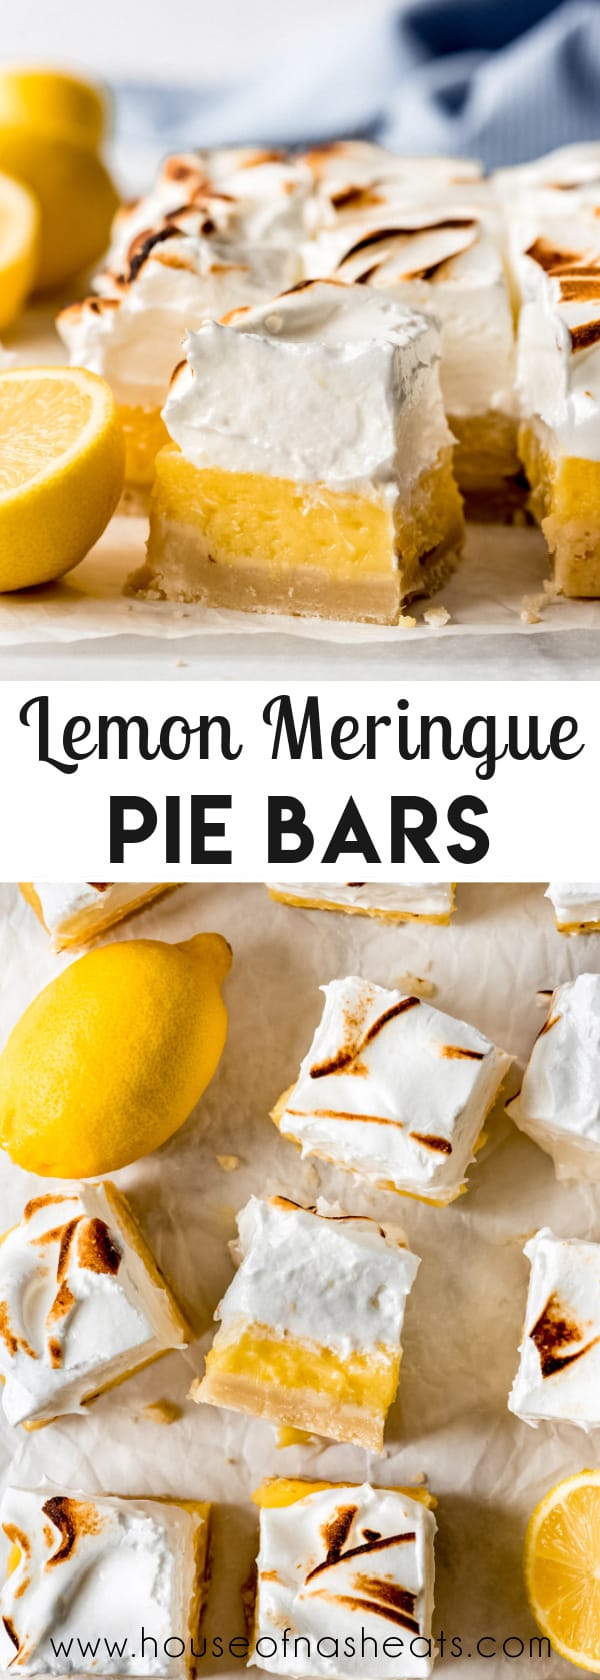
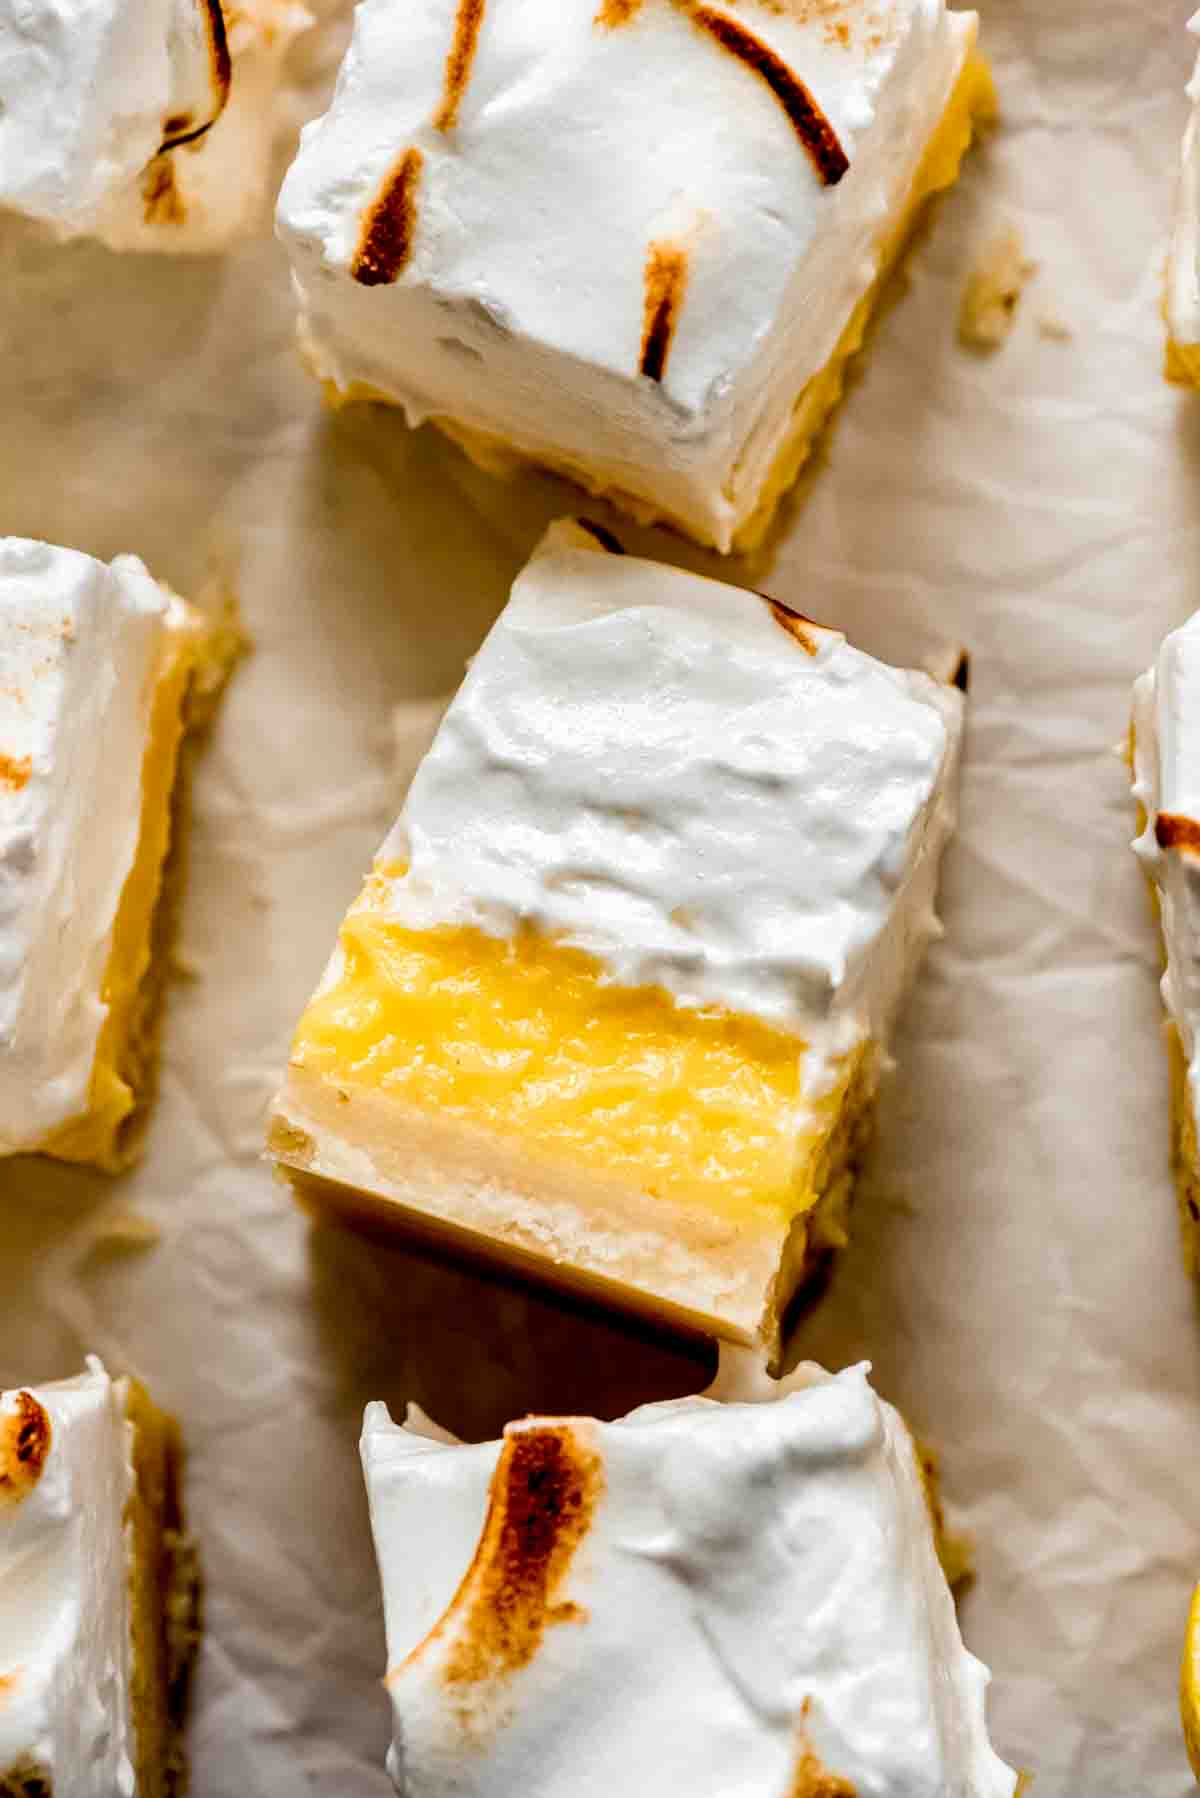
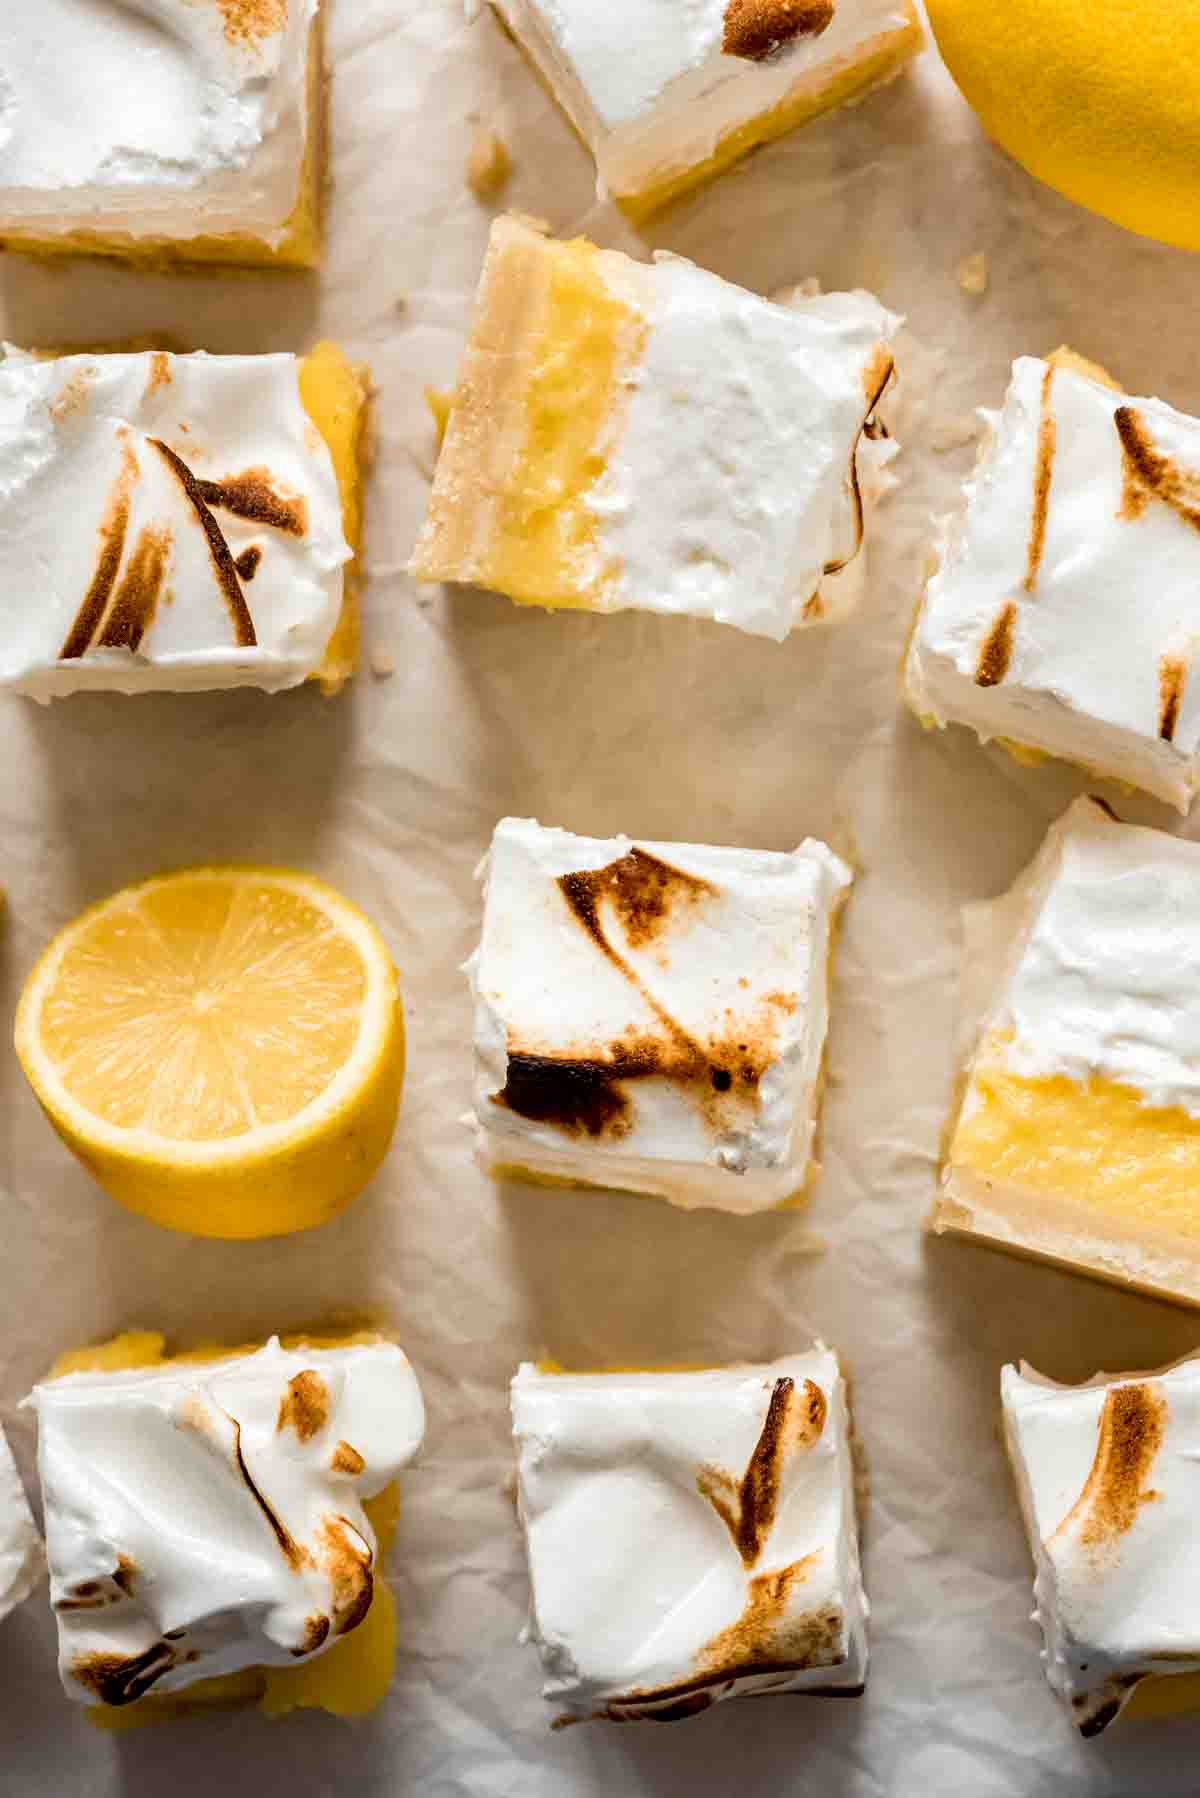
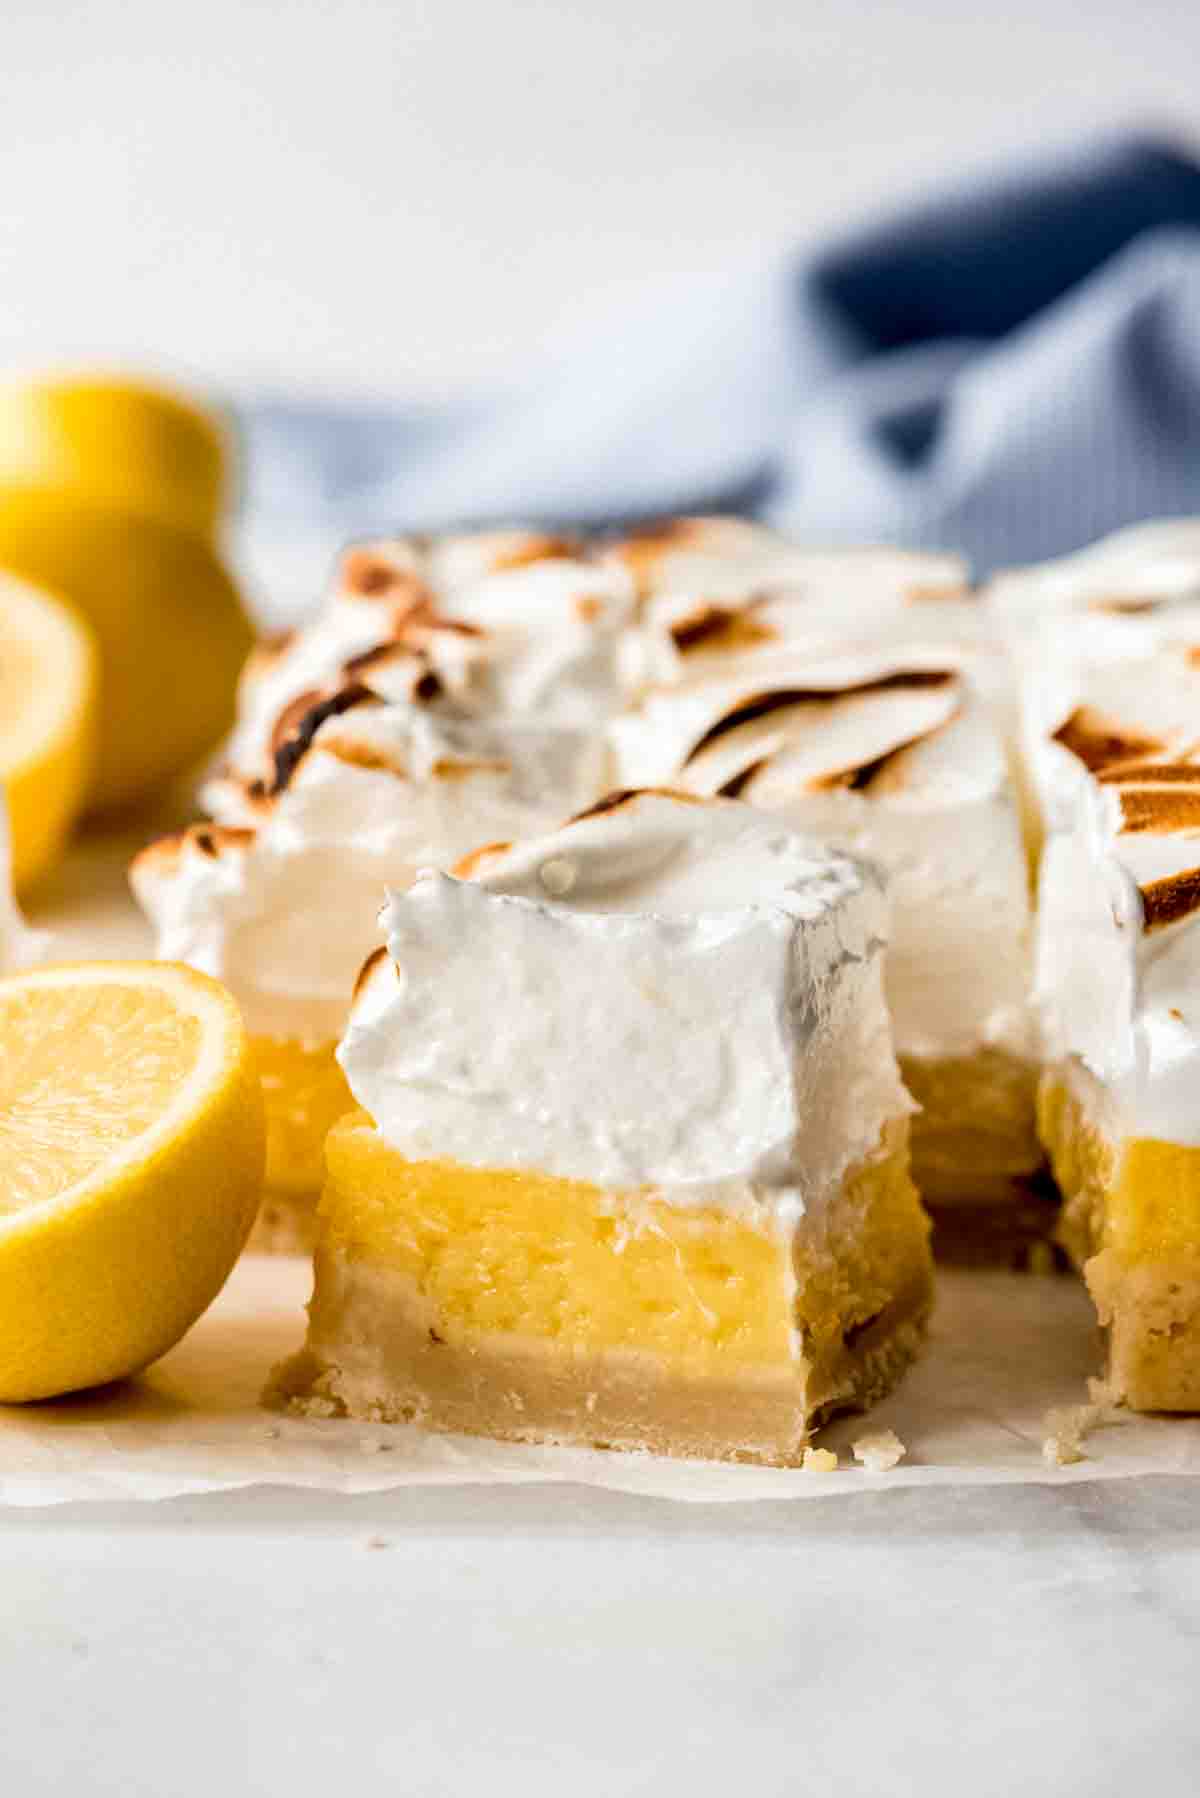
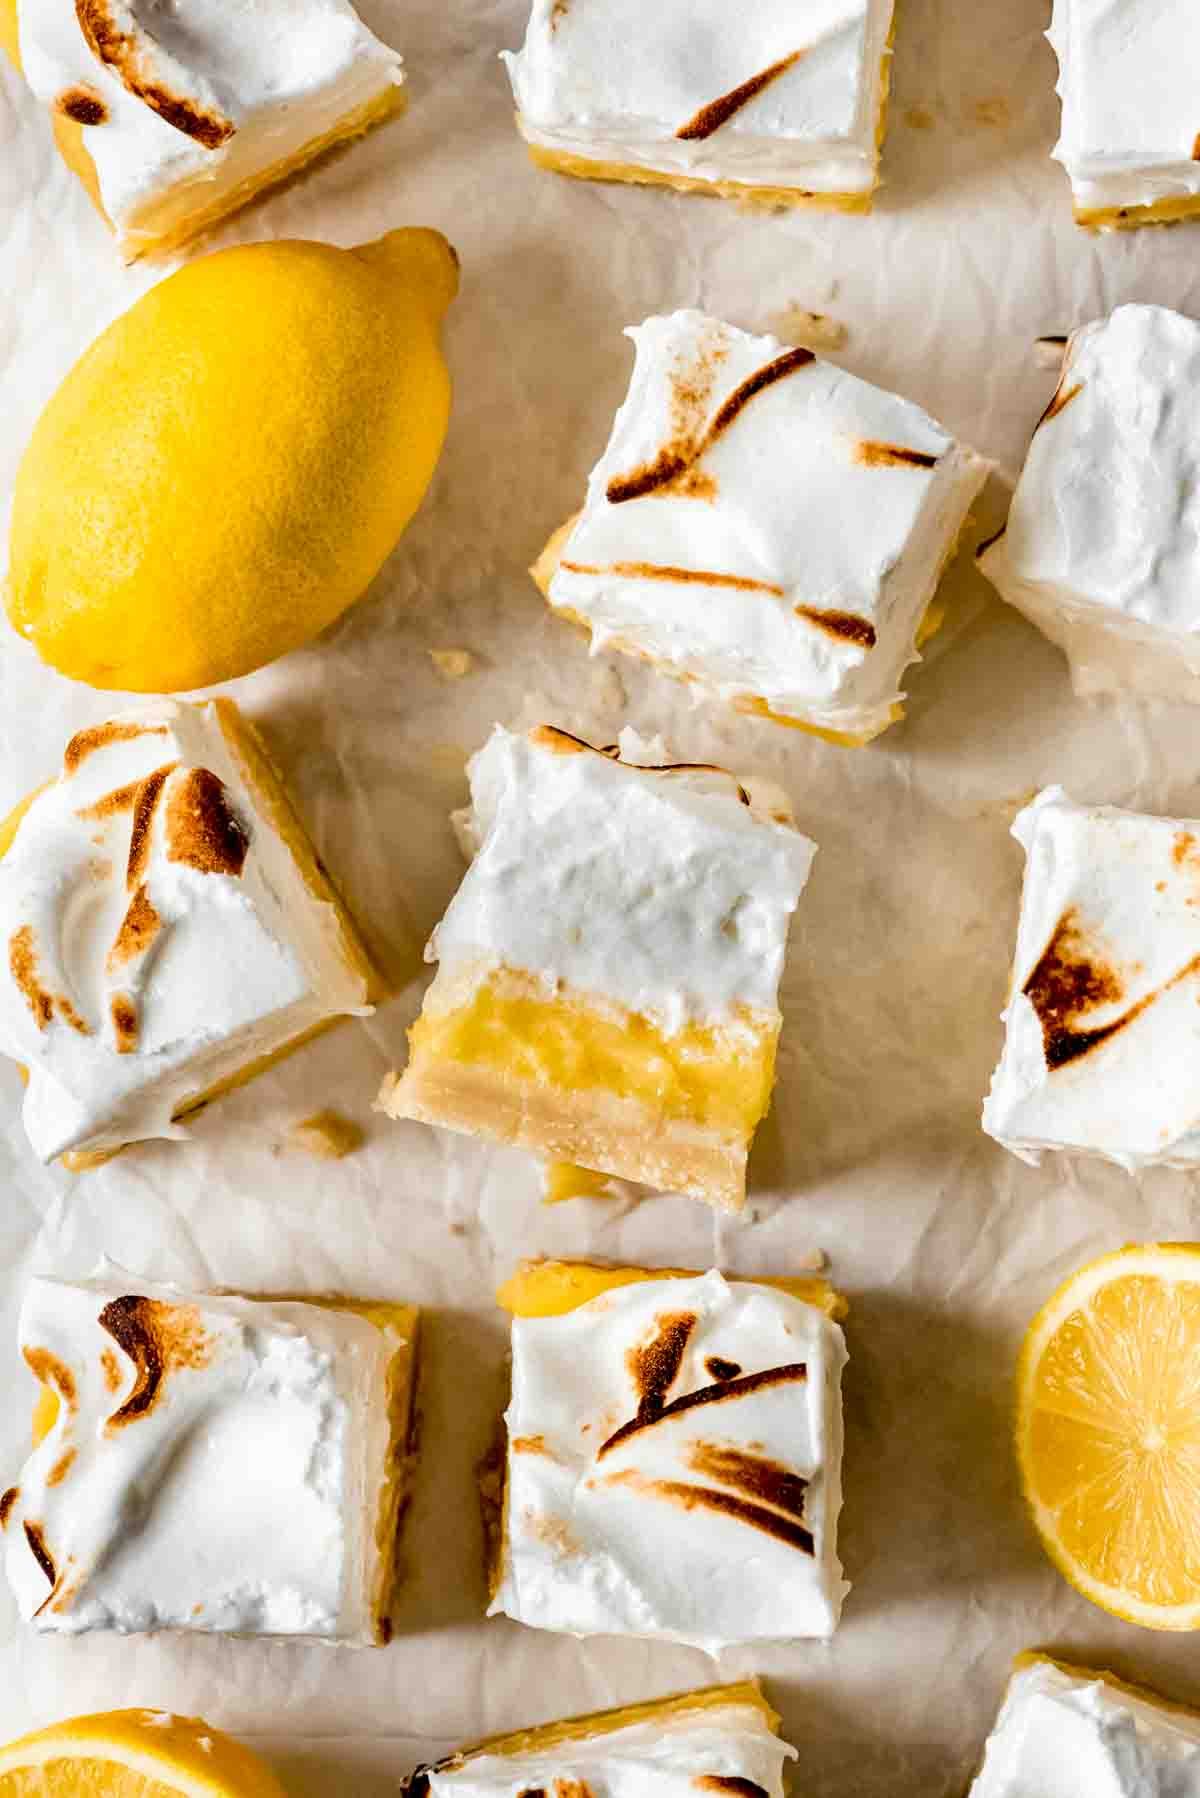
These aren’t your average lemon bars! With a silky filling that is thickened before baking and a towering cloud of sweet billowy marshmallow meringue on top, these Lemon Meringue Pie Bars are a lemon lover’s dream come true!
I love a good lemon dessert with plenty of tart, mouth-puckering flavor! For more show-stopping citrus delights, be sure to try our Luscious Lemon Layer Cake, Fresh Lemon Ice Cream, or Lemon Macarons!
A mashup of two beloved lemon desserts
Every now and then a dessert idea comes along and you think, “I just have to make that!”. These beautiful bars were just such a dessert for me! They taste like sunshine with the perfect balance of buttery, crunchy shortbread base, tart, silky layer of lemon curd filling, and mounds of sweet, almost marshmallowy toasted meringue on top. It took a few tries to get these just right, but I’m so happy with how they turned out!

These lemon meringue pie bars need to make an appearance on your Easter dessert menu or at an upcoming Mother’s Day brunch! Or serve them all summer long to end your cookouts with a uniquely impressive treat!
They are great for making mostly ahead since the base and lemon layer can be made a couple of days in advance. Then just before serving you can whip up the meringue and toast it with a kitchen torch (since the meringue itself is cooked already with the double boiler method) or with a quick pop under the broiler!
What You’ll Need
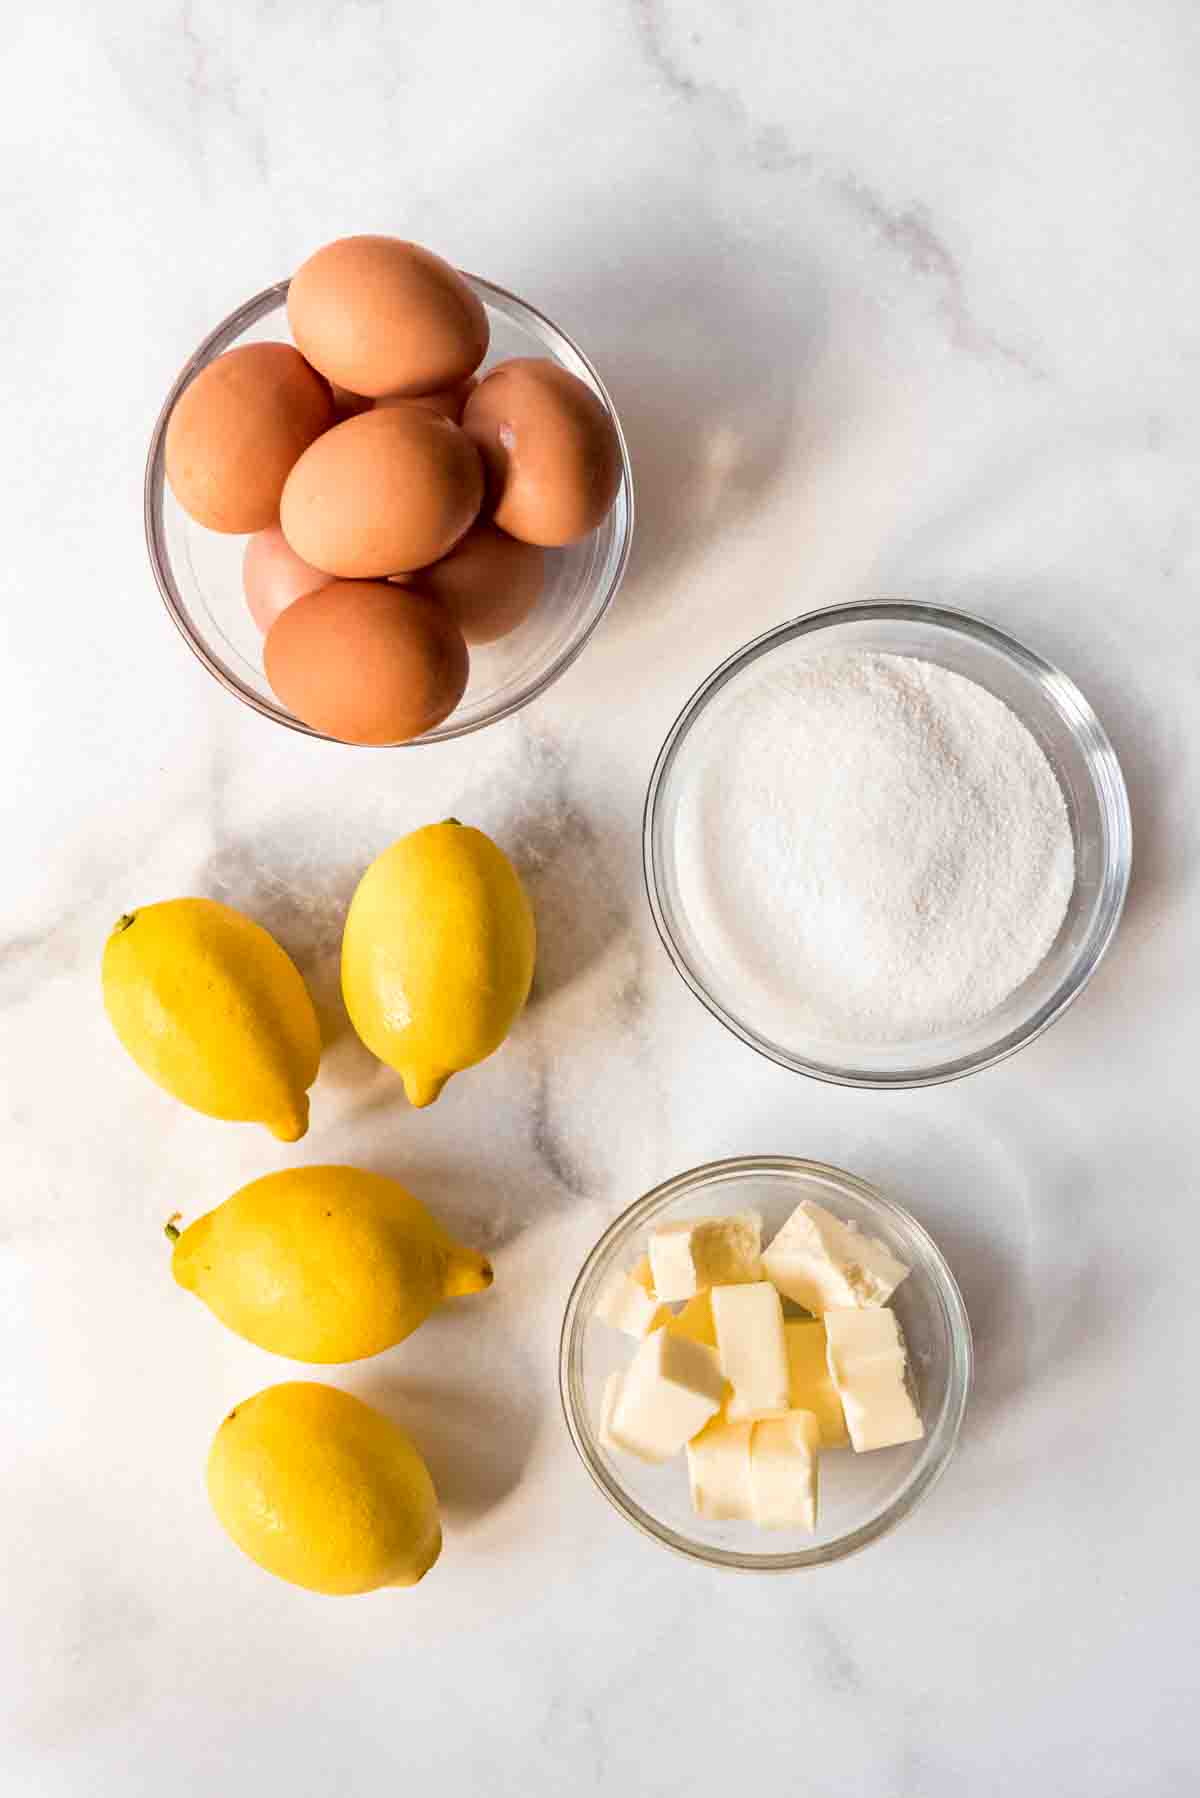
There are three parts to this recipe: the crust, filling, and meringue. None of them are complicated or use more than a few ingredients!
- Butter: The crust is made with softened butter to create a buttery shortbread base that is sturdy enough to support the weight of the rest of the bar after baking so these can be eaten by hand. But there is also butter added to the lemon filling which contributes to its silky texture.
- Sugar: We need sugar to balance out the tartness of the lemons in the filling and sweeten the meringue and shortbread layers. I kept things simple by using granulated sugar for all three parts.
- Flour: All-purpose flour gives structure to the shortbread bottoms of these bars.
- Lemons: These are the star of the show! Using both the zest of the lemon and the juice gives the most lemon flavor and a lovely sharpness. Be sure to zest first before slicing and squeezing the juice out of the lemons! It’s pretty near impossible to zest them after they are squeezed out!
- Eggs: The filling is made with both whole eggs and extra egg yolks, which are the only thickening agent since we don’t rely on cornstarch to thicken the filling for these bars. Then you will need a couple extra egg whites for the meringue.
- Salt: A pinch is added to each element of the bars so they don’t taste bland.
- Cream of tartar: This unique ingredient acts as a stabilizer for the meringue so that it towers on top of the bars. I always have a small jar of it in my pantry for making snickerdoodle cookies as well.
How to Make Lemon Meringue Pie Bars
- Prep: Start by zesting your lemons, preheating the oven to 350°F, and lining a square 8×8-inch baking pan with a parchment paper sling. The reason I like to use a sling is so I can lift the bars out of the pan to slice them. I get much more even slices that way!
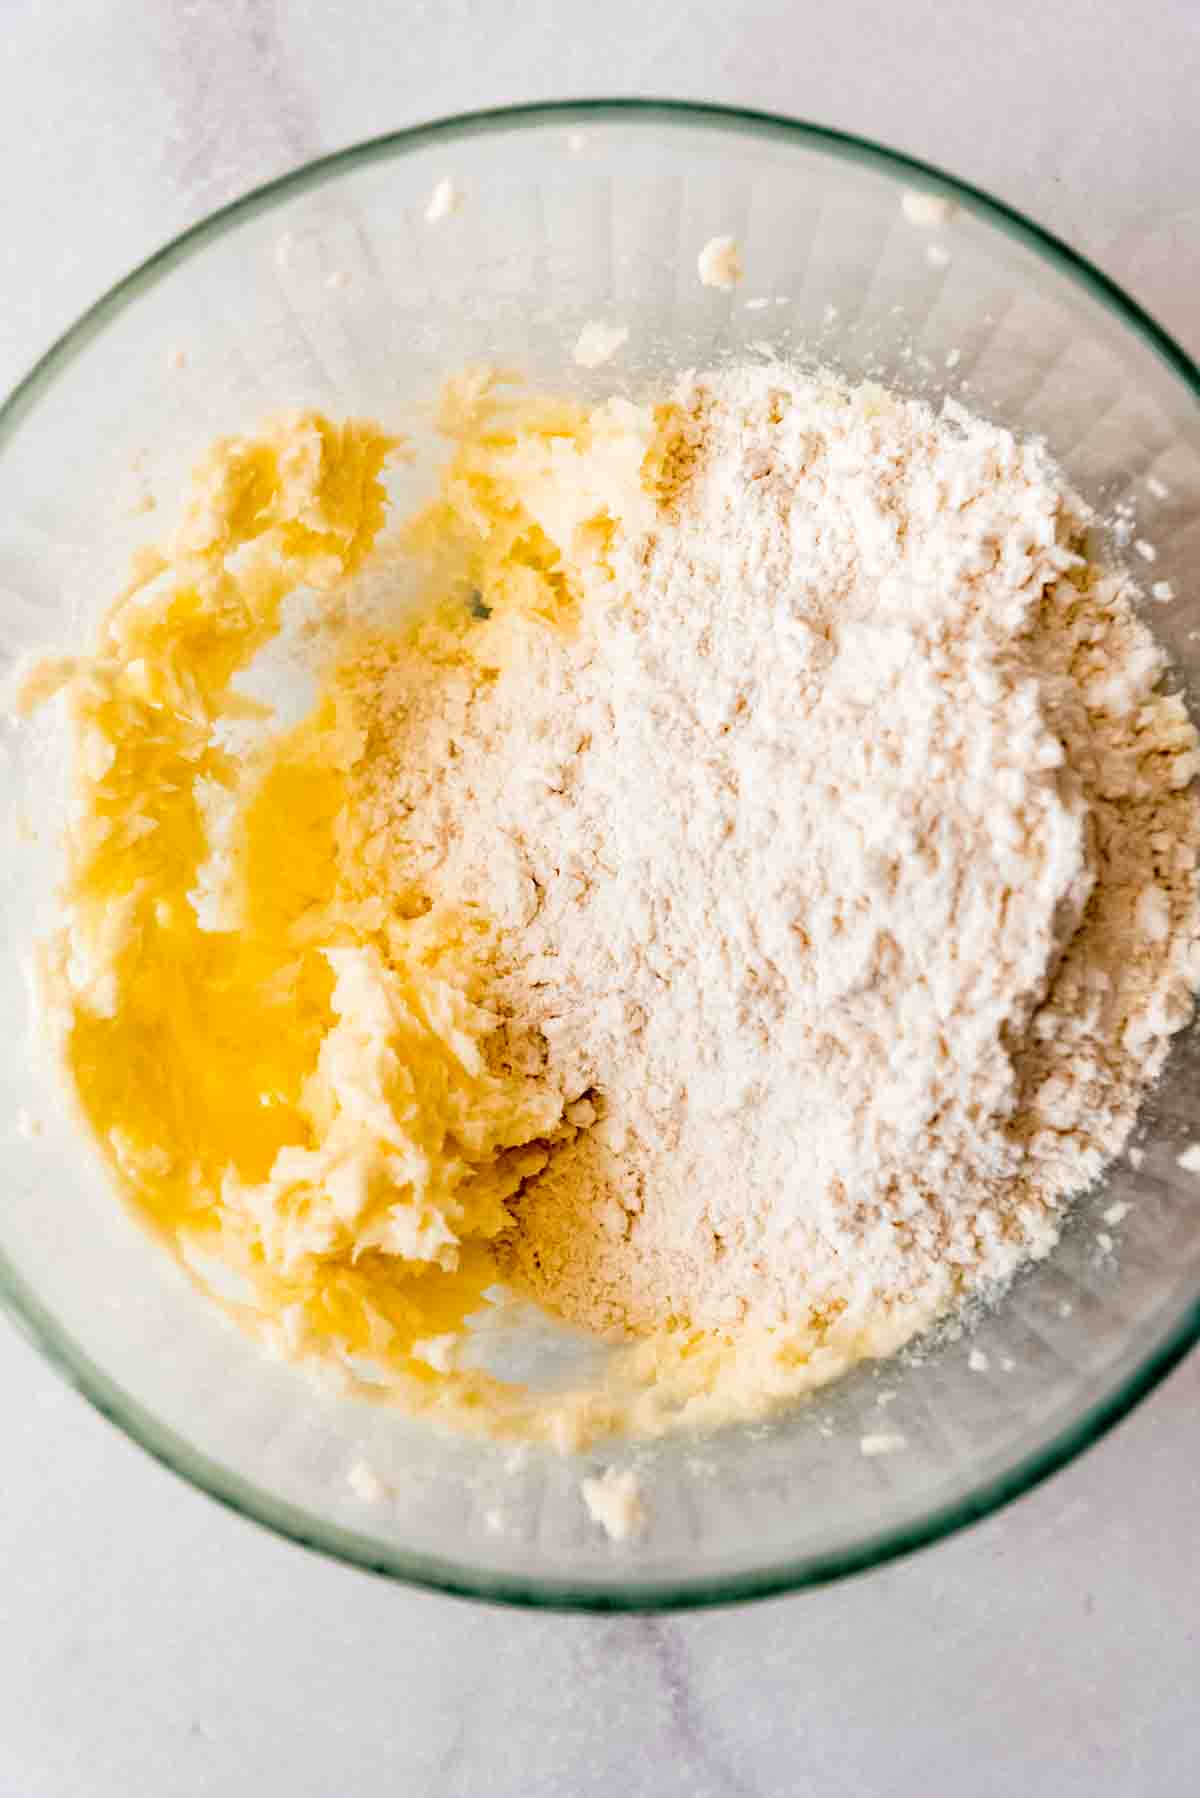
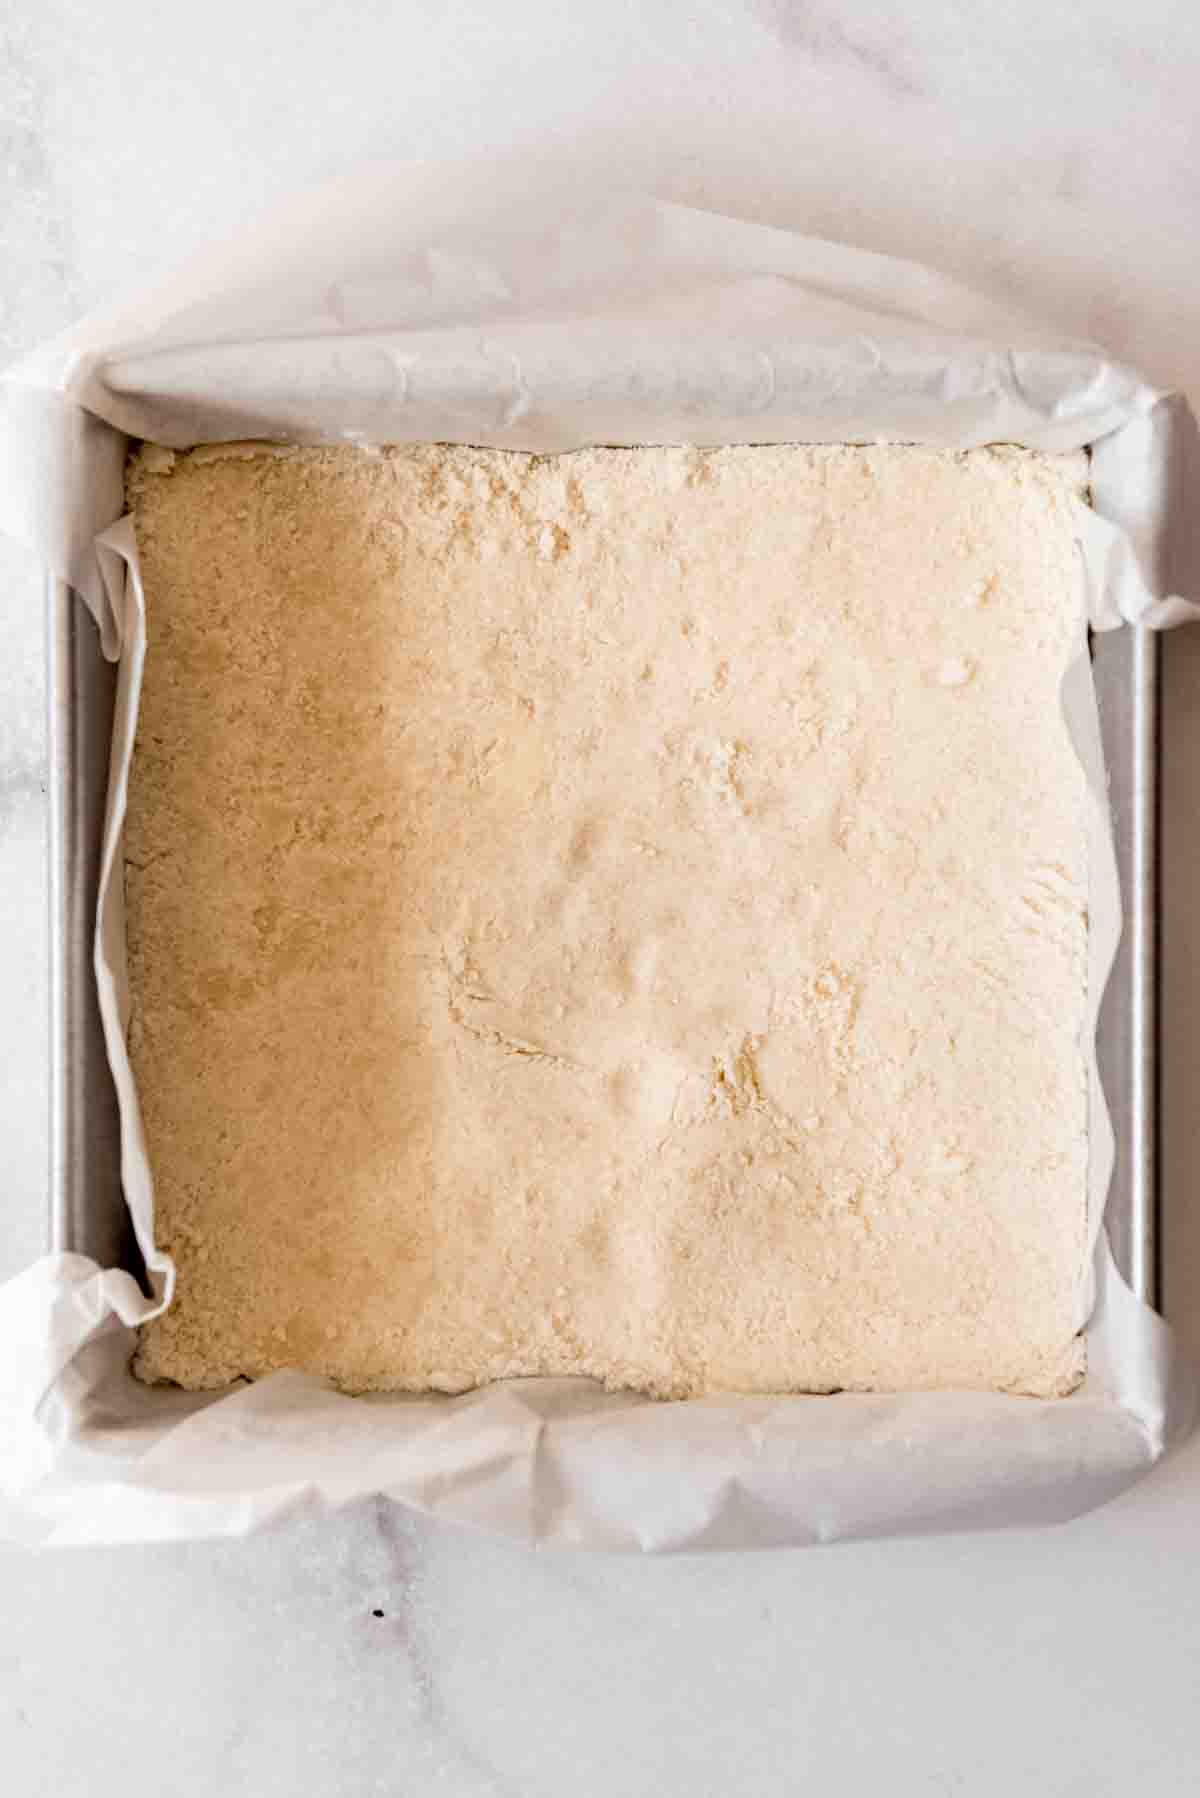
- Make the crust: Beat the butter and sugar using a hand mixer until creamy and light. Then add the flour and salt. The mixture will be crumbly, but just press it down into the bottom of the pan and bake for around 20 minutes until the edges barely, barely start to take on a little color. Remove from the oven and decrease the oven temp to 325°F.
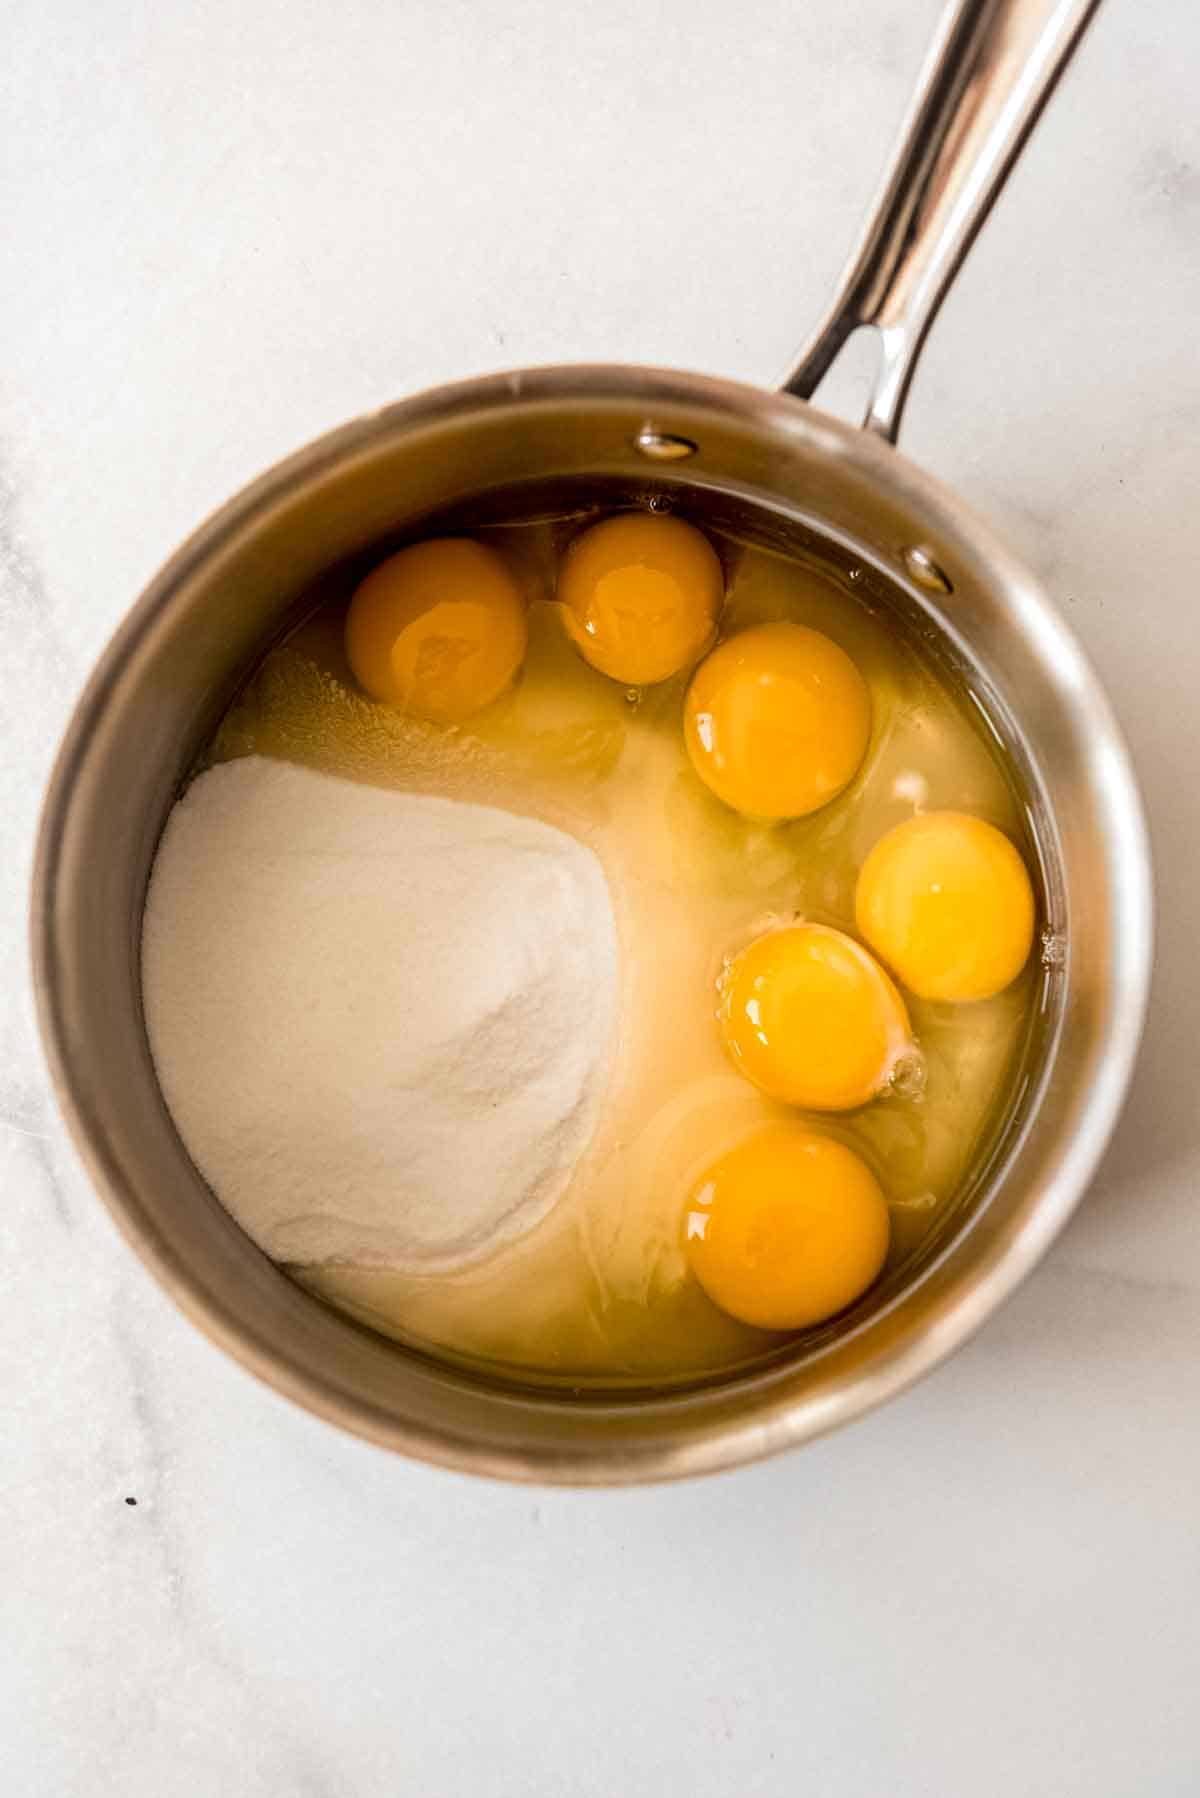
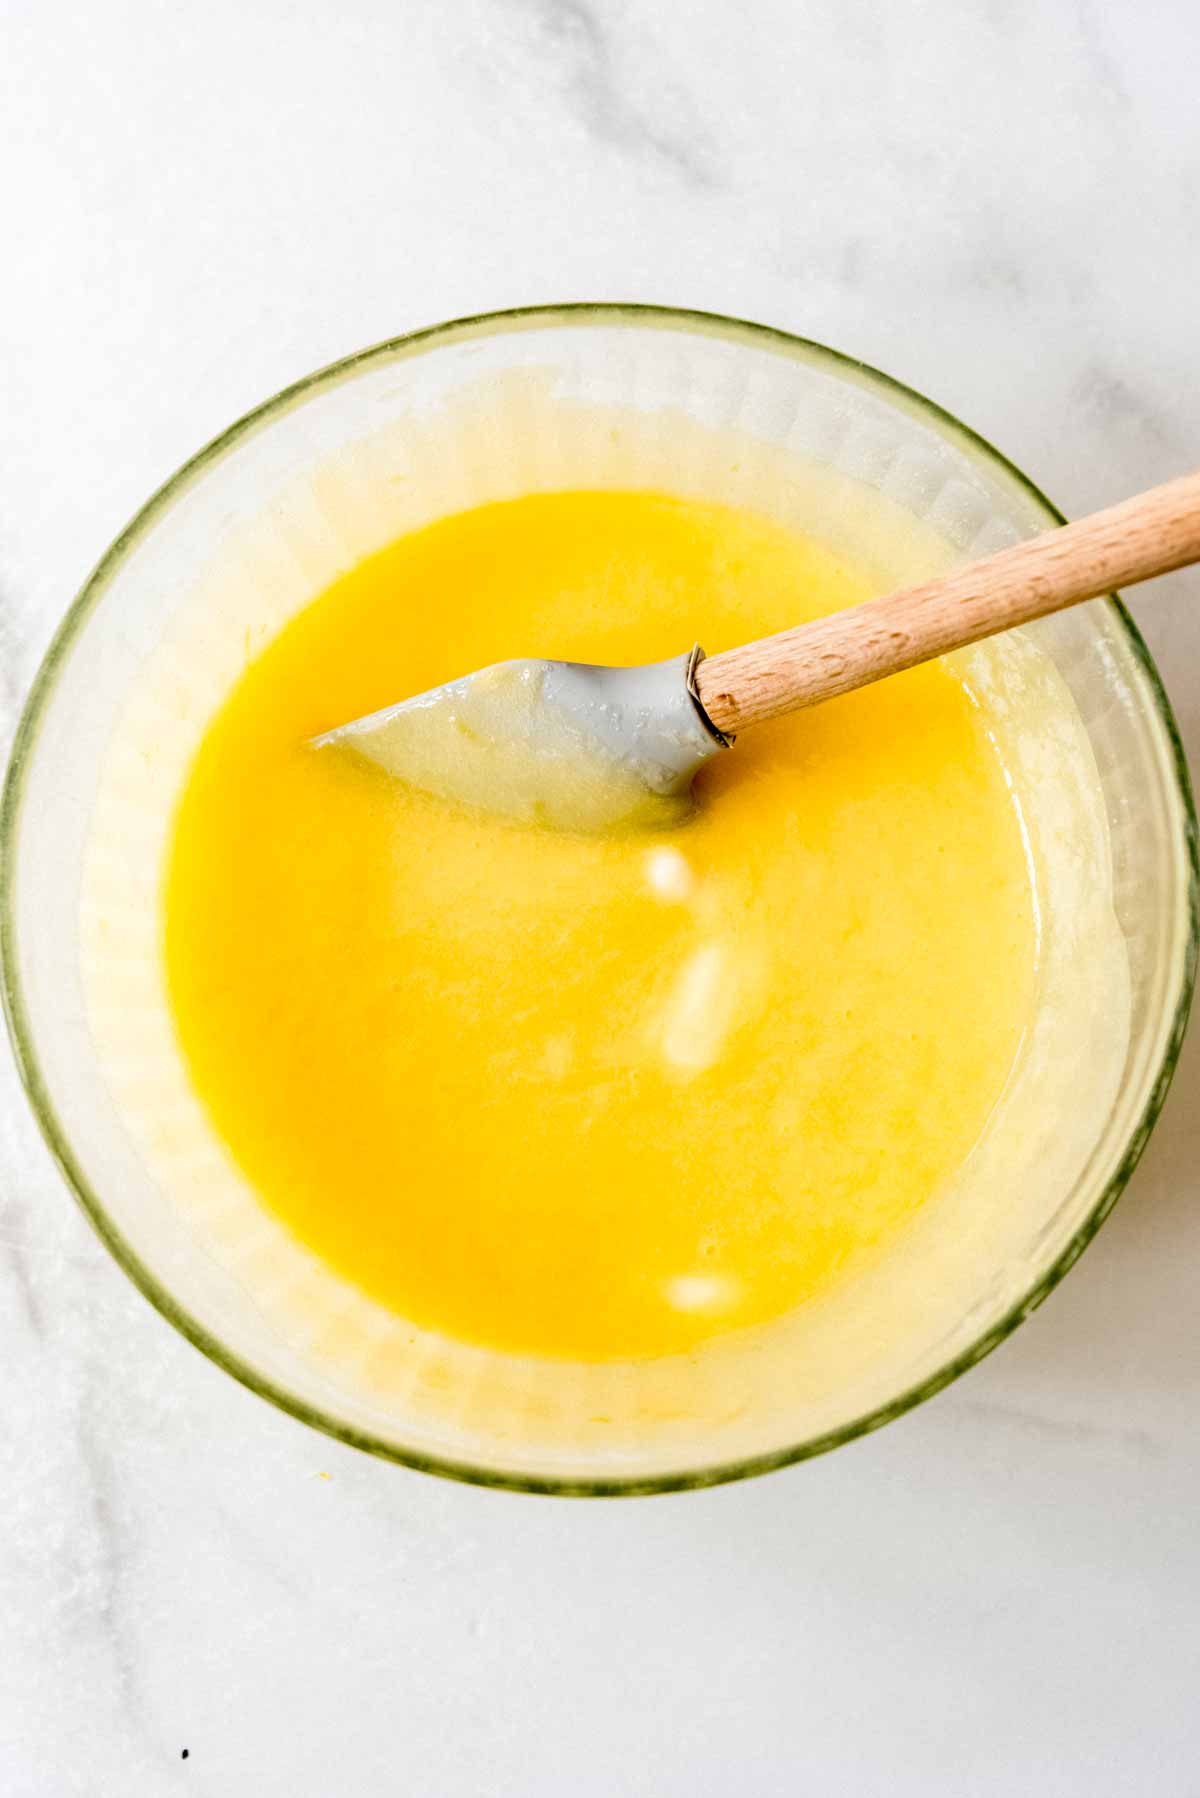
- Make the filling: Combine the sugar, whole eggs, extra egg yolks, and salt in a medium saucepan, whisking them together until smooth. Whisk in the lemon juice, then stir constantly over medium-low heat until it thickens and reaches 160°F on an instant read thermometer or candy thermometer (affiliate link). Be sure not to increase the heat too high or stop stirring or you run the risk of scrambling the eggs. Just to be on the safe side, I always strain this filling through a fine mesh sieve into a clean bowl. Add the butter and lemon zest, stirring until the butter is melted, then pour over the crust.
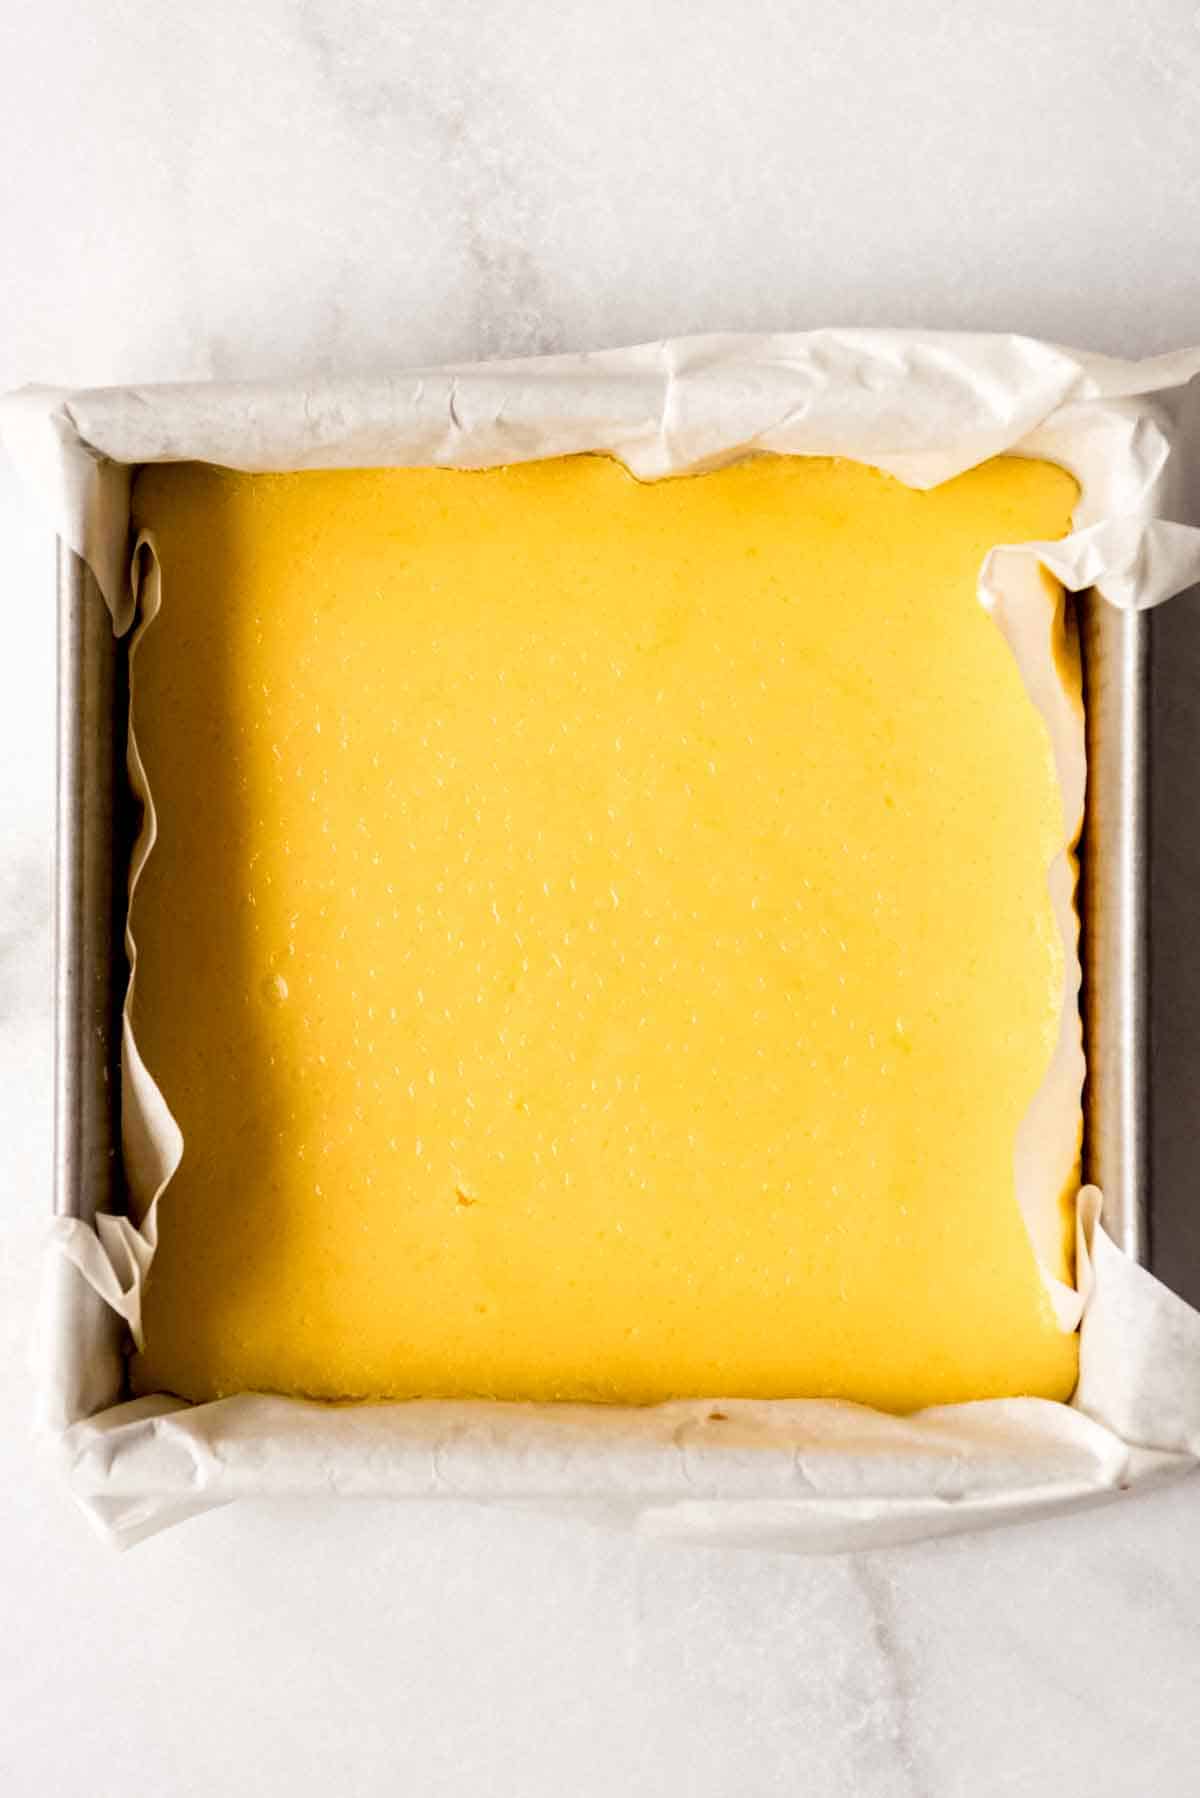
- Bake: To get the filling to set up all the way and to finish baking the shortbread base, you will bake the bars for around 20 minutes until they are just set. The way to test whether they are done is to jiggle them. If they are really wobbly, bake a few minutes longer. But they should still have a slight jiggle in the center when they are ready to come out. Cool completely and stick them in the fridge to chill for at least a couple of hours or overnight.
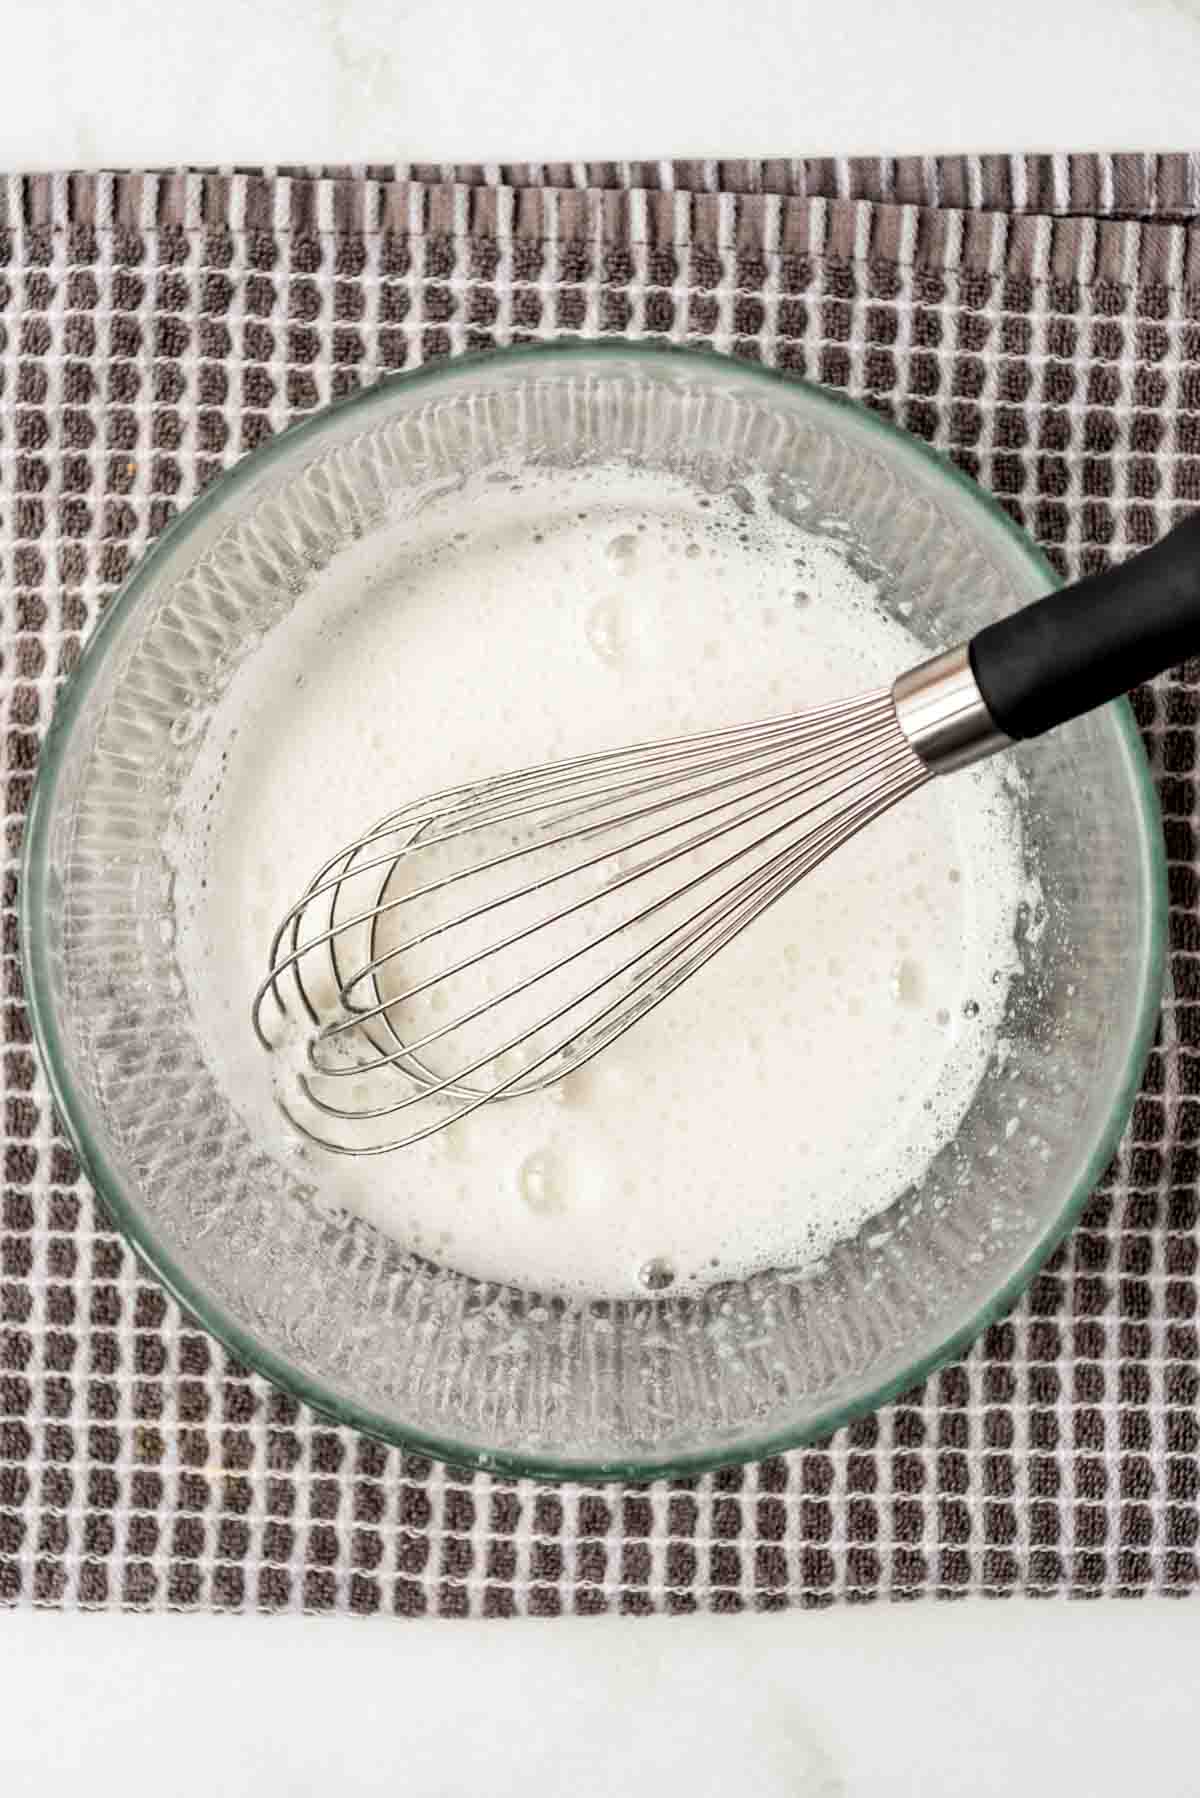
- Make the meringue: When you are ready to finish and serve the bars, whisk the egg whites, sugar, cream of tart, and salt in a double boiler. I use a heat-safe glass bowl that I can nestle on top of a smaller saucepan over a couple inches of boiling water without the bottom of the bowl actually touching the water, which should just be simmering gently. Whisk until the sugar dissolves and the meringue mixture reaches between 135 and 140°F on an instant read or candy thermometer (affiliate link), then remove this from the heat and beat on high speed with a hand mixer until stiff peaks form.
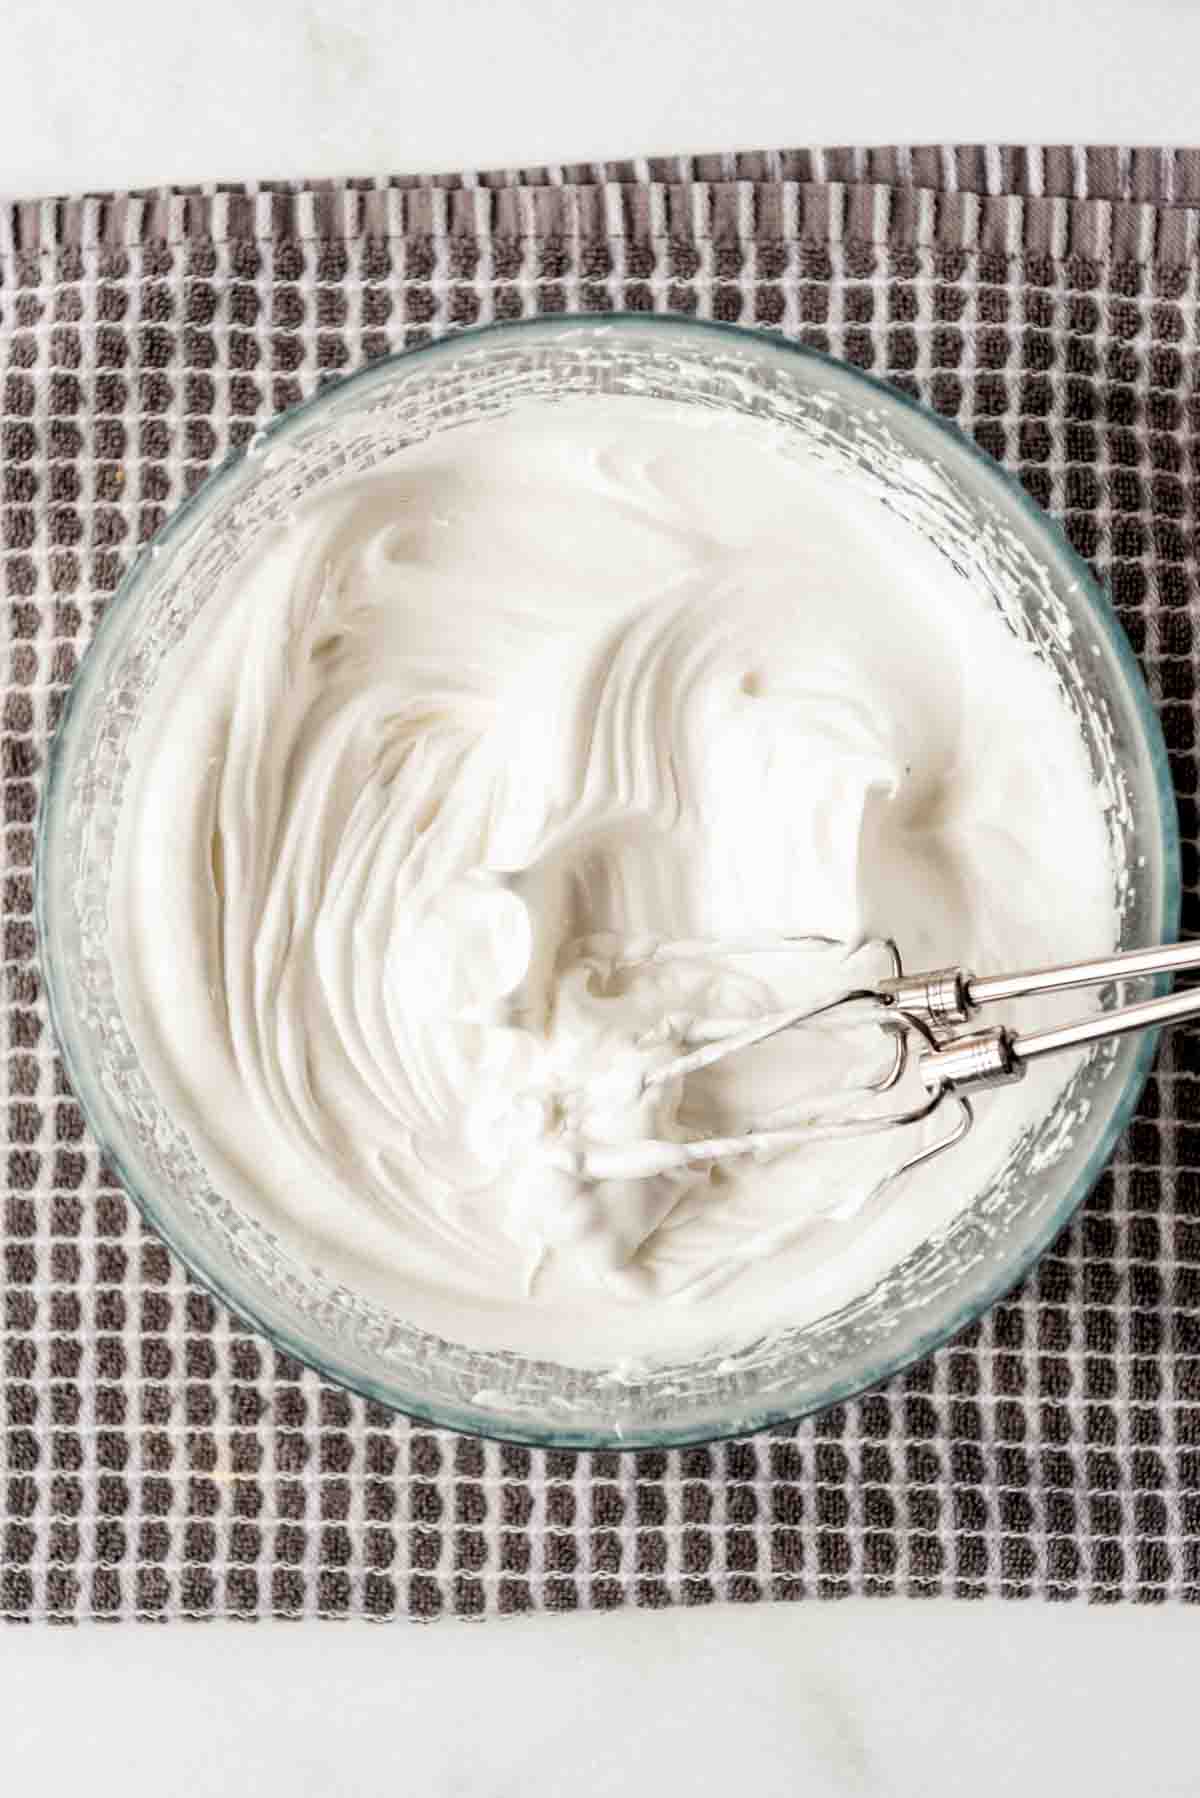
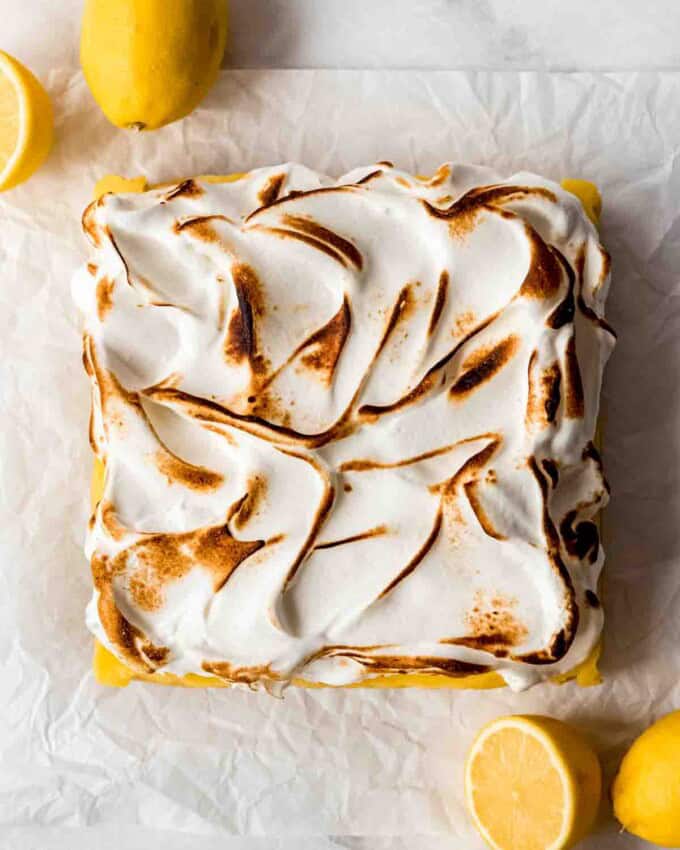
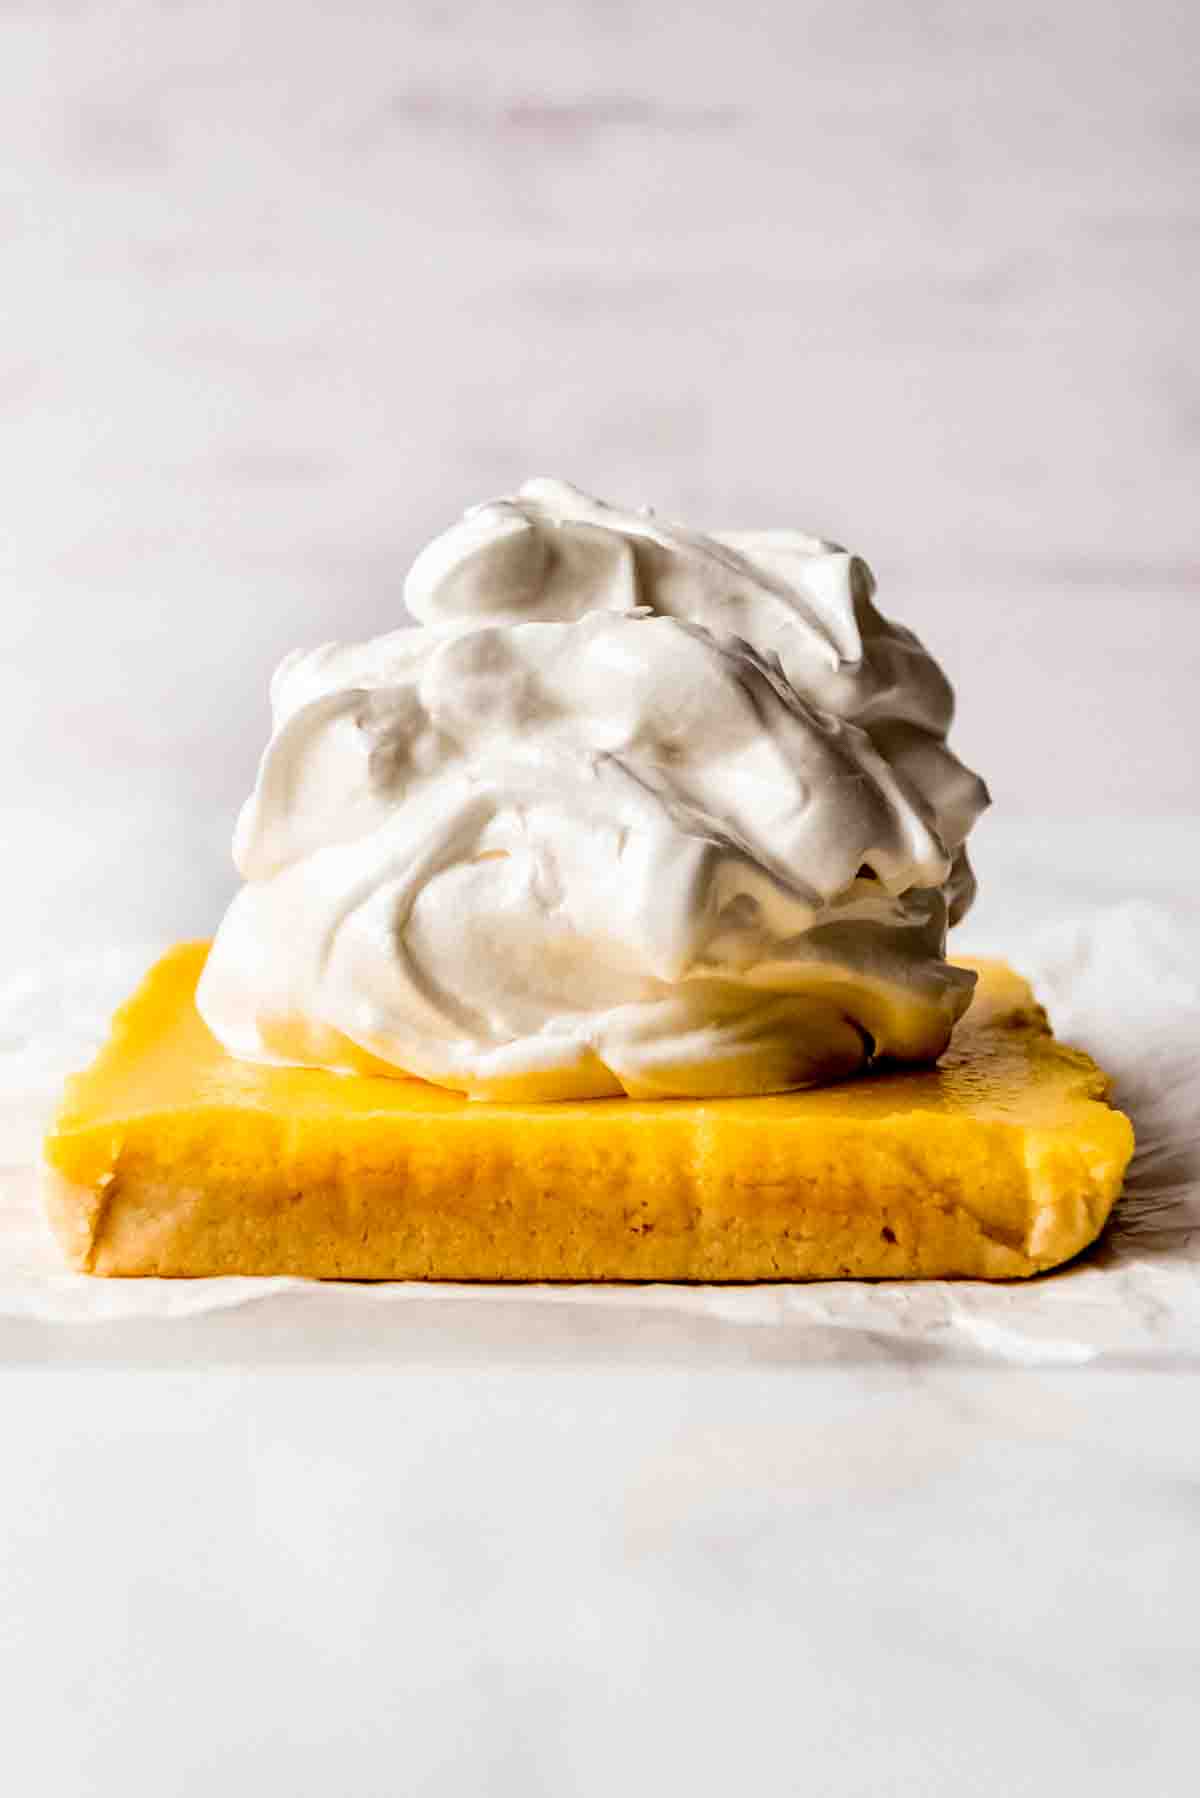
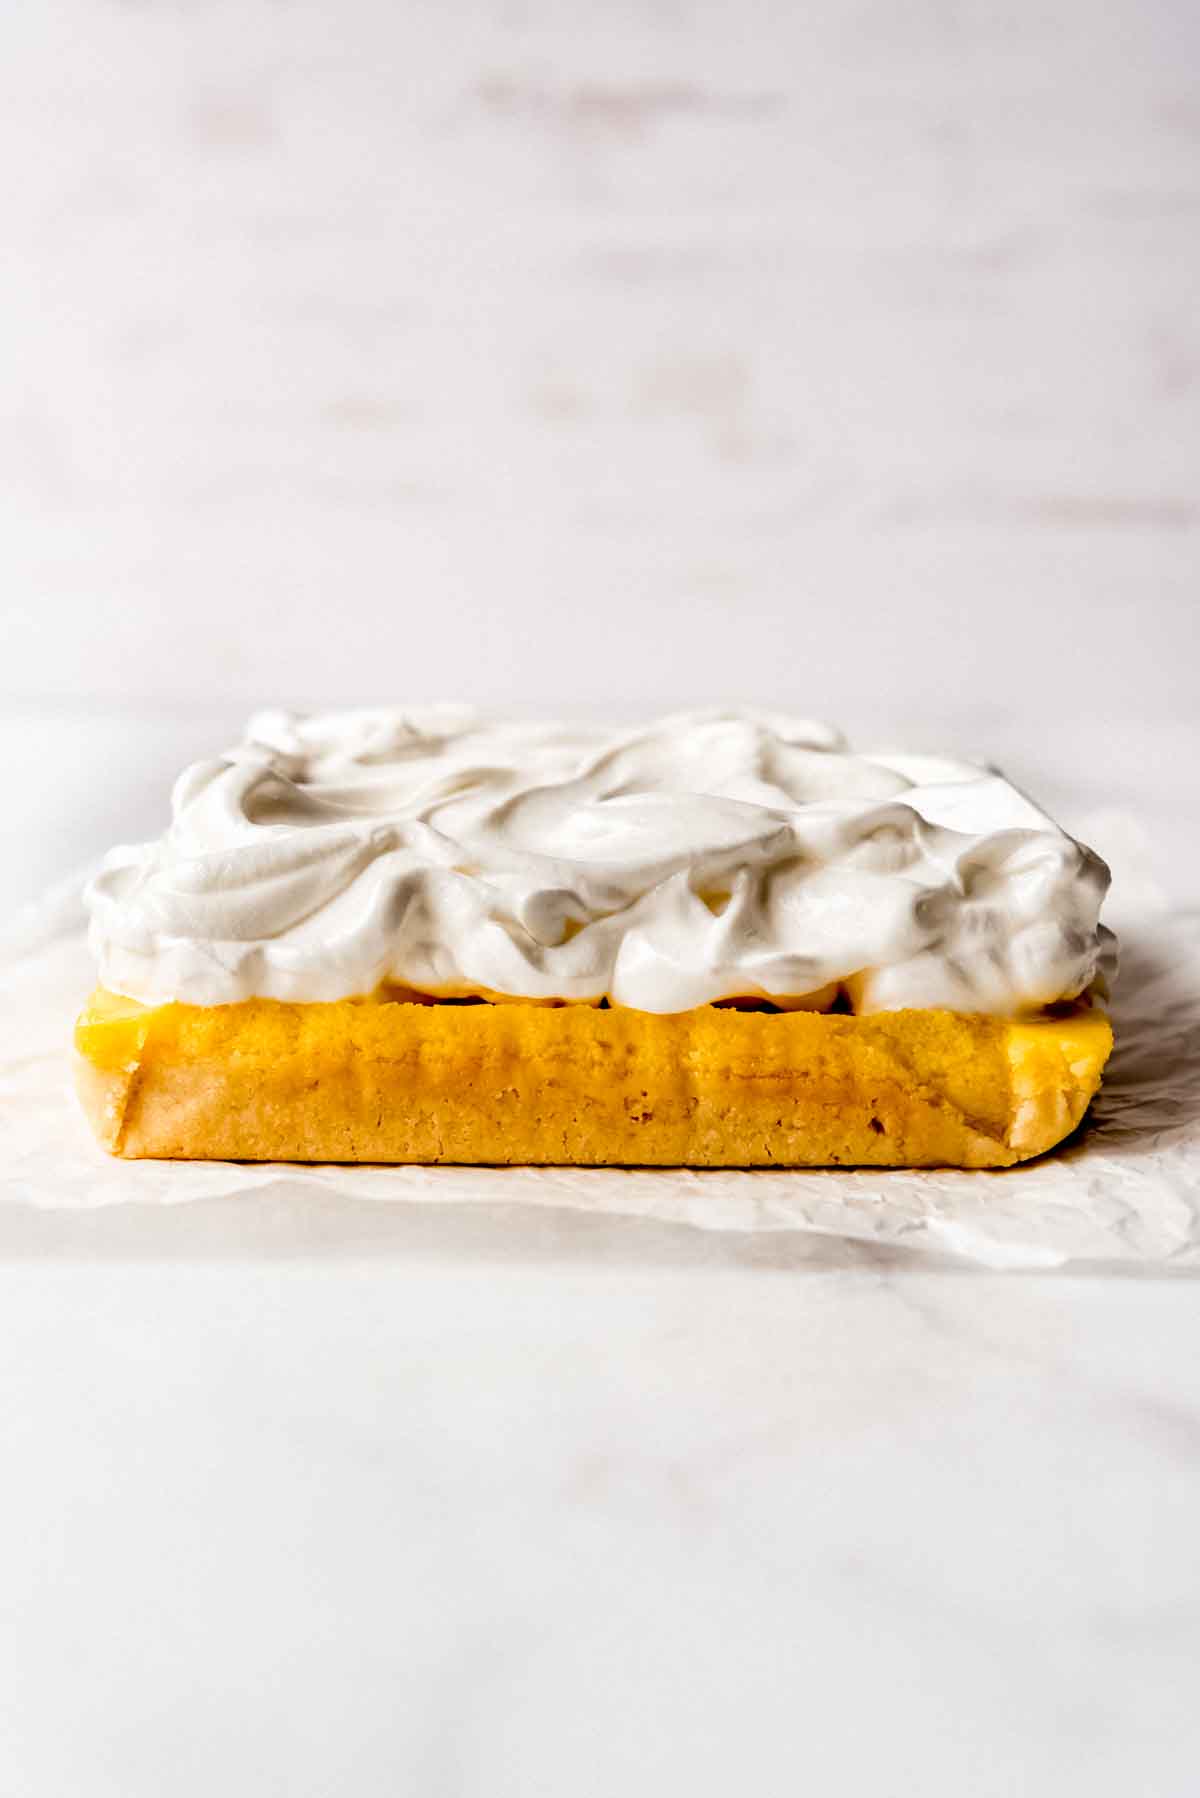
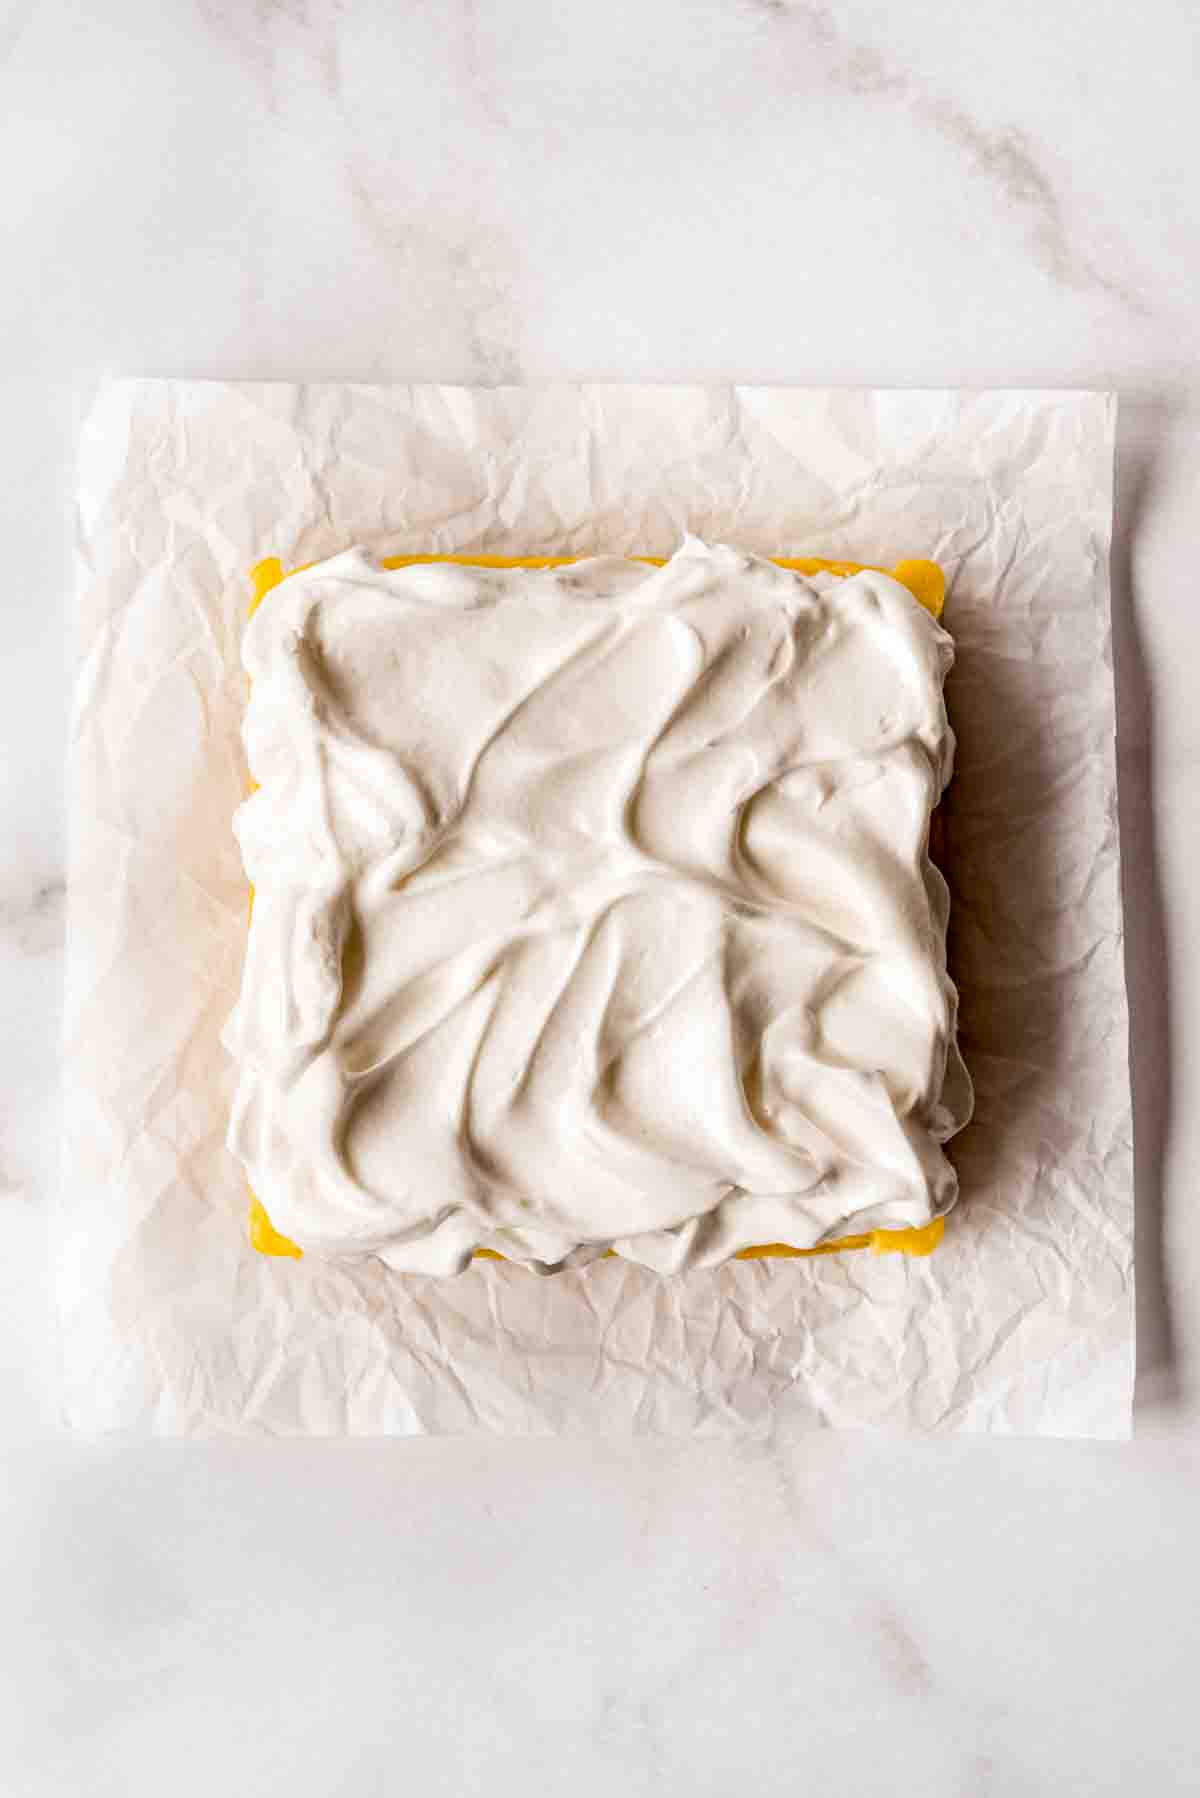
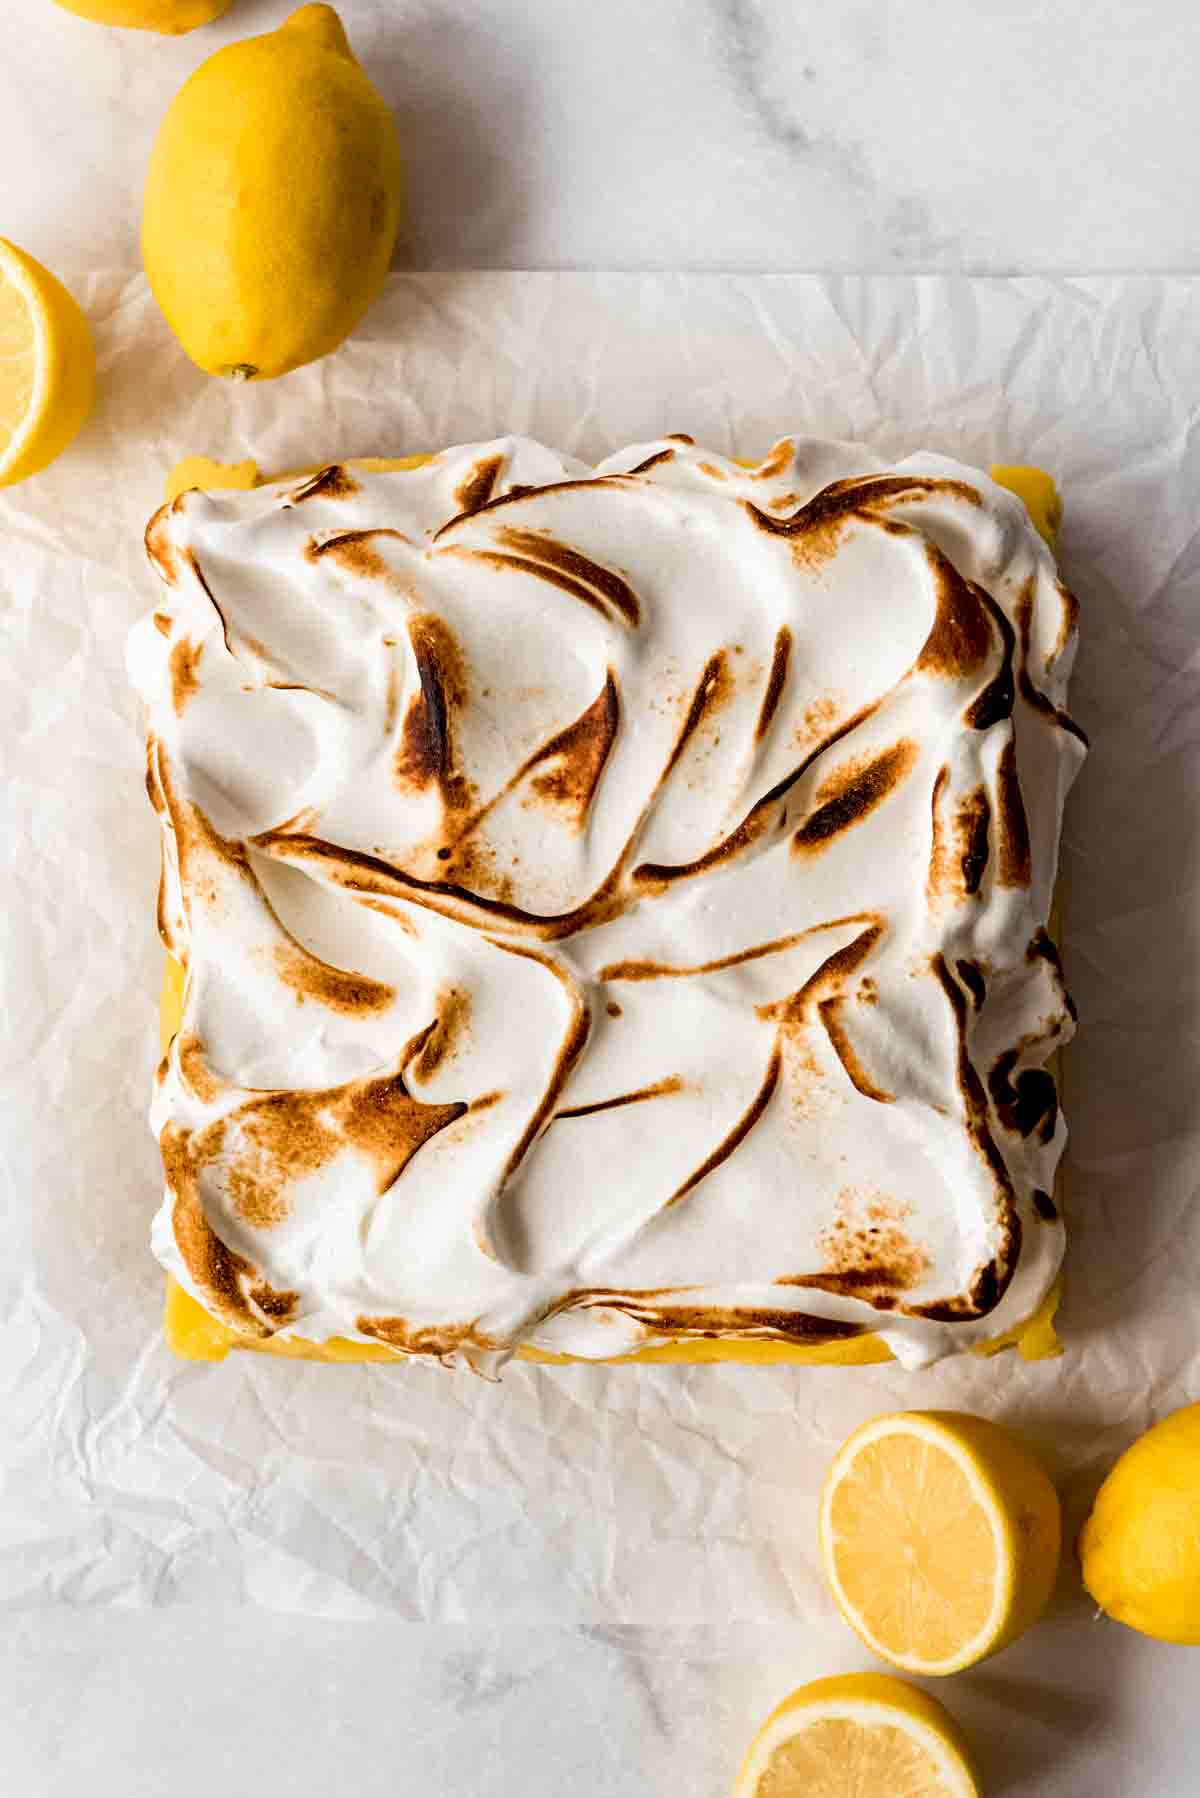
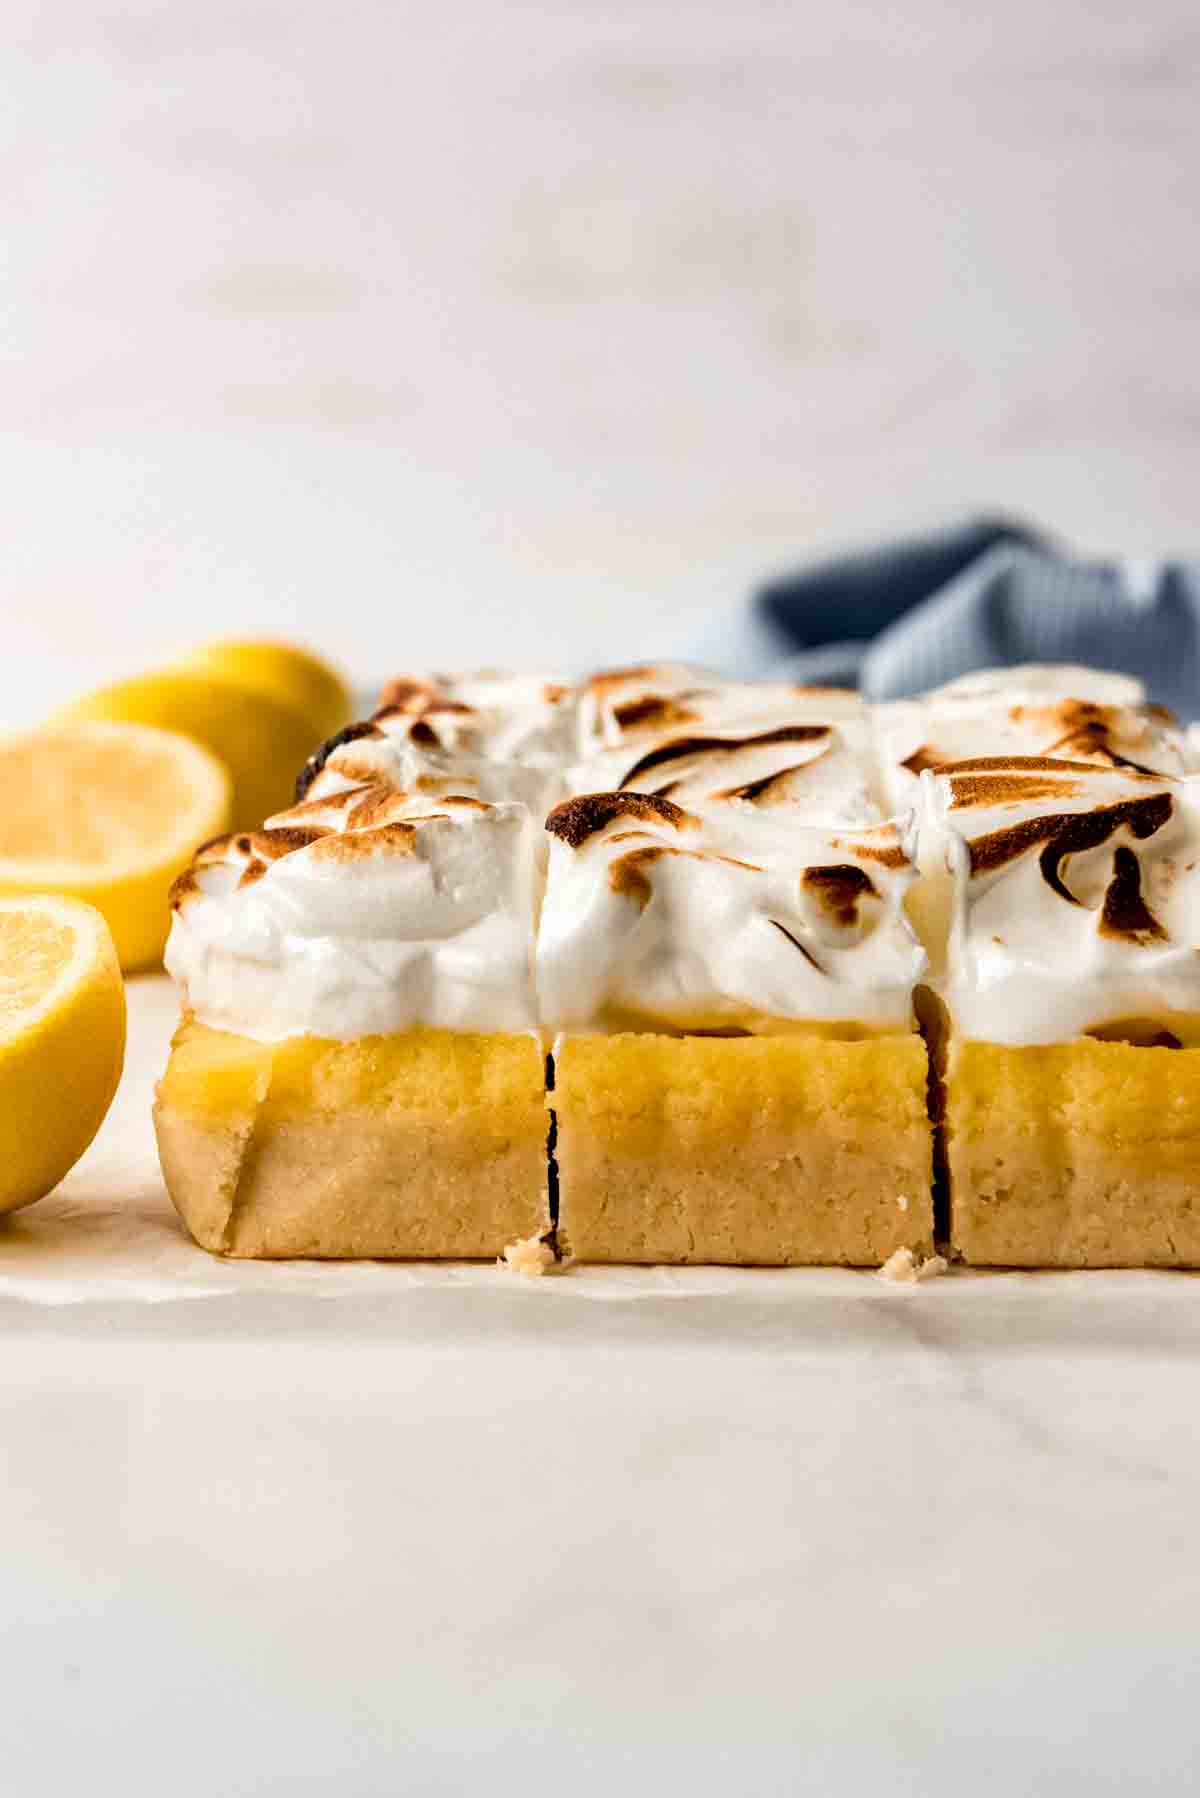
- Top and toast: Pile the fluffy meringue on top of the chilled lemon bars. This recipe makes a LOT of meringue, but it’s just the right amount once you spread it to the edges of the bars. Make swirls in the meringue so there is more surface area to toast, then use a kitchen torch to finish off the meringue by toasting it all over. Or you could stick the whole thing under a broiler for 30-60 seconds to toast it as well. Just watch it really carefully so the meringue doesn’t burn!
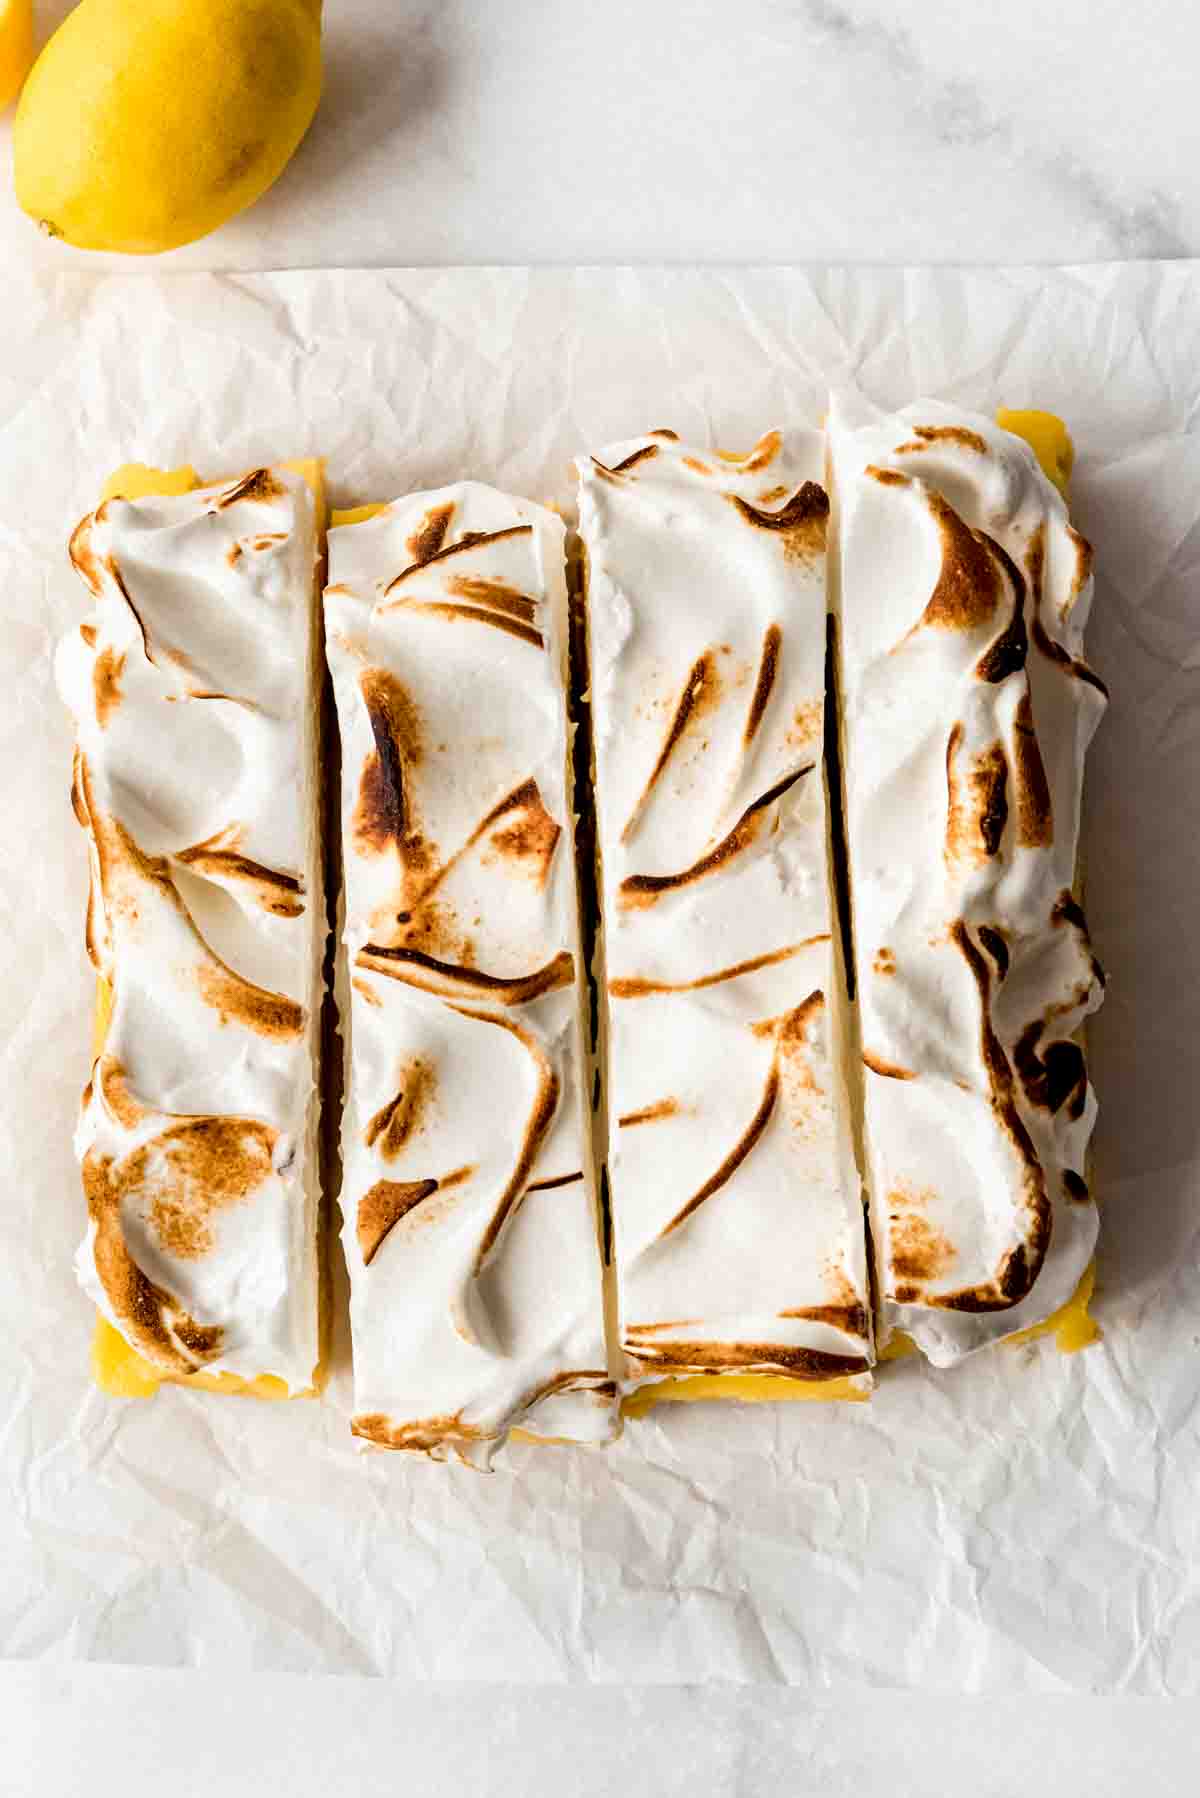
- Slice and serve: Use a hot, sharp knife (I run mine under hot water) to slice the bars into squares, wiping off the blade between each slice for clean slices, and serve either chilled or at room temperature.
Storage instructions
Even with the meringue the bars will keep in the fridge for 1-2 days, although I think they are best eaten fresh when the meringue is room temperature. You should not store these at room temperature, but I think they are best if you let them sit out for 30 minutes or so before serving, although you can certainly eat them cold.
More Lemon Recipes
- Lemon Meringue Pie
- Lemon Cupcakes with Lemon Frosting
- Easy Lemon Icebox Cake
- No-Bake Sour Cream Lemon Pie
- Lemon Poppy Seed Pancakes
- Double Lemon Glazed Cookies
Did you make this recipe?
Let me know what you thought with a comment and rating below. You can also take a picture and tag me on Instagram @houseofnasheats or share it on the Pinterest pin so I can see.
Lemon Meringue Pie Bars
Ingredients
Crust
- 3/4 cup salted butter softened
- 1/3 cup granulated sugar
- 1 1/2 cups (212g) all-purpose flour
- Pinch of salt
Lemon Filling
- 1 1/2 cups (300g) granulated sugar
- 4 large eggs
- 2 egg yolks
- Pinch of salt
- 1 cup fresh lemon juice
- 1 Tablespoon lemon zest
- 8 Tablespoons salted butter melted
Meringue
- 4 egg whites
- 1/2 cup (100g) granulated sugar
- 1/4 teaspoon cream of tartar
- Pinch of salt

Instructions
- Preheat the oven to 350°F. Line an 8 x 8-inch pan with a parchment paper sling.
- Cream butter and sugar. Add flour and salt. Press into the pan. Bake for 15-20 minutes until barely starting to brown around the edges. Remove from oven and decrease the oven temperature to 325°F.¾ cup salted butter, ⅓ cup granulated sugar, 1 ½ cups (212g) all-purpose flour, Pinch of salt
- Meanwhile, whisk sugar, eggs, egg yolks, and salt in a medium saucepan. Whisk in lemon juice.1 ½ cups (300g) granulated sugar, 4 large eggs, 2 egg yolks, Pinch of salt, 1 cup fresh lemon juice
- Heat, stirring constantly, over medium-low heat until thickened and mixture reaches 160°F on a candy thermometer (affiliate link). Remove from heat and strain through a fine mesh sieve.
- Add lemon zest and butter, stirring until butter is melted and combined.1 Tablespoon lemon zest, 8 Tablespoons salted butter
- Pour filling into the crust. Bake for 18-20 minutes until just set with a slight jiggle in the center. Cool completely and chill in the fridge for 2 hours or overnight.
- Whisk egg whites, sugar, cream of tartar, and salt in a double boiler or large bowl that can sit over a small pan. Bring a few inches of water to a boil, then place a double boiler over water without letting it touch water. Reduce heat to a simmer.4 egg whites, ½ cup (100g) granulated sugar, ¼ teaspoon cream of tartar, Pinch of salt
- Continue to whisk until sugar dissolves and mixture reaches 135-140°F on a candy thermometer (affiliate link).
- Remove from heat and beat with a hand mixer until a billowy meringue with stiff peaks forms.
- Spread meringue over chilled lemon bars. Use a kitchen torch to toast meringue swirls or broil for 30 seconds to 1 minute, watching carefully so the meringue does not burn. Slice into squares and serve chilled or at room temperature.

