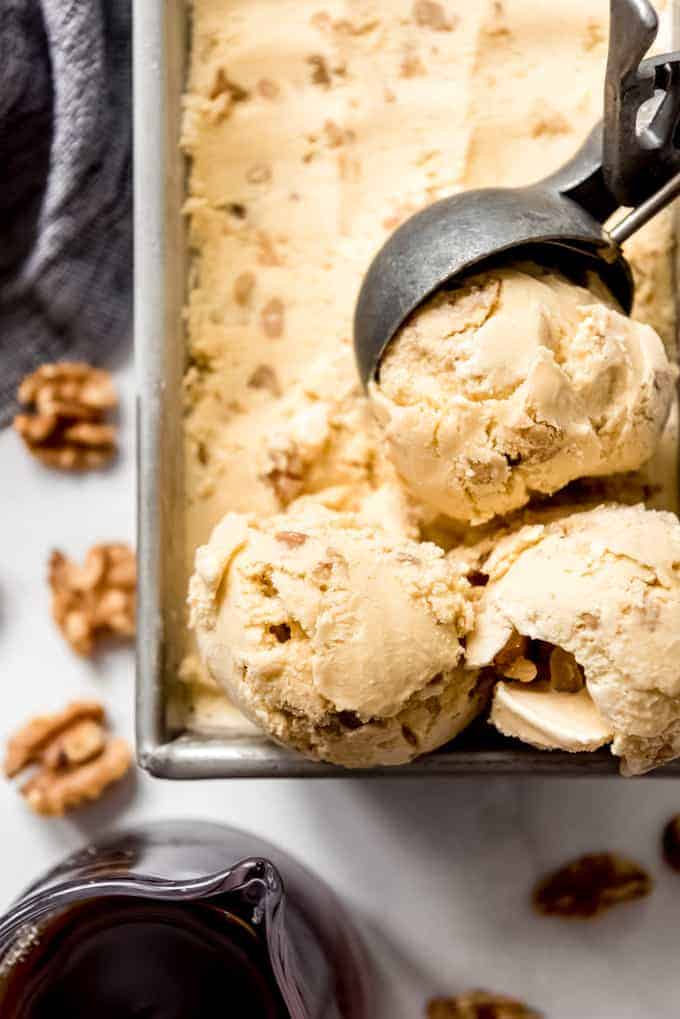
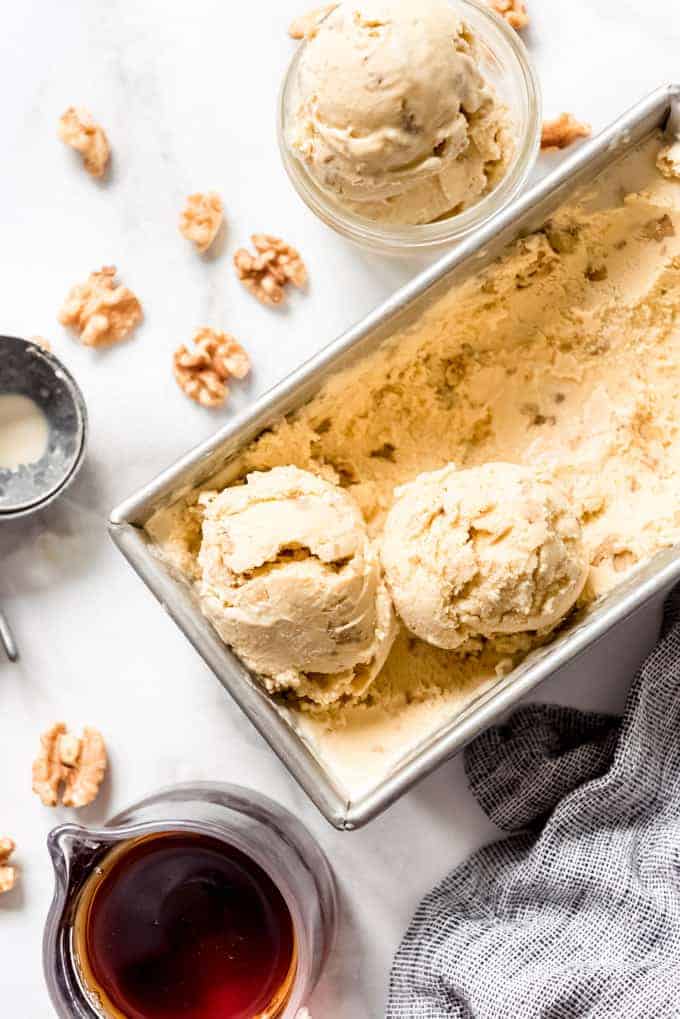
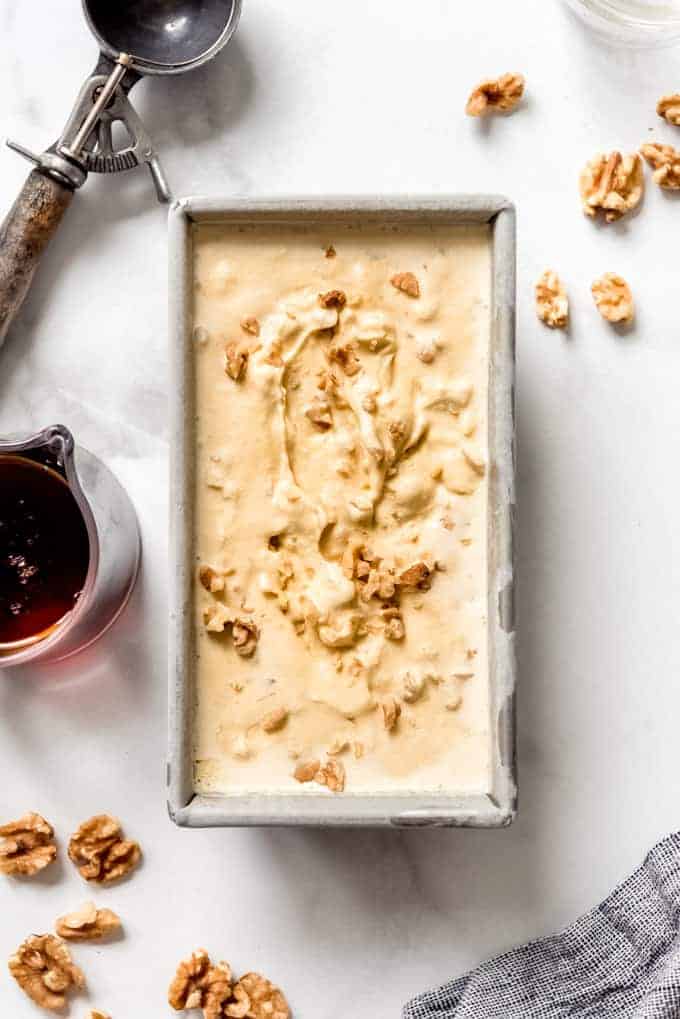
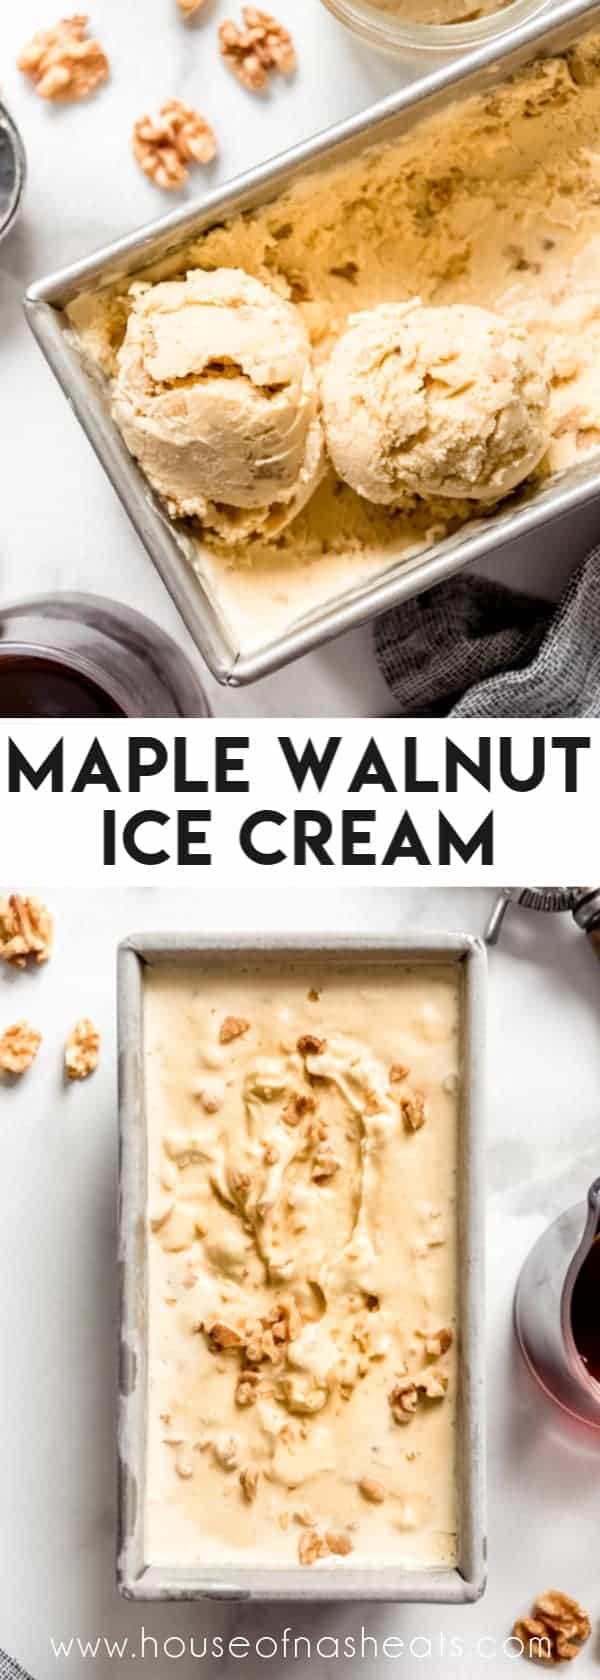
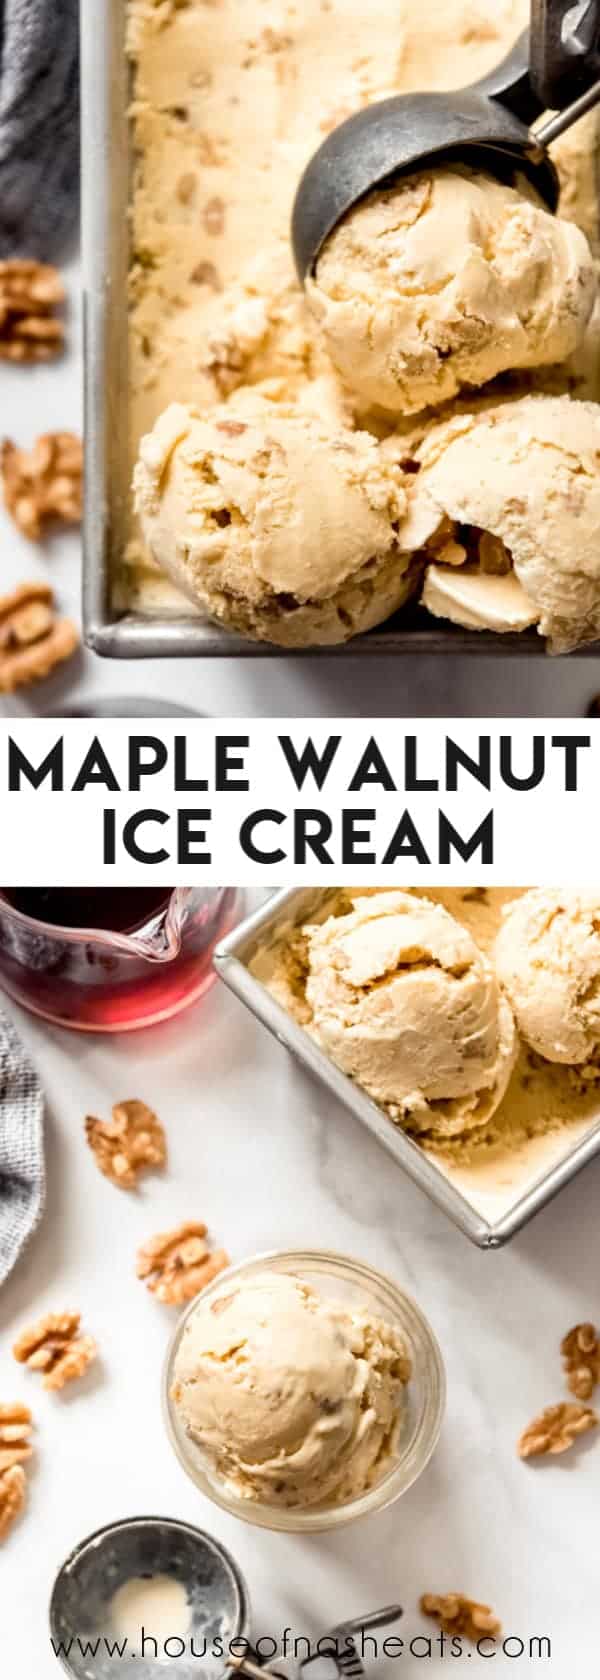
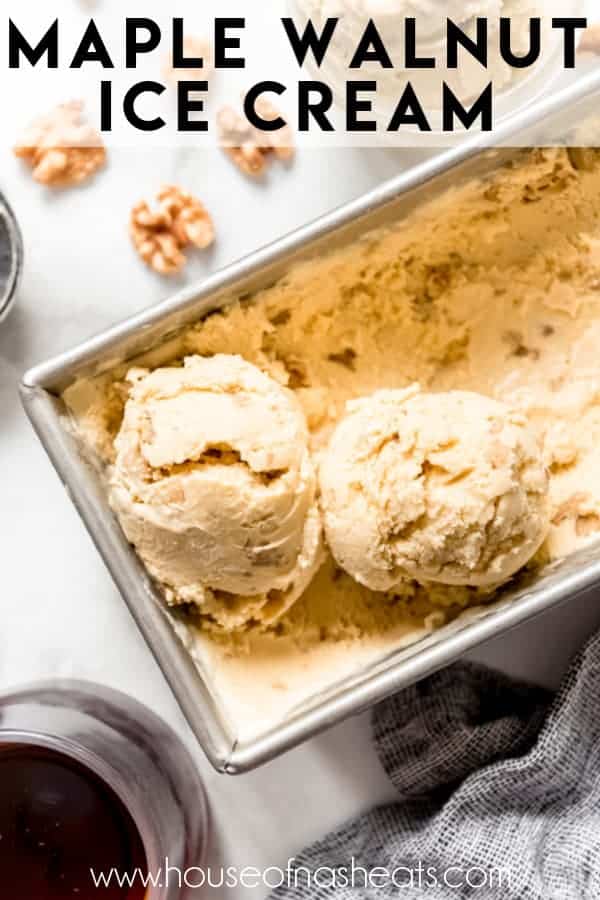
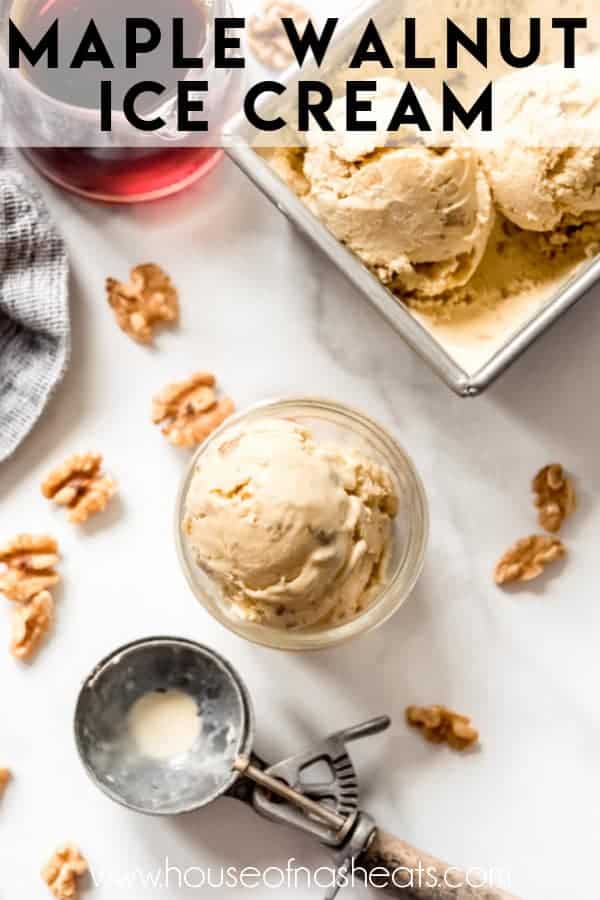
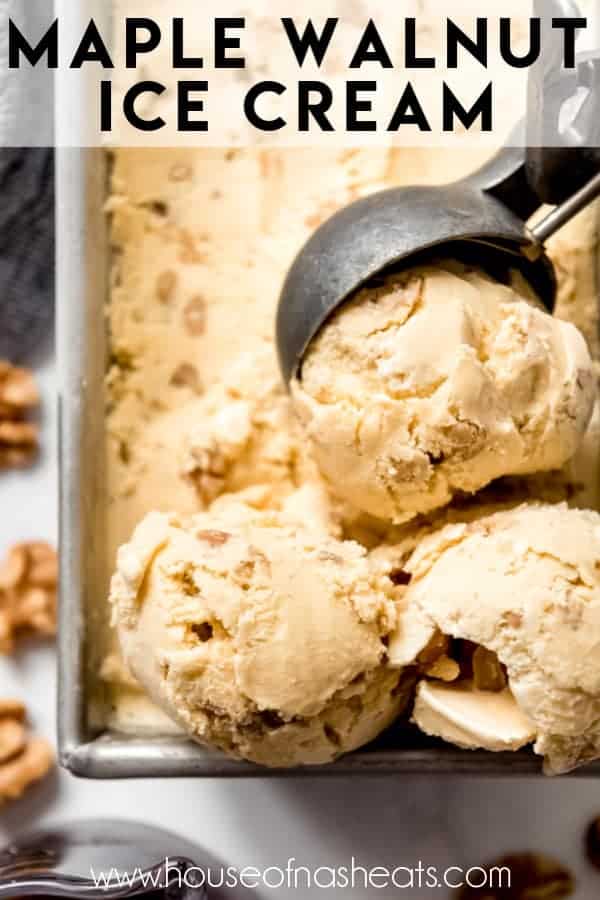
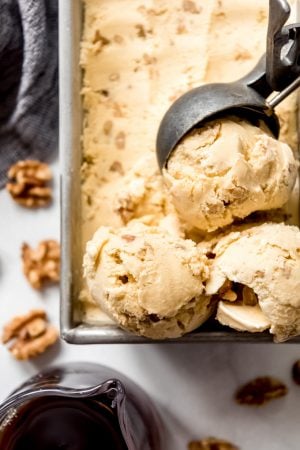
This Maple Walnut Ice Cream recipe has a custard base made with real maple syrup and there are pieces of toasted walnut in every bite! It’s an old-fashioned classic flavor that is mostly only seen on boardwalks and ice cream shops these days, but deserves to be made popular again!
It seems like there are two kinds of people in the world: those who prefer things with nuts and those who don’t. I have always been the type to prefer nuts ever since I was a kid. I love them in brownies, in fudge, in salads and jellos, in my banana bread, and even in main dishes like my macadamia nut crusted mahi-mahi.
So it’s unsurprising that maple walnut ice cream was always one of my favorite flavors of ice cream when I was growing up. When we would go to old-fashioned ice cream counters and maple walnut was on the menu, I would always get a double scoop and one of them was usually maple walnut.
Homemade ice cream is one of our favorite things to make! If you have an ice cream churn and are looking to try new ice cream recipes, be sure not to miss our Toasted Almond Ice Cream, Rainbow Sherbet, Homemade Strawberry Ice Cream, Coconut Macadamia Nut Ice Cream, and Cherry Vanilla Ice Cream!
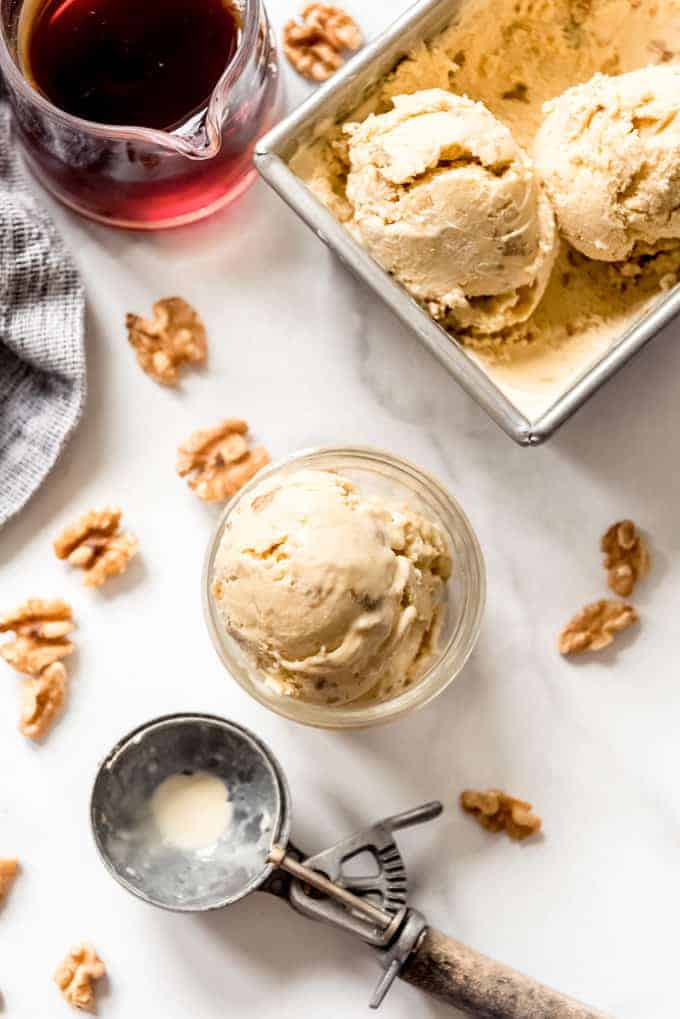
It’s such a rich, unusual flavor with the maple coming through sweet and strong, but not overpowering when done right using real maple syrup that we simmer down to help concentrate the flavor a bit.
And the chunks of toasted walnuts are my favorite! Pecans would do just as well in this ice cream and go great with maple, but walnuts have always been my favorite nut. Toasting them brings out their natural oils and brings out that wonderful flavor that holds its own against the maple.
This is a custard based ice cream, which means we are heating some milk and cream with sugar, then pouring the hot liquid over egg yolks to “temper” the eggs. Which is just fancy chef-speak for gently bringing up the temperature of the eggs so they don’t scramble when added to the hot ice cream base.
The egg yolks not only add richness to the ice cream, but they make it creamy and scoopable instead of icy.
Ingredients in maple walnut ice cream
- Maple syrup
- Heavy cream
- Milk
- Egg yolks
- Salt
- Walnuts
How to make maple walnut ice cream
Toast the walnuts: This ice cream recipe starts a little different from most. First the walnuts need to be toasted, either in the oven on in a dry pan on the stovetop. I prefer the oven because I can just set a timer instead of standing by the stove stirring nuts.
Let the nuts cool, then roughly chop them and stick them in the freezer until it’s time to add them to the ice cream.
Concentrate the maple syrup. Next, the maple flavor gets concentrated down by gently boiling down some maple syrup in a saucepan on the stovetop for about 10 minutes. As some of the liquid evaporates, the maple flavor gets more intense so that it is really noticeable in the finished ice cream. No need to resort to using artificial maple flavoring with this recipe!
You could skip the step of boiling the maple syrup, choosing instead to stir in the maple syrup after cooking the milk and cream and adding the eggs. It would still have a good flavor, but the maple won’t be quite as powerful.
Add the cream and milk. When the maple syrup has reduced from ¾ cup to ½ cup, whisk in the heavy cream, milk, and salt. At first the maple syrup may seize up. Continue to heat and gently stir, and it will melt into the milk and cream as they warm up. Meanwhile, whisk the egg yolks in a medium bowl and set aside.
Tempering egg yolks
When you notice small bubbles around the edges of the saucepan, remove about 1 cup of the hot milk mixture. Gradually pour it into the whisked egg yolks, whisking the entire time to gently raise their temperature. This process is known as “tempering” the yolks.
Add the egg yolk mixture back to the saucepan. Continue to cook and stir over medium-low heat until the mixture reaches 170-175 degrees F on a thermometer. It doesn’t take more than a minute or two. If you don’t have a thermometer, the mixture should be thick enough to coat the back of a spoon.
Most ice cream recipes recommend pouring the base through a fine mesh sieve to remove any bits of scrambled egg. But of the hundreds of batches of ice cream I have made I have never bothered with that step. And I have never personally experienced “eggy” ice cream.
Chill ice cream thoroughly
Chill the base completely before churning. The ice cream base should be as cold as possible before adding churning to get the best quality result. I’m always impatient for ice cream, so I like to use an ice bath to cool the custard base faster.
Just fill a very large bowl with ice and cold water for an ice bath. Transfer your ice cream base to a heavy-duty gallon-size ziploc bag and place it in the ice bath. The base will chill pretty quickly actually and is usually ready to churn within about 30 minutes to an hour using this method.
Or transfer the mixture to a bowl, cover with plastic wrap, and stick it in the fridge overnight.
How to churn ice cream
Churn the ice cream according to your ice cream maker instructions. Growing up we used a hand-cranked mixer at my grandparent’s house in Idaho, where I learned to make ice cream. Eventually my parent got an electric ice cream mixer that still had to be packed with ice and rock salt.
These days, I have a KitchenAid ice cream bowl attachment and a Cuisinart ice cream maker. The Cuisinart is my favorite, but both work well. They make it SO much easier to churn ice cream at home. All you have to do is pour the base into the bowl, start the mixer, and let it work for 10-20 minutes. The only downside is that they only do small amounts of ice cream at a time. You can make about 1.5 quarts in those bowls, which is how this recipe was written. You can double or triple this recipe if using a larger ice cream churn.
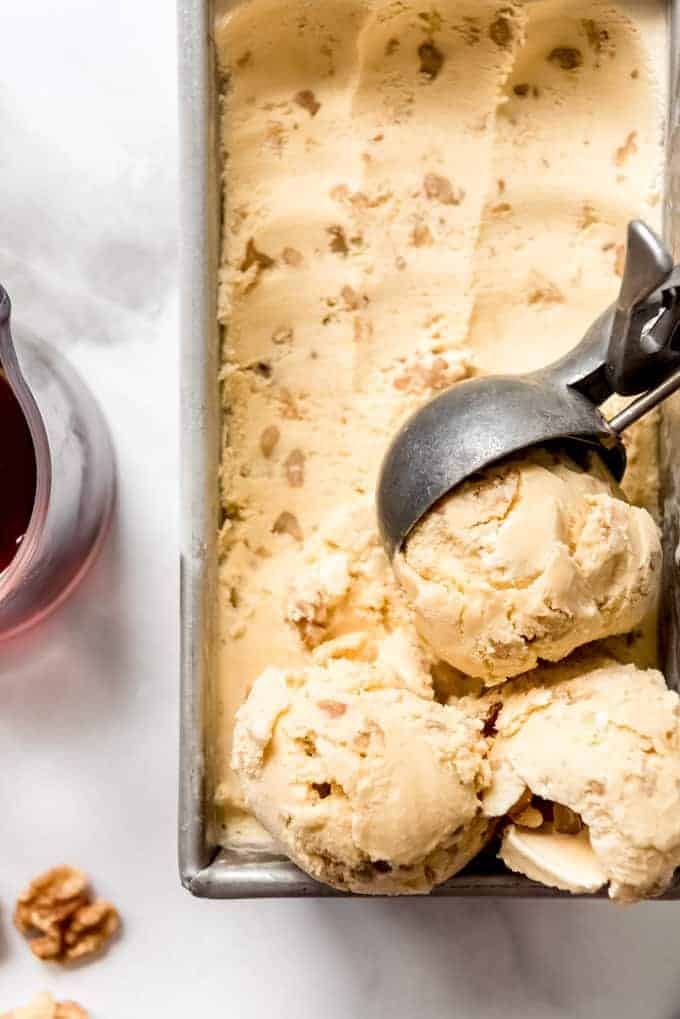
You will know the ice cream is done when it starts looking like soft-serve. That’s when you add the chopped walnuts and let them mix into the ice cream for 30 seconds or so.
“Cure” or harden the ice cream in the freezer. Transfer the soft ice cream to a bread pan or other freezer-safe container. Stick it in the freezer for 4 hours to “cure” or harden all the way.
More Maple Recipes
- Maple Pecan Blondies
- Maple Glazed Walnuts
- Maple Walnut Fudge
- Nutty Maple Brown Sugar Bacon
- Maple Glazed Pecans
- Maple Glazed Salmon
Fish & Seafood
Hot Smoked Salmon
Ice Cream
Maple Walnut Ice Cream
Fish & Seafood
Baked Salmon with Mango Salsa
Did you make this recipe?
Let me know what you thought with a comment and rating below. You can also take a picture and tag me on Instagram @houseofnasheats or share it on the Pinterest pin so I can see.
Maple Walnut Ice Cream Recipe
Equipment
Ingredients
- 3/4 cup maple syrup
- 1 1/2 cups whole milk
- 1 1/2 cups heavy cream
- 5 egg yolks
- Pinch of kosher salt
- 1 1/2 cups walnuts toasted and coarsely chopped

Instructions
- Toast the walnuts by placing them on a baking sheet in a 325°F oven for 10-12 minutes or in a dry skillet over medium heat for 5 minutes while stirring constantly. Cool and roughly chop.1 ½ cups walnuts
- Pour the maple syrup into a medium saucepan and bring to a boil over medium-high heat. Reduce heat to medium and cook for 8-10 minutes until reduced to about ½ cup.¾ cup maple syrup
- Reduce the heat to medium-low and whisk in the cream, milk, and salt until combined.1 ½ cups whole milk, 1 ½ cups heavy cream, Pinch of kosher salt
- Whisk egg yolks in a medium bowl. Once small bubbles start to form around the edges of the pan with the hot milk mixture, remove 1 cup of the hot liquid and gradually whisk it into the egg yolks to temper the eggs.5 egg yolks
- Pour the tempered egg mixture back into the pan with the hot milk. Continue to heat over medium-low heat until it reaches 170-175 degrees F or is thick enough to coat the back of a spoon.
- Transfer the ice cream base to a glass bowl or heavy-duty ziptight bag and seal completely. Submerge in an ice bath to cool quickly or place in the fridge to chill overnight.
- When the ice cream is thoroughly chilled, churn it according to your ice cream maker’s instructions. Add the toasted walnuts during the last minute of churning.
- Transfer the soft ice cream to a bread pan or other freezer-safe container, then freeze for 4 hours to harden.
Notes
- This ice cream is heavy on the walnuts. I like plenty of nuts in my ice cream, so the amount is perfect for me, but feel free to scale it back to ¾ cup of toasted walnuts if you don’t want it as nutty.
- Yield: About 1 ½ quarts.
Nutrition
Recipe Sources: All Recipes and New England Today.




This is awesome, I would love to try it once Thanks for the idea.
My ice cream didn’t firm up in my kitchenaid ice cream maker. Even though I cooled it in the ice water bath before churning. I have put it in the freezer and I’m sure it will freeze up. Next time I will make the base the day before and chill overnight in fridge before the churn. Flavor was excellent so looking forward to ice cream in about 5 hours!!!
Diane, mine never firmed up either EVEN THOUGH I made the recipe ahead of time and chilled the mixture all night. Bummer.
It’s not ice cream if it’s got eggs in it. It’s custard.
I got to 125 degrees F after the tempered eggs were mixed in and noticed the milk looks curdled. What did I do wrong and can it be fixed or is that normal?
Love this ice-cream! I didn’t think I would like the walnuts but I really do! Thanks!
I made this ice cream for July ice cream challenge and it was very good. The maple flavor was subtle and I added 1 cup of chopped walnuts, which was good for my family. Thanks Amy.
I am looking forward to trying this. As a maple producer myself I would suggest using extra dark maple syrup. The very rich flavor will give you the full maple experience!
OMG, this is the best maple walnut ice cream I have ever had, even from a ready made in the grocery store. The key is 1) using pure maple syrup and 2) reducing that maple syrup down to intensify the flavor. Delicious!
I made this a couple weeks ago, it was ok. Way to may nuts and not a lot of maple flavor. I made it again did half of the nuts and added 1 TBS of maple extract. It was Perfect.
Second time making this; added 2 tsp maple extract and it was fantastic!
Great!
I recently visited Mobile and was introduced to Maple Walnut ice cream sold at Public’s Grocery. Best Ice Cream ever but haven’t been able to find it anywhere. My understanding is that it is a product of Public’s only.
SO GOOD AND WOULD LIKE TO FIND it
Perfect colour. I’m Canadian and this my favourite ice cream. I would eat it in the winter. Perfect!
Thanks Michele! It is such a good flavor!