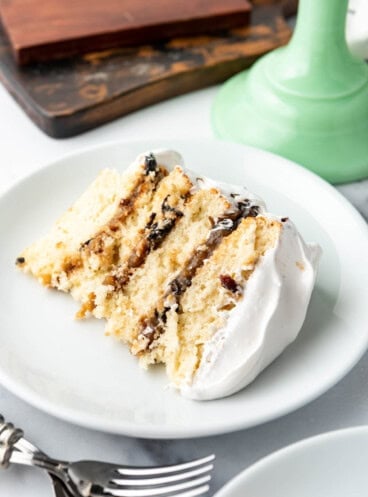
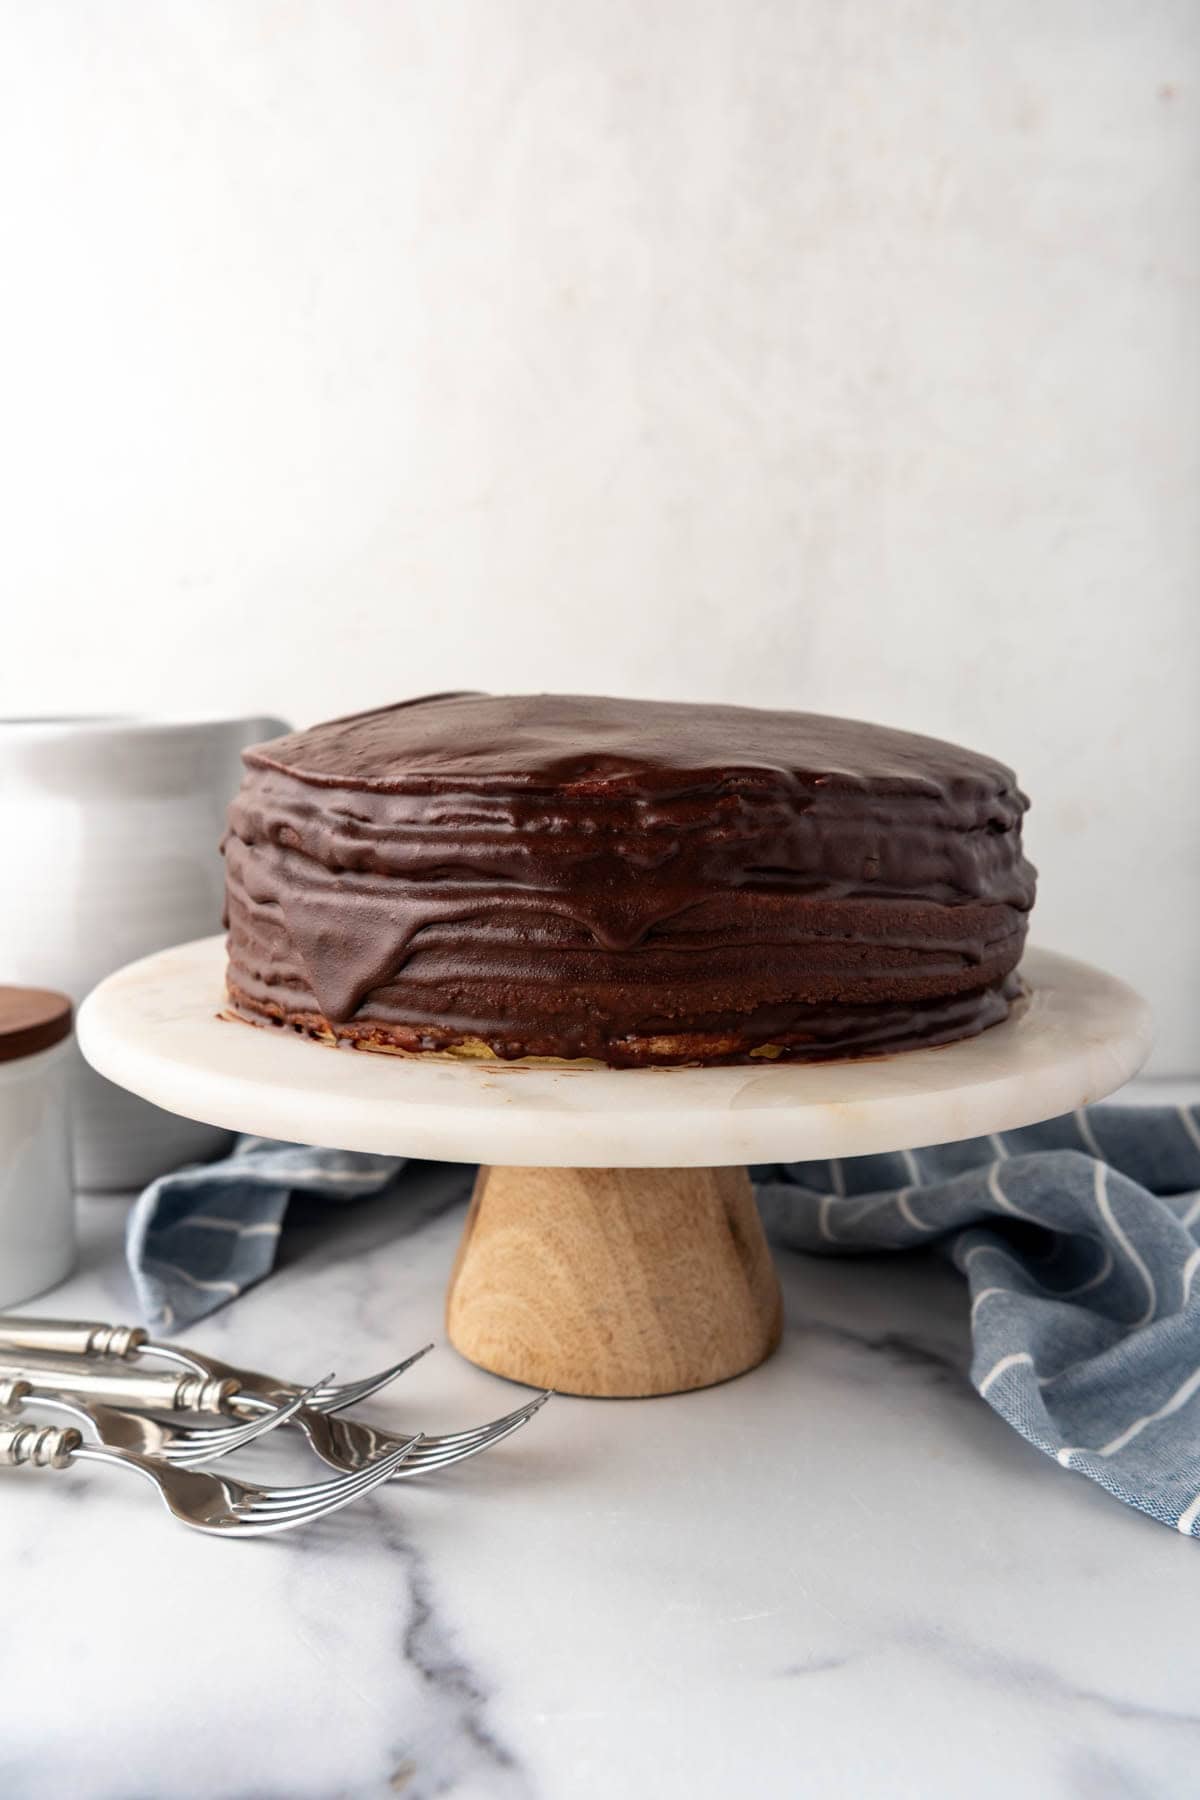
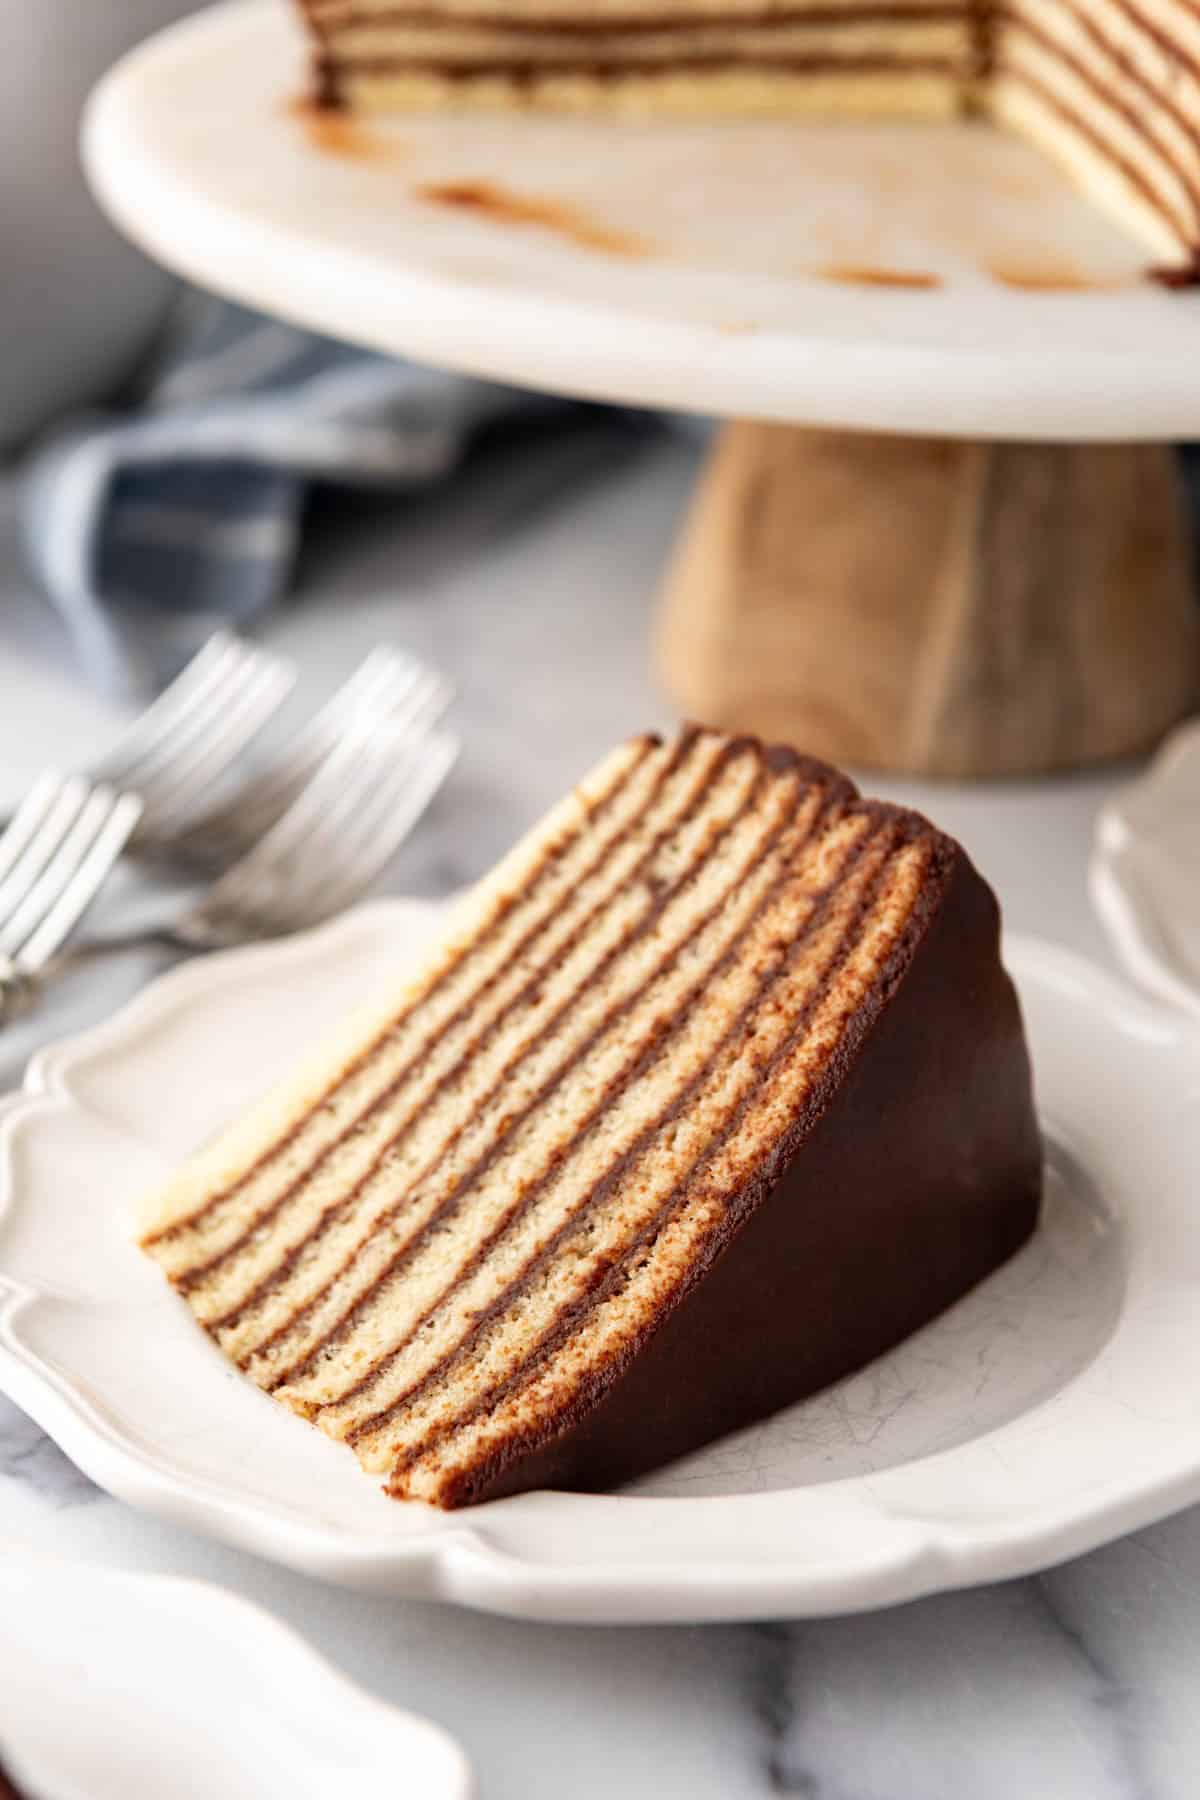
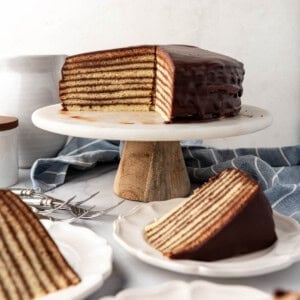
Smith Island Cake is famous for its impossibly thin cake layers stacked high with chocolate fudge icing in between. It has a strong connection to Smith Island and the Chesapeake Bay and was made the official state dessert of Maryland in 2008.
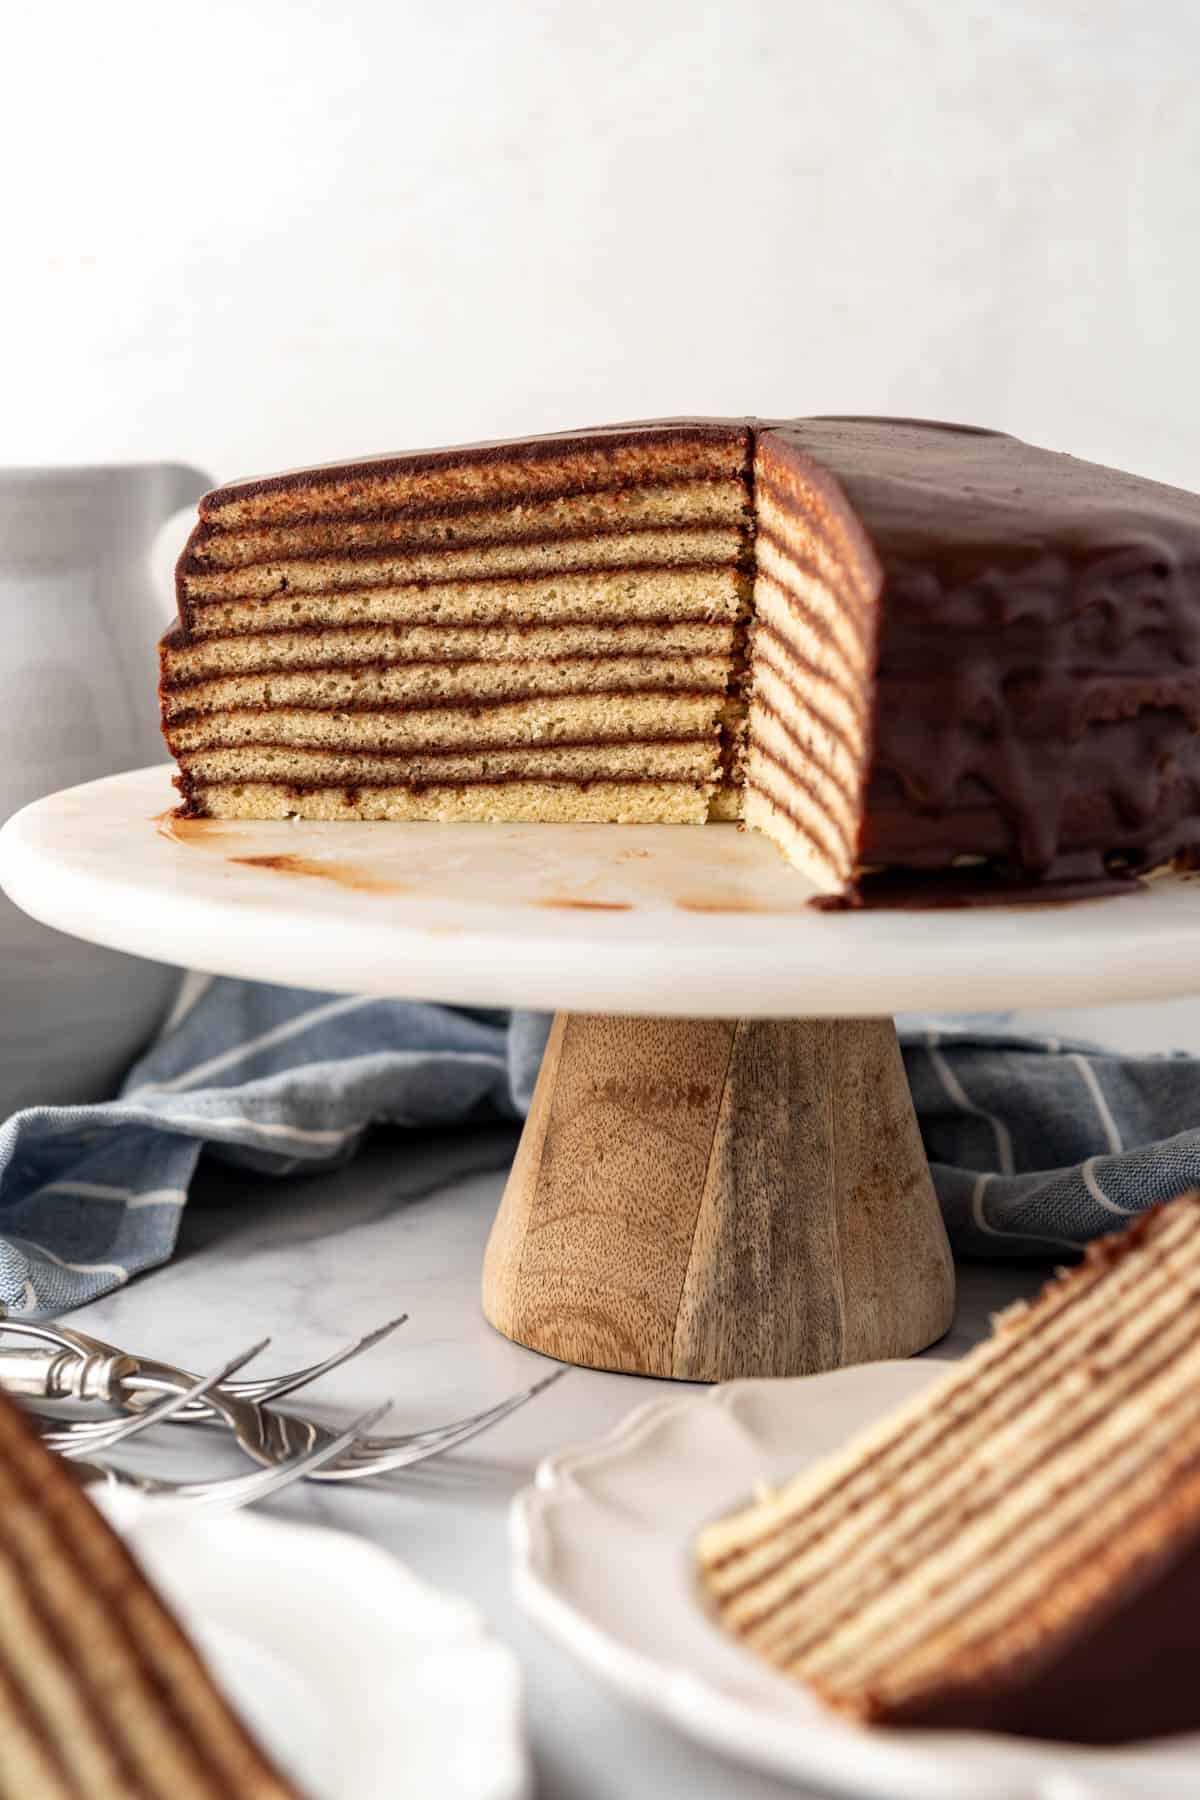
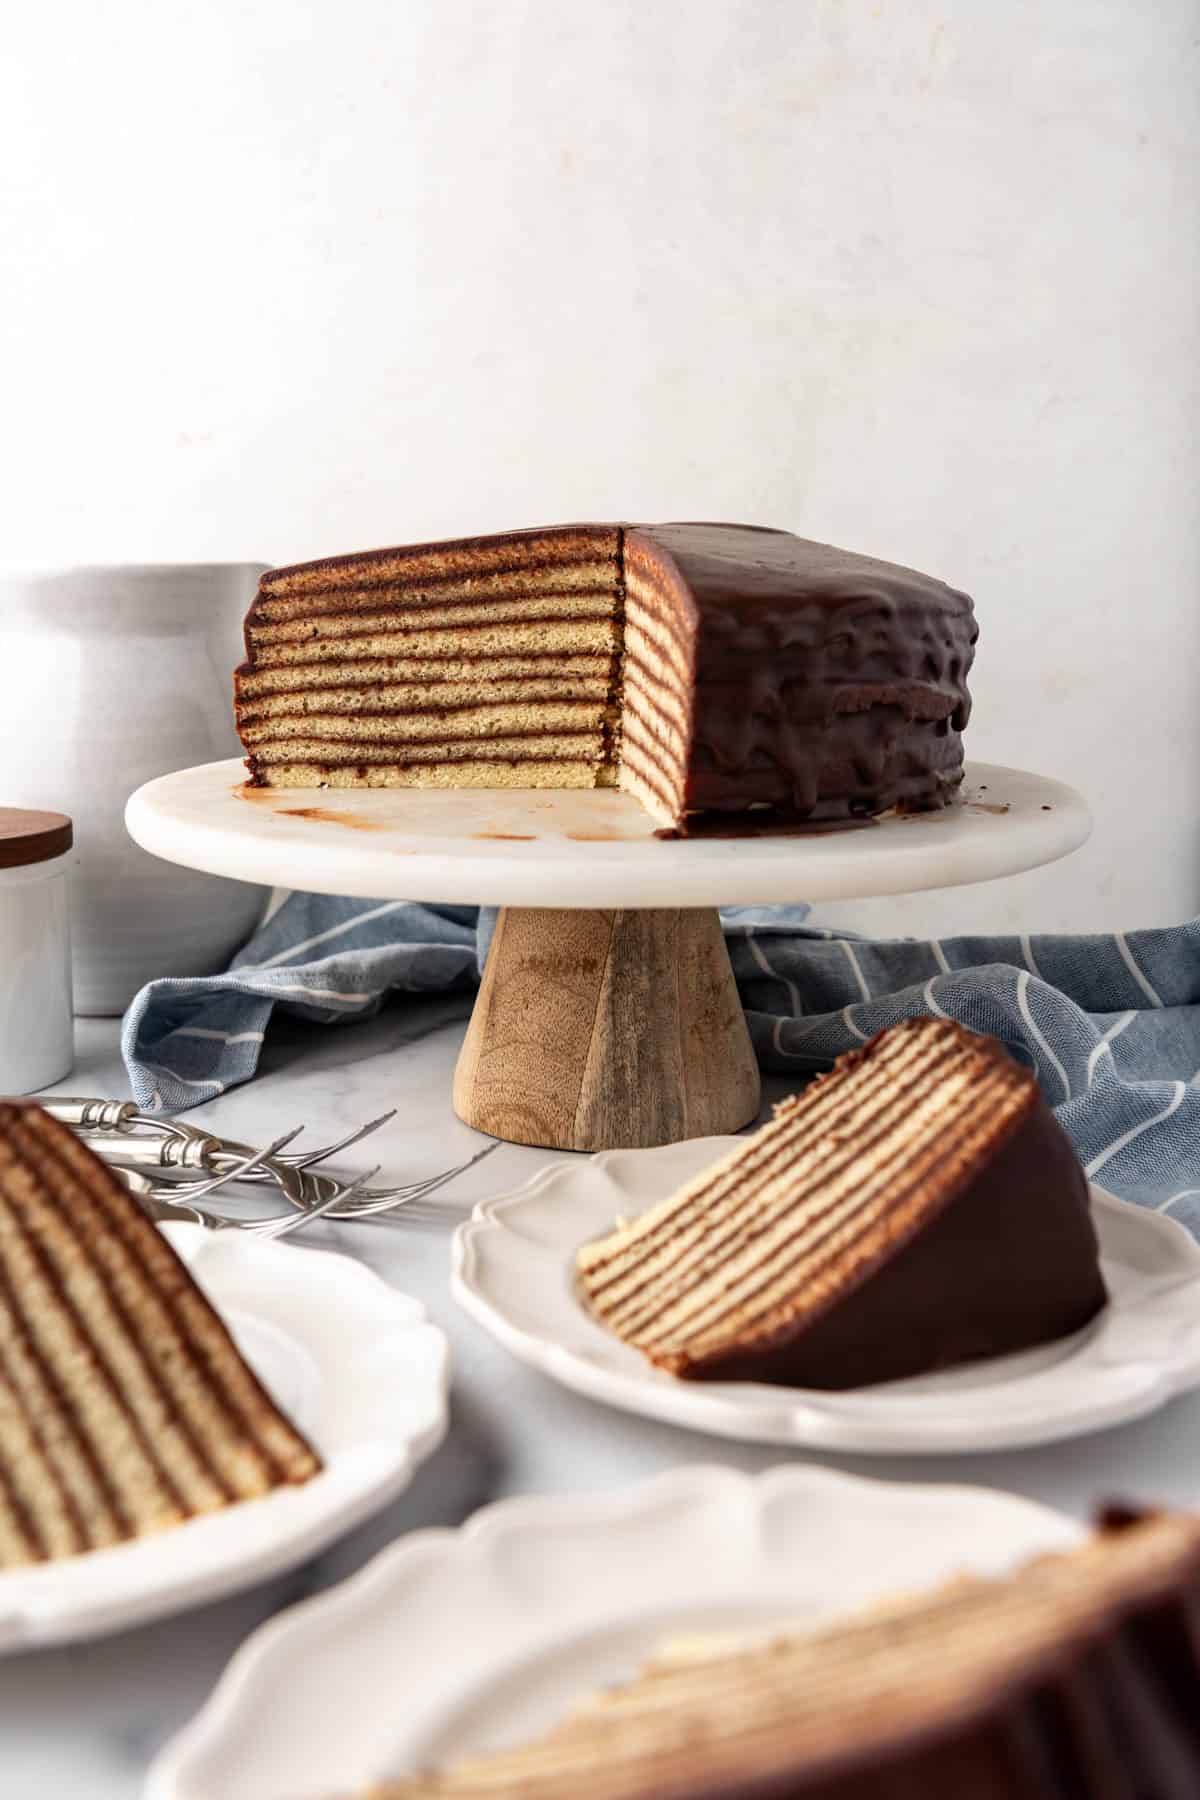
Traditionally, Smith Island Cake has anywhere from 8 to 10 layers of yellow cake, which gives it that instantly recognizable look once sliced. Mine has 9 layers, and I have to say, there is just something so satisfying about seeing all those delicate layers stacked together.
According to lore, Smith Island Cake is often connected to the women of Smith Island, who would bake these cakes for their fishermen or seagoing husbands. The many thin layers helped create a cake that stayed moist and rich, with plenty of chocolate icing in every bite.
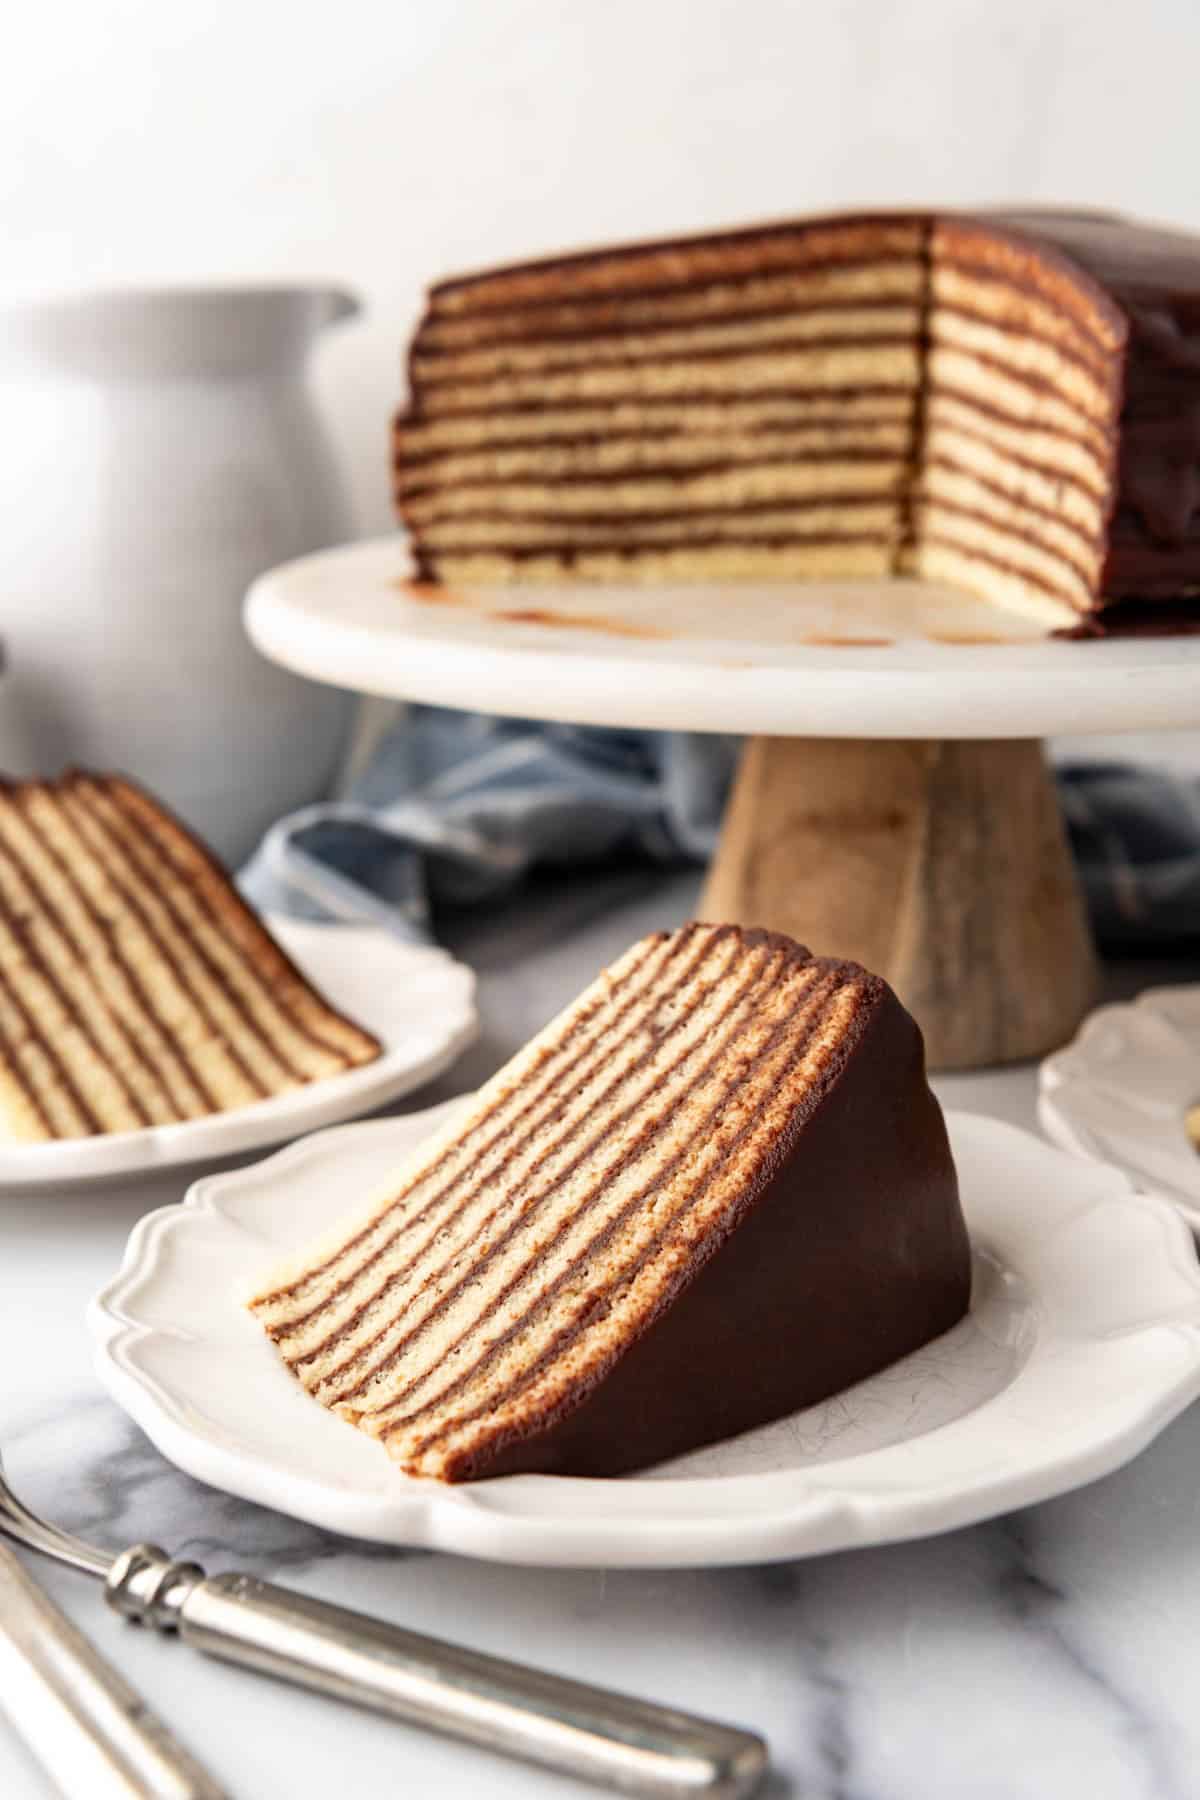
The cake itself is soft and tender with a lovely vanilla flavor that is basically a super thin version of a classic yellow cake, while the cooked chocolate fudge icing is glossy, rich, and just loose enough to spread easily over each layer before thickening as it cools. It’s old-fashioned in the best possible way.
If you love yellow cake and chocolate frosting, this Maryland classic deserves a place on your table.
Why you’ll love Smith Island Cake

- Thin, tender cake layers with chocolate fudge icing between every layer
- A true Maryland classic with so much history and charm
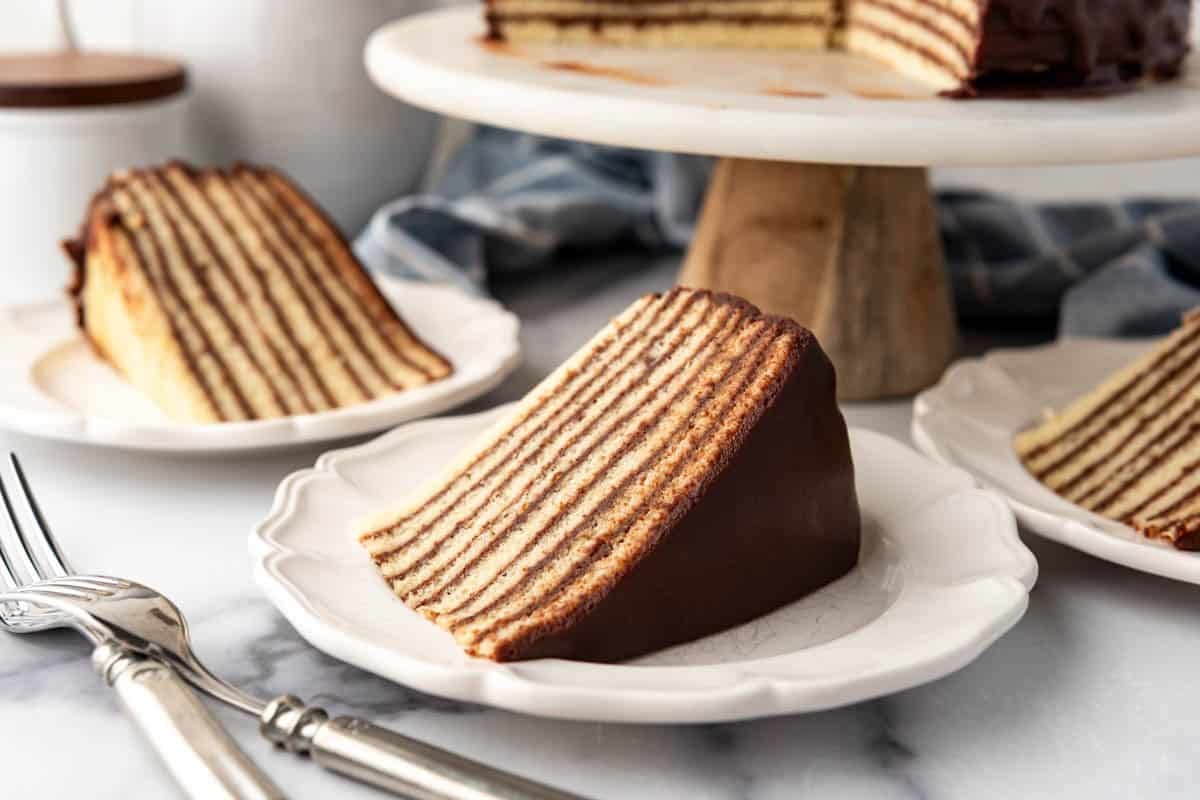
- Beautiful presentation when sliced
- Rich chocolate flavor balanced by soft vanilla cake
- A fun baking project that feels really special
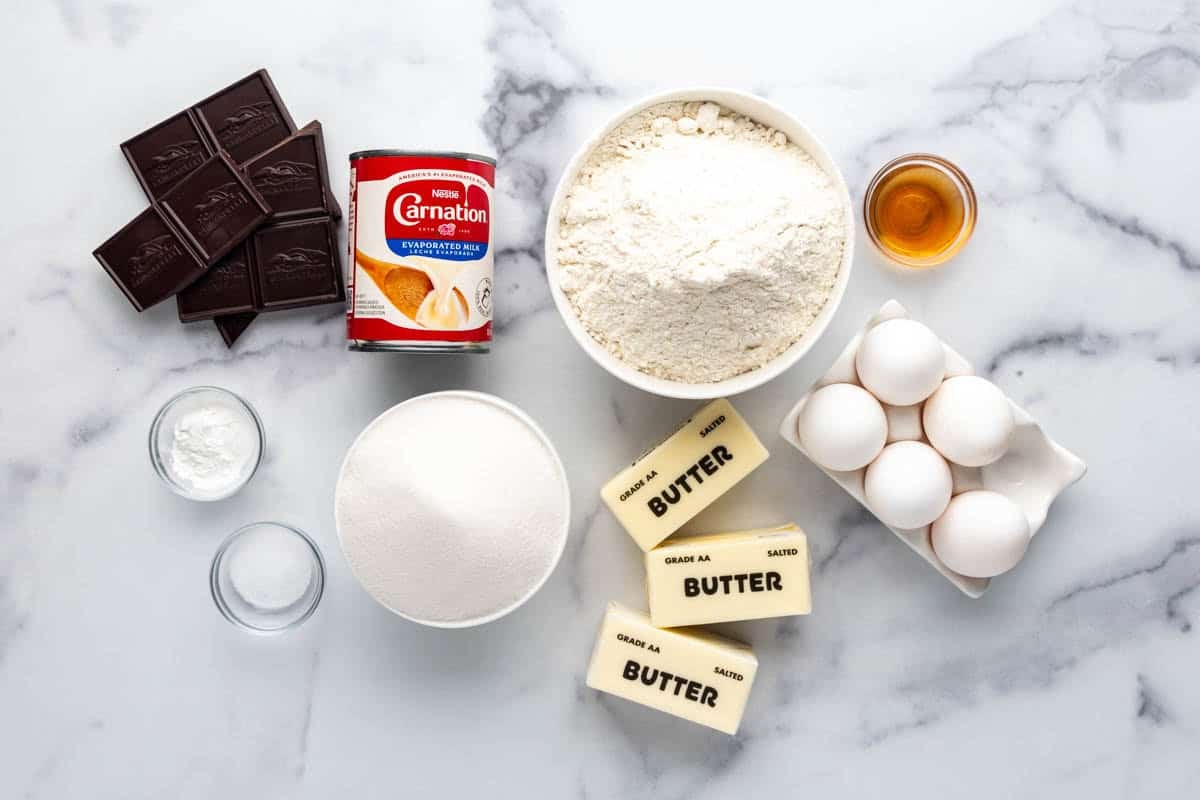
Ingredient Notes
Here’s what each ingredient does in this recipe and why it matters.
For the Cake
- Granulated sugar: Sweetens the cake and helps create a light, tender crumb when creamed with the butter.
- Salted butter: Adds richness, moisture, and flavor to the cake layers.
- Eggs: Provide structure, richness, and stability to such thin layers of cake.
- All-purpose flour: Gives the cake its structure while still keeping the crumb tender.
- Salt: Balances the sweetness and enhances all the other flavors.
- Baking powder: Gives the cake just enough lift so the layers stay soft and light.
- Evaporated milk: Adds richness and tenderness and works beautifully in this old-fashioned style cake.
- Vanilla extract: Gives the cake that classic warm vanilla flavor that pairs so well with the chocolate icing.
- Water: Helps loosen the batter so it spreads more easily into very thin layers.
For the Icing
- Granulated sugar: Sweetens the icing and helps create its glossy, fudge-like texture.
- Evaporated milk: Adds body and richness while helping the icing cook into that classic soft fudge consistency.
- Unsweetened chocolate: Gives the icing a deep chocolate flavor that is less sweet and more balanced than using only cocoa.
- Salted butter: Adds shine, richness, and smoothness to the icing.
- Vanilla extract: Softens and rounds out the chocolate flavor.
How to Make Smith Island Cake
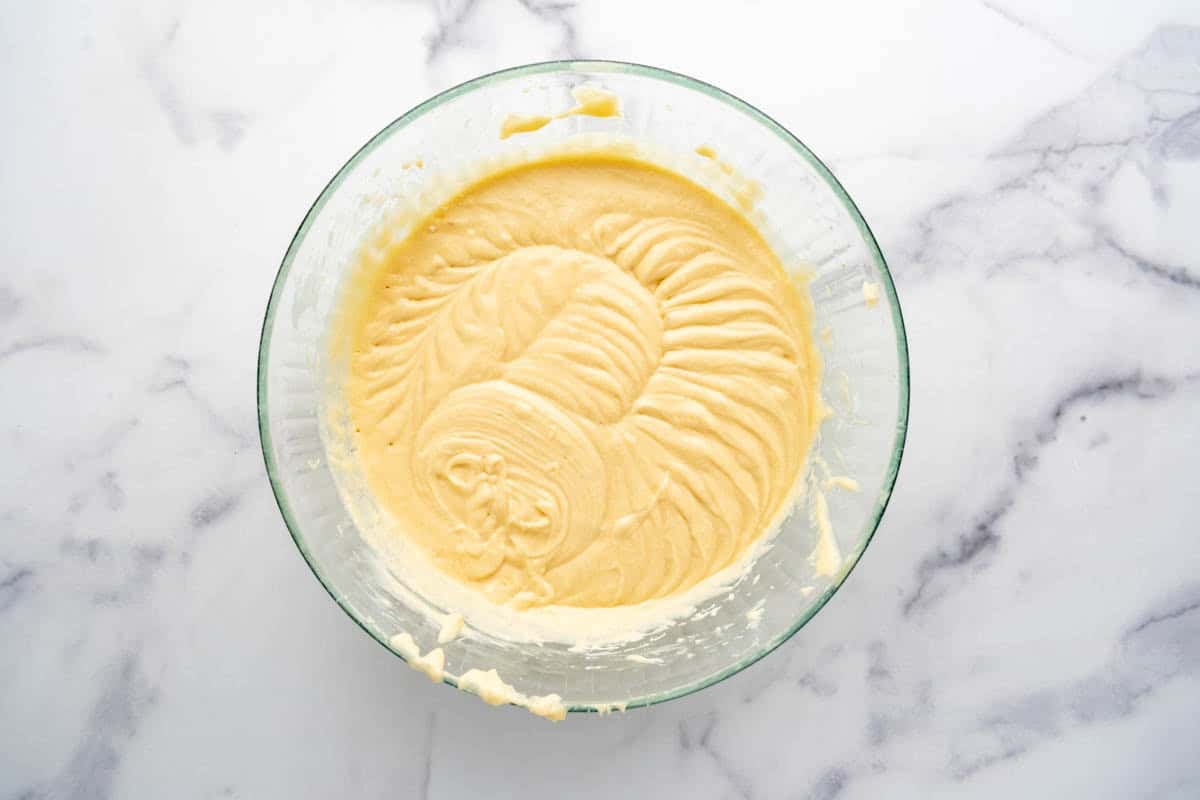
- Cream the butter and sugar. Start by creaming the sugar and softened butter until light and fluffy. Add the eggs one at a time, mixing well after each addition and scraping the bowl as needed.
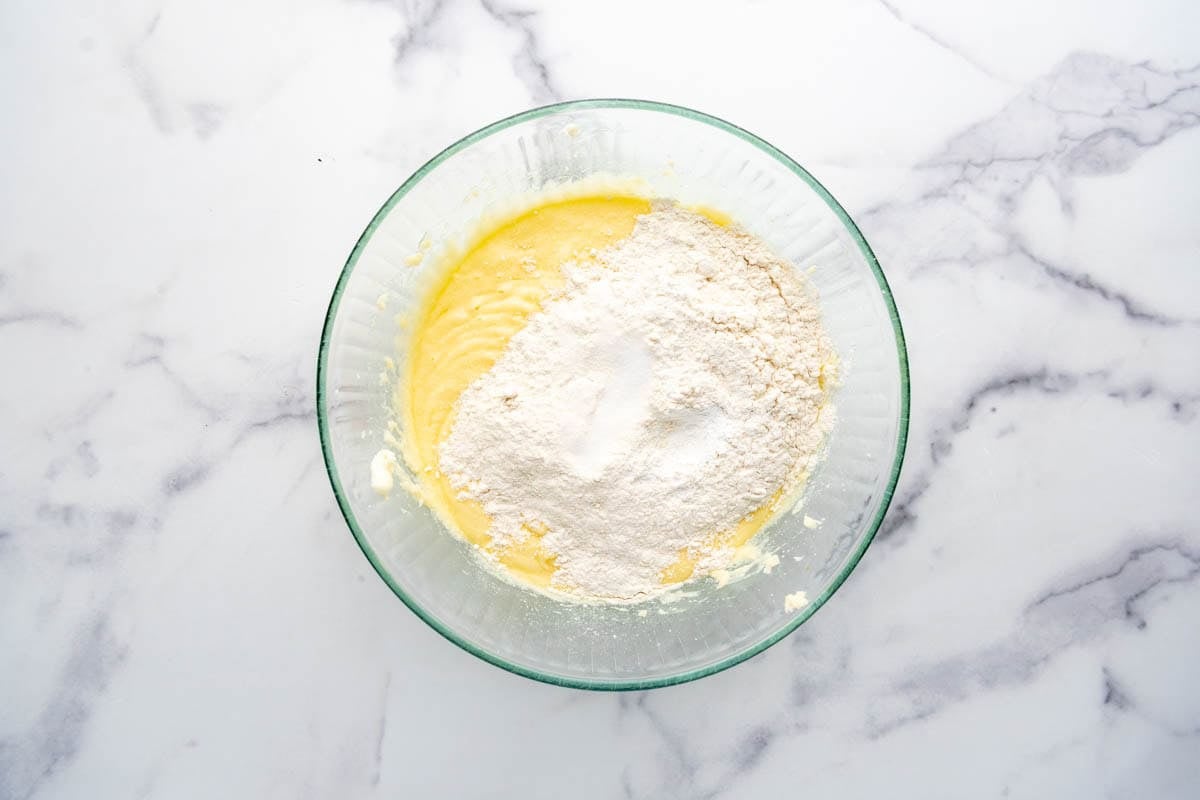
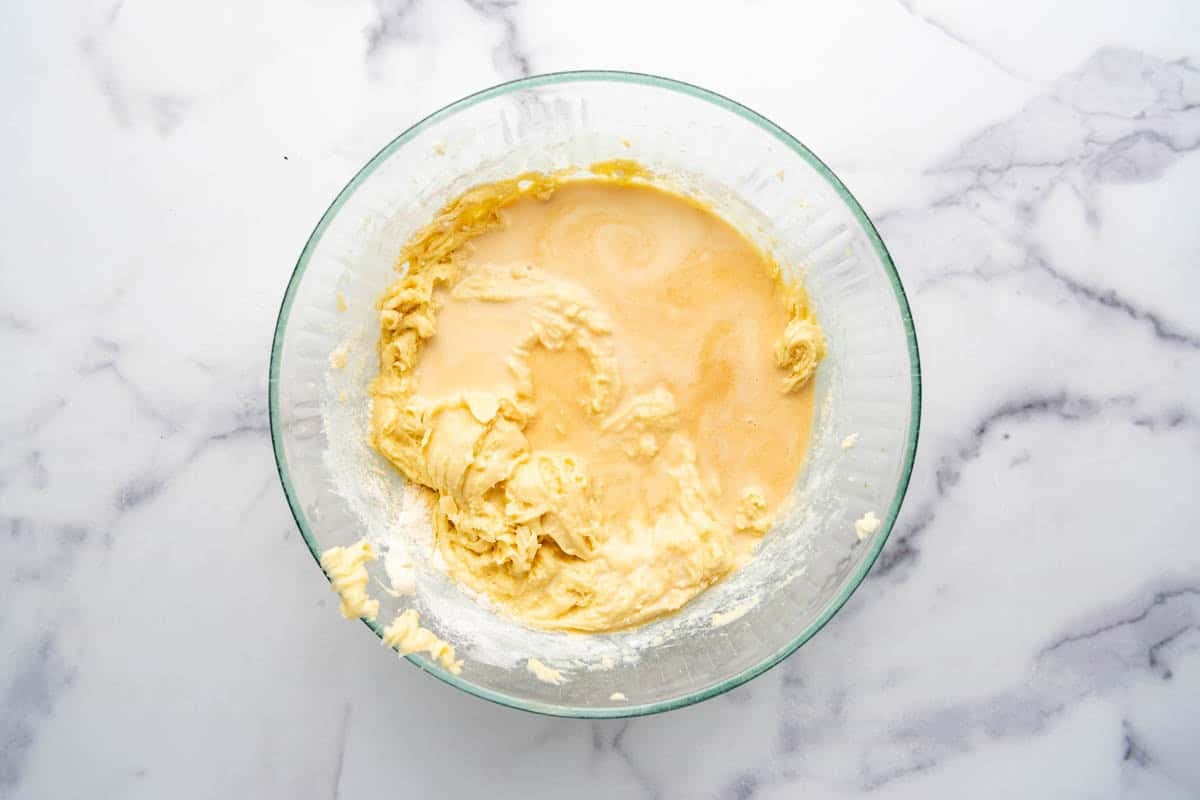
- Mix the batter. Add the flour, baking powder, and salt alternately with the evaporated milk, vanilla, and water. This creates a smooth batter that is thin enough to spread into delicate layers.
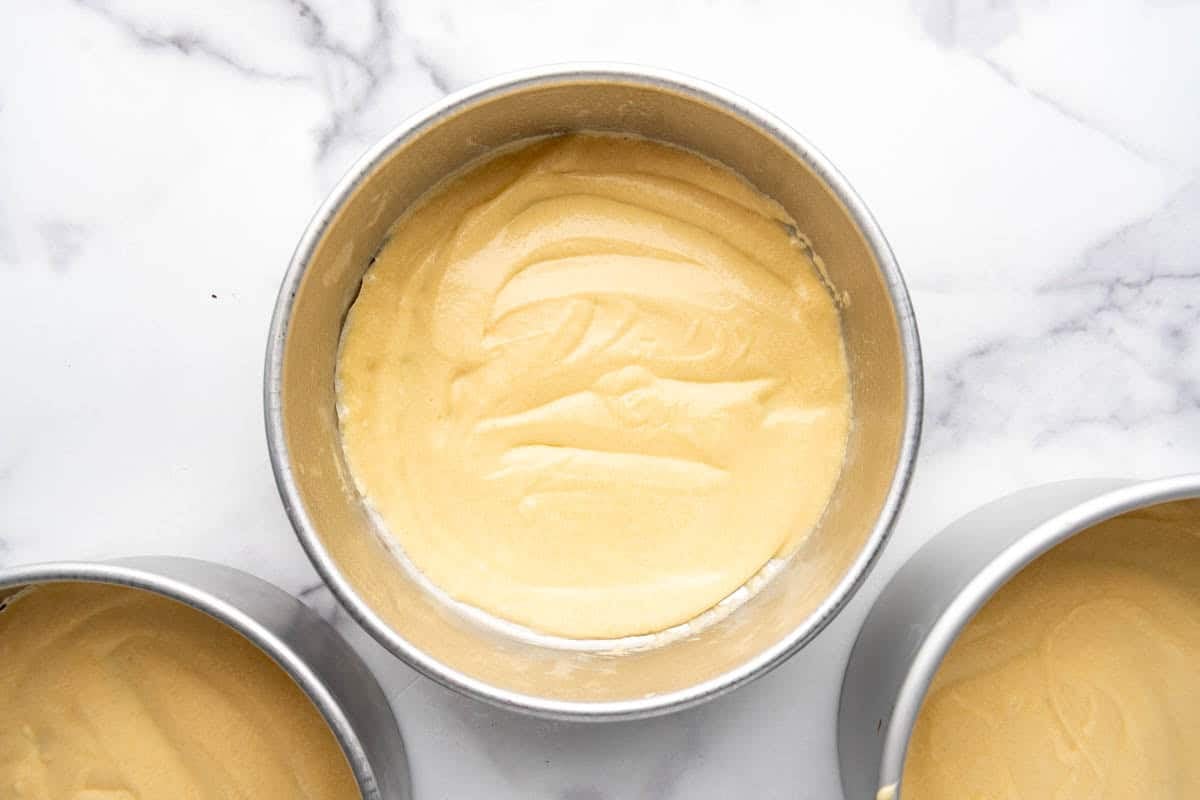
- Portion the layers. Spray your 9-inch cake pans with baking spray. Divide the batter evenly into 8 to 10 portions. I used ¾ cup of batter per layer, which came out to 187 grams each, and ended up with 9 layers. Use the back of a spoon to spread the batter into very thin, even circles.
- Bake the layers. Bake each layer for 8 to 10 minutes. Because the layers are so thin, one of the best ways to tell when they are done is to listen. If the cake is still making a little spitting or sizzling noise, give it another minute or two. You can also gently tap the top with your finger. If it leaves an indentation, it needs a little more time.
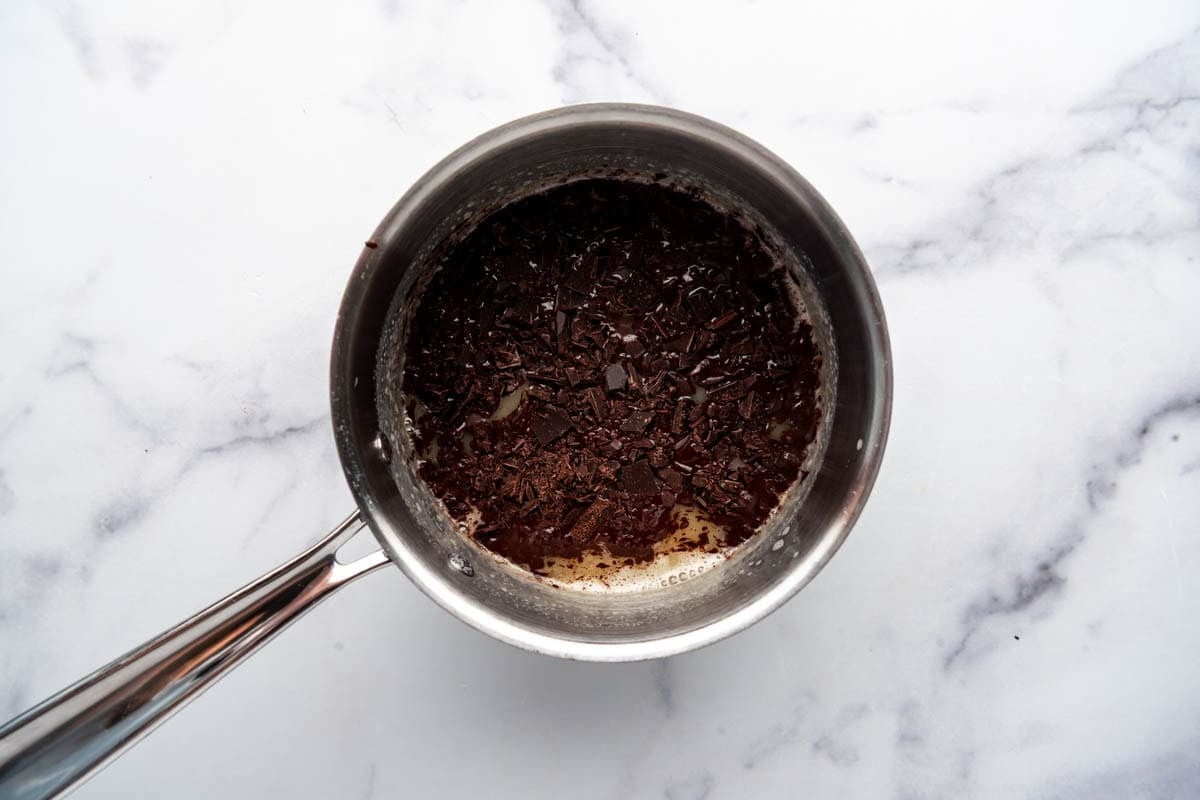
- Make the icing. While the first layers are baking, start the icing. Combine the sugar and evaporated milk in a saucepan over medium-low heat for 3 to 4 minutes until warm. Stir in the chopped chocolate until melted, then add the butter and continue cooking until melted and smooth. Increase the heat to medium and cook at a low boil or simmer, stirring frequently for 10 to 15 minutes, until the icing thickens slightly. Remove it from the heat and stir in the vanilla. The icing will still seem thin, but that is exactly what you want. It continues to thicken as it cools.
- Stack and ice the cake. As each cake layer finishes baking, let it cool for a few minutes before turning it out onto a cake plate. Spread 2 to 3 spoonfuls of icing over the top, then continue layering and icing as the remaining cakes bake and cool. This process gives you those beautiful stacked layers with chocolate icing tucked between every one.
Tips for the Best Smith Island Cake
- Weigh the batter if you can. Because the layers are so thin, even portions make a big difference. A kitchen scale is the easiest way to get layers that bake evenly.
- Don’t worry if the icing seems thin. That’s normal. The icing needs to be loose enough to spread over the delicate cake layers, and it thickens more as it cools.
- Work as you go. This is not the kind of cake where you bake everything first and assemble later. It works best to bake, cool briefly, stack, and ice as you move through the layers.
- Use the back of a spoon to spread the batter. Since the cake batter is divided into small amounts, using the back of a spoon is one of the easiest ways to spread it into even thin rounds.
- Listen for doneness. I love this tip for thin cake layers. If the cake is still sizzling, it probably needs a bit more time.
Frequently Asked Questions
Traditionally, Smith Island Cakes have anywhere from 8 to 10 layers, although some bakers make more. Mine has 9 layers.
The thin layers are part of what makes the cake unique. They bake quickly, stack beautifully, and create that signature look and texture.
Yes. You can bake the layers ahead, cool them completely, and stack them with parchment between layers until ready to assemble.
Yes. The icing is supposed to be thin enough to spread over the cake layers while still warm, and it thickens as it cools.
Storing, Freezing, and Make-Ahead Tips
Storing
Store the cake covered at room temperature for up to 2 days, or in the refrigerator for up to 5 days. If refrigerated, let it sit at room temperature for a bit before serving so the icing softens nicely.
Freezing
Smith Island Cake freezes well whole, in sections, or by the slice. Wrap it tightly in plastic wrap, then in foil, or place in an airtight container and freeze for up to 2 months.
Thaw overnight in the refrigerator or for a few hours at room temperature before serving.
Make Ahead
This is a great make-ahead cake because the layers and icing hold up well. You can make the cake a day ahead and keep it covered until ready to serve. You can also bake the layers in advance and assemble the cake later.
Maryland Smith Island Cake
Ingredients
Cake
- 2 cups (400g) granulated sugar
- 1 cup (227g) salted butter softened
- 5 large eggs
- 3 cups (423g) all-purpose flour
- 1 1/2 teaspoons baking powder
- 1/2 teaspoon salt
- 1 cup evaporated milk
- 2 teaspoons pure vanilla extract
- 1/2 cup water
Icing
- 2 cups (400g) granulated sugar
- 1 cup evaporated milk
- 5 ounces unsweetened chocolate chopped
- 1/2 cup salted butter cubed
- 1 teaspoon pure vanilla extract

Instructions
- Preheat the oven to 350℉ (177℃).
- Cream sugar and butter. Add eggs one at a time, mixing well after each addition and stopping to scrape the bottom and sides of the bowl.2 cups (400g) granulated sugar, 1 cup (227g) salted butter, 5 large eggs
- Add the flour, baking powder, and salt alternately with the milk, vanilla, and water.3 cups (423g) all-purpose flour, ½ teaspoon salt, 1 ½ teaspoons baking powder, 1 cup evaporated milk, 2 teaspoons pure vanilla extract, ½ cup water
- Spray 9-inch cake pans with baking spray. Evenly divide the batter to get 8-10 layers. I used ¾ cup of batter per layer (it was 187 grams of batter per layer, to be precise) and ended up with 9 layers. Use the back of a spoon to spread the batter into thin, evenly layers.
- Bake the layers for 8-10 minutes until done. With cake layers this thin I find the best way to check whether the layer is done is to listen to it. If you still hear it making a spitting or sizzling noise, let it bake for another minute or two until it is quiet. You can also gently tap the top of the layer with a finger. If it leaves an indentation then the cake layer needs to bake longer.
- Make the icing while the first layers are baking. As each layer finishes, let it cool for a few minutes before turning it out onto a cake plate, topping with 2-3 spoonfuls of icing, and continuing to bake, stack, and ice.
- To make the icing, combine the sugar and evaporated milk in a medium saucepan over medium-low heat for 3-4 minutes until warm. Add the chocolate and stir until melted and combined. Add the butter and continue to cook until melted.2 cups (400g) granulated sugar, 1 cup evaporated milk, 5 ounces unsweetened chocolate, ½ cup salted butter
- Increase the heat to medium-heat and continue to cook at a low boil or simmer, stirring frequently for 10-15 minutes until thickened slightly. Remove from the heat and stir in the vanilla. The icing will still be very thin but will continue to thicken as it cools.1 teaspoon pure vanilla extract
Notes
- Storing: Store the cake covered at room temperature for up to 2 days, or in the refrigerator for up to 5 days. If refrigerated, let it sit at room temperature for a bit before serving so the icing softens nicely.
- Freezing: Smith Island Cake freezes well whole, in sections, or by the slice. Wrap it tightly in plastic wrap, then in foil, or place in an airtight container and freeze for up to 2 months. Thaw overnight in the refrigerator or for a few hours at room temperature before serving.
- Make Ahead: This is a great make-ahead cake because the layers and icing hold up well. You can make the cake a day ahead and keep it covered until ready to serve. You can also bake the layers in advance and assemble the cake later.