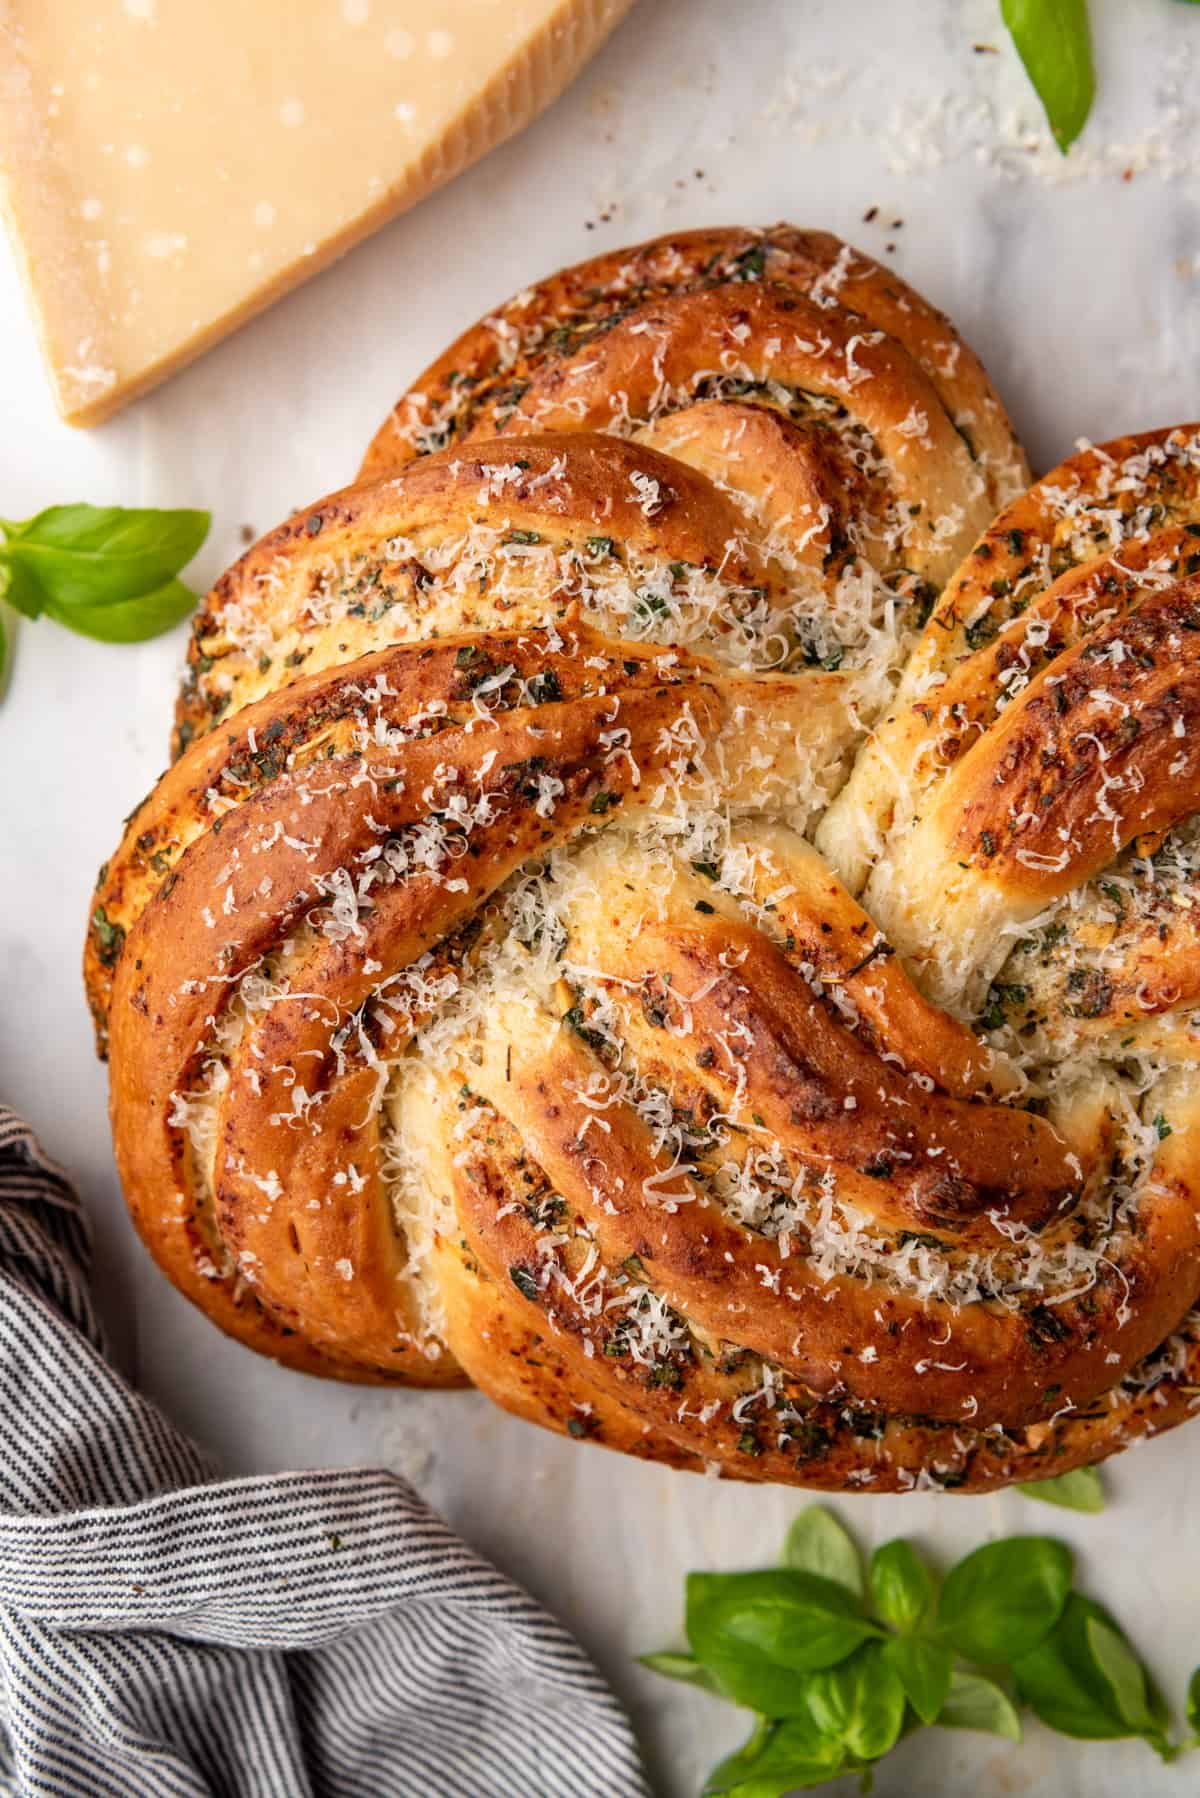
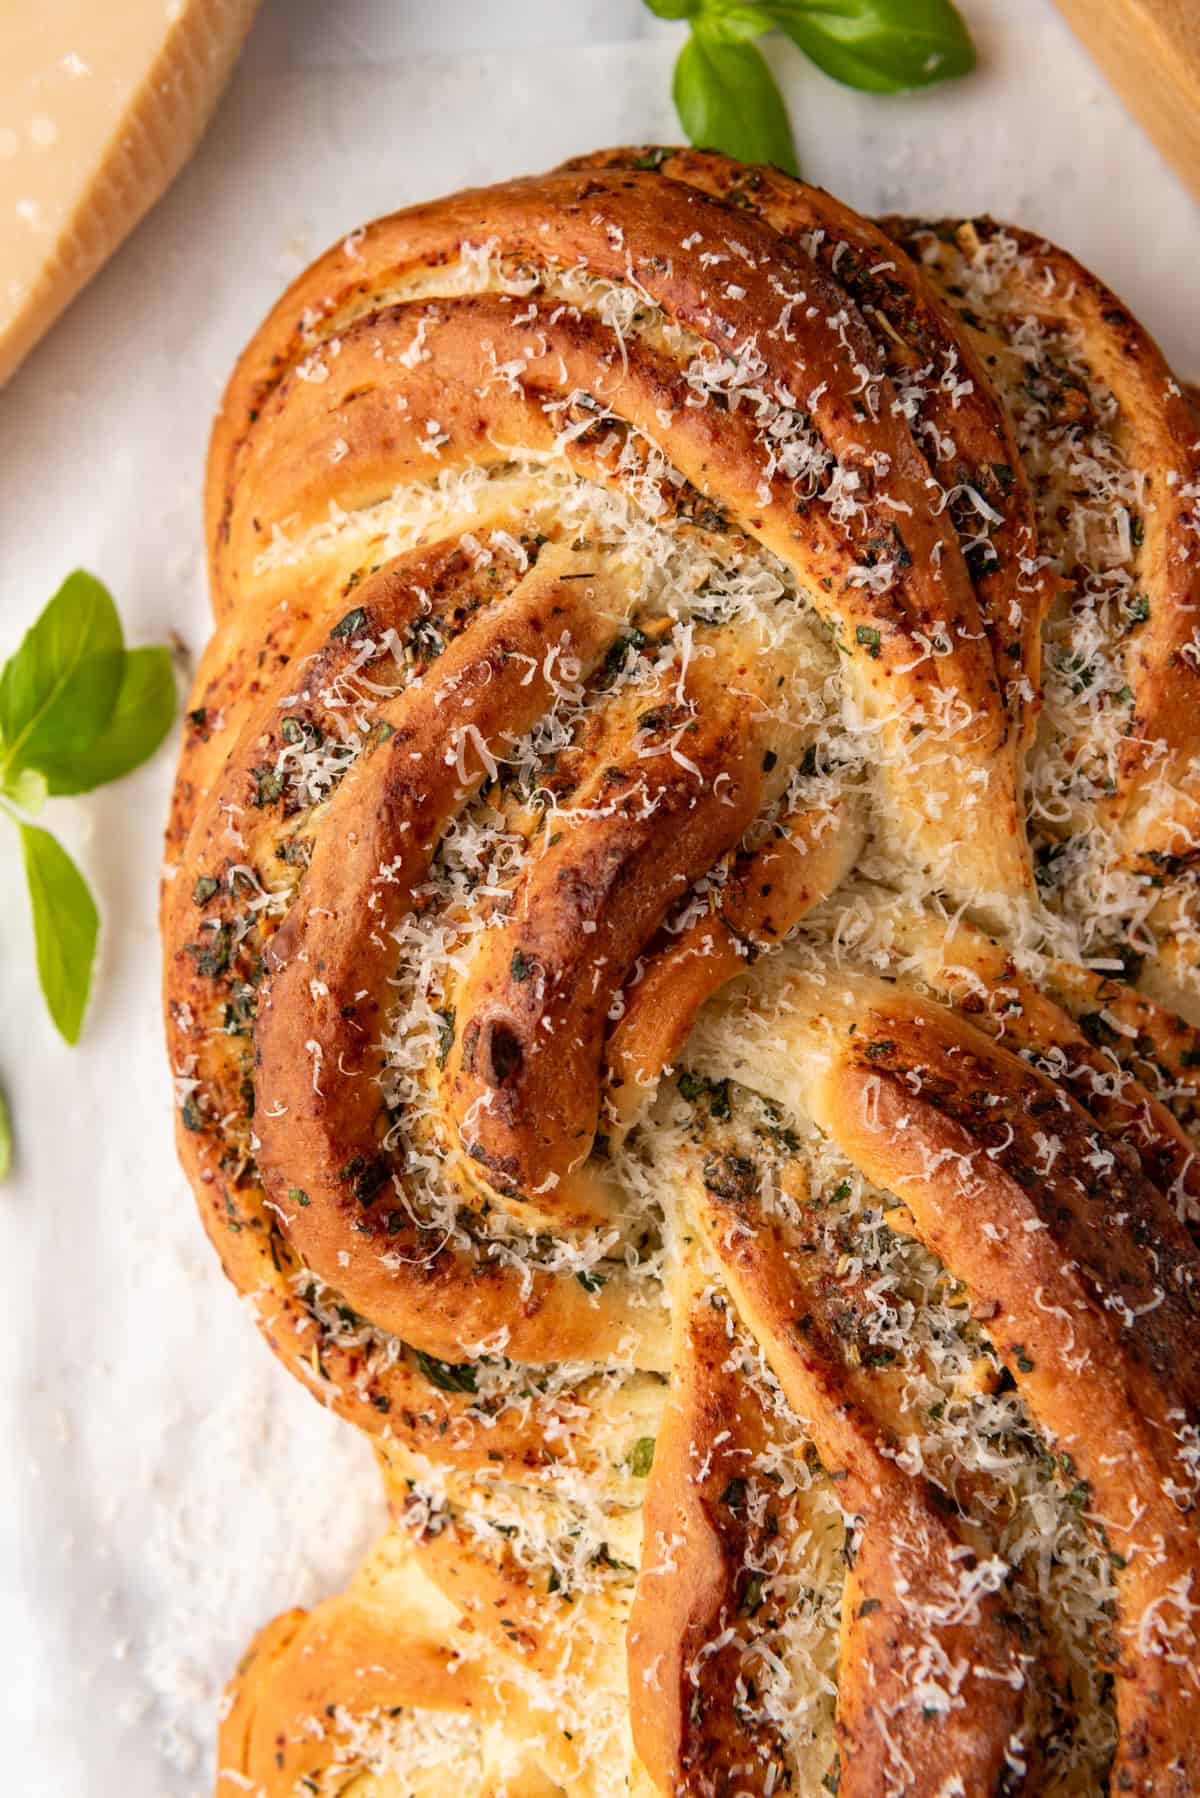
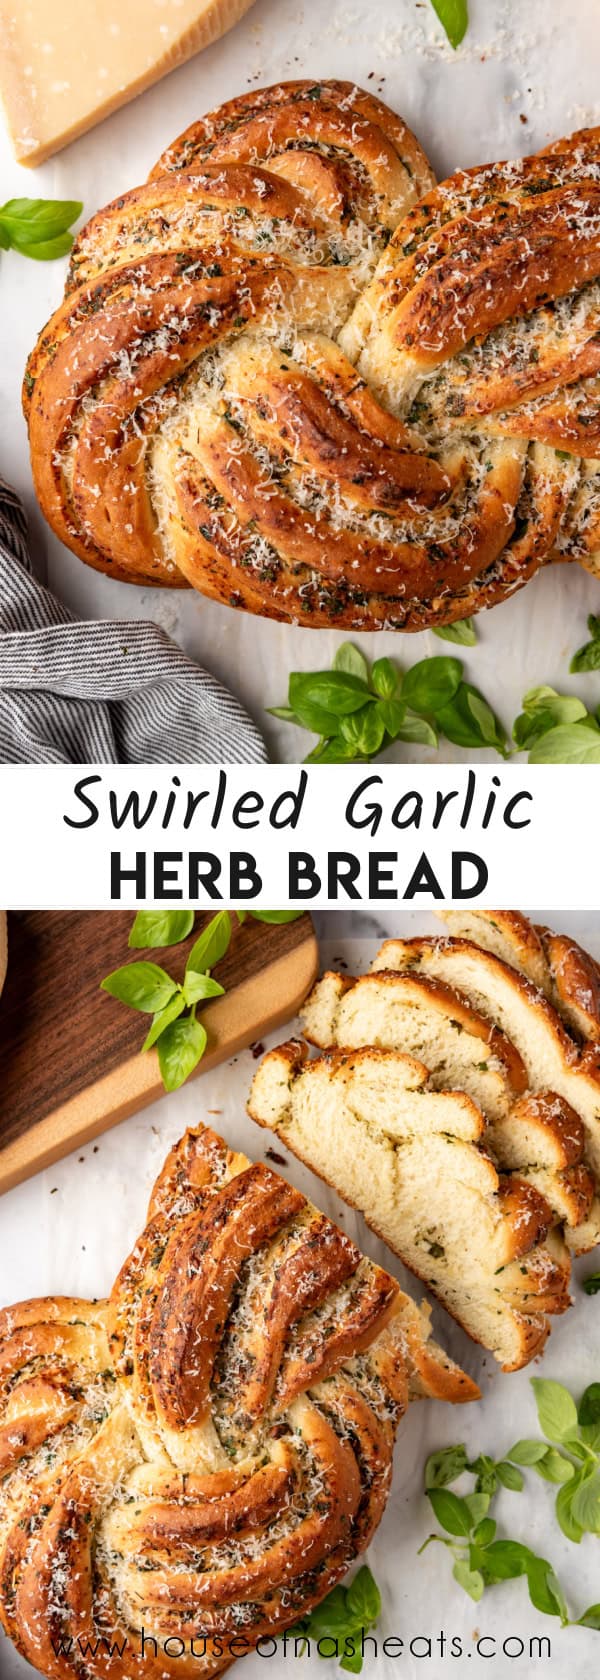
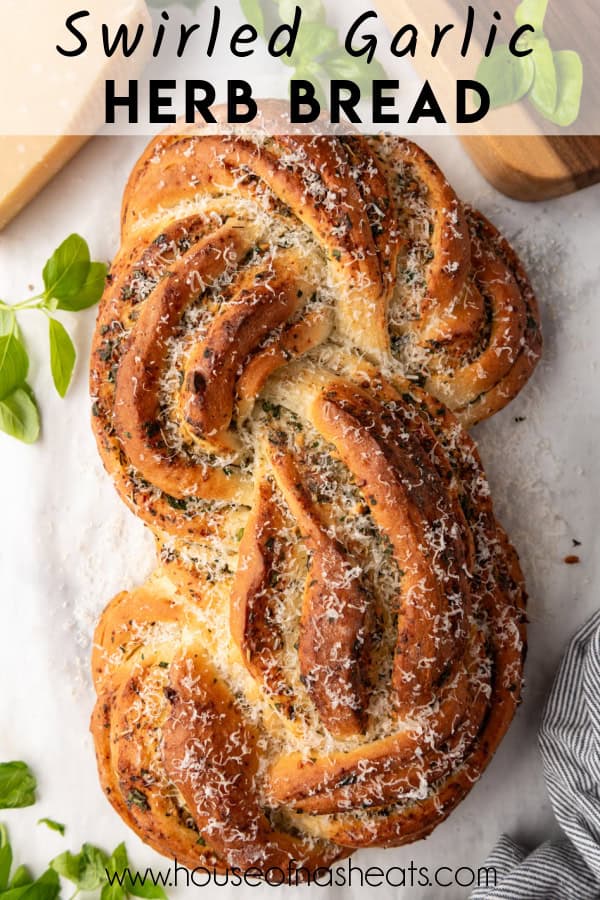
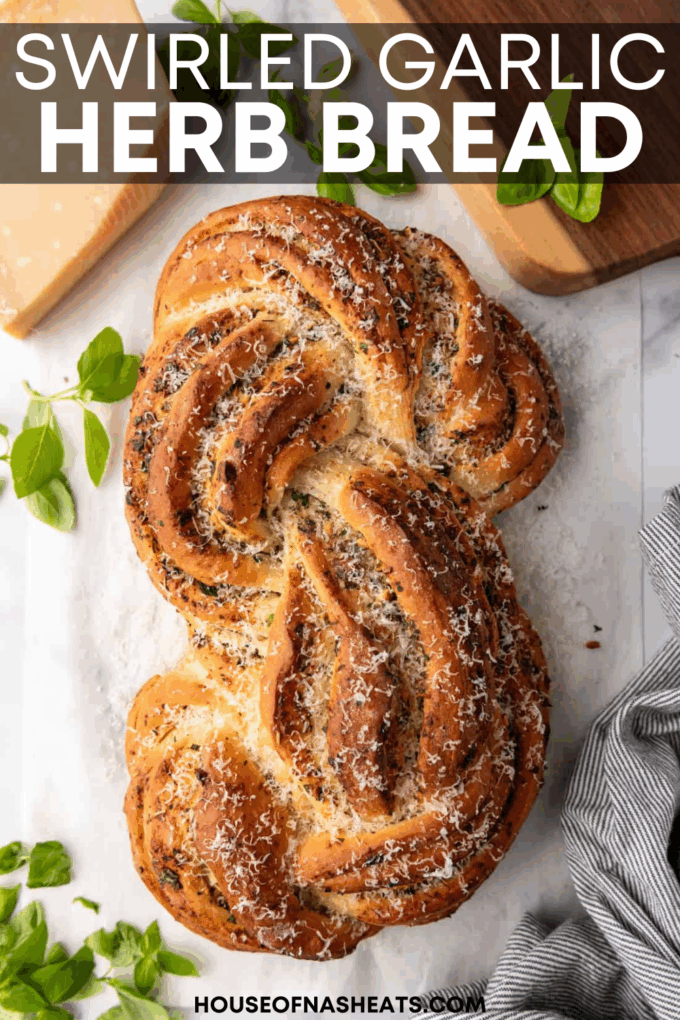
Swirled Garlic Herb Bread beautifully blends fresh herbs, Parmesan cheese, and garlic butter to create a delicious swirl in every soft, fluffy bite! It’s easy to make, and the result is a golden-brown loaf that’s sure to impress at the dinner table!
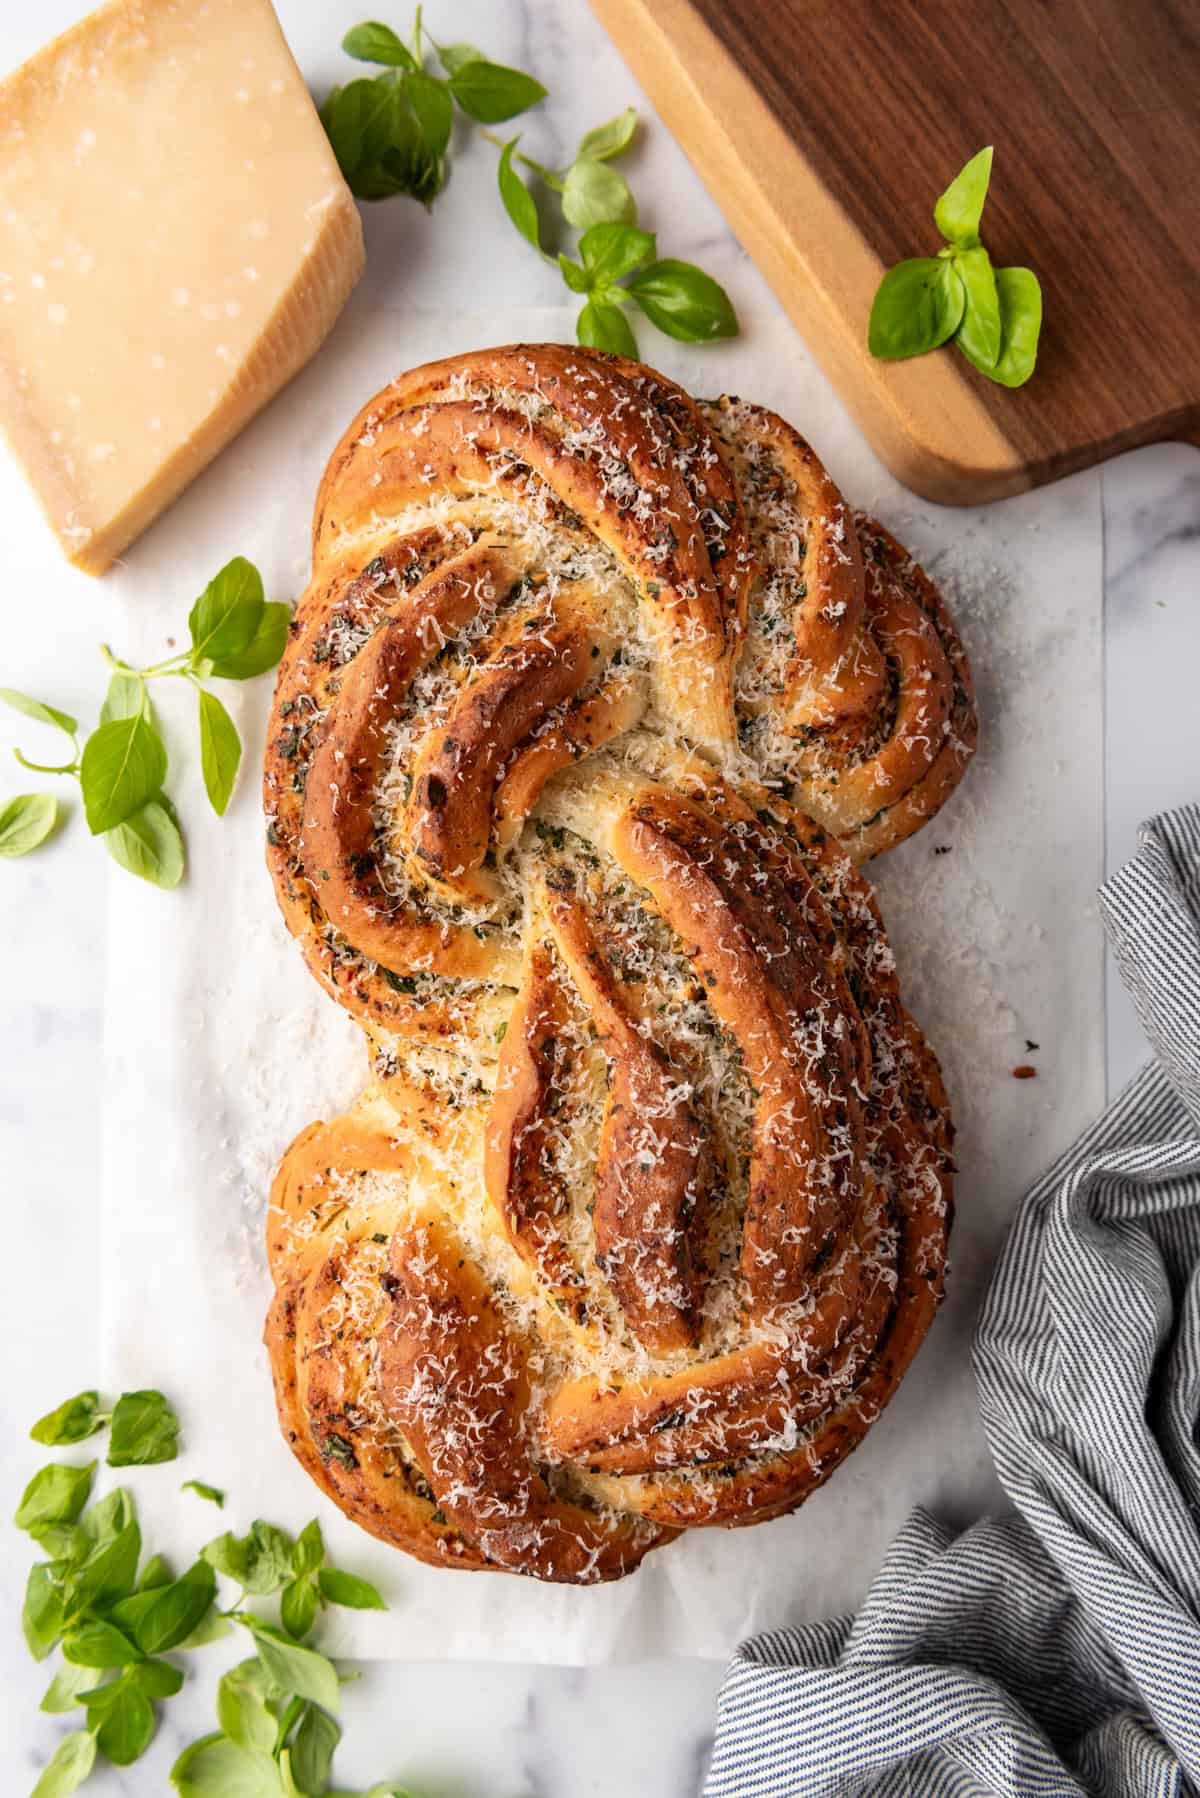
Table of Contents
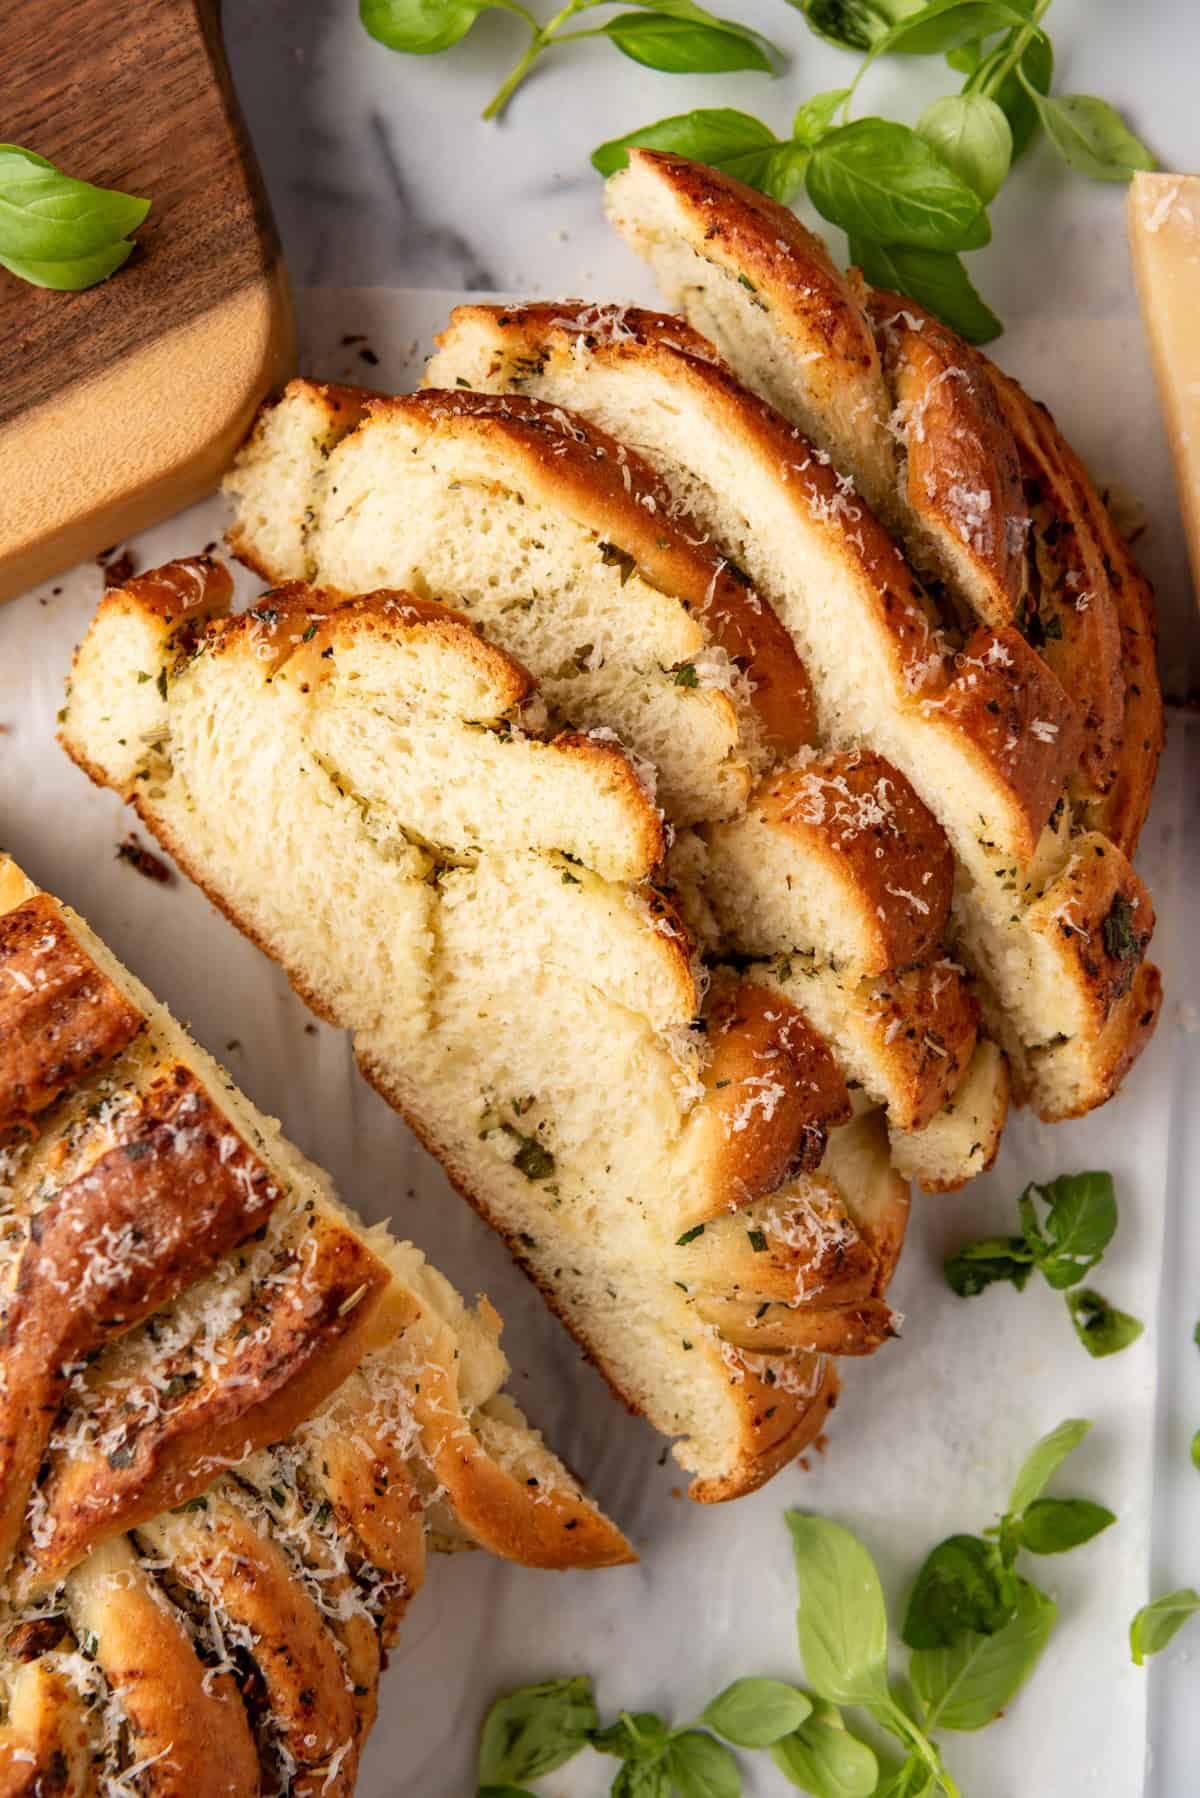
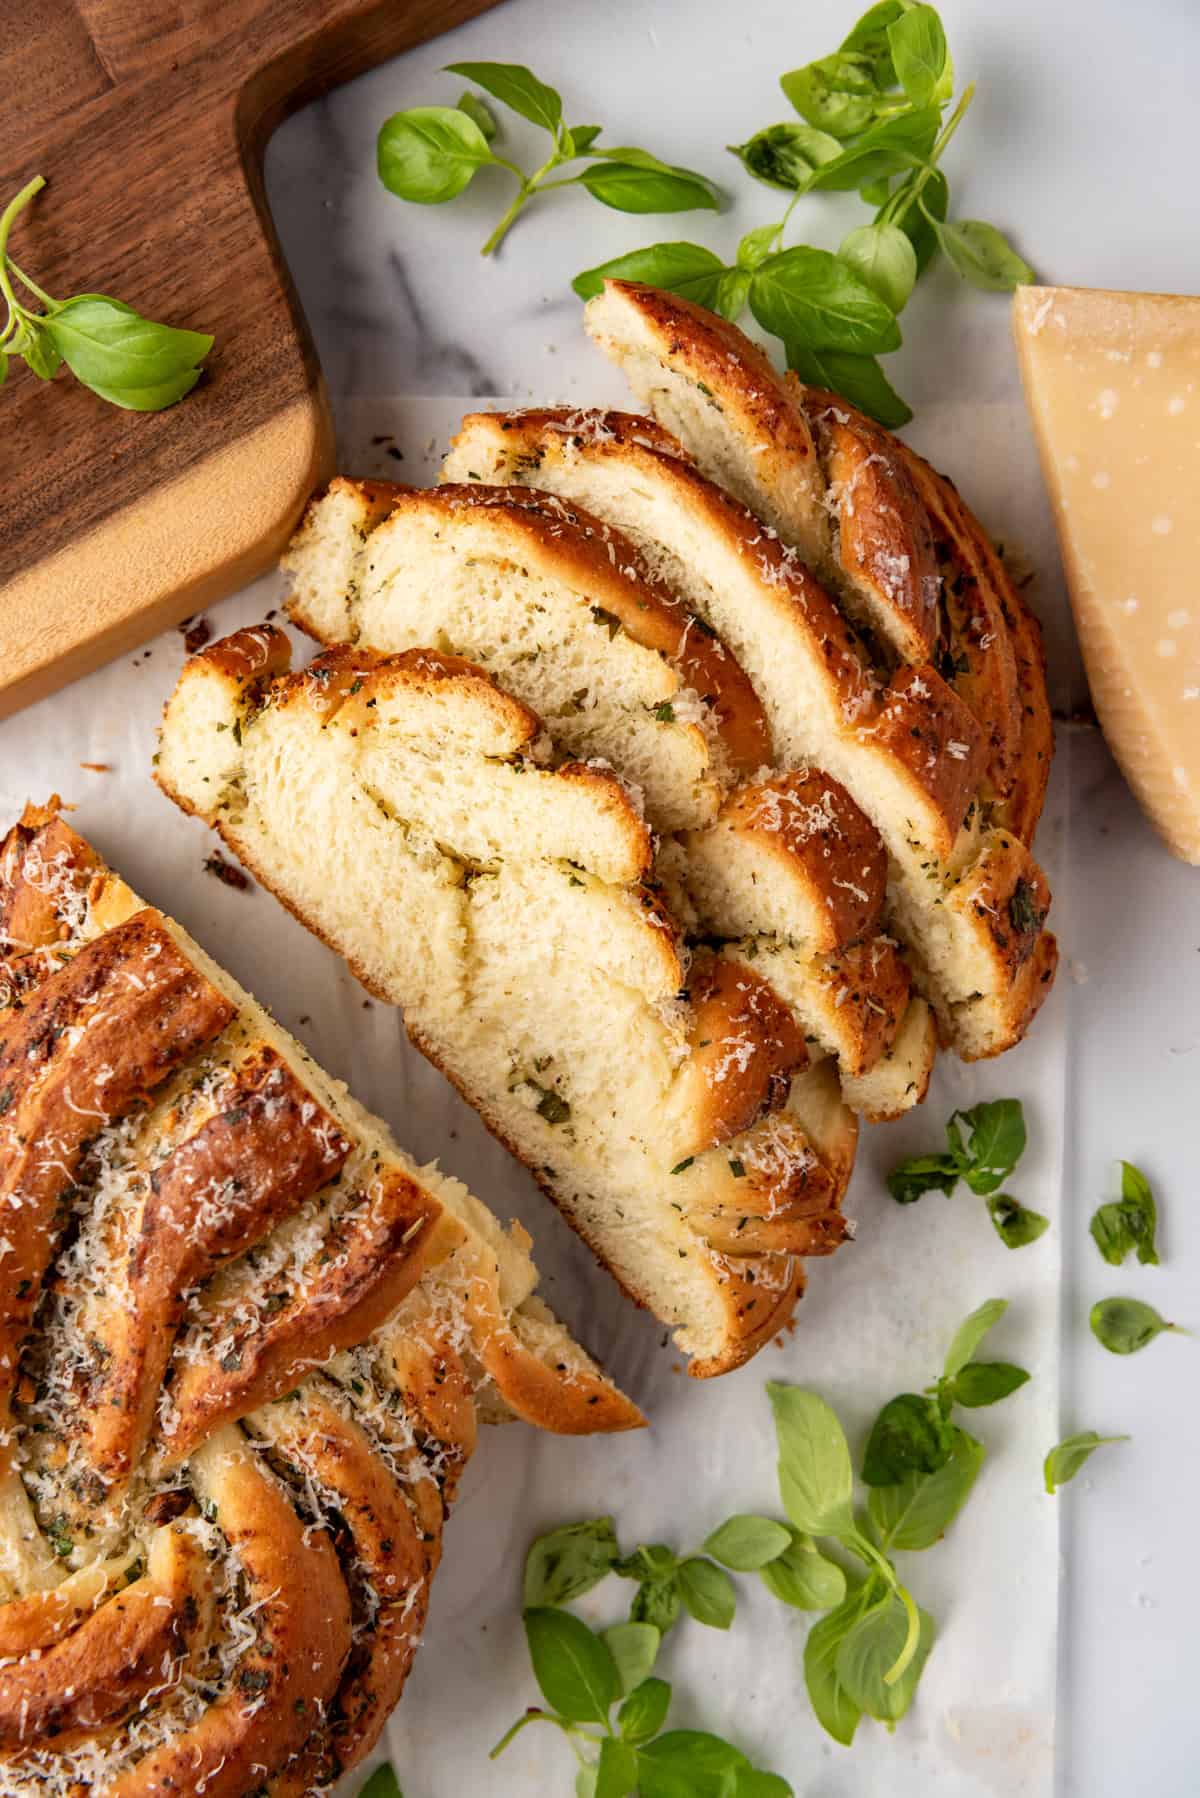
Swirled Garlic Herb Bread is rolled and twisted to create beautiful, buttery swirls of herbs and garlic that elevate it beyond traditional garlic bread! The soft, fluffy yeast bread is tender with just the right amount of chewiness, while the swirls of garlic herb butter seeps into every layer, giving you bursts of savory goodness with each bite. The fresh herbs add a brightness that balances the richness of the Parmesan and butter.
With just a few simple steps, you can create this bakery-worthy loaf right at home! Serve it as a side with pasta, soups, or salads, or enjoy it on its own as an appetizer. It’s a great way to impress your friends and family at dinner parties, a special occasion, or even just a cozy night in when you want to treat yourself to something homemade and comforting!
If you love this bread, you’ll want to check out my other favorites: Cheesy Garlic Bread, The Best Challah Bread, Easy Rosemary Focaccia Bread, Homemade Bread Bowls, Soft Garlic Parmesan Homemade Breadsticks, and Roasted Garlic & Rosemary No-Knead Artisan Bread—each one more delicious than the last!
Why We Love This Recipe
- This garlic herb swirl bread recipe is loaded with flavor thanks to the fresh garlic, parsley, and Parmesan cheese, making each bite irresistible.
- The soft, pillowy dough is easy to work with, and the swirling technique creates a beautiful presentation without being too complicated.
- It’s a versatile bread that pairs well with so many dishes, from Italian dinners to hearty soups, or it can even be enjoyed on its own.
What You’ll Need
Scroll down to the recipe card below this post for ingredient quantities and full instructions.
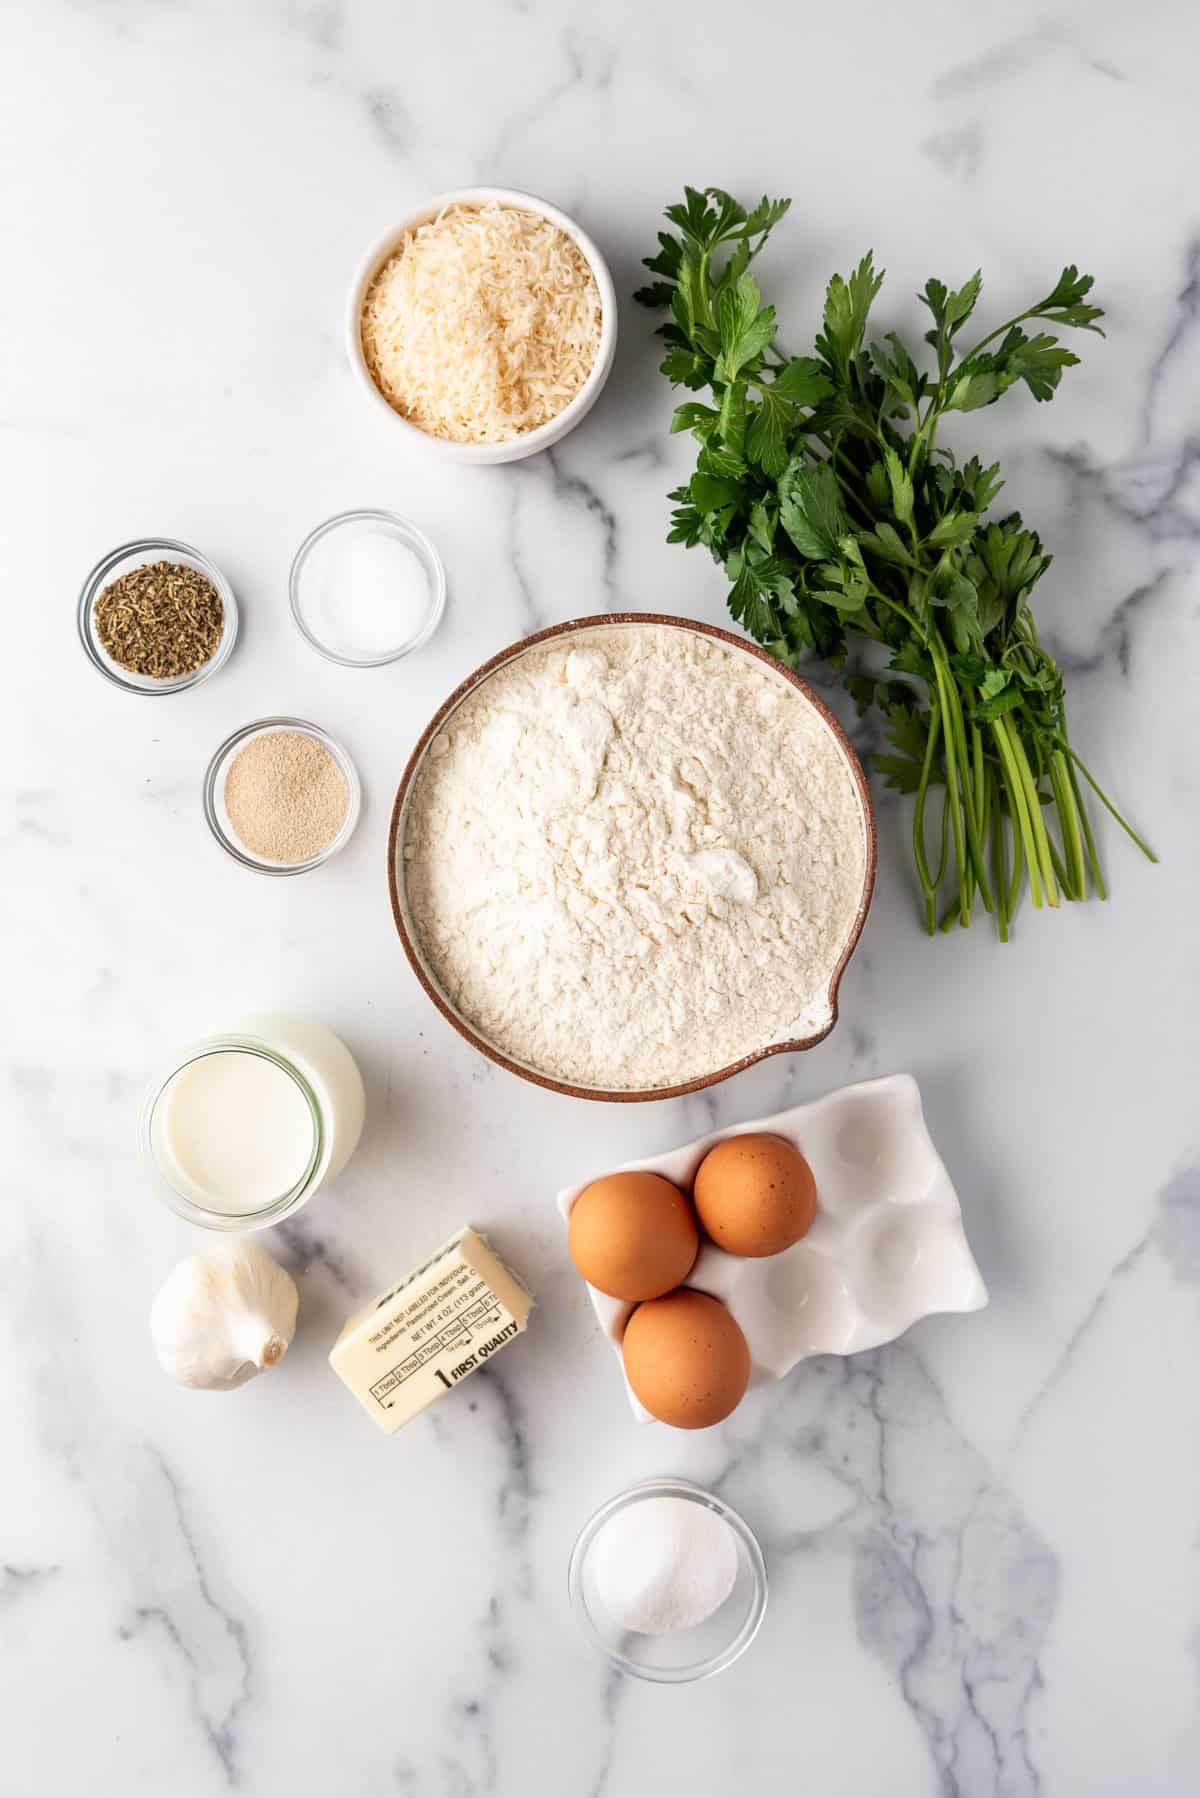
- All-Purpose Flour – The base of the dough, giving structure to the bread while keeping it light and soft.
- Granulated Sugar – Adds just a touch of sweetness to balance the savory flavors.
- Instant Dry Yeast – This makes the dough rise, giving you that fluffy, soft bread texture.
- Kosher Salt – Enhances the flavor and balances out the butter and garlic.
- Whole Milk – Adds richness and tenderness to the dough, making it soft and delicious.
- Salted Butter – Both mixed into the dough and spread as the garlic herb butter, it makes this bread wonderfully rich and flavorful.
- Large Eggs – Help bind the dough and add richness, contributing to that soft, tender crumb.
- Parmesan Cheese – Freshly grated Parmesan adds a salty, nutty flavor that works perfectly with the garlic and herbs.
- Garlic – The star of the show, giving this bread its signature garlicky goodness.
- Fresh Parsley – Adds a pop of color and freshness to balance the rich flavors of the butter and garlic.
- Italian Seasoning – A perfect blend of herbs to enhance the flavor of the bread.
How to Make Swirled Garlic Herb Bread
- Mix dry ingredients. In a large bowl, whisk together 3 ½ cups of flour, sugar, instant yeast, and kosher salt. This forms the base for your flavorful, fluffy dough.
- Warm milk and butter. Heat the milk and 2 tablespoons of butter either in the microwave or on the stovetop until it’s warm (about 120°F to 130°F—warm enough to activate the yeast, but not too hot!). Pour the milk mixture into the flour mixture, then add the beaten eggs.
- Knead dough. Using a stand mixer fitted with a dough hook, mix on medium-low until the dough comes together. Knead for 4-5 minutes, adding the remaining flour only if needed to form a smooth, slightly tacky dough. No mixer? No worries! You can knead by hand on a lightly floured surface until it’s soft and elastic.
- Rise. Shape the dough into a ball and place it into a bowl that has been drizzled with a little olive oil, turning it to coat all sides. Cover with plastic wrap or a clean kitchen towel, then set it aside in a warm place. Let the dough rise for about 1 hour, or until it has almost doubled in size.
- Make garlic herb butter. While the dough rises, mash the remaining 4 tablespoons of softened butter with Parmesan, minced garlic, fresh parsley, and Italian seasoning in a small bowl. This mixture is what gives the bread its irresistible garlicky swirl.
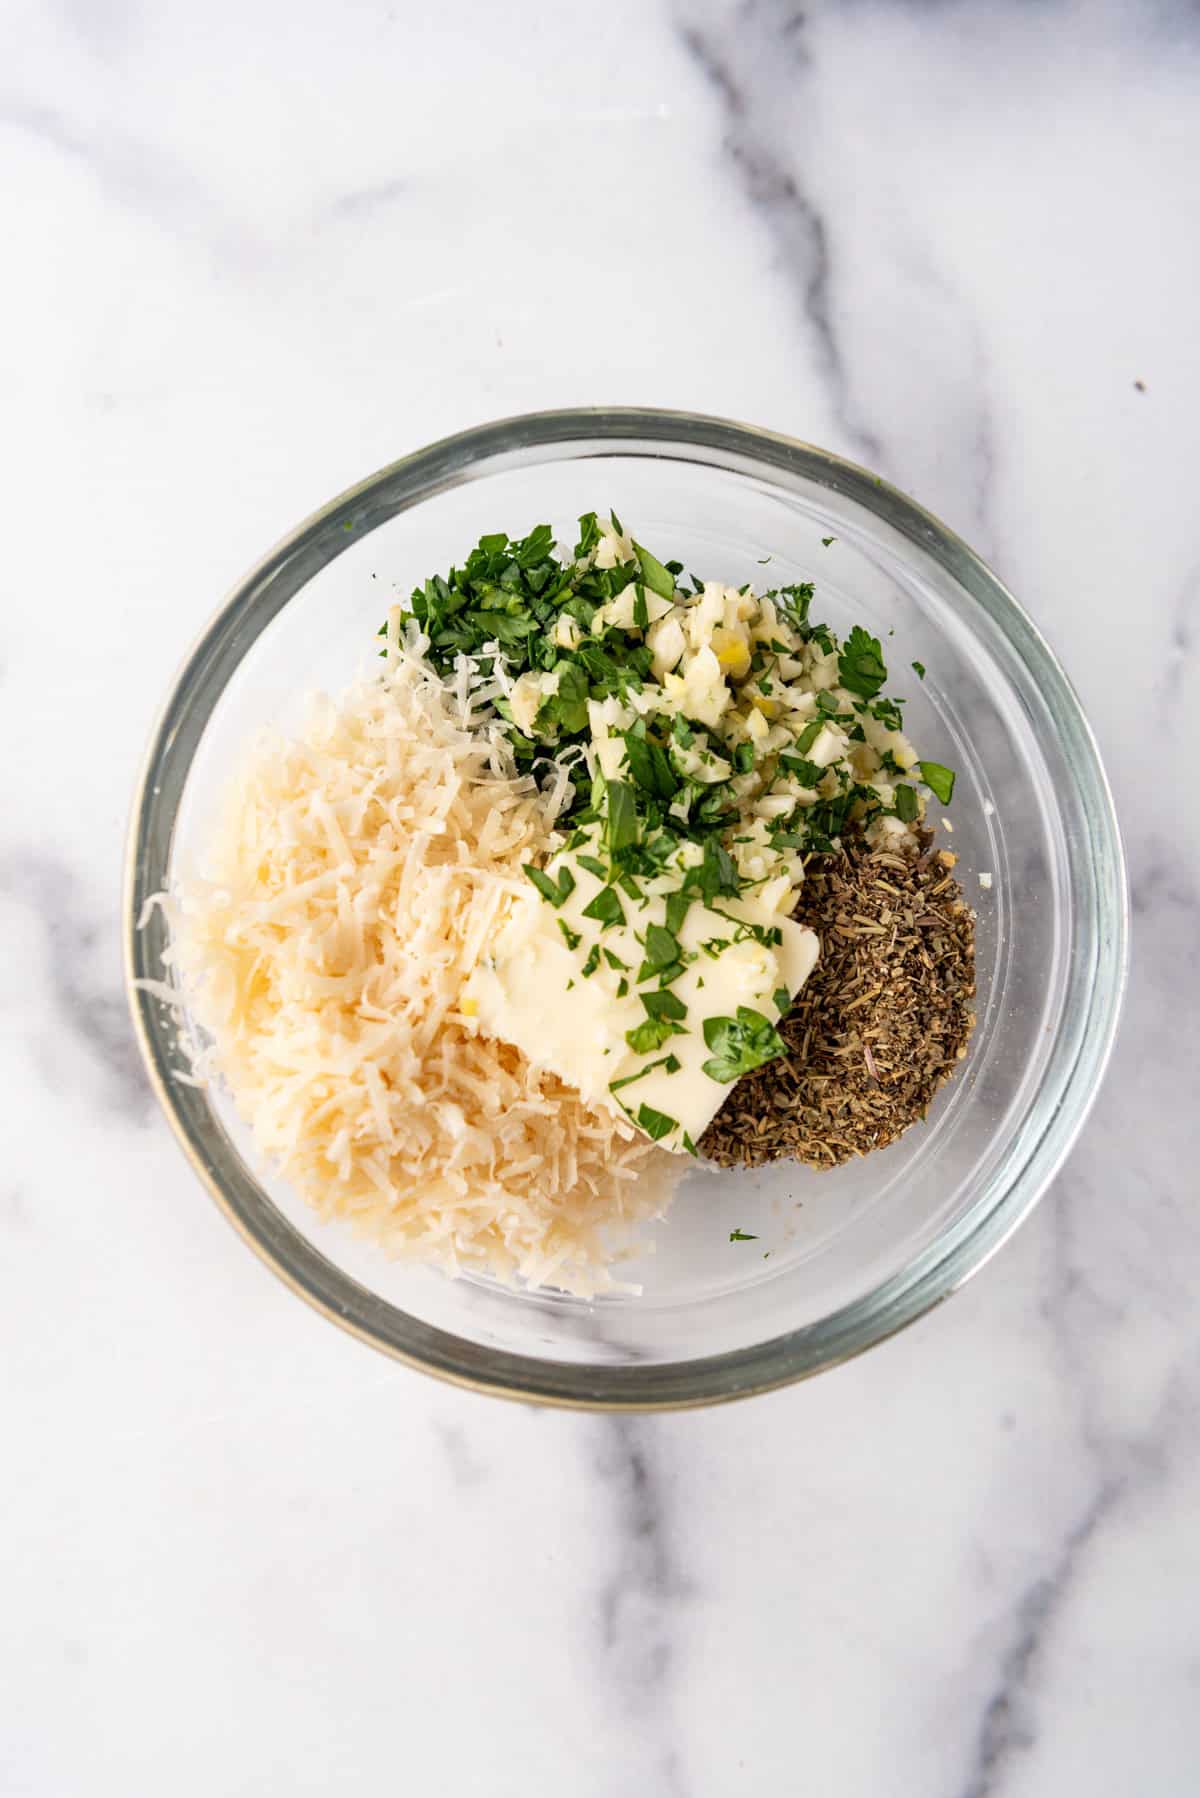
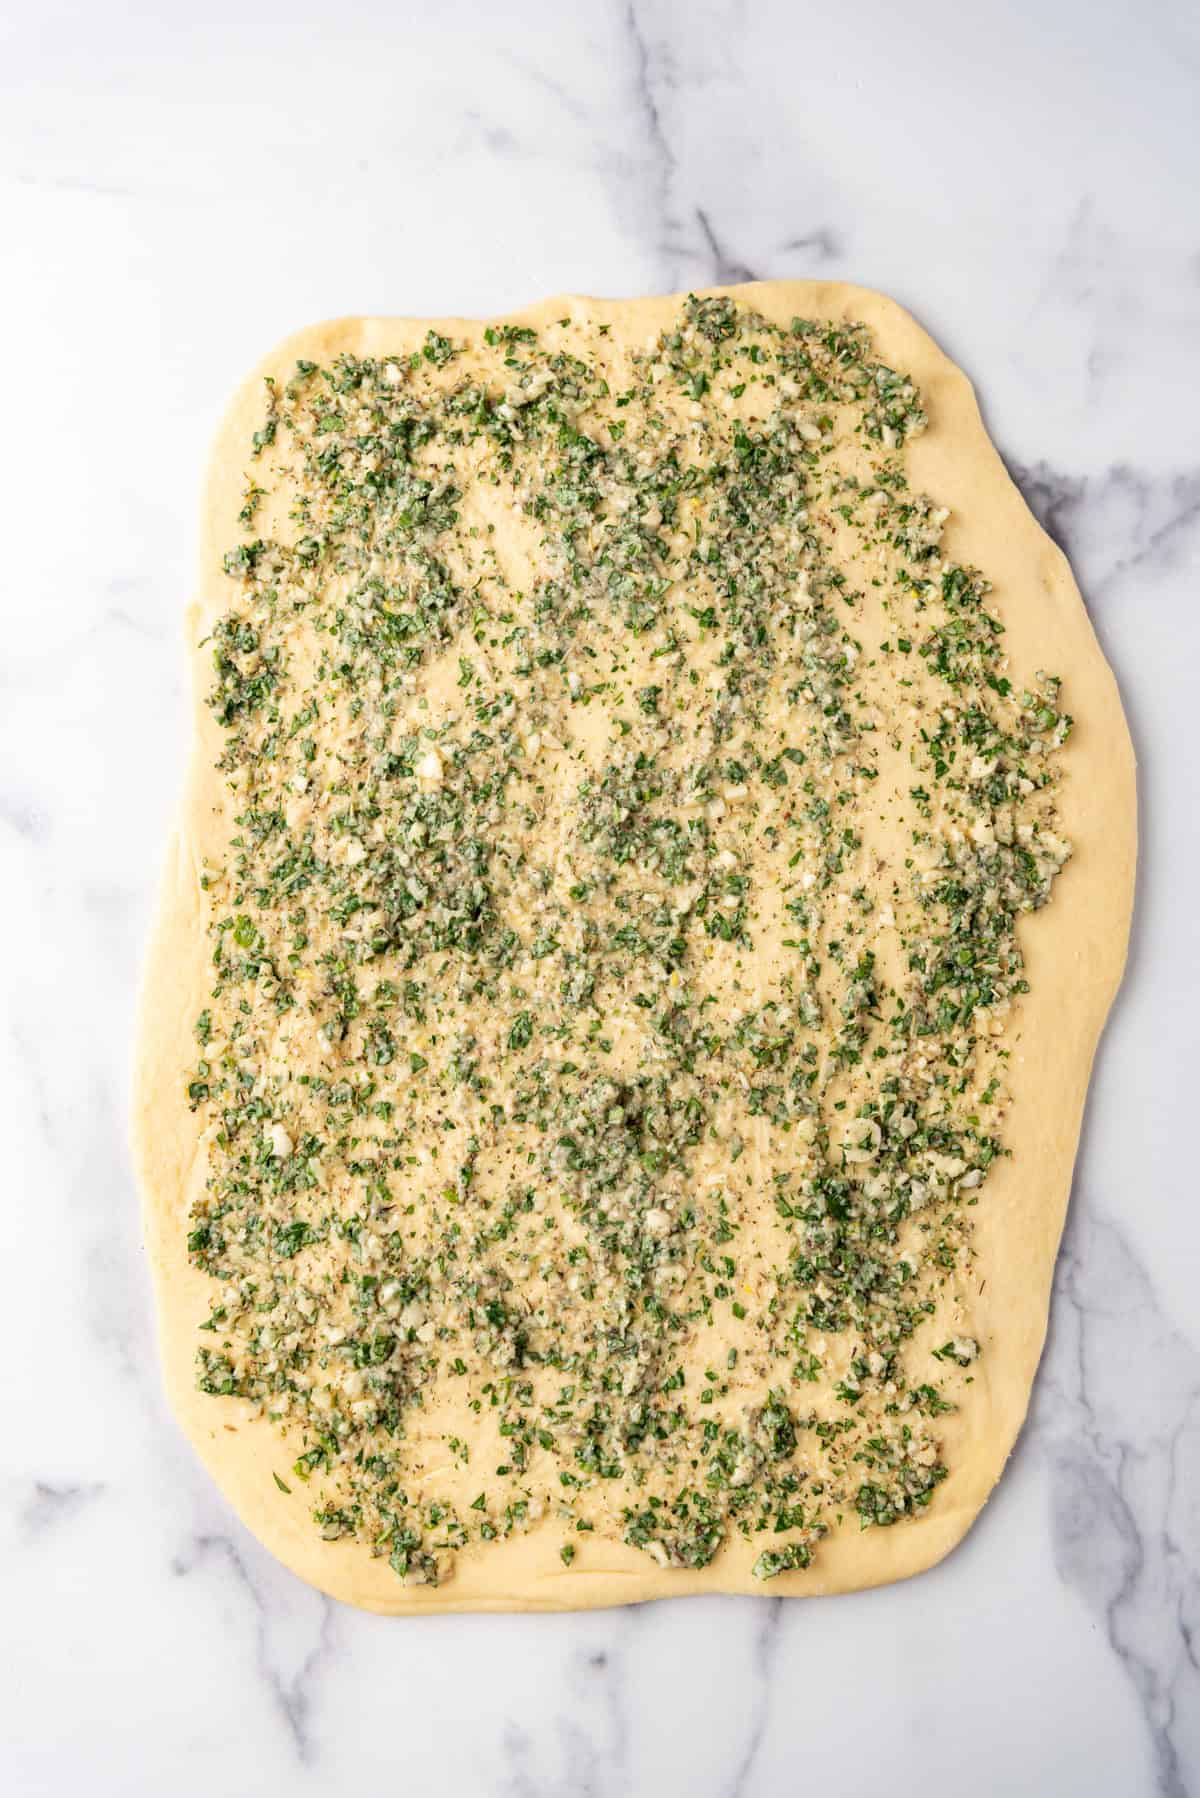
- Shape dough. Once the dough has risen, remove the plastic wrap and punch it down to release any air bubbles. Turn it out onto a lightly floured surface and let it rest for 10 minutes. Roll the dough into a 12×18-inch rectangle, then spread the garlic herb butter evenly over the surface, leaving a 1-inch border along one long edge.
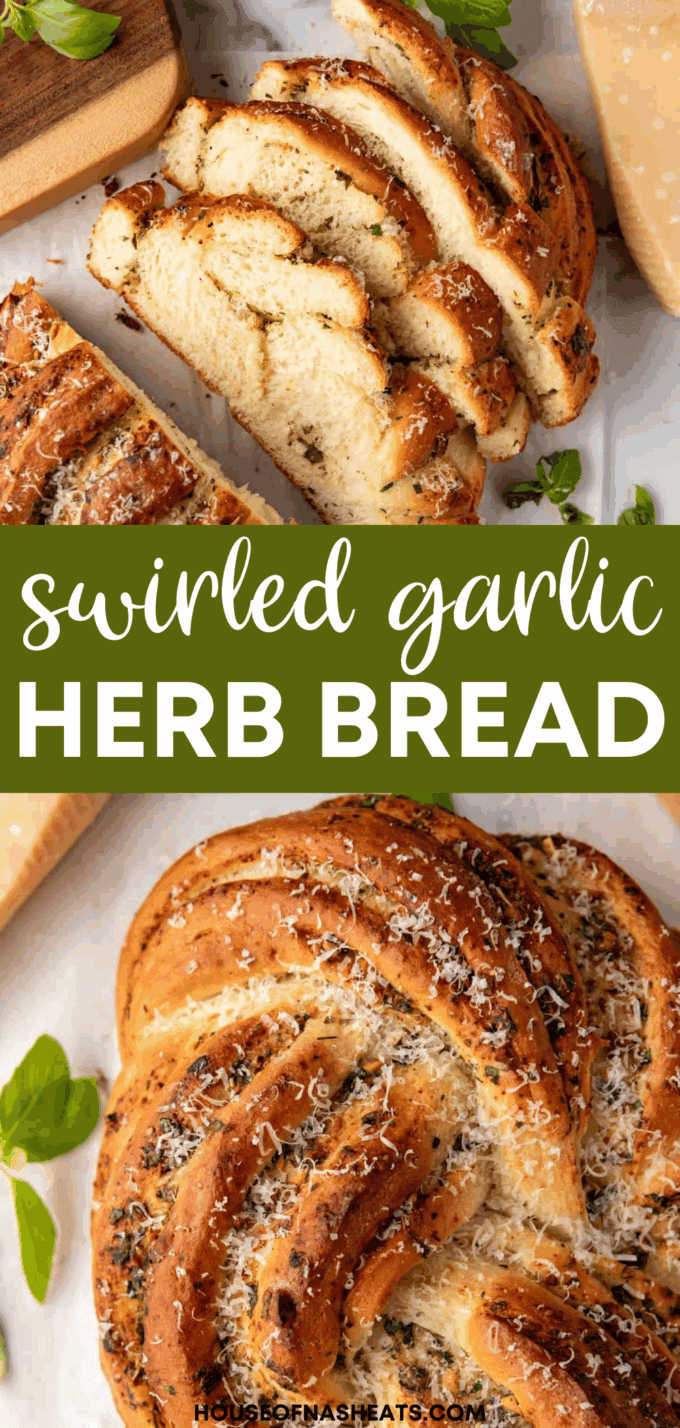
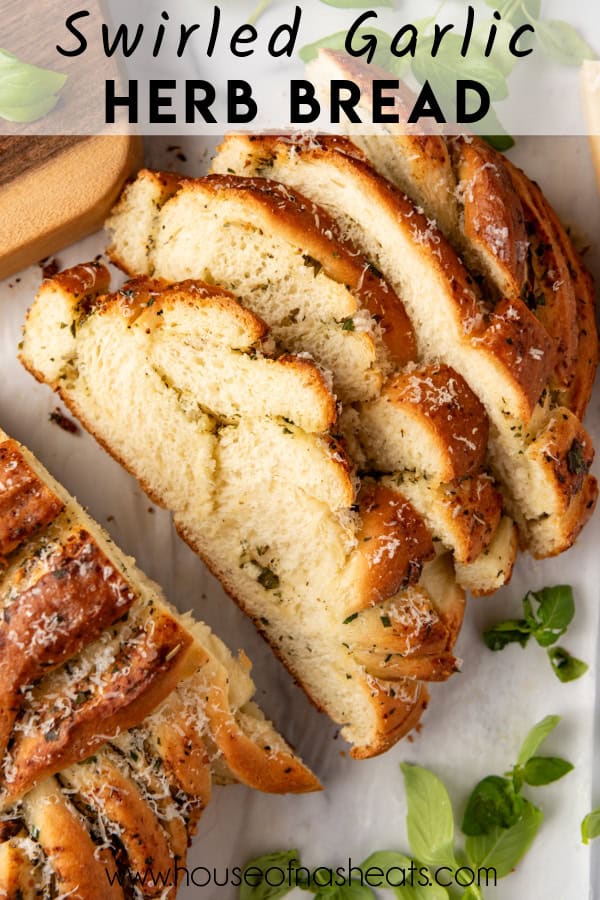
- Roll and slice dough. Starting from the long edge, roll the dough up tightly into a log, and pinch the edges to seal just like you’re making cinnamon rolls. Use a sharp knife with a serrated edge to slice the log in half lengthwise, leaving about an inch of dough uncut at one end. Open up the roll of dough to expose the cut sides so you can see the layers of garlic herb butter between layers of dough.
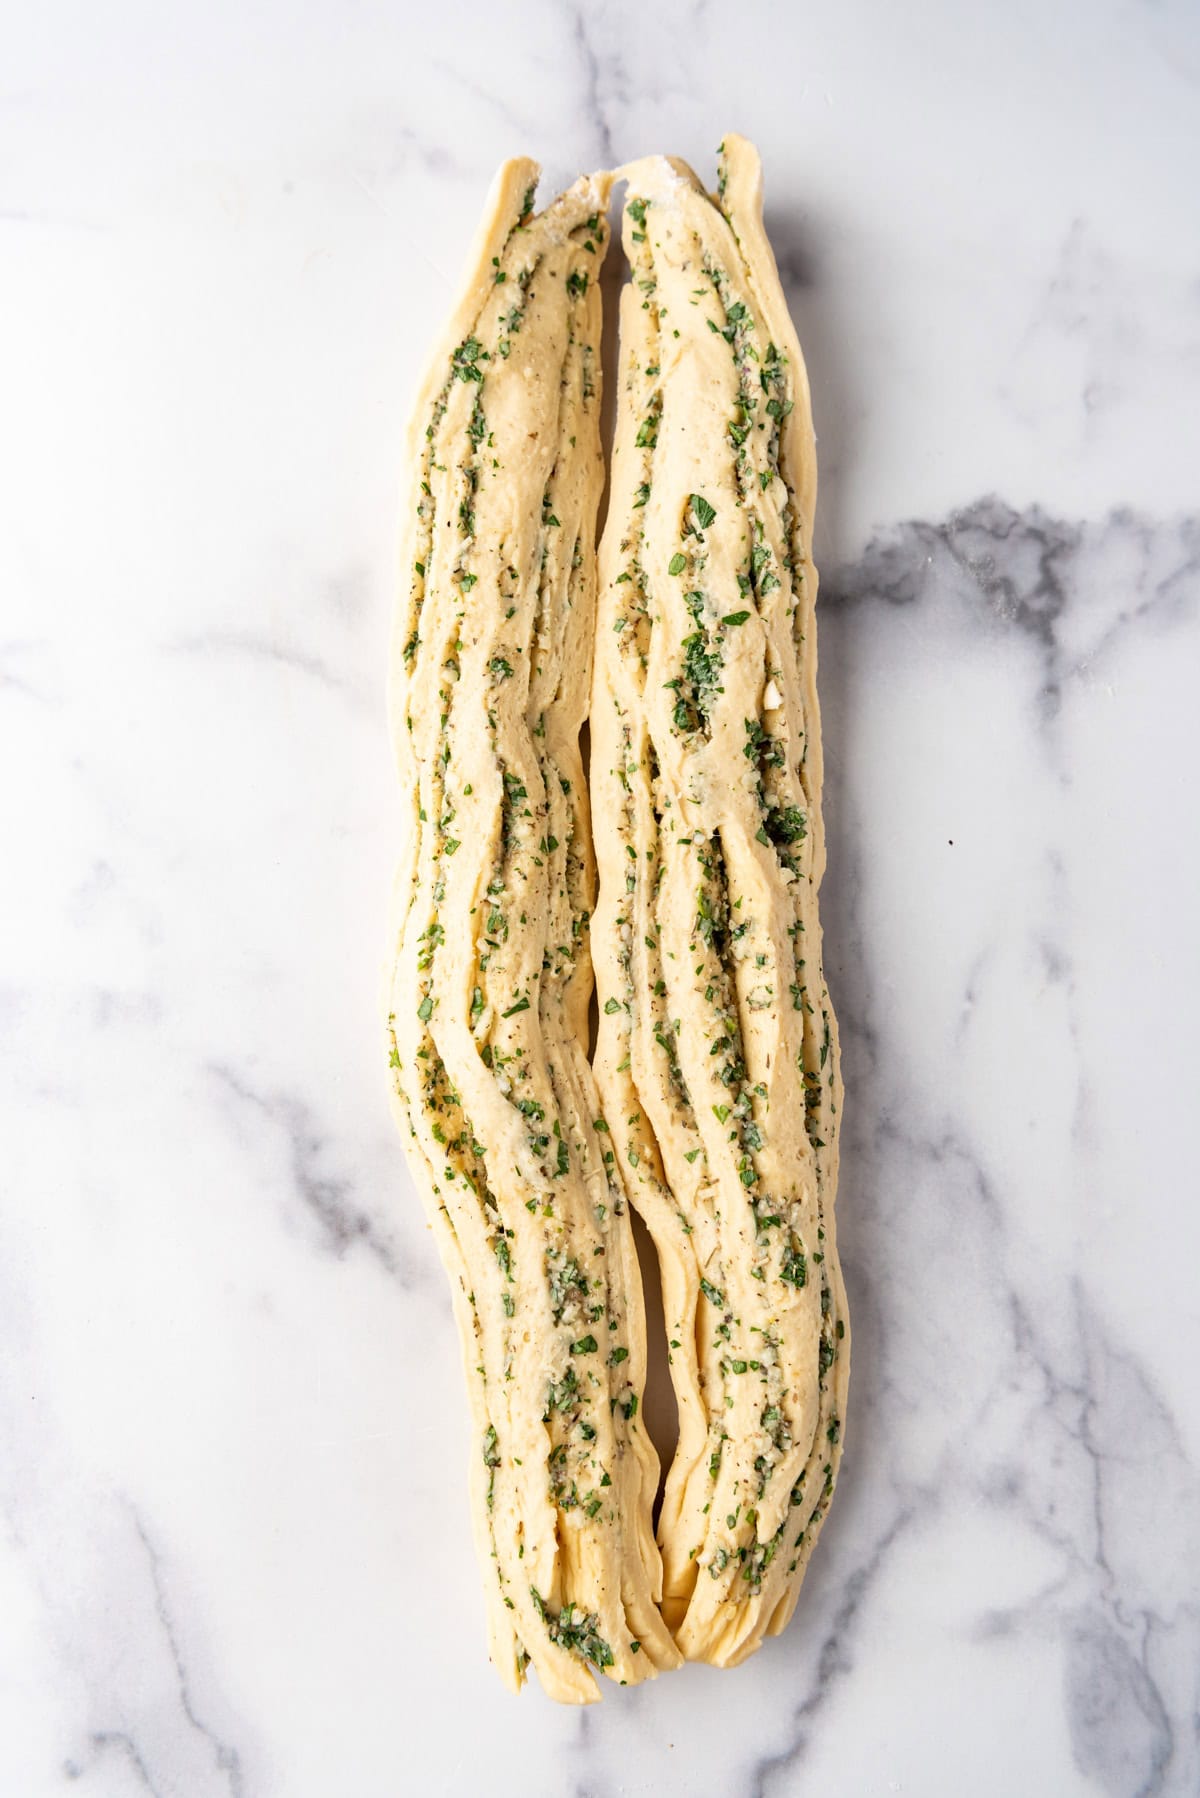
- Twist dough. Twist the two pieces of dough over each other, cut sides up, so the swirled layers show. Pinch the ends to seal.
- Form loaf. Gently twist the top half of the twisted dough to the right, coiling it halfway down. Repeat with the bottom half, coiling it to the left, forming a fat “S” shape.
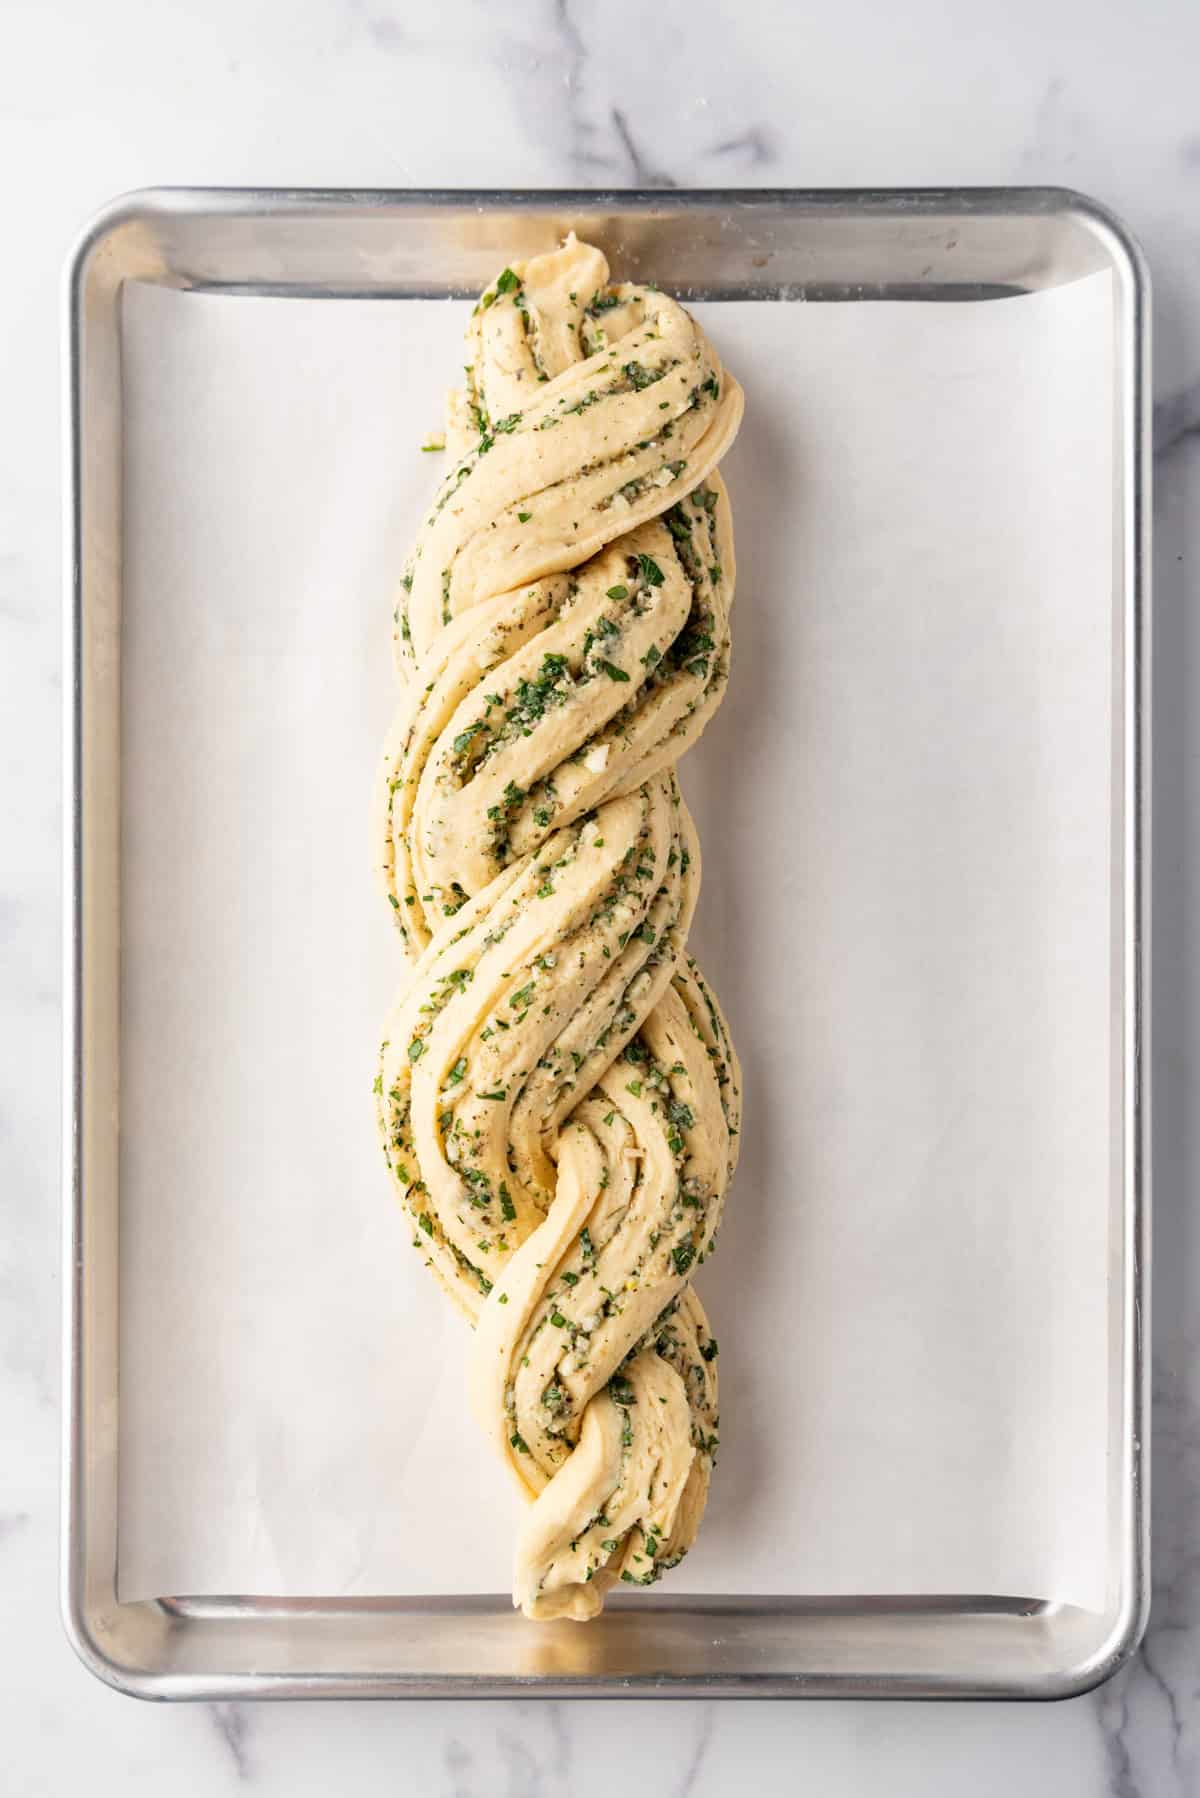
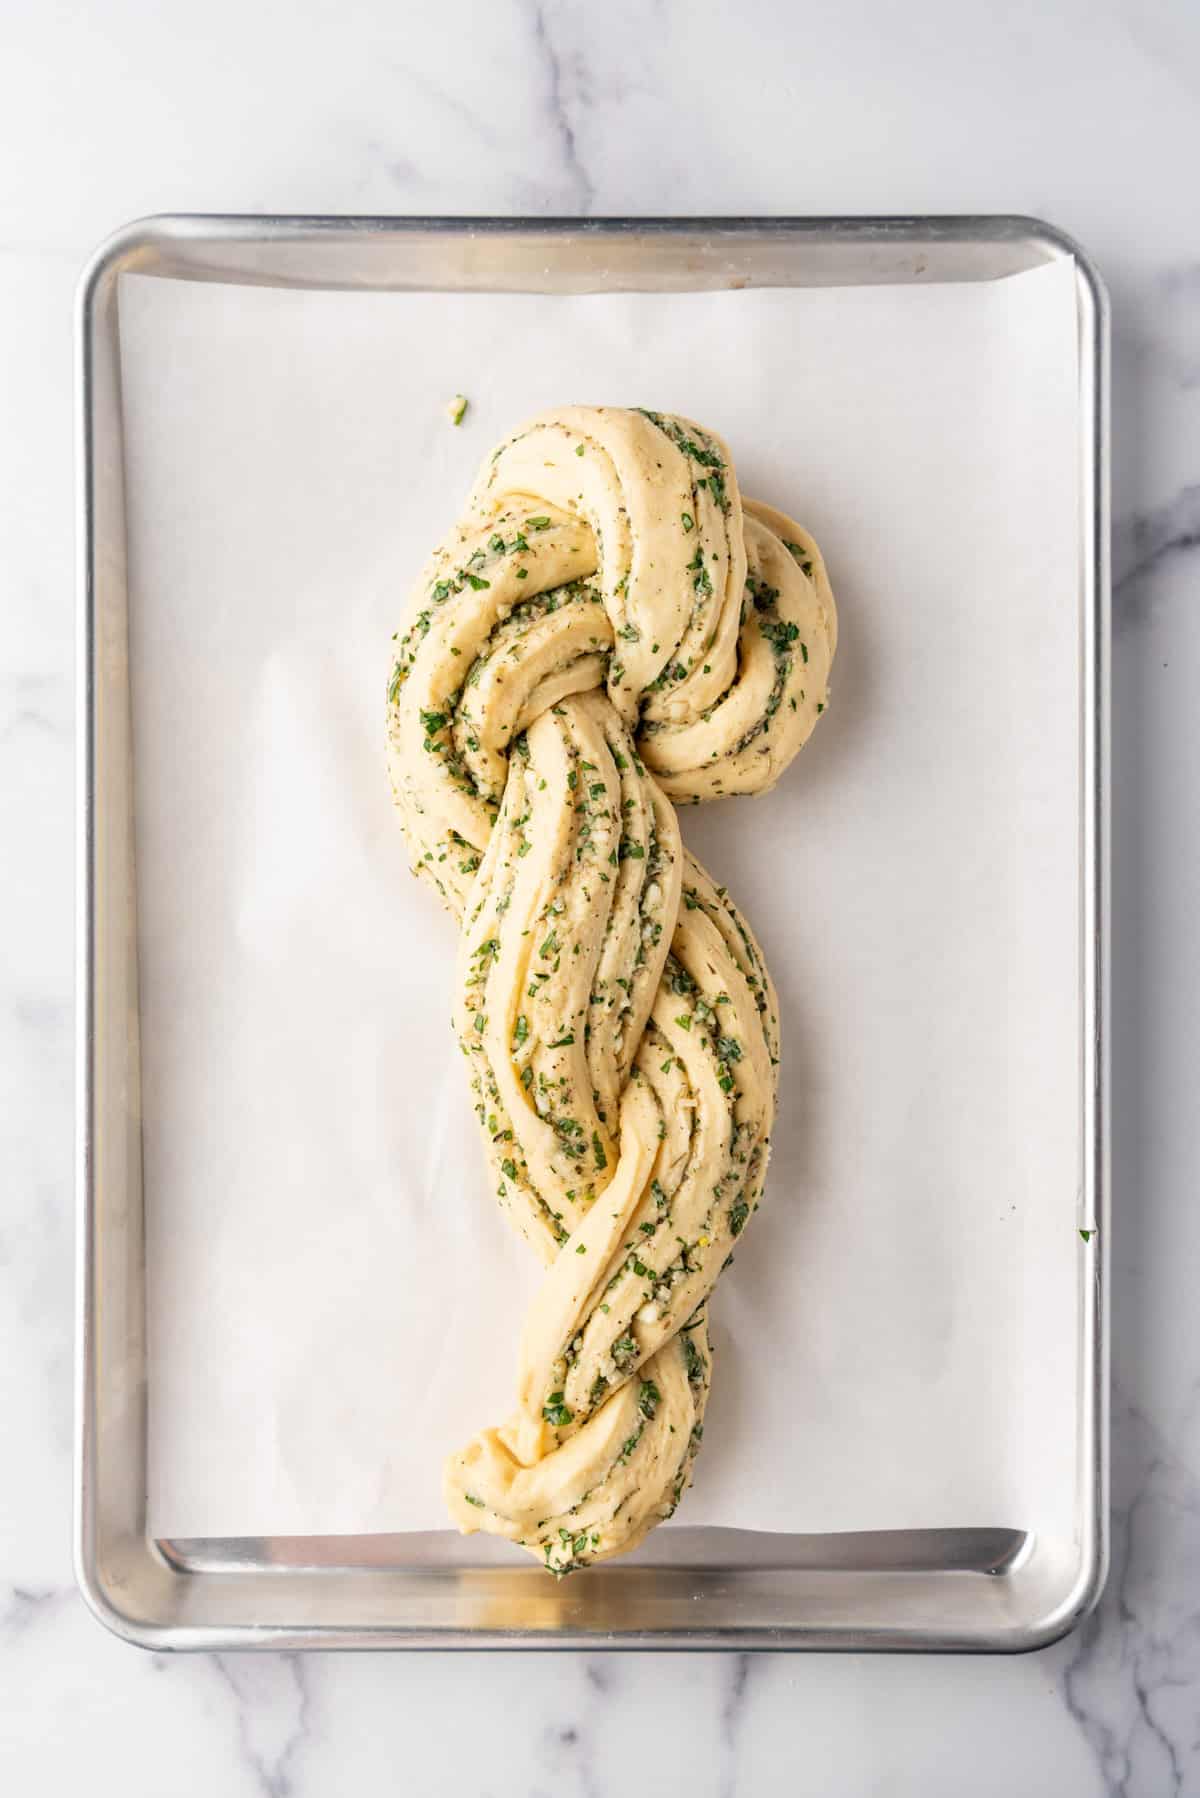
- Second rise. Transfer your beautiful creation to a parchment-lined baking sheet, cover loosely with plastic wrap, and let it rise again for 45 minutes until puffy and almost doubled.
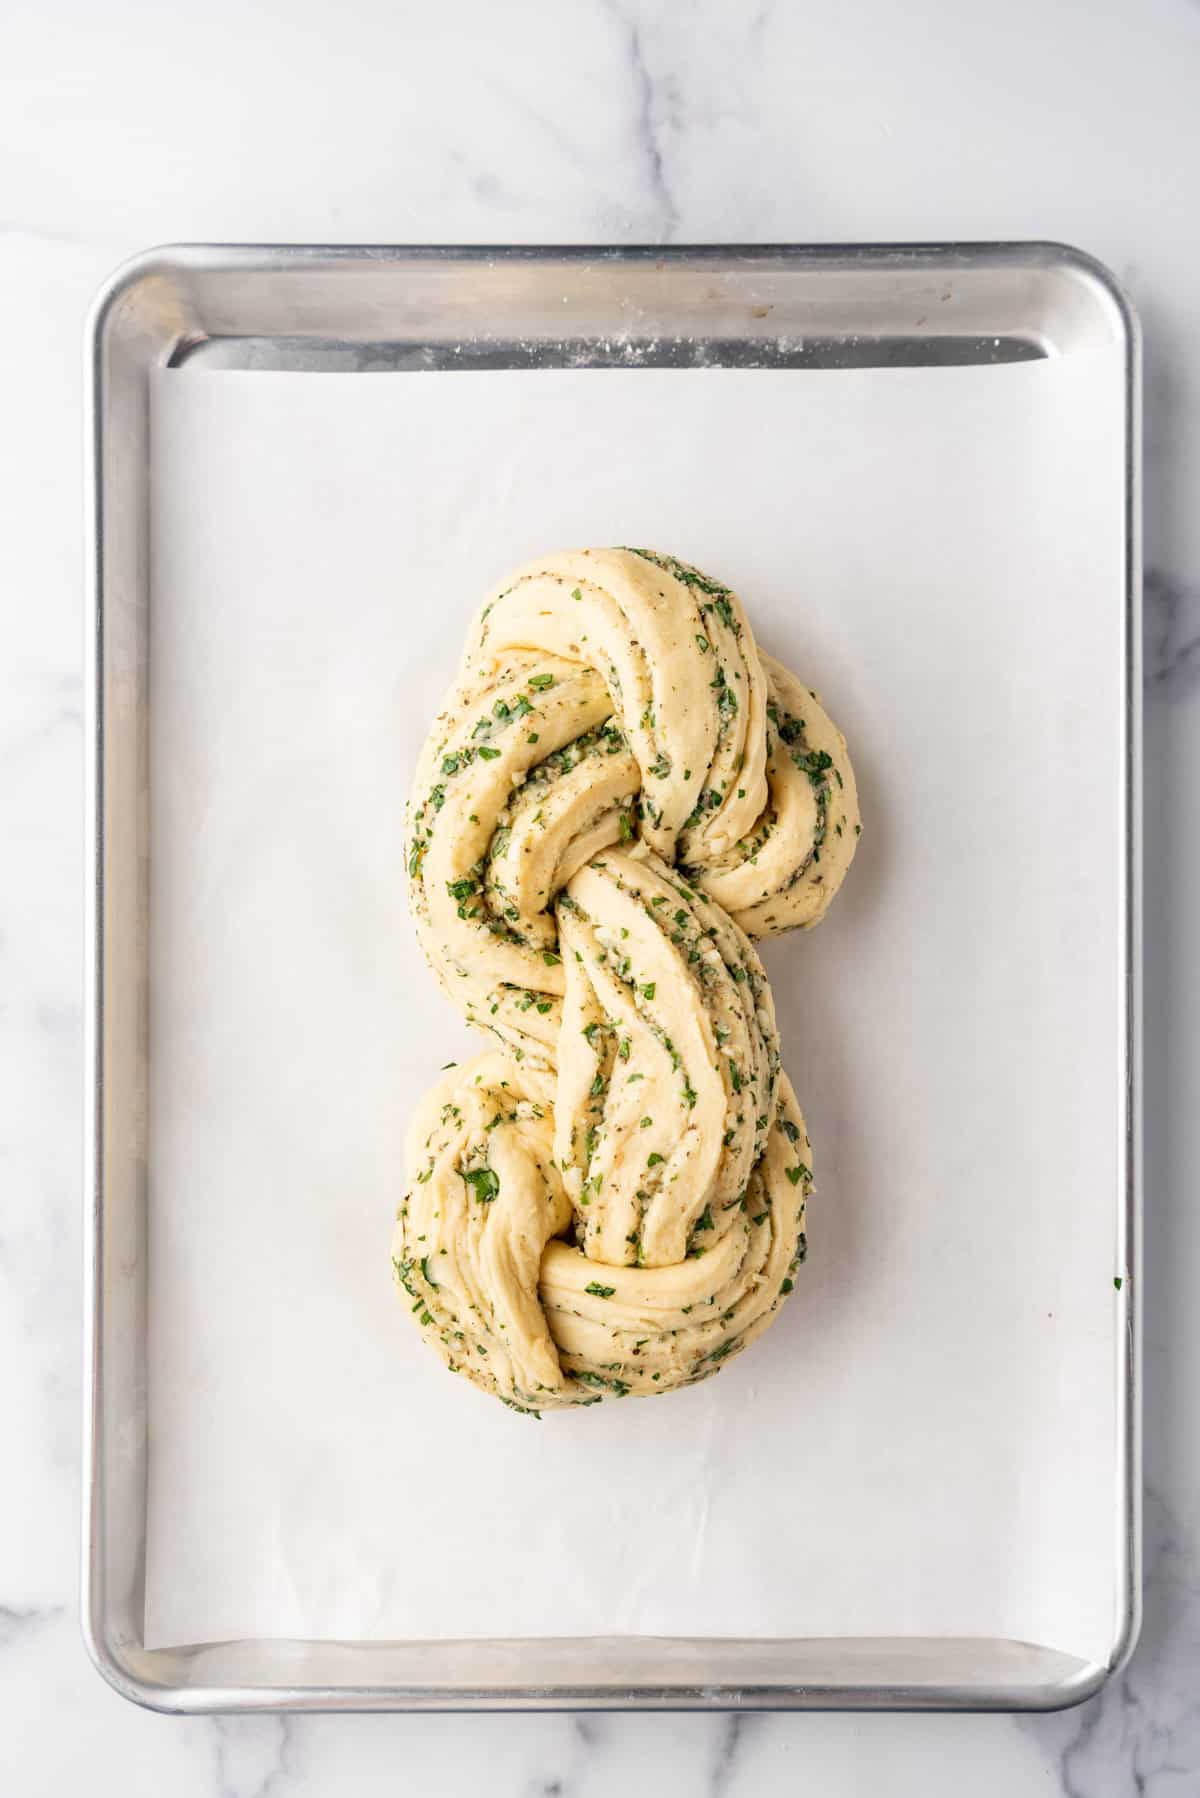
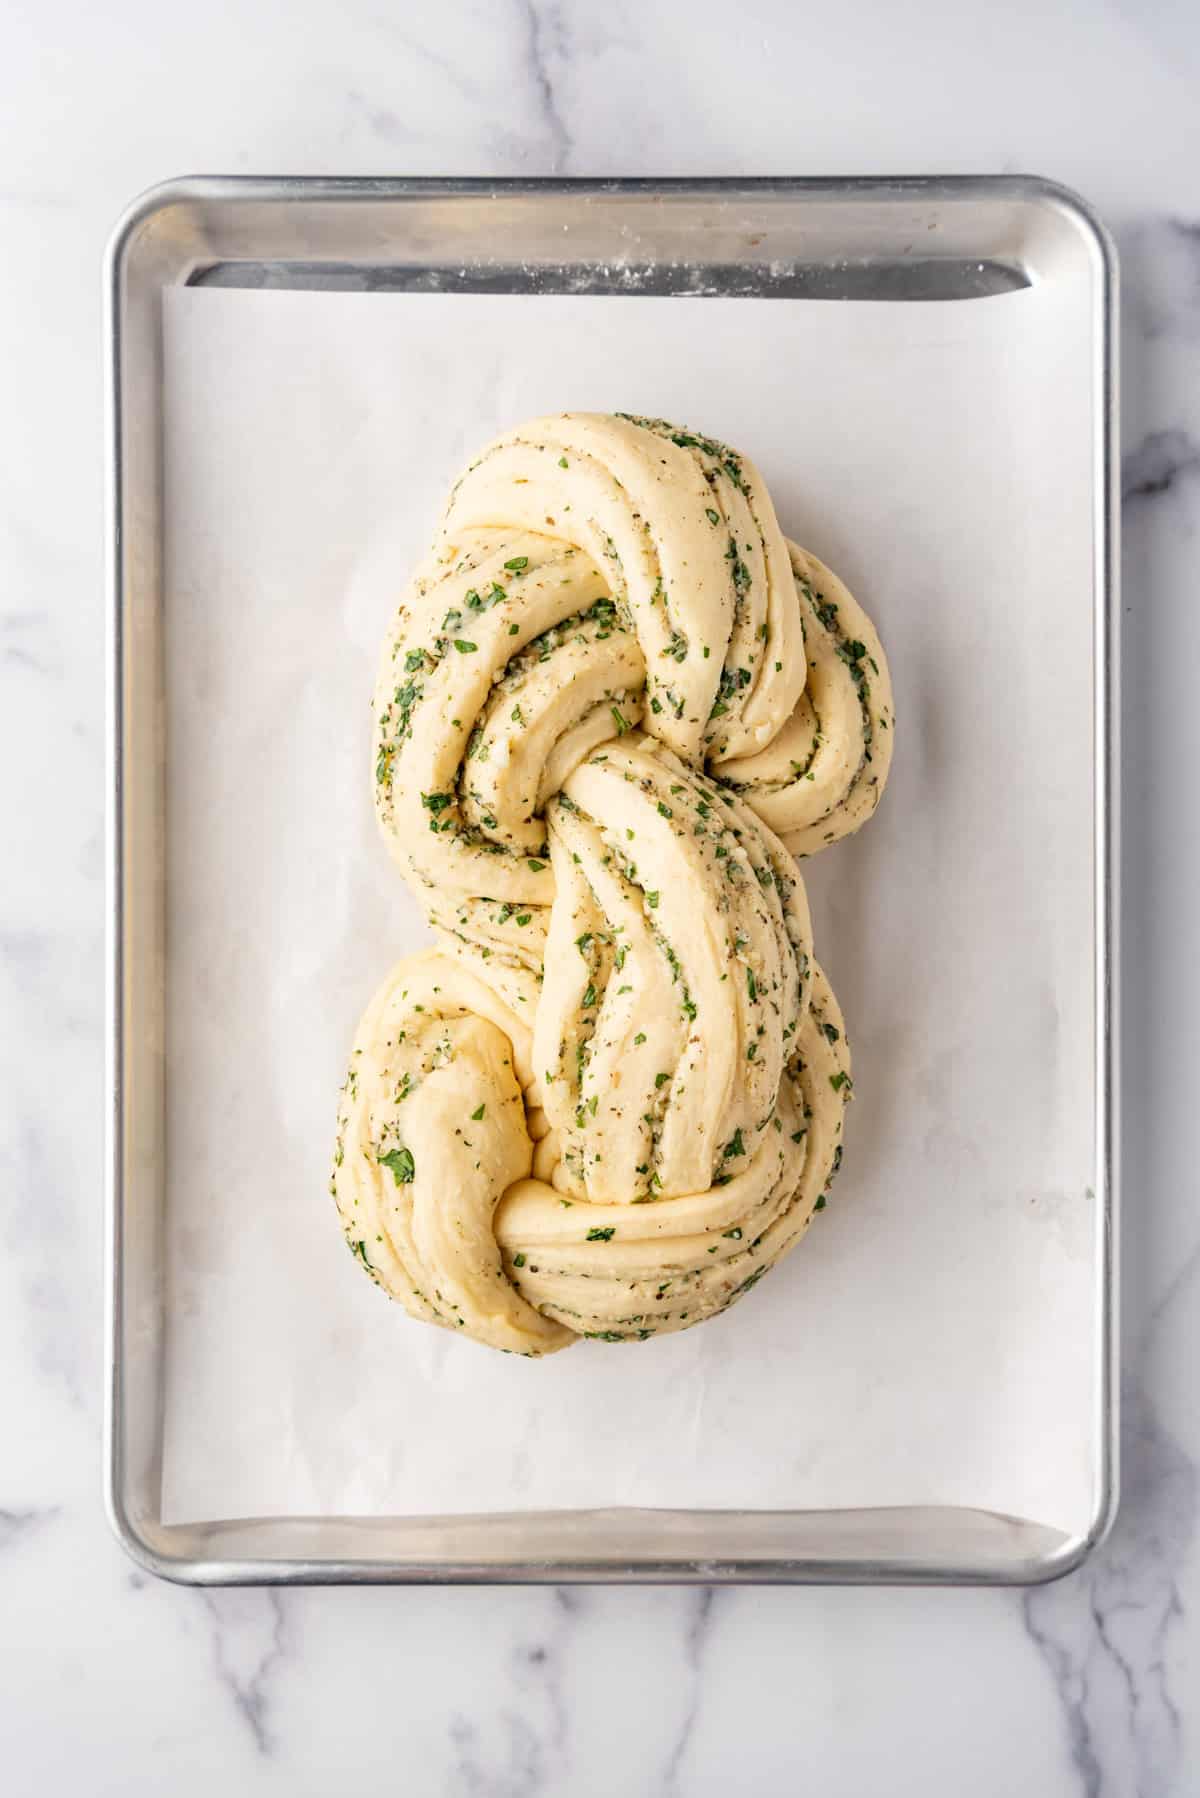
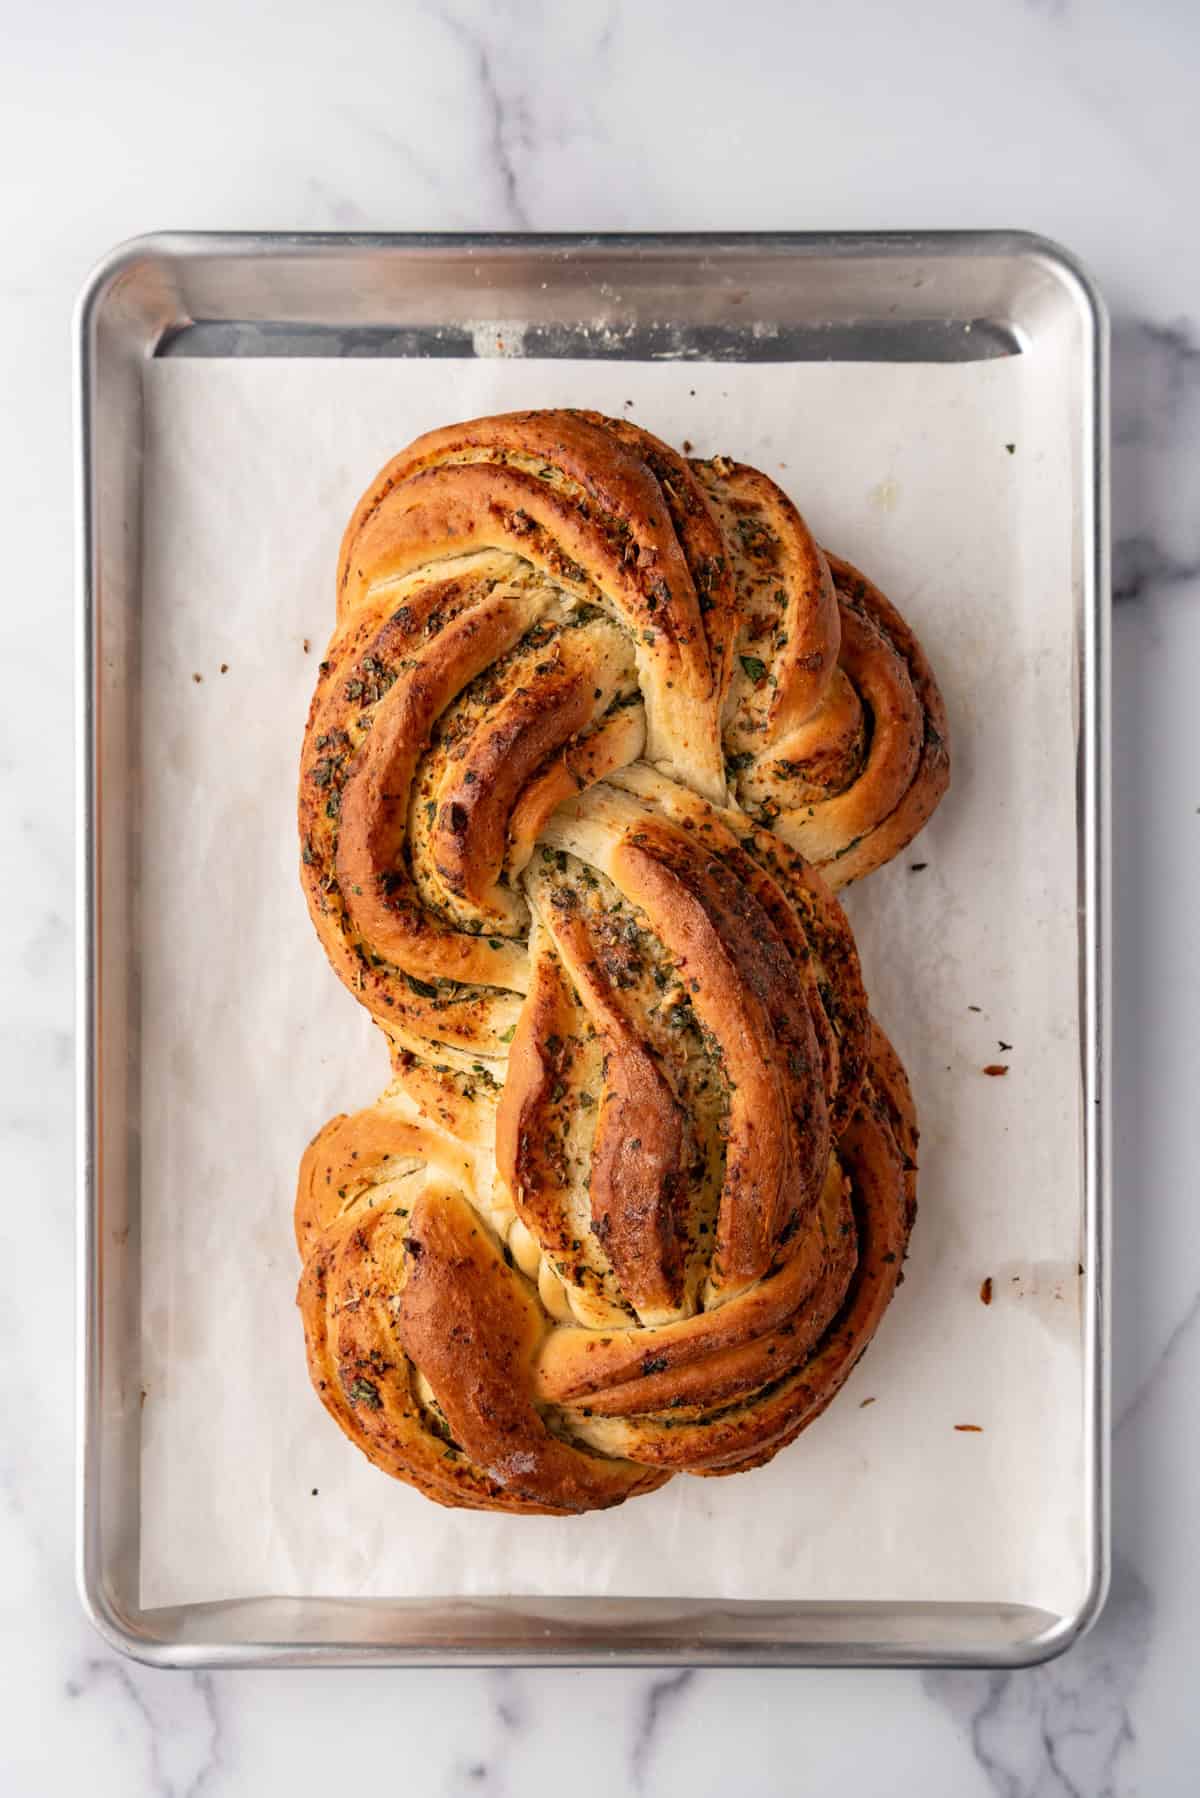
- Bake. While the loaf rises, preheat your oven to 375°F. Bake the bread for 30 minutes, or until it’s golden brown and the internal temperature reads 200°F. When the loaf is fresh out of the oven, brush it with 2-3 tablespoons of melted butter for extra flavor and shine.
Recipe FAQ’s
Yes, you can! Just activate the yeast in warm water before adding it to the dough mixture. It might take a little longer to rise, but the result will be just as fluffy.
Your dough should be smooth, soft, and slightly tacky to the touch. It will spring back when gently pressed. If it’s too sticky, add a little more flour.
Absolutely! You can prepare the dough the night before, let it rise, and then refrigerate it. In the morning, shape the dough, let it rise again, and bake as directed.
Swirled garlic herb bread is best enjoyed fresh, but it will stay soft and delicious for up to 2 days when stored in an airtight container.
Yes! After baking, allow the bread to cool completely, then wrap it tightly in aluminum foil and freeze for up to 3 months. Reheat it in the oven for a few minutes before serving for that fresh-baked taste.
Tips for Success
- Use freshly grated Parmesan for the best flavor and texture. Pre-grated cheese can be a bit dry and won’t melt as nicely into the bread.
- Let the dough rise in a warm, draft-free spot. A slightly warm oven (turned off) works wonders if your kitchen is cool.
- Don’t rush the twisting process! The slow, careful twist helps create those beautiful swirls, which are not only pretty but ensure that the garlic herb butter is evenly distributed.
- If your dough seems sticky, don’t panic! A light dusting of flour will help as you roll it out and shape it.
- For an extra garlicky kick, brush more garlic butter on top of the bread after it bakes. You’ll thank yourself later!
What to Serve with Swirled Garlic Herb Bread
This swirled garlic herb bread is the perfect companion to a cozy bowl of soup, especially something like Homemade Tomato Basil Soup or Creamy Irish Leek and Potato Soup.
It’s also fantastic alongside a hearty pasta dish like Homemade Spaghetti and Meatballs or Chicken Fettuccine Alfredo. For a more casual meal, pair it with a Chicken Caesar Pasta Salad and enjoy it as a light, flavorful side.
It also makes a great appetizer, served warm with a little extra butter or olive oil for dipping!
Substitutions and Variations
- If you don’t have Parmesan, you can use Pecorino Romano or even a sharp cheddar for a different flavor twist.
- Swap the parsley with fresh basil or thyme if that’s what’s growing in your herb garden.
- For a spicier version, add a pinch of red pepper flakes to the garlic butter mixture for a subtle heat.
- If you prefer, you can make this bread with whole wheat flour—just use half whole wheat and half all-purpose to keep it light.
- Try adding a sprinkle of mozzarella for a cheesy, extra gooey swirl that everyone will love.
Must-Try Bread Recipes for Every Bread Lover
- Homemade Sourdough Bread
- The Best Dinner Rolls
- Homemade Brown Bread Dinner Rolls
- Homemade French Bread
- Multigrain Bread
- Sweet Molasses Brown Bread
- Soft Homemade Potato Bread
- Easy Homemade Rye Bread
Swirled Garlic Herb Bread
Ingredients
- 3 ½ to 4 cups (494g to 564g) all-purpose flour
- 2 Tablespoons granulated sugar
- 2 ¼ teaspoons instant dry yeast
- 1 teaspoon kosher salt
- ¾ cup whole milk
- 8 Tablespoons salted butter softened (divided)
- 3 large eggs lightly beaten
- ⅓ cup freshly grated Parmesan cheese
- 4 cloves garlic minced
- ¼ cup chopped fresh parsley
- 1 teaspoon Italian seasoning

Instructions
- In a large bowl, combine 3 ½ cups of the flour, sugar, yeast, and salt.3 ½ to 4 cups (494g to 564g) all-purpose flour, 2 Tablespoons granulated sugar, 2 ¼ teaspoons instant dry yeast, 1 teaspoon kosher salt
- Heat the milk and 2 Tablespoons of the butter in microwave safe bowl in the microwave or in a small saucepan on the stovetop until warm (about 120°F to 130°F). Add the warm milk mixture and beaten eggs to the flour mixture.¾ cup whole milk, 8 Tablespoons salted butter, 3 large eggs
- Use a dough hook to mix the ingredients until the flour is incorporated. Knead for 4-5 minutes, adding the remaining flour only as needed to create a smooth, soft dough that is only lightly tacky to the touch. This can also be done by hand on a lightly floured surface, if necessary.
- Shape the dough into a ball and transfer it to a bowl that has been drizzled with a little olive oil. Turn the dough to coat in the oil, then cover with plastic wrap or a clean cloth and let rise in a warm spot for about 1 hour or until almost doubled in size.
- In another bowl, mash together the remaining 4 Tablespoons of butter with the grated Parmesan, minced garlic, parsley, and Italian seasoning.⅓ cup freshly grated Parmesan cheese, 4 cloves garlic, ¼ cup chopped fresh parsley, 1 teaspoon Italian seasoning
- When the dough has risen, remove the plastic wrap and punch down the dough. Dump the dough out onto a lightly floured surface, then let it rest for 10 minutes. Roll the dough into a large, roughly 12×18-inch rectangle.
- Spread the garlic herb butter evenly over the dough leaving a 1-inch border along one long side. Roll the dough up into a log starting from the long side and pinching the edges to seal, just as if you were making cinnamon rolls.
- Use a sharp serrated knife to slice the dough in half almost all the way down the length of the rolled dough, leaving about an inch uncut toward one end.
- Open up the roll of dough to expose the cut sides so you can see the layers of garlic herb butter between layers of dough. Twist the two pieces of dough over each other, keeping the cut sides up. Pinch the ends together.
- Twist the top of the loaf to the right, coiling it into itself about halfway down the loaf. Repeat the process with the bottom half of the loaf, coiling it to the left, creating a fat "S" shaped twisted loaf. Carefully transfer the loaf to a baking sheet lined with parchment paper and cover loosely with a piece of plastic wrap. Let rise for another 45 minutes or so until puffy and almost doubled in size again.
- While the shaped loaf is rising, preheat the oven to 375°F. Bake for 30 minutes until golden brown and the internal temperature of the bread reaches 200°F when tested with an instant read digital thermometer. Brush the finished loaf with an additional 2-3 Tablespoons of melted salted butter.
Notes
Storage & Make Ahead
- Store: Wrap the bread tightly in plastic wrap or place it in an airtight container. It will stay fresh for up to 2 days at room temperature.
- Freeze: Wrap the cooled bread tightly in foil or plastic wrap, then store it in a freezer-safe bag for up to 3 months. Thaw at room temperature before reheating.
- Reheat: To reheat, wrap in foil and bake in a 350°F oven for 10-15 minutes until warmed through. Individual slices can be microwaved for a quick reheat.
- Make Ahead: Prepare the dough up to the first rise, then refrigerate overnight. The next day, shape, rise again, and bake as usual.
Nutrition
Recipe adapted from Mel and Boys Kitchen and Half Baked Harvest.




This came out beautifully, exactly like the photo, and it was delicious! I encourage anyone who is intimidated by the elaborate design – don’t be! Just follow the steps and the photos, it was very easy. This bread was a show-stopper!
Thank you so much for your kind comment Jana!
My wife made this for me the other night it was lovely. So much better than any shop bought Galic bread . And it looks great when you take it out the oven . We had this with chilli and it was well worth the effort . Thanks for the recipe we will definitely be trying this out on the rest of the family .
Thank you Steven! I’m so happy you enjoyed it. Yes I agree, homemade is usually better than store bought!
The recipe calls for 8 tablespoons butter but you have two tablespoons added to the milk in the beginning of the recipe and then 4 tablespoons in the garlic mixture which is only 6 tablespoons.
Please advice.
Thank you, I still made this bread an oh my goodness soooo good. I did use the 8 tablespoons butter just want to know what is correct 6 or 8 tablespoons.
Thank you so very much,
Patty
Hi Patty! I am glad you enjoyed it! I brush the finished loaf with an additional 2-3 Tablespoons of melted salted butter. I include those measurements in the 8 tablespoons. I hope that helps! Let me know if you have nay more questions!