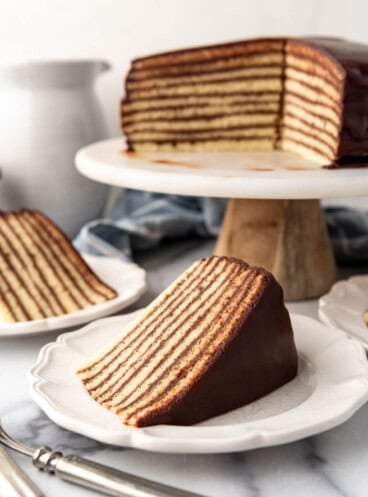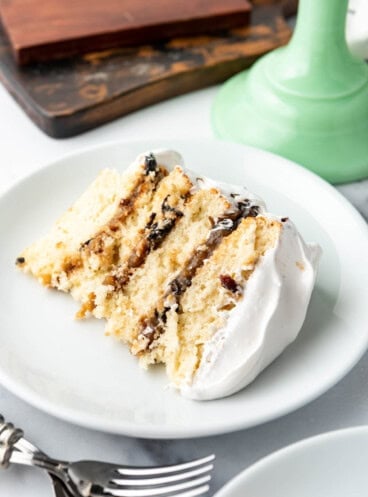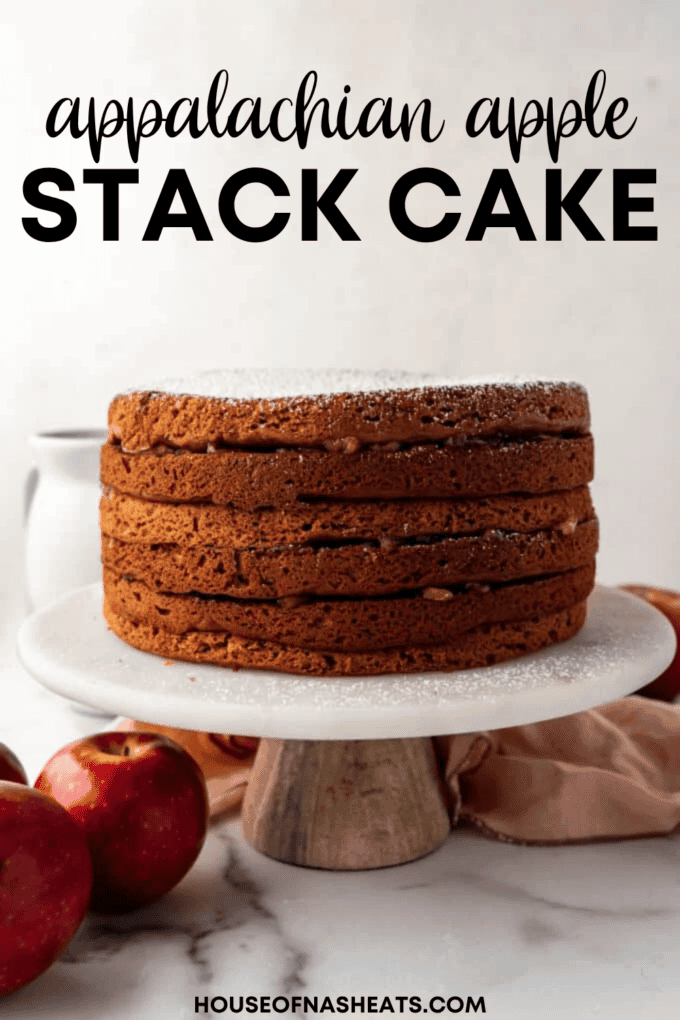
If ever there was a cake that tells the story of the Appalachian Mountains, it’s Apple Stack Cake. This homey, beloved dessert is shared across much of Appalachia and everyone does it slightly differently, but it is always delicious.
I chose this dessert to represent West Virginia as part of my American Eats series, but it is popular throughout the mountain communities of Kentucky and Tennessee as well. This humble dessert is a reflection of the people who made it. They were resourceful, practical, and incredibly good at turning simple ingredients into something special.
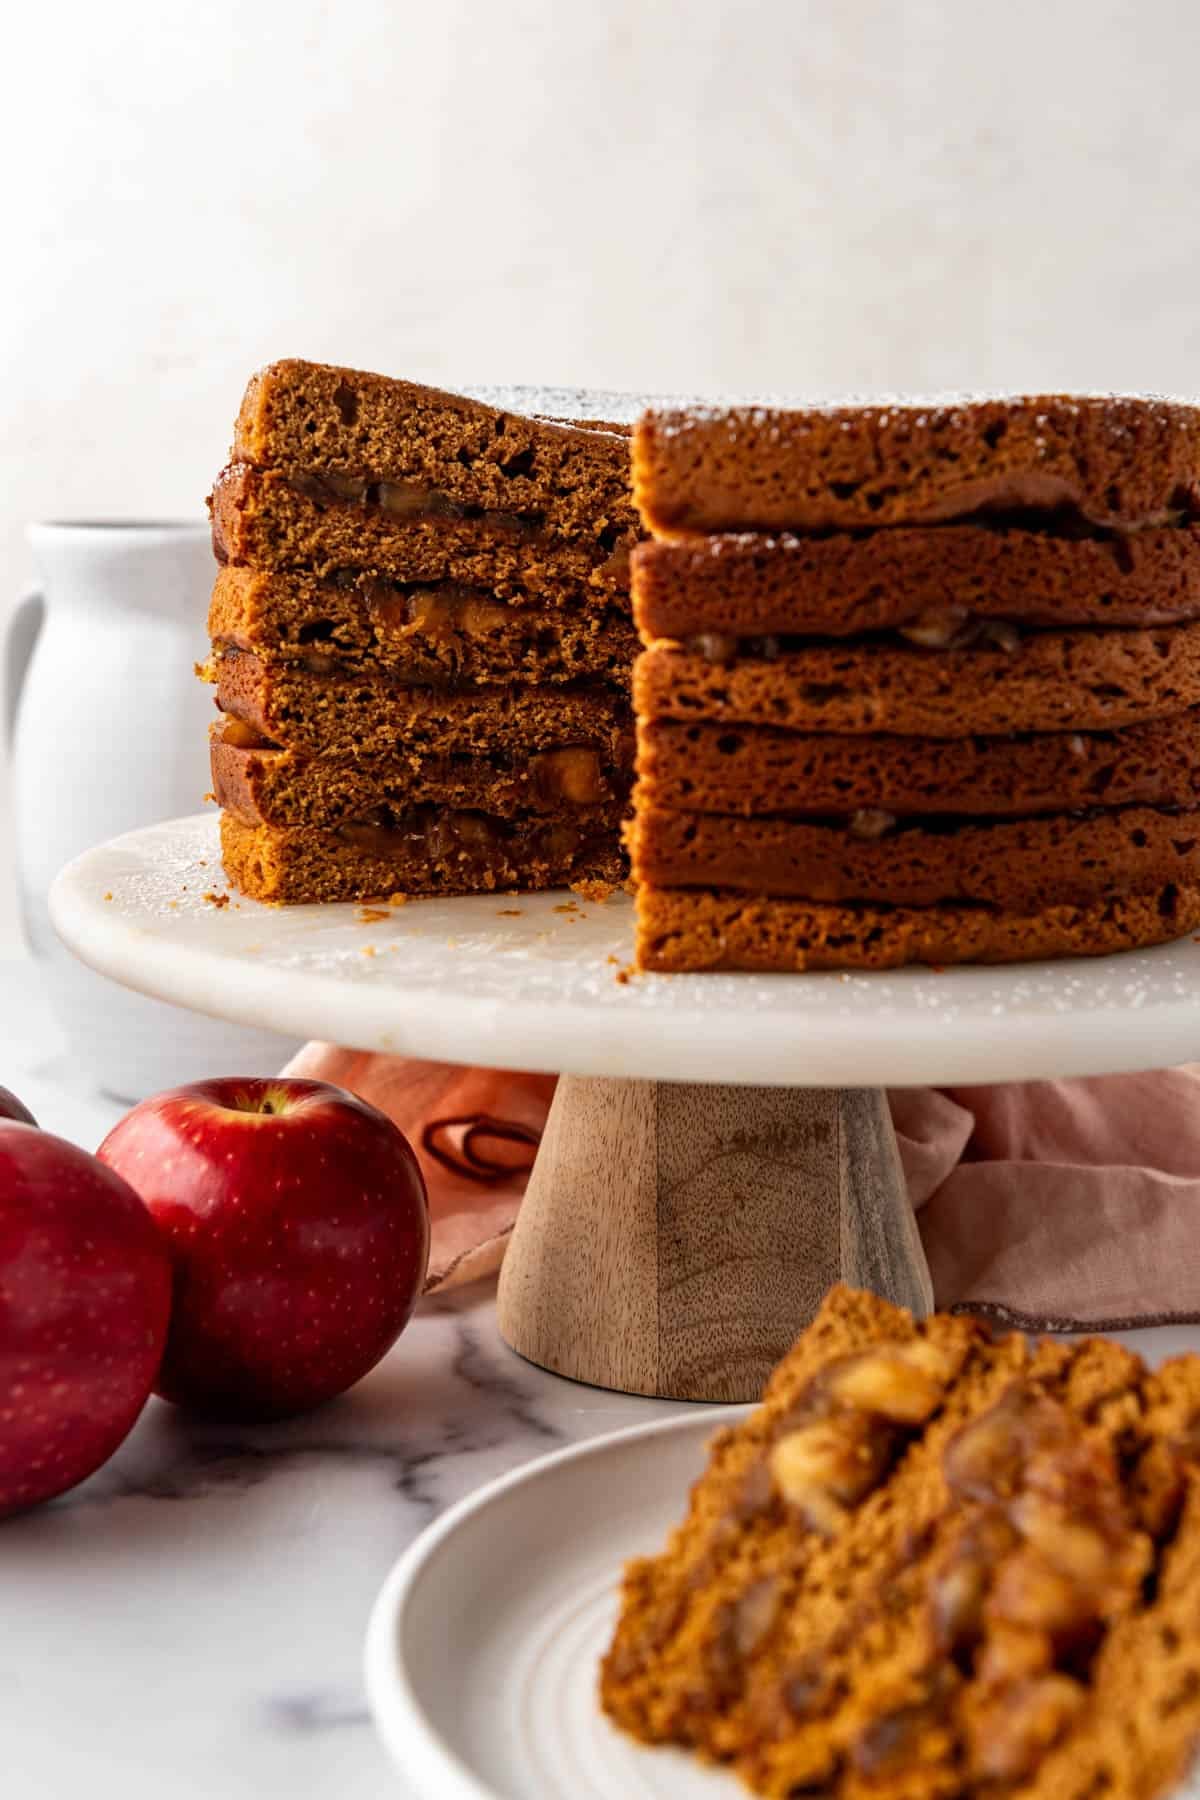
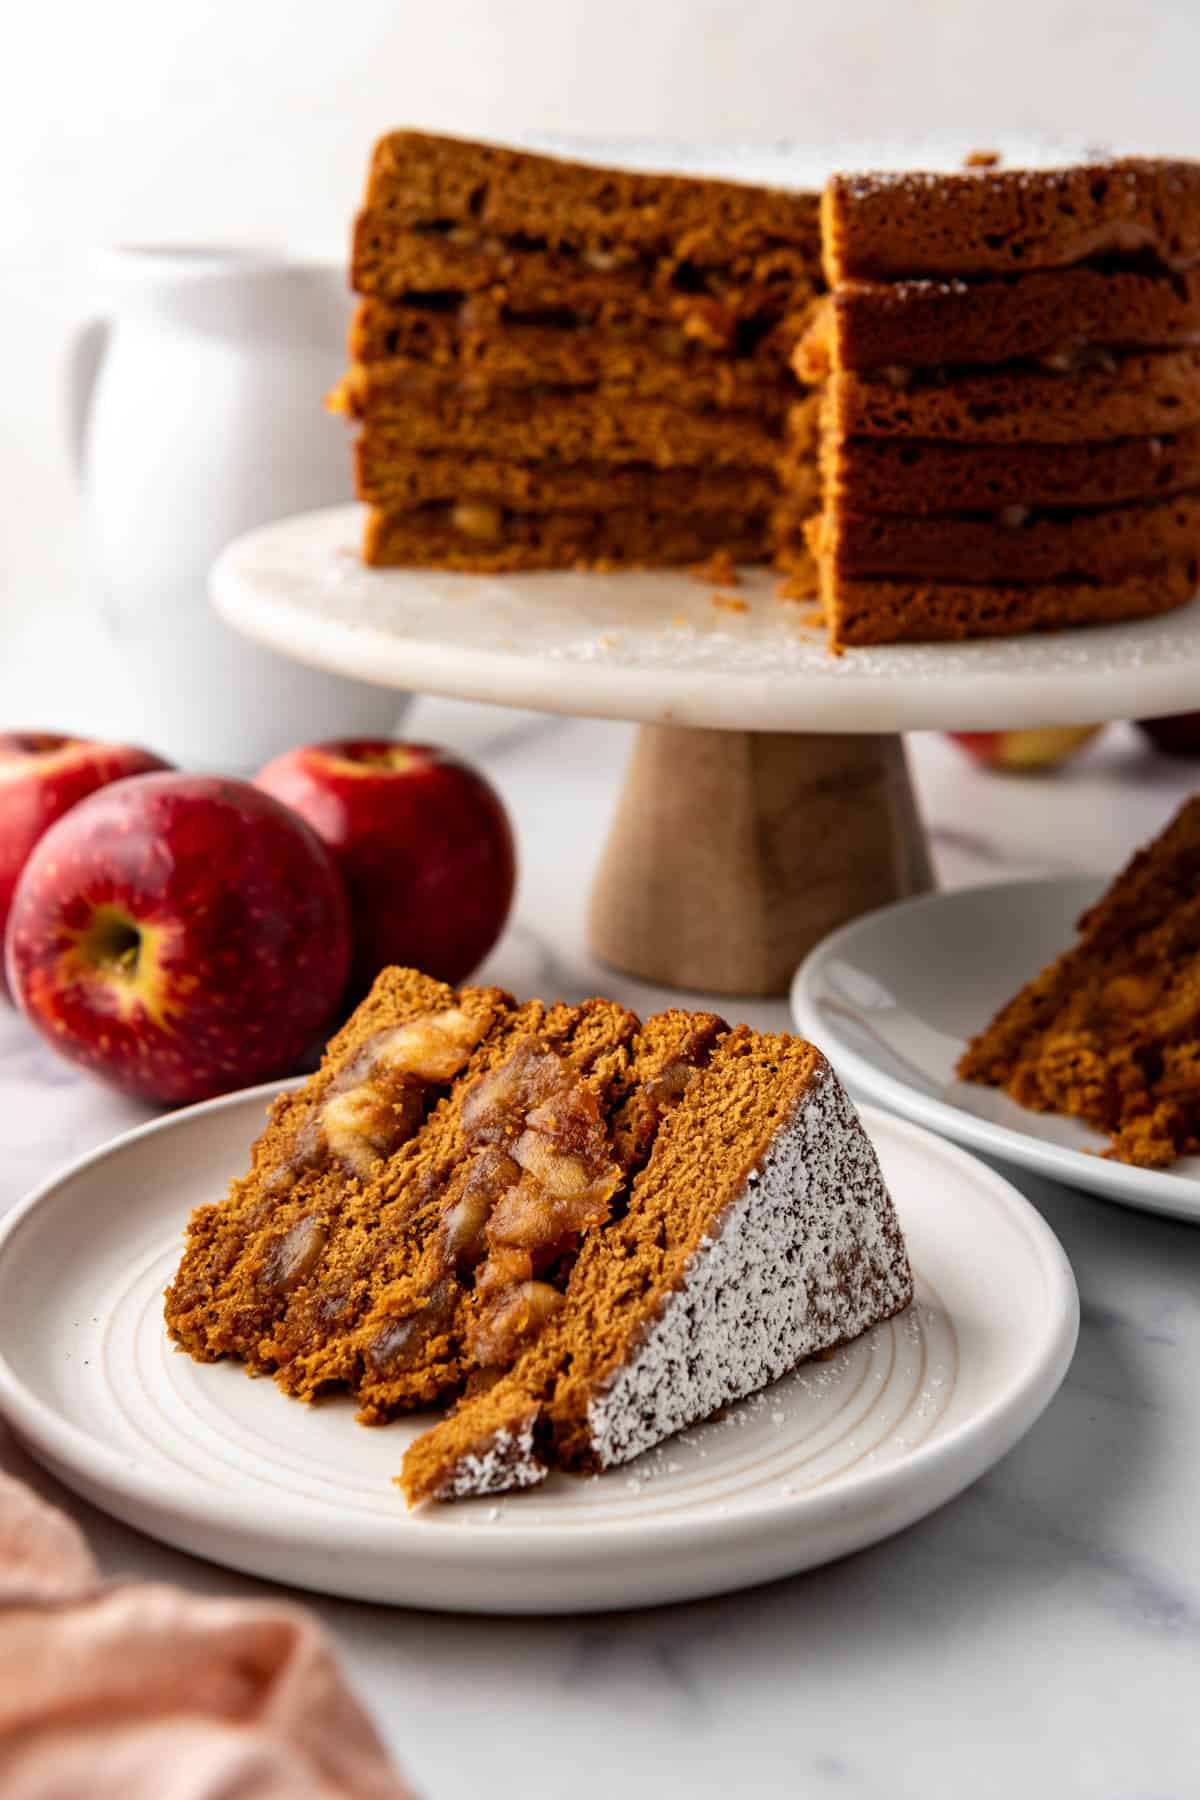
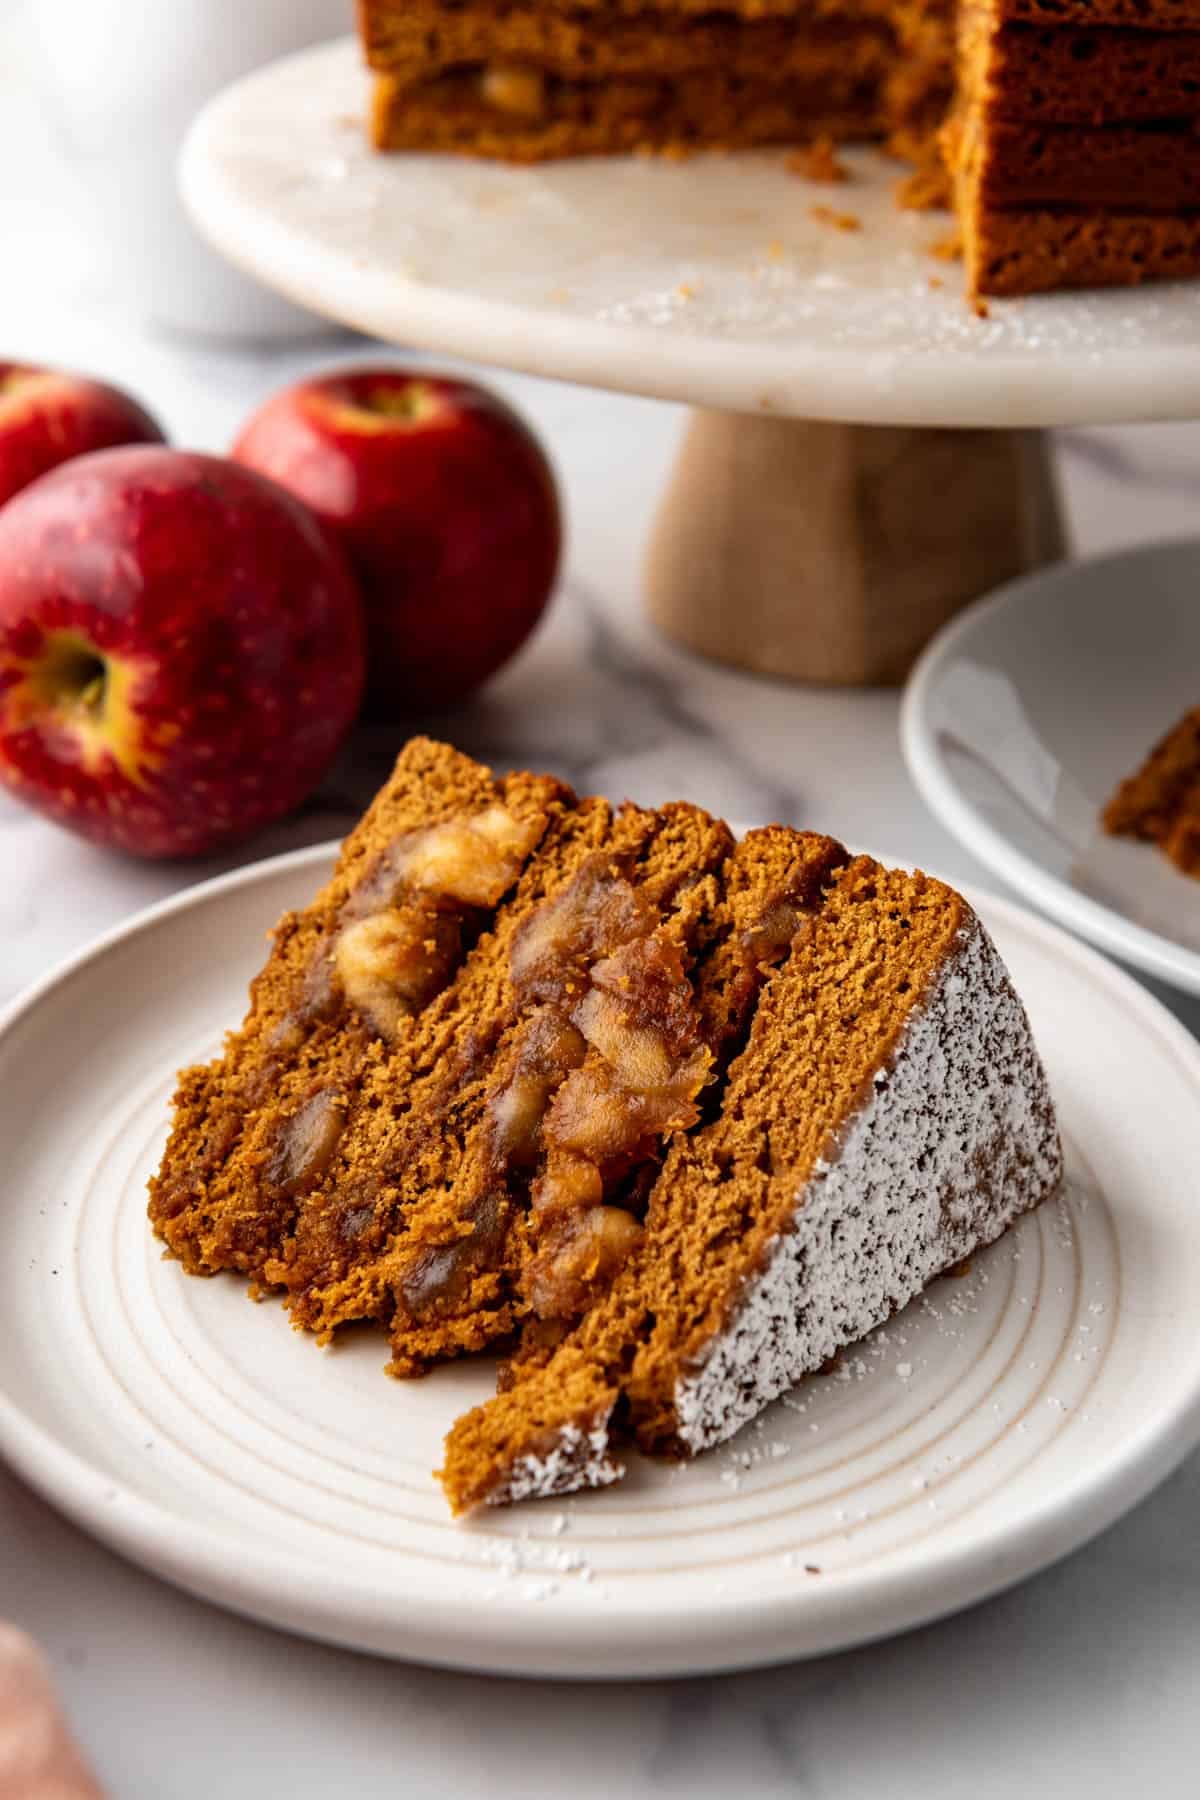
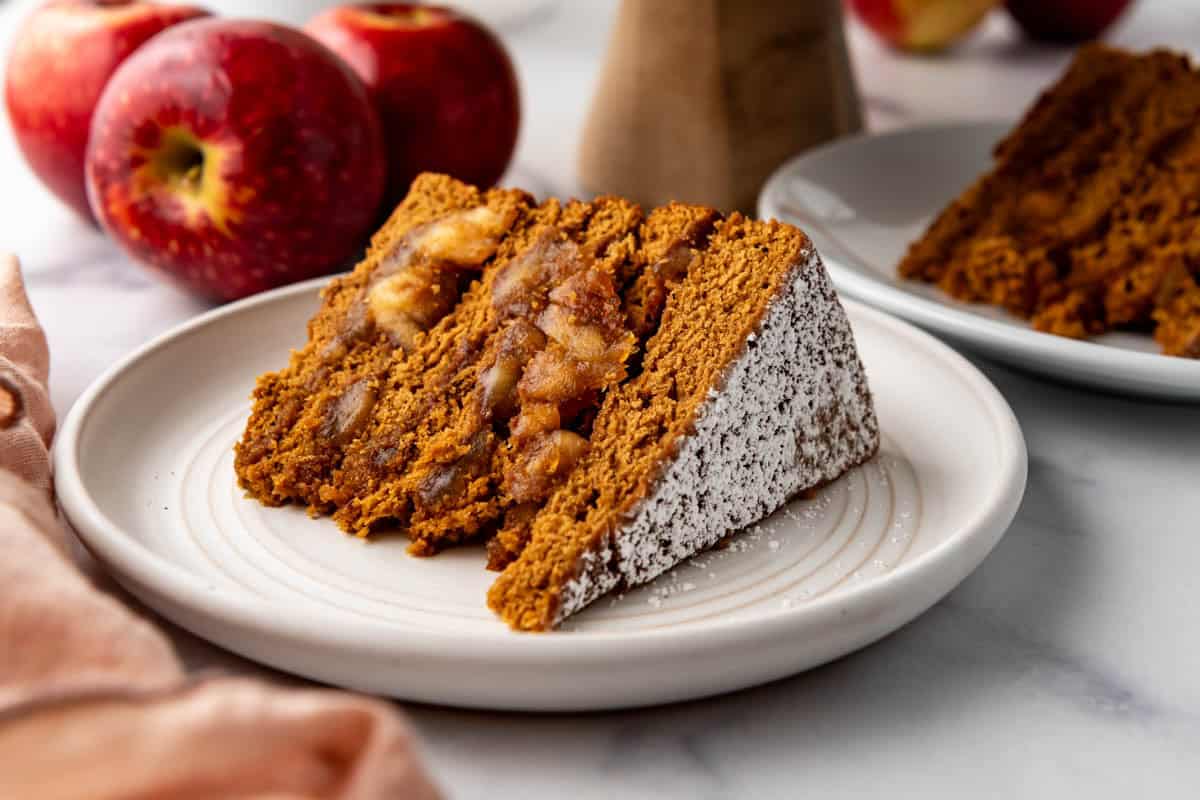
Unlike layer cakes piled high with buttercream frosting, an Appalachian Apple Stack Cake is all about the filling. Thin cake layers are stacked with a rich apple mixture made from dried apples that have been cooked down into a thick, spreadable filling. Some people use apple butter as a shortcut, but I find it too smooth and it soaks into the cake layers too much so there isn’t enough distinction. The finished cake gets nothing more than a light dusting of powdered sugar on top.
The lore behind this cake is that wedding guests would each bring a single cake layer, which would then be stacked together at the celebration. It’s a charming story and one that’s often repeated, but it might just be a story. What is known is that stack cakes were made with ingredients families had available throughout the year like dried apples.
Long before grocery stores carried fresh produce year-round, Appalachian families preserved apples by drying them after the harvest. Those dried apples could be stored for months and transformed into pies, sauces, and cakes long after fresh fruit was gone. For families living in remote mountain communities, dried apples were a valuable pantry staple, making Apple Stack Cake an economical dessert that could be enjoyed any time of year.
What Does Apple Stack Cake Taste Like?
If you’re expecting a light and fluffy layer cake, this might surprise you.
Apple Stack Cake is hearty, dense, and incredibly comforting. Every bite is packed with concentrated apple flavor, balanced by warm spices and just enough sweetness.
It’s rustic rather than fancy. Simple rather than elaborate. And that’s exactly why it has endured for generations.
Why You’ll Love This Apple Stack Cake
- Deep, concentrated apple flavor in every bite
- A fascinating piece of Appalachian food history
- Made with simple pantry ingredients
- Perfect for making ahead
- No frosting required
- Even better after a few days of resting
What You’ll Need
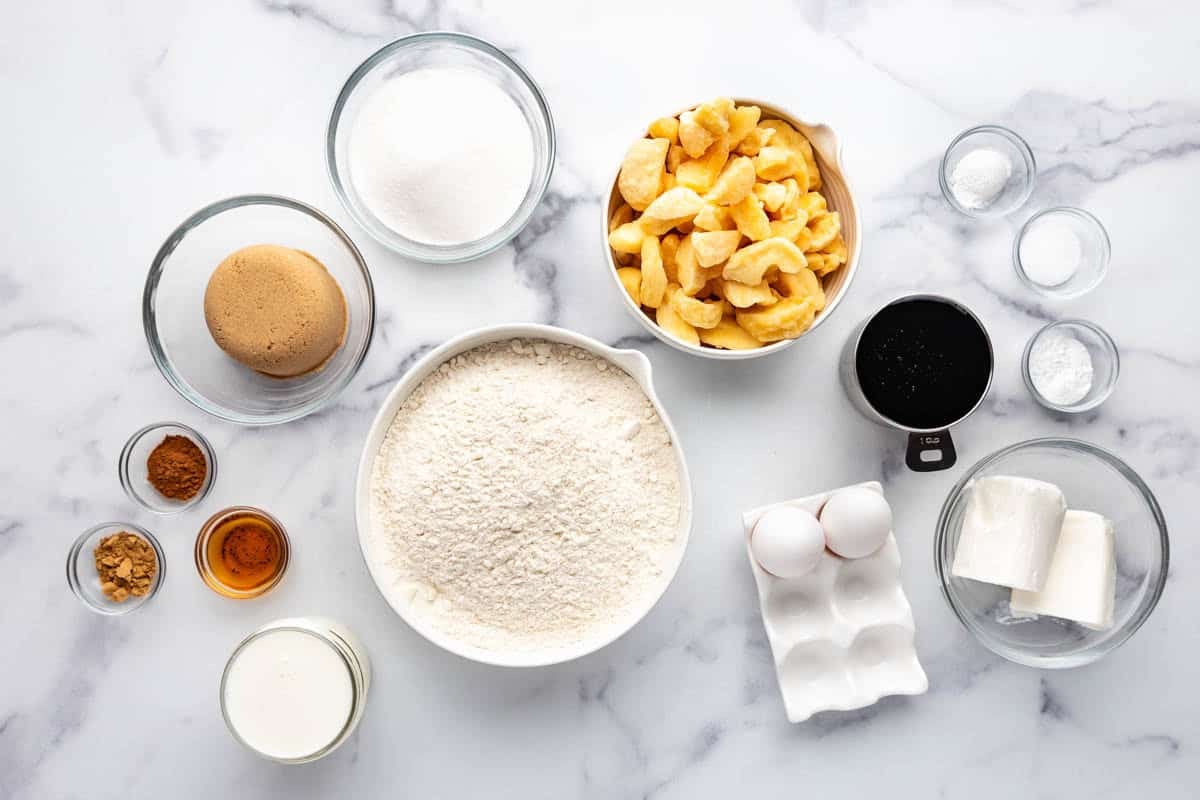
- Dried apples – The heart of the filling, providing the deep, concentrated apple flavor that defines a traditional Appalachian Apple Stack Cake.
- Light brown sugar – Sweetens the apple filling while adding a subtle caramel-like richness.
- Ground cinnamon – Adds warmth and enhances the natural flavor of the apples.
- Ground ginger – Brings a gentle spice that complements the apples without overpowering them.
- Water – Softens and rehydrates the dried apples so they can be cooked into a thick filling.
- All-purpose flour – Provides structure and creates sturdy layers that can hold up to the generous apple filling.
- Baking powder – Gives the cake a little lift and helps create a tender texture.
- Baking soda – Works with the buttermilk to help the layers rise and soften.
- Salt – Balances the sweetness and enhances all of the other flavors.
- Vegetable shortening – Creates the traditional tender, sturdy texture that stack cakes are known for.
- Granulated sugar – Adds sweetness and helps create a soft crumb.
- Dark brown sugar – Contributes moisture and a deeper molasses flavor that pairs beautifully with the apples.
- Sorghum or unsulphured molasses – Adds rich, old-fashioned flavor and gives the cake its characteristic Appalachian character.
- Pure vanilla extract – Rounds out the flavors and adds warmth to the cake layers.
- Eggs – Provide structure, richness, and help bind the batter together.
- Buttermilk – Adds moisture and tenderness while bringing a slight tang that balances the sweetness.
- Powdered sugar – A simple dusting on top is all this rustic cake needs, letting the apple filling remain the star of the show.
Make-Ahead Instructions
Apple Stack Cake is one of the rare desserts that actually improves with time.
- Bake the layers up to 3 days ahead.
- Prepare the apple filling in advance and refrigerate until needed.
- Assemble the cake at least 24 hours before serving.
- For the best flavor and texture, wait 48–72 hours before slicing.
- Dust with powdered sugar just before serving.
How to Make Apple Stack Cake
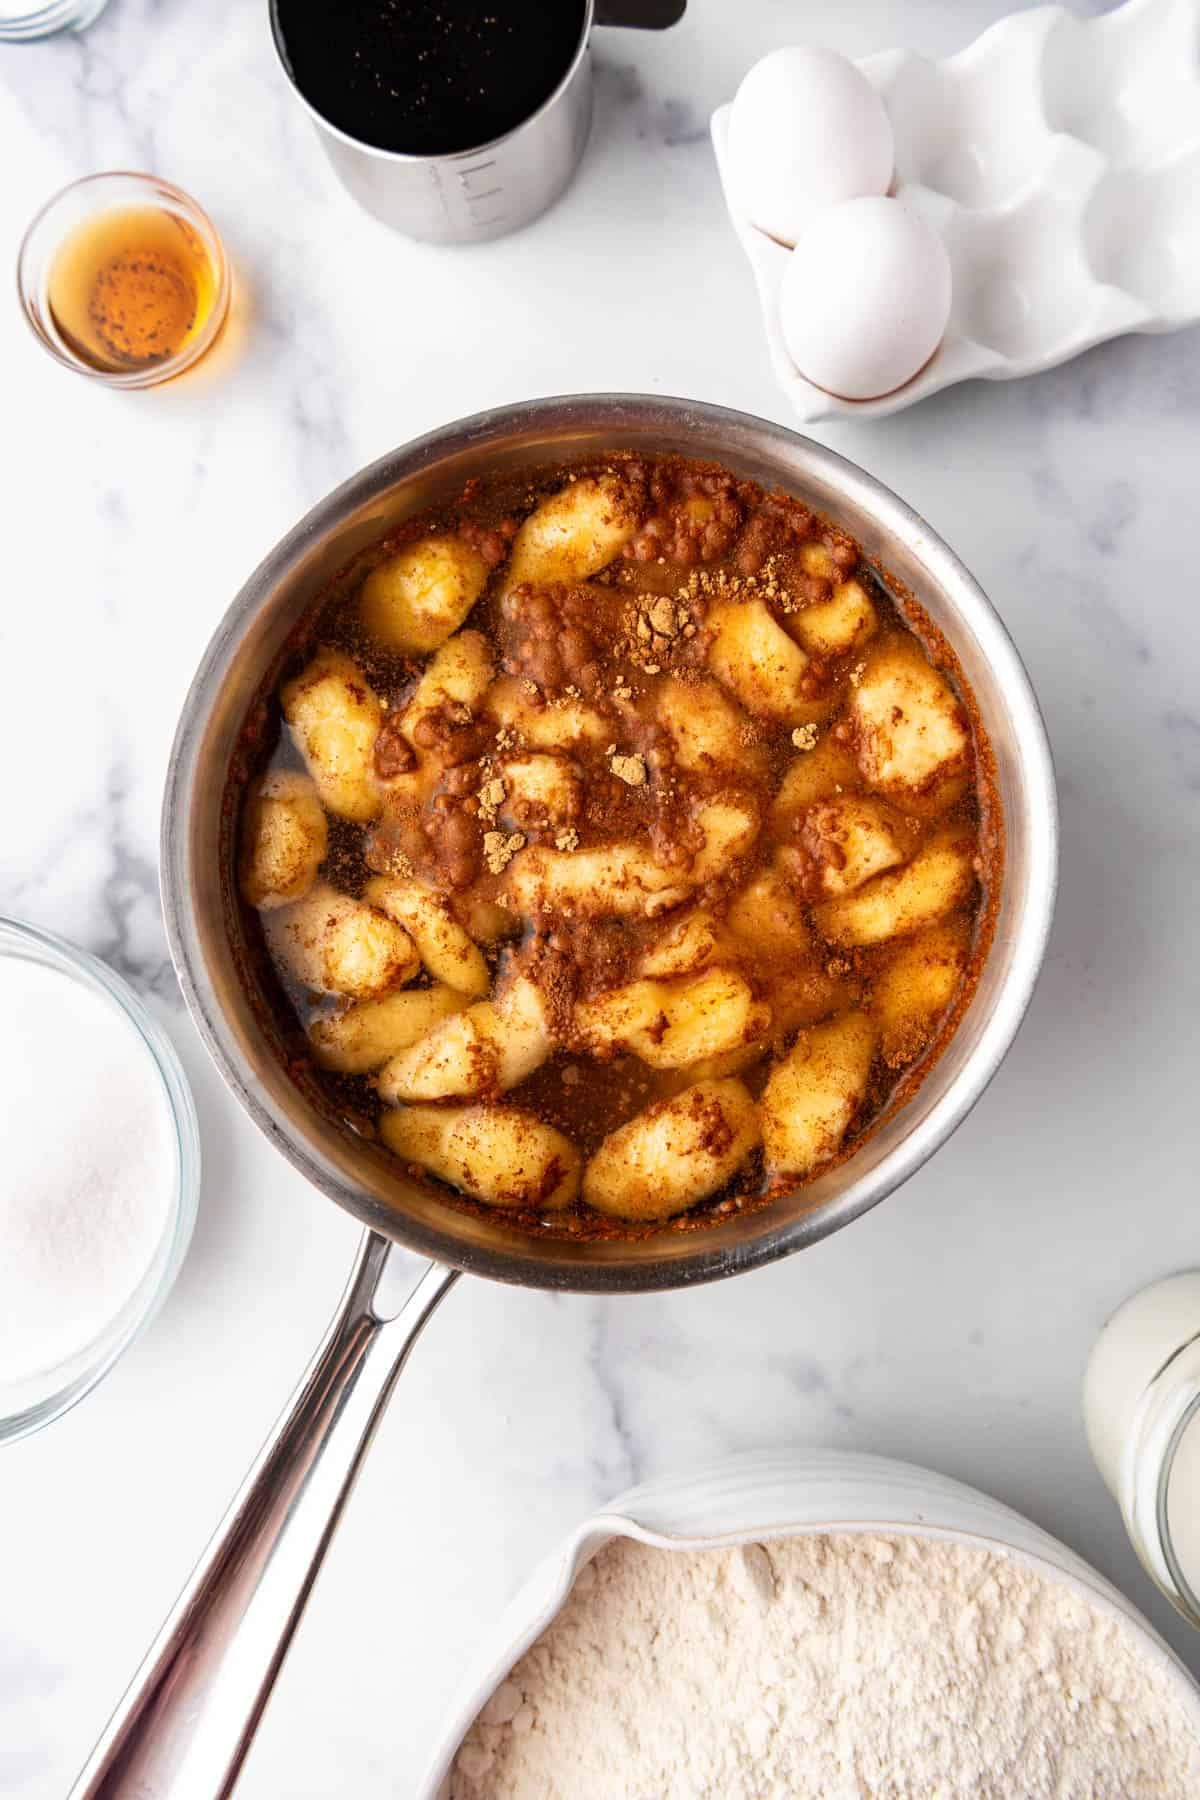
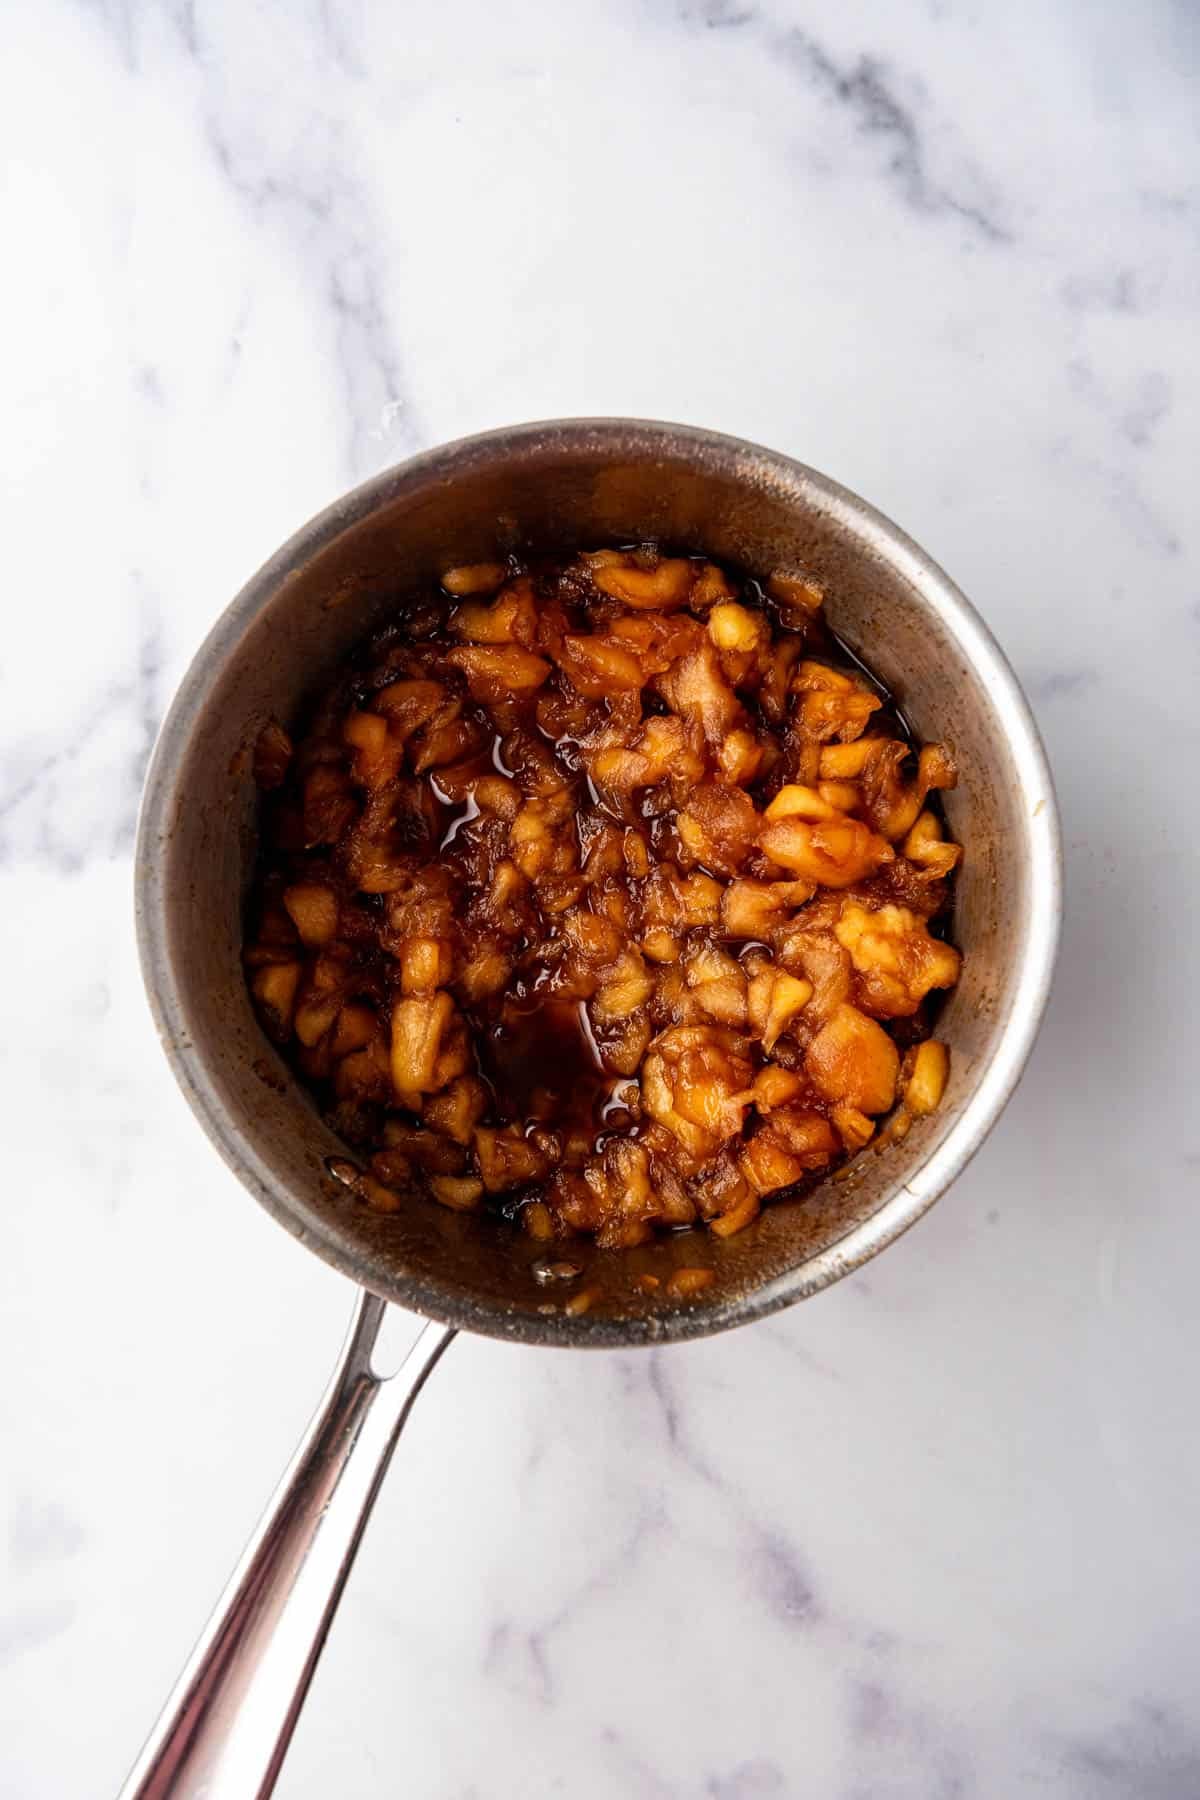
- Prepare the apple filling. Start by combining dried apples in a saucepan and cover them with water so they are submerged. Add any spices you are using and bring them to a boil. Reduce the heat to a simmer and let the apples cook for about an hour until much of the liquid has reduced and the apples can be mashed with a potato masher.
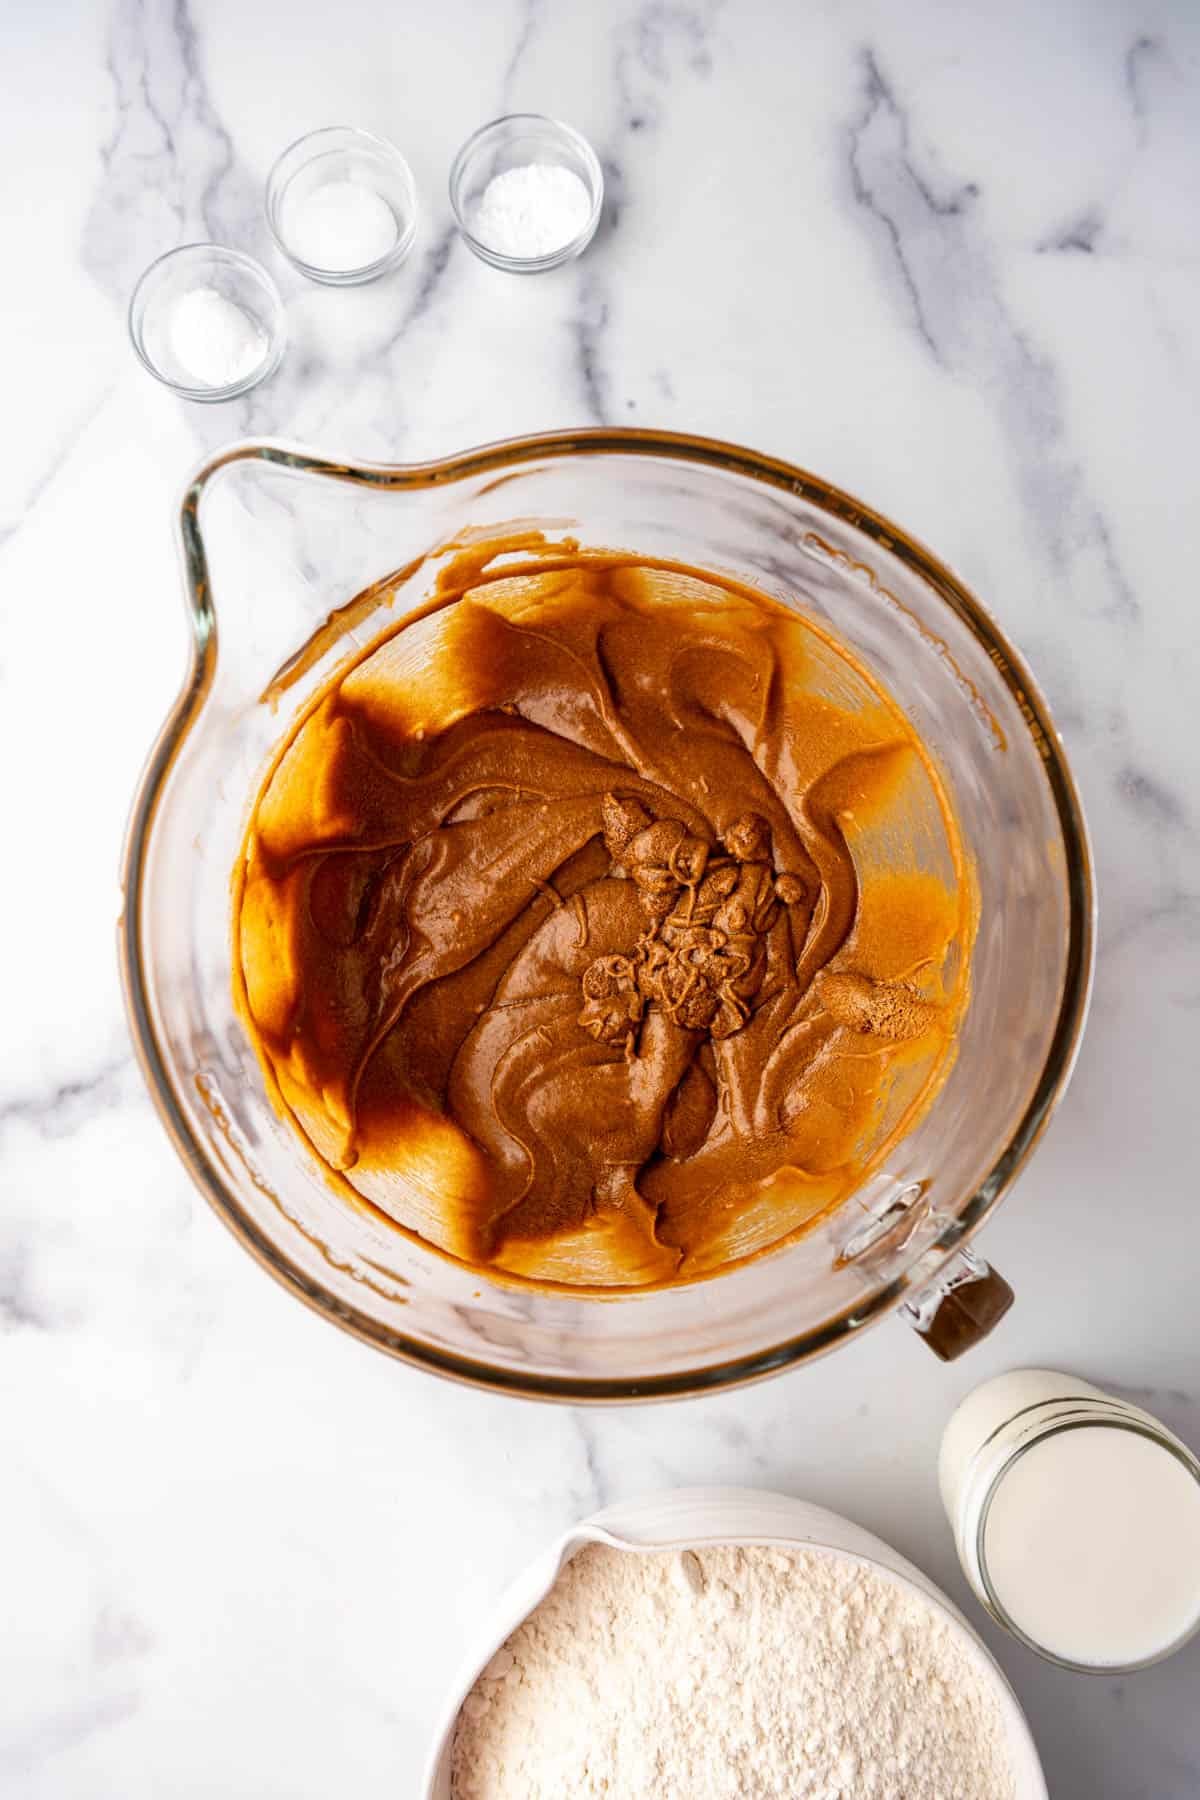
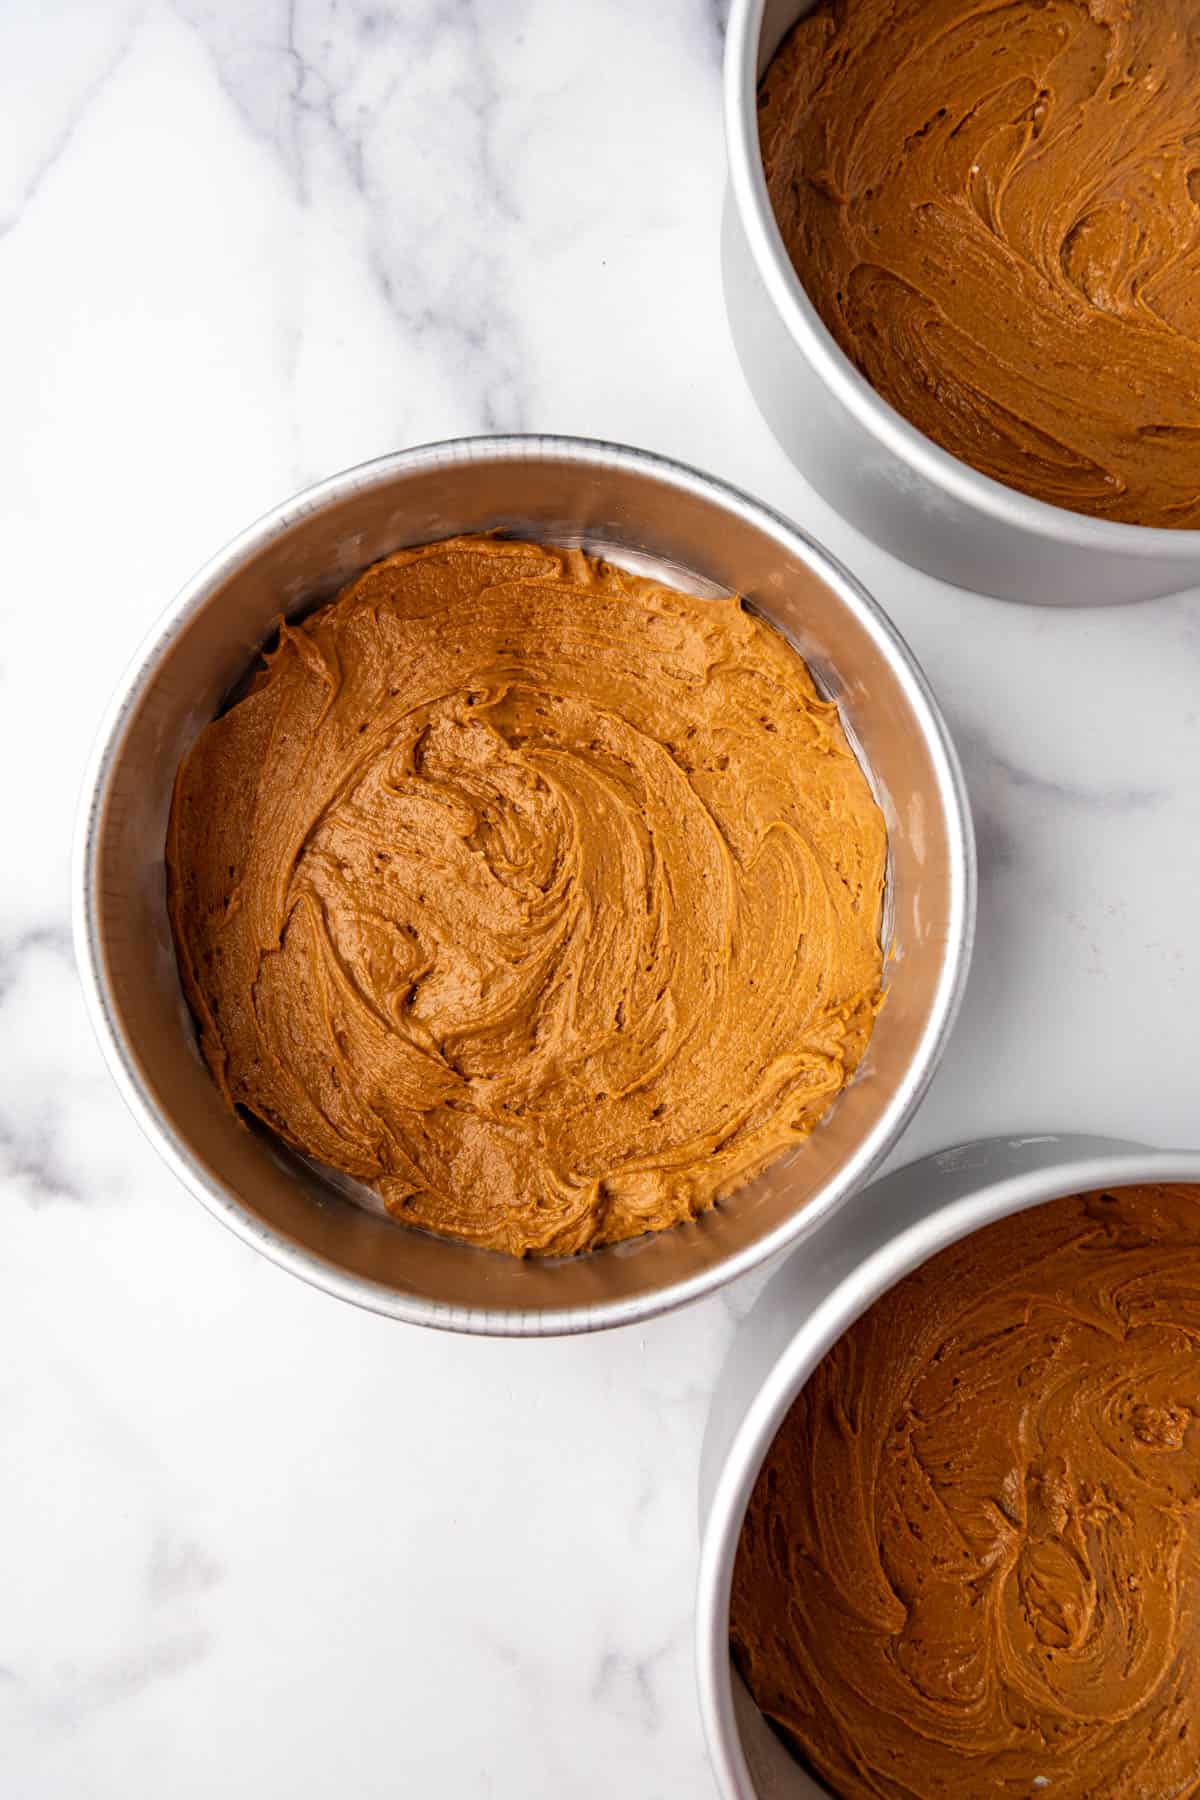
- Make the cake batter. This is your standard creaming shortening and sugars, then adding eggs, molasses and vanilla before alternately adding dry ingredients and buttermilk. The batter will be very thick. Spread a thin layer (about 1/2-inch thick) into the bottom of 9-inch cake pans. You will need 6 total cake layers so either use two pans and bake the cakes in three batches or use three pans and bake the cakes in two batches.
- Bake. Because the layers are thin, they will be in around 15 minutes. In many cases, home cooks would actually make the layers one at a time in cast iron skillets, assembling warm cakes and filling as they went.
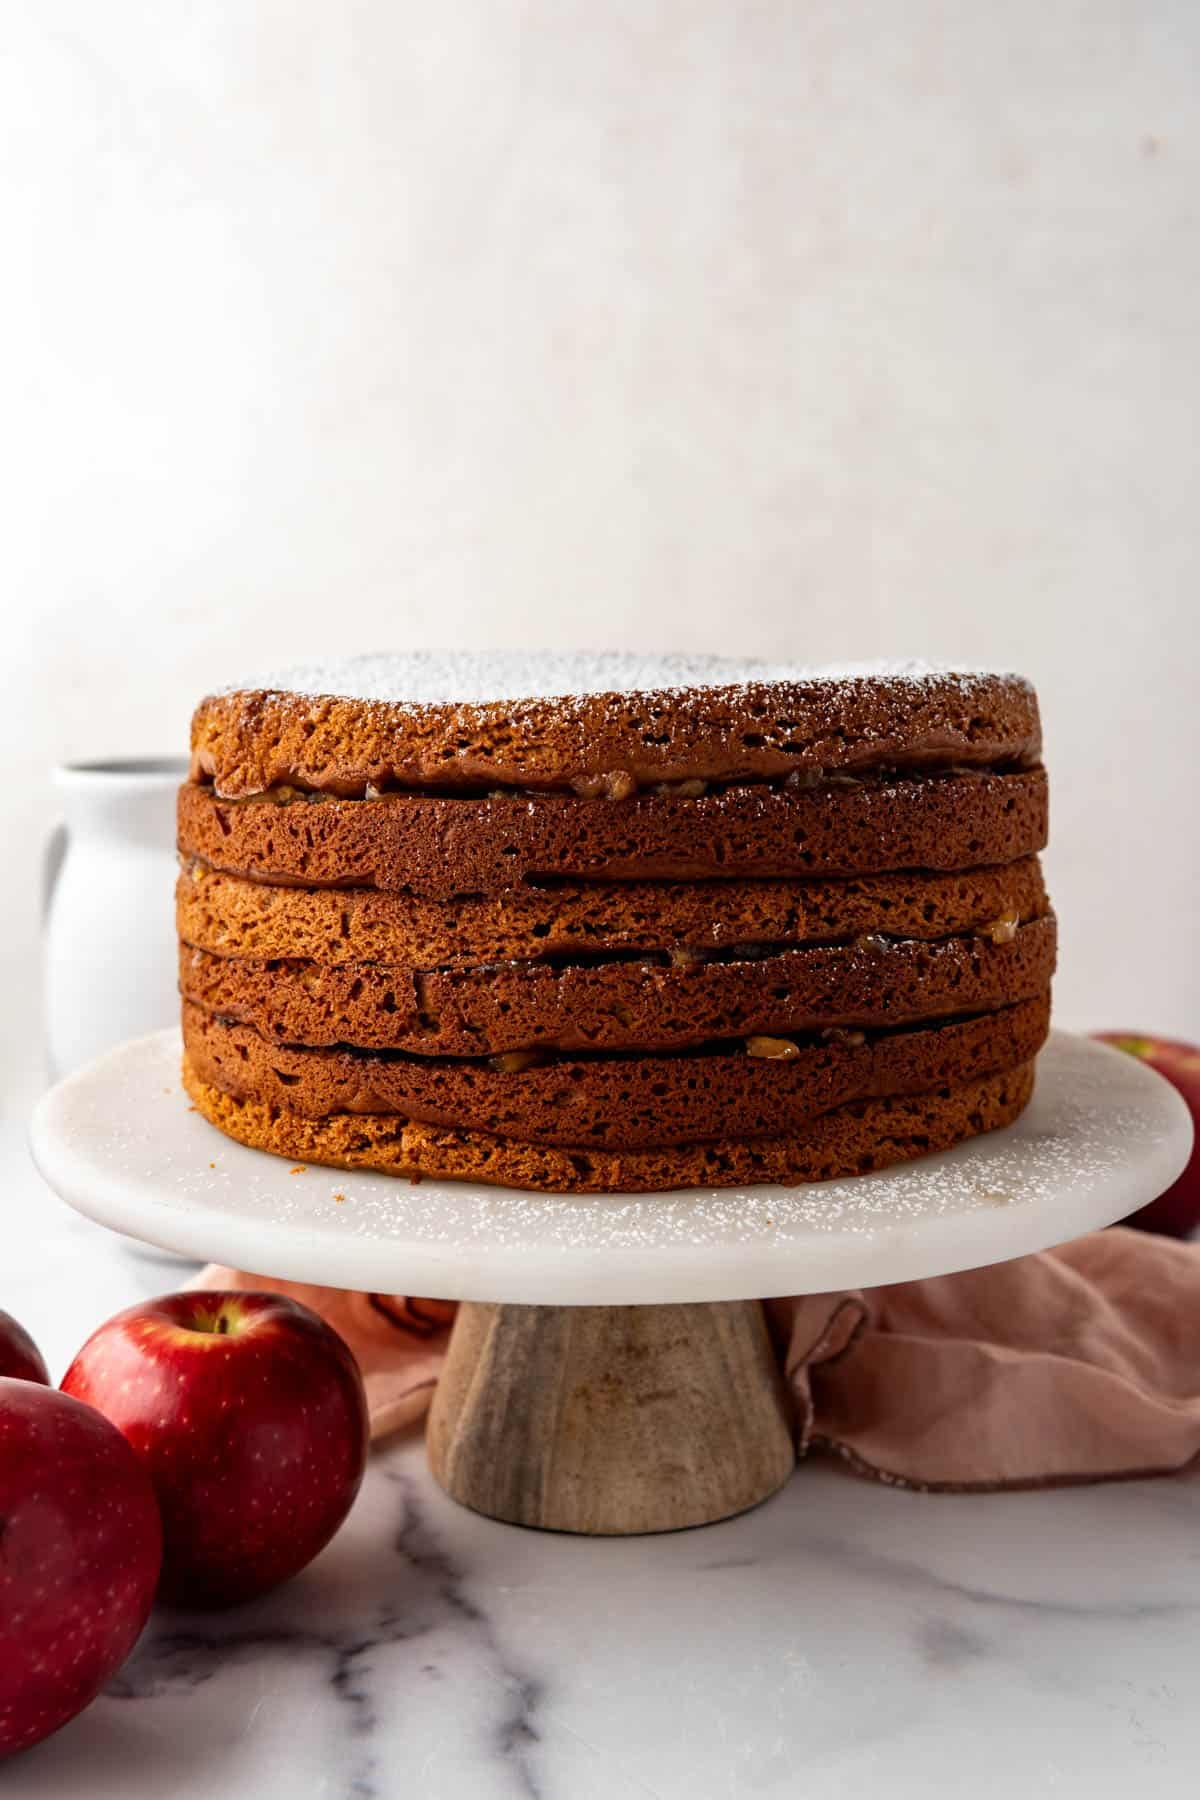
- Stack. As the cakes come out of the oven, assemble the layers with ⅕ of the warm filling while everything is still warm. This helps the cake absorb the moisture and unifies the whole thing for its unique texture and appeal.
- Wait. This really is the hardest part, but you need to give the cake 24 hours at a minimum before slicing it so the cake layers can absorb the apple filling moisture.
What Makes Apple Stack Cake Different?

This isn’t the kind of cake you make in the morning and serve that afternoon.
In fact, you shouldn’t.
Once assembled, the cake needs at least 24 hours to rest. The apple filling slowly works its way into the cake layers, softening them and creating the signature texture that makes Apple Stack Cake so unique. While one day is the minimum, two to three days is even better.
The waiting is difficult, but it’s worth it.
Over time, the layers absorb moisture from the filling and become tender and flavorful in a way that’s impossible to achieve straight from the oven.
Amy’s Tips
- Use dried apples if possible for the most authentic flavor and texture.
- Don’t skip the resting time. The cake really transforms after sitting for a day or two.
- Store the assembled cake tightly covered while it rests.
- A little cinnamon complements the apples beautifully, but don’t overdo the spices.
- Expect a dense, moist cake rather than a fluffy layer cake.
More Apple Recipes
Appalachian Apple Stack Cake
Ingredients
Filling
- 1 pound dried apples (4 to 5 packed cups)
- 1 cup (200g) light brown sugar
- 1 teaspoon ground cinnamon
- 1 teaspoon ground ginger
- 1/2 teaspoon ground nutmeg
- 4 cups water
Cake
- 4 1/2 cups (635g) all-purpose flour
- 1 teaspoon baking powder
- 1 teaspoon baking soda
- 1 teaspoon salt
- 1 cup vegetable shortening
- 1 cup (200g) granulated sugar
- 1/2 cup (100g) dark brown sugar
- 1 cup sorghum or unsulphered molasses
- 2 teaspoons pure vanilla extract
- 2 large eggs
- 1 cup buttermilk
Instructions
- For the filling: Combine the dried apples, brown sugar, cinnamon, ginger, and nutmeg in a large pan. Add the water to cover the apples, then bring to a boil over high heat. Reduce the heat to a simmer over low heat for about 1 hour until the apples are very tender and the filling has thickened. Be sure to stir frequently so the filling doesn't burn on the bottom. You can add up to 1 cup of additional water if the filling seems to be getting too dry or too thick. If the filling is too thin, let it continue simmering for longer. Remove the pan from the stove and use a potato masher to break up the dried apples into a chunky sauce, then let this cool.1 pound dried apples, 1 cup (200g) light brown sugar, 1 teaspoon ground cinnamon, 1 teaspoon ground ginger, 4 cups water
- For the cake: Preheat the oven to 350℉ (177℃). Spray two 9-inch cake pans with baking spray. NOTE: You will end up baking 6 total cake layers so the cakes will need to be turned out to cool while the pans are re-sprayed with baking spray and used again between each layer until all six layers have been baked.
- In a large mixing bowl, whisk together the flour, baking powder, baking soda, and salt.4 ½ cups (635g) all-purpose flour, 1 teaspoon baking powder, 1 teaspoon baking soda, 1 teaspoon salt
- In another large bowl, combine the shortening and sugar. Beat together using an electric mixer until fluffy and light, about 2-3 minutes. Add the molasses and vanilla and beat again until creamy and smooth, stopping to scrape the bottom and sides of the bowl.1 cup vegetable shortening, 1 cup (200g) granulated sugar, 1 cup sorghum or unsulphered molasses, 2 teaspoons pure vanilla extract, ½ cup (100g) dark brown sugar
- Add the eggs one at a time, beating well after each addition.2 large eggs
- Add the dry ingredients alternately with the buttermilk, about ⅓ at a time, mixing between each addition just until combined. Do not overmix. The batter will be very thick1 cup buttermilk
- Spread ⅙ of the dough into each of the prepared cake pans. I do 3 pans at a time because that's how many I have and how many my oven can fit. Bake for 14-18 minutes. This process will need to be repeated until all 6 layers have been baked.
- While still warm, turn the first cake layer onto a large cake plate and spread with about 1 cup of the filling. Continue to bake, stack, and fill each layer while warm, leaving the top of the cake bare. Cover the cake in an airtight container and let it sit at room temperature for 2 days for the layers to absorb the moisture of the apple filling before slicing and serving.
Notes
- Alternate pan options: Traditionally each layer is baked one at a time in a greased and floured cast iron skillet that has been well-seasoned. I found that using multiple cake pans was much easier to finish baking all 6 layers. Because the batter is so thick, you could also even bake them freeform on baking sheets lined with parchment paper by tracing 9-inch circles and spreading the batter into circles.