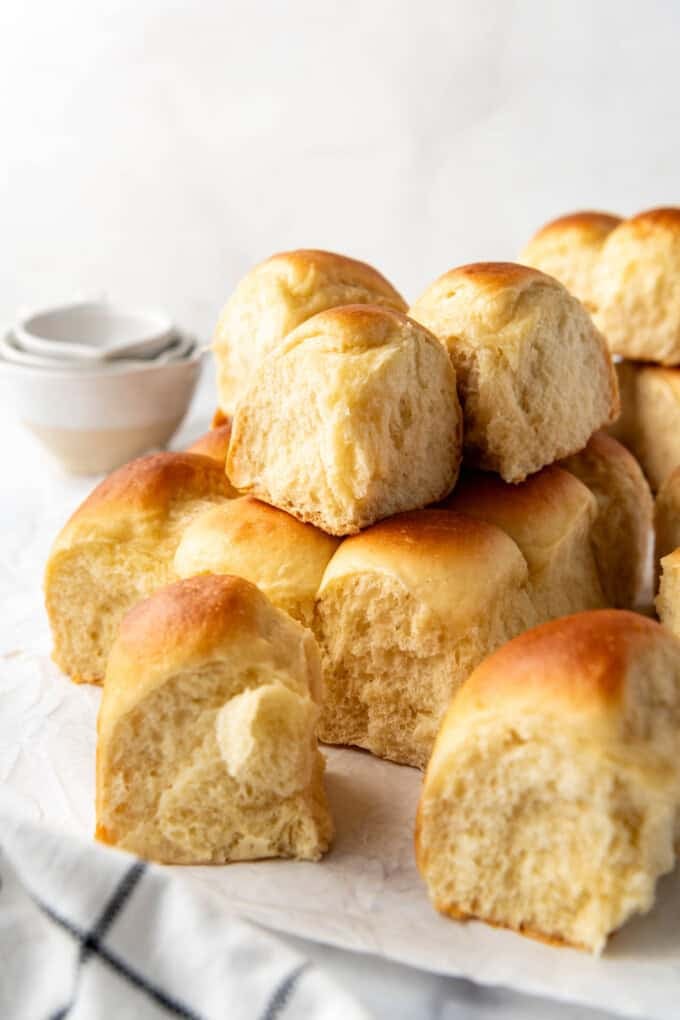
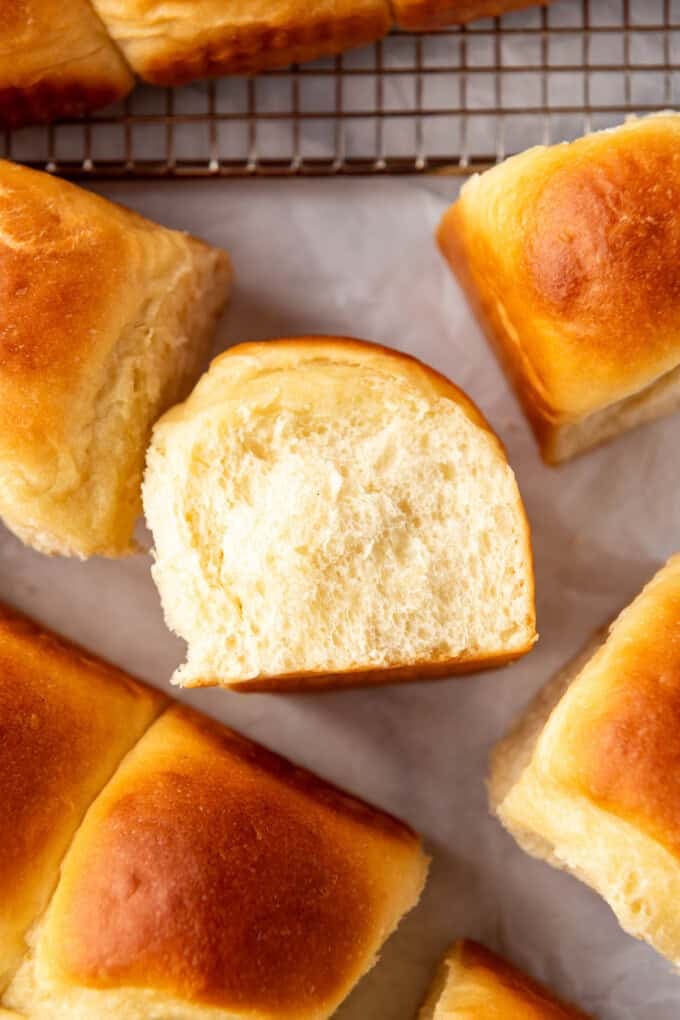
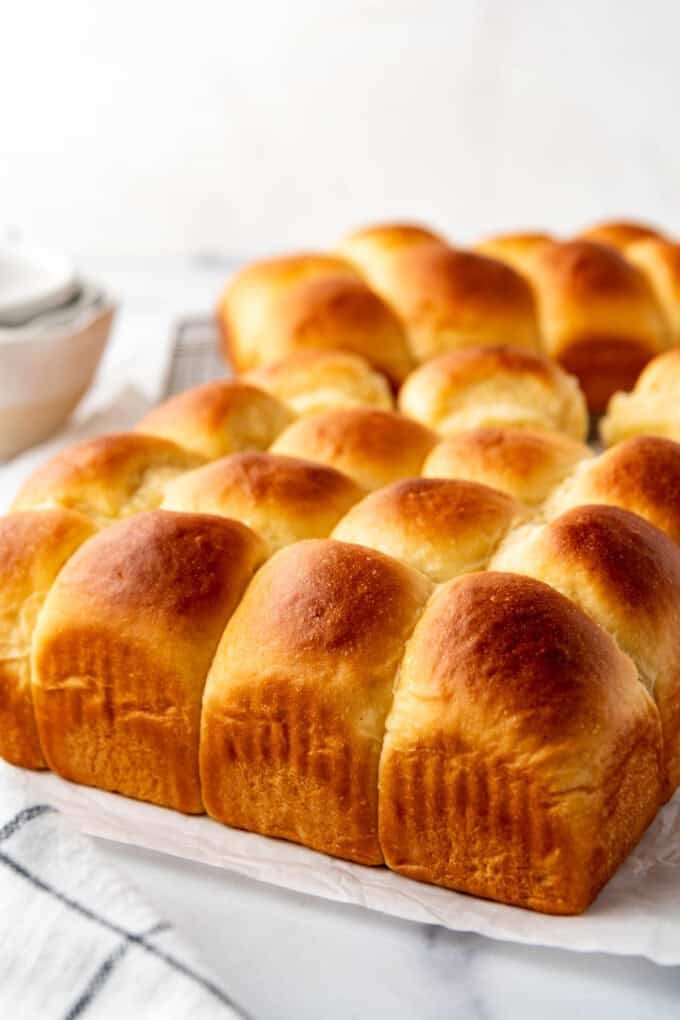
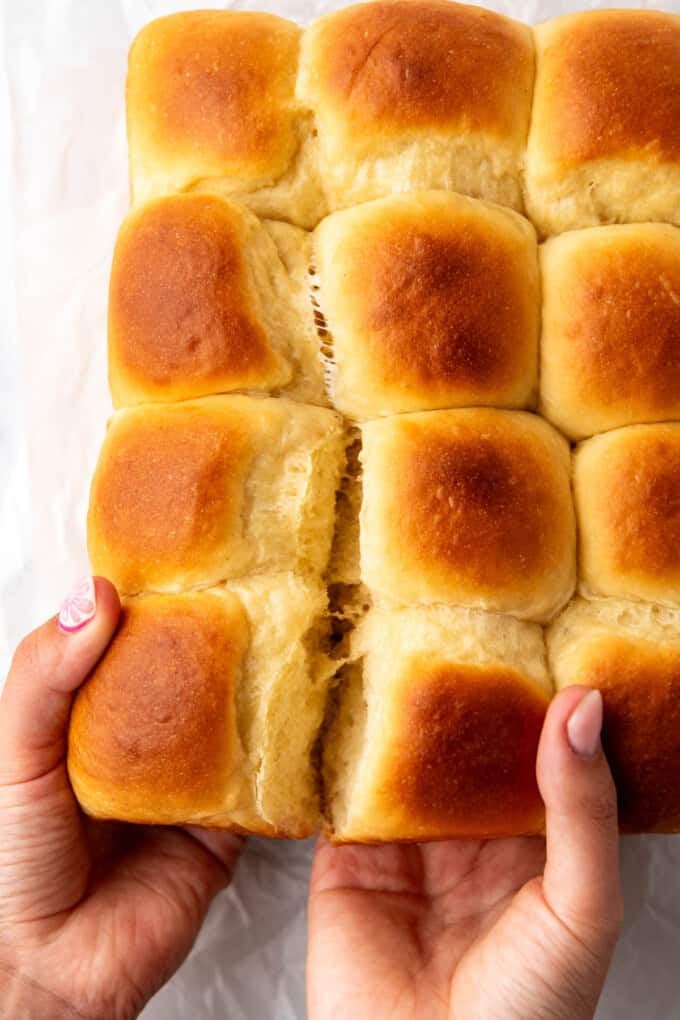
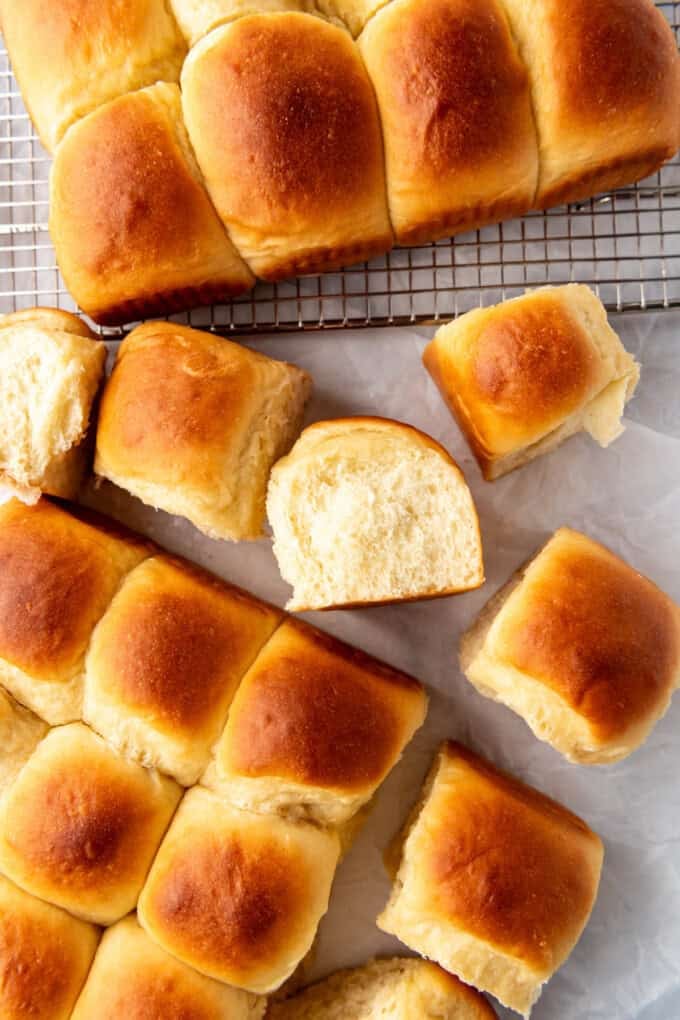
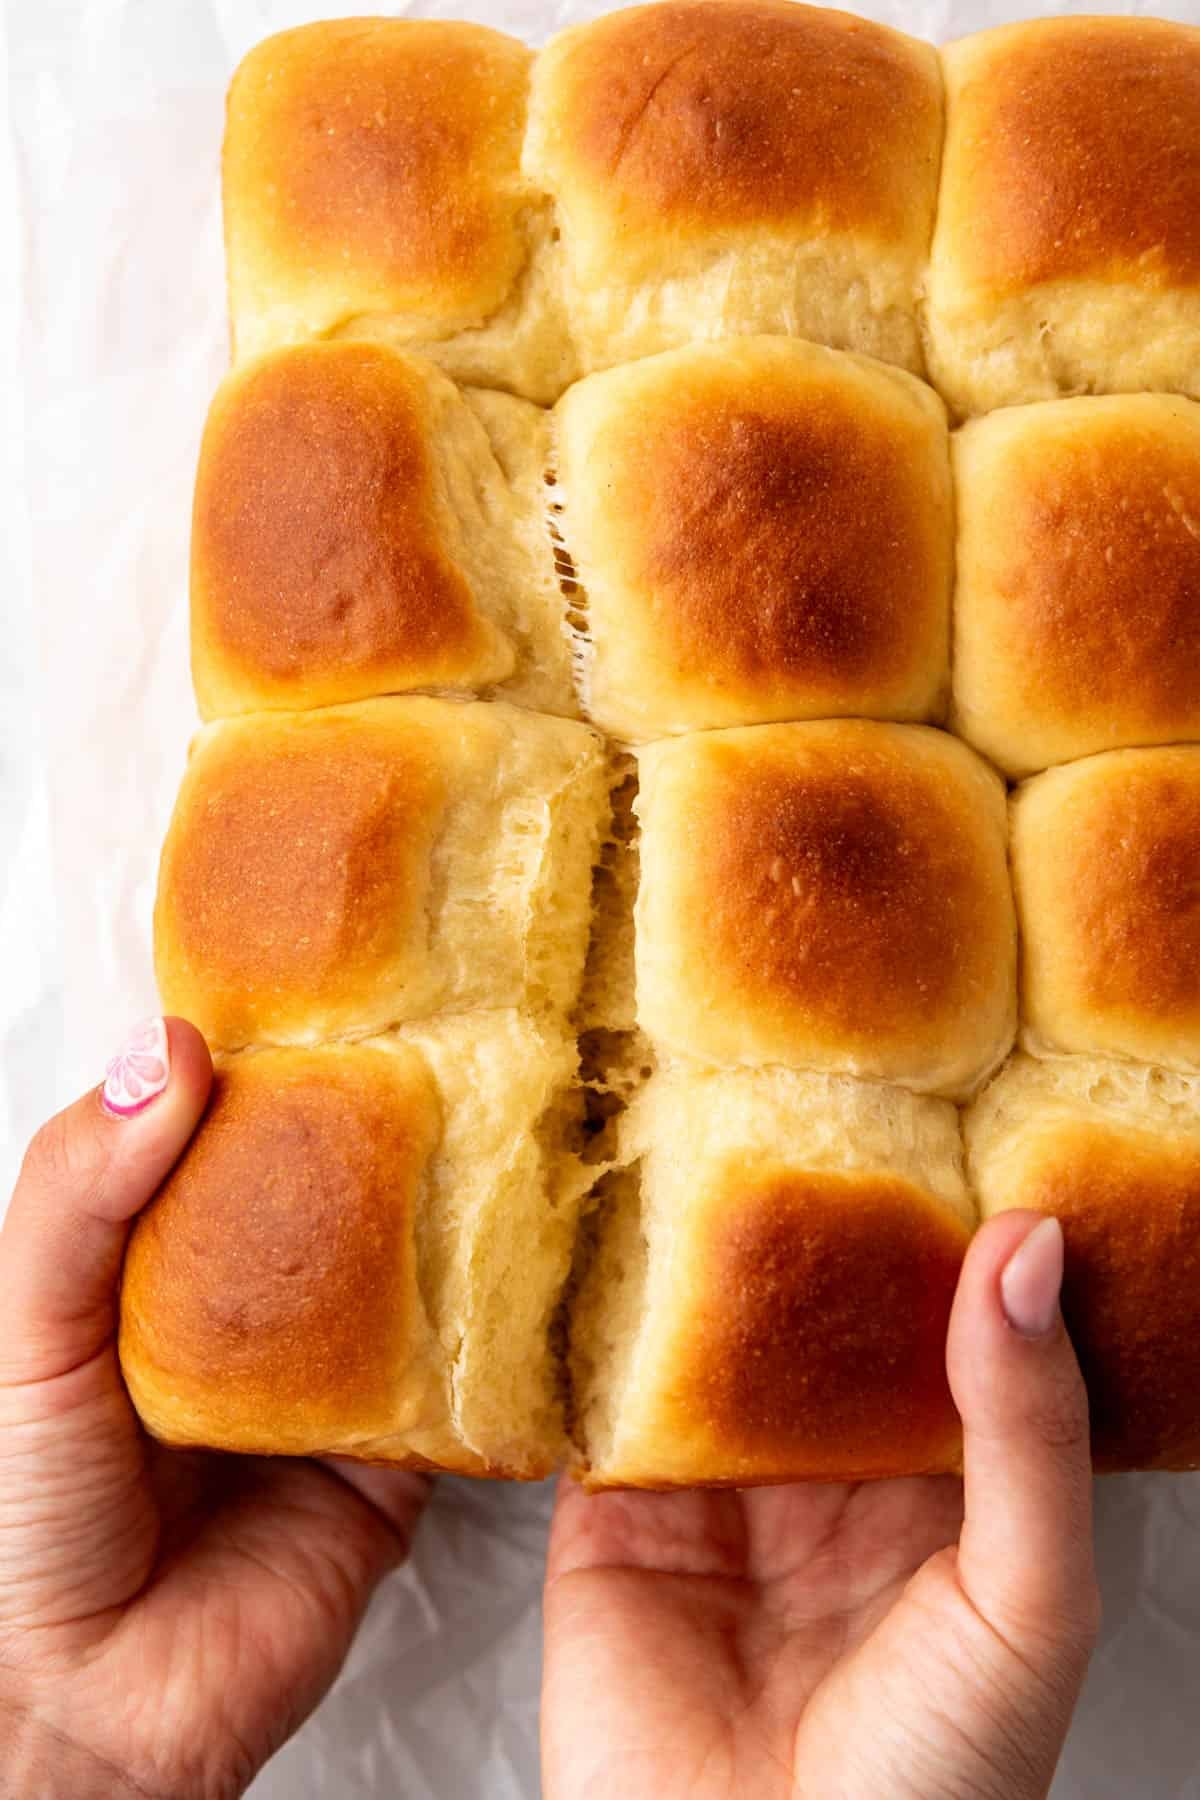
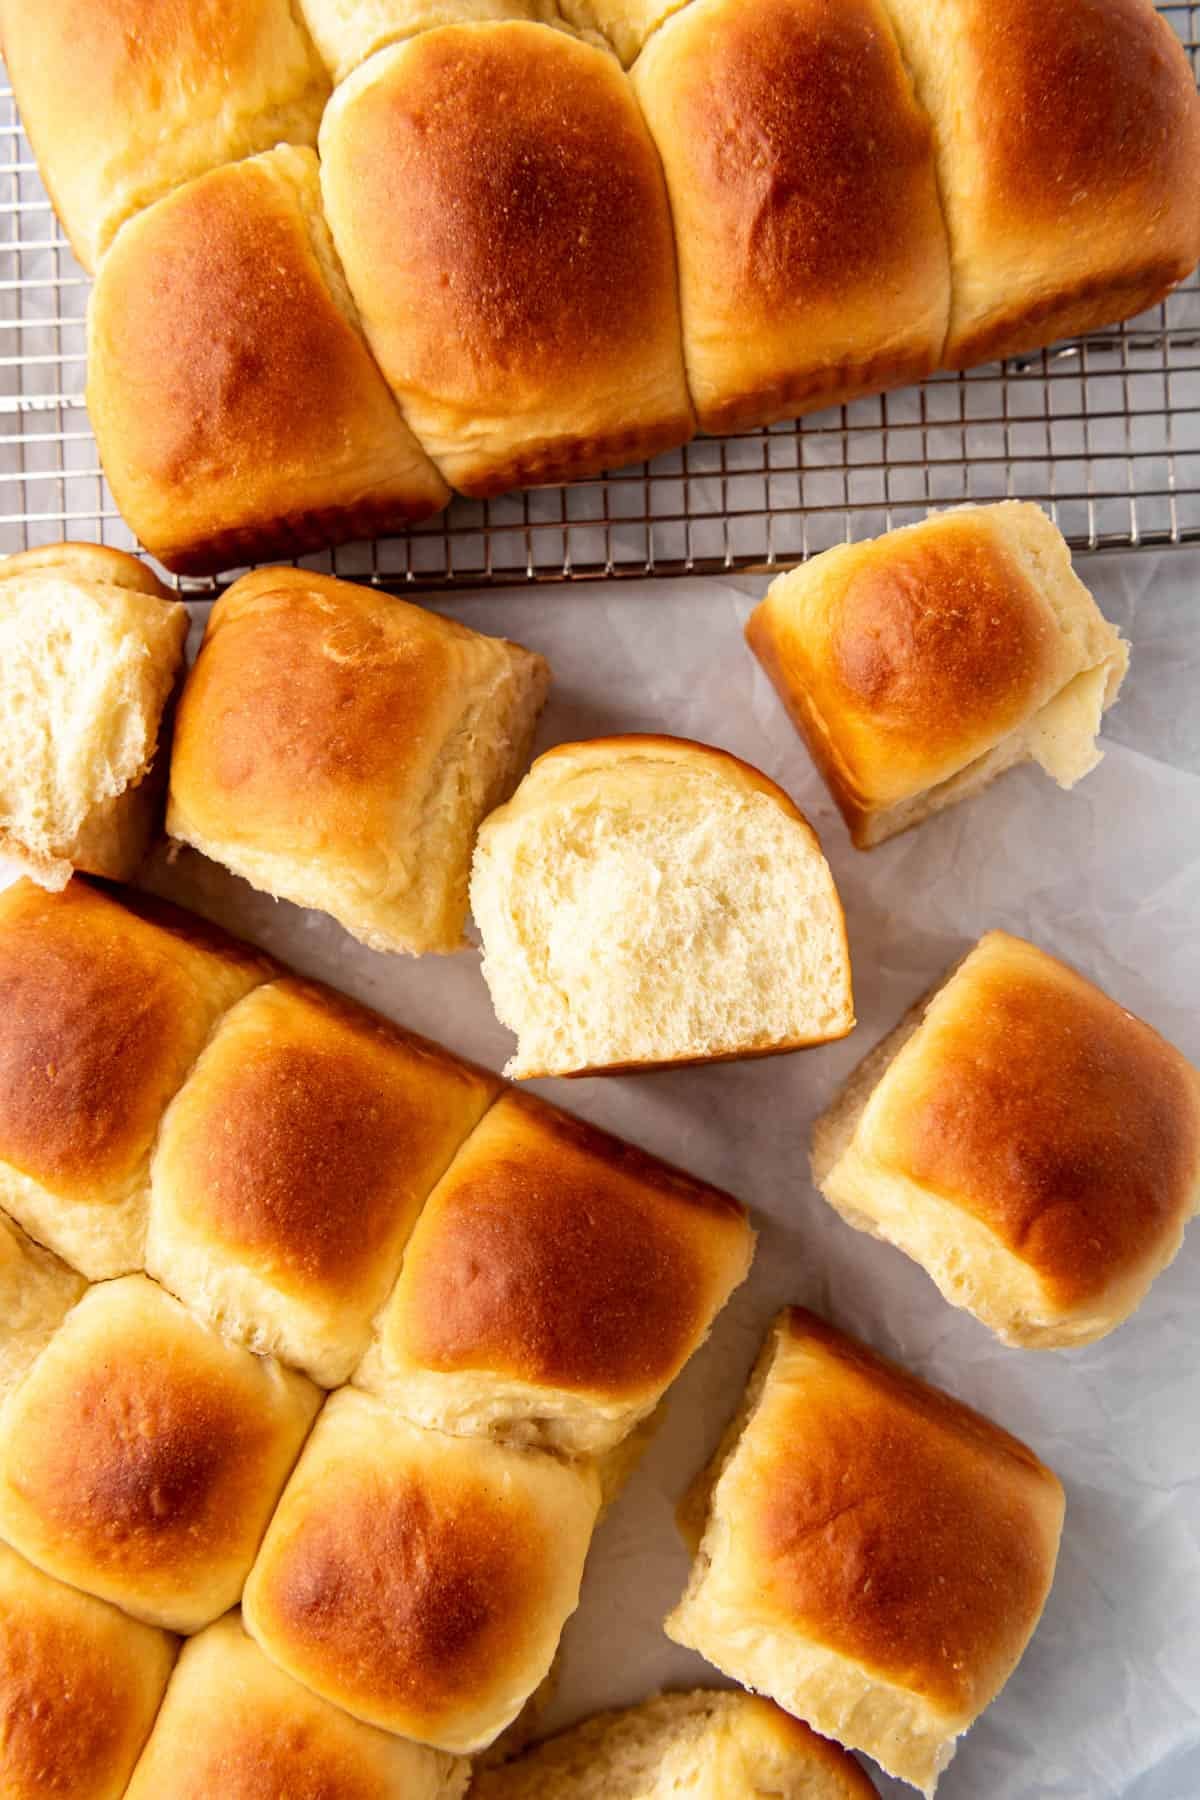
These soft, pillowy homemade Hawaiian rolls are pure sunshine in bread form, with a signature sweetness from real pineapple juice and a touch of honey. They’ll disappear fast, whether it’s a holiday dinner, weeknight sliders, or you just want fresh-baked bread on the table.
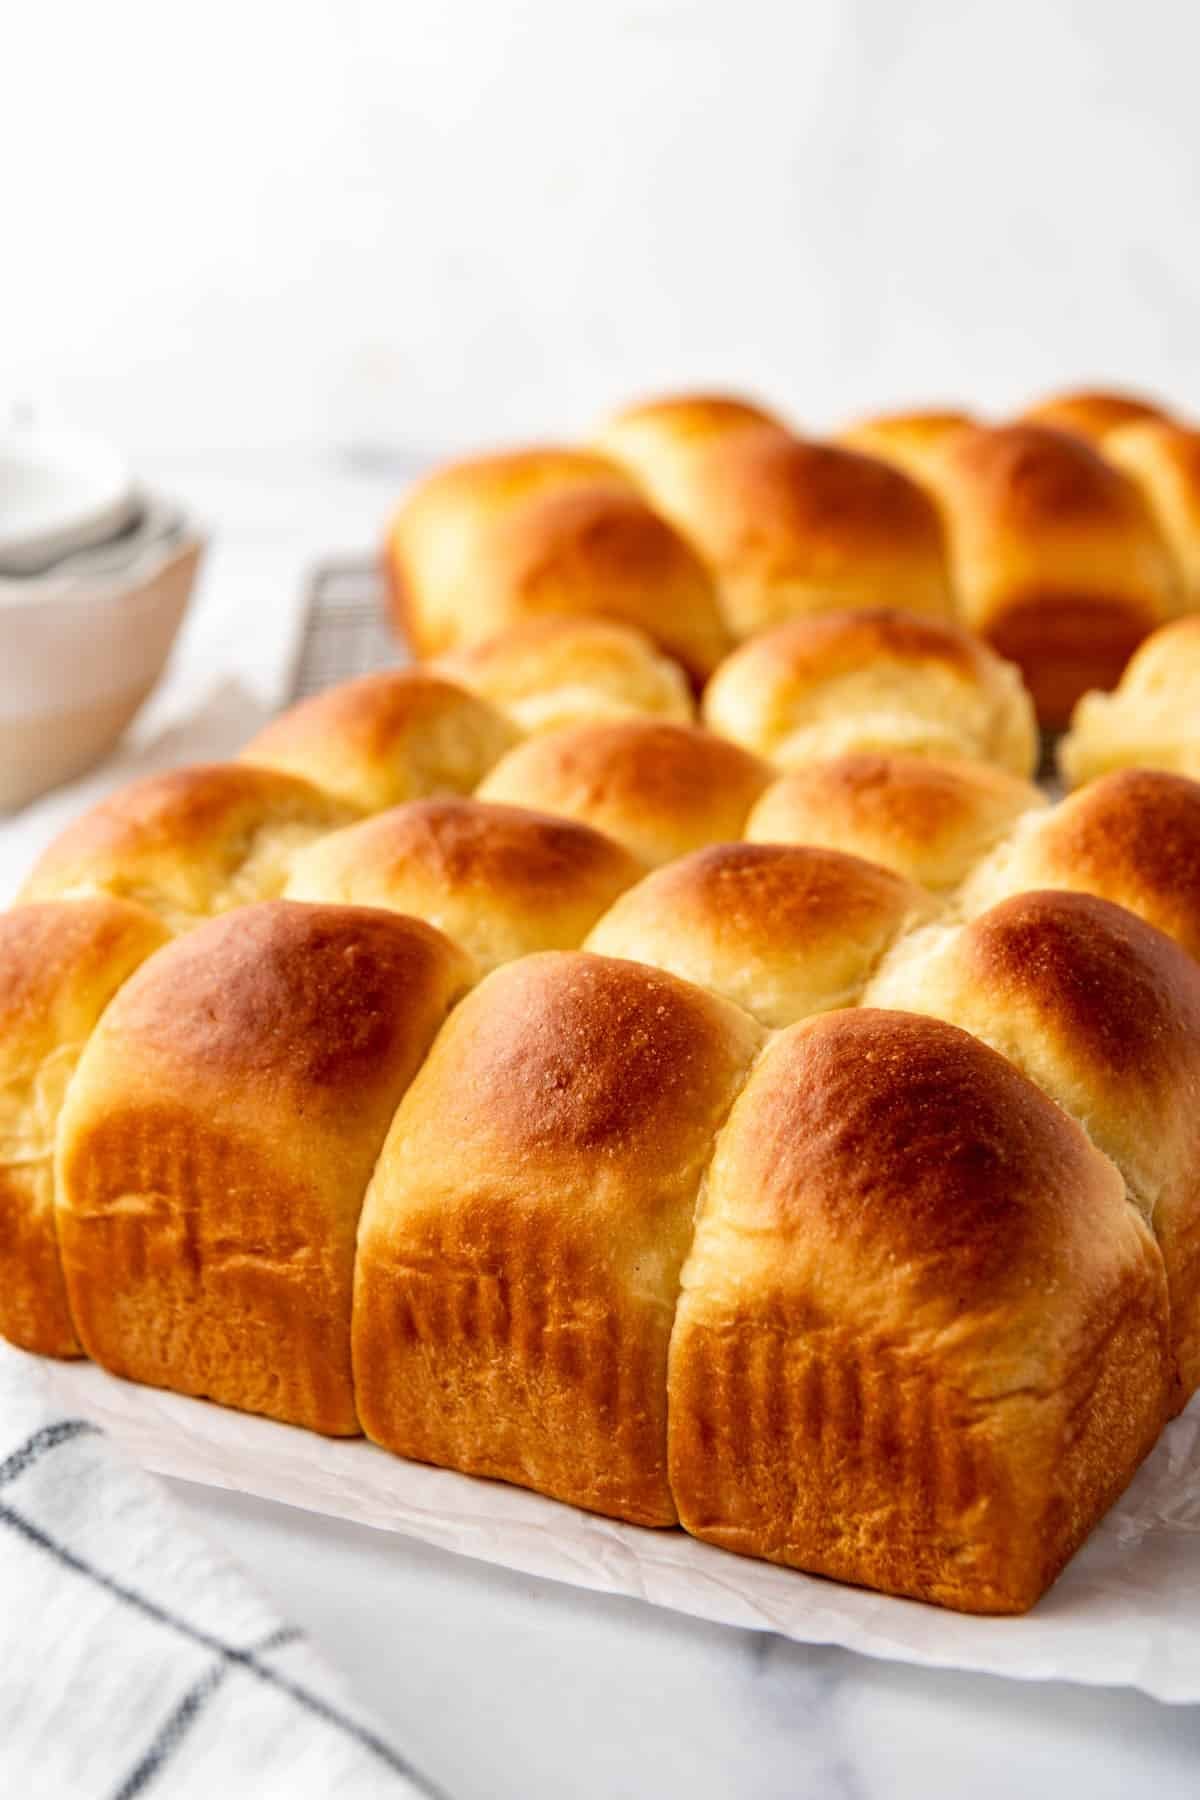
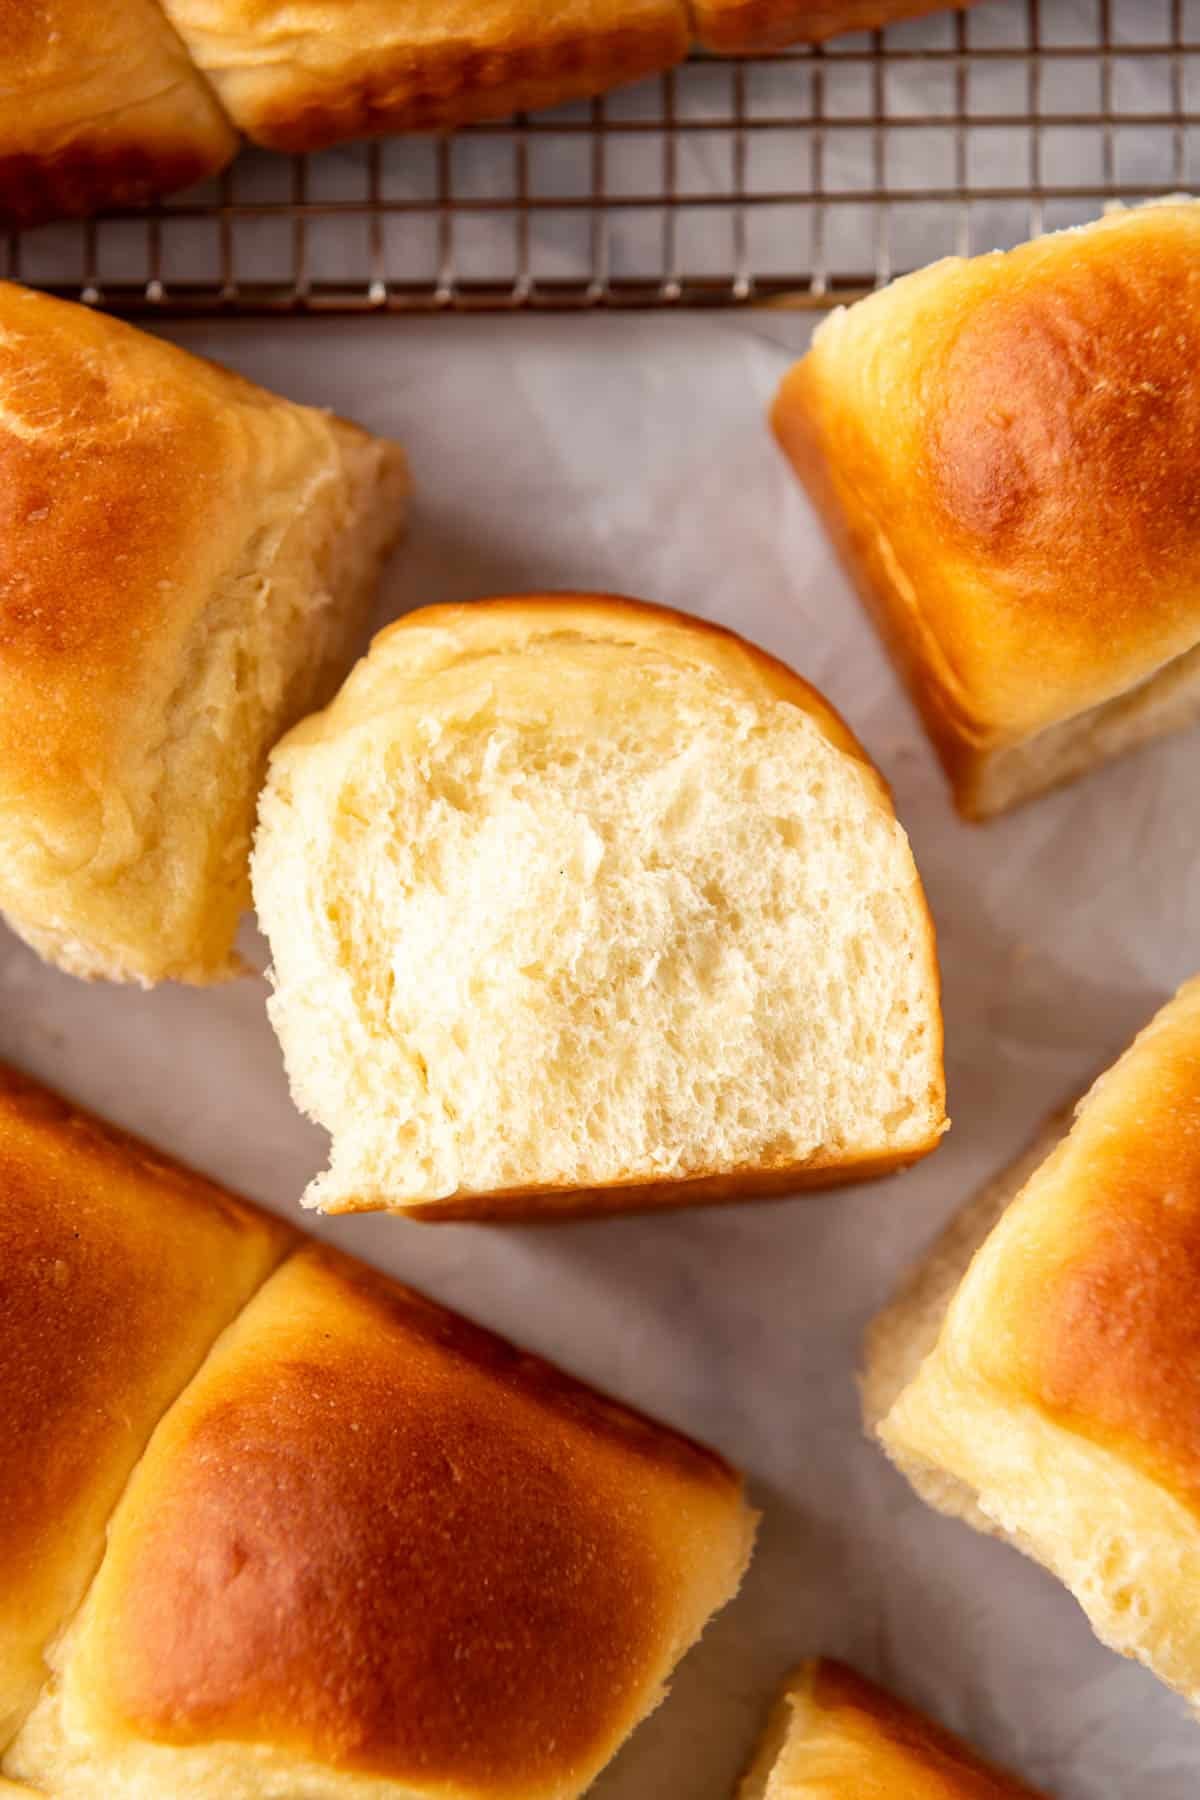
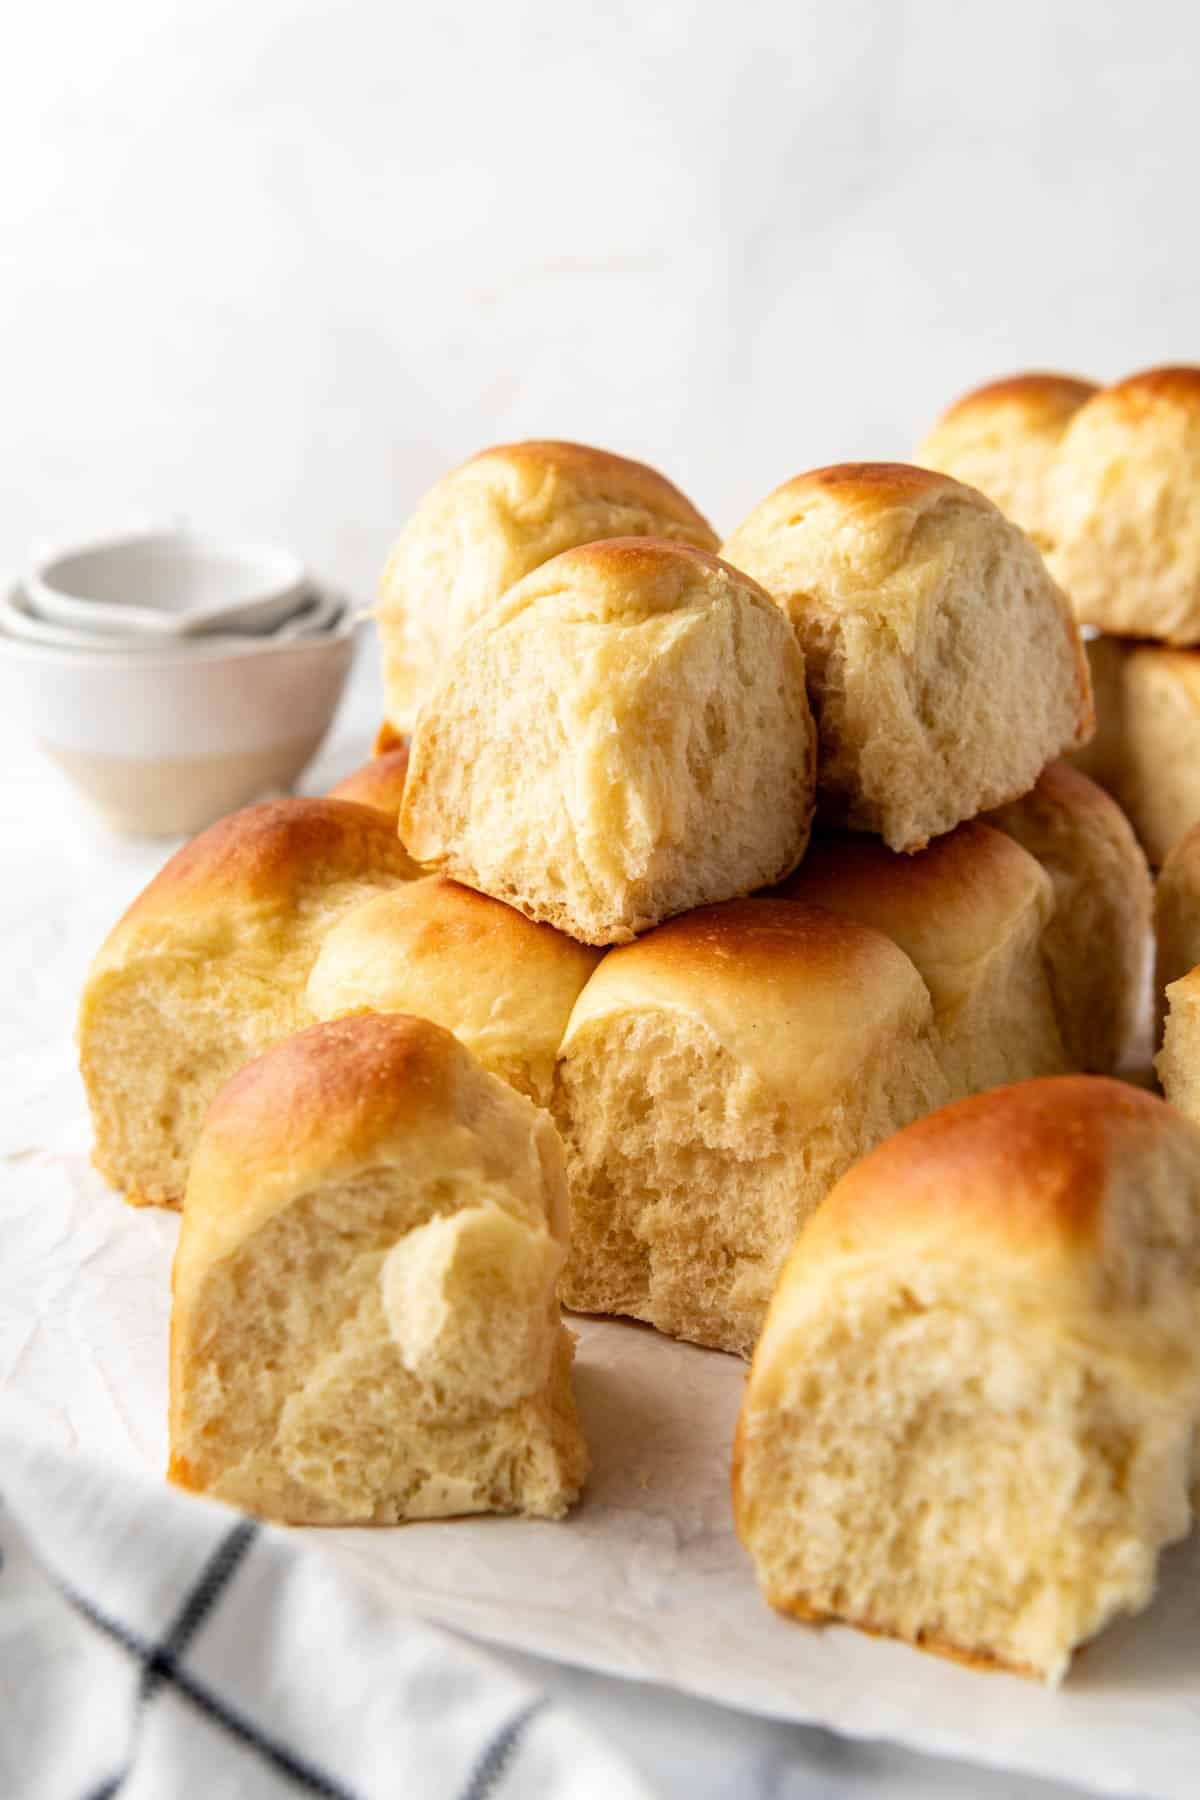
These rolls have that irresistible balance of soft, fluffy texture and just-right sweetness that makes them impossible to stop at one. The pineapple juice isn’t just for flavor either. It works double duty keeping the dough extra soft while adding that subtle sweet-tangy note that makes people ask what your secret is.
Hawaiian sweet rolls actually got their start with Portuguese immigrants, who brought their beloved pão doce (sweet bread) to the islands back in the 1800s. Local bakeries put their own spin on it over the years, working in pineapple juice and honey for that unmistakable island flavor. Fast forward to today, and this tropical twist on sweet bread has found its way into kitchens everywhere in the form of the popular King’s Hawaiian rolls.
But baking these at home means real, fresh-from-the-oven texture that store-bought rolls just can’t compete with. They’re just as good pulled apart and eaten warm with butter as they are turned into sliders for a crowd. I made a goal to bake all our bread from scratch for a year and this is one that my husband and daughters requested more than any other!
For more soft, homemade roll recipes, check out my Parker House Rolls, Homemade Brown Bread Dinner Rolls, Copycat Texas Roadhouse Rolls, Homemade Orange Rolls, and Fluffy & Soft Homemade Potato Rolls!
Why you’ll love this recipe!

- These rolls are soft, sweet, and stay fresh for days thanks to the pineapple juice in the dough.
- Made with simple pantry staples, no hard-to-find ingredients needed for that bakery-quality result.
- Endlessly versatile, perfect for a holiday spread, sliders, or warm with just a pat of butter.
What You’ll Need
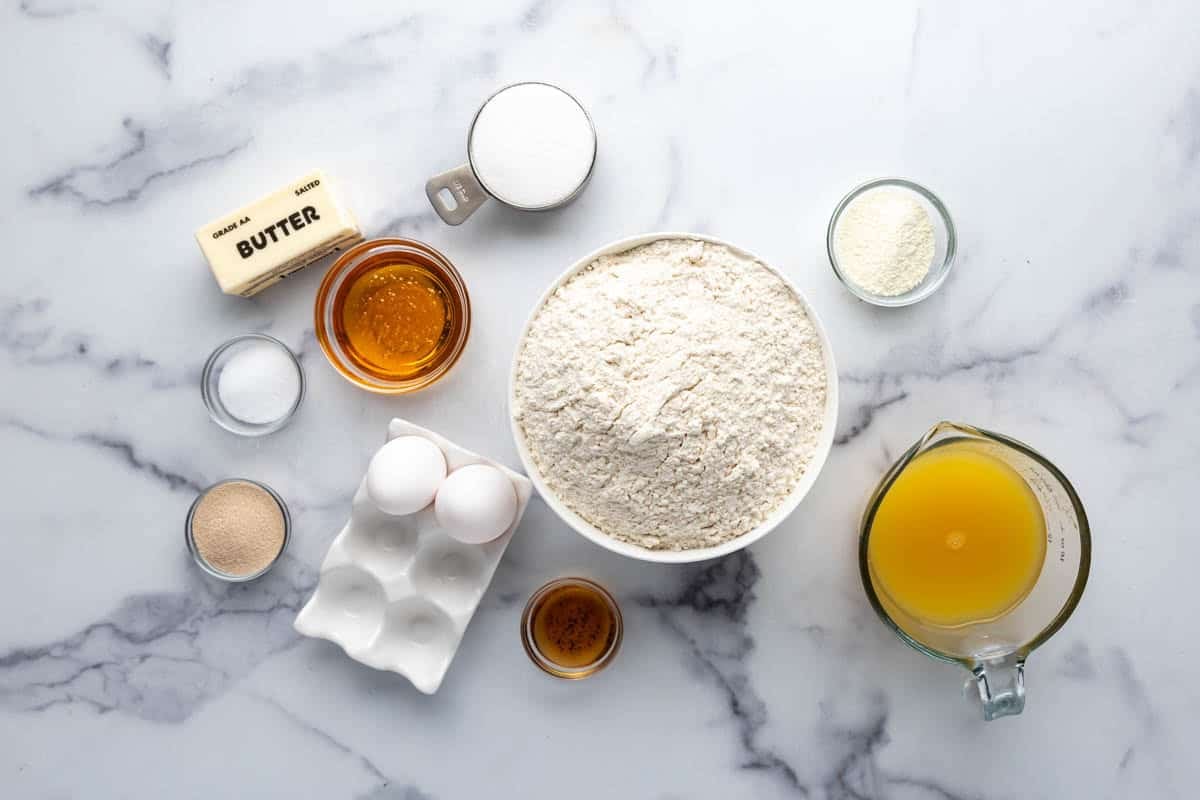
Scroll down to the recipe card below this post for ingredient quantities and full instructions.
- Pineapple Juice: The secret to that signature sweetness and tenderness.
- Instant or Active Dry Yeast: Makes the dough rise light and fluffy. Either type works, but proof it either way for a faster rise.
- Granulated Sugar: Adds sweetness and helps feed the yeast.
- Honey: Deepens the sweetness and adds moisture. Swap in an equal amount of sugar if you’re out.
- Salted Butter: Adds richness and that soft, tender texture. Add a pinch more salt if you’re using unsalted.
- Large Eggs: Add structure and richness, helping the rolls hold their shape.
- Pure Vanilla Extract: Rounds out the sweetness with warm flavor.
- Bread Flour: Gives these rolls their soft, chewy structure. All-purpose works too, but you might need ½ to 1 cup more.
- Milk Powder: Boosts richness and keeps the rolls soft for days. Can be left out if needed.
- Salt: Balances the sweetness and brings out the other flavors.
How to Make Homemade Hawaiian Rolls
- Warm the juice. Heat the pineapple juice in a small saucepan over medium-high heat until warm, about 100-110°F, then pour it into the bowl of a stand mixer fitted with a paddle attachment.
- Proof the yeast. Add yeast and let it sit for about 5 minutes until foamy, this activates it for a faster, better rise.
- Mix the dough. Add sugar, butter, eggs, vanilla, 2 cups of flour, and salt, then beat until smooth.
- Knead the dough. Switch to a dough hook and add remaining flour, kneading until dough clears sides of bowl and forms a soft, slightly sticky ball. Knead for 5-7 minutes until smooth.
- Let it rise. Cover and let dough rise in a warm spot until doubled, about 1 hour.
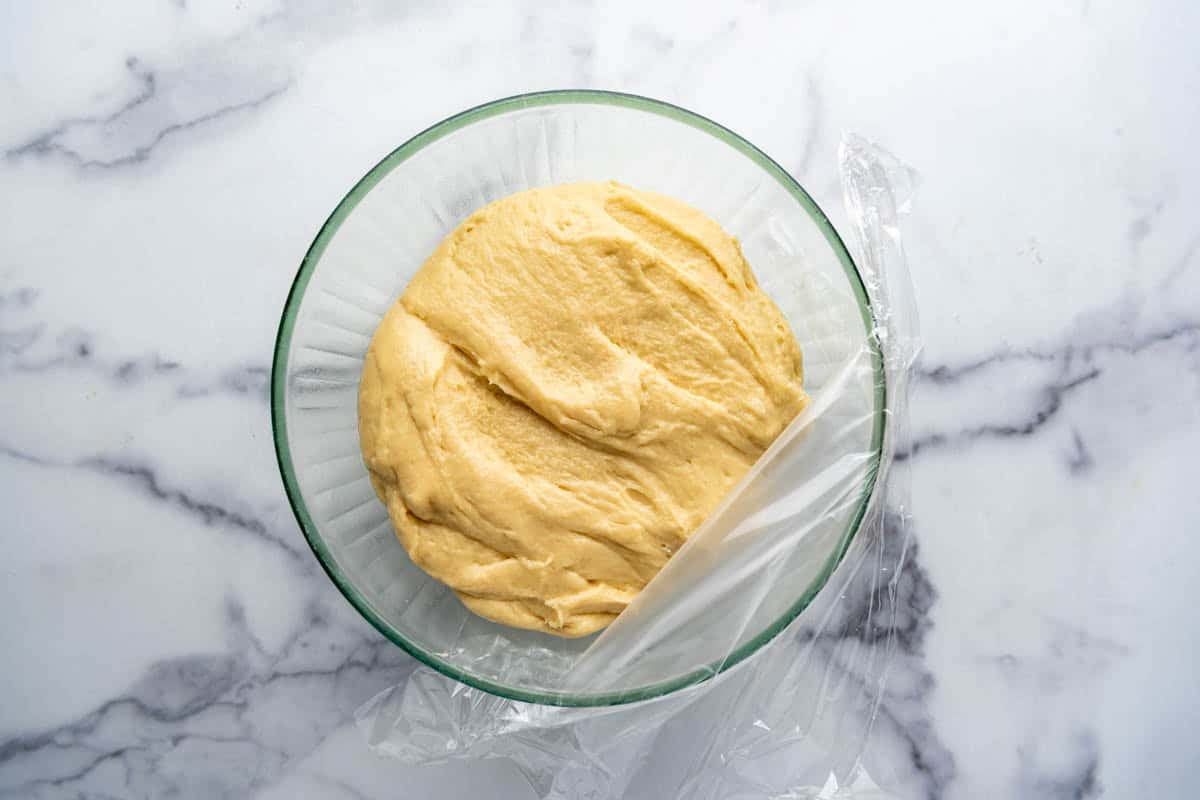
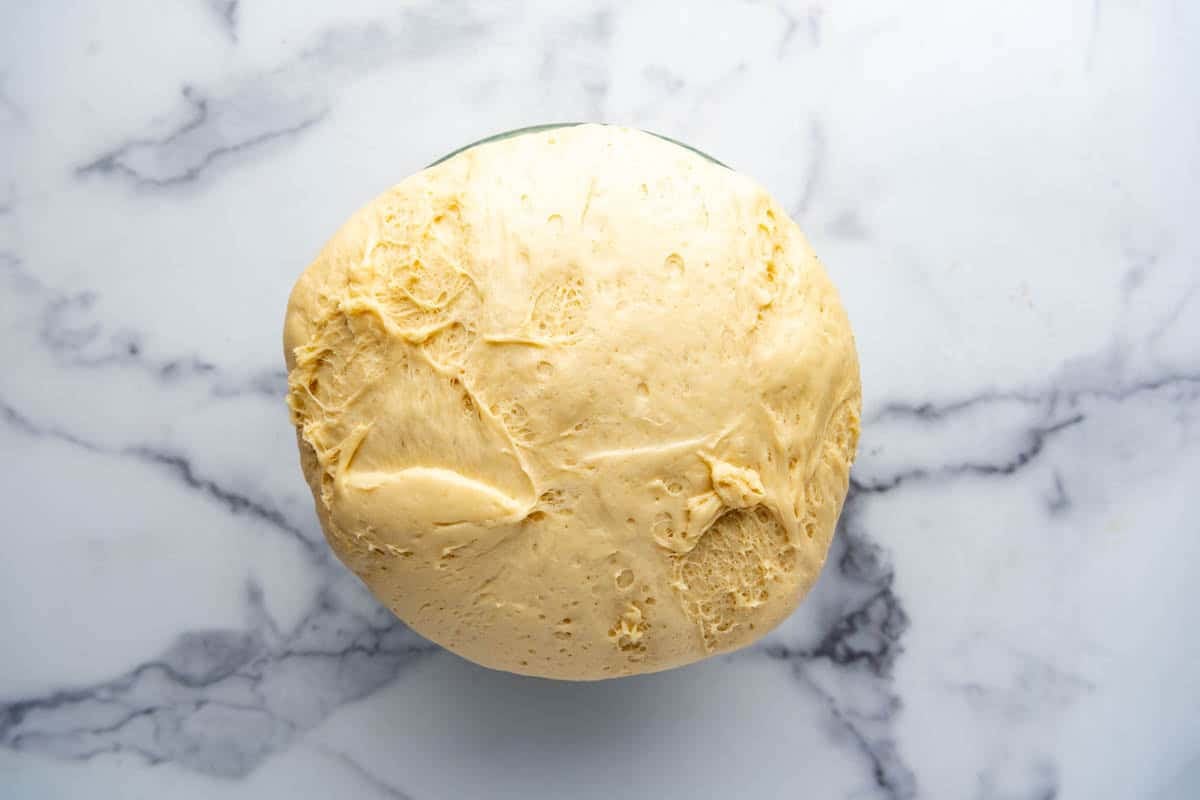
- Prep the pans. Spray a 9×13-inch pan with baking spray, then punch down dough and turn onto a lightly greased surface.
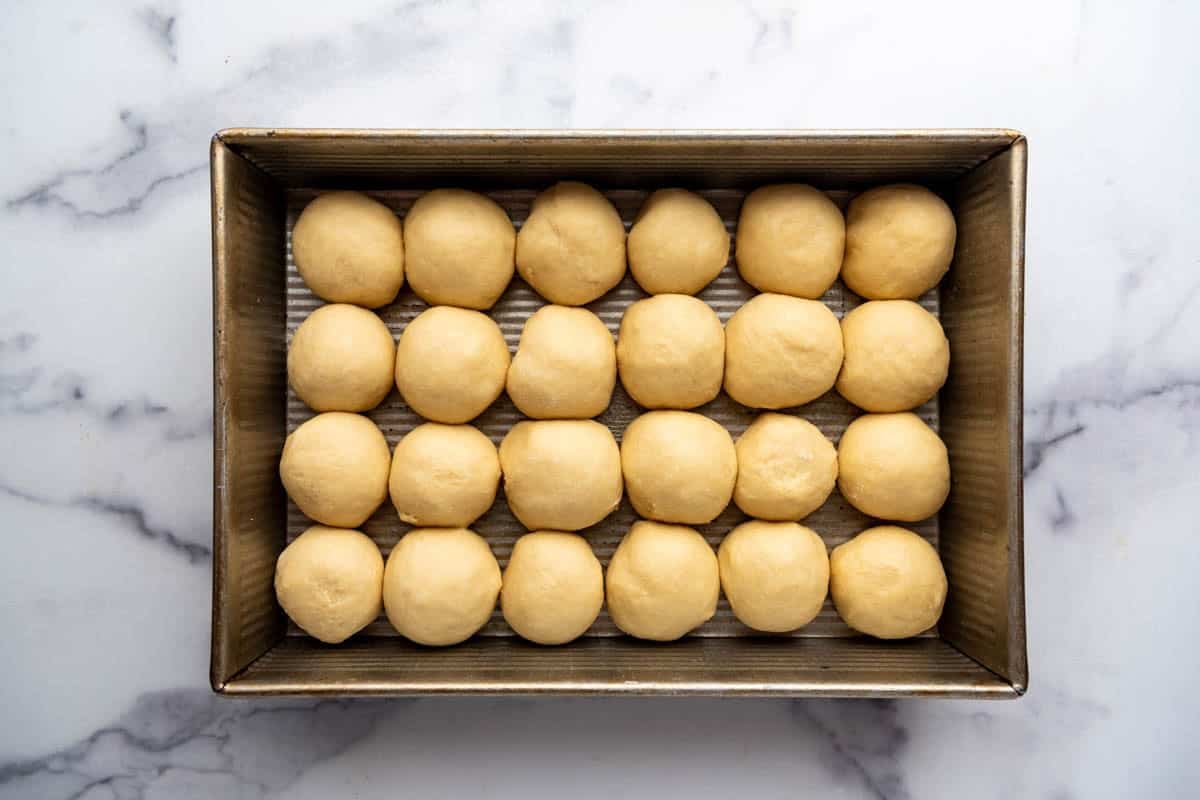
- Shape the rolls. Divide dough into 24 pieces, roll into balls, and arrange in rows in the prepared pan.
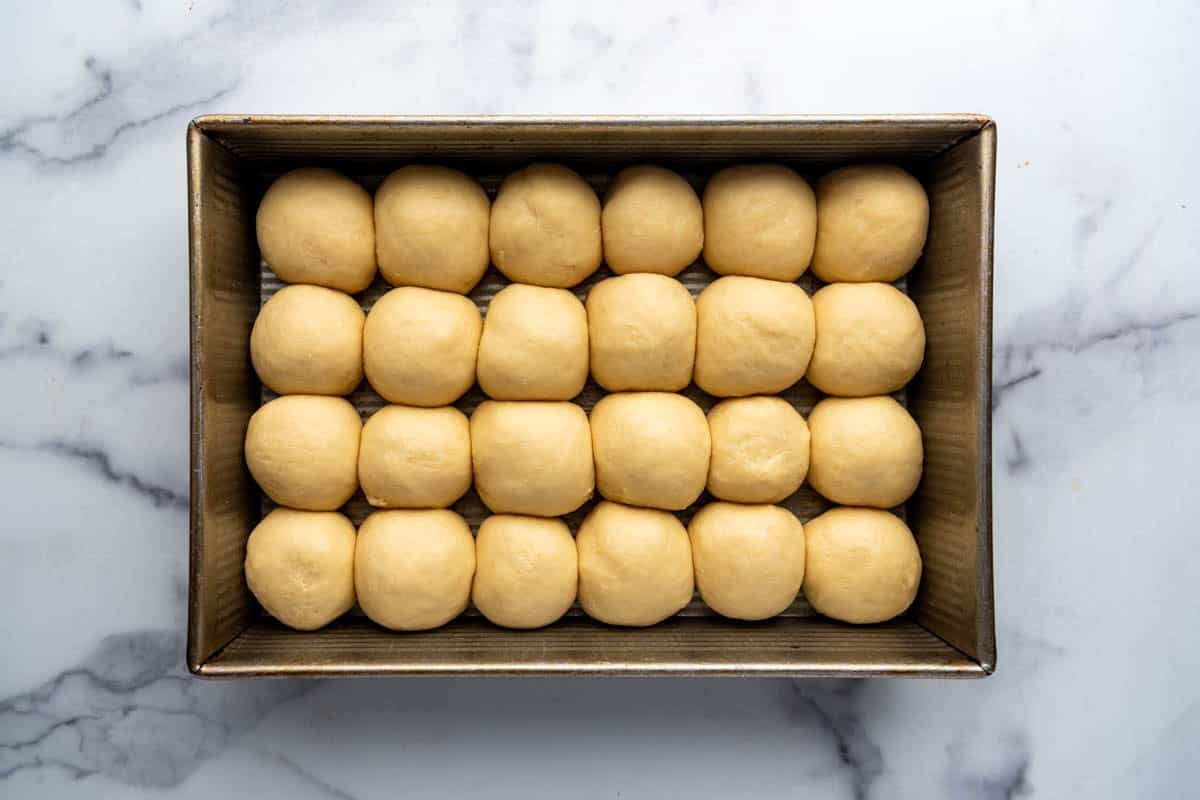
- Rise again. Cover with plastic wrap and let rise again for 1 to 1½ hours, until puffy and sides are touching.
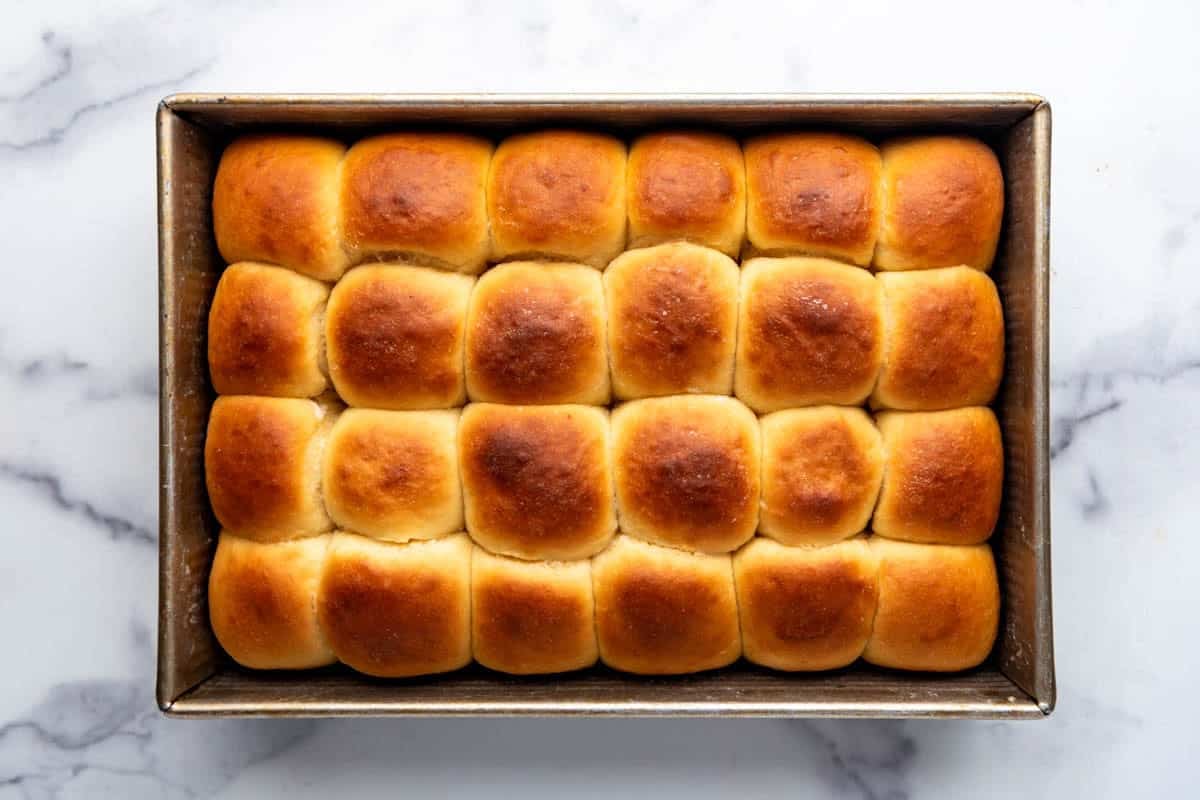
- Bake the rolls. Preheat oven to 350°F, then bake uncovered for 20-25 minutes until golden brown.
- Brush with butter. Brush melted butter over the tops while still hot, then cool completely before slicing.
Recipe FAQ’s
This usually means too much flour was added during kneading. Stick close to the amount listed and only add more if the dough is unworkably sticky.
Yes, either works fine here, just make sure it’s 100% pineapple juice with no added sugar.
That’s completely normal and happens because of the juice’s acidity reacting with the other ingredients, it won’t affect the final texture of the rolls.
Yes, you can run the dough through the dough cycle, then shape and bake the rolls as directed once it’s done.
Keep them in an airtight container at room temperature for up to 3 days. You can also freeze the cooled rolls in a resealable freezer bag for up to 3 months.
Yes, shape the rolls and refrigerate, covered, for up to 24 hours before baking. Let them sit at room temperature for about 1 hour to finish rising before baking as directed.
Tips for Success
- Brush the tops with melted butter right when they come out of the oven so it soaks in for extra flavor and shine.
- Make sure your pineapple juice is warm, not hot, since anything above 110°F can kill the yeast before it has a chance to activate.
- Resist the urge to add extra flour too early, the dough should still feel slightly sticky before it clears the sides of the bowl.
- Give the dough the full rise time in a warm, draft-free spot, since sweet doughs like this one rise more slowly than plain bread dough.
- Weigh your dough pieces on a kitchen scale for even sizing, this helps all the rolls bake at the same rate.
What to Serve with Homemade Hawaiian Rolls
These rolls are the perfect companion to a big holiday spread, soaking up gravy alongside a Juicy Roast Turkey or Brown Sugar Glazed Ham beautifully.
They’re just as at home next to a big pot of The Best Chili, perfect for dunking into a warm bowl on a cold night.
For something more casual, slice them in half and pile on ham, egg, and cheese for Cheesy Breakfast Sliders, the easiest sliders you’ll ever make.
And a smear of butter and a drizzle of honey turns them into a simple, satisfying breakfast or snack all on their own.
Substitutions and Variations
- Swap the pineapple juice for orange juice if that’s what you have on hand.
- Add a tablespoon of orange zest to the dough for a brighter citrus note that pairs beautifully with the pineapple.
- Turn these into hamburger buns by dividing the dough into 8 to 12 larger portions instead of 24.
- Brush the tops with a simple glaze of powdered sugar and pineapple juice after baking for an extra-sweet version.
More Sweet Roll Recipes You’ll Love
- The BEST Homemade Cinnamon Rolls
- Homemade Caramel Pecan Sticky Buns
- Hot Cross Buns
- Small Batch Sticky Buns
- Pineapple Coconut Muffins
- Easy Pineapple Pie
- Pineapple Upside Down Cake
- Easy Pineapple Poke Cake
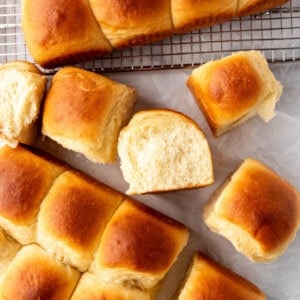
Homemade Hawaiian Rolls
Ingredients
- 1 ½ cups pineapple juice
- 4 ½ teaspoons instant or active dry yeast
- ½ cup (100g) granulated sugar
- ¼ cup honey
- ½ cup salted butter softened and cut into cubes + additional for brushing on top
- 2 large eggs
- 1 teaspoon pure vanilla extract
- 5 ½ cups (776g) bread flour (may need ½ to 1 cup additional flour if using all-purpose flour instead of bread flour)
- 2 Tablespoons milk powder
- 1 ½ teaspoon salt
Instructions
- Heat the pineapple juice in a small saucepan over medium-high heat until warm, around 100℉ to 110℉. Remove from the heat and pour the warmed juice into a large mixing bowl of an electric stand mixer fitted with a paddle attachment.1 ½ cups pineapple juice
- Add the yeast and let it proof for about 5 minutes until foamy (even if using instant yeast – it will help the roll dough rise better and faster in this recipe by activating it first).4 ½ teaspoons instant or active dry yeast
- Add the sugar, honey, butter, eggs, vanilla, 2 cups of the flour, milk powder, and salt. Beat well until smooth.½ cup (100g) granulated sugar, ¼ cup honey, ½ cup salted butter, 2 large eggs, 1 teaspoon pure vanilla extract, 2.2 cups (776g) bread flour, 1 ½ teaspoon salt, 2 Tablespoons milk powder
- Switch to the dough hook attachment. Add the remaining flour, kneading until the dough starts to come together in a ball and begins to clear the sides of the bowl. Only add the additional flour if needed to reach a workable dough that is slightly sticky but clears the sides of the bowl. You may need more than 6 cups if using all-purpose flour instead of bread flour. Continue to knead with the dough hook for 5-7 minutes until the dough is soft and smooth. Cover the bowl with plastic wrap or a clean damp cloth and let the dough rise in a warm spot until doubled in size (about an hour).3.3 cups (776g) bread flour
- Spray a 9×13-inch pan with baking spray. Punch down the dough and turn it out onto a lightly greased surface.
- Divide the dough into 24 evenly sized pieces and roll into balls. They should each be around 1 ½ to 2 ounces if you want to weigh them on a kitchen scale for accuracy. Arrange the balls of dough into rows in the prepared pan.
- Cover the rolls with plastic wrap and let rise another 1 to 1 ½ hours until puffy and sides are touching.
- Preheat the oven to 350℉ (177℃) while the rolls are rising. Remove the plastic wrap and bake, uncovered, for 20-25 minutes until golden brown. Remove from the oven and brush additional melted butter over the tops of the rolls while still hot. Let cool completely before slicing to use as sliders.
Notes
- Make-Ahead Instructions: If you want to make these the day before, you can make the rolls up through shaping and placing them in the prepared pan. Cover with a piece of plastic wrap that has been sprayed with cooking spray and immediately place in the fridge for up to 24 hours. Let them sit out at room temperature for about 1 hour to come to room temperature and finish rising before baking as directed.
- Pan size: You can also make these in two 9×9-inch square pans with 12 rolls to a pan, instead of in a 9×13.
- Freezing: You can freeze the cooled rolls in a resealable freezer-safe bag for up to 3 months.
Storage & Make Ahead
- Store: Keep your freshly baked rolls in an airtight container or plastic bag at room temperature for up to 3 days.
- Freeze: Freeze baked rolls in a freezer-safe bag for up to 3 months. Thaw at room temperature or reheat in the oven.
- Reheat: Wrap rolls in foil and warm in a 350°F oven for 5-10 minutes, or microwave for 10-15 seconds each.
- Make Ahead: Shape the dough into rolls and refrigerate for up to 24 hours before baking. Allow them to come to room temperature and rise before putting them in the oven.