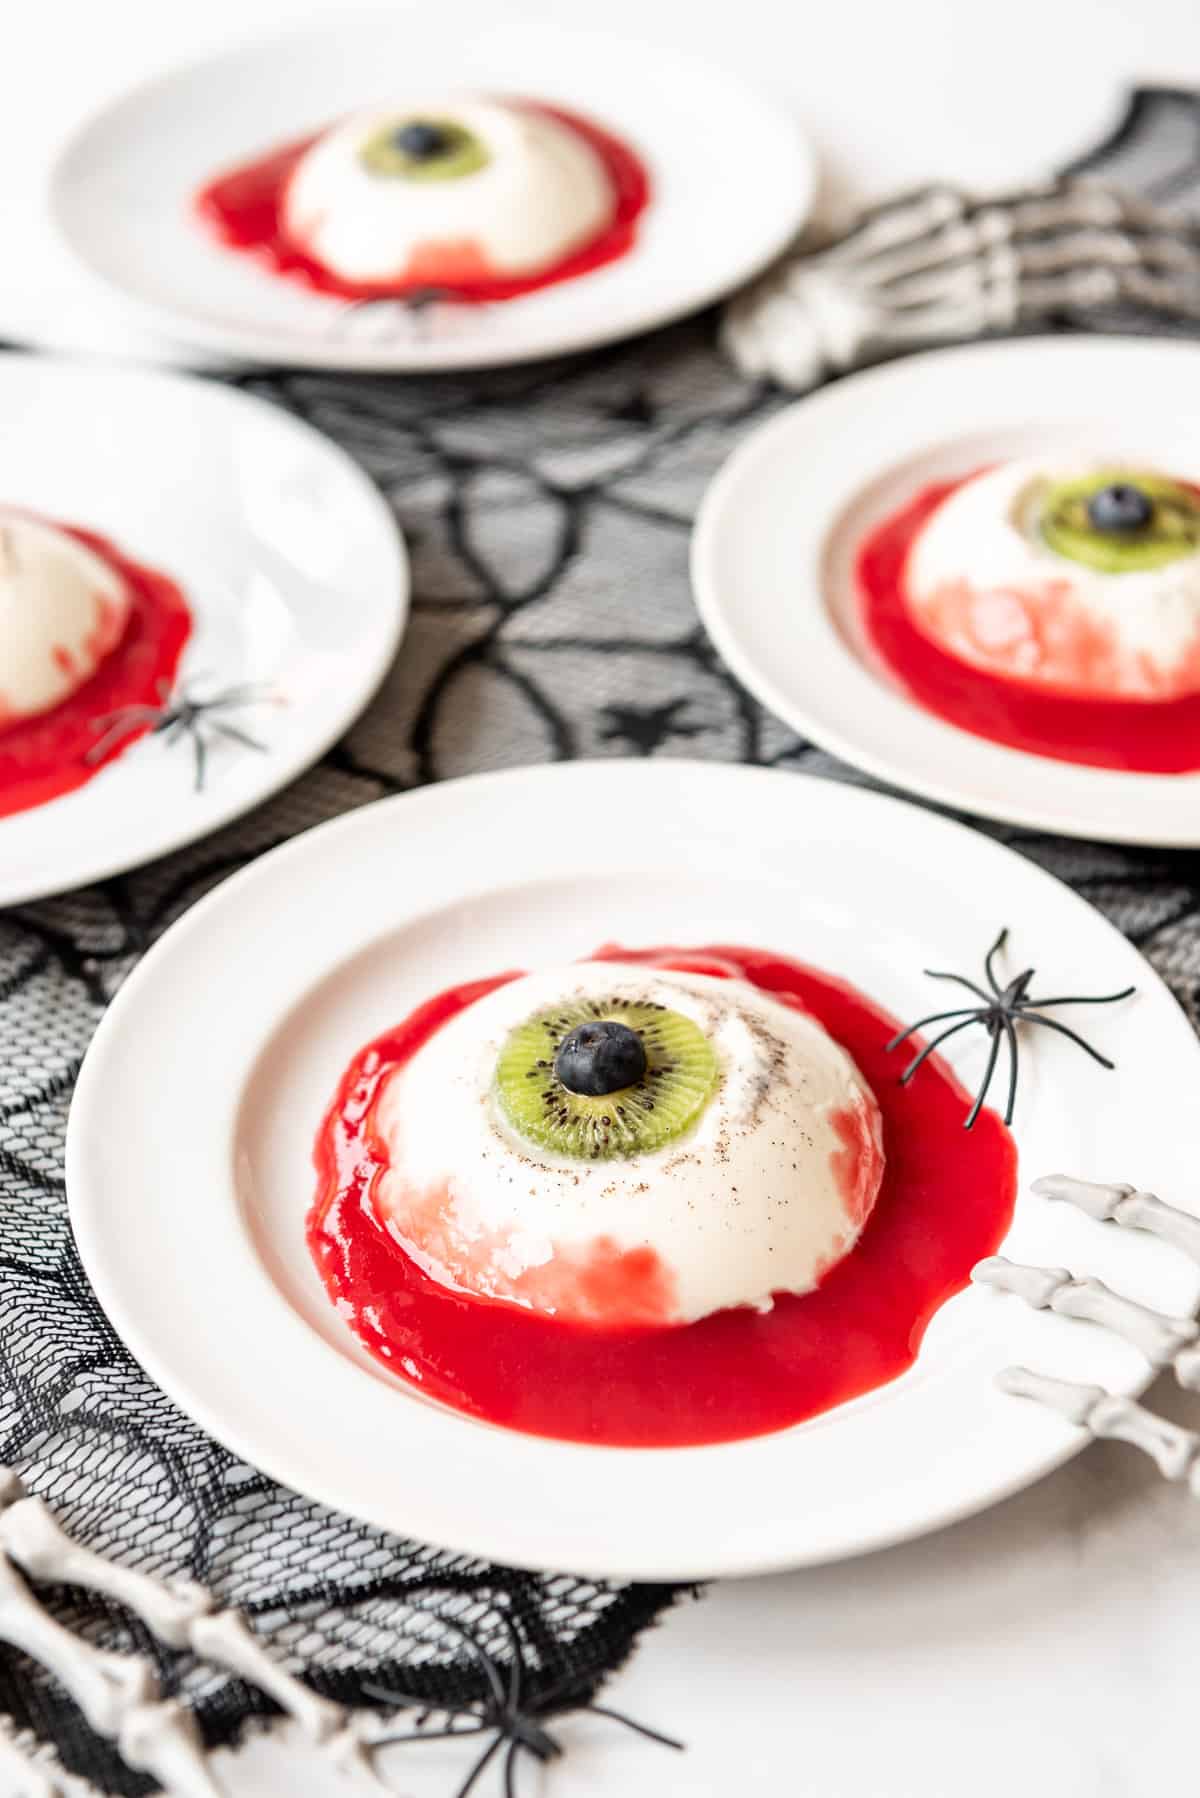
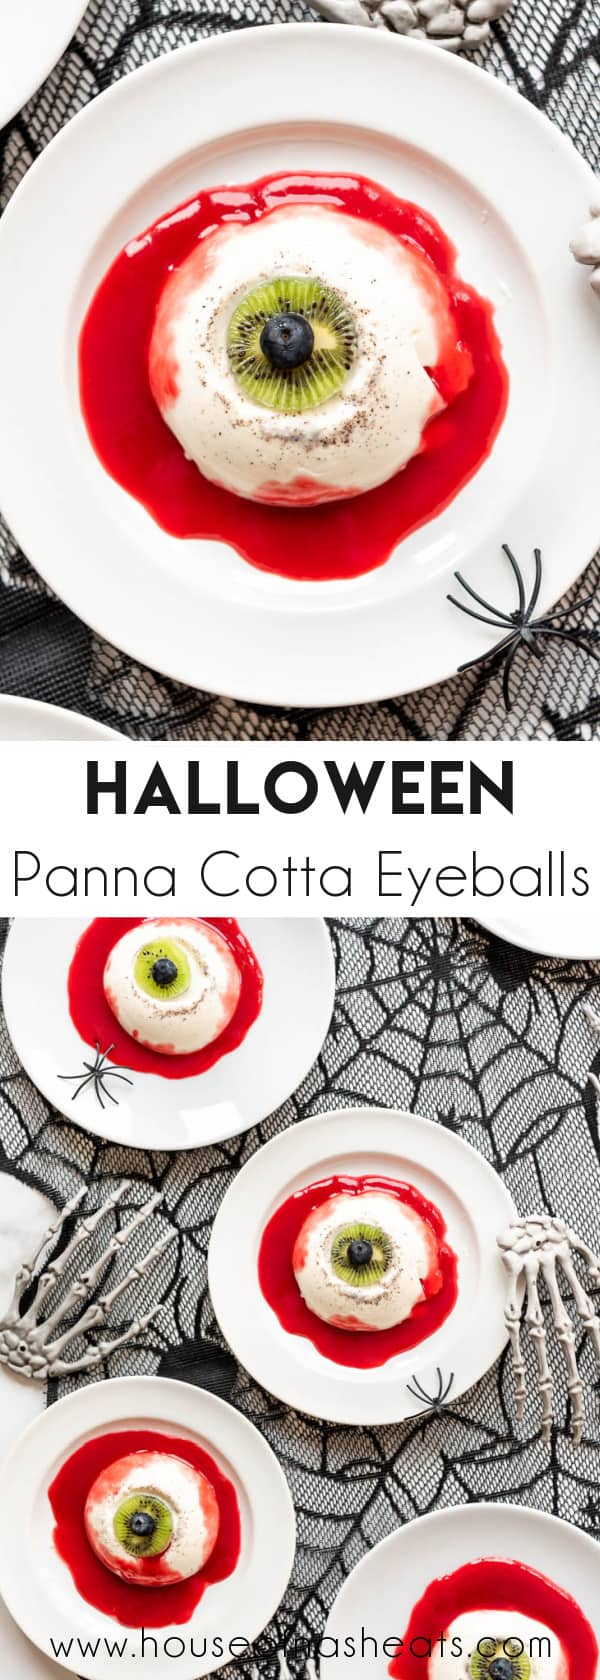
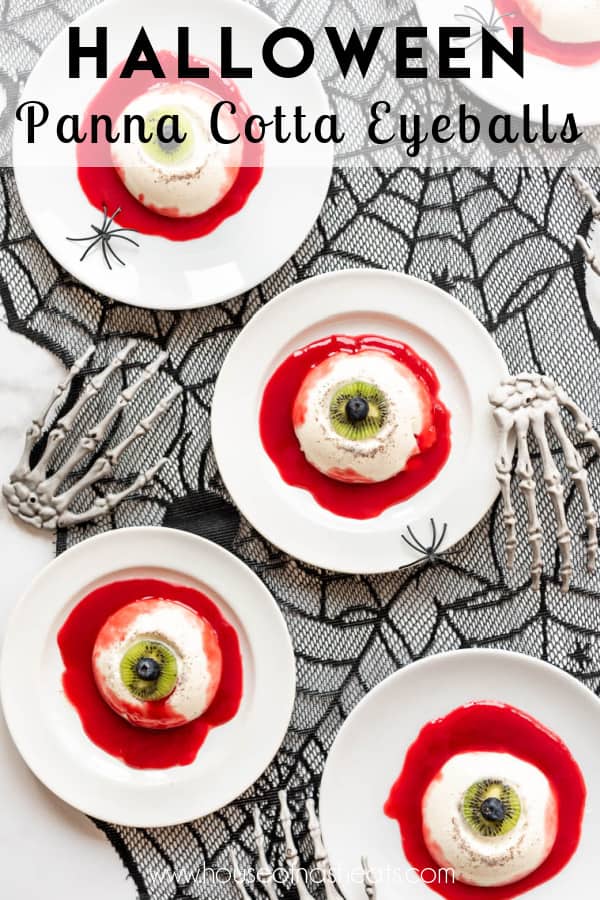
If you can stomach the unsettling appearance of this dessert, these Halloween Panna Cotta Eyeballs are actually a deliciously light and fruity treat that would be perfect for a spooky dinner party!
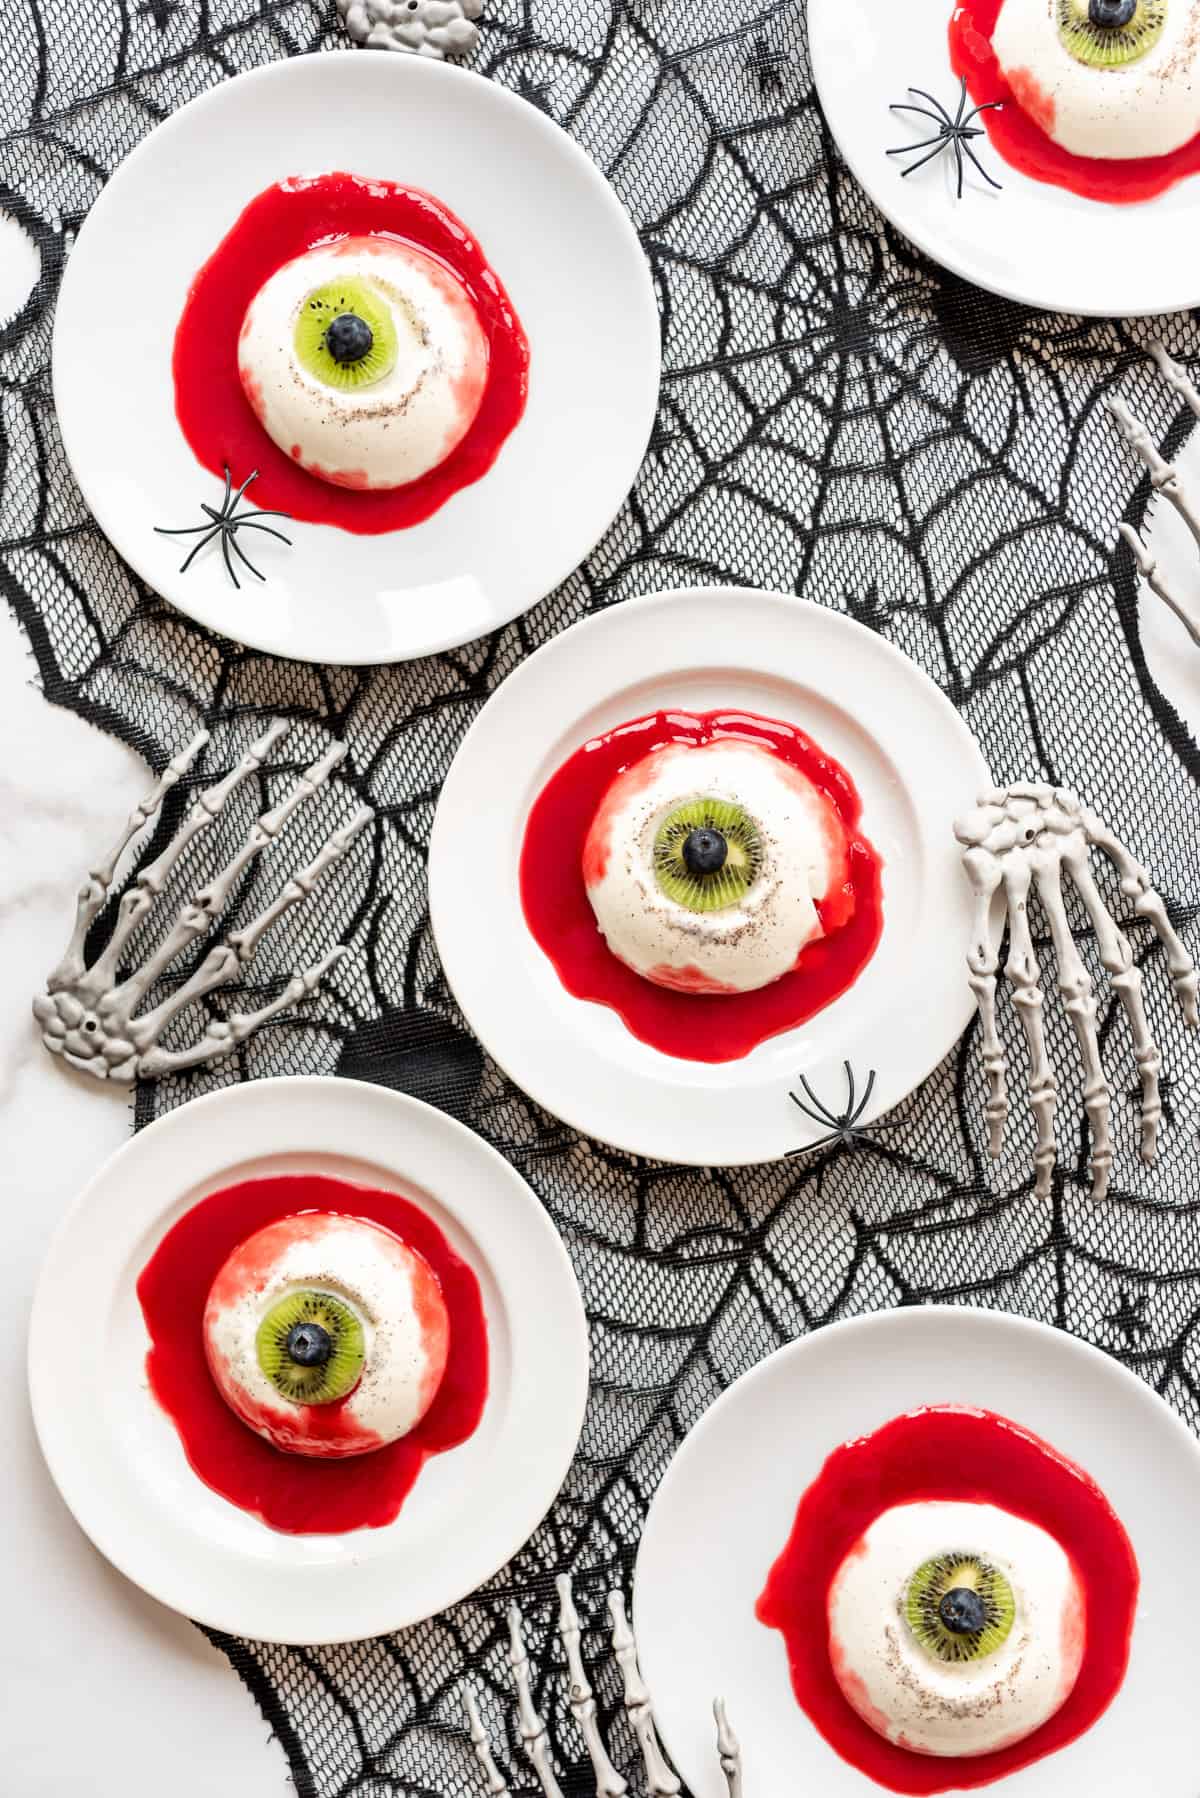
I have seen these panna cotta eyeballs floating around Pinterest for a few years now, although often they are made with red food dye, corn syrup, and candies. But panna cotta is made even more delicious when served with fresh fruit to create a horrifying eyeball appearance.
Truthfully, my 10 and 7-year old daughters couldn’t get past the look of this dessert, but I loved it! It’s actually a pretty traditional panna cotta despite its look!
If you love creepy, fun Halloween foods you might also want to check out our Graveyard Dirt Cake, Black Spider Bread Bowl, and Halloween Chocolate Cherry Hand Pies.
Why this recipe works
- This dessert is no-bake and can be made ahead so it has time to set up in the fridge.
- So many Halloween desserts are exceedingly sugary or heavy, while panna cotta is refreshing and light!
- A simple and classic raspberry coulis makes convincing blood without any dyes.
Recipe Ingredients
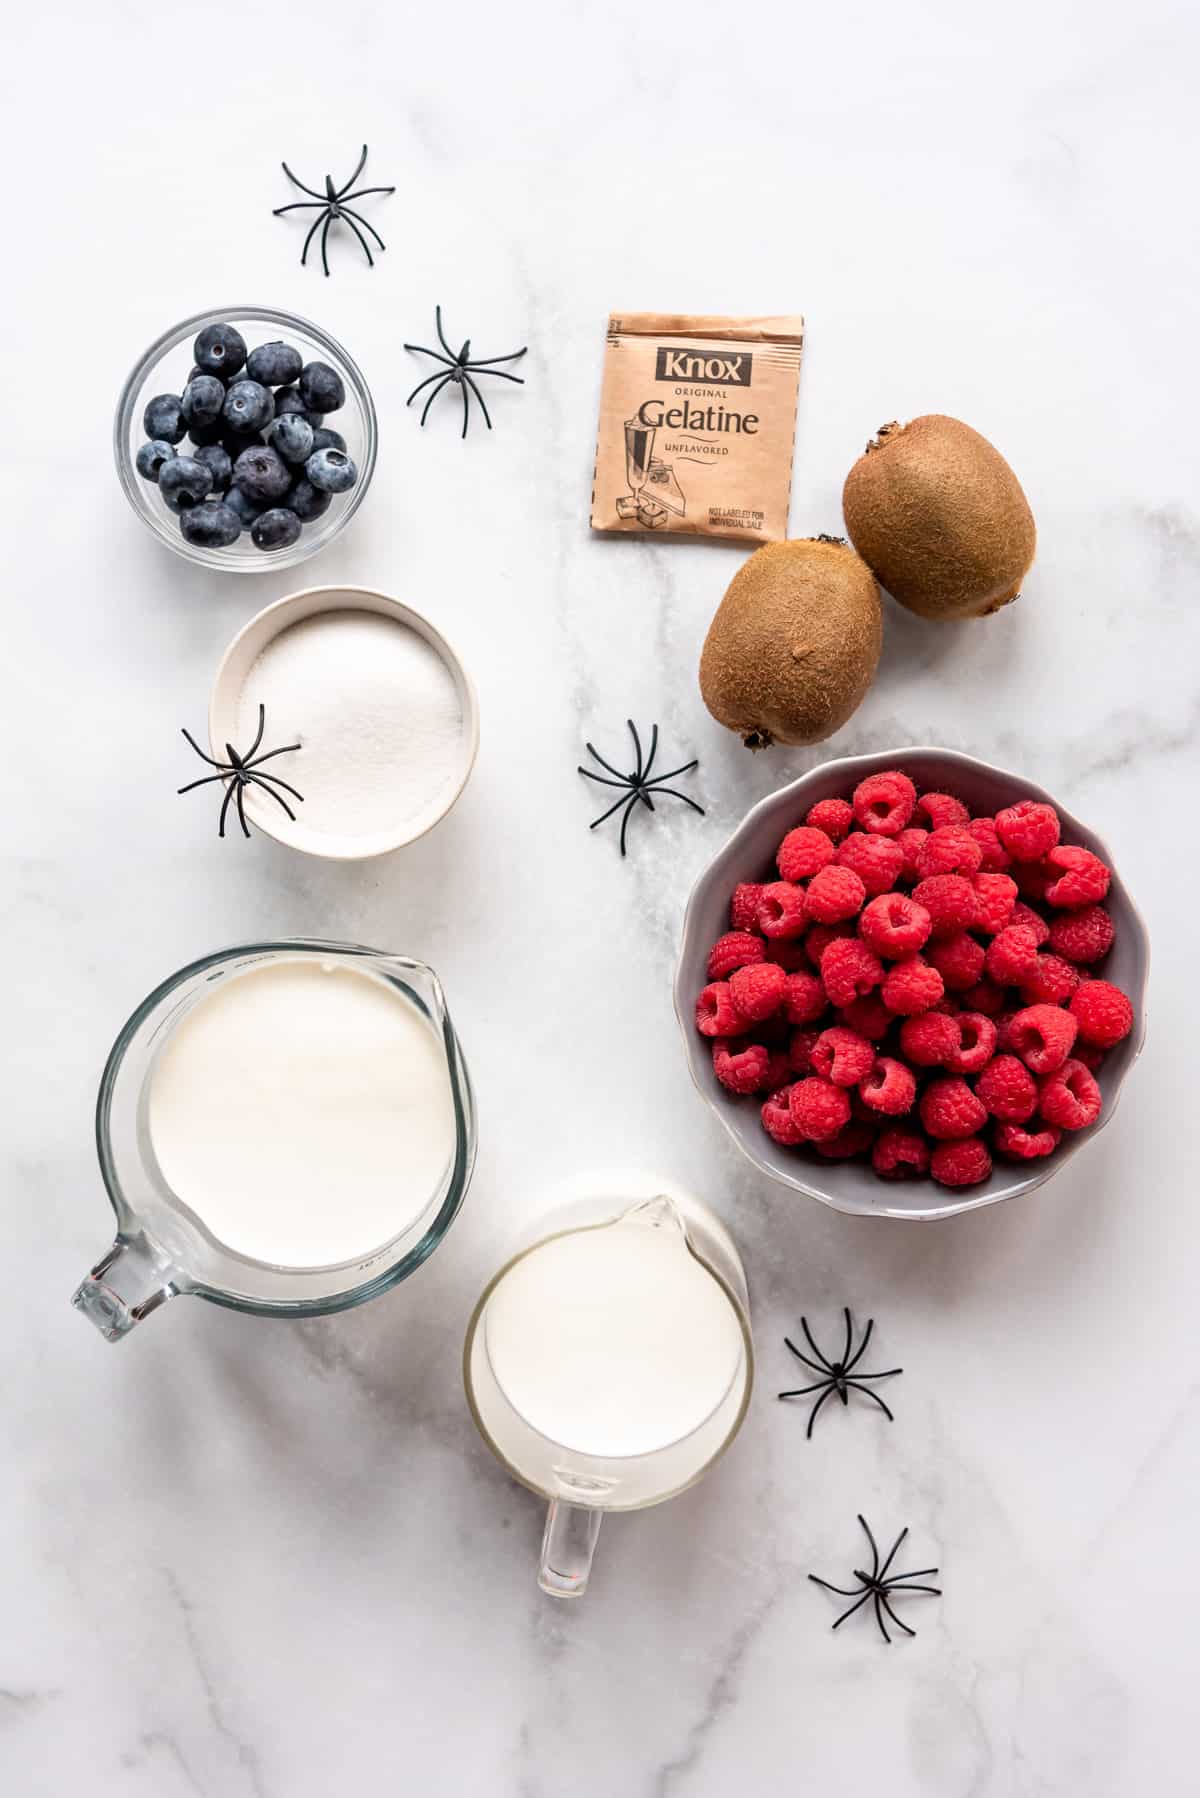
- Unflavored gelatine: You will find this in the same aisle near the boxes of flavored jello, usually toward the top of the shelves.
- Heavy cream: There really is no substitute for heavy cream in this recipe. It gives the panna cotta its richness and wonderfully creamy flavor.
- Fresh fruit: I used green kiwis and blueberries for the eyes and raspberries to make a bloody puree.
How to Make it
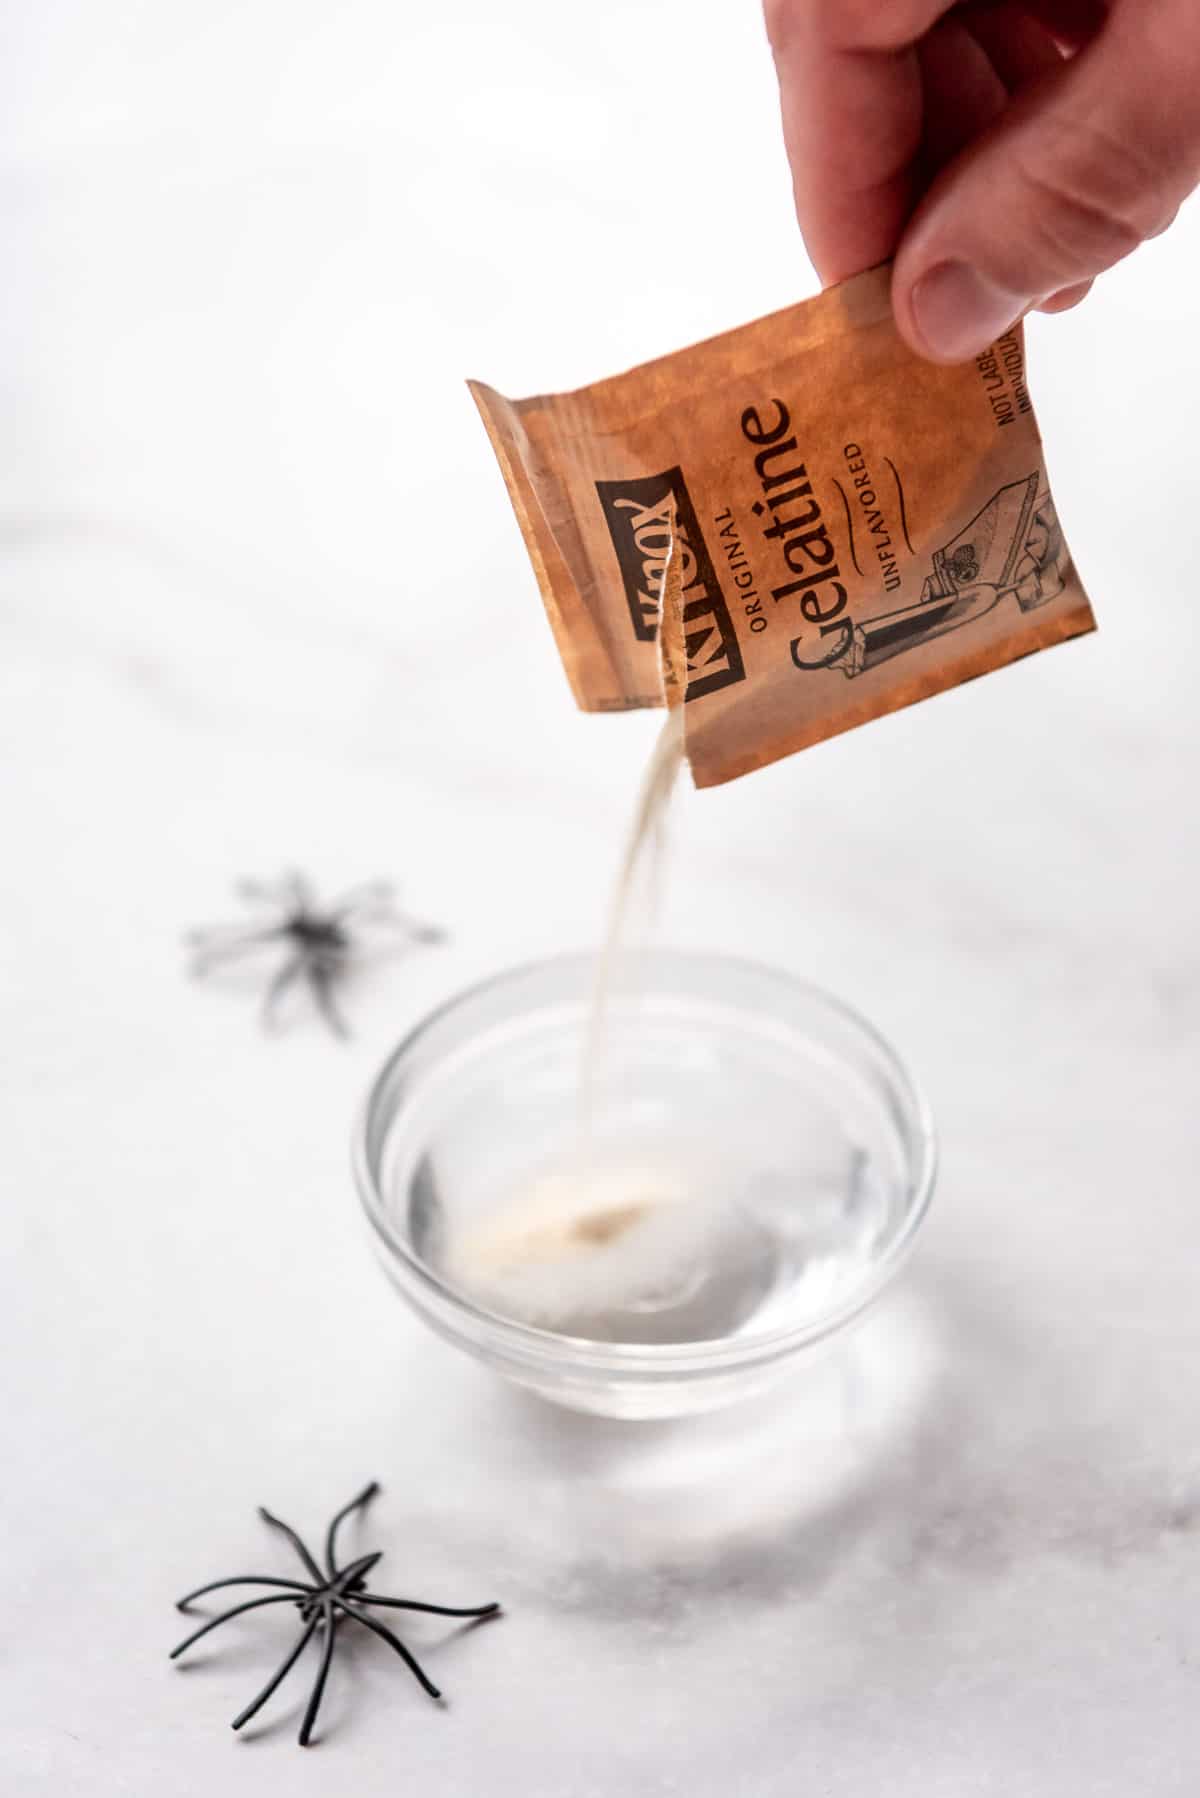
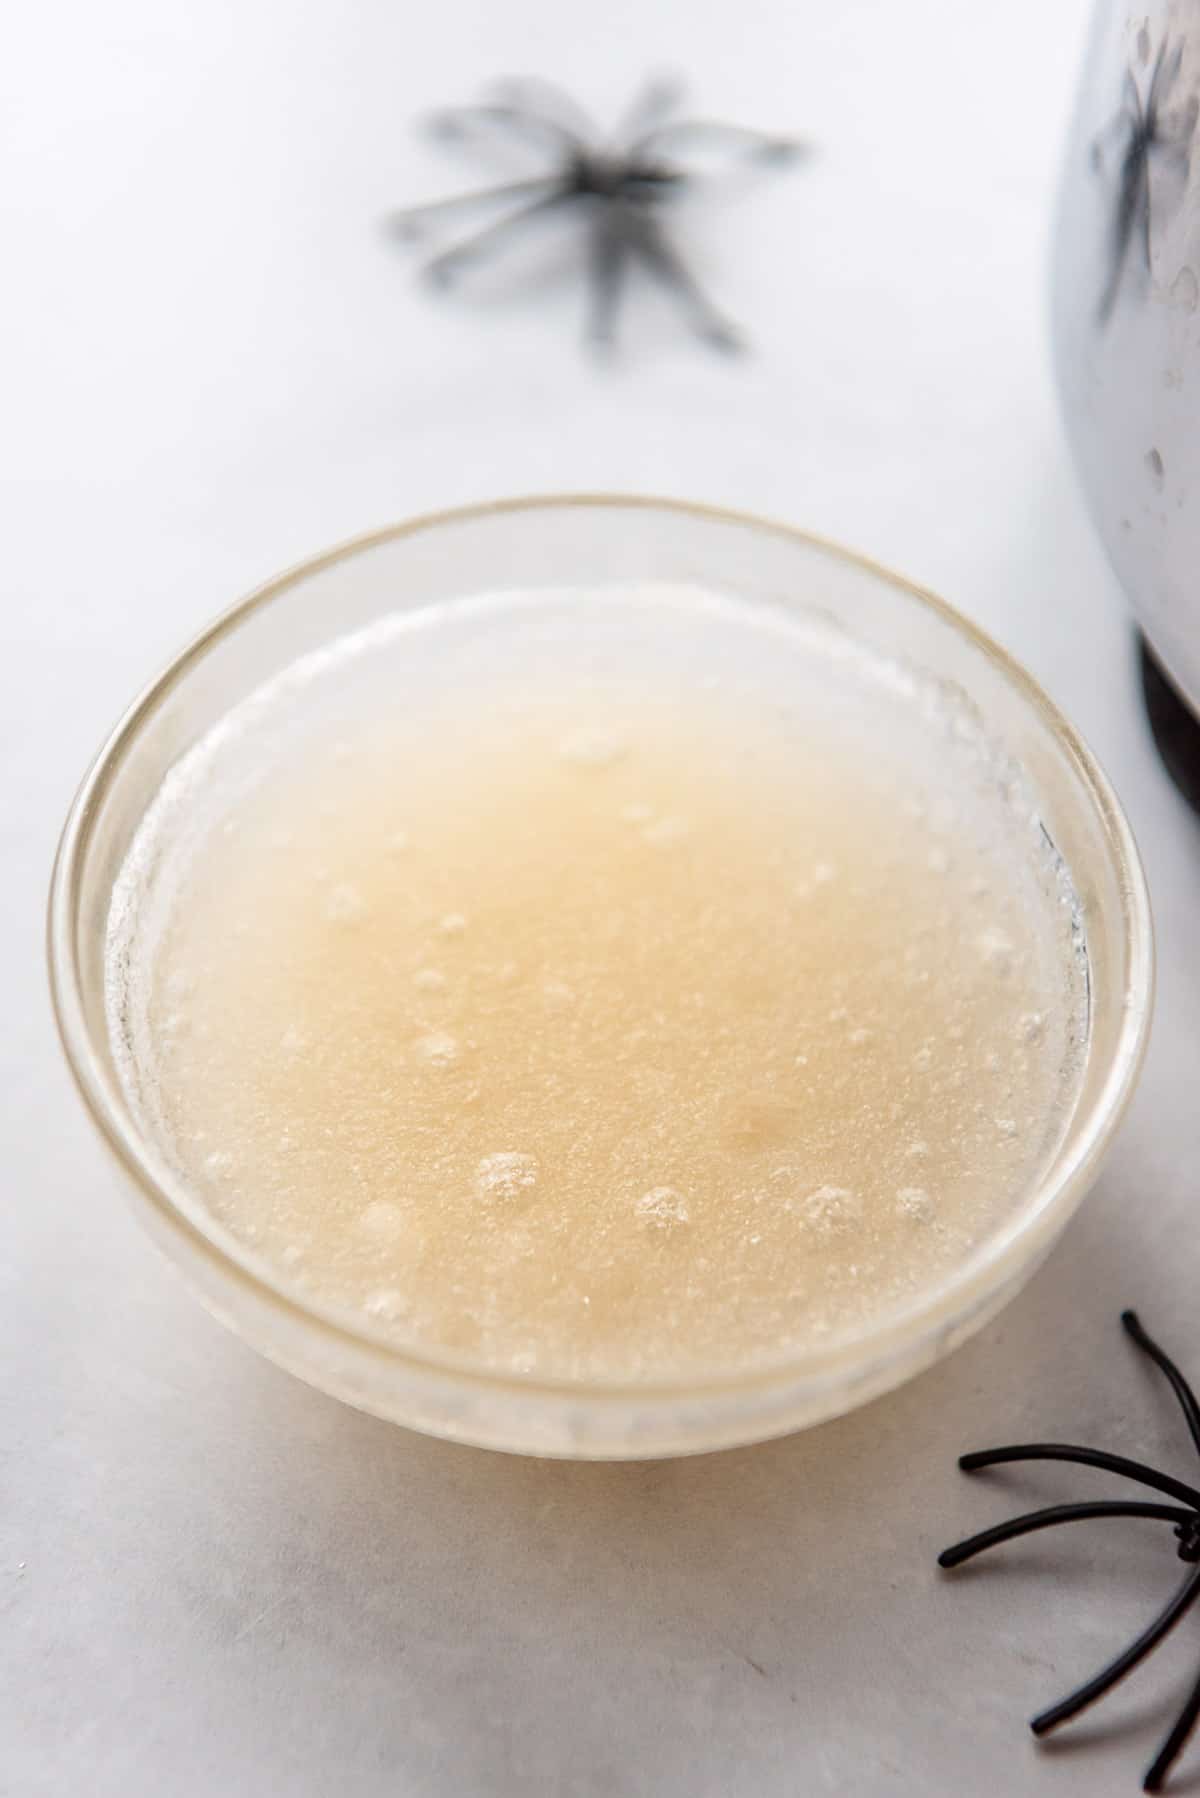
To start out, you need to “bloom” the gelatine which just means letting it dissolve in cold to room temperature water for 5 minutes. It will turn into a gelatinous little hockey puck.
Meanwhile, heat the cream, milk, and sugar in a large saucepan over medium heat until. It shouldn’t come to a boil, but you want it to get nice and steaming hot with little bubbles around the edges.
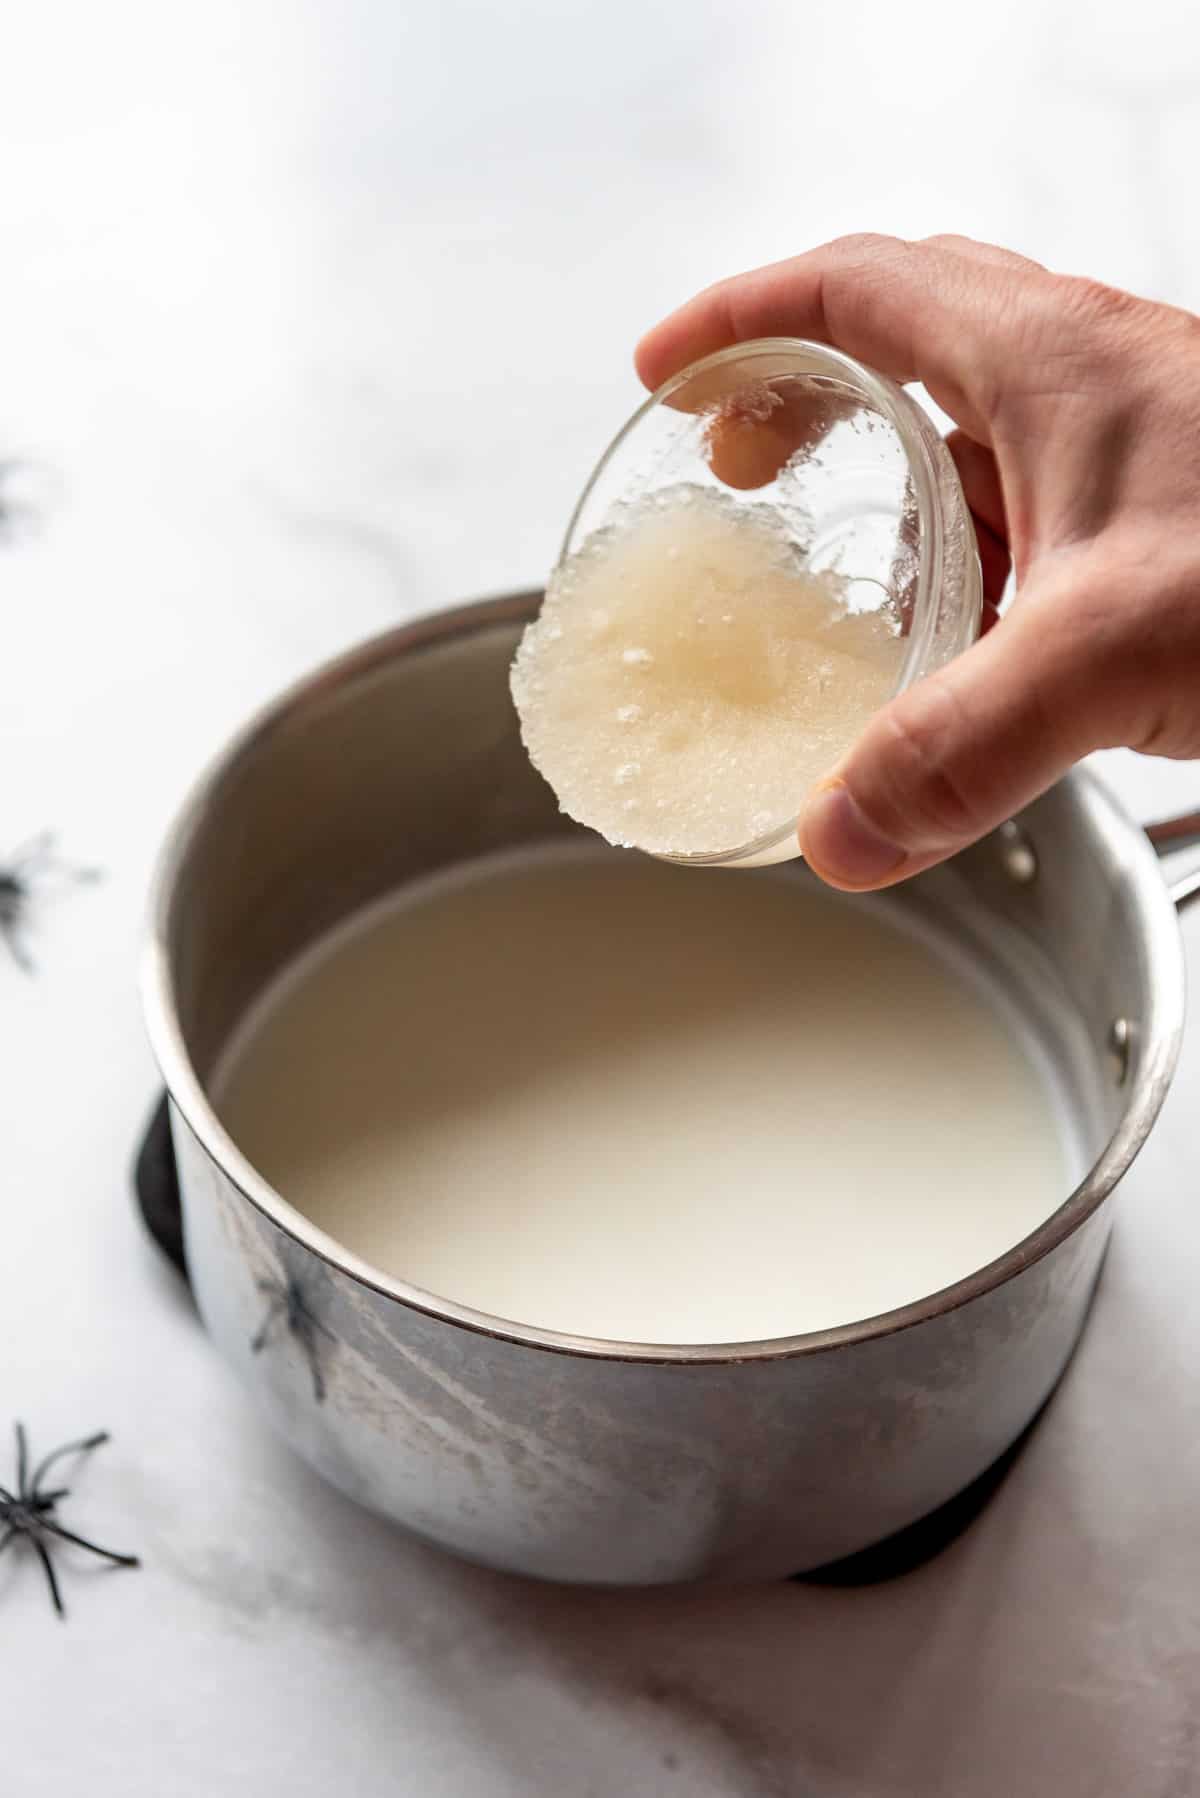
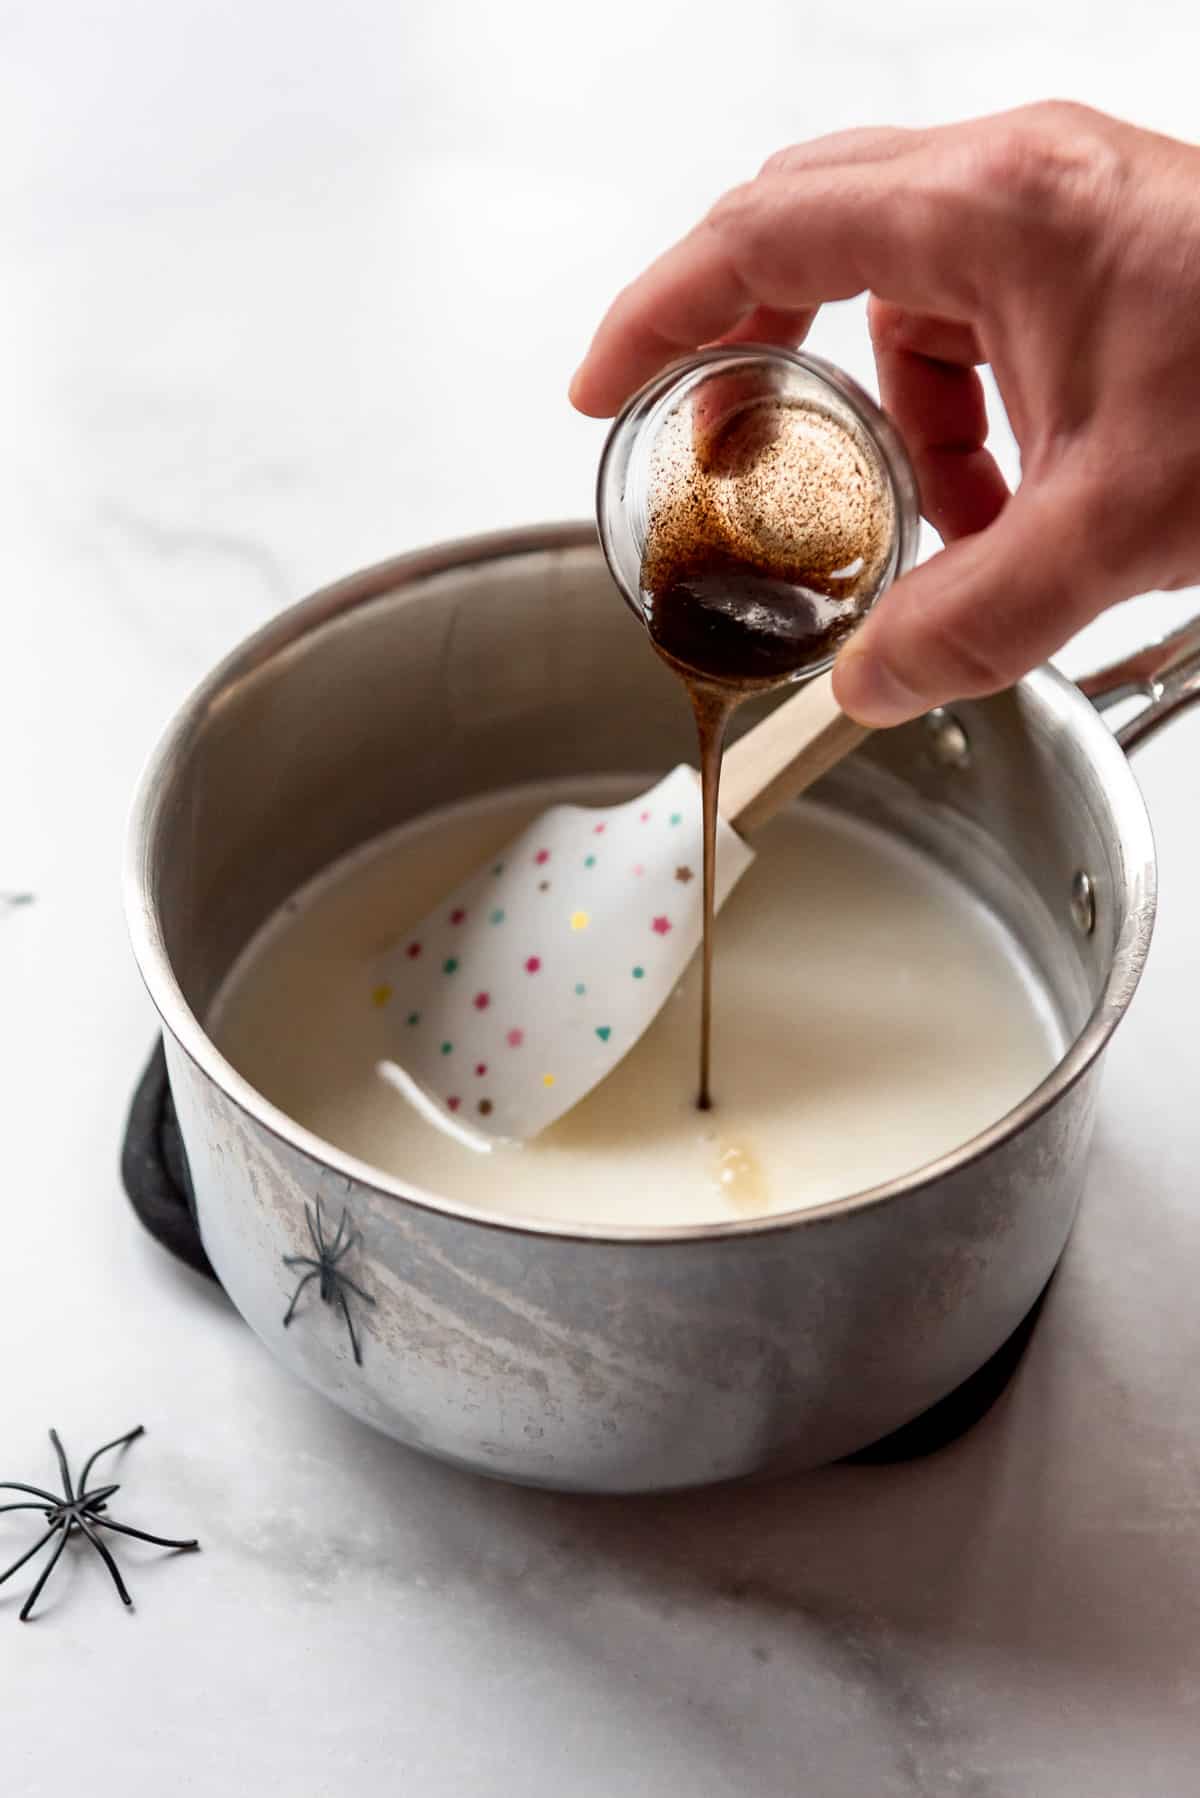
Remove the hot liquid from the heat and add the lump of gelatine and vanilla or vanilla bean paste. Stir or whisk until the gelatine has dissolved completely into the liquid. Set aside to cool to room temperature, stirring occasionally so the mixture doesn’t separate.
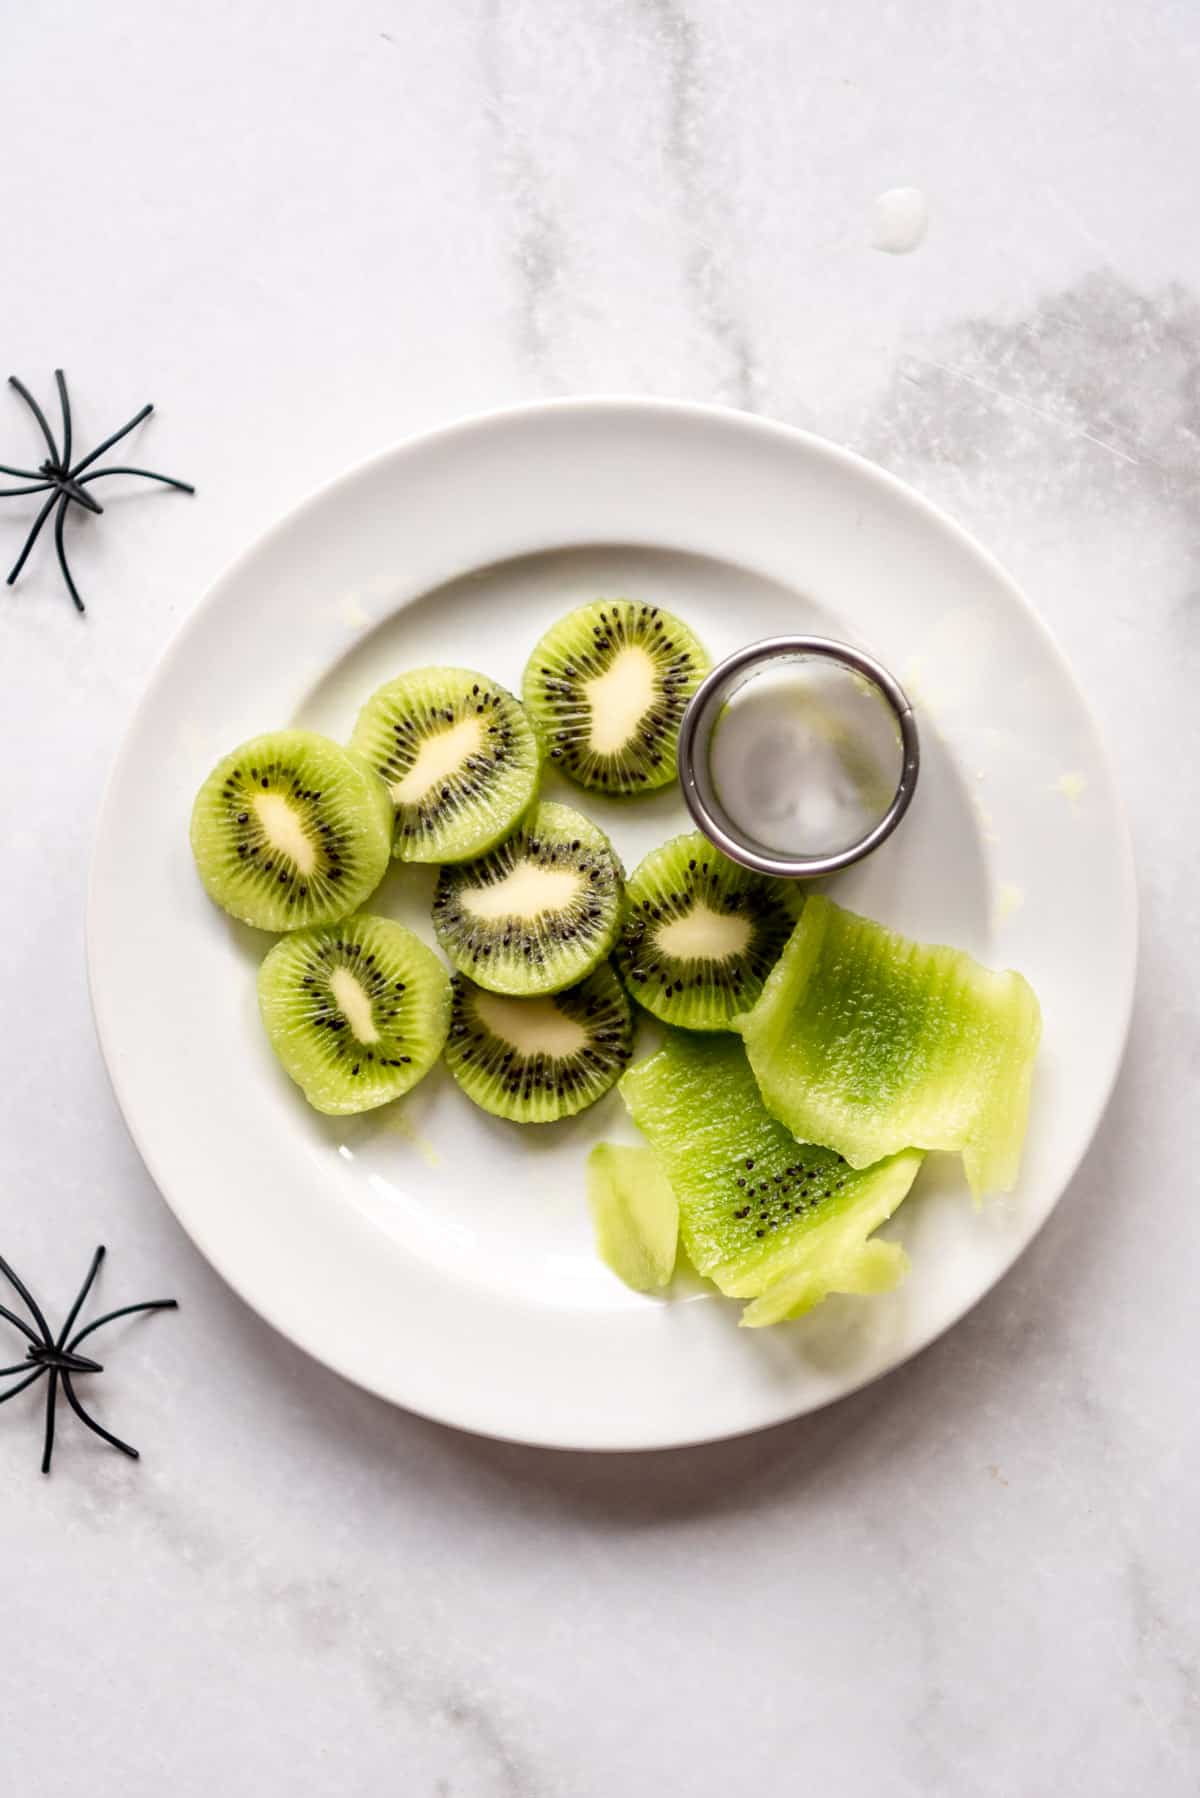
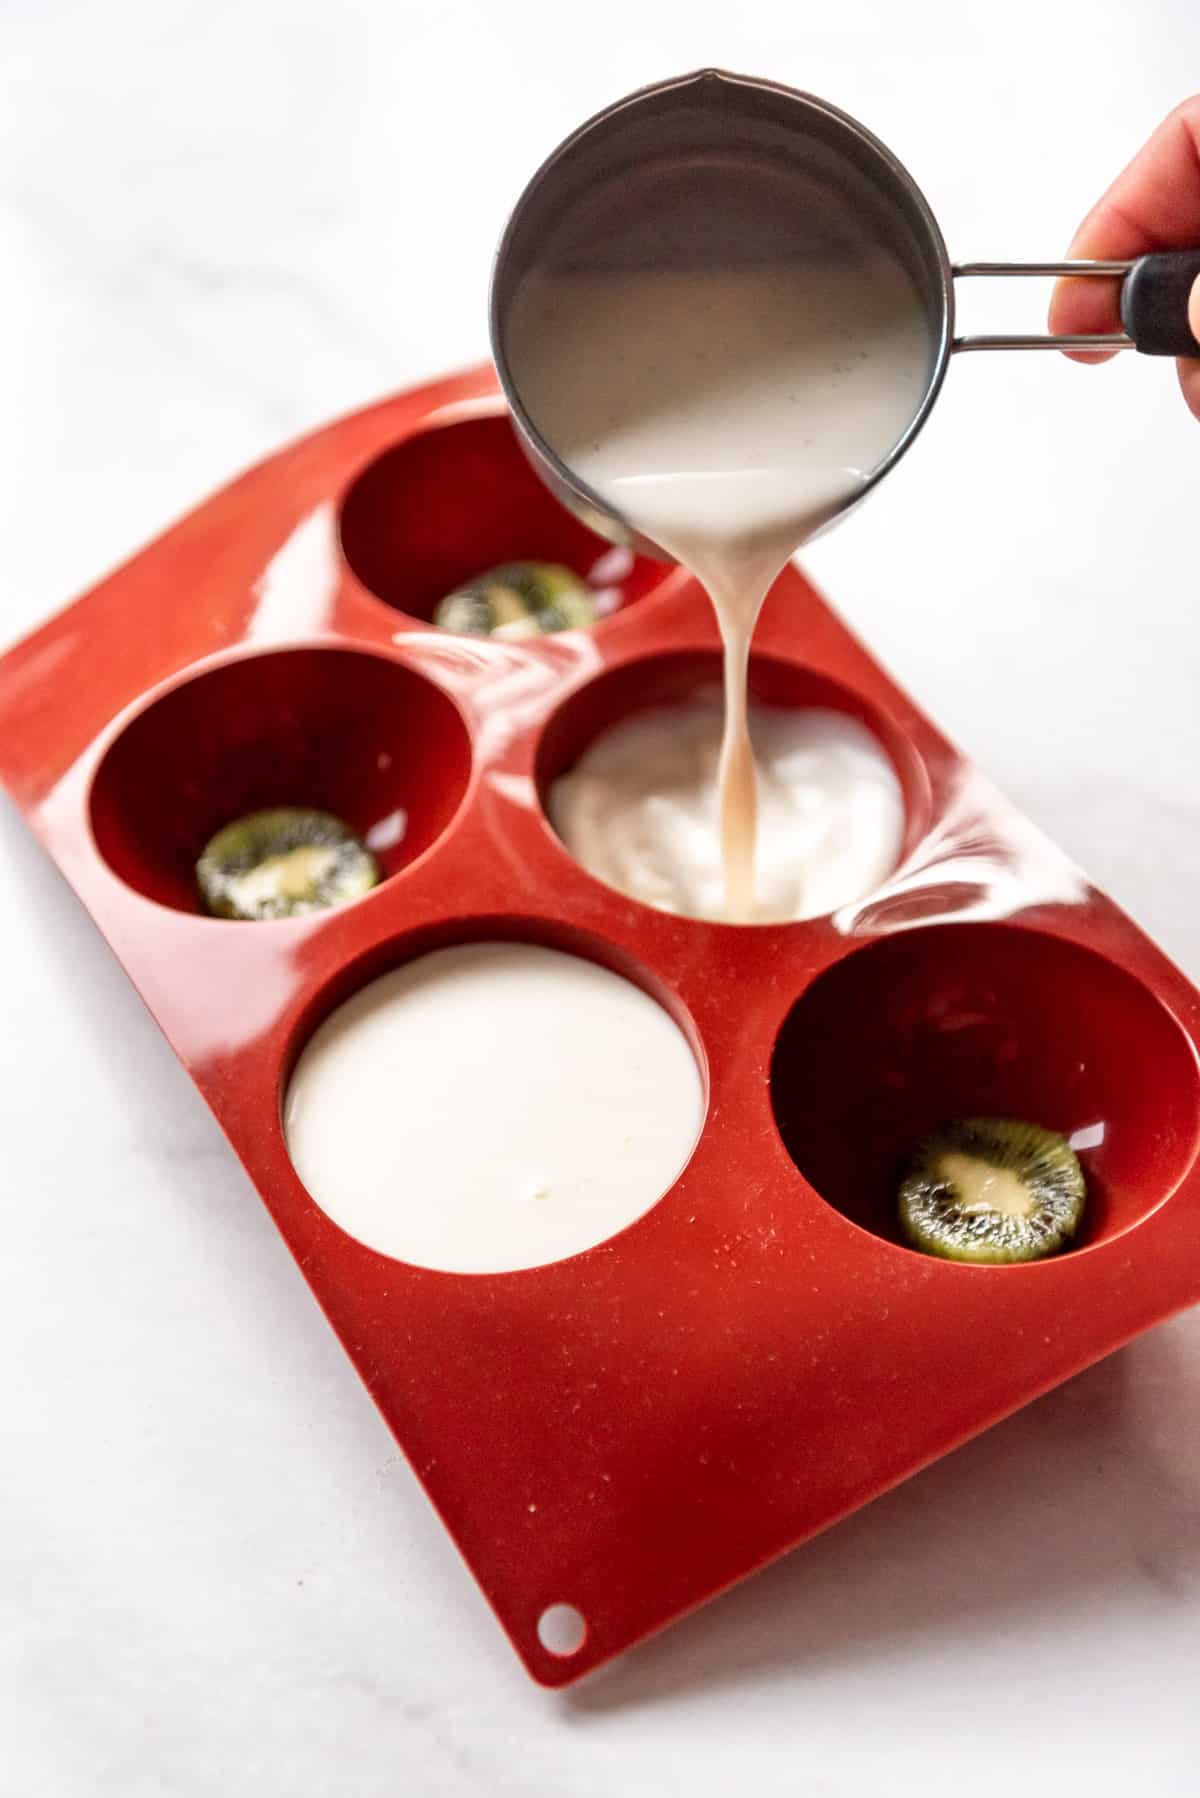
Next, peel the brown fuzzy outer layer off the kiwis and slice them into discs for the eyeballs. I used a small round biscuit cutter to get perfect circles for mine. Place one slice of kiwi in the bottom of small round bowls or disc molds. If you have one from making hot chocolate bombs, those work great.
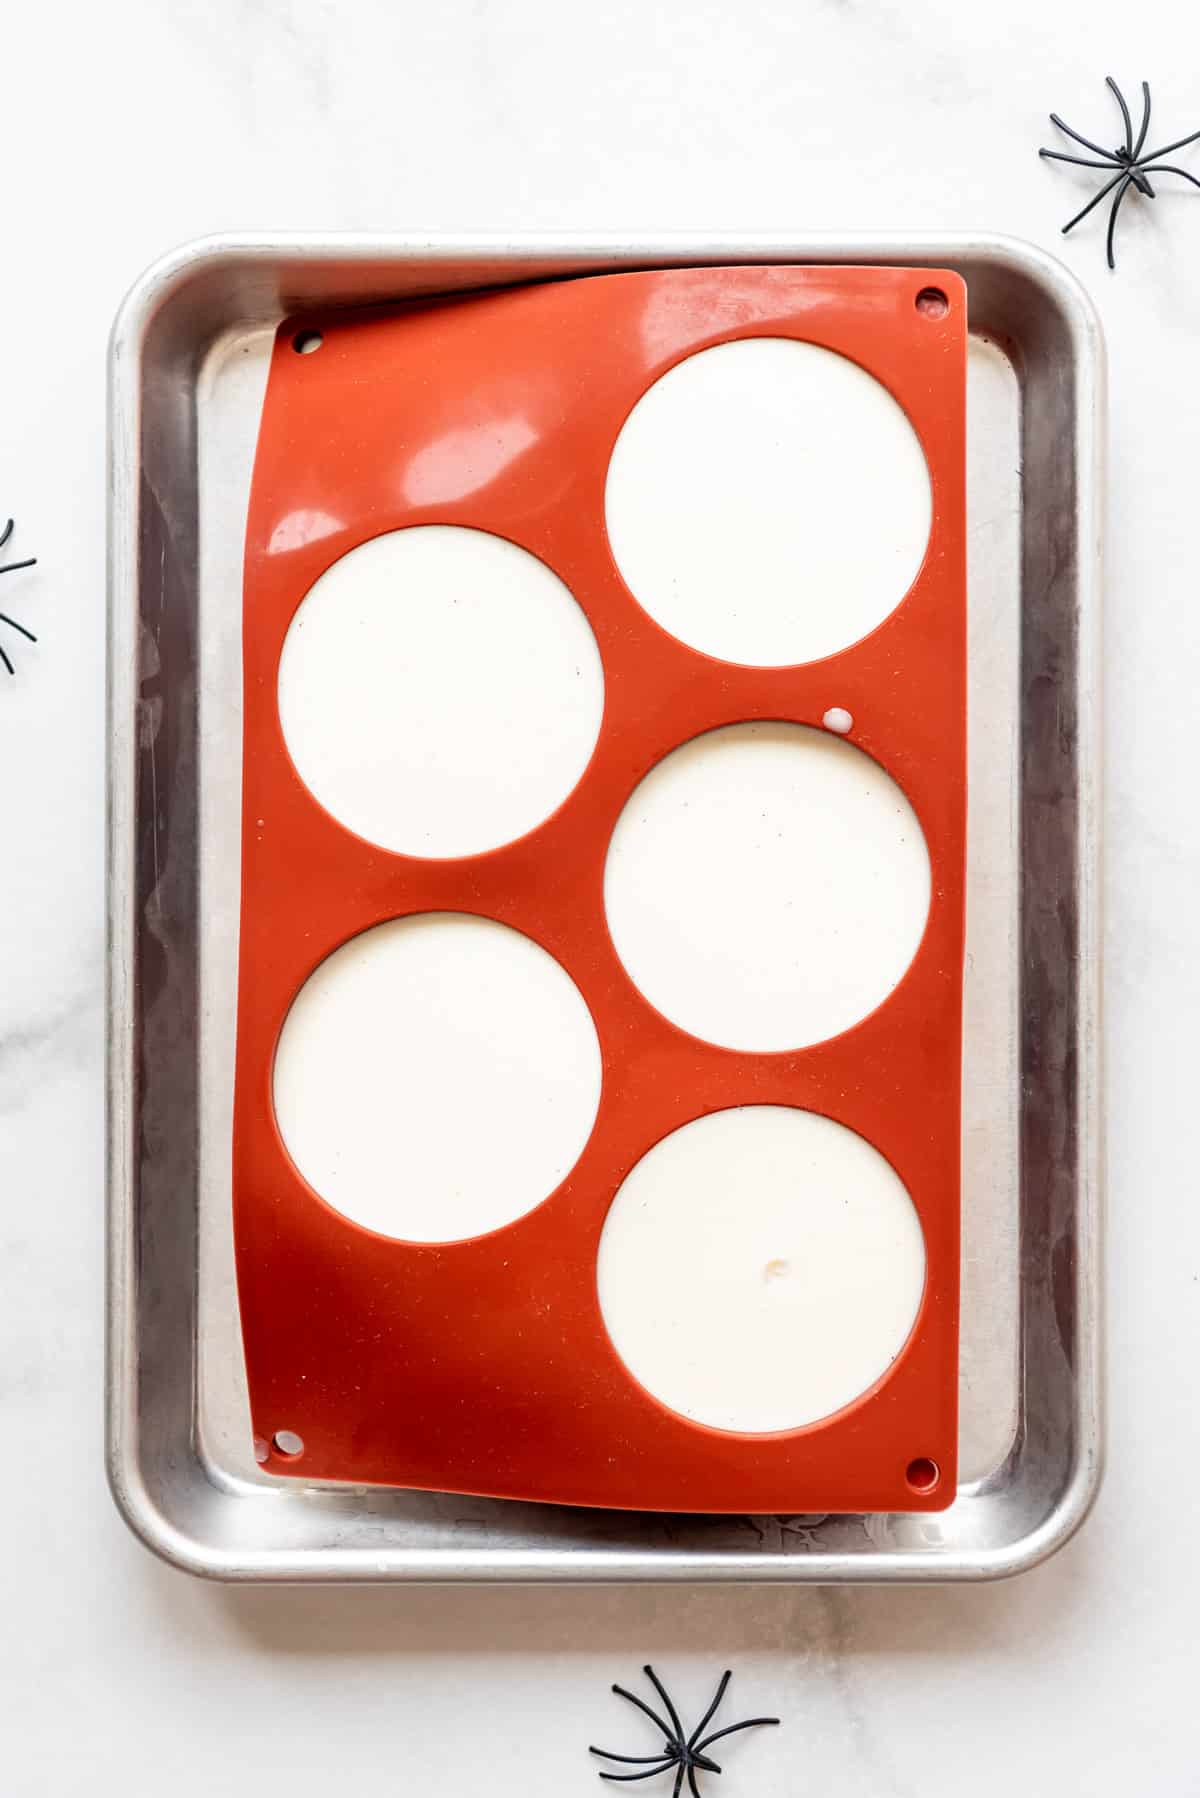
Place the molds in the refrigerator and chill the panna cotta for at least 6 hours or overnight until they are set up.
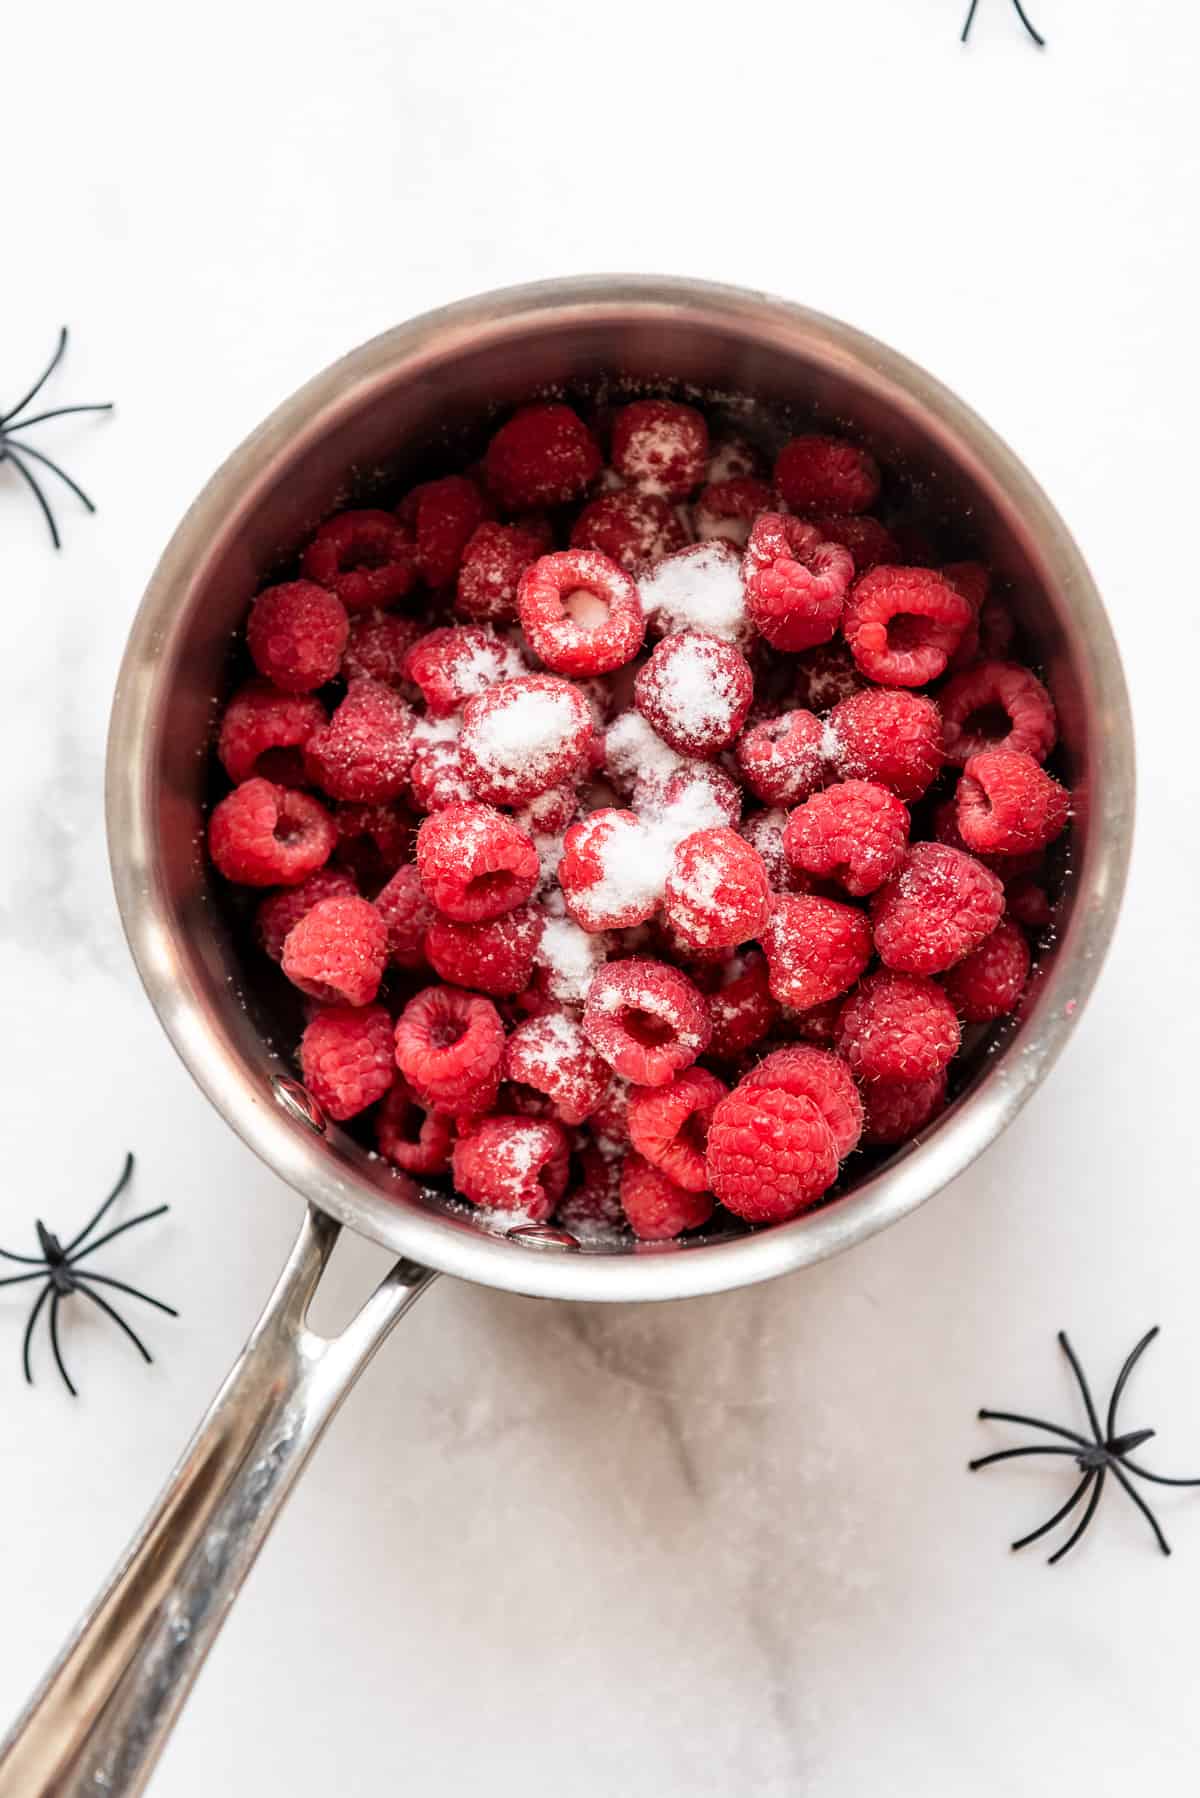
To make the raspberry “blood”, combine some raspberries, sugar, water, and lemon juice in a small saucepan over medium-low heat. It doesn’t matter if the raspberries are fresh or frozen – both will work just fine for this recipe.
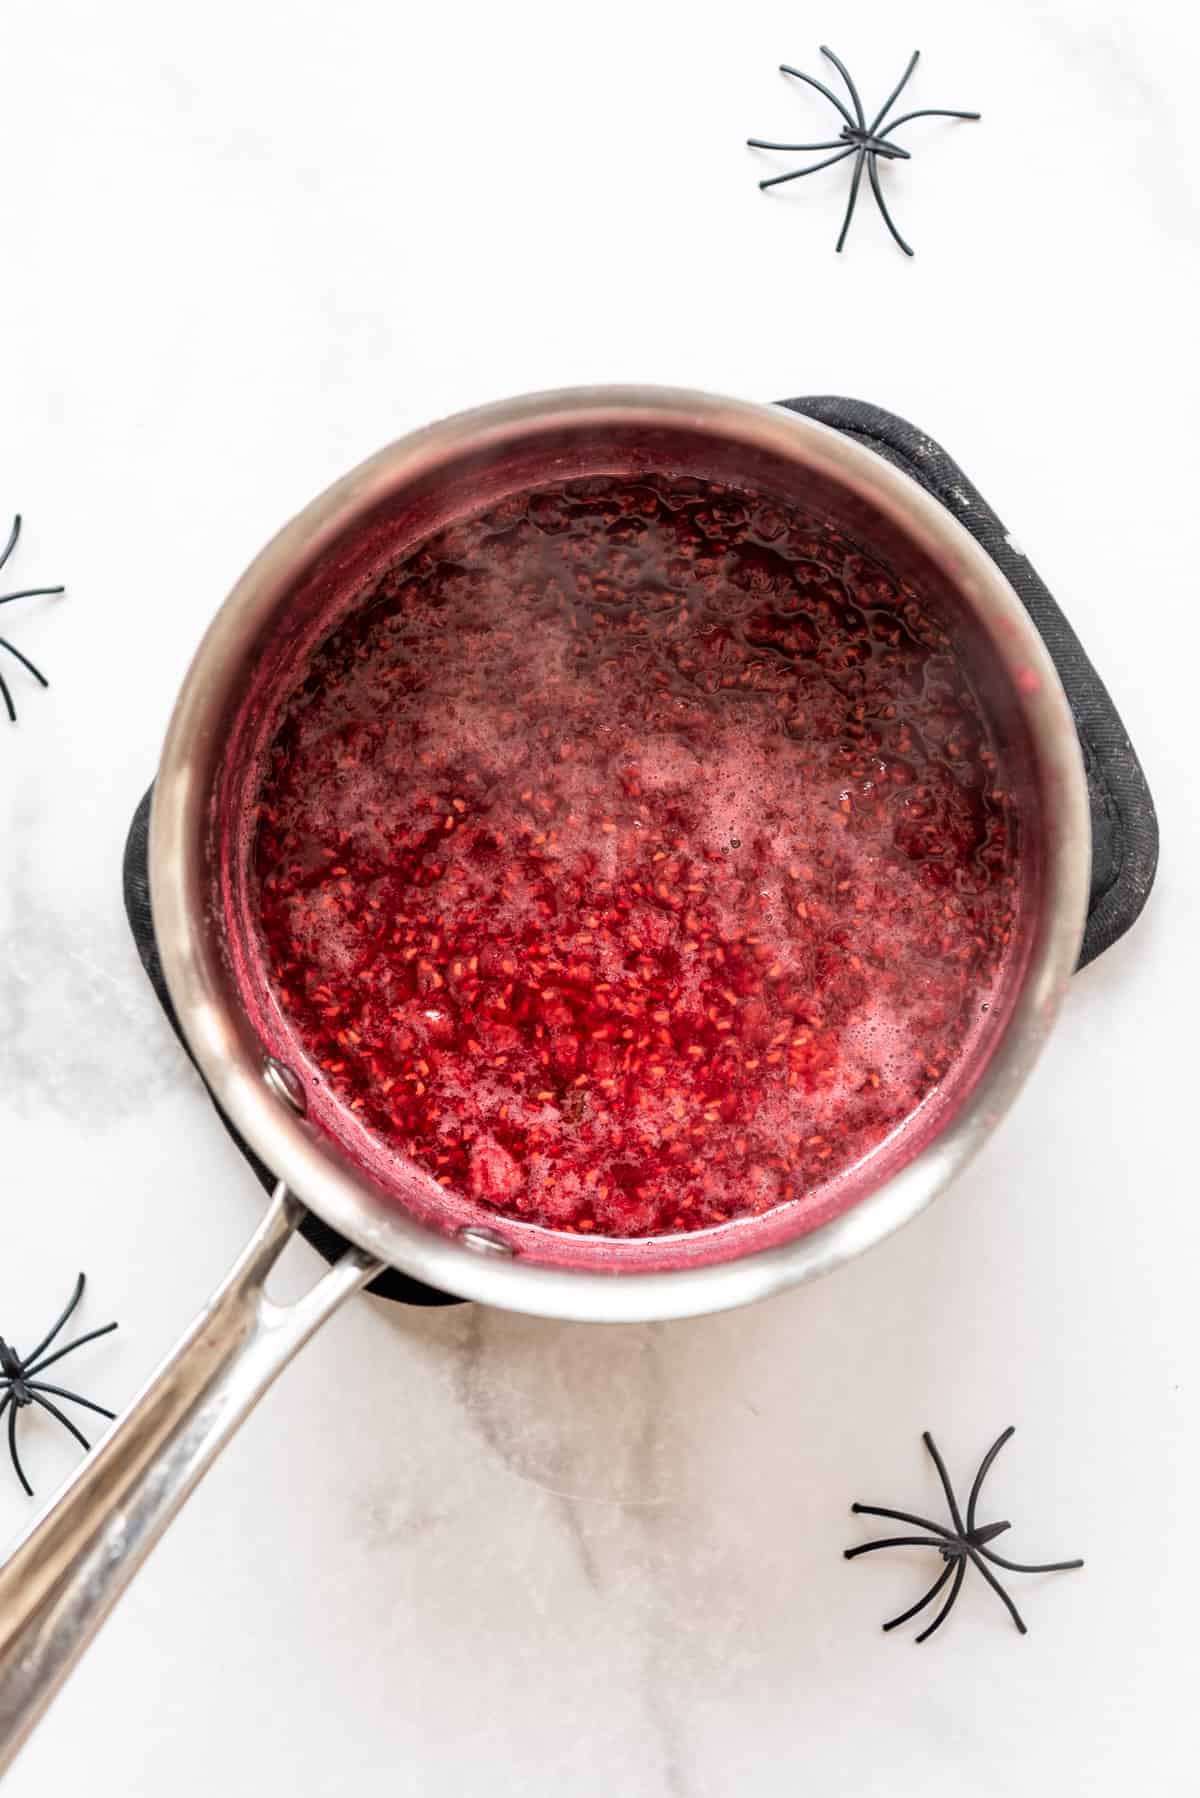
Cook, stirring frequently, until the raspberries break down into a syrupy liquid. Pour this into a blender and cover with a clean towel rather than a lid so pressure doesn’t build up from the heat of the hot liquid. Blend until smooth, then pour through a fine mesh strainer, pressing it through with the back of a spoon to remove seeds but get as much of the raspberry puree as possible.
Cover the raspberry puree with plastic wrap and refrigerate until cold. This can be made up to a week in advance.
When ready to serve, unmold each panna cotta onto individual serving plates. If you used a silicon mold, then should pretty easily slide out. If necessary, you can fill a pan with hot water and set the bottom of each panna cotta mold in it for 10 seconds to loosen them before unmolding, but don’t leave them in the hot water too long or they will melt.
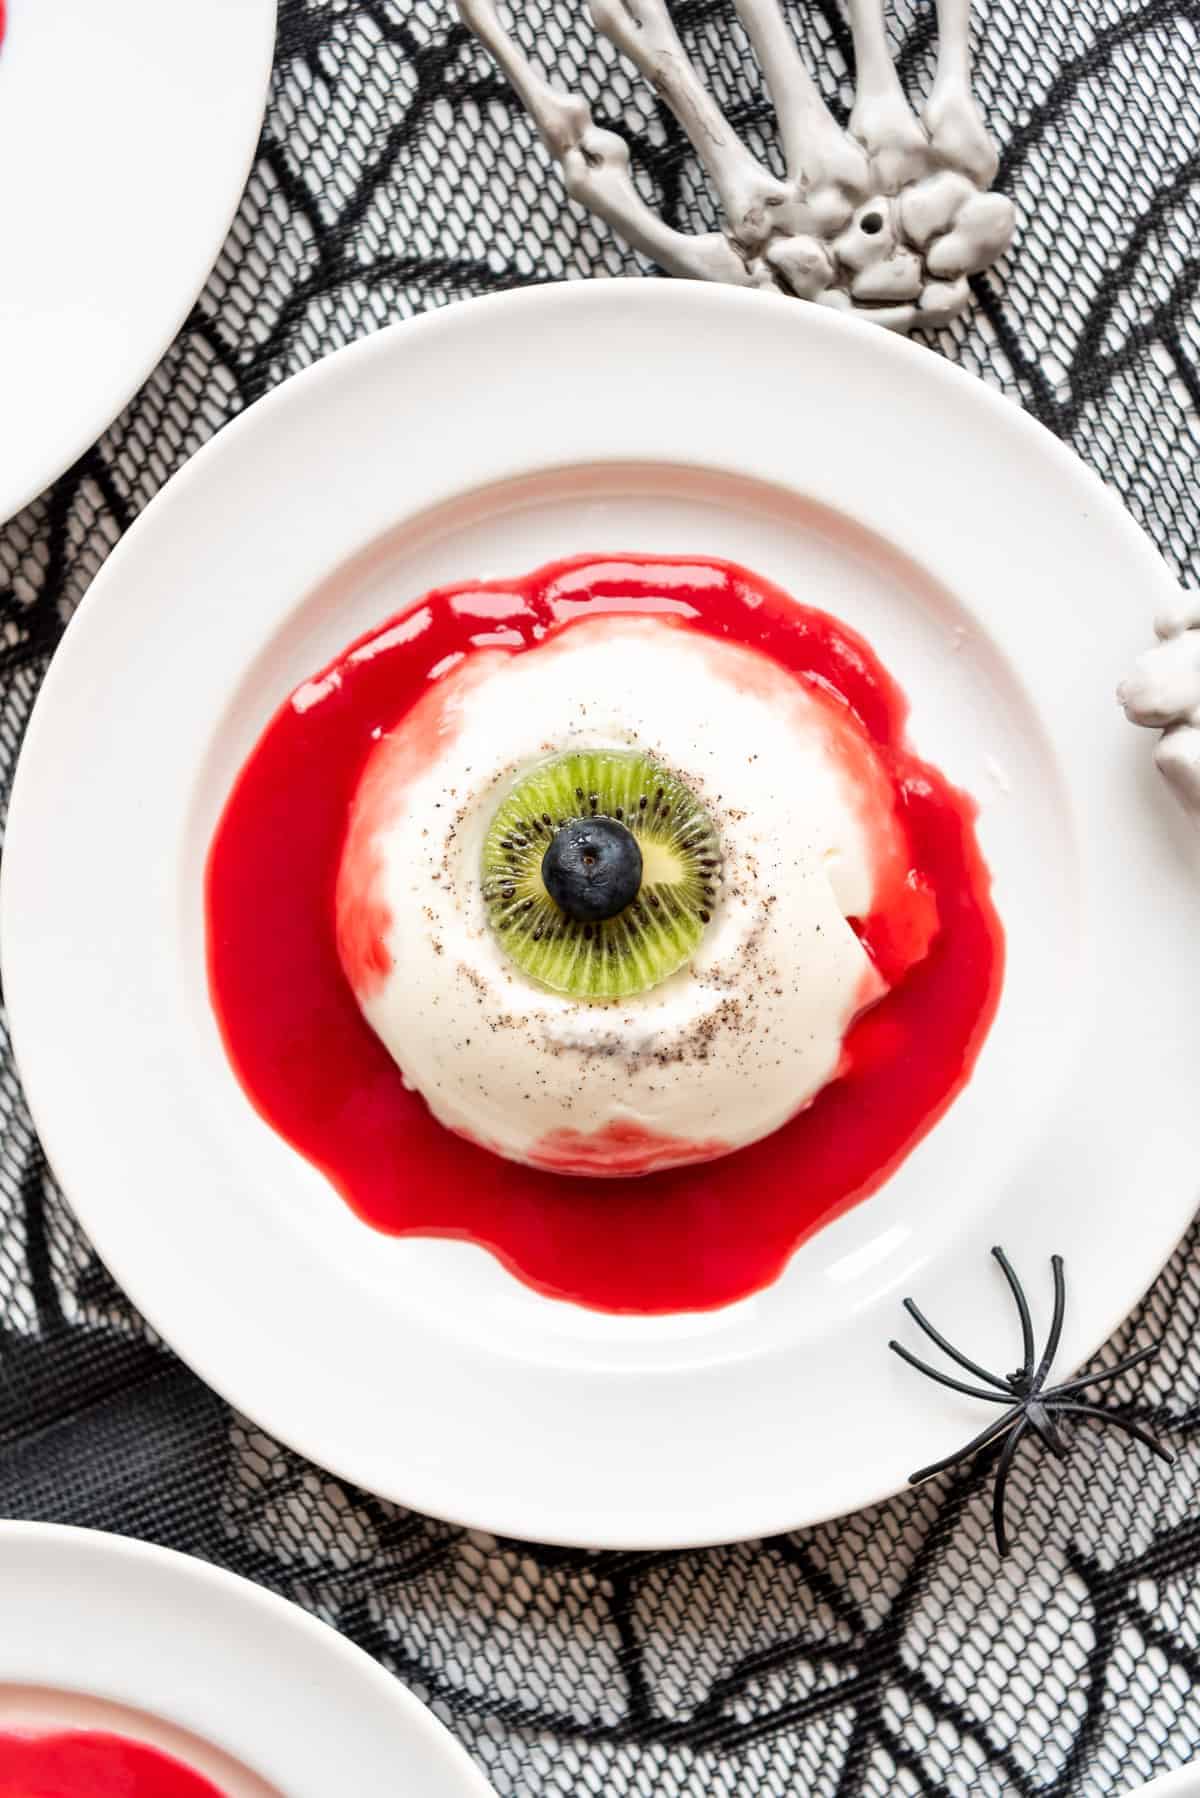
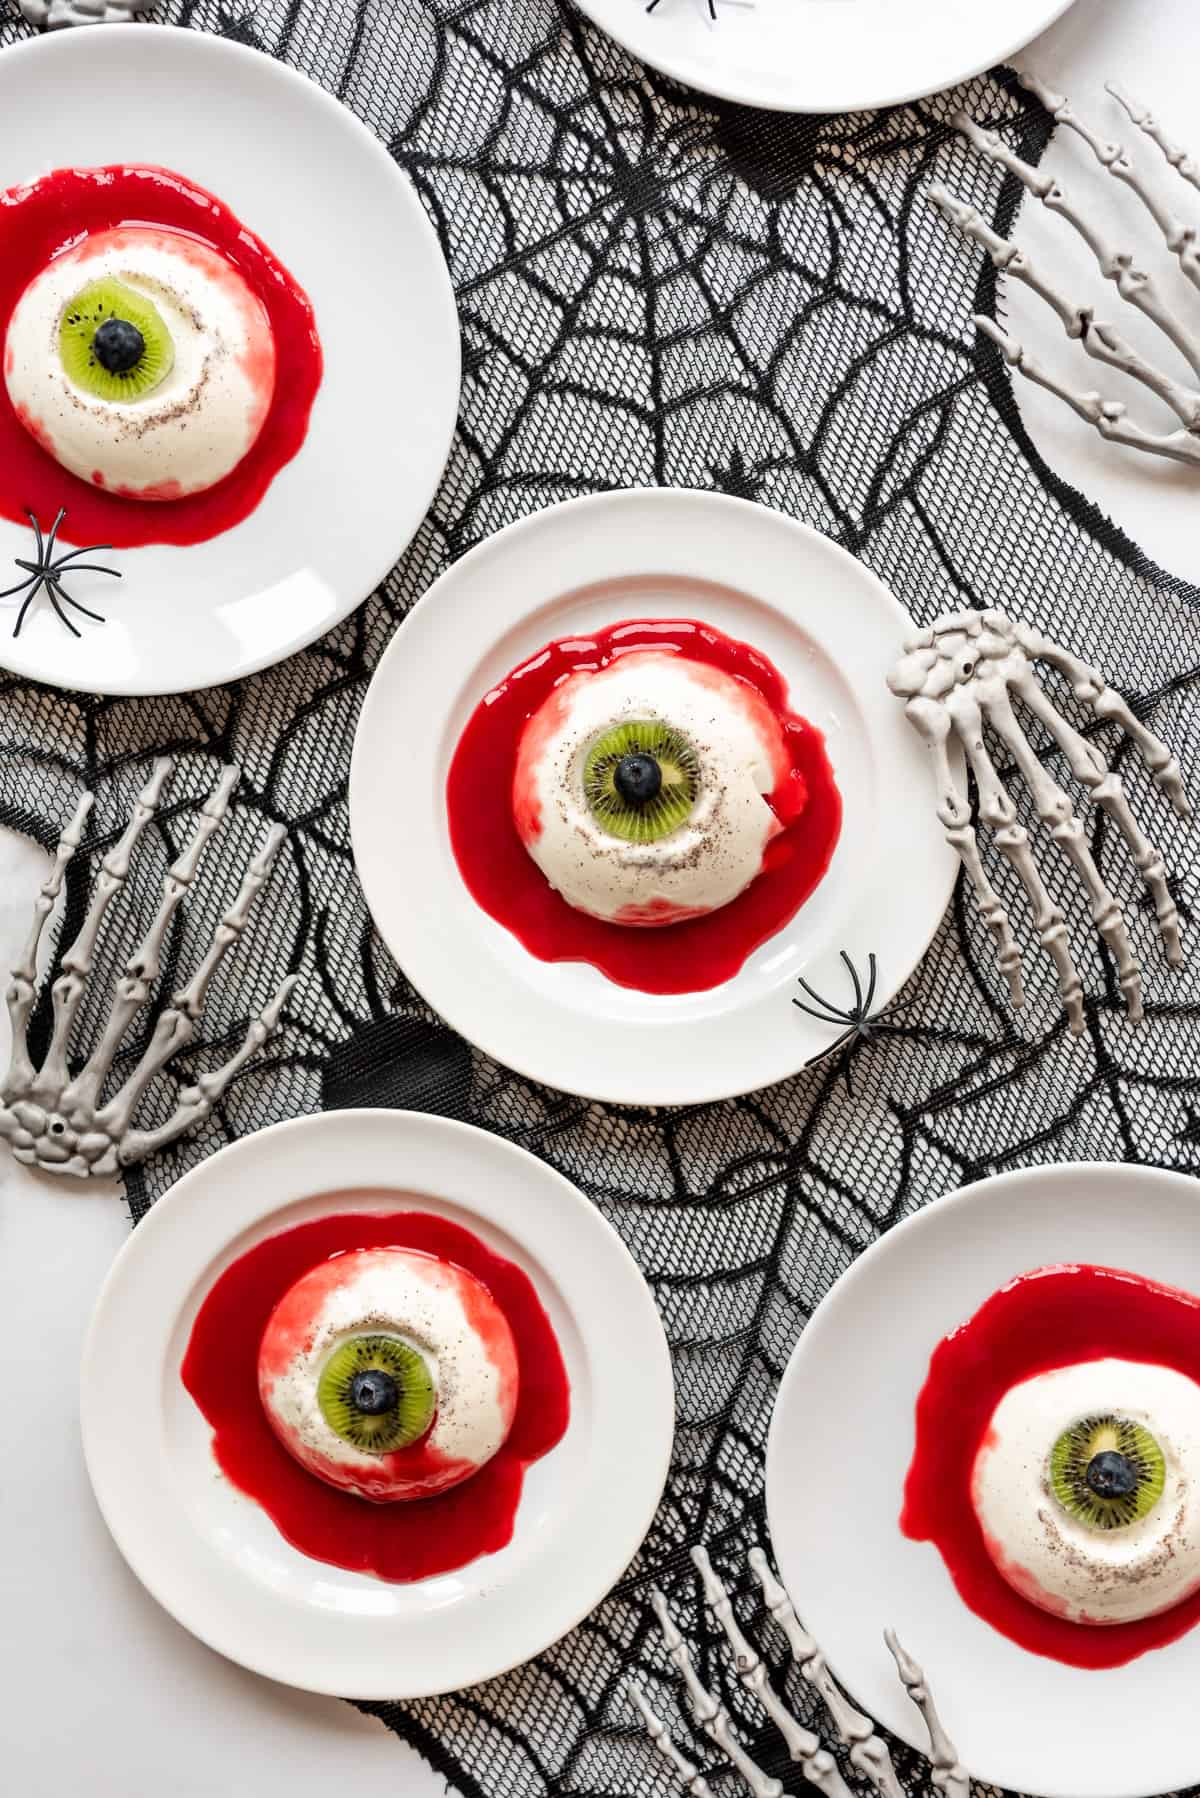
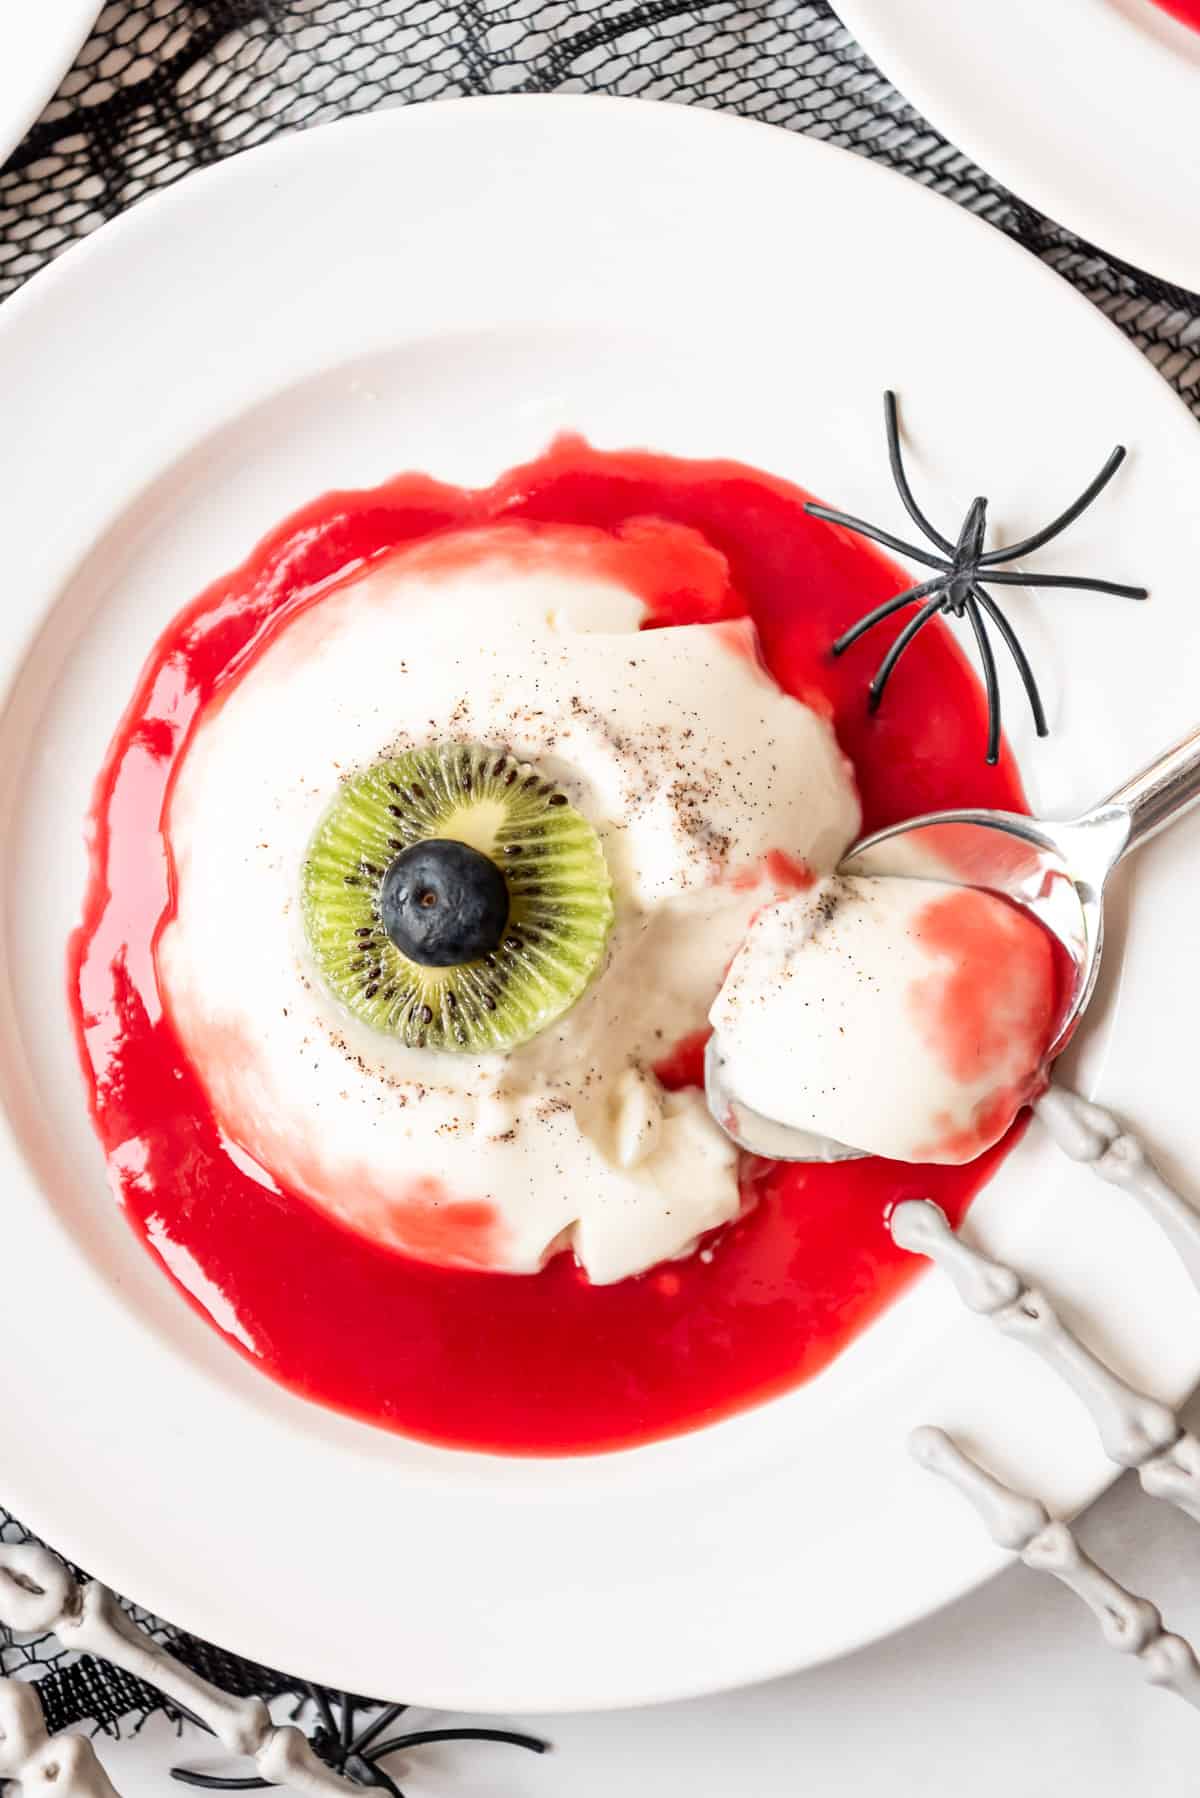
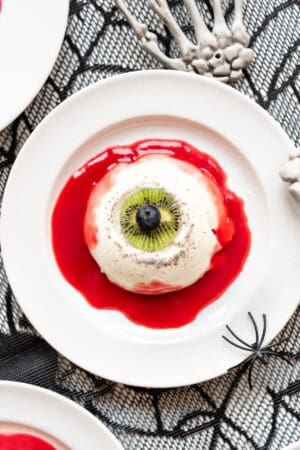
Garnish the top of each eyeball with half a blueberry and drizzle the raspberry sauce around each eyeball before serving. I like to pour it directly onto the sides of each panna cotta in a few places to make it look even more gory.
Recipe FAQ’s
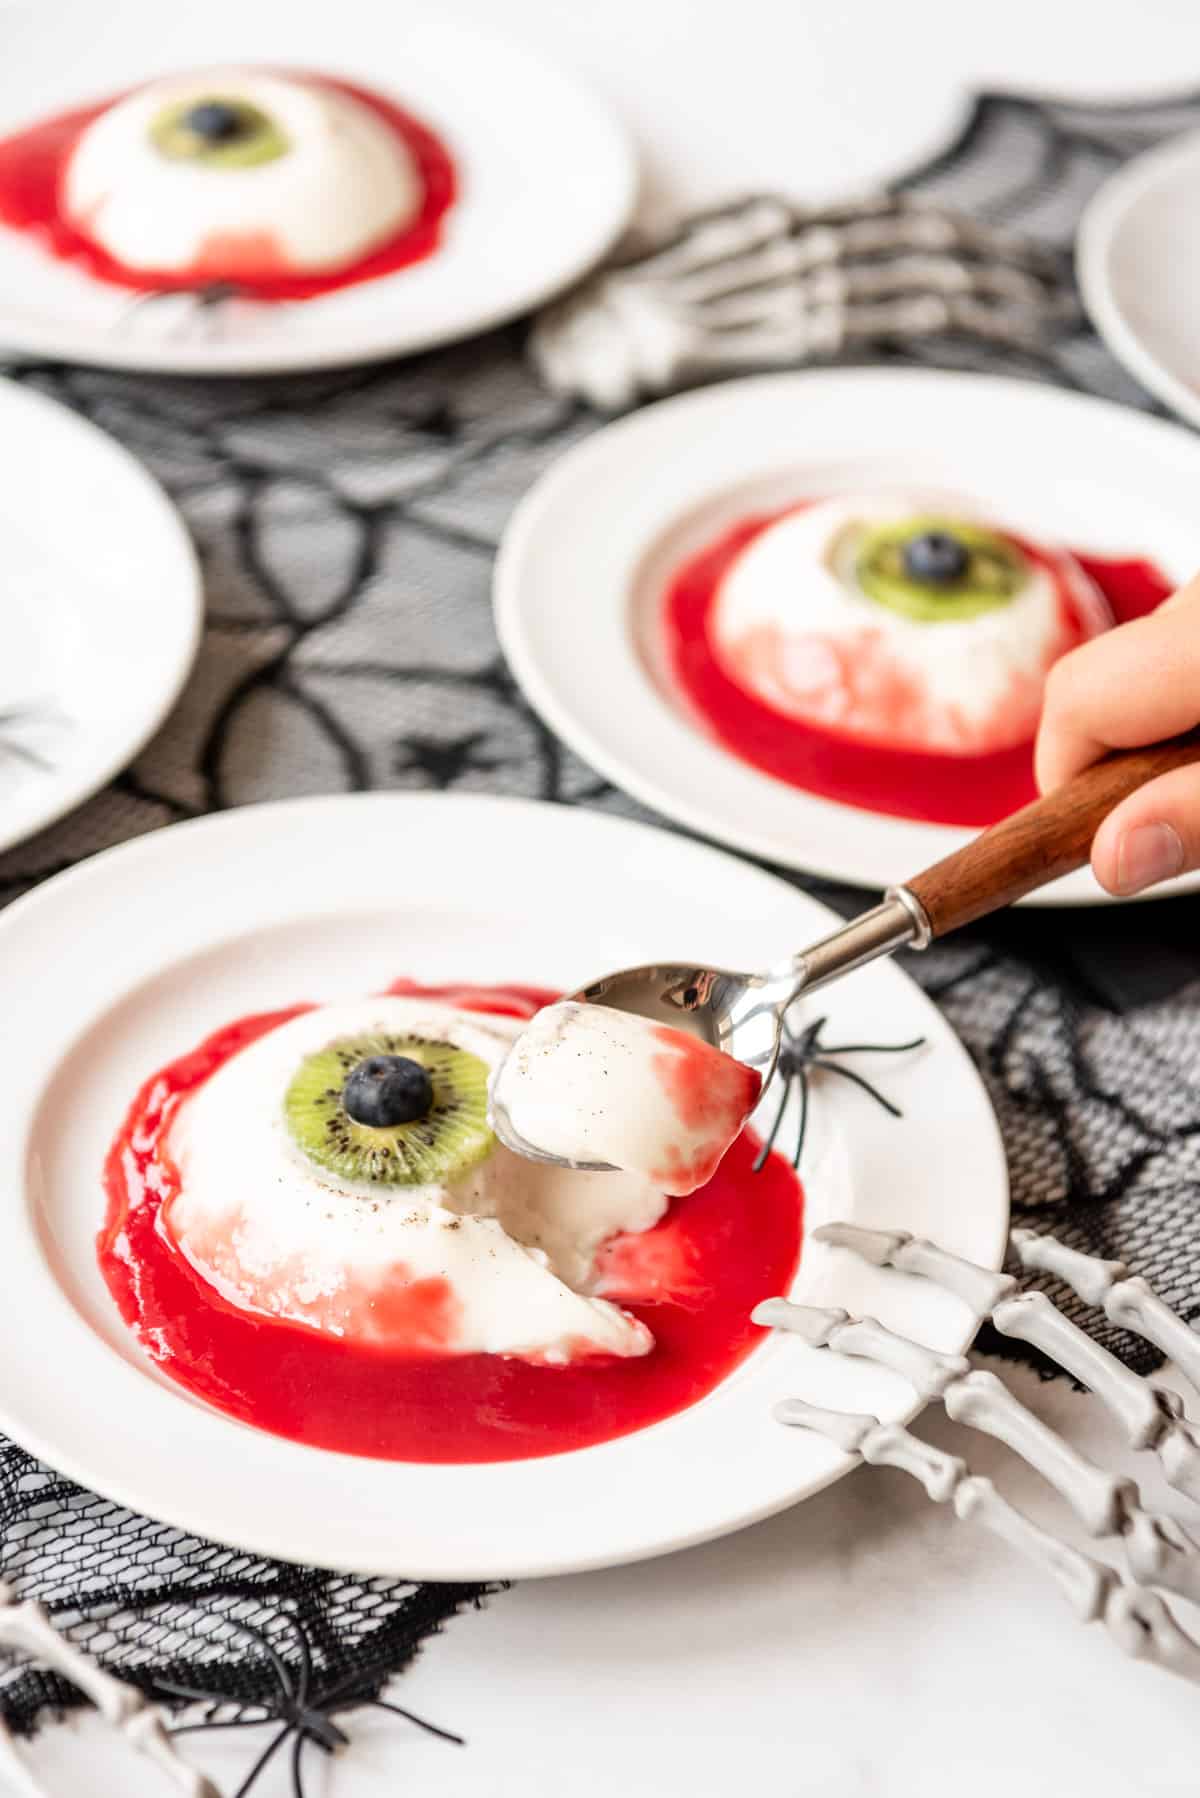
Unlike custards which are made with eggs and are thicker and richer, panna cotta has a light, fresh milk and cream taste with just some vanilla for flavoring and then the sweet tart burst of the fruit used to garnish.
This panna cotta is very soft and less like a typical jello than you might think. If it didn’t set up when you go to unmold it, the most likely culprit is either than measurements were off and there wasn’t enough gelatin for the amount of liquid, or that the liquid came to a boil and the heat compromised the setting ability of the gelatin powder.
Recipe Tips
- You can make the panna cotta 1-2 days ahead and just leave it in the fridge covered with plastic wrap so the delicate flavor of the panna cotta doesn’t absorb odors.
- The raspberry puree can be made a week ahead or even frozen for 6 months. It’s also delicious drizzled over cheesecakes, ice cream, and other desserts!
- If you are worried about unmolding your panna cotta and prefer to serve it in individual dessert cups, just hold off on the kiwi decorations until the panna cotta is completely set, then decorate the eyeball on top and serve with a small cup of the raspberry coulis on the side for guests to drizzle on themselves.
More Halloween Recipes
Did you make this recipe?
Let me know what you thought with a comment and rating below. You can also take a picture and tag me on Instagram @houseofnasheats or share it on the Pinterest pin so I can see.
Halloween Panna Cotta Eyeballs
Ingredients
Panna Cotta
- 3 Tablespoons cold water
- 1 envelope unflavored gelatin 2 ½ teaspoons
- 1 ¼ cups whole milk
- ½ cup granulated sugar
- 1 ¾ cups heavy cream
- 2 teaspoons vanilla bean paste
- kiwi slices
- blueberries
Raspberry Sauce
- 12 ounces raspberries
- ½ cup granulated sugar
- 3 Tablespoons water
- 1 teaspoon fresh lemon juice

Instructions
Panna Cotta
- Sprinkle the powdered gelatin over the cold water in a small bowl to bloom. Stir, then let it sit for 5 minutes.3 Tablespoons cold water, 1 envelope unflavored gelatin
- Heat the cream, milk, and sugar in a large saucepan over medium heat. Cook, stirring frequently, until steaming and hot, around 140° F on a candy thermometer (affiliate link). Be careful not to let it come to a boil.1 ¼ cups whole milk, 1 ¾ cups heavy cream, ½ cup granulated sugar
- Remove the saucepan from the heat and stir in the gelatin and vanilla, stirring or whisking until smooth and the gelatin is completely dissolved.2 teaspoons vanilla bean paste
- Prepare a silicon chocolate mold, small round bowls, muffin cups, or mugs with rounded bottoms by placing one slice of kiwi in each of them. Divide the panna cotta mixture evenly between them, pouring it directly over the kiwi. Chill in the fridge for at least 6 hours or overnight.kiwi slices
- When ready to serve, unmold onto serving plates. Place half of a blueberry in the center of each kiwi slice, then pour raspberry sauce around the edges of the "eyeball" before serving.blueberries
Raspberry Sauce
- Combine raspberries, sugar, water, and lemon juice in a saucepan over medium-low heat. Cook and stir until the raspberries are soft and syrupy.12 ounces raspberries, ½ cup granulated sugar, 3 Tablespoons water, 1 teaspoon fresh lemon juice
- Transfer to a blender and blend for a few seconds until smooth. Pour through a fine mesh sieve over a bowl, using the back of a spoon to press the liquid through. Discard any seeds that remain.
- Store in an airtight container in the fridge for up to 1 week or freeze for up to 6 months.
Notes
- Vanilla: You can use regular vanilla extract if you don’t have vanilla bean paste. We like the flecks of vanilla in this dessert, but it’s just as delicious without them.
- Cheater raspberry sauce: If you don’t have fresh or frozen raspberries, you can make an easy version by thinning out a little raspberry jam with some water in the microwave until it is pourable.
- Dairy-free version: You can make a dairy free version by using almond milk and coconut cream.
- Buttermilk variation: Sub buttermilk for the milk for a tangier version.
- Make-ahead: The panna cotta can be made 2 days in advance and kept covered with plastic wrap, unmolded, in the fridge until ready to serve. The raspberry sauce can be made a week in advance and stored in the fridge, or up to 6 months in advance and frozen, then thawed before serving.
Nutrition
Recipe adapted from Serious Eats.

This didn’t set and just ended up being liquid. Very disappointed.