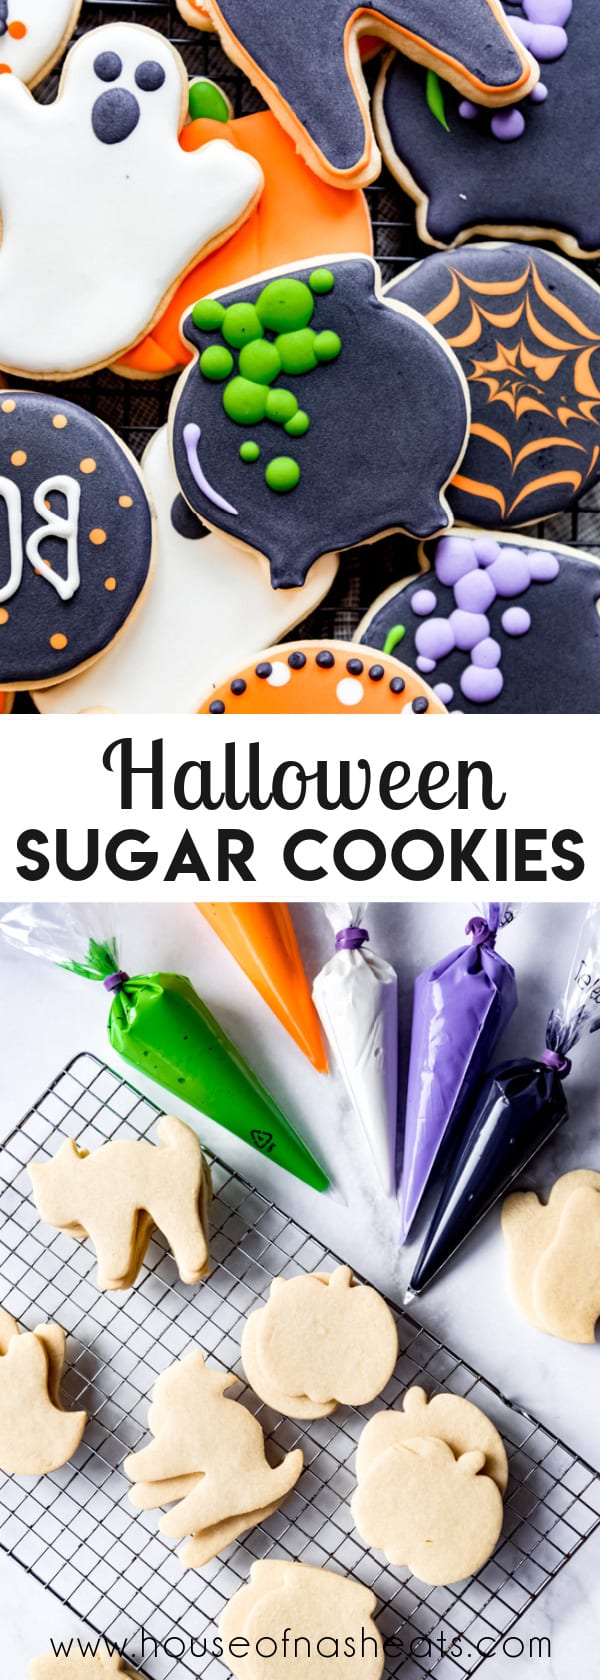
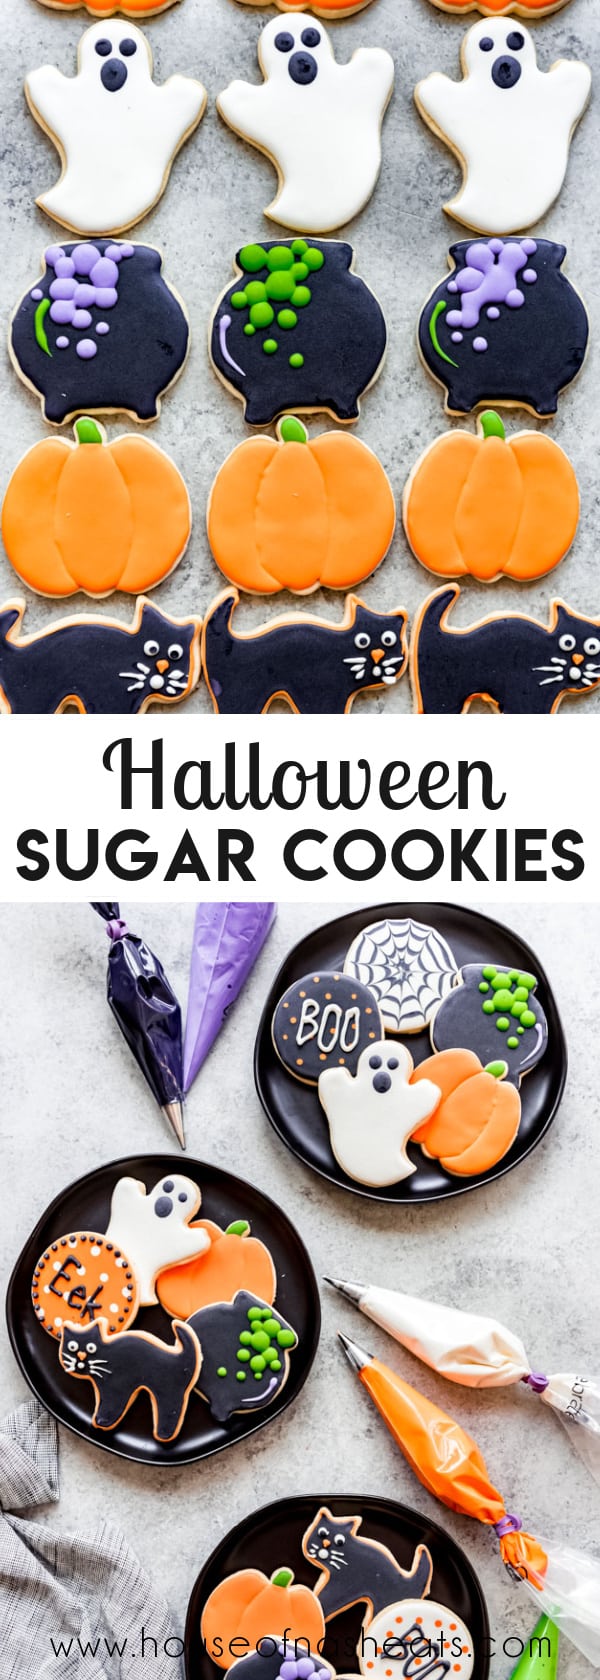
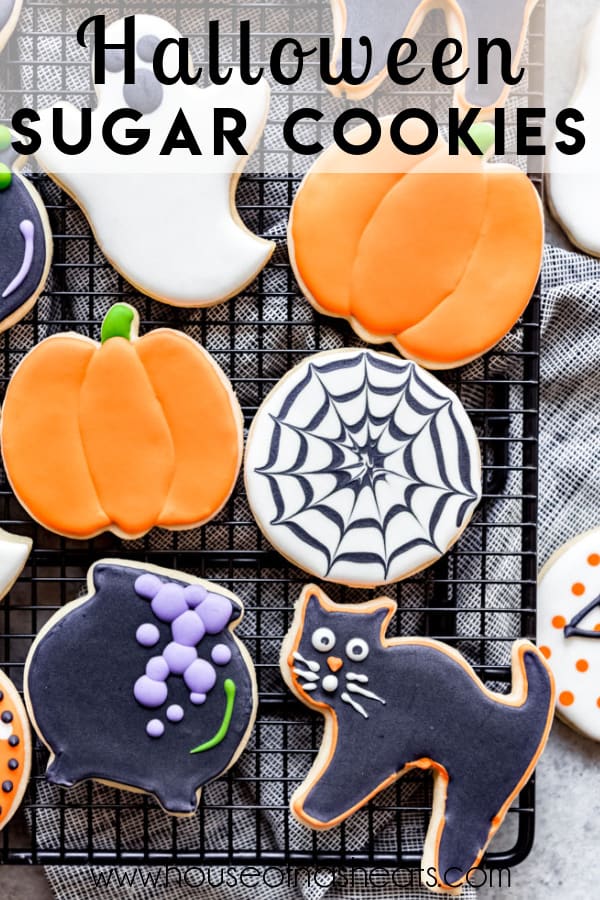
These cut-out Halloween Sugar Cookies are soft and delicious but still hold their shape after baking. Decorate them with my super popular easy royal icing using the easiest techniques ever to scare up some Halloween fun!

First, my top tip for decorating Halloween sugar cookies is to let go of perfection! I could point out a hundred flaws in these cookies, but most people won’t even notice mistakes here and there!
This isn’t the first time I’ve shared my best cut-out sugar cookie recipe and easy royal icing recipe. But I wanted to share my top tips and techniques for faking cookie decorating skills since I’m a mediocre cookie decorator (at best) and Halloween is my favorite holiday. P.S., these chocolate cut-out sugar cookies are just as great (and also hold their shape) and are another fun option for Halloween!
I was intimidated by royal icing for YEARS until I finally decided to just give it a shot. And it was way less awful than I thought it would be, even with my terribly shaky hands and lack of artistic talent.
And hey, if you fail (which you won’t), there are always Halloween Sugar Cookie Bars to fall back on.

What you need
Tools
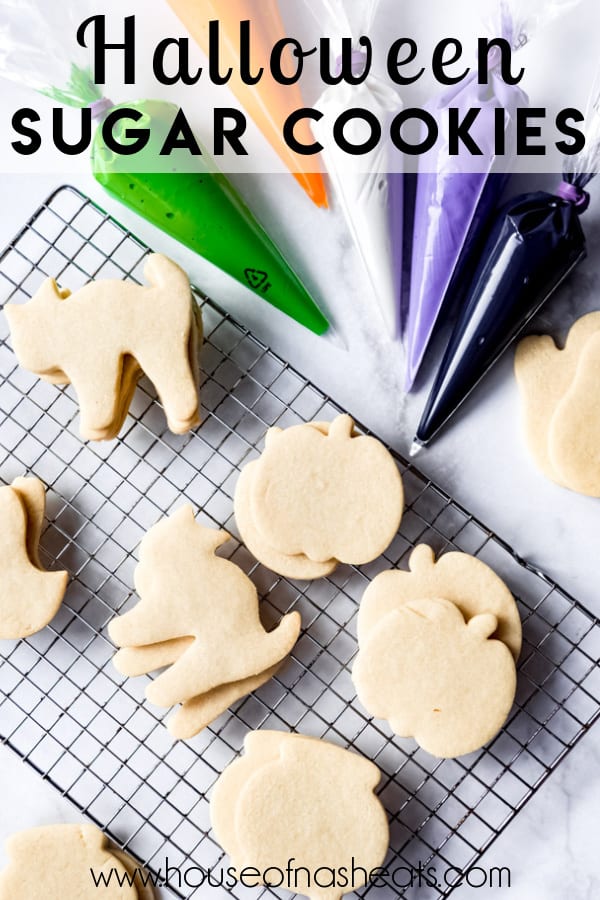
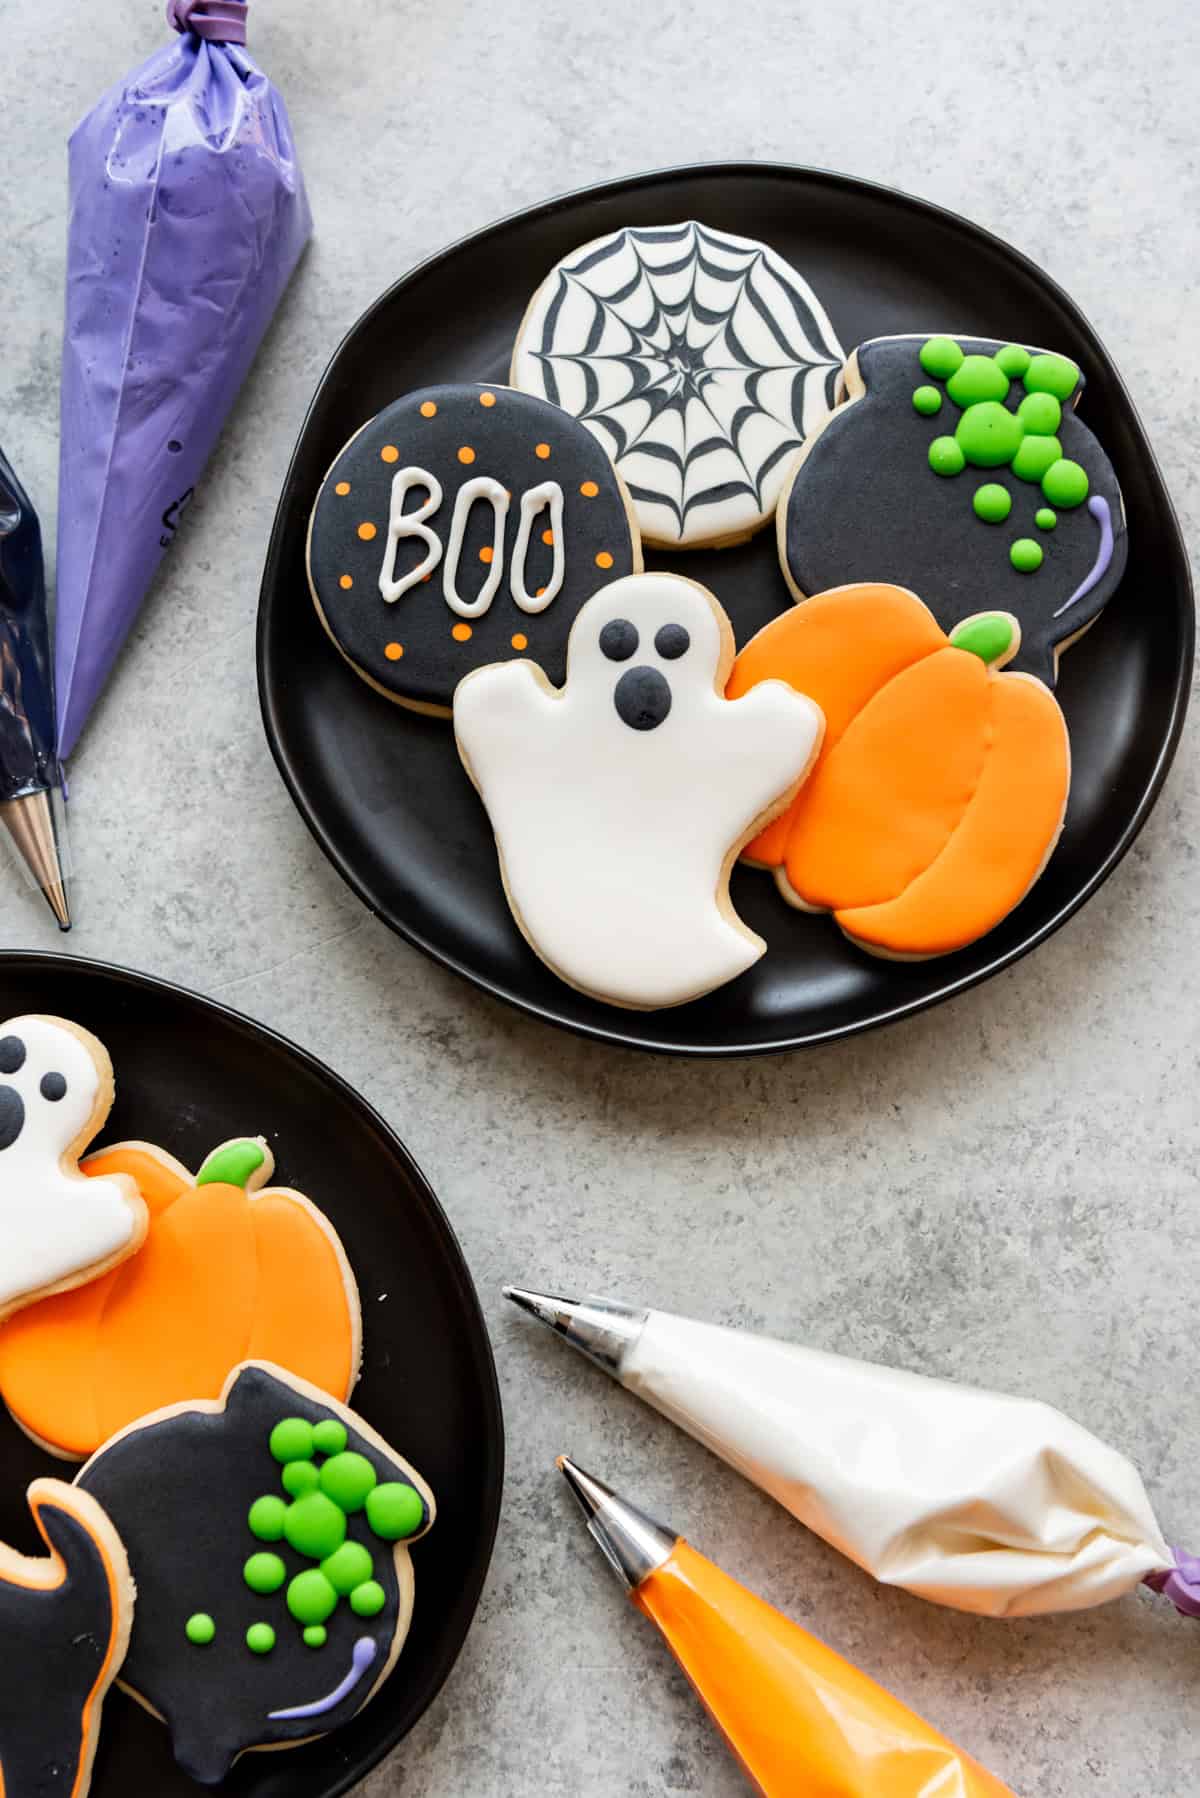
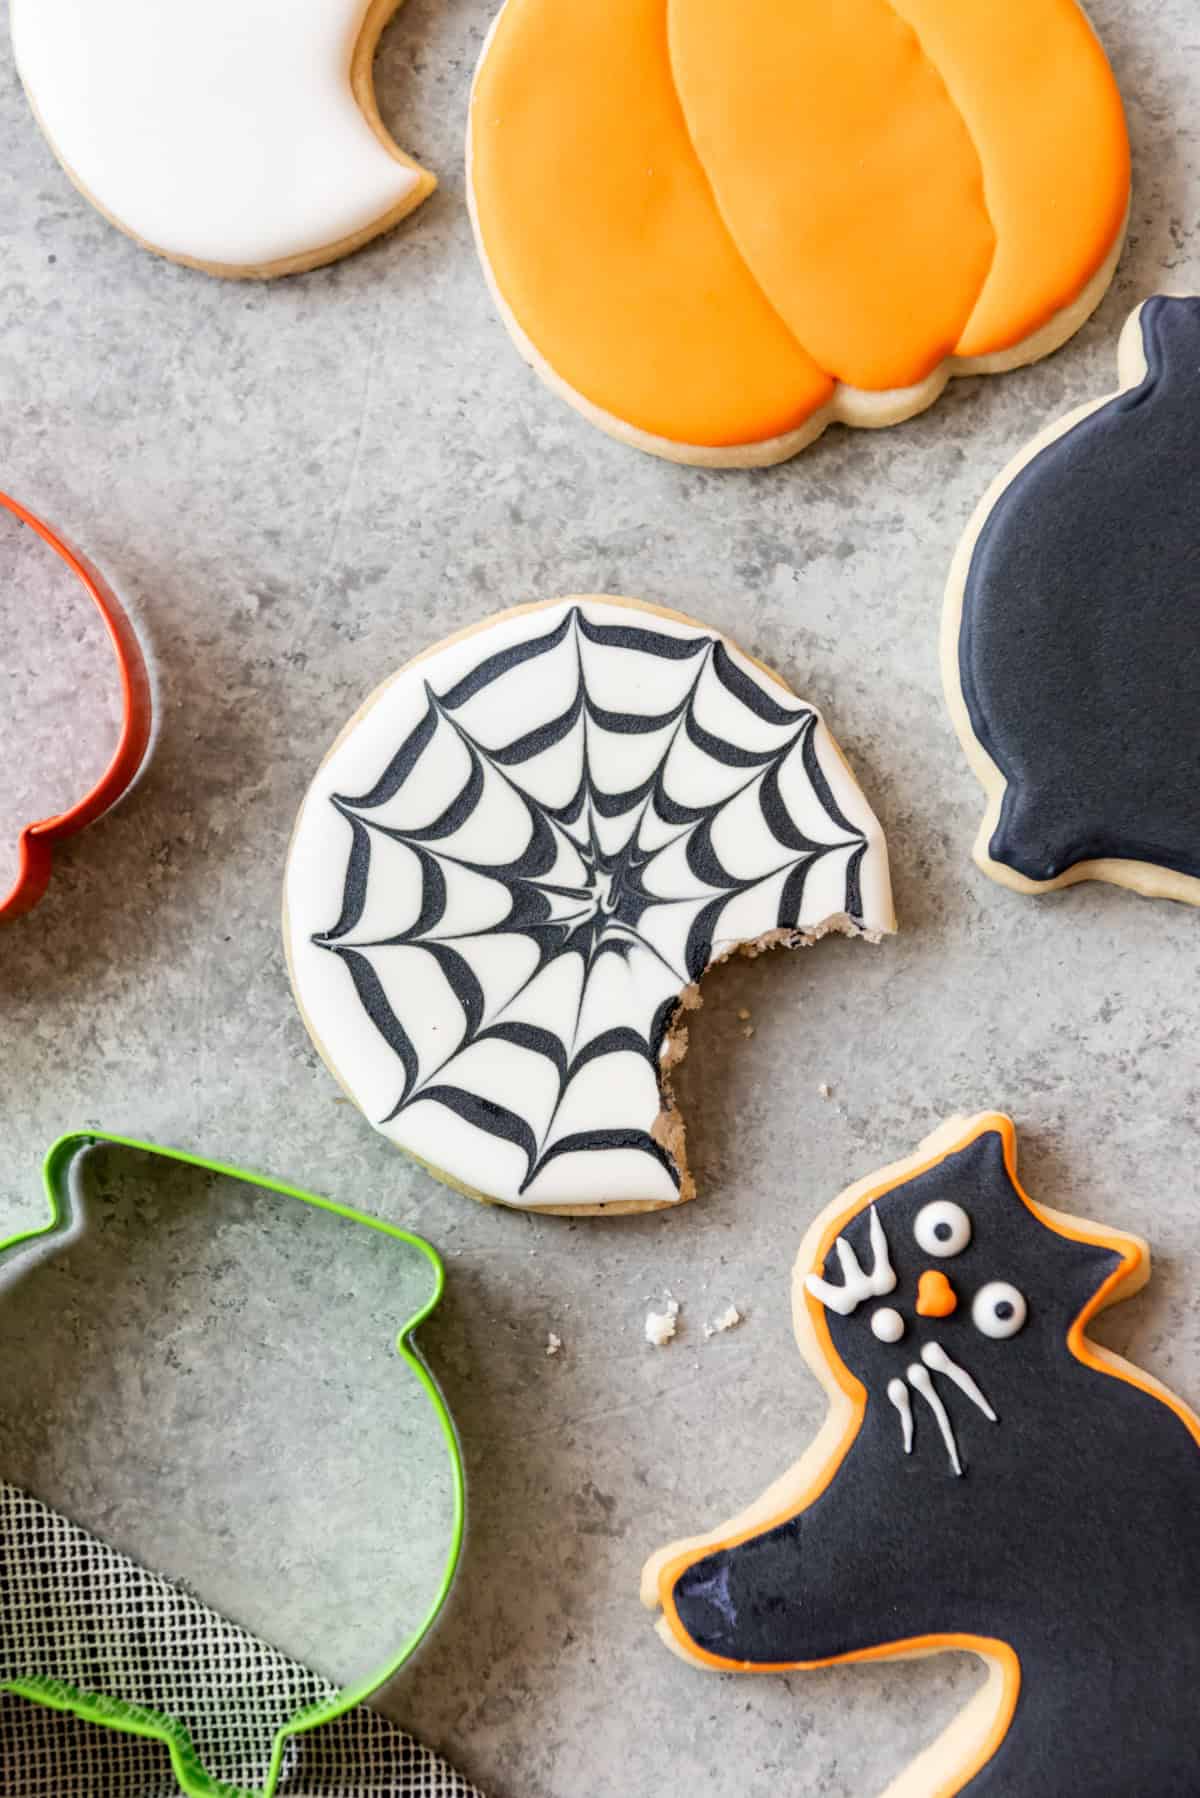
- Cookie cutters: You can always find fun holiday shapes at craft stores during the Halloween season. But don’t overlook a simple circle or square! My “Boo”, “Eek”, and spiderweb cookies are some of my favorites and they are just circles from my biscuit cutter set. If you are a beginner decorator, stick with simple shapes that only need 2 colors like pumpkins or ghosts.
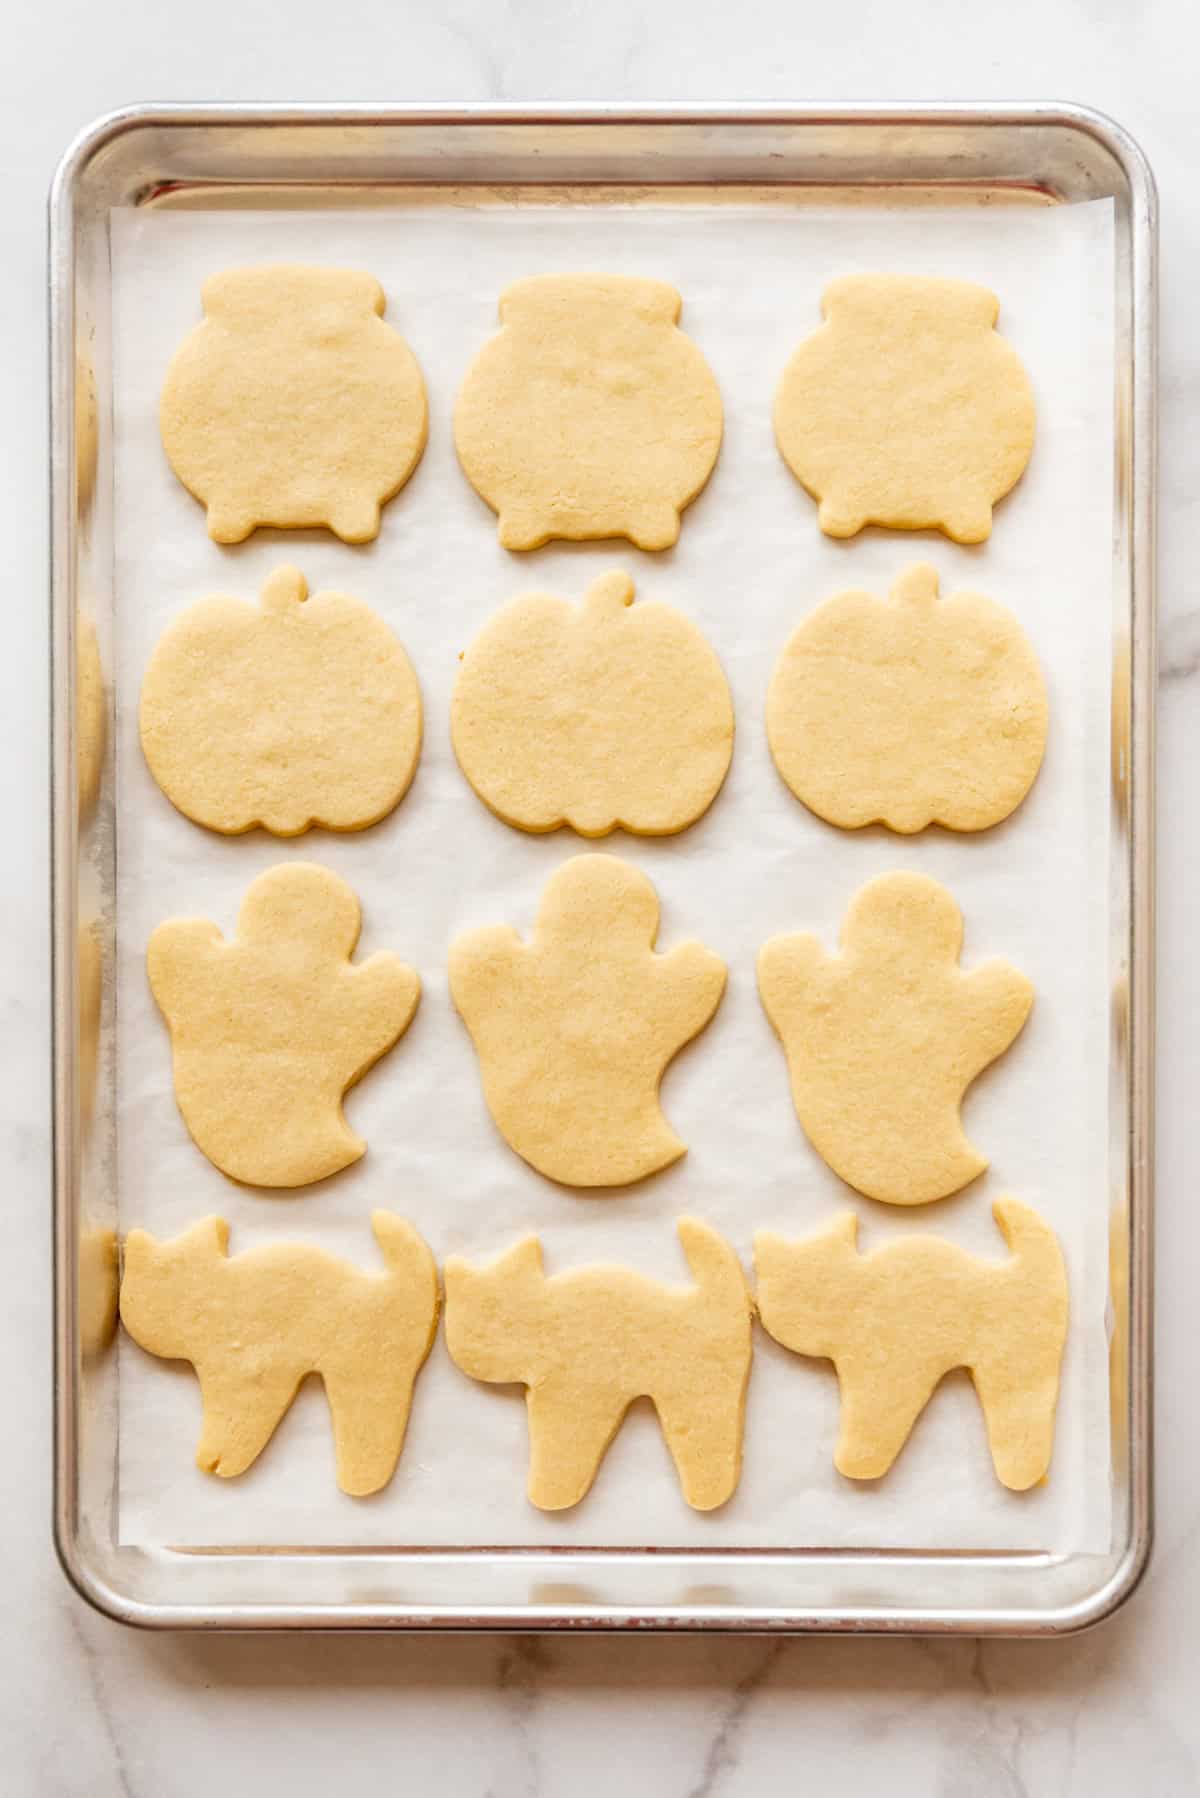
- Baking sheets & parchment paper: I always bake my sugar cookies on parchment paper, more because it means I don’t have to wash the pan afterwards!
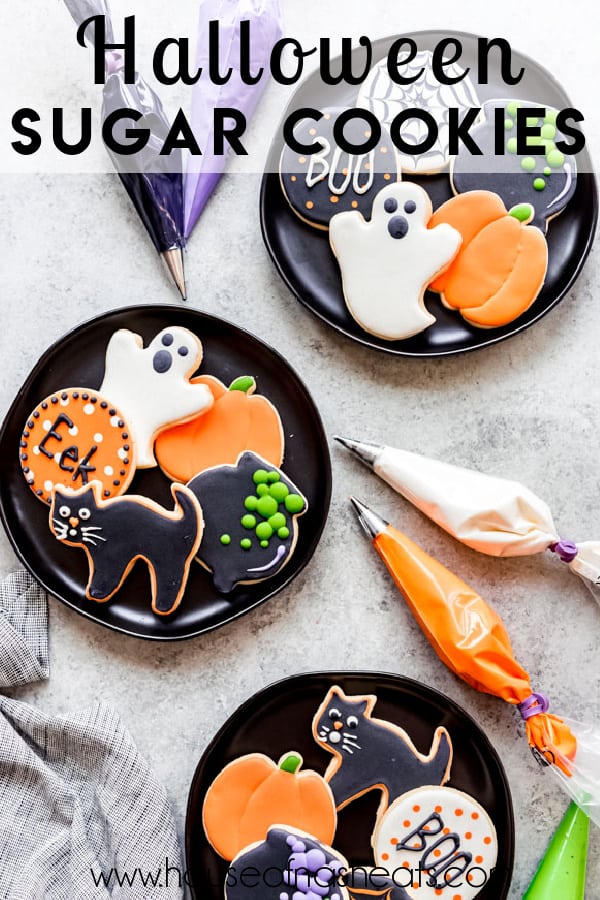
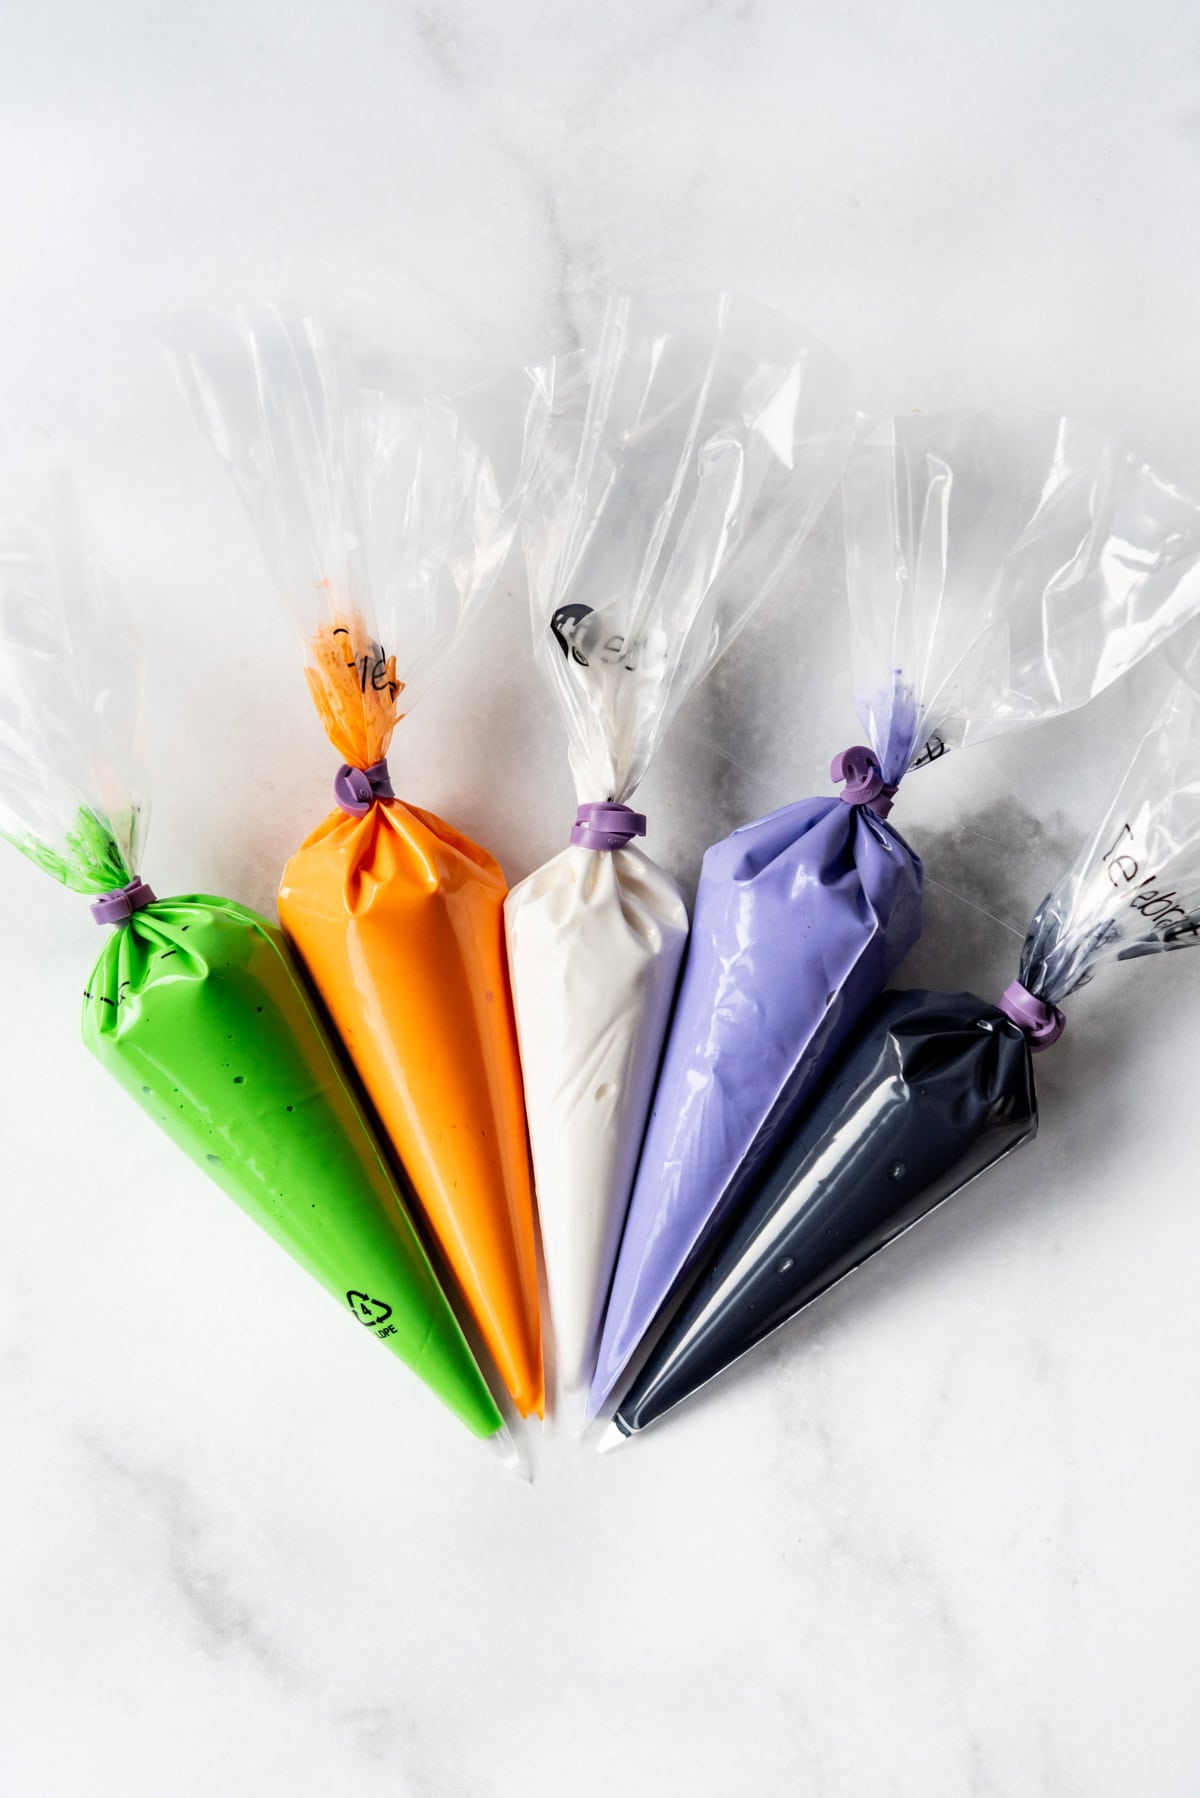
- Piping bags & elastics: Disposable piping bags are super handy and readily available at craft stores. I have a set of elastic ties that came with some piping tips I bought once that are fantastic for keeping the tops of the bags closed when a color is not in use, but even regular rubber bands or clean hair elastics will work.
- Scribe tool or toothpicks: A scribe tool is a handy little stick with a pointy end that comes in handy for nudging the royal icing around on the cookie to fill in areas of clean up edges if you don’t have the steadiest piping skills. Toothpicks work in a pinch, but a scribe tool is inexpensive and a great investment for cookie decorators.
Ingredients
- Butter: I use salted butter in almost all of my baking. I know that is blasphemous to many bakers who swear by unsalted butter, but there is nothing worse than accidentally going to butter your toast and realizing all you have on hand is unsalted butter. Trust me.
- Sugar: Sugar doesn’t just make these cookies sweet, there is actually science behind how sugar affects the moisture level and texture of baked goods.
- Flour: I have only tested this recipe with all-purpose flour, but I imagine that many of the 1-to-1 gluten-free flour alternatives would work well with this recipe. If you try, I would love to hear about it in the comments below!
- Egg + egg yolk: The richness of that extra egg yolk not only helps with binding the cookies but it also keeps the cookies moist and tender.
- Vanilla: Sugar cookies are simple with the flavors of butter, sugar, and vanilla being front and center. I also add a little vanilla to my royal icing for the best flavor and it really makes a difference and sets it apart from other royal icings.
- Salt: Every great cookie needs a little salt.
- Baking powder: There is a very small amount of baking powder in this recipe. Just enough to provide the slightest bit of lift to the cookies so they have a soft texture without letting them puff up around the edges.
- Powdered sugar: This makes up the base of our royal icing. I recommend making a large batch of royal icing so you have plenty for different colors. Leftover royal icing freezes well, and if you have kids like me, I can tell you from experience that they are going to demand an extra batch of cookies be made that THEY get to decorate with the royal icing however they want. It happens every. single. time. Then they want me to eat THEIR cookies while they eat MY cookies. Please tell me I’m not the only one this happens to.
- Meringue powder: This sounds strange but it’s just powdered egg whites and you can find tubs of it at your local craft store in the baking and decorating area, usually next to the food coloring (affiliate link).
- Water: You will add water to the powdered sugar and meringue powder to make the royal icing until you get just the right consistency for decorating. This part overwhelmed me at first, but it’s a lot easier to know you have the right consistency if you remember that the outline consistency should be about the consistency of toothpaste and the flooding (or fill) consistency should look about like honey or shampoo in terms of being able to slowly melt in on itself.
How to make sugar cookies
- Cream butter and sugar until light. I find it easiest to use my stand mixer fitted with the paddle attachment and let it run for 2 minutes until these ingredients and nice and combined, but this could also be done with a hand mixer.
- Add egg, egg yolk, and vanilla. Be sure to scrape the bottom and sides of the bowl to make sure everything is evenly combined.
- Add flour, baking powder, and salt. Mix just until the dough comes together in a ball, then dump it onto a large piece of plastic wrap and pat it into a flat-ish disc. Refrigerate for 1-2 hours. This helps the butter firm up again and it also helps the cookies retain their shapes after baking.
- Roll out the cookie dough on a floured surface. If your sugar cookie dough has been chilling for a while, you may want to let it sit out at room temperature for 10-15 minutes to soften slightly. I recommend rolling the dough to between 1/4-inch and 3/8-inch thick. This is totally based on personal preference (although I always do 1/4-inch because 1. I get more cookies this way, and 2. I prefer the texture of the slightly thinner cookies, which I learned after much, much testing.)
- Bake until just browned on the bottoms. These sugar cookies will barely start to show the slightest hint of brown around the edges when they are done, but I don’t like to let them bake longer than that because I prefer my sugar cookies on the softer, less crunchy side. It’s around 12-15 minutes for most cookie cutters, although if your shapes are especially small, intricate, or large, it might take more or less time so you will have to use your judgment.
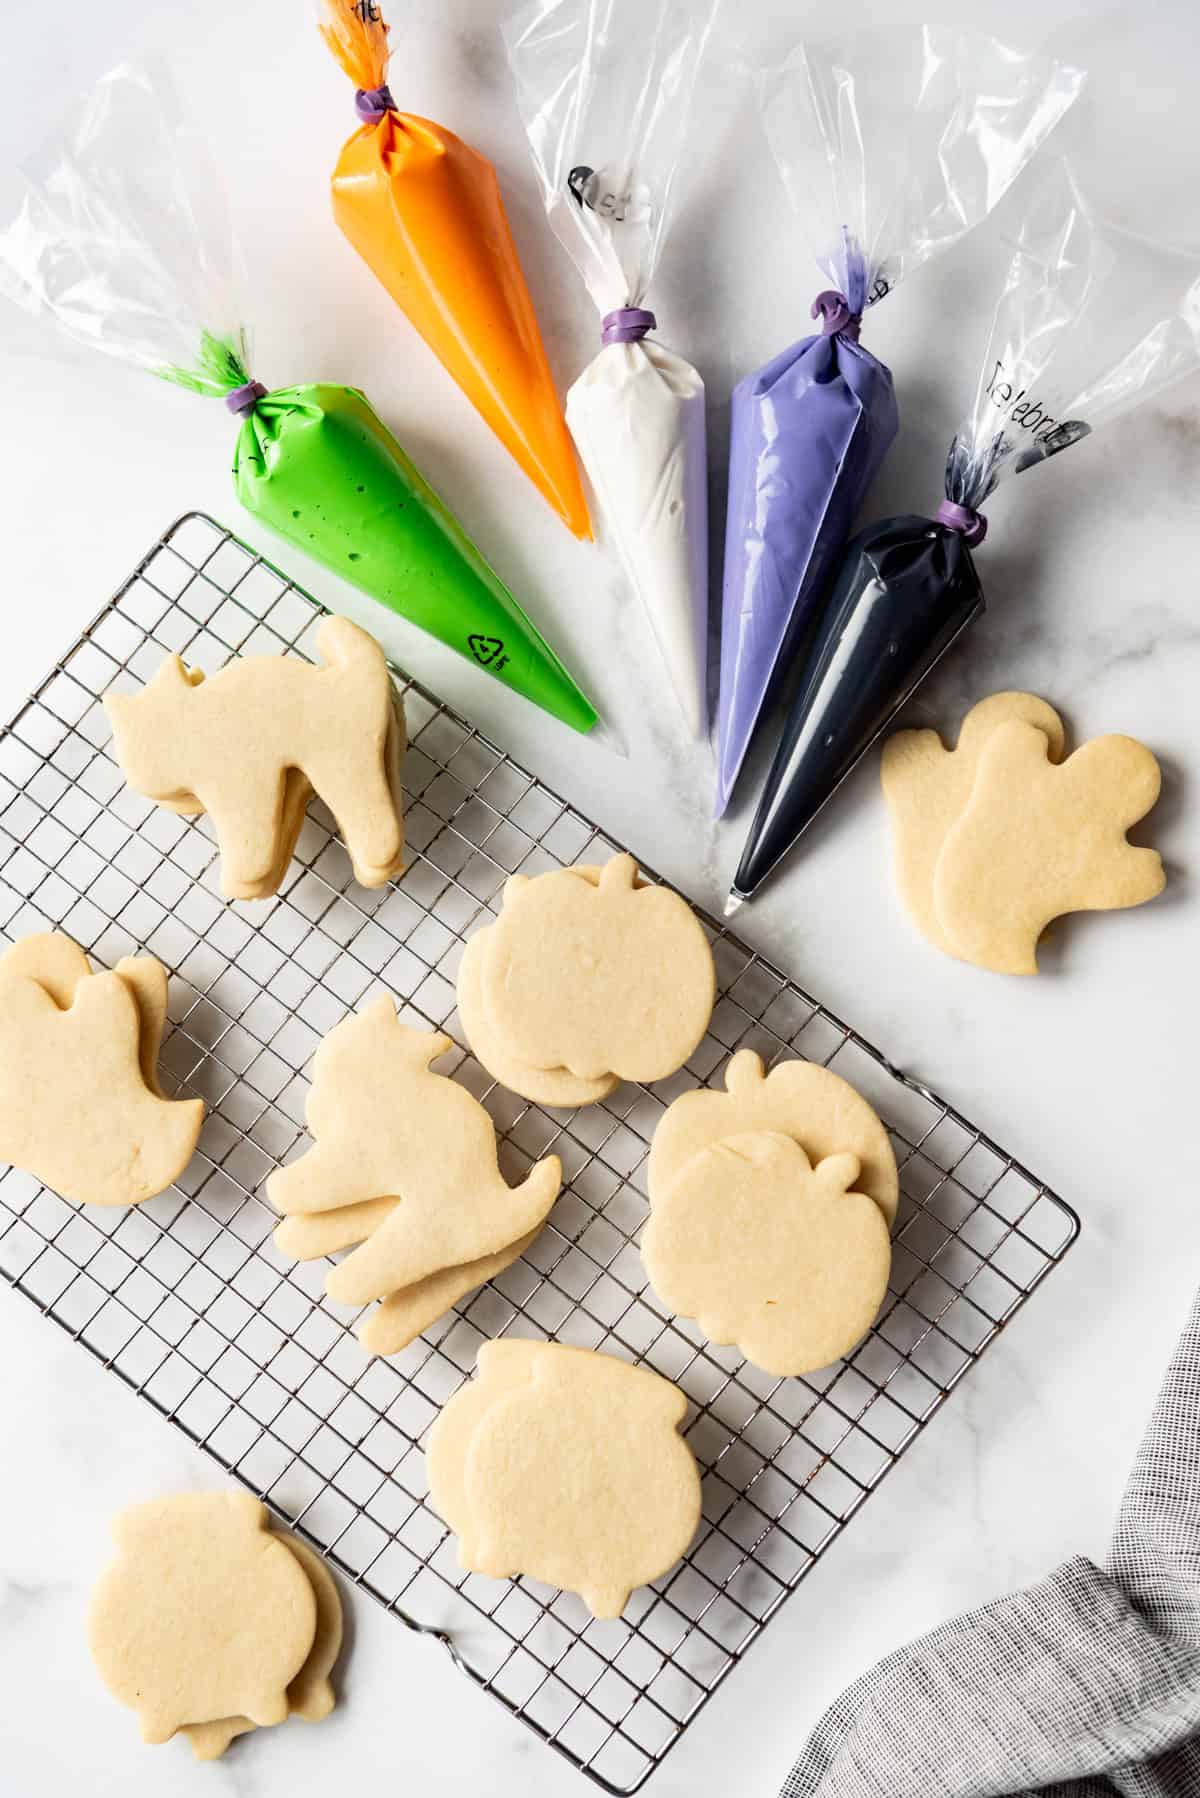
- Cool the cookies completely on wire racks. After the cookies have cooled or a couple of minutes on the baking sheets, transfer them to wire racks to cool all the way. At this point, you can either decorate them right away, store in airtight containers for 2-3 days on the counter, or freeze for up to 6 months wrapped in plastic wrap.

- Make the royal icing. I have an entire post about how to make royal icing, if you would like to read more about the process, but it’s actually very simple. Start by combining powdered sugar and meringue powder in the bowl of your stand mixer. Then add the water until it all comes together in a fairly thick frosting. Beat on medium speed for about 5 minutes until stiff peaks form, then divide it into separate bowls for the various colors you plan to use.
- Color and thin the icing to the right consistency. The icing will be very thick at this point, but that’s the right starting place! Add enough food coloring (affiliate link) to each bowl to get the shade you like. Then start to add a little water to each color, a teaspoon at a time until it is about the same consistency as toothpaste. This is your outlining consistency for piping around borders and edges or piping words, like “Boo”. Transfer a portion of each color at this consistency into it’s own piping back and twist the ends closed.
- Thin remaining icing to a “flood” consistency. Continue to thin the remaining icing with more water, another teaspoon at a time, until you get to a nice consistency that melts in on itself after 5-10 seconds. It should look a lot like the consistency of shampoo or honey. This is your “flood” or “fill” icing and it’s used to fill in the majority of the cookie. Transfer each color to its own piping bag and twist and secure the ends closed as well.
Let’s decorate Halloween sugar cookies!
Now this is the fun part! Once your cookies and icing are made, it’s time to decorate. My best piece of advice when you are first starting out is to use the thicker icing to pipe borders around the edges. That will provide a barrier to hold the royal icing so it doesn’t spill over the edges. When you get a little more confident, you really could skip the border altogether and just use the flood consistency for almost everything, but that trick makes a big difference if you are attempting royal icing for the first time.
My favorite royal icing technique
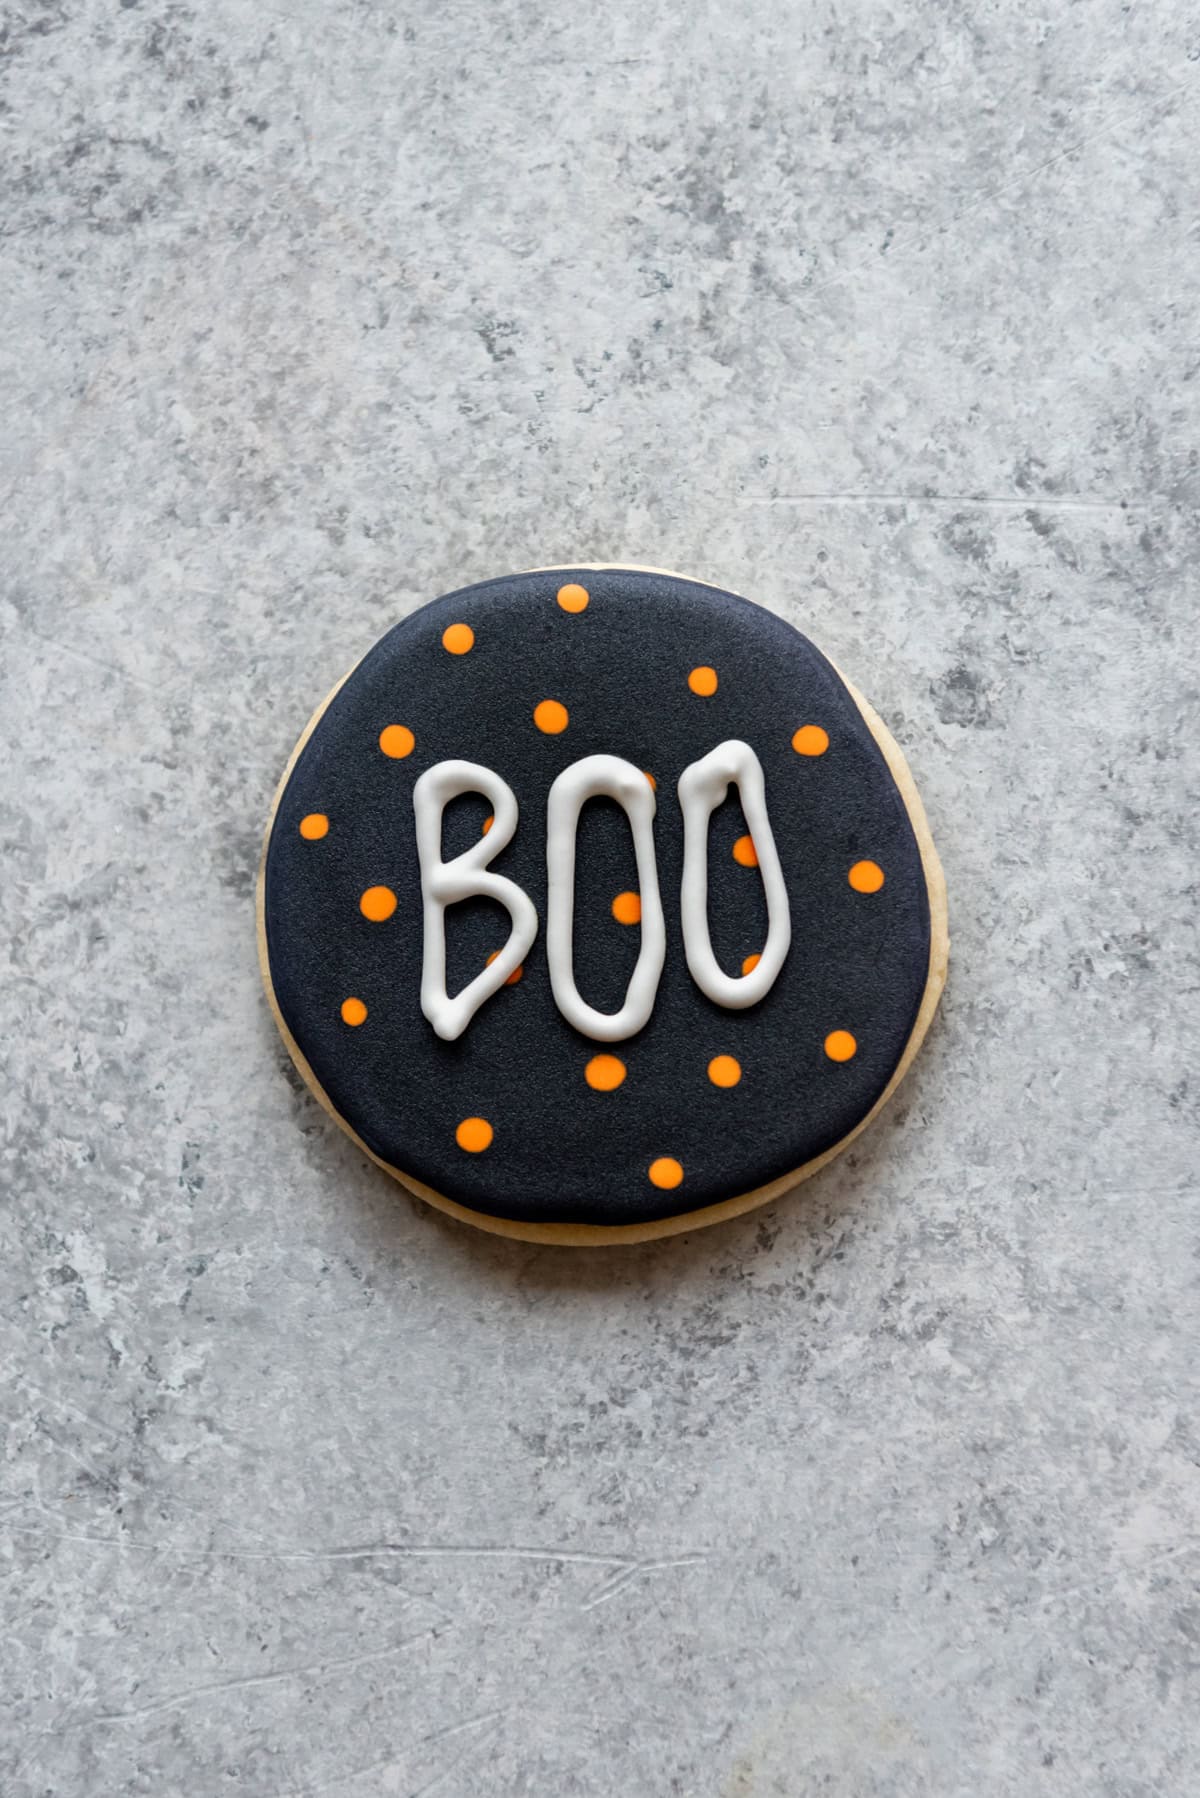
By far, the two easiest designs for royal icing are wet-on-wet polka dots and stripes using flood consistency icing. You can do so much with these simple techniques!
Start by outlining your shape with the thicker consistency icing. It helps to hold your piping bag a little above the cookie surface and let the icing sort of just drop or lay down onto the cookie rather than pushing it around. Then fill in the center of the cookie with your flood consistency icing, using a scribe tool or toothpick to nudge the frosting around until it melts in on itself and forms a smooth surface.
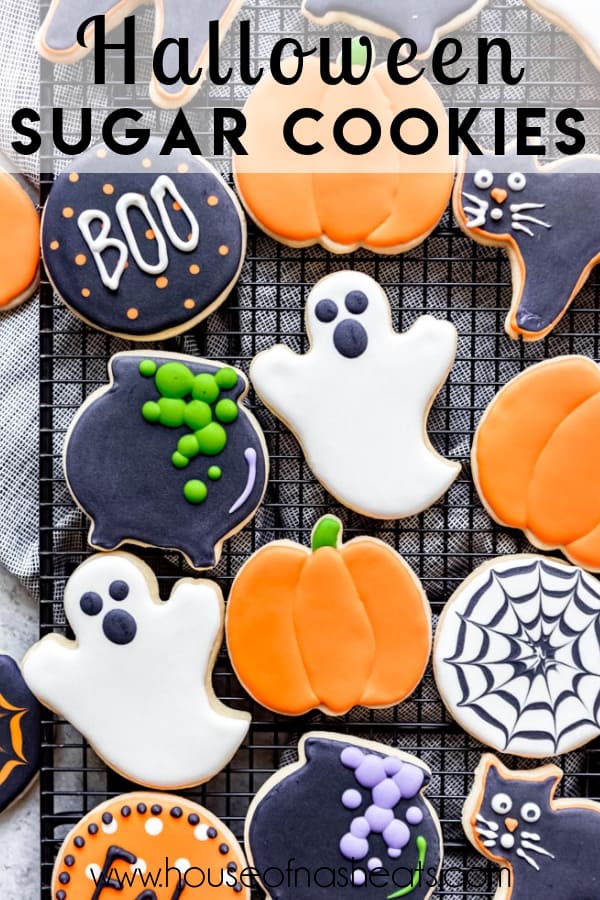
While the icing is still wet, switch to a contrasting color and make small dots all over the cookie. Or draw stripes (or spirals in the case of the spiderweb below). The two colors will settle but stay distinct from each other.
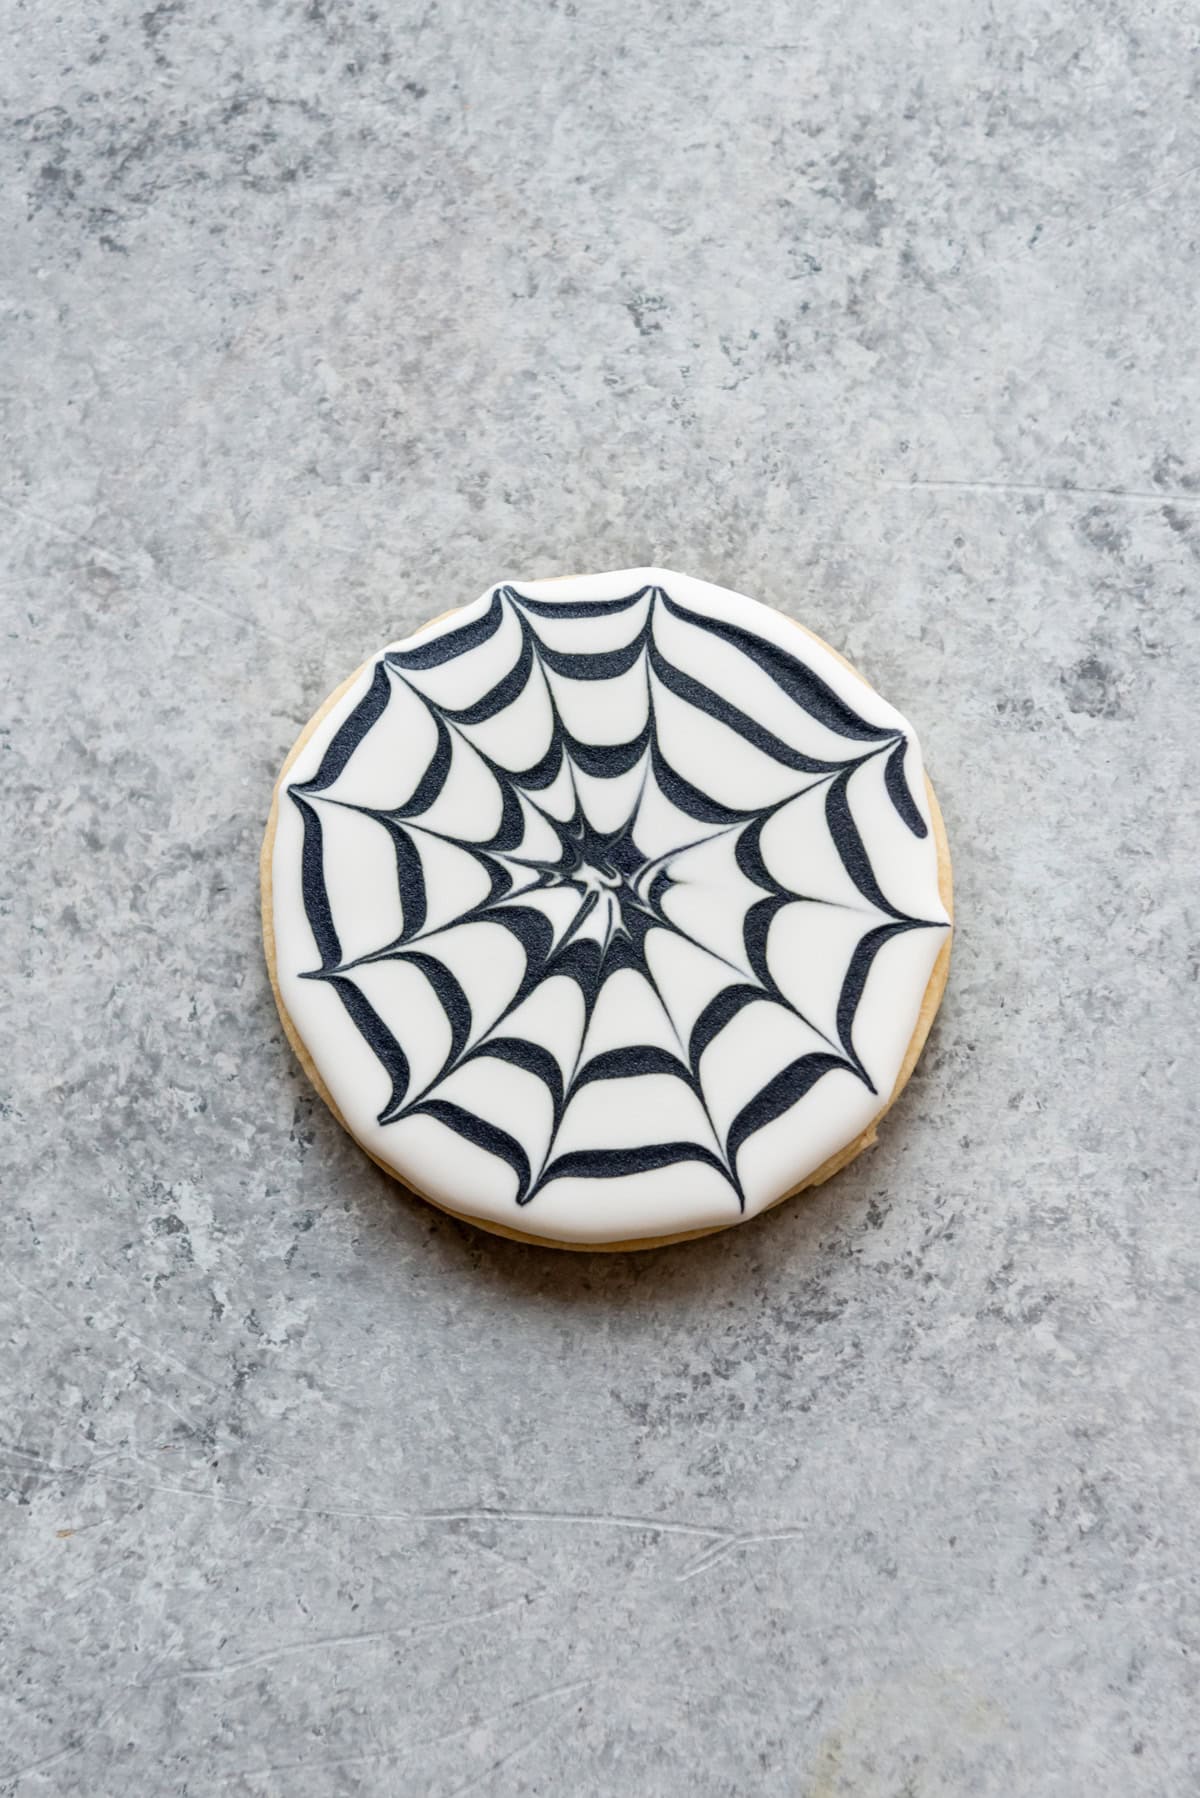

You can use a toothpick or your scribe tool to drag through the lines to create a spiderweb pattern. Or draw it through a dot going one direction and it will turn into a cute little heart. There is so much possibility with these simple, basic designs!

Multi-step designs
It takes a little more patience to achieve these slightly more detailed cookie looks, but they are much easier than you might think! The key is letting each layer of color dry at least partially before moving on to the next step.
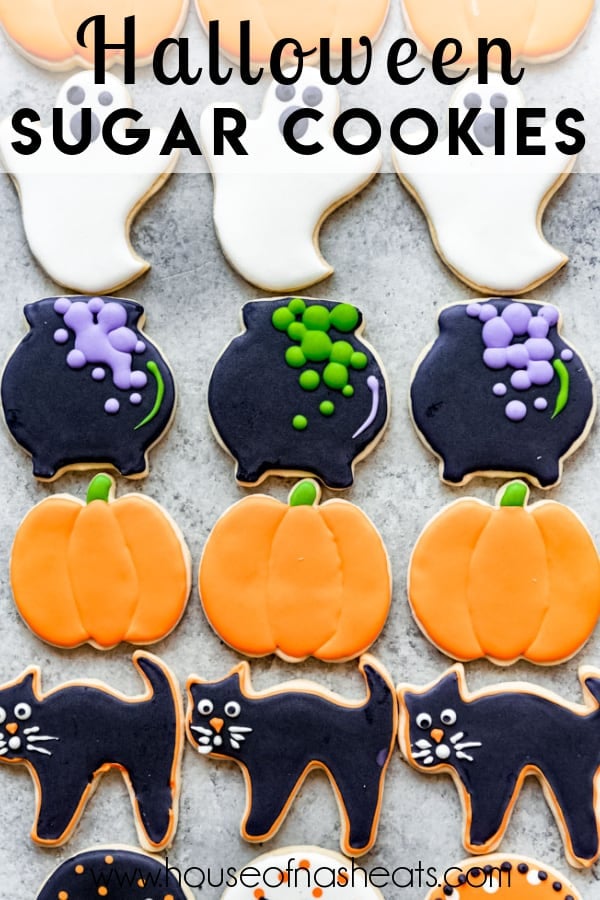
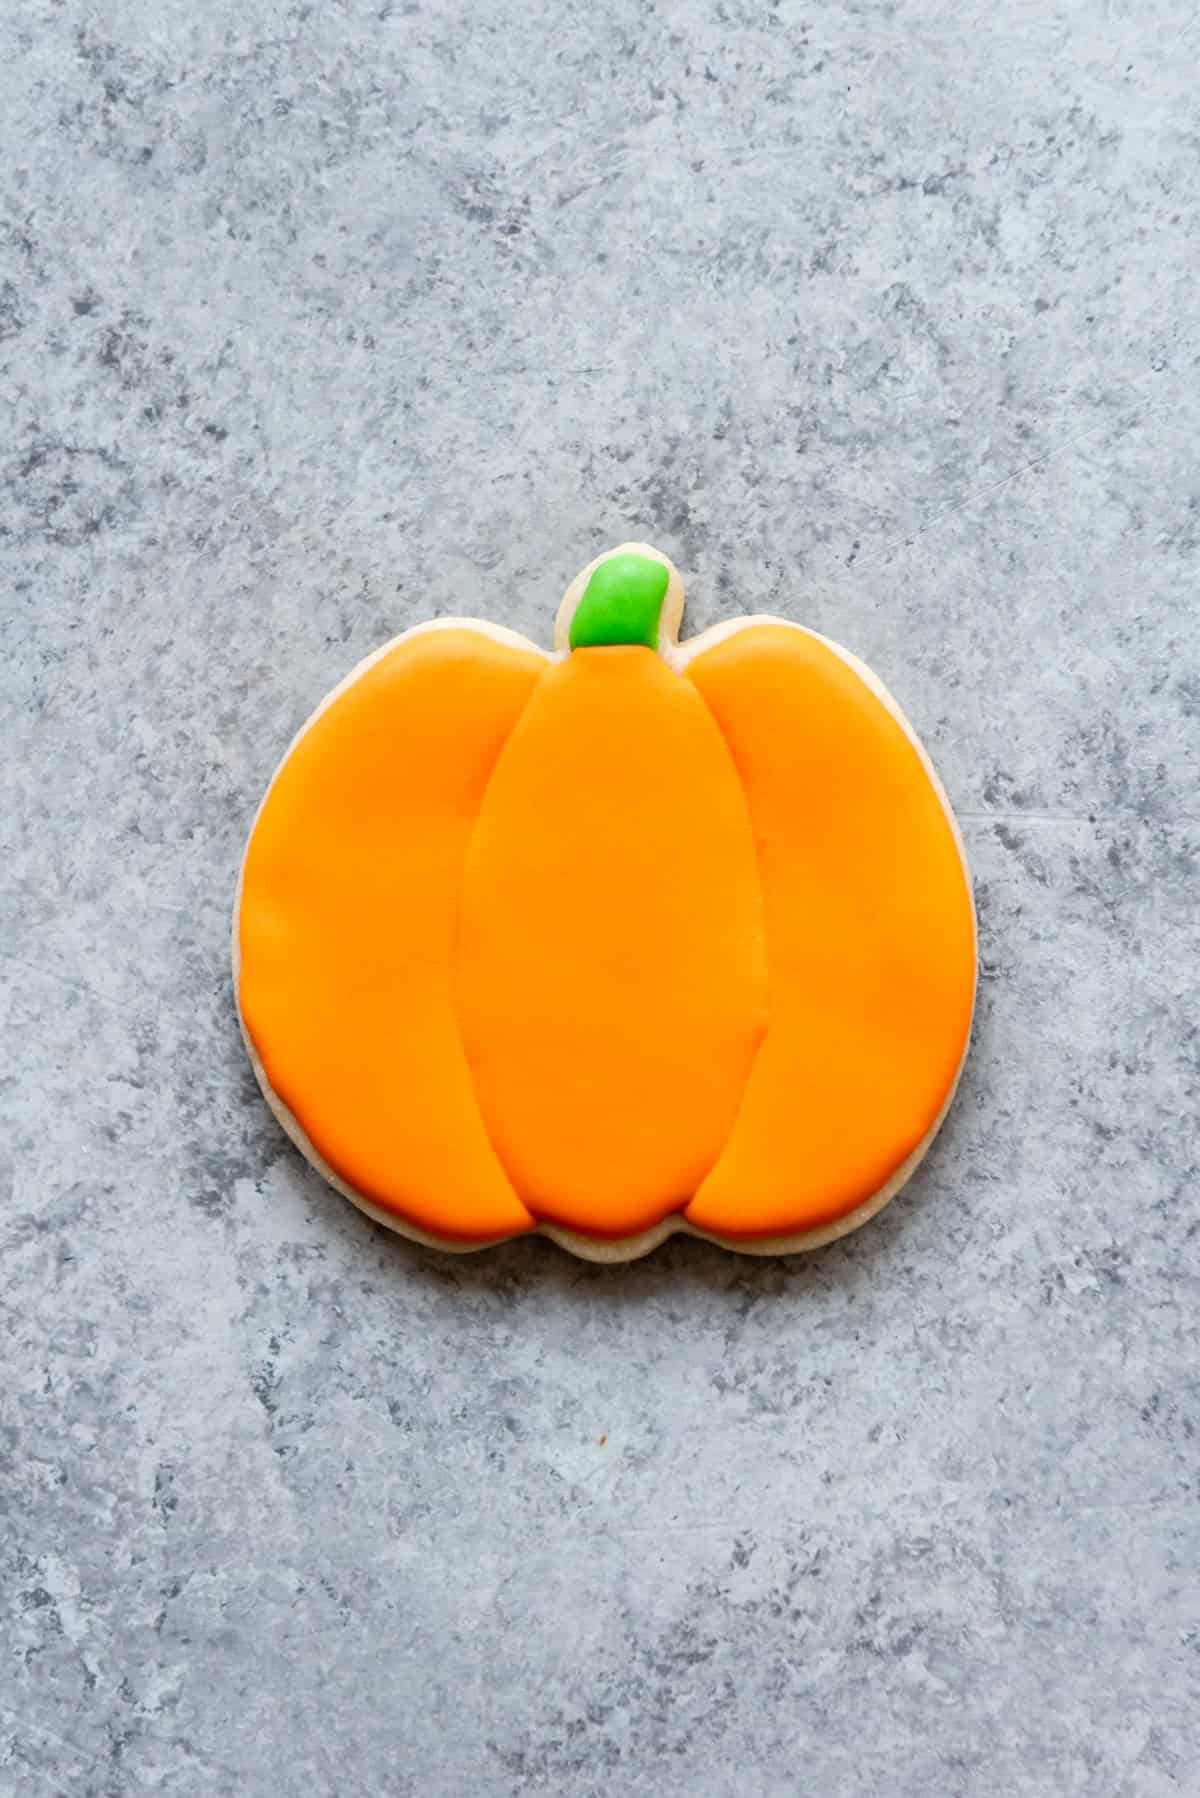
For the pumpkins, pipe the two outside segments first, then wait an hour or two before piping the center of the pumpkin, which will give it an three-dimensional look.
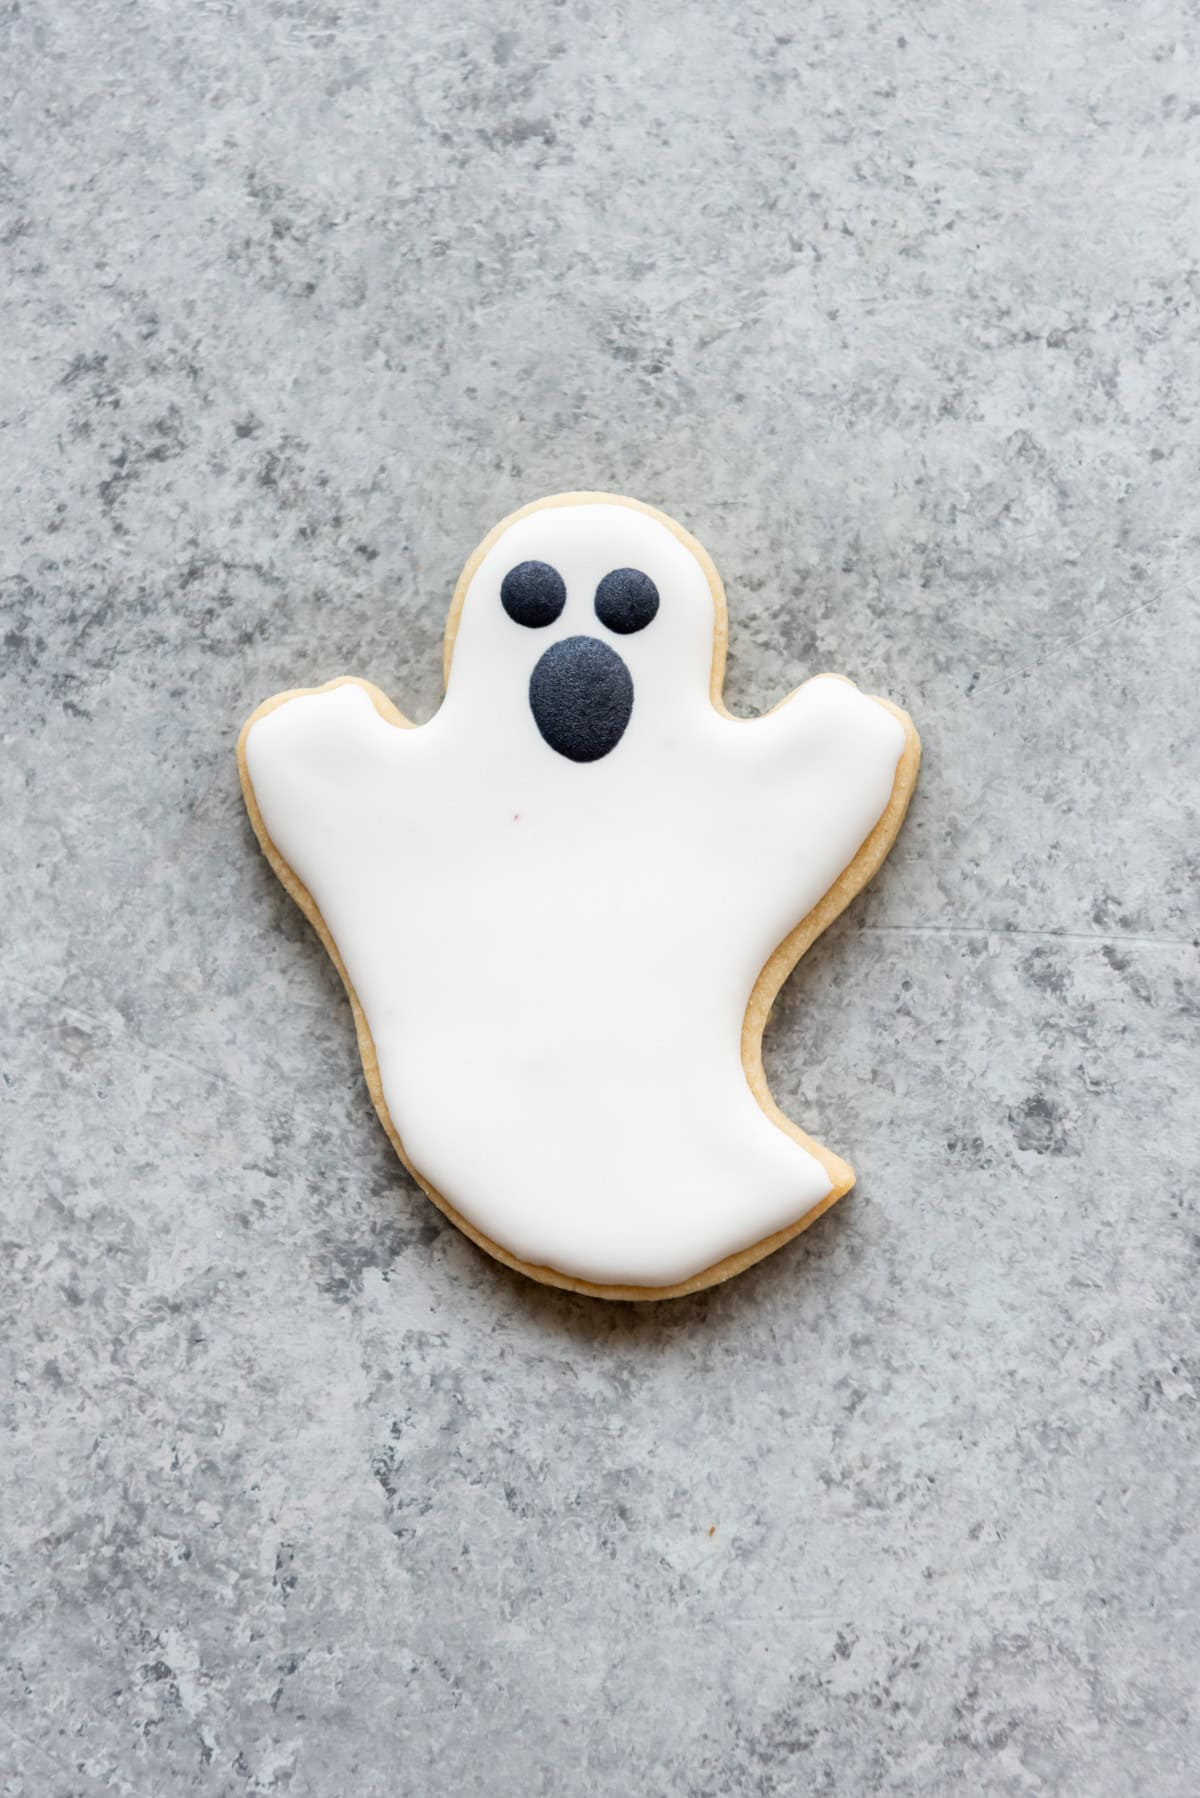
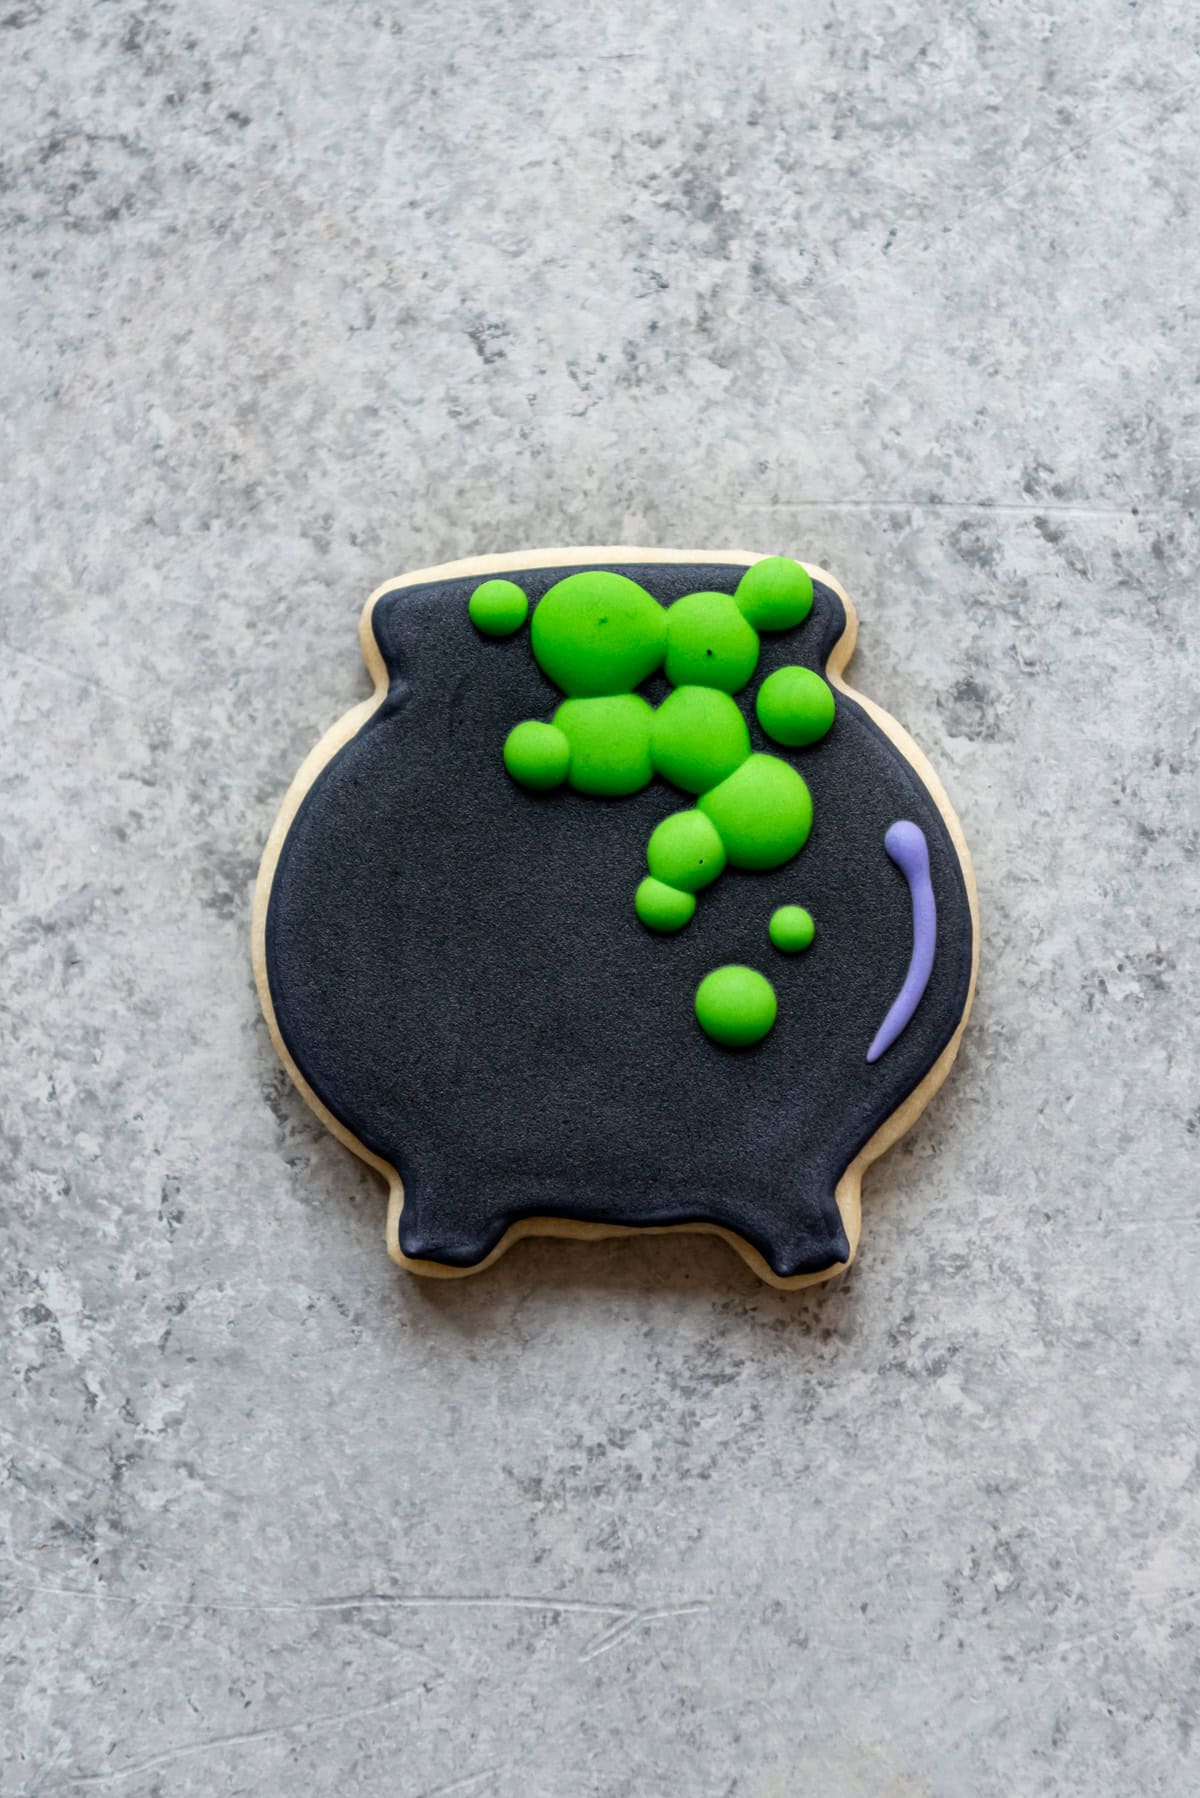
The ghosts and cauldrons are the same approach. Pipe the white ghost and black cauldron first, then once they have set up a bit go ahead and pipe the face on the ghost and the bubbles on the cauldron.
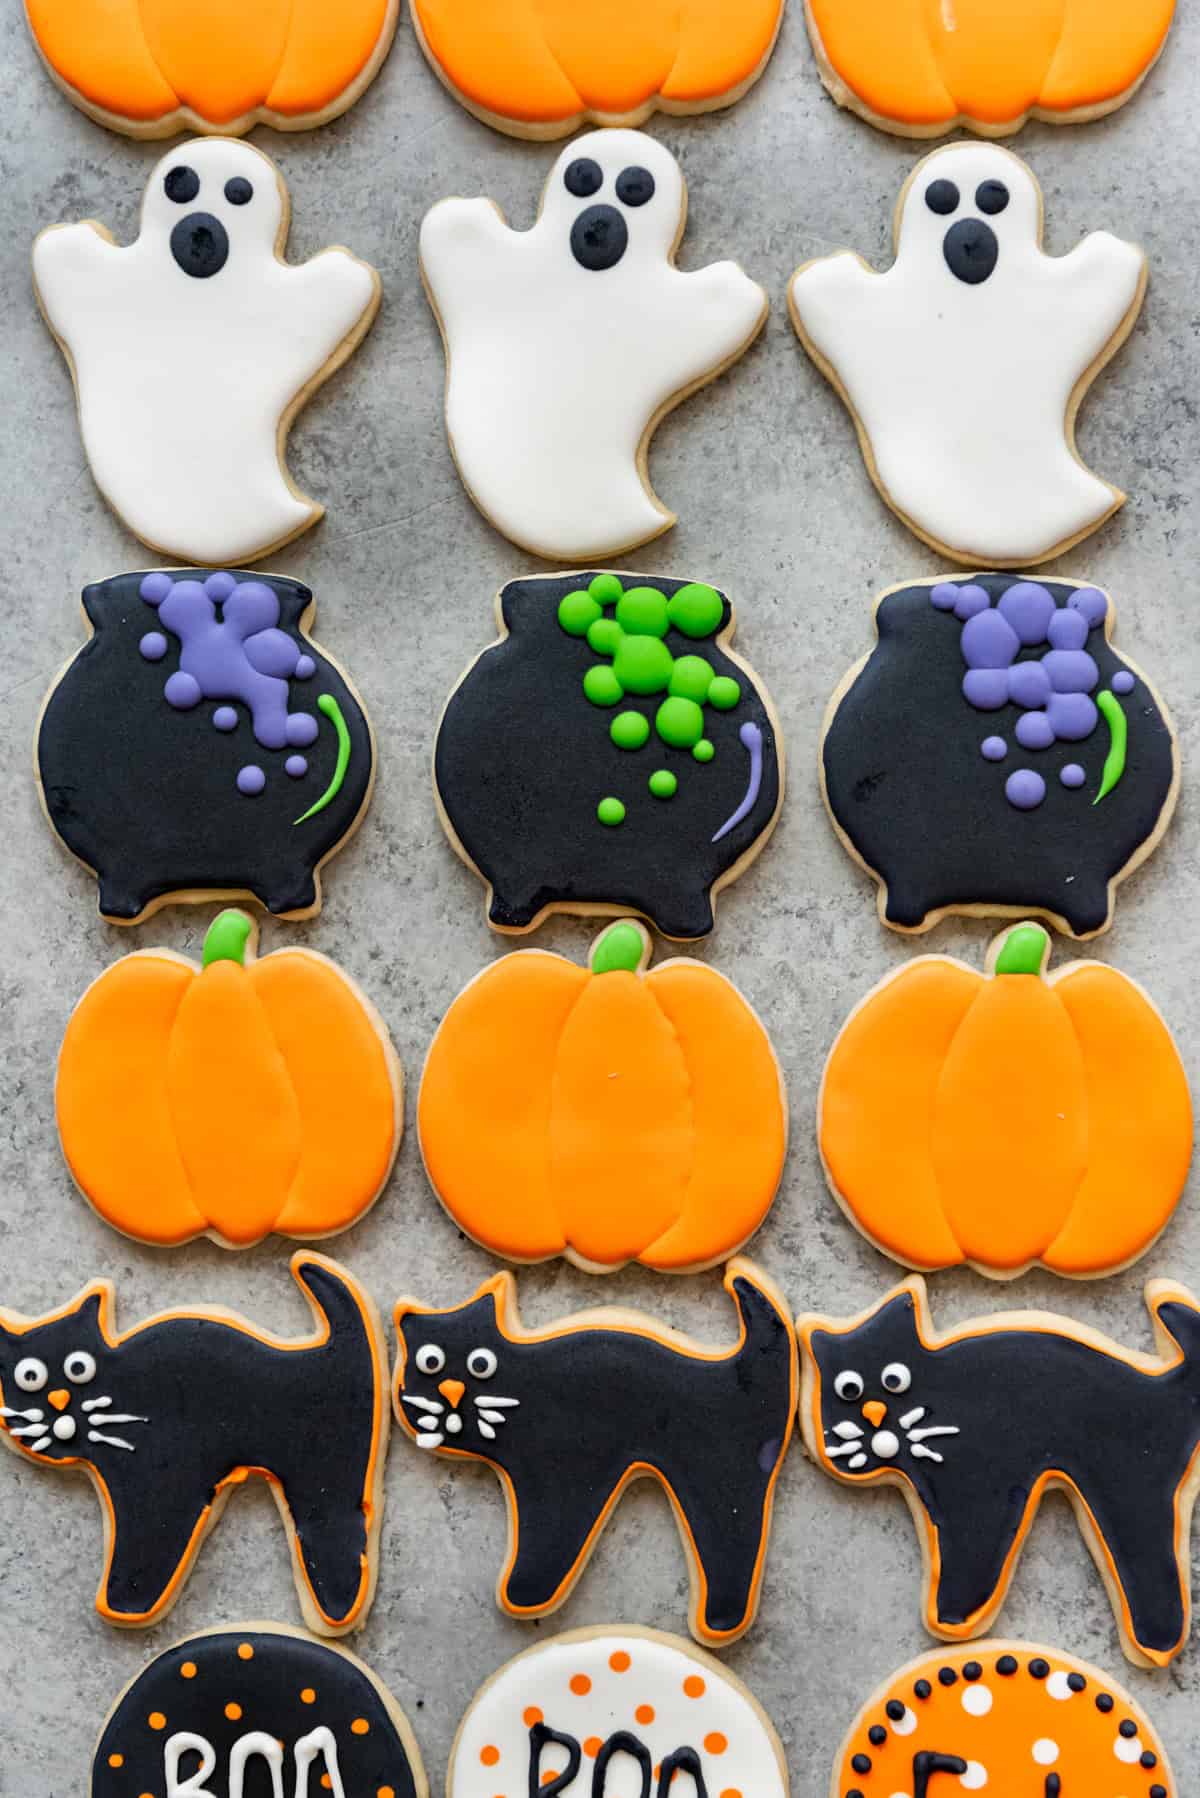
You can probably tell that the black cats were pushing the boundaries of my cookie decorating abilities. I still struggle with details and more intricate curves, but I have to say that these ones were my kids’ favorites.
Can you freeze sugar cookies with royal icing?
Once the cookies have dried completely, which usually takes at least 4-6 hours, but sometimes overnight, they freeze really well! I recommend placing a piece of wax or parchment paper between layers of cookies and freeze them in an airtight container for up to 3 months. Then thaw the cookies on the counter before serving.
Do sugar cookies ship well?
If you have friends or nieces and nephews who live far away, these sugar cookies are great for packaging and sending in the mail! The cookies themselves are pretty sturdy and the royal icing actually protects, stabilizes them, and keeps them tasting fresh for a while. I recommend wrapping each cookie in a cellophane bag, then adding plenty of filler cushioning to prevent the cookies from being jostled about during transit.

More Recipes Like This
- Halloween Chocolate Blossom Sprinkle Cookies
- Homemade Caramel Apples
- Chocolate Cherry Hand Pies
- Graveyard Dirt Cake
- Chocolate Lofthouse Frosted Cookies

Halloween Sugar Cookies
Ingredients
Cookies
- 1 1/4 cups chilled salted butter cut into 1/2″ pieces
- 1 1/4 cups granulated sugar
- 1 large egg
- 1 large egg yolk
- 1 teaspoon vanilla extract
- 3 cups all-purpose flour
- 3/4 teaspoon salt
- 1/2 teaspoon baking powder
Royal Icing
- 1 pound powdered sugar about 4 cups
- 1/4 cup meringue powder
- 6-8 Tablespoons water plus more as needed for thinning out the icing
- 1 teaspoon vanilla
- Gel food coloring (affiliate link)
Instructions
Cookies
- In a large bowl of a stand mixer fitted with a paddle attachment, mix the butter and sugar on high speed for about 3 minutes until well combined.1 ¼ cups chilled salted butter, 1 ¼ cups granulated sugar
- Add the egg, egg yolk, and vanilla and mix well, scraping down the sides of the bowl.1 large egg, 1 large egg yolk, 1 teaspoon vanilla extract
- Add in the flour, salt, and baking powder on low speed, mixing just until incorporated and the dough comes together. Shape the dough into a flat disk and wrap tightly in plastic wrap. Chill for 1-2 hours or up to 3-4 days in the refrigerator.3 cups all-purpose flour, ¾ teaspoon salt, ½ teaspoon baking powder
- When ready to bake, heat the oven to 325° F. Remove the dough from the fridge and let it sit on the counter for 10 minutes to soften slightly.
- On a lightly floured surface, roll out the cookie dough to 1/4-inch thick. Cut out using Halloween-shaped cookie cutters and bake on a baking sheet lined with a parchment paper for 12 to 15 minutes, until the edges just barely start to turn golden. Cool completely before decorating.
Royal Icing
- In a large bowl of a stand mixer, whisk together the meringue powder and powdered sugar, then slowly mix in the water and vanilla. Increase speed to medium and beat until stiff peaks form, around 5 minutes.1 pound powdered sugar, ¼ cup meringue powder, 6-8 Tablespoons water, 1 teaspoon vanilla
- Divide the icing into individual bowls for each color and add gel food coloring (affiliate link), a few drops at a time, mixing well until you achieve your desired shades. From there, you can reserve half of each color at a thicker consistency for piping borders, or thin all the icing to flood consistency.Gel food coloring (affiliate link)
- To thin each color to flood consistency, add 1 teaspoon of water at a time and stir well, continuing to add water as needed until the icing is about the same consistency as honey or shampoo and melts into itself within about 5-10 seconds.
- Transfer the icing to piping bags fitted with small piping tips or just snip off the end. Decorate the cookies by first outlining the border, then filling in the middle with flood icing. Use a toothpick or scribe tool to fill in any gaps by spreading the icing around, then tap the cookie on the counter a few times to help the icing settle into a smooth, even layer.
- Dry cookies at room temperature for 6-8 hours until the royal icing is completely firm before adding additional layers to the design or stacking or freezing the cookies.
Nutrition
More Halloween Recipes
- Pan de Muerto (Day of the dead bread) from Lemon Blossoms
- Halloween Marshmallow Pops from Devour Dinner
- Monster Mouths from Hezzi-D’s Books and Cooks
- Spider Web Ice Cream Pie from An Affair from the Heart