July 31st marks a most auspicious occasion for Harry Potter fans—the birthday of none other than “the boy who lived.” If you are planning a Harry Potter-themed party or just want a special cake to celebrate our favorite lightning-scarred wizard, this Harry Potter birthday cake is a fun one to make and a delicious one to eat!
Our family is obsessed with all things Harry Potter, so I figured why not celebrate his July 31st birthday by recreating his 11th birthday cake from the first Harry Potter Book?
When Rubeus Hagrid showed up to deliver Harry his Hogwarts acceptance letter and school list in “The Sorcerer’s Stone”, he also has a birthday cake for Harry. It’s the first birthday cake Harry ever receives in his life.
‘Anyway – Harry,’ said the giant, turning his back on the Dursleys, ‘a very happy birthday to yeh. Got summat fer yeh here – I mighta sat on it at some point, but it’ll taste all right.’
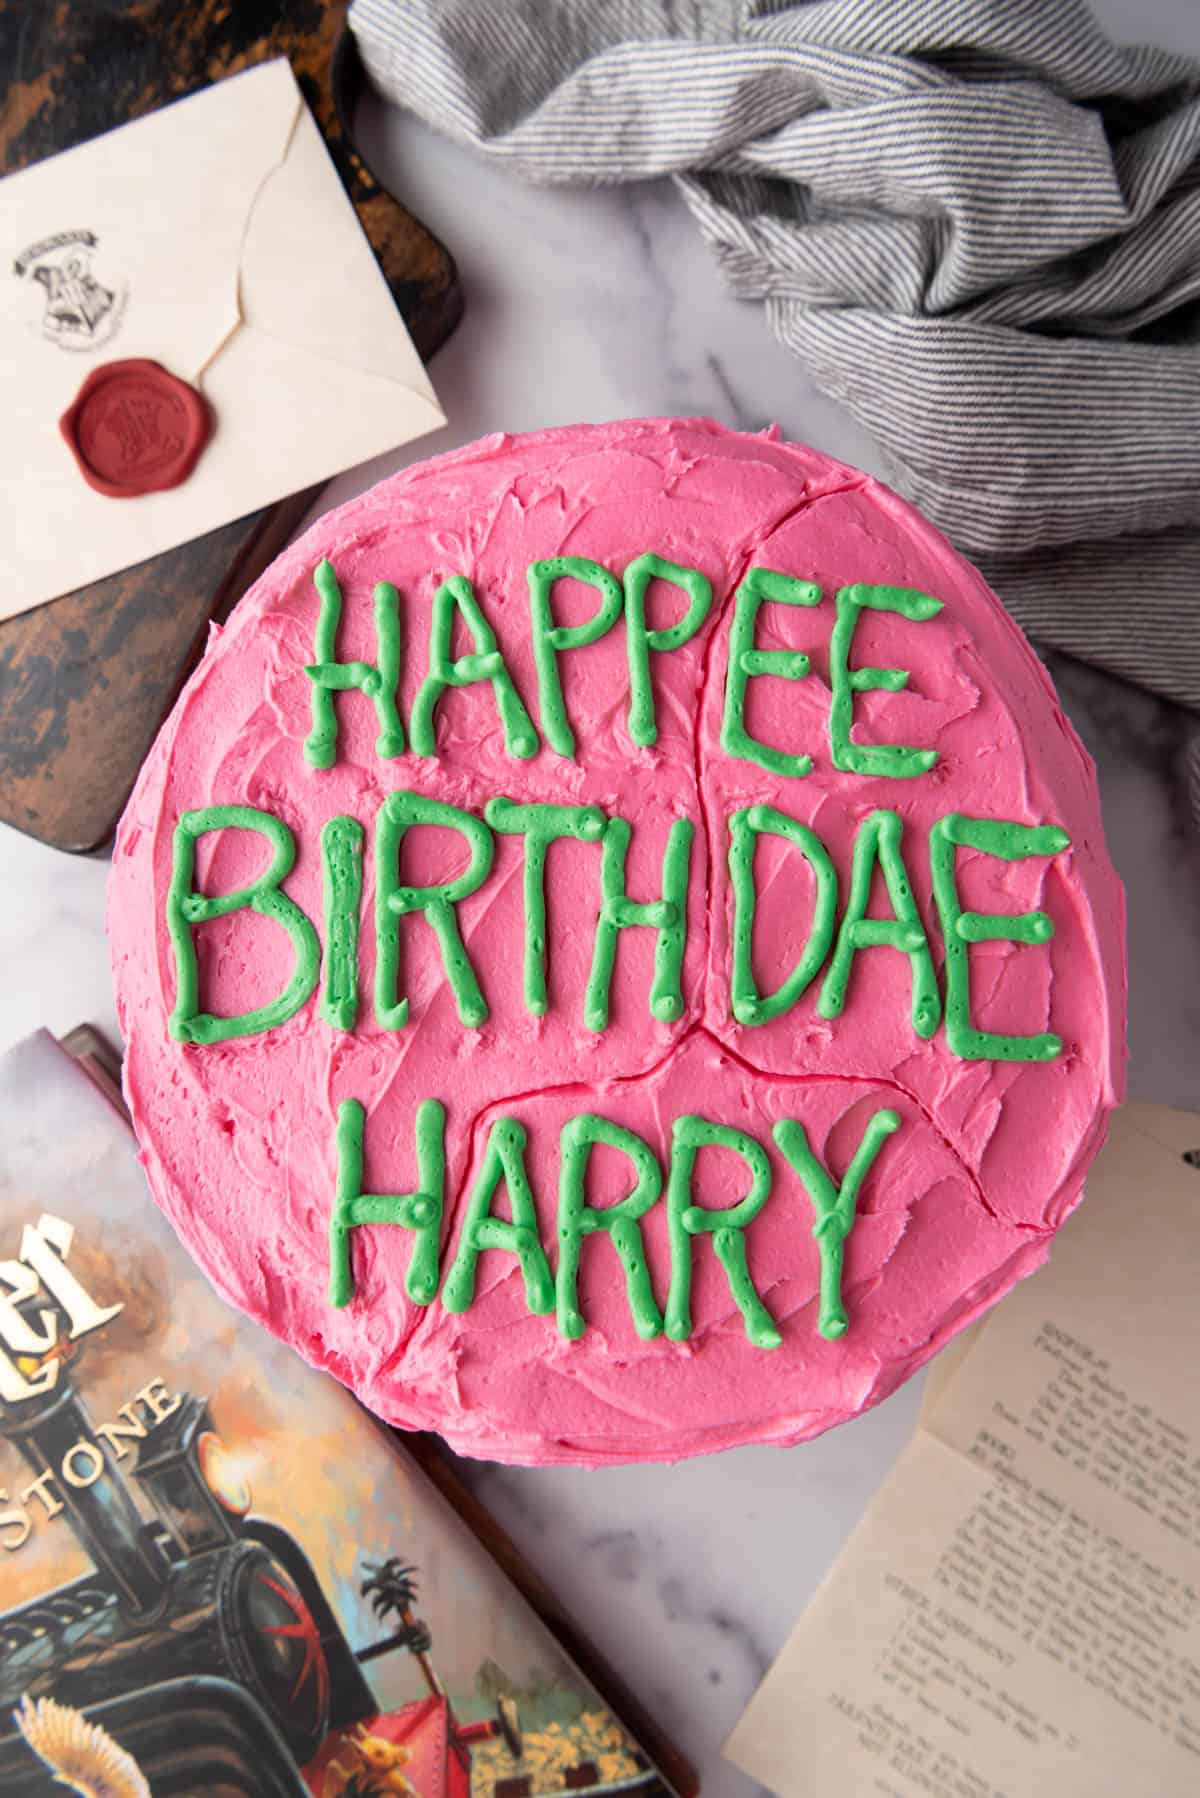
From an inside pocket of his black overcoat he pulled a slightly squashed box. Harry opened it with trembling fingers. Inside was a large, sticky chocolate cake with Happy Birthday Harry written on it in green icing.
~ Harry Potter and the Philosopher’s Stone
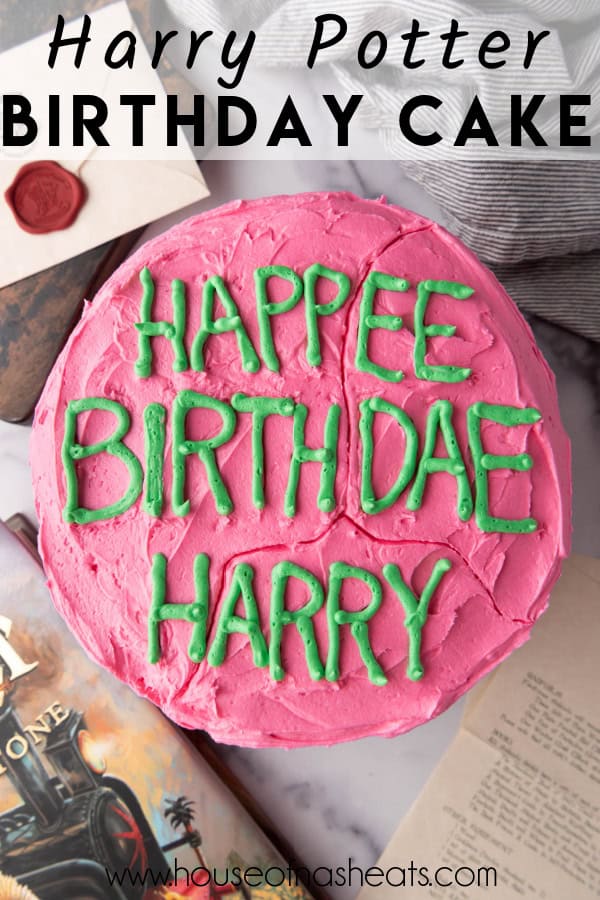
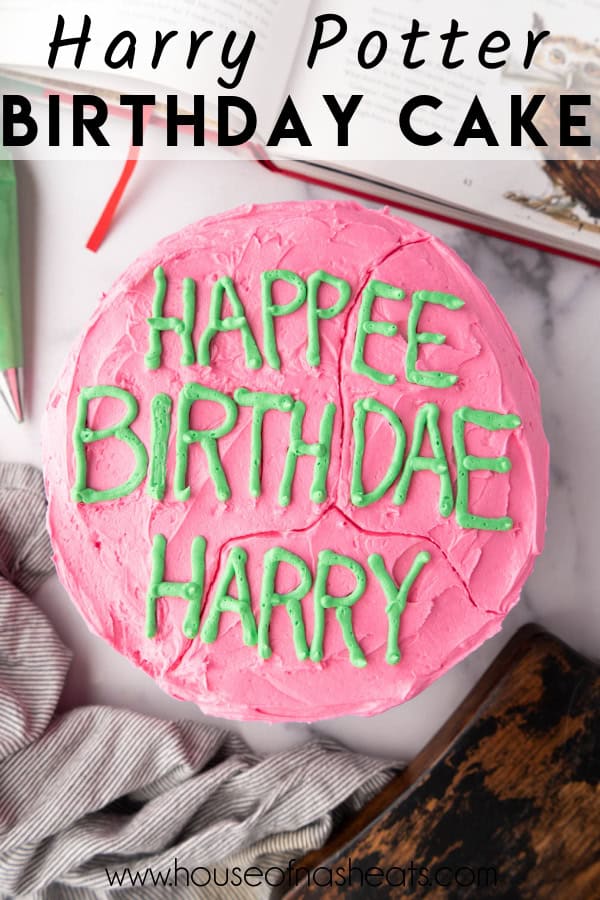
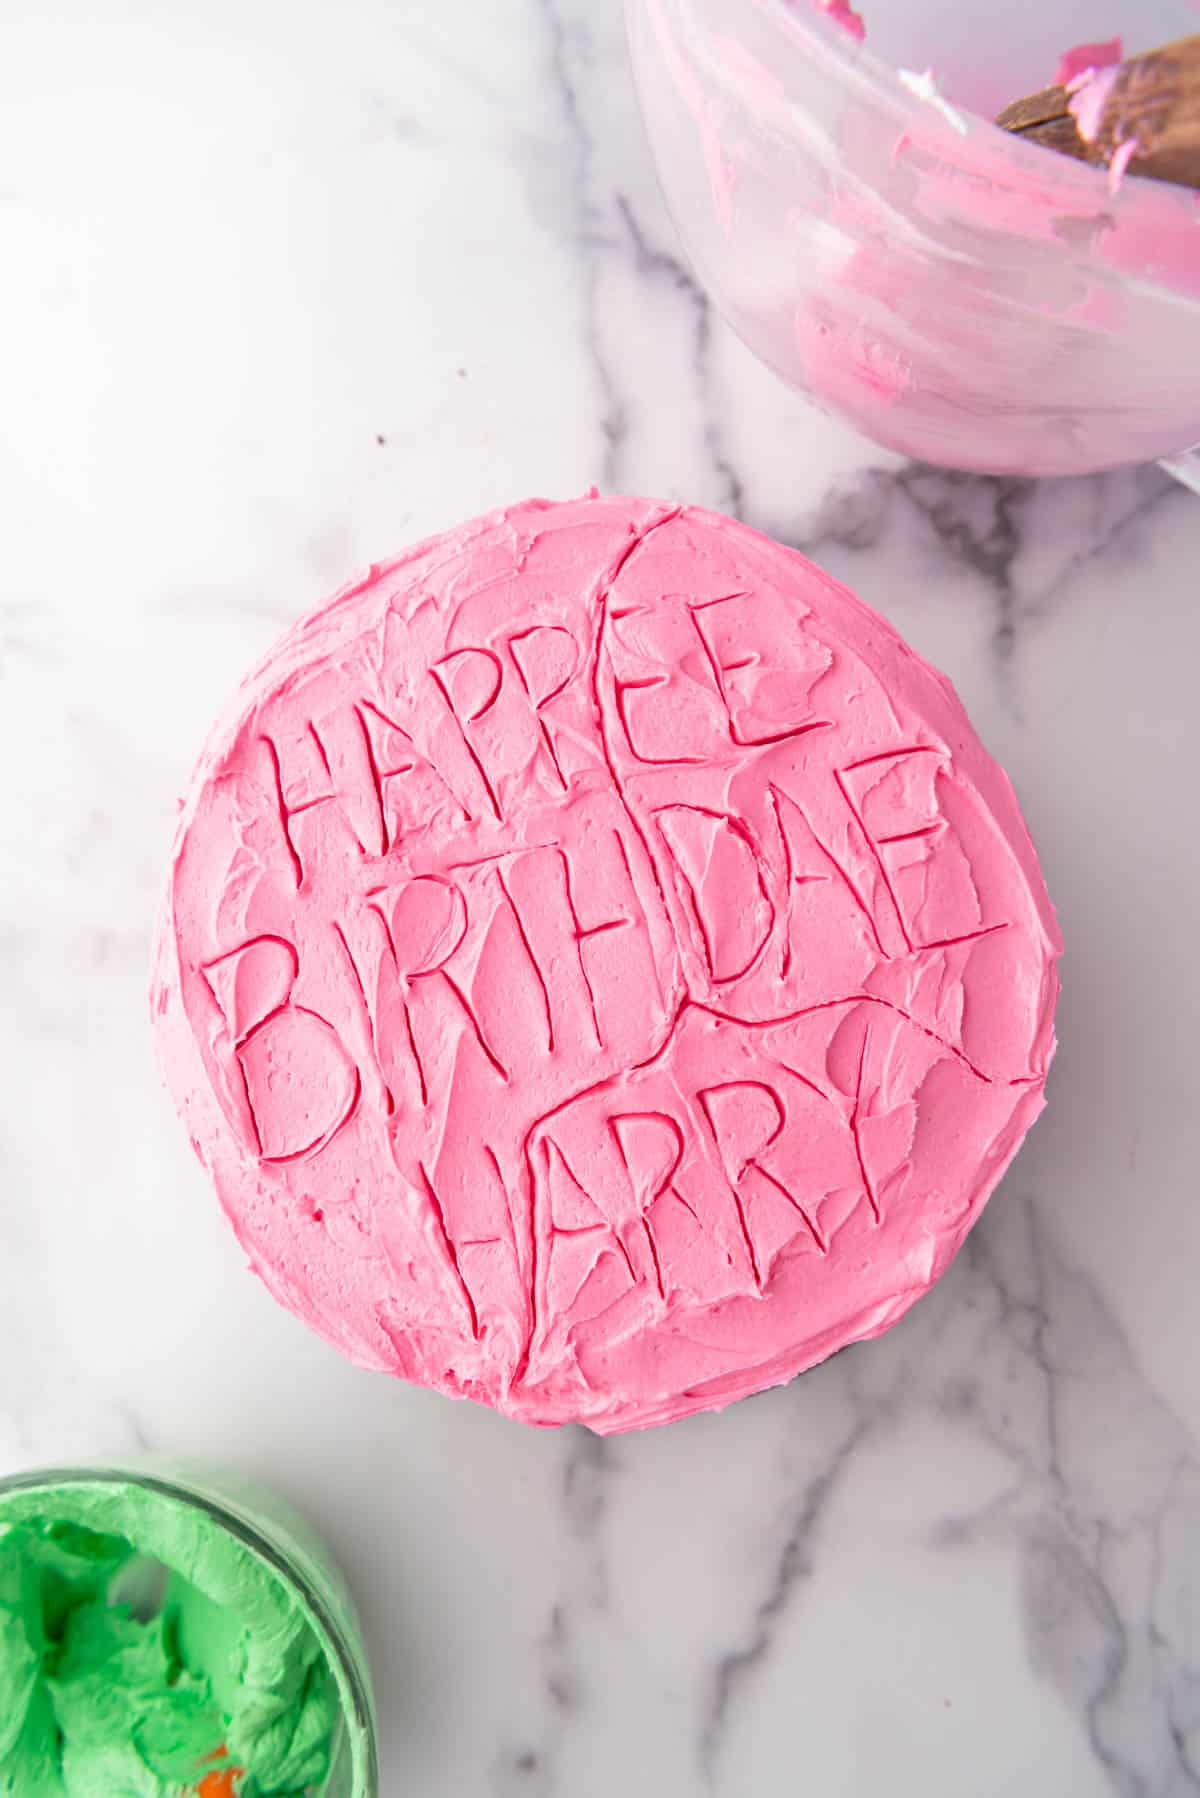
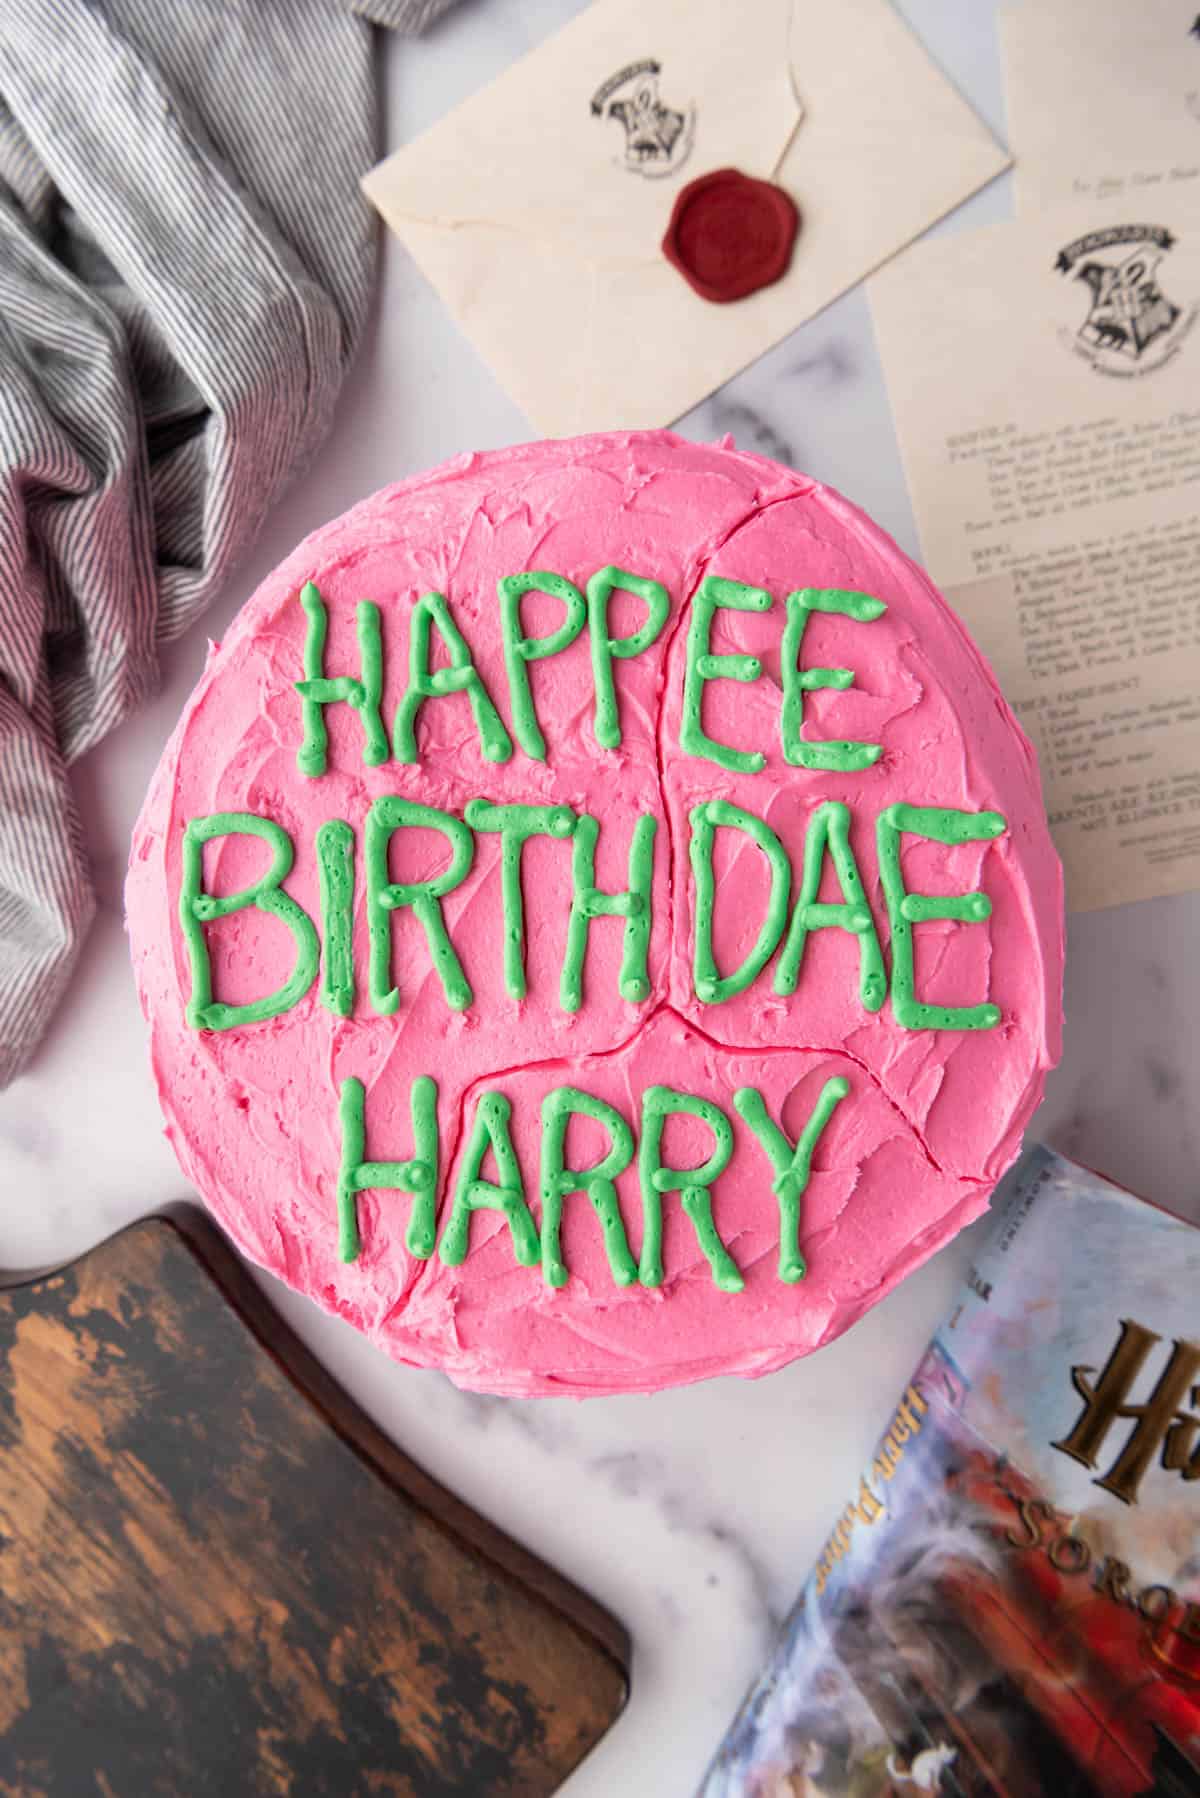
You might notice that in the book’s account, the writing on the cake is spelled correctly and it only mentioned green icing. For all we know, it was likely a chocolate cake with chocolate frosting, but at some point when the first movie was being made, a decision must have been made to frost this cake with pink and green frosting and intentionally misspell the message. That’s the version that seems to be the most iconic, so that’s what I went as well.
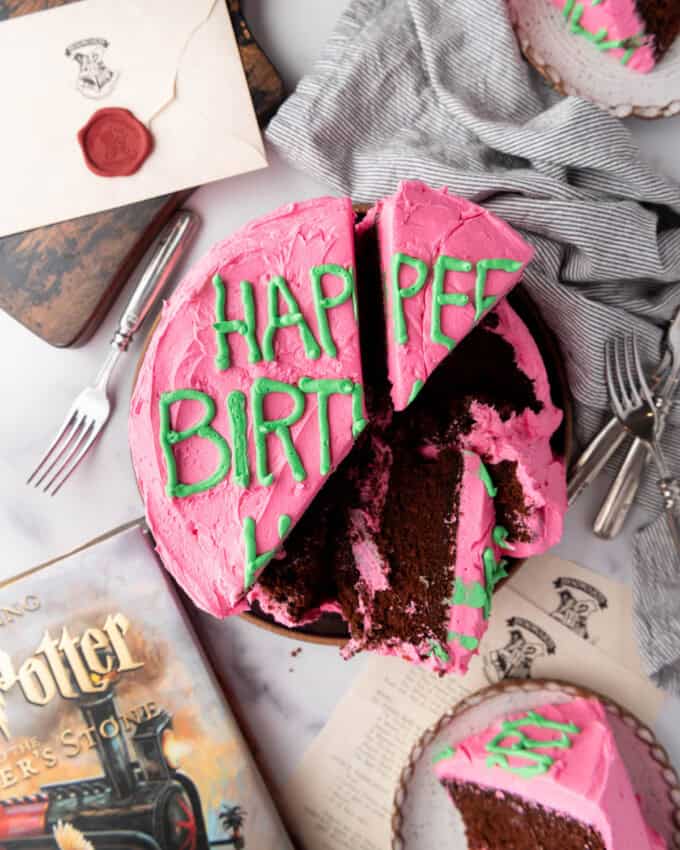
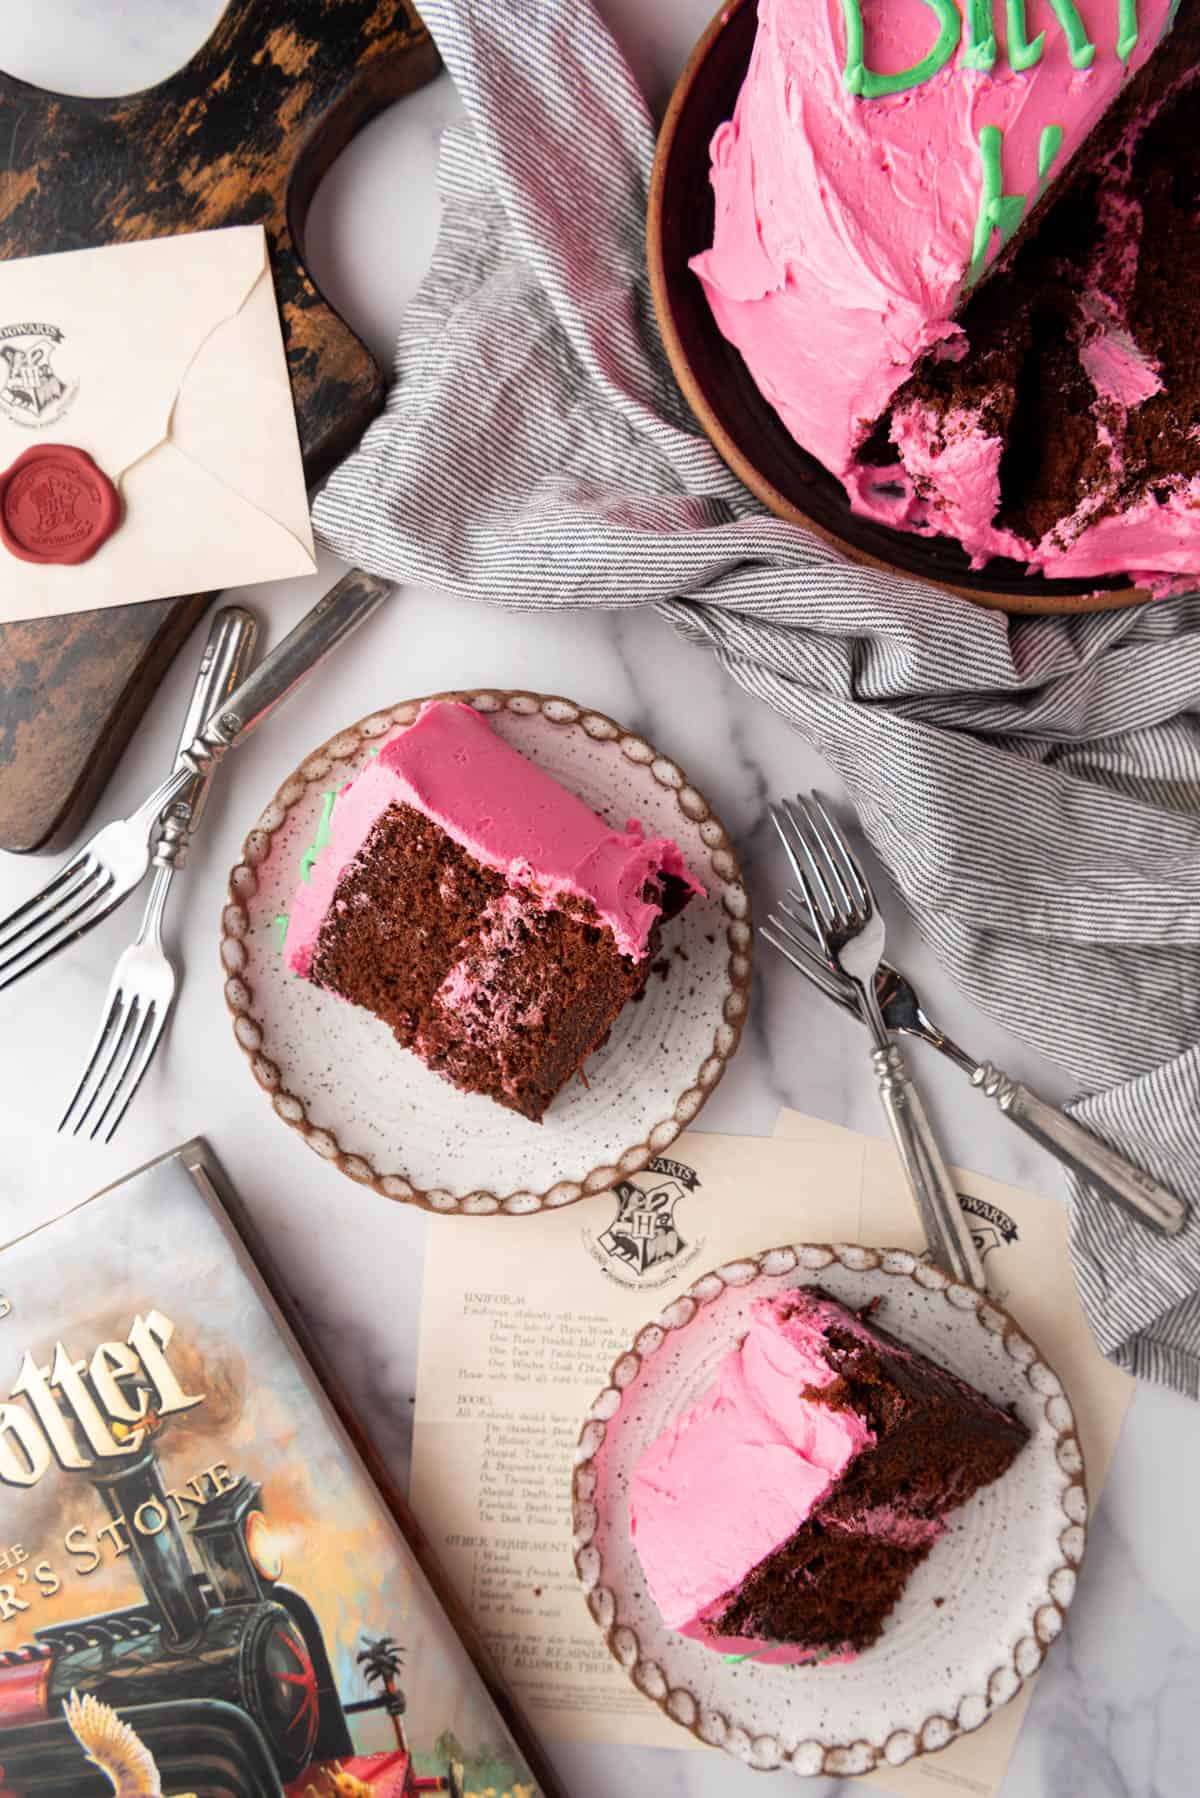
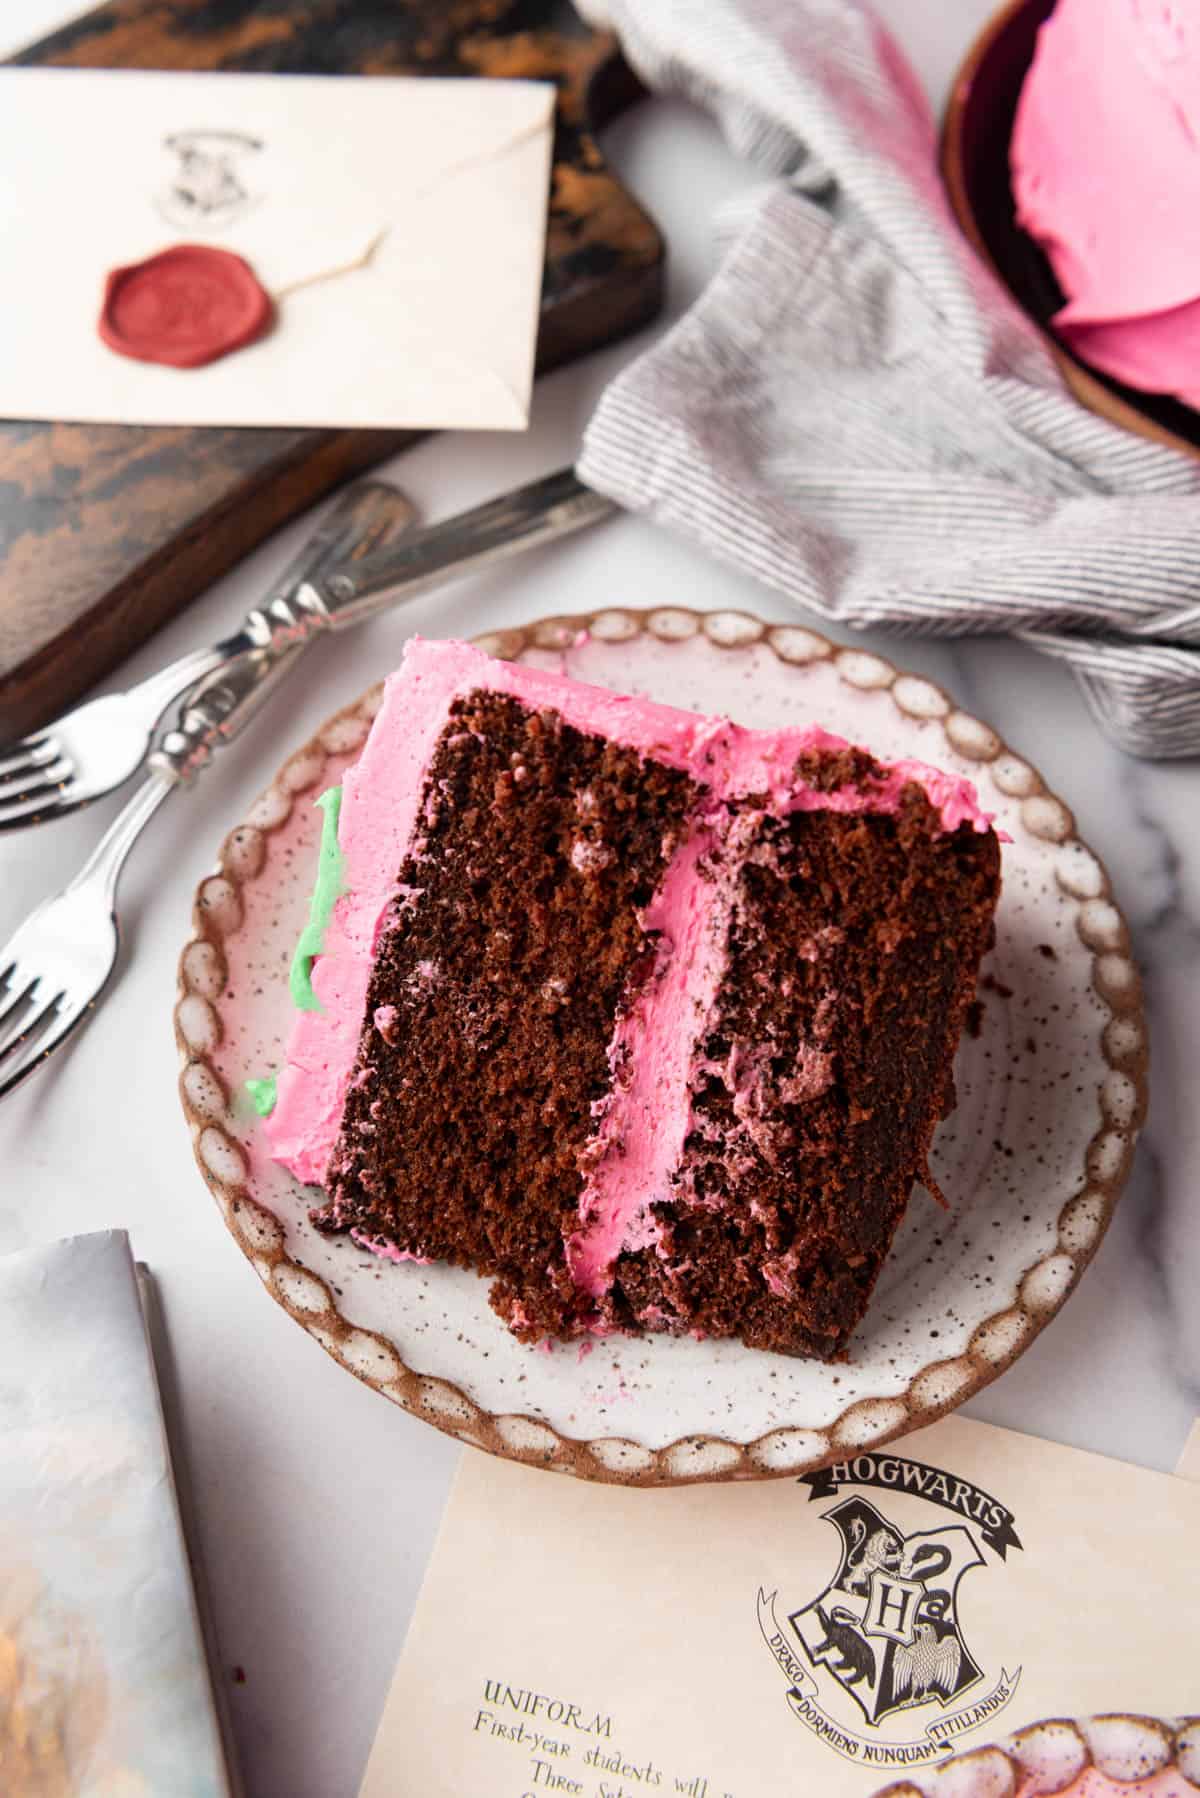
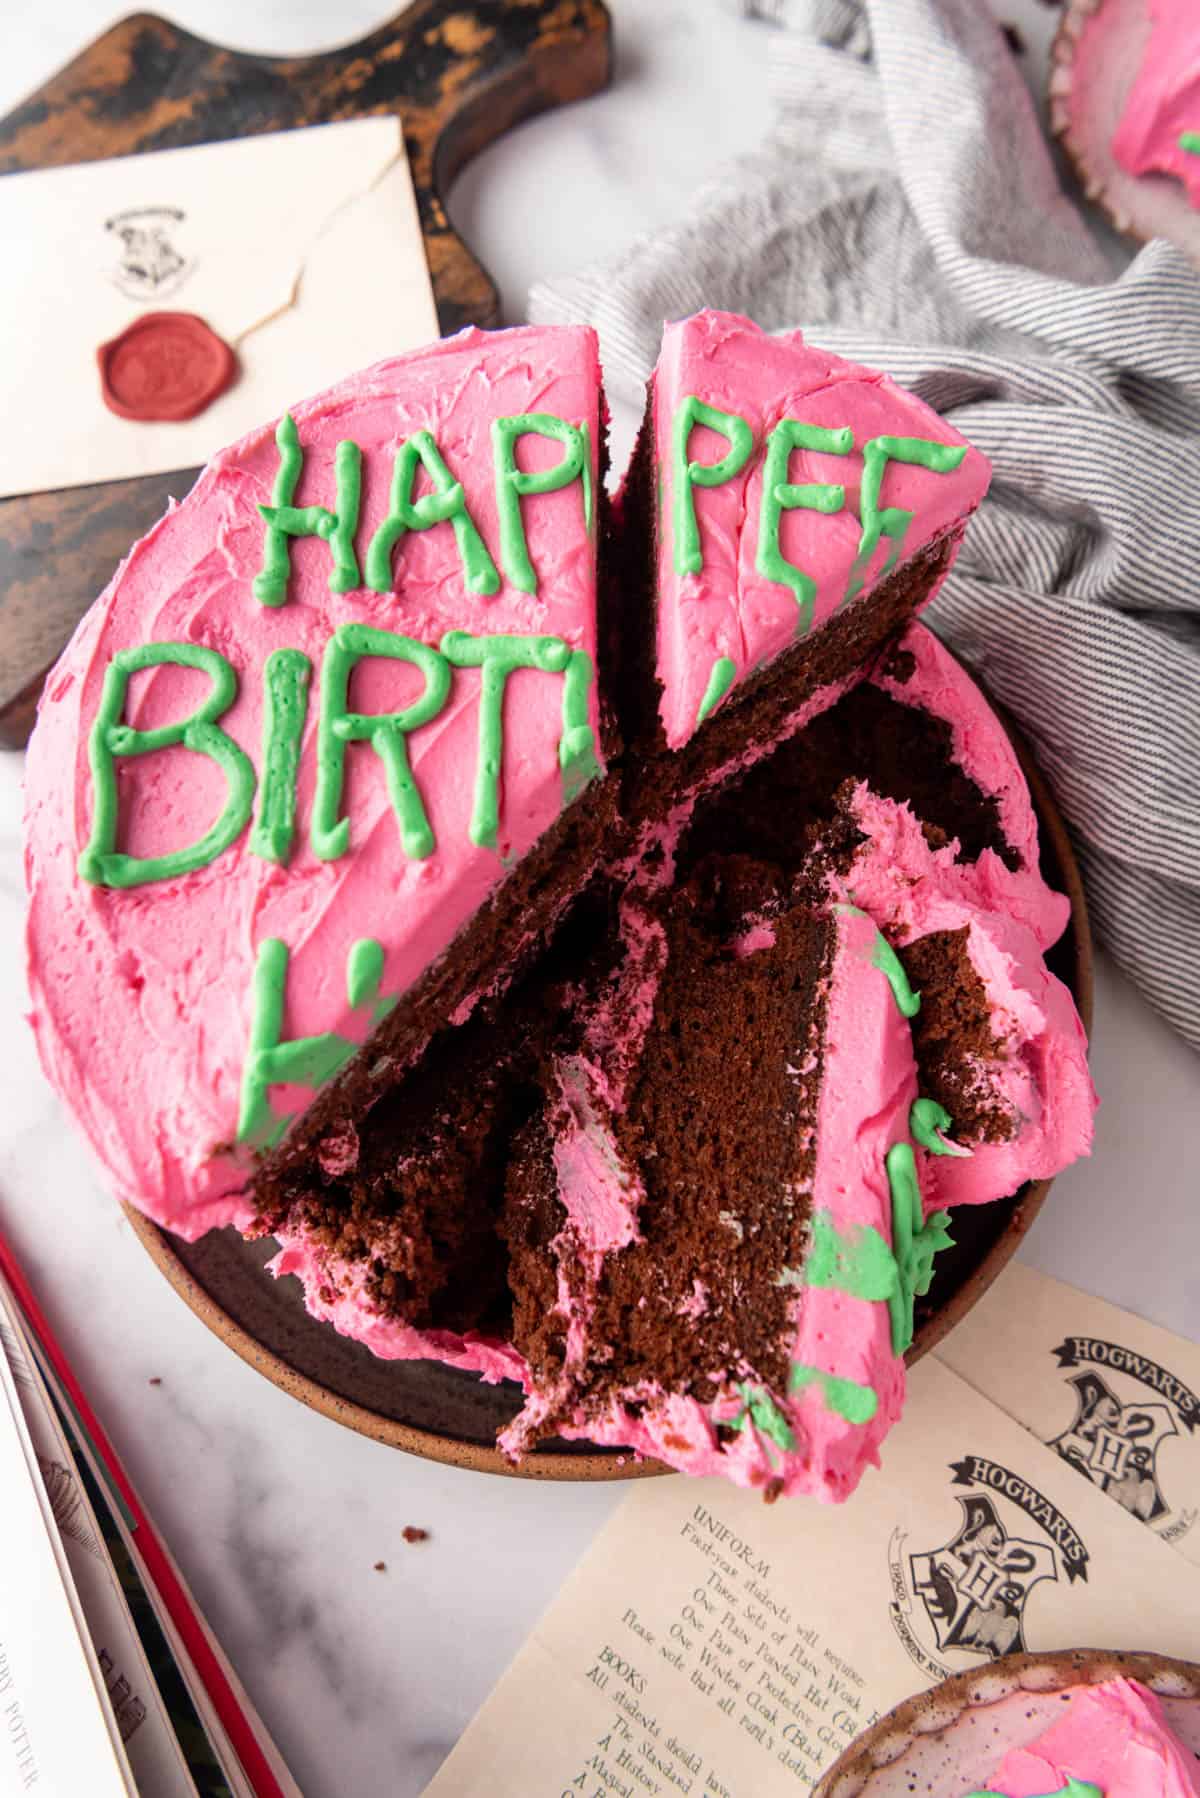
I made my version of Harry’s birthday cake by using our family-favorite chocolate cake recipe paired with a classic buttercream frosting dyed bright pink and green. Not only did this cake taste incredible, but it was fun and easy to make because it is supposed to look rustic and haphazard – like it has been sat on even! No worries about perfect piping or anything.
What You Need to Make a Chocolate Cake
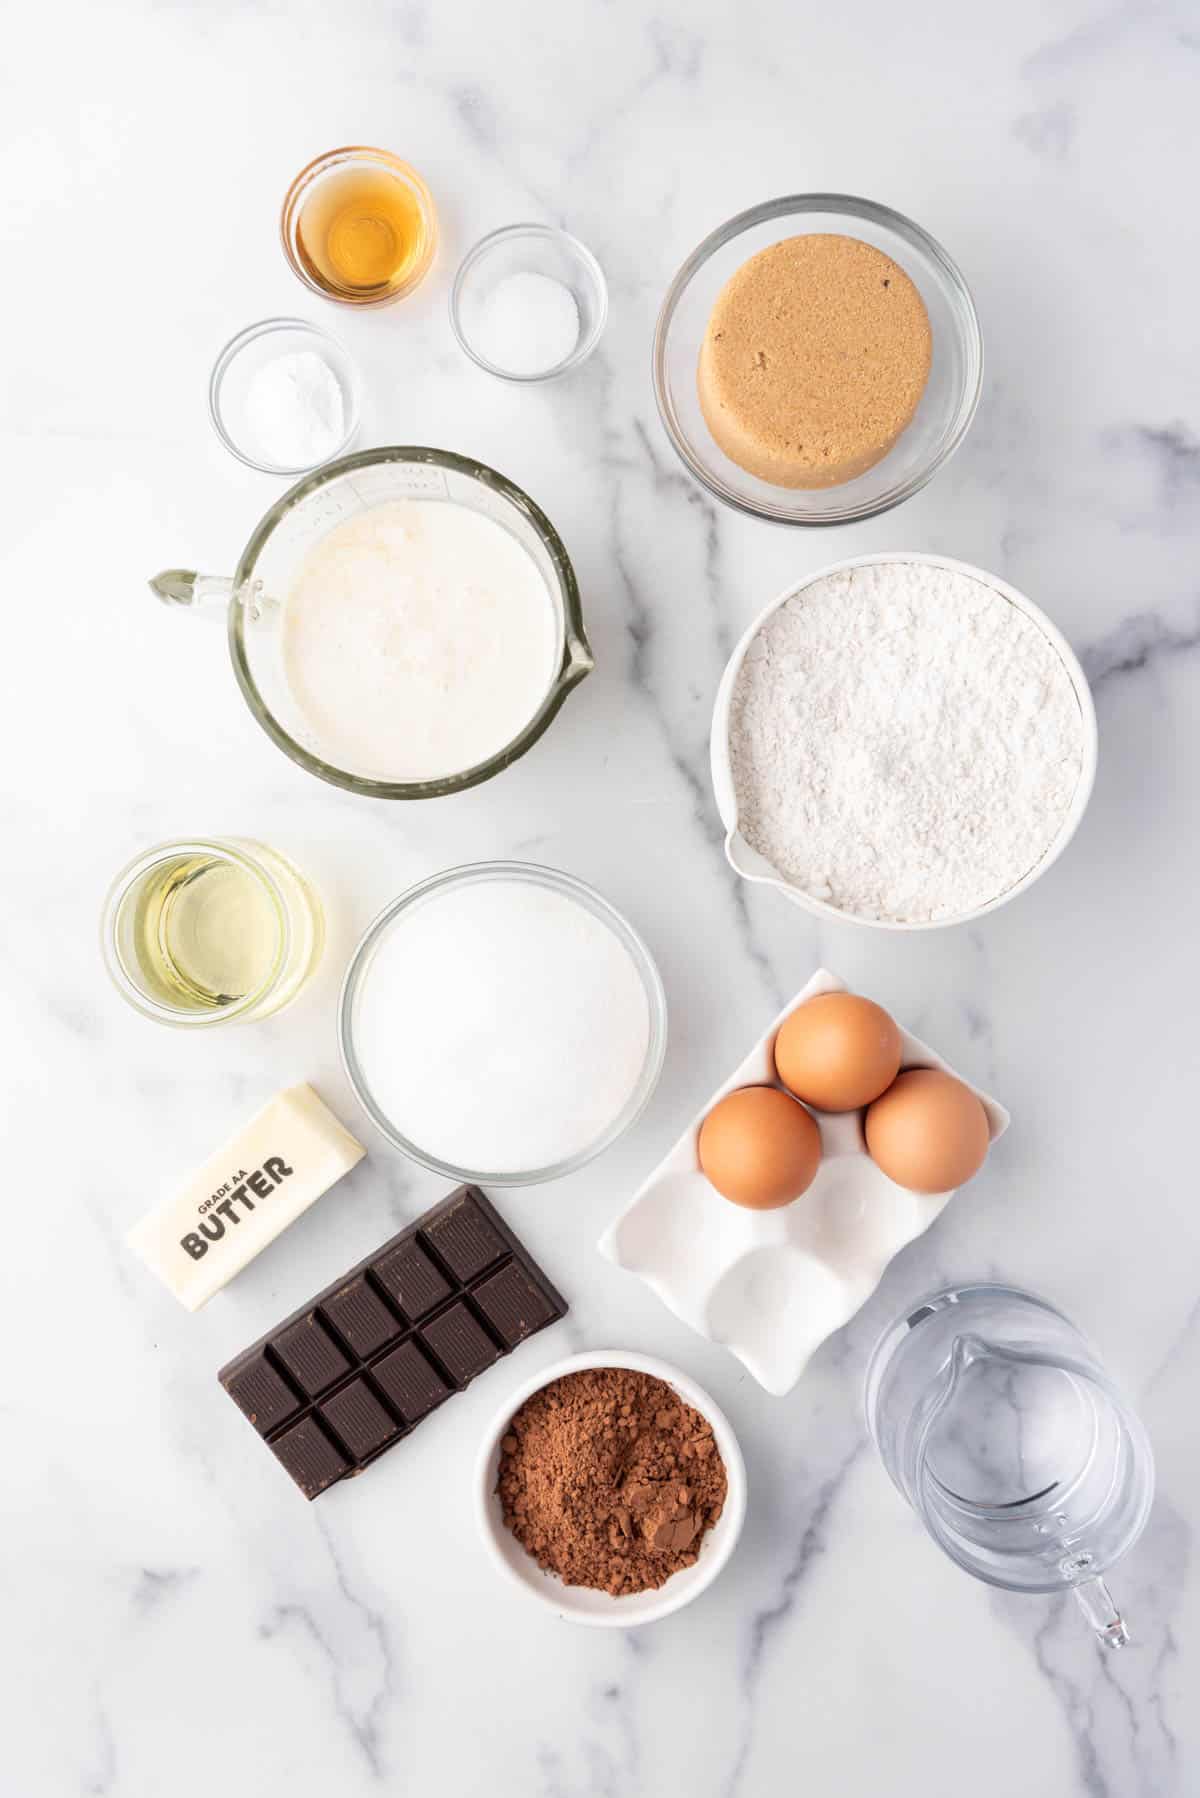
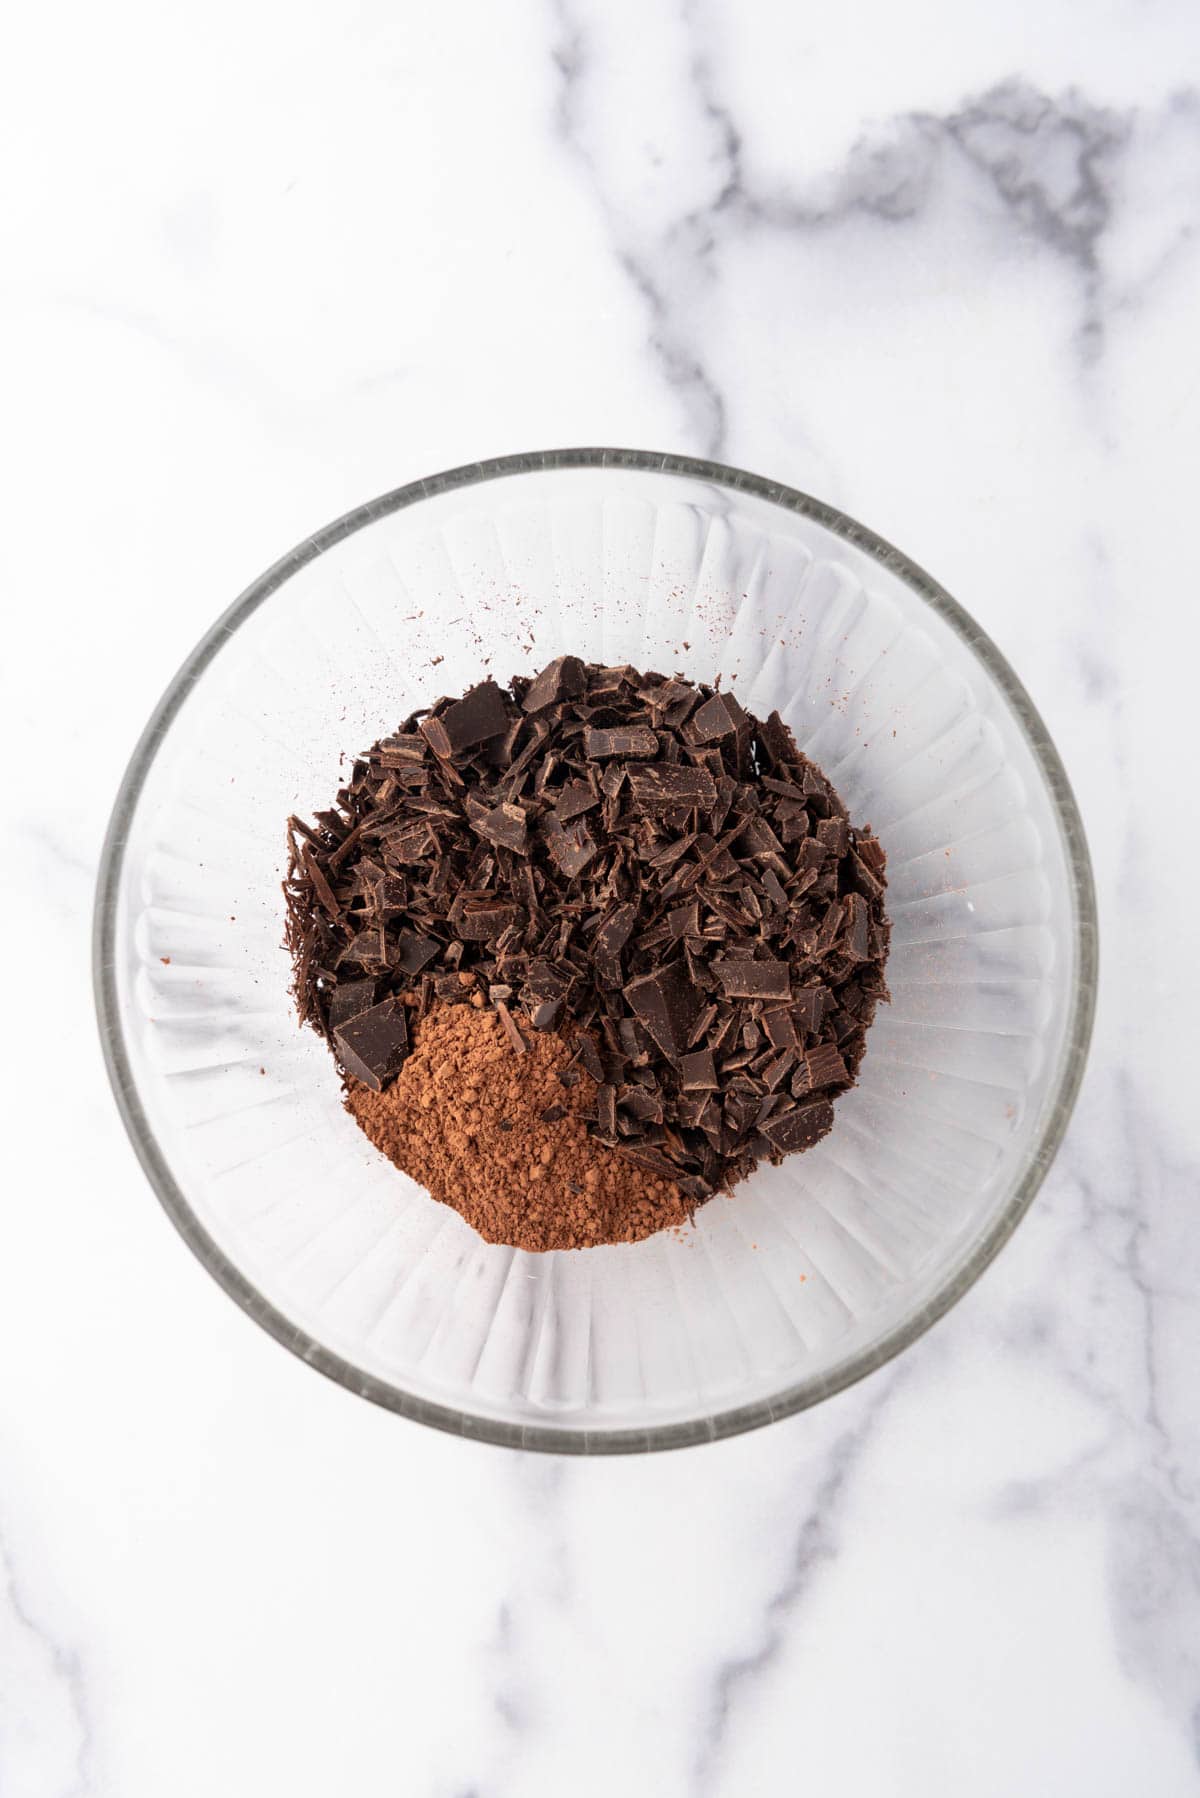
- Chocolate – This is a chocolate cake so unlike other chocolate cake recipes that only use cocoa powder, my version has both cocoa powder AND chopped semisweet or bittersweet chocolate for a truly delicious chocolate cake experience.
- Sugar – I use a combination of granulated sugar and light brown sugar for the perfect amount of sweetness and depth of flavor.
- Cake Flour – You can bake this cake with an equal amount of all-purpose flour, but it has an even softer, lighter crumb from cake flour. See the recipe notes for a good cake flour substitute using cornstarch.
- Eggs – Using room temperature eggs helps the ingredients combine better and the cake rise more evenly.
- Butter & Oil – I like the combination of both butter and oil in this cake batter because the oil keeps the cake extra moist while the butter imparts flavor and richness.
- Vanilla Extract – An important ingredient in most baking because it rounds out other flavors and adds dimension to the finished bake.
- Buttermilk – Adds dimension and tang to the cake as well as contributing to the deliciously soft & moist texture.
- Baking Soda – This leavening agent helps the cake rise so it is light and tender.
- Salt – Another must-have ingredient so your bake doesn’t taste bland.
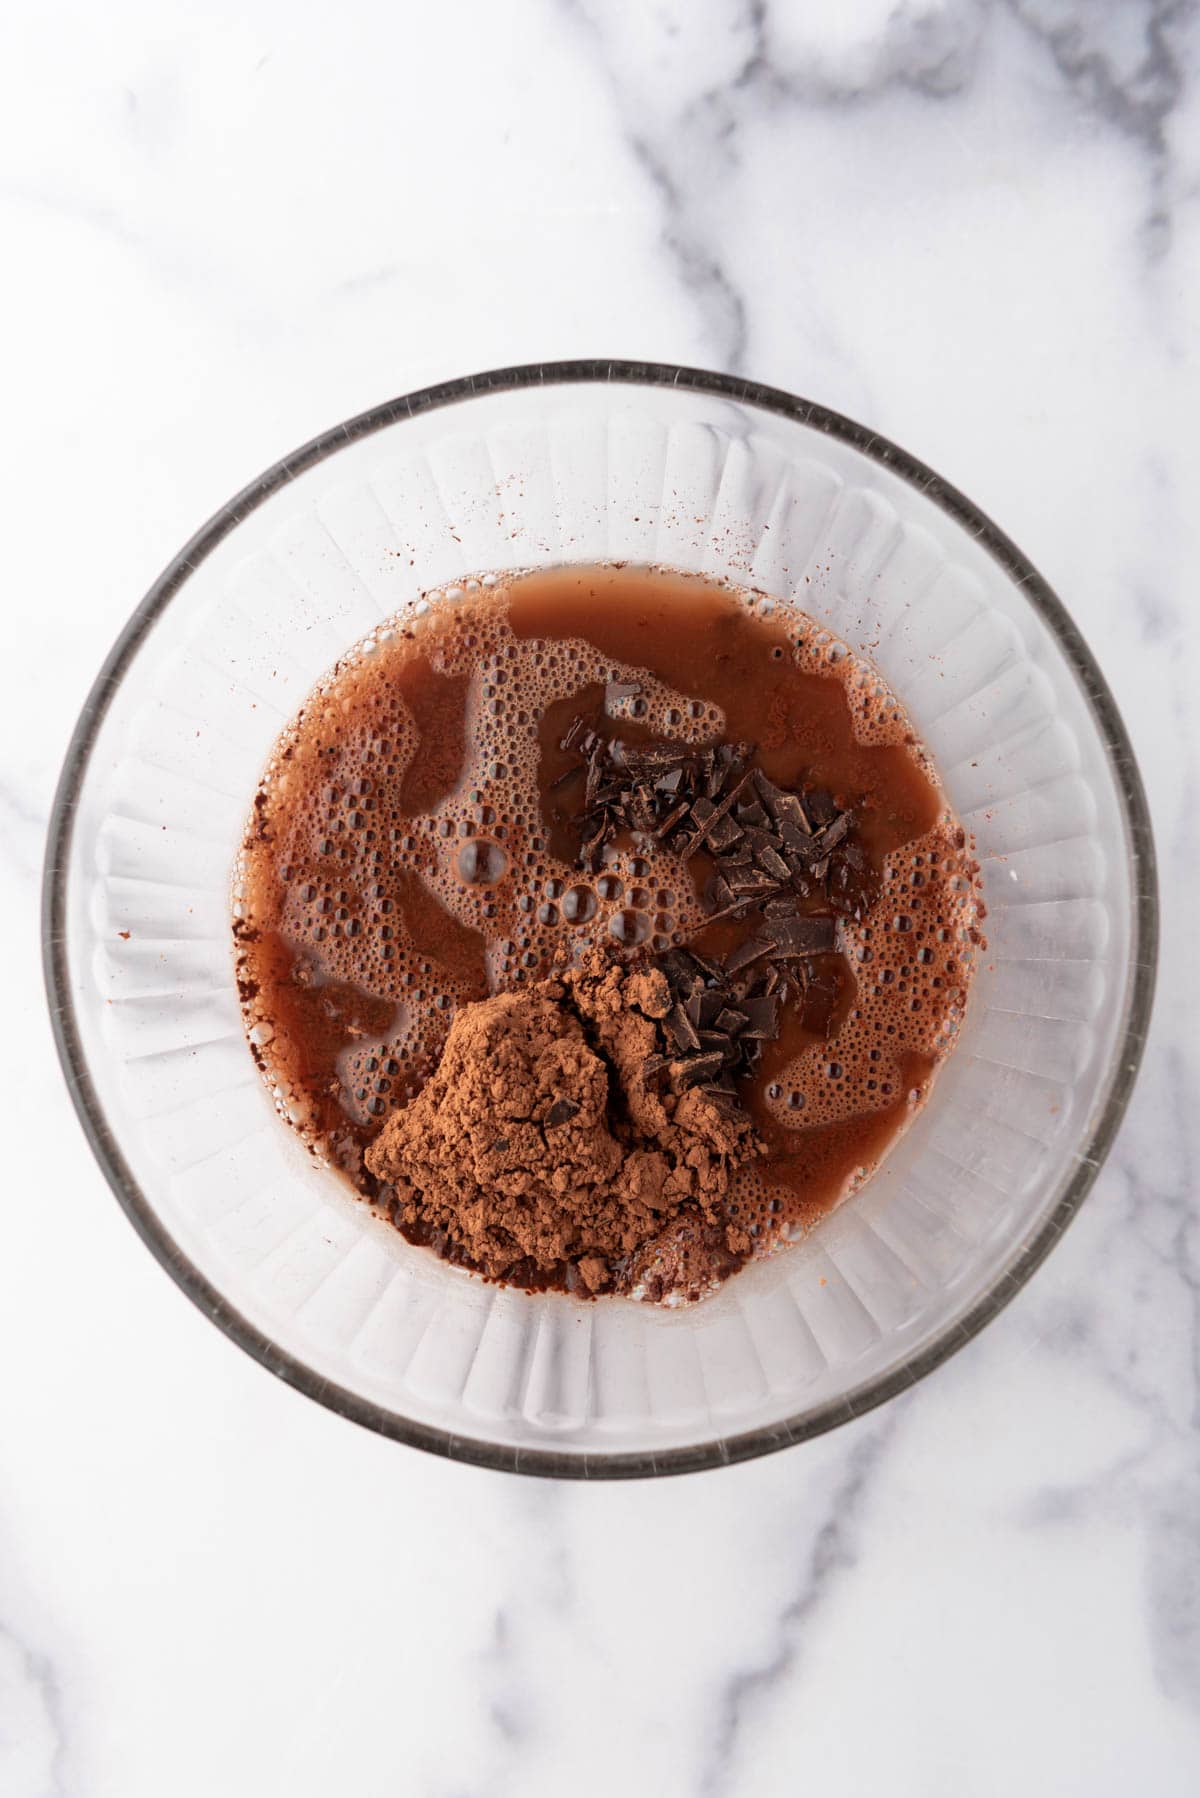
- Boiling Water – I either let my tap run until the water is super-duper hot or heat a cup of water in the microwave for a minute or two. Not only does this melt the chopped semisweet chocolate but it makes the cocoa powder bloom for an even more intense chocolate flavor.
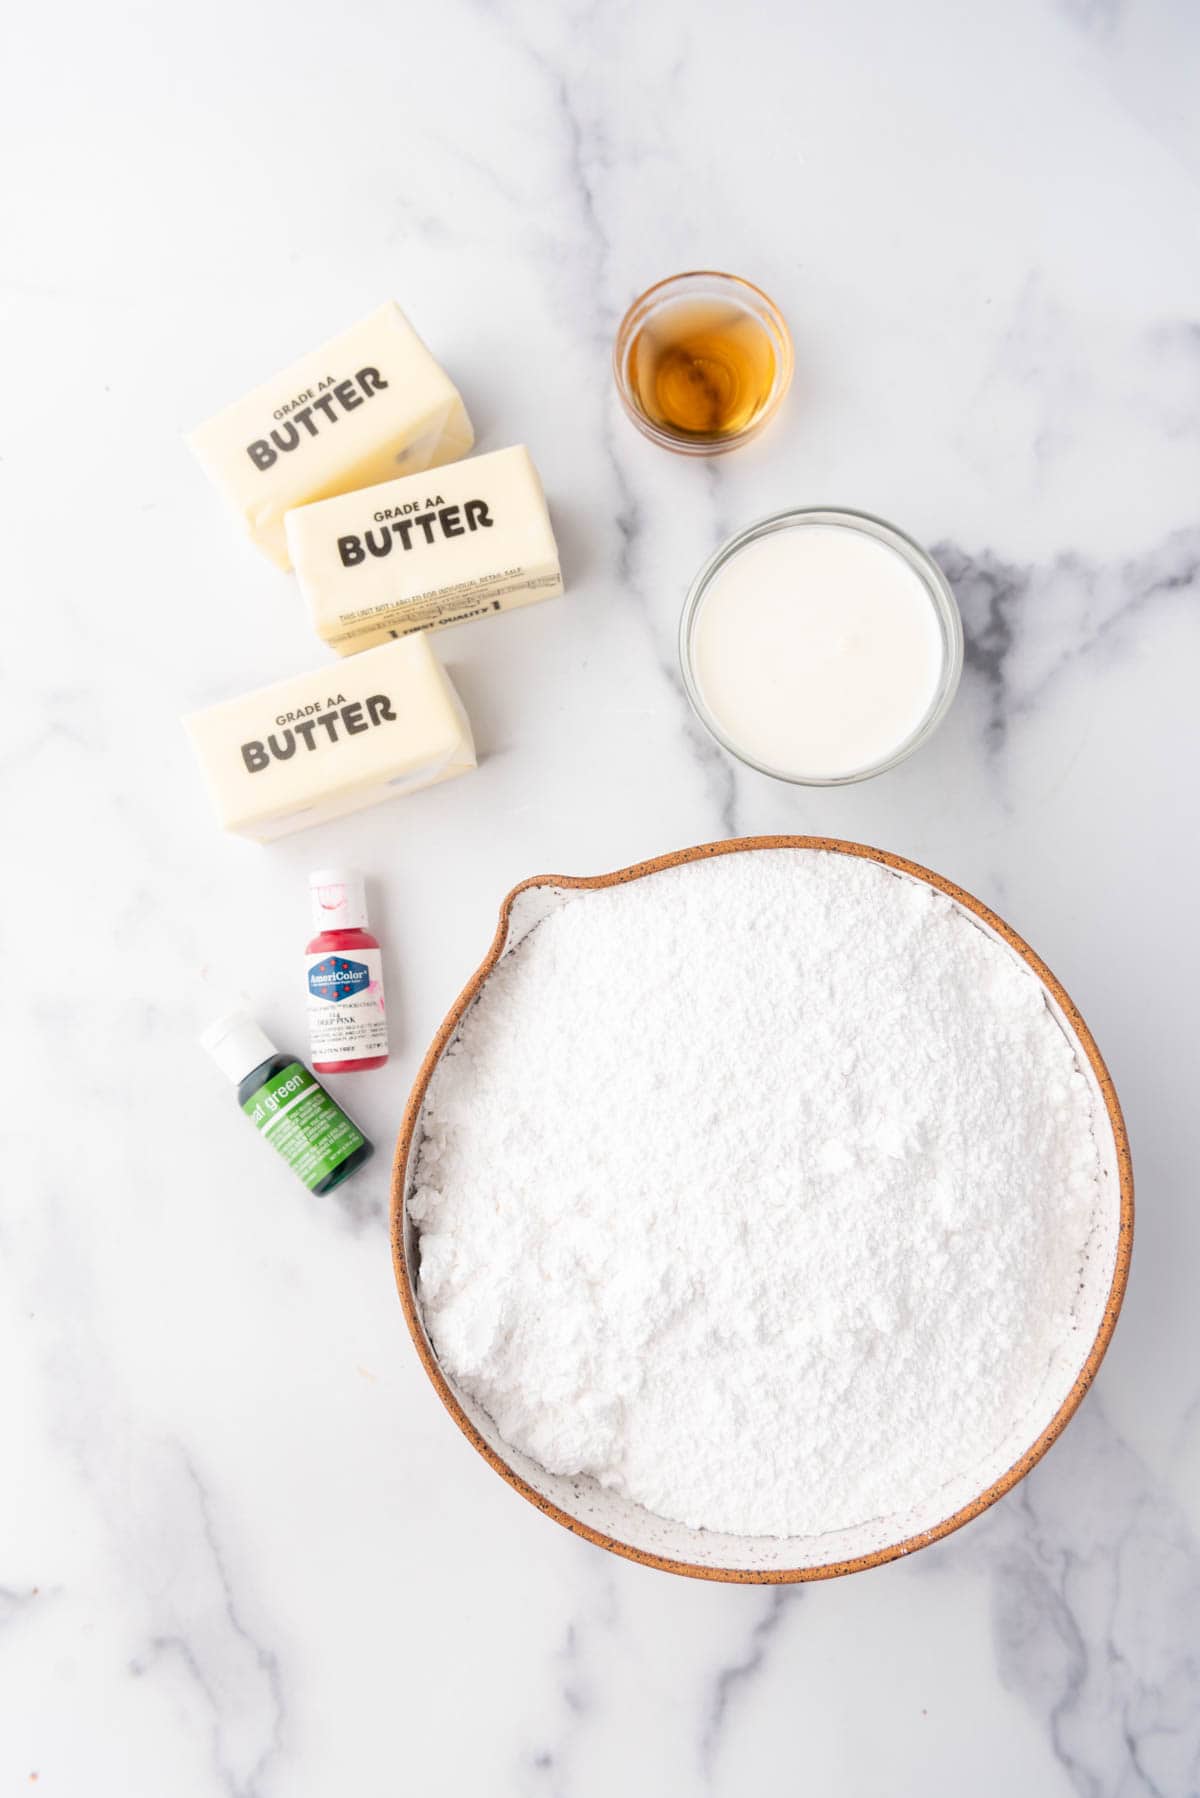
What You Need to Make Vanilla Buttercream Frosting
- Powdered Sugar – The recipe below makes the perfect amount of frosting for this size of a cake. It uses powdered sugar for a perfectly sweet finish.
- Salted Butter – Let this sit out on the counter for an hour so it can soften before mixing.
- Vanilla Extract – I always use my homemade vanilla extract.
- Heavy Cream – You can get away with just using milk here if you don’t have heavy cream on hand.
- Food Coloring (affiliate link) – I like using gel food coloring (affiliate link) which you can get at hobby or craft stores or order online. AmeriColor and Chefmaster are my two favorite brands. I used “deep pink” and “leaf green” to get the colors I wanted for this cake.
How to Make Harry Potter’s Birthday Cake
- Prep. Start by pulling out your ingredients so they can come to room temperature and preheating your oven to 350 degrees F. Line two 8-inch or 9-inch cake pans with parchment paper circles and spray with baking spray. I like using 8-inch pans for this cake because it makes for nice, tall layers, but the batter really fills up the pans and takes longer to bake than if you use 9-inch pans. I’ll include bake times for either approach below.
- Melt the chocolate. Combine the chopped chocolate, cocoa powder, and hot water in a medium bowl. Let it sit for about 5 minutes until the chocolate has melted, then give it a good stir. It’s okay if it’s not super smooth. Add the buttermilk and vanilla extract and set aside.
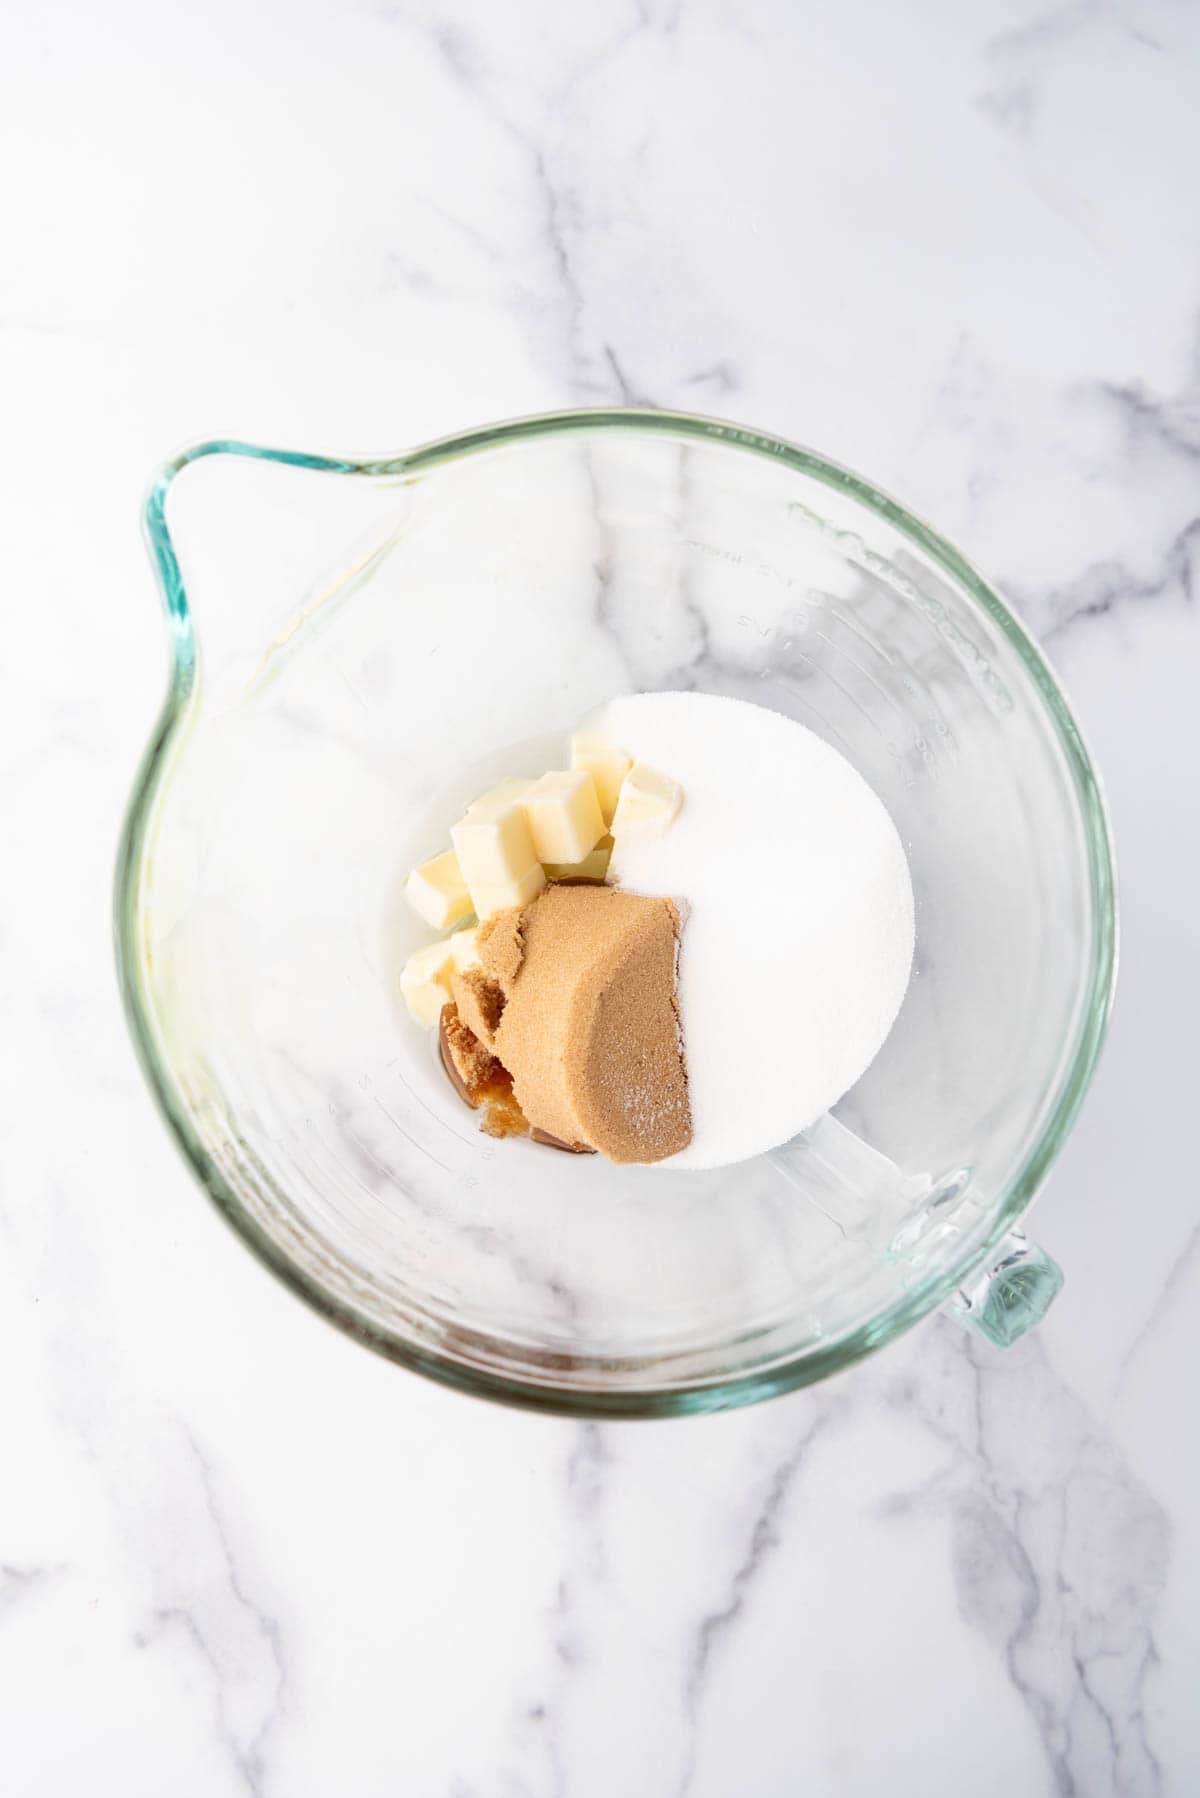
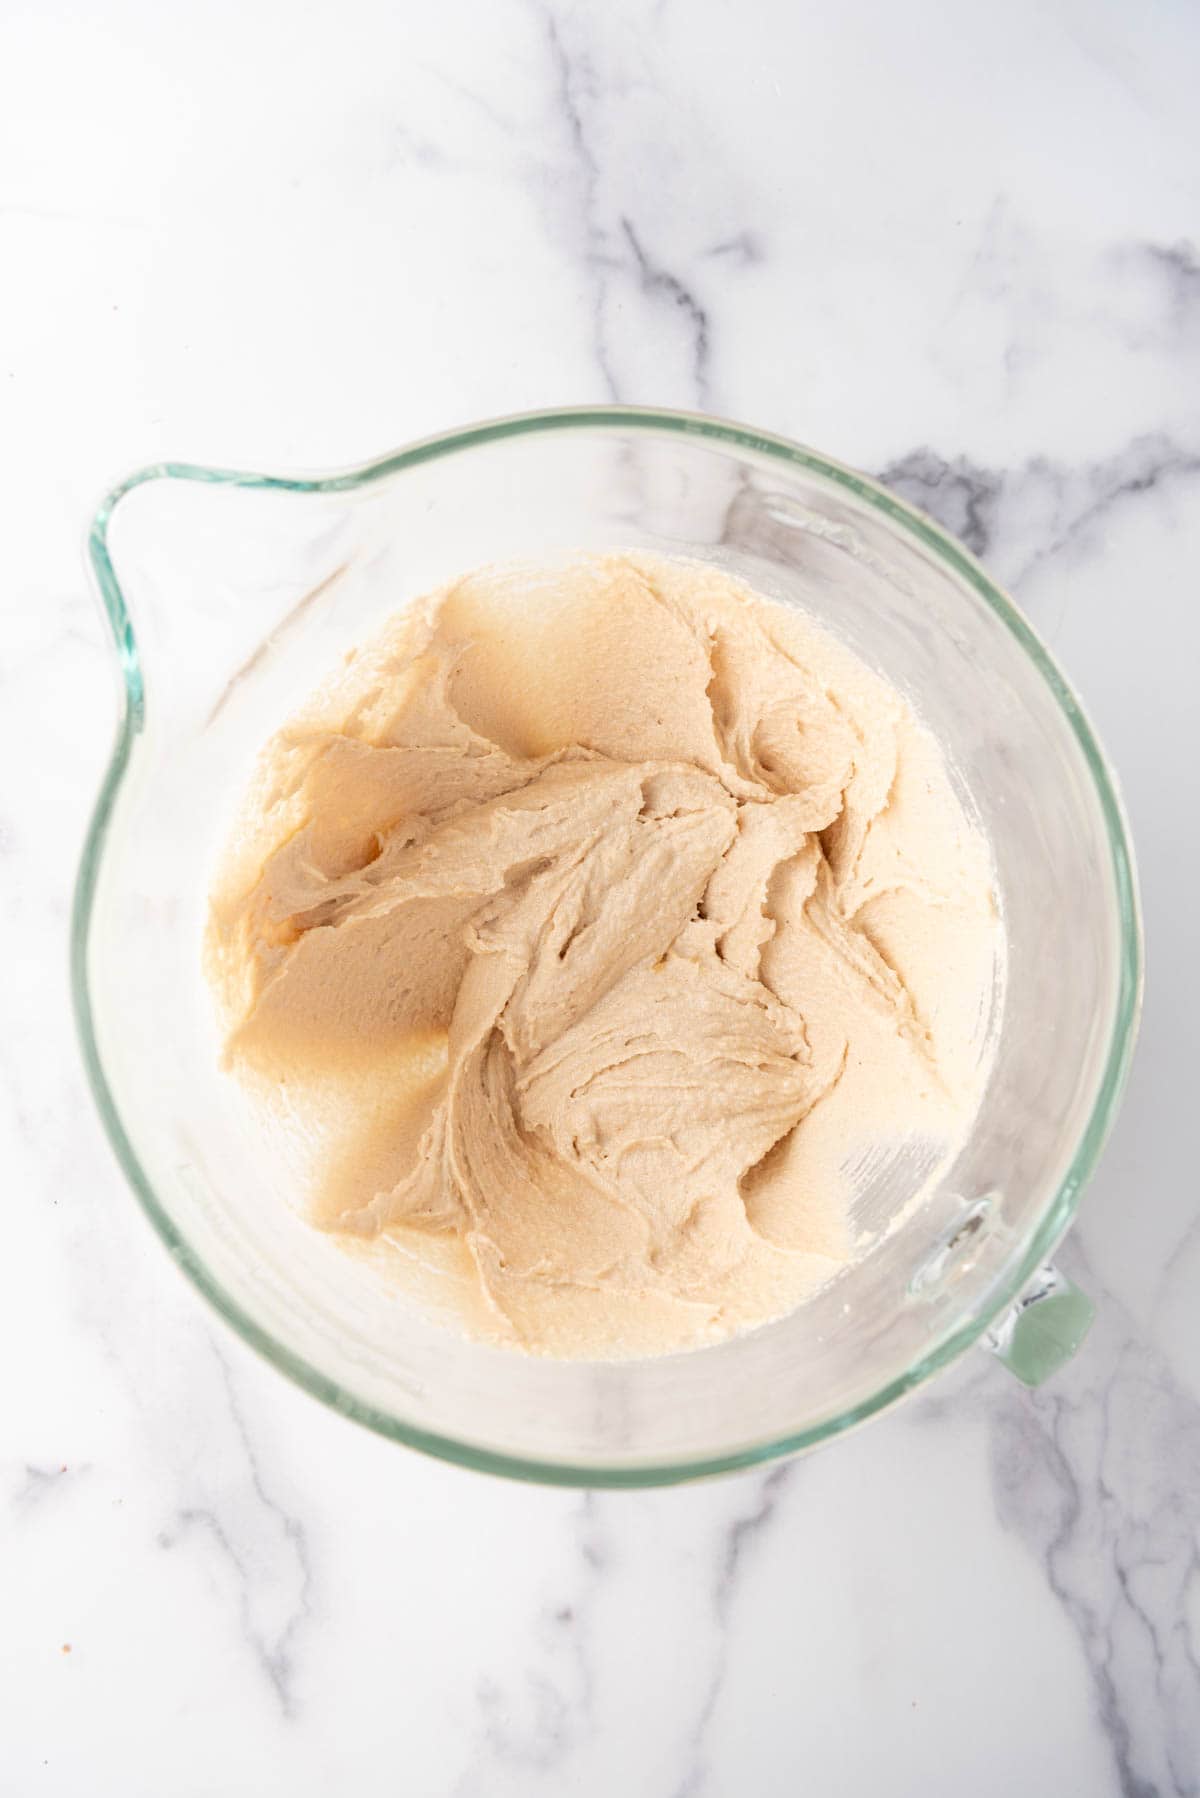
- Cream butter, sugar, and oil. While the chocolate is melting, beat the softened butter, oil, granulated sugar, and brown sugar together in a large mixing bowl for 2-3 minutes until creamy and light.
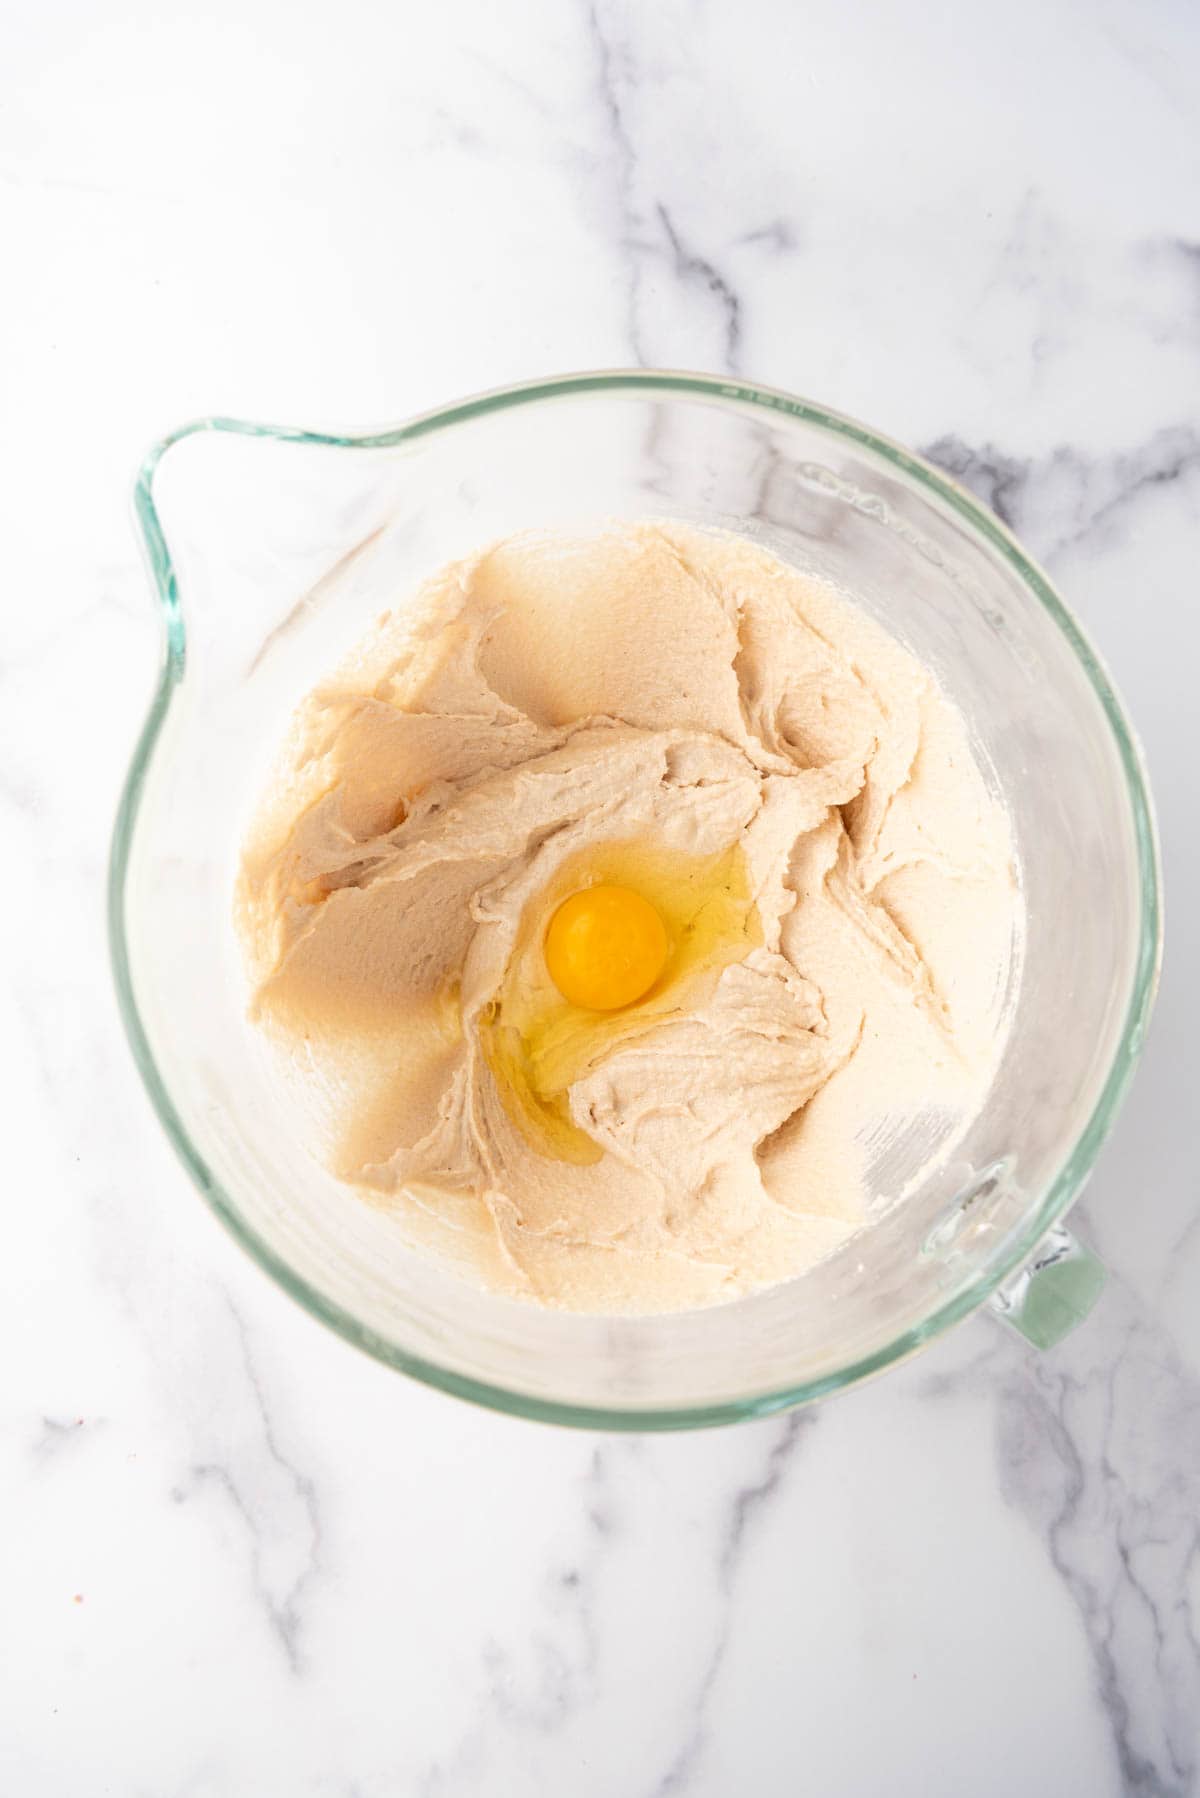
- Add eggs. Mix in the eggs one at a time, stopping to scrape the bottom and sides of the bowl.
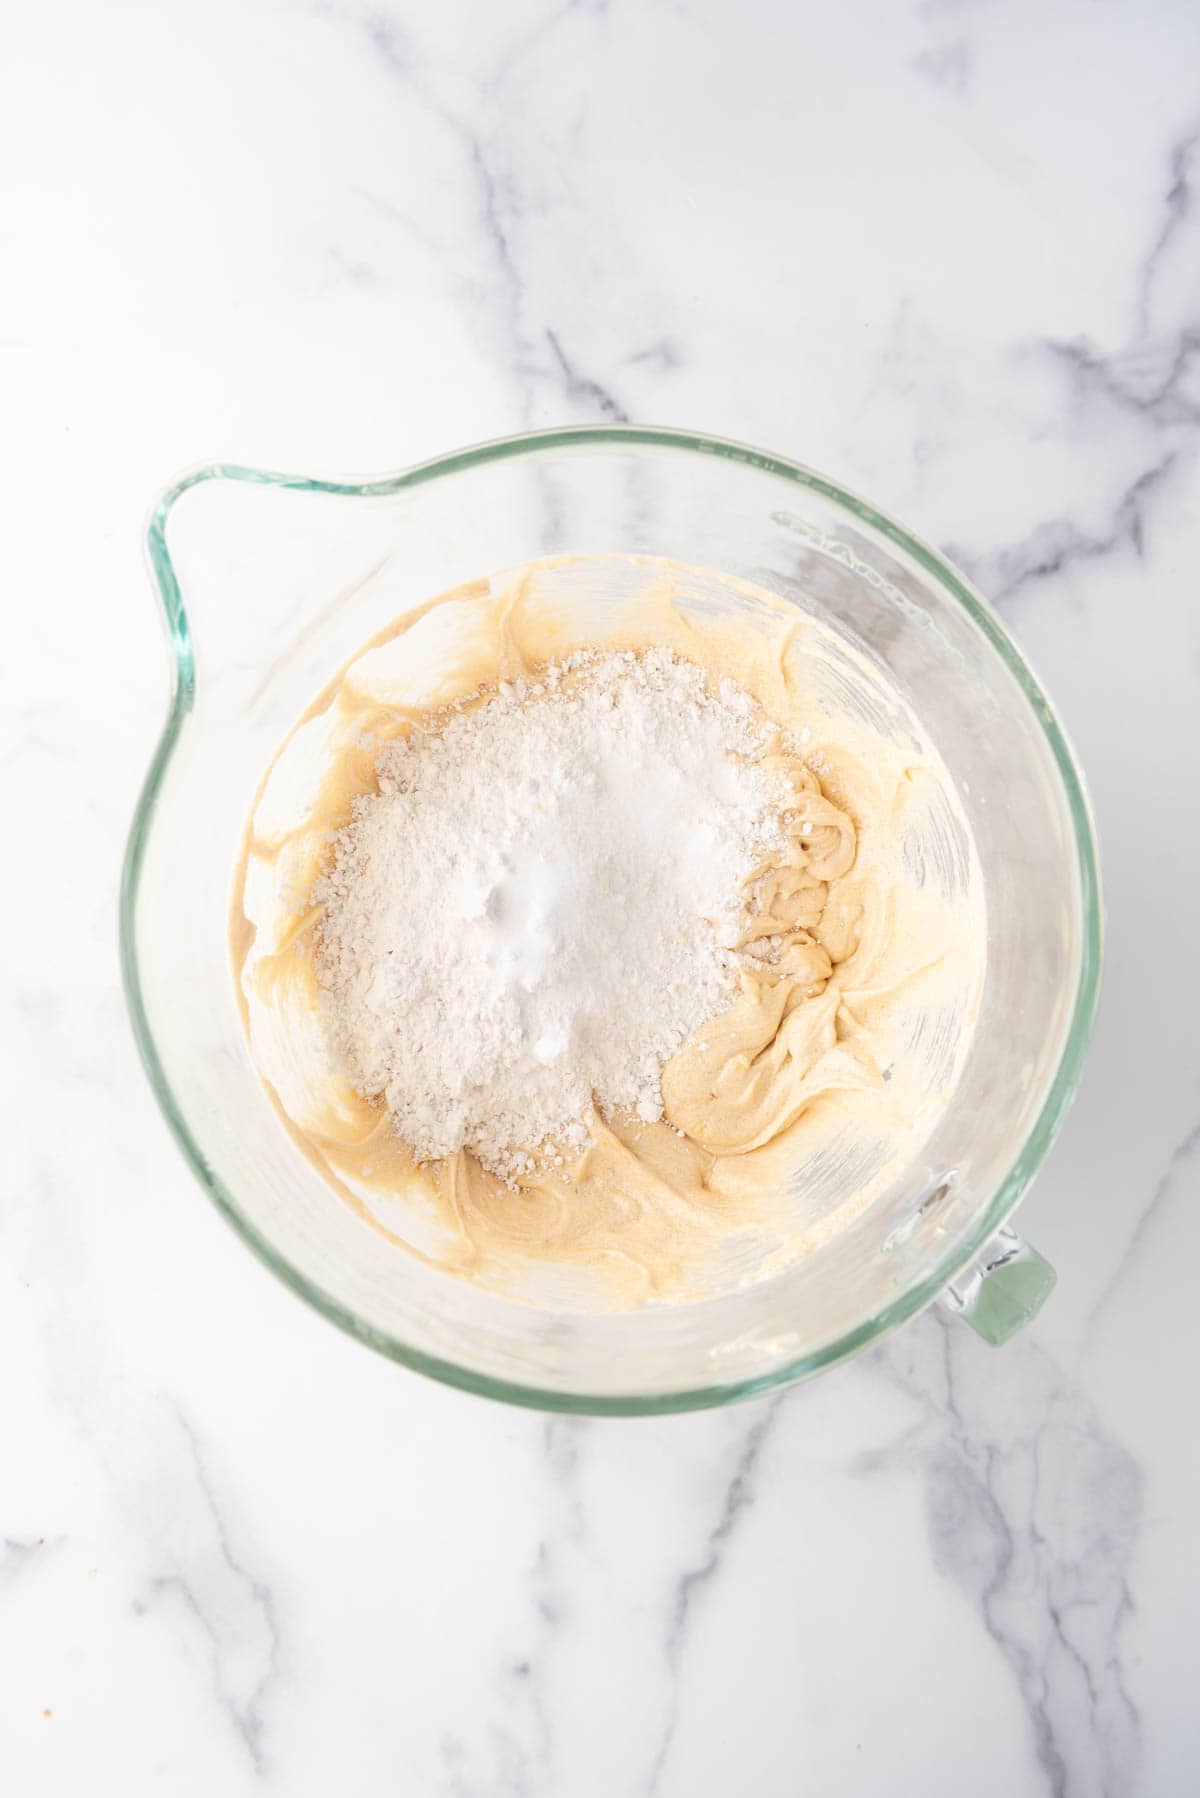
- Alternately add dry and wet ingredients. Add about half of the flour with the baking soda and salt. Mix on low speed just until combined.
- Add the chocolate mixture. Pour about half of the chocolate buttermilk mixture into the batter and mix on the lowest setting until incorporated. Scrape the bottom and sides of the bowl, then repeat with the remaining flour and remaining chocolate mixture.

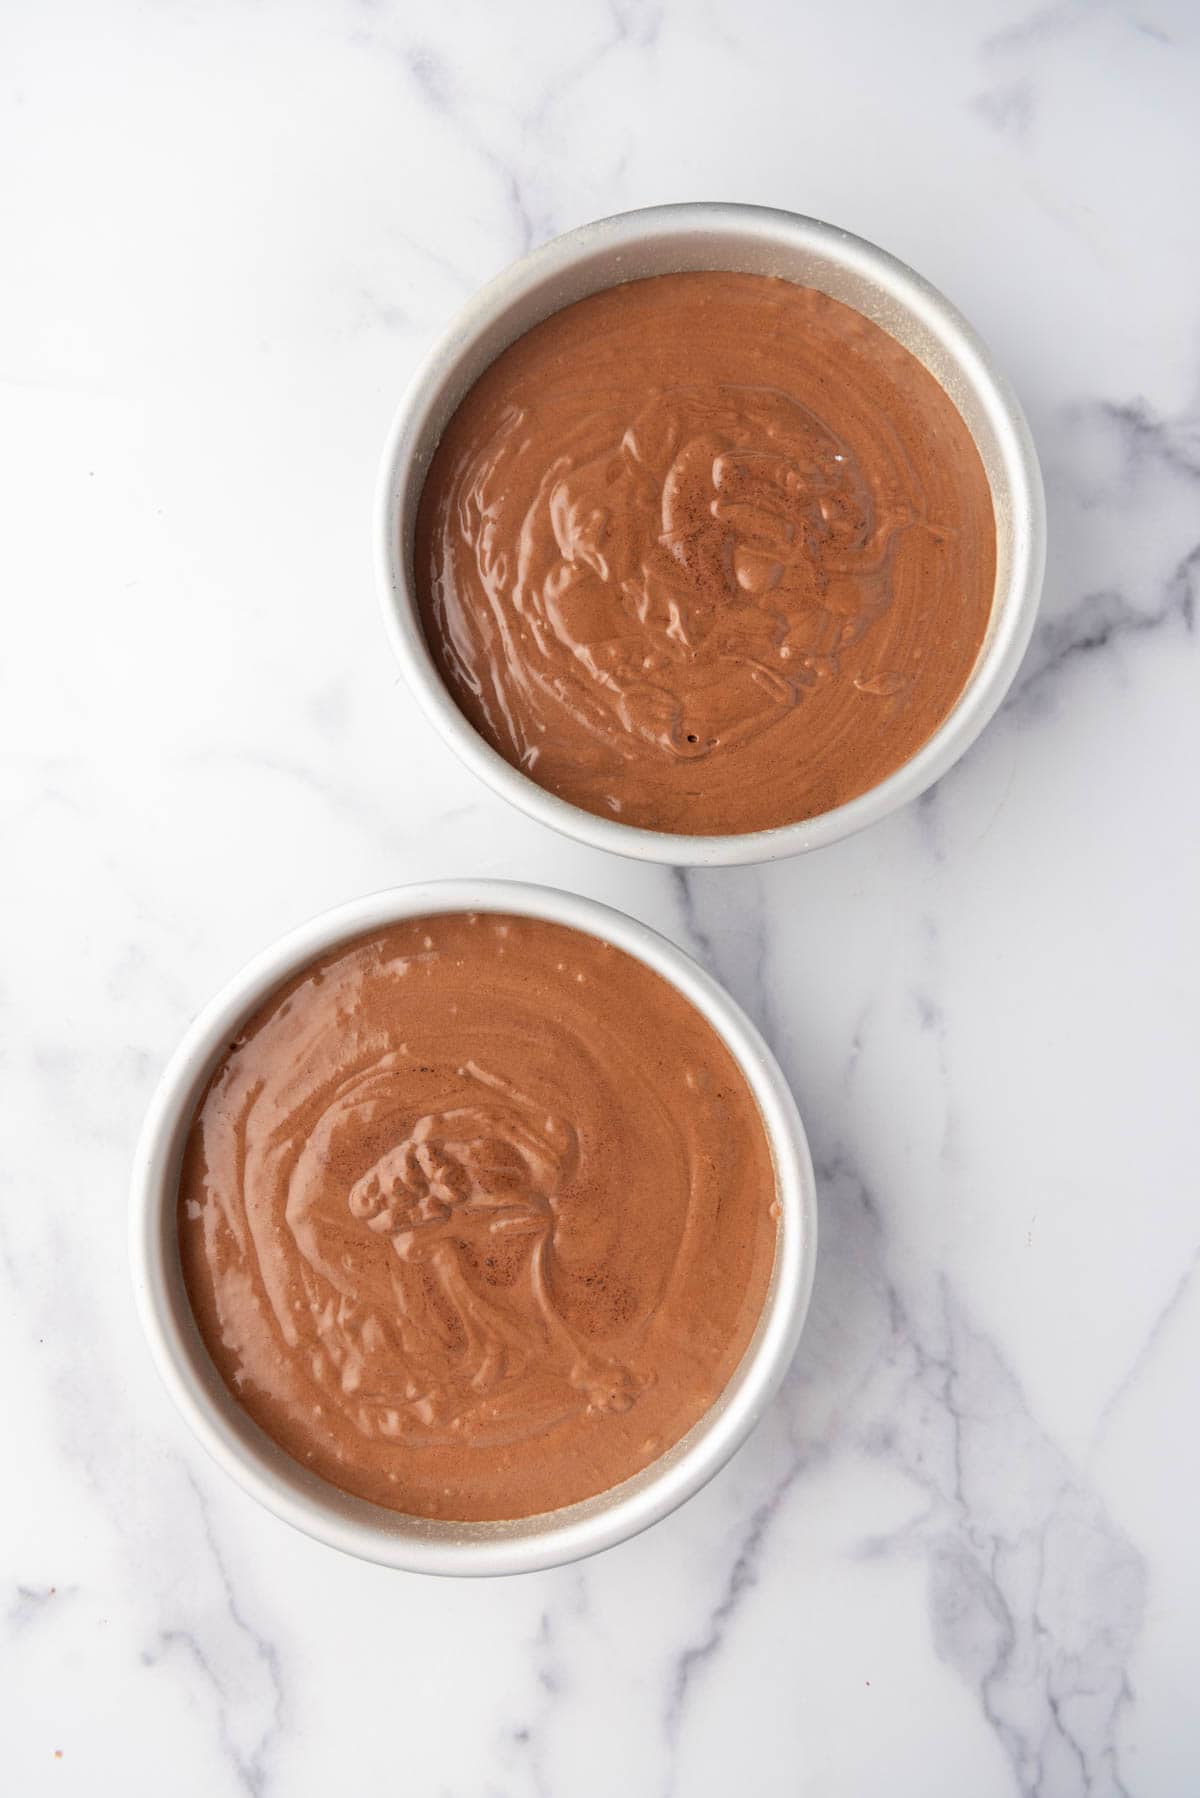
- Divide batter into pans and bake. Evenly divide the cake batter between your two prepared pans. If you really want to make sure they are even you can use a kitchen scale, or you can just eyeball it. If using two 8-inch pans, bake the cakes for 35 to 40 minutes until a skewer or toothpick inserted into the center of the cakes comes out clean with just a few crumbs sticking to it. If using two 9-inch pans, the bake time will be closer to 28 to 30 minutes.
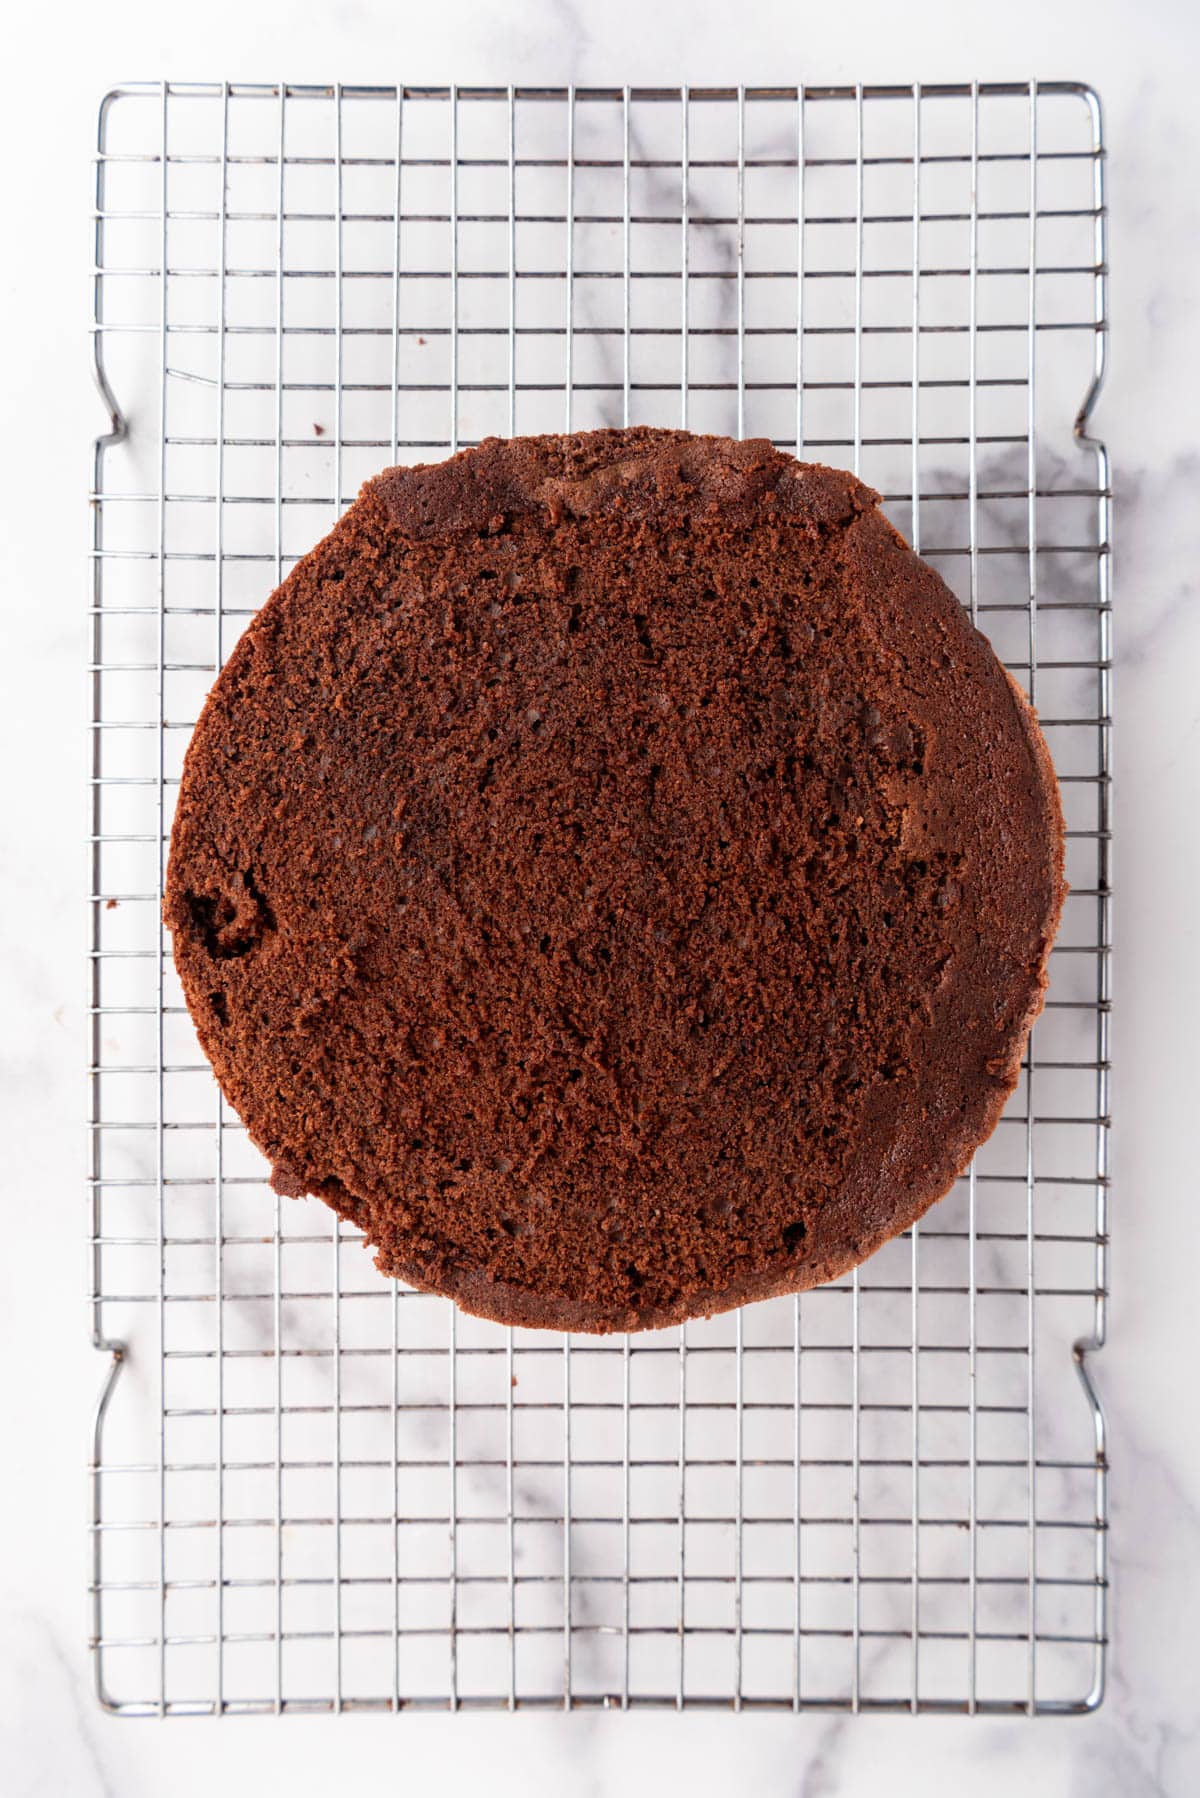
- Cool & level. Once the cakes have finished baking, turn them out onto a wire cooling rack to cool completely before assembling the cake. Use a cake leveler tool or a long serrated knife to level off the top of the cake if it is rounded.
PRO TIP: Using room temperature ingredients actually helps cake bake more level and avoids it rounding too much, but it is common for thick cakes to round on top slightly. A cake leveling tool is inexpensive and useful if you like to bake.
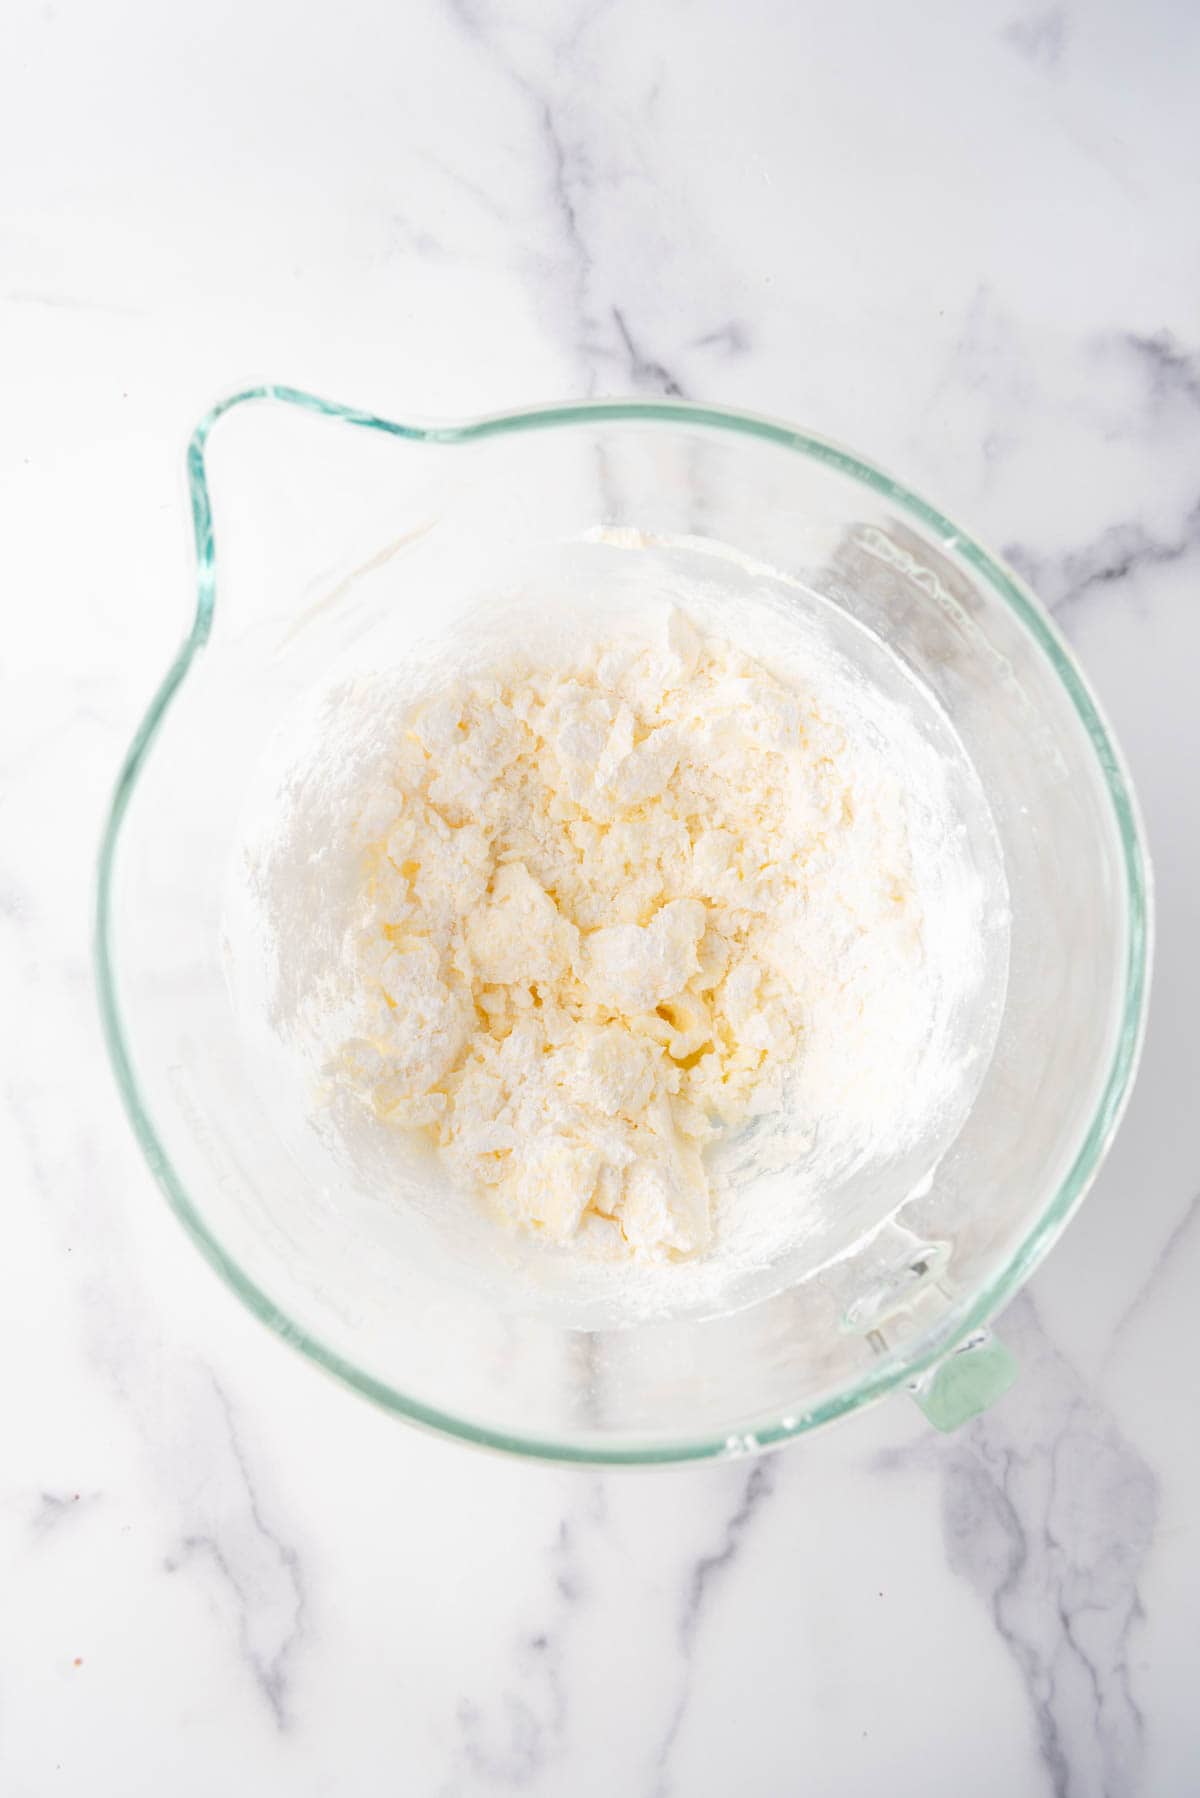
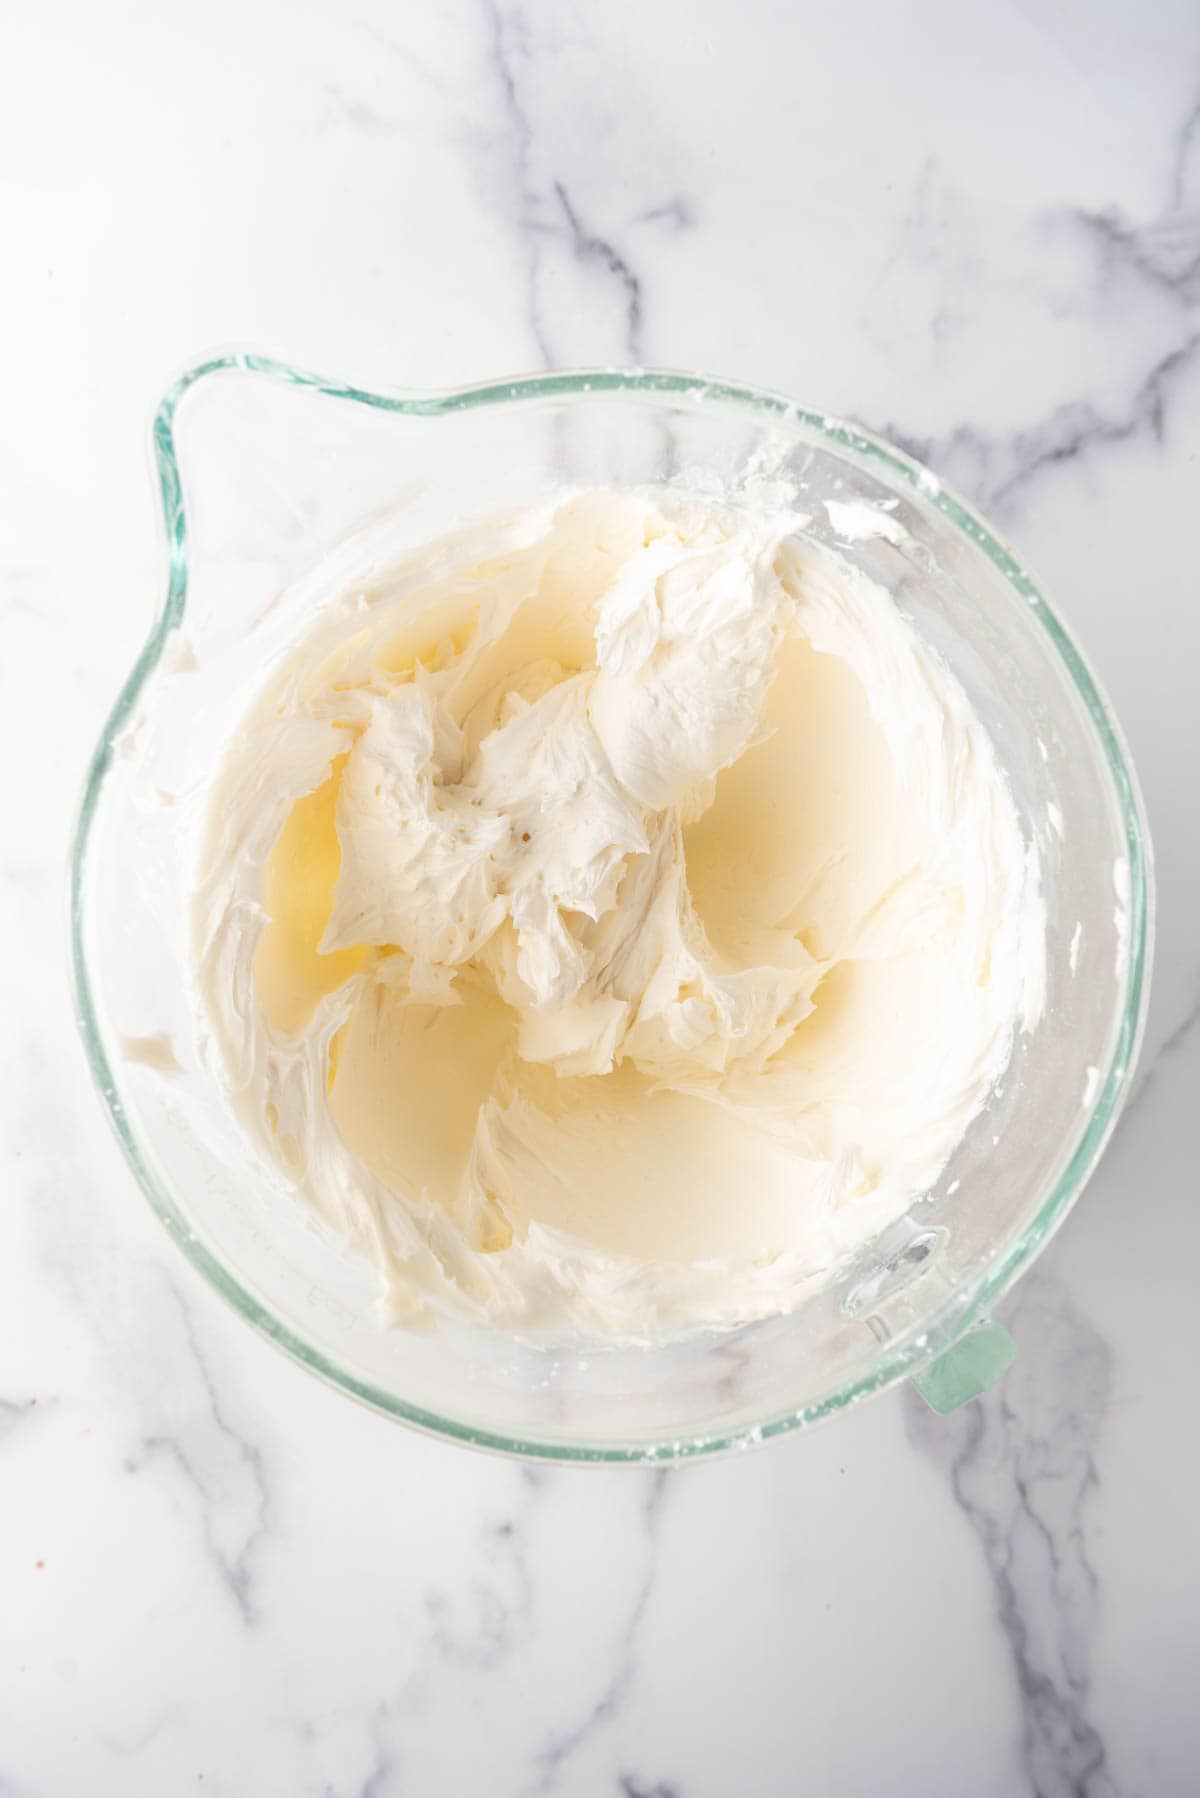
- Make the frosting. Beat the butter in a large butter until creamy and smooth. Add about 2 cups of the powdered sugar at a time, mixing on low speed until it starts to come together before adding more powdered sugar. It doesn’t have to be perfectly smooth or combined before moving on top adding the salt, vanilla, and heavy cream, but you will get smoother, fluffier, better frosting by using this approach.
- Color frosting. Scoop about 1 cup of the plain white frosting into a separate bowl. Add enough green food coloring (affiliate link) to the smaller amount of frosting to get the tint you like. I probably used 3 drops of green gel food coloring (affiliate link) for this green. Do the same thing with pink food coloring (affiliate link) for the larger amount of frosting to cover the cake.
- Assemble. Place one of your cake layers on a serving plate or cake stand and frost with a generous amount of the pink frosting. I just eyeball it and do about 1 ½ to 2 cups of frosting between the layers. Place the second cake layer on top with the sliced or leveled side down to contain the crumbs and frost the top and sides with the remaining pink frosting. I like to keep things rustic with imperfect swoops and strokes of frosting rather than going for a smooth, polished look for this cake.
PRO TIP: If you feel like your frosting is too pale and you want more vibrant colors without continuing to add more food dye, try making the frosting in advance, then covering it with plastic wrap or a lid to prevent it from drying out and letting it sit for a few hours. The colors will intensify over time.


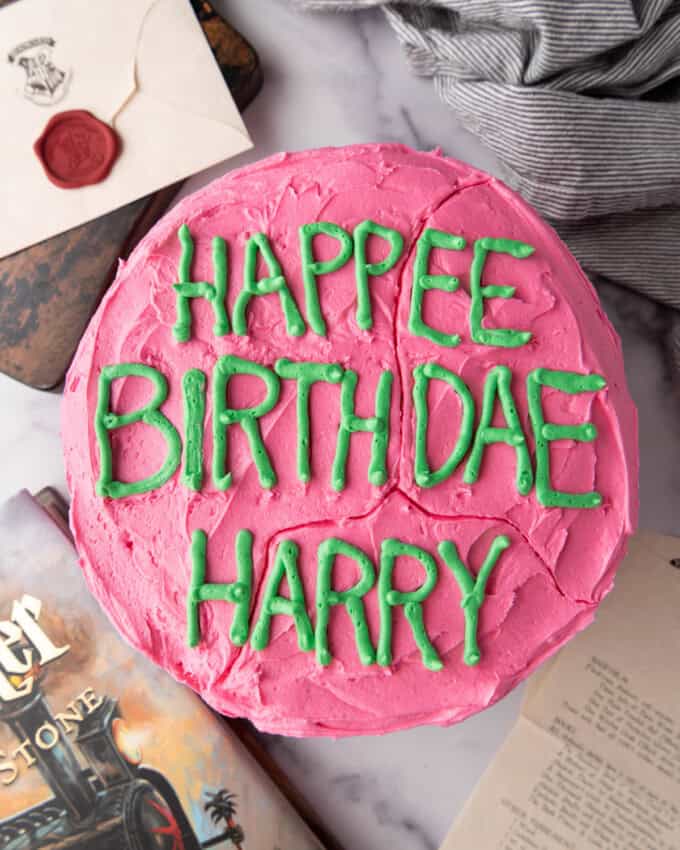
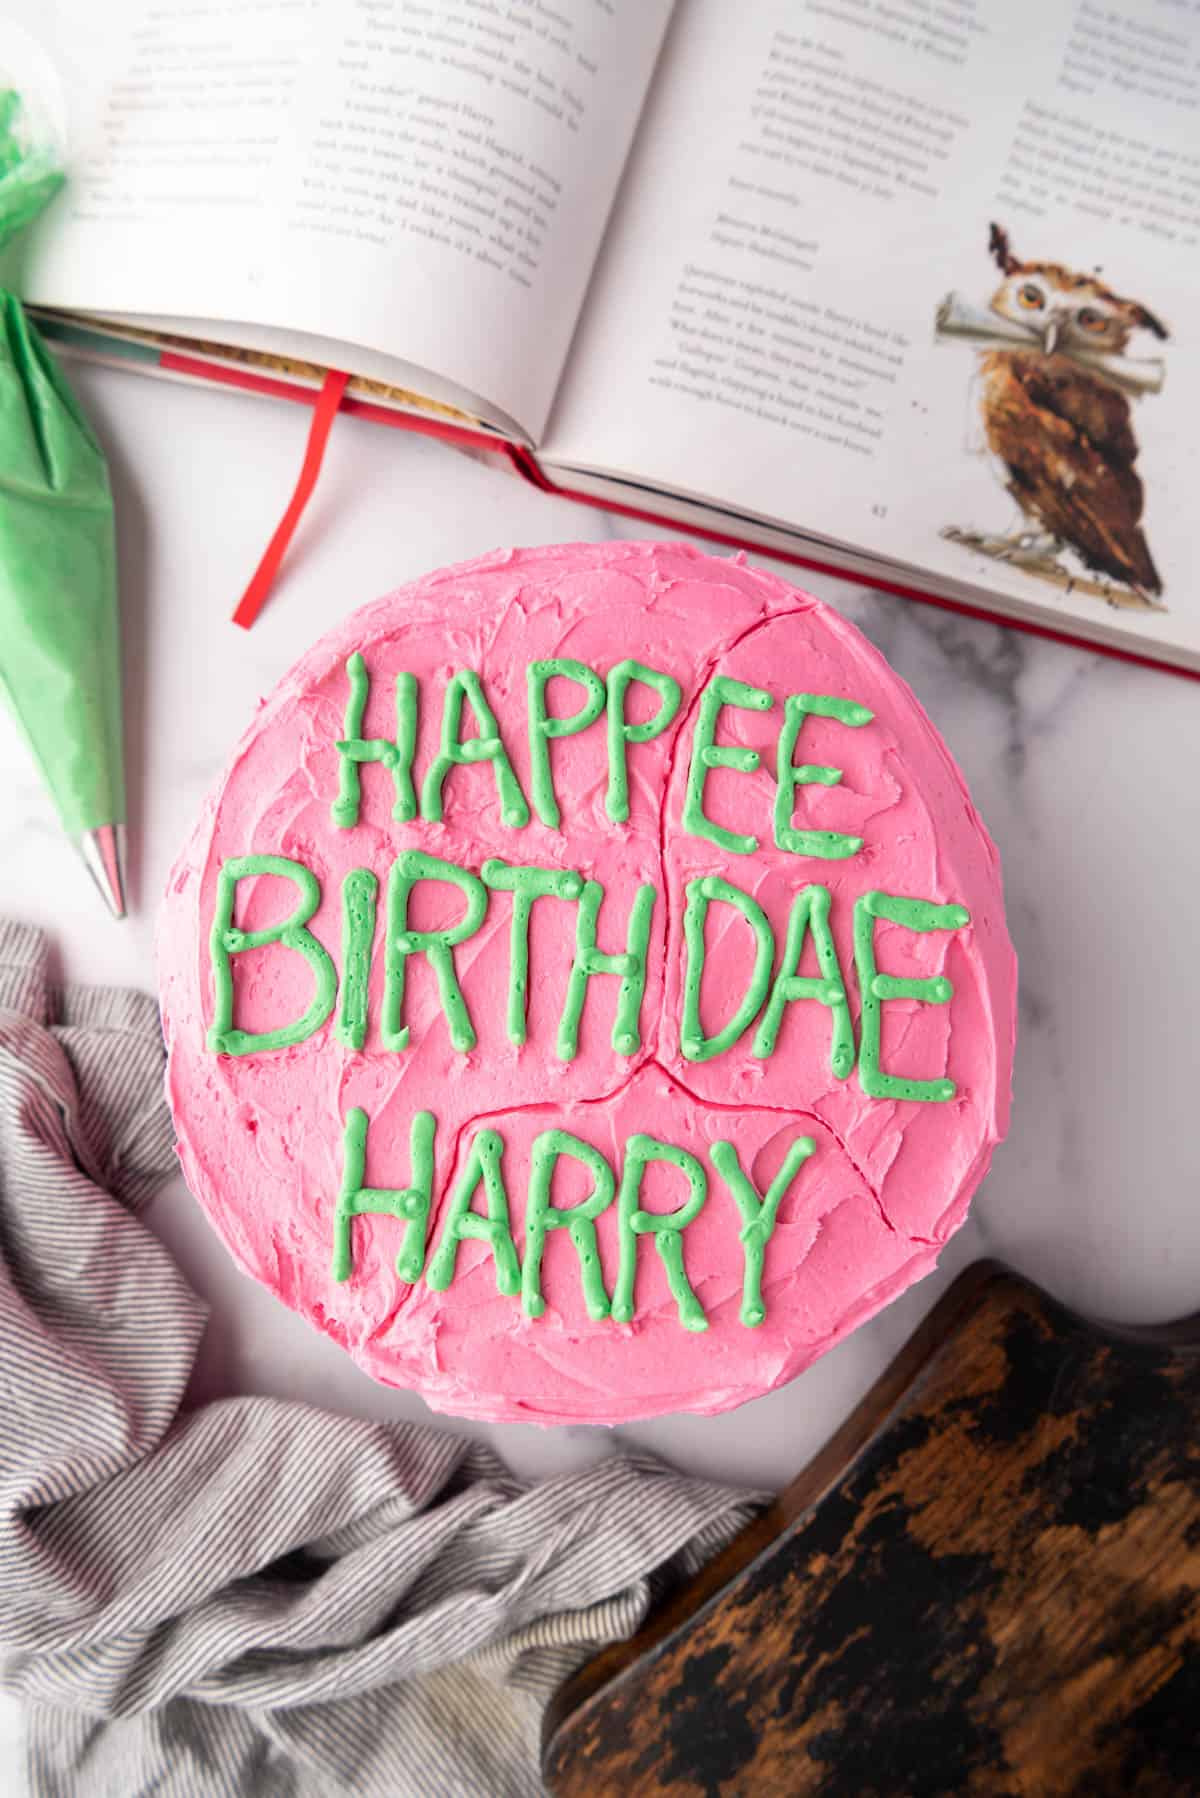
- Decorate. If you are confident in your letter piping skills, you can just go ahead and freehand “happee birthdae harry”. Or if you are like me and struggle to fit letters onto a cake, you can trace them on with a toothpick or wooden skewer first. I probably made my “H” and “A” too big a good 5 or 6 times and just smoothed them out with my knife before committing to piping them with the green frosting. But again, think Hagrid-level decorating, not professional baker. Imperfections are A-OK and even encouraged. I also traced a few squiggly lines similar to the cake seen in the movie to kind of give the impression that the cake has been somewhat squashed or sat on.
PRO TIP: I used a Wilton #5 round piping tip to pipe the letters so they would be a little thick but not too chunky or thin. It worked great, but you could also just snip off the end of a ziplock bag and use that if you don’t have piping tips.
That’s all there is to it! The cake comes together like, well, magic – no wands required! My Harry Potter-loving kids thought this was the most impressive cake I have ever made when in reality it was one of the easiest.
Got Questions? I’ve Got Answers
Harry Potter was born on July 31st, 1980. The same year that yours truly was born, just a few minutes later in October. It’s important that you know this.
If you are unfamiliar with the books or movies, Harry was raised by his aunt and uncle who mistreated him and showed very little affection. As a result, the first birthday cake Harry ever has is the one Hagrid brings him when he turns 11 years old and finds out he is a wizard. It sounds like a small detail, but other birthday cakes are also mentioned in subsequent books, including the “four superb birthday cakes” that he receives in “The Goblet of Fire” from Ron, Hermione, Hagrid, and Sirius and two other birthday cakes made by Mrs. Weasley in “later books “Half-Blood Prince” and “Deathly Hallows”, including one shaped like a golden snitch. For a boy who grew up without birthday celebrations, I think it’s a telling detail that J.K. Rowling included this small act of service, love, and kindness that others showed him.
I think this is the easiest, best all-purpose Harry Potter cake for a party, but you could also do a golden snitch cake, a Hogwarts house cake with all 4 houses represented, or a specific house cake like Gryffindor or Ravenclaw (my house).
Yes, cake freezes really well. You can freeze the whole thing after decorating for up to 3 months. Let it thaw for a few hours on the counter at room temperature before serving. Or bake the cake layers and freeze after cooling. Then thaw and decorate when ready to serve.
Recipe Tips & Tricks
- Use room temperature ingredients. They will mix together better and you will have a better rise, a more even bake, more moist results with a softer crumb. Basically, it’s good baking practice when making cakes to use room temp ingredients and it will level up all of your bakes when you make it a part of your baking routine.
- Don’t overmix the cake batter. Mix the flour and dry ingredients alternately just until combined, scraping the sides of the bowl. Overmixing can result in a cake that is dense and dry, two things we don’t want for this sticky, moist chocolate birthday cake.
- Use a kitchen scale. I always test my recipes using a kitchen scale, not just measuring cups, and include both to accommodate bakers of all levels and skills. But you will get the best, most consistent results when you start using a kitchen scale to measure your flour, especially.

Harry Potter Birthday Cake Recipe
Ingredients
Sticky Chocolate Cake
- 1/3 cup cocoa powder
- 4 ounces bittersweet or semisweet chocolate finely chopped
- 1 cup boiling water
- 2 teaspoons pure vanilla extract
- 1 cup buttermilk
- 1/2 cup salted butter softened
- 1/2 cup vegetable oil
- 1 cup firmly packed dark brown sugar
- 1 cup granulated sugar
- 3 large eggs room temperature
- 2 1/4 cups cake flour
- 1 teaspoon baking soda
- 1/2 teaspoon table salt
Buttercream Frosting
- 1 1/2 cups salted butter softened
- 6 cups powdered sugar
- 1/4 teaspoon table salt
- 2 teaspoons pure vanilla extract
- 4-5 Tablespoons whole milk or heavy cream
- Pink food coloring (affiliate link)
- Green food coloring (affiliate link)
Instructions
Chocolate Cake
- Preheat the oven to 350°F. Prepare two 9-inch round cake pans by cutting circles of parchment paper to line the bottoms, then lightly spray the insides of the pans with cooking spray.
- Combine the cocoa powder and finely chopped chocolate in a large bowl. Pour the boiling water over the chocolate and stir until the chocolate is completely melted, then add in the vanilla. Let this cool for a few minutes before stirring in the buttermilk.⅓ cup cocoa powder, 4 ounces bittersweet or semisweet chocolate, 1 cup boiling water, 2 teaspoons pure vanilla extract, 1 cup buttermilk
- In the large bowl of a stand mixer, beat the butter and oil together for 1 minute. Add the dark brown and granulated sugars and beat for another 2-3 minutes, until light and creamy. Scrape down the sides of the bowl and add in the eggs, one at a time, beating well after each addition and scraping down the sides of the bowl.½ cup salted butter, ½ cup vegetable oil, 1 cup firmly packed dark brown sugar, 1 cup granulated sugar, 3 large eggs
- In a separate bowl, sift together the flour, baking soda and salt. Add half of this to the batter and mix on low speed just until combined. Pour in half of the chocolate-buttermilk mixture and mix again, just until combined, then repeat with the flour and the remaining chocolate-buttermilk mixture, scraping down the sides of the bowl between additions, until everything is incorporated.2 ¼ cups cake flour, 1 teaspoon baking soda, ½ teaspoon table salt
- Divide the batter between the two prepared cake pans and bake for 25 to 30 minutes, or until a toothpick or cake tester comes out clean. Be sure not to overbake.
- Transfer the cakes to wire racks and allow them to cool completely before assembling the cake with frosting.
Buttercream Frosting
- In a large bowl, cream the butter for 2 minutes using an electric mixer. Add the powdered sugar and mix again at the lowest speed until combined.1 ½ cups salted butter, 6 cups powdered sugar
- Add the salt, vanilla and milk or cream and increase the speed to medium, mixing until the buttercream is light and fluffy, about 3 minutes. For a softer frosting, increase the milk or cream by small increments, half a tablespoon at a time. Makes enough to very generously frost a two-layer cake.¼ teaspoon table salt, 2 teaspoons pure vanilla extract, 4-5 Tablespoons whole milk, Pink food coloring (affiliate link), Green food coloring (affiliate link)
Assembly
- Place one of the cake layers on a serving plate or cake stand. Frost with about 1 ½ to 2 cups of frosting between the layers. Place the second cake layer on top and frost the top and sides with the remaining pink frosting.
- Trace the words "happee birthdae Harry" with a toothpick, then pipe them on with the green frosting. Use the toothpick to draw a couple of squiggly lines across the cake through the words to give it a squashed appearance. Enjoy!