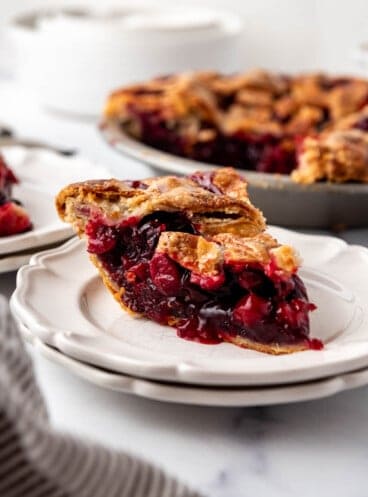
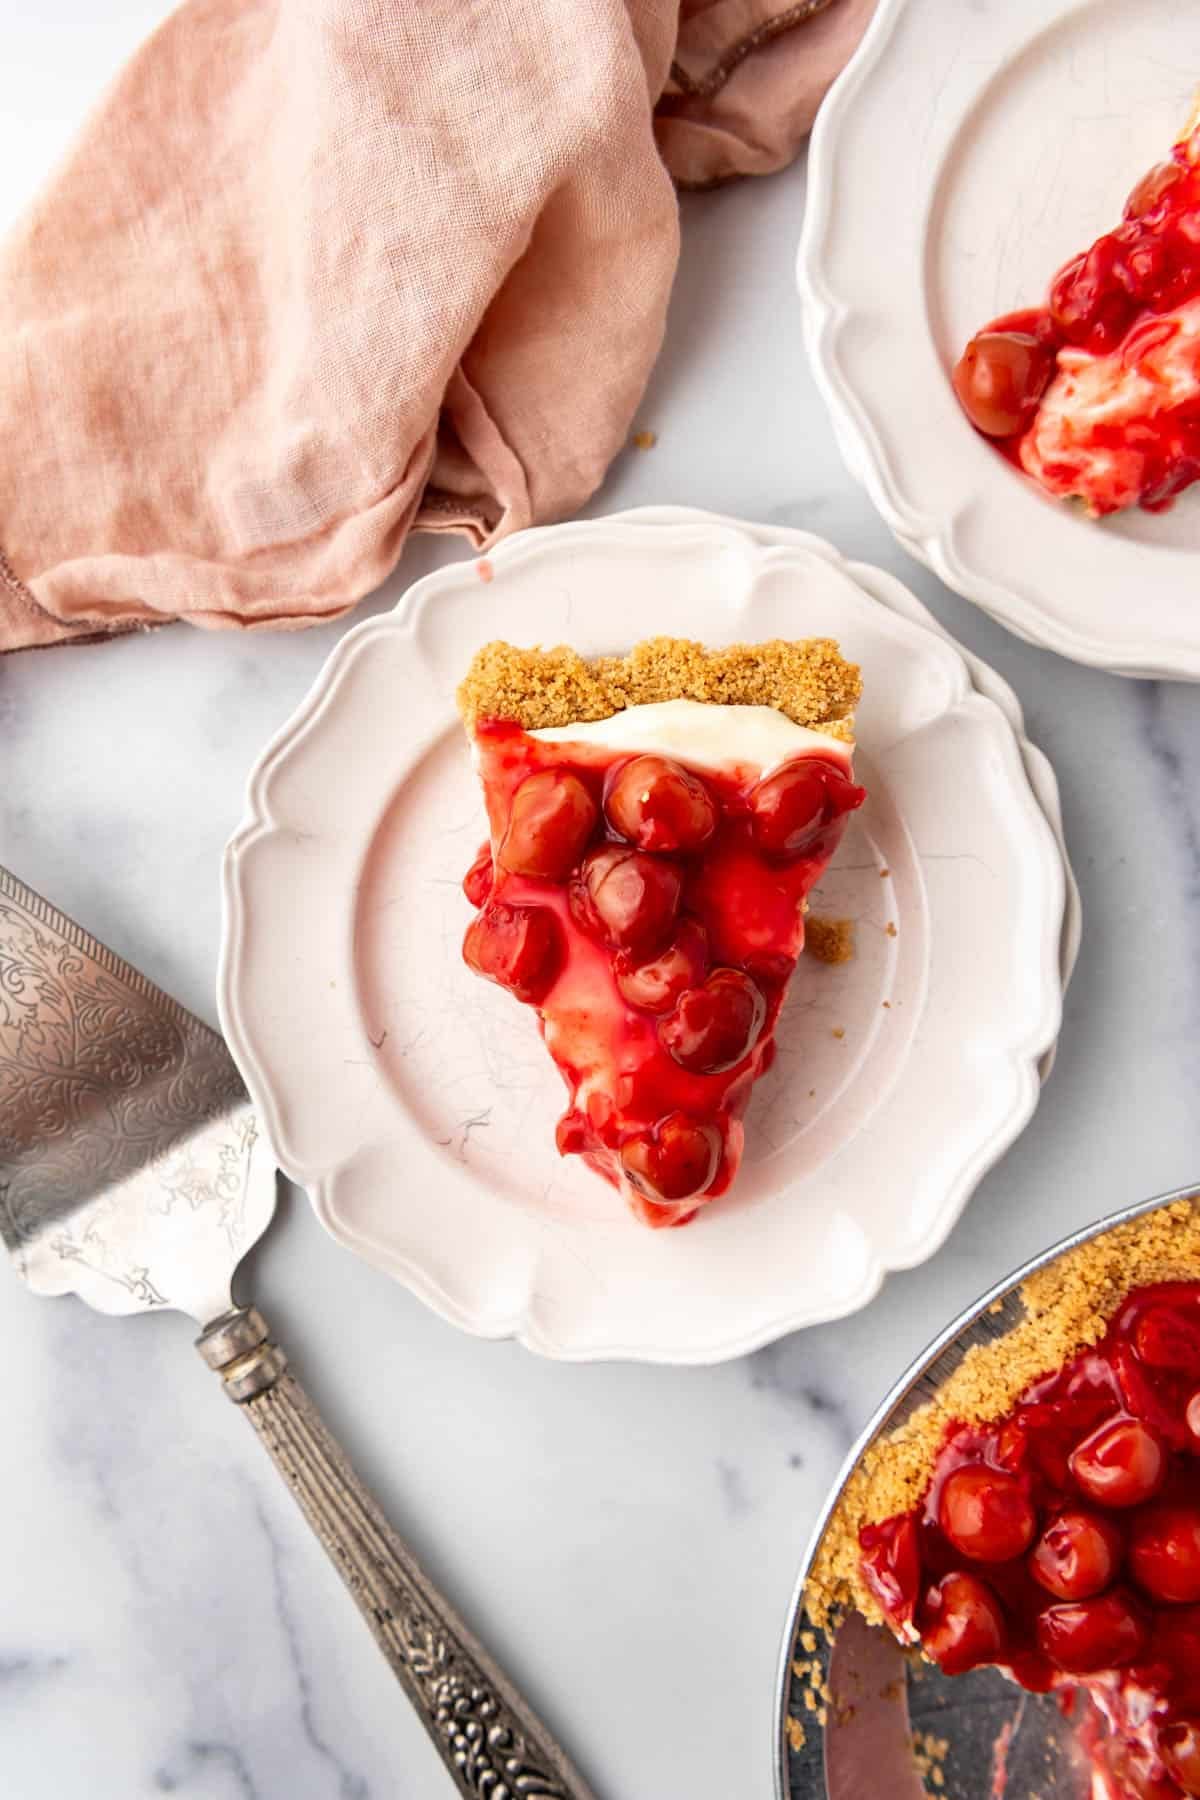
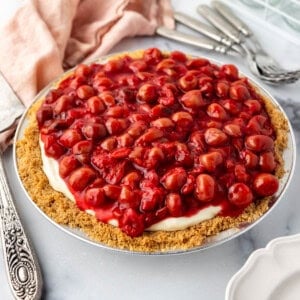
This Cherry Cream Cheese Pie is an old-fashioned favorite made with a buttery homemade graham cracker crust, a sweet and tangy no-bake cheesecake filling, and a generous layer of homemade tart cherry topping. It’s creamy, fruity, and just the right amount of sweet, with plenty of real cherries in every bite!
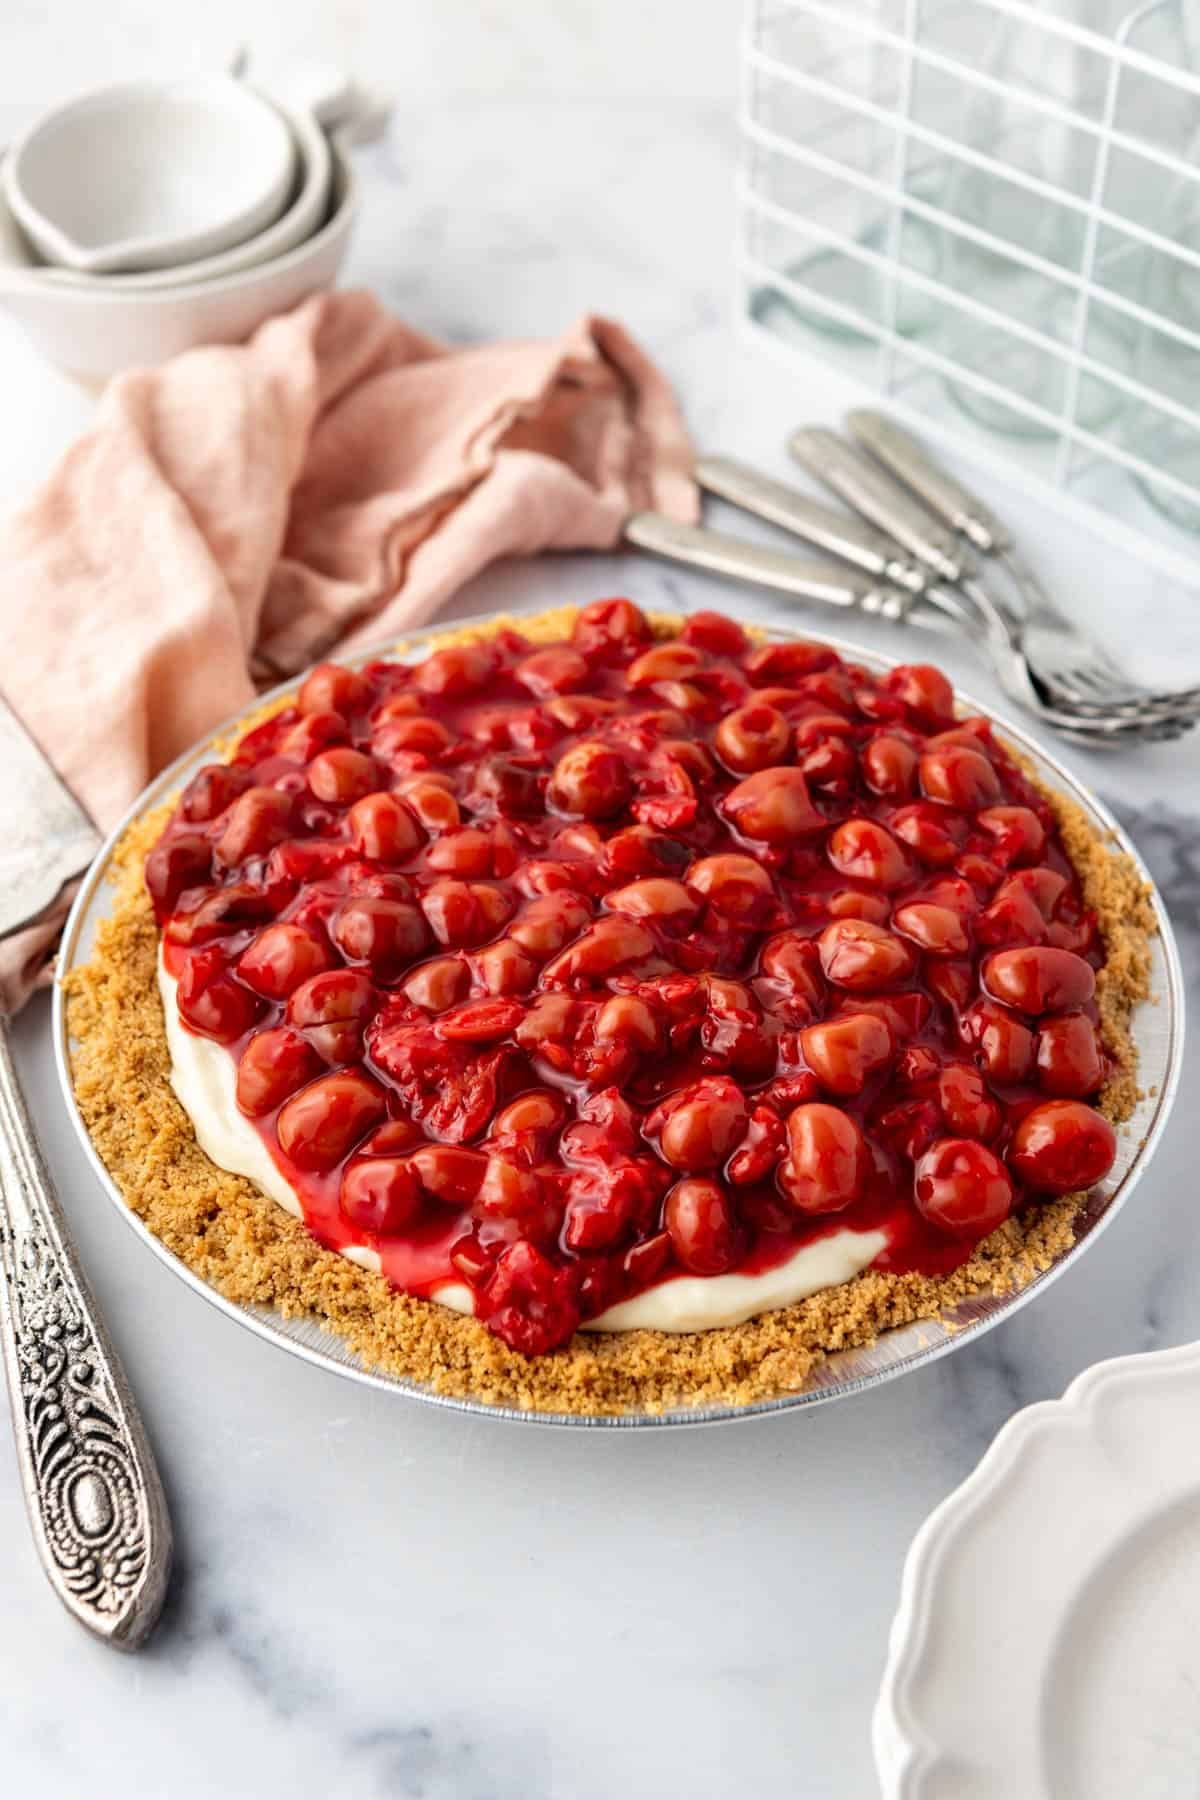
If you grew up eating Cherry Cheese Pie, chances are you remember the version made with a can of Eagle Brand sweetened condensed milk, a block of cream cheese, and a can of cherry pie filling. It’s one of those recipes that has been passed around for generations, and for good reason! It’s easy, delicious, and doesn’t require baking a cheesecake.
The original recipe was popularized by Eagle Brand sweetened condensed milk, and you’ll find essentially the same version in countless family recipe boxes and community cookbooks. Sometimes it’s called Cherry Cheesecake Pie, Cherry Cheese Pie, or even Cherry-O Cream Cheese Pie, but the basic idea is always the same.
My version sticks to that classic creamy filling because, frankly, there’s no reason to mess with a good thing. But there are two places where I think this pie can be SO much better: the crust and the cherries.
First, we’re making a homemade graham cracker crust instead of using one of those premade crusts from the grocery store. It takes just a few extra minutes, and the buttery, lightly toasted flavor is worth it.
And instead of dumping a can of cherry pie filling over the top, we’re making our own with tart cherries. Canned cherry pie filling tends to be overly sweet, with more thick, gelatinous filling than actual fruit (even the cans that promise more fruit). My homemade version is bursting with cherries, with a bright, sweet-tart flavor that balances the rich cream cheese filling beautifully. Plus, it makes a generous amount since one can of cherry pie filling always feels too skimpy for me!
It’s everything you remember about the classic dessert, just better!
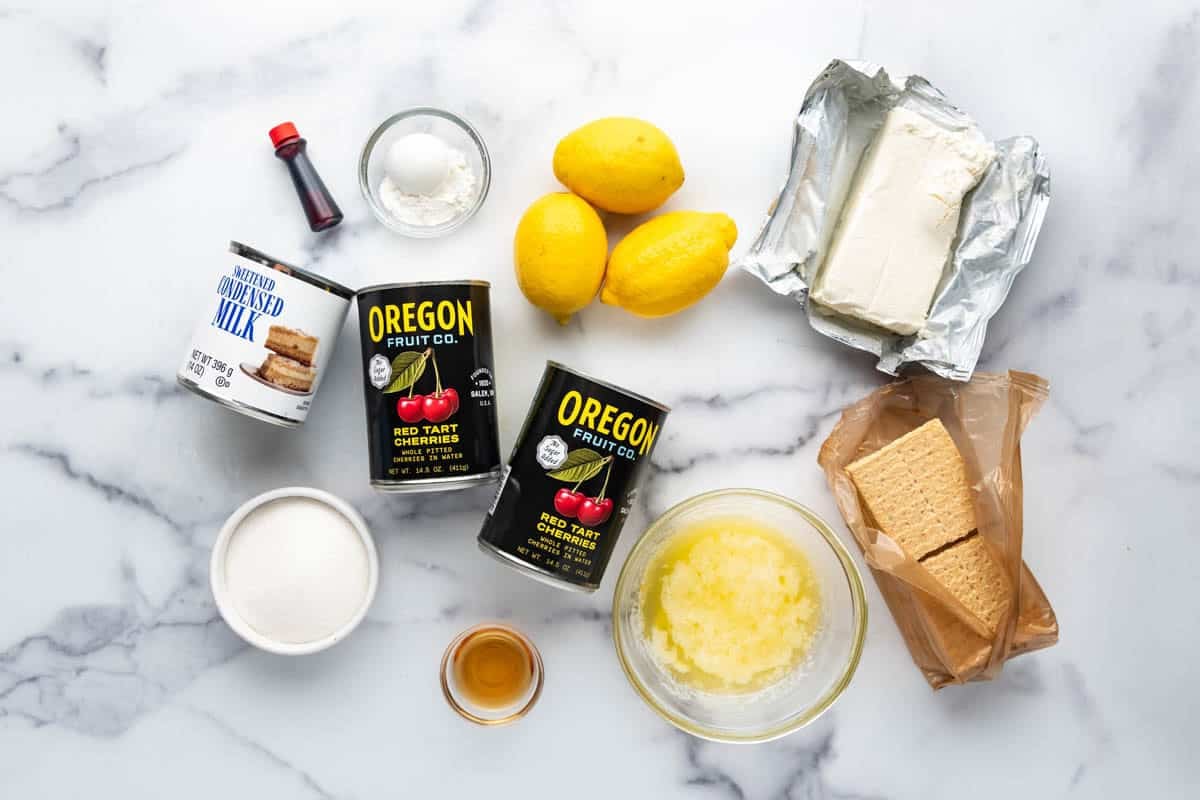
Ingredients You’ll Need
For the Graham Cracker Crust
- Graham cracker crumbs: You’ll need 1 ½ cups of crumbs, which you can make by crushing whole graham crackers in a food processor (affiliate link) or in a zip-top bag with a rolling pin. I prefer making my own crust rather than buying the premade ones because the flavor and texture are so much better.
- Granulated sugar: Adds sweetness and helps the crumbs hold together.
- Salted butter: Melted butter binds the crumbs together and gives the crust its rich, buttery flavor. If you’re using unsalted butter, add a pinch of salt.
For the Homemade Cherry Topping
- Tart cherries: Canned tart cherries are the secret to this pie (frozen works too)! Drain them, but save some of the juice to make the topping.
- Granulated sugar: Sweetens the cherries without completely masking their natural tartness. If you decide to use sweet cherries you might want to cut back on the sugar.
- Cornstarch: Thickens the cherry juices into a glossy sauce that holds together when you slice the pie.
- Reserved cherry juice: Using the juice from the canned cherries instead of water adds even more cherry flavor.
- Lemon juice: Brightens the topping and balances the sweetness.
- Vanilla extract: Adds warmth and rounds out the cherry flavor.
- Almond extract: Optional, but I love the way a tiny amount of almond extract enhances cherries. A little goes a long way!
- Red food coloring (affiliate link): Completely optional, but a few drops can give the cherry topping a brighter red color if you prefer.
For the Cream Cheese Filling
- Cream cheese: Use a full-fat, brick-style cream cheese, softened to room temperature. Avoid whipped cream cheese or cream cheese spread from a tub, which can affect the texture and how well the filling sets.
- Sweetened condensed milk: This is what gives the classic filling its signature sweetness and silky texture. Make sure you’re using sweetened condensed milk, NOT evaporated milk.
- Fresh lemon juice: This is essential! The acidity helps the sweetened condensed milk mixture thicken and set, while also giving the filling its delicious tangy flavor. Don’t reduce the amount or use bottled lemon juice.
- Vanilla extract: Adds a little extra flavor to the creamy filling.
How to Make Cherry Cream Cheese Pie
This pie has three simple components: a homemade graham cracker crust, a cooked cherry topping, and a no-bake cream cheese filling. The crust and topping need time to cool, and the assembled pie needs a few hours in the refrigerator to set.
1. Make the Graham Cracker Crust
Combine the graham cracker crumbs, sugar, and melted butter until the mixture resembles wet sand. Press firmly into the bottom and up the sides of a 9-inch pie plate (affiliate link), using the flat bottom of a measuring cup to help create an even layer. Bake at 375°F for 5–8 minutes, just until lightly golden and fragrant. Set aside to cool completely.
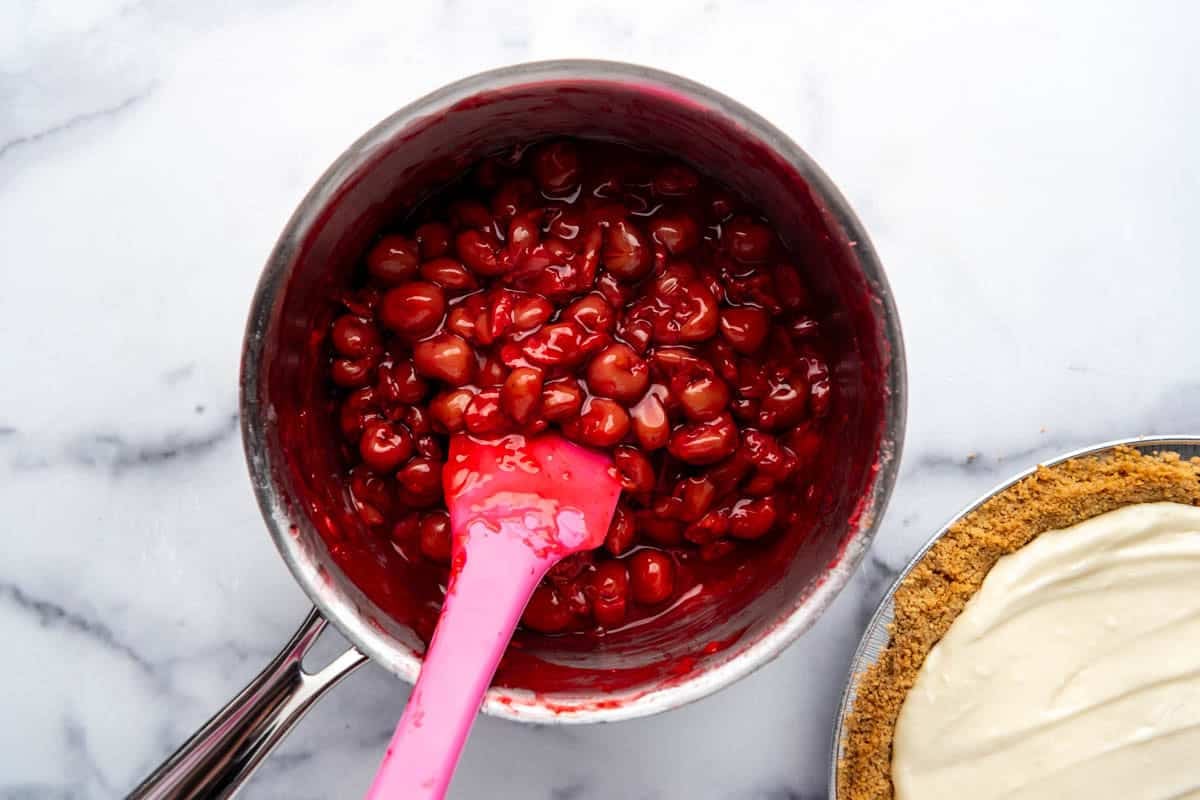
2. Cook the Cherry Topping
Whisk the sugar and cornstarch together in a medium saucepan before adding the reserved cherry juice. This helps prevent lumps. Stir in the drained tart cherries, then cook over medium heat, stirring frequently, until the mixture comes to a simmer and thickens, about 4–5 minutes. It should go from cloudy and thin to thick and bubbly, with the cherries coated in a glossy sauce.
Remove from the heat and stir in the lemon juice, vanilla, optional almond extract, and food coloring (affiliate link), if using. Let the topping cool completely before adding it to the pie.
3. Prepare the Cream Cheese Filling
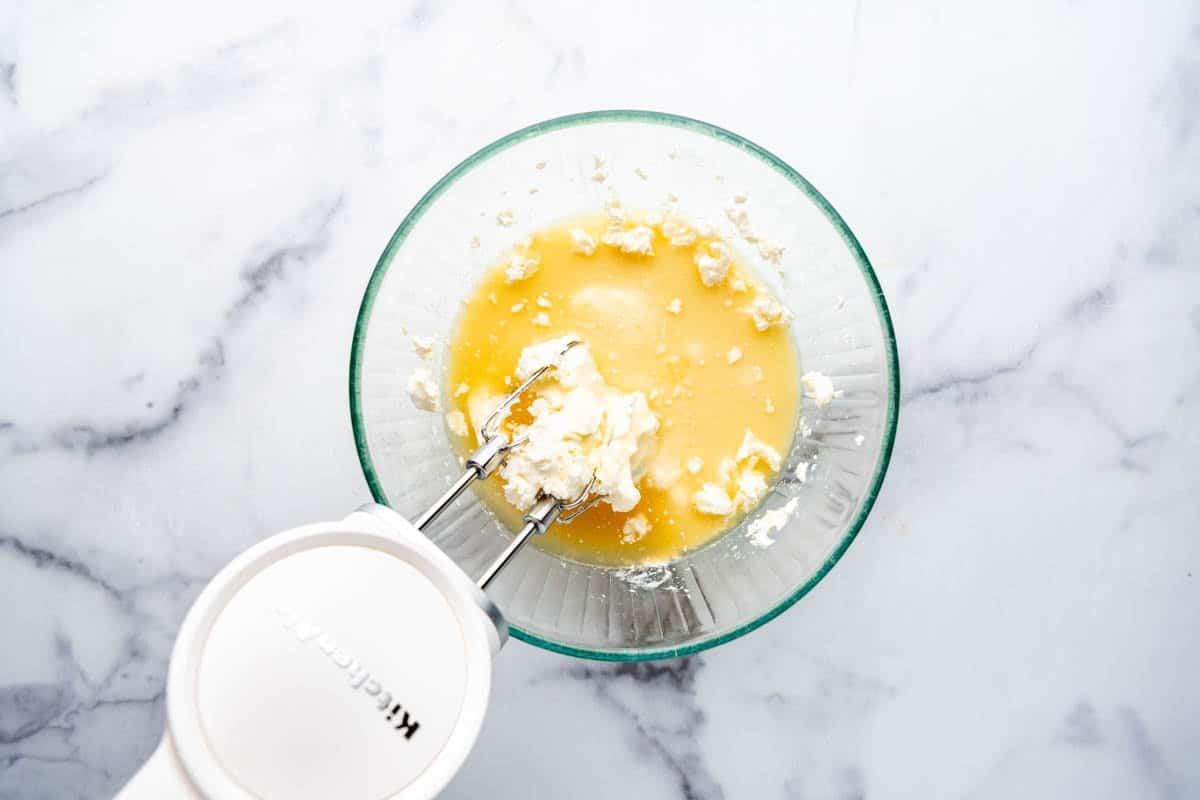
Beat the softened cream cheese until completely smooth and creamy. Add the sweetened condensed milk and mix until incorporated, scraping the bottom and sides of the bowl to make sure there are no large lumps of cream cheese hiding in the mixture. It’s okay if there are small pieces though.
Add the fresh lemon juice and vanilla, then beat again until everything is thoroughly combined. Don’t rush this step! The lemon juice needs to be evenly incorporated for the filling to thicken and set properly.
4. Fill and Chill
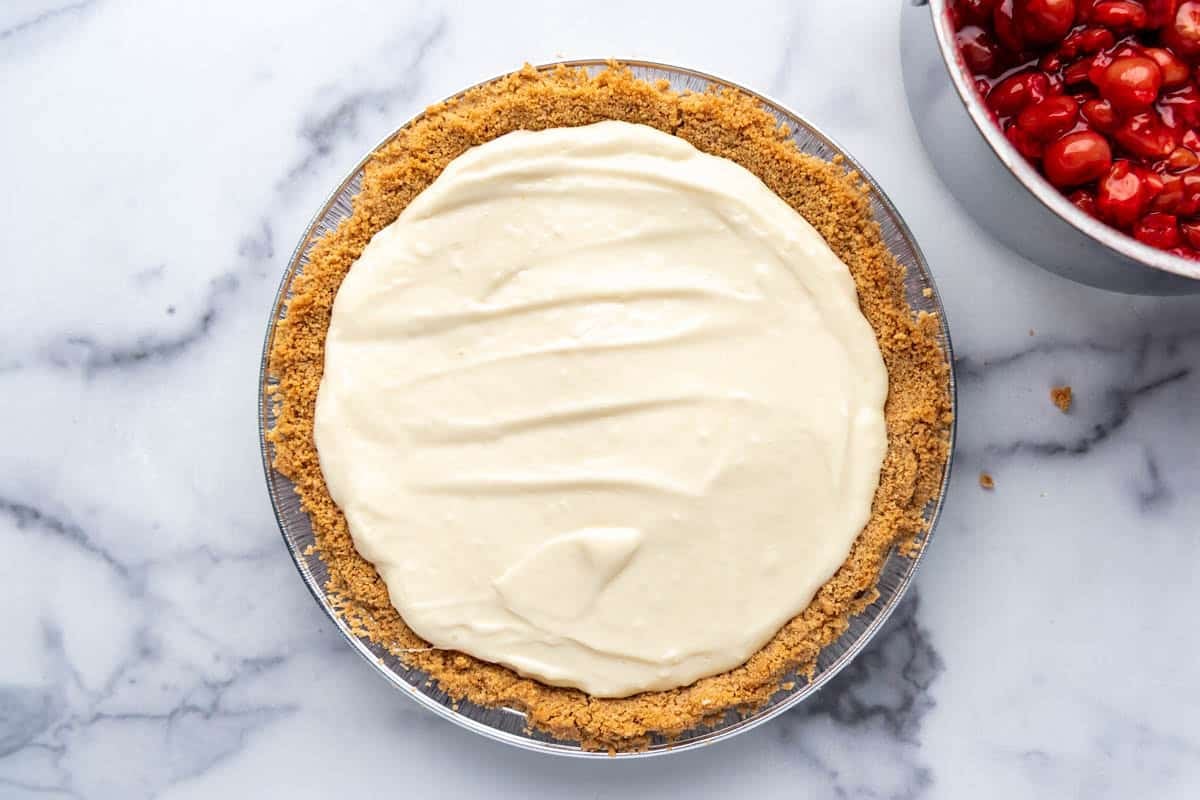
Spread the cream cheese filling evenly into the cooled graham cracker crust, smoothing the top with a spatula. Refrigerate for at least 3 hours, or until the filling is set.
5. Add the Cherries and Serve
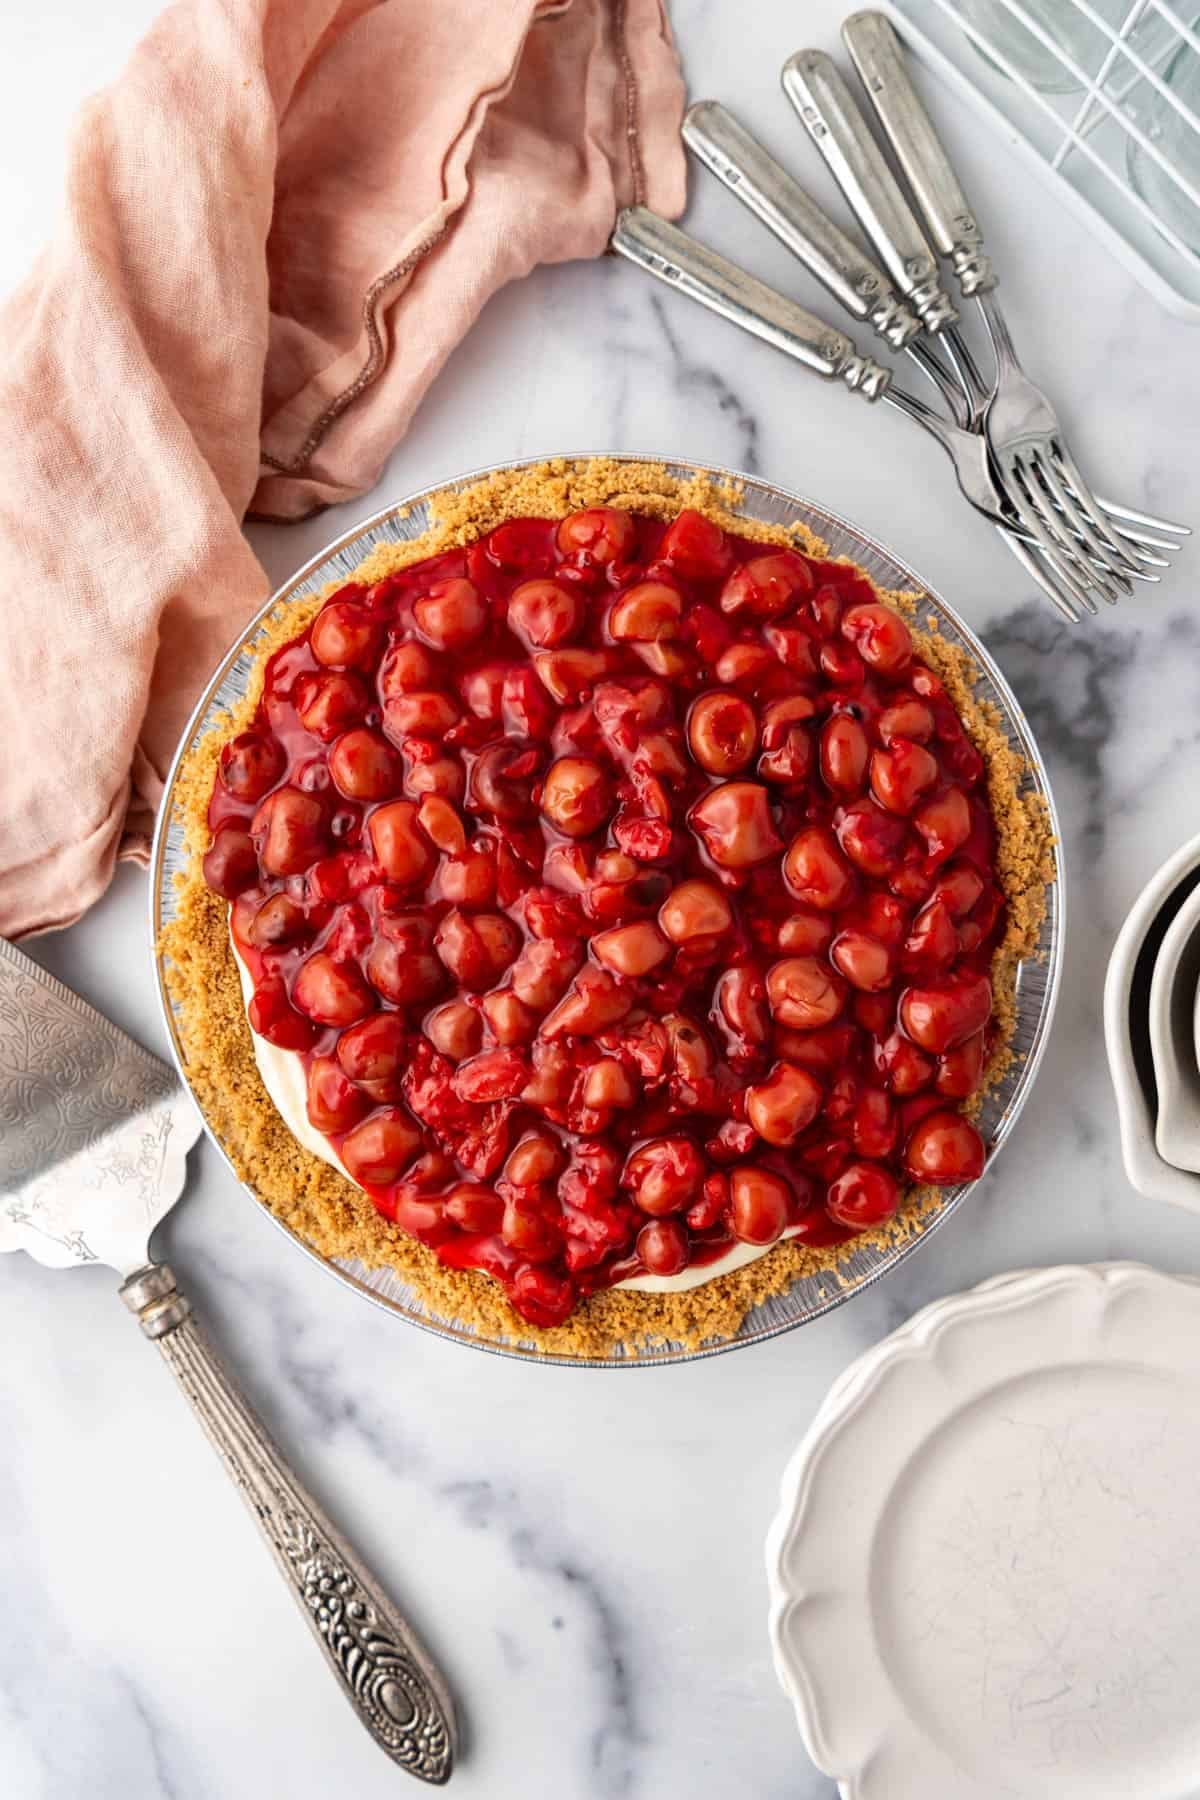
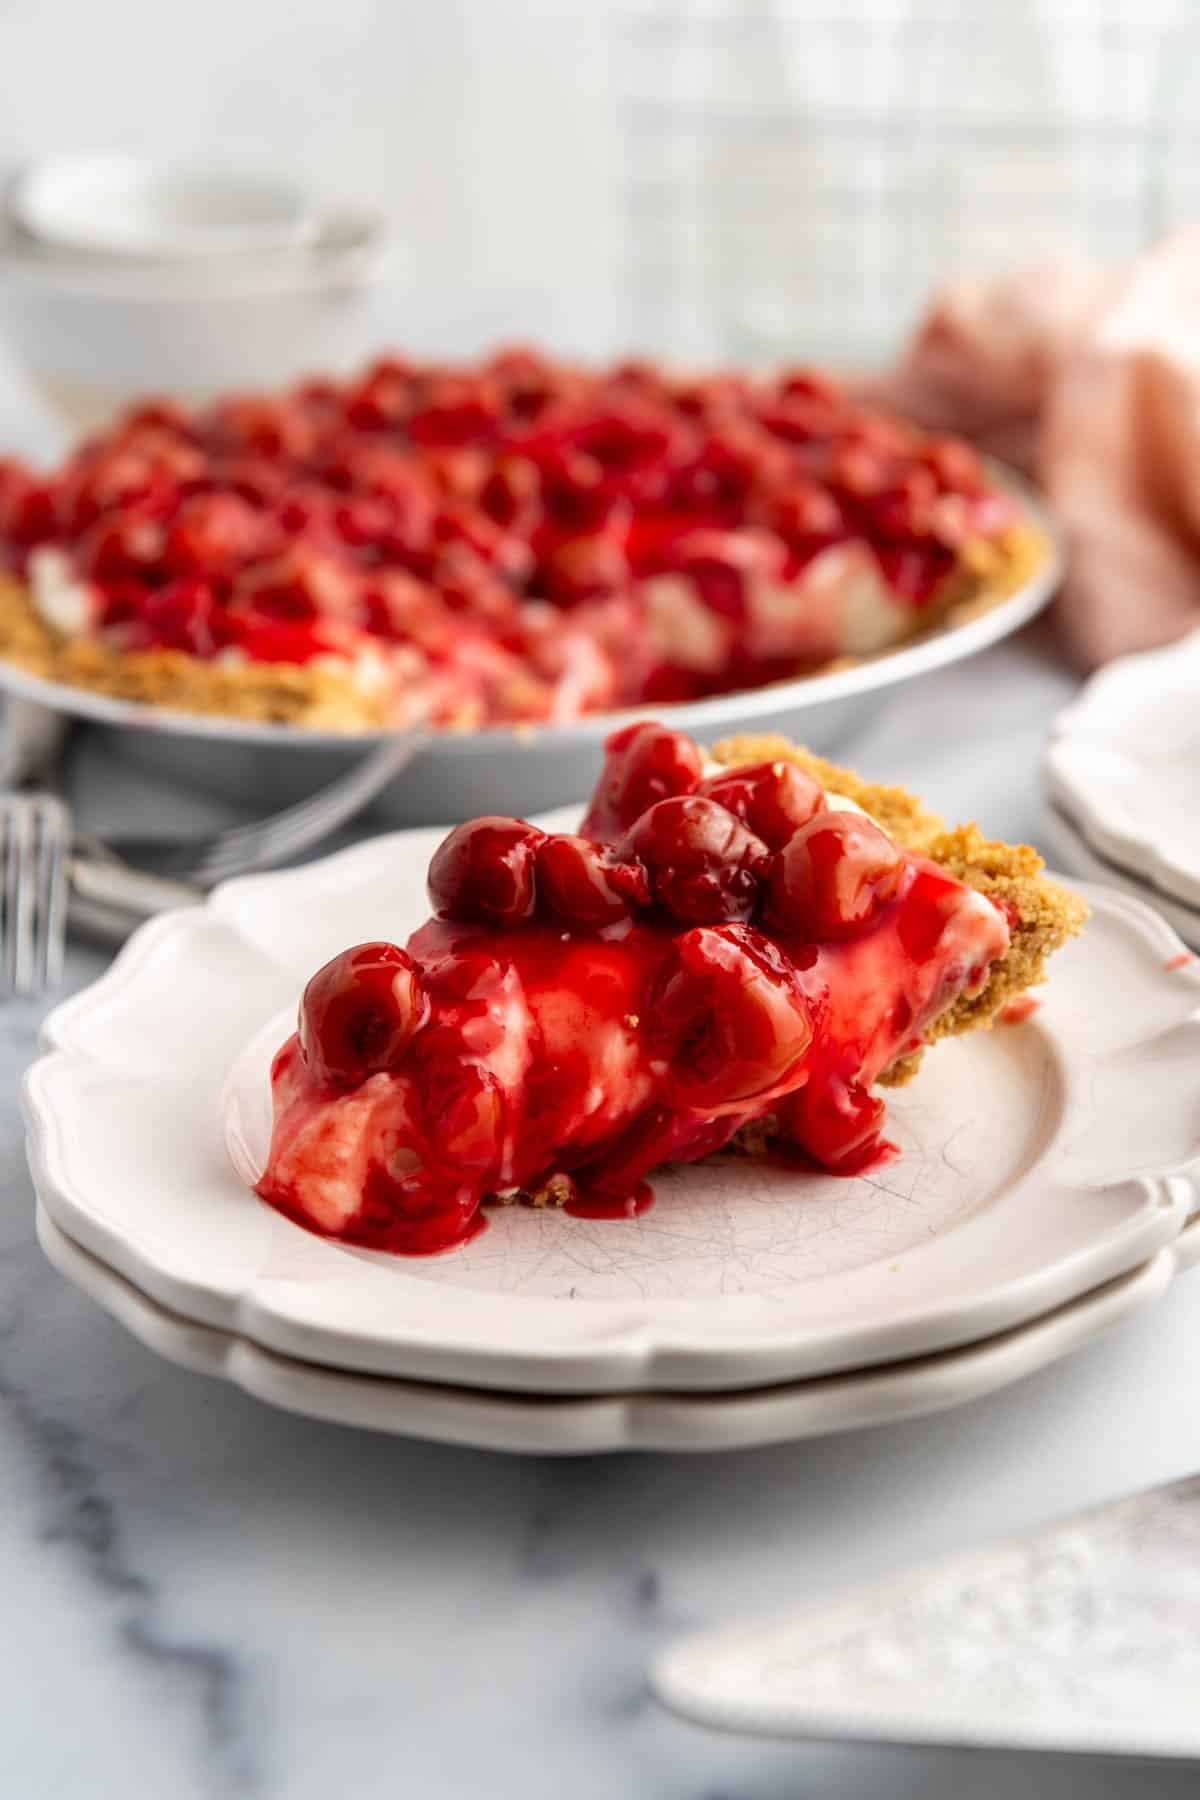
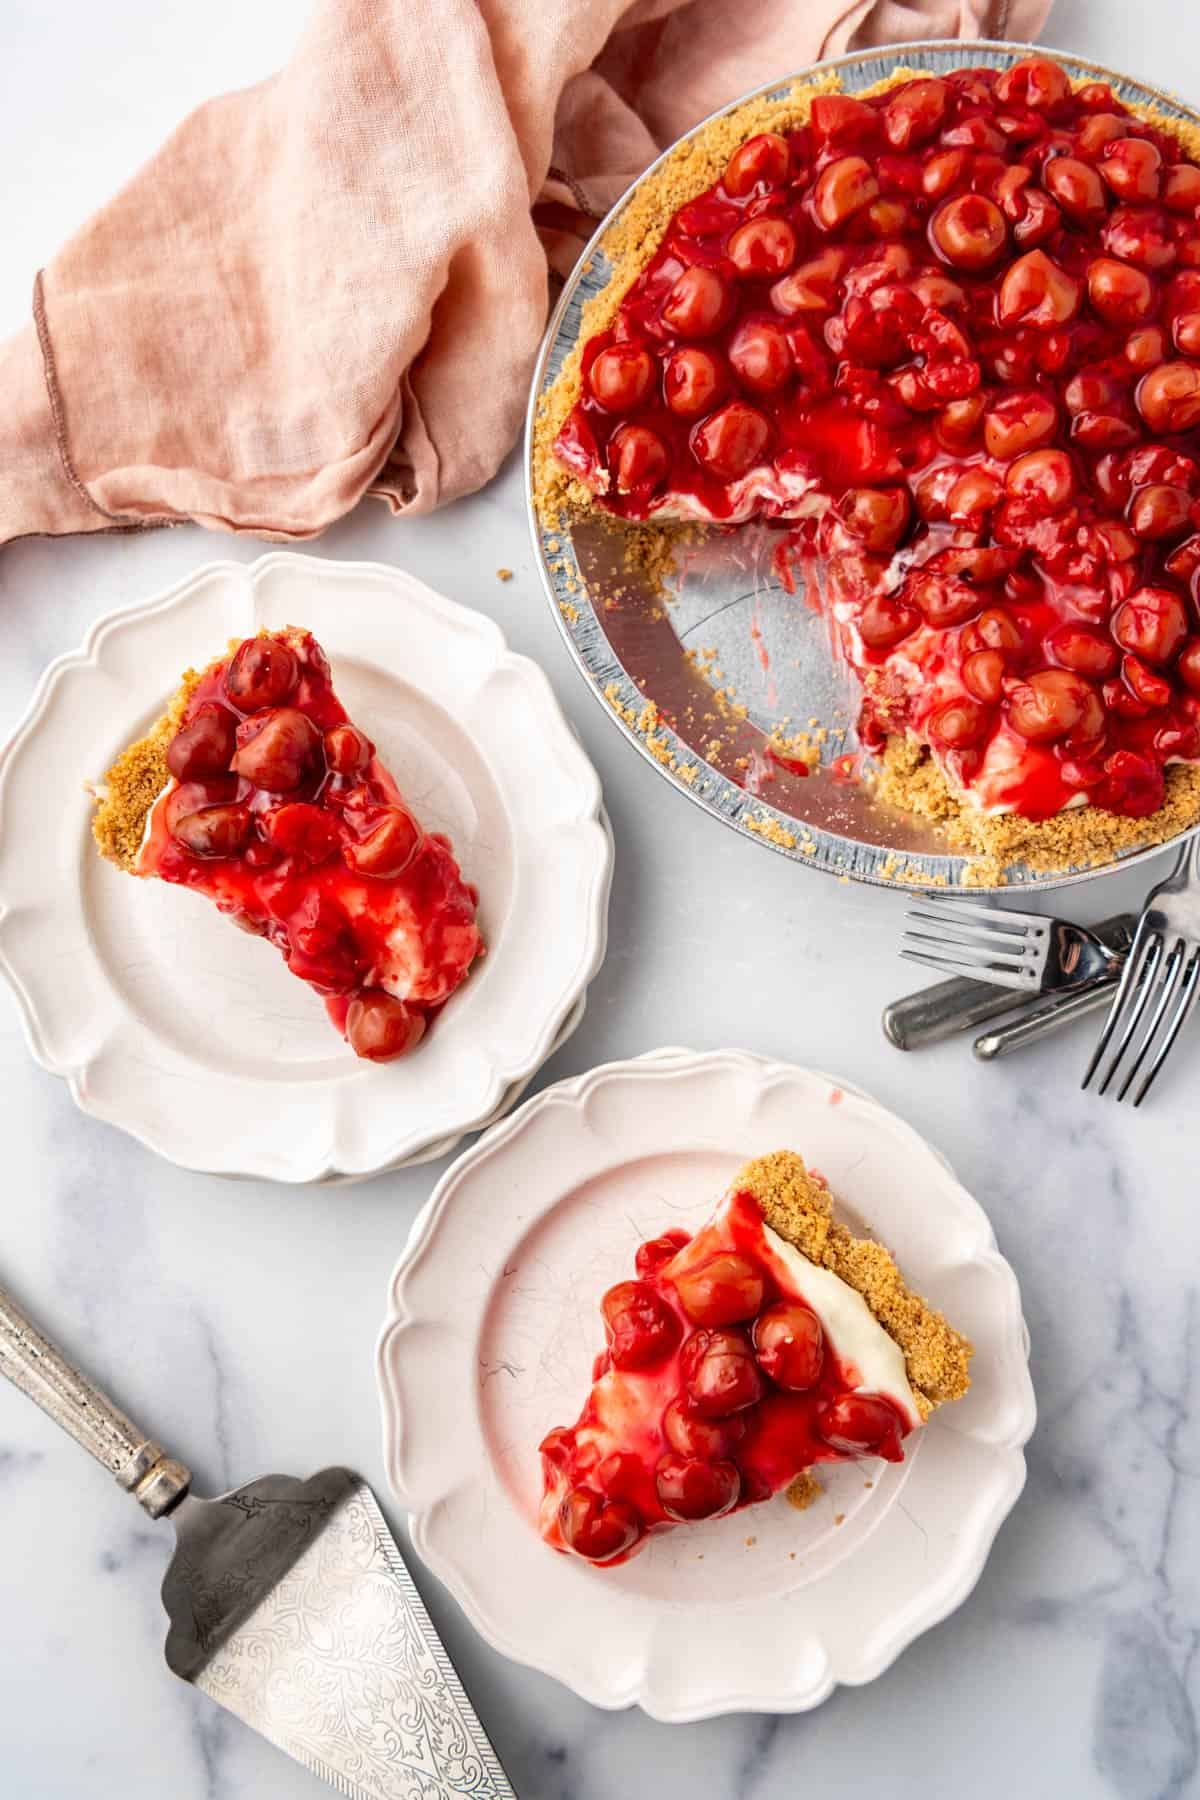
Once the filling has chilled and firmed up, spoon the completely cooled cherry topping over the pie, spreading it evenly to the edges. Slice with a sharp knife, wiping the blade between cuts for the prettiest slices, and serve chilled.
Tips for the Best Cherry Cream Cheese Pie
- Don’t skip baking the crust. Technically, you can make this a completely no-bake dessert by chilling the graham cracker crust instead, but I really recommend those few minutes in the oven. Toasting the crumbs gives the crust better flavor and helps it hold together when sliced.
- Use tart cherries, not cherry pie filling. The tartness is what makes this pie so good! The sweet cream cheese filling needs something bright and fruity to balance it, and homemade cherry topping gives you so many more actual cherries.
- Make sure your cream cheese is softened. Cold cream cheese is much harder to mix smoothly and can leave little lumps throughout the filling.
- Use fresh lemon juice. Since the lemon juice is such an important part of both the flavor and the thickening process, I recommend squeezing fresh lemons rather than using bottled juice.
- Measure the lemon juice carefully. The filling relies on the acidity of the lemon juice to thicken, so this isn’t an ingredient you want to eyeball or cut back on.
- Let everything cool. The crust should be completely cool before adding the cream cheese filling, and the cherry topping should be completely cool before spreading it over the chilled pie. Otherwise, you risk softening the filling.
- Give it enough time to chill. Three hours is the minimum, but I think the texture is even better when the pie has time to set 6+ hours or overnight.
Variations and Substitutions
Chocolate Cherry Cream Cheese Pie: Swap the graham cracker crust for an Oreo cookie crust. Chocolate and cherries are a wonderful combination, especially with the creamy cheesecake layer in between.
Blueberry Cream Cheese Pie: Replace the cherry topping with homemade blueberry pie filling for another classic version of this dessert.
Strawberry Cream Cheese Pie: Use a homemade strawberry topping instead of cherries. This is especially delicious when fresh strawberries are in season.
Mixed Berry Cream Cheese Pie: Try a combination of cherries, raspberries, and blueberries for a colorful, sweet-tart topping. You may need to adjust the sugar and thickener depending on the fruit.
Traditional Pie Crust: Although I love the graham cracker crust here, you can also use a fully blind-baked flaky pie crust if you prefer.
Shortcut Version: You can use a premade graham cracker crust and canned cherry pie filling if you’re really short on time. But the homemade crust and tart cherry topping are what make this version special, so I definitely recommend making them from scratch!
Frequently Asked Questions
They’re very similar, but not exactly the same. This old-fashioned cherry cream cheese pie has a no-bake filling made with cream cheese, sweetened condensed milk, lemon juice, and vanilla. Unlike a traditional baked cheesecake, it doesn’t contain eggs or need to bake in the oven. The texture is softer and creamier than a dense New York-style cheesecake.
The most common issues are not using enough lemon juice, substituting evaporated milk for sweetened condensed milk, or not giving the pie enough time to chill. Be sure to use full-fat block cream cheese, measure the ingredients accurately, and mix the lemon juice thoroughly into the filling. Refrigerate for at least 3 hours before slicing.
Yes, but the flavor will be different. Tart cherries give this pie a bright, tangy contrast to the sweet cream cheese filling. If using sweet cherries, I would reduce the sugar in the topping and adjust to taste so the finished pie isn’t overly sweet.
Yes! Frozen tart cherries should work well in place of canned cherries. You don’t even need to thaw them first. Just add them to the saucepan with the sugar and cornstarch along with ¼ cup of water. It will take a little longer for the sauce to thicken, but works just fine.
Yes. The cream cheese filling is completely no-bake, and you can skip baking the graham cracker crust if necessary. Simply press the crumb mixture into the pie plate and refrigerate until firm. The crust won’t have quite the same toasted flavor or sturdy texture, but it will still be delicious. You will still need to cook the homemade cherry topping on the stovetop.
Absolutely, and that’s how the classic version is usually made. However, canned cherry pie filling tends to be sweeter and has a higher proportion of thickened sauce to actual cherries. Making the topping from scratch with tart cherries gives you better flavor, more fruit, and control over the sweetness.
More Homemade Pie Recipes
Cherry Cream Cheese Pie
Ingredients
Graham Cracker Crust
- 1 1/2 cups graham cracker crumbs
- 1/3 cup granulated sugar
- 6 Tablespoons salted butter melted
Topping
- 2 (14.5-ounce) cans tart cherries drained with juice reserved
- 1/2 cup granulated sugar
- 2 Tablespoons cornstarch
- 1/4 cup reserved cherry juice or water
- 1 Tablespoon lemon juice
- 1/2 teaspoon pure vanilla extract
- 1/8 teaspoon almond extract (optional)
- A few drops of red food coloring (affiliate link)
Filling
- 1 (8-ounce) pkg. full-fat cream cheese softened
- 1 (14-ounce) can sweetened condensed milk
- 1/3 cup fresh lemon juice
- 1 teaspoon pure vanilla extract
Instructions
- Preheat the oven to 375℉ (191℃).
- Make the crust by combining the graham cracker crumbs, sugar, and butter and mixing until evenly moistened. Spread into a 9-inch pie dish and press evenly into the bottom and up the sides. Bake for 5-8 minutes until gently toasted and the edges are a light brown.1 ½ cups graham cracker crumbs, ⅓ cup granulated sugar, 6 Tablespoons salted butter
- Make the topping by combining the sugar and cornstarch in medium saucepan. Whisk well, then add the reserved cherry juice or water. Whisk again, then stir in the drained cherries. Bring to a simmer over medium heat, cooking and stirring until thick and bubbly. This will turn into an opaque gel after about 4-5 minutes. Stir in the lemon juice, vanilla, and red food coloring (affiliate link). Cool completely.2 (14.5-ounce) cans tart cherries, ½ cup granulated sugar, 2 Tablespoons cornstarch, ¼ cup reserved cherry juice, 1 Tablespoon lemon juice, ½ teaspoon pure vanilla extract, ⅛ teaspoon almond extract, A few drops of red food coloring (affiliate link)
- Make the filling. Beat the cream cheese in a mixing bowl until softened and smooth. Mix in the sweetened condensed milk until combined, stopping to scrape the bottom and sides of the bowl. Add the lemon juice and vanilla. Mix well until completely combined or the filling will not set up properly.1 (8-ounce) pkg. full-fat cream cheese, 1 (14-ounce) can sweetened condensed milk, ⅓ cup fresh lemon juice, 1 teaspoon pure vanilla extract
- Pour the filling into the cooled crust, then refrigerate for at least 3 hours until set. Top with the cherry filling and serve.
Notes
- Make-Ahead: You can prepare the graham cracker crust and homemade cherry topping a day or two in advance. Keep the crust tightly covered at room temperature once cooled, and refrigerate the cherry topping in an airtight container. The cream cheese filling can be made and poured into the crust the day before serving. Cover and refrigerate overnight. I prefer adding the cherries after the filling has set rather than immediately after assembling the pie.
- Storage: Store the pie covered in the refrigerator for up to 4 days. Because of the cream cheese filling, it should not be left at room temperature for more than 2 hours. The graham cracker crust may soften slightly the longer the pie sits, but it will still taste delicious.
- Freeezing: You can freeze the pie without the cherry topping for up to 1 month, wrapped tightly in plastic wrap and aluminum foil. Thaw overnight in the refrigerator, then add the cherry topping before serving. Freezing may slightly change the creamy texture, so I prefer this pie fresh.