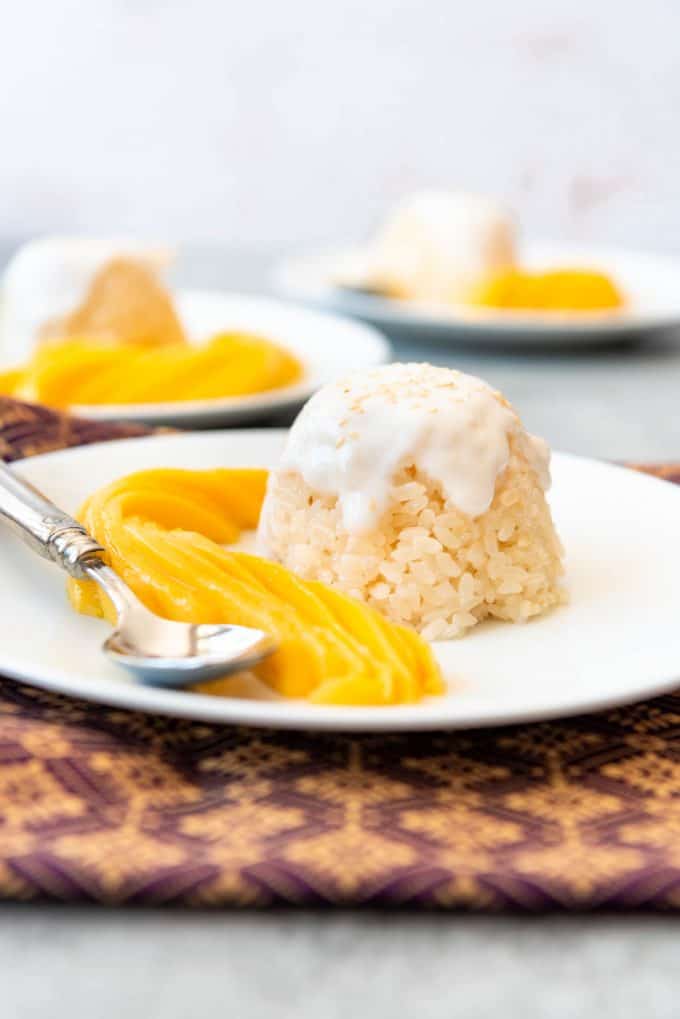
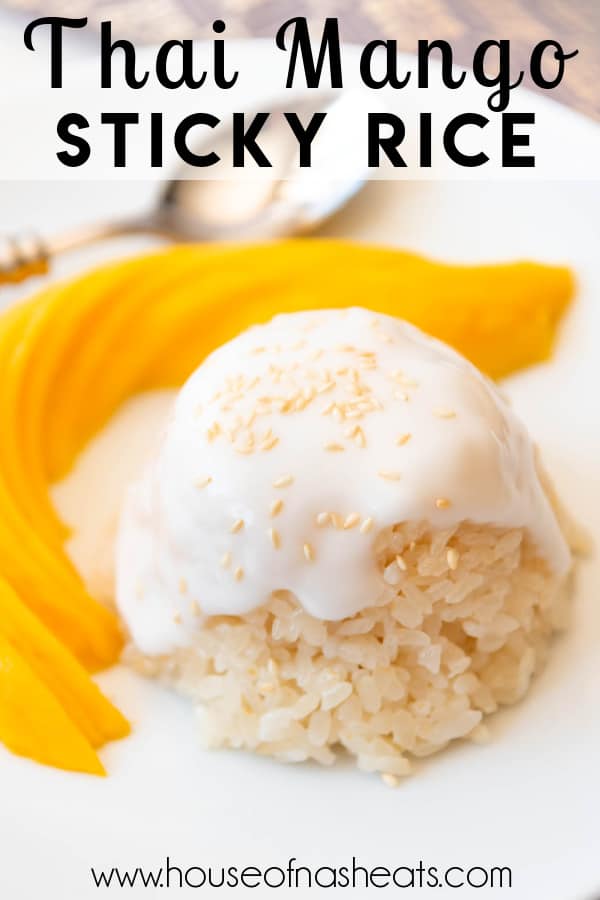
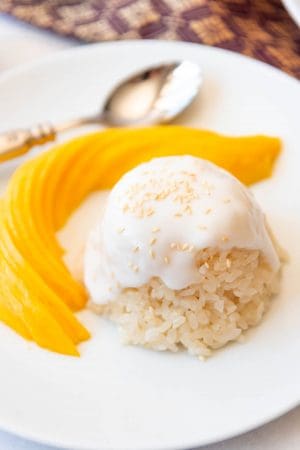
Thai Coconut Mango Sticky Rice is made with sweet, fresh yellow mango, glutinous sticky rice, and an amazing coconut sauce that will transport you right to the tropics! It’s a little taste of Thailand that I brought home with me the last time I visited.
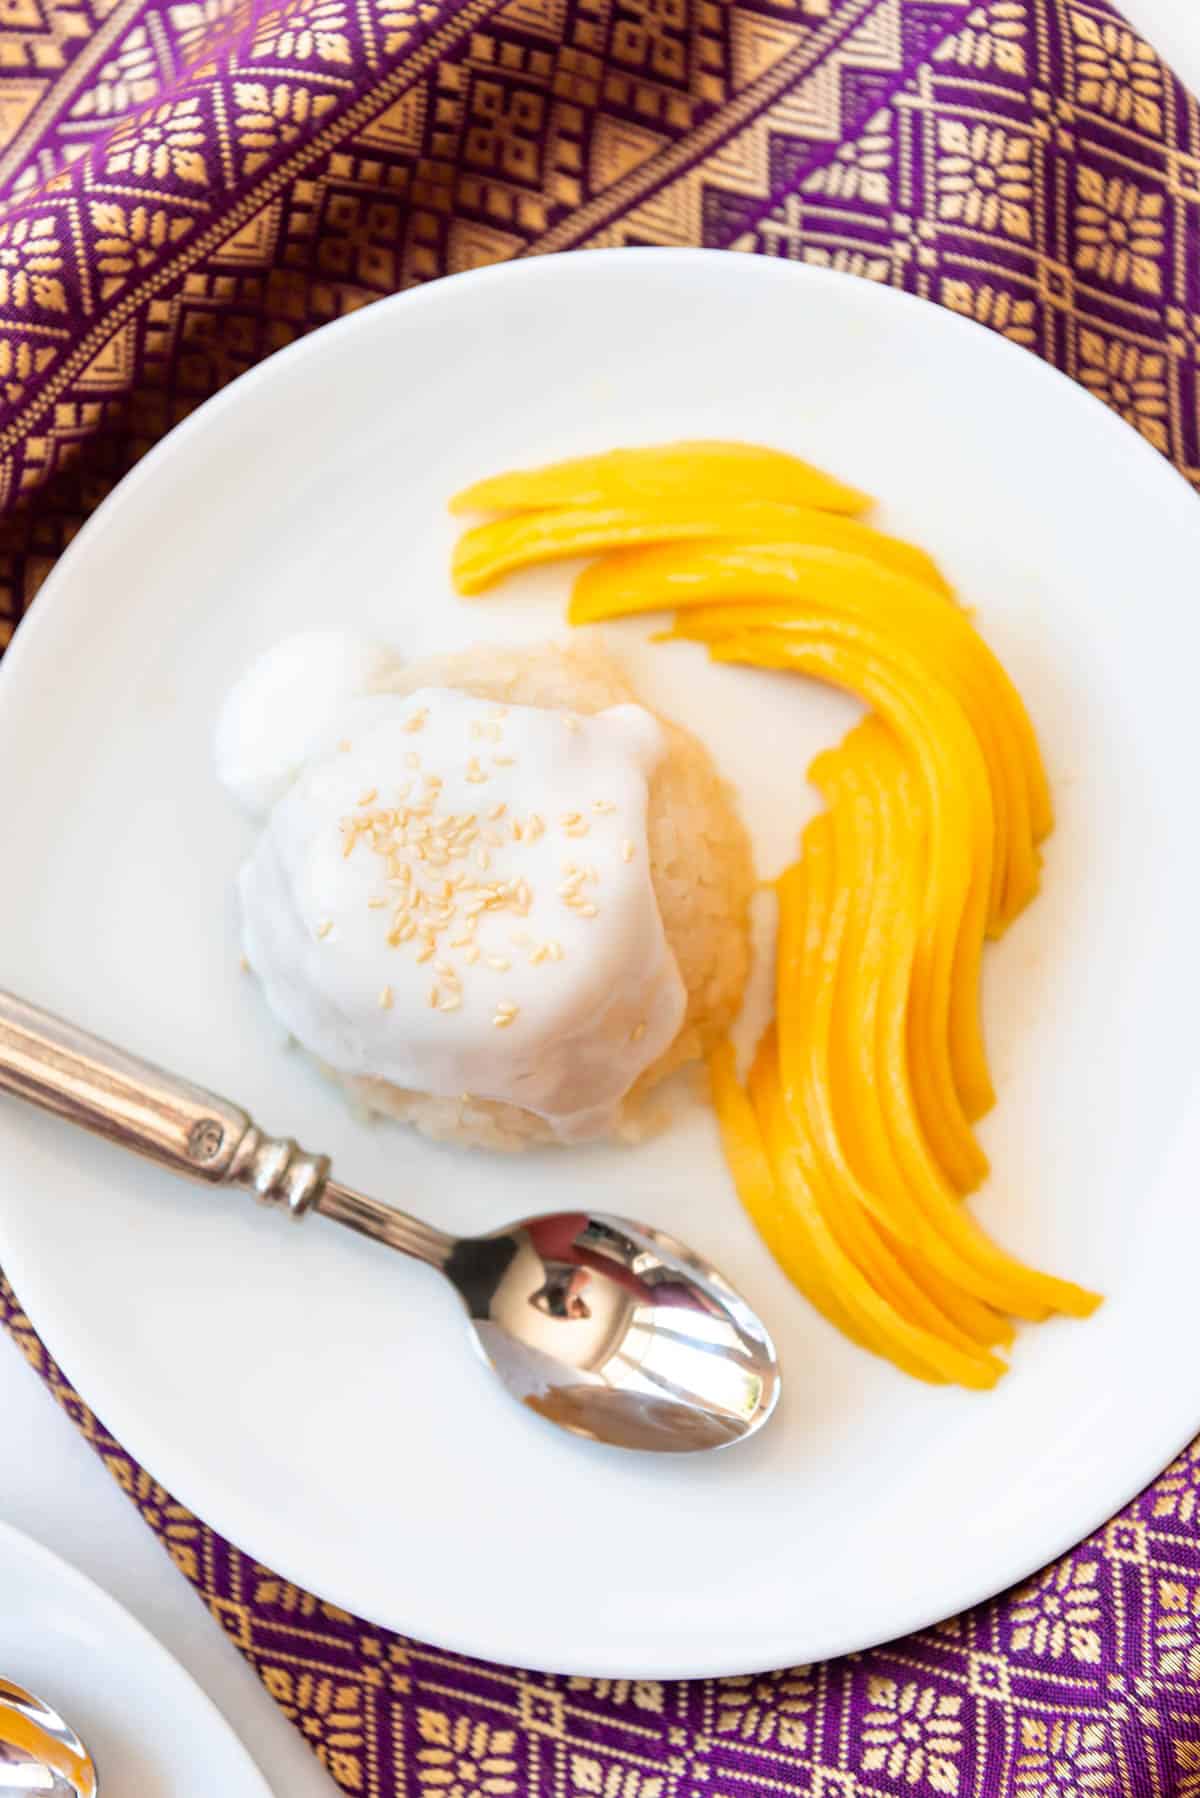
Table of Contents
I LOVE Thai food. We went to Thailand and Cambodia as a family a few years ago, during Thanksgiving, and we got to have so many amazing foods like yellow curry (my favorite), Pad Thai, soups, Cambodian Red Curry (milder than the Thai version), and, of course, Coconut Mango Sticky Rice (or Khao Niao Mamuang) to name just a few!
Since we were in Thailand over Thanksgiving, we actually had mango sticky rice with coconut sauce for Thanksgiving dessert instead of pie, and even though I’m a pie fanatic, I definitely was not complaining. This classic Thai dessert tastes just like the ones you can get at Thai restaurants.
What is Sticky Mango Rice?
Coconut-mango Thai sticky rice is a popular dessert in the Indochina region of Southeast Asia, which includes Thailand, Cambodia, Laos, and Vietnam.
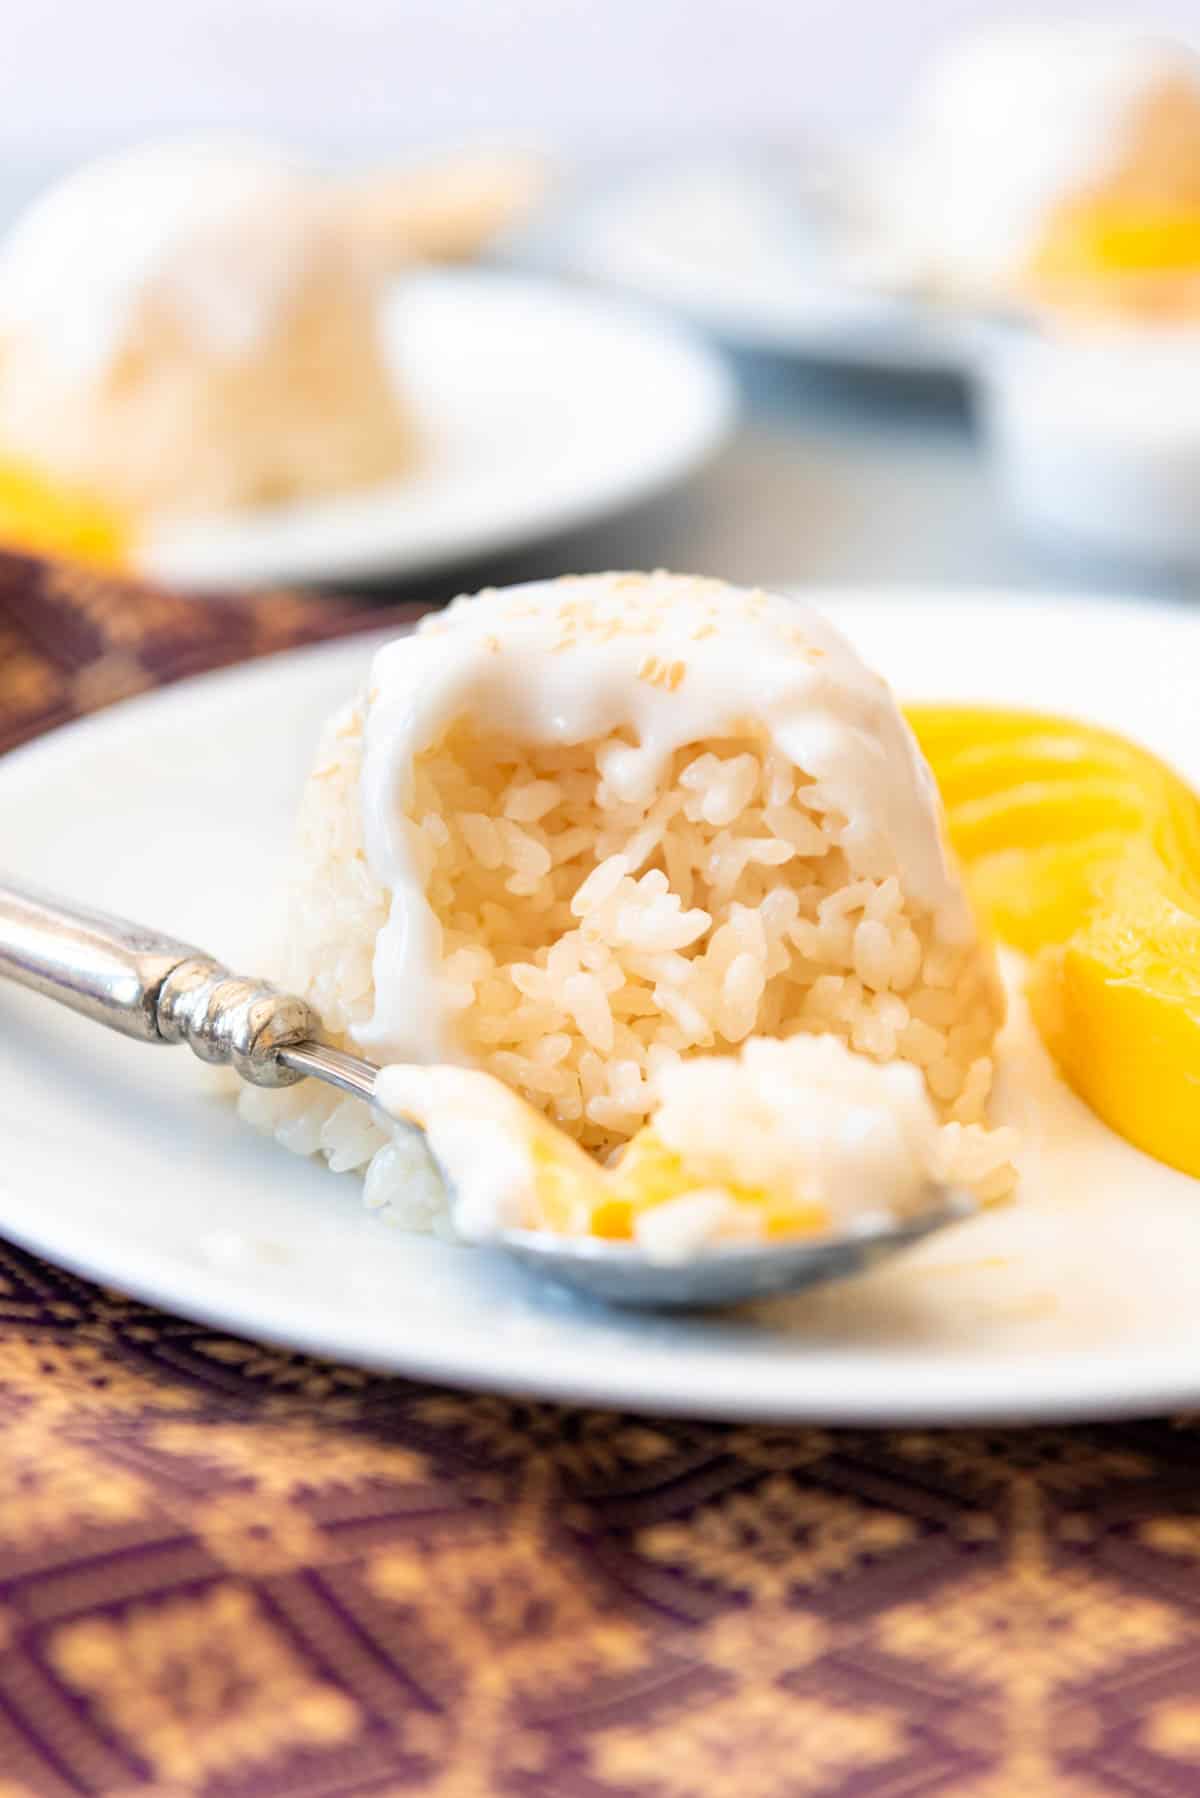
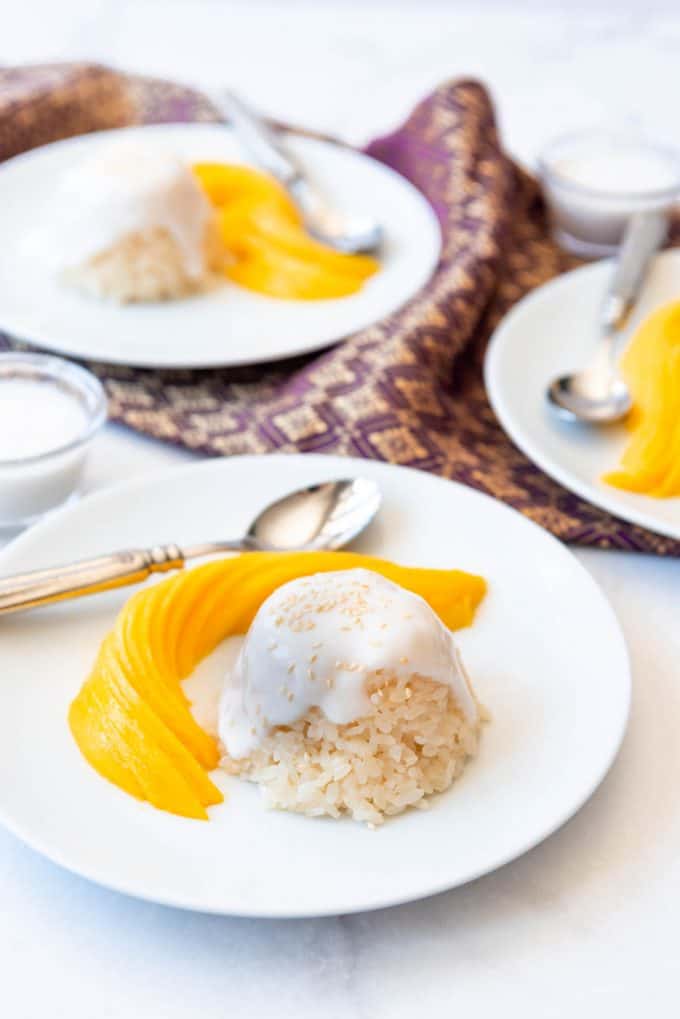
The traditional method of serving it is either slightly warm or at room temperature. Some places serve it with a little cup of coconut sauce to pour over the coconut sticky rice, while others already have the sauce poured on for you.
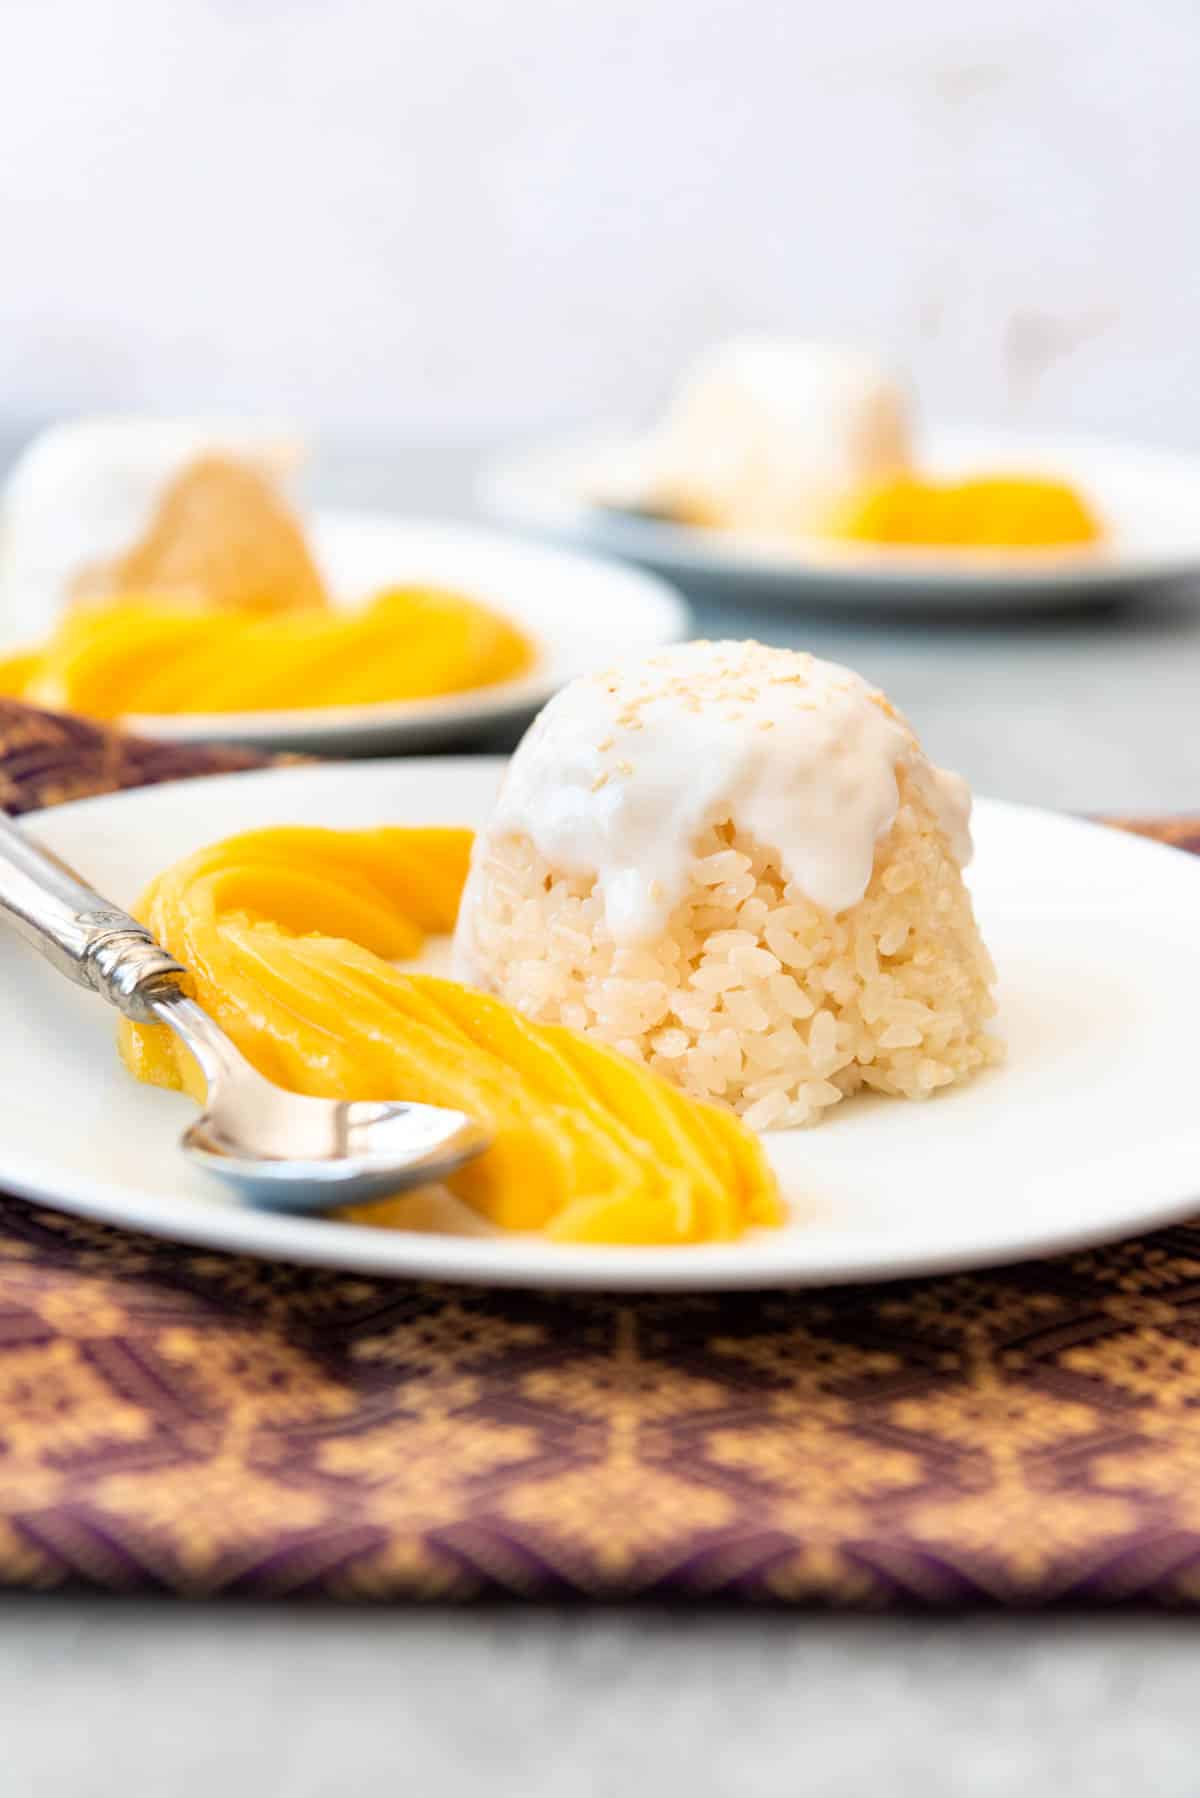
Now, I’m not Thai or from Thailand, so I’m not going to make any claims about this being an authentic Thai sweet rice recipe (in fact, my guess is that a truly authentic version would use palm sugar instead of the granulated white sugar that we are used to in the U.S.) but I will say that this tastes so close to what I remember eating on our trip that I can’t tell a difference.
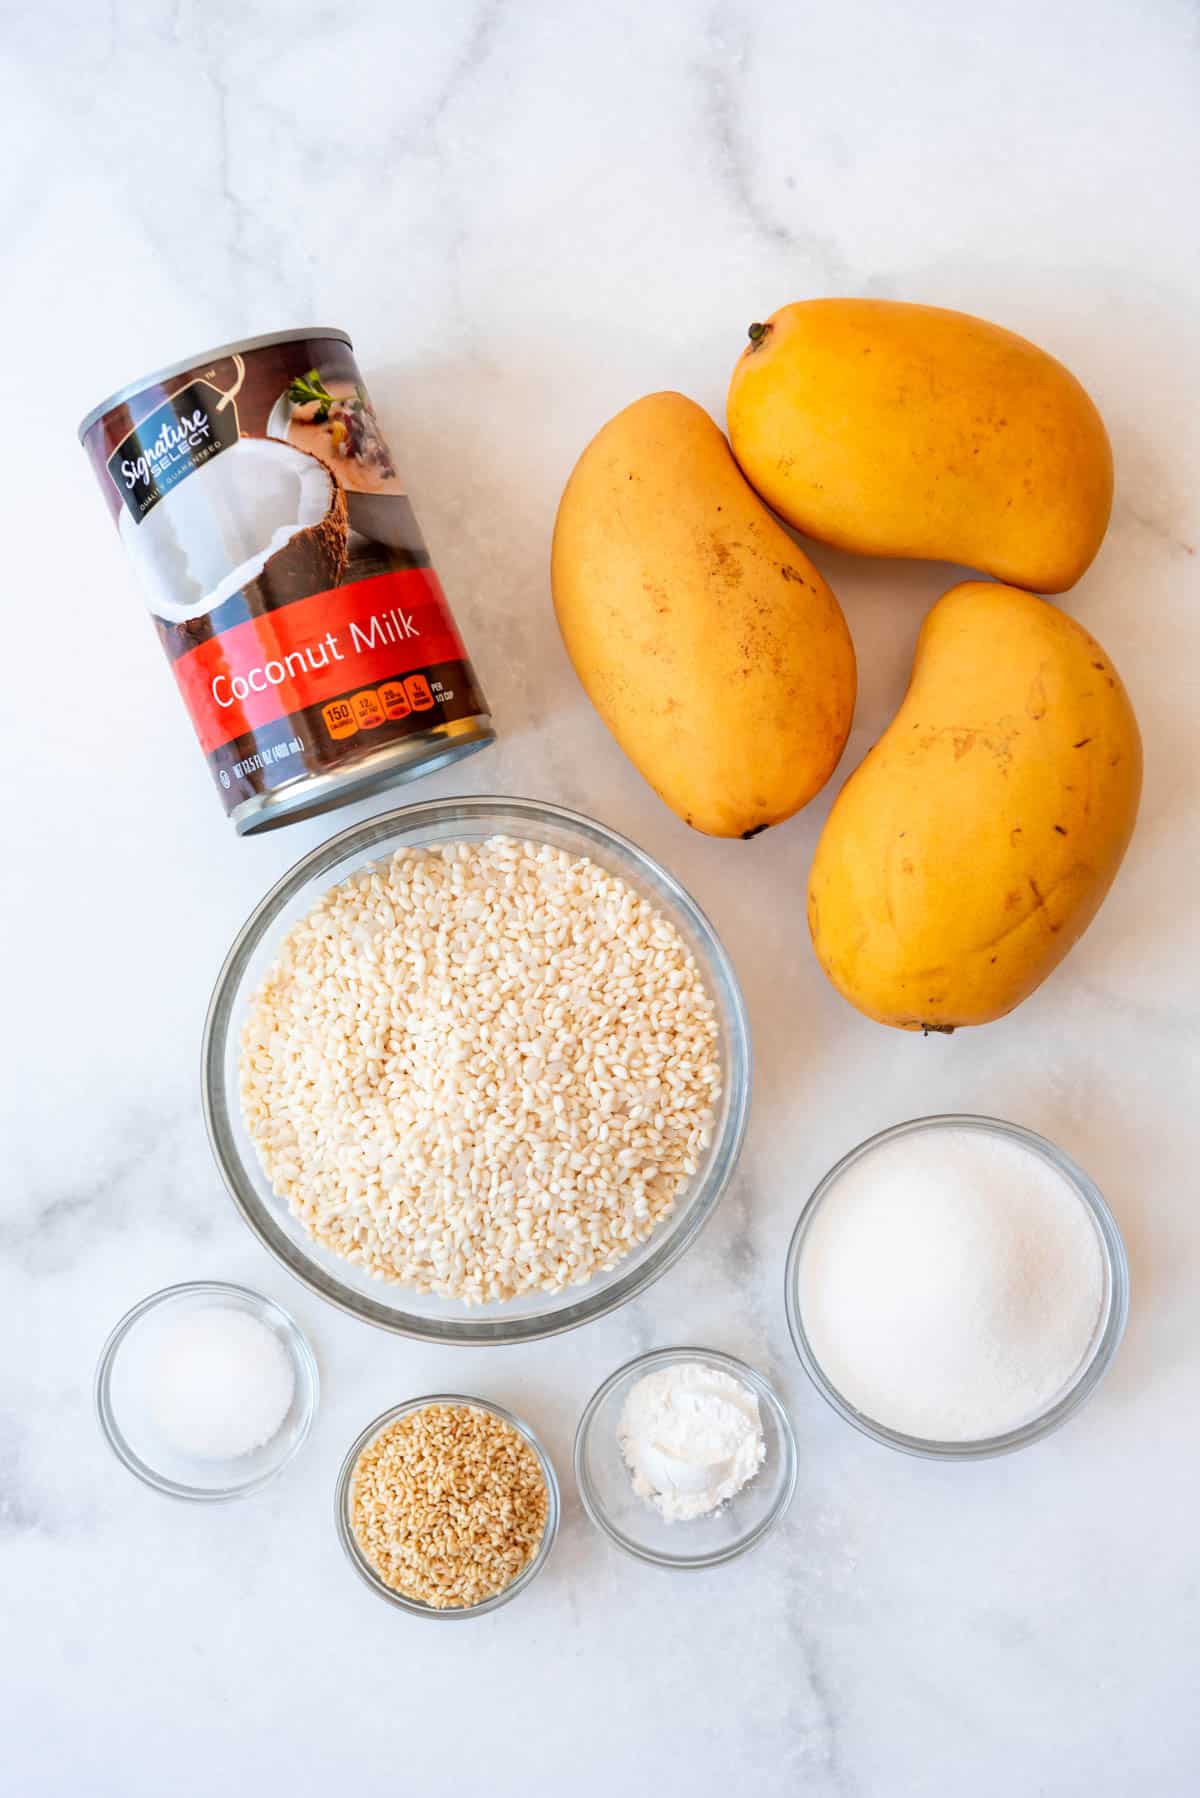
Thai Sticky Rice with Mango ingredients
Scroll down to the recipe card below this post for ingredient quantities and full instructions.
- Rice – You will need glutinous rice for this recipe to get the authentic texture of sticky rice.
- Coconut Milk – Use full-fat coconut milk for the best flavor.
- Sugar – White granulated sugar will work well for this dessert.
- Salt – Kosher salt will enhance the flavors of this complex dish.
- Cornstarch – To thicken the coconut sauce.
- Mango – Use a ripe yellow mango known as yellow Ataúlfo mangoes.
- Toasted Sesame Seeds – Sprinkle some on the end as a garnish.
What rice is used for Thai sticky rice?
Glutinous rice is the best kind of rice to use for this sweet and sticky dessert. If you can’t find glutinous rice, you can try using another short grain rice sushi rice. Long grain rice like Jasmine rice and basmati rice aren’t the same, as they don’t contain the same starches and won’t produce the same result.
Pro Tip: It might also be called “sweet rice” on the package, but if you look at the ingredient list, it will say “glutinous milled rice” on it. You don’t even need to go to an Asian market to find it. My local grocery store had bags of it in the Asian food aisle.
Glutinous rice cooks (and should be cooked) differently than the regular rice most of us are used to. Instead of cooking your rice IN the water, you actually steam the rice OVER the water. In Thailand, they use a special woven bamboo steamer. But we’re using a cheater version to recreate the same results with kitchen tools available to most of us in the rest of the world.
How to make this Mango Sticky Rice Recipe
Sticky Rice
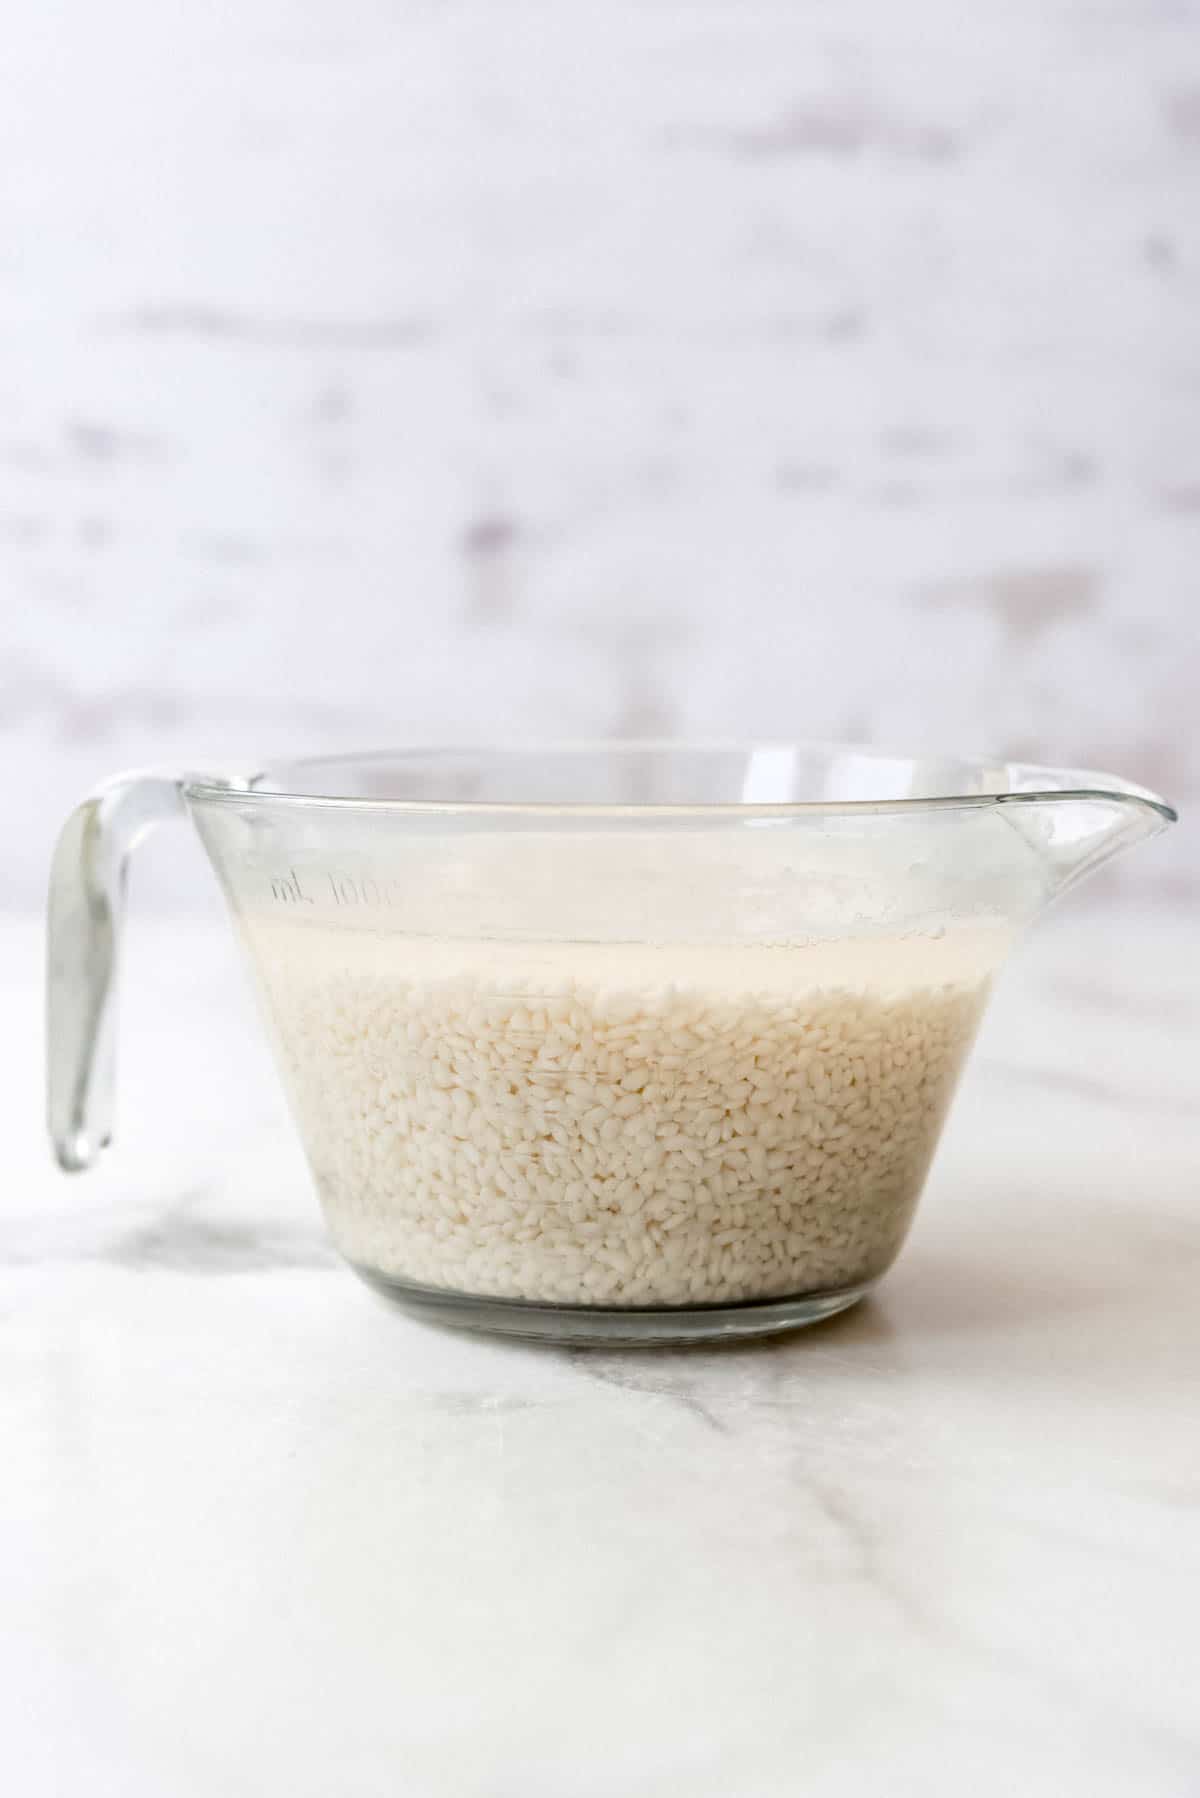
- Soak rice. Put rice in a large bowl and cover with enough room temperature water to come up about 1 inch over the top of the rice. Soak rice for 1-5 hours. Drain off the water, and rinse the soaked rice with running water to remove excess starch.
- Boil water. Fill a medium-sized pot about ⅔ full with water. The pot should be smaller than your splatter guard or fine mesh strainer that has been inverted (see post notes above) that you plan to use to cook the rice. Heat the water to boiling.
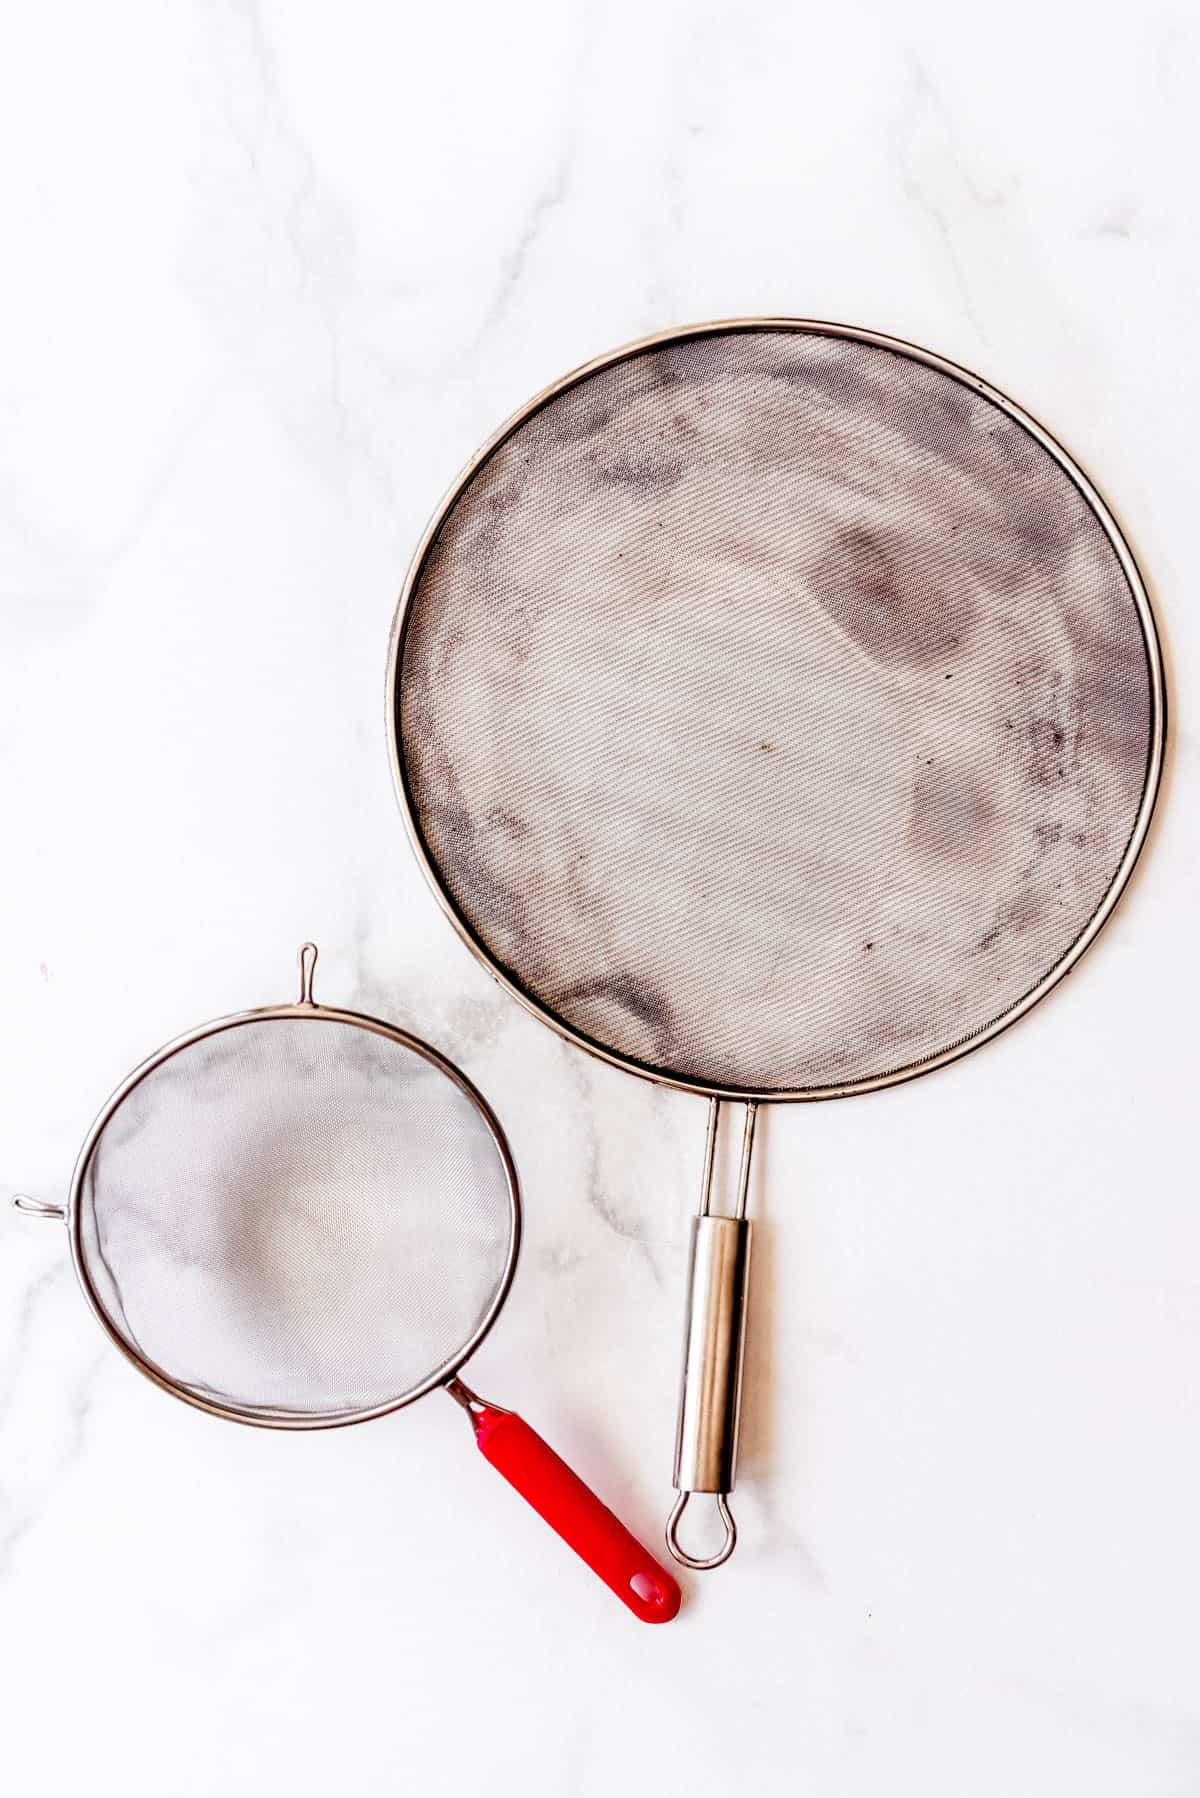
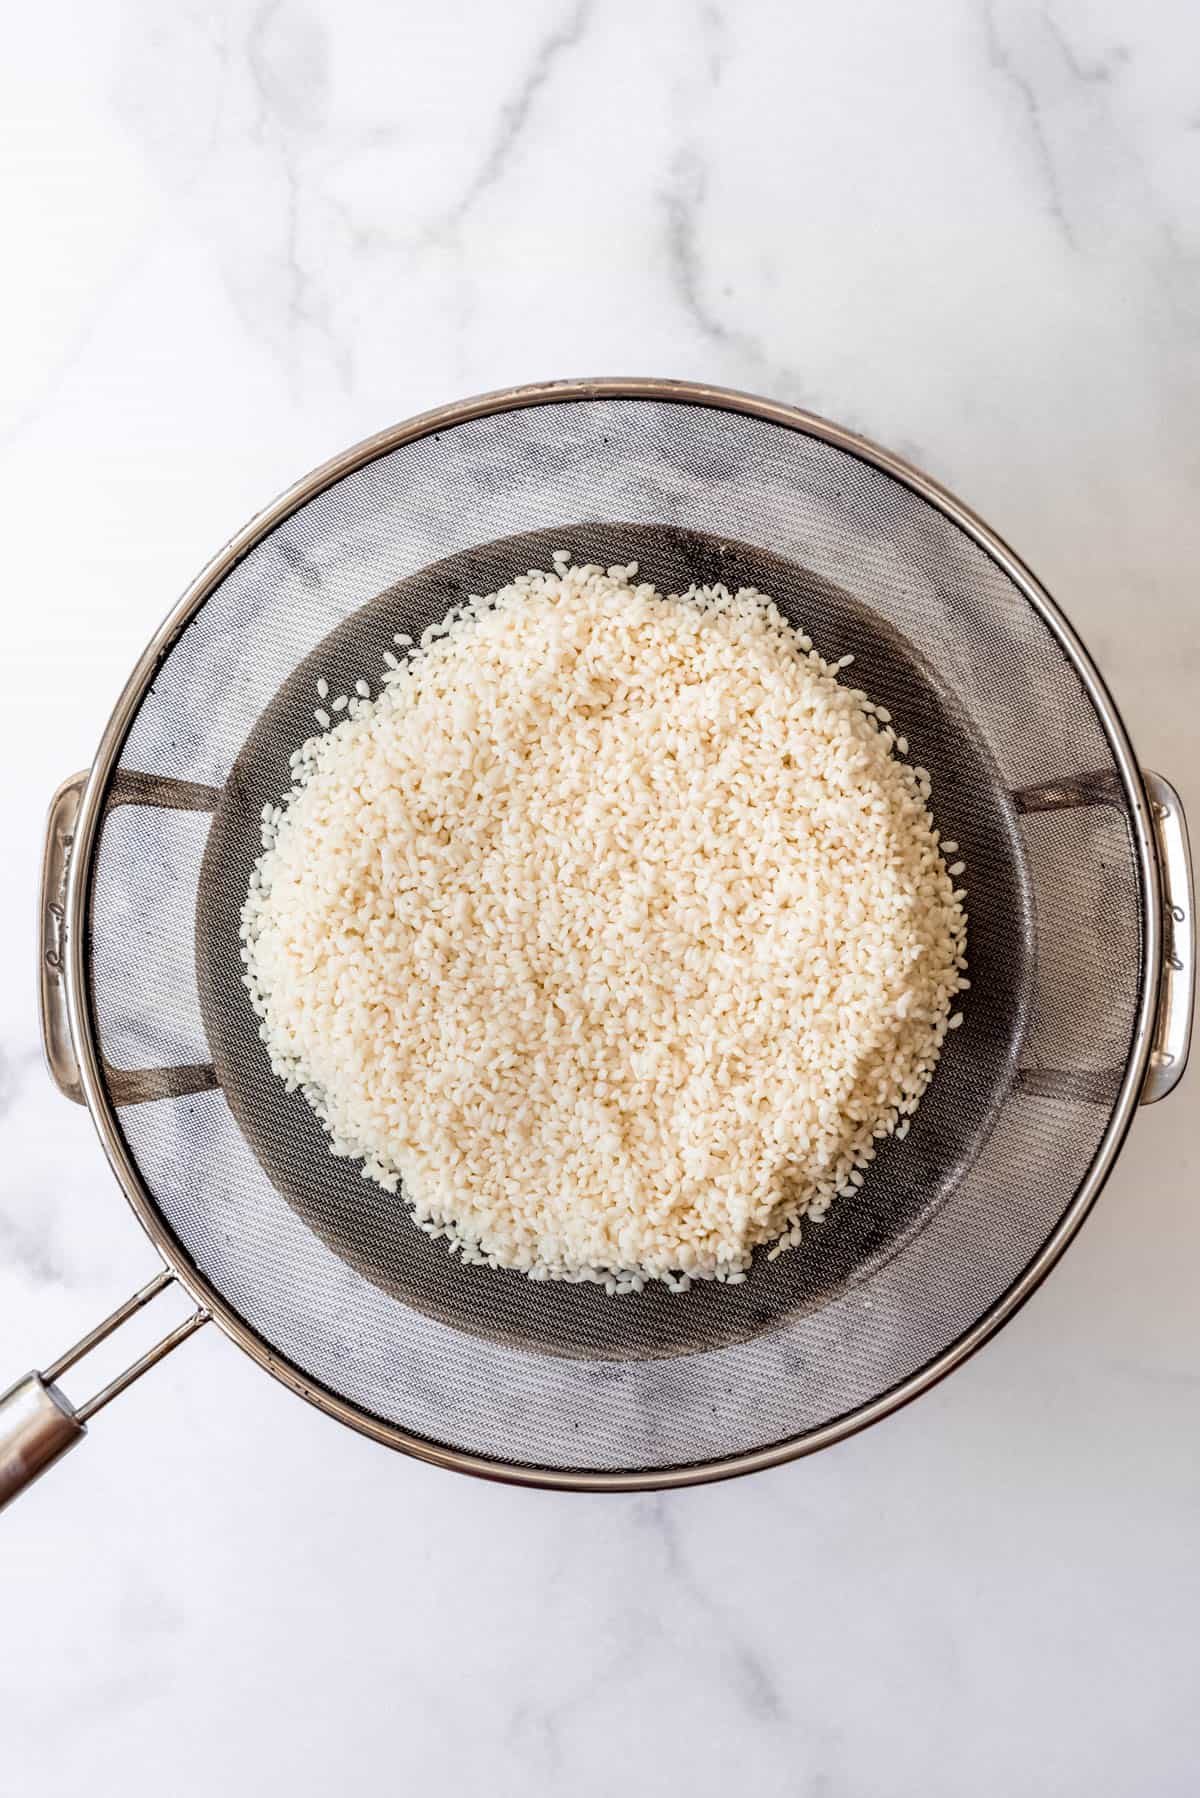
- Put strainer on top. Place a splatter guard or mesh strainer over the boiling water and adjust the heat down a bit to maintain a gentle boil. Carefully dump the drained and rinsed rice right onto the splatter guard or inverted strainer, right in the center. Keep the mound of rice no higher than 2 to 3 inches high. This will help with even cooking.
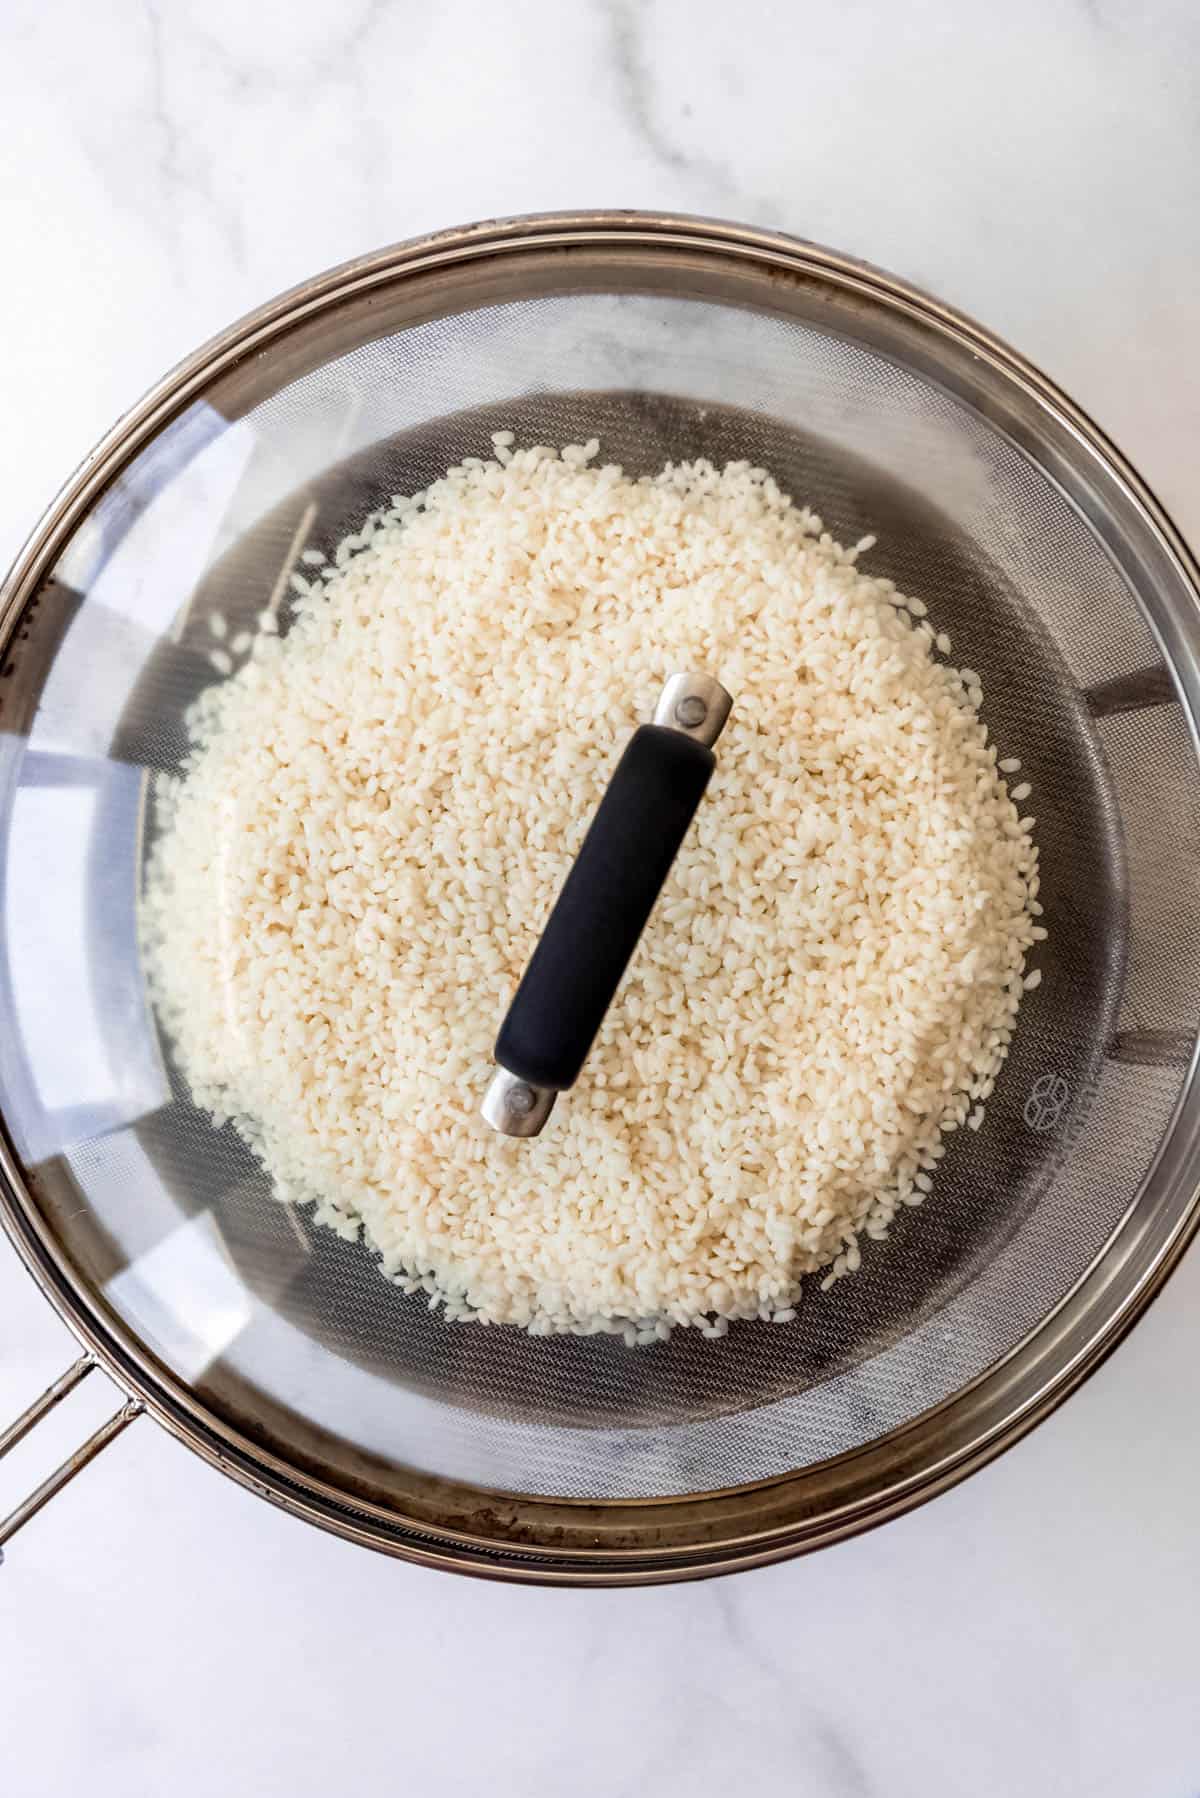
- Cover with lid. Cover the rice mound with a bowl or pot that domes a bit higher than the height of the rice mound. The cover does not have to match the size of the pot opening. As long as it doesn’t touch the rice and can sit on the splatter guard or mesh strainer, it will work.
- Steam rice. The amount of time required to steam the sticky rice will depend on the amount of rice you are steaming, but one cup of raw rice will take about 25 to 30 minutes using this approach. Halfway through the steaming process, remove the domed cover and quickly flip the rice or give it a fluff to ensure even cooking and prevent the rice on the bottom of the pile from getting soggy.
Coconut Sauce & Topping
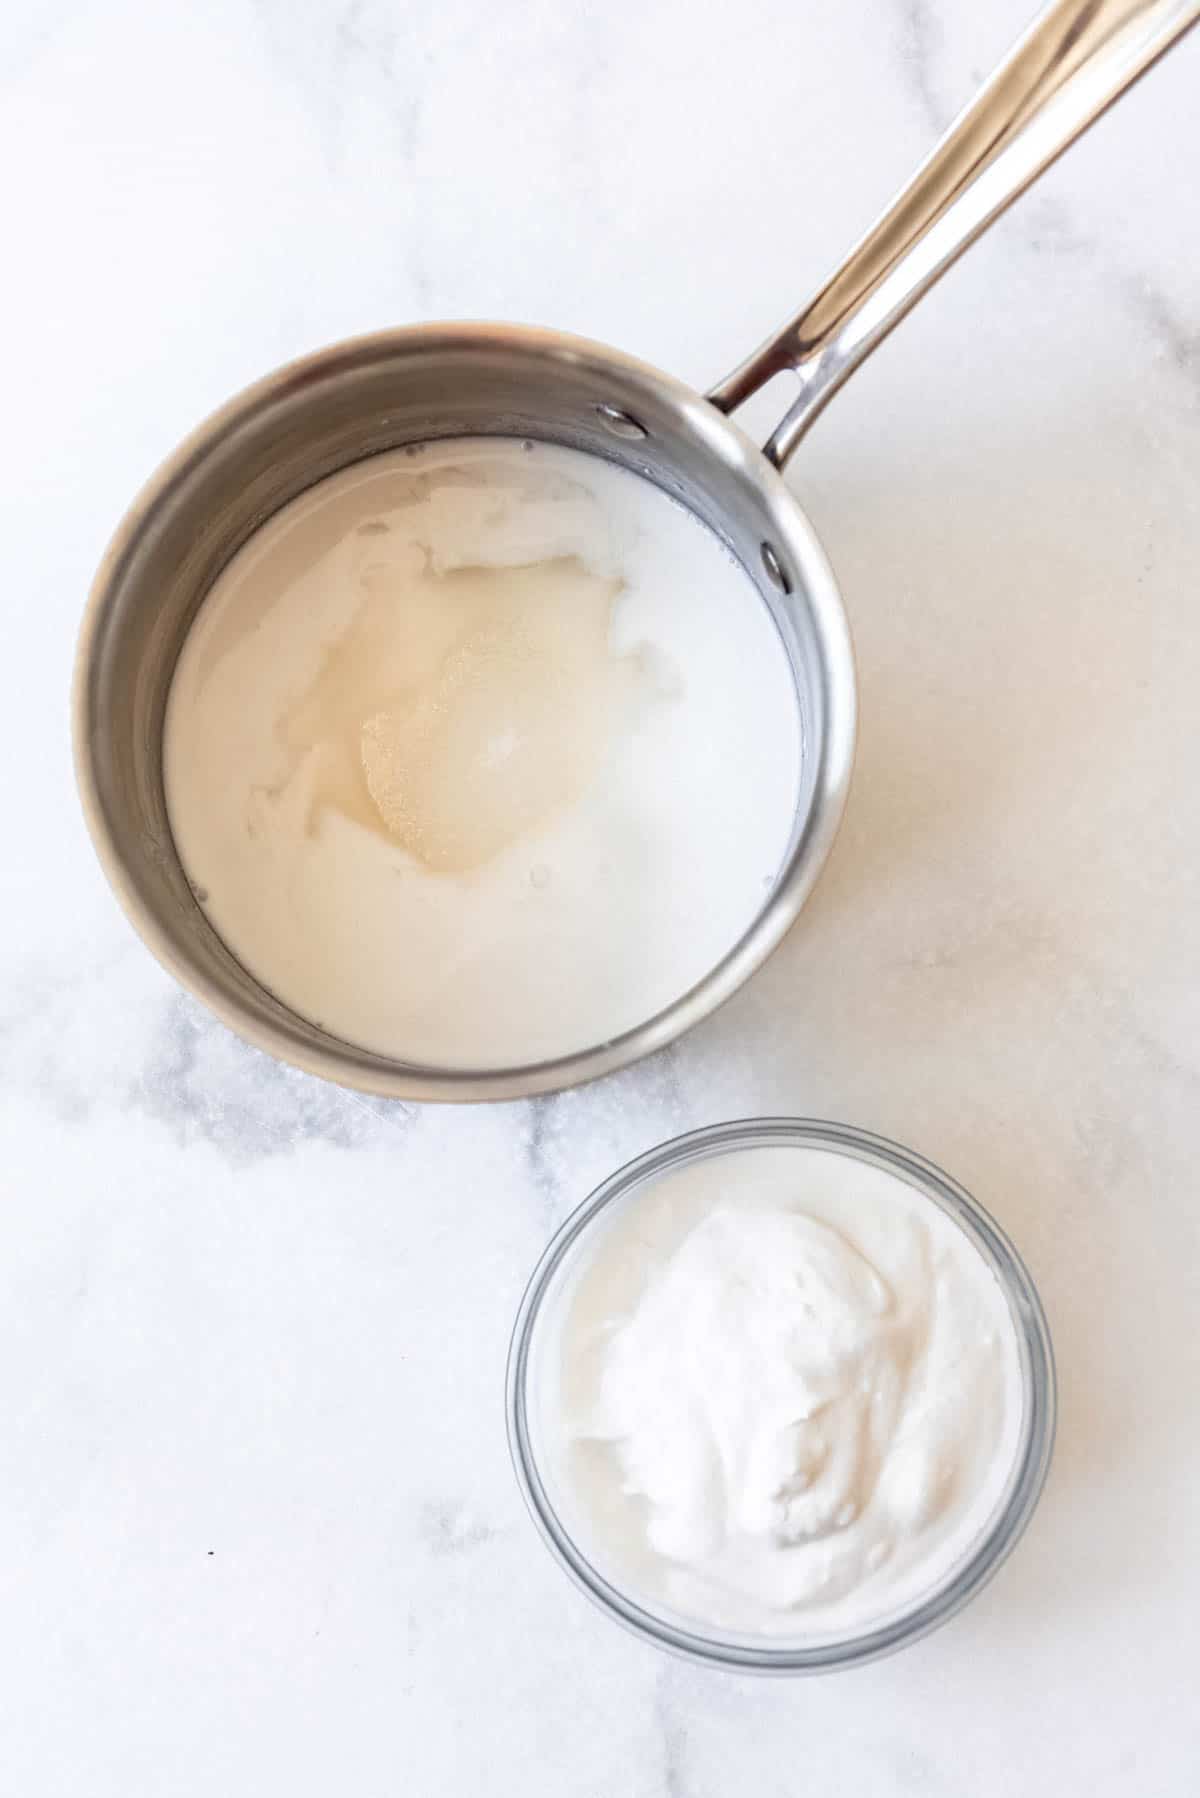
- Separate coconut milk and cream. While the rice is steaming, open the can of coconut milk and spoon out the thick coconut cream on top into a small bowl and set aside. If you do not shake your can and let it chill in the refrigerator before using, this step will be very easy as the milk and cream will naturally separate. Pour the thinner, lighter coconut milk that remains into a small pan.
- Add salt and sugar. Add 2 tablespoons of sugar and ½ teaspoon of salt to the coconut milk in the small pan, and warm over medium heat, stirring gently and continuously until the sugar is completely dissolved, about 5 minutes. Be careful not to let the sauce come to a boil.
- Remove strainer. Once the rice is cooked through with no hard, raw bits in the middle of the grains, remove the splatter guard or strainer from over the water and scrape the rice off the screen into a mixing bowl. It may be lumpy, which is fine.
- Pour coconut mixture over rice. Slowly pour the warm coconut milk mixture over the cooked rice. Stir frequently to coat the rice in the coconut milk mixture. Be careful to watch so that you are not oversaturating the rice to the point that there are puddles of coconut milk.
- Stir. Continue stirring, and stop adding the sweetened coconut milk once it looks like the rice is saturated. You may not use all of the coconut milk mixture.
- Soak rice. Set the rice aside for 20 minutes (or even up to 2 hours) to finish absorbing the coconut milk.
Make Coconut Cream Topping
- Combine ingredients. While the rice is soaking, make the coconut cream topping. Use the same saucepan that you used for the coconut milk. Just give it a quick rinse before you use it. Combine and stir together the reserved coconut cream and the remaining 1 tablespoon of sugar, and ¼ teaspoon of salt. In a separate bowl, whisk together a few teaspoons of water and the cornstarch to create a thin slurry.
- Thicken. Whisk this cornstarch slurry into the coconut cream mixture. Cook on low heat for about 3 minutes, or just until the mixture begins to thicken. Set aside.
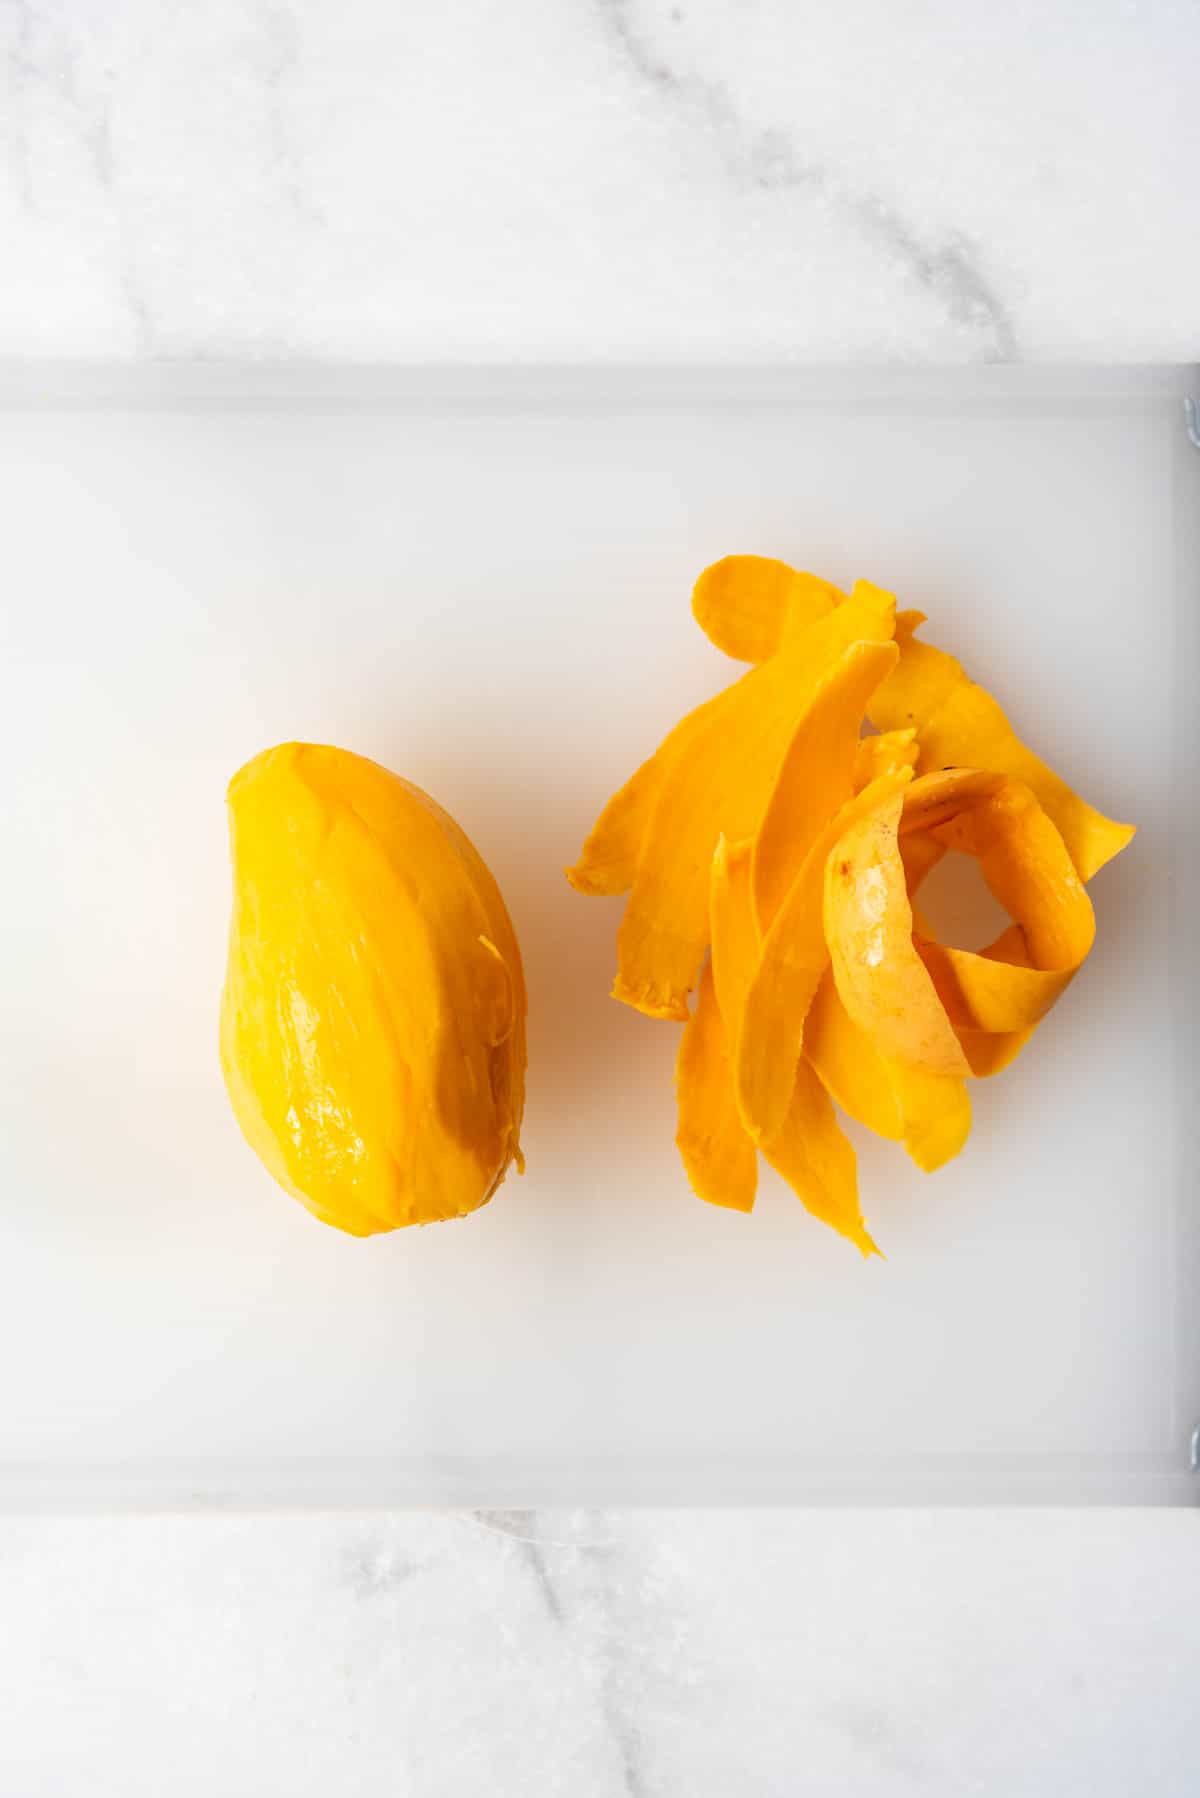
- Prepare mango. Peel the mango and slice it into thin slices.
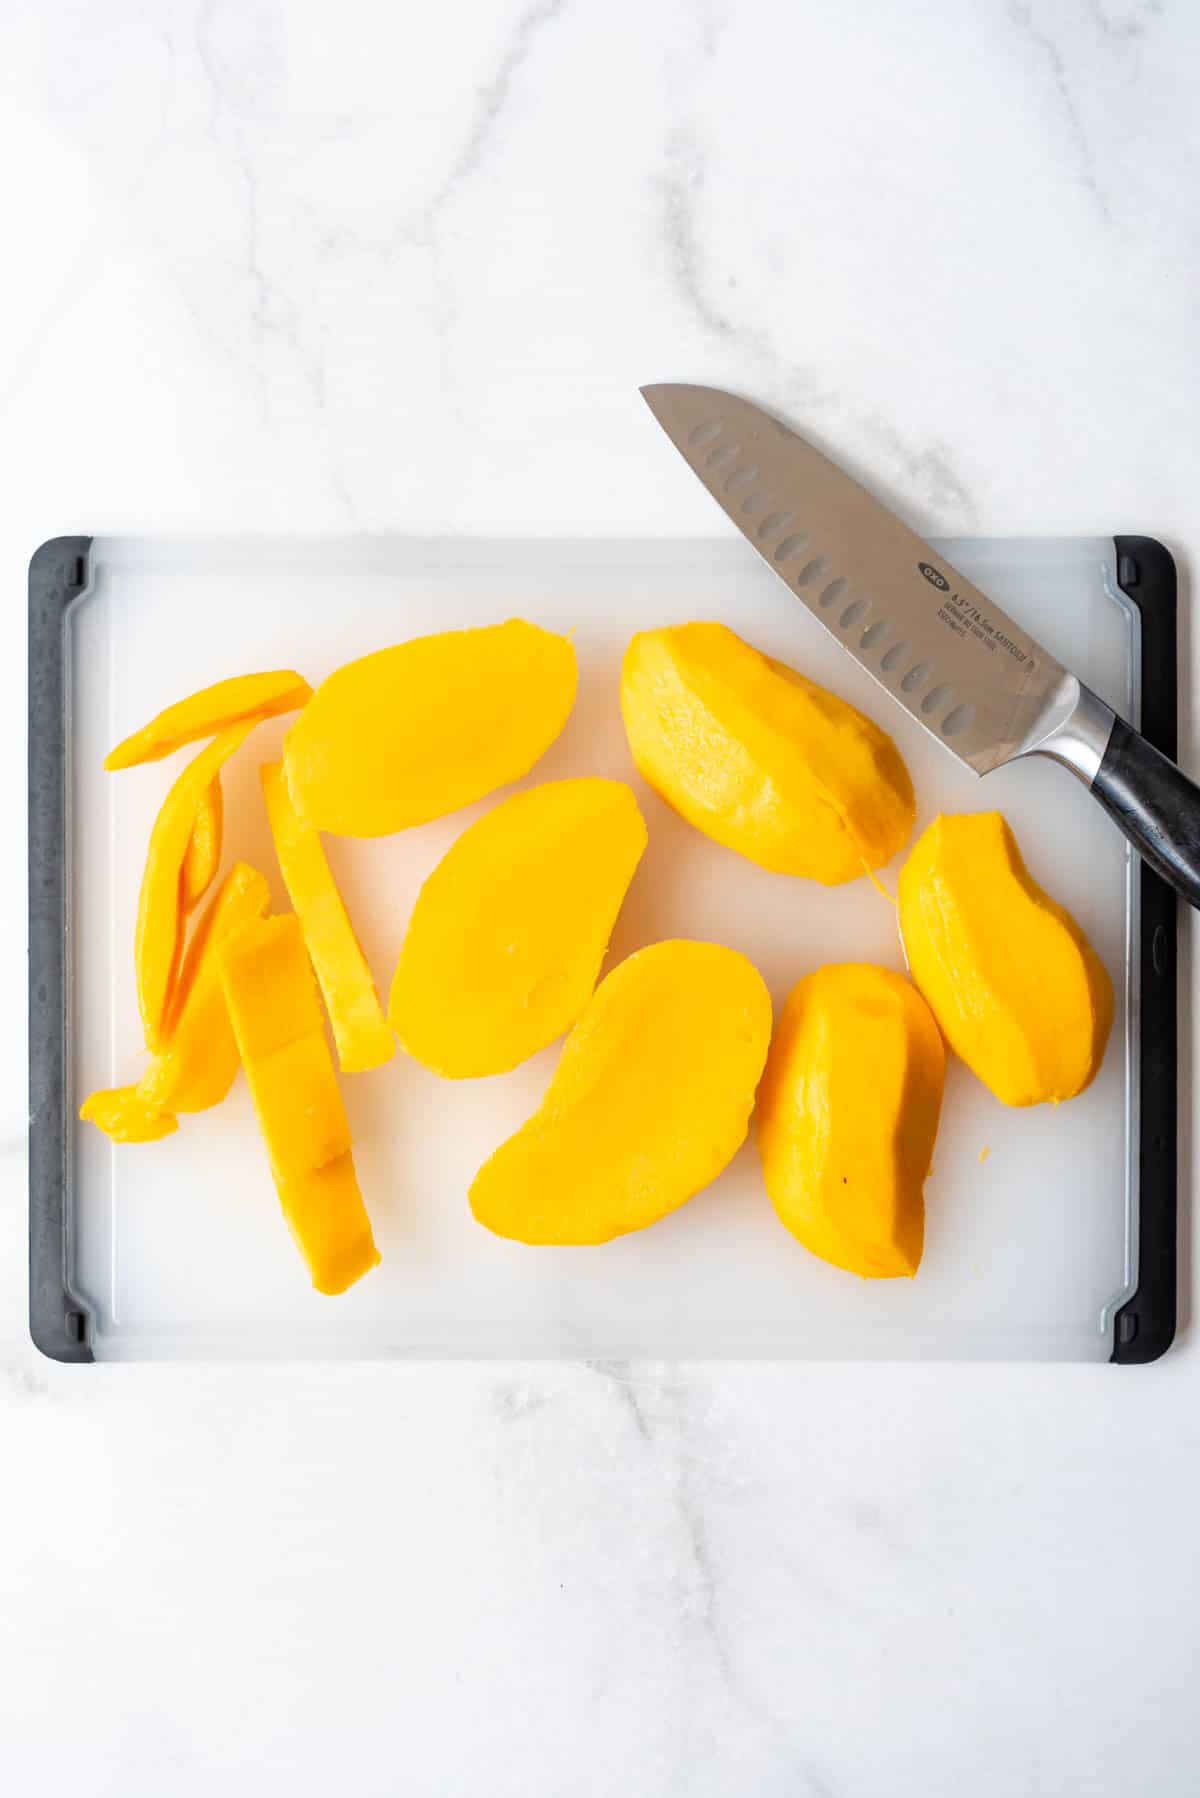
- Decorate plate with mango. Arrange the slices in a decorative manner on individual serving plates.
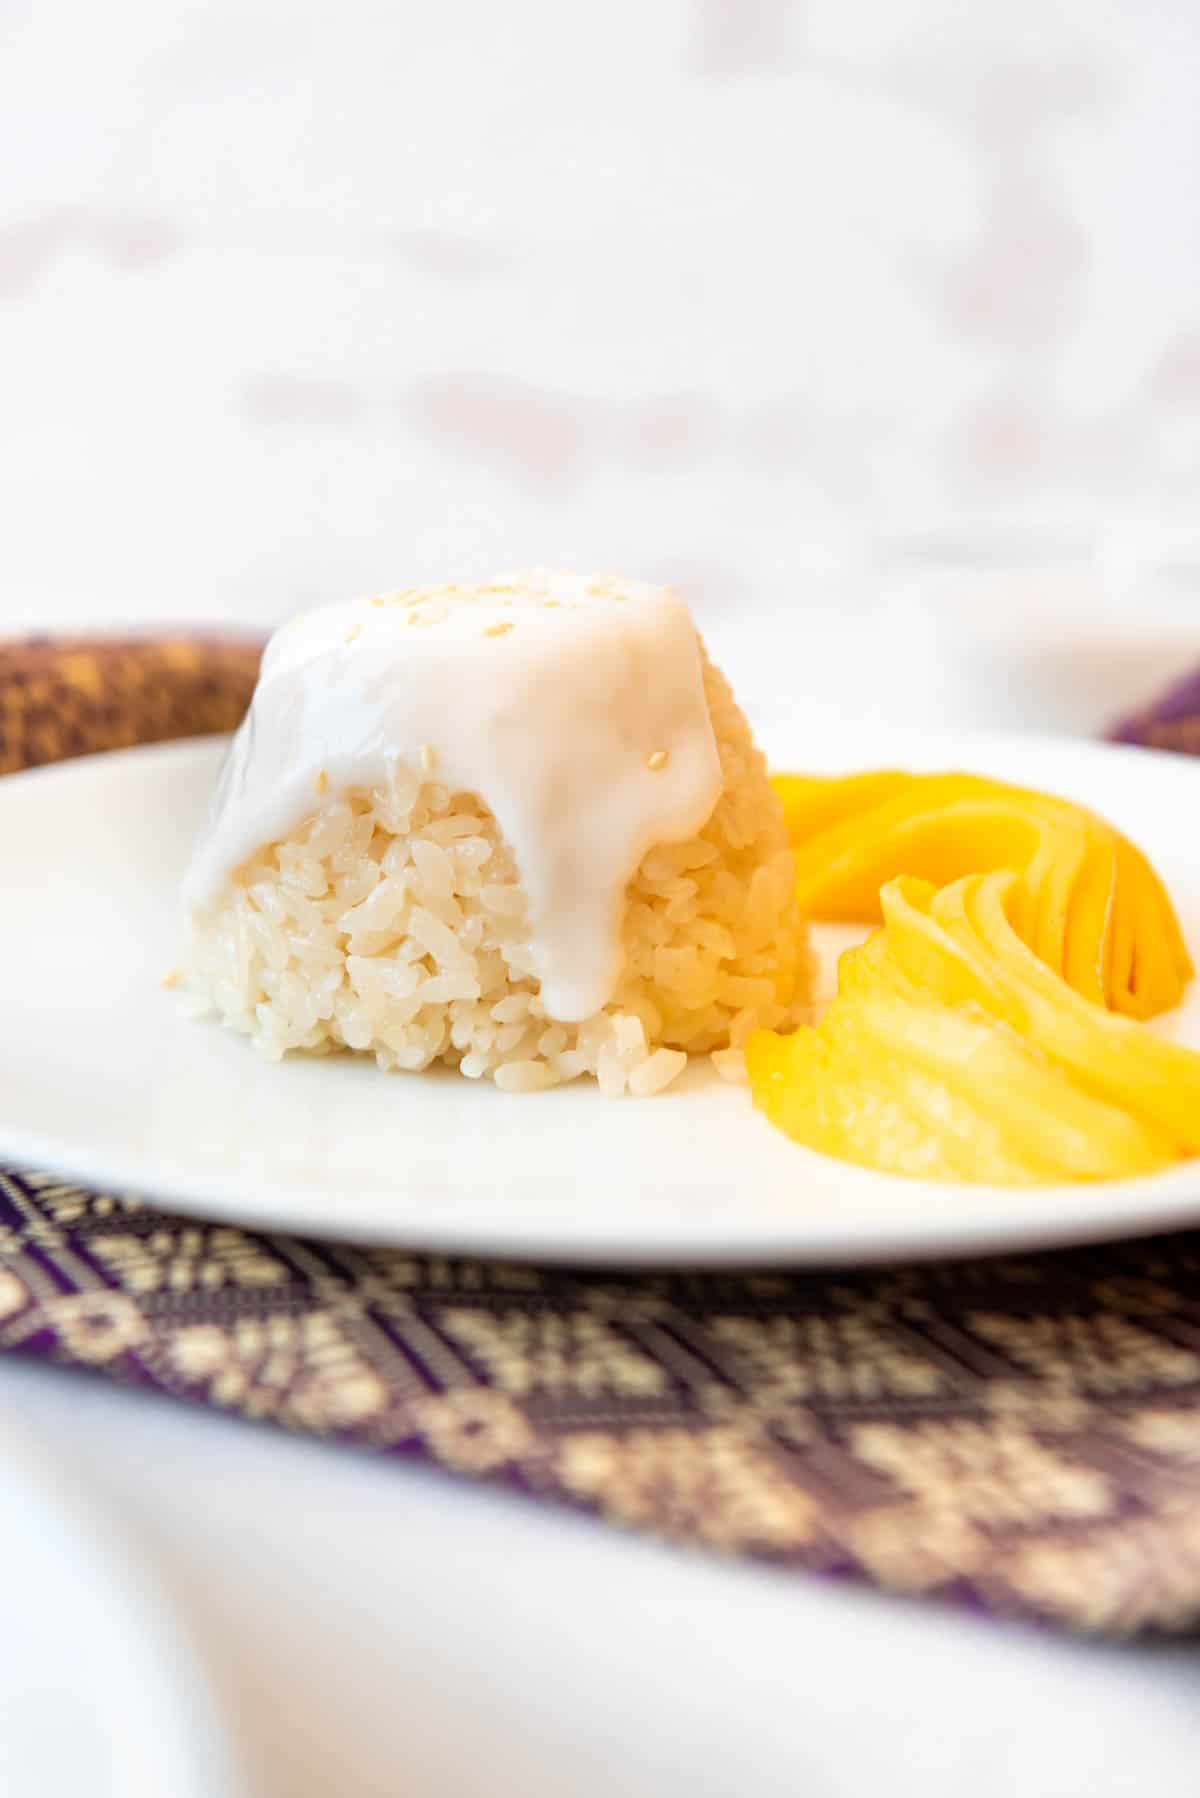
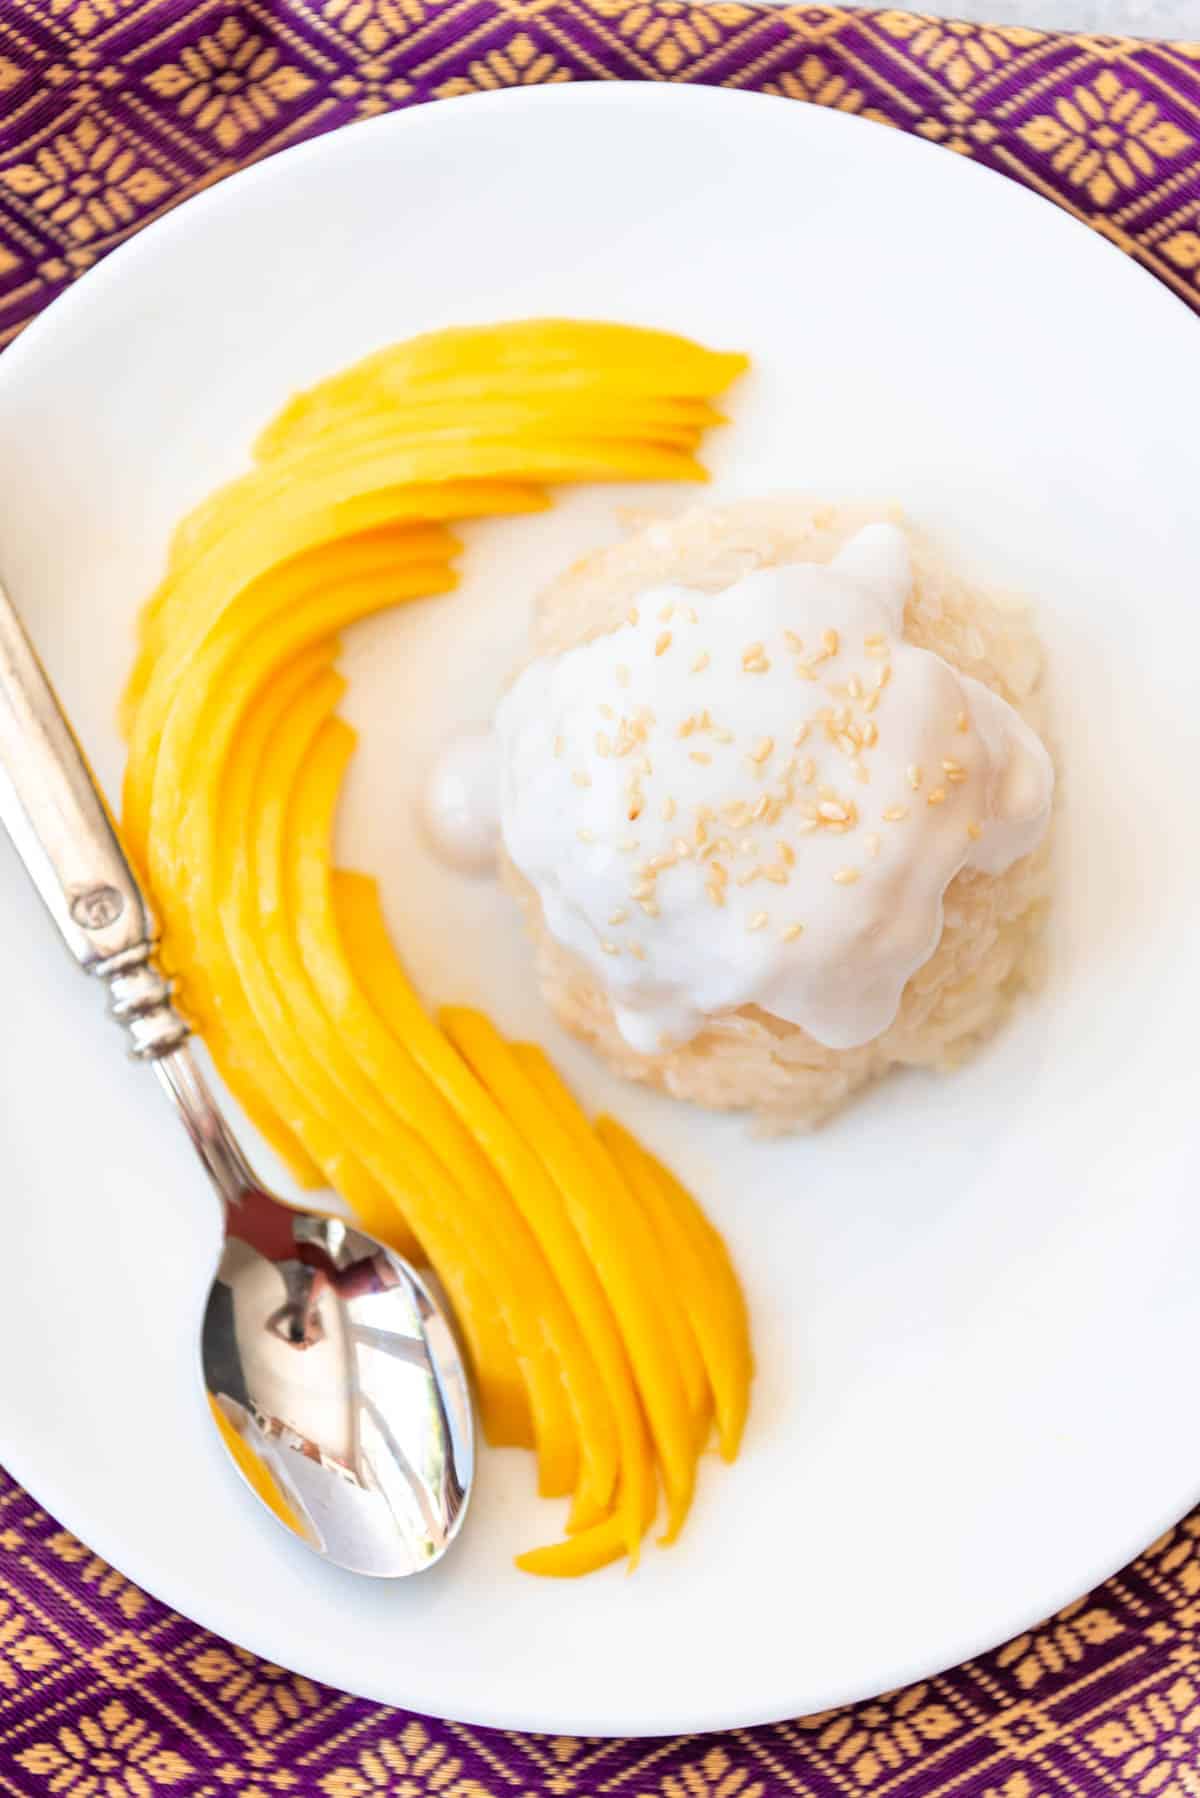
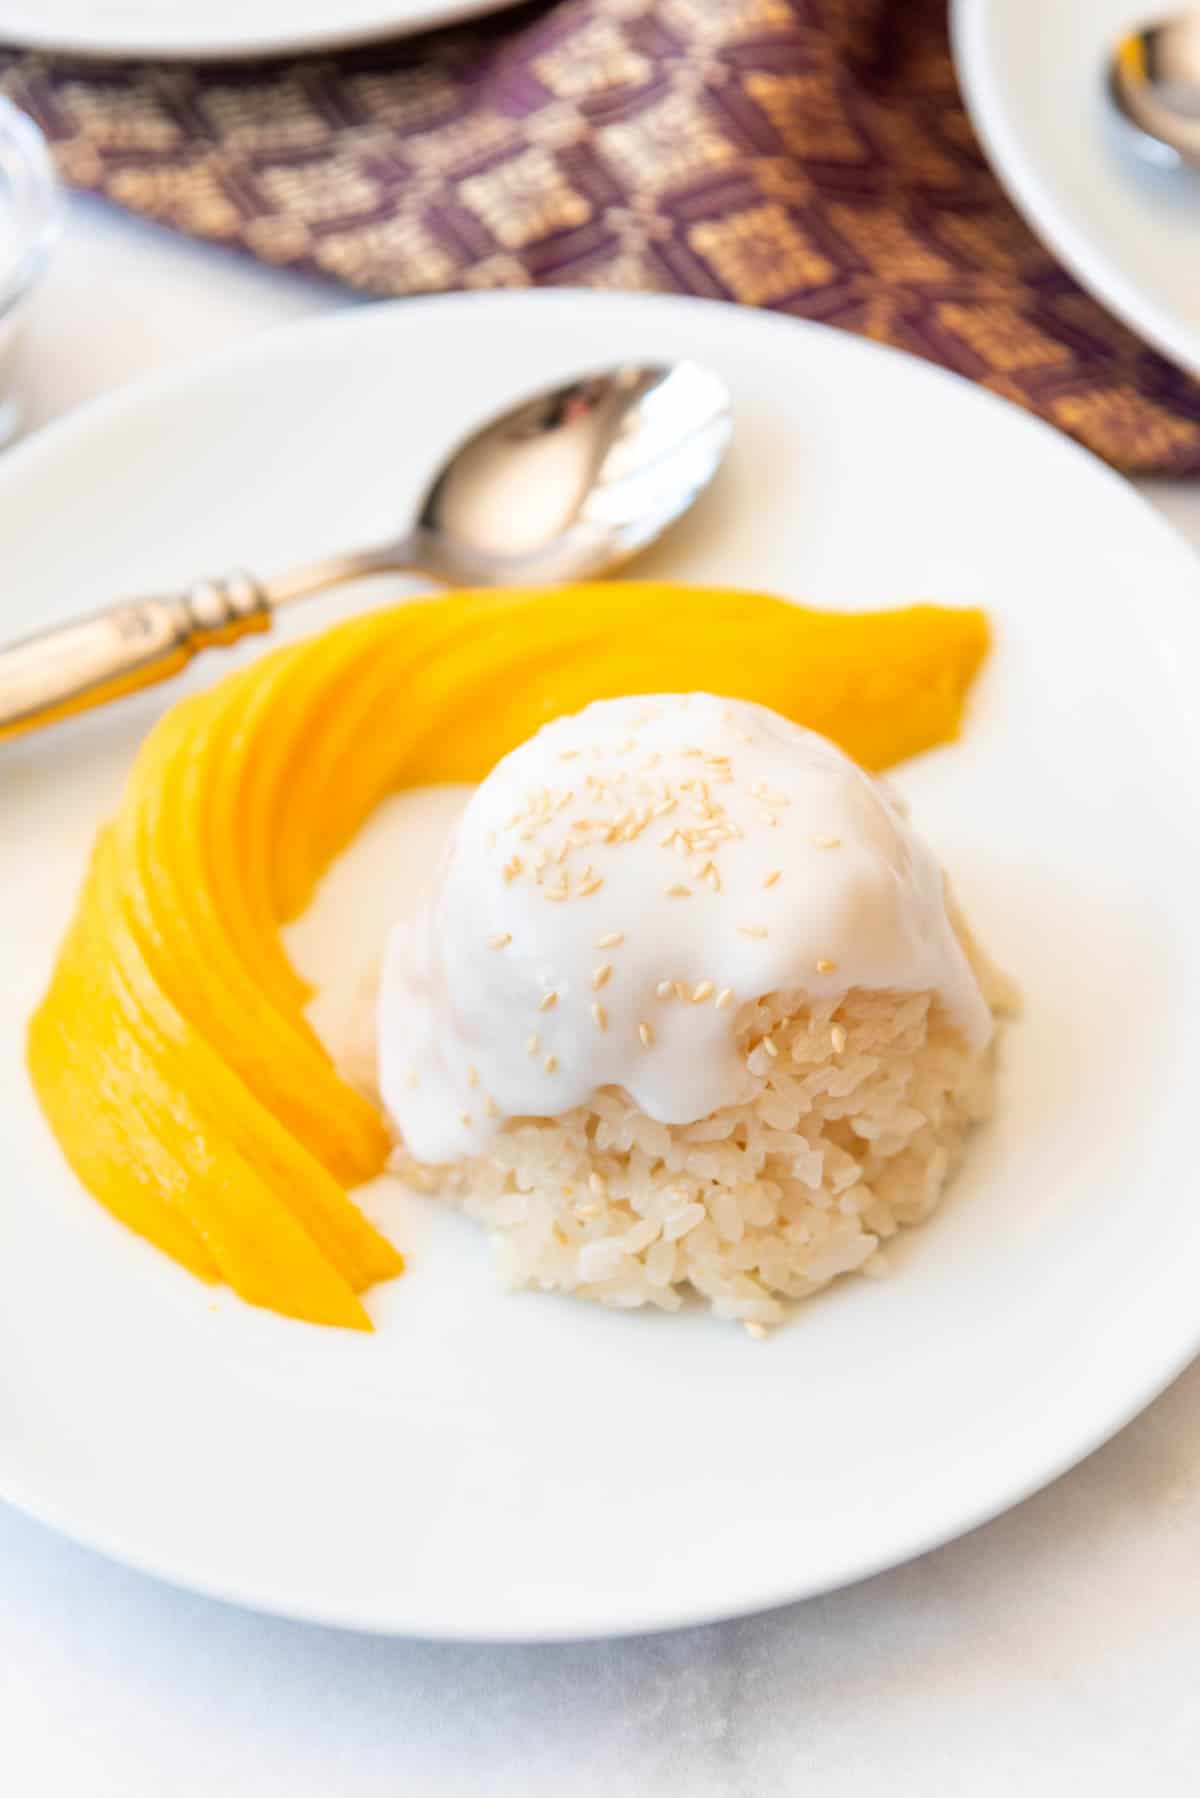
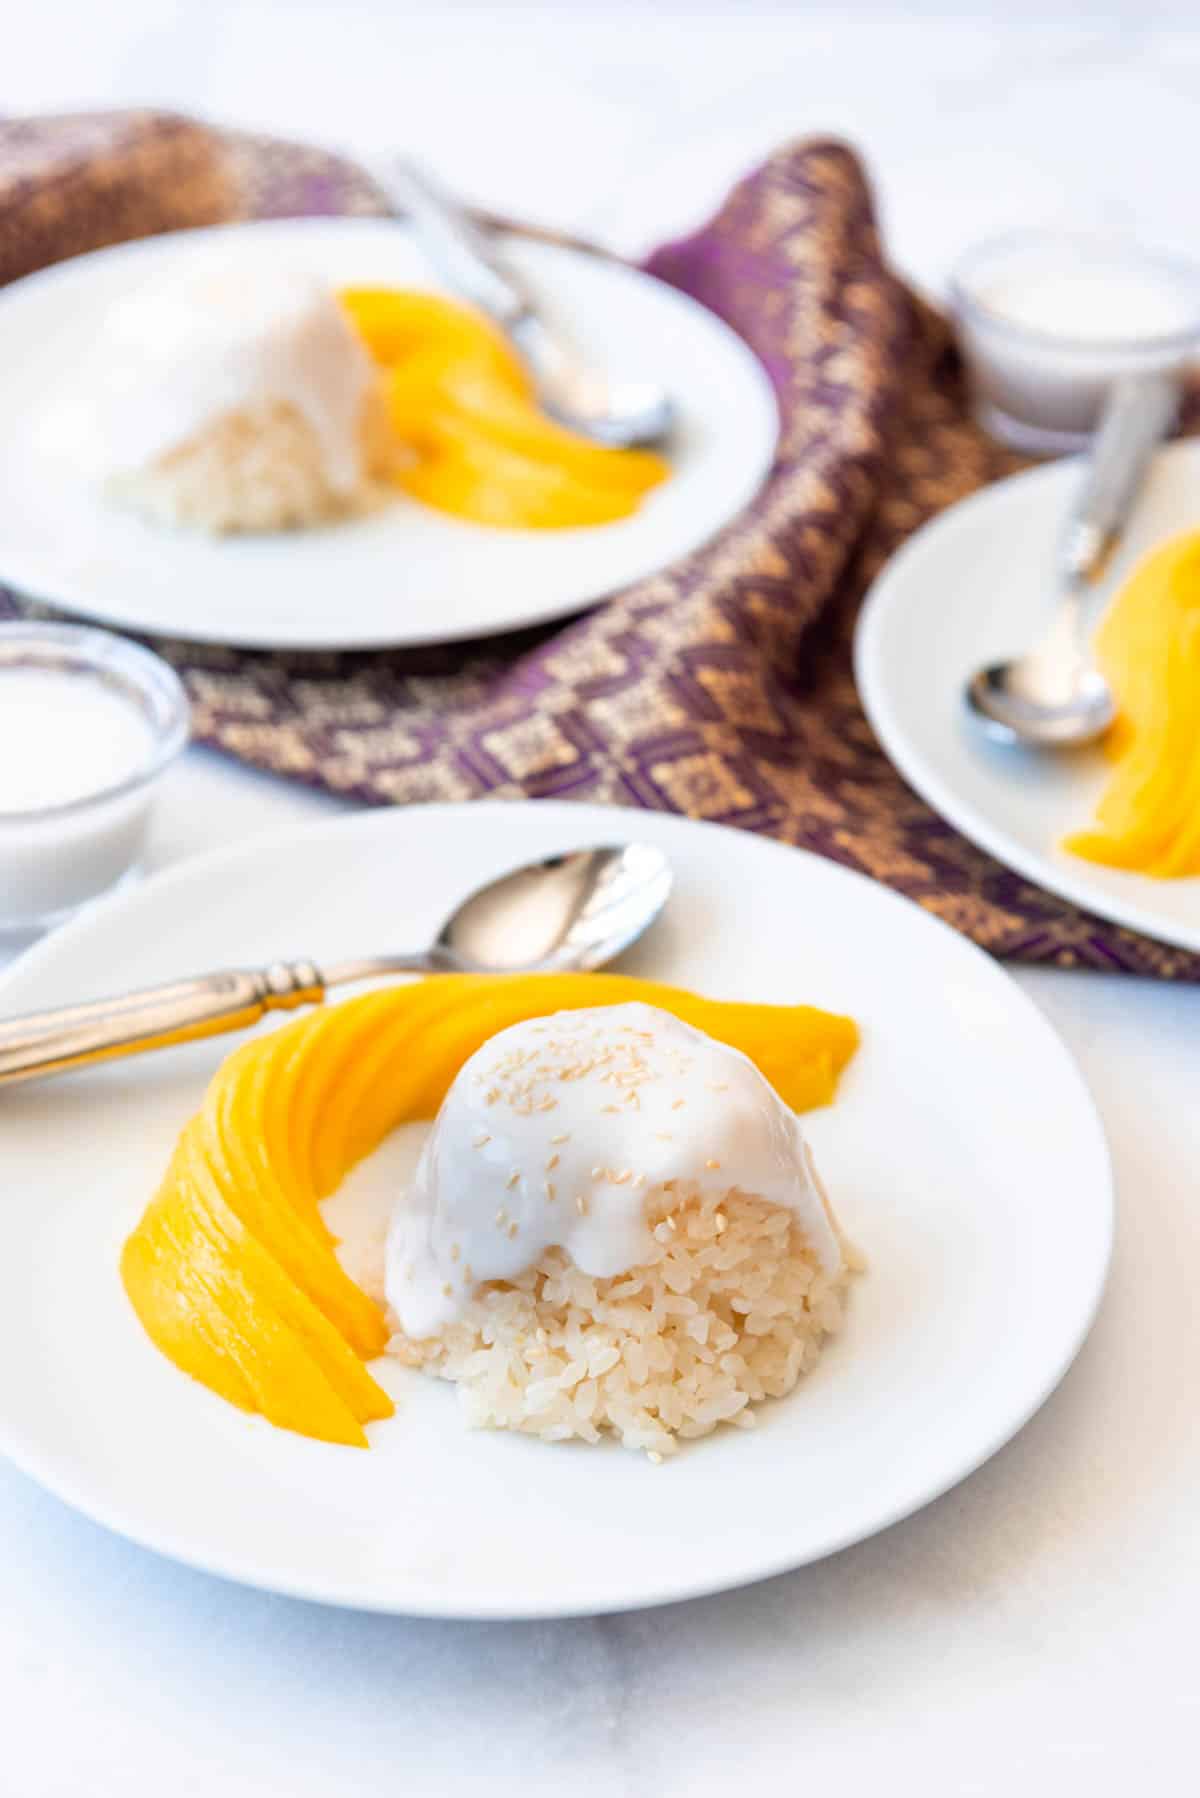
- Garnish and serve. Serve with a portion of coconut sticky rice with the coconut cream sauce drizzled over the top and toasted sesame seeds sprinkled on top for garnish. Garnish with banana leaves or tropical leaves to make them look even more authentic if you have them.
How to serve Sticky Rice with Mango
The traditional method of serving it is either slightly warm or at room temperature. Some places serve it with a little cup of coconut sauce to pour over the coconut sticky rice, while others already have the sauce poured on for you.
Thai Mango Sticky Rice FAQs
There are many mango varieties, like Hadens, Kents, or Tommy Atkins (some of the more popular ones in U.S. markets), but they just aren’t the same as yellow mangoes. Yellow mangoes are called Ataúlfo mangoes, and they are the ones most frequently used in Thailand and Thai cuisine.
Ataúlfo mangoes are sweeter, more flavorful, softer, and less fibrous than the more commonly available red or green mangoes that you might be more familiar with. Since those mangoes have a longer shelf-life, they tend to be better stocked in American grocery stores, but you can find yellow mangoes seasonally at lots of stores, including Costco. They often show up in Spring and Fall because that’s when they are in season.
Mango sticky rice is popular in Thailand as street food, but it has come to be quite a delicacy around the world. It’s packed with contrasting flavors of sweet and salty, while also being creamy and tangy.
Store the sticky rice and the mango sauce separately. Store each in an airtight container or covered in plastic wrap, in the refrigerator for up to 3 days. Reheat briefly in the microwave or gradually bring to room temperature before serving. If the sauce starts to thicken, add some coconut milk or water to the mix.
Mango sticky rice tastes like a tropical dream! The rice has a slight sweet flavor with hints of creamy coconut and then add the fresh, tangy mango for a perfect flavor combo!
Sticky rice should always be soaked in water before cooking. Make sure the rice is fully covered in water and let it sit and soak anywhere from 1-24 hours. You want the rice to absorb the moisture as evenly as possible when steamed.
Yes, you can eat mango sticky rice the day after making it. It’s best to consume the Thai dessert within 3 days. Preferably, the dessert should be enjoyed the same day because the rice can start getting hard if not stored properly.
Sticky rice isn’t the healthiest dessert but it’s also not the unhealthiest either. It does have some sugar, but a smaller amount. It has fresh fruit chock full of vitamins. The rice itself has health benefits like heart health, increased bone density, boost metabolism, and more.
Coconut Mango Rice tips for success
- Don’t layer your rice too thick for steaming. Try to keep it no taller than 2 to 3 inches, otherwise, the rice in the middle of the pile will be a bit on the crunchy side. I learned this the hard way. Literally.
- Prep ahead by soaking your rice in a large pot with room-temperature water for 1 hour to overnight before steaming it.
- If you don’t have a splatter guard, you can use a fine mesh strainer. Just invert it to create a platform for my rice where it could steam. So long as it’s large enough to hold the rise in the steam above the water, it’ll work perfectly.
How to Prepare a Fancy Mango
Lots of Thai coconut mango sticky rice just has chunks of mango on it so you definitely don’t need to get all fancy about it. However, my favorite version from Thailand was at the Amari Vogue Krabi hotel, and they served it this way:
- Wash the mango skin to get rid of any pesticides or dirt that could be transferred to the mango inside. Then, peel the skin off in thin strips like you would an apple. Try to leave as much of the flesh on the mango as possible.
- Using a large, sharp knife and a cutting board, slice down the length of your mango, close to the pit. You want to get one nice “fillet” of mango.
- Turn the mango and slice it close to the pit on the other side so you have two nice-sized, dome-shaped portions of mango.
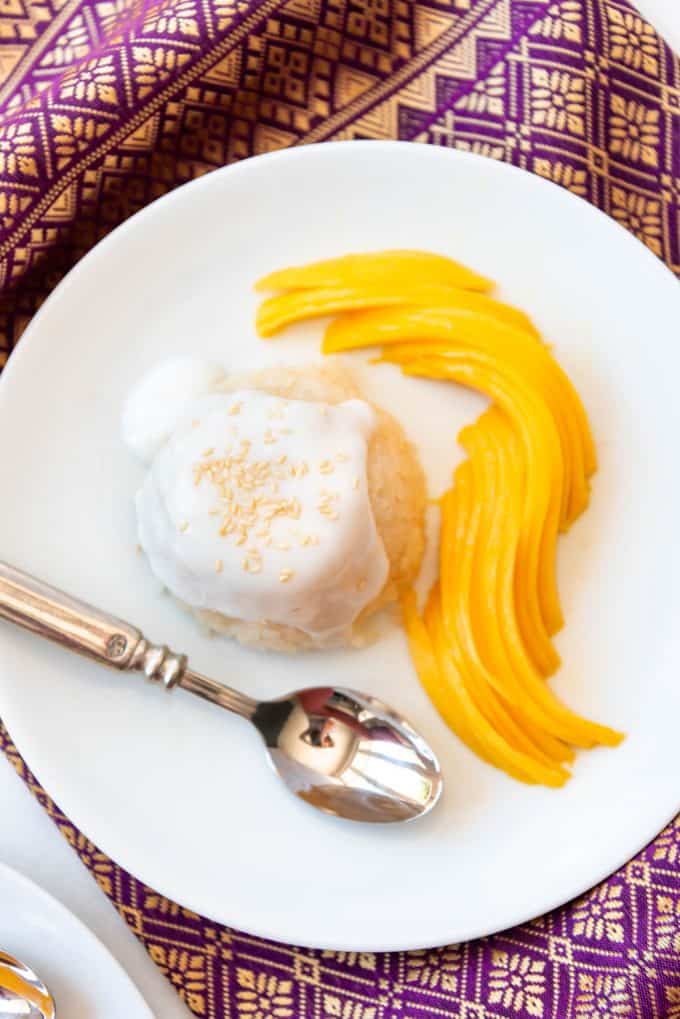
- Next, use a sharp knife to slice each mound into very thin strips, without letting them separate from each other. It’s easier than it sounds – they want to stick together so it’s not like they fall apart as you slice it.
- Then, just use your fingers to fan the sliced mango half out a bit and shape it into a curve or a heart on the plate. Mound the cooked coconut sticky rice next to it.
- Garnish your Thai Coconut Mango Sticky Rice with tropical flowers or banana leaves if you have access to them (I didn’t) and sprinkle toasted sesame seeds over the top for presentation! It takes a little bit of effort to make this dish, but I promise it is SO worth it!
More Asian Inspired Recipes You Might Like
- Hotteok (Korean Sweet Pancakes)
- Grilled Thai Pork Tenderloin with Coconut Lime Peanut Sauce
- Asian Slaw with Ginger Peanut Dressing
- Slow Cooker Asian Pulled Pork Sliders
- Korean Pancakes with Scallions (Pajeon or Pa Jun)
Did you make this recipe?
Let me know what you thought with a comment and rating below. You can also take a picture and tag me on Instagram @houseofnasheats or share it on the Pinterest pin so I can see.
Coconut Mango Rice
Ingredients
- 1 cup glutinous rice
- 1 cup coconut milk
- 3 tablespoons sugar divided
- ¾ teaspoon salt
- ½ teaspoon cornstarch
- 1 ripe yellow mango peeled and sliced
- Toasted sesame seeds
Instructions
Sticky Rice
- Put rice in a large glass bowl and cover with enough room temperature water to come up about 1 inch over the top of the rice. Soak rice for 1-5 hours. Drain off the water, and rinse the soaked rice with running water to remove excess starch.1 cup glutinous rice
- Fill a medium-sized pot about ⅔ full with water. The pot should be smaller than your splatter guard or fine mesh strainer that has been inverted (see post notes above) that you plan to use to cook the rice. Heat the water to boiling.
- Place a splatter guard or mesh strainer over the boiling water and adjust the heat down a bit to maintain a gentle boil. Carefully dump the drained and rinsed rice right onto the splatter guard or inverted strainer, right in the center. Keep the mound of rice no higher than 2 to 3 inches high. This will help with even cooking.
- Cover the rice mound with a bowl or pot that domes a bit higher than the height of the rice mound. The cover does not have to match the size of the pot opening; as long as it doesn’t touch the rice and can sit on the splatter guard or mesh strainer, it will work.
- The amount of time required to steam the sticky rice will depend on the amount of rice you are steaming, but one cup of raw rice will take about 25 to 30 minutes using this approach. Halfway through the steaming process, remove the domed cover and quickly flip the rice or give it a fluff to ensure even cooking and prevent the rice on the bottom of the pile from getting soggy.
Sweet Coconut Sauce & Topping
- While the rice is steaming, open the can of coconut milk and spoon out the thick cream on top into a small bowl and set aside. If you do not shake your can and let it chill in the refrigerator before using, this step will be very easy as the milk and cream will naturally separate. Pour the thinner, lighter coconut milk that remains into a small pan.1 cup coconut milk
- Add 2 tablespoons of sugar and ½ teaspoon of salt to the coconut milk in the small pan, and warm over medium heat, stirring gently and continuously until the sugar is completely dissolved, about 5 minutes. Be careful not to let the sauce come to a boil.3 tablespoons sugar, ¾ teaspoon salt
- Once the rice is cooked through with no hard, raw bits in the middle of the grains, remove the splatter guard or strainer from over the water and scrape the rice off the screen into a mixing bowl. It may be lumpy, which is fine. Slowly pour the warm coconut milk mixture over the cooked rice, stirring frequently to coat the rice in the coconut milk mixture, but watching so that you are not oversaturating the rice to the point that there are puddles of coconut milk. Continue stirring, and stop adding the sweetened coconut milk once it looks like the rice is saturated. You may not use all of the coconut milk mixture. Set the rice aside for 20 minutes (or even up to 2 hours) to finish absorbing the coconut milk.
- While the rice is soaking, make the coconut cream topping. In the same saucepan that you used for the coconut milk, give it a quick rinse and then stir together the reserved coconut cream and the remaining 1 tablespoon of sugar, and ¼ teaspoon salt. In a separate bowl, whisk together a few teaspoons of water and the cornstarch to create a thin slurry.½ teaspoon cornstarch
- Whisk this cornstarch slurry into the coconut cream mixture and cook over low heat for about 3 minutes, or just until the mixture begins to thicken. Set aside.
- Peel the mango and slice it into thin slices. Arrange the slices in a decorative manner on individual serving plates and serve with a portion of coconut sticky rice with the coconut cream sauce drizzled over the top and toasted sesame seeds sprinkled on top for garnish. You can also garnish the plate with banana leaves or tropical, if you have access to them, just to make it look even more authentic.1 ripe yellow mango, Toasted sesame seeds
Notes
- Storage: Store the sticky rice and the mango sauce separately. Store each in an airtight container or covered in plastic wrap, in the refrigerator for up to 3 days. Reheat briefly in the microwave or gradually bring to room temperature before serving. If the sauce starts to thicken, add some coconut milk or water to the mix.




What fun that you went with your family to Thailand and Cambodia for Thanksgiving. This dish is so colorful and delicious looking! Great presentation.
That looks like a magical trip! And great recipe too.
This is so pretty! And sounds yum too!
You can get the pot and cone basket at your lical Asian store inexpensive. Half way through cooking give it a flip, it will ball and flip over for more even cooking.
Thai coconut mango rice looks amazing and tempting too! Love your clicks, so colorful and vibrant!
I love the presentation! The way styled the mango is beautiful!
Thank you!
I love thai food and I am so jealous of your trip!! I have always wanted to make this and your instructions are perfect! Though I don’t know if I could get mangoes that pretty!
It’s easier than you think as long as they are the yellow mangoes, which slice better in my experience.
I made something like this in a cooking class a long time ago and had since forgotten how to make it! I’m so excited to find your recipe, because we loved it!
What an amazing trip! I’ve never had coconut rice, but I love all of the ingredients in this recipe. I’m excited to try it, thanks!