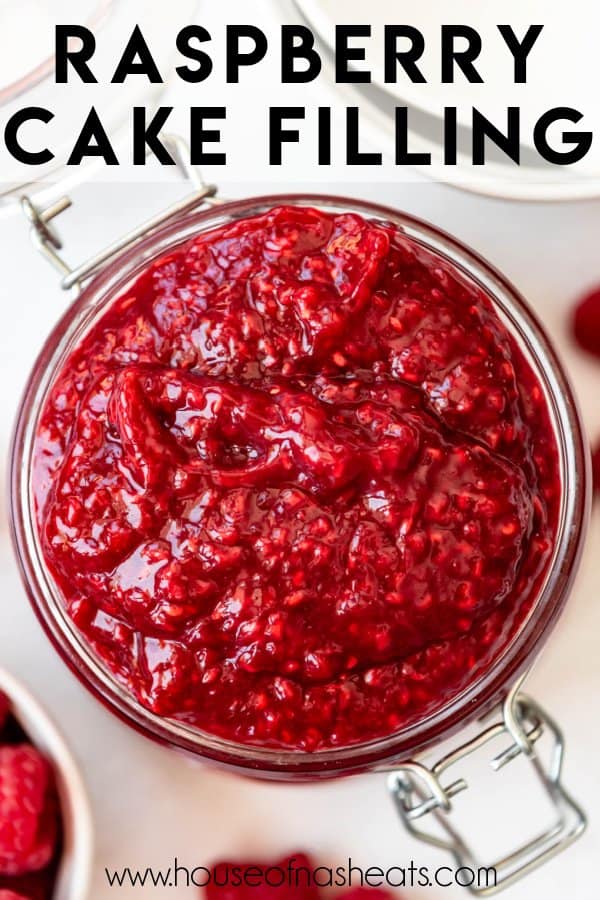
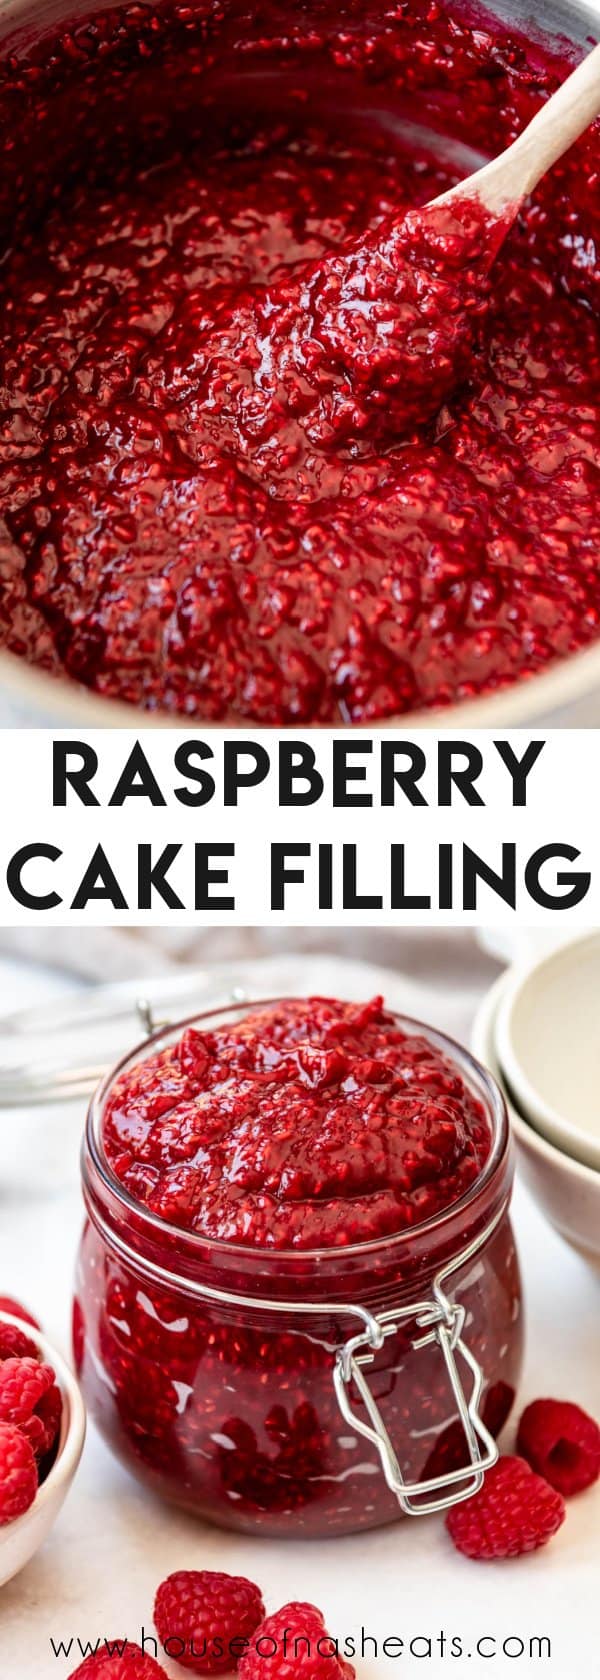
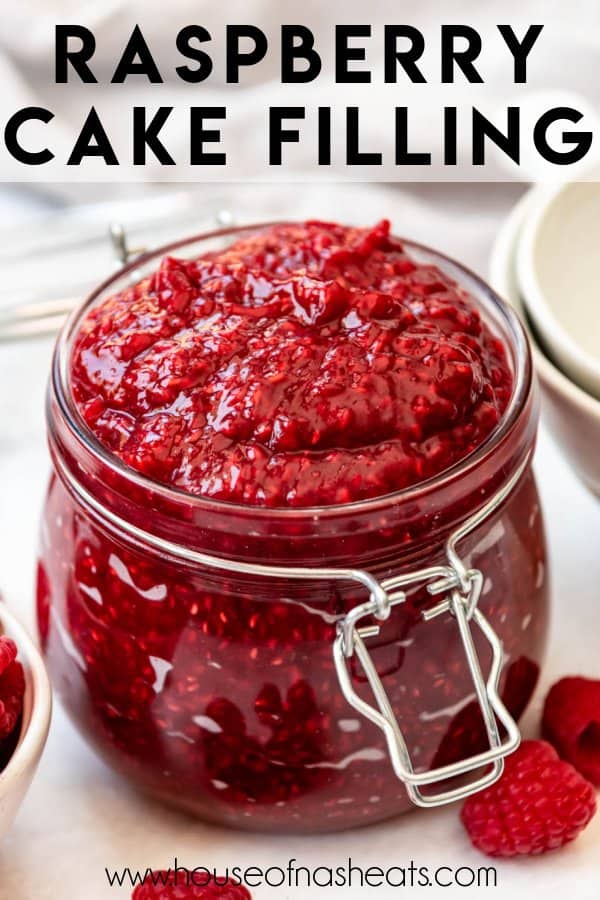
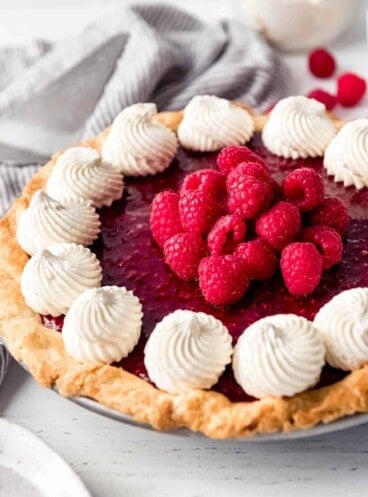
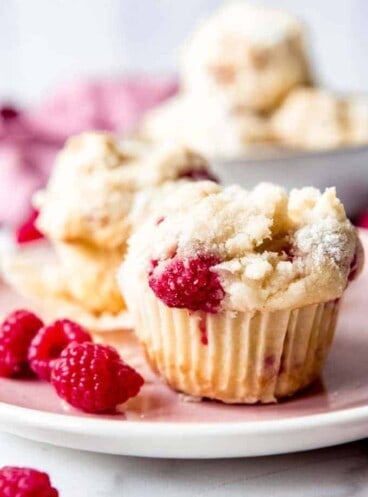
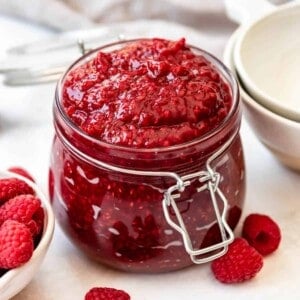
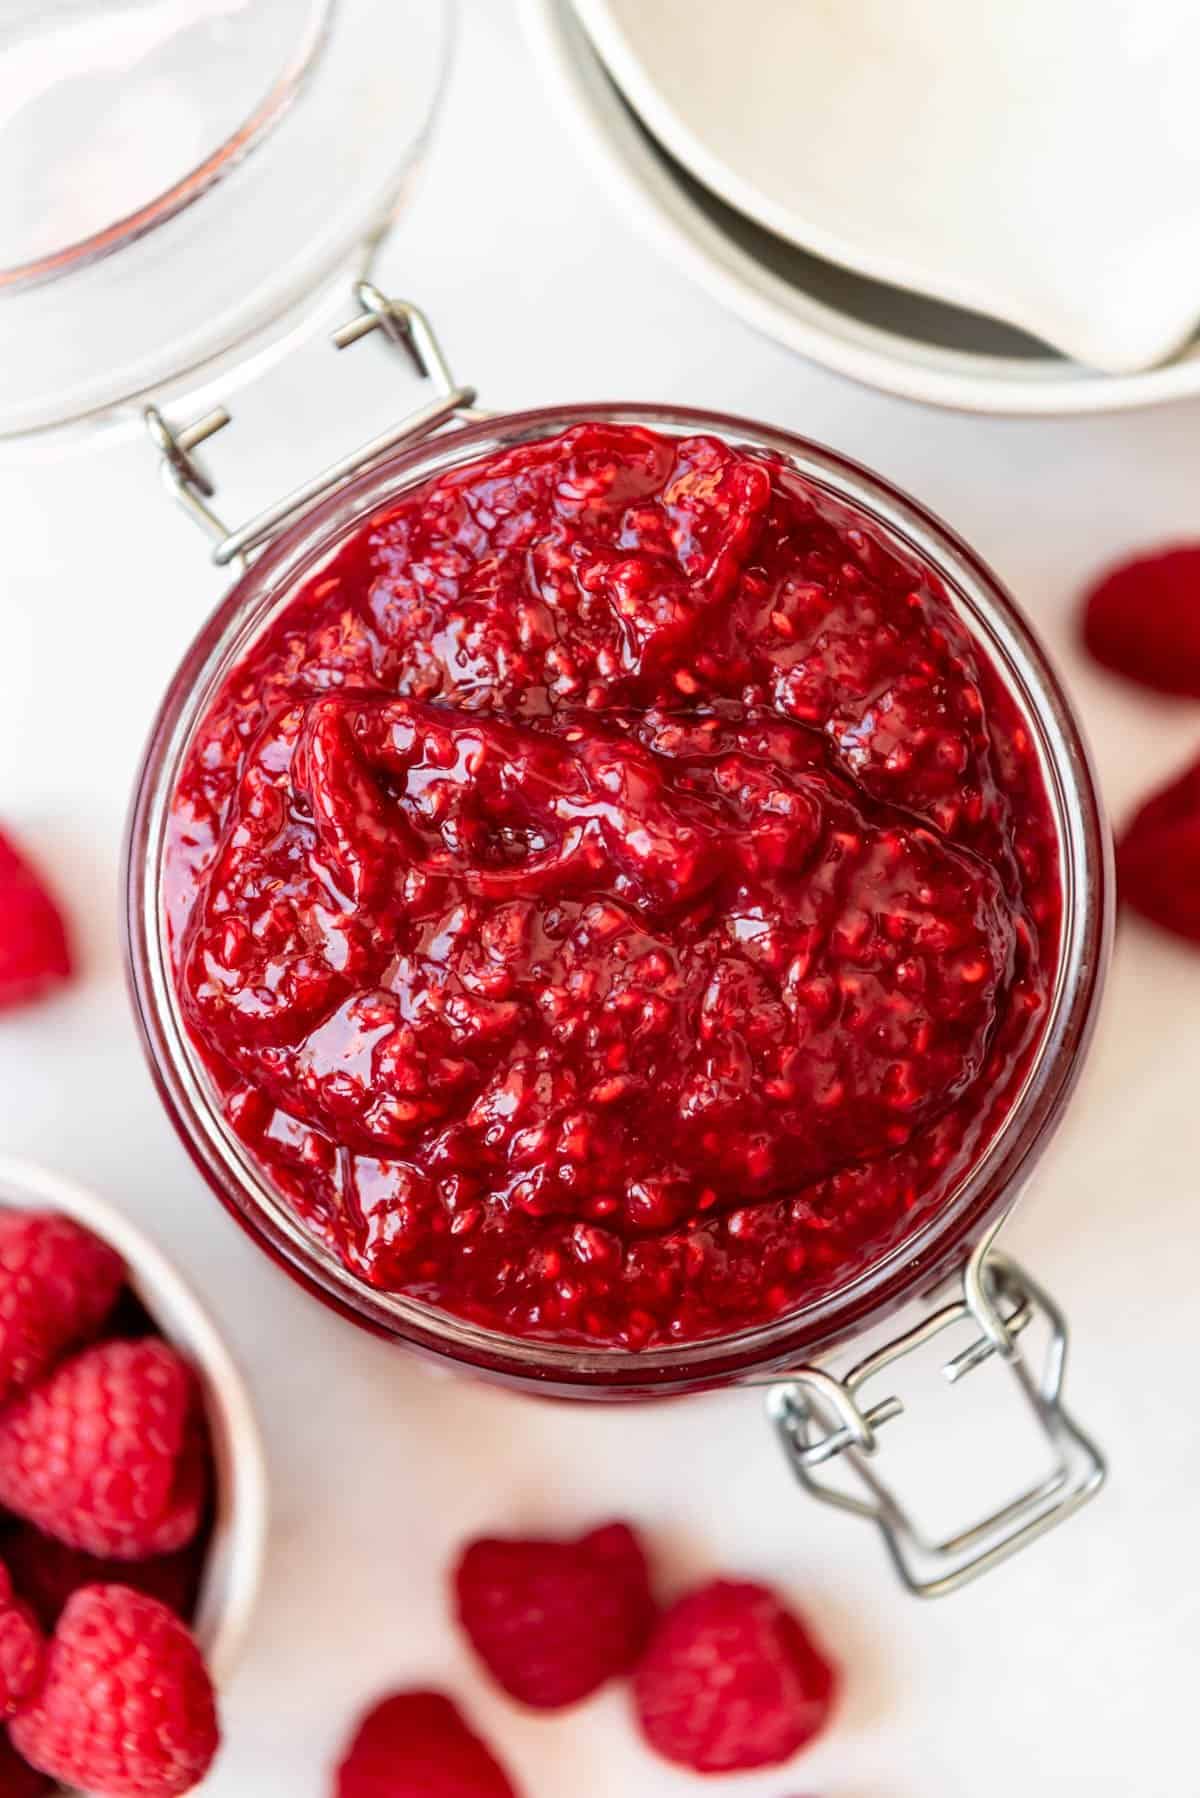
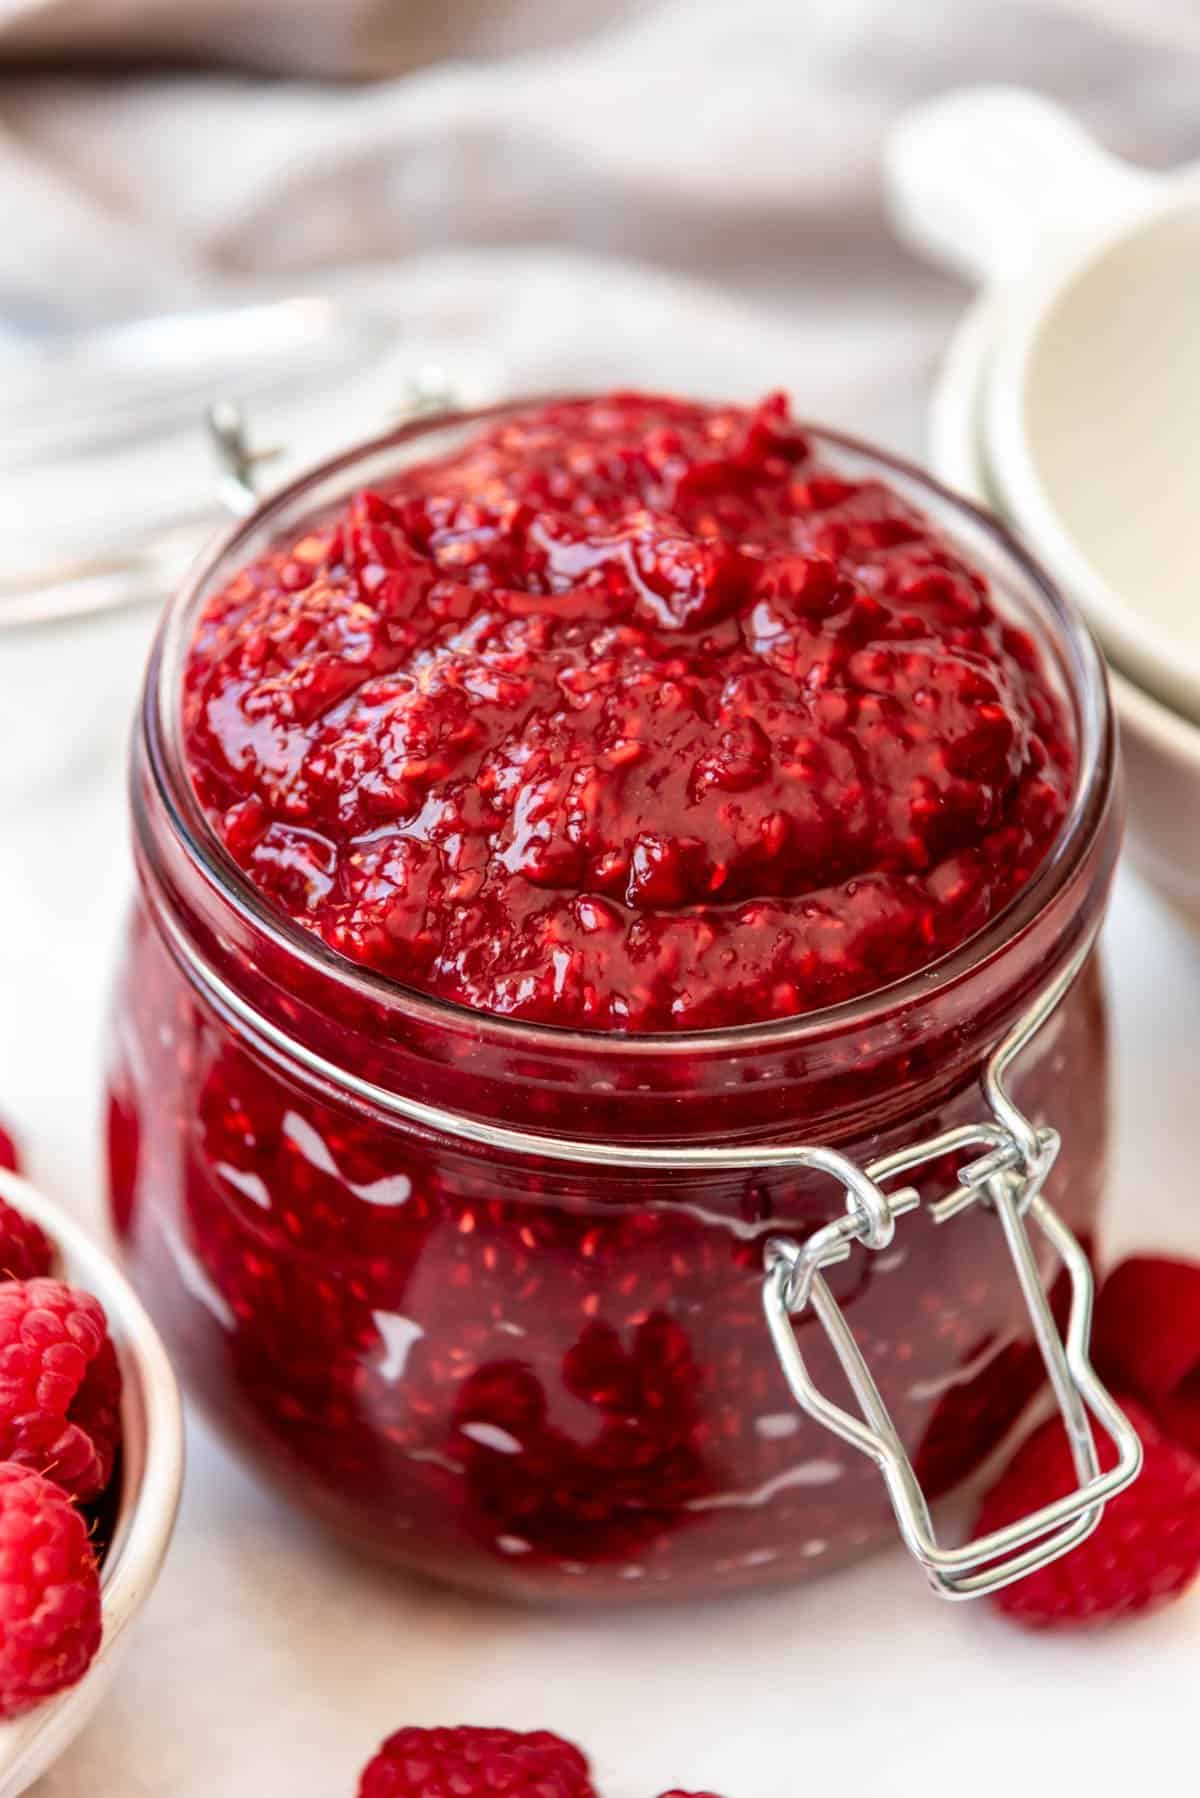
A quick and easy Raspberry Cake Filling can turn the most basic cake into something decadent and special. Made with fresh or frozen raspberries in under 15 minutes (plus cooling time), this 5-ingredient fruity element adds a tart, bright twist to your favorite desserts like cakes, cupcakes, brownies, and donuts!
Some of our other favorite cake fillings include lemon curd, cherry pie filling, blueberry pie filling, vanilla pastry cream, and chocolate mousse.
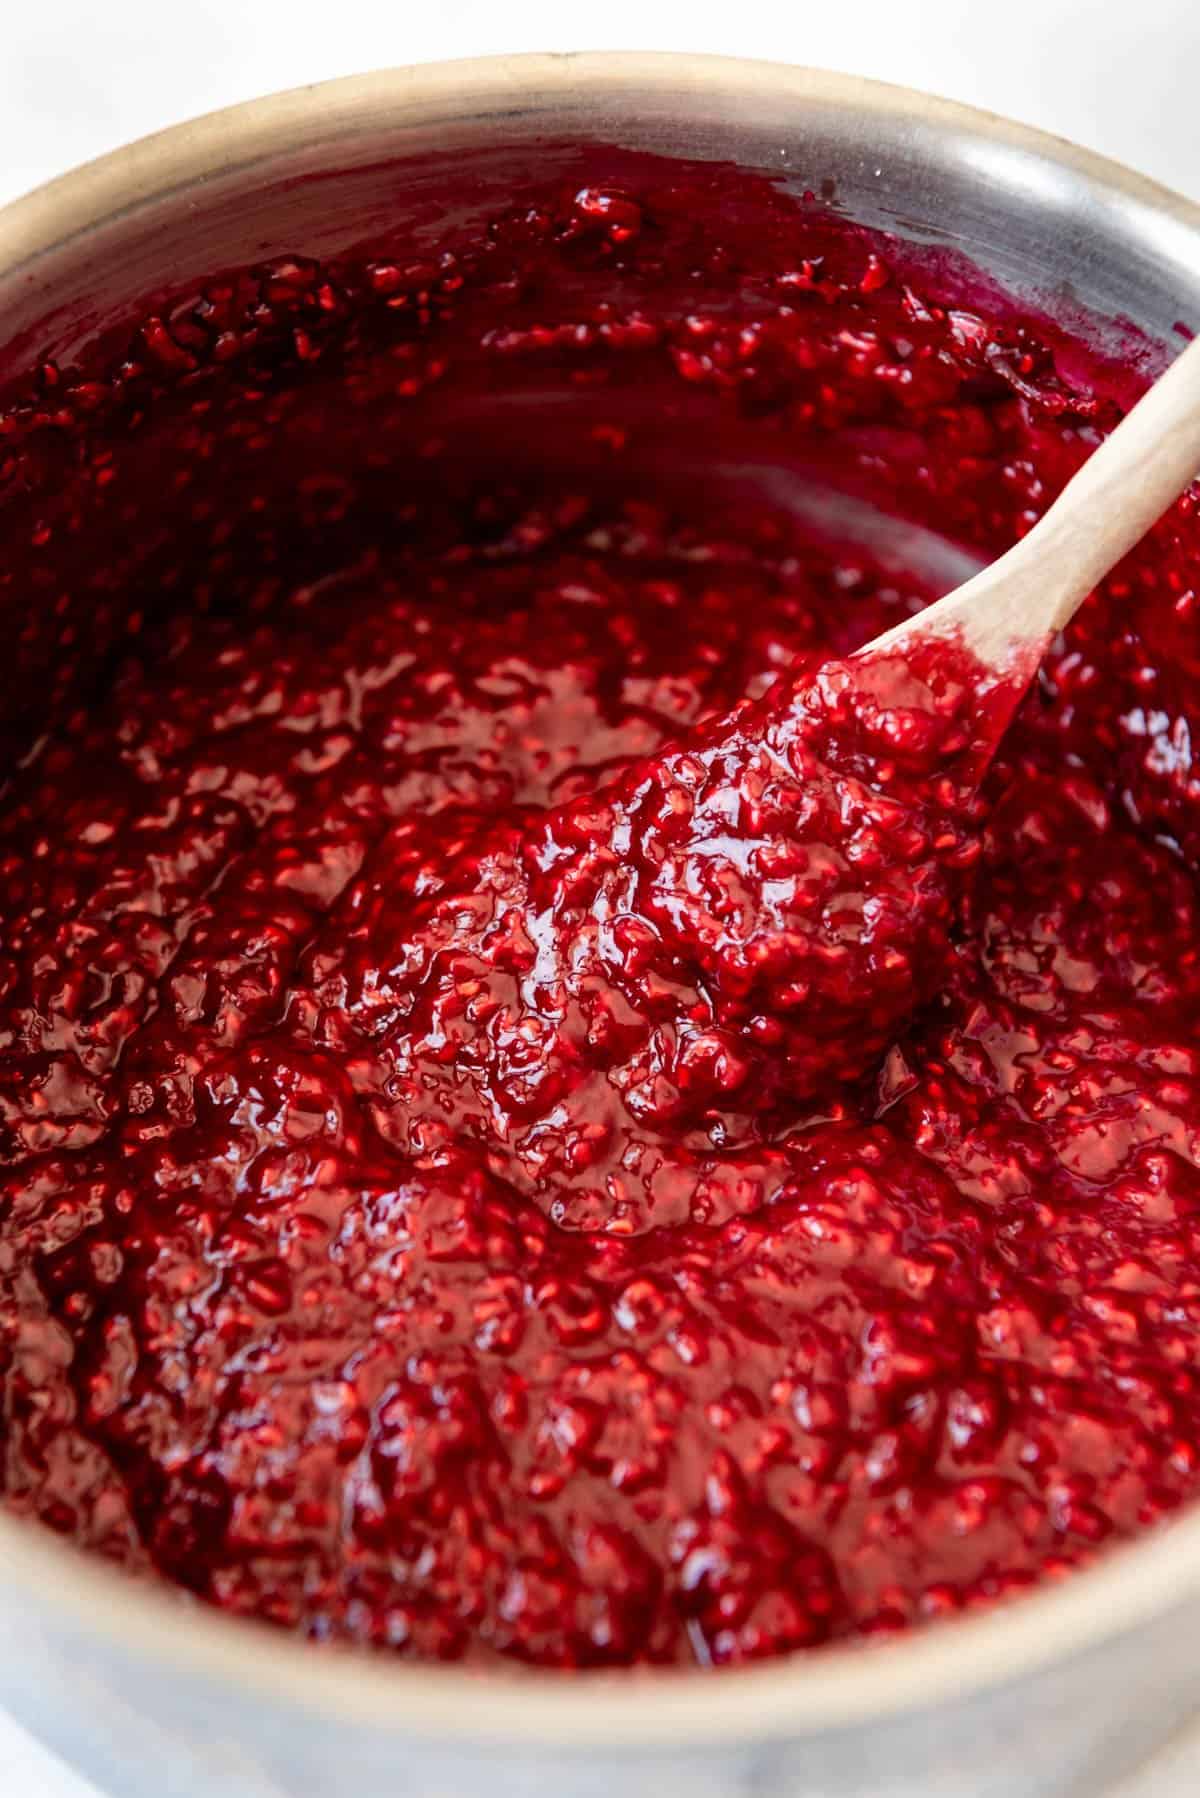
Table of Contents
Homemade cake fillings take your desserts to the next level. Not only are they superior in texture and flavor to the premade canned fillings that you can buy at the grocery store, but you also know everything that goes into them.
Homemade raspberry cake filling is so much brighter, fresher, and fruitier than anything you will get from the store and it is perfect for filling cakes, cupcakes, donuts, and more. Or swirl it into a batch of ice cream, brownies, or cheesecake for a fantastic new twist on some of your other favorite treats.
Our daughter Clara asked for a chocolate raspberry cake for her 11th birthday and I used this filling between layers of our favorite chocolate cake recipe with chocolate buttercream frosting and fresh raspberries decorating the outside to come up with her birthday cake. It was phenomenal!
Ingredient Notes
This is a quick overview of some of the important ingredients you’ll need for this raspberry cake filling recipe. Specific measurements and full recipe instructions are in the printable recipe card below.
- Raspberries: Fresh or frozen work equally well although we almost always just use a bag of frozen raspberries because they are picked at the peak of freshness and are often much less expensive than fresh raspberries.
- Sugar: Regular granulated sugar adds sweetness and balances out the tartness of the raspberries.
- Cornstarch: This is our thickening agent and results in a silky sauce that isn’t overly gummy or pasty.
- Water and lemon juice: You need a little liquid to create the slurry and a little lemon adds brightness to the filling. Although you can replace the lemon juice with additional water if you don’t happen to have a lemon on hand.
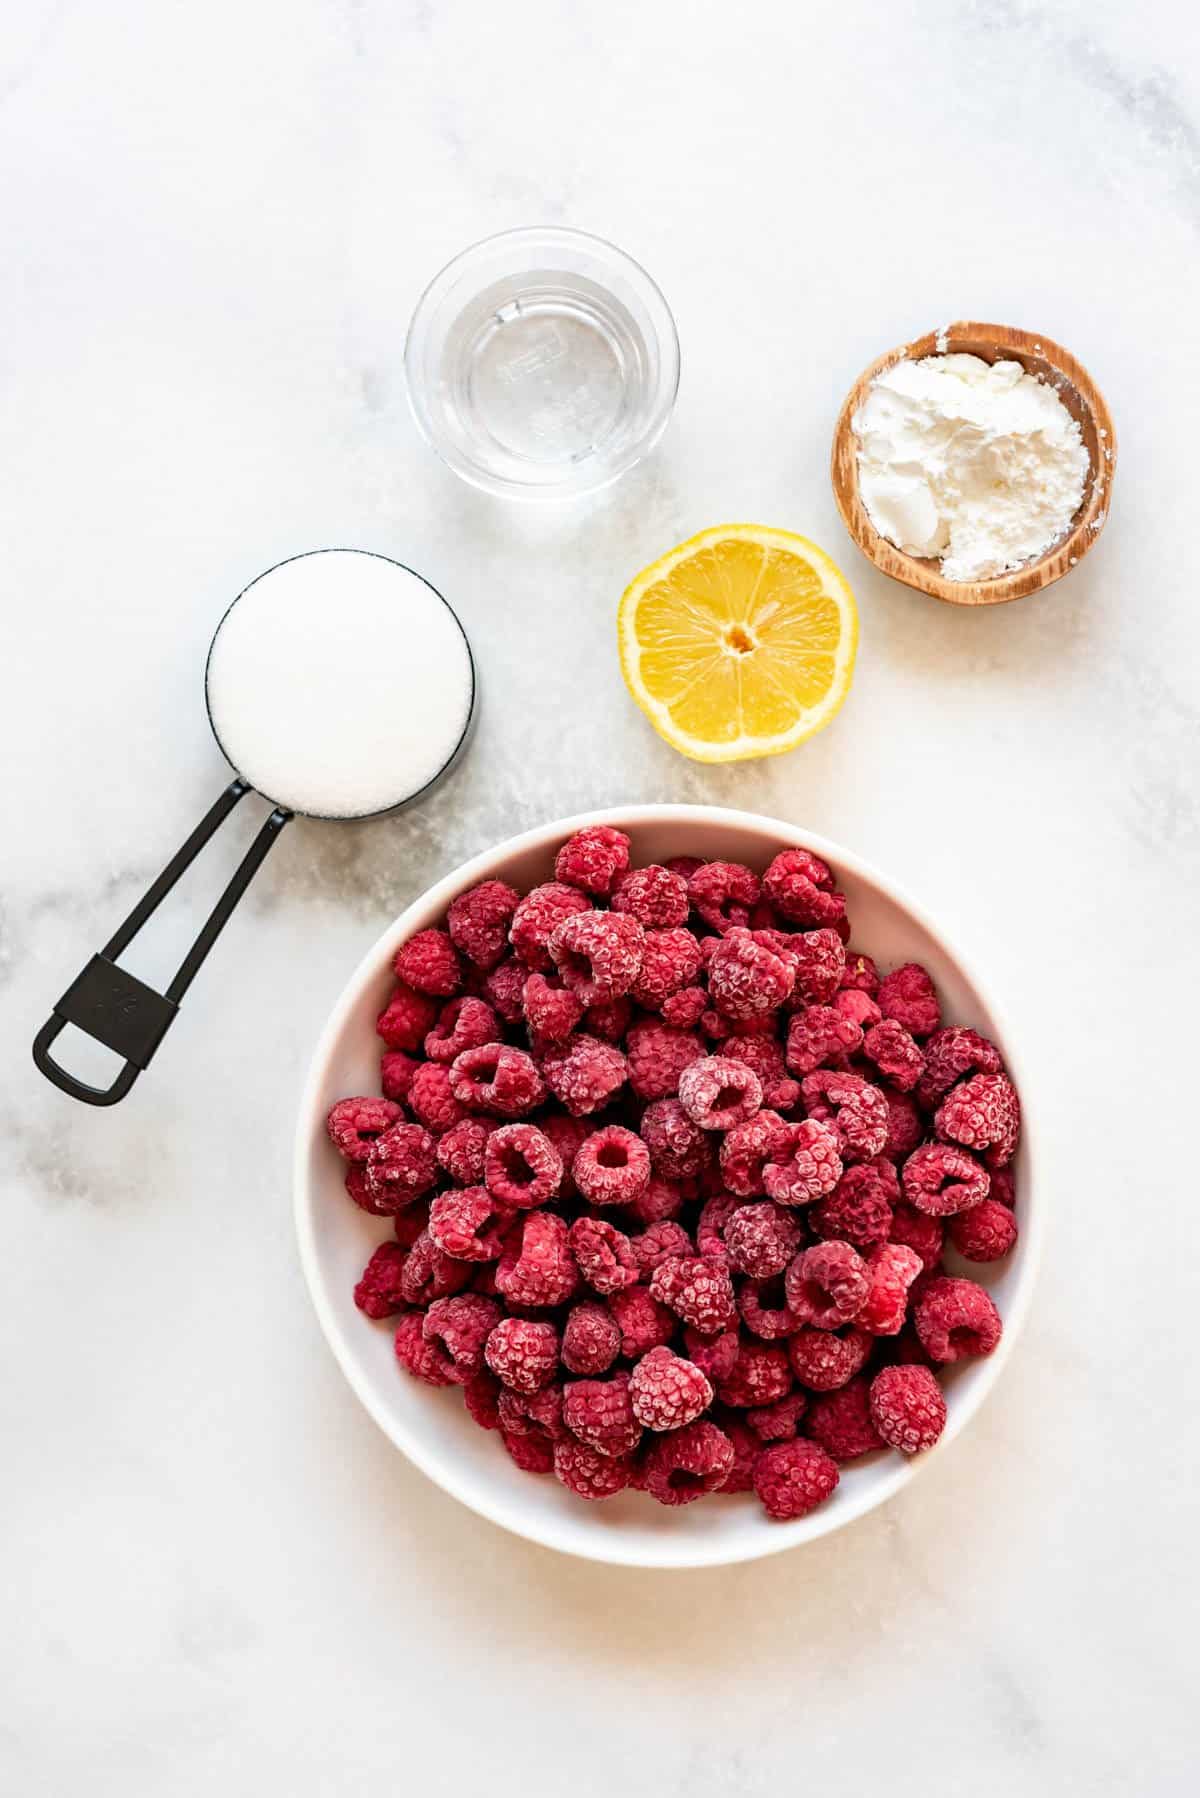
How to Make Raspberry Cake Filling
It’s easy to make this recipe. This is a quick overview with step-by-step images to help you visualize the process. Scroll down to the recipe card for printable, detailed instructions. Here is the basic approach:
- Combine raspberries and sugar. Heat over medium heat, stirring frequently, until the raspberries break down and the sugar dissolves. It should take about 5-8 minutes for the raspberries to soften completely.
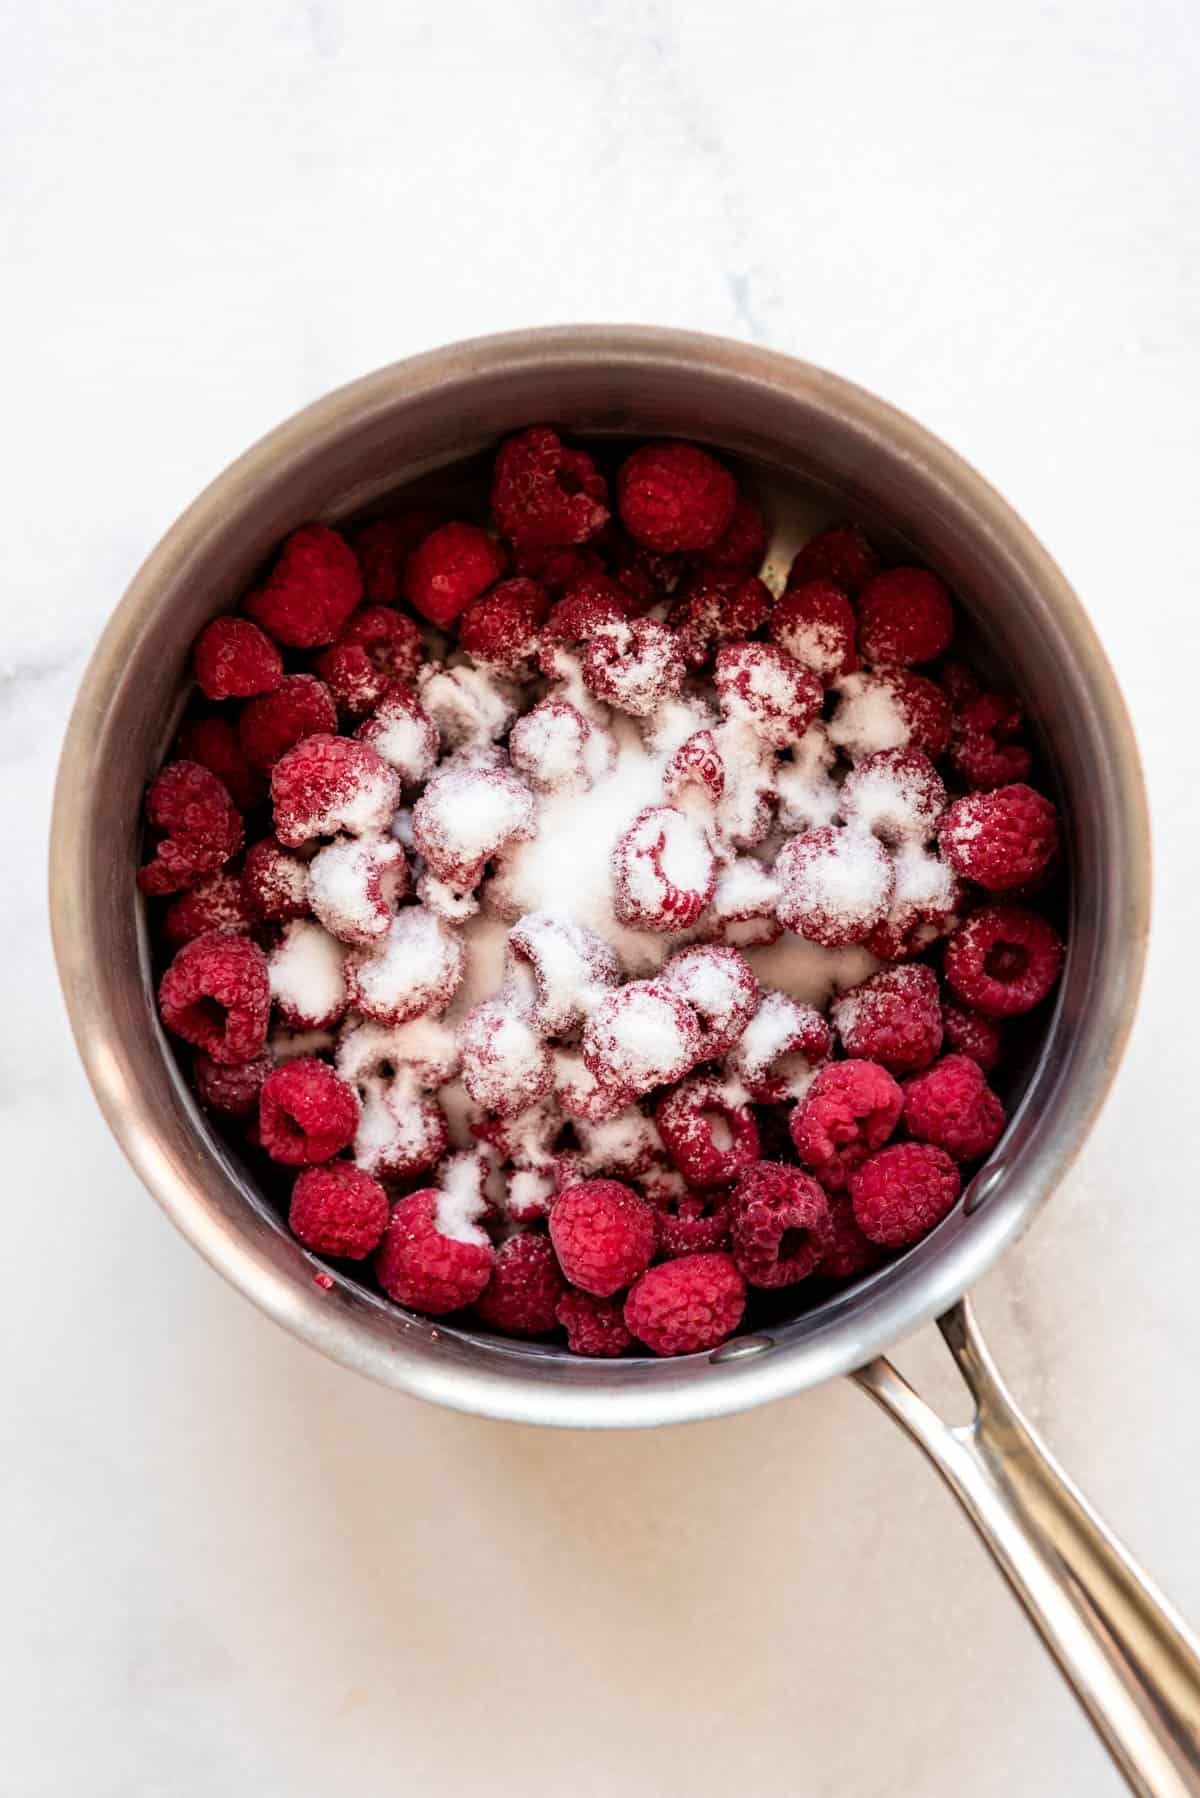
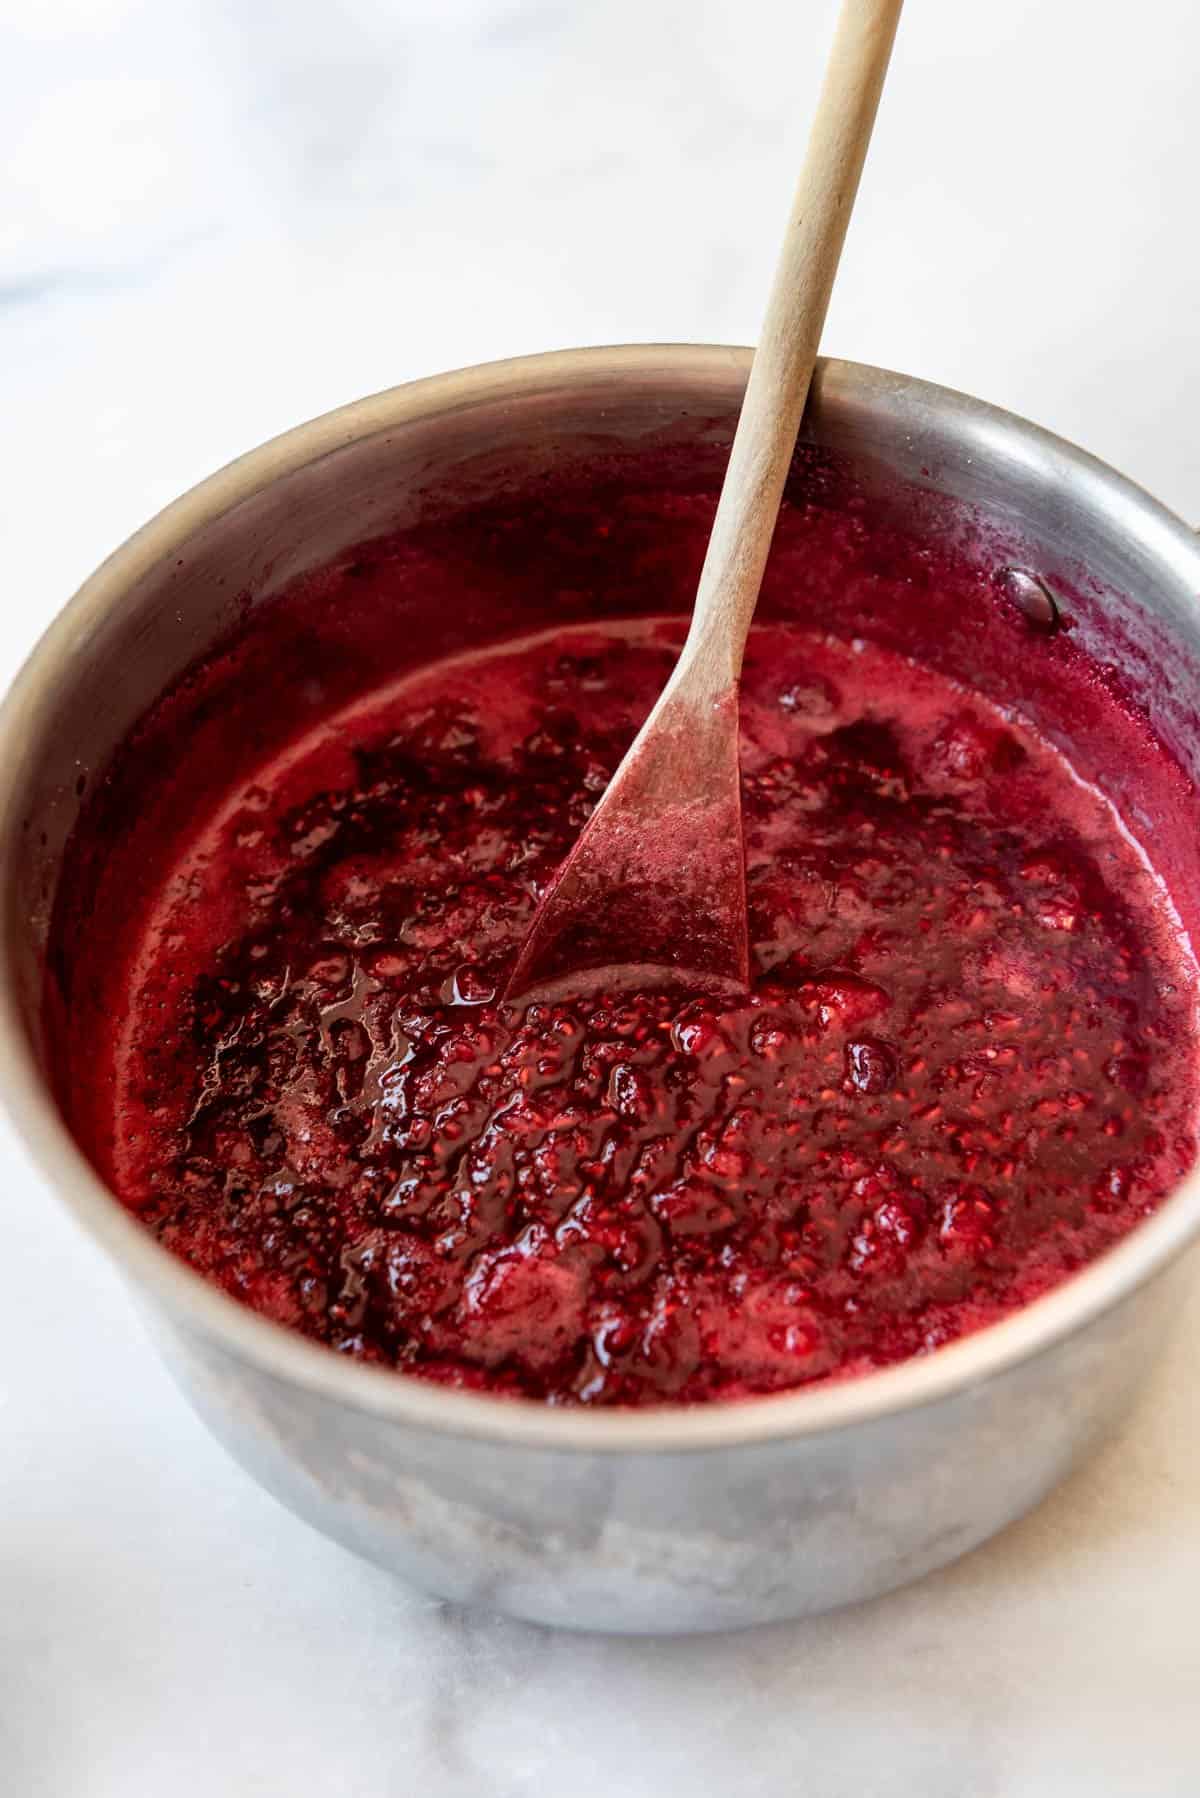
- Stir in cornstarch slurry. In a small bowl, combine the cornstarch, lemon juice, and water to create a slurry. Drizzle into the hot raspberry mixture while stirring.
- Cook until thickened. The filling should start to thicken almost immediately and very jam-like within just 1-2 minutes. Remove from heat and cool completely before using.
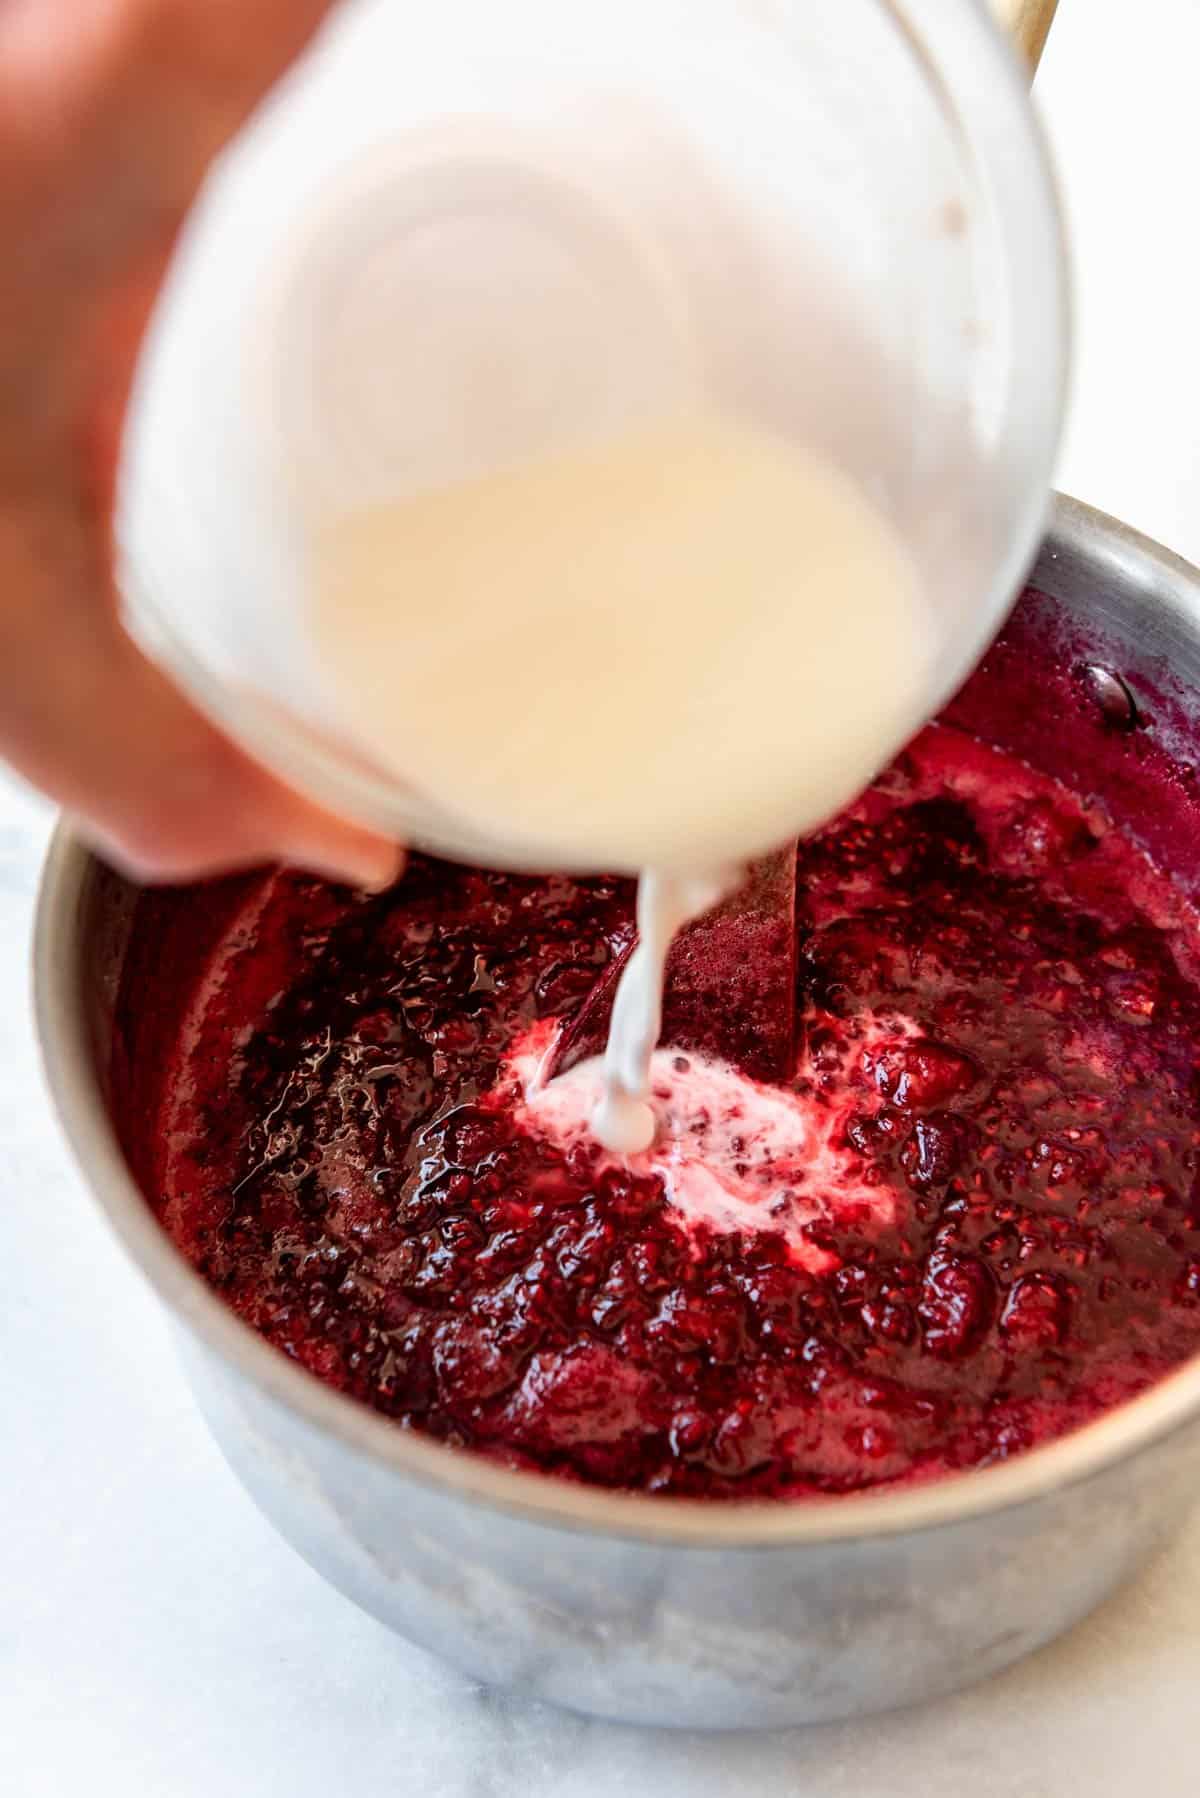
This recipe makes about 1 ½ cups which is enough filling for a 2- or 3-layer cake 8- or 9-inch round layer cake. It’s also enough to fill about a dozen cupcakes. You can easily double the recipe to make enough for more than one cake at a time.
Recipe FAQ’s
If you prefer a seedless raspberry cake filling, just strain the filling through a fine mesh sieve while it is still hot. You may need to press and scrape the filling against the sides of the sieve to push it through, but it will remove the seeds for you and you can discard them. You might want to double the filling if this is your plan though, because removing the seeds will result in less filling from a regular batch.
Chances are if you followed the recipe and it still seems runny you just need to let the raspberries simmer a little longer on the stove. But also bear in mind that it will continue to thicken more as it cools. You can usually fix this by putting the filling back in the pan and cooking it a little longer (even if you previously refrigerated it). Also, if you are using fresh raspberries instead of frozen, they sometimes don’t thicken quite as easily so you may need to add a little extra cornstarch.
I haven’t tried all of them, but feel pretty confident that this same approach will work well with blackberries, blueberries, strawberries, cranberries, cherries, and more similar juicy fruits although you may want to increase or decrease the sugar amount as you see fit depending on the natural sweetness of the fruit you are using.
Recipe Tips and Tricks
- Use medium heat. You don’t want to cook this too quickly or you could scorch the berries on the bottom of the pan. Medium heat also gives the sugar a chance to dissolve and the berries to release their juices.
- Cool completely before using. When using this recipe to fill a cake, be sure to let both the cake layers and raspberry filling cool first, especially if you are also using a buttercream frosting element with them.
- Pipe a border of buttercream before filling. If you just slap on a bunch of raspberry cake filling without first creating a dam around the edges of your cake layer, there’s a high likelihood that a lot of the filling will squish out the sides, making it really difficult to get a nice clean look to your finished cake. A wall of frosting will help contain the raspberry filling and make it much easier to frost and decorate the cake.
Recipe to Pair with Raspberry Filling
- Devil’s Food Cake with Chocolate Frosting
- Yellow Cake with Chocolate Frosting
- Moist Vanilla Cupcakes
- Best Chocolate Cupcakes
- The BEST Homemade Brownies
- Festive Cranberry Coconut Cake (replace the cranberry filling with this raspberry filling)
- Almond Cake
- Poppy Seed Cake
- Lemon Cake
- Chocolate Ganache
Storage & Reheating Instructions
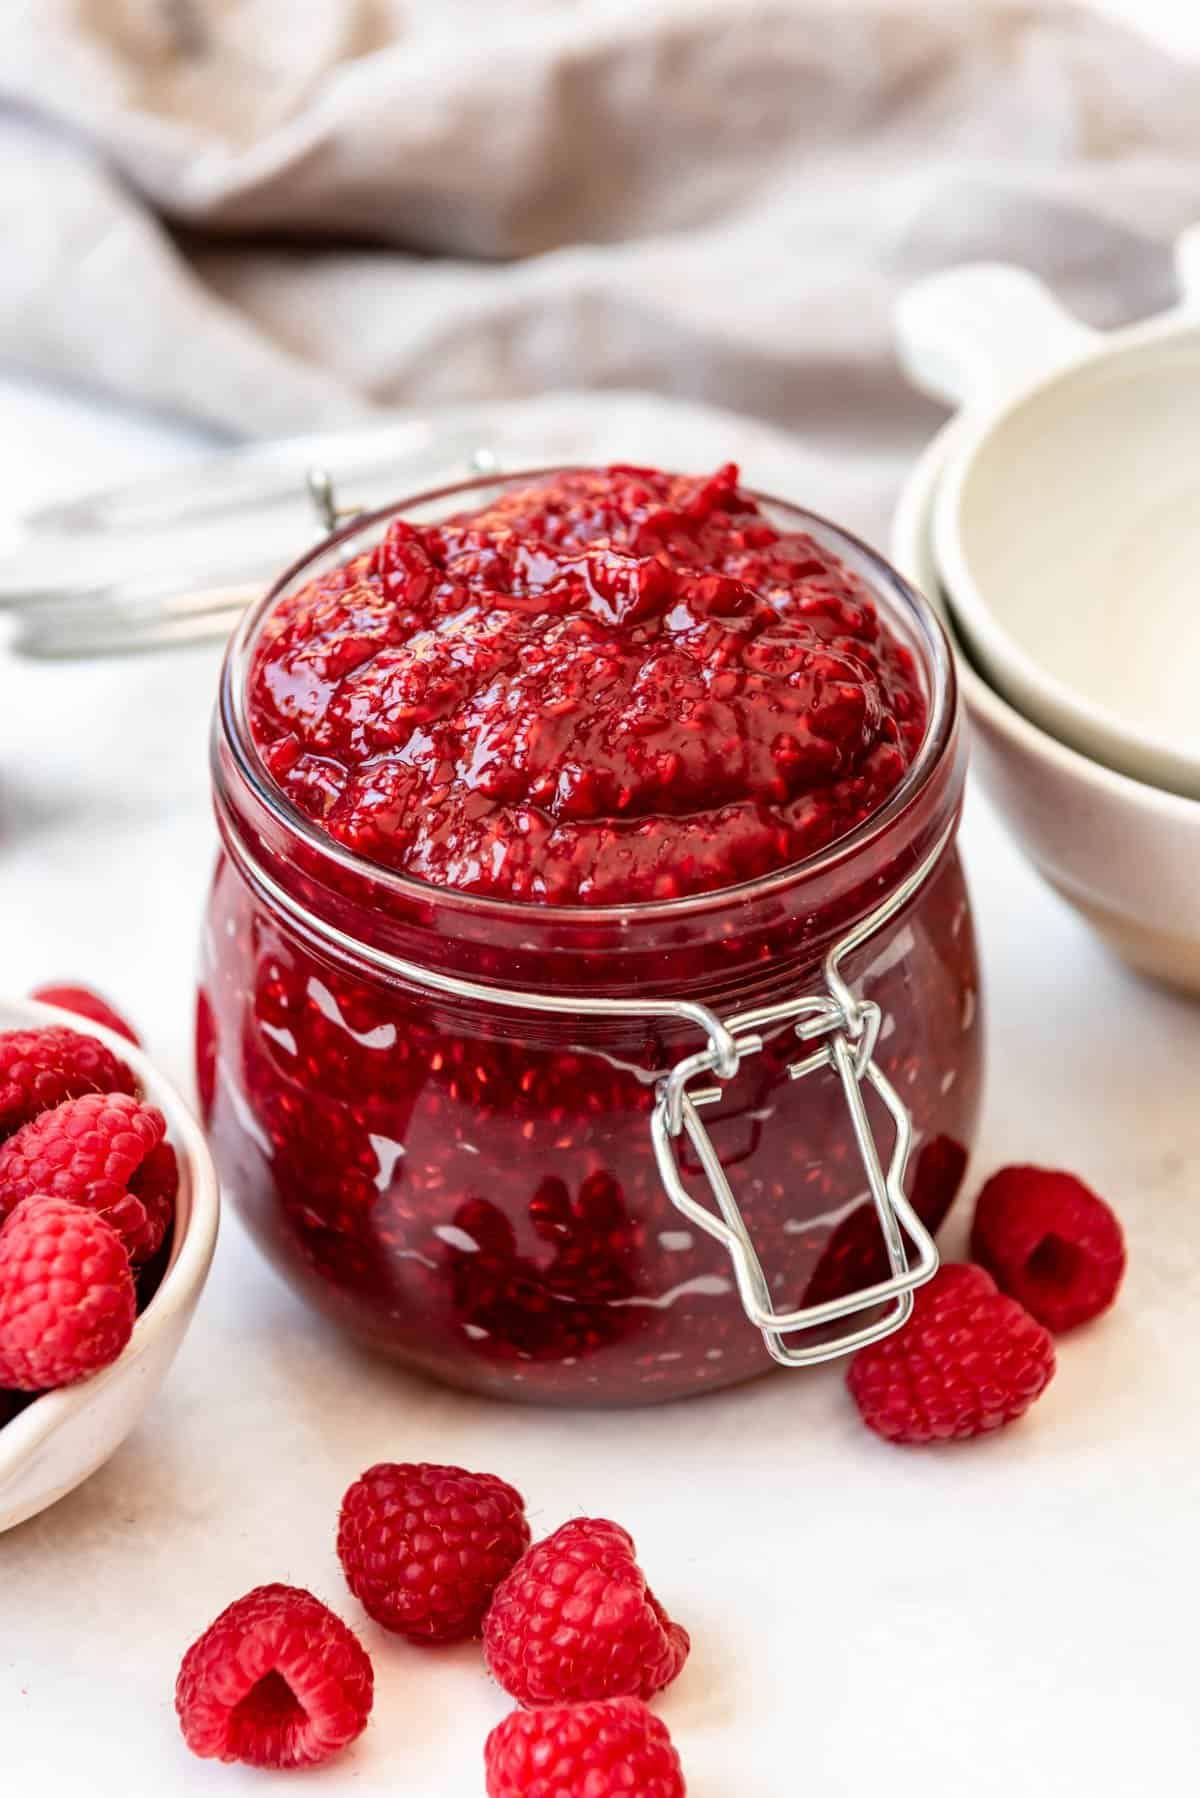
You can make this raspberry cake filling a week or two in advance and store it in the refrigerator in an airtight container. It also freezes well for up to 3-4 months.
If it is too firm to spread, you can warm it in the microwave for a few seconds at a time to loosen it up, stirring well between bursts until you get the right consistency.
More Raspberry Dessert Recipes
- Fresh Raspberry Jello Dessert
- Raspberry Macarons
- White Chocolate Raspberry Truffle Ice Cream
- Raspberry Pretzel Salad
Did you make this recipe?
Let me know what you thought with a comment and rating below. You can also take a picture and tag me on Instagram @houseofnasheats or share it on the Pinterest pin so I can see.
Raspberry Cake Filling
Ingredients
- 12 ounces fresh or frozen raspberries (about 2 ½ to 3 cups)
- 1/2 cup granulated sugar (100g)
- 2 Tablespoons cornstarch
- 1 Tablespoon lemon juice
- 1 Tablespoon water
Instructions
- Combine raspberries and sugar in a medium saucepan.
- Cook over medium heat, stirring frequently, until the raspberries release their juices and break down, about 8-10 minutes.
- In a small, separate bowl, whisk together the cornstarch, lemon juice, and water to create a slurry. Add to the raspberry mixture while stirring and continue to cook another 1-2 minutes until thickened and goes from cloudy to clear. The filling will continue to thicken as it cools, so it shouldn't be too thick and paste-like in the pan.
- Remove from heat and cool completely before using to fill a cake.
Notes
- Yield: Makes about 1 ½ cups of filling, which is enough to fill an 8- or 9-inch two- or three-layer cake, a sheet cake, or 12 cupcakes.
- Storage: If you aren’t using the filling right away, it can be stored in the fridge for 3-4 weeks in an airtight container. If it is too thick to spread, you might want to warm it in the microwave for a few seconds until it reaches a better consistency.
- Freezing: Raspberry filling can be frozen for up to 3-4 months. Thaw in the fridge or on the counter before using.
- Seedless raspberry cake filling: If you prefer a seedless raspberry cake filling, just strain the filling through a fine mesh sieve while it is still hot. You may need to press and scrape the filling against the sides of the sieve to push it through, but it will remove the seeds for you and you can discard them. You might want to double the filling if this is your plan though, because removing the seeds will result in less filling from a regular batch.
