This post was created as in partnership with Imperial Sugar. All thoughts and opinions are 100% my own.
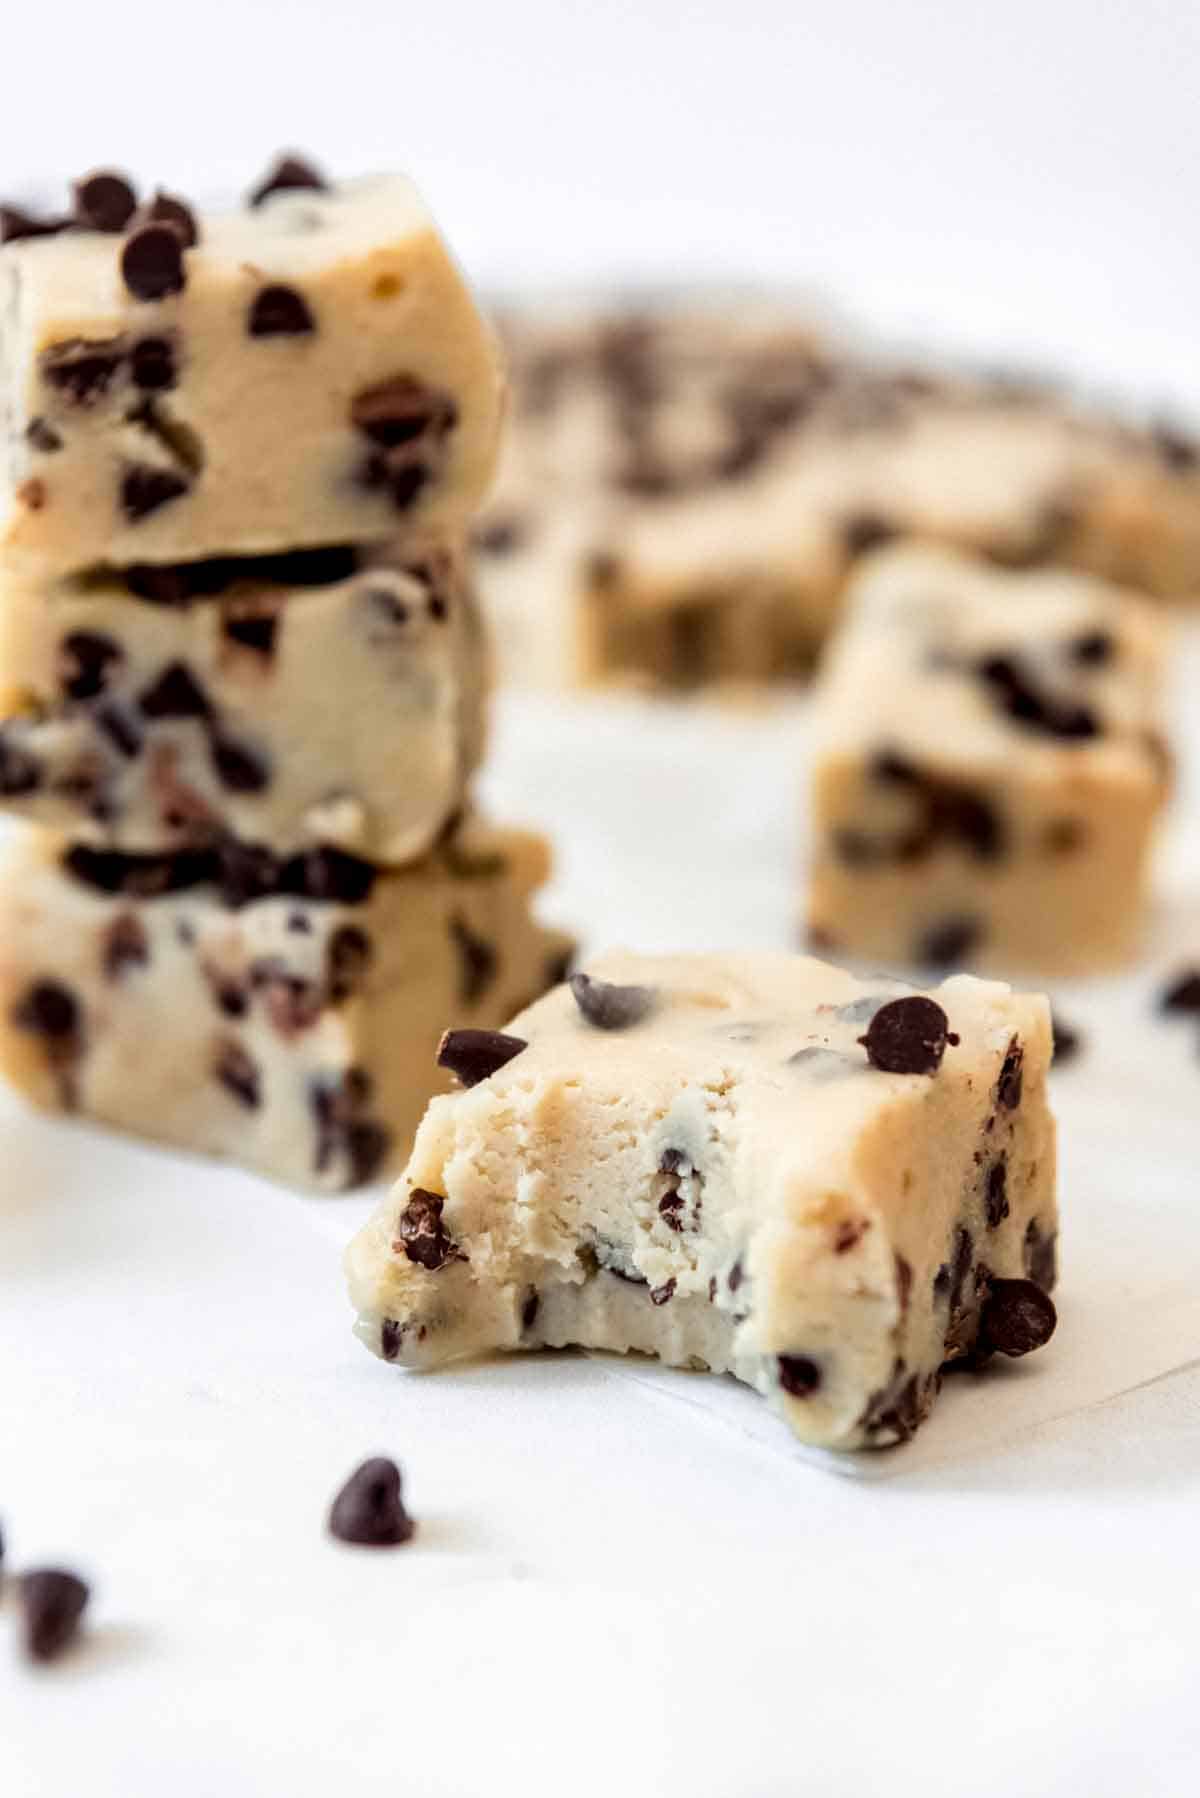
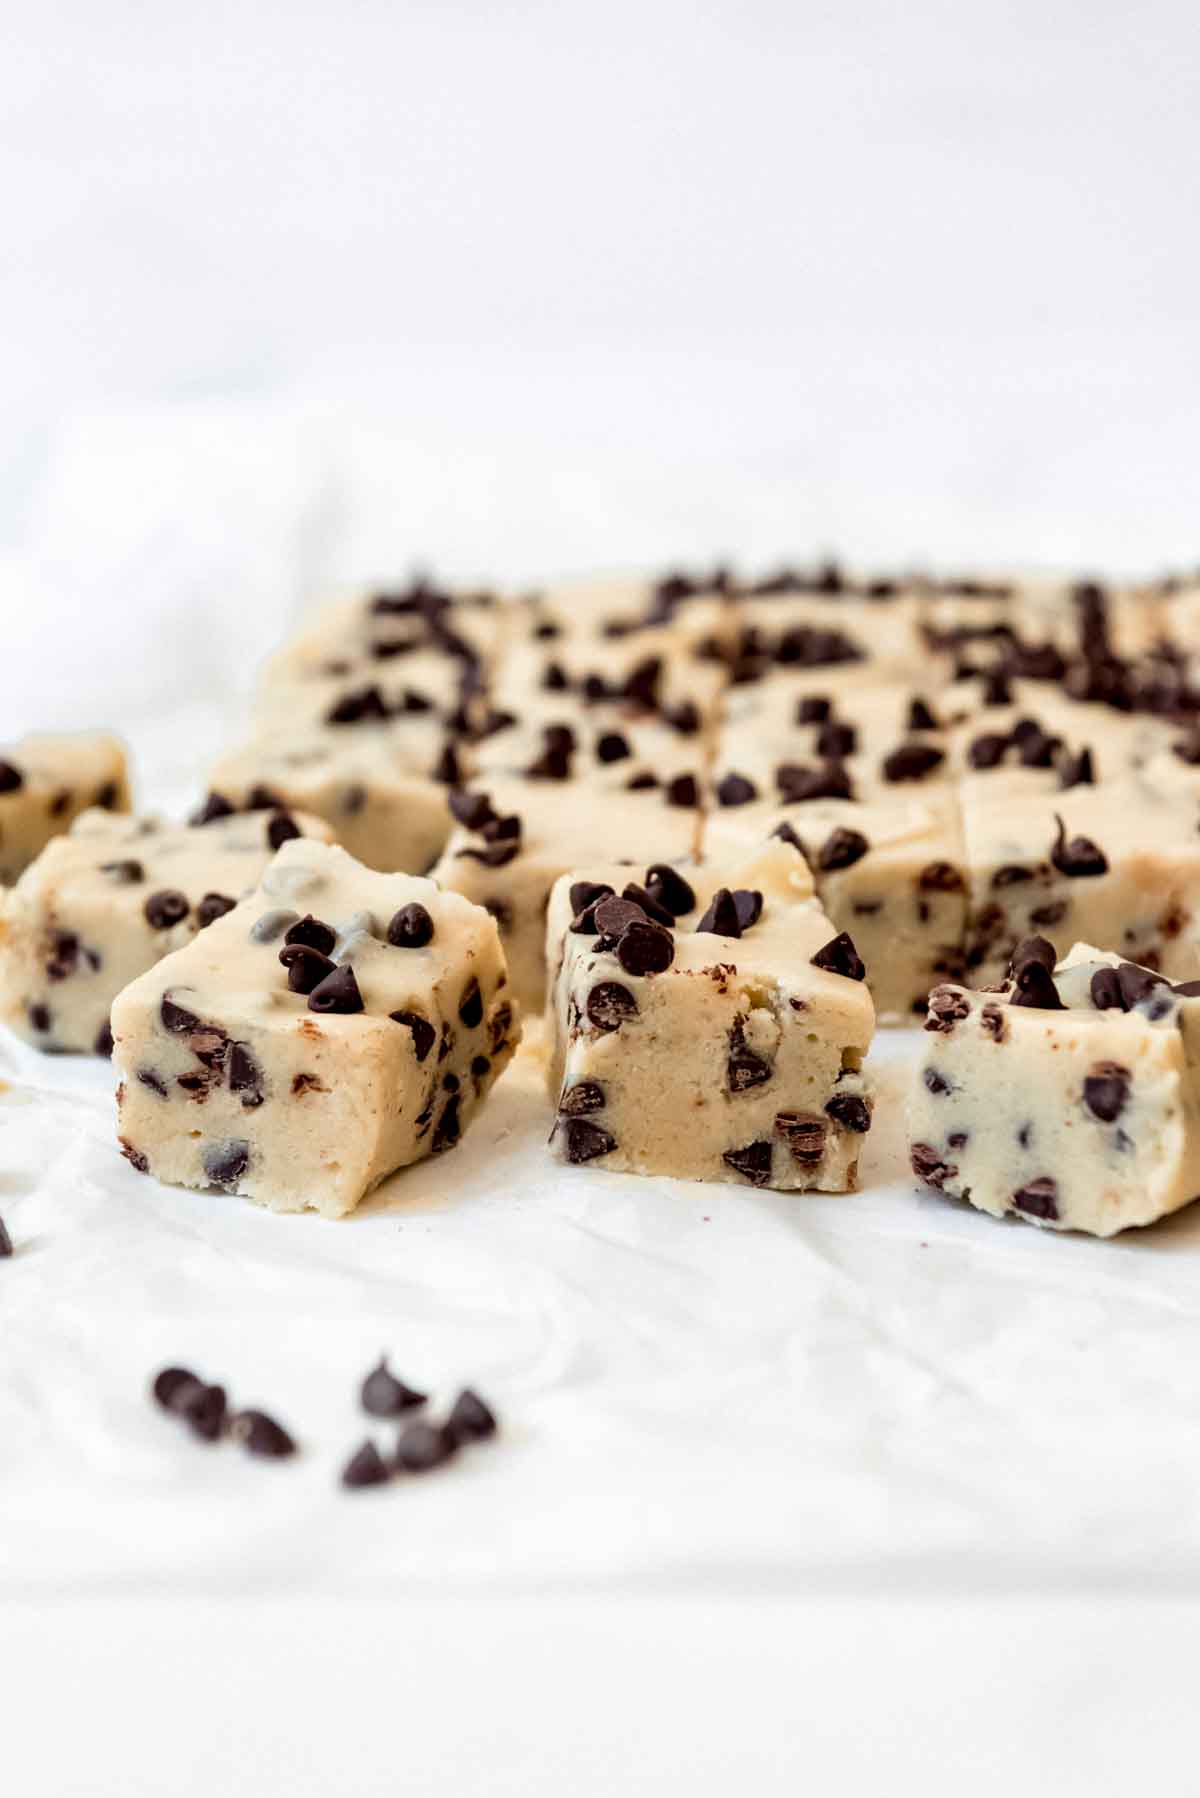
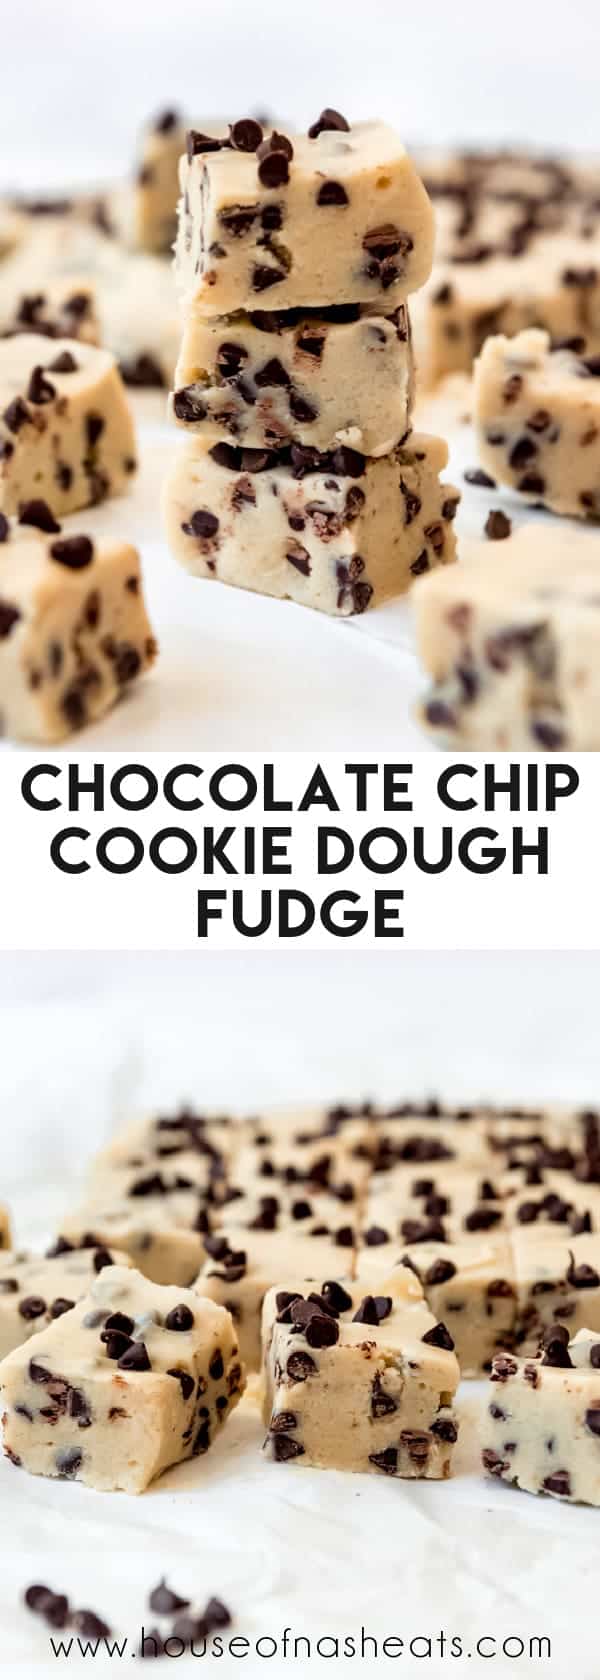
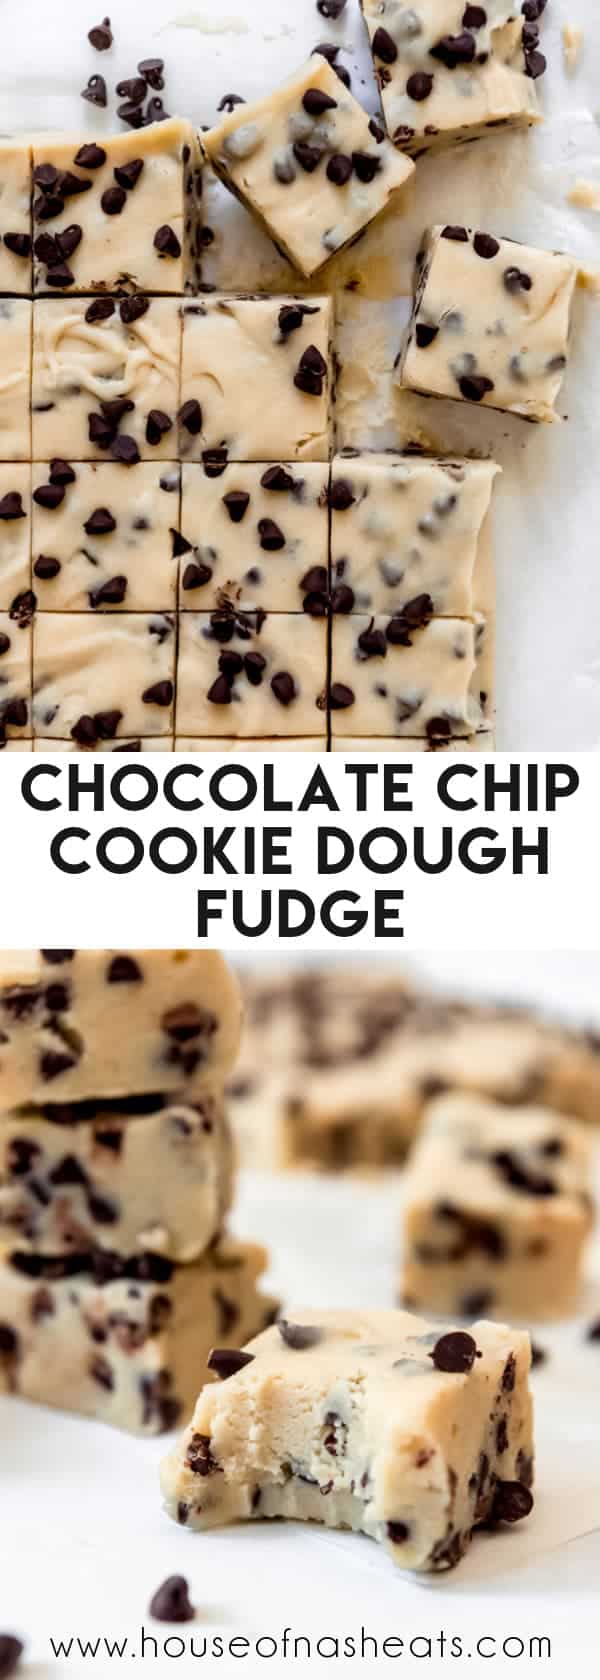
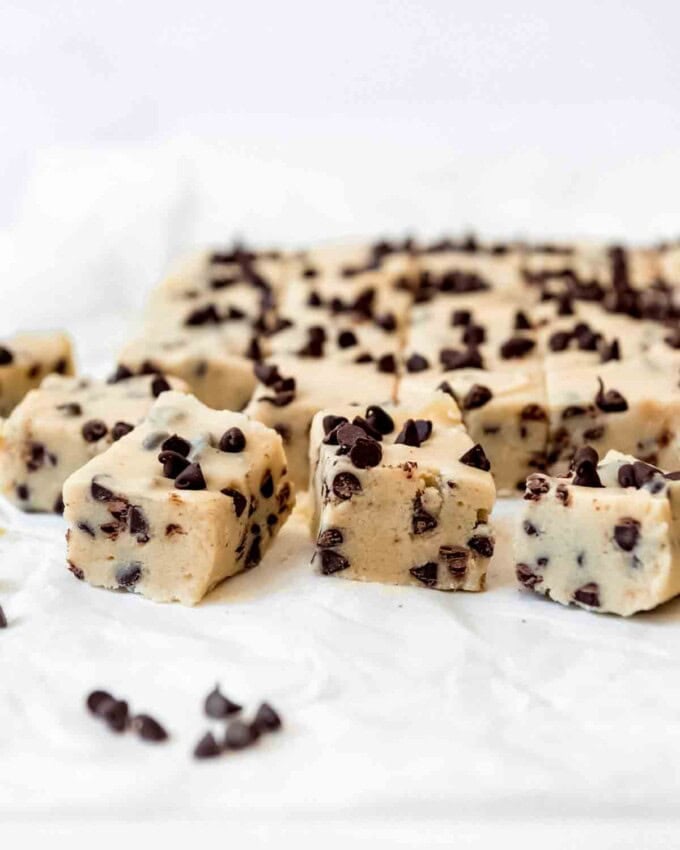
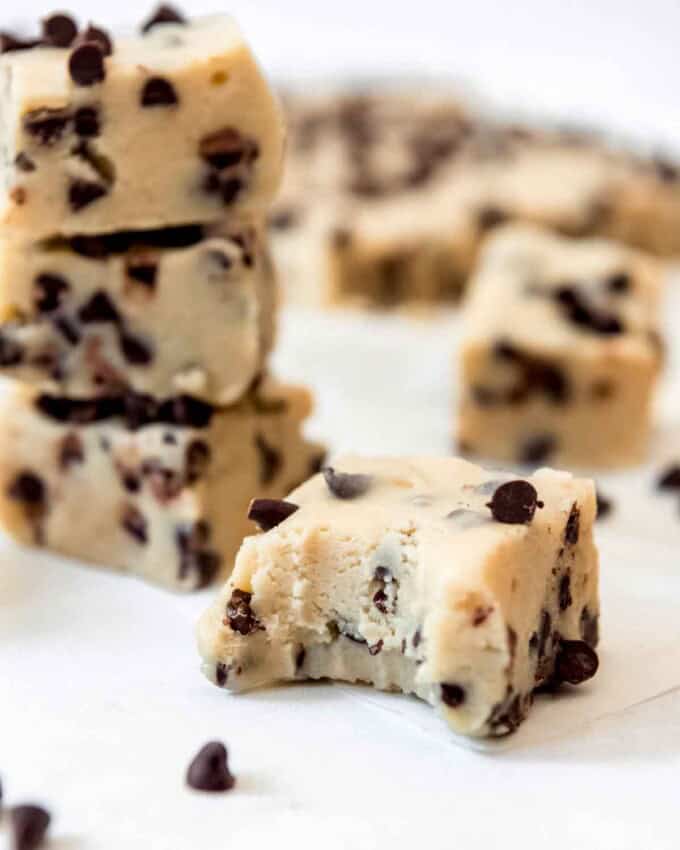
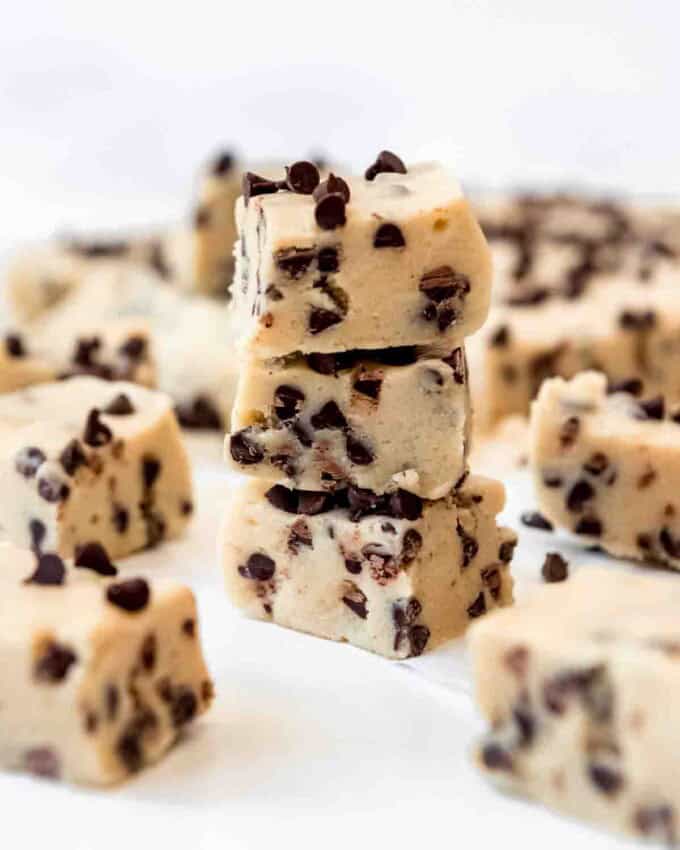
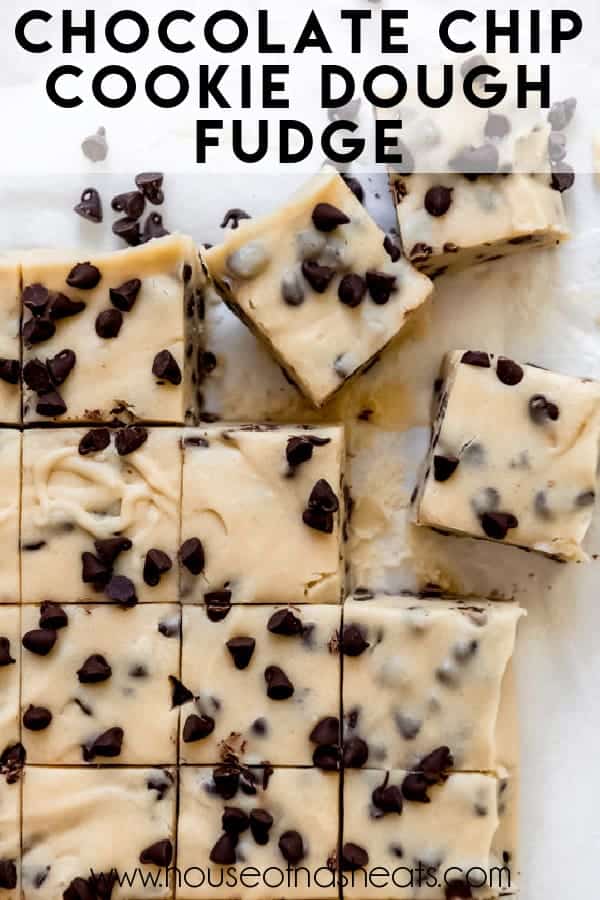
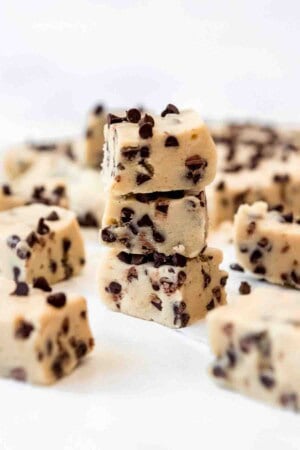
Indulge in the perfect combination of creamy fudge and nostalgic cookie dough flavors with this easy Chocolate Chip Cookie Dough Fudge. Made with simple ingredients like white chocolate chips, mini chocolate chips, and sweetened condensed milk, this sweet treat is rich, irresistible, and a great idea for cookie dough lovers everywhere!
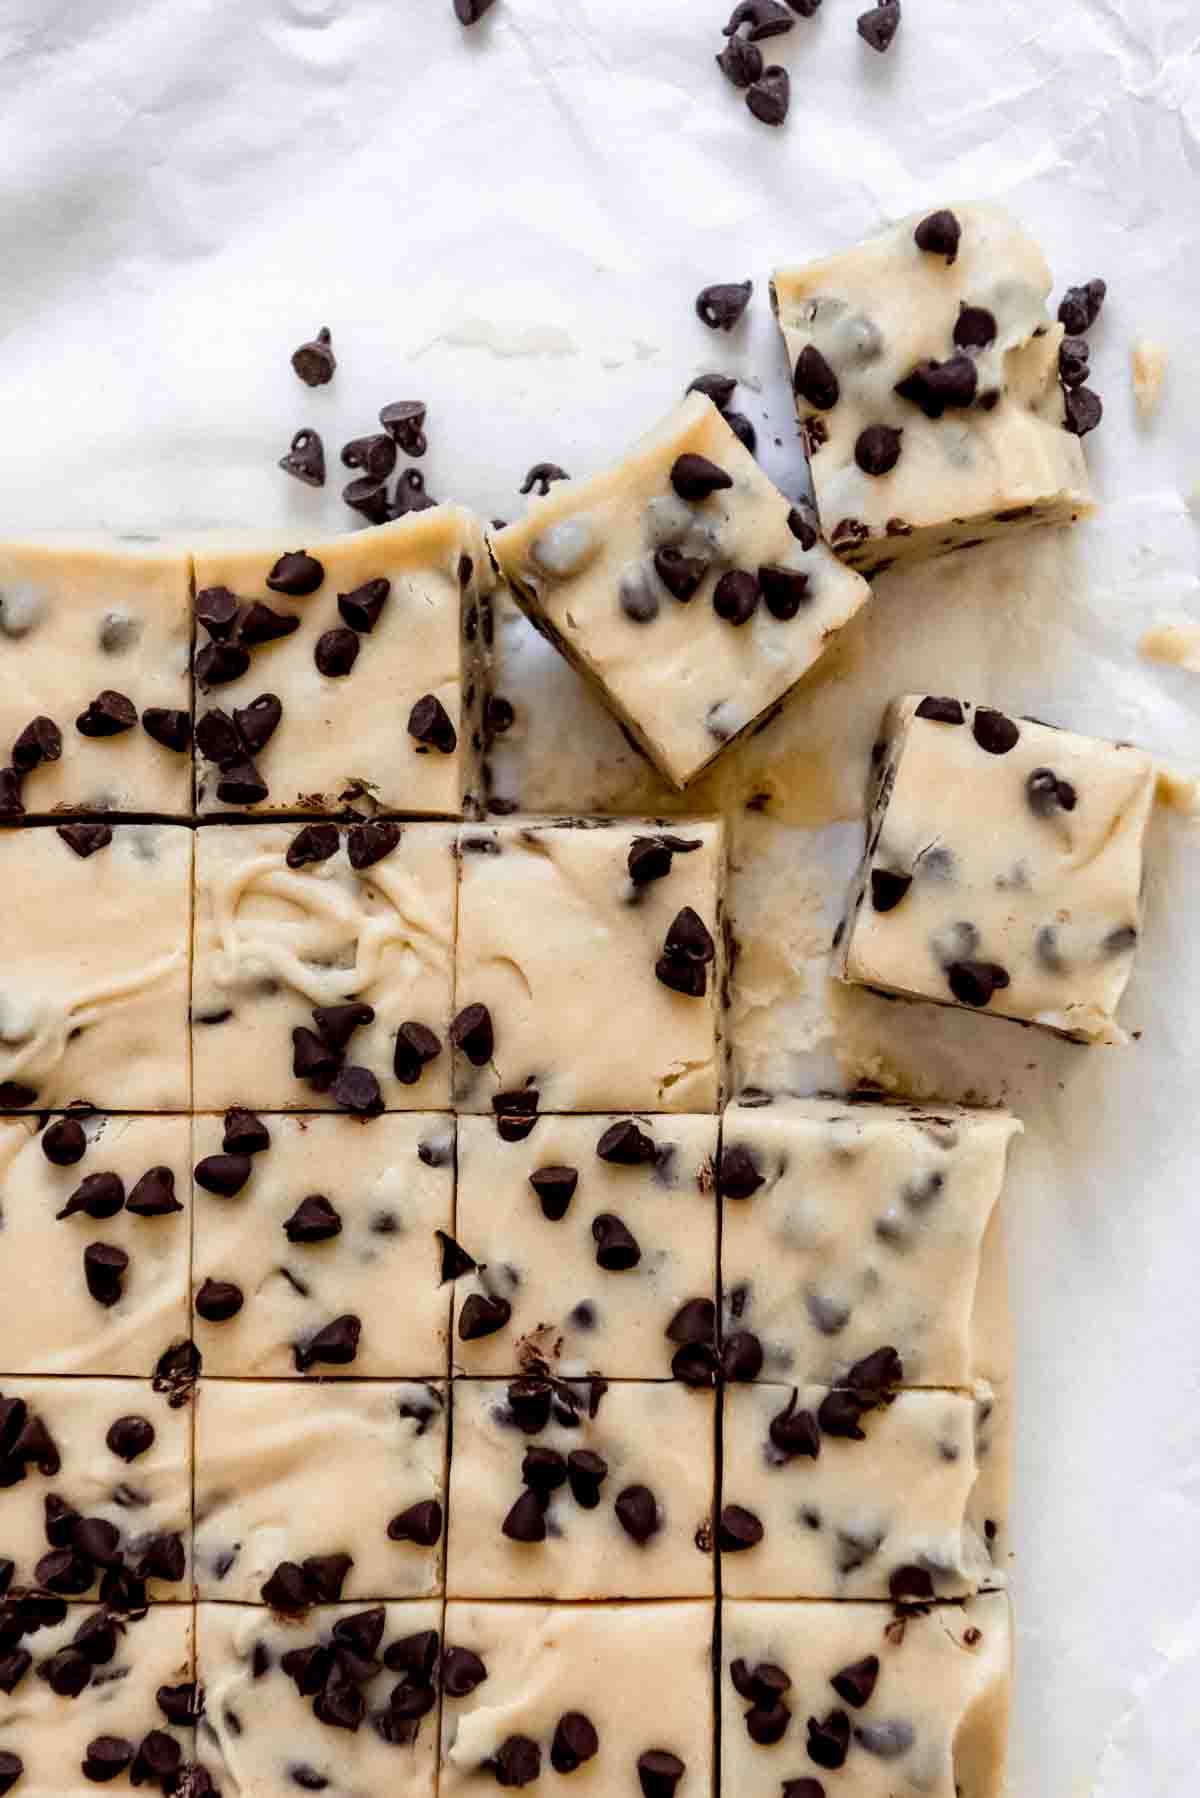
Table of Contents
This rich chocolate fudge isn’t just another sweet treat—it’s a celebration of everything we love about cookie dough, but safer and more convenient. By using heat-treated flour and skipping the eggs, we’ve turned classic raw cookie dough into an edible cookie dough mixture that’s worry-free and full of flavor.
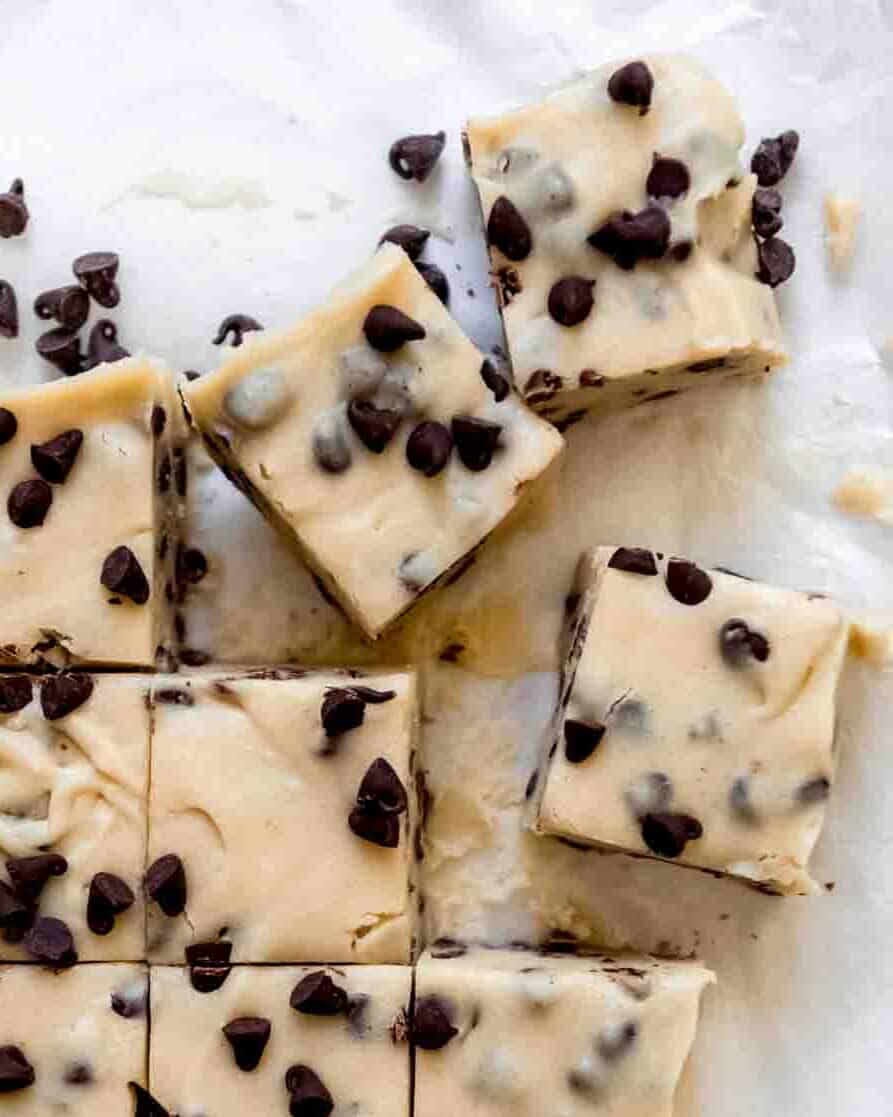
Even better, this is an easy cookie dough fudge recipe that doesn’t skimp on indulgence. With creamy white chocolate, a buttery cookie dough base, and a sprinkle of mini chocolate chips, it delivers a smooth, melt-in-your-mouth texture with every bite. Perfect for holidays, gifting, or simply treating yourself, this fudge is a new favorite that’s here to stay.
If fudge is your love language, you need to try my Easy Sugar Cookie Fudge, Peppermint Bark Fudge, Chocolate Walnut Fudge, Candy Corn & Peanut Fudge, and Grandpa Johnson’s Easy Homemade Rocky Road Fudge– trust me, they’re pure indulgence.
Why We Love This Recipe
- It’s the best of both worlds, combining creamy fudge with the irresistible taste of cookie dough to create a unique and satisfying dessert.
- The fudge base is rich and luscious, pairing perfectly with the sweet crunch of mini chocolate chips.
- This recipe is quick to prepare and doesn’t require any baking, making it a foolproof option for beginner bakers or last-minute treats.
What You’ll Need
Scroll down to the recipe card below this post for ingredient quantities and full instructions.
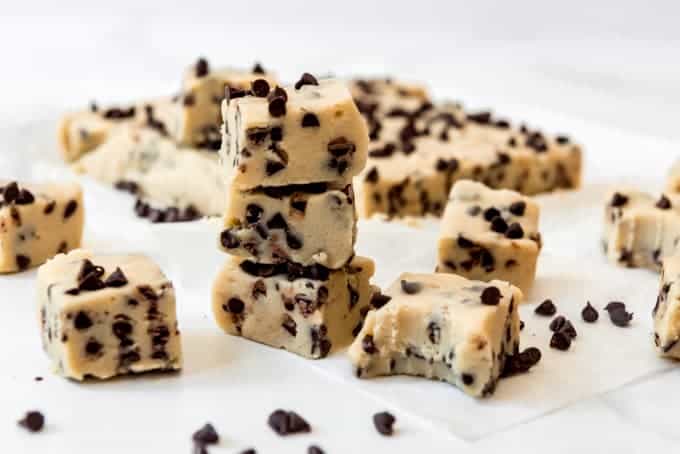
- Mini Chocolate Chips – These little morsels add texture and a classic chocolate chip cookie feel. Freezing them prevents melting and keeps them evenly distributed in the fudge.
- All-Purpose Flour – Heat-treated to make it safe for consumption, this provides the perfect structure to our cookie dough mixture.
- Salted Butter – Creamy and rich, it’s the base for our eggless cookie dough, adding that signature buttery flavor.
- Light Brown Sugar – Brings a hint of molasses sweetness that pairs perfectly with the mini chocolate chips.
- Granulated Sugar – Balances the sweetness and helps create a smooth texture in the dough.
- Heavy Cream – Adds moisture and richness, making the cookie dough creamy and soft.
- Vanilla Extract – The secret weapon for enhancing all the flavors and making this taste like the best chocolate chip cookies ever.
- Salt – Just a pinch to balance the sweetness and bring out the rich flavors.
- White Chocolate Chips – Melted down with sweetened condensed milk, they form the creamy, sweet fudge base.
- Sweetened Condensed Milk – The star ingredient that binds everything together for a smooth and luscious fudge mixture.
How to Make Chocolate Chip Cookie Dough Fudge
- Prepare equipment and ingredients. Line an 8×8-inch square baking pan with parchment paper or foil, leaving overhang for easy removal. Place the mini chocolate chips in the freezer while prepping to keep them firm. In a microwave-safe bowl, microwave the flour for 90 seconds, stirring every 30 seconds, to kill any bacteria. Let it cool completely. You can also spread a thin layer on a baking sheet and heat it in your oven at 300°F for about 10 minutes or until it reaches a temperature of 160°F.
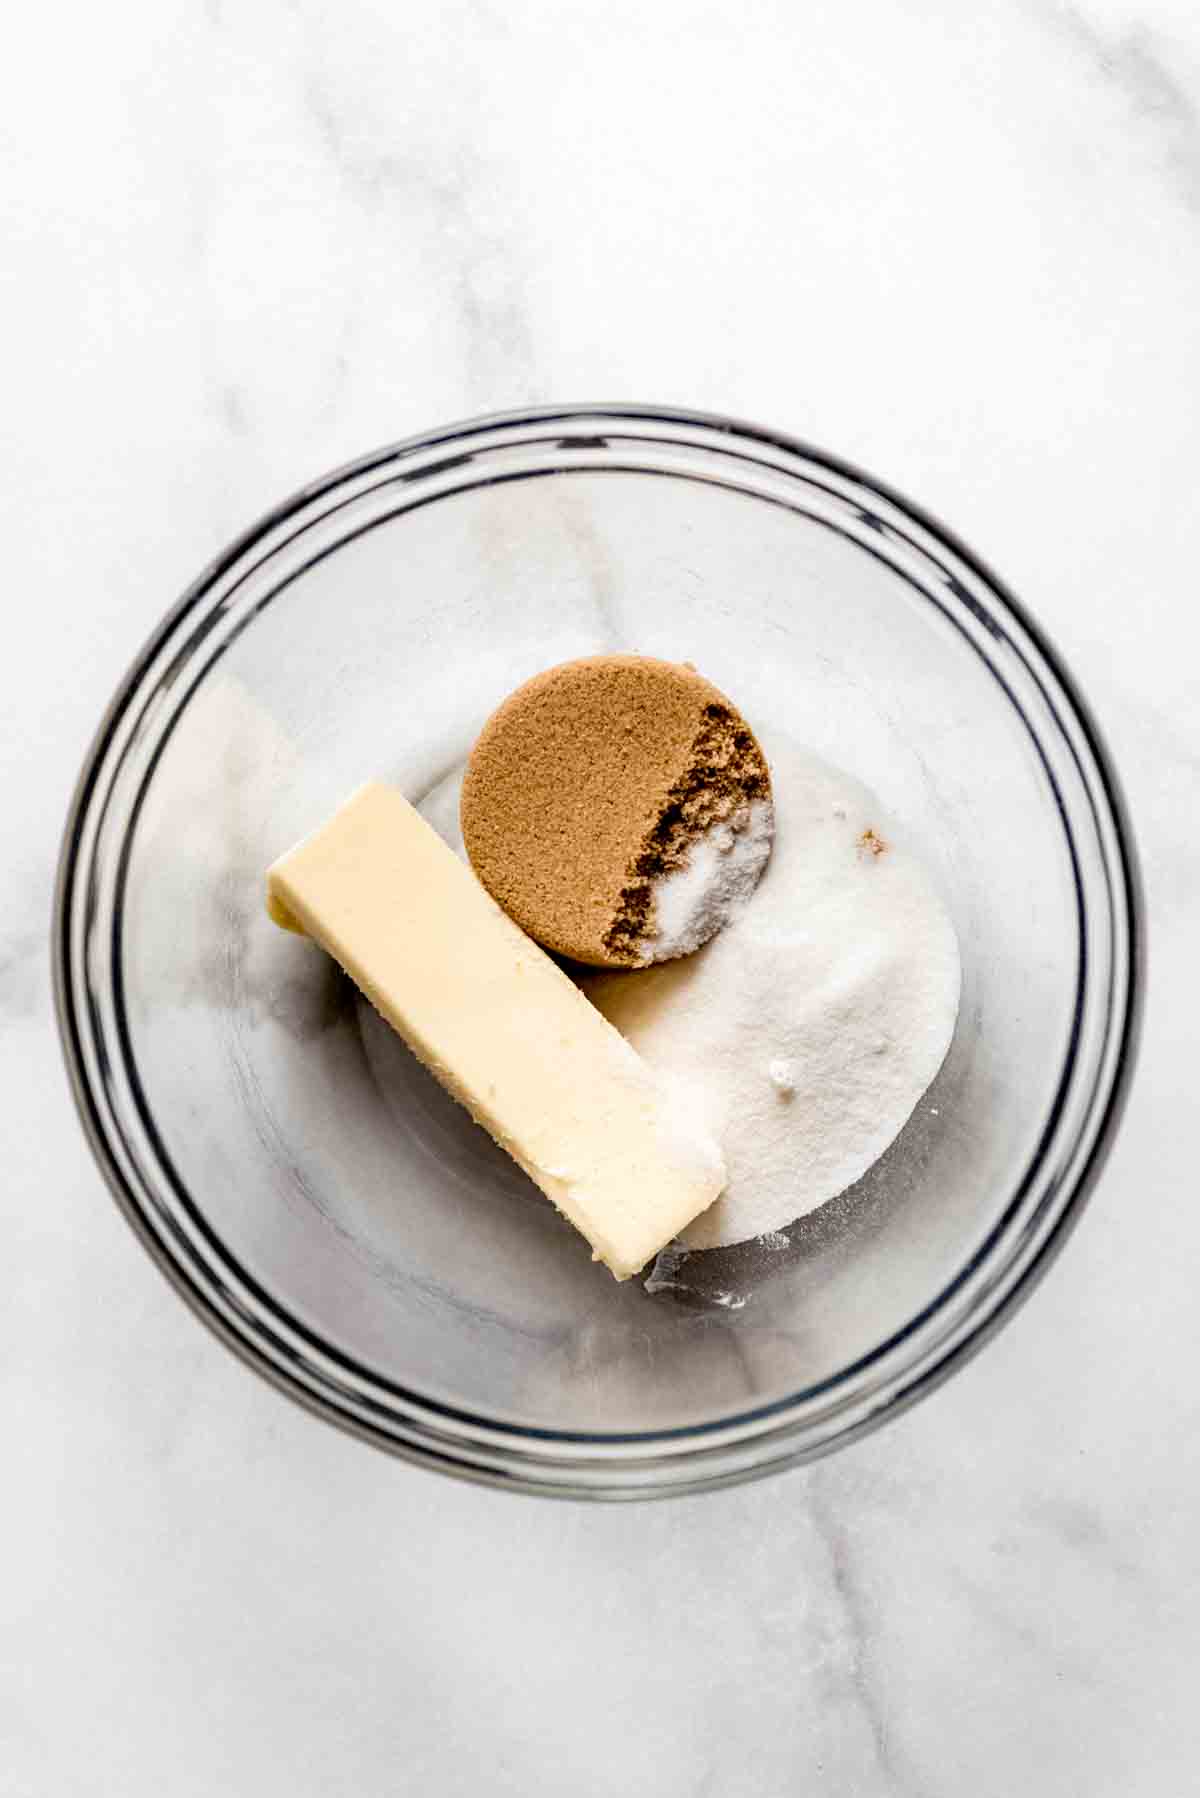
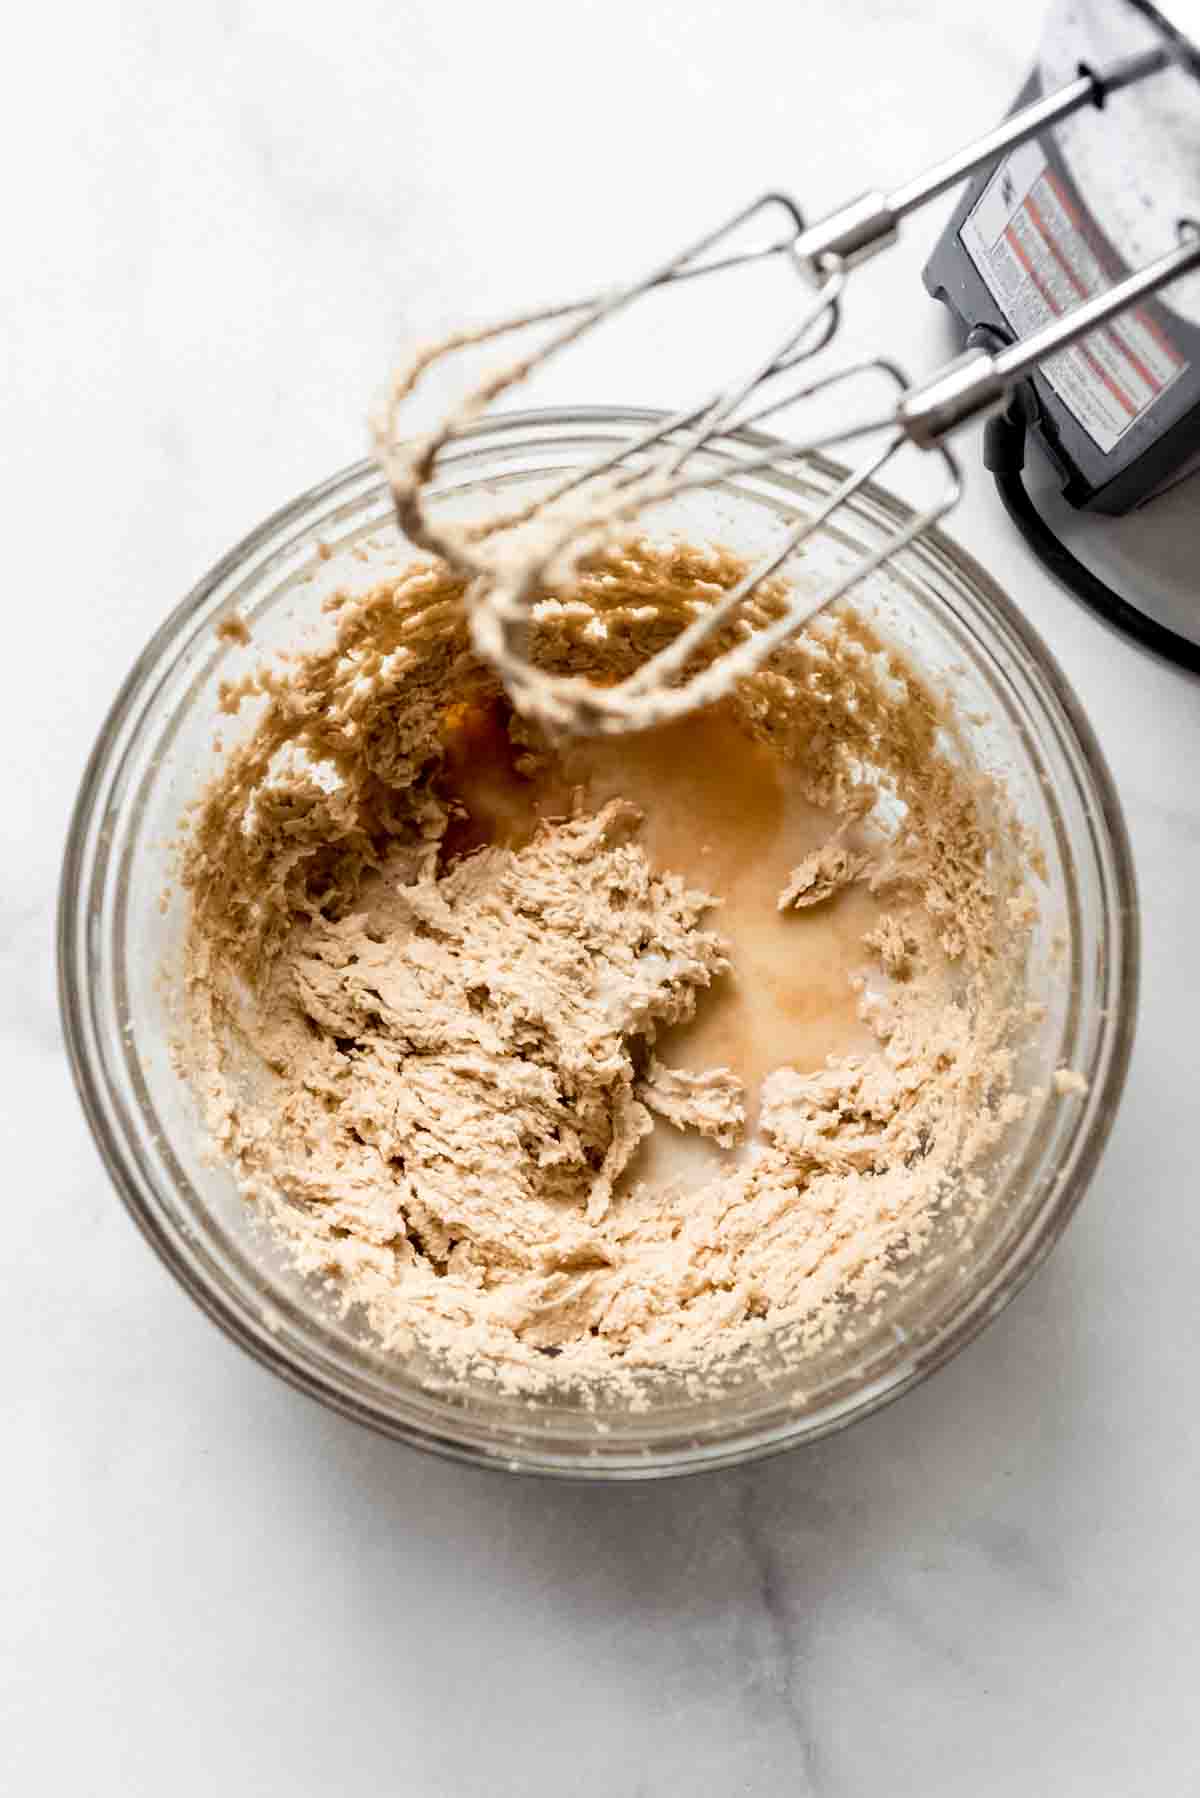
- Make cookie dough mixture. In a large mixing bowl, beat the butter, brown sugar, and granulated sugar on medium speed until light and creamy. Add the heavy cream, vanilla extract, and salt, mixing until smooth.
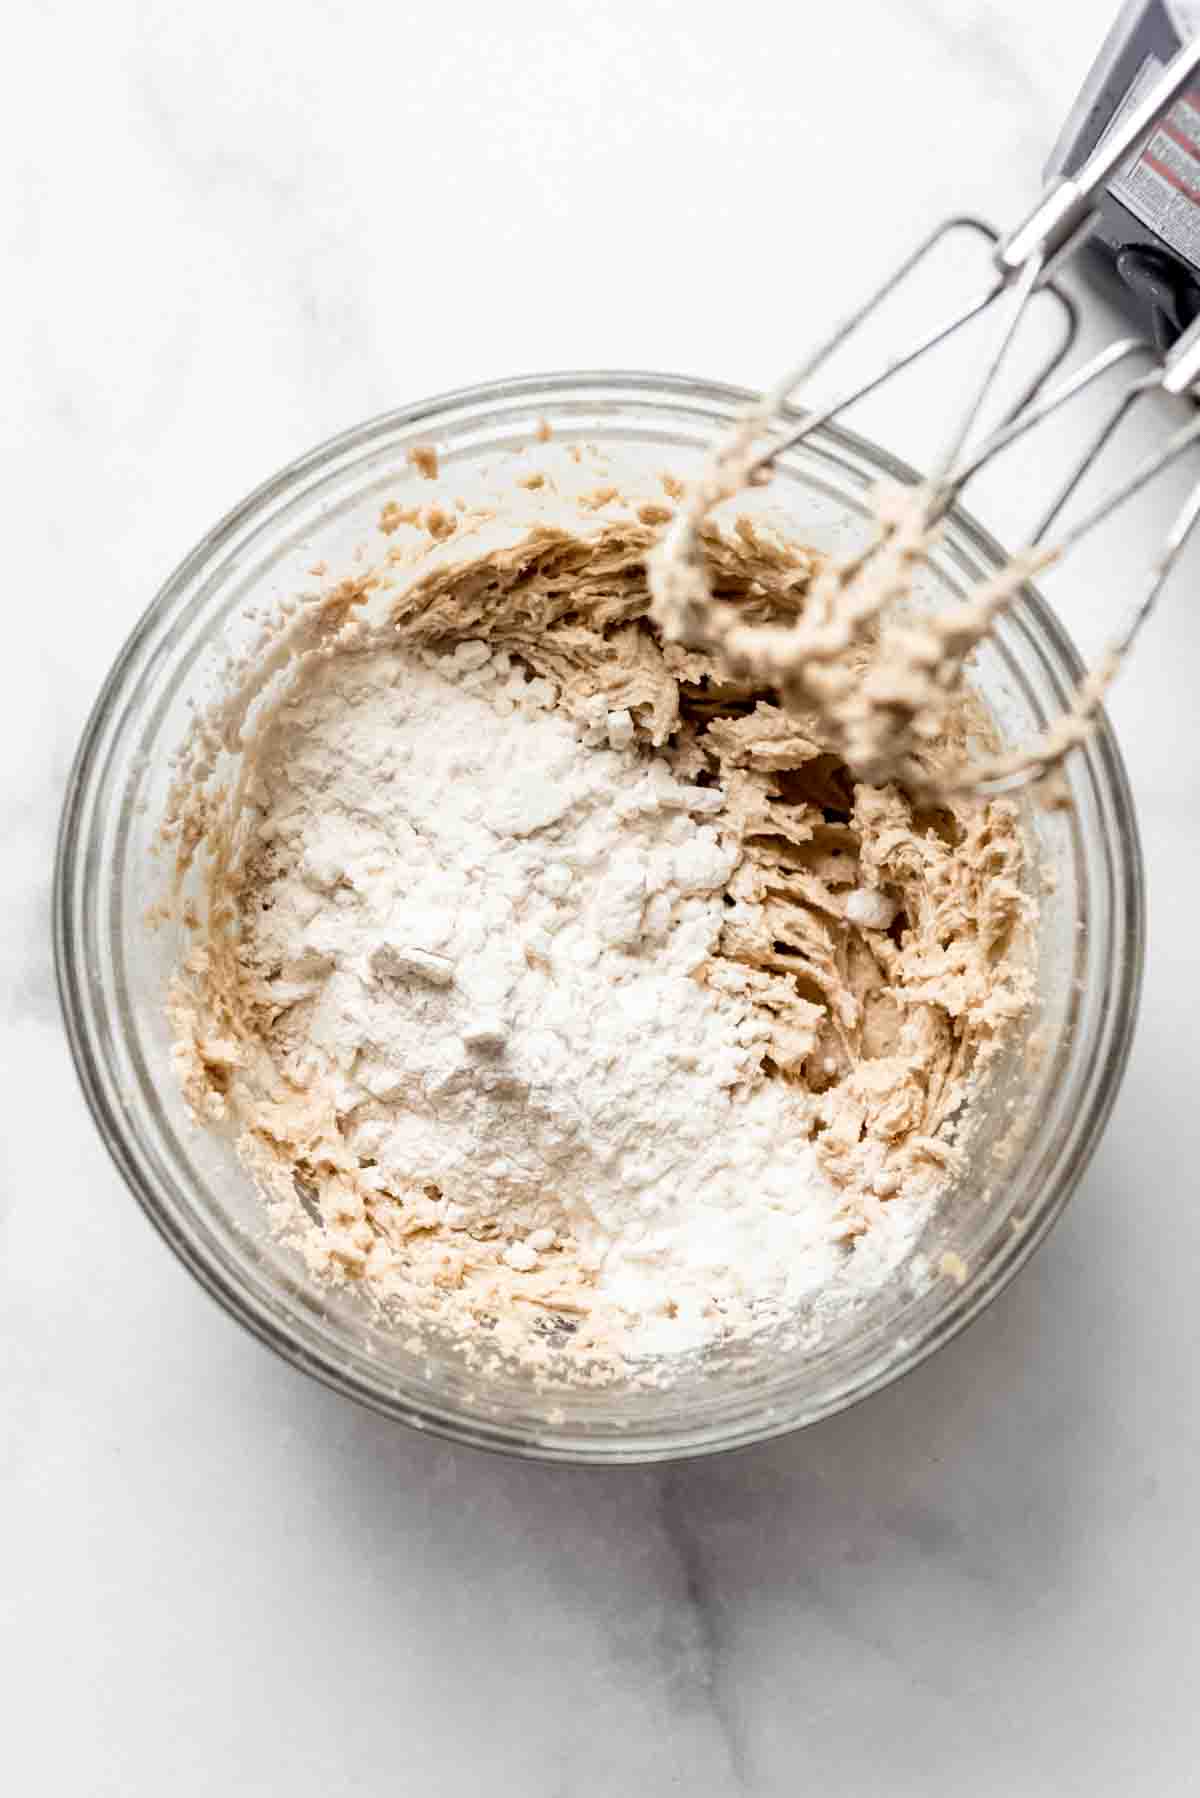
- Add flour. Gradually stir in the heat-treated flour until no streaks remain.
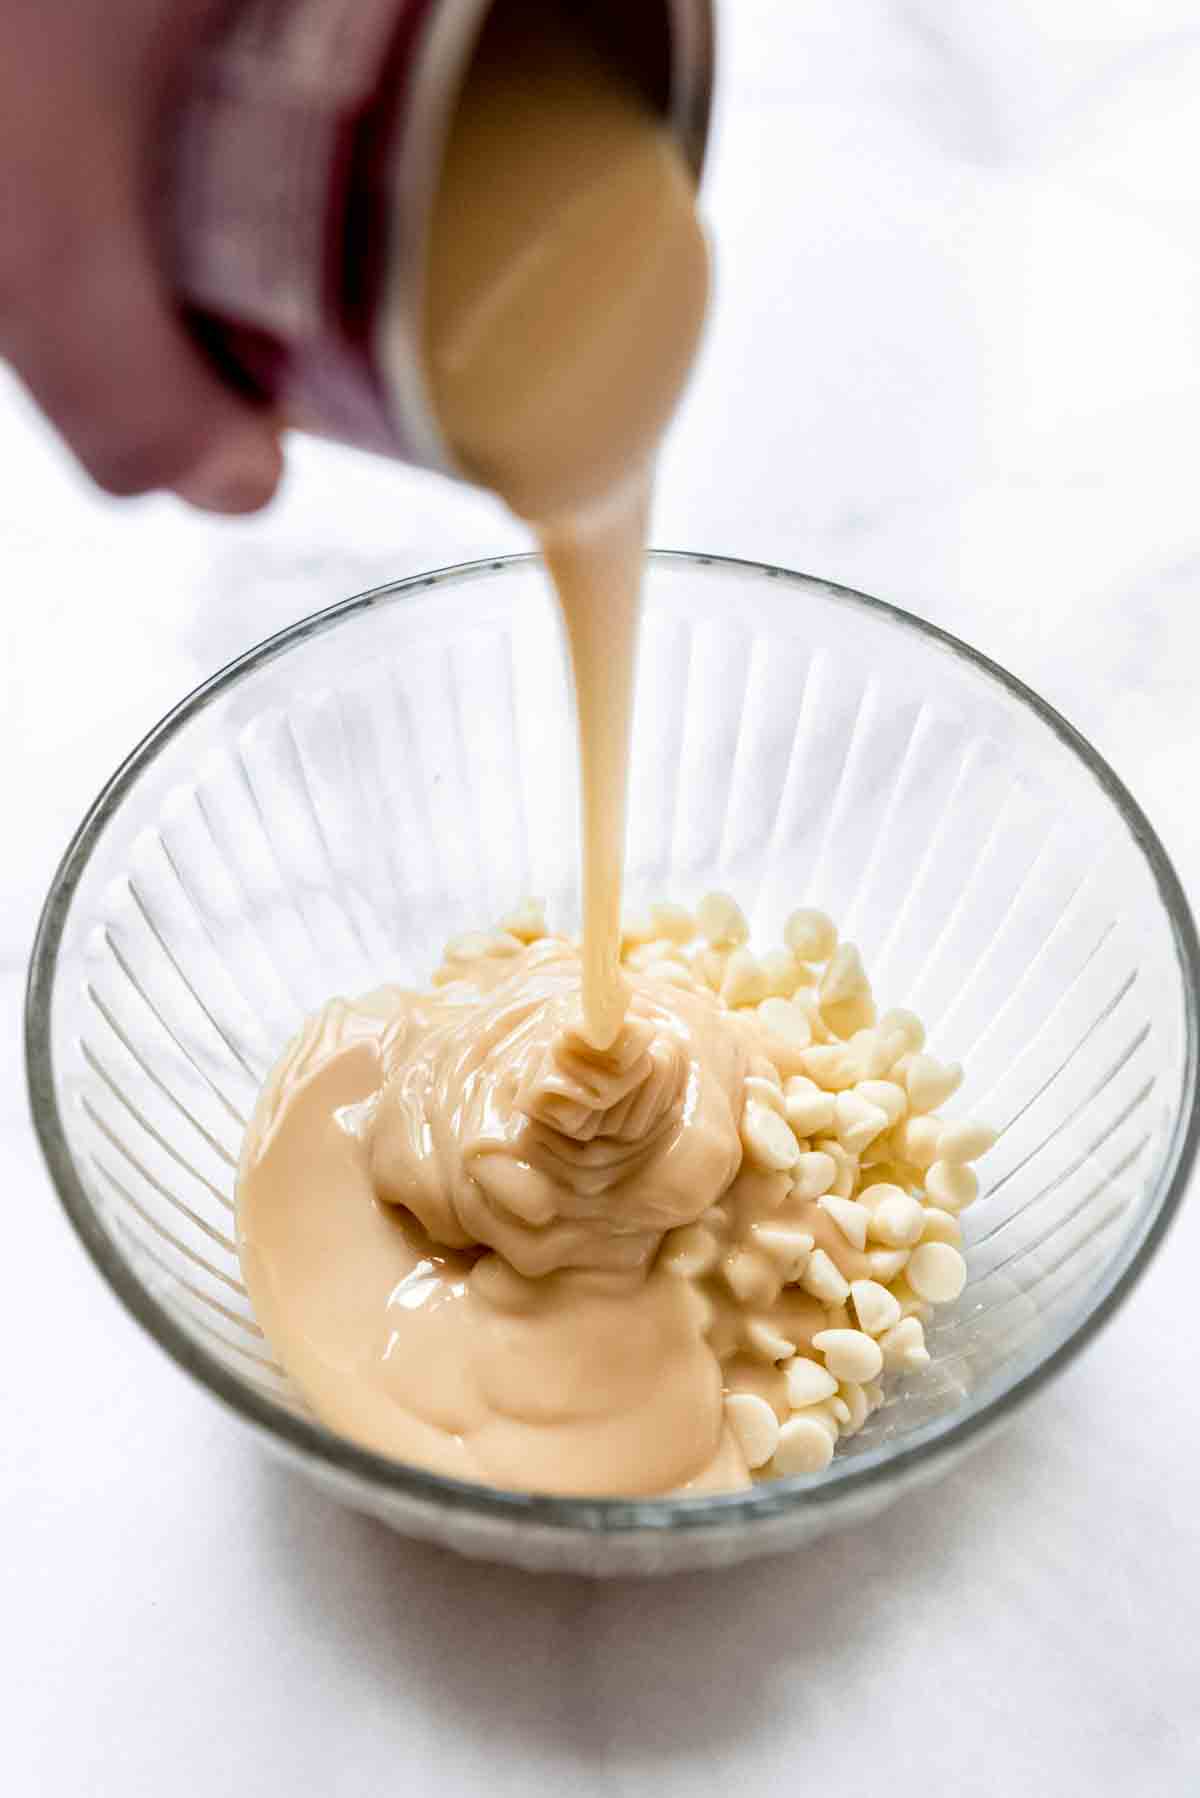
- Create fudge base. In a microwave-safe bowl, combine the white chocolate chips and sweetened condensed milk. Heat in 30-second intervals, stirring in between, until the white chocolate is melted and the mixture is smooth.
- Combine with cookie dough. Pour the melted fudge base into the cookie dough mixture and gently stir until fully combined.
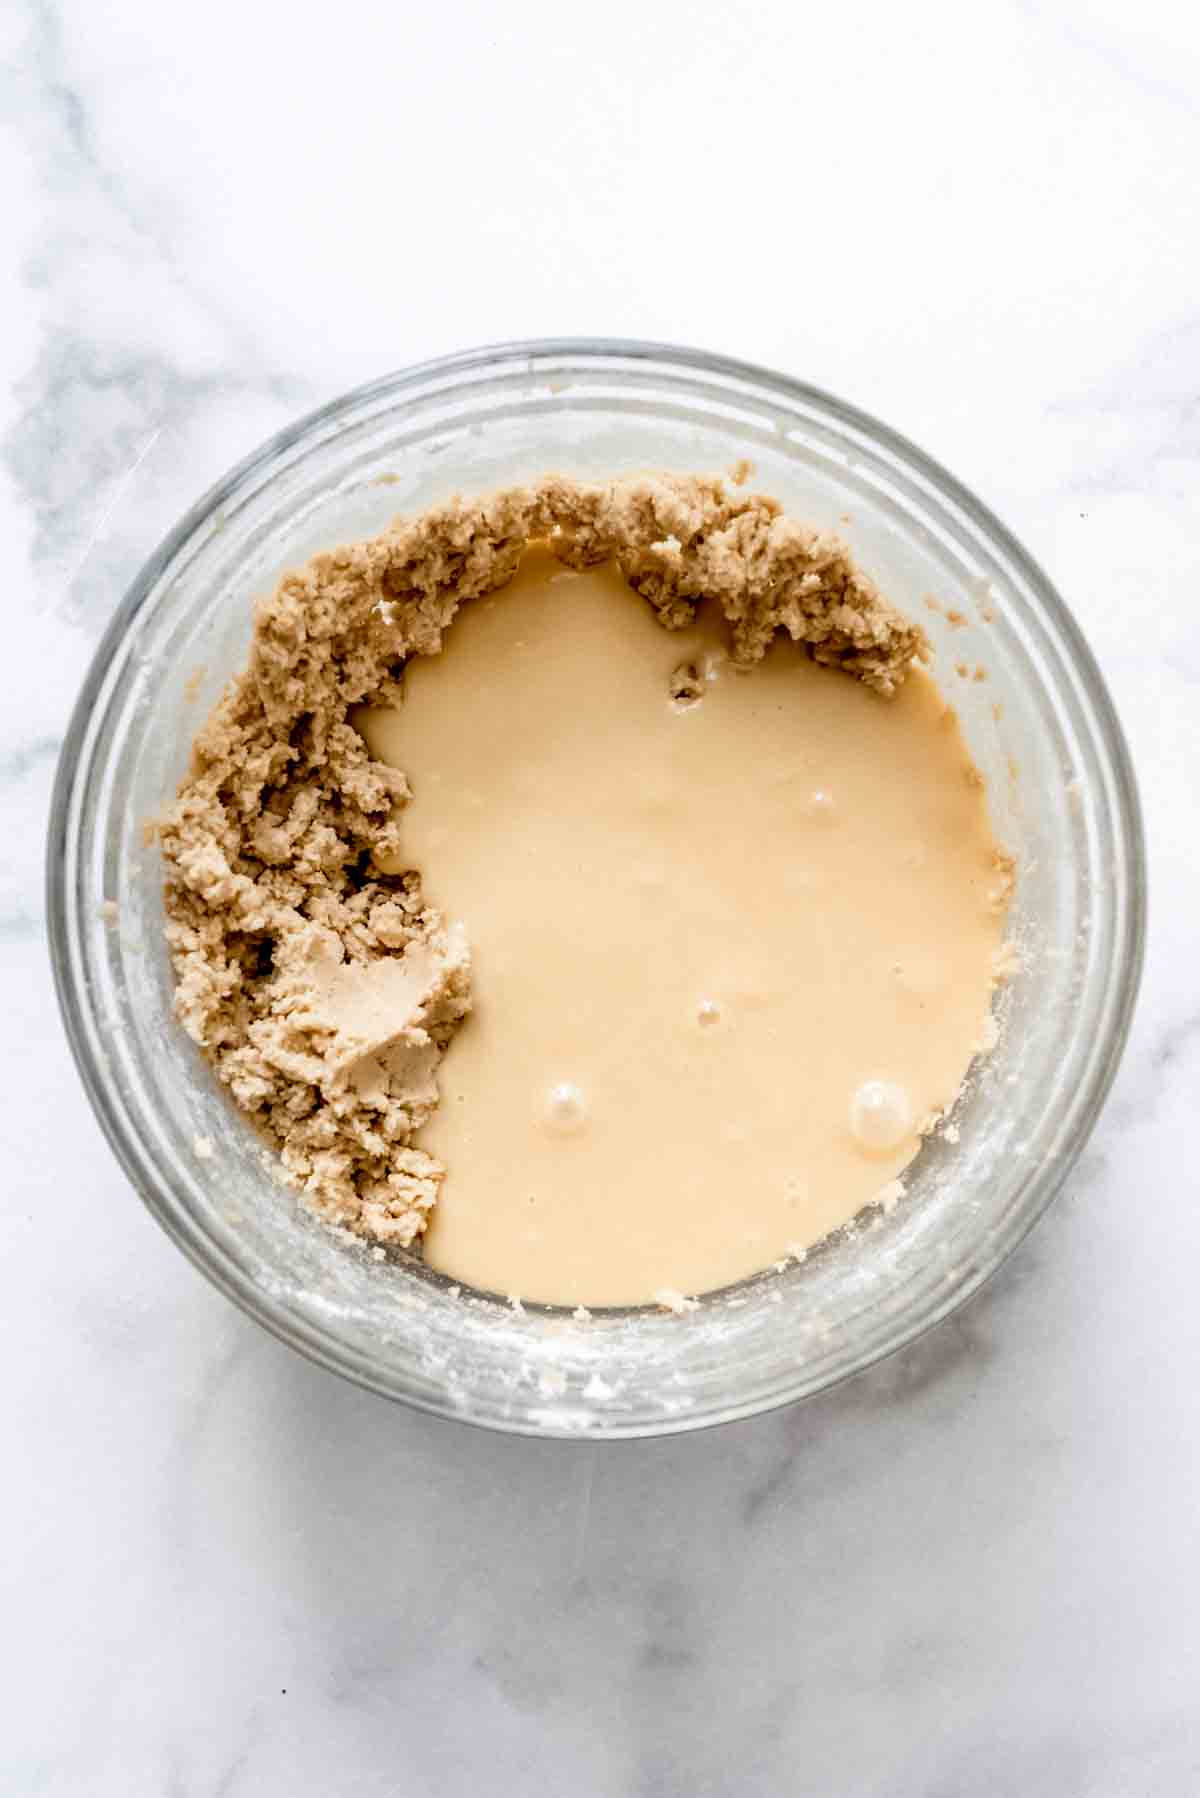
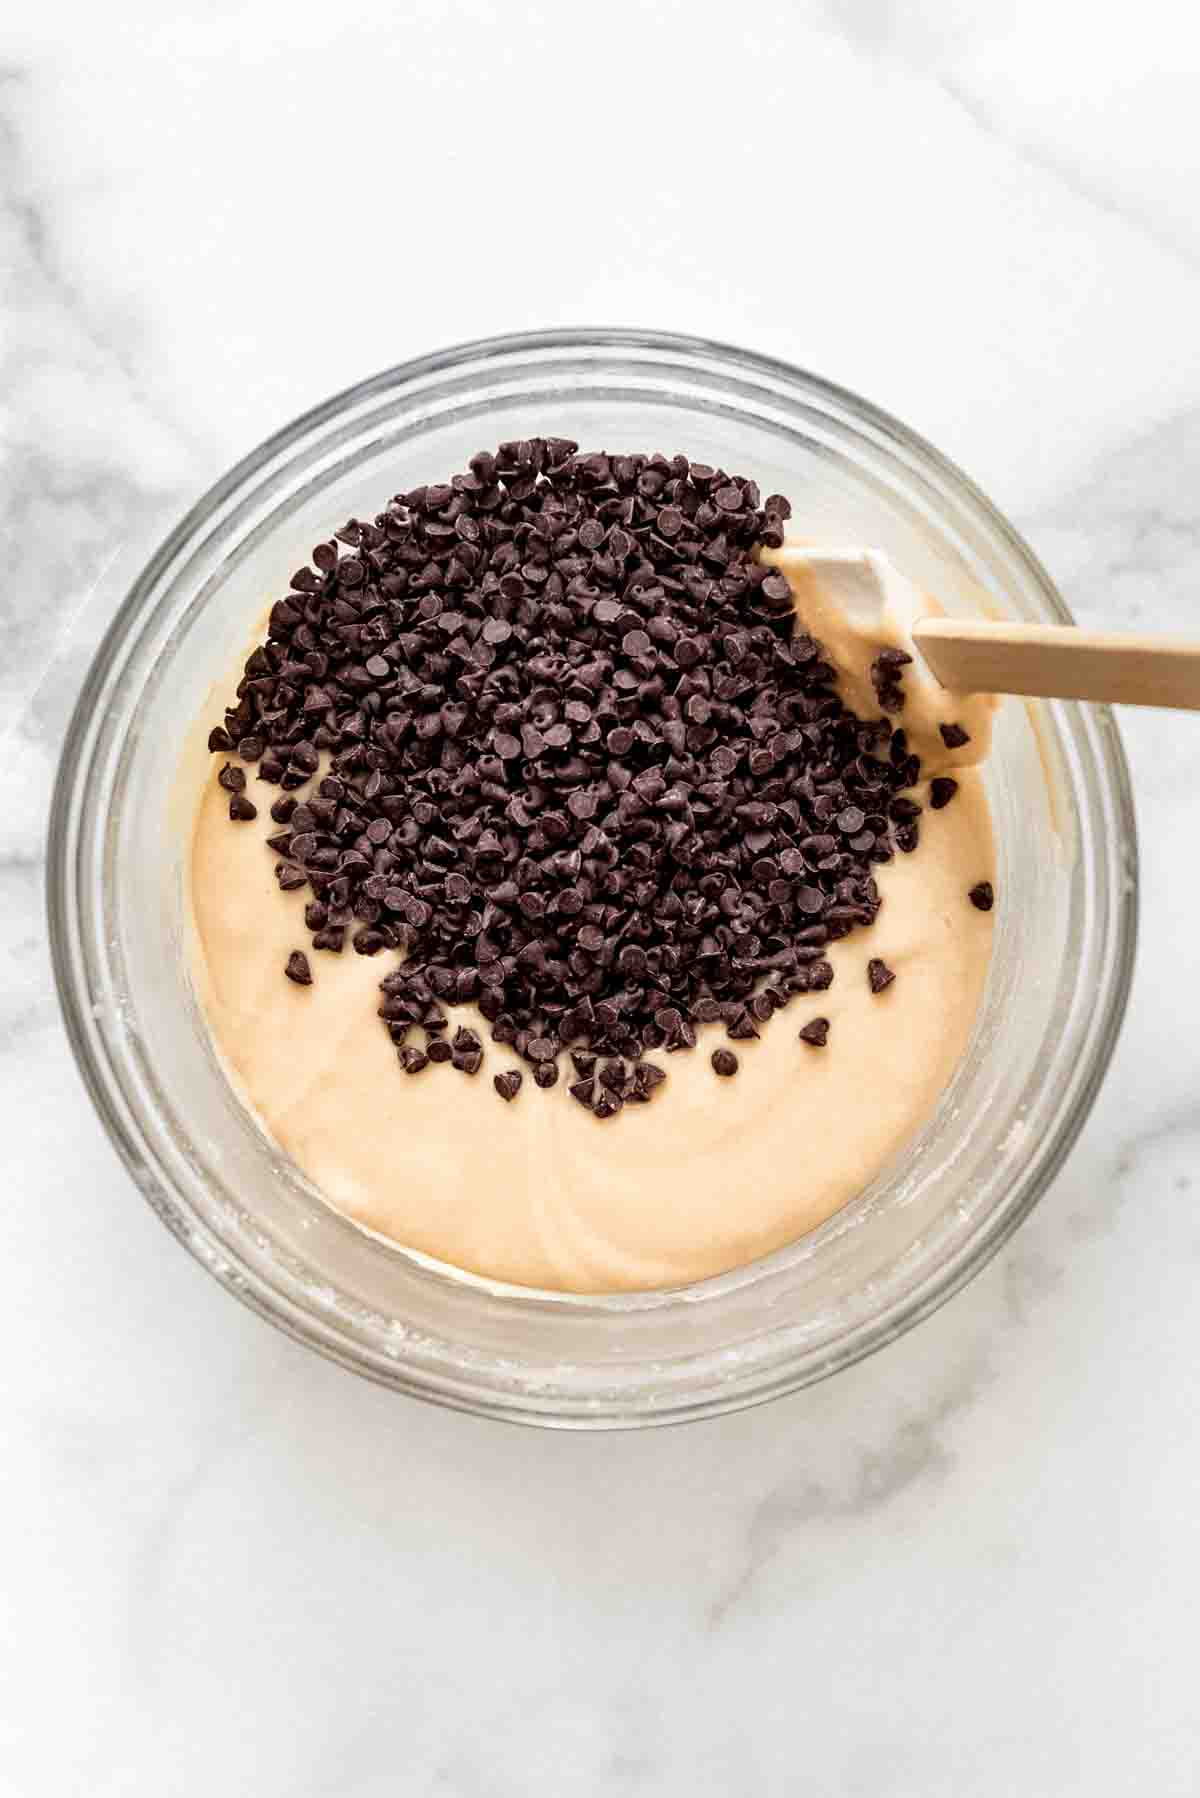
- Fold in chocolate chips. Take the mini chocolate chips out of the freezer and fold them in, ensuring they are evenly distributed without melting.
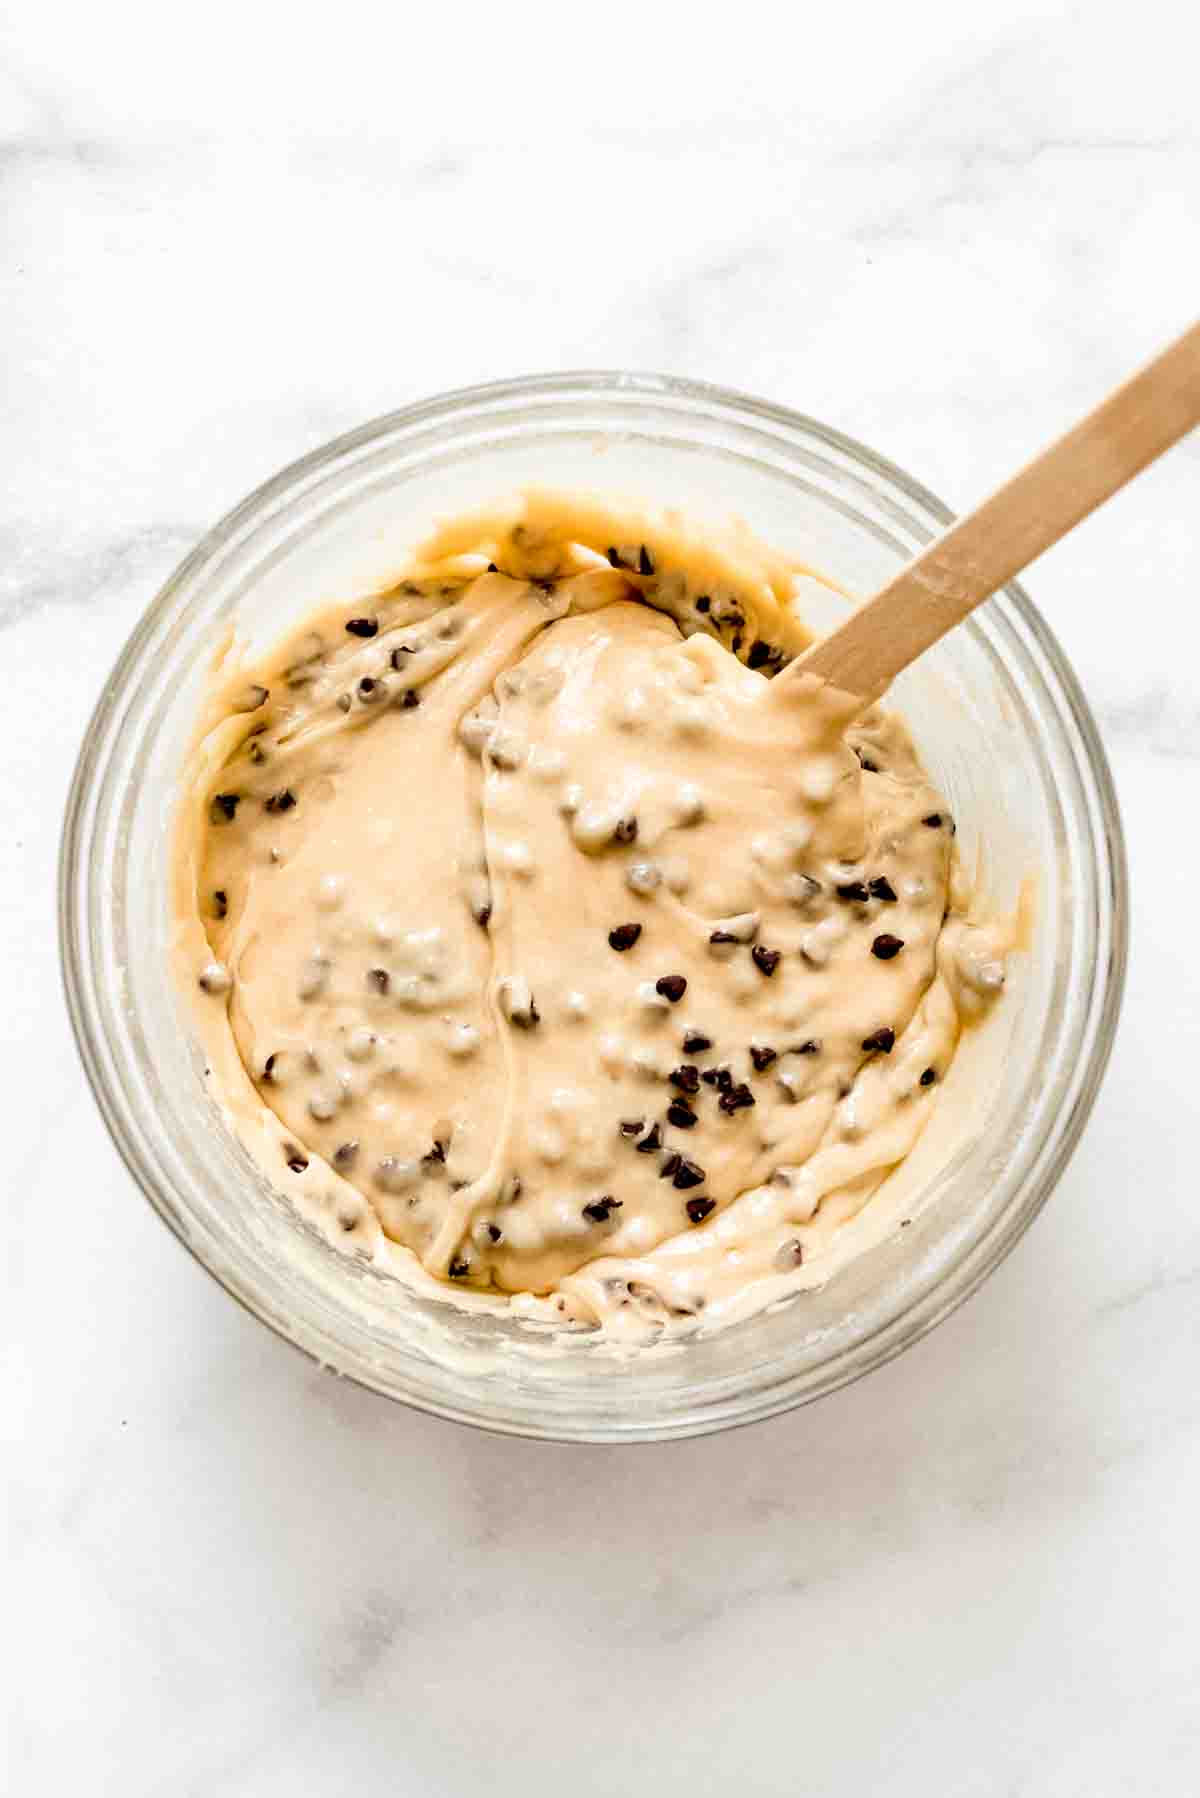
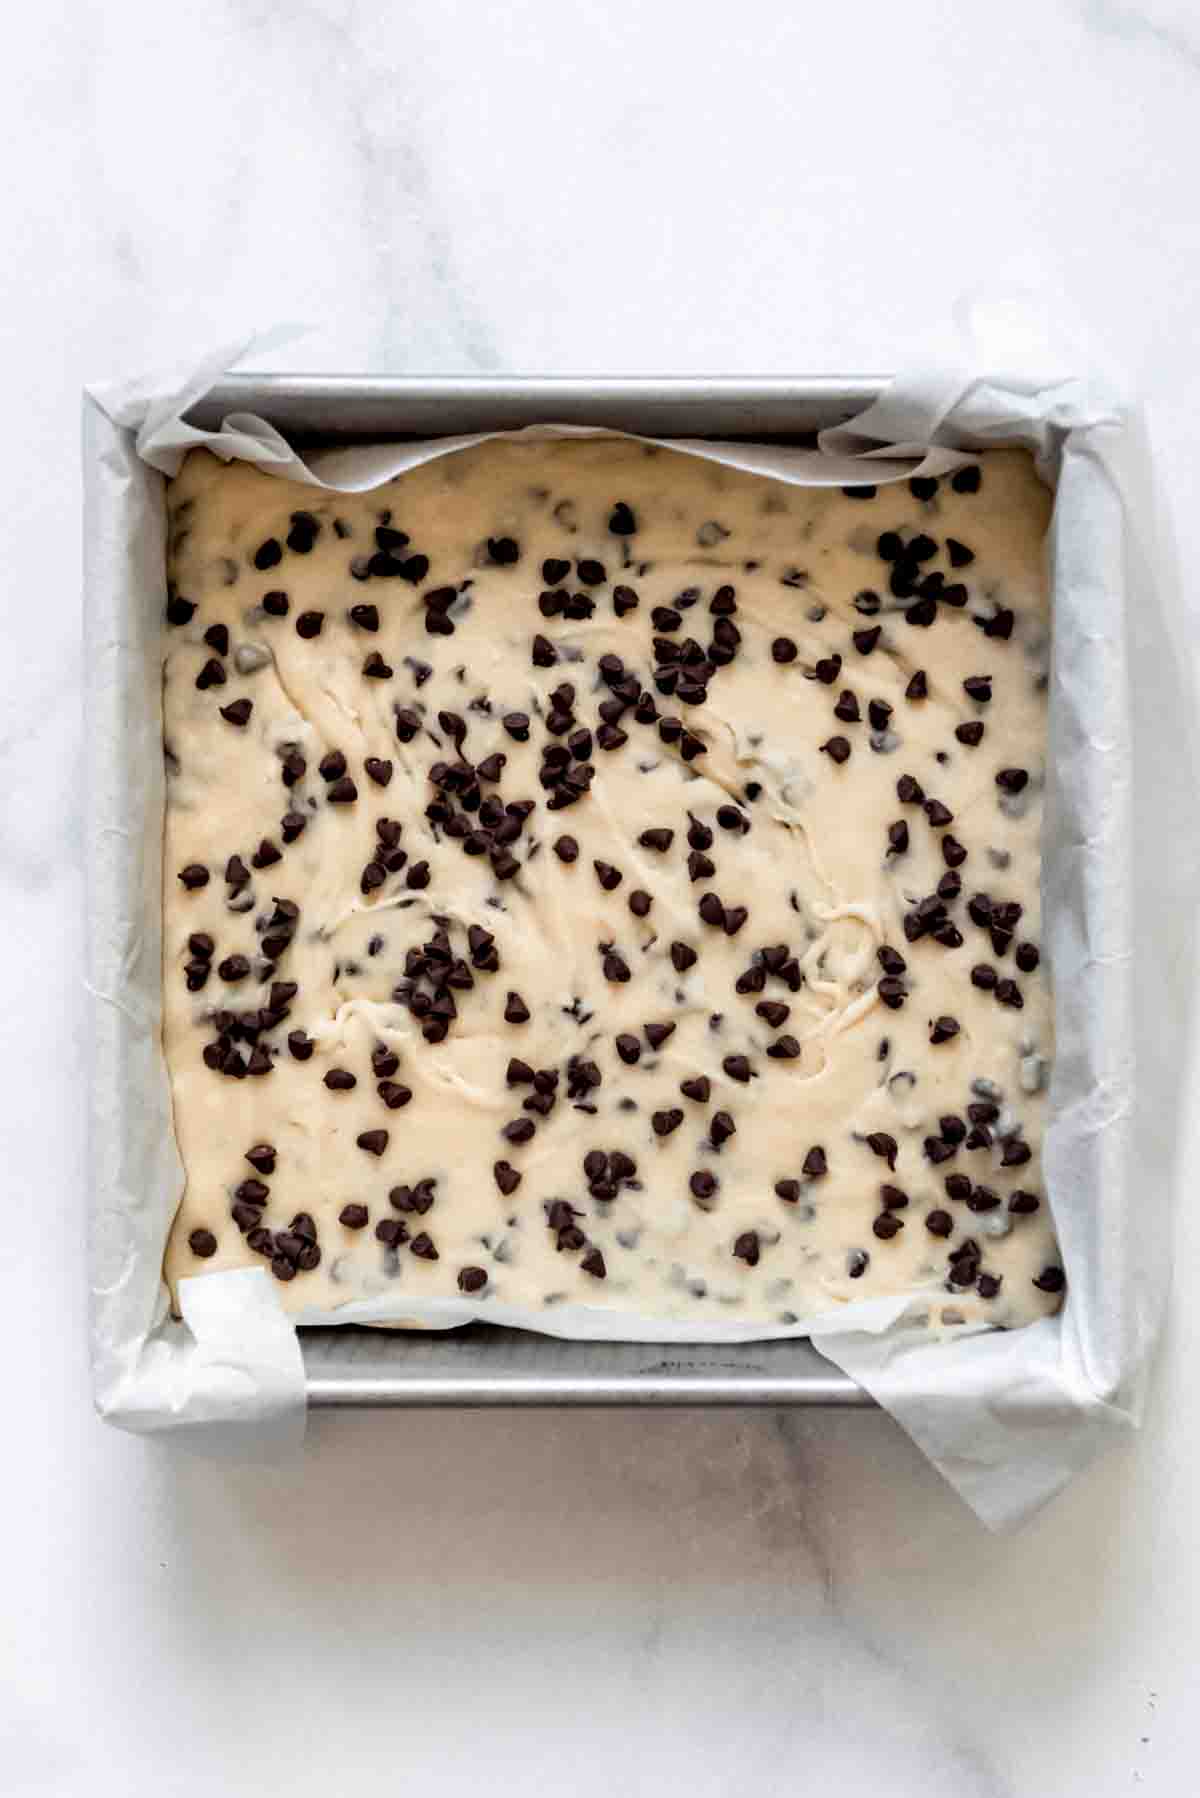
- Set fudge. Pour the mixture into the prepared pan, spreading it into an even layer with a spatula. Sprinkle extra mini chocolate chips on top for a decorative touch. Press them down gently so they stick.
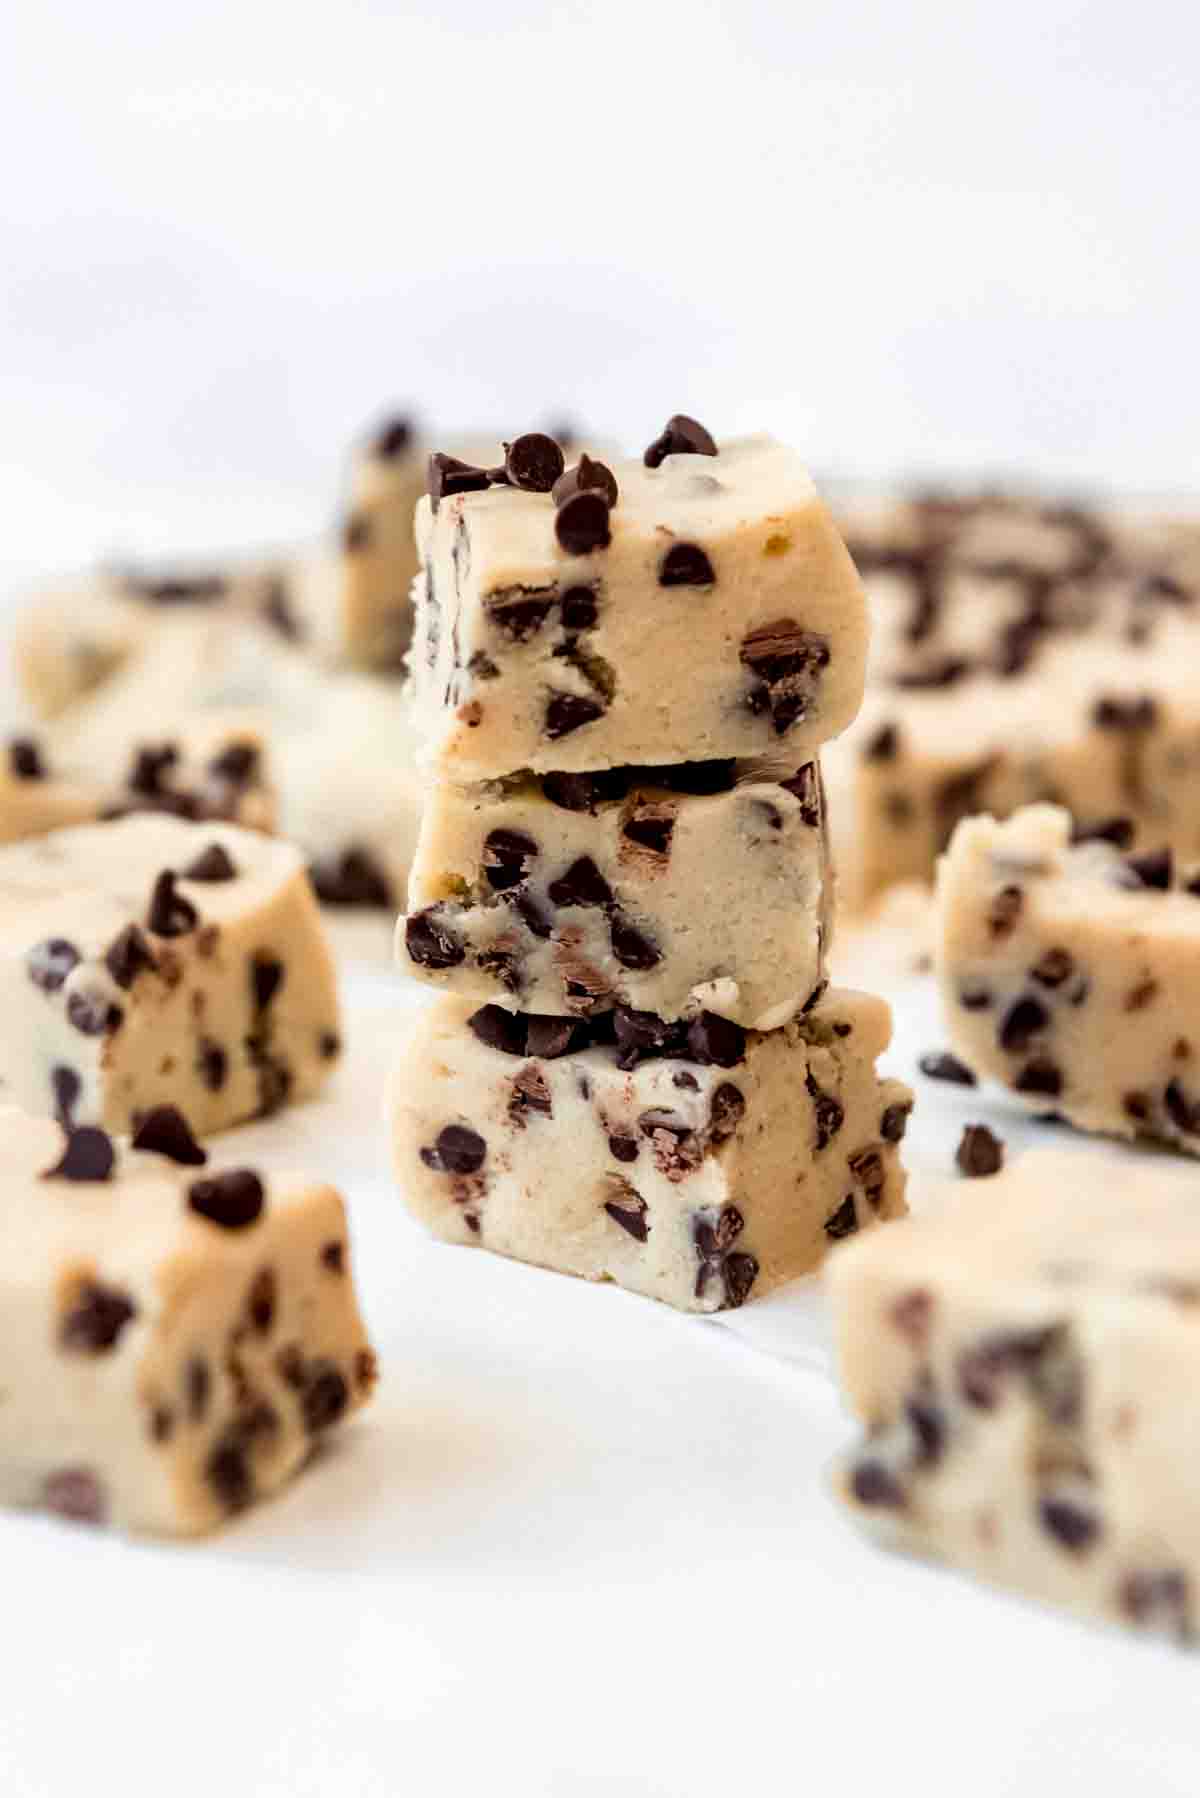
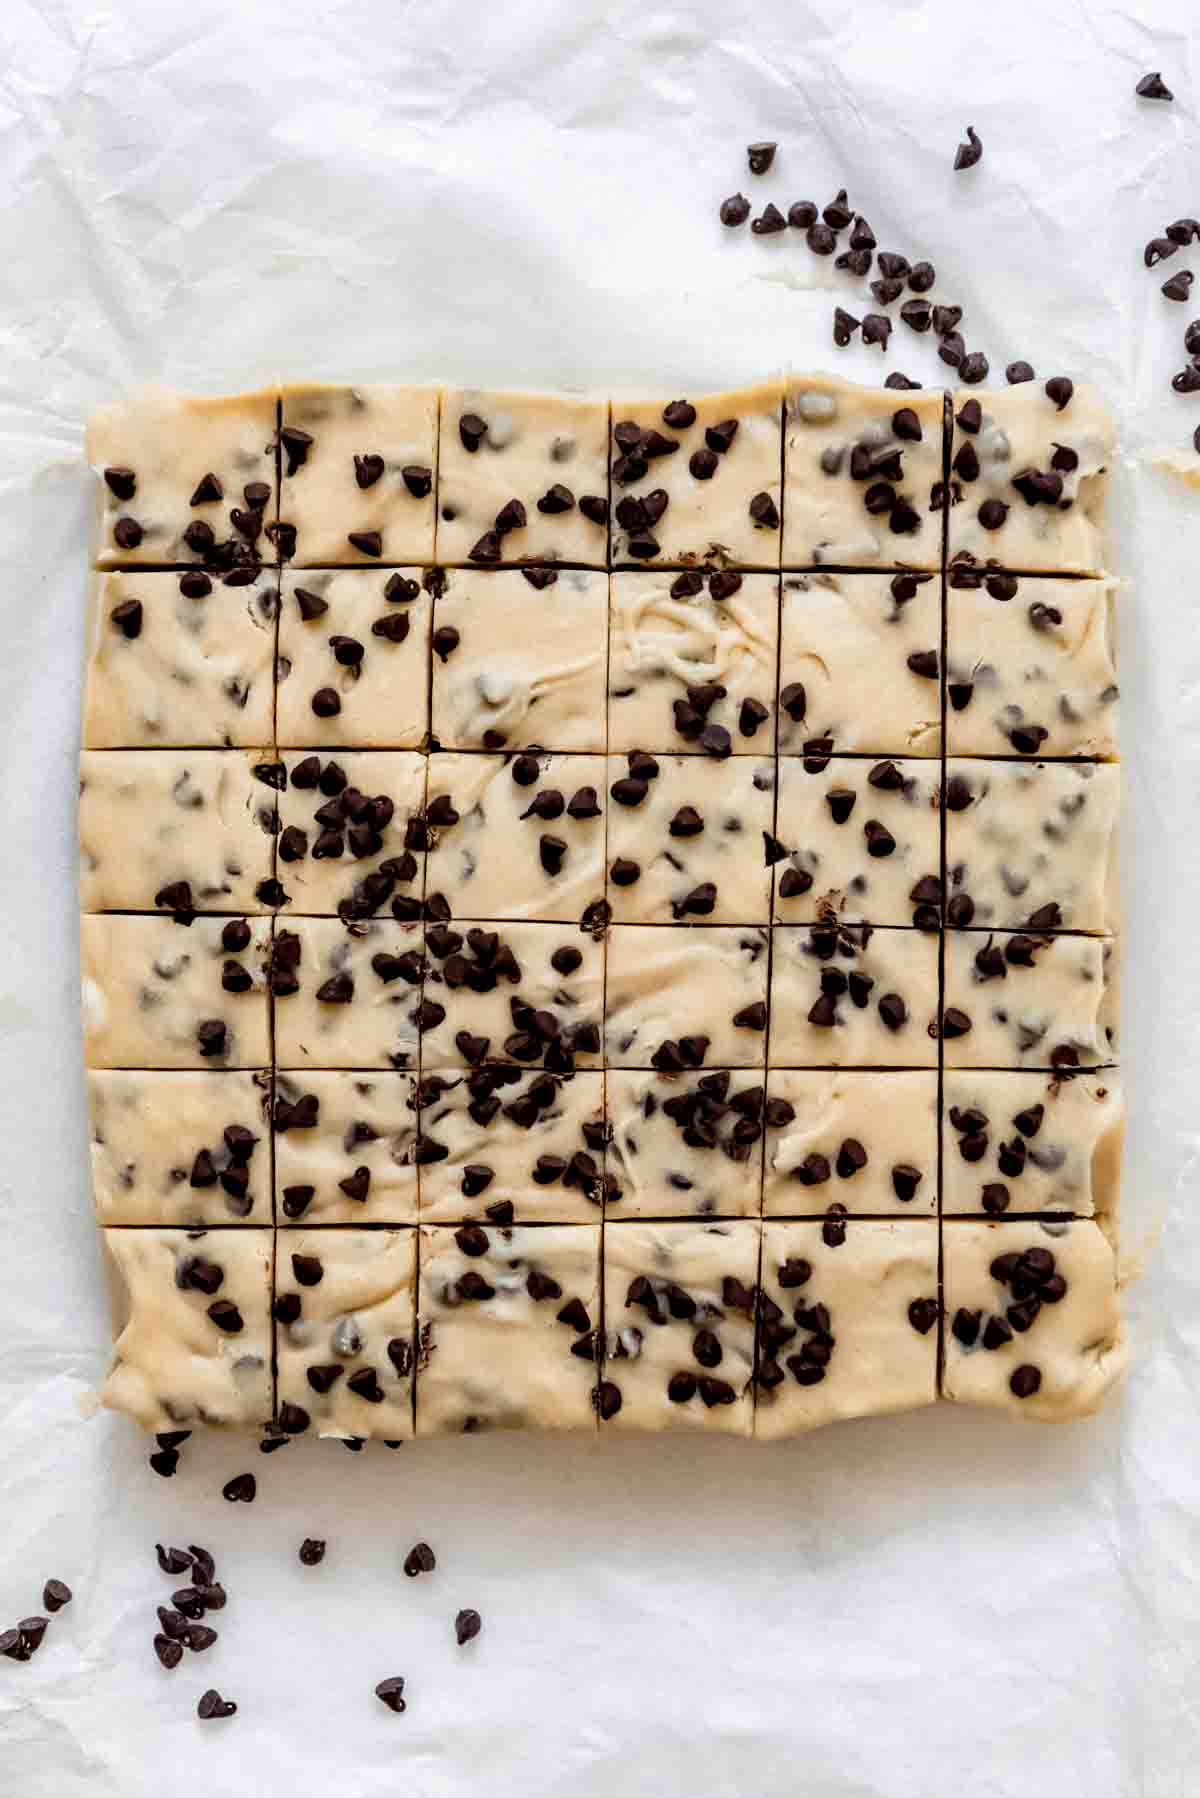
- Chill and slice. Refrigerate the fudge for at least 2 hours, or until firm. Lift it out of the pan using the parchment paper overhang, slice into small squares, and enjoy!
Recipe FAQ’s
Nope! Uncooked flour isn’t safe to eat raw because it can carry harmful bacteria. Heat-treating your flour (either in the microwave or oven) ensures you can safely enjoy your edible cookie dough without worries.
Keep it in an airtight container in the refrigerator for up to one week. This helps maintain its creamy texture and keeps the mini chocolate chips from softening.
Absolutely! Wrap individual squares tightly in plastic wrap and store them in an airtight container or freezer-safe bag. It’ll keep beautifully for up to three months. Just thaw in the fridge before indulging.
While white chocolate chips give this recipe its creamy sweetness, you could experiment with milk or dark chocolate chips for a twist. Just note that it may change the overall flavor and texture slightly.
This fudge is the perfect make-ahead treat. Prepare it a few days before your event, store it in the fridge, and slice it when you’re ready to serve. It’s a stress-free dessert that’s always a hit!
Tips for Success
- Freeze your mini chocolate chips before mixing them into the fudge to prevent melting and streaking. This little trick keeps your fudge looking and tasting amazing.
- Use parchment paper or foil to line your square baking pan. It makes lifting the fudge out so much easier, and cleanup is a breeze!
- Be patient when melting the white chocolate chips and sweetened condensed milk. Heat them gently in the microwave, stirring every 30 seconds, to avoid scorching.
- Always let your flour cool completely after heat-treating it. Warm flour can mess with the texture of your cookie dough mixture.
- Don’t rush the setting process! Let the fudge chill in the refrigerator for at least two hours to achieve that perfect creamy texture.
What to Serve with Chocolate Chip Cookie Dough Fudge
This sweet treat is delightful all on its own, but it pairs beautifully with other desserts for a stunning dessert platter. Serve alongside my rich Chocolate Fudge or Easy Peanut Butter Fudge to offer a variety of flavors.
For a fun twist, pair a square of this fudge with a scoop of Cookies and Cream Ice Cream. The creamy fudge base and cold ice cream create a heavenly combination!
Hosting a party? Set out small pieces of this cookie dough fudge as part of a Dessert Board. It’s sure to be the star attraction for cookie dough lovers everywhere.
Substitutions and Variations
- Swap the mini chocolate chips for semi-sweet chocolate chips if you want a more intense chocolate flavor.
- Try adding a sprinkle of sea salt on top of the fudge for a sweet-and-salty combo that’s irresistible.
- Use dark brown sugar instead of light brown sugar for a deeper, richer molasses flavor in your cookie dough mixture.
- Add a handful of peanut butter chips or milk chocolate chips to the fudge base for a fun twist on the classic.
- Experiment with different flavors of chocolate by substituting the white chocolate chips with caramel or butterscotch chips for a unique fudge recipe.

More Sweet Treat Ideas You’ll Want to Make Right Now
- Burnt Almond Fudge Ice Cream
- Oatmeal Fudge Bars
- Grandma Nash’s Best Butter Almond English Toffee
- White Chocolate Cranberry Pecan Fudge
- Puppy Chow (aka Chex Mix Muddy Buddies)
- 10-20 Caramel Oreo Fudge Ripple Ice Cream
- Old-Fashioned Homemade Peanut Brittle
- Oreo Balls
Chocolate Chip Cookie Dough Fudge
Ingredients
- 1 cup mini chocolate chips
- 1 ¼ cups (176g) all-purpose flour
- ½ cup salted butter
- ½ cup light brown sugar
- 3 Tablespoons granulated sugar
- 2 Tablespoons heavy cream
- 1 teaspoon vanilla extract
- ¼ teaspoon salt
- 1 cup white chocolate chips
- 1 (14-ounce) can sweetened condensed milk

Instructions
- Line an 8X8-inch baking dish with a parchment paper or foil sling. Place mini chocolate chips in freezer. Heat the flour in a microwave-safe bowl in the microwave for 90 seconds to kill any bacteria. Set aside to cool.1 cup mini chocolate chips, 1 ¼ cups (176g) all-purpose flour
- In a medium bowl, beat butter, brown sugar, and granulated sugar until light and creamy, about 2 minutes.½ cup salted butter, ½ cup light brown sugar, 3 Tablespoons granulated sugar
- Add cream and vanilla, then mix again to combine.2 Tablespoons heavy cream, 1 teaspoon vanilla extract
- Add flour and salt, mixing just until no streaks of flour remain.¼ teaspoon salt
- Combine white chocolate chips and sweetened condensed milk in a small, microwave-safe bowl. Heat for 90 seconds, stirring every 30 seconds, until white chocolate is melted and smooth.1 cup white chocolate chips, 1 (14-ounce) can sweetened condensed milk
- Pour melted white chocolate mixture into bowl with cookie dough. Stir with spatula to combine.
- Remove chocolate chips from freezer and mix into fudge. Pour fudge into prepared pan, spreading to all four corners. Place pan into refrigerator to set up for at least 2 hours. Cut into small squares before serving.
Notes
Storage & Make Ahead
- Store: Keep your fudge in an airtight container in the refrigerator to maintain its creamy texture. Separate layers with parchment paper if stacking.
- Freeze: Wrap individual fudge squares tightly in plastic wrap, then place them in a freezer-safe bag or container. Freeze for up to three months and thaw in the fridge when ready to enjoy.
- Reheat: If you like your fudge softer, let it sit at room temperature for about 10–15 minutes before serving. This allows the creamy texture to shine.
- Make Ahead: This recipe is perfect for planning ahead. Prepare a batch a day or two before your event, store it in the fridge, and slice it fresh for serving.
Did you make this recipe?
Let me know what you thought with a comment and rating below. You can also take a picture and tag me on Instagram @houseofnasheats or share it on the Pinterest pin so I can see.






No printable recepie, Bah…..
If you click on the link it will take you to the recipe where it has a printable version.
Sweetened condensed milk comes in 14 oz cans, not 12. Is that a typo, or do I really just need 12 oz out of a 14 oz can? I’m looking forward to making this with oat flour as it sounds divine!
You are totally correct – it’s a 14-ounce can of sweetened condensed milk and you use the whole thing. My bad!
This is so freaking delicious it should be outlawed in all 50 states! I decided to make it gluten- and dairy-free, so I used Enjoy Life mini chocolate chips and white chips, gluten-free oat flour (no heating required), Country Crock plant butter stick, Country Crock plant cream, and 11.25 oz can of sweetened condensed coconut milk. This is the BOMB! Mine did not set as hard as regular fudge, so maybe next time I’ll use slightly less white chocolate to compensate for the reduced volume of my condensed milk, and add a little more oat flour? Mine is a sticky, soft fudge that I just keep wrapped in little packages in the freezer, but who cares? I would happily just plop some of this in a bowl and eat it with a spoon! Thanks for the scrumptious recipe!
Sounds like great substitutions! Very helpful for other readers! I am happy you like it!