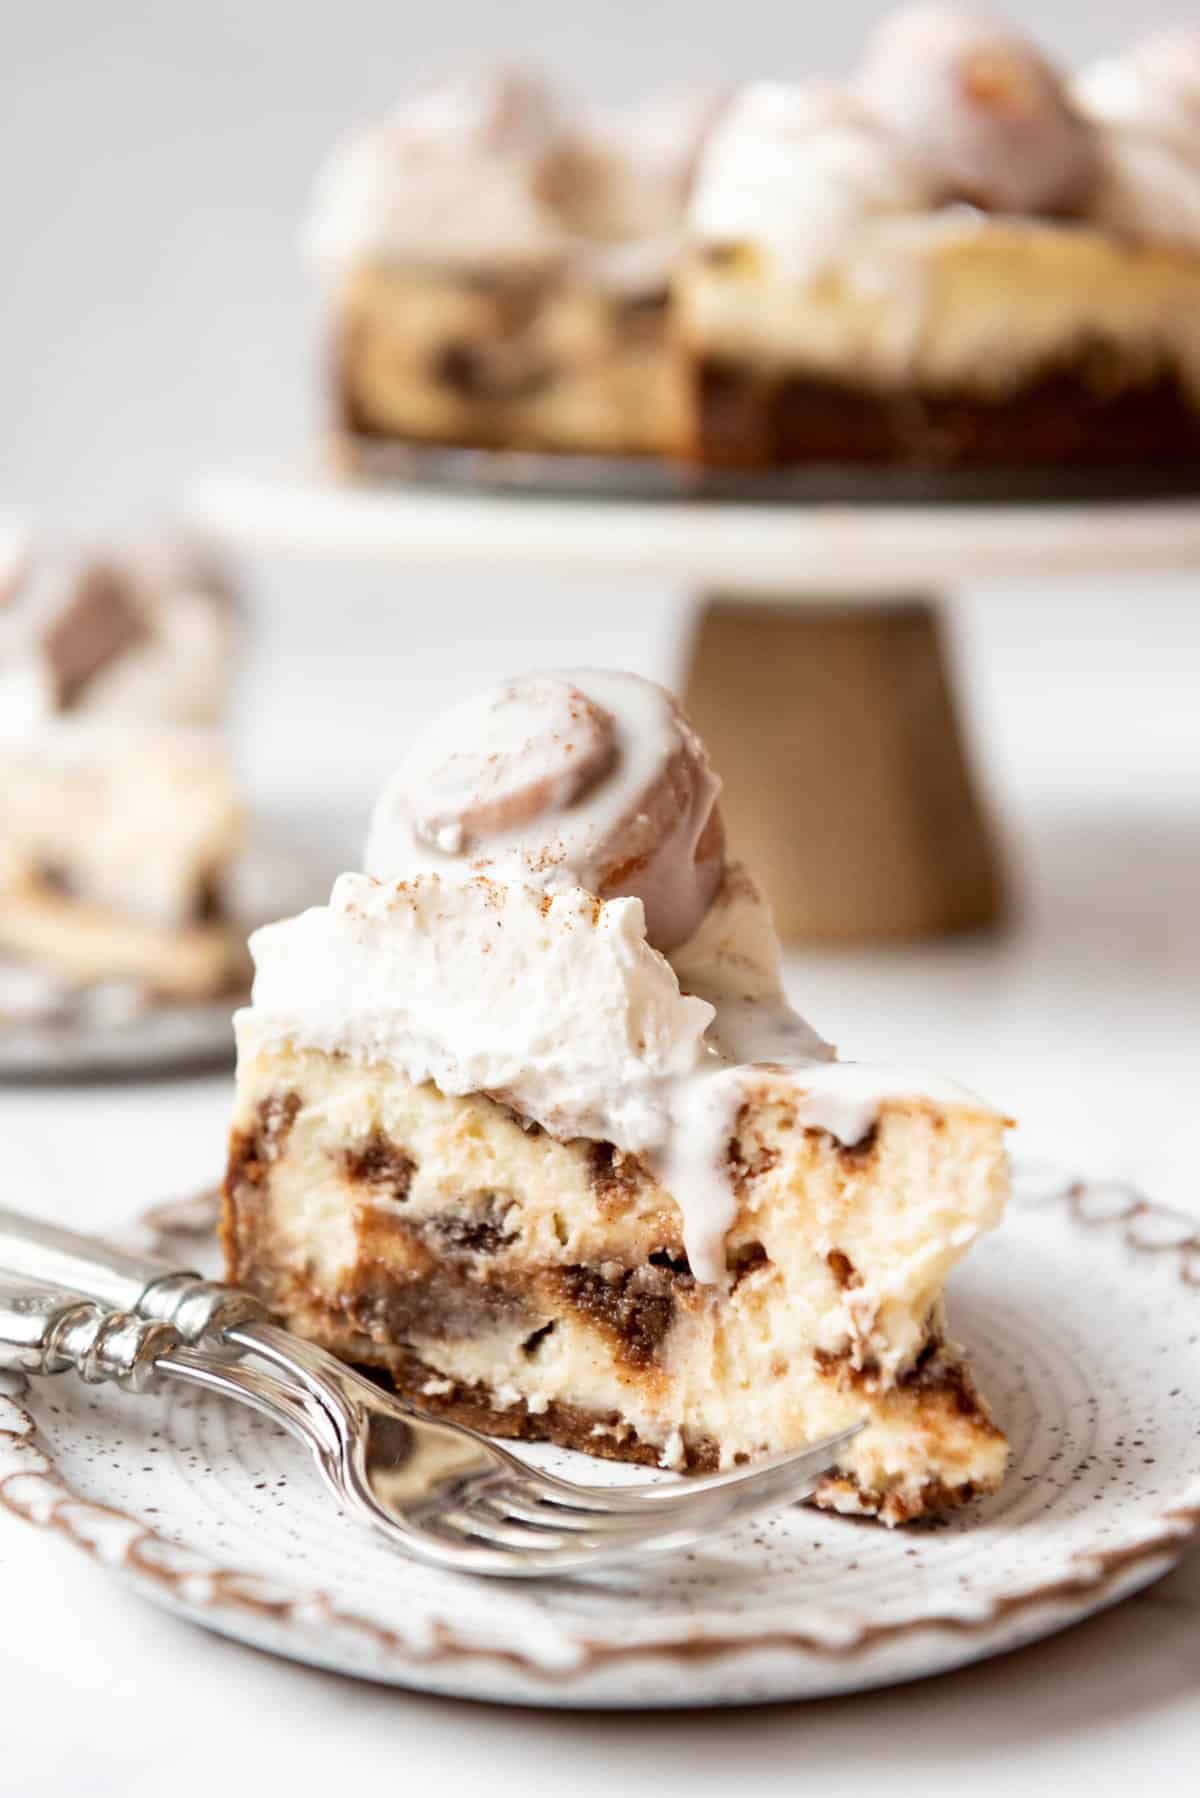
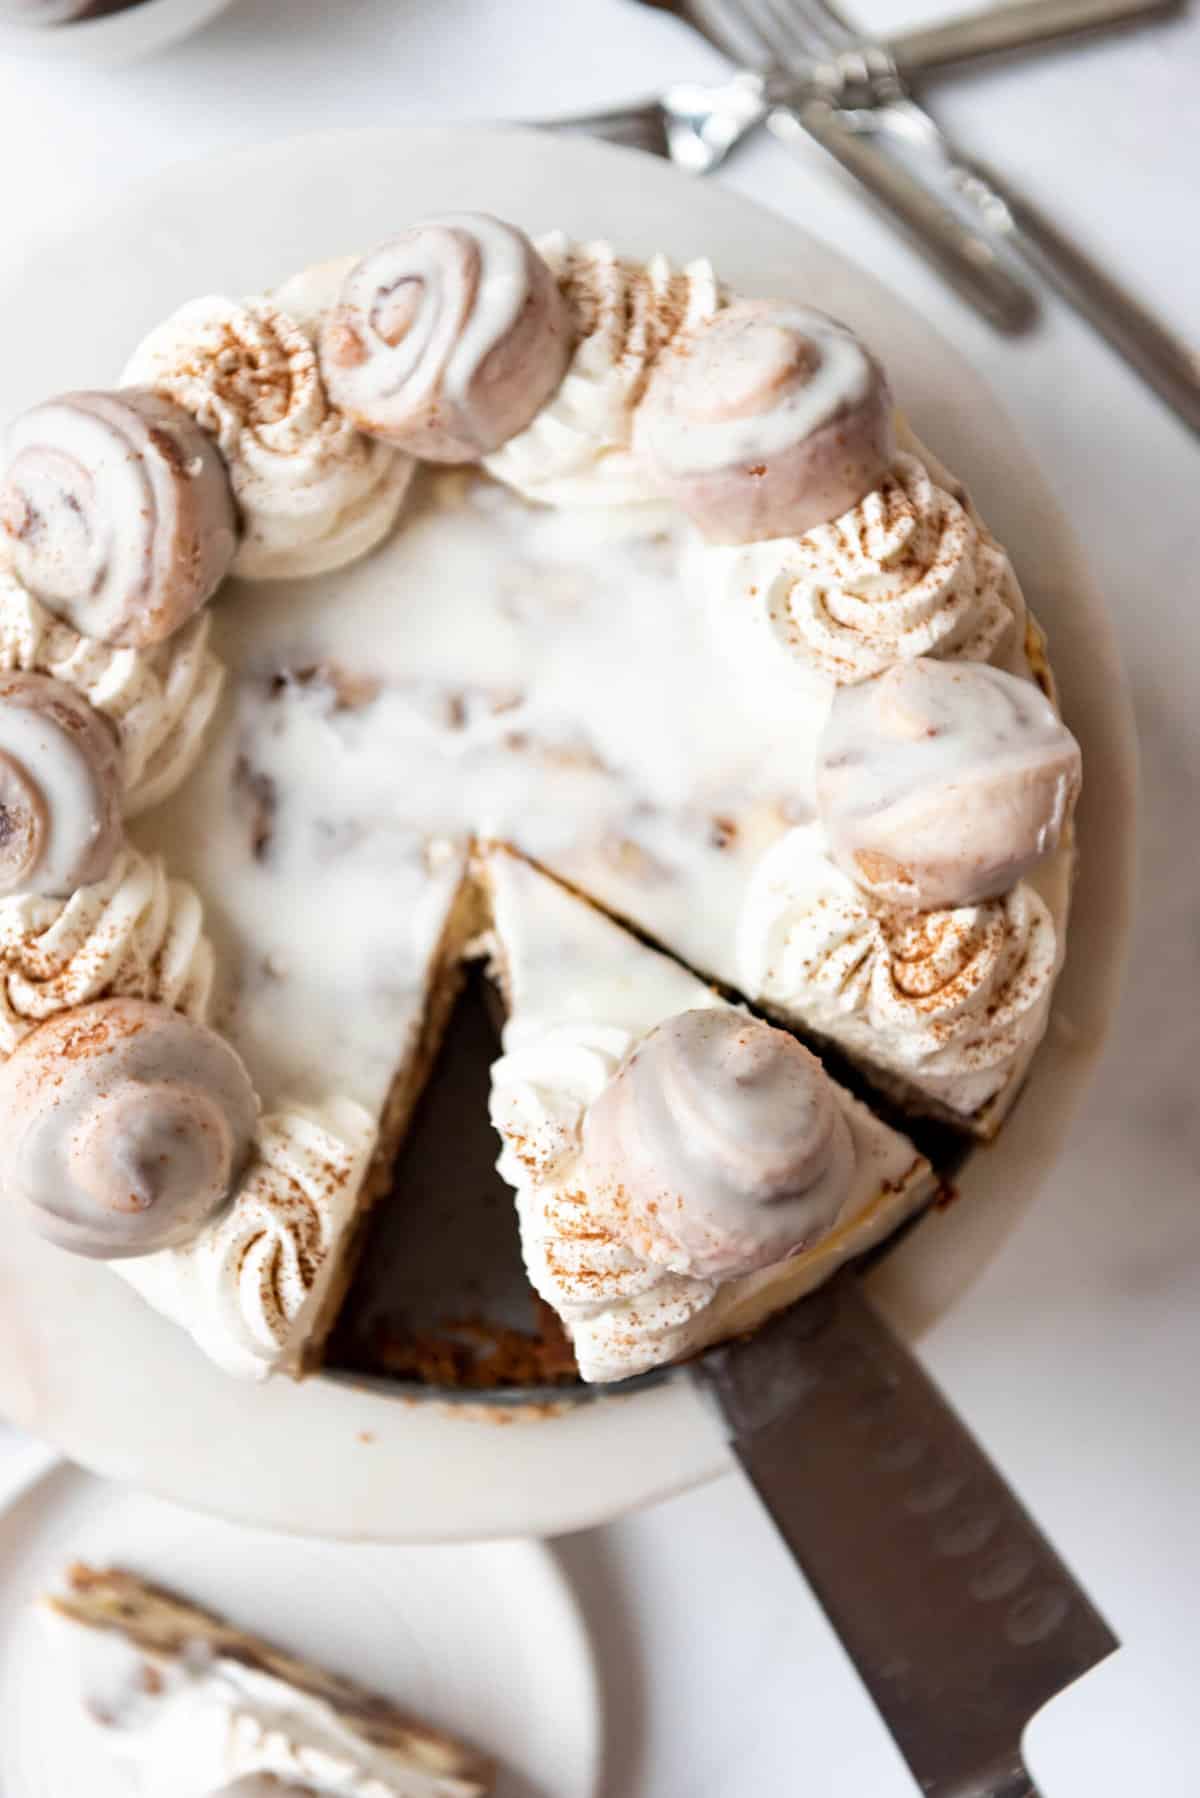
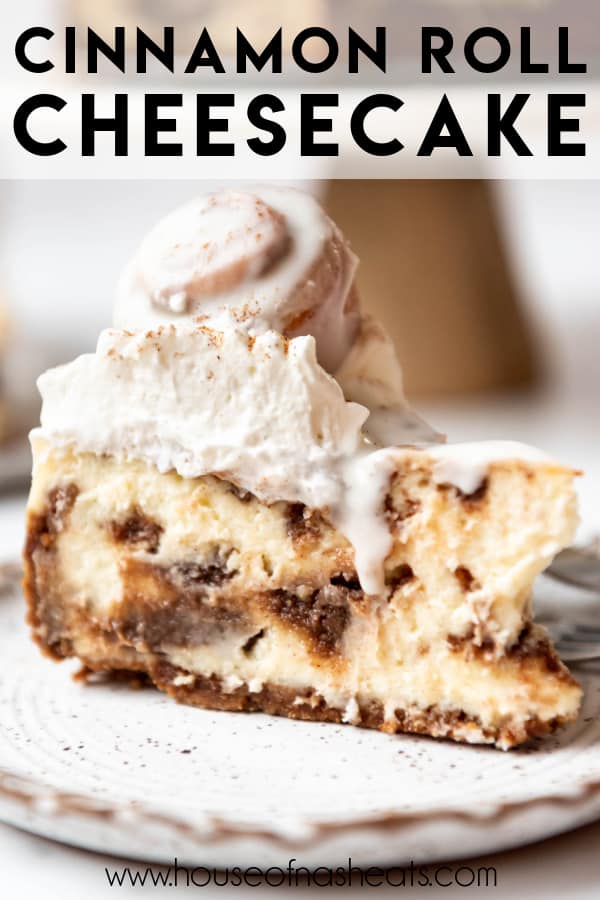
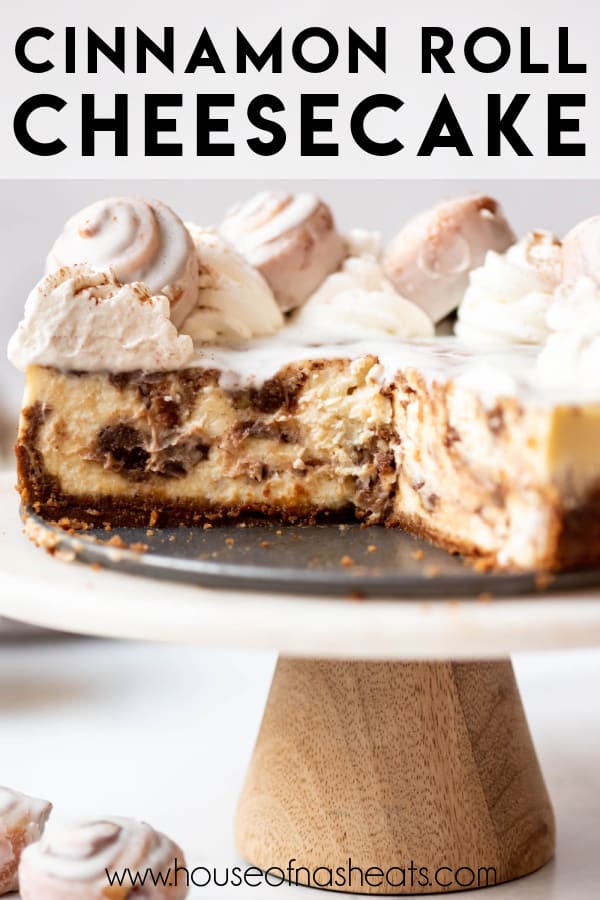
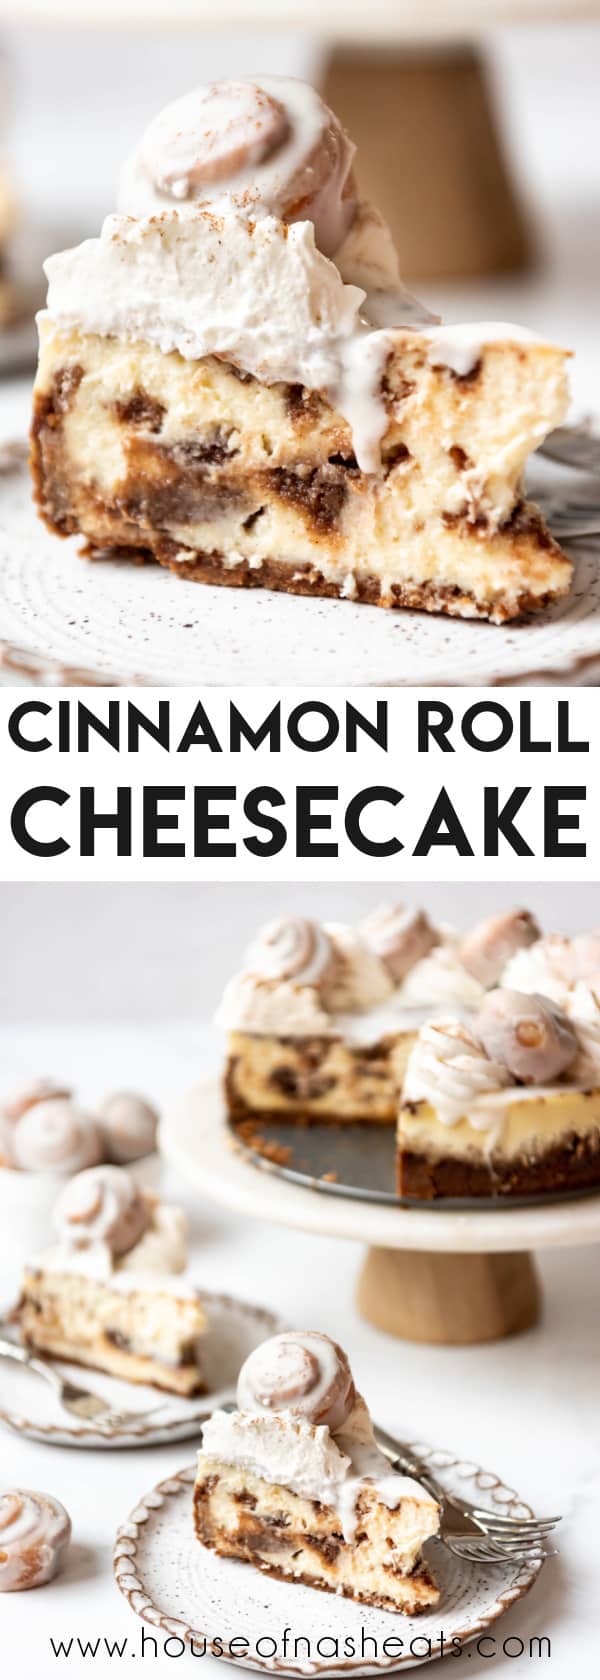
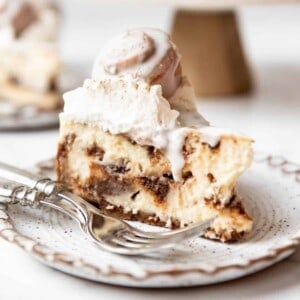
This Cinnamon Roll Cheesecake is creamy, easy, and loaded with swirls of brown sugar and cinnamon filling in a smooth cheesecake base with a Biscoff cookie crust. It’s definitely a crowd-pleaser!
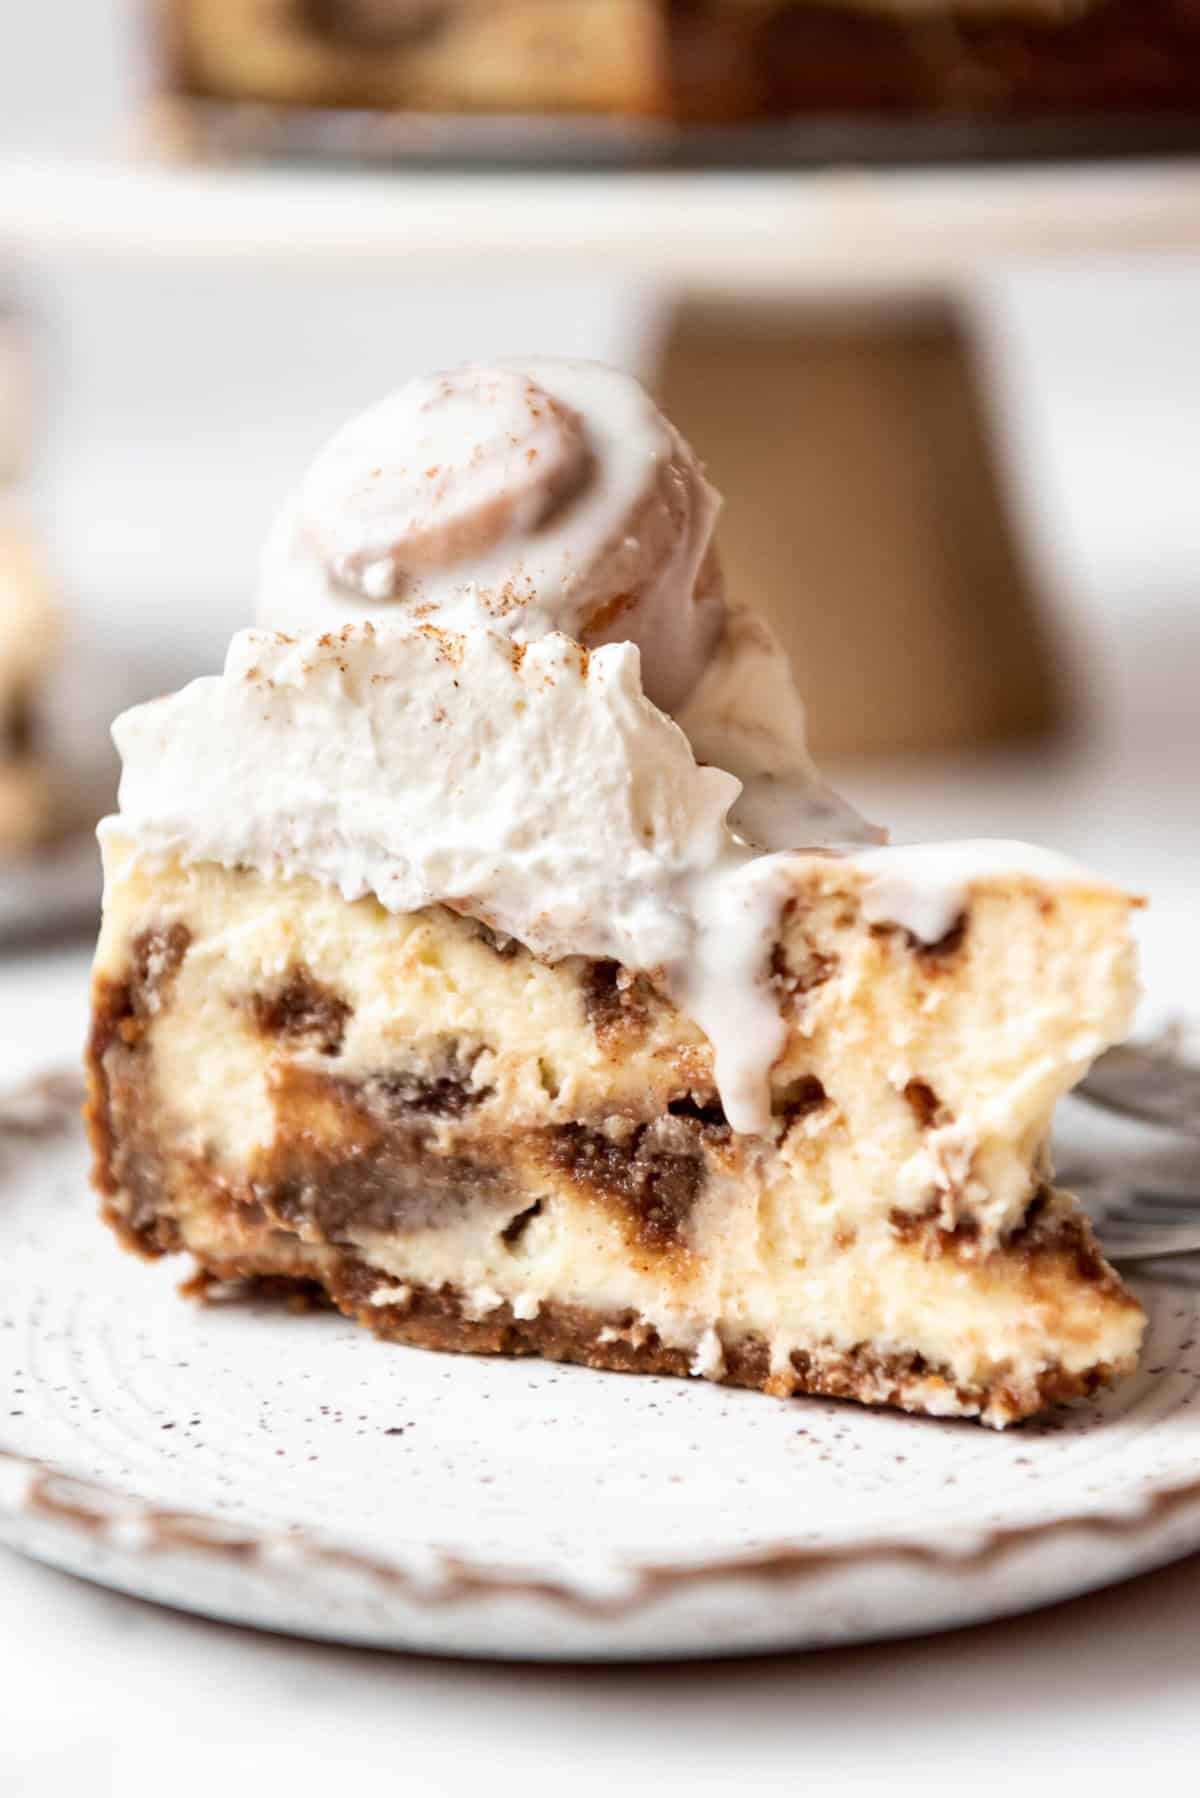
Table of Contents
The only thing I might love better than a batch of homemade cinnamon rolls is another treat that highlights the warm, spicy flavor of cinnamon. Like my copycat Crumbl cinnamon roll cookies or cinnamon roll waffles. Or this phenomenal cinnamon roll cheesecake.
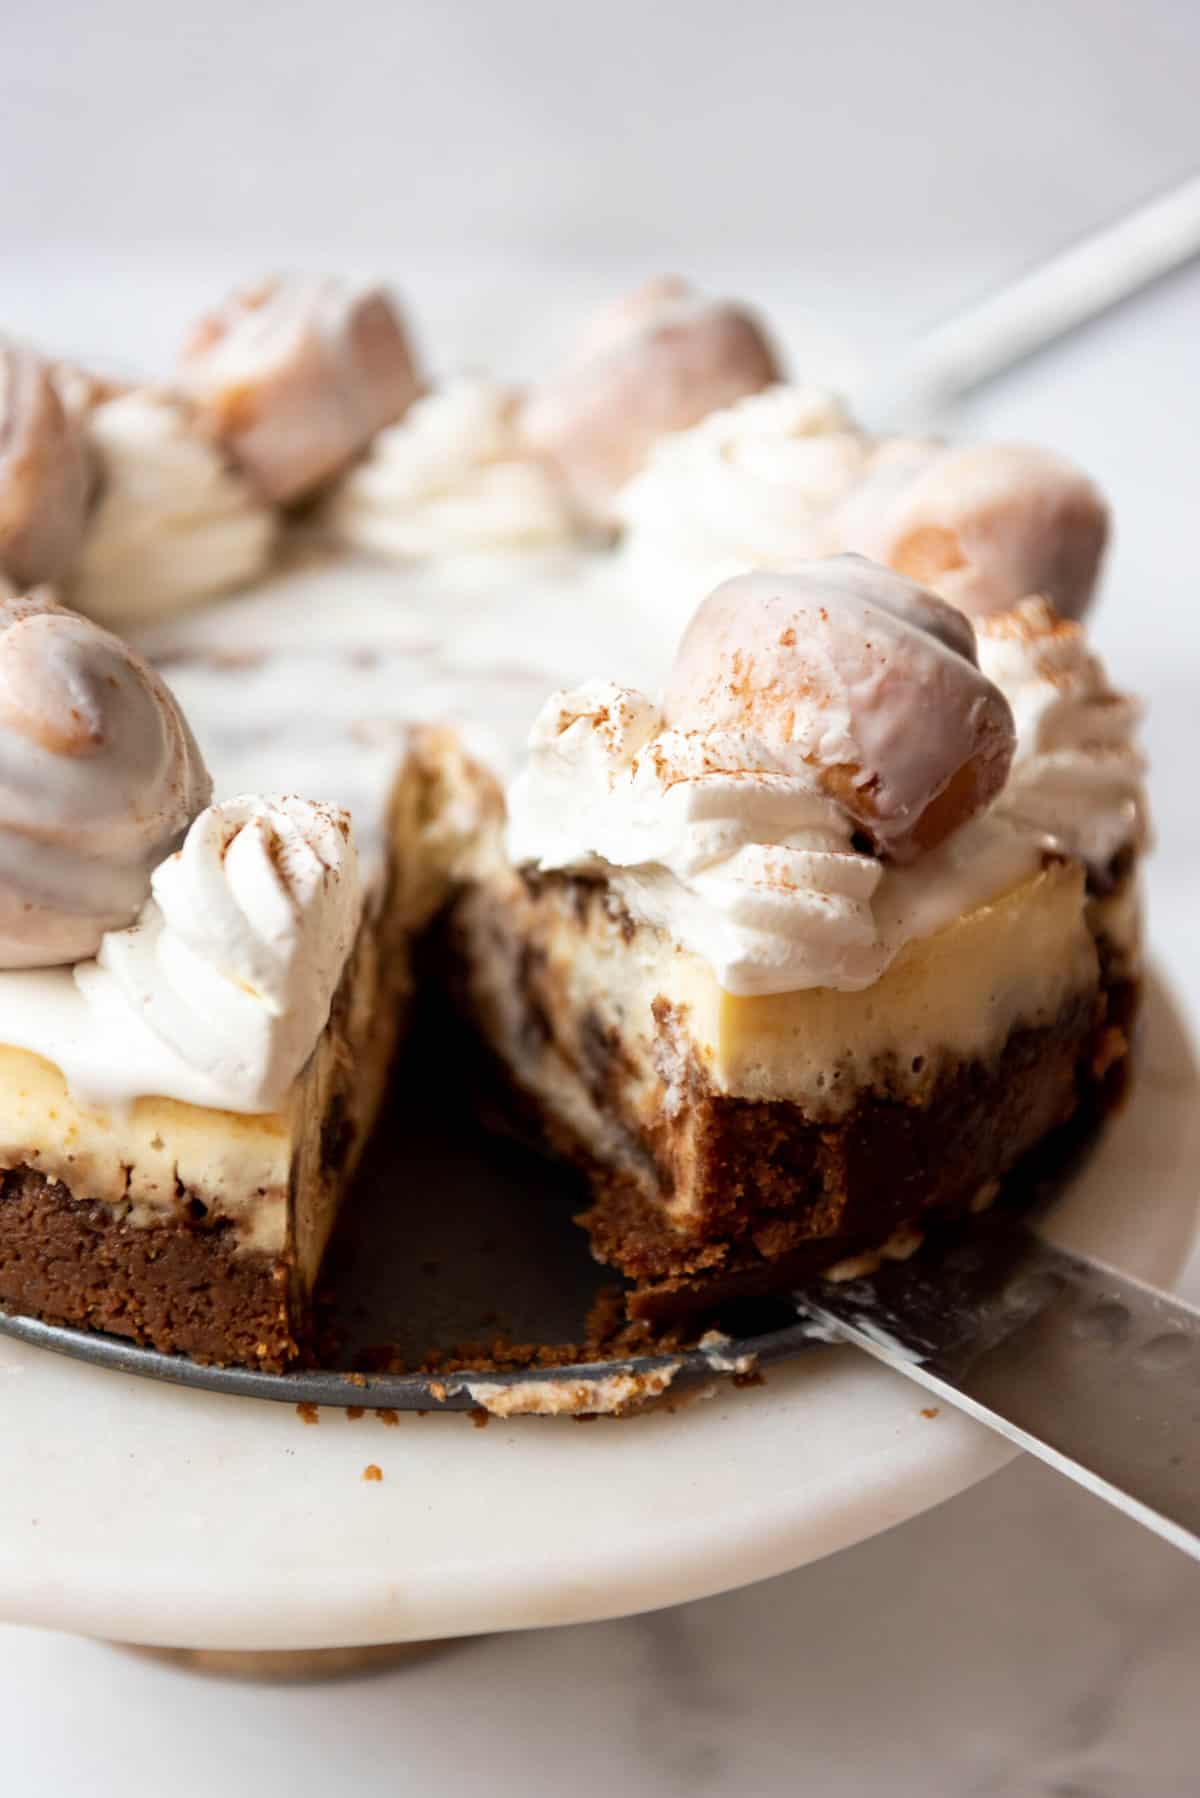
If a batch of cinnamon rolls and a classic cheesecake had a baby, this is what you would get. It’s got all the classic cinnamon roll flavor in a creamy, dreamy slice of cheesecake. The simple glaze on top is the perfect finish!
We went to Disneyland during the holidays not too long ago and they had mini cinnamon roll cheesecakes at the Jolly Holiday Bakery & Cafe on Main Street. I immediately fell in love and decided to come home and recreate a full-size version for the blog, along with their raspberry rose macarons and the churro toffee that are my other favorite Disney treats.
What You’ll Need
Scroll down to the recipe card below this post for ingredient quantities and full instructions.
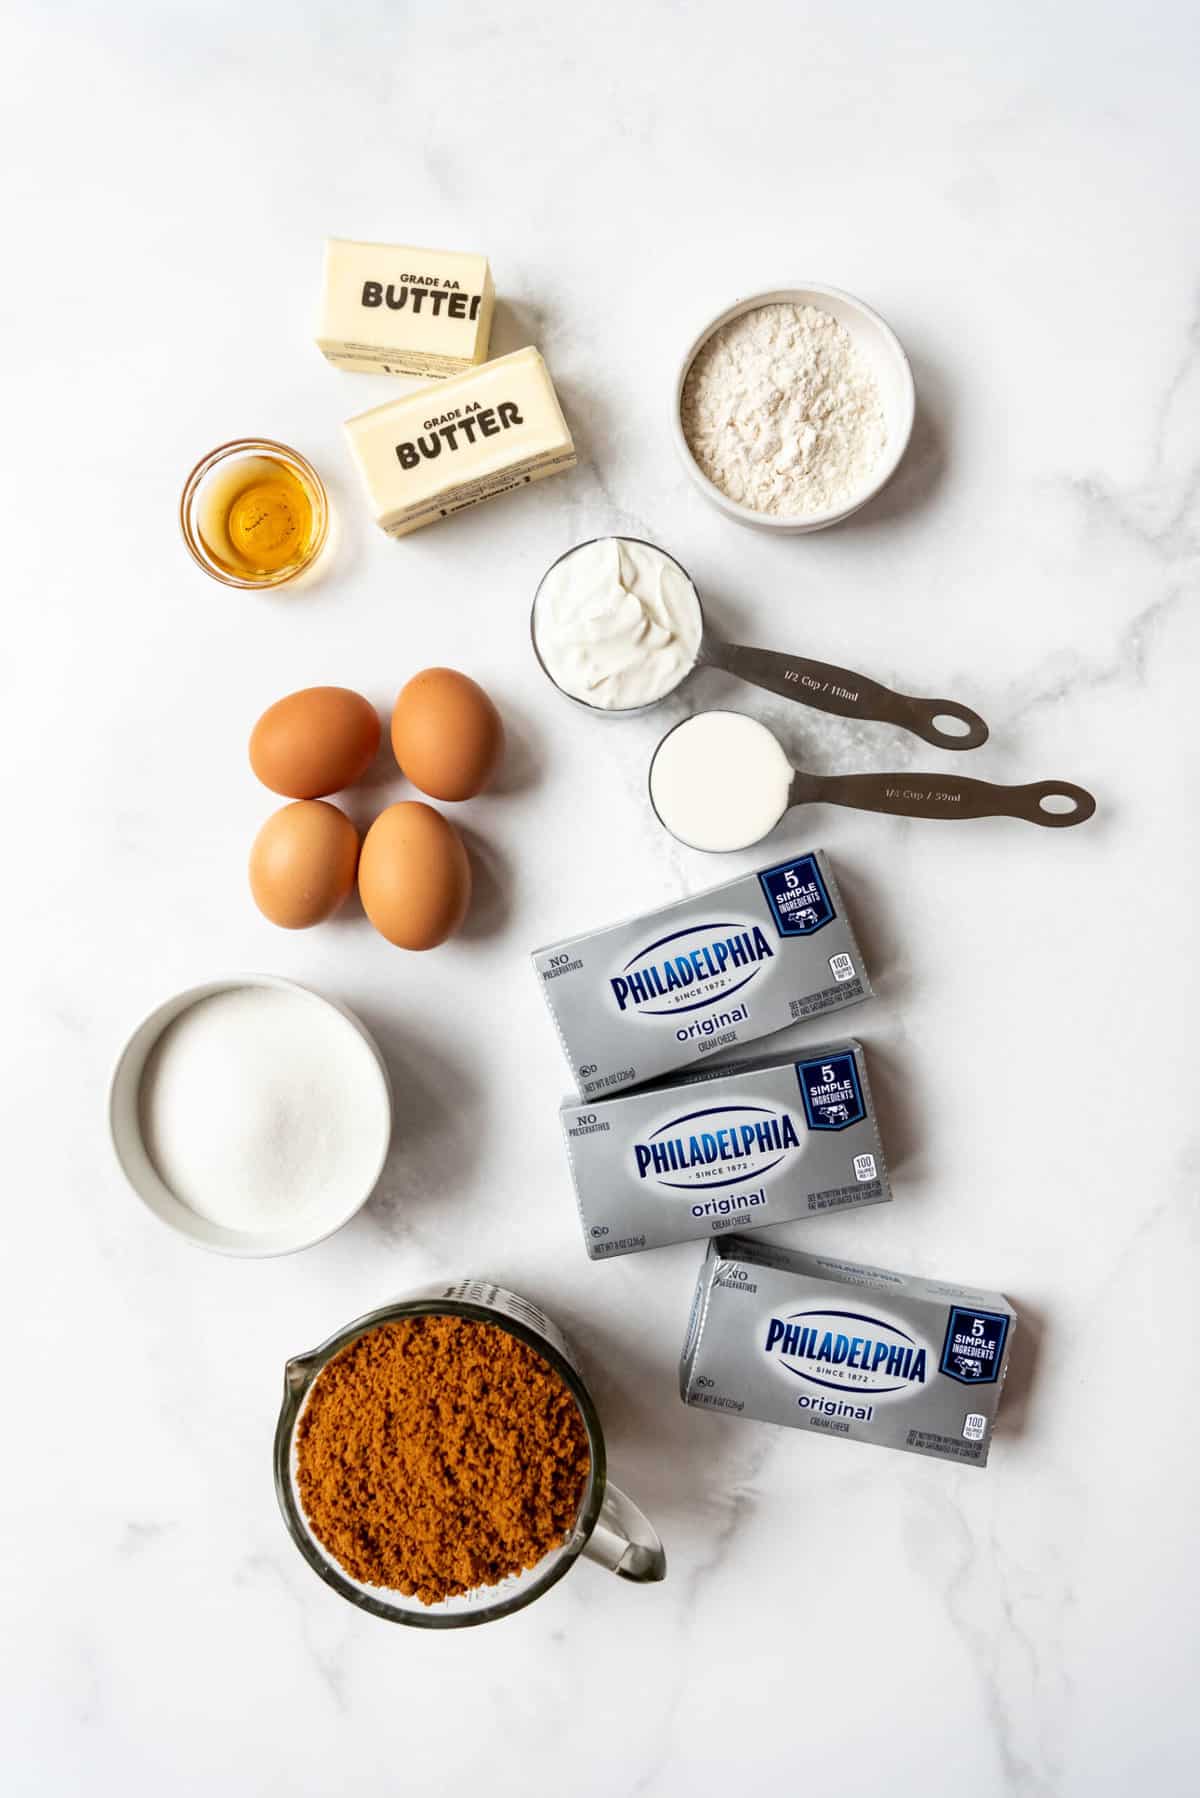
- Cream cheese – I highly recommend full-fat cream cheese, although you could get away with neufchatel.
- Large eggs
- Flour
- Sour cream
- Heavy cream
- Sugar – You’ll need granulated sugar for the cheesecake base and brown sugar for the filling.
- Vanilla extract
- Salted butter
- Biscoff cookies – I love the flavor of a Biscoff cookie crust with the cinnamon swirl filling of this cheesecake, but you could also just use gingersnaps, graham crackers, or Nilla wafers if you prefer.
How to Make a Cinnamon Roll Cheesecake
There are a few elements that go into making this cinnamon roll cheesecake recipe, but they are actually all easy to make and come together quickly. The longest part is baking and cooling the cheesecake slowly to prevent it from cracking or sinking.
Biscoff Cookie Crust.
- Make the crust. Pulse the Biscoff cookies in a food processor (affiliate link) or a large ziplock bag with a rolling pin until they are fine crumbs. Then combine them with a little granulated sugar and melted butter until the crumbs are evenly moistened.
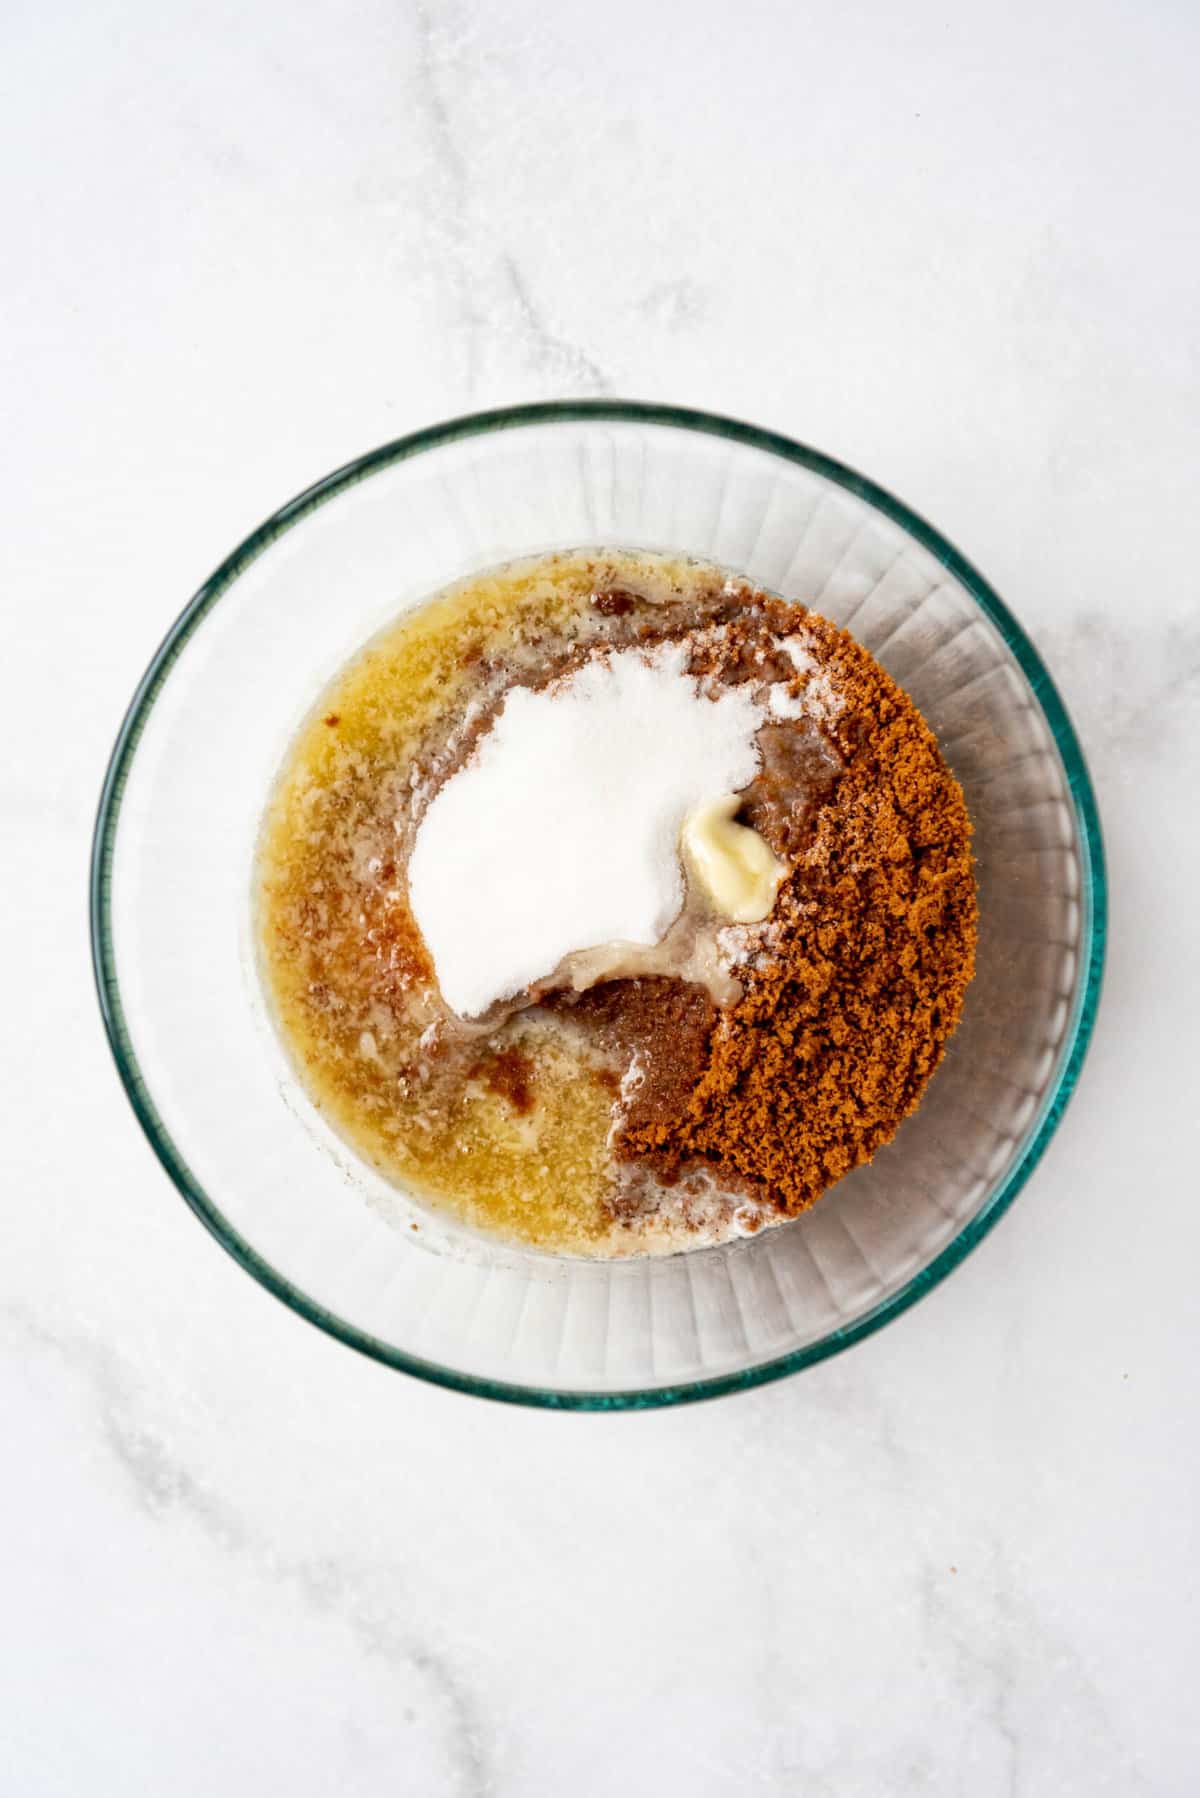
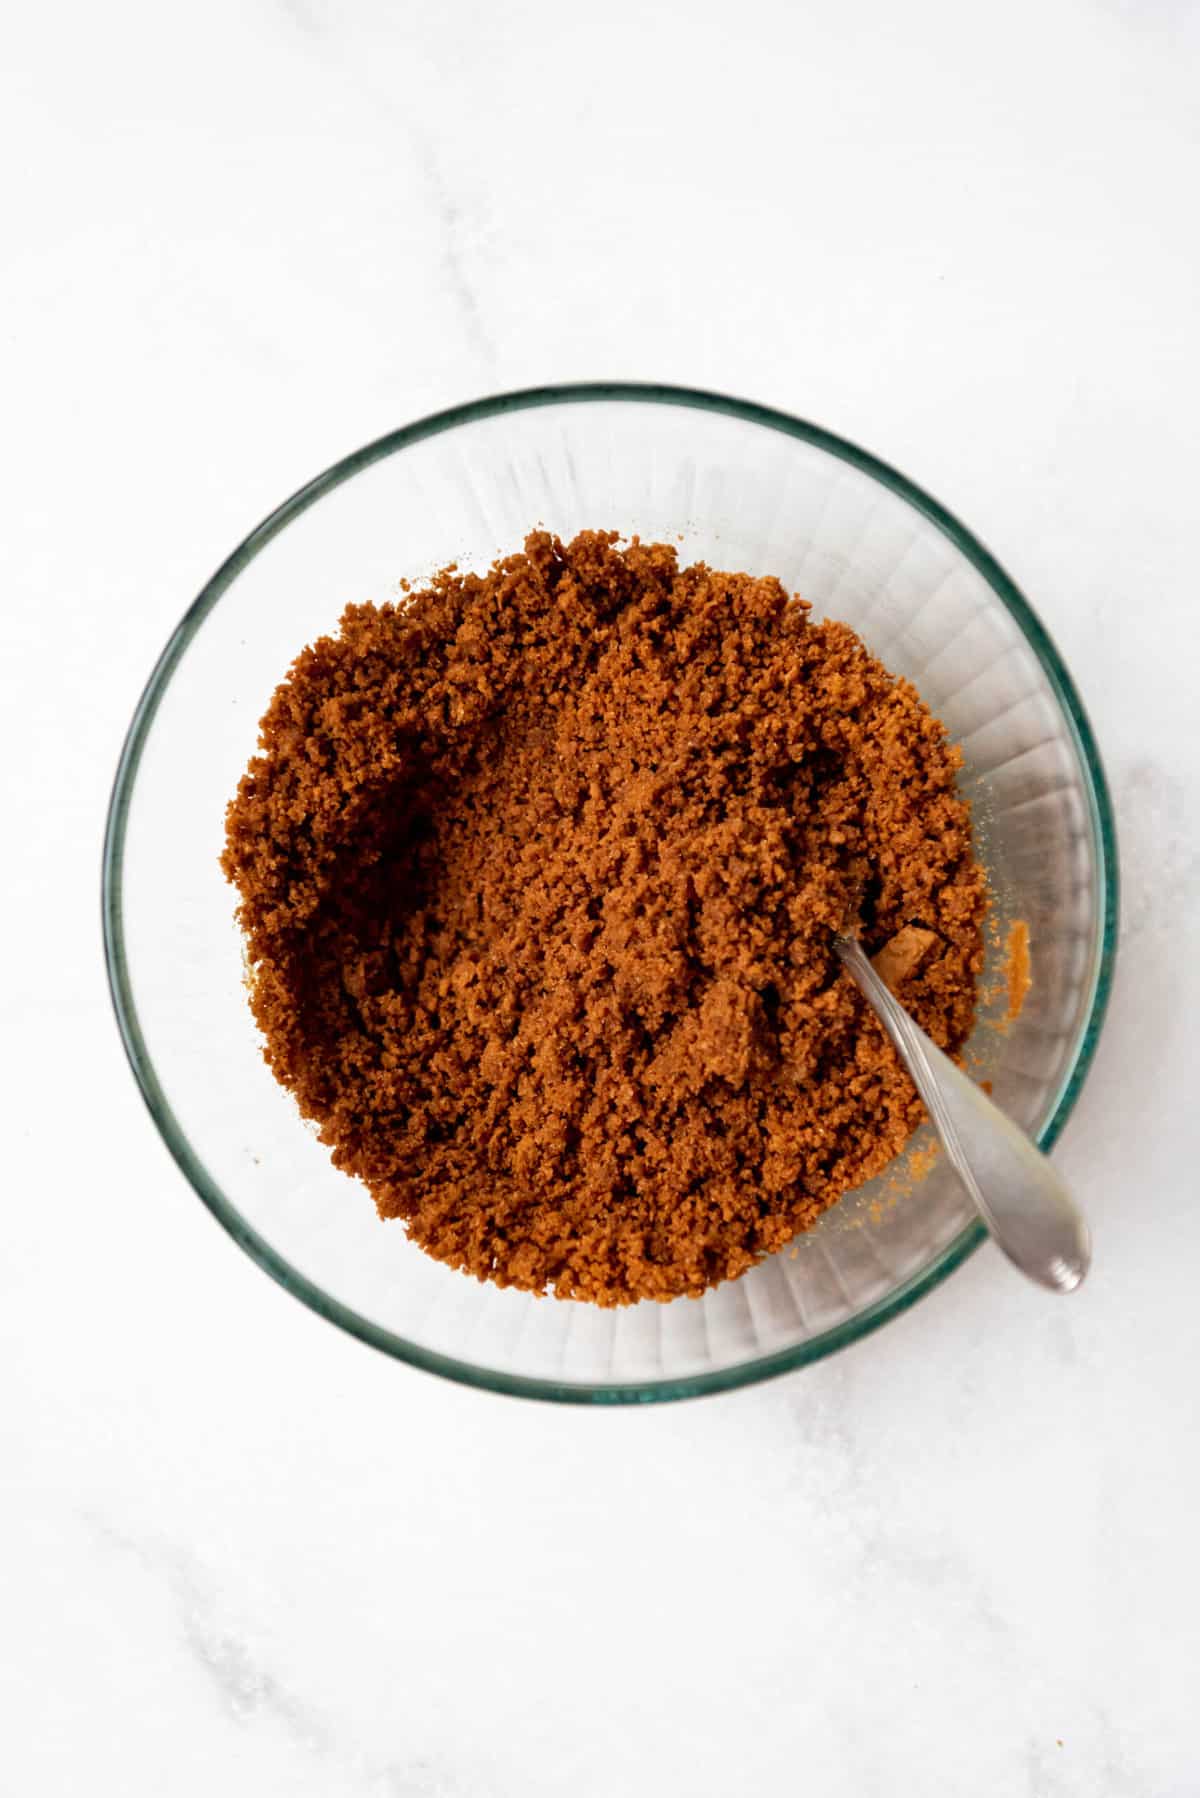
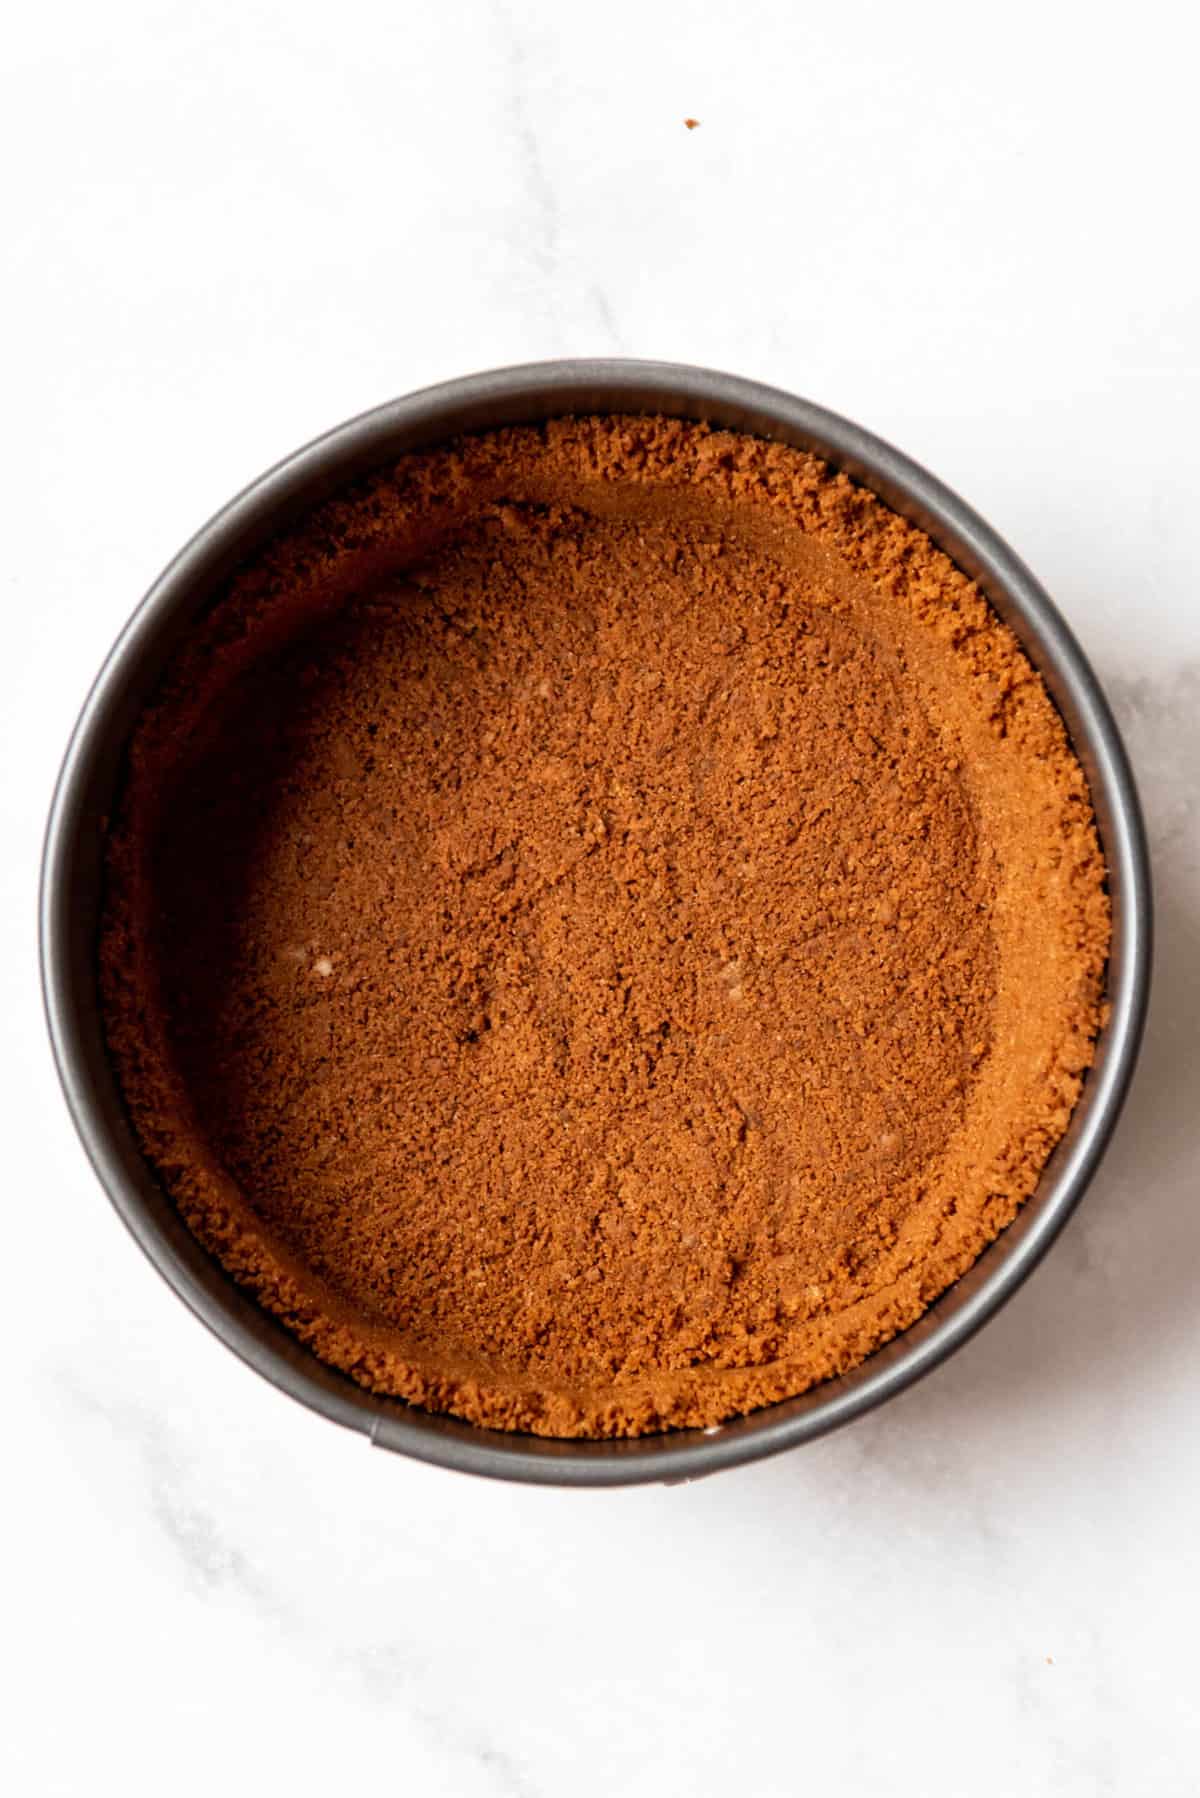
- Press into a springform pan. Use a flat-bottomed measuring cup or glass to compact the crust into the bottom and about an inch up the sides of a 9-inch springform pan. Bake for 10 minutes at 325°F to set the crust.
Cinnamon Swirl Filling
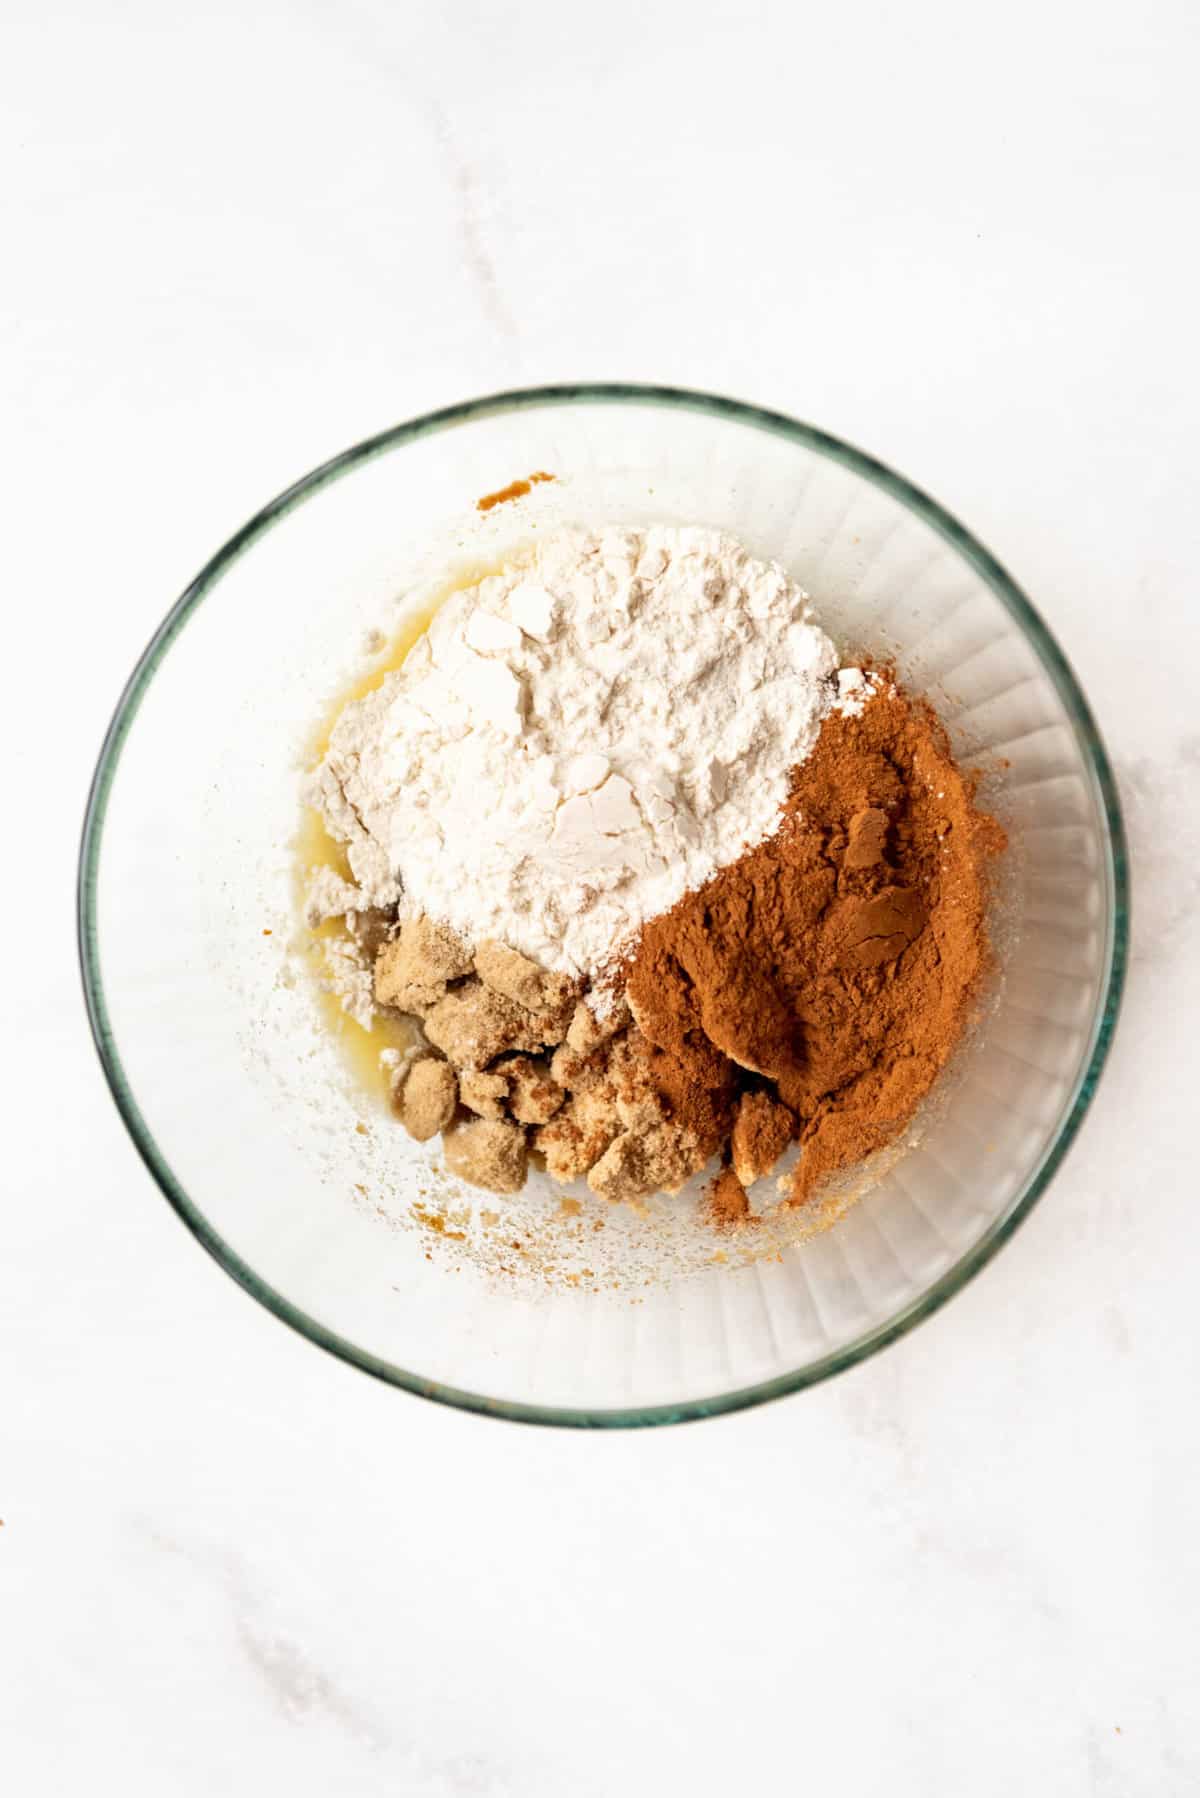
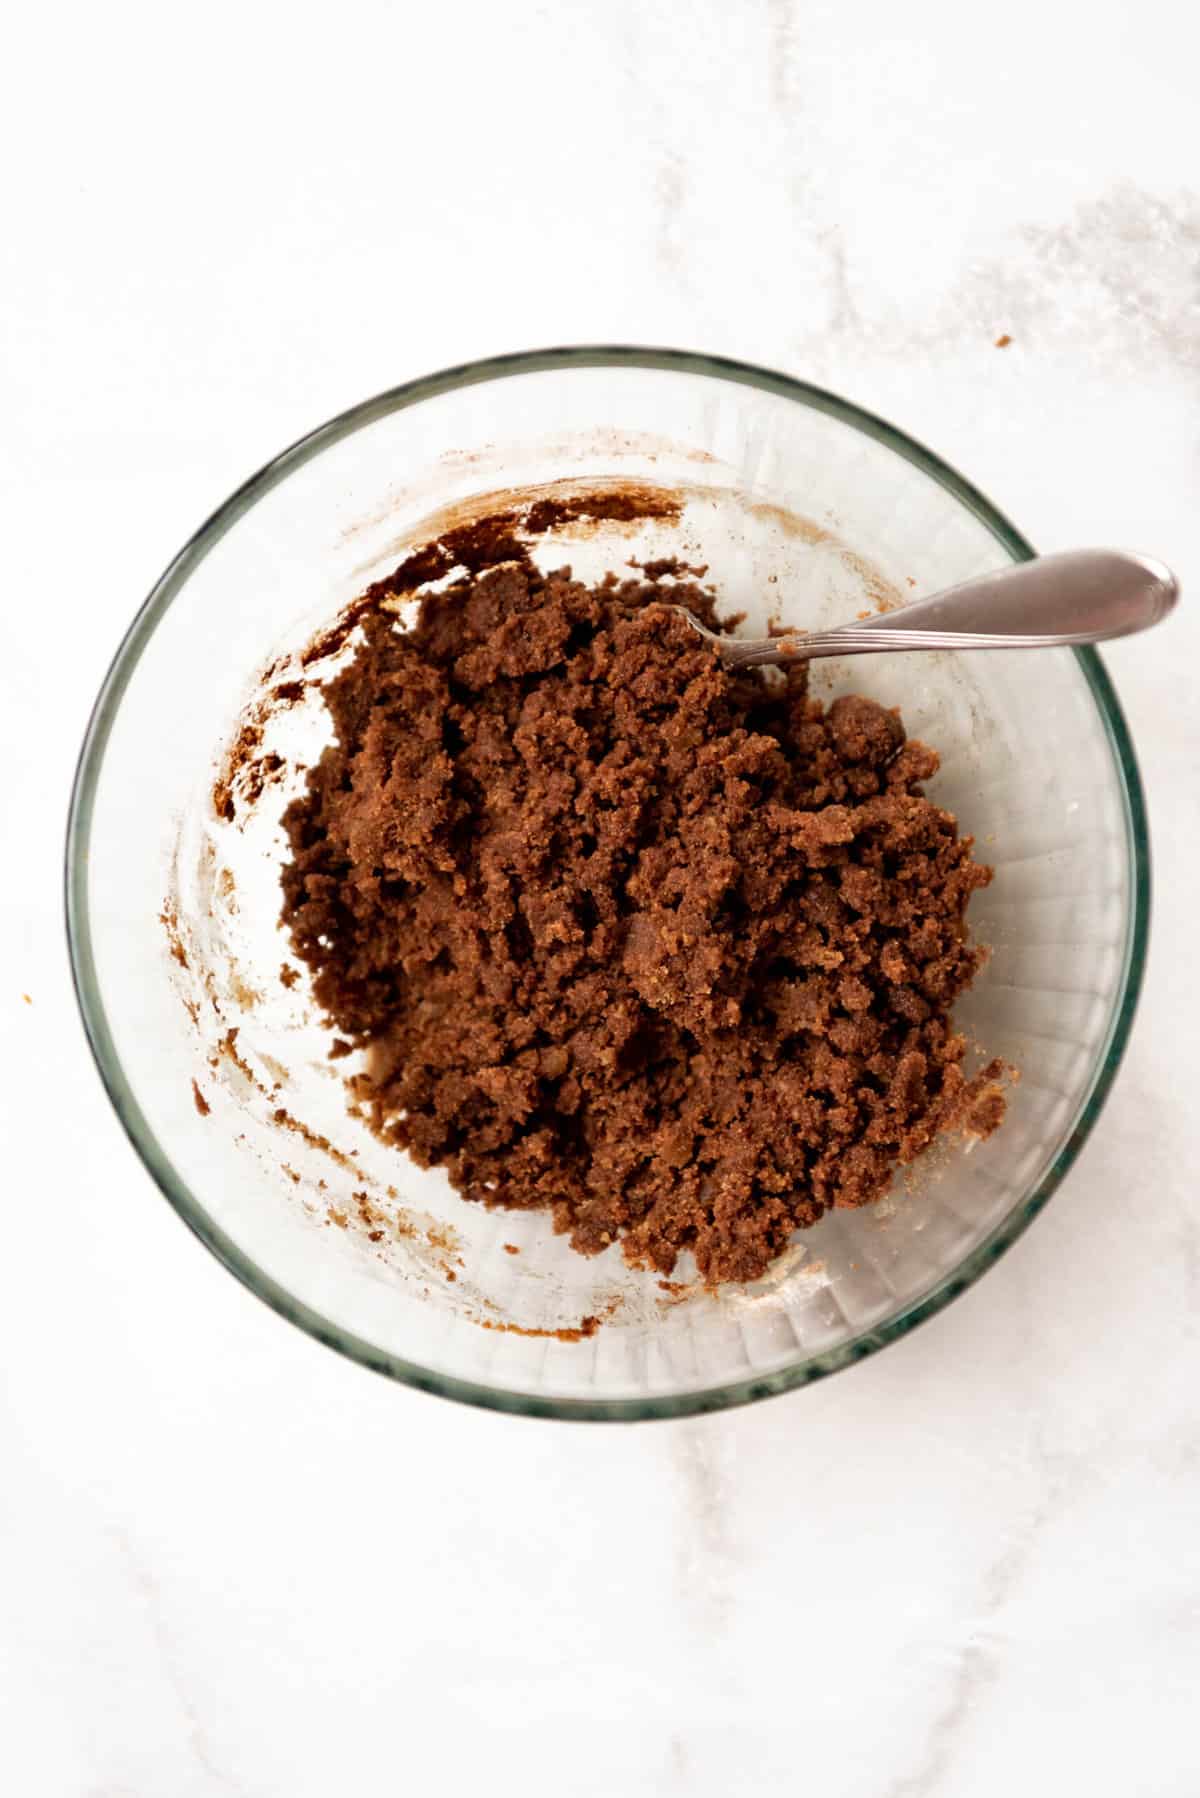
- Make the cinnamon roll filling. In the same bowl you used for your cookie crust (no sense dirtying another bowl), combine brown sugar, flour, melted butter, and ground cinnamon. Stir until evenly moistened and crumbly. Squeeze a few handfuls together to create larger clumps. Set aside.
Cheesecake Filling
- Beat cream cheese until creamy and smooth. Use an electric mixer to beat the cream cheese for 1-2 minutes on medium speed until no lumps remain.
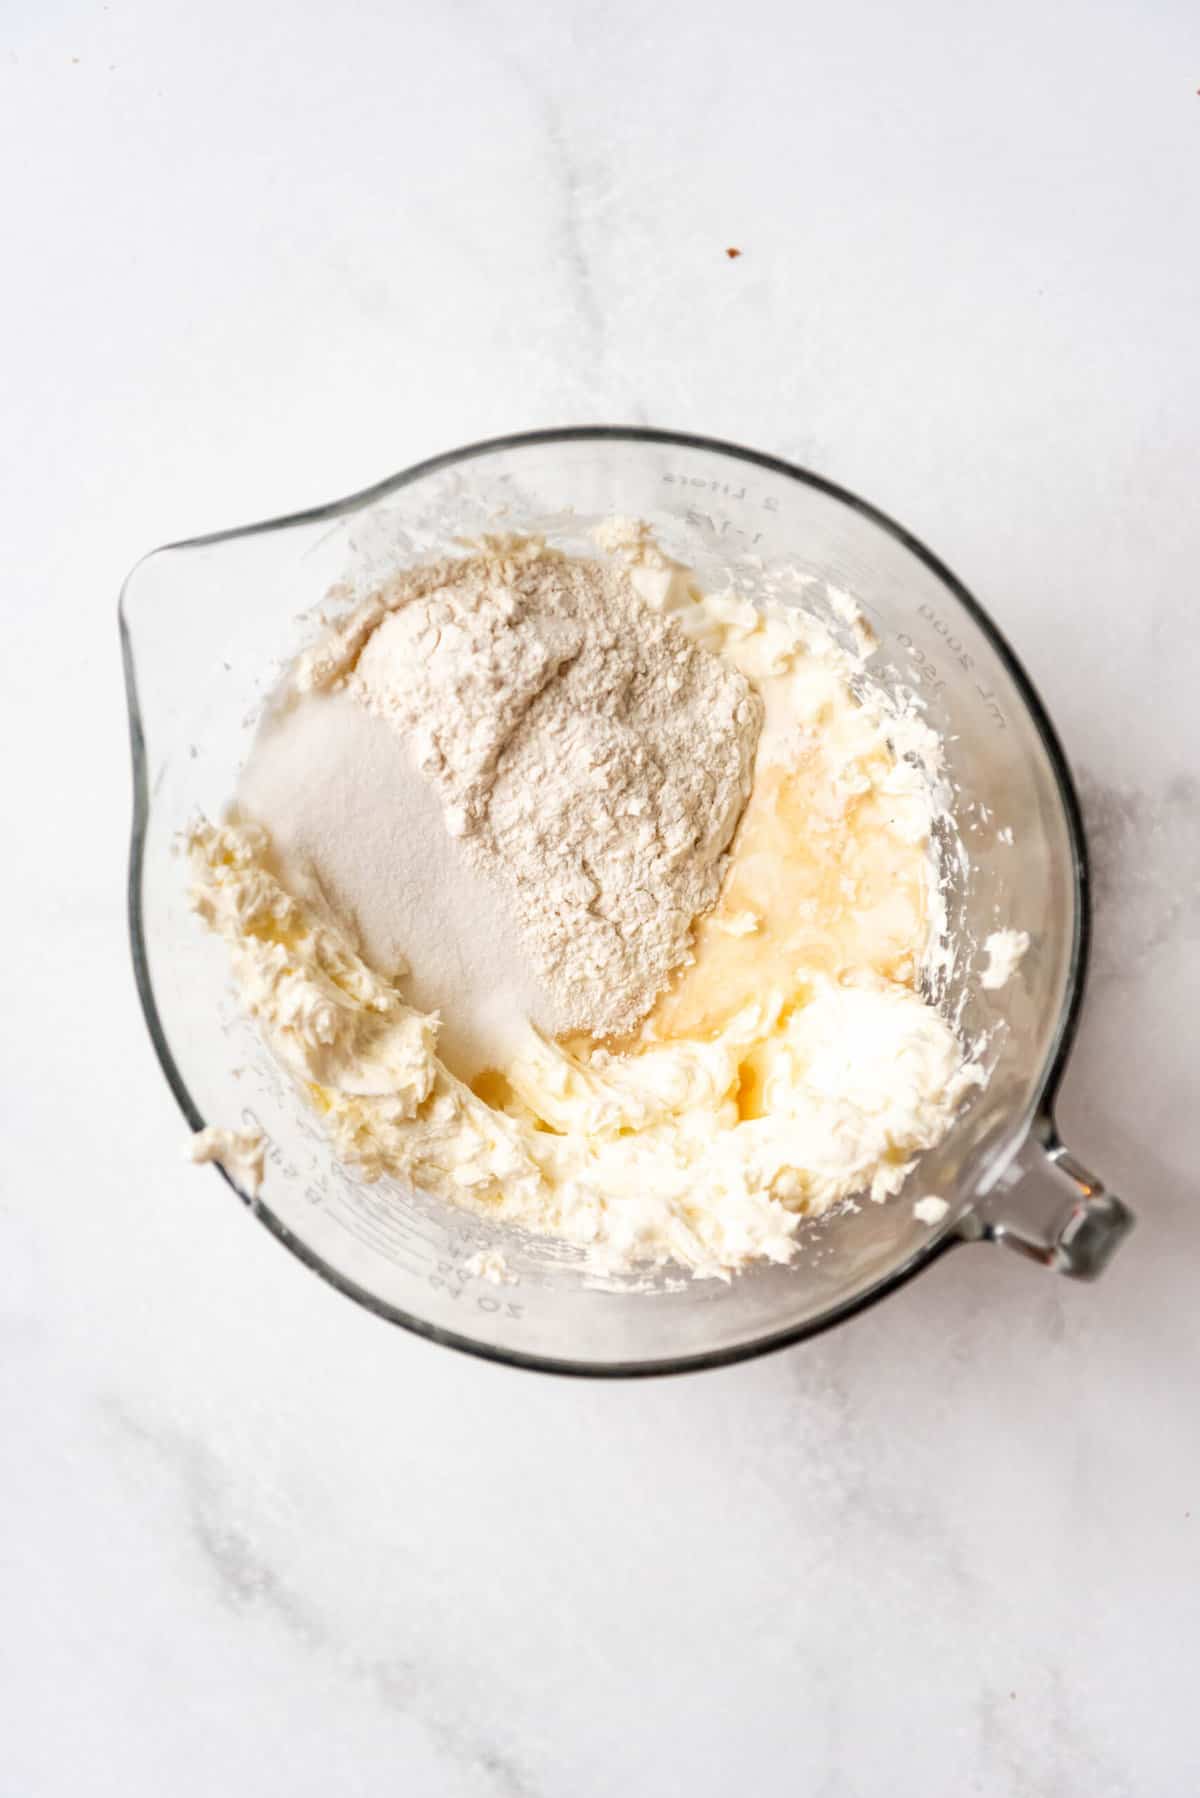
- Add sugar, sour cream, heavy cream, flour, and vanilla extract. Mix again on medium speed until combined, stopping to scrape the bottom and sides of the bowl.
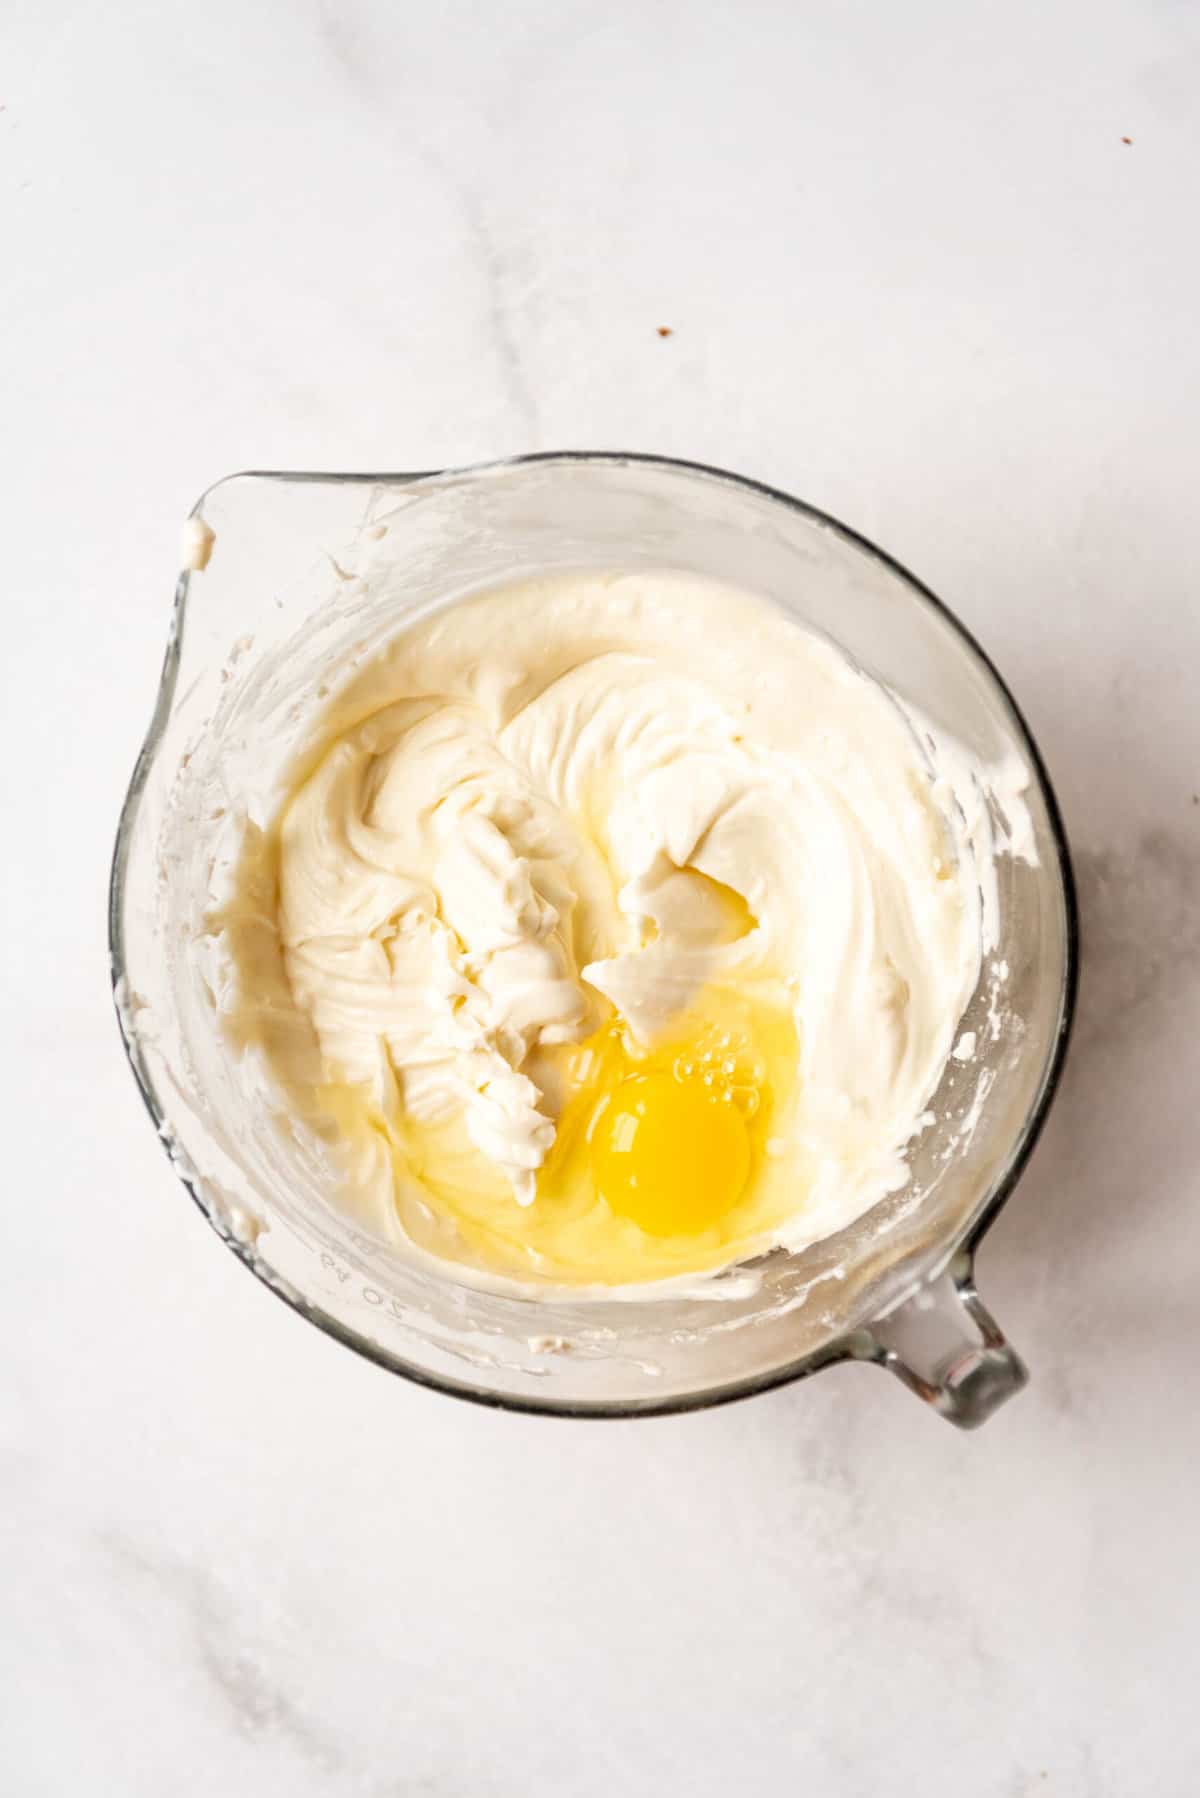
- Mix in the eggs on low speed. Switch the mixer to low and add the eggs one at a time, mixing after each addition and scraping the bottom and sides of the bowl so everything is evenly mixed.
Don’t overmix the cheesecake filling once you start adding the eggs. It adds air to the dense filling, which can lead to cracks in the finished cheesecake.
Assemble and Bake
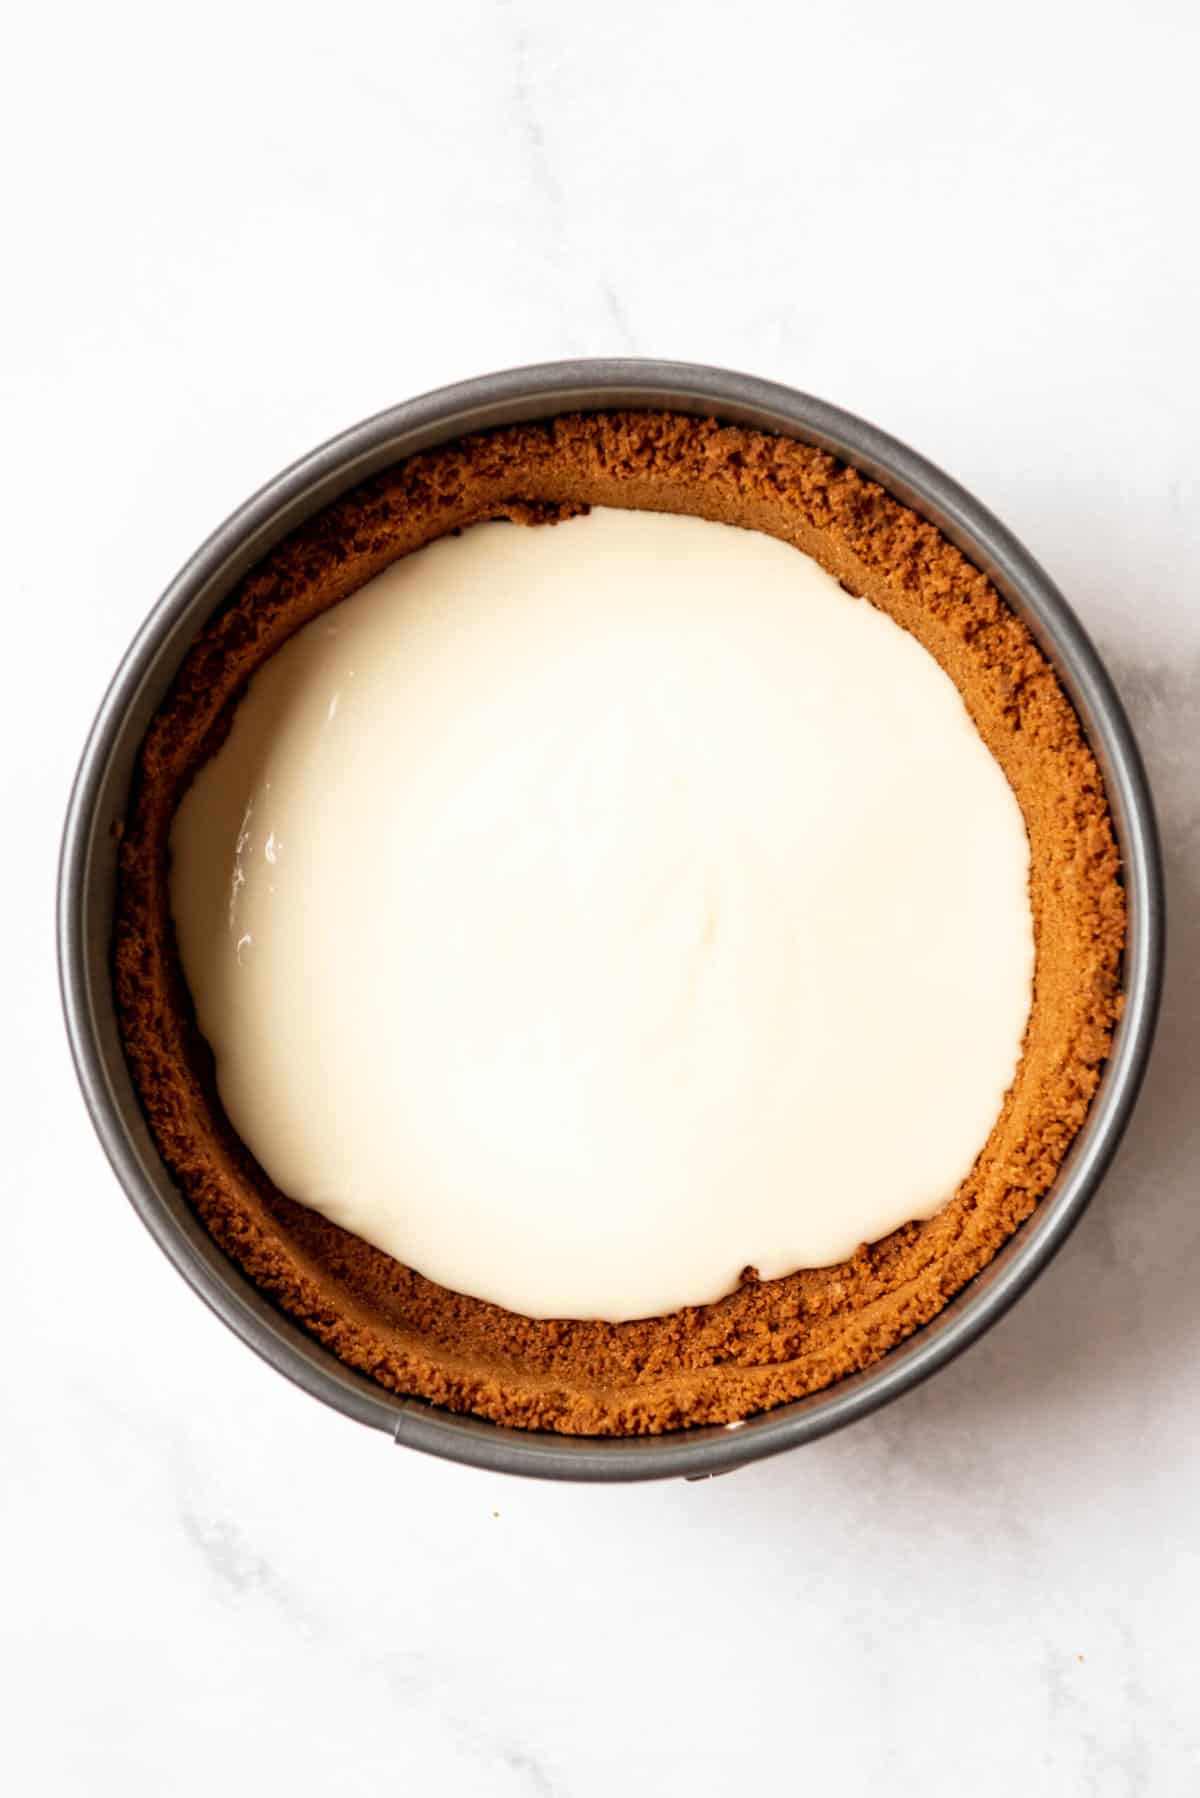
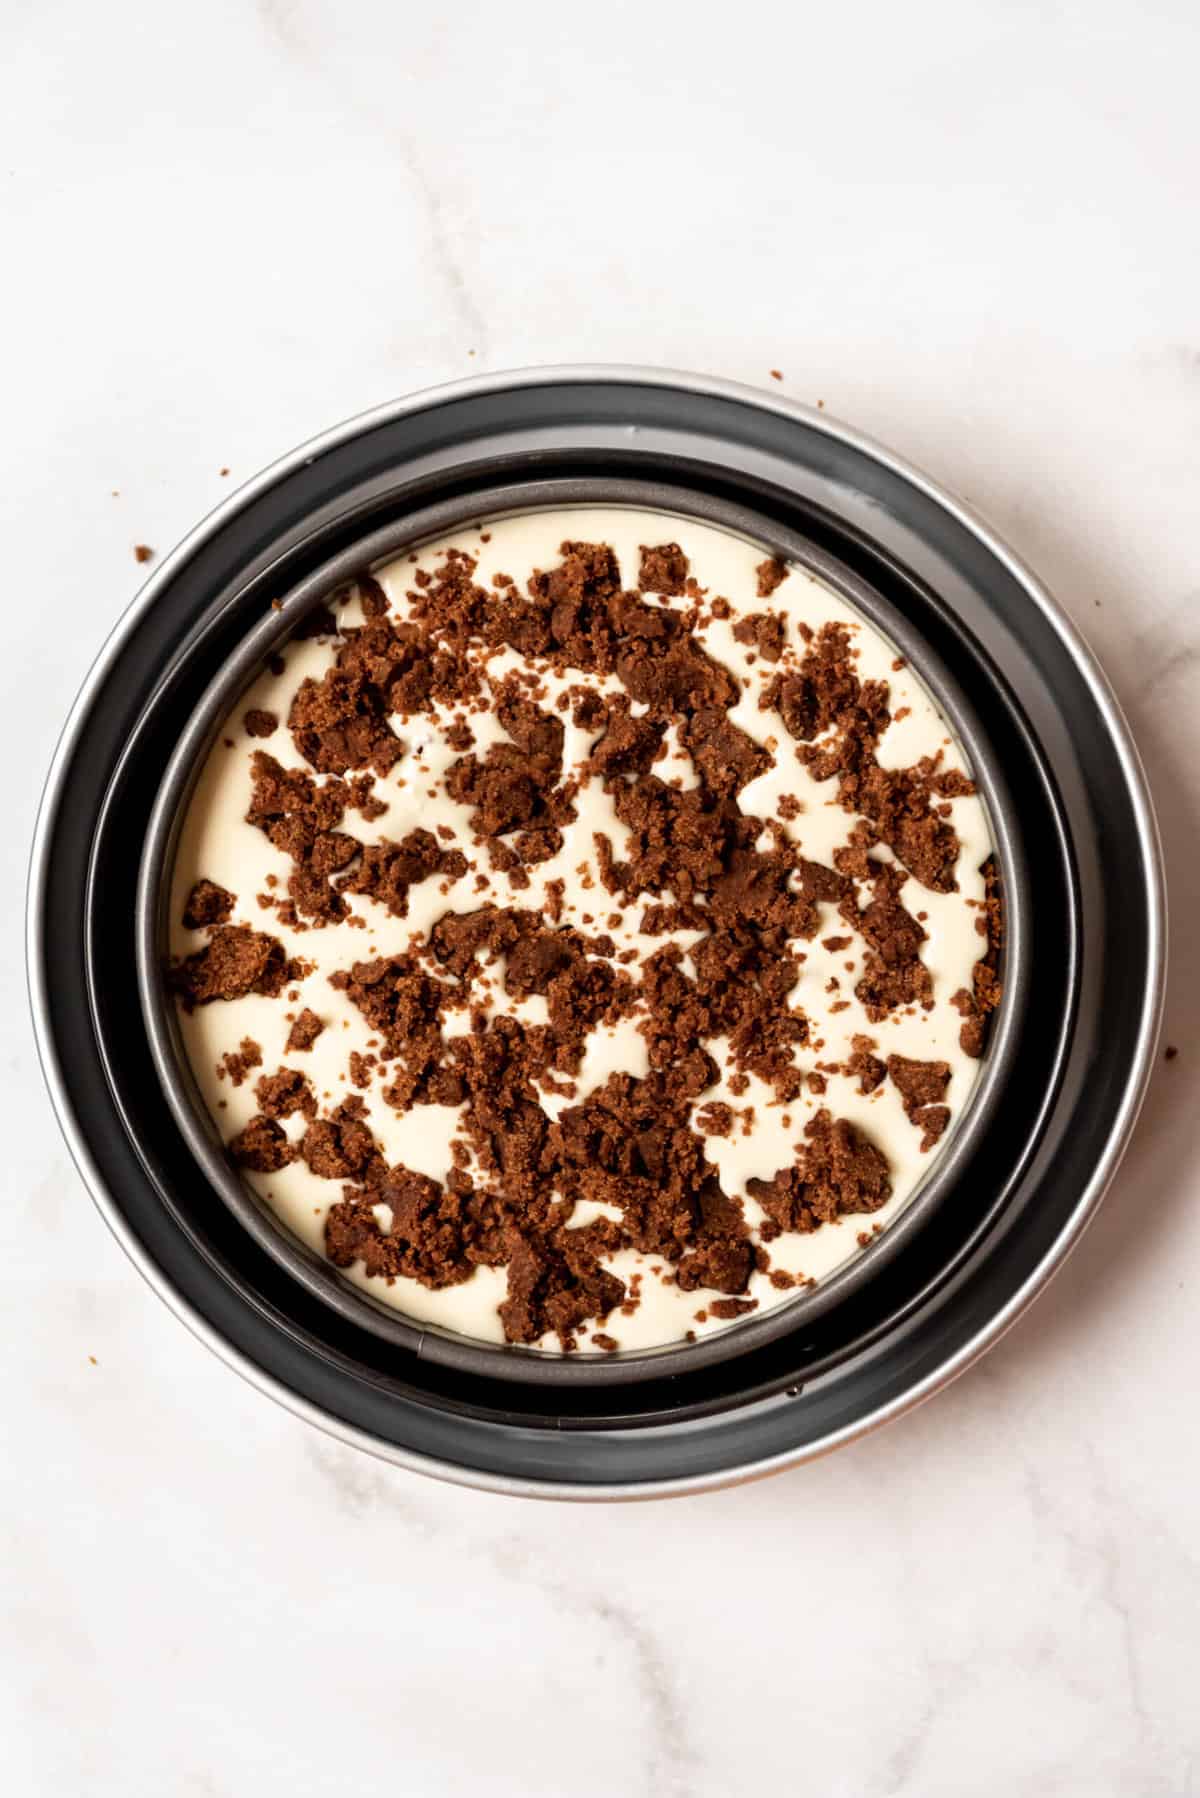
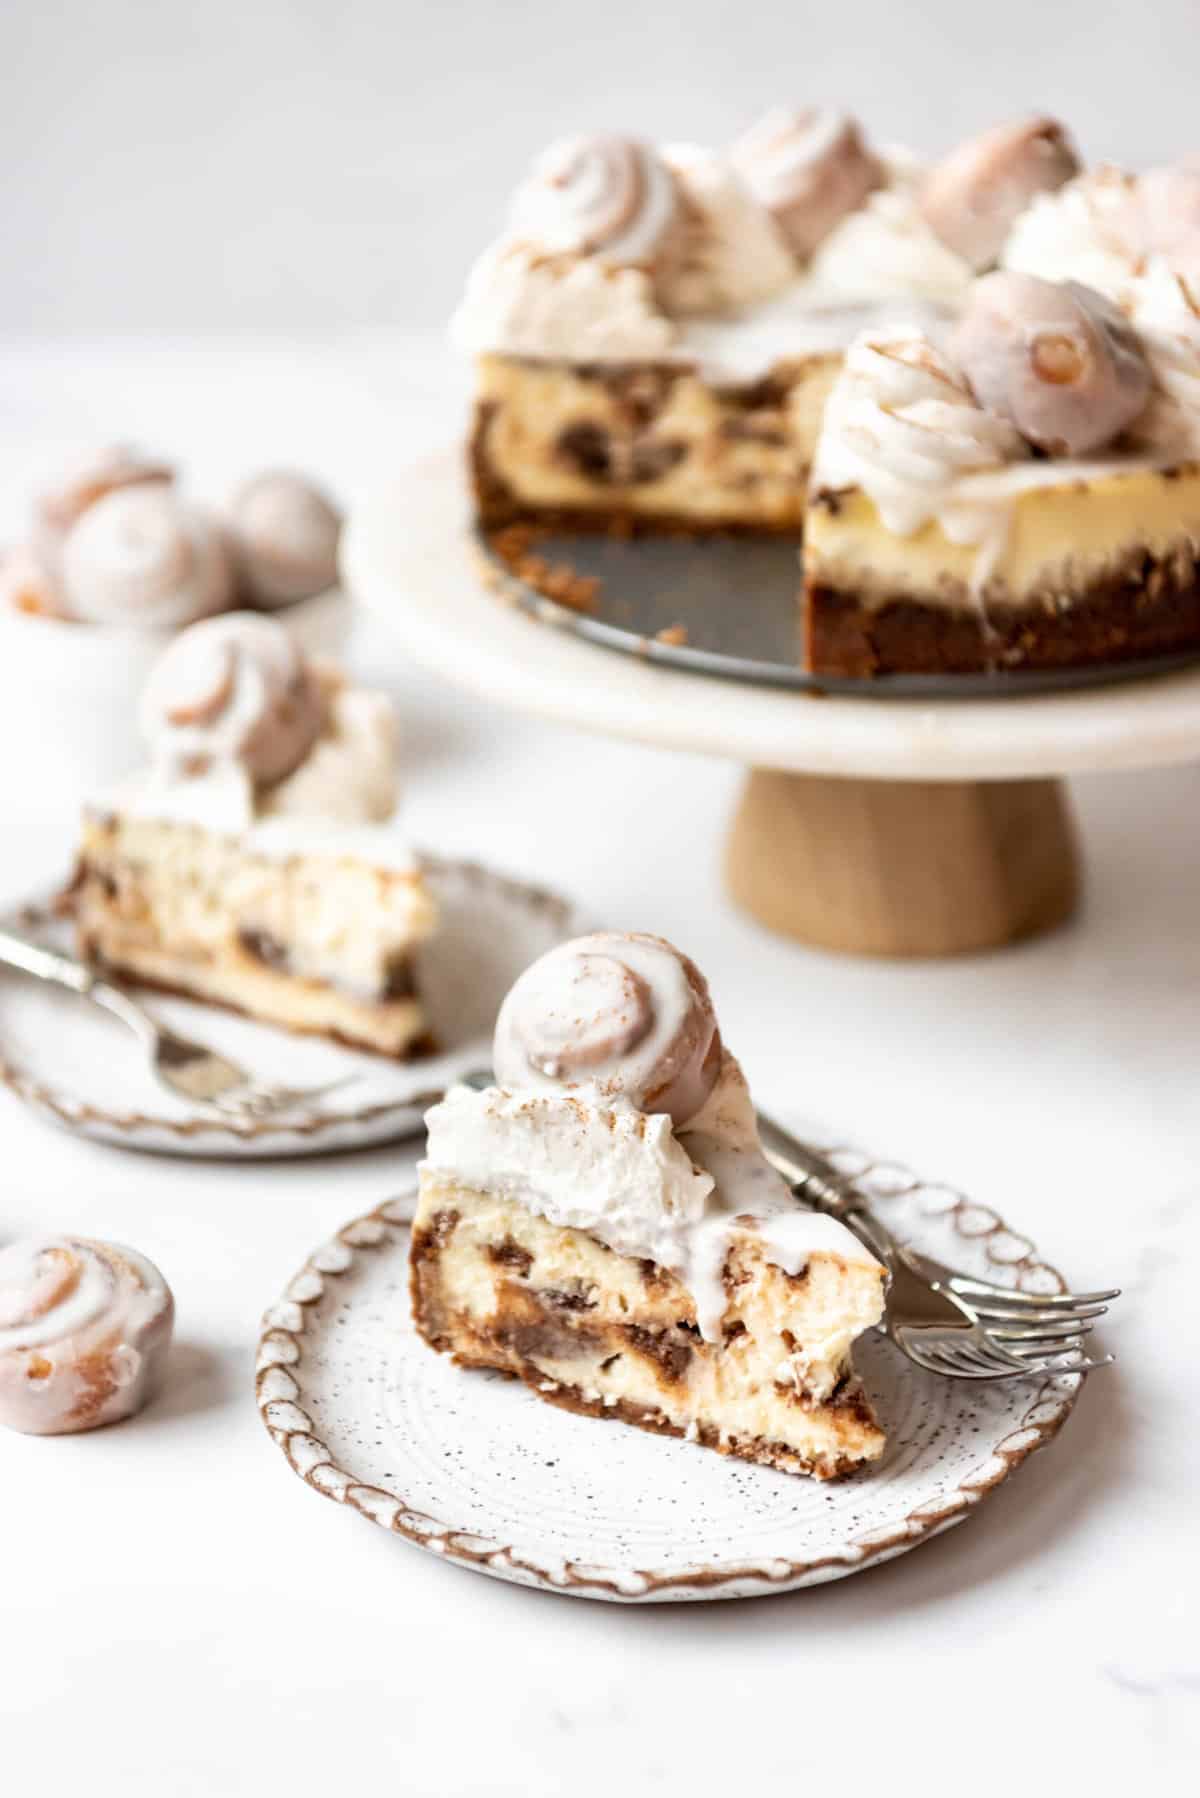
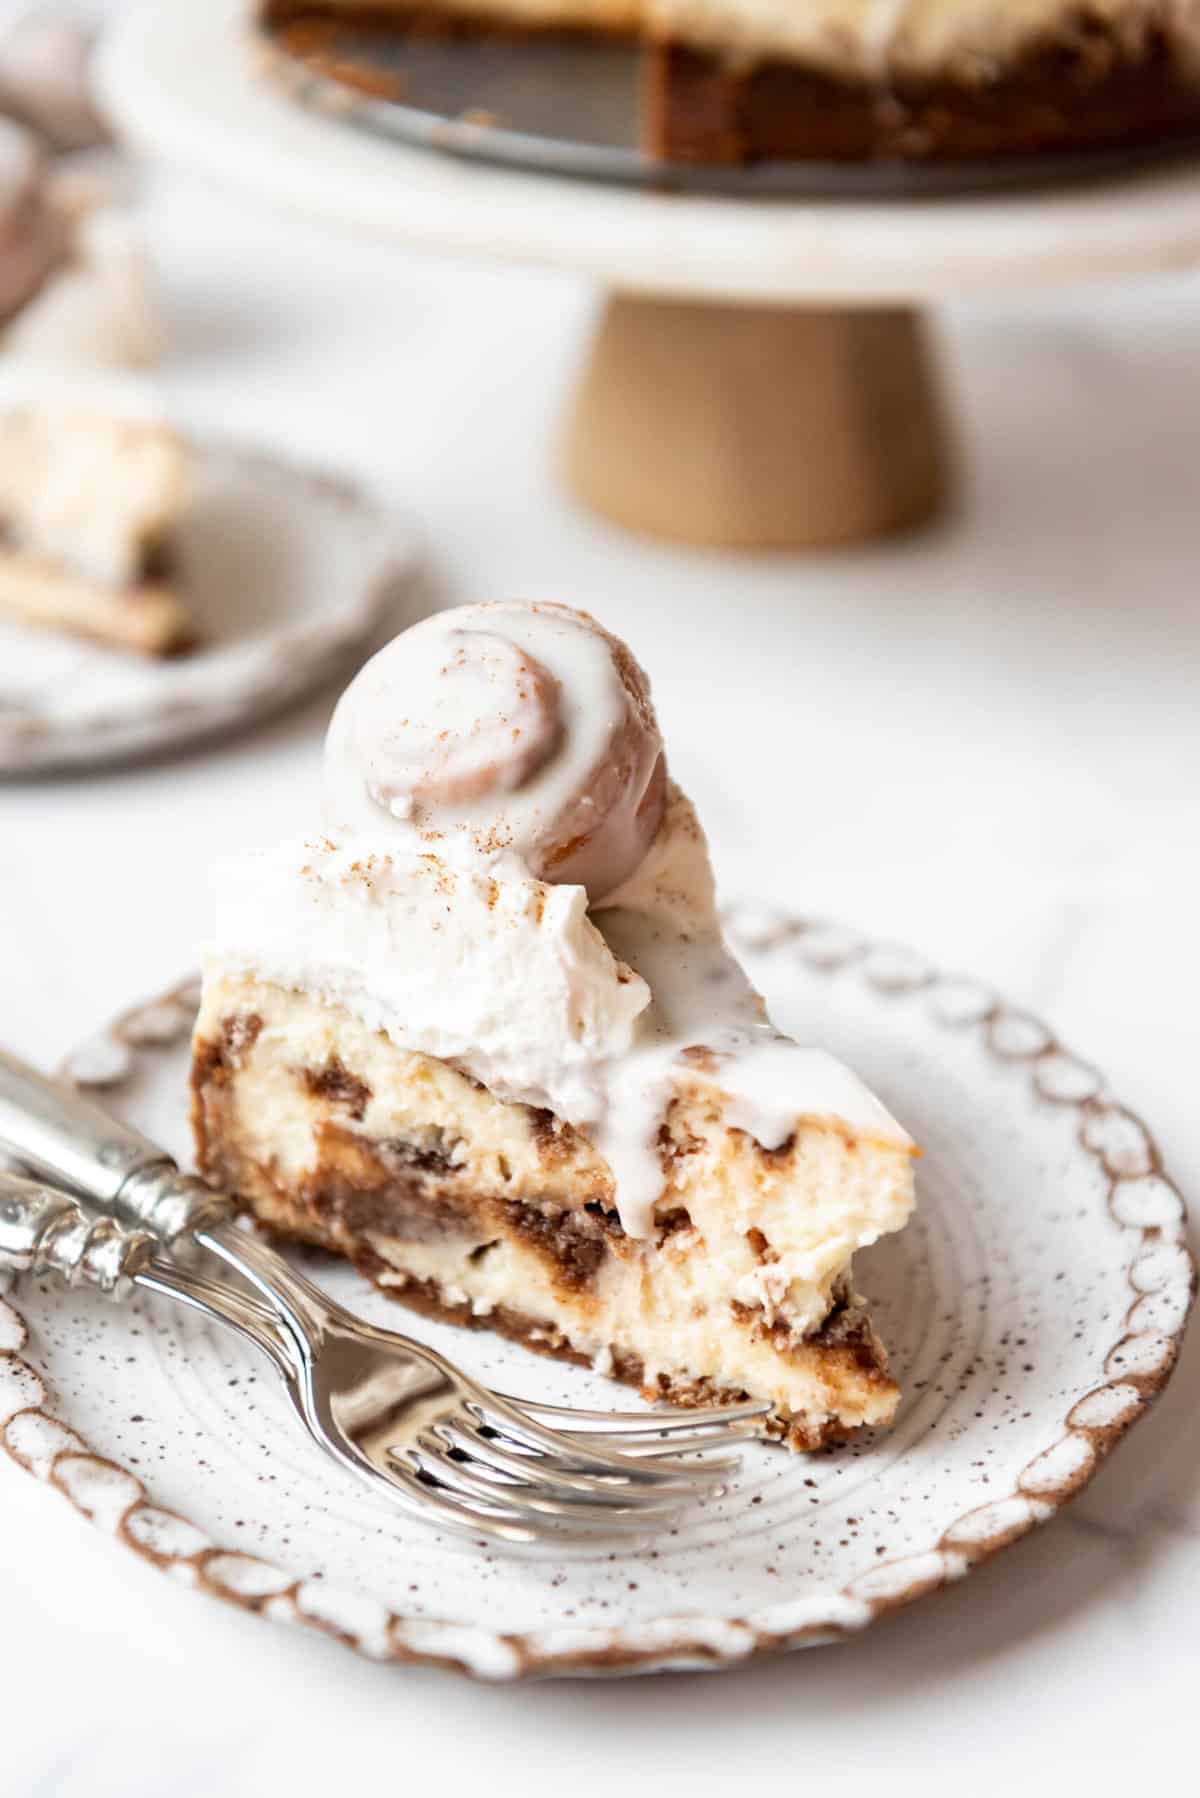
- Alternate layers of cheesecake filling and cinnamon swirl filling. Pour ⅓ of the cheesecake filling into the prepared crust. It doesn’t need to be exact, so you can just eyeball this. Sprinkle ⅓ of the cinnamon swirl filling on top. Repeat two more times so the cinnamon swirl filling is evenly dispersed throughout the cheesecake.
- Gently swirl the top layer with a knife. After testing this recipe a few times I found that gently swirling the top layer of cinnamon and cheesecake filling resulted in a smoother top that was better for glazing. There is no need to worry about swirling all the way to the bottom of the cheesecake though.
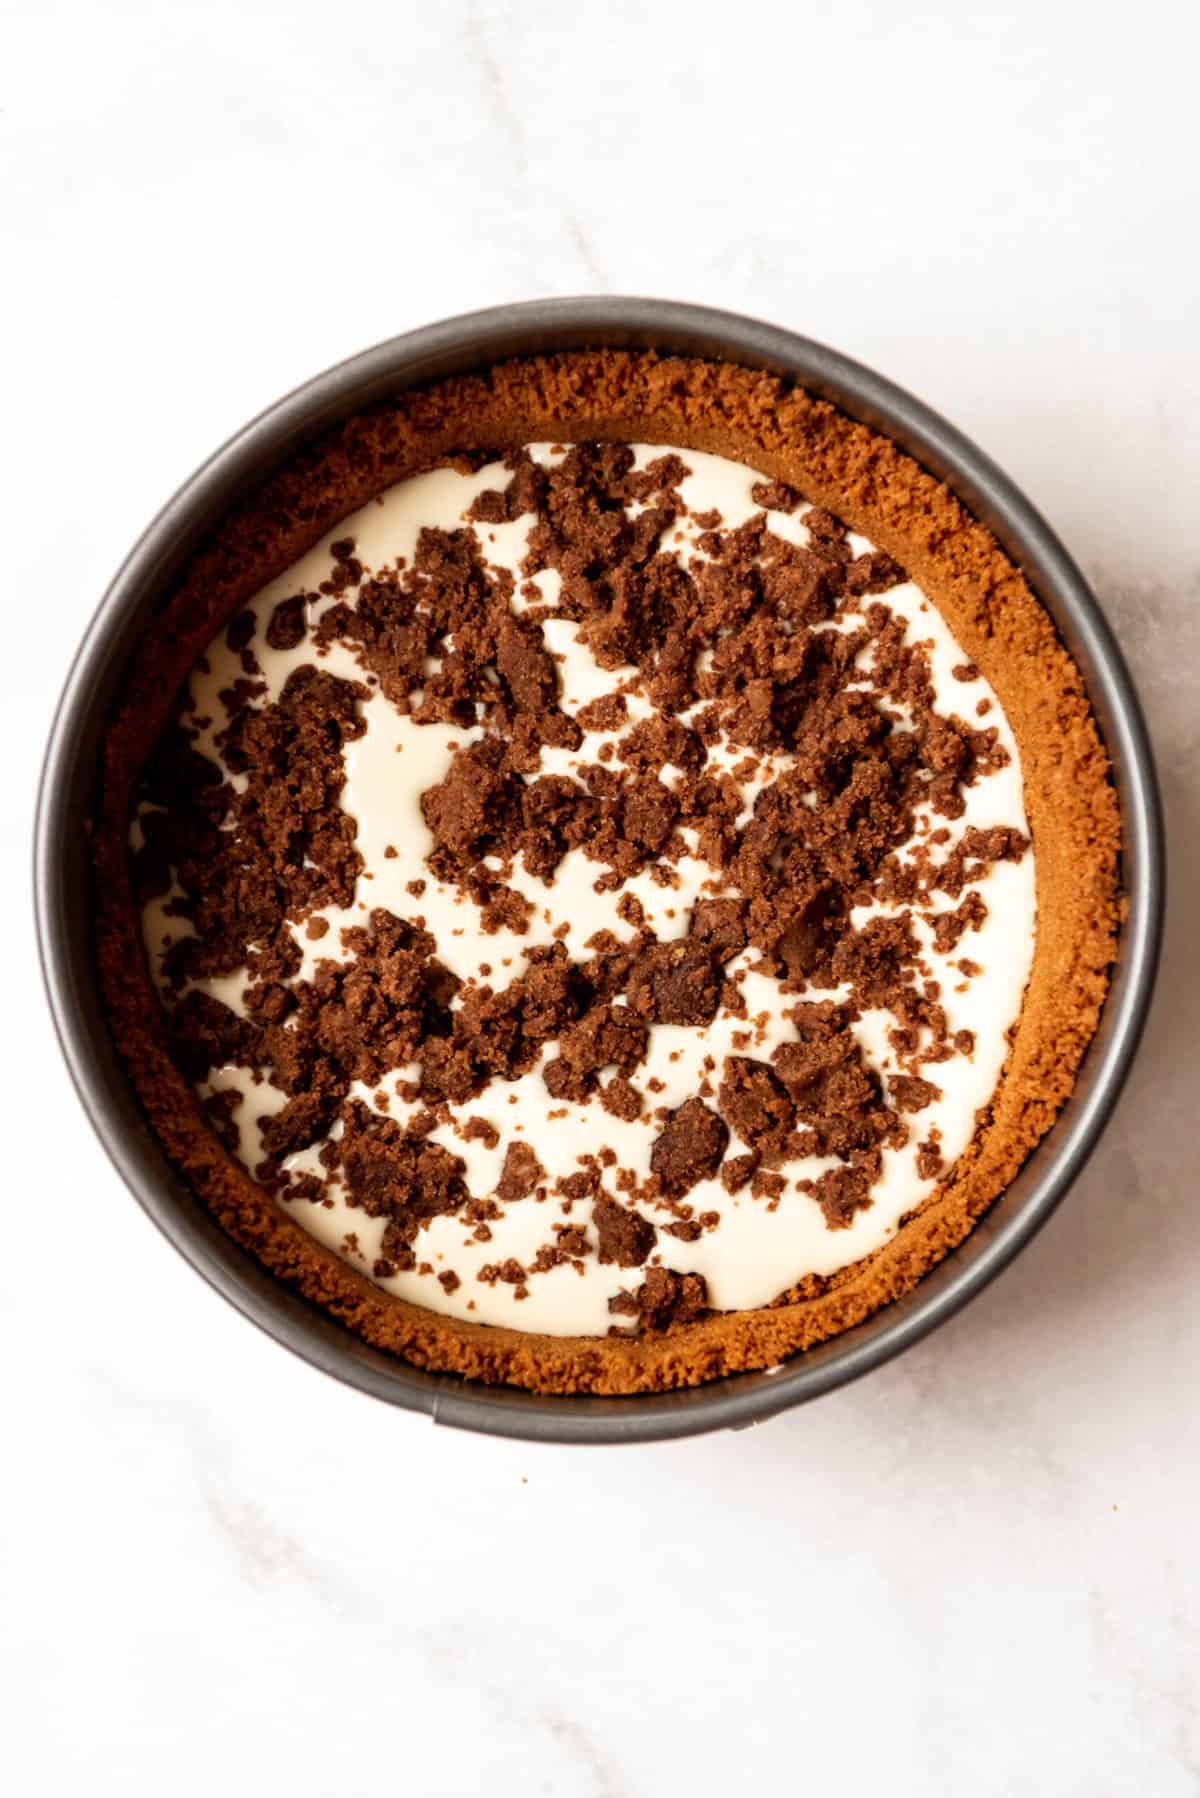
- Bake. You can bake the cheesecake at 325°F without a water bath for 60-70 minutes or with a water bath for 80-90 minutes (more on this below). Either way, when the cheesecake is done, turn off the oven and crack open the oven door slightly to let the cheesecake cool slowly for 30 minutes.
- Cool. After 30 minutes, remove the cheesecake from the oven (and water bath, if using) and run a thin, sharp knife around the edges to separate them from the springform pan. Let the cheesecake cool for another 1-2 hours on a wire rack before transferring to the fridge to chill for at least 4 hours to set up completely.
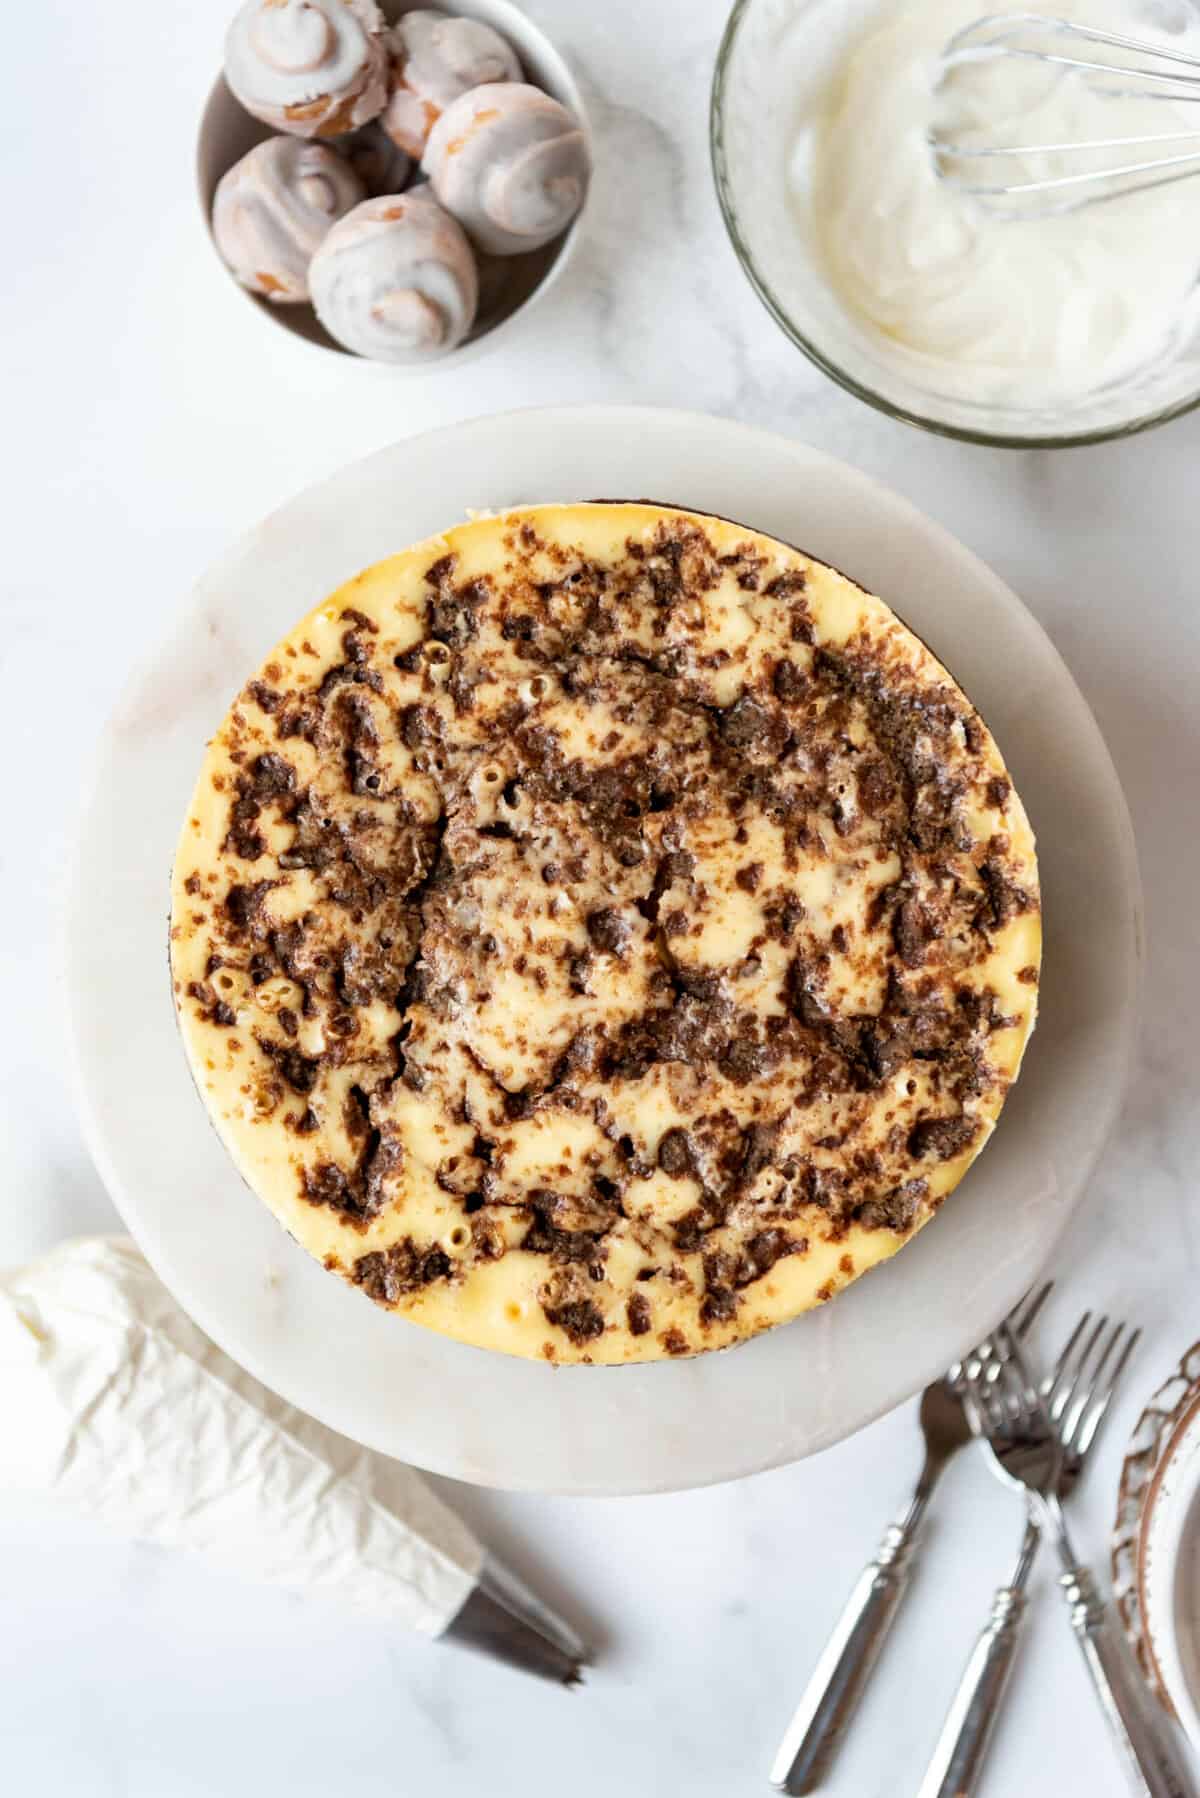
Decorate
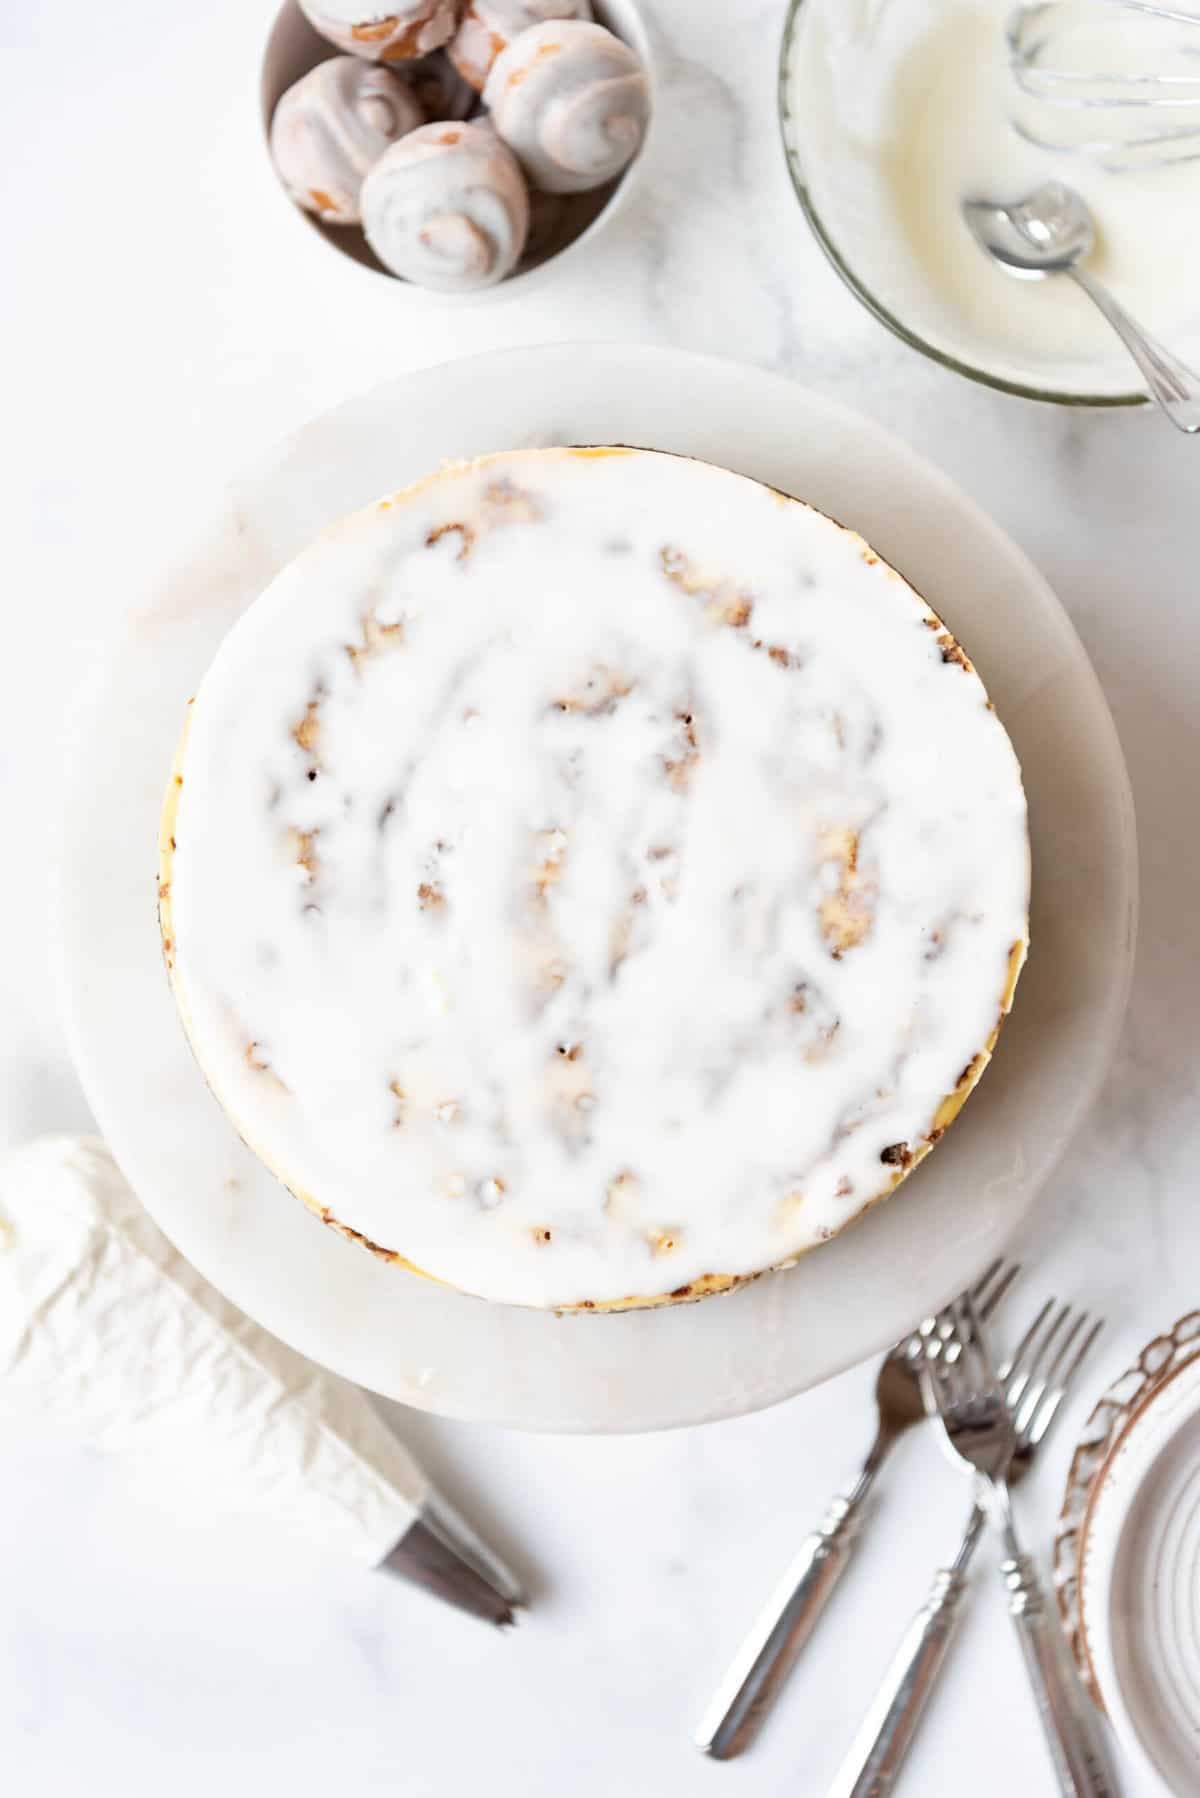
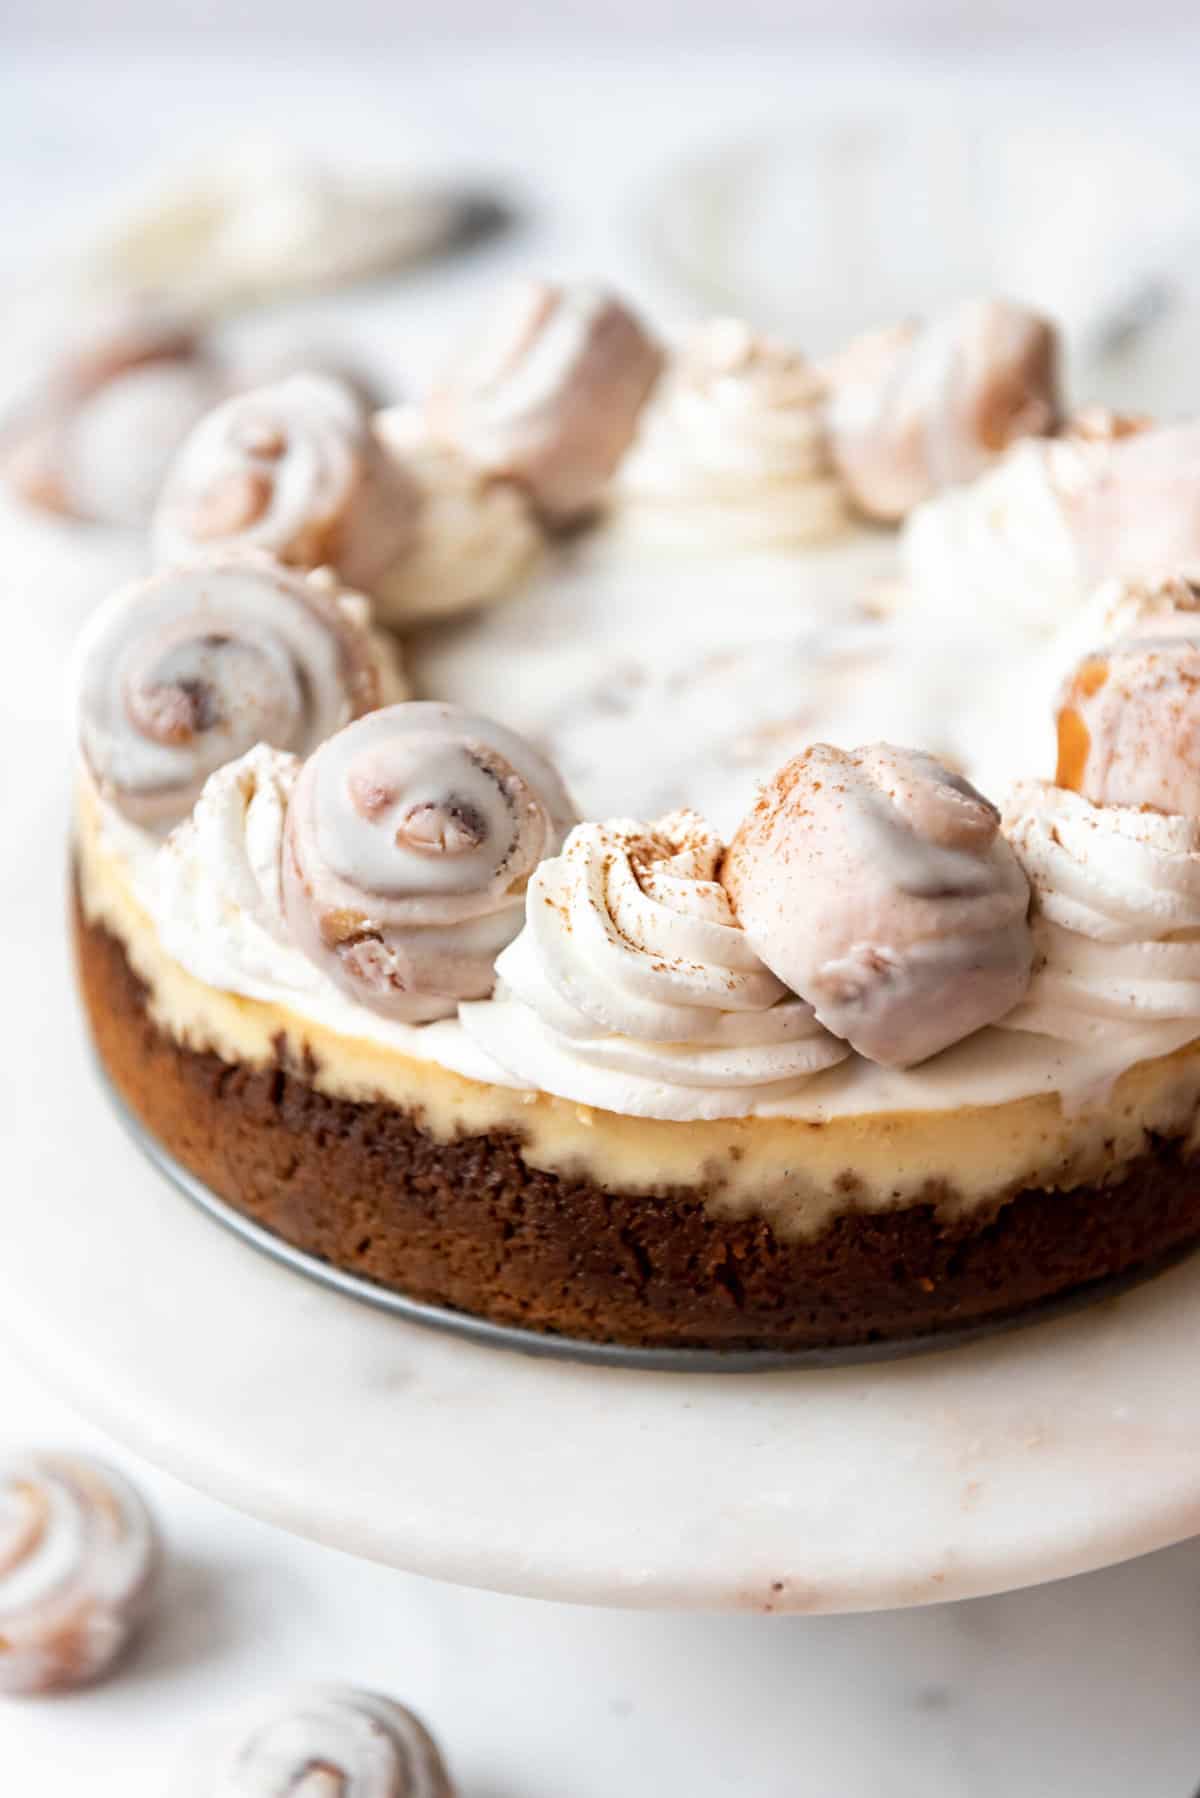
- Make the glaze. To make the glaze, simply whisk powdered sugar with enough milk or heavy cream to thin it out to a nice glaze consistency that drizzles off a spoon or whisk. Spread as much of the glaze as you like in a thin layer over the top of the cheesecake.
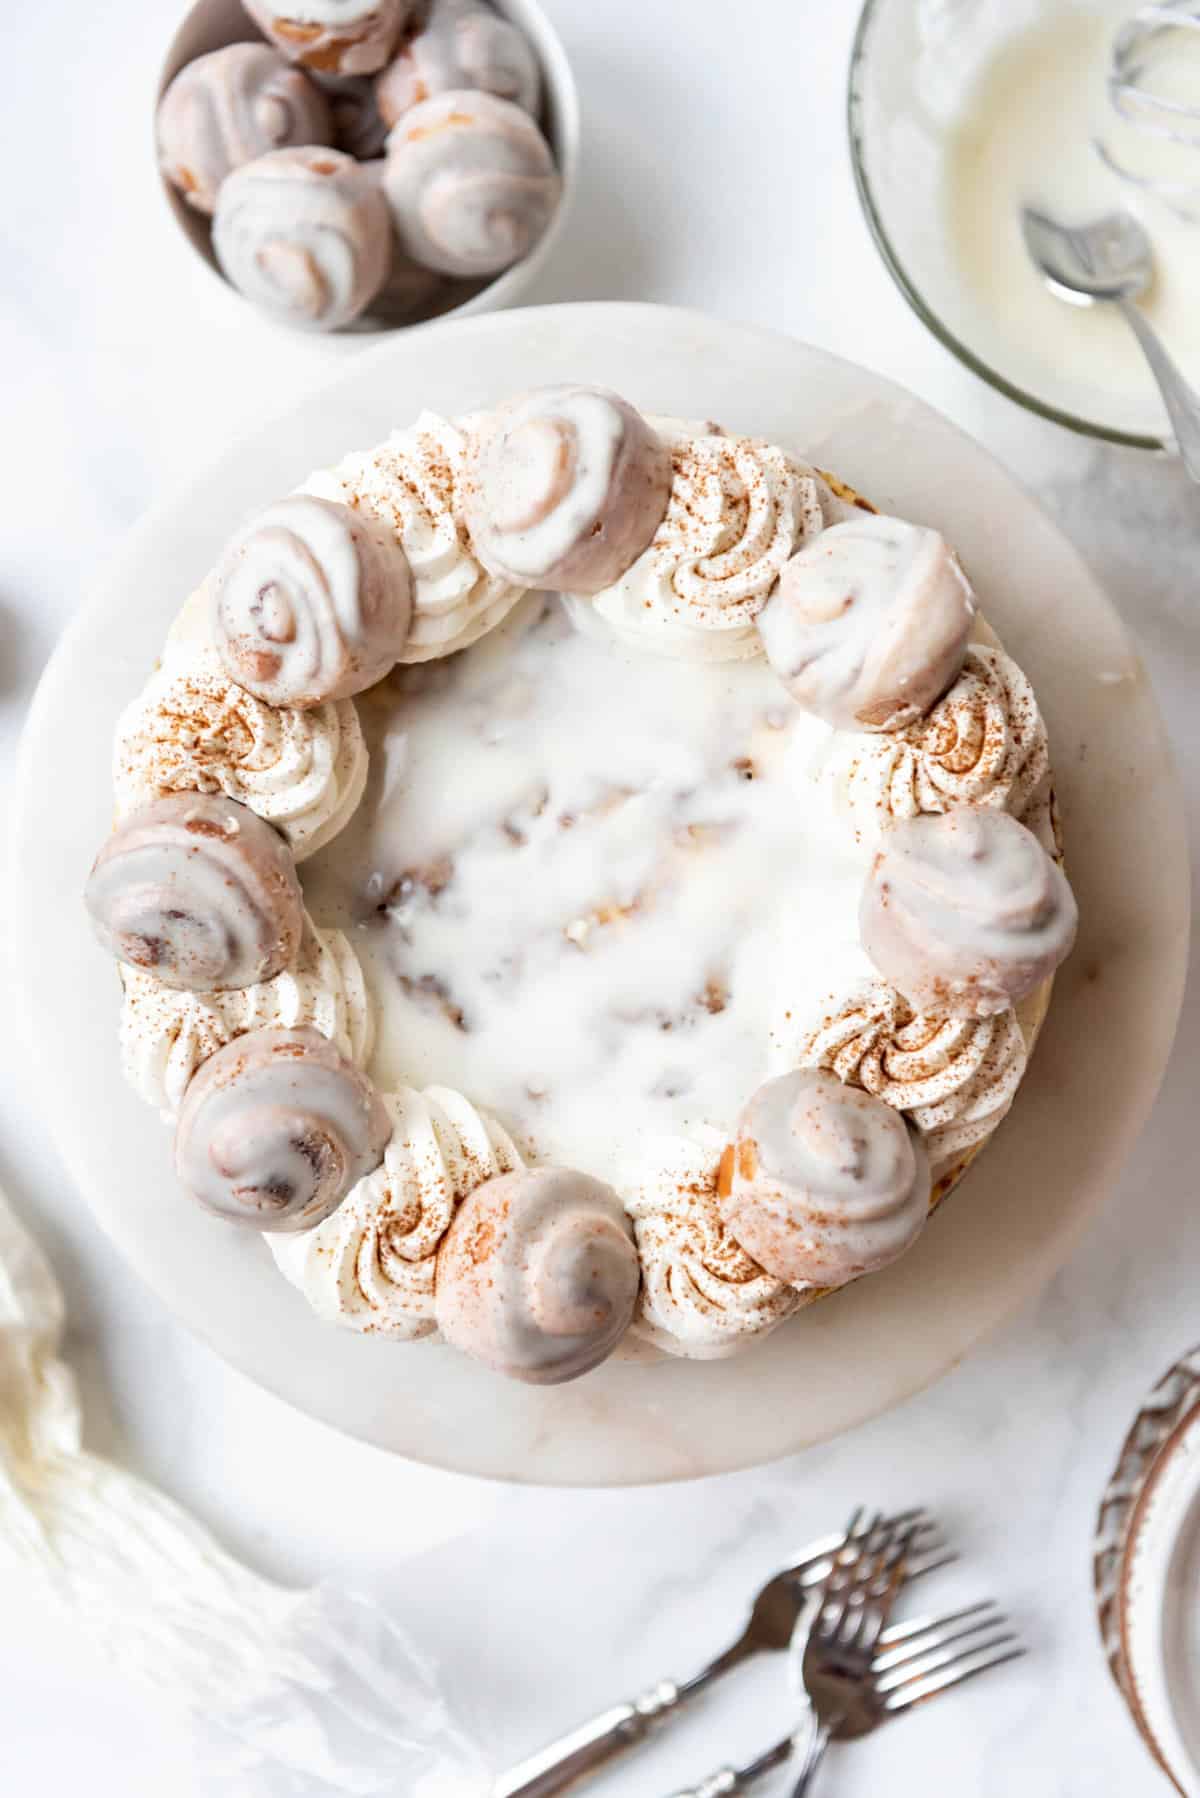
- Make the whipped cream. Beat heavy cream, powdered sugar, and vanilla extract in the bowl of a stand mixer fitted with a whisk attachment or using an electric hand mixer until stiff peaks form. Transfer to a piping bag fitted with a decorative tip. I typically use an Ateco 826 or 827 tip or a Wilton 1M or 8B for this kind of piping.
- Decorate. Pipe swirls of whipped cream around the top of the cheesecake, then gently dust them with a little cinnamon. Top with mini cinnamon rolls between the mounds of whipped cream, if desired.
How to Make an Easy Cheesecake Water Bath
I found using a water bath for cheesecake to be intimidating and problematic for years until I discovered this easy approach. You just need a 10-inch round cake pan, a 12-inch pan, and some boiling water to make it work.
First, nestle your cheesecake in the 9-inch springform pan into a 10-inch cake pan.
Then nestle the 10-inch pan into the larger 12-inch pan. Heat your water to boiling on the microwave or stovetop, then carefully pour it into the outside ring of the 12-inch pan until it fills the pan about halfway up the sides.
I like this method because you don’t need to worry about wrapping the springform pan with aluminum foil or using an oven bag to protect it from leaks.
Freezing Cheesecake
Cheesecake freezes really well for up to 2 months! You can freeze the whole thing and thaw it later if you are thinking ahead and baking for the holidays. Or freeze just a slice or two for easier thawing and enjoying any time the craving for a slice of cheesecake hits you!
I recommend freezing individual slices on a baking sheet or plate for 3-4 hours until firm, then wrapping them tightly in plastic wrap and transferring to an airtight container or resealable freezer-safe bag for longer term storage.
Recipe FAQ’s
No, definitely not! You can bake almost any cheesecake recipe without a water bath and they are mostly going to turn out really well. The main reasons I recommend using a water bath when baking cheesecake, is for a more even bake and creamy texture, a level top that doesn’t sink or crack as easily, and less browning on top. That doesn’t mean that a cheesecake made without a water bath is bad, it’s just that you might run into some of those issues. It will still taste delicious though!
I don’t recommend leaving cheesecake out for longer than 2 hours at room temperature. Also, keep in mind that if you decorated it with whipped cream that will start to melt sooner too so if you are going to let it sit out you might want to wait to decorate until shortly before serving.
You can tell a cheesecake is done when you jiggle the pan. The outside edges might be set, but the center should still wiggle quite a bit. If the whole thing seems way too loose and jiggly, then try giving the cheesecake another 10 minutes before checking again.
Tips for Success
- Let the ingredients come to room temperature. It really does make a difference, especially if you are trying to avoid cracks in your cheesecake. I recommend letting the cream cheese, eggs, sour cream, and heavy cream all sit out for at least 1 hour to come to room temperature before making the cheesecake.
- Don’t overmix after adding the eggs. The biggest culprit of cracks in cheesecake, besides overbaking, is overmixing the eggs. This can happen by just beating at too high of a speed, or by beating too long.
- Avoid overbaking. A good cheesecake will jiggle in the middle when it is done. It will continue to set up as it cools slowly in the oven and then even more in the fridge while it chills.
- Leave the springform pan ring on the cheesecake. Don’t remove the outer ring until after the cheesecake has chilled for at least 4-6 hours in the fridge.
How to Store Cheesecake
This cheesecake will keep for 5-7 days in the fridge, although the whipped cream might deflate over time. Keep it loosely covered with a piece of plastic wrap.
More Cheesecake Recipes
Did you make this recipe?
Let me know what you thought with a comment and rating below. You can also take a picture and tag me on Instagram @houseofnasheats or share it on the Pinterest pin so I can see.
Cinnamon Roll Cheesecake
Ingredients
Crust
- 2 1/4 cups biscoff cookie crumbs (one 8.8-ounce package or 250g)
- 4 Tablespoons granulated sugar
- 8 Tablespoons salted butter melted
Cinnamon Filling
- 1 1/2 cups brown sugar
- 1/2 cup all-purpose flour
- 2 Tablespoons ground cinnamon
- 1/2 cup salted butter melted (8 Tablespoons)
Cheesecake Filling
- 3 (8-ounce) packages cream cheese
- 1 cup granulated sugar
- 1/2 cup sour cream
- 1/4 cup heavy cream
- 3 Tablespoons all-purpose flour
- 2 teaspoons vanilla extract
- 4 large eggs
Glaze
- 3/4 cup powdered sugar
- 2-4 Tablespoons milk or heavy cream
Decorating
- 1 cup heavy cream
- 1/4 cup powdered sugar
- 1 teaspoon vanilla extract
- Mini cinnamon rolls for decorating

Instructions
Crust
- Preheat oven to 325°F.
- Pulse biscoff cookies in a food processor (affiliate link) or crush in a gallon-size ziplock bag until they are fine crumbs. Add sugar and melted butter. Mix until evenly moistened.2 ¼ cups biscoff cookie crumbs, 4 Tablespoons granulated sugar, 8 Tablespoons salted butter
- Press crust mixture into the bottom and an inch up the sides of a 9-inch springform pan. Bake for 10 minutes to set the crust.
Cinnamon Filling
- Combine brown sugar, flour, and cinnamon in a medium bowl. Add melted butter and stir until evenly moistened. Set aside.1 ½ cups brown sugar, ½ cup all-purpose flour, 2 Tablespoons ground cinnamon, ½ cup salted butter
Cheesecake Filling
- Beat cream cheese in a large bowl for 1-2 minutes until creamy and smooth.3 (8-ounce) packages cream cheese
- Add sugar, sour cream, heavy cream, flour, and vanilla extract. Beat again on medium-low speed until combined, stopping to scrape the bottom and sides of the bowl.1 cup granulated sugar, ½ cup sour cream, ¼ cup heavy cream, 3 Tablespoons all-purpose flour, 2 teaspoons vanilla extract
- Add eggs, one at a time, mixing on low speed just until incorporated. Scrape the bottom and sides of the bowl partway through to ensure the eggs mix in evenly.4 large eggs
- Pour ⅓ of the cheesecake filling into the prepared crust. Crumble ⅓ of the cinnamon filling on top. Pour another third of the cheesecake filling over this, and repeat with another third of the cinnamon filling. Pour the remaining cheesecake filling on top and sprinkle with the remaining cinnamon filling.
- Place the springform pan inside a 10-inch cake pan. Place both pans into a large roasting pan and carefully transfer to the oven. Fill the roasting pan halfway with boiling water to create a water bath before closing the oven door.
- Bake for 80-95 minutes just until the edges are set but there is a still a slight jiggle in the center of the cheesecake. Start with the lower amount of time. If the whole cheesecake is too jiggly, continue to bake for another 10-15 minutes before checking again.
- Once the cheesecake looks done, turn off the oven and leave the oven door slightly ajar so the cheesecake can cool slowly for 30 minutes. Then carefully remove the springform pan from the water bath and let the cheesecake cool completely on a cooling rack for 1-2 hours.
- Transfer the cooled cheesecake to the fridge and chill for 4-6 hours until completely set. Remove the cheesecake from the springform pan.
Glaze & decorate
- Whisk powdered sugar and heavy cream or milk together in a small bowl, then drizzle over the cooled cheesecake.¾ cup powdered sugar, 2-4 Tablespoons milk or heavy cream
- Beat heavy cream, powdered sugar, and vanilla extract in the bowl of a stand mixer fitted with a whisk attachment or using an electric hand mixer until stiff peaks form. Transfer to a piping bag fitted with a decorative tip. I typically use an Ateco 826 or 827 tip or a Wilton 1M or 8B for this kind of piping.1 cup heavy cream, ¼ cup powdered sugar, 1 teaspoon vanilla extract
- Pipe swirls of whipped cream around the top of the cheesecake, then gently dust them with a little cinnamon. Top with mini cinnamon rolls between the mounds of whipped cream, if desired.Mini cinnamon rolls
Notes
- Storage: This cheesecake will keep for 5-7 days in the fridge, although the whipped cream might deflate over time. Keep it loosely covered with a piece of plastic wrap.
- Freezing: You can freeze the entire cheesecake after baking or slice individual slices and wrap them in plastic wrap to freeze individual portions. Let thaw overnight in the fridge before serving.





I made this last night and let me tell you, it is DELICIOUS. Just the cheesecake though. It doesn’t need anything else on it. I’m glad I didn’t put anything else on it because it is extremely rich and sweet as is!
I have made this twice in the past two months. My sister says “better than sex”!
Incredible! I used windmill cookies because my store did not have biscoff cookies.
I COULD EAT THIS EVERYDAY.
Windmill cookies are a great idea! So glad you love this as much as we do!
I am Vegetarian, can I omit the eggs in the recepie?
That really wouldn’t work… It would just become a soupy mess.
How would I change this recipe to bake it in a 6 x 3 inch pan please? And Thank you!
6X3 inch pan is just a little bit smaller so you can try just cutting the recipe in half but I must admit I haven’t made this recipe in a 6X3 so can’t guarantee that cutting the recipe in half will provide perfect results! You could also just use the full recipe amounts and see how much you can fit in the pan and just use the leftover ingredients to make mini cheesecakes. Just an idea!
Can I add 1/2 tbsp cornstarch to the powdered sugar for the whipped cream recipe?
Yes you can.
Also, for the whipped cream recipe, can I use 1/2 cup powdered sugar + 1 tbsp cornstarch instead of 1/4 cup powdered sugar + 1/2 tbsp cornstarch?
You can customize it any way you want! If you want a sweeter whipped cream, feel free to add more powdered sugar.
a greasy goopy mess… so disappointed!
Do you prep the pan in any way to keep crust from sticking?
I usually line the bottom of my cheesecake pan with a parchment paper circle, but that’s it.
can you please do a recipe on the mini cinnamon rolls you put on the cheesecake please!!
The mini cinnamon rolls are so cute aren’t they! I just bought them at the store but that would be fun to have a mini cinnamon roll recipe!
I made this for Christmas. Cinn rolls are my husband’s
Kryptonite! Beyond easy! I’m making another one right now for his birthday!!!!
Great Michelle! This cheesecake is so good and it makes me happy you are making it again! Happy Birthday to your husband!
Delicious! I’ve never used a bath before when making cheesecake but it was pretty simple. Definitely will make again
Great to hear that! Yes it is such a simple little thing that can make a big difference!
This recipe looks great, I will really enjoy making it. BUT….all the ads are ridiculous! I almost clicked out because I could only read maybe 1/3 of the page at a time. I’m giving it 5 stars because I bake enough to know it will turn out fabulous.