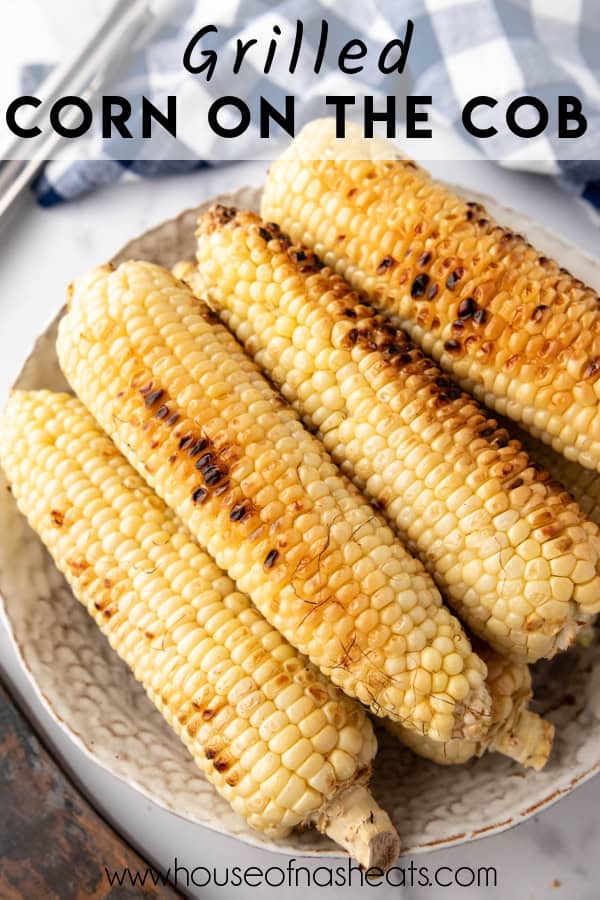
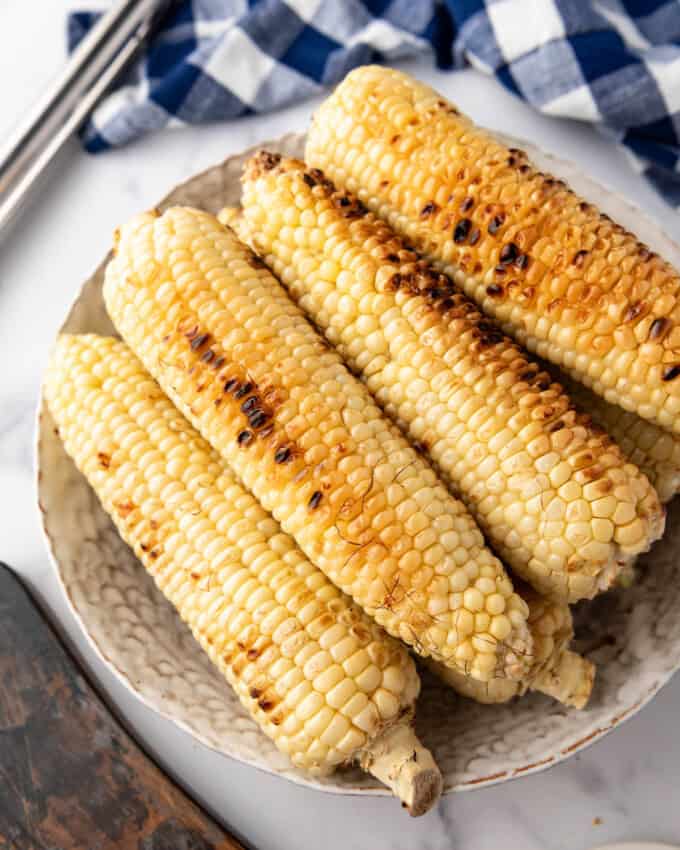
Grilled Corn on the Cob is a straightforward method to achieve the perfect balance of smoky flavor and sweet, juicy corn that’s perfect for any occasion! Grilling corn is a delicious and easy way to enjoy this summer staple!
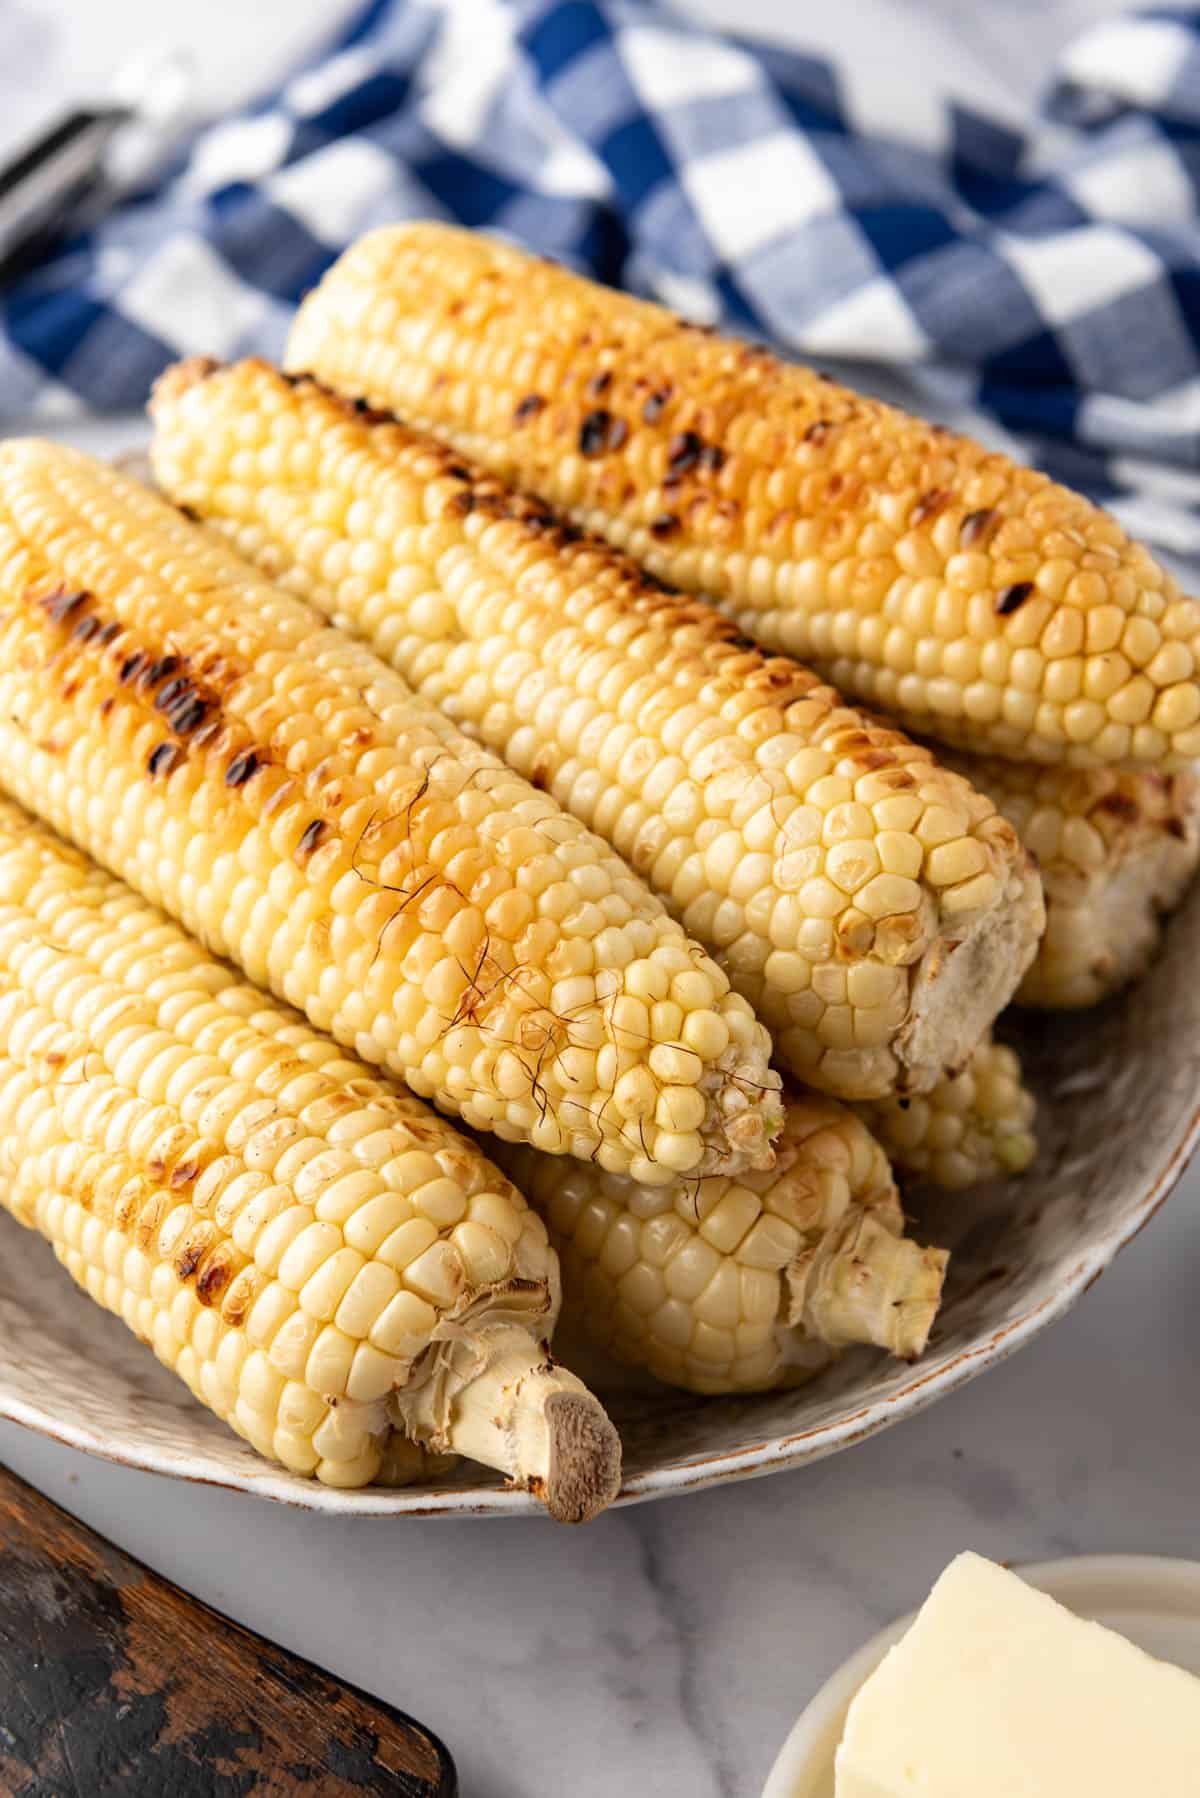
I’m always torn on whether to boil my corn on the cob or grill it. Both have their merits and I use both methods about equally so I figured it was high time I shared my grilled corn on the cob approach. Grilled corn on the cob is always popular at family barbecues, summer picnics, and festive gatherings. The smoky flavor and char marks from the grill enhance the natural sweetness of the corn, making it a crowd-pleaser every time!
The great thing about this grilled corn recipe is its simplicity and versatility. You can prepare it with just a few basic ingredients, and there are endless ways to dress it up with your favorite seasonings and toppings for a more gourmet experience. Whether you’re cooking for a small family dinner or a large summer party, this recipe is a great option that’s sure to impress!
For more of the best corn recipes that make the perfect side dish, check out my Grilled Cactus and Corn Salad, Corn Fritters, Frito Corn Salad, Grilled Mexican Street Corn Dip, and Classic Grilled Corn Salad!
Why We Love This Recipe
- Cooking corn on the grill is quick and easy to prepare with these step-by-step instructions!
- It’s a great way to give your delicious corn a smoky flavor.
- This delicious corn recipe is super versatile, pairing well with various toppings and seasonings!
What You’ll Need
Scroll down to the recipe card below this post for ingredient quantities and full instructions.
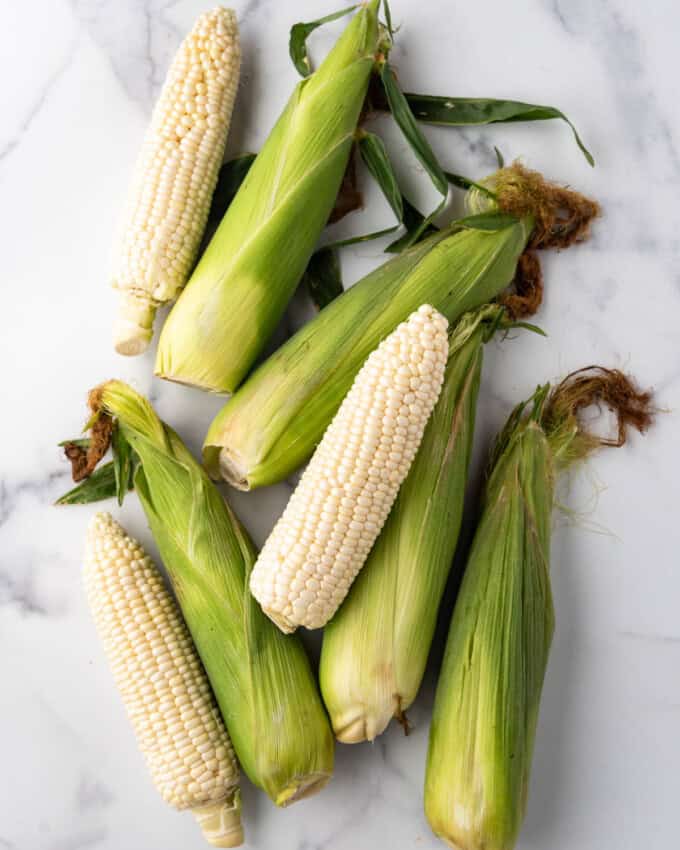
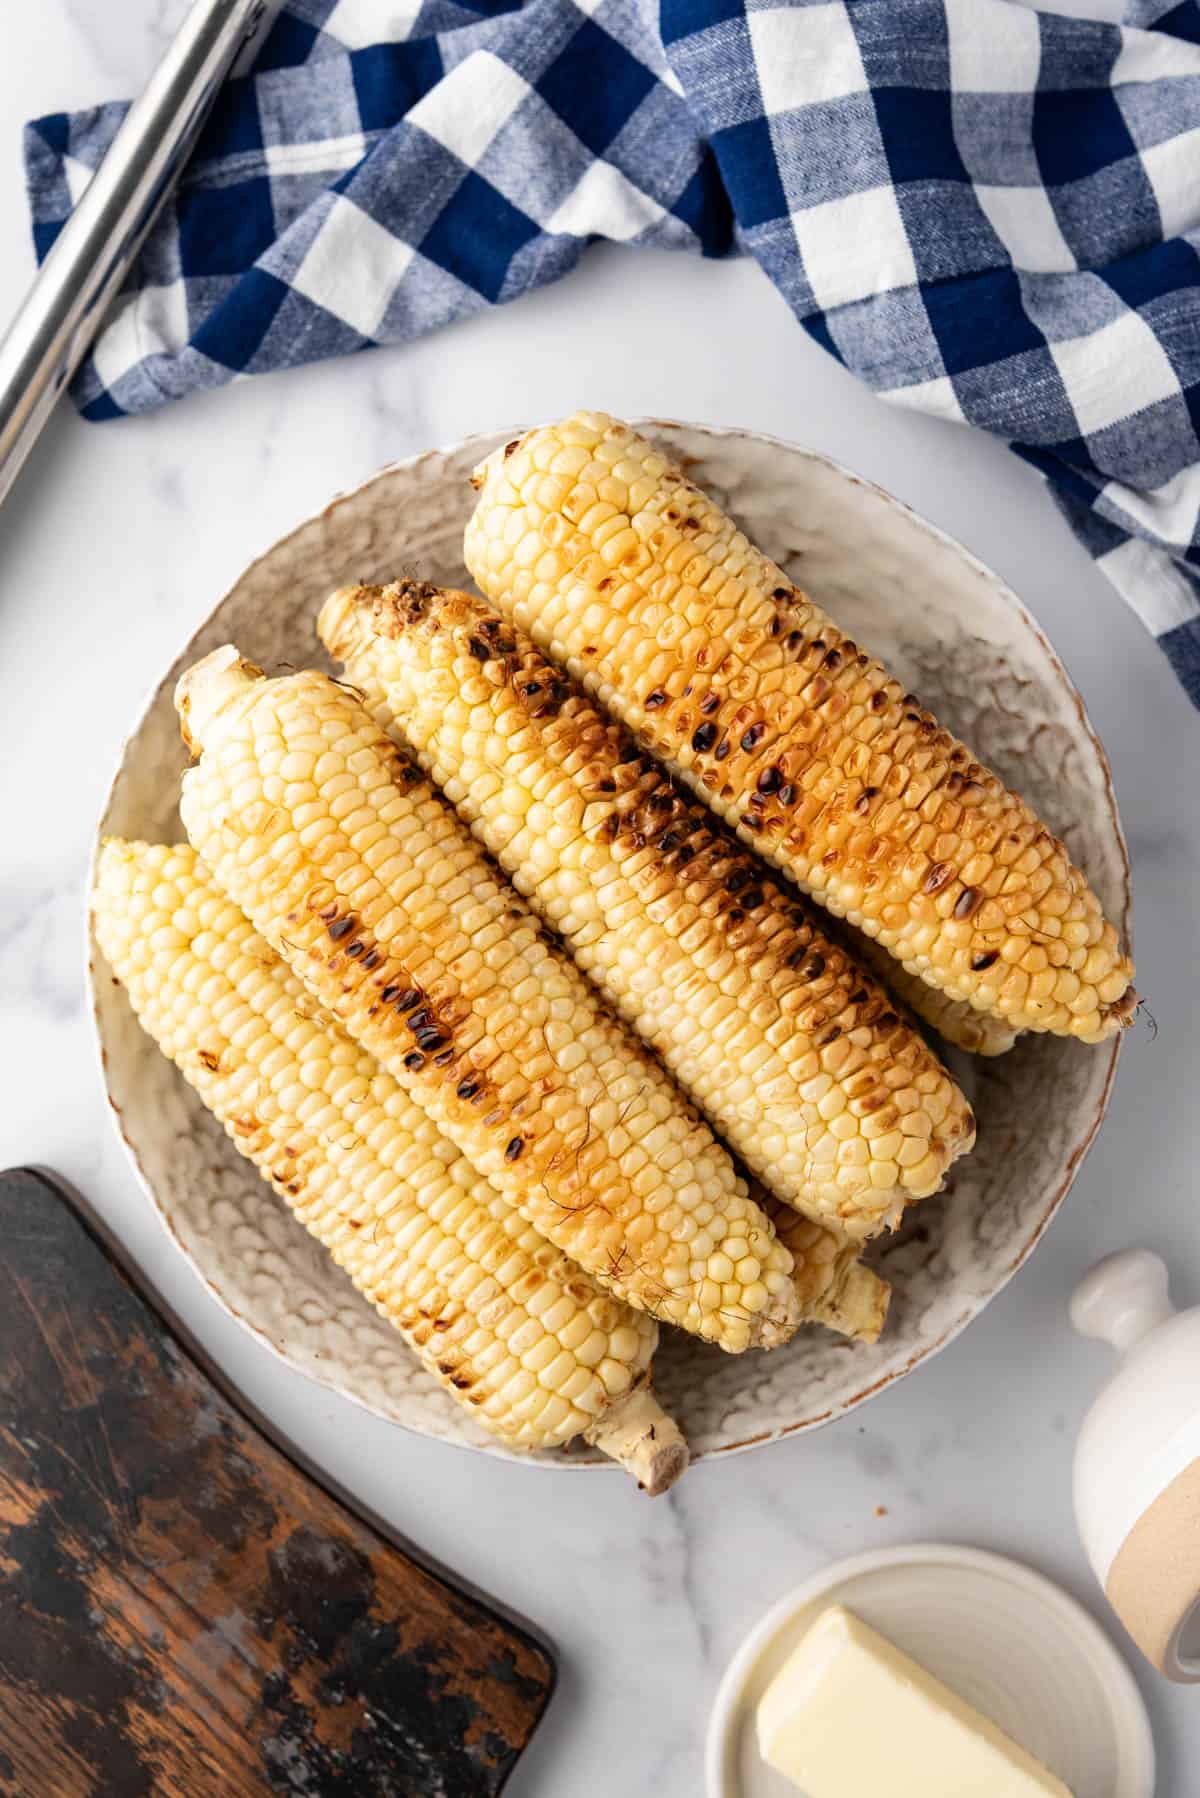
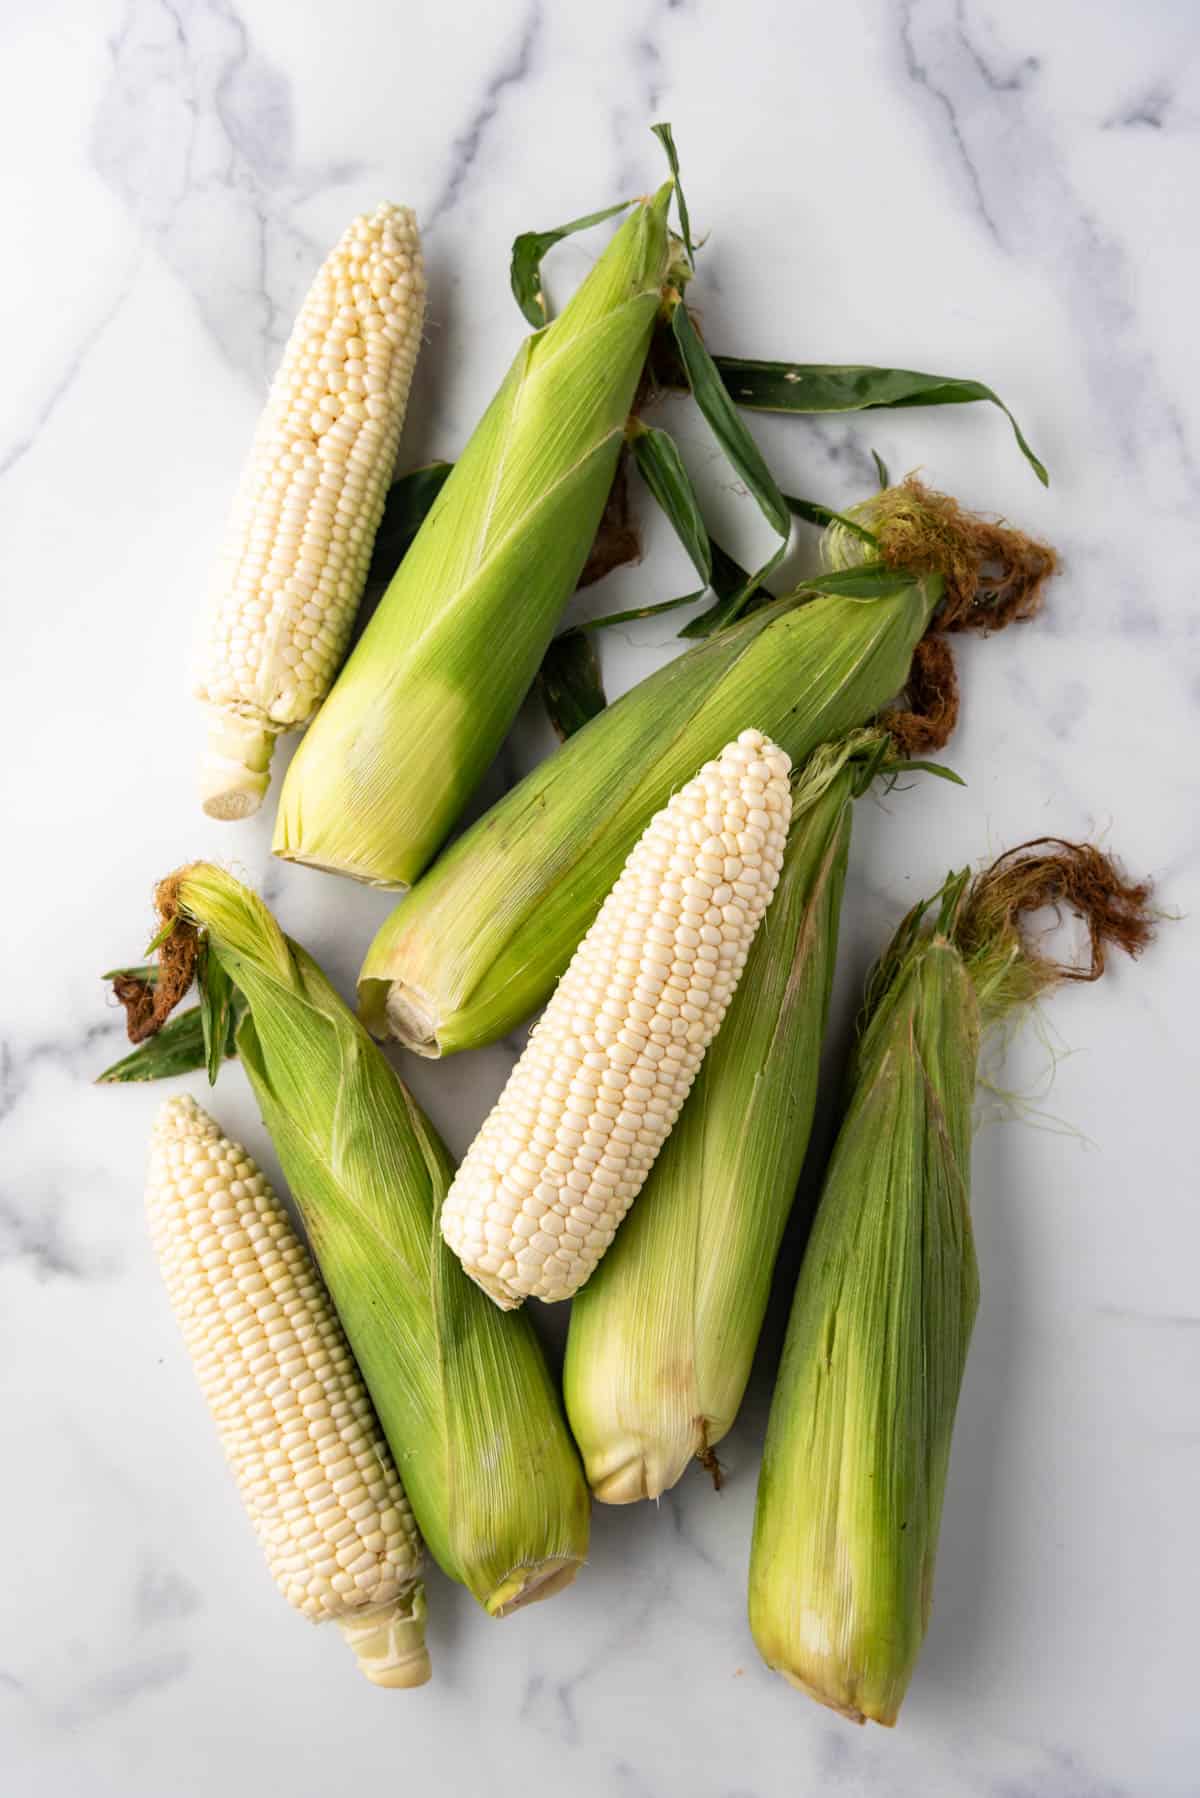
- Ears of Corn – Husk removed for easier grilling and better grill marks.
- Vegetable Oil – Helps to achieve a nice char and prevents sticking.
- Salted Butter – Adds a rich, buttery flavor that is the perfect compliment to the sweet summer corn.
- Salt and Pepper – Enhances the natural sweetness of the corn.
- Optional: Chili powder, cotija cheese, lime juice – For a Mexican street corn variation.
How to Make the Best Grilled Corn on the Cob
- Prepare corn. The first step is to remove the husks and silk from each of the whole corn cobs. When I was a kid this was always my favorite job and now my girls love when I assign them this task too. Brush each ear of raw corn with vegetable oil to prevent sticking and to help achieve a nice char.
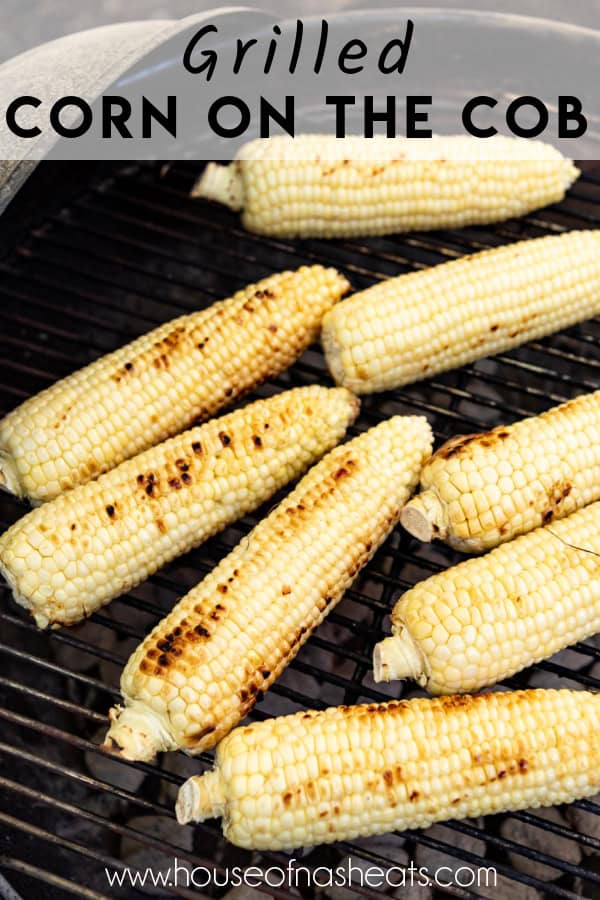
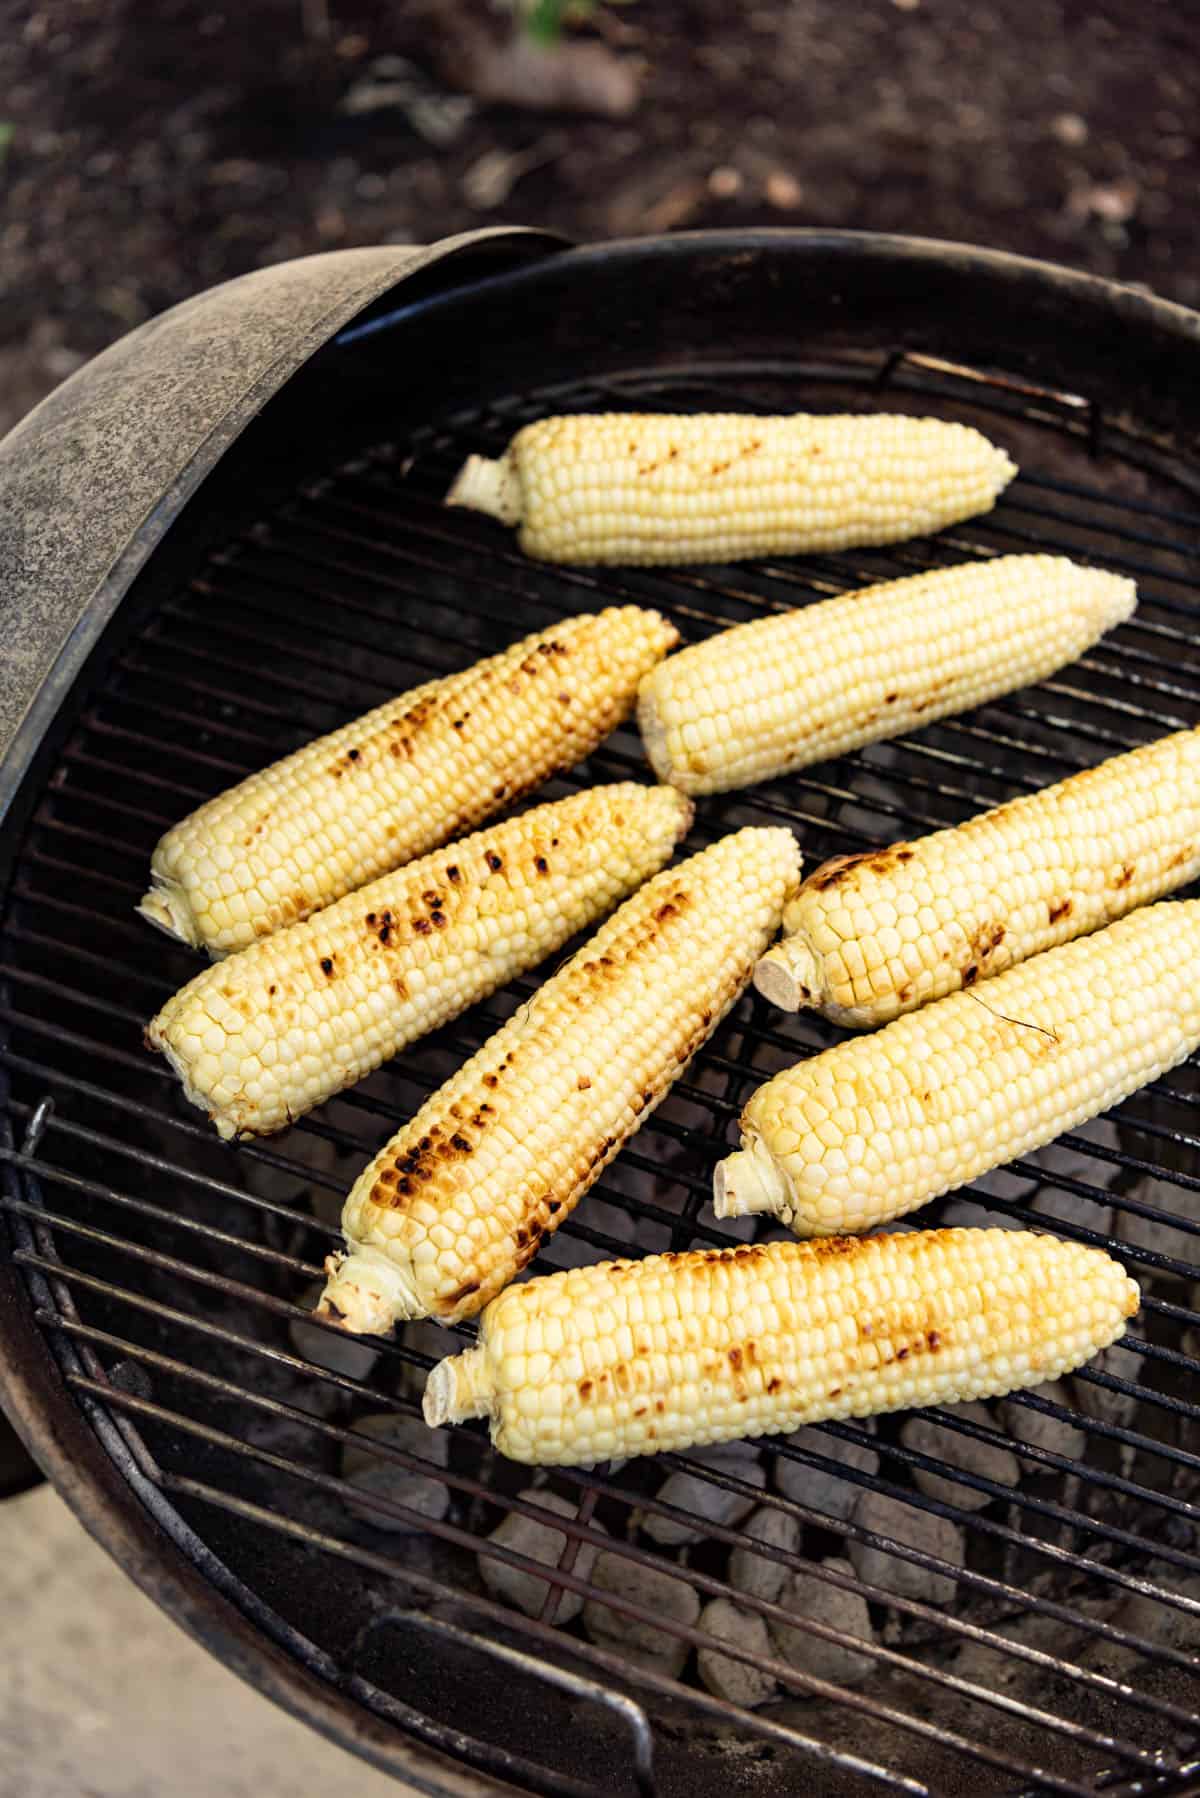
- Heat grill. Preheat your charcoal grill to medium-high heat, around 300 to 350°F. The medium-hot grill temperature is ideal for cooking the corn evenly without burning.
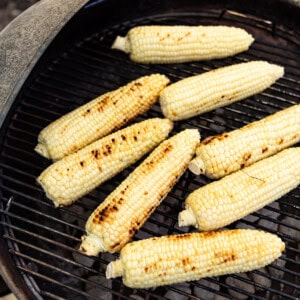
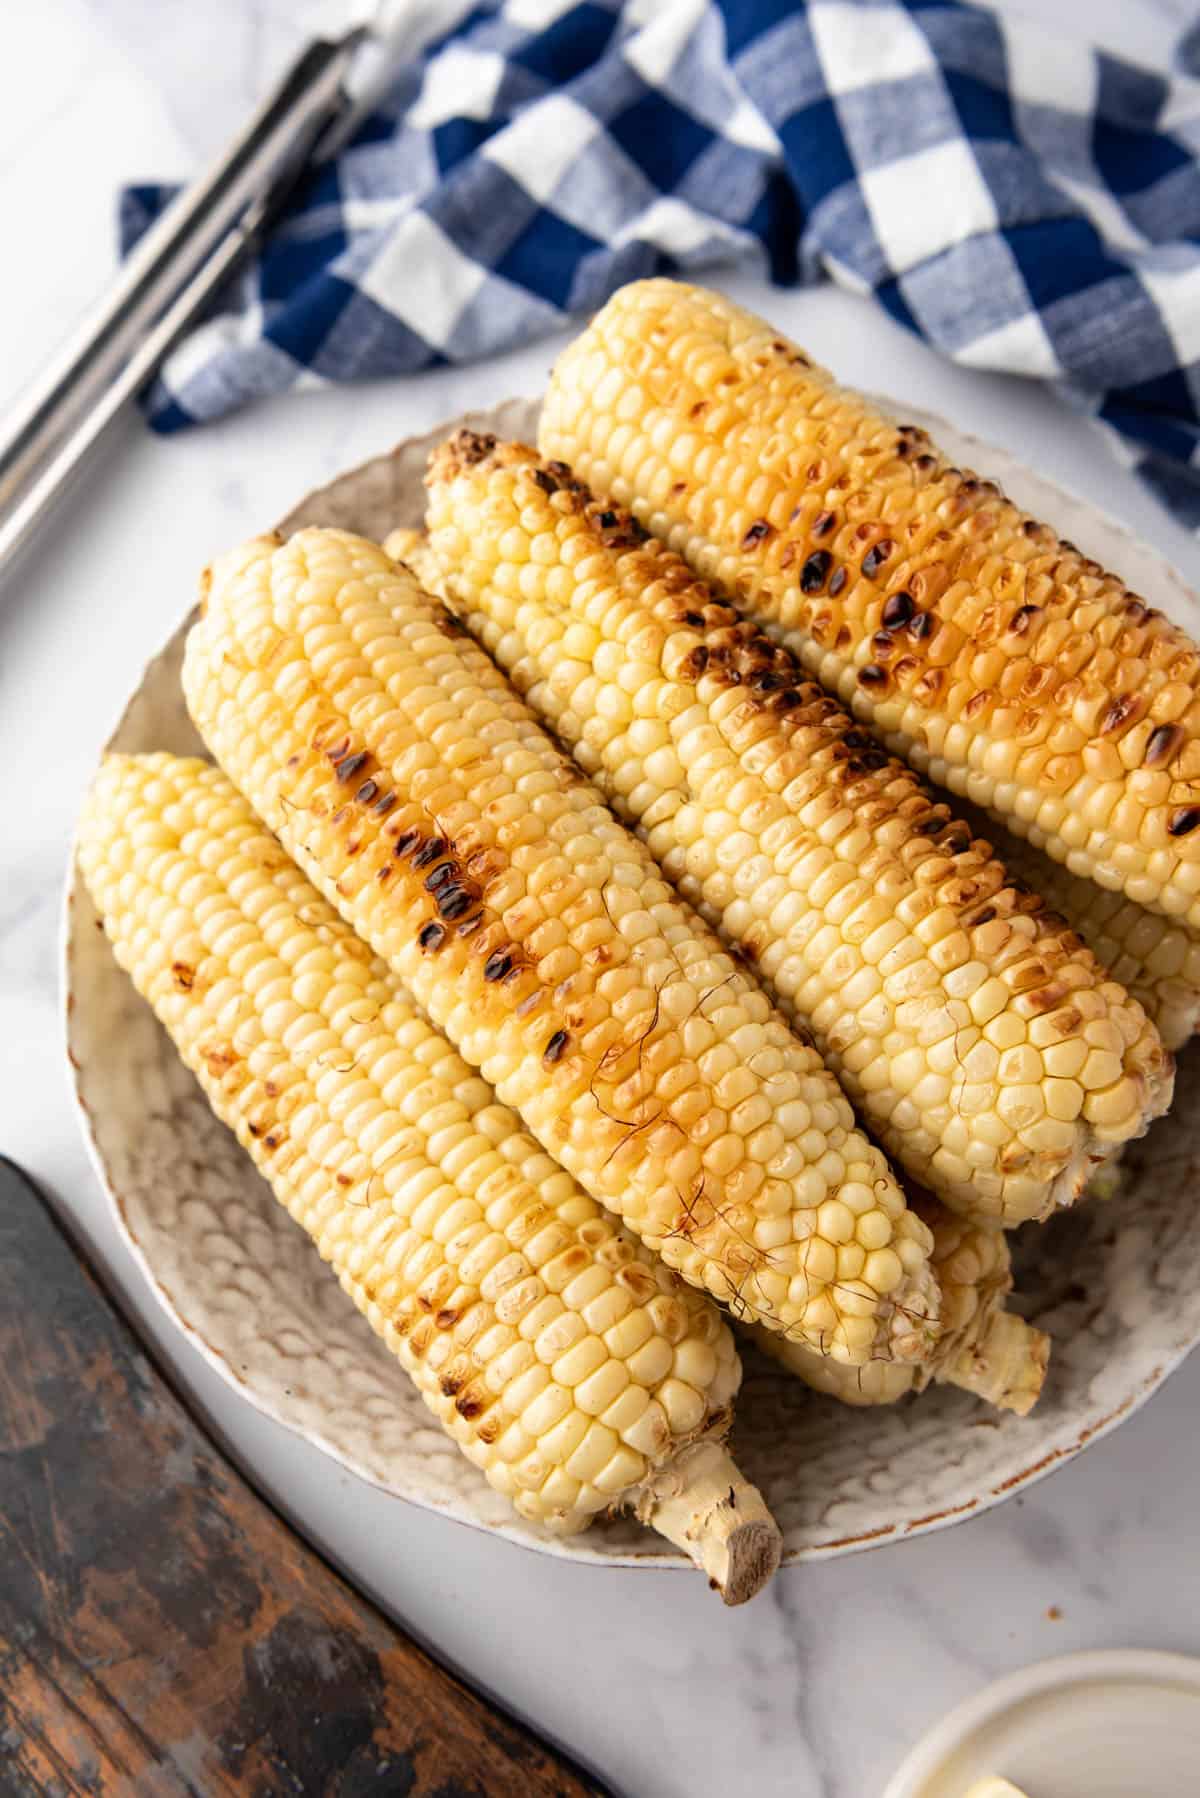
- Grill corn. Place corn on the hot grill grates and close the cover. Cook corn for 2-3 minutes, then use tongs to rotate the ears a quarter turn. Continue cooking, rotating every three minutes until the corn is cooked on all sides, about 10 minutes total depending on how charred you like your corn, how hot your grill is, etc.
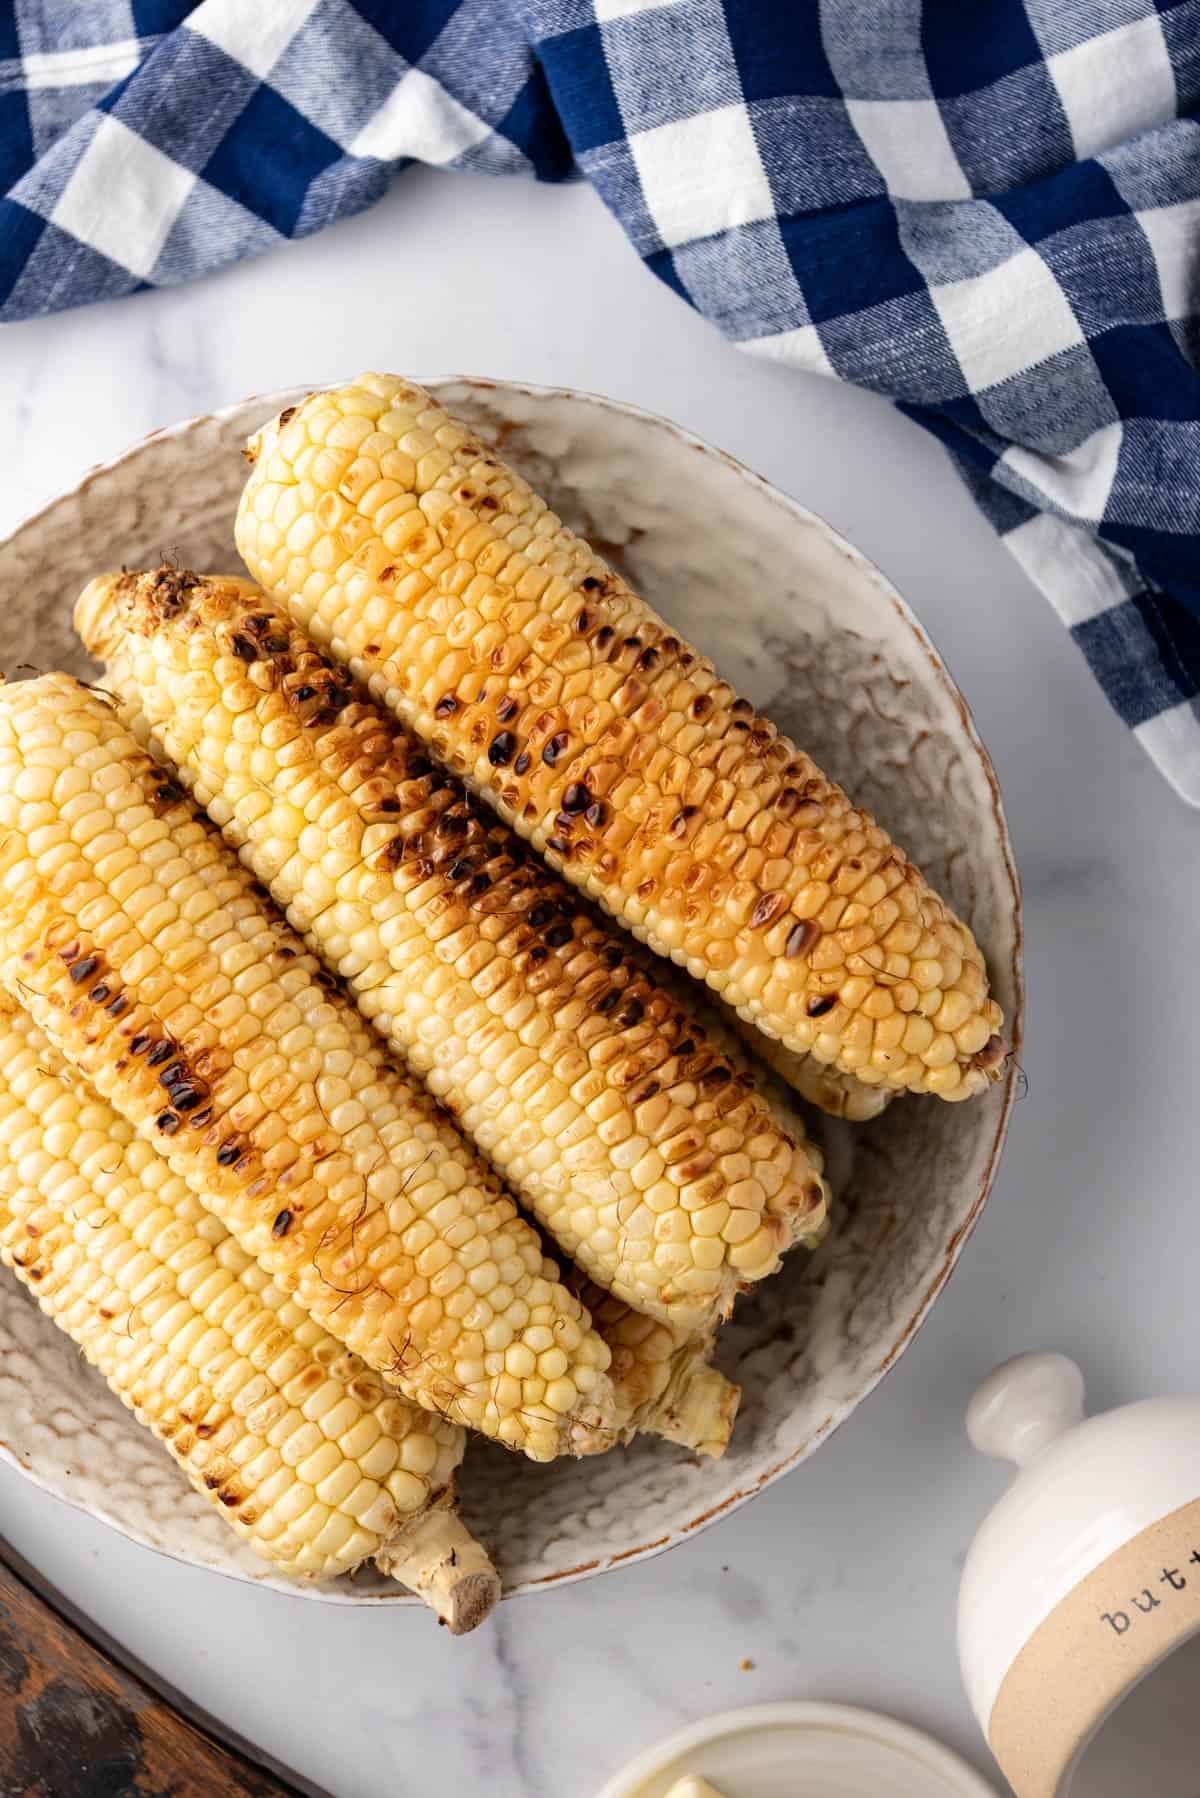
- Serve. Remove the corn from the grill and serve immediately. Brush with melted butter and sprinkle with salt and pepper. For a flavor boost, add chili powder, cotija cheese, and a squeeze of lime juice.
Recipe FAQ’s
Yes, you can grill frozen corn, but it may take a bit longer to cook through.
The corn is done when it is tender, the color is bright yellow to golden brown, and has nice grill marks all over.
Yes, some folks prefer grilling corn with the husks on to steam the corn, but you won’t get the same kind of char or charcoal flavor to the corn as grilling with the husks removed. If you want to try the husks on method, I recommend peeling back the outer leaves, removing the fibrous hairs, then pulling the leaves back up to cover the corn.
Try garlic butter, parmesan cheese, or a sprinkle of smoked paprika for different flavors.
Store grilled corn in an airtight container in the refrigerator for up to 3 days.
Tips for Success
- Use fresh corn for the best flavor and texture.
- Brushing the corn with oil is the best way to prevent sticking and to achieve a nice char.
- Rotate the corn every few minutes for even cooking.
- Experiment with different seasonings and toppings to suit your taste.
What to Serve with Grilled Corn on the Cob
Grilled corn on the cob pairs wonderfully with a variety of dishes.
Serve it alongside grilled meats like a grilled ribeye steak, fireman’s chicken, or my Uncle Richard’s famous brown sugar smoked ribs.
It also goes well with fresh salads, baked beans, and other summer favorites.
Substitutions and Variations
- Vegetable oil can be substituted with canola oil, olive oil, or melted butter.
- Use unsalted butter if preferred, and add a bit more salt to taste.
- For a different flavor, try smoked paprika and parmesan cheese instead of chili powder and cotija cheese.
- Lemon juice can also be used instead of lime juice for a citrusy kick.
More Grilling Recipes You’ll Love
- Sriracha Mayo Marinated Grilled Lamb Chops
- Grilled Cilantro Lime Chicken Thighs
- Easy Grilled Shrimp Skewers
- Grilled Peach Salad
- Perfect Grilled Pork Chops with Sweet BBQ Pork Rub
- Juicy Grilled Turkey Burgers
- BBQ Tri Tip (Grill Recipe)
- Burgers 101: How to Grill Burgers
Grilled Corn on the Cob Recipe
Ingredients
- 6 ears of corn husks removed
- 2 tablespoons vegetable oil

Instructions
- Remove the husks and silk from each ear of corn. Brush each ear of corn with oil.6 ears of corn, 2 tablespoons vegetable oil
- Heat the grill to between 300 to 350°F. Carefully place each ear of corn on the hot grill grates and close the cover.
- Cook for 2-3 minutes, then use tongs to rotate the ears ¼ turn. Cover again and continue to cook, rotating the corn a quarter turn every three minutes until cooked on all sides.
- Remove from the grill and serve immediately with salted butter, salt, and pepper, for seasoning.
Notes
- Store: Wrap each ear in plastic wrap or aluminum foil, then place in an airtight container in the refrigerator for up to 3 days.
- Freeze: Remove corn kernels and place them in a freezer-safe bag, removing as much air as possible, and store in the freezer for up to 3 months.
- Reheat: Place in a microwave-safe dish, cover with a damp paper towel, and microwave for 1-2 minutes, or reheat on the grill.

