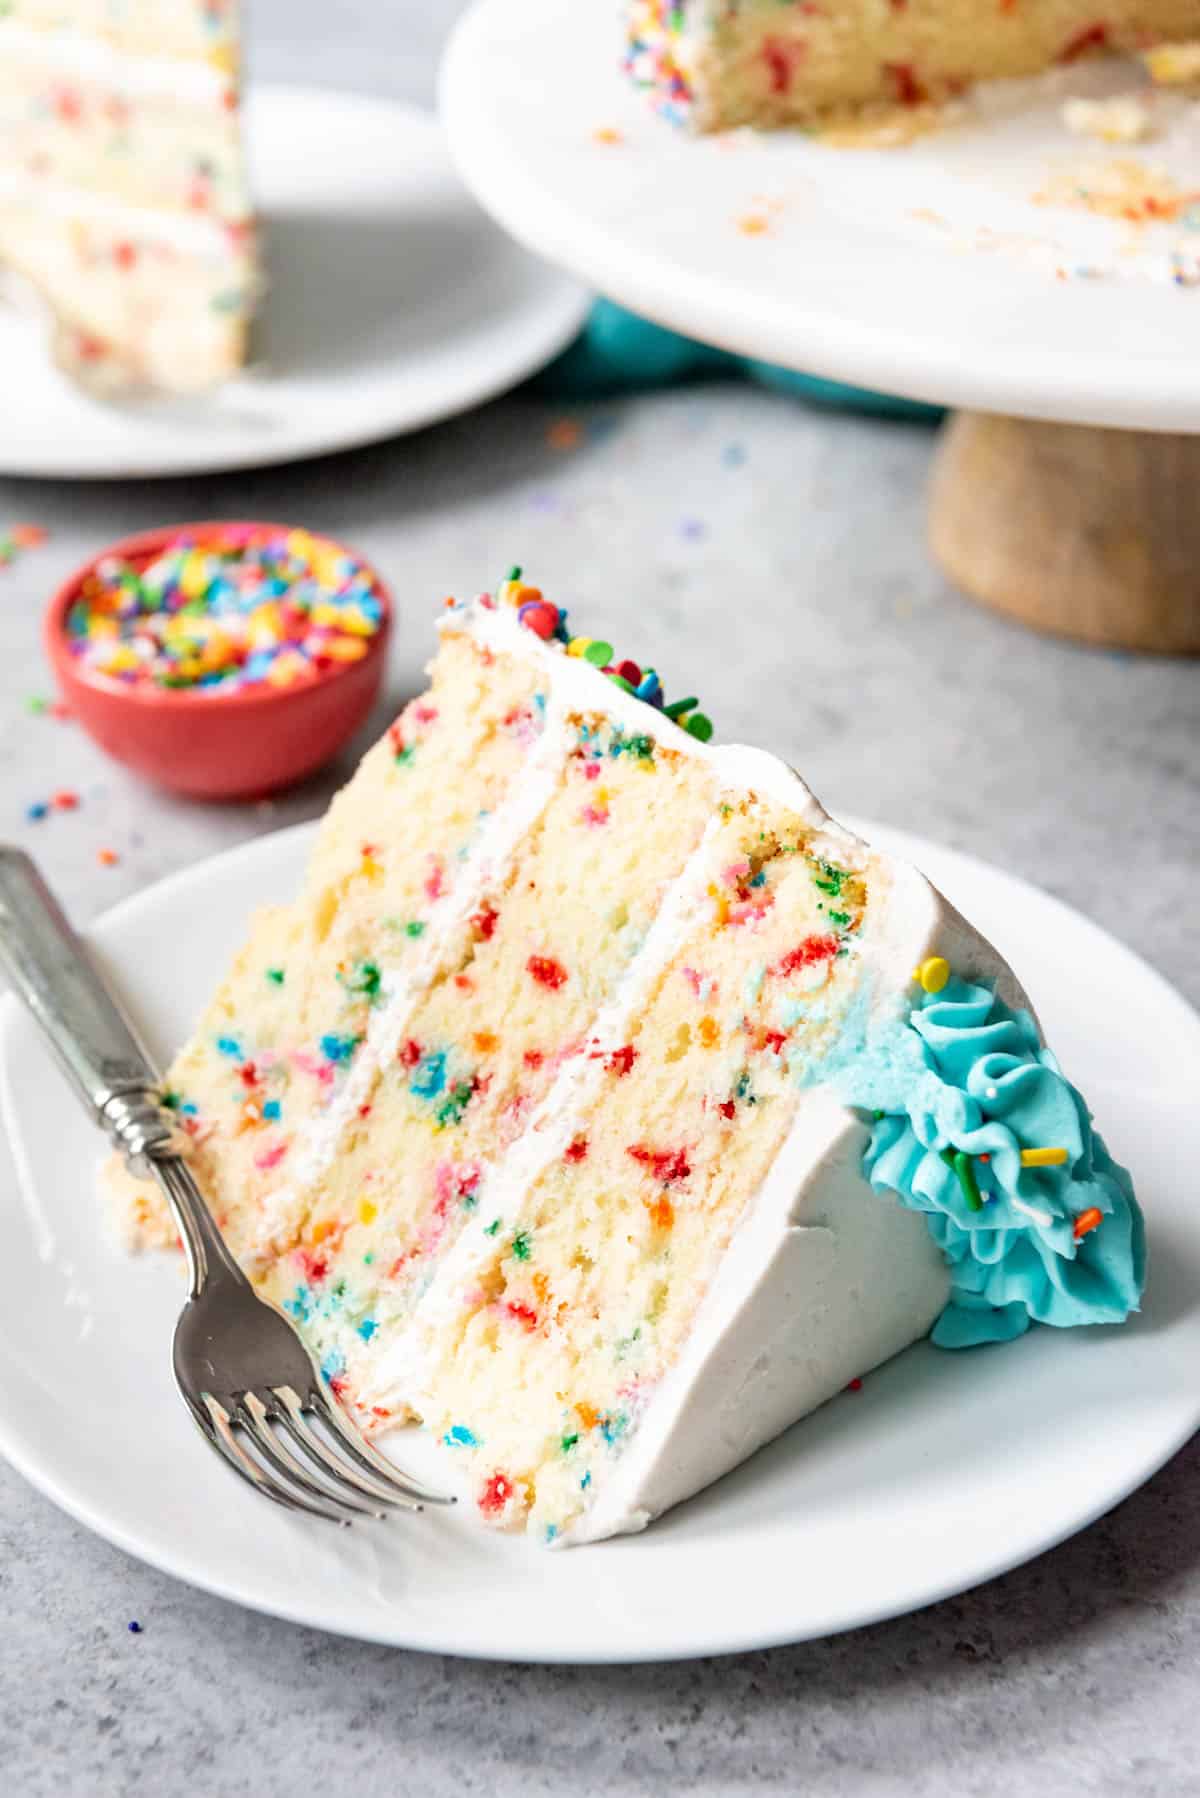
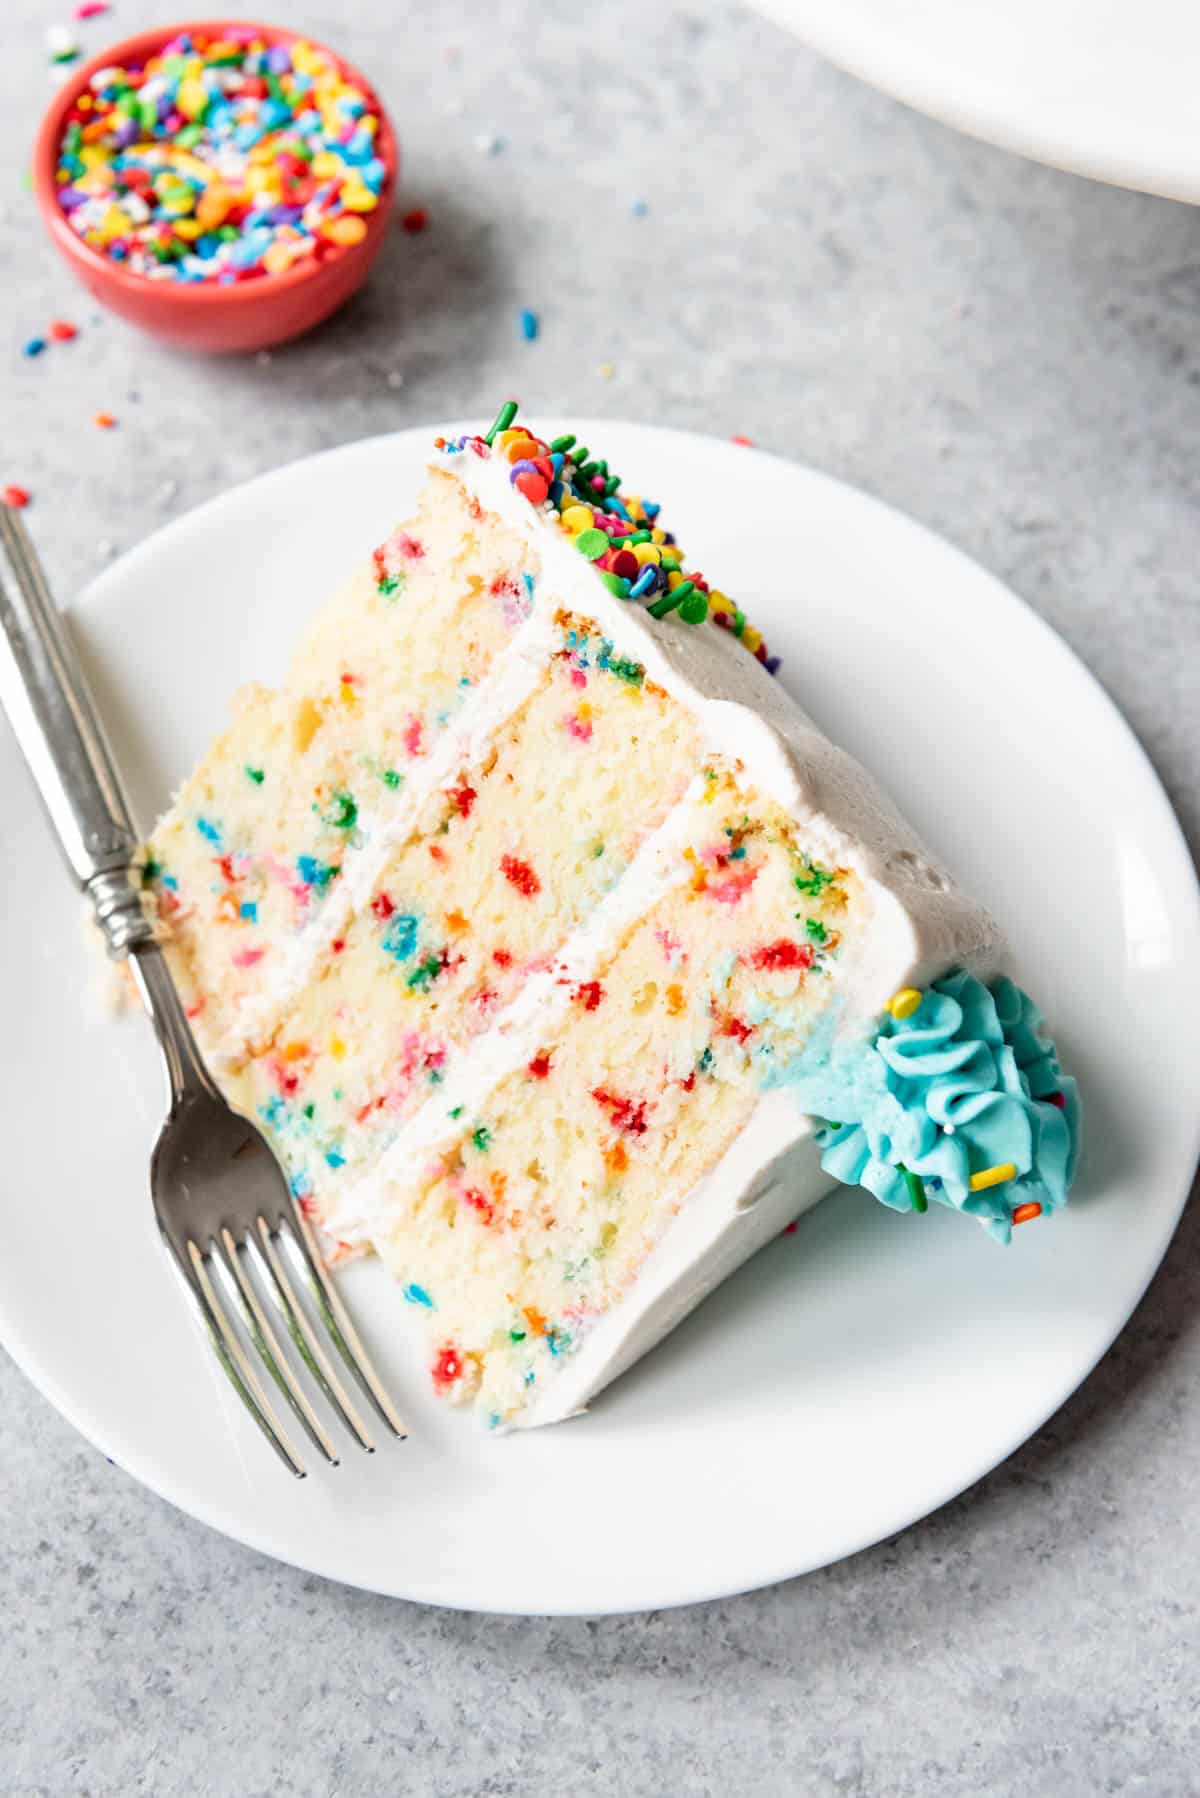
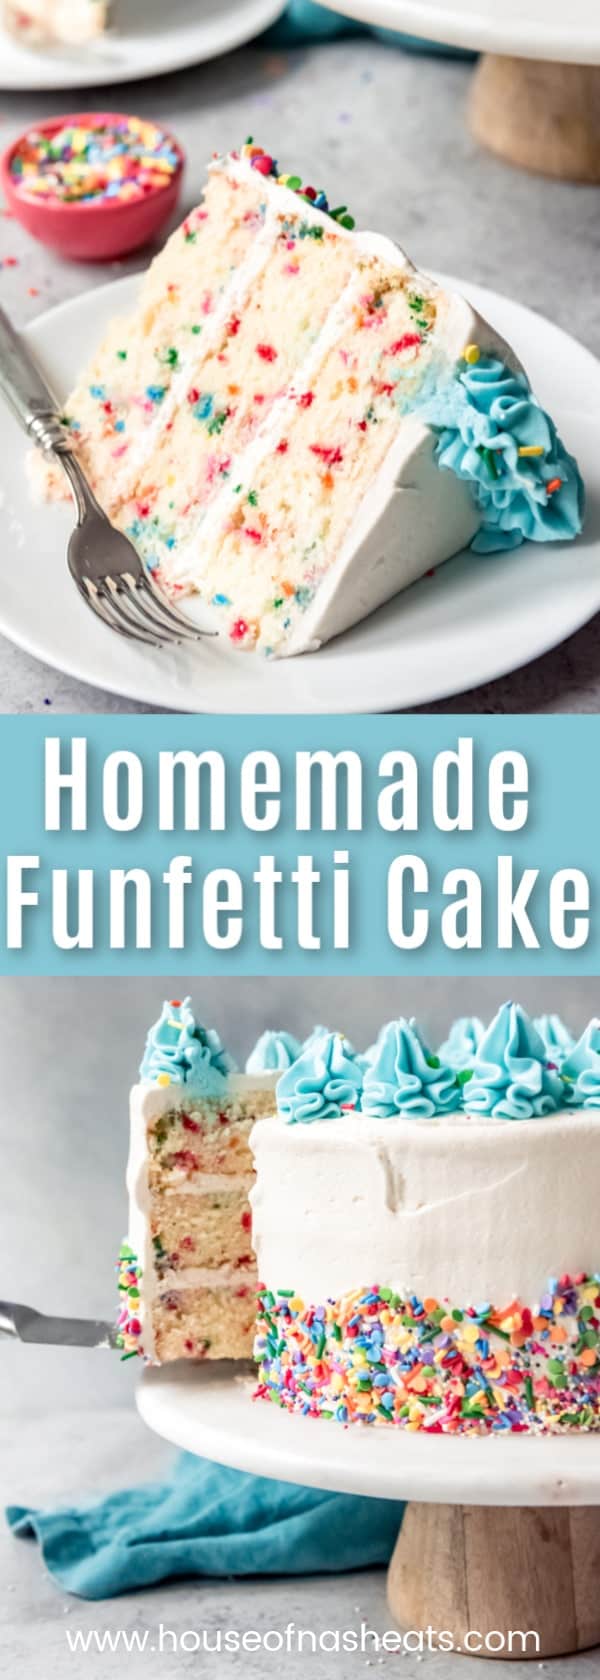
Ditch the box mix and make this homemade Funfetti Cake recipe from scratch! It’s a super moist and fluffy vanilla cake with rainbow sprinkles throughout, topped with creamy vanilla frosting and even more confetti sprinkles!
If you just can’t get enough of Funfetti cake, you might also like these soft rainbow sprinkle Funfetti Whoopie Pies or these Funfetti Cookies!
Table of Contents
I love funfetti cake, confetti cake, sprinkle cake, or whatever you want to call it! It’s been a favorite since childhood, and it’s so perfect for birthdays and other celebratory occasions. And while I love the over-the-top awesomeness that is the Momofuku Milk Bar Birthday Cake, this is the funfetti cake recipe that we make most often.
This funfetti cake starts with a vanilla base with rainbow jimmies mixed in right at the end. It’s so moist and fluffy with butter and vanilla notes, a nice sturdy crumb, and that unmistakable funfetti flavor that everybody loves because not only is it delicious but it reminds us of our childhoods.
Why We Love This Recipe
- Customize this fun cake by decorating it with different colored frosting and sprinkles on top!
- Made with simple but fresh ingredients, it’s a great recipe to have on hand.
- This easy Funfetti cake recipe tastes even better than the box mix, but still has the same recognizable flavor!
What You’ll Need
Scroll down to the recipe card below this post for ingredient quantities and full instructions.
For the Cake:
- Butter AND shortening – We’re using both for a truly superior taste and texture. Make sure your butter is at room temperature before you begin.
- Flour – Cake flour is best for this recipe in order to get that super light, fluffy texture but you can use all-purpose flour or the cake flour substitute in the recipe notes in a pinch.
- Sugar – Use white granulated sugar to ensure your cake is white.
- Vanilla Extract – Use clear vanilla extract if you have it for more of a box mix taste, but regular vanilla extract is fine too.
- Sprinkles – Funfetti means rainbow sprinkles! You can use other types of sprinkles though to create a holiday version.
- Eggs – Use large eggs that are at room temperature.
- Buttermilk – This will ensure your cake is super moist!
- Baking powder & baking soda – Use both for an extra fluffy cake.
- Salt – Enhances all the flavors.
For the Frosting:
- Salted butter – Make sure the butter is softened to make mixing it easier.
- Powdered sugar – Also known as confectioner’s sugar.
- Heavy cream – Use heavy cream for the creamiest frosting, but you can use low-fat cream or whole milk if you prefer.
- Vanilla – Use clear vanilla extract for the whitest frosting.
- Salt – Enhances the flavors of the frosting.
- Rainbow sprinkles – For decorating.
How to Make Funfetti Cake
Prep. Firstly, preheat your oven to 350°F and line three 9-inch cake pans with circles of parchment paper on the bottom, and spray the sides with baking spray.
Mix dry ingredients. To make the cake batter, whisk the flour, baking powder, baking soda, and salt together in a large mixing bowl. Set aside.
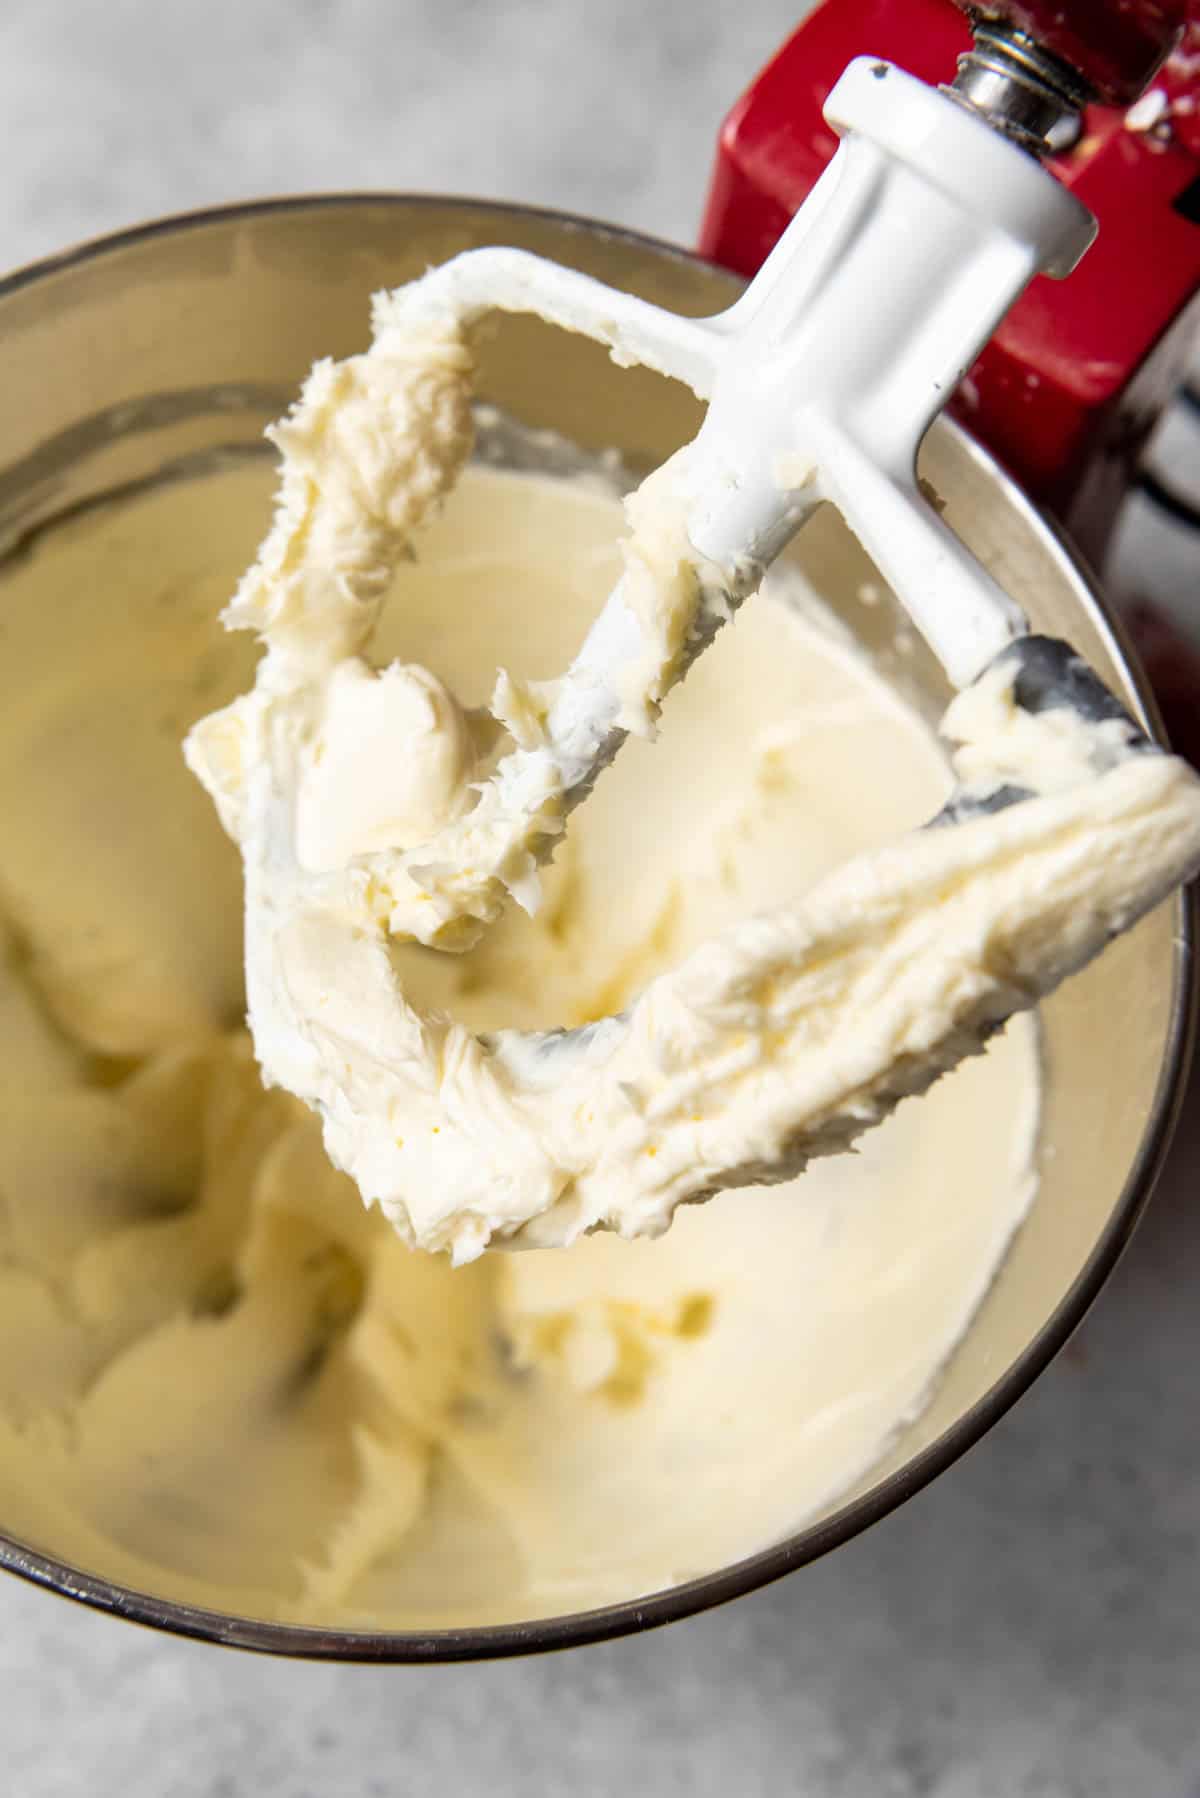
Add butter and shortening. In a separate bowl, beat the butter and shortening on high speed for 1 minute until smooth and creamy. If you’re using a stand mixer, keep it running on low speed, add in the sugar, then beat together on high speed for 5 minutes until light.
Add eggs. Next, mix in the eggs and egg whites one at a time, beating well after each addition. Add in the vanilla extract and scrape the sides of the bowl to make sure you’re using all the ingredients.
Combine mixes. Add the flour mixture and buttermilk to the butter mixture in the stand mixer. Alternate between the dry ingredients and the buttermilk, adding ½-⅓ of each, each time, and mixing between additions until it’s just incorporated. Do not overmix.
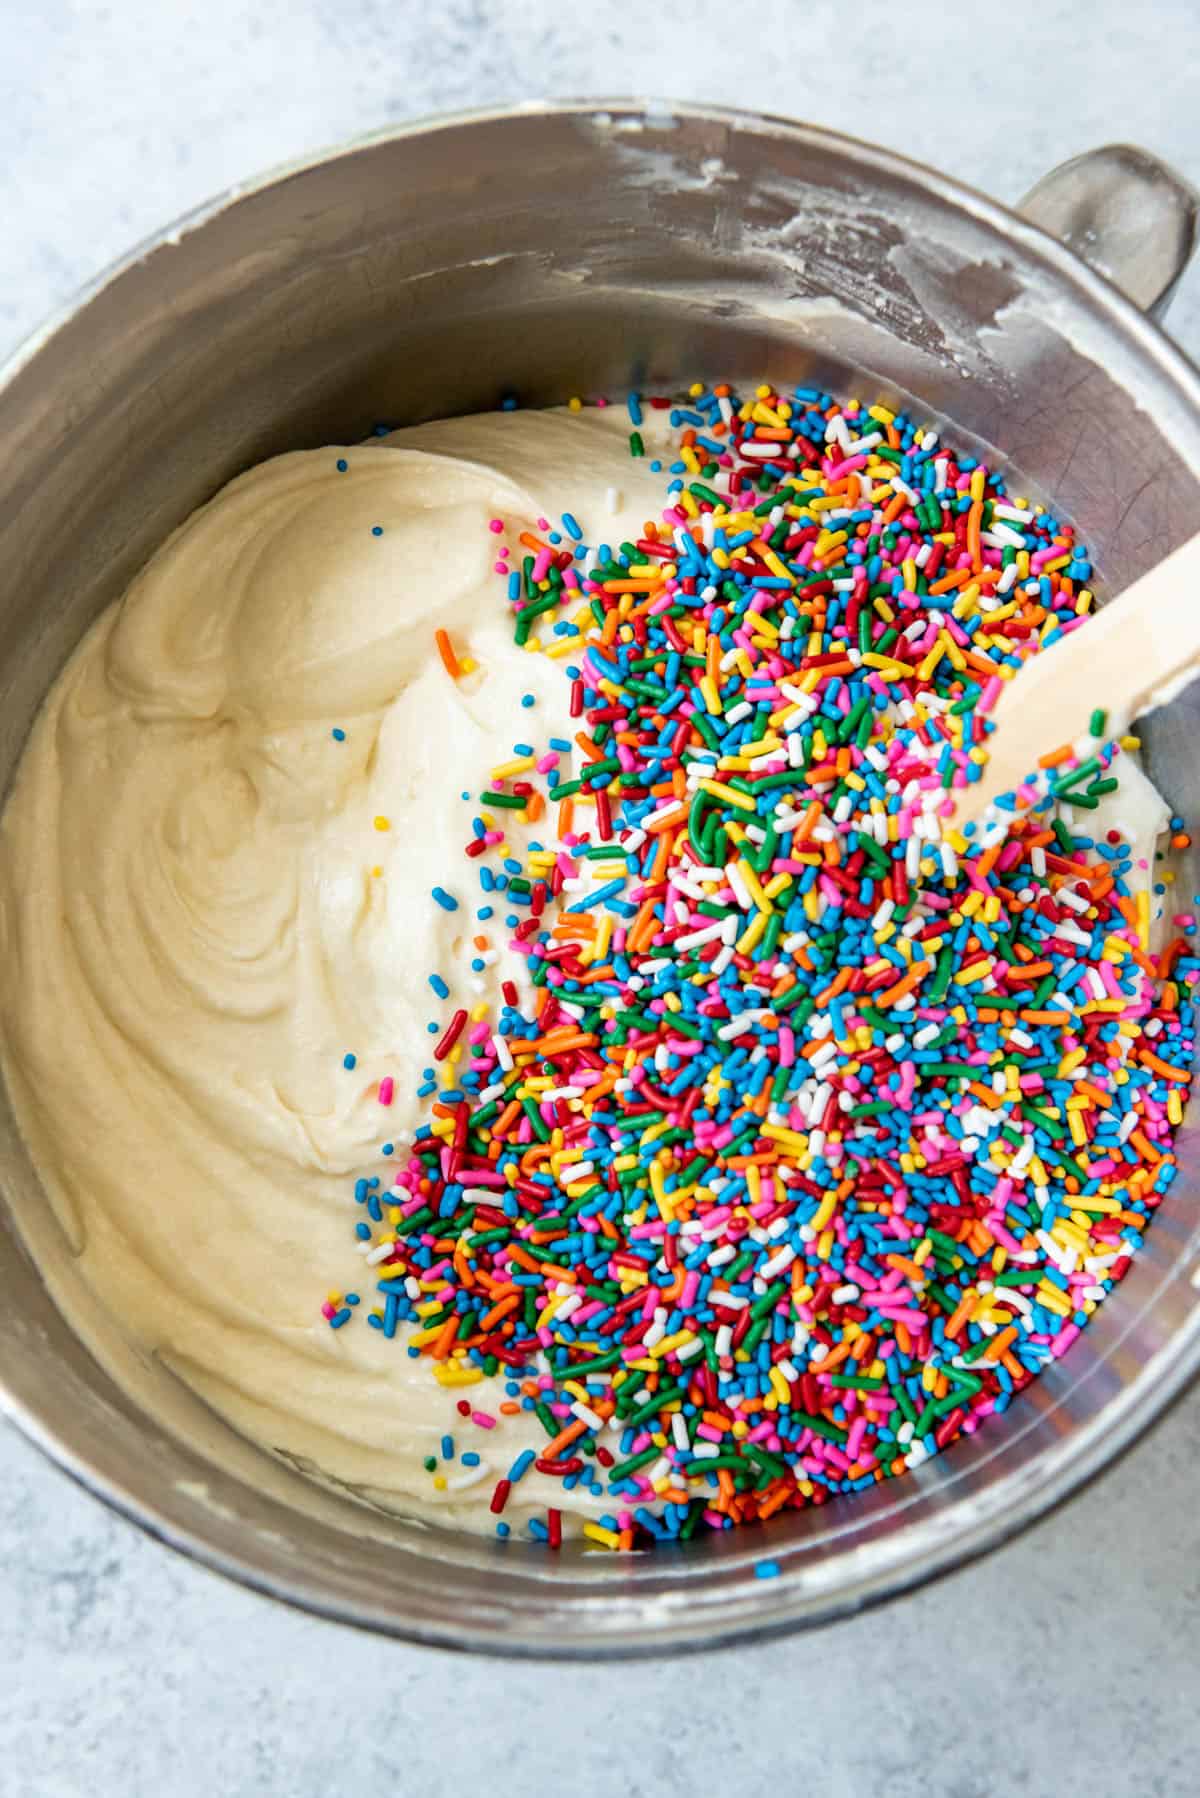
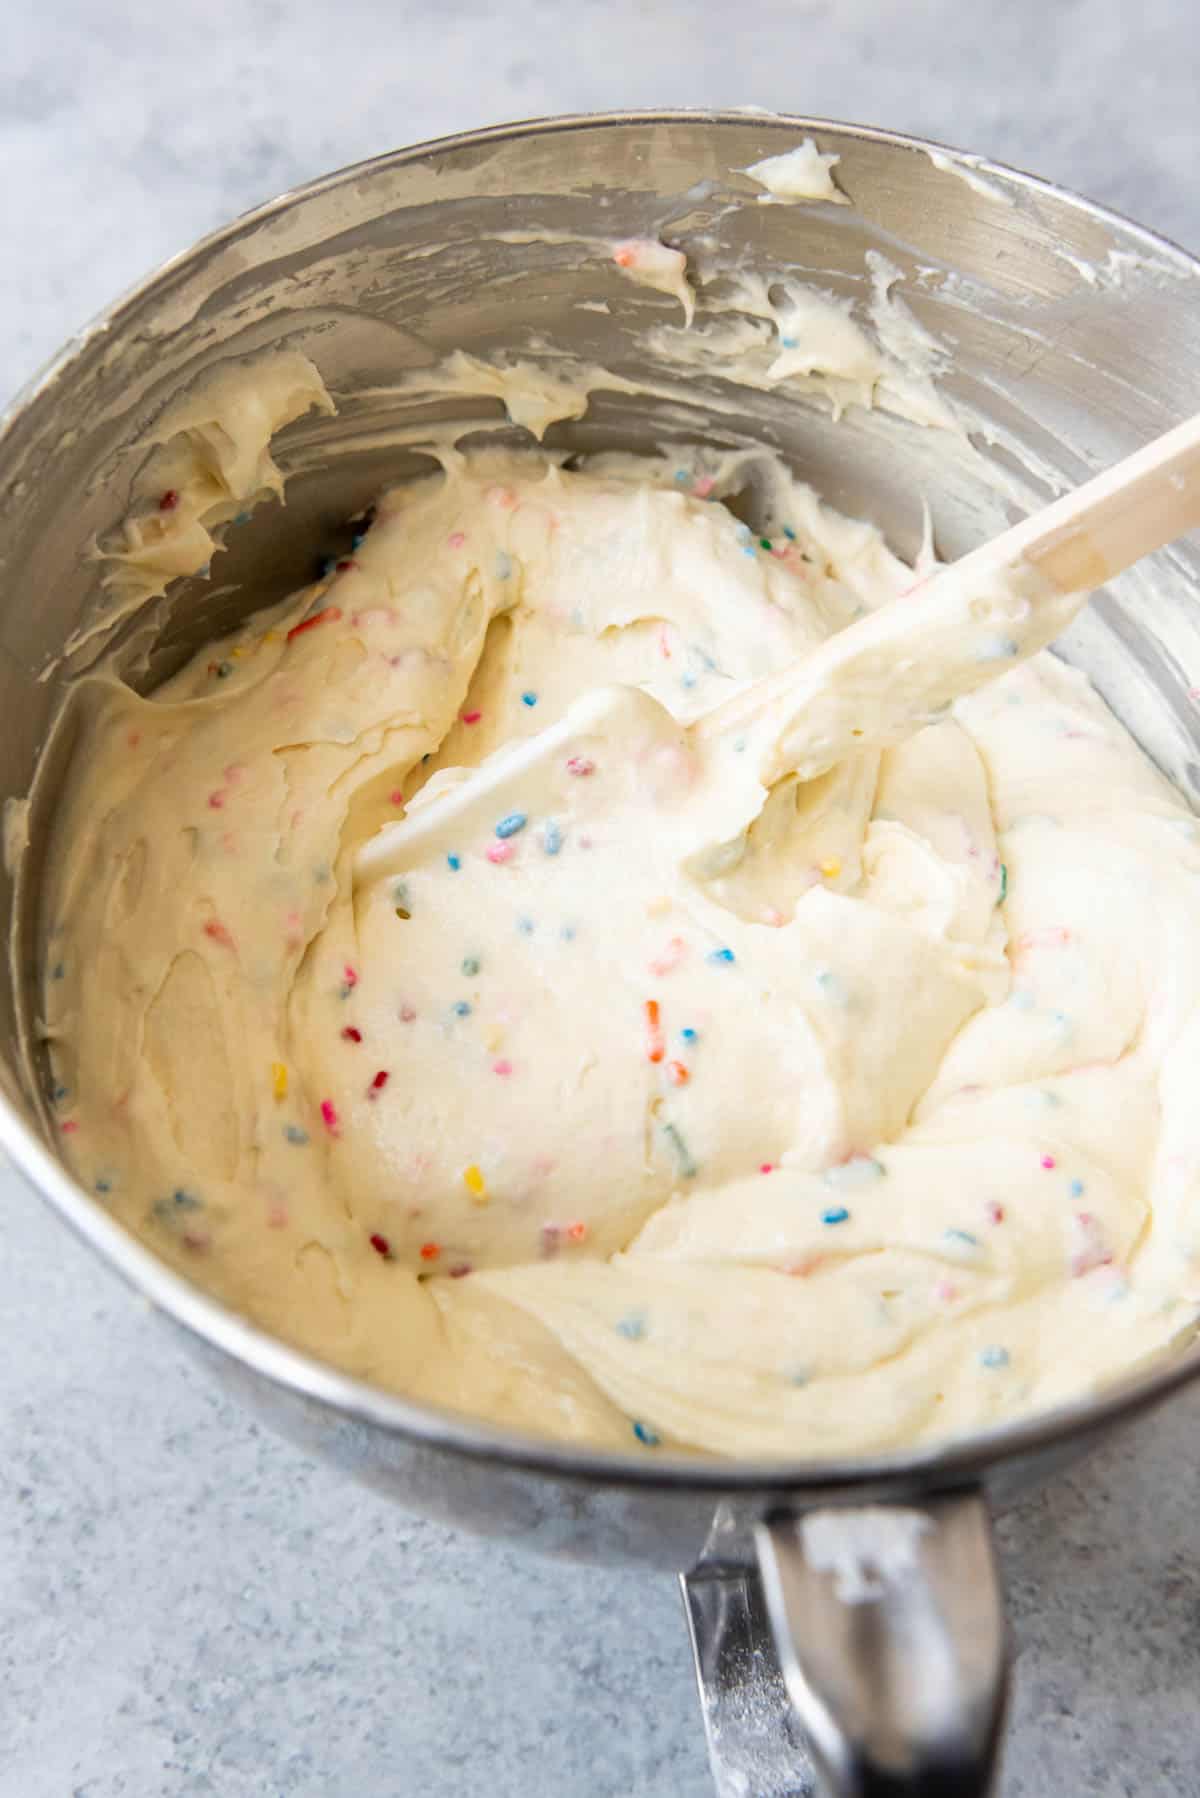
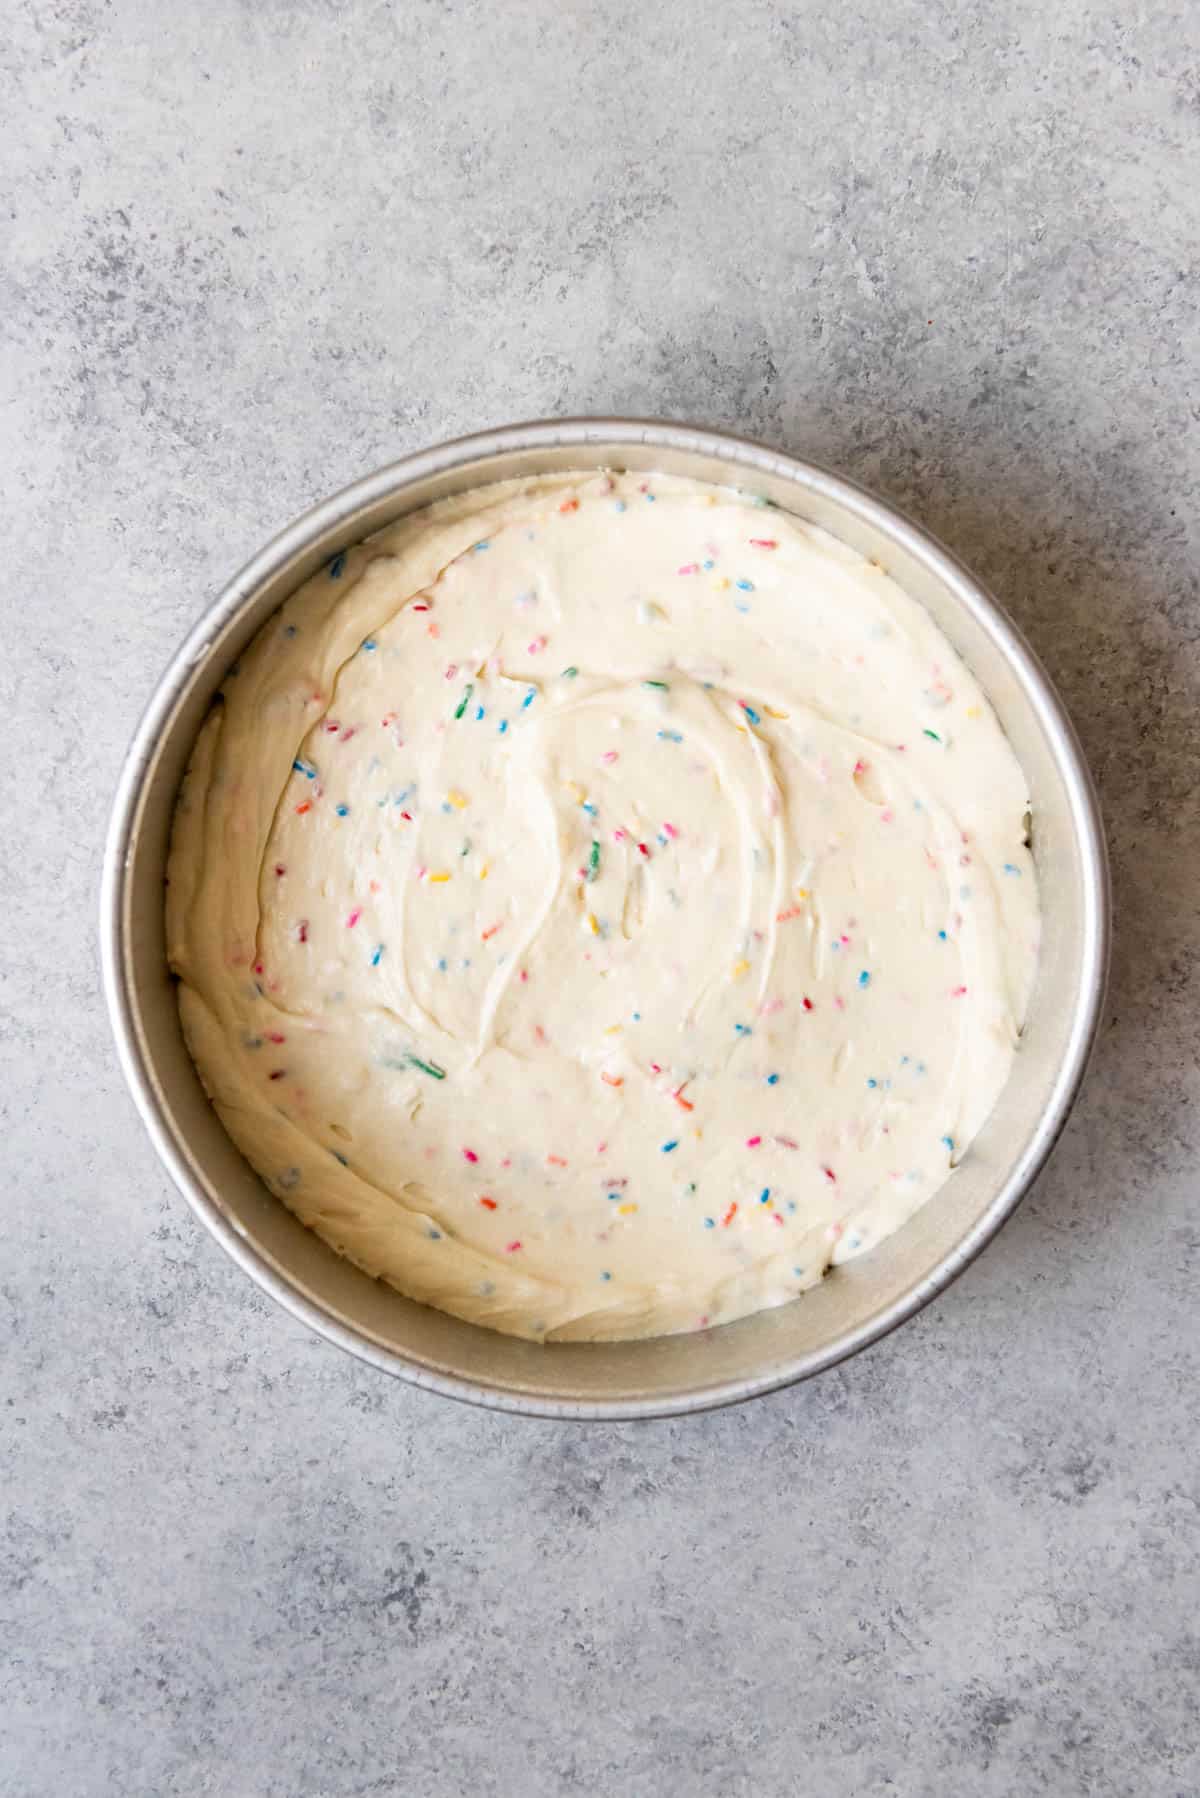
Add sprinkles. Next, use a spatula to gently fold the sprinkles into the batter. Divide evenly between the prepared cake pans.
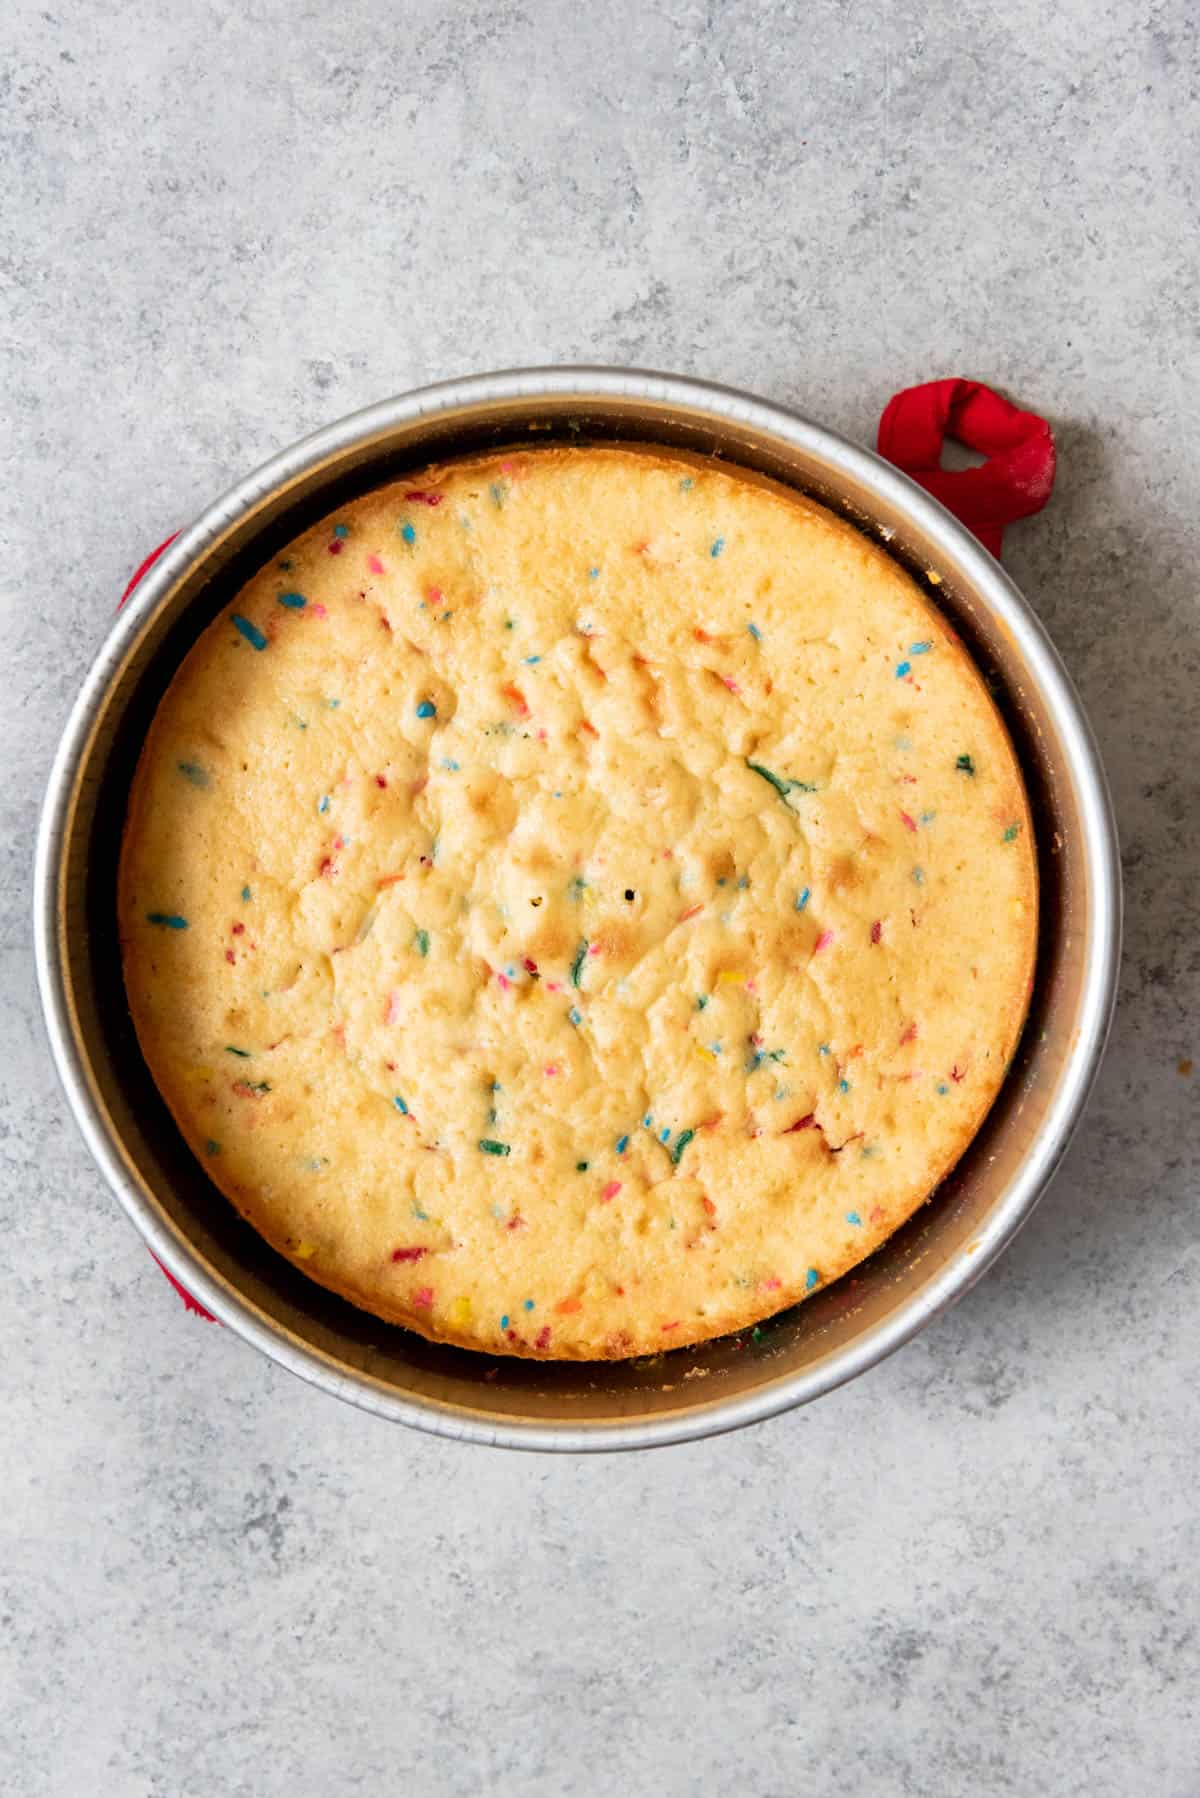
Bake. Bake for 25-28 minutes, or until the cakes are baked through. To test for doneness, insert a toothpick or sharp knife into the center of each layer. It should come out clean or with just a few moist crumbs if the cake is done.
Cool. Let the cakes cool for 5-10 minutes in the pans before turning them each out onto a wire rack to cool completely. Do not try to assemble and frost the layer cake before the layers are completely cool.
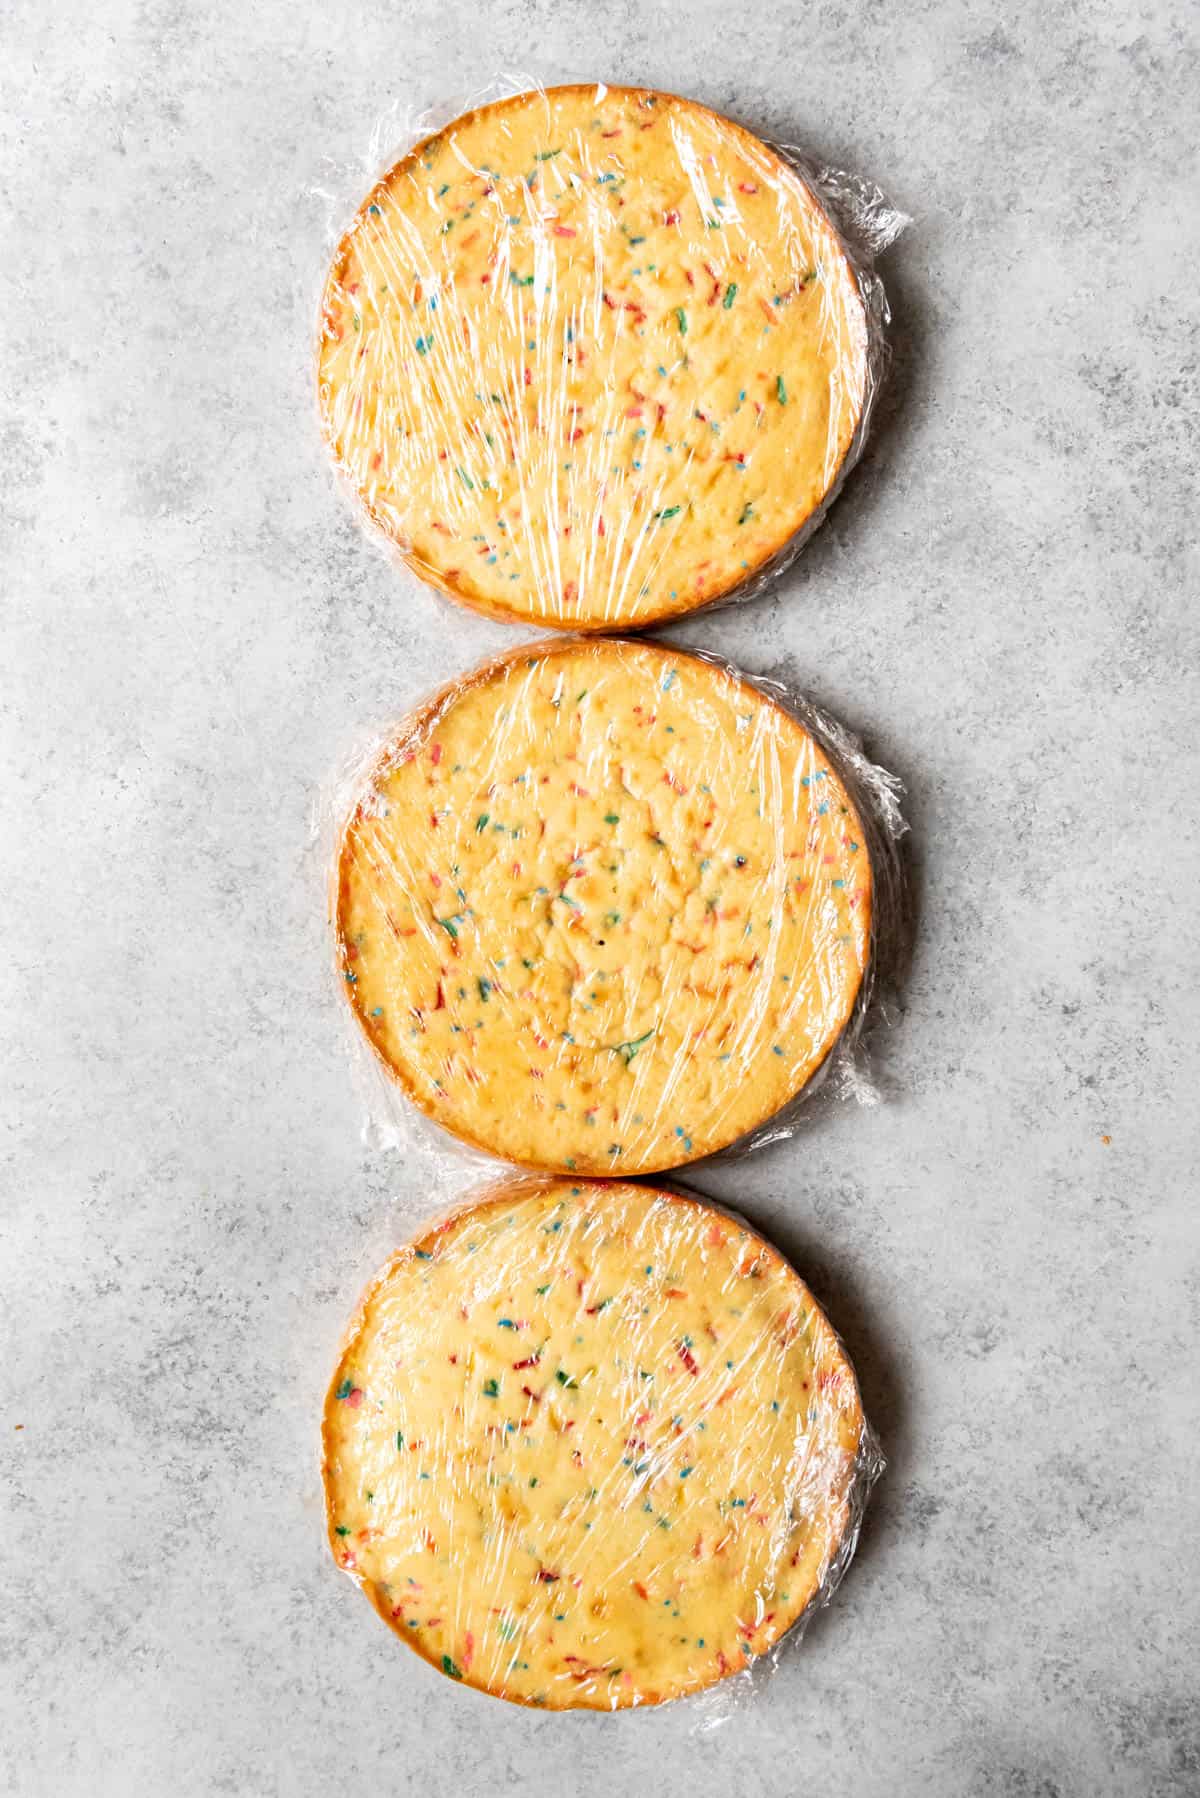
You can wrap cake layers in plastic wrap and freeze them for up to 2 months! Just thaw and decorate to serve.
Make the Frosting
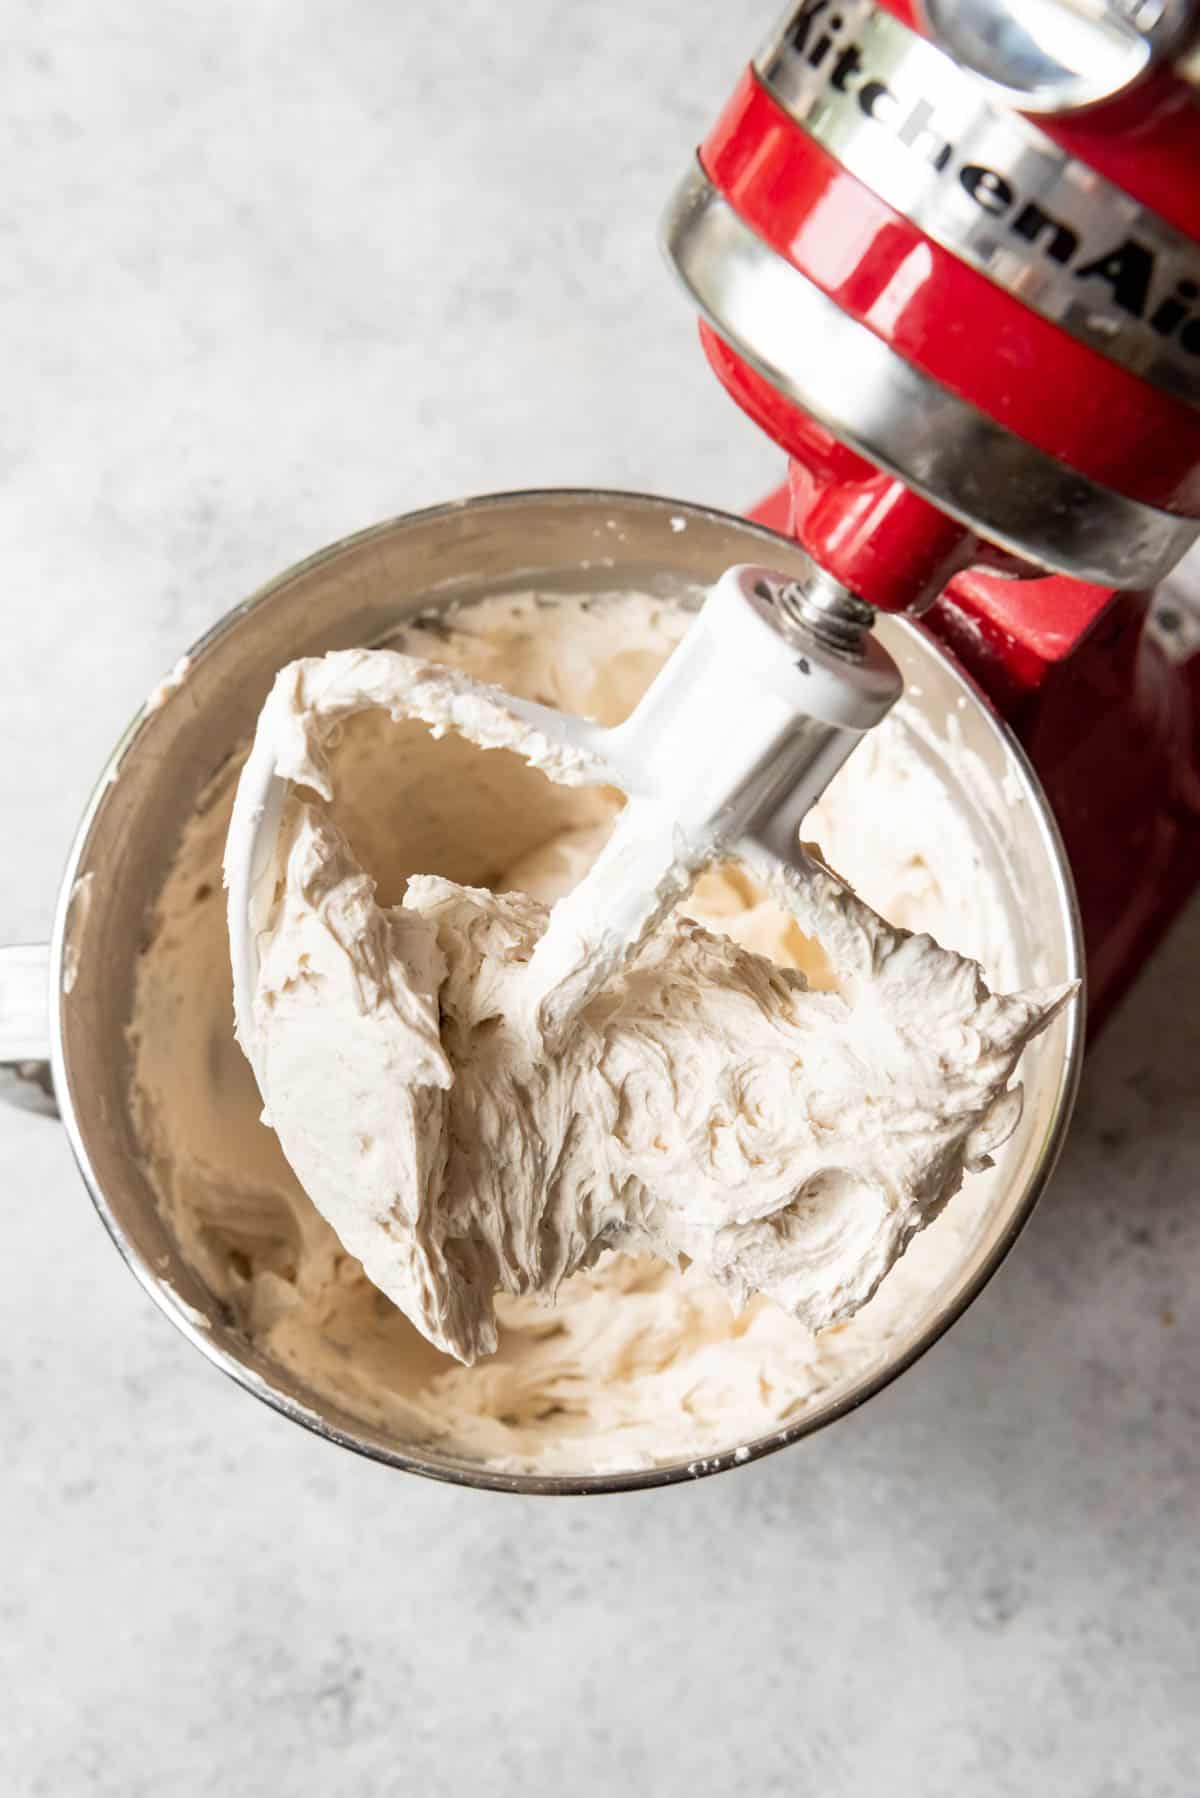
Beat butter. Beat the butter in a stand mixer on medium speed for 2 minutes until light and creamy using the whisk or paddle attachment.
Add other ingredients. Add the powdered sugar, heavy cream, vanilla extract, and salt to the butter with the mixer running on low, then increase the speed to high and beat for 3 minutes.
Thin or thicken. Add more powdered sugar or heavy cream to the mix to get the desired consistency you desire for frosting the cake.
Assembly
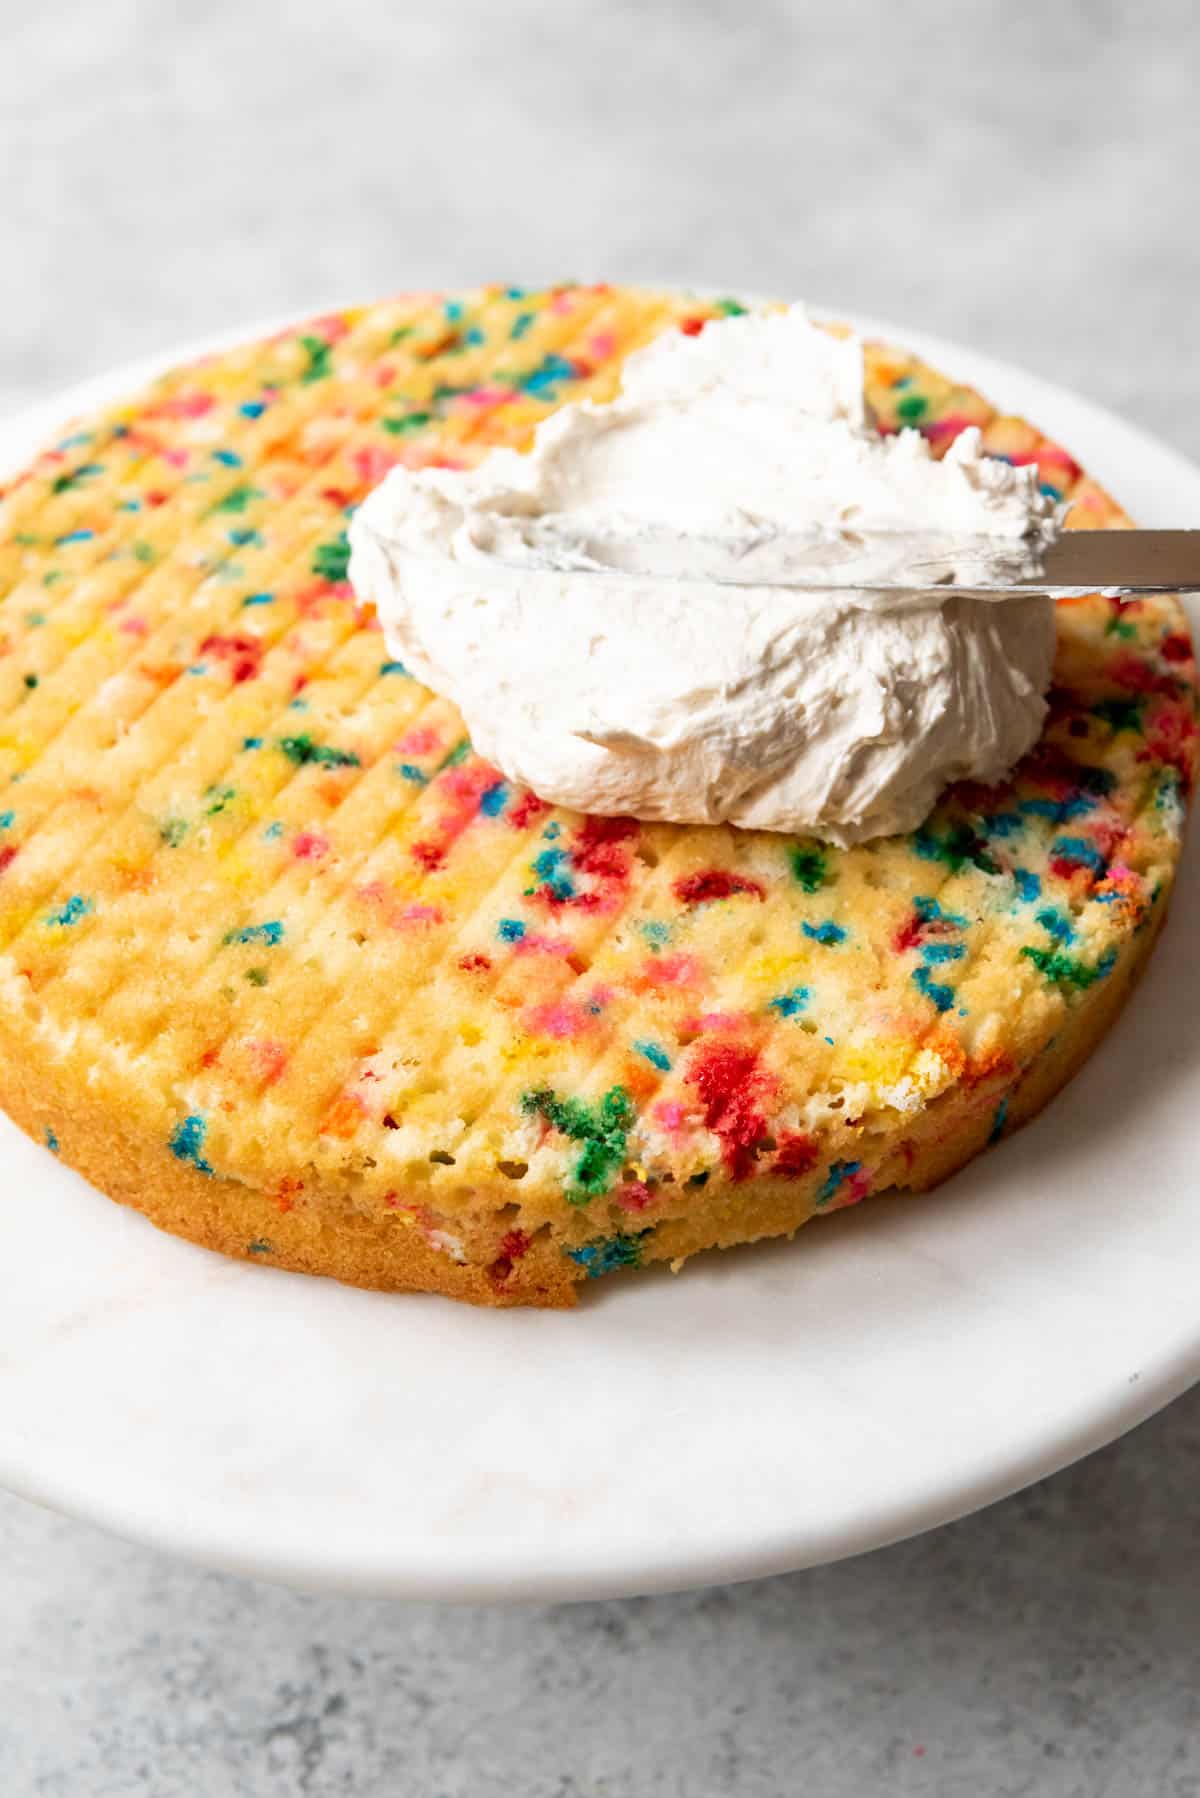
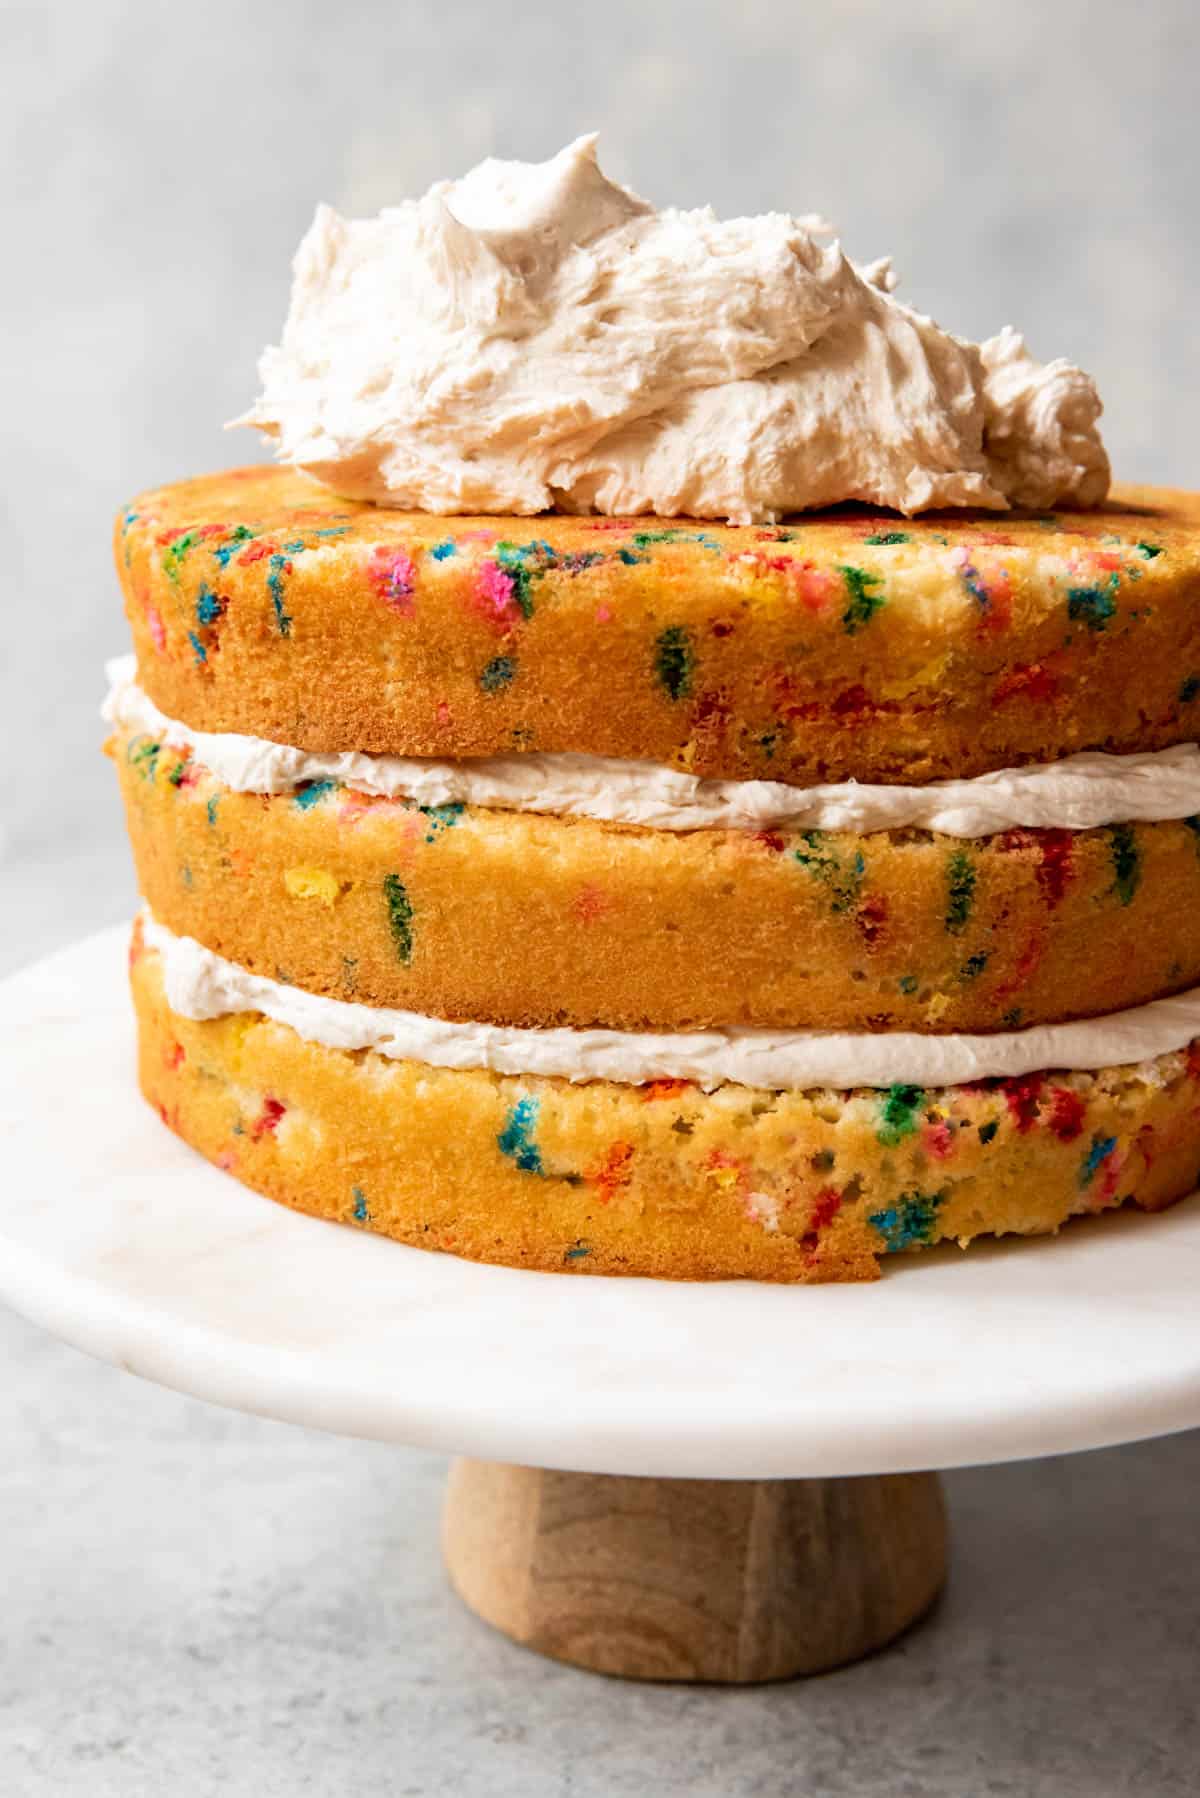
Layer and frost. Wait until the cake has completely cooled. Assemble the cake by placing 1 cake layer on a cake stand or serving plate then cover it generously with an even layer of frosting. Repeat with the second and third layers, then finish by frosting the sides.
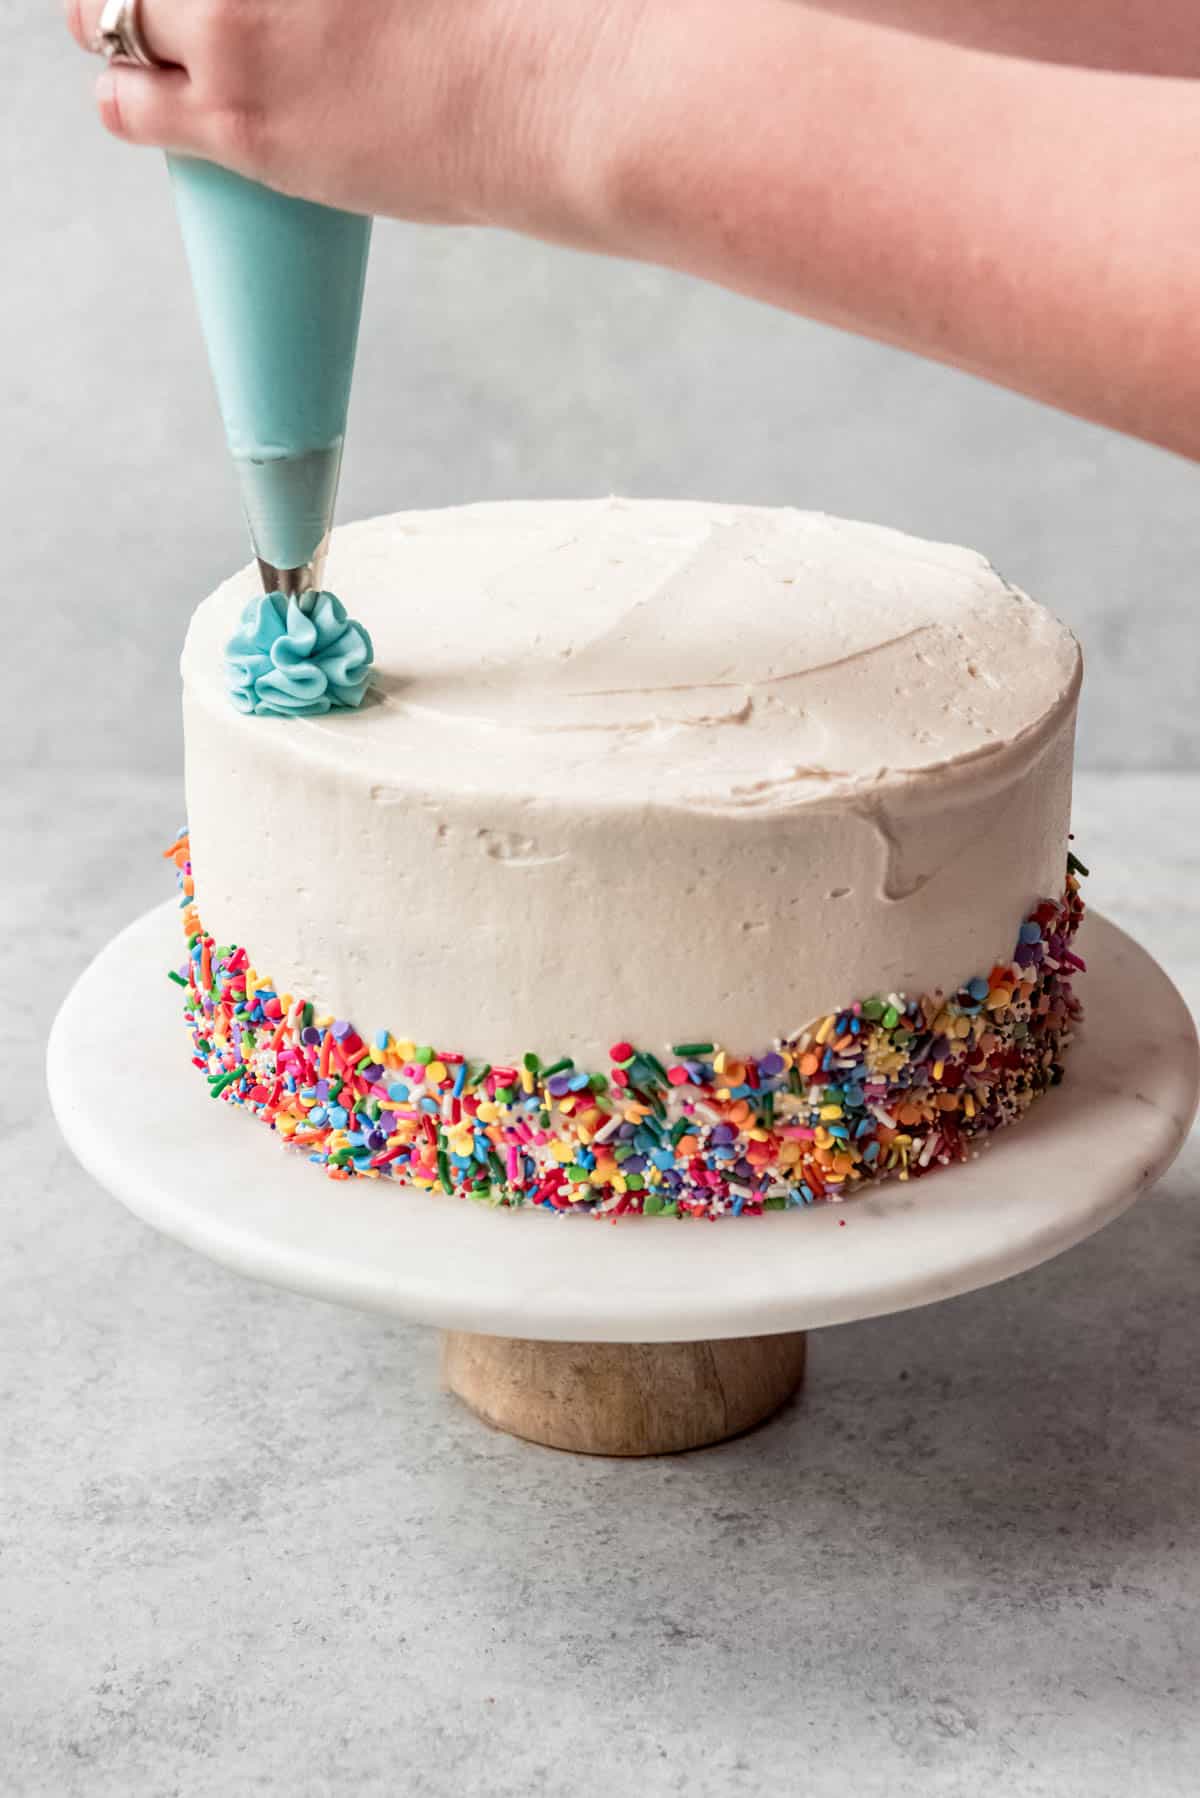
Add decorative frosting. You might want to reserve a small amount of frosting and use a decorative tip (I used a Wilton 1M tip) to pipe swirls around the edges of the cake.
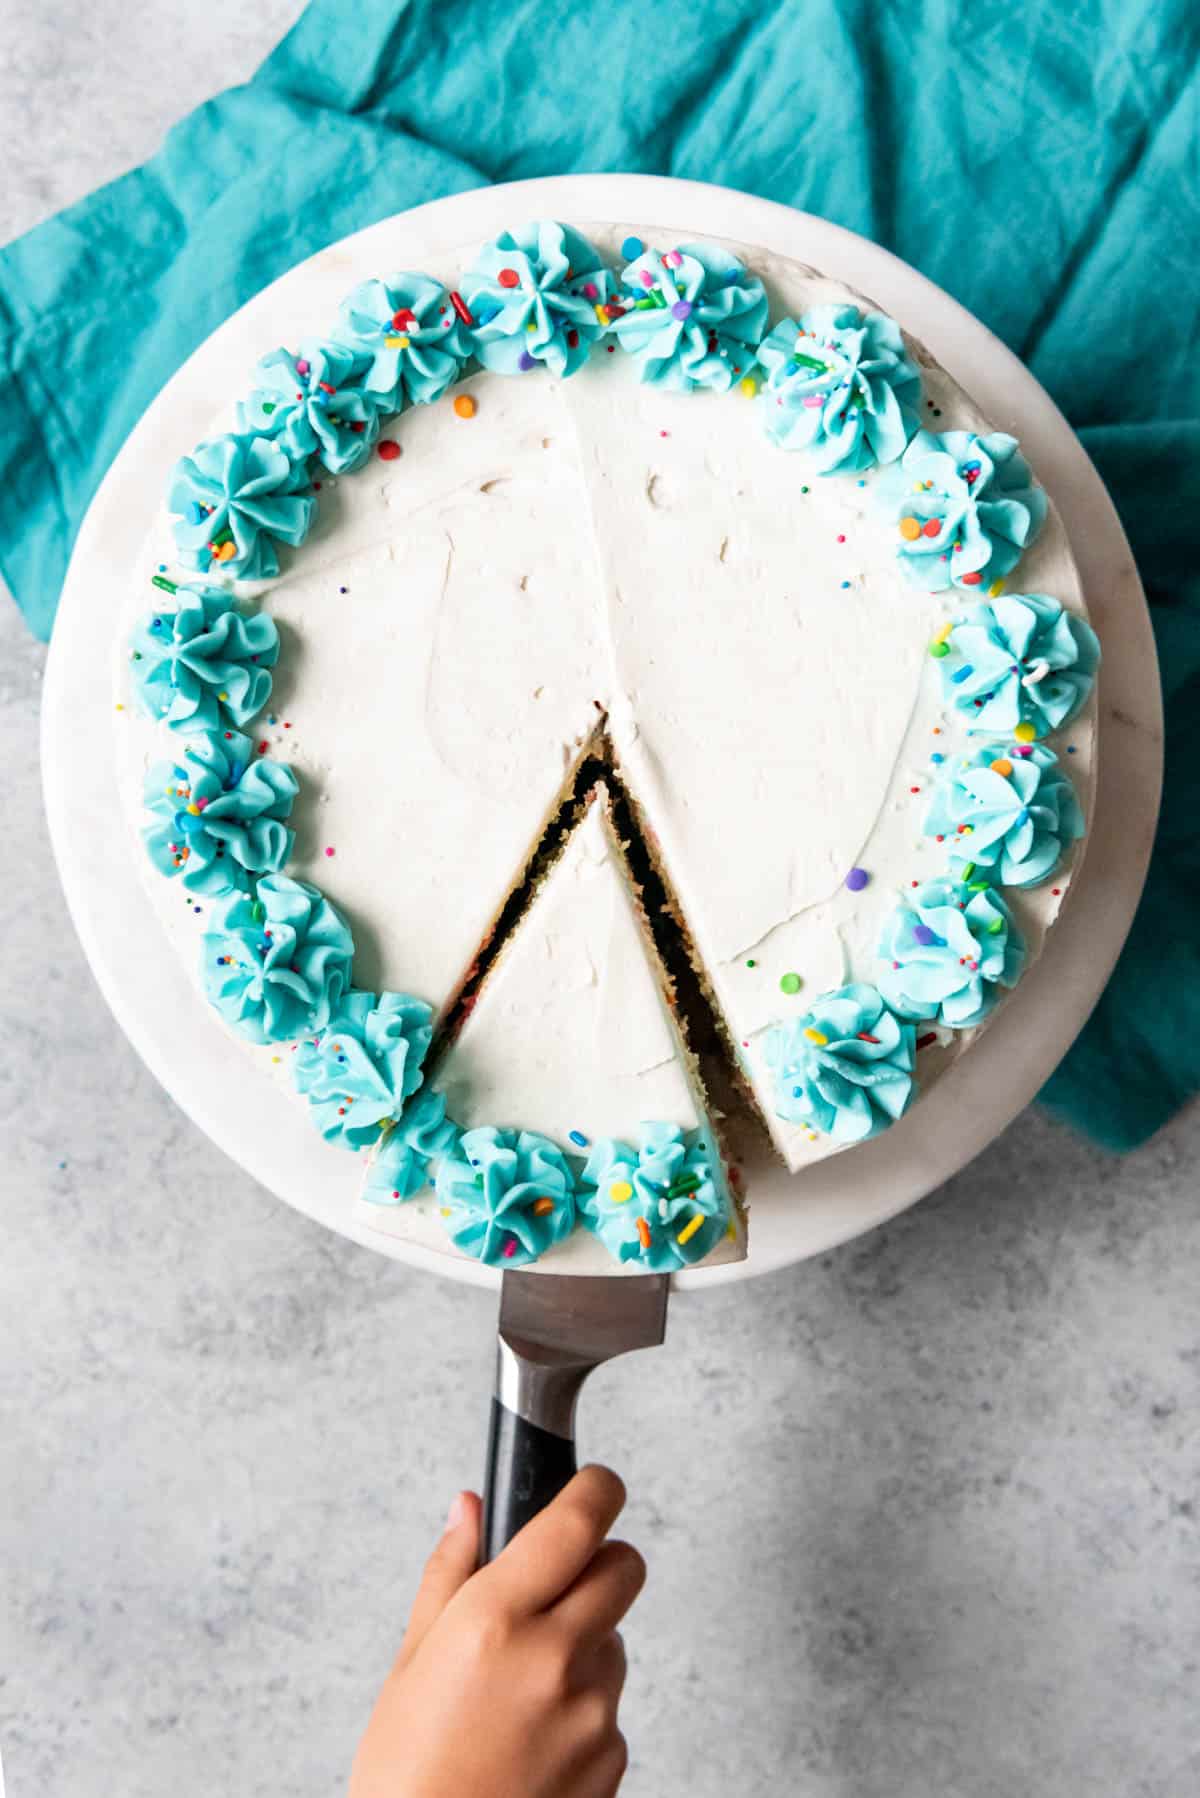
Add sprinkles. Decorate the sides and top of the cake with sprinkles, if desired. Slice, serve, enjoy!
Recipe FAQ’s
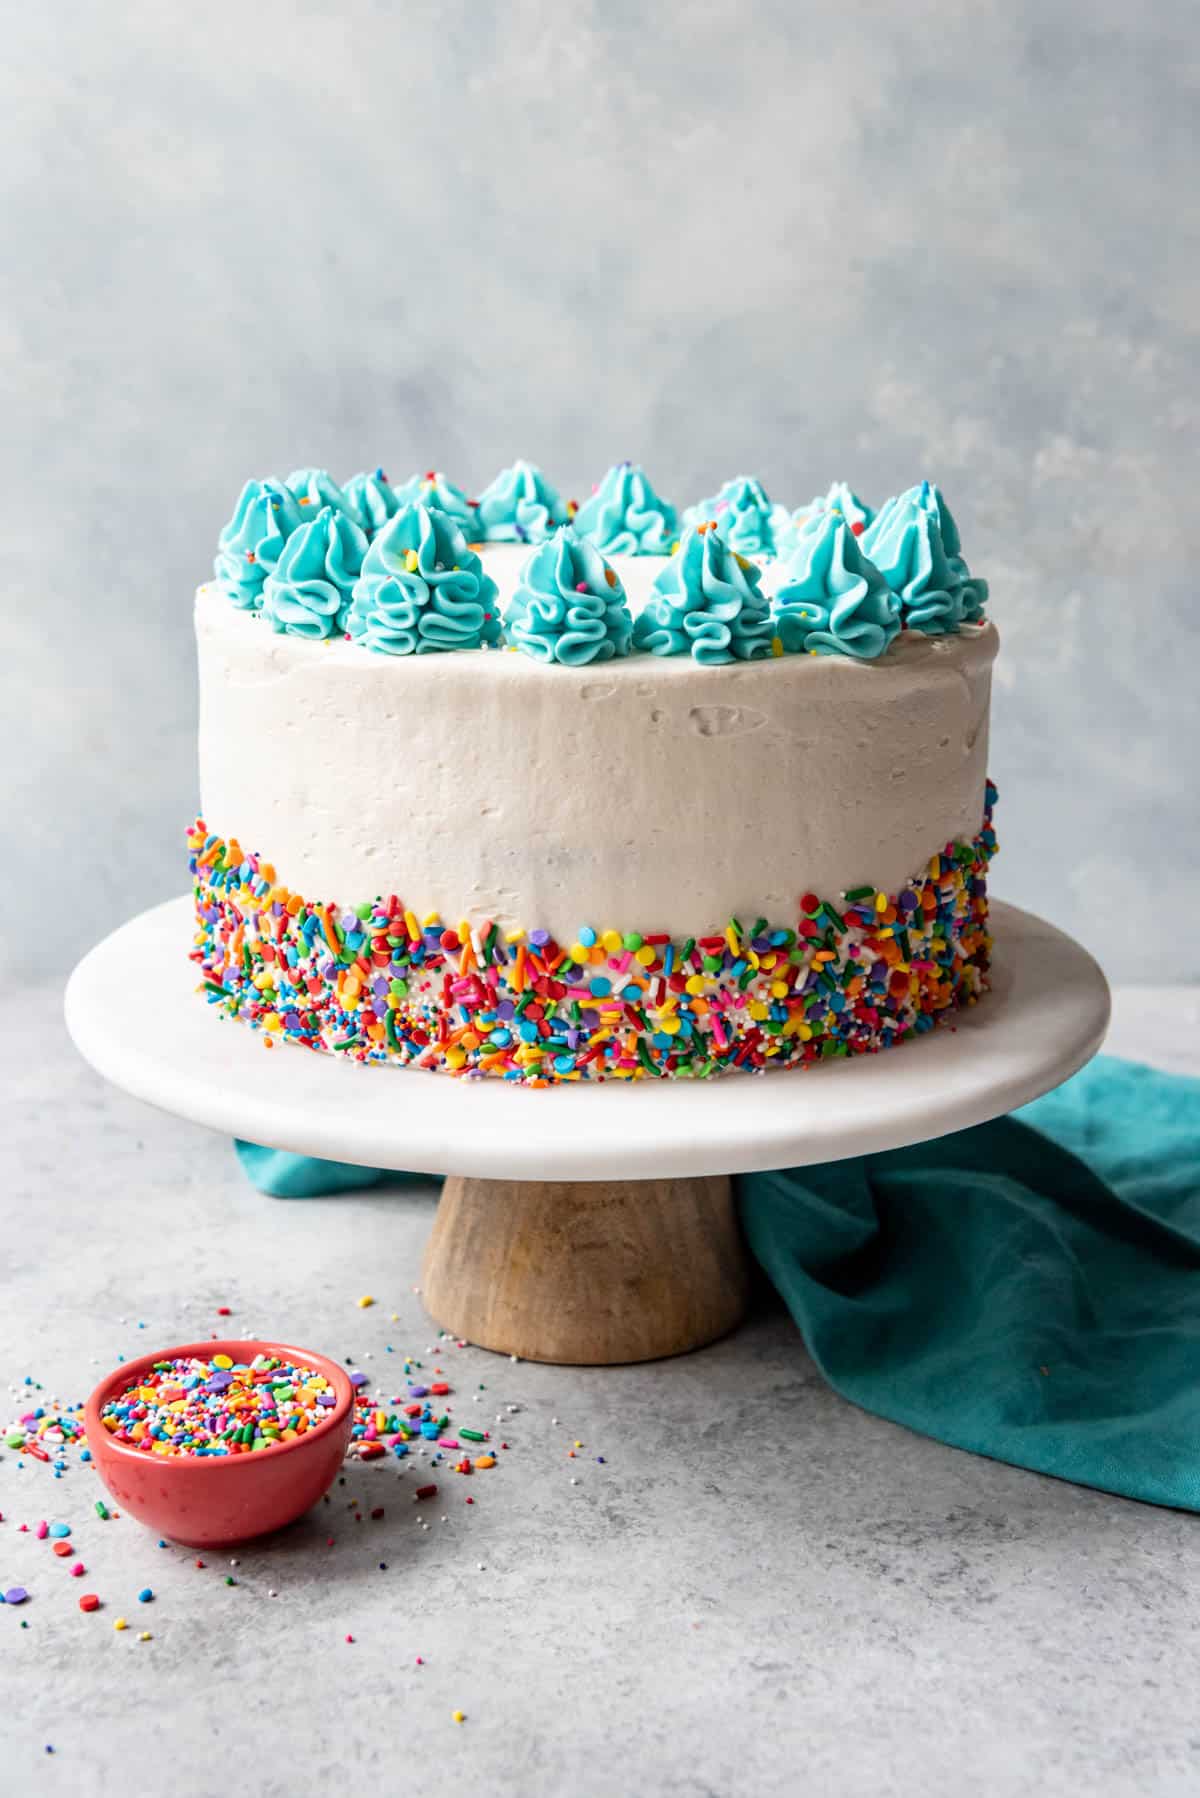
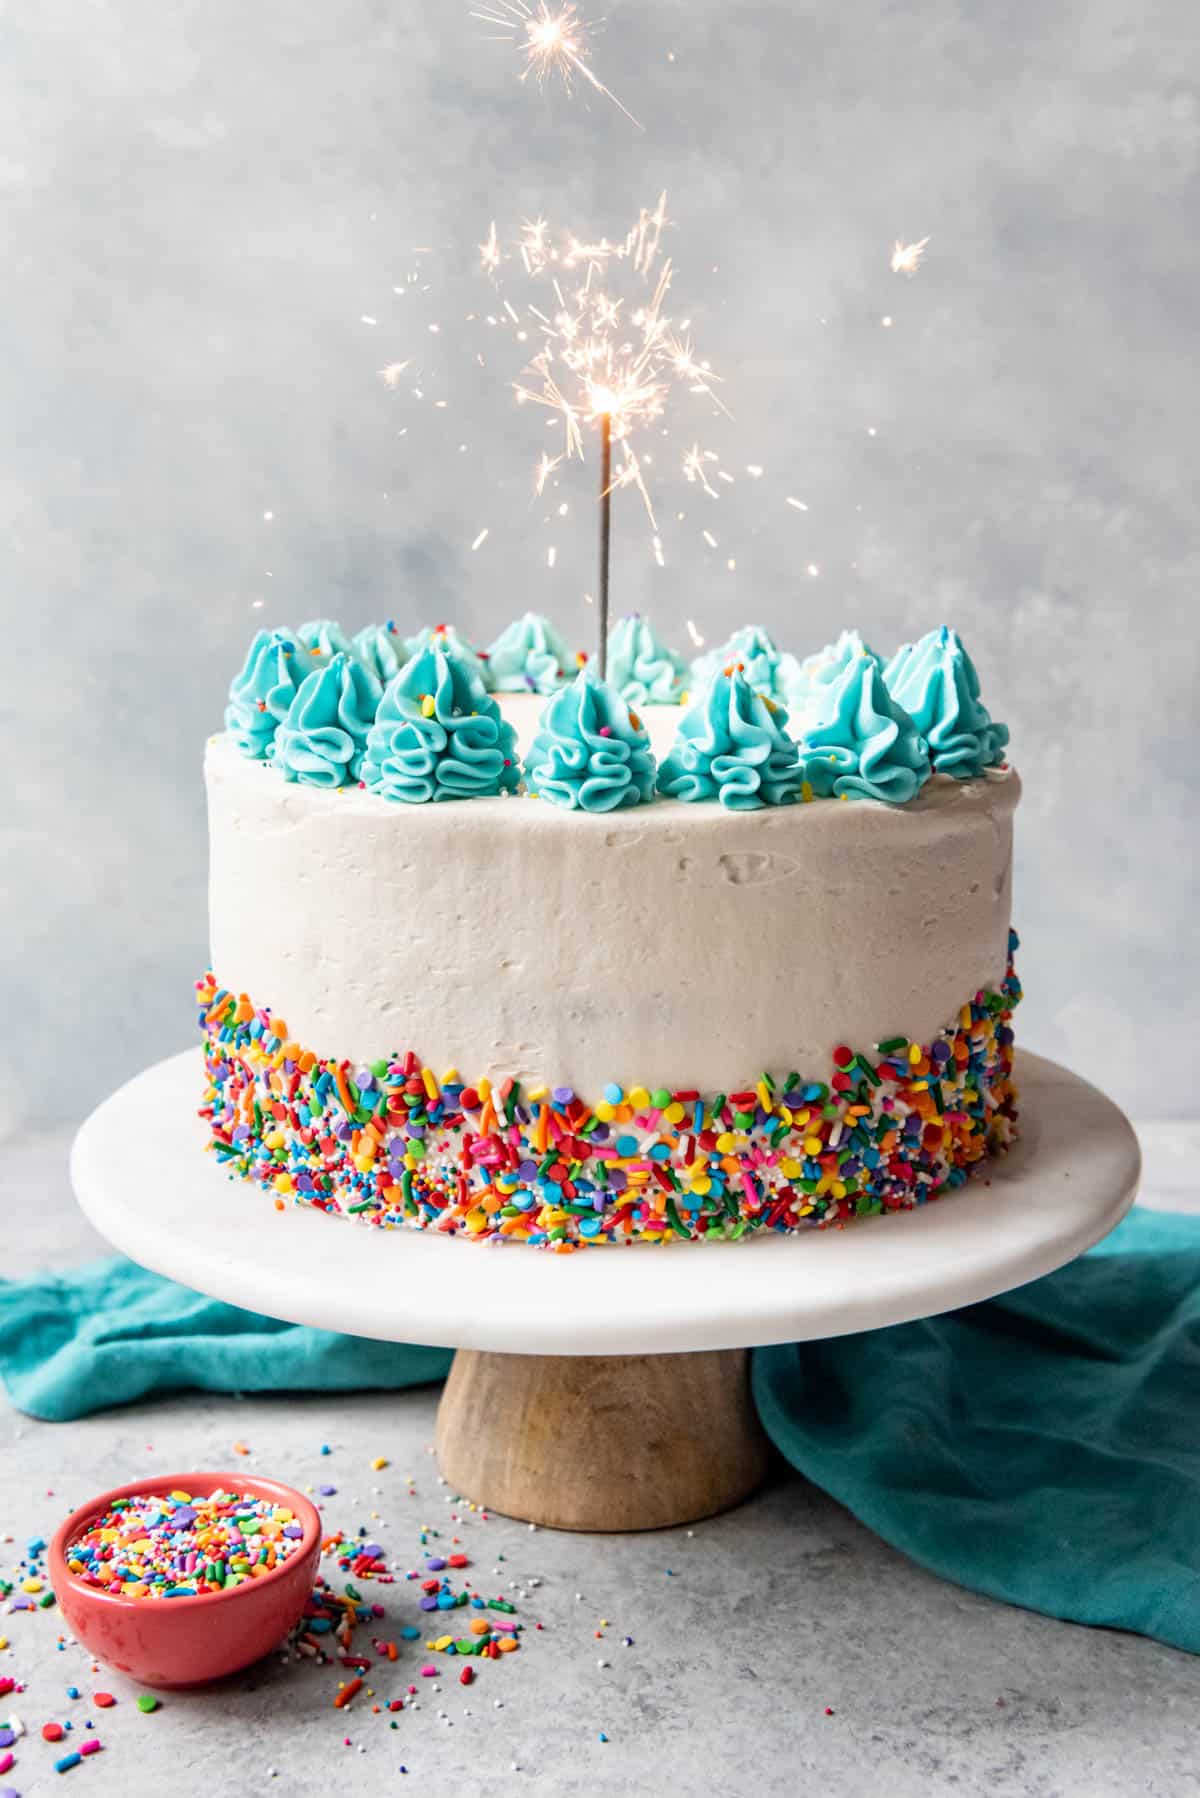
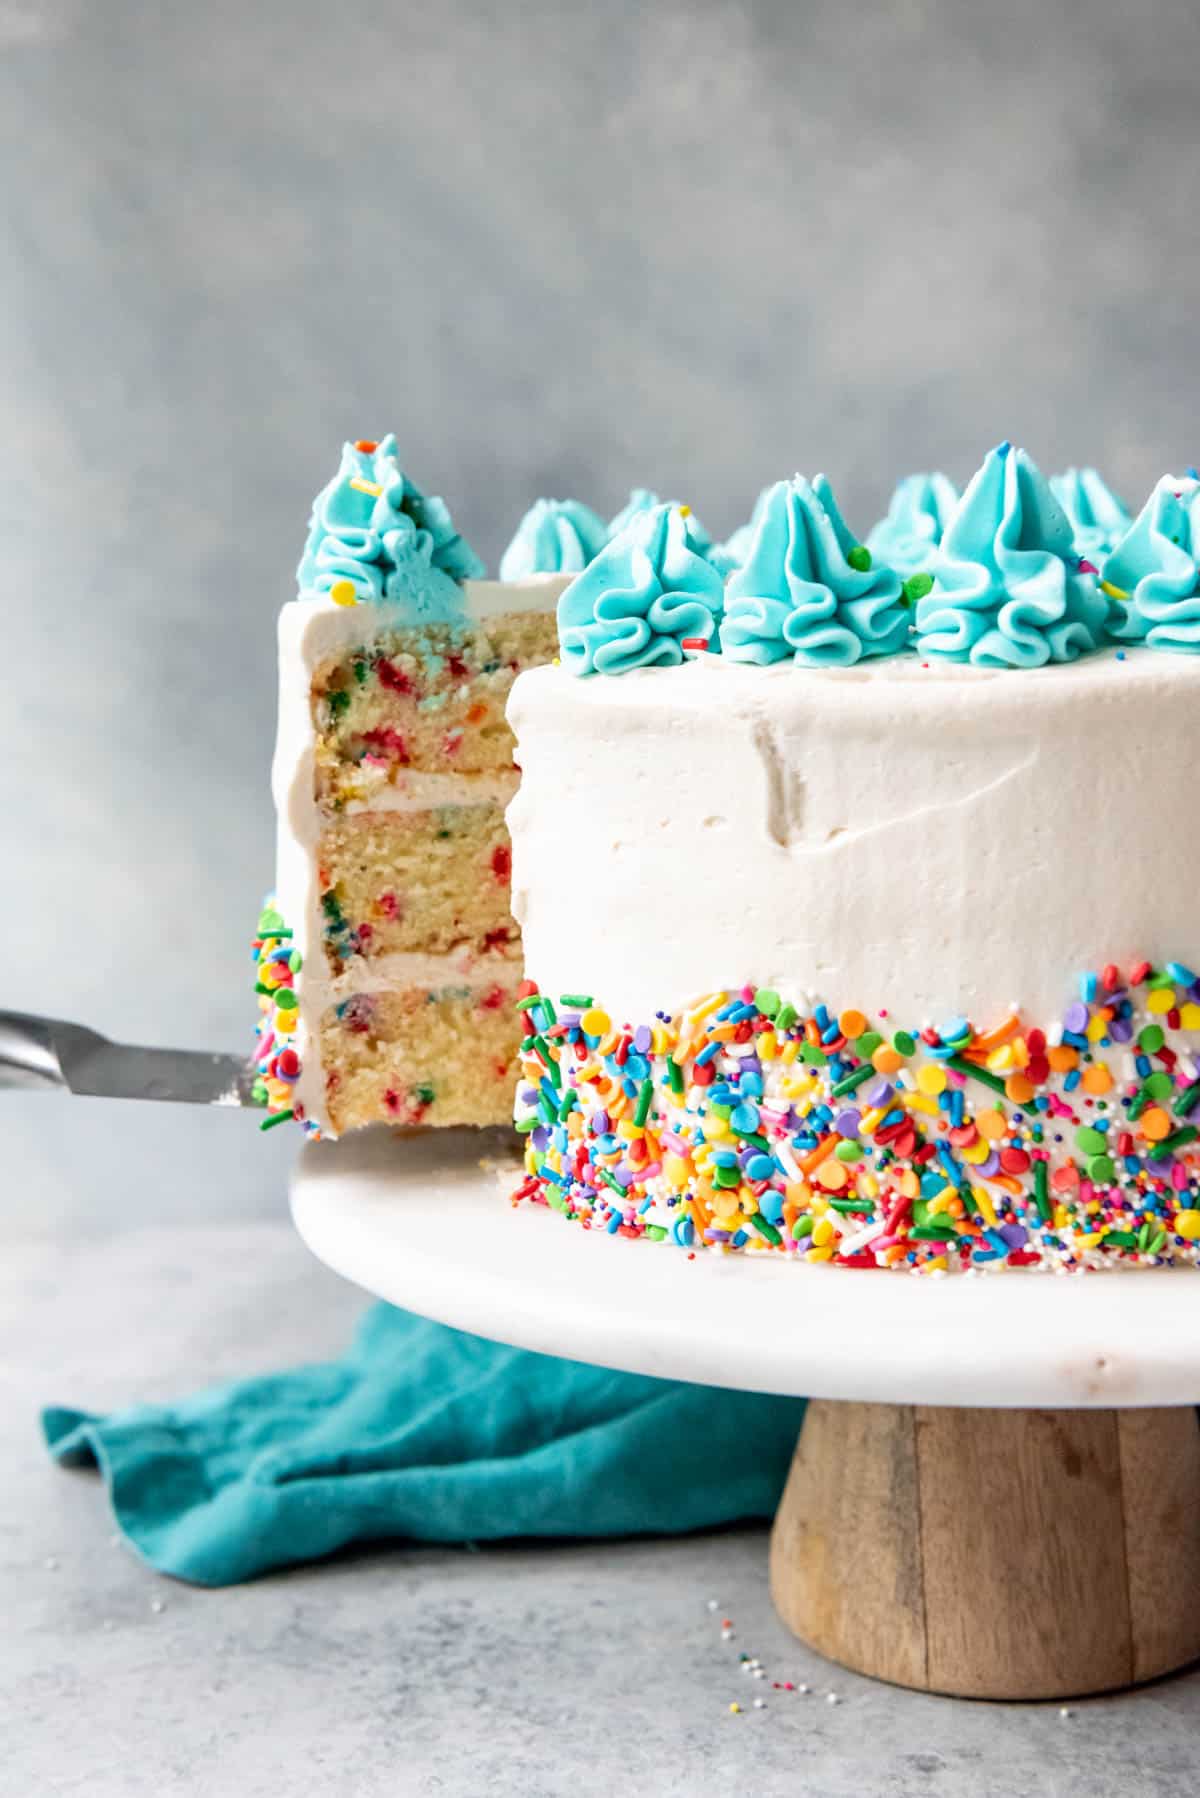
I paired the moist cake layers with a classic American vanilla buttercream frosting, then decorated the base of the cake with more sprinkles that I pressed on by hand. It’s easier to do than it seems, although just know in advance that you almost always have to sweep after decorating a cake this way, even when you do it over a large baking sheet as I did. They just tend to go flying! Alternatively, use a Rainbow Chip Frosting.
Essentially, yes. Funfetti Cake is traditionally a white vanilla cake with rainbow sprinkles throughout it, covered with a buttercream frosting and topped with even more sprinkles!
Frosted Cake: Frosted cake should be covered and kept at room temperature for up to 12 hours. After this, store your frosted cake in an airtight container in the fridge for up to 4 days. Let the cake come to room temperature for 30 minutes before enjoying it again.
Unfrosted Cake: Keep unfrosted cake in an airtight container at room temperature for up to 3 days, or in the fridge for up to 4 days.
You can freeze the unfrosted cake layers for up to 2 months. Let them cool completely, then cover them in plastic wrap and leave them at room temperature overnight. Put each of the layers in a Ziploc bag or in an airtight container and in the freezer.
Tips for Success
- Parchment paper. One of my best tips for baking any layer cake is to line the bottom of each cake pan with a circle of parchment paper. It’s a little annoying to trace the pans and cut out the circles every time, but totally worth it because the cake layers always come right out of the pans perfectly every time.
- Room temperature ingredients. Having your ingredients at room temperature before you begin will help your cake have the best texture, and also help it not fall in the middle. If you forget, you can cheat. Stick the eggs in a bowl of hot tap water for 5 minutes, microwave the butter for 10 seconds, and microwave the buttermilk for 30 seconds.
- Cupcakes. You can make Funfetti Cupcakes with this recipe as well! Just fill cupcake liners about ⅔ full and decrease the baking time to around 20-22 minutes at 325°F. This recipe will make around 36 cupcakes.
- Even layers. If you want to ensure perfectly even cake layers, I recommend using a kitchen scale to divide the batter between the three 9-inch cake pans. But honestly, I always just eyeball it because I don’t care enough about perfection.
- Homemade is better than perfect. You don’t have to be a professional cake baker to make a wonderful birthday cake. In fact, homemade cakes are my favorite anyway, even the ones with crumbs in the frosting and everything. What matters is how it tastes and that you cared enough to bake it for someone important to you.
- Crumb coating. If you have trouble with crumbs in your frosting, try spreading a thin coating of frosting around the outside of the cake and then sticking the whole thing in the freezer for 15 minutes before frosting it with the rest of the frosting. It will help “set” the crumbs so they don’t show up in the finished product.
Signature Sprinkles
The signature of any great Funfetti Cake is the rainbow sprinkles adding pops of color to a fabulous white cake.
Be careful to buy the right type of sprinkles to ensure minimal color running while baking the cake.
In my experience, the best type of sprinkles to use in a funfetti cake are Rainbow Jimmies, Betty Crocker’s Rainbow Sprinkles, or Rainbow Confetti Quins. Their color is intense and won’t bleed into the cake batter. Other kinds of sprinkles may be ok for topping the frosting.
Substitutions and Variations
- Flour: I’ve made this with both all-purpose and cake flour. I recommend cake flour, but it’s great either way. I’ve also swapped ¾ cup of the total flour with the same amount of cornstarch when using all-purpose flour to create my own cake flour and it works well.
- Buttermilk: Also, if you don’t have buttermilk, my favorite substitutes are to use 1 cup of whole milk and ½ cup of sour cream in place of the buttermilk OR to add 1 tablespoon of lemon juice or white vinegar to 1 ½ cups of whole milk and let that sit for 5 minutes to curdle.
- Frosting: Reserve some frosting to decorate the top with swirls or other decorative shapes. Use a couple of drops of food coloring (affiliate link) to change the color of the decorative frosting. Alternatively, make a different type of frosting for the top of the cake like pink Strawberry Frosting or Guava Frosting, or add even more rainbow magic with this Rainbow Chip Frosting.
More Classic Birthday Cake Recipes
Did you make this recipe?
Let me know what you thought with a comment and rating below. You can also take a picture and tag me on Instagram @houseofnasheats or share it on the Pinterest pin so I can see.
Best Homemade Funfetti Cake
Ingredients
Cake
- 1 cup butter softened to room temperature (227g)
- 1/2 cup shortening
- 2 cups granulated sugar (400g)
- 4 large eggs at room temperature
- 2 egg whites at room temperature
- 1 1/2 cups buttermilk at room temperature
- 3 teaspoons vanilla extract clear if you have it
- 3 3/4 cups cake flour (469g)
- 2 teaspoons baking powder
- 1/2 teaspoon baking soda
- 1 teaspoon salt
- 3/4 cup rainbow sprinkles
Frosting
- 1 1/2 cups butter softened to room temperature (341g)
- 5-6 cups powdered sugar sifted
- 5-6 Tablespoons heavy cream
- 1 Tablespoon vanilla extract clear if you have it for the whitest frosting
- 1/8 teaspoon salt
- Additional sprinkles for decorating

Instructions
Make the cake layers:
- Preheat oven to 350°F. Line three 9-inch cake pans with circles of parchment paper on the bottom and spray the sides with baking spray.
- Whisk the flour, baking powder, baking soda, and salt together in a large bowl. Set aside.3 ¾ cups cake flour, 2 teaspoons baking powder, ½ teaspoon baking soda, 1 teaspoon salt
- In the bowl of a stand mixer fitted with a paddle attachment, beat the butter and shortening on high speed for 1 minute until smooth and creamy. With the mixer running on low speed, add the sugar, then increase the speed and beat on high speed for 5 minutes until light. Scrape the sides of the bowl using a rubber spatula.1 cup butter, ½ cup shortening, 2 cups granulated sugar
- Add eggs and egg whites one at a time, beating well after each addition. Add in the vanilla extract and scrape the sides of the bowl again.4 large eggs, 2 egg whites, 3 teaspoons vanilla extract
- Add the dry ingredients alternately with the buttermilk in 2-3 additions, mixing just until incorporated. Do not overmix.1 ½ cups buttermilk
- Add the sprinkles and use a spatula to gently fold the sprinkles into the batter. Divide batter evenly between the prepared cake pans.¾ cup rainbow sprinkles
- Bake for 25-28 minutes or until the cakes are baked through. To test for doneness, insert a toothpick or sharp knife into the center of each layer. It should come out clean or with just a few moist crumbs if the cake is done.
- Let the cakes cool for 5-10 minutes in the pans before turning them out onto wire racks to cool completely. Do not try to assemble and frost the layer cake before the layers are completely cool.
Make the frosting:
- In the bowl of a stand mixer, beat the butter on medium speed for 2 minutes until light and creamy using the whisk or paddle attachment. Add powdered sugar, cream, vanilla extract, and salt with the mixer running on low, then increase the speed to high and beat for 3 minutes. Add more powdered sugar or cream to get the consistency you desire for frosting the cake.1 ½ cups butter, 5-6 cups powdered sugar, 5-6 Tablespoons heavy cream, 1 Tablespoon vanilla extract, ⅛ teaspoon salt
- Assemble the cake by placing 1 layer on a cake stand or serving plate then covering that generously with an even layer of frosting. Repeat with the second and third layers, then finish the cake by frosting the sides. You might want to reserve a small amount of frosting to tint a different color and using a decorative tip (I used a Wilton 1M tip) to pipe swirls around the edges of the cake. Decorate the sides and top of the cake with sprinkles, if desired.Additional sprinkles for decorating
- Slice, serve, enjoy!
Notes
Nutrition
This post was originally published in June, 2019. The content was updated in November, 2022.





Hi, this looks great! My son has a dairy allergy – do you think I could make this using almond or coconut milk instead of the dairy? And vegan butter?
Yes, I think this would turn out great using either almond or coconut milk, which I have used in other cake recipes before (although not in this one). I have never tried vegan butter though so I don’t know how it performs, although you could use oil in place of the butter. The flavor wouldn’t be quite the same, but close enough that I think it would work just fine.
This looks awesome! I’m going to make this for my husband’s birthday tomorrow (the box kind is his favorite but we’ll see if I can top it 😉 If I we’re to bake it in a 9X13 pan instead how long would you recommend baking it for?
I haven’t done this one in a 9×13-inch pan yet, but my guess is around 35 minutes.
Why do you use 1 cup butter + 1/2 cup shortening vs. using 1 1/2 cups of butter? And what kind of shortening do you use? Crisco Butter flavored?? Thanks.
You could definitely use all butter. I was going for a whiter look so that the sprinkles would stand out more and using shortening (I have only used the regular kind, not the butter flavored kind), helps with that.
Do I need to modify the ingredients if I am
Only making 2 layers
Yes, or increase the baking time. Or just use leftover batter to make cupcakes.
May I ask what brand the decorating sprinkles are? I love them!
The sprinkles were my own mix actually! But it’s just the jimmies (the little stick-looking ones), nonpareils (the tiny balls), and confetti (the flat, round discs) from the baking aisle at the grocery store. Then I just mixed a couple tablespoons of each until it looked how I wanted it!
I bought gluten free cake flour. Is it still okay to use?
Yes, I think that should work just fine!
Hello again! I wanting to do this as a smash cake for my little ones 1st bday so I was going to do 2 6incn pans and use the rest for cupcakes…. how long would you bake?
Baking 6-inch cakes will take around 18-22 minutes. Cupcakes will take about the same amount of time. And happy first birthday to your little one!
Hello,
Very nice recipe. If I don’t have shortening what can i replace it with?
Thank you,
E.
Go ahead and replace the shortening with butter. It will make the cake slightly on the yellow-tinted side, but otherwise will work just fine.
Also does it work in an 11.8 inch pan?
Thank you,
E.
I don’t think I have an 11.8-inch pan – is it rectangular? I have made this in a 9×13″ baking dish though and it would great! You can really make most cake recipes in any pan you like, although you might need to adjust bake times and will maybe need to make cupcakes with leftover batter if you have too much for your pan.
Hi! Do you sift your dry ingredients before adding them in? And, would you recommend salted or unsalted butter??
I don’t sift my ingredients. I just spoon the flour into the measuring cups and level it off so I’m not compacting it by scooping it too much. And I use salted butter in almost all of my baking.
Hi! Can I do this recipe with two layers instead of three? Does the baking time change? Thank you so much!
Yes, you can. The baking time will be longer for the thicker layers, but it can definitely be done.
Do you use salted or unsalted butter for the cake and batter?
Salted butter
I made This with an 11 year old for her family and it turned out to be one of the best cakes we/I’ve ever made! It must be the combo of butter/shortening/ buttermilk and cake flour? We made a 2 layer cake and a dozen cupcakes…..we also tried doing the side sprinkles which is quite difficult but fun nonetheless! Thanks for such a great recipe!
Hi , can i use all purpose flour?
Thank u
Yes, you can make this with regular all-purpose flour. The cake won’t be quite as light, but it will work.
Hello! Is there a trick to getting the sprinkles around the base like you did? Looks so nice!!
It’s a fun technique! Set your cake over a large baking sheet to try to catch some sprinkles, then pour some into your cupped hand and sort of press them against the bottom of the cake, refilling and working your way around to get the coverage you want. A lot will spill but you can scoop it up and reuse it, which is why the baking sheet is helpful!
I made this yesterday for my sisters graduation and everything looked great but it tasted very dry! Any reason that could be?
If it was dry then it was cooked too long. Try checking it a few minutes earlier next time. Some ovens run hotter than others, even when they say they are at a specific temperature. I used an inexpensive oven thermometer to calibrate mine and it made a big difference!
What can I use as a substitute for shortening?
You can use butter in place of shortening! The cake will be a little more yellow instead of white, but it will turn out great otherwise.
Hi there! Great recipe. I’m going to make it for my daughters 6th birthday 🙂 she’s have a unicorn princess theme party! I had a question about your cake pans, what kind do you use? I have a few different ones and when I bake a cake, they come out differently in each one it seems like. I’ve been on the search for the perfect cake pans so they bake evenly!
I bought my cake pans at Sur la Table and I’m pretty sure they are the store’s brand. I would check but I have been visiting family out of state!
I only have all purpose flour? What is the mix yoh iae to make cake flour. With. Corn starch? Is it better to mix it? Does the all purpose flower needs to be self rising?
You don’t need self-rising flour since the leavening agents are included in the ingredient list. If you want to use all-purpose flour with cornstarch instead of cake flour, that works really well. Just add 2 tablespoons of cornstarch to a one cup measuring cup, then fill the rest of the way with all-purpose flour for each cup of cake flour that a recipe calls for.
On the butter cream, I’ve used milk or half/half in other recipes. Why do you use heavy cream? I’ve done this recipe before and it turned out great. I’m just curious if I could use something other than heavy cream in this buttercream recipe
You could absolutely use milk or half-and-half. I find that heavy cream just gives the smoothest, creamiest results in my buttercream.
Went off the first directions (not the printed version) which do not show to add shortening. Put the cakes in the oven and realized I hadn’t opened the shortening. Scrolled down for the printed version and it shows to add shortening. Hope it comes out ok?
I made this funfetti cake for a birthday party along with matching cupcakes. The cakes were perfect! Once batch of batter made 45 cupcakes.
The frosting was great too!
Thanks!!
Can i use coconut oil instead of shortening? I know it may alter the taste but would it be gross? I don’t have any shortening and have never used it.
I don’t think that would be gross! The subtle coconut flavor might be really nice!
Will this recipe work In a 15″ x 11″ cake pan?
Hi Amy! What if I wanted to make this cake into a 1/2 sheet cake? Would I just double the ingredients? Thank you! Looks delicious!
This recipe was perfect. It was my first time baking a funfetti cake. I made it for a friend’s birthday party and it was a huge hit. Thanks!
Do you have a good recipe for a vanilla cake? I absolutely love all your cake recipes and am looking for a good vanilla. Could this recipe be used and removing the sprinkles?
Yes! Just leave out the sprinkles and you are set with this recipe!
I love this recipe!
Though a teen, my daughter still loves funfetti cake for her birthdays. We loved making this recipe together, it was so good.
I’ve made this cake several times and it is SO much better than the boxed version!
I cannot believe how easy this funfetti cake was! The taste is impeccable!
Your funfetti cake was really easy to make. We have lots of fun decorating with my kid!
I love a box cake, but this turned out beautiful! Homemade is always best and I love that it doesn’t have to be perfect, as long as it tastes good! This cake will be revisited for many occasions.
I have started only making cakes using weight/gram measurements for the flour. I tend to pack it in too tight when I measure with cups. Do you know the flour measurement in grams for this cake?
Yes, it would be 469 grams. I added that to the recipe card, which is an ongoing project I have been trying to do. Thanks for pointing this one out.
Thank you for your quick response! I’m excited to try this recipe.
Amazing cake
This looks really good. I want to try to make it for my daughters birthday. What do you use to get the teal colored frosting on the top?
Hi! This would be such a fun cake to make for her birthday! I use a kit of food coloring with some fun colors. You can get it on Amazon. This is the name of the kit – Food Coloring AmeriColor Student – Kit 12 .75 Ounce Bottles Soft Gel Paste Colors.
Hello, this cake sounds like one I want to make !! For today though, I need to make cupcakes and I would love to use this recipe. Can you please tell me how many cupcakes this recipe will make filled 2/3 of the way ?! Thank you 🙂
Hi! I actually have a funfetti cupcake recipe! https://houseofnasheats.com/funfetti-cupcakes/
How long do I bake for two “8 inch cake pans? Thank you very much!
I would still cook it for 25-28 minutes. It might take a couple of minutes longer vs baking in a 9 inch pan. But you can start with 25 minutes and just check how they are doing from there.