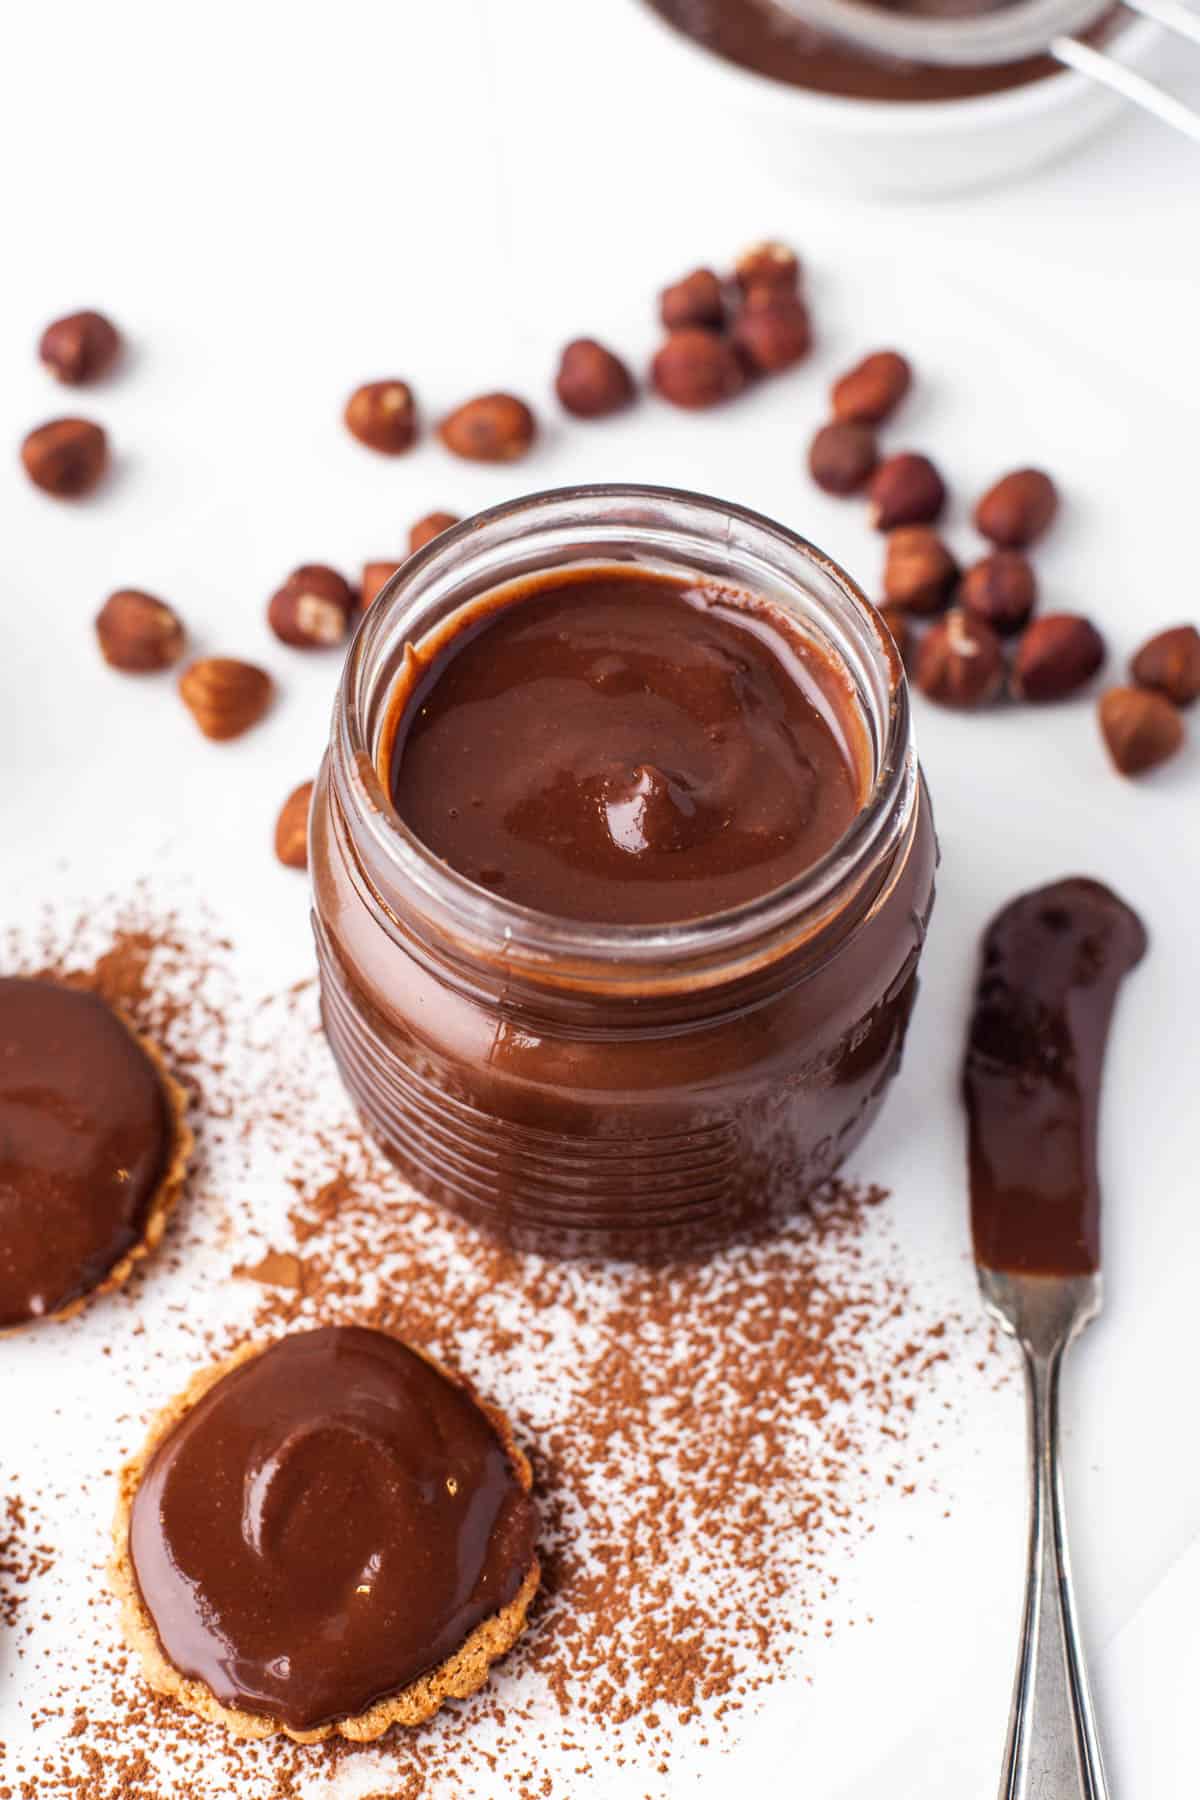
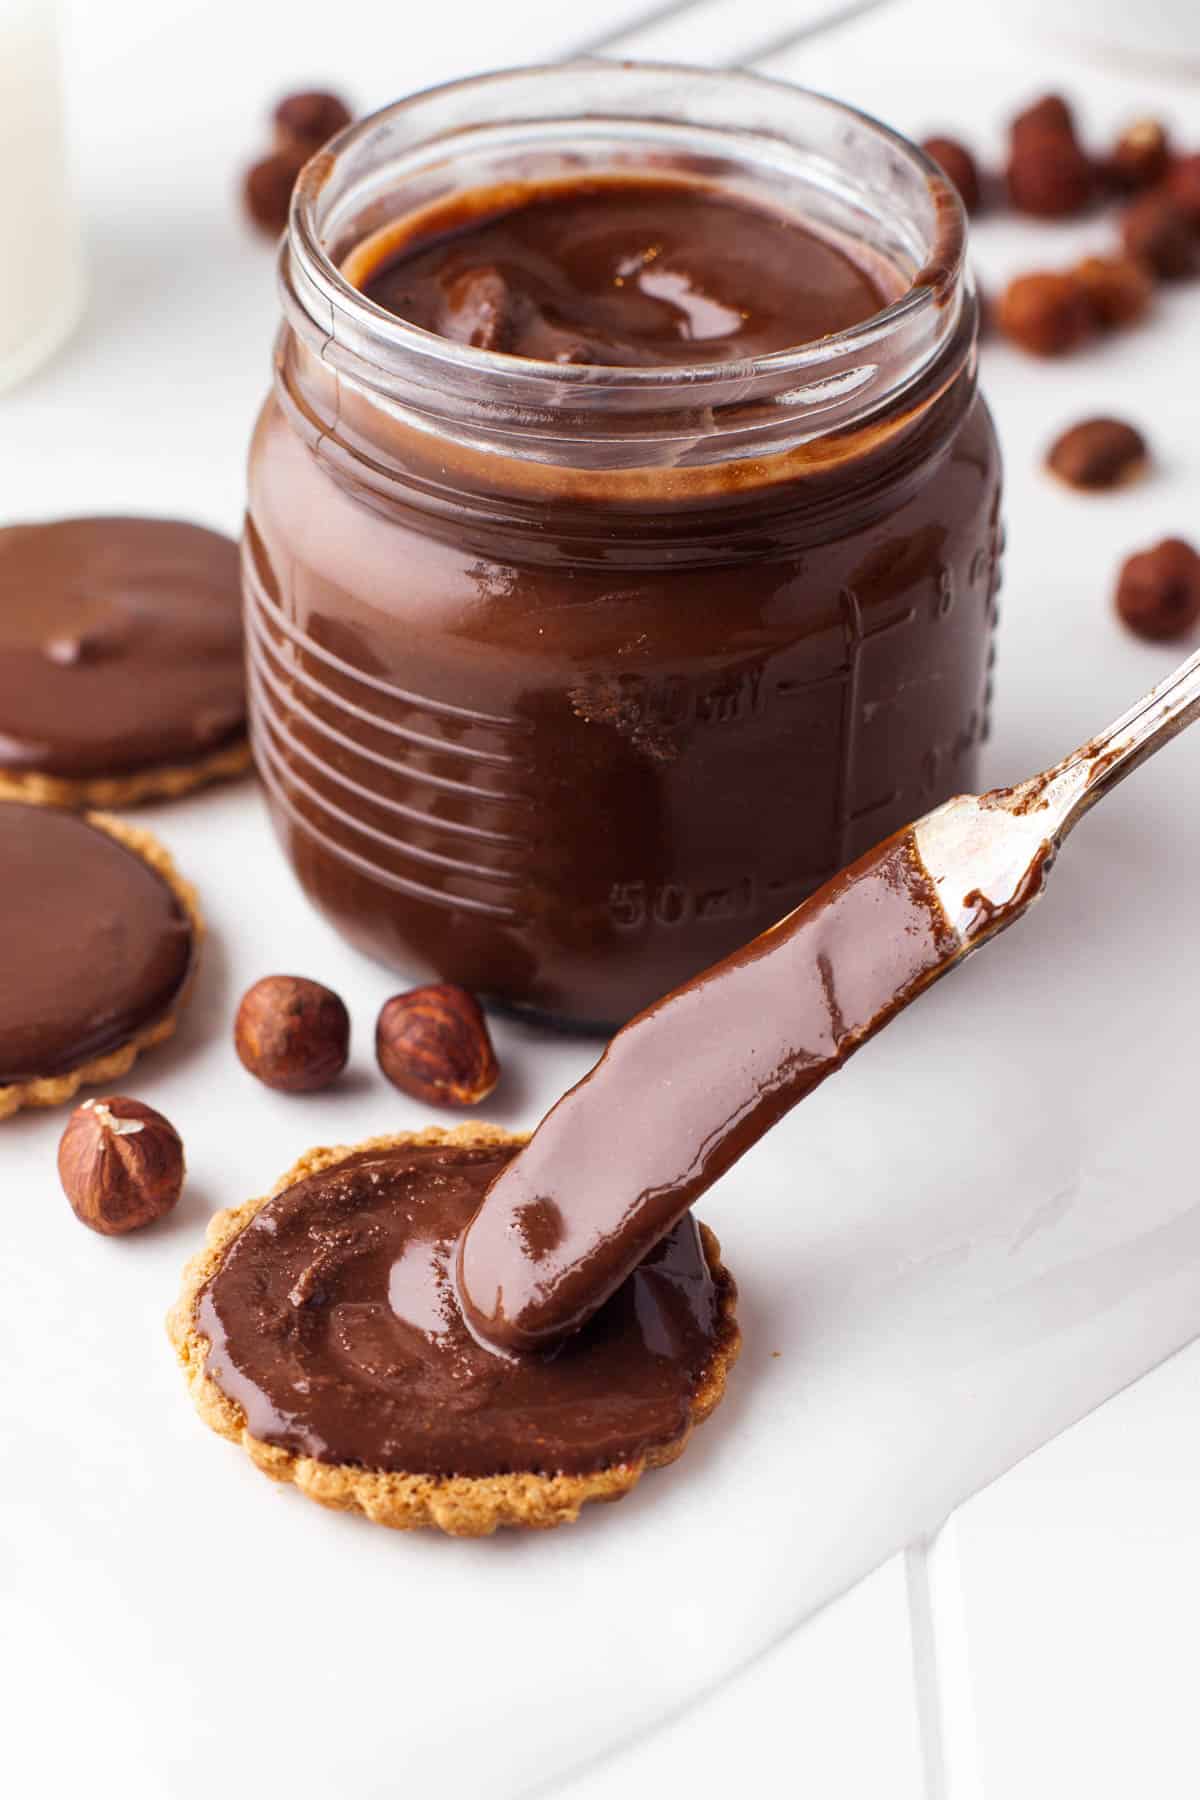
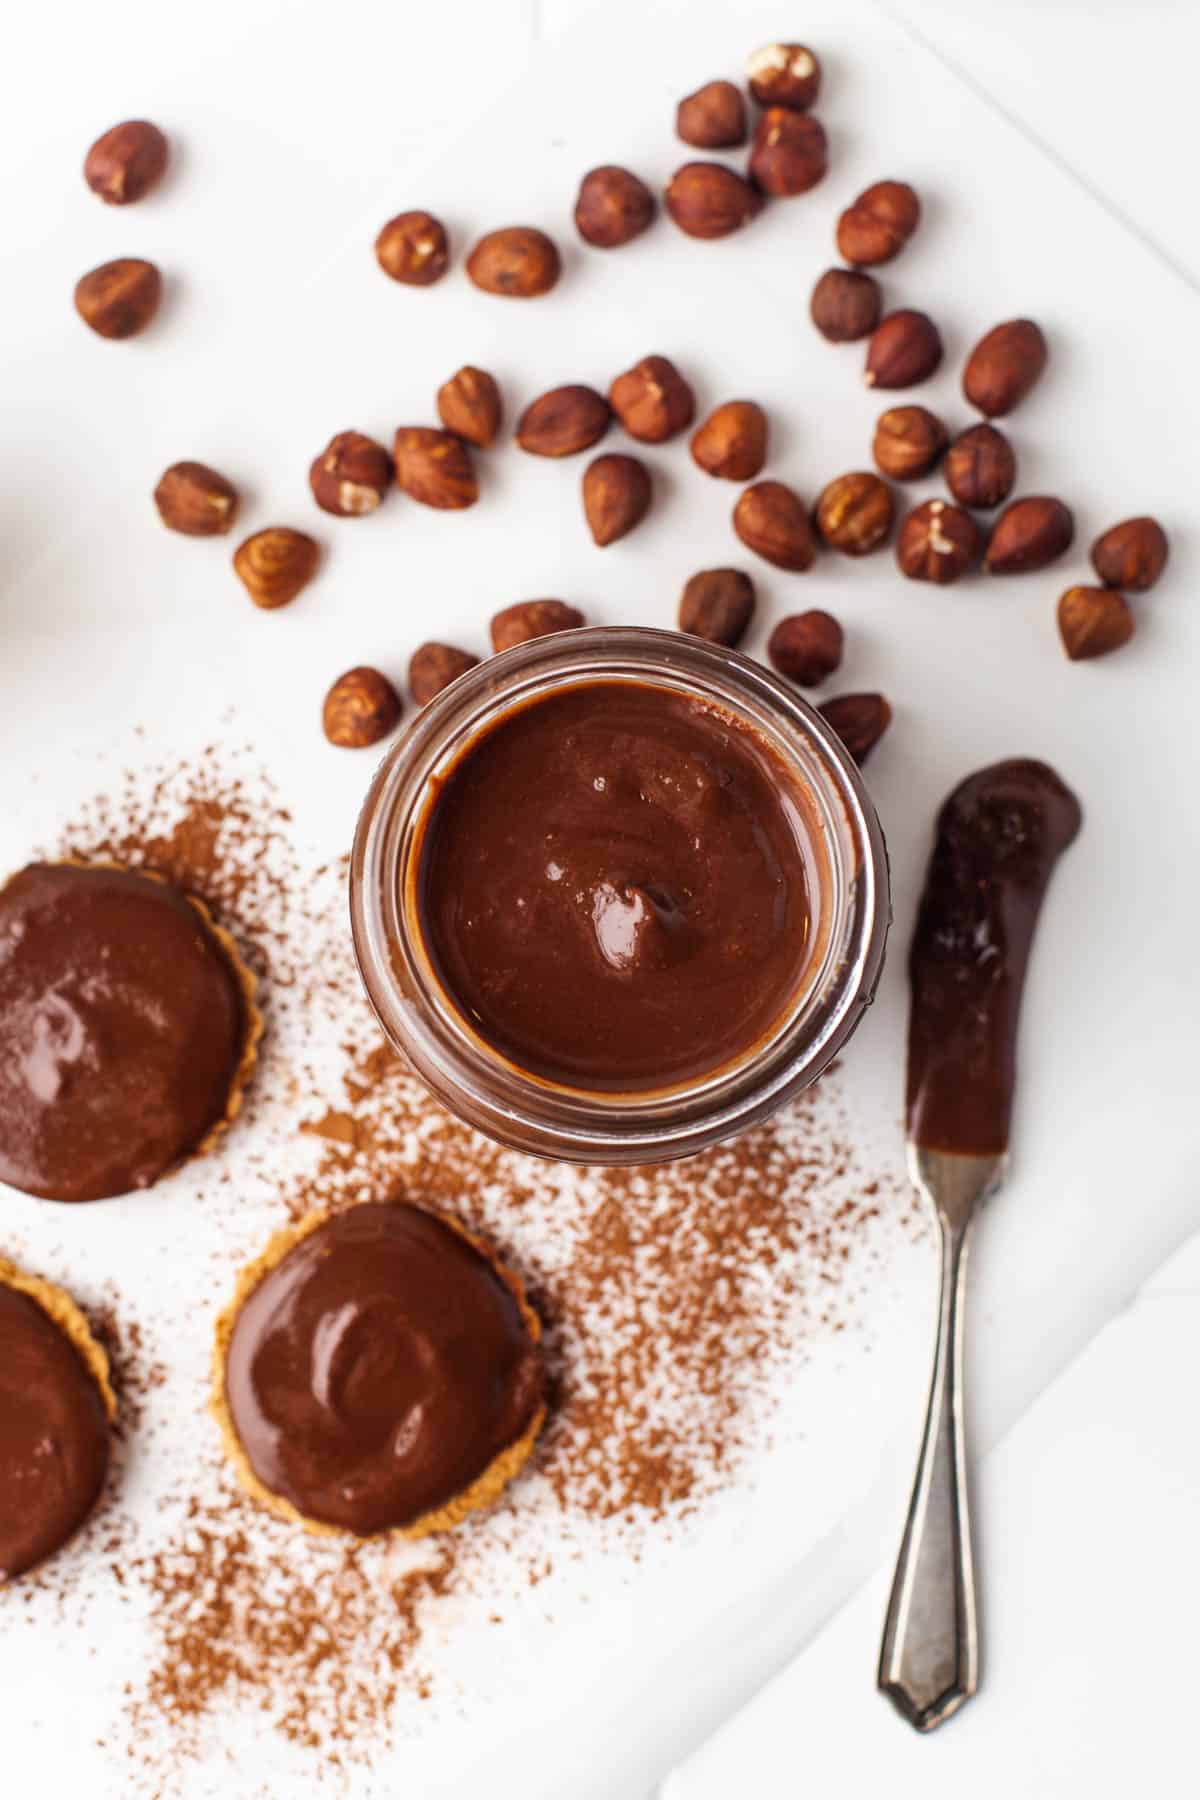
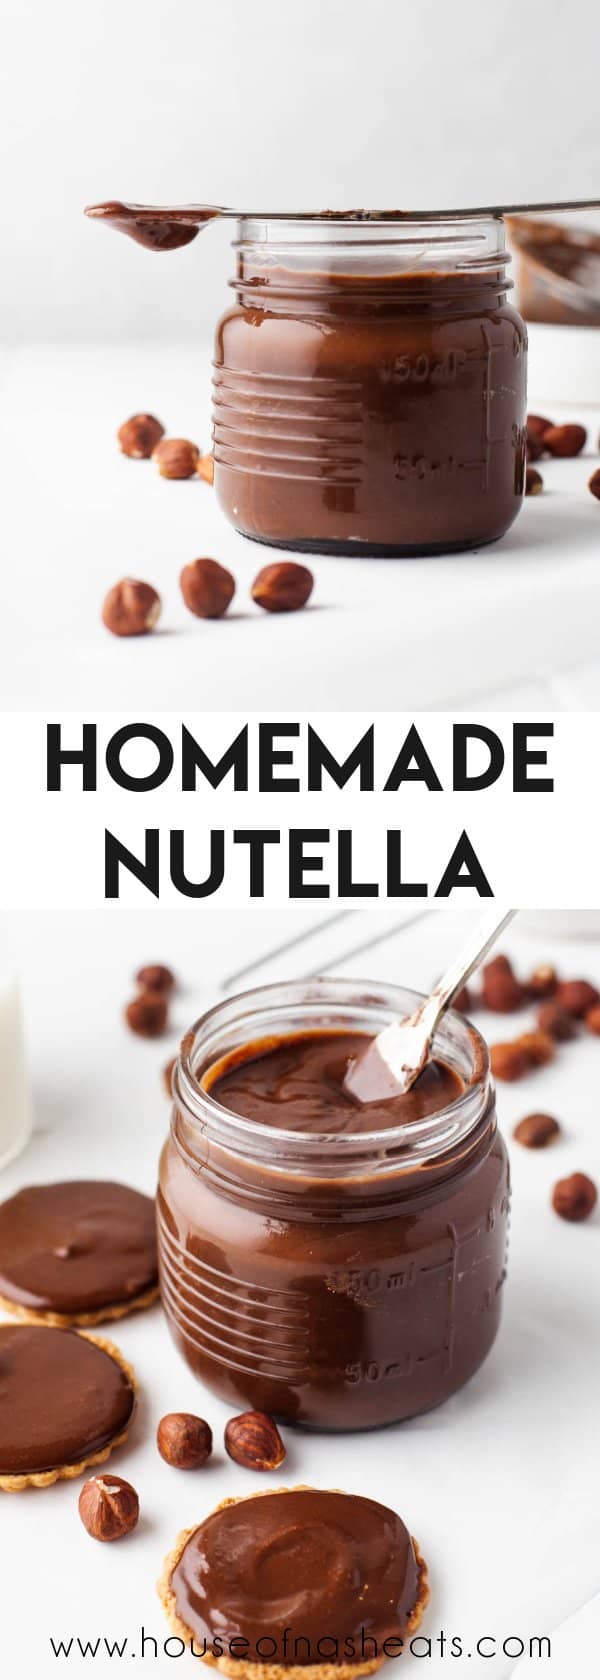
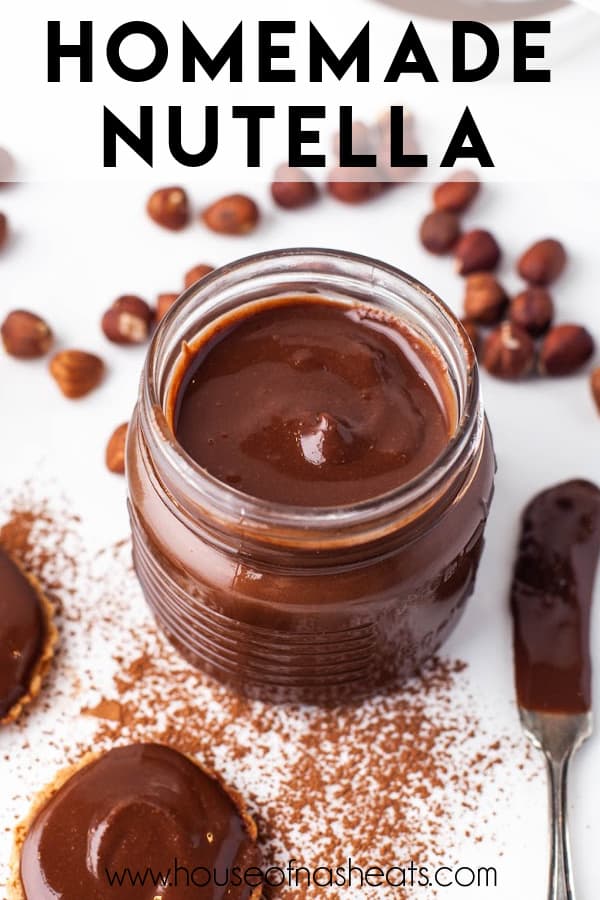
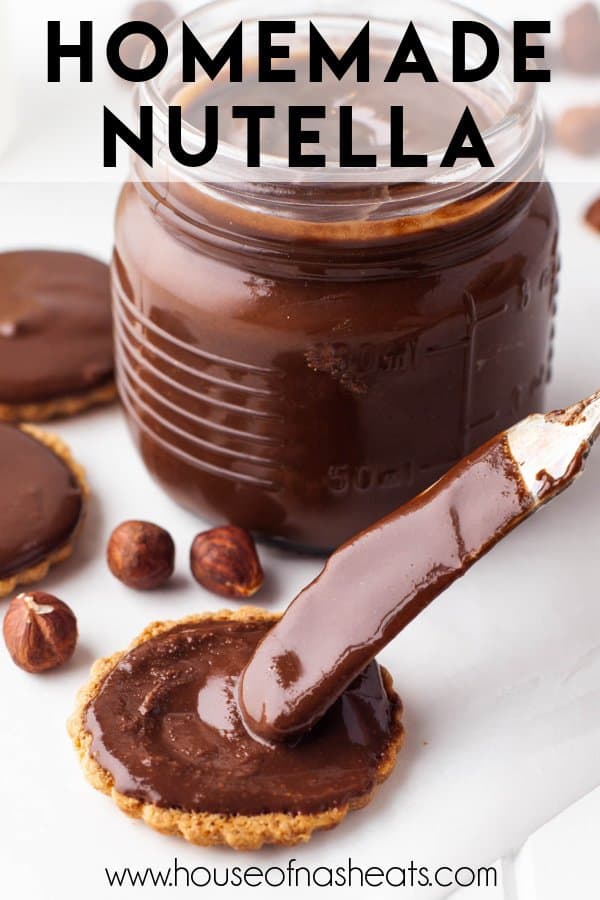
Everybody’s favorite chocolate hazelnut spread is actually easy to make with this Homemade Nutella recipe and you’ll be amazed by the rich flavor! Whether you serve it with toast, in crepes, or in any of hundreds of other ways, everybody will rave over this delicious dessert spread!
We love making dessert sauces and spreads from scratch! Some of our other favorites are a Raspberry Coulis, Homemade Lemon Curd, Flood Mud Microwave Hot Fudge Sauce, and Homemade Marshmallow Sauce.
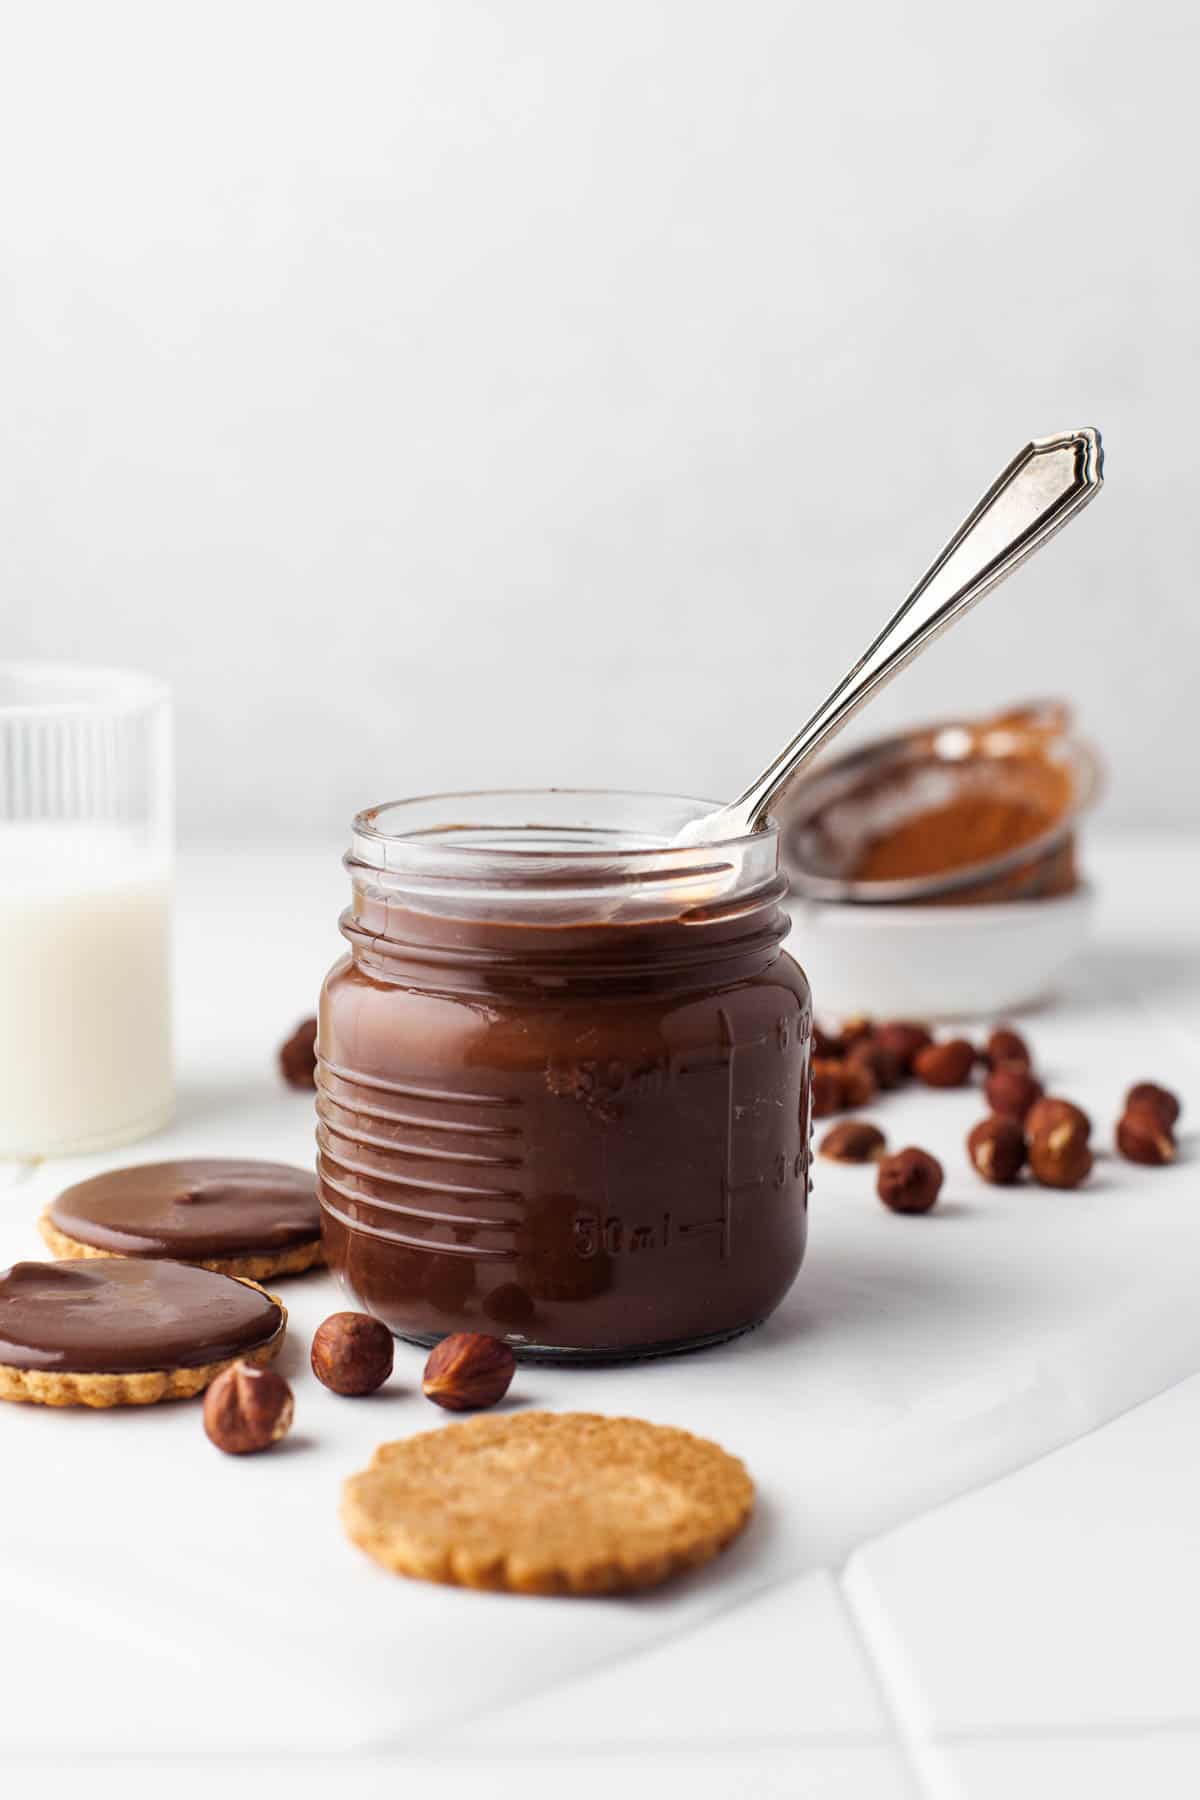
Table of Contents
Our family is obsessed with Nutella. Paul loves it with ice cream or graham crackers, the girls love it in crepes or on waffles, and I prefer it with fresh fruit. The thick, rich Italian chocolate hazelnut spread actually originated in Italy, but it’s popularity grew after being embraced by the Germans.
My first experience with Nutella was actually in a German class in high school. A foreign exchange student from Germany brought a jar to class for everyone to try it spread on toast as an example of her favorite German breakfast. This was back in the mid-90’s in small town Nebraska and it was almost impossible to get Nutella back then so it was definitely a memorable first taste!
Of course nowadays you can find Nutella and other chocolate hazelnut spreads at every grocery store. But I wanted to see if I could make it at home and how it would compare. Turns out it’s actually pretty easy to make homemade Nutella and the flavor and texture is out-of-this-world amazing.
Why You’ll Love This Recipe
Despite there being more work involved than just opening up a fresh jar of Nutella, we think there are some strong reasons for making it yourself, at least some of the time. Obviously we are still going to keep our pantry stocked with jars of the original for emergency purposes, of course.
- Fresh flavor from real ingredients. Doesn’t food always taste better when it’s made fresh from just toasted hazelnuts and warm real chocolate?
- Makes a great gift! Want to give a meaningful, heartfelt gift to a teacher, friend, or food-lover? A jar of homemade Nutella never fails to impress and amaze.
- So many uses. You can use this Nutella the exact same way you would use the kind you buy from the store in recipes or all kinds of desserts.
Ingredient Notes
This is a quick overview of some of the important ingredients you’ll need for this homemade Nutella recipe. Specific measurements and full recipe instructions are in the printable recipe card below.
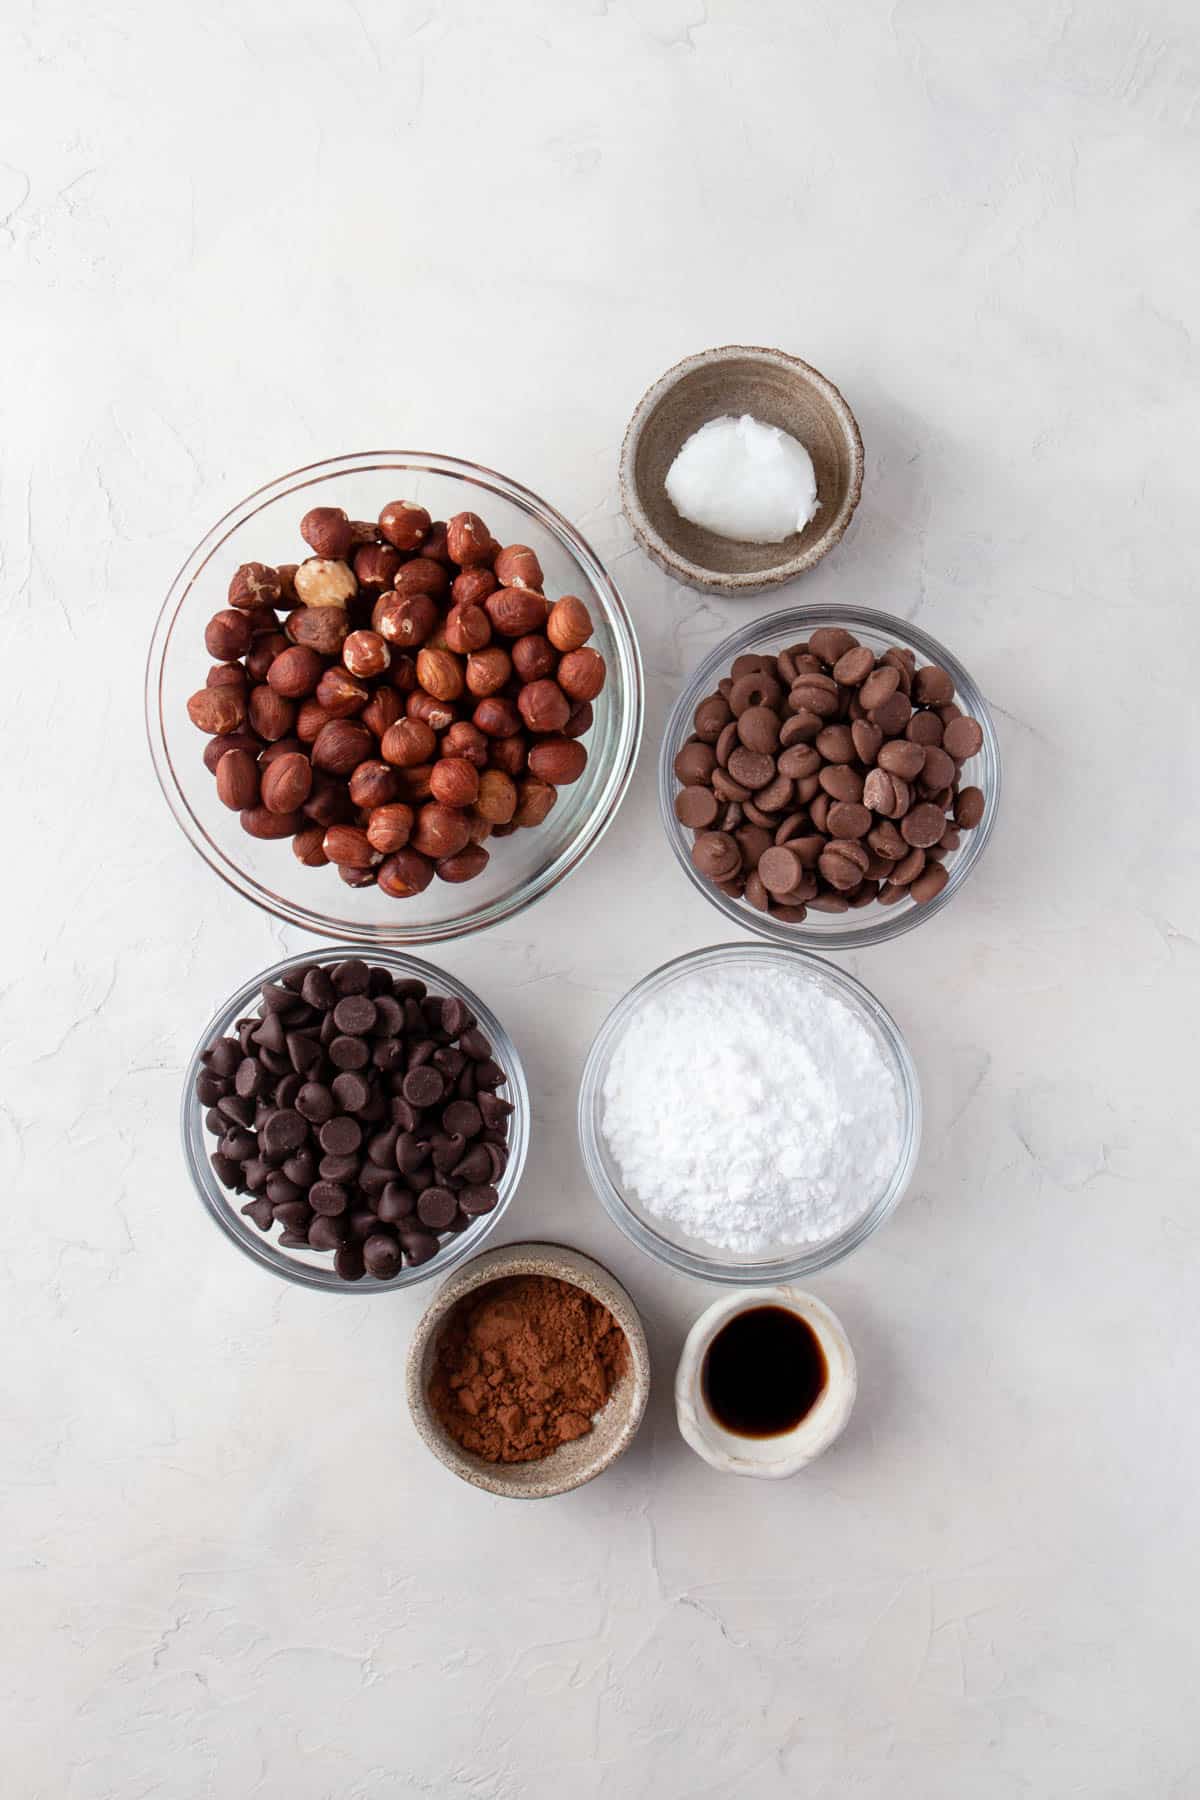
- Hazelnuts: Look for whole, skin-on hazelnuts or filberts, which are best for roasting. You can purchase pre-roasted hazelnuts from the store and use those instead, but you will get better results if you roast them yourself at home to draw out their natural nuttiness.
- Chocolate: I like to use a combination of both milk and semisweet chocolate for the perfect balance of flavor and sweetness.
- Cocoa powder: This adds depth and complexity to the chocolate flavor that you don’t get with just melted chocolate.
- Powdered sugar: Using powdered sugar instead of gritty granulated sugar results in a smoother texture. This is the perfect almond for a sweet spread, but you could cut it back a bit if you prefer.
- Vanilla extract: This ingredient works as a unifier and the hint of vanilla helps bring all the flavors together.
- Coconut oil: I like using refined coconut oil because I always have some on hand and it is flavorless, but almost any oil will work, including unrefined coconut oil. For a nuttier flavor, you could use hazelnut oil or walnut oil. Even vegetable oil, sunflower oil, or avocado oil can be used.
You will also need a strong blender or large, high-speed food processor (affiliate link). A fine mesh sieve and cheesecloth will come in handy for straining if you want the smoothest possible result.
How to Make Nutella
It’s actually very easy to make this homemade Nutella recipe from scratch. This is a quick overview with step-by-step images to help you visualize the process. Scroll down to the recipe card for printable, detailed instructions. Here is the basic approach:
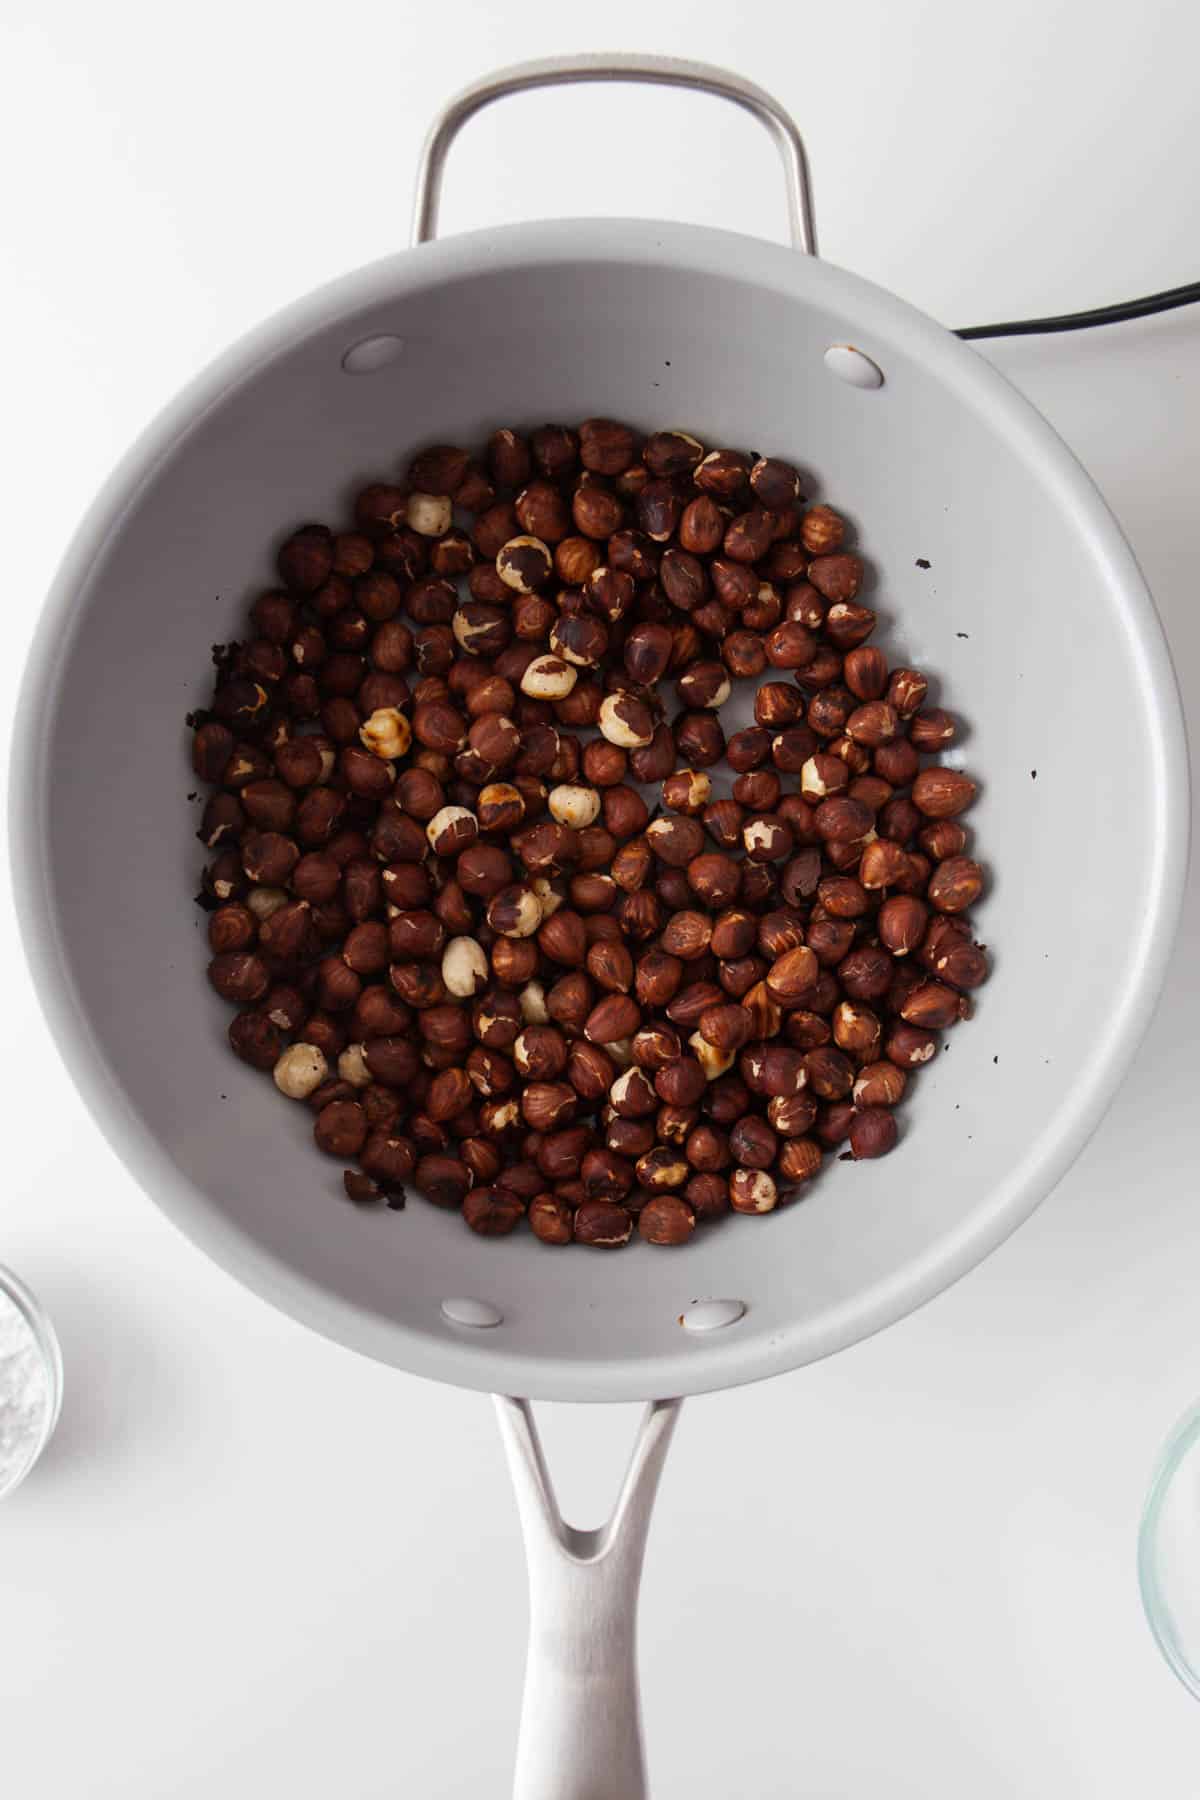
- Toast the hazelnuts. This can be done either in a dry pan on the stove or in the oven. If you are roasting the hazelnuts in the oven, simply spread them in a single layer on a baking sheet and roast for 10 minutes at 350 degrees F. The hazelnuts won’t darken in color much, but the skins will loosen slightly and you will notice a nutty aroma wafting off of them.
PRO TIP: Heat loosens the skins, draws out the inherent nutty flavor, and releases the natural oils in the hazelnuts when roasting in the oven or toasting on the stove. This results in a creamier, smoother spread than if you use pre-roasted nuts.
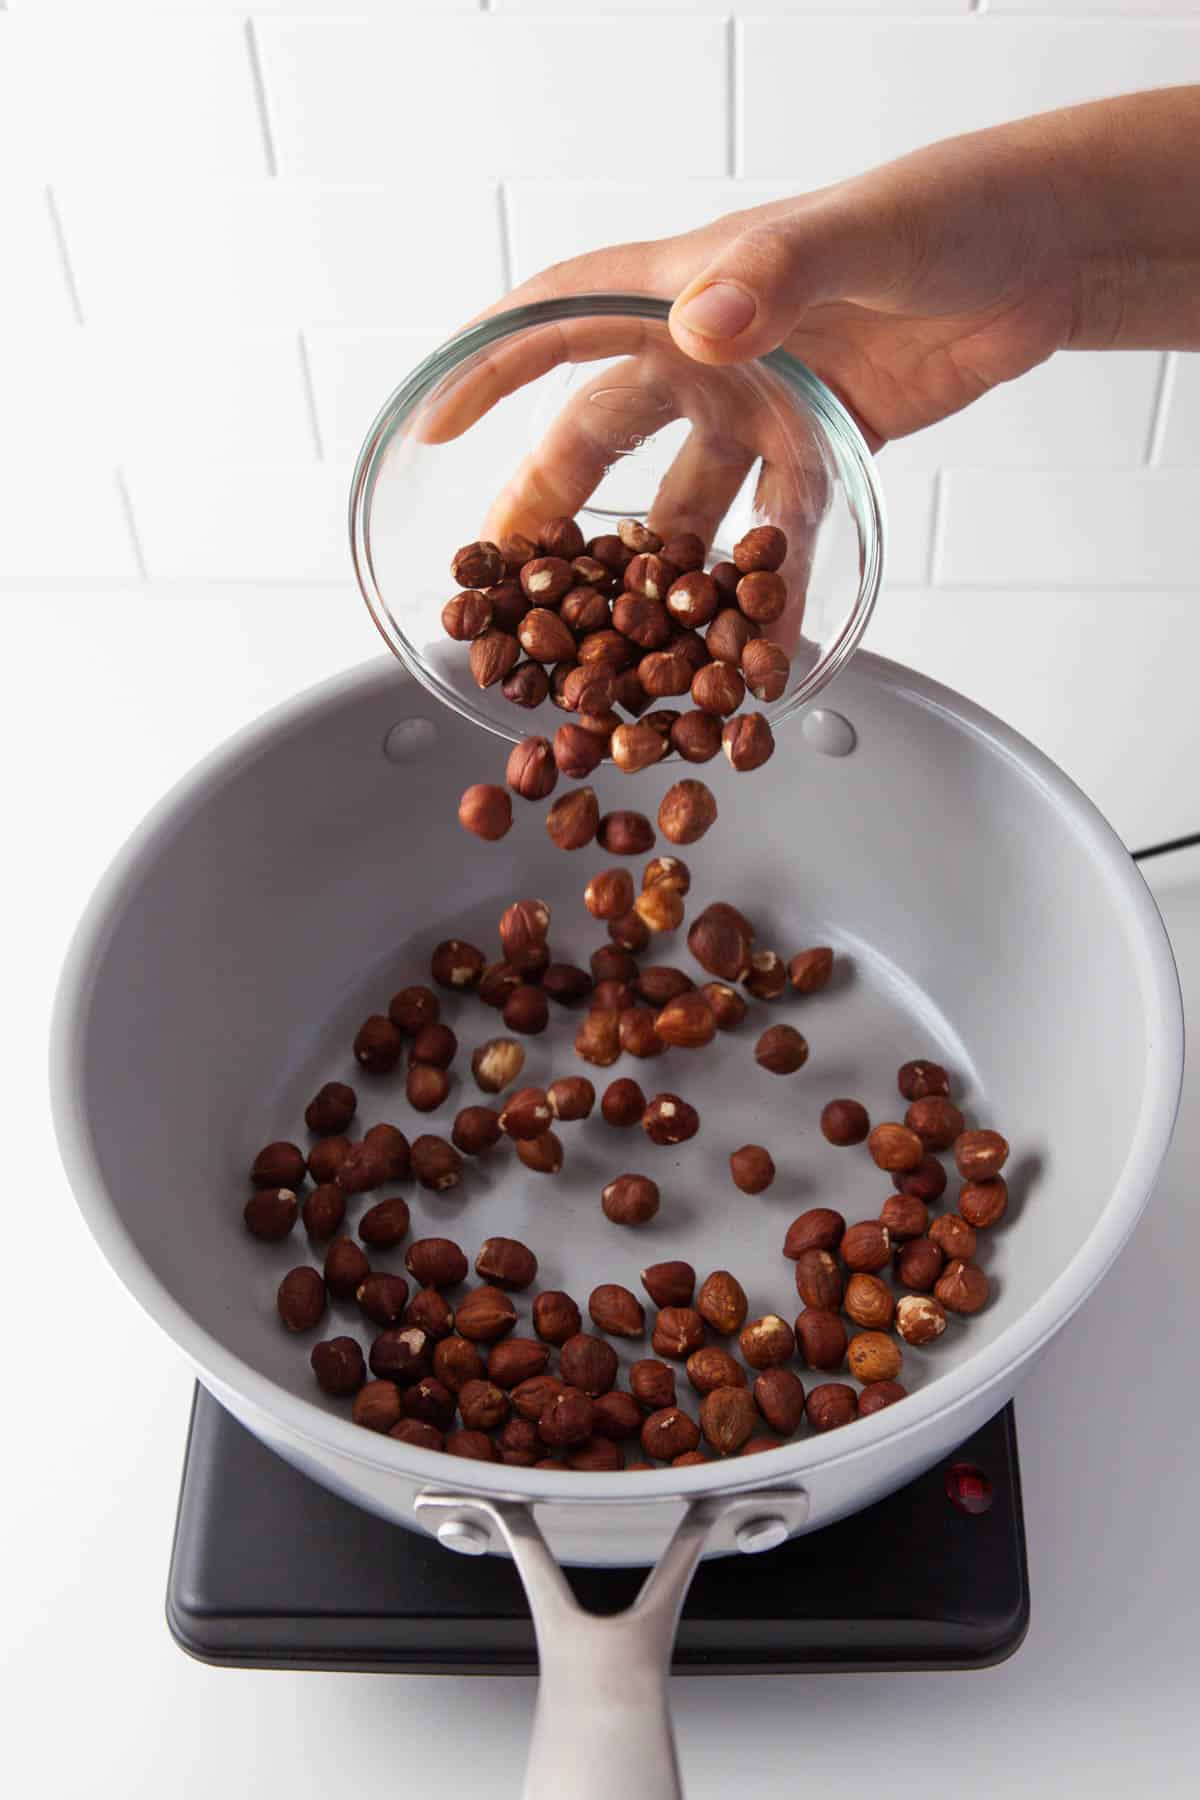
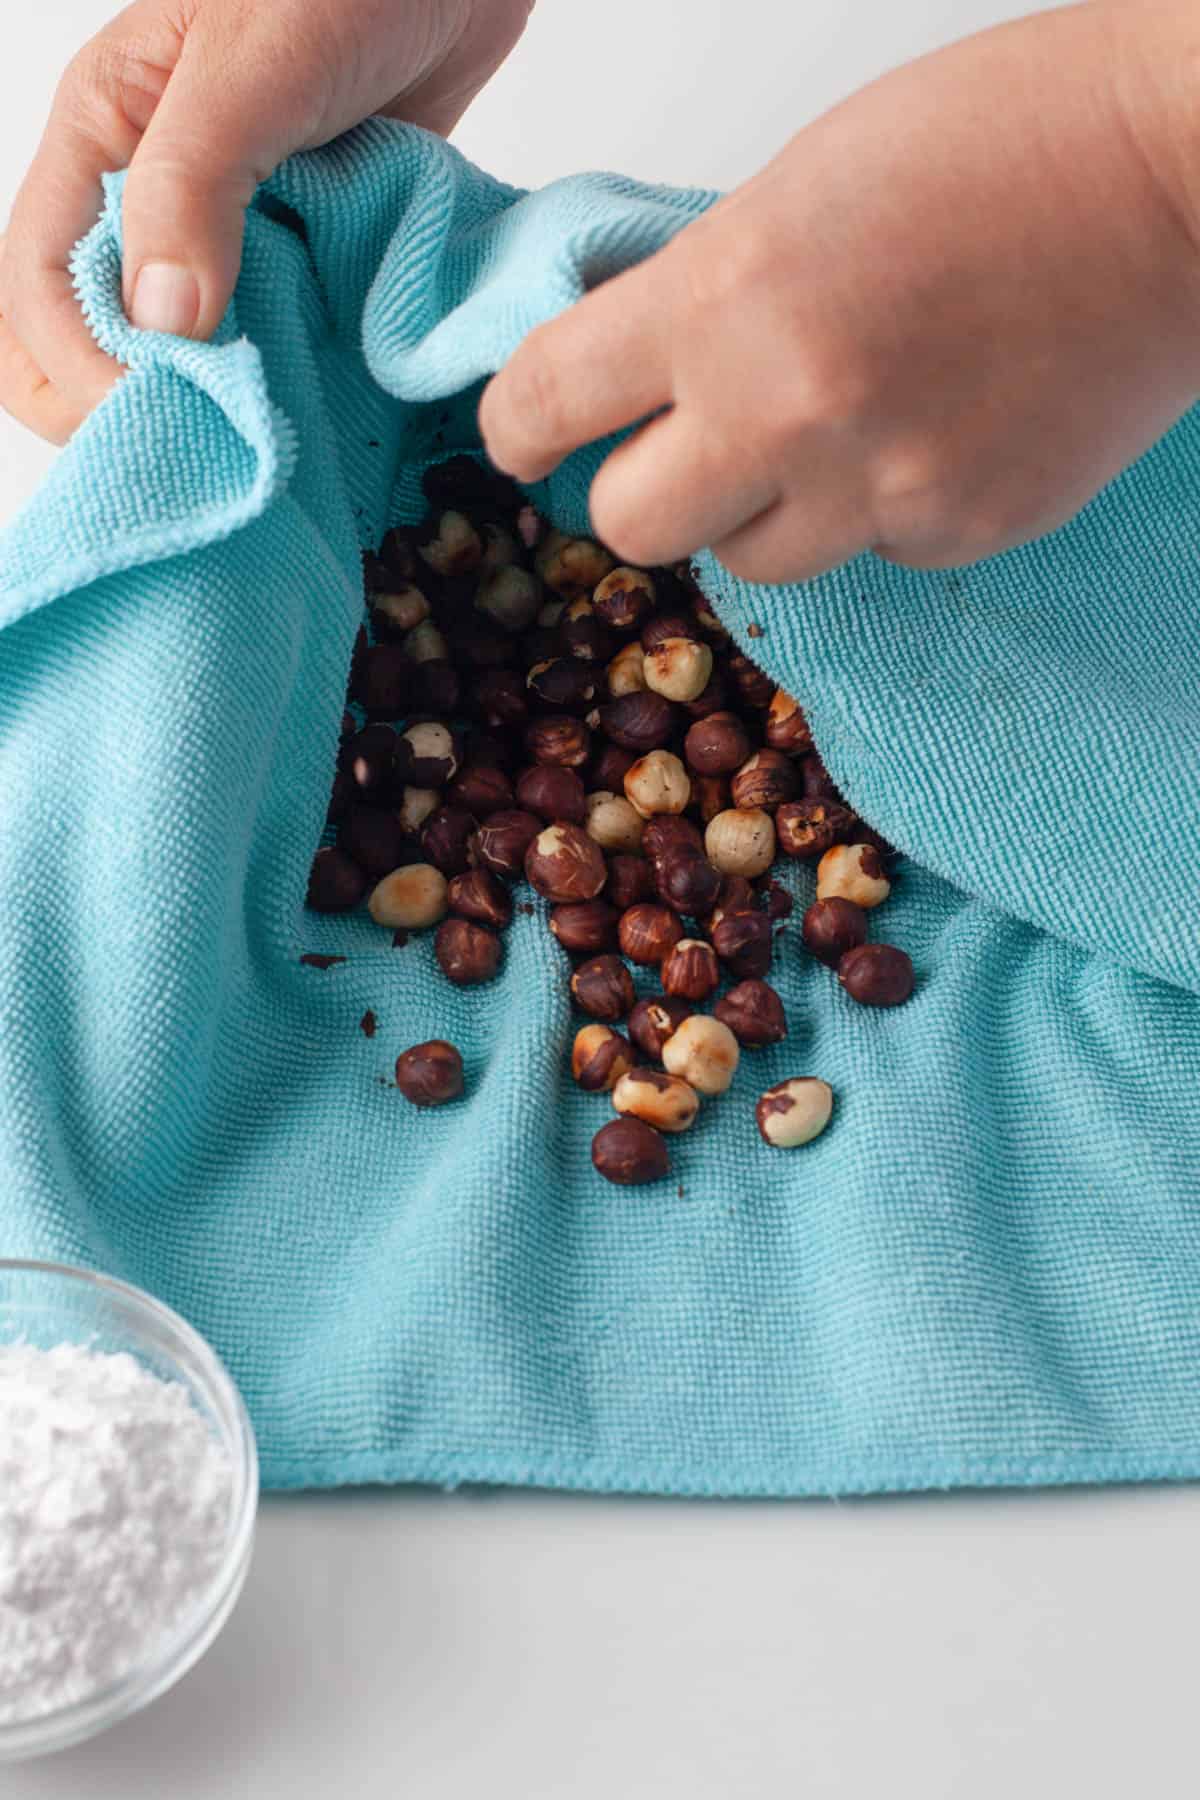
- Remove the brown skins. Transfer the still-warm hazelnuts to a clean towel and rub them together to remove most of the skins. It’s difficult to completely remove all the papery skins, and that’s okay. You can use your fingers or a paring knife to remove any remaining bits of skin, although a few small pieces here and there won’t make a big difference in the end result. Transfer the peeled hazelnuts to a high-powdered blender or food processor (affiliate link).
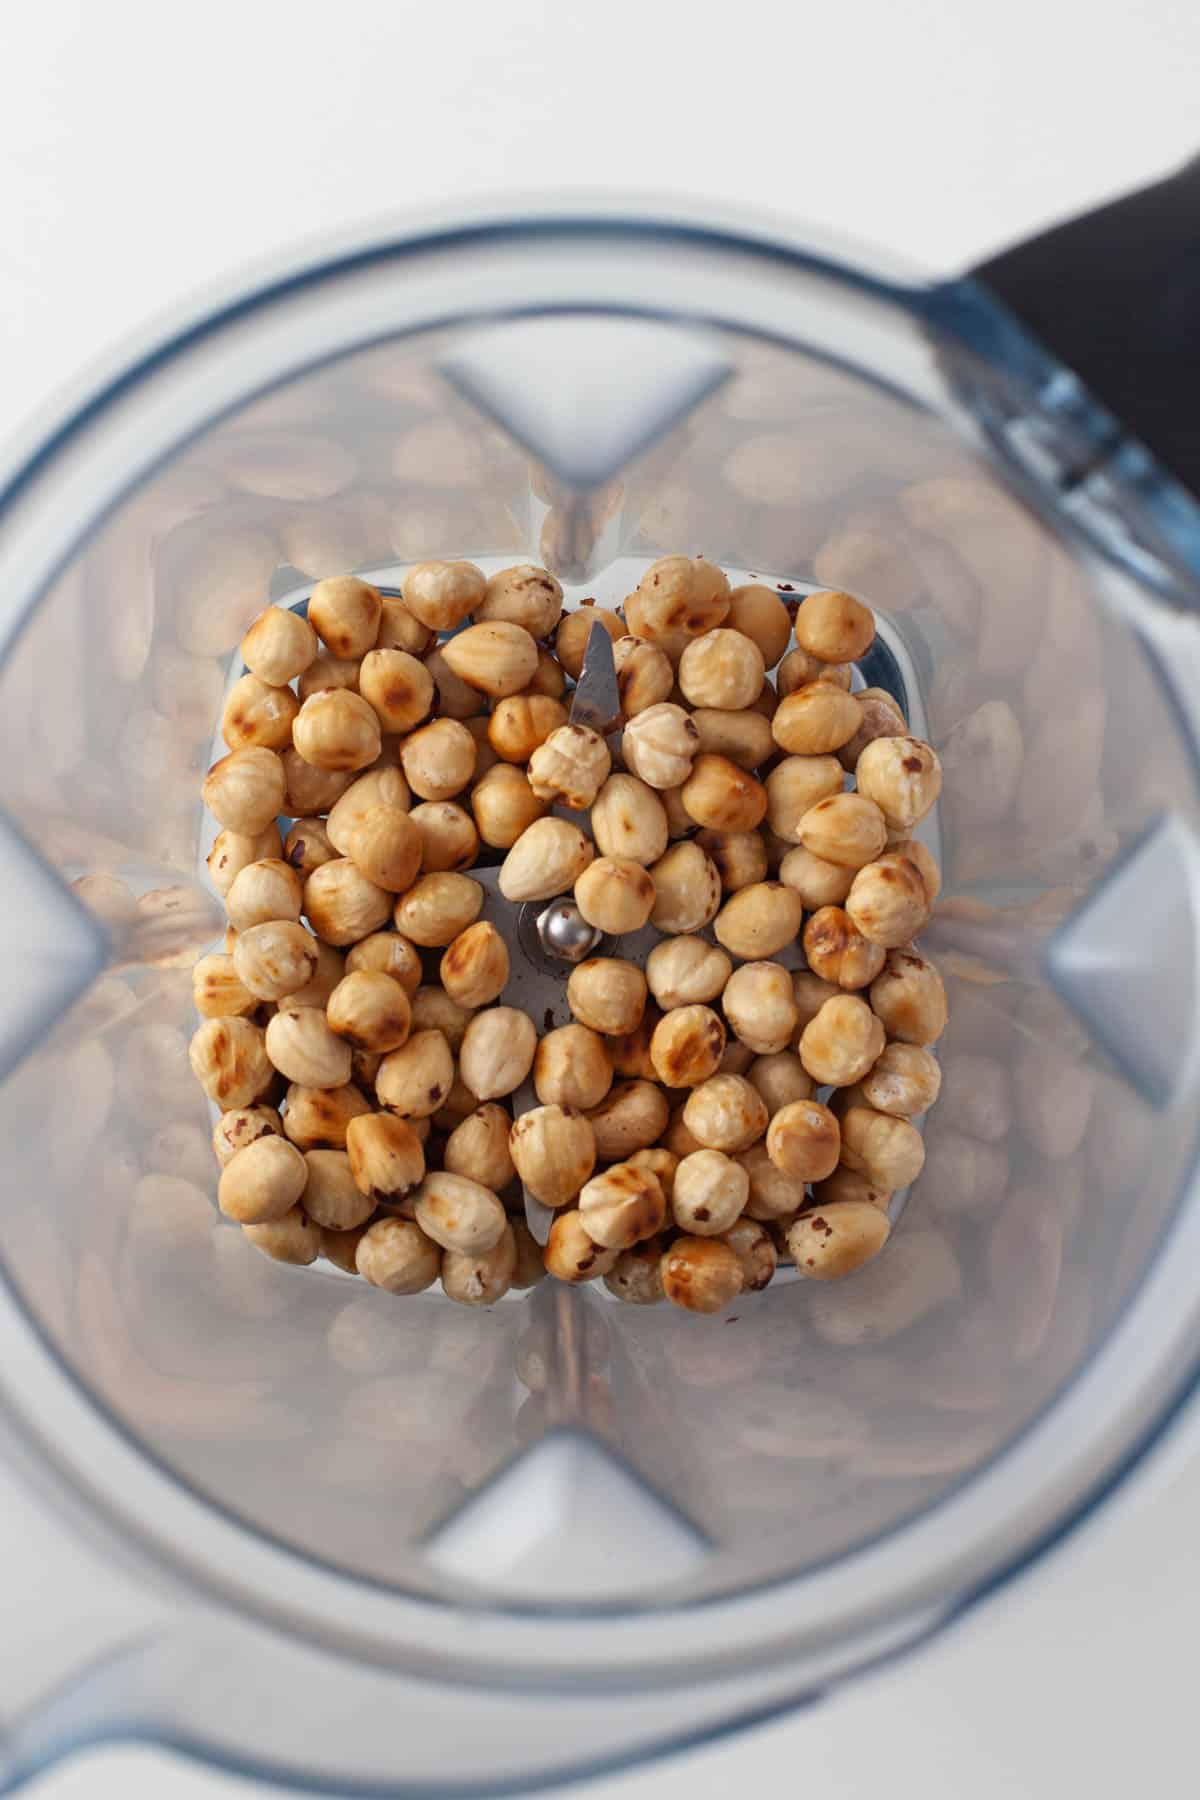
- Pulse the hazelnuts. Process the hazelnuts for a minute or two until they start to look like a nut butter. Then add the powdered sugar, cocoa powder, and coconut oil. Continue to process the nuts, stopping occasionally to scrape down the sides of the blender. If you are using a food processor (affiliate link) you will not need to stop and scrape as much, but it usually takes a little longer (more like 5-10 minutes versus 3-4) to break down the nuts.
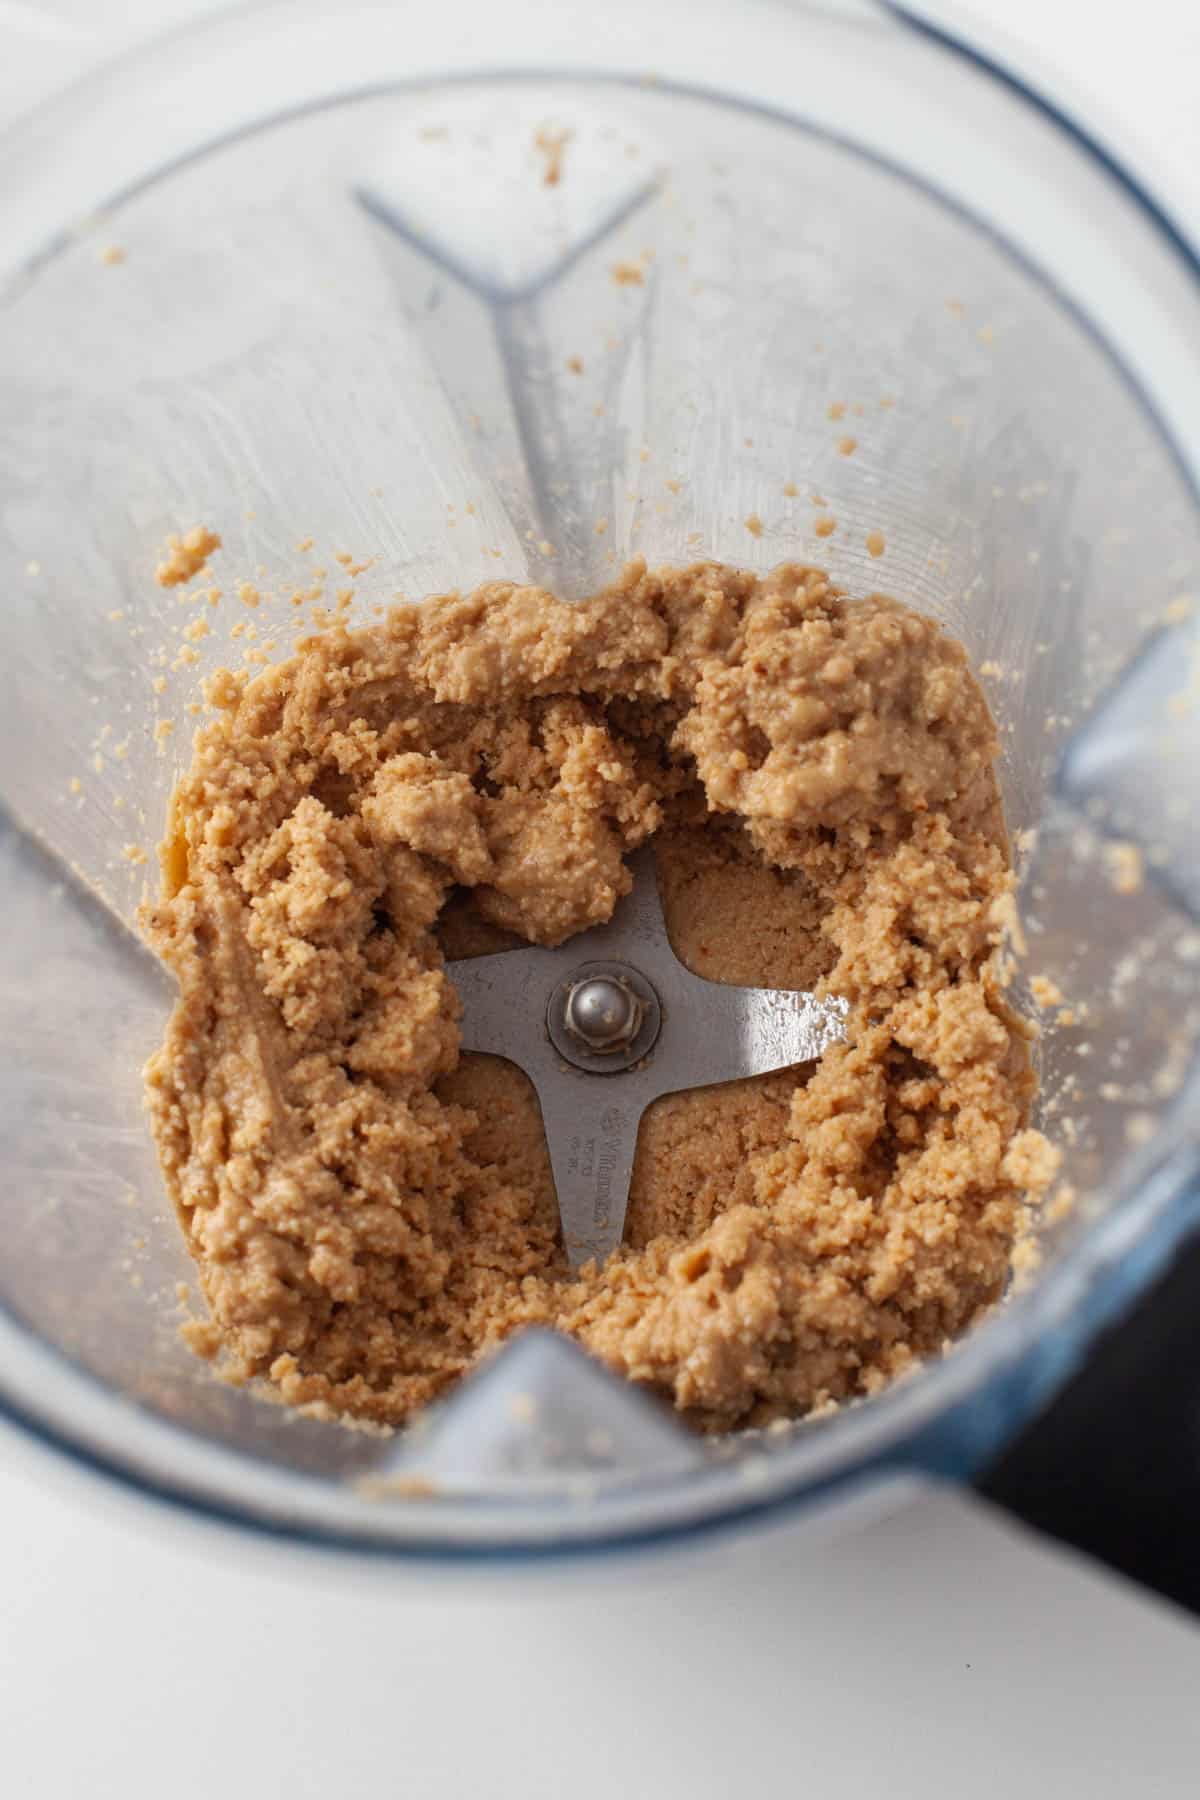
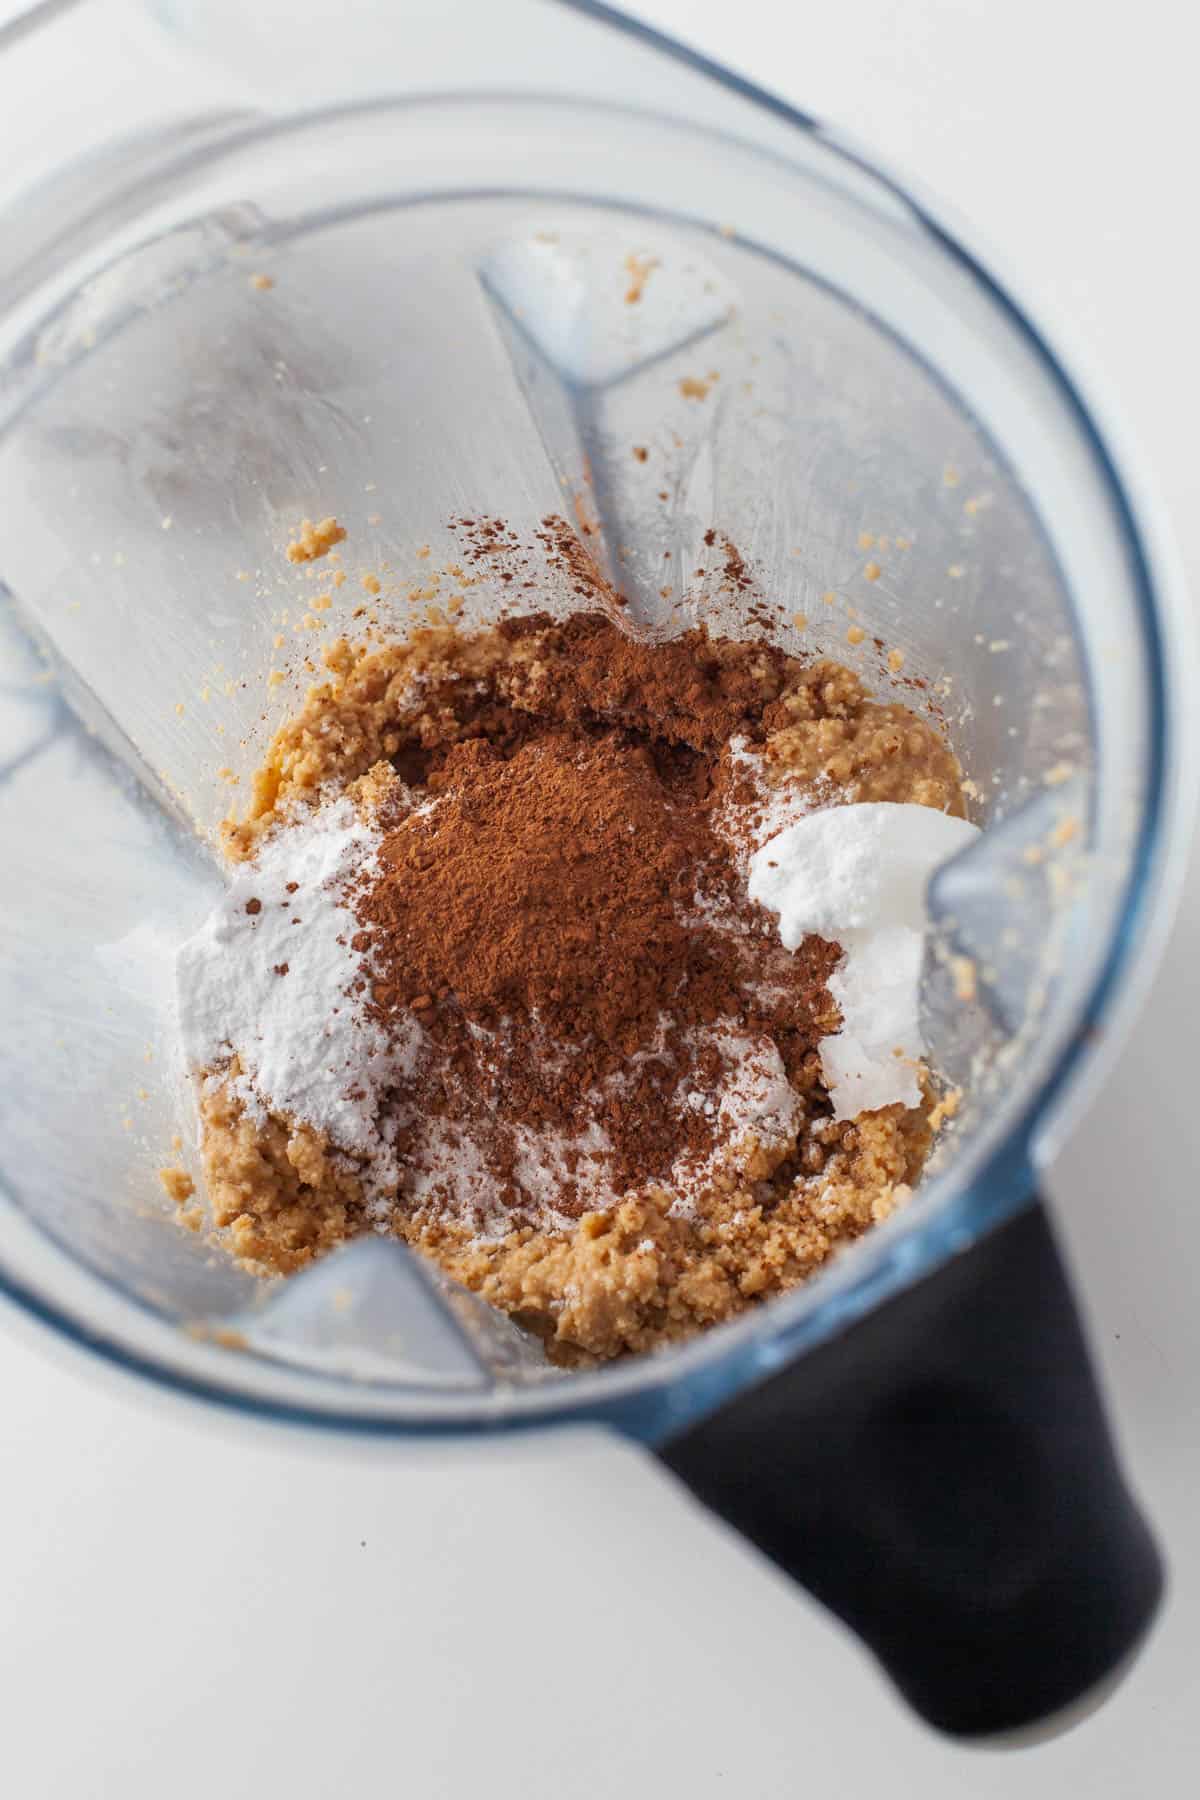
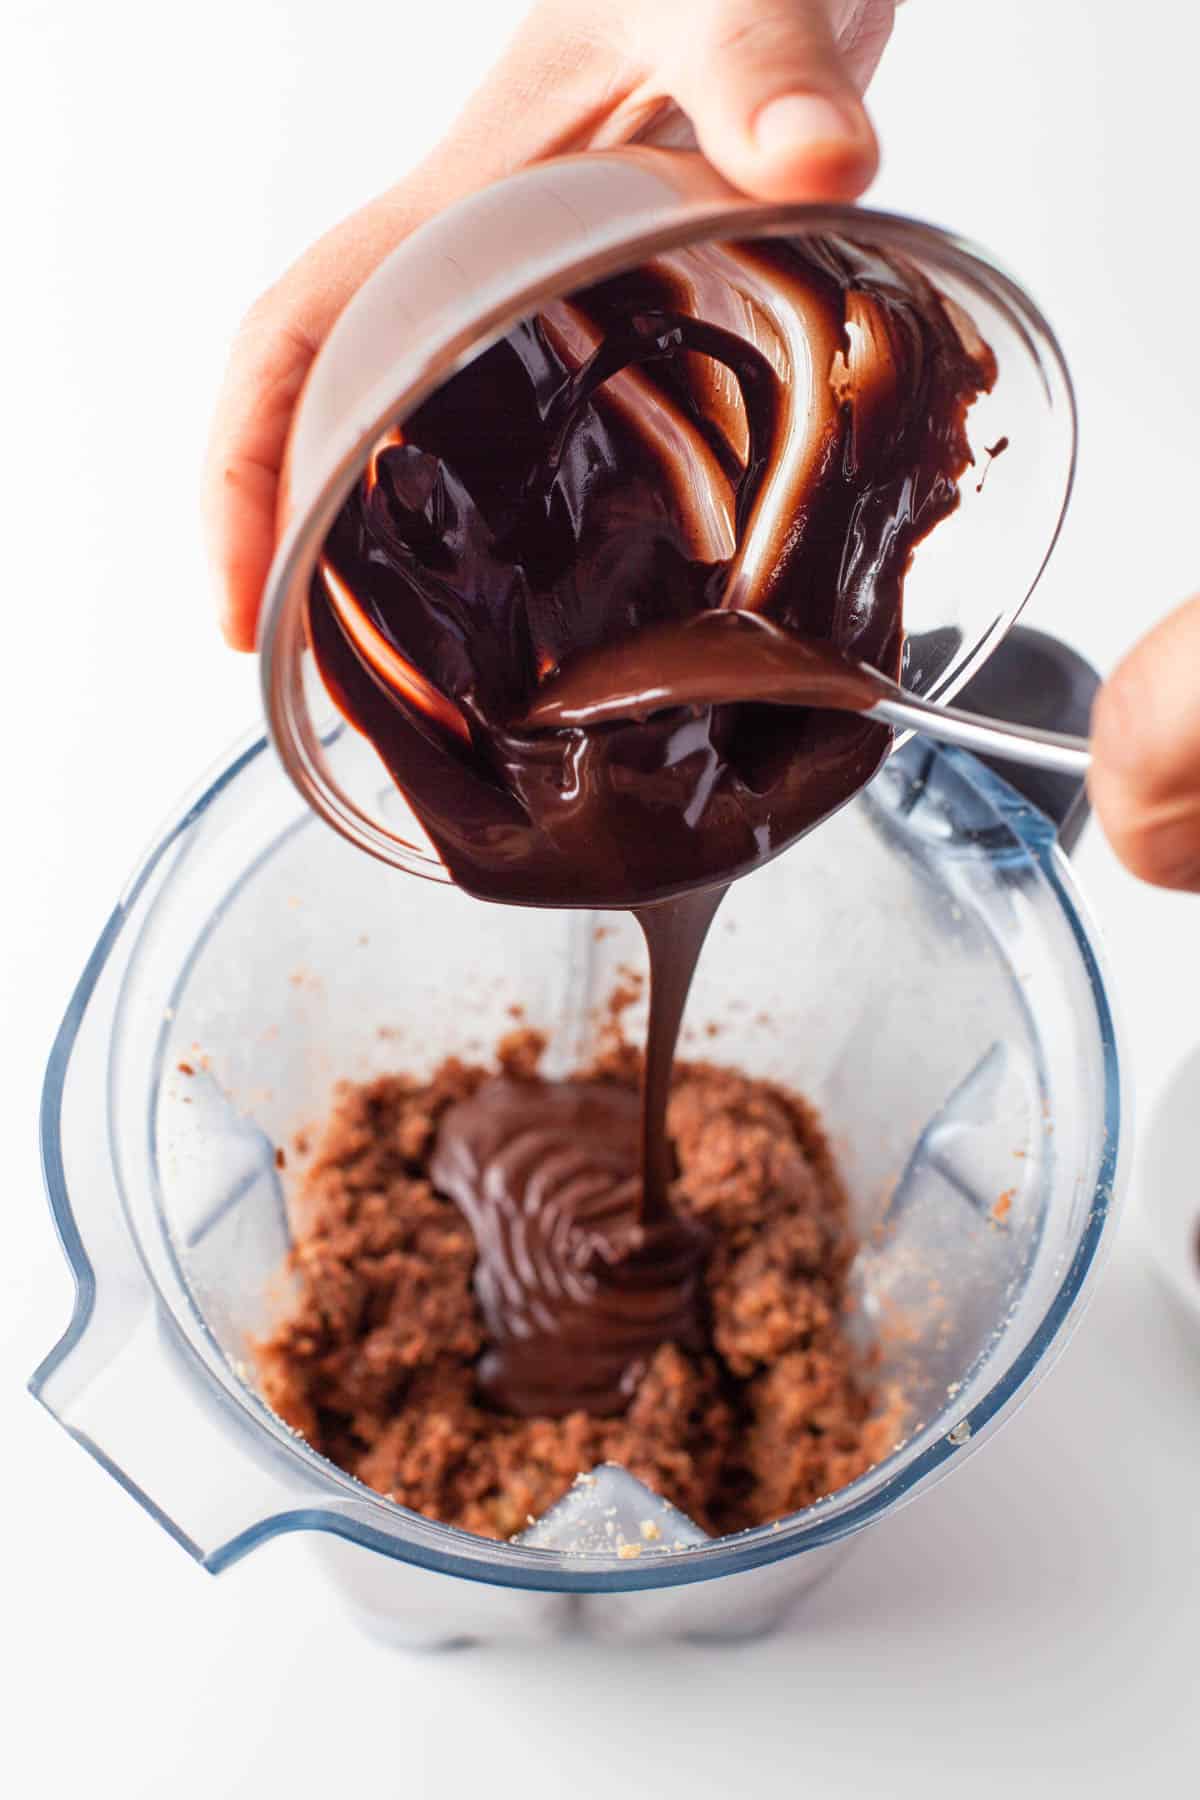
- Add chocolate. In a microwave-safe bowl, melt the semisweet and milk chocolate in short 20-30 second bursts of heat in the microwave, stirring between each burst until smooth. Add to the hazelnut mixture and continue to blend or process until you have a thick, creamy spread. You can totally eat your Nutella just like this!
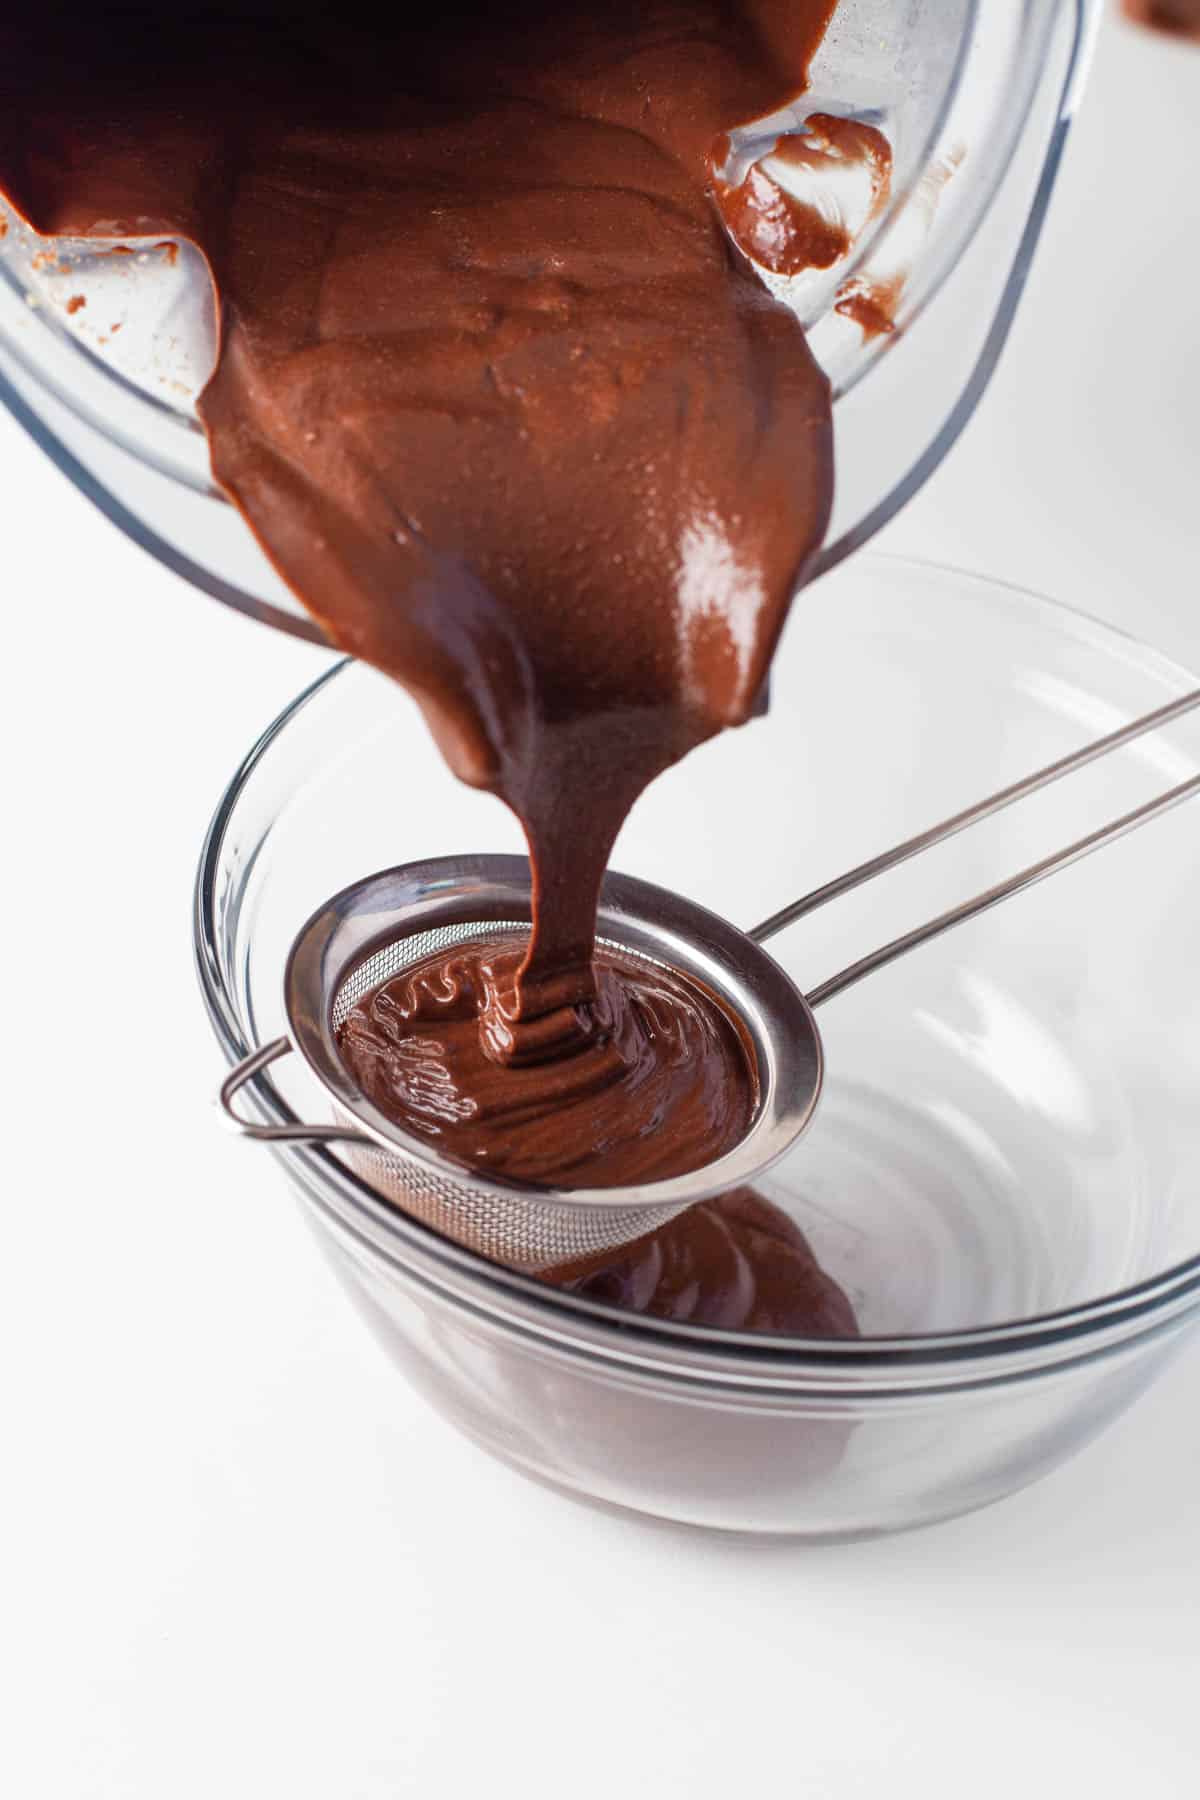
- Strain for even smoother results. If you want really super-smooth Nutella, pour the warm hazelnut spread through a fine mesh sieve into a bowl to remove any larger pieces of hazelnut. You can even double strain by then pouring and squeezing this through a piece of cheesecloth if you are absolutely adamant about getting rid of tiny chunks of hazelnut that may have made it through to this point, but truthfully I usually skip these extra steps.
Recipe FAQ’s
Nutella is made with roasted hazelnuts, but you could use almonds, macadamia nuts, peanuts, or pistachios instead for a different flavor. It won’t have the exact same flavor profile as Nutella, but it would still be a delicious spread.
Homemade Nutella may start to separate slightly over time. To fix this, just stir it well until smooth before serving.
No, we don’t recommend storing your homemade Nutella in the fridge because it hardens up and then isn’t spreadable unless you let it soften on the counter for a long time or warm it gently in the microwave first.
Recipe Tips and Tricks
- Blending takes time. It might not seem at first like the nuts will blend into a smooth, spreadable butter but give it time. It can take 10 minutes in the food processor (affiliate link) for them to break down completely into a creamy, spreadable mixture.
- Use a high speed blender or food processor (affiliate link). I have used some blenders that just can’t handle creating nut butters well, but our Vitamix has no problem with it. Neither does our large food processor (affiliate link).
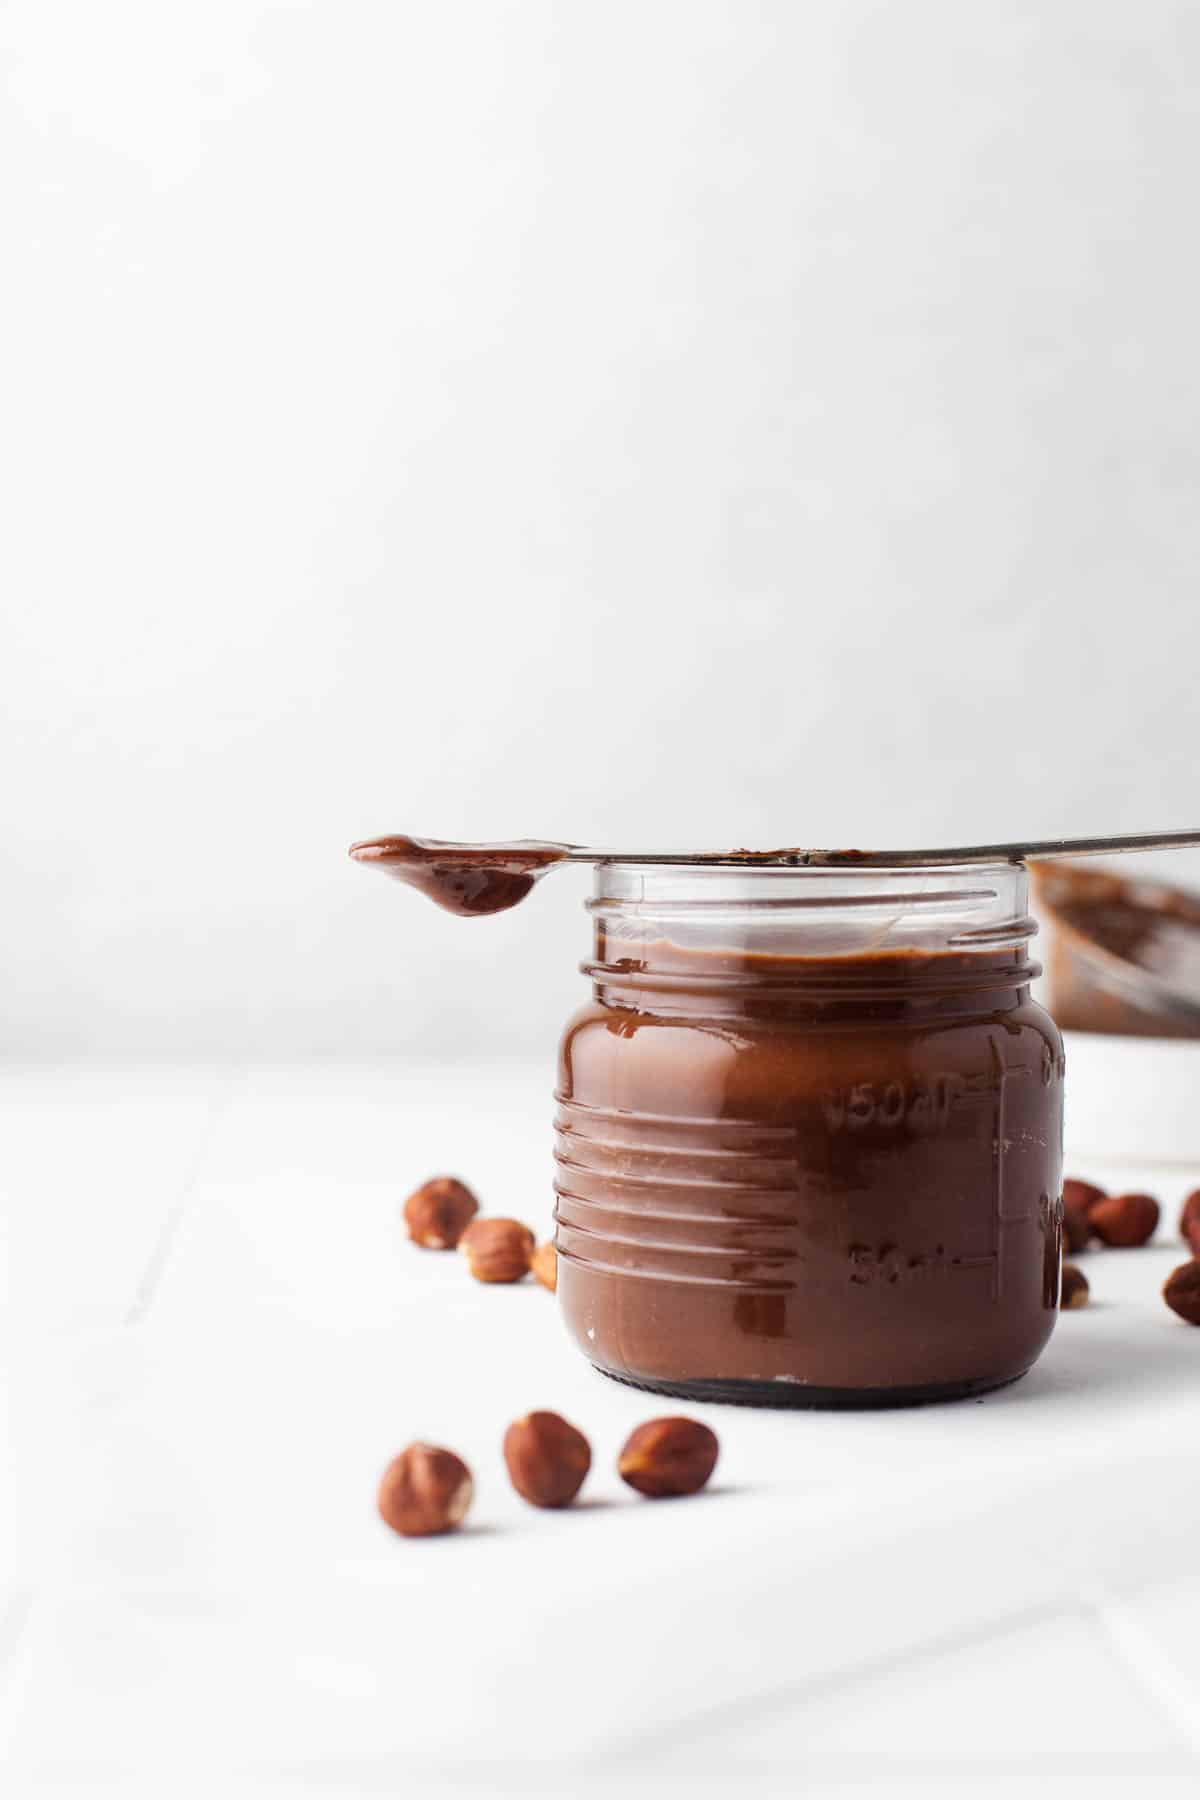
- It will thicken as it cools. At first, your homemade Nutella will be a bit thinner than regular Nutella, but it will firm up a bit as it cools down from the friction of the blending process.
Storage & Reheating Instructions
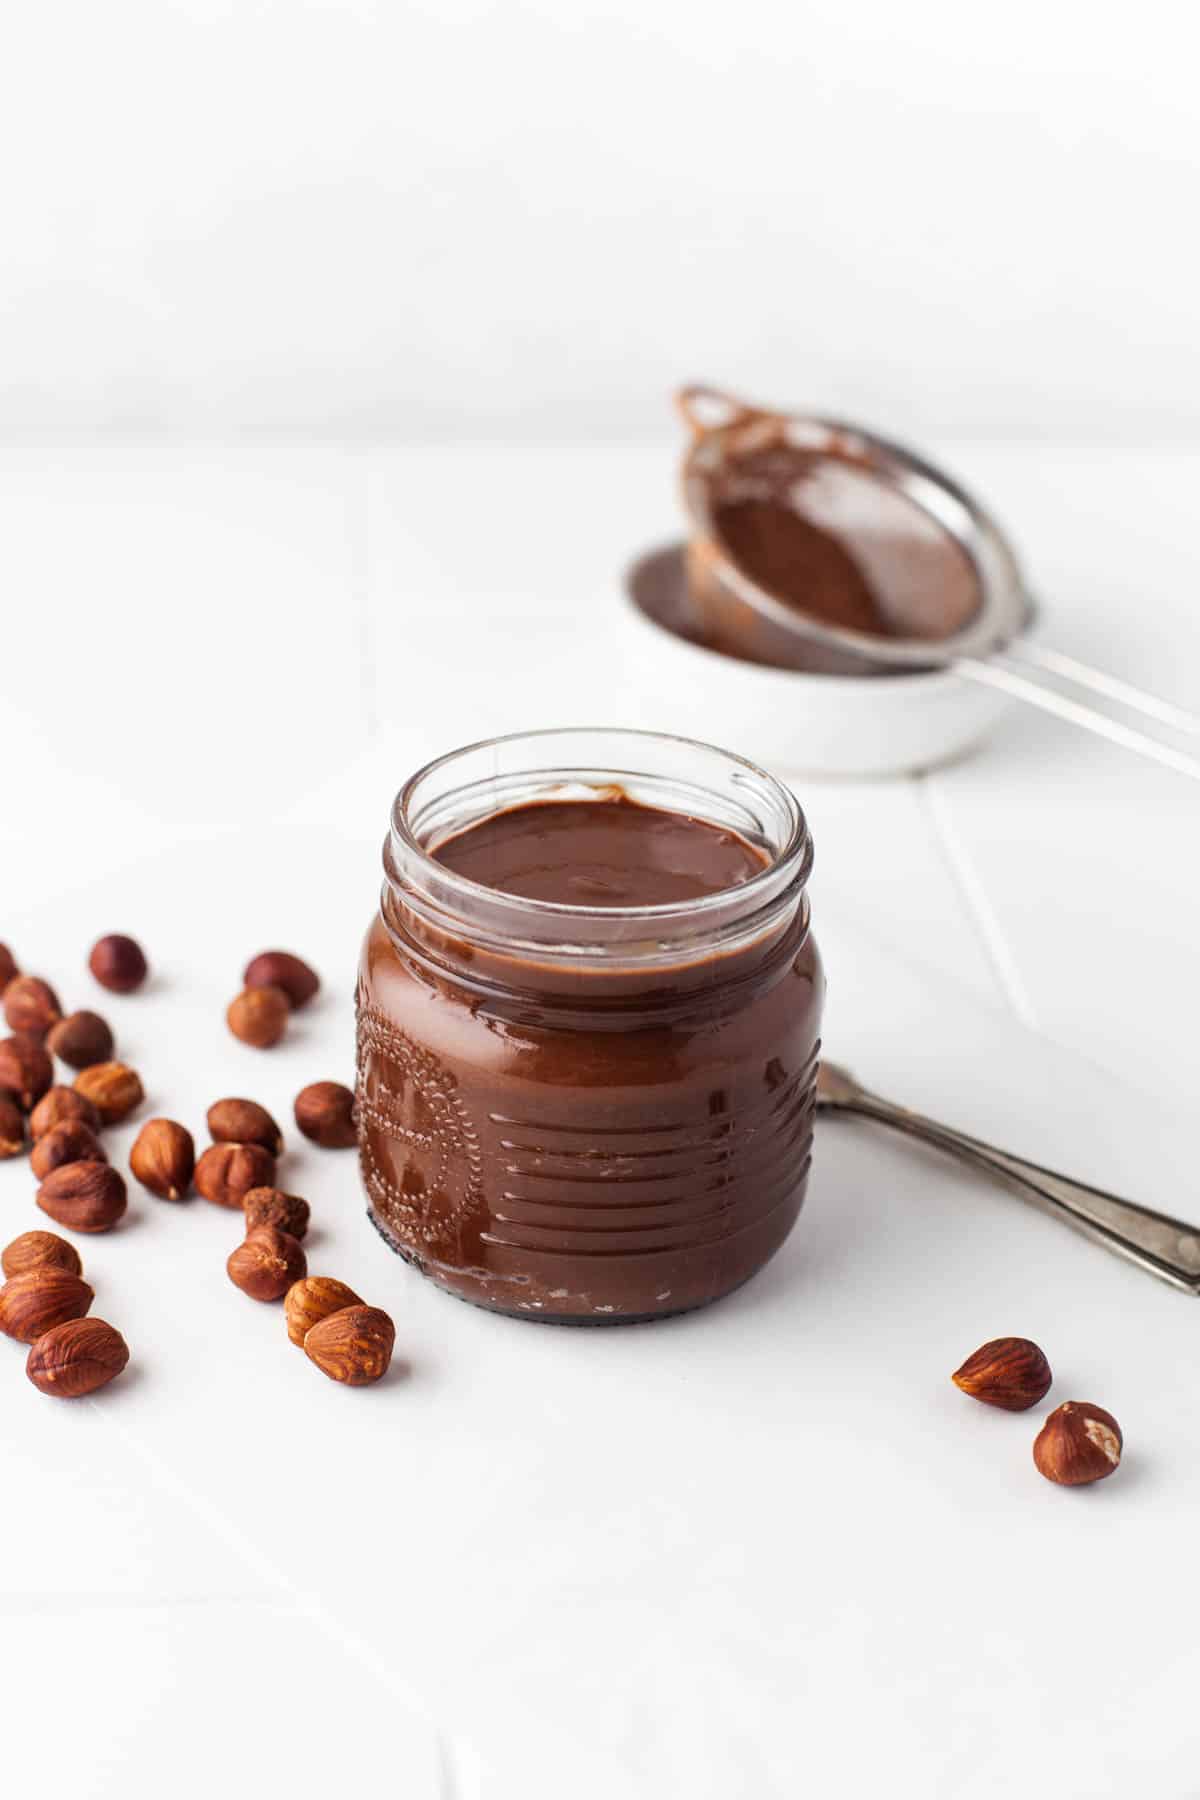
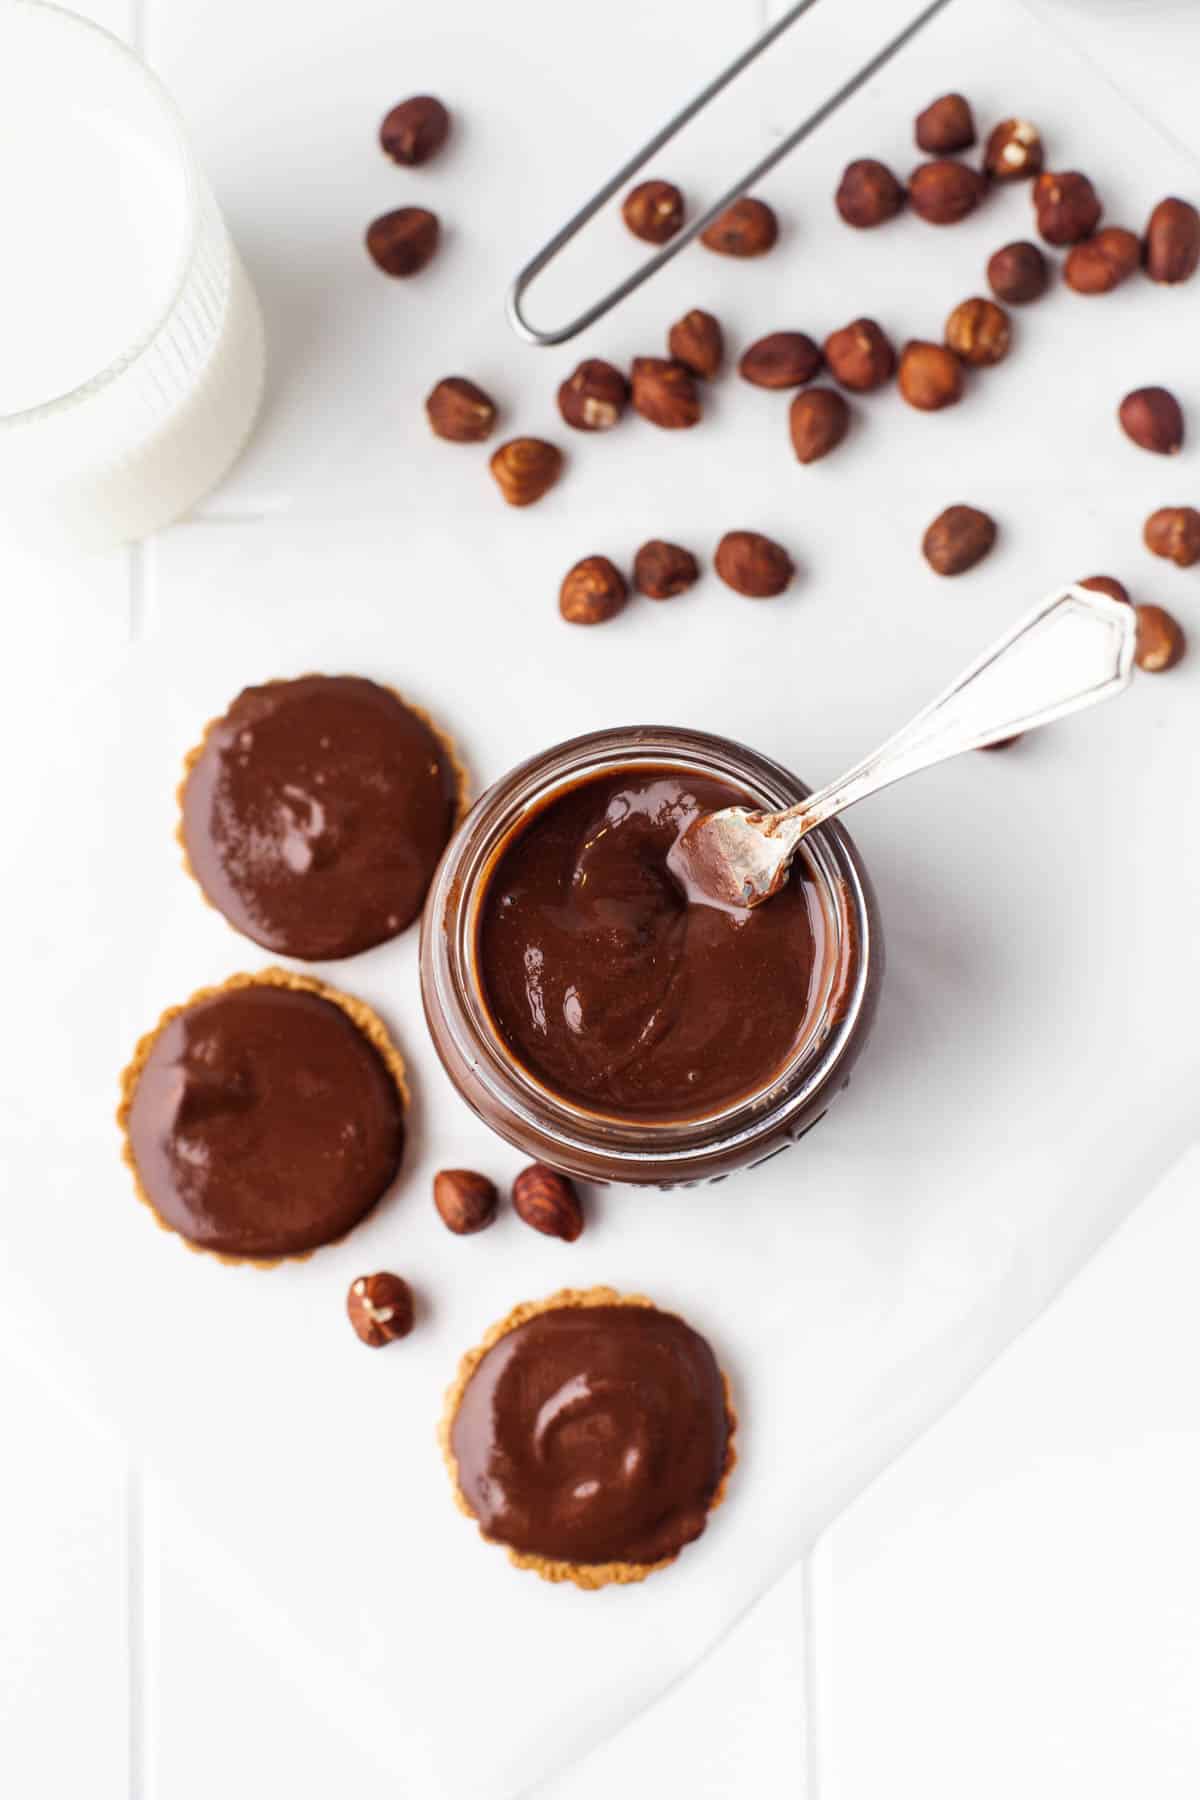
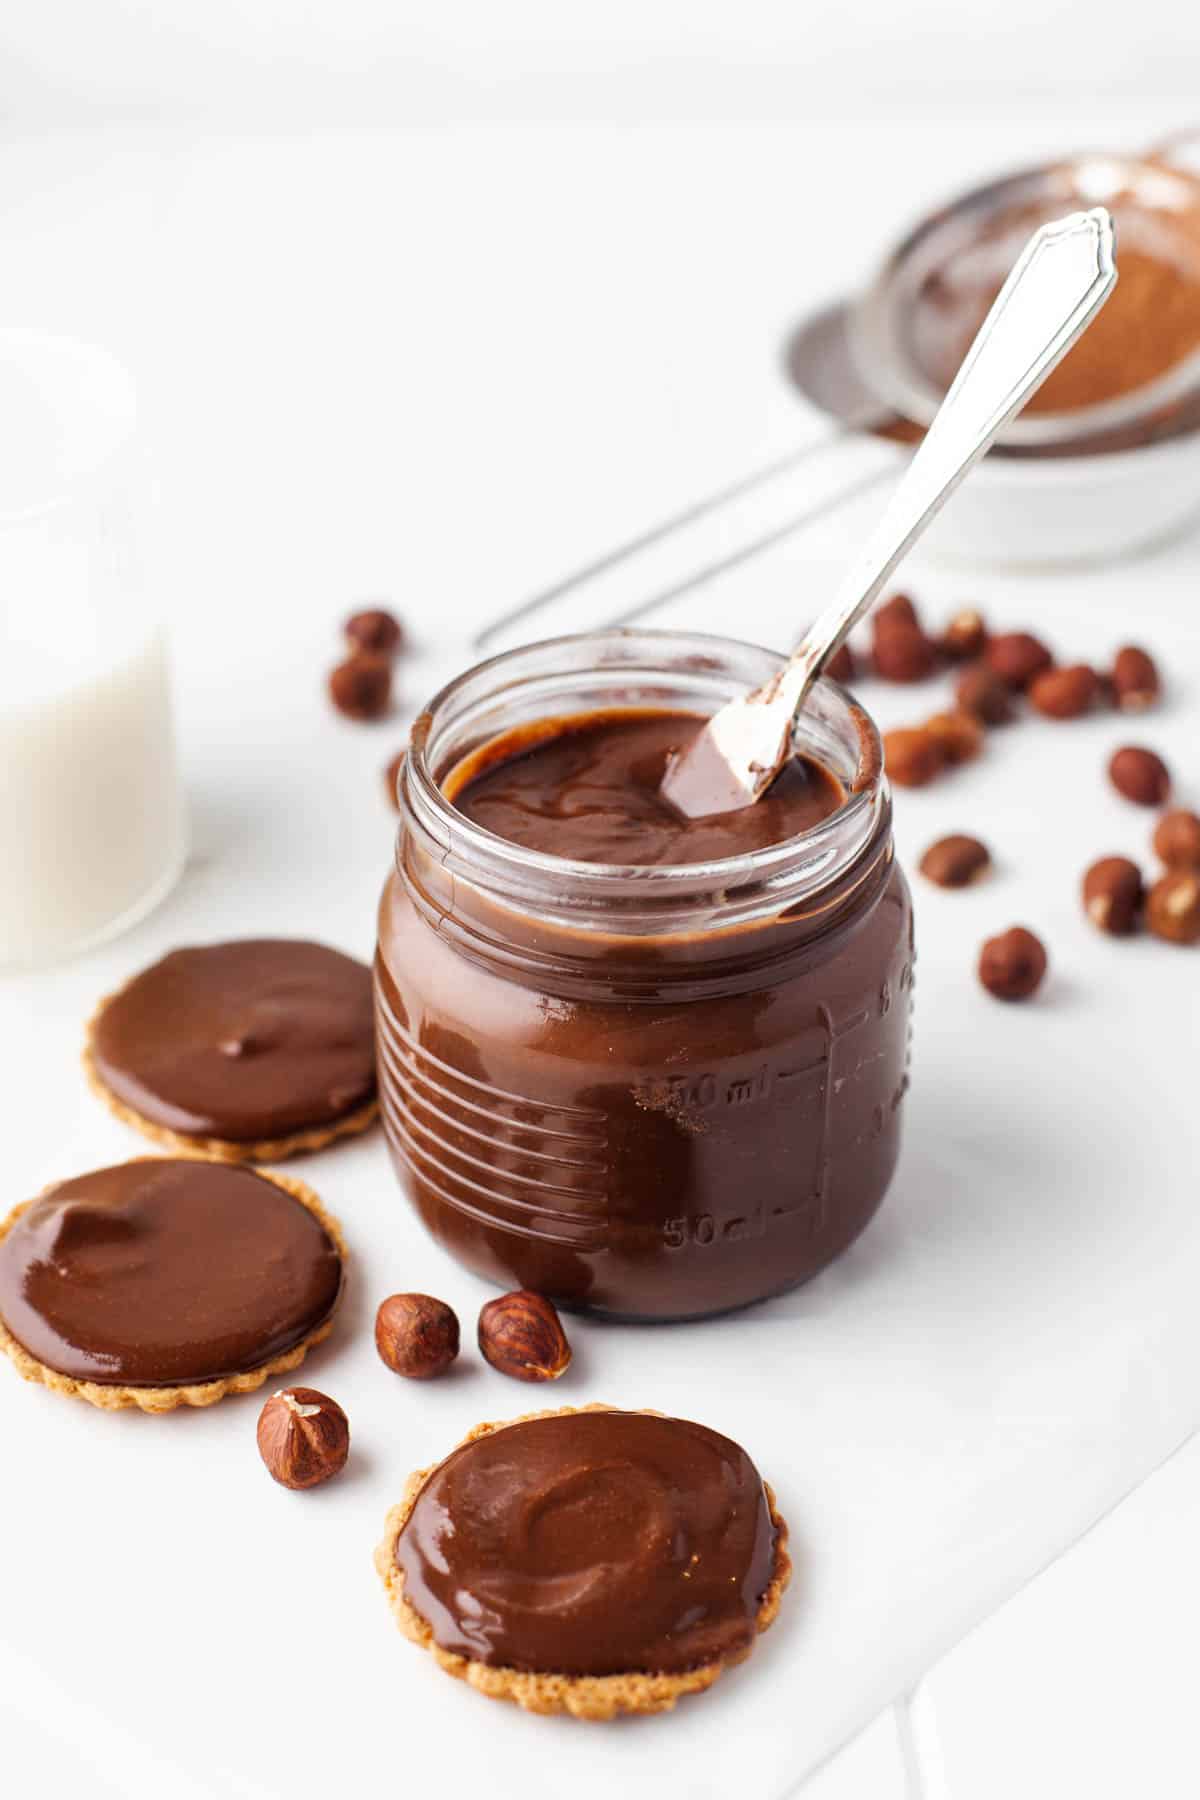
A batch of this homemade Nutella will keep well for up to 4 weeks in an airtight container on the counter without storing in the fridge.
You can freeze Nutella, but the texture changes somewhat once it’s thawed and it definitely needs to come back to room temperature before it is spreadable again.
More Nutella Recipes
- Nutella Magic Shell
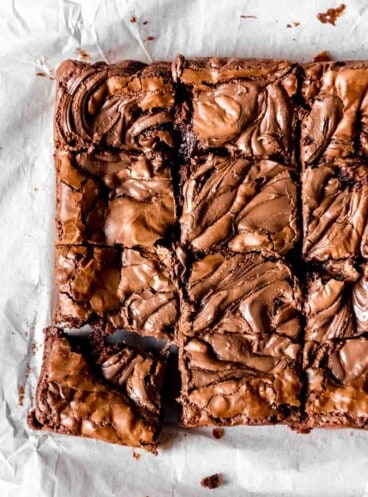
- Gooey Swirled Nutella Brownies
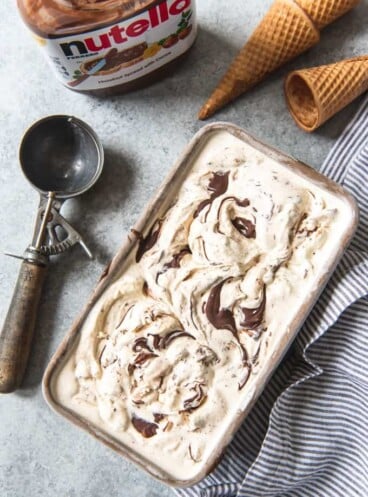
- Nutella Swirl Ice Cream
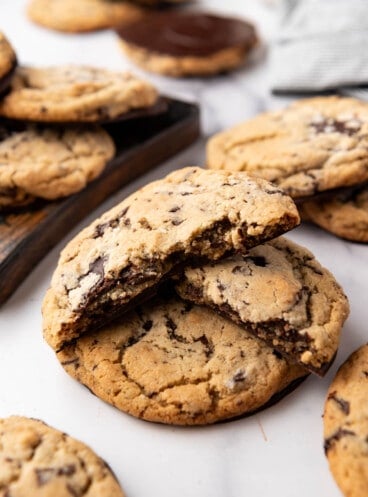
- Chocolate Nutella Sandwich Cookies
Ice Cream
Nutella Swirl Ice Cream
Brownies and bars
Gooey Swirled Nutella Brownies
Ice Cream
Nutella Magic Shell
Did you make this recipe?
Let me know what you thought with a comment and rating below. You can also take a picture and tag me on Instagram @houseofnasheats or share it on the Pinterest pin so I can see.
Homemade Nutella
Ingredients
- 2 cups whole hazelnuts (300g)
- 2/3 cup powdered sugar (87g)
- 2 Tablespoons unsweetened cocoa powder, regular or Dutch processed
- 2 teaspoon vanilla extract
- 3 Tablespoons coconut oil, melted
- 1 1/2 cups semisweet or dark chocolate chips,
- 1/2 cup milk chocolate chips
- 1/4 teaspoon salt

Instructions
- Roast the hazelnuts on the stove or in the oven. Stovetop: Heat a large skillet over medium-high heat. Add the hazelnuts and stir or shake almost constantly for 8 to 10 minutes, or until you notice some of the skin is coming off and they start to brown. Oven: Preheat oven to 350°F. Spread hazelnuts in a single layer on a baking sheet and roast for 10-12 minutes.
- Remove from the heat and transfer the roasted hazelnuts to a clean kitchen towel. Gently rub them together with the towel until most of the skin comes off. You might need a bit of help with a knife to get most or all of the skin off of the hazelnuts.
- Place hazelnuts in a Vitamix or high-powered blender or food processor (affiliate link) and mix until it starts to liquify and look like butter, about 3-4 minutes in a blender or 6-10 minutes in a food processor (affiliate link). Stop and scrape the sides as needed to make sure you get all of the nuts mixed in. Add the powdered sugar, cocoa powder, vanilla, and coconut oil and mix until combined.
- Melt the chocolate in the microwave for 20 second intervals, stirring between each interval, until melted. It should only take about 60-90 seconds total. Add the melted chocolate to the hazelnut mixture and continue mixing until it is evenly combined, creamy, and smooth.
- At this point you can serve, or press through a fine mesh sieve, then a cheesecloth to remove any larger bits of hazelnut, if desired for a smoother result.
- Store in a resealable airtight container for up to 4 weeks at room temperature.
Video
Notes
- Yield: About 1 ½ cups homemade Nutella.
- Note: I recommend straining it with a strainer and then with a cheesecloth if you want it smoother.
- Storage: Keeps for up to 1 month at room temperature in a resealable airtight container like a mason jar.
- Blending takes time. It might not seem at first like the nuts will blend into a smooth, spreadable butter but give it time. It can take 10 minutes in the food processor for them to break down completely into a creamy, spreadable mixture.
- Use a high speed blender or food processor. I have used some blenders that just can’t handle creating nut butters well, but our Vitamix has no problem with it. Neither does our large food processor.
- It will thicken as it cools. At first, your homemade Nutella will be a bit thinner than regular Nutella, but it will firm up a bit as it cools down from the friction of the blending process.






Always read the recipe first to make sure you have all the correct ingredients! While making this, my daughter said, “We can’t leave a review. We changed half of the ingredients!” She was right–not quite 2 cups of hazlenuts, left most of the skins on as we could not rub them off, used black cocoa powder instead of regular, didn’t have milk chocolate chips, and added powdered milk to help offset the extra semi-sweet chips. I hope you are laughing now. Ours turned out to be a dark nutella-ish chocolate spread. The good thing–we liked it anyway! Next time, make sure you have all the ingredients, not just the nuts!
Lol, I was worried when I first started reading your review but I’m glad it still turned out well for you!
hey i was wondering if i could use your image in an assignment that i had to do
That depends on the assignment. Feel free to email me at amy@houseofnasheats.com to tell me more about it!
Hi! If I freeze it then pull it out and let it come back to a thawed normal temp, just store it on the counter again?
Good question- Yes I would just store it on the counter again. If you store in the fridge it becomes hard and difficult to spread. If you find yourself not using it as often, it can be stored in the fridge to extend the shelf life and make it last longer.
What can I do to save my Nutella? It is grainy and not turning into spreadable. I have tried adding more coconut oil and still nothing.
I wonder if I didn’t blend the hazelnuts long enough.
Oh darn, yes, if it is grainy then the hazelnuts needed to be processed longer and adding more coconut oil isn’t going to help and actually might make it harder. I will say that this doesn’t get as perfectly smooth as the processed kind from the store, but it shouldn’t be too grainy.
Hi Amy, thanks for sharing this awesome recipe, you listed two blenders, which one do you recommend in making this as I’m looking to buy a new blender, Cuisinart Food Processor or the Vitamix? Although there is no amazon link for for Vitamix. Thanks
Also, would it work if I didn’t add hazelnut to make it nut free? Thanks
If I was only getting one blender I would get the Vitamix. This recipe really only works with hazelnuts for that classic Nutella flavor of hazelnut and chocolate. You could make something similar using other nuts, but that still doesn’t solve your nut-free problem. My best guess would be to use sunflower seeds or something similar in place of the hazelnuts for a chocolate spread.
Thank you Amy, might have to look into sunflower seeds. Have you had experience blending up sunflower seeds to make it turn into a paste?
Will adding more sugar extend its life shelf?
I haven’t tried blending sunflower seeds, so I really can’t say!