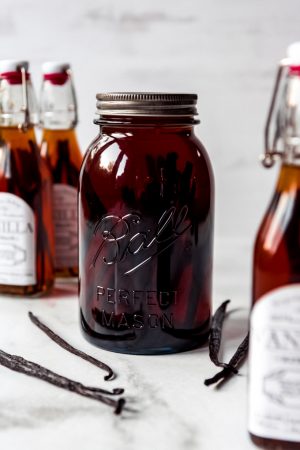
Good vanilla extract is a common ingredient in almost ALL of my favorite baking recipes. Not only is it more cost-effective to make Homemade Vanilla Extract, but it is even better quality than most of what you will find at the store! Made with just TWO ingredients, this makes a fantastic gift to share with friends and neighbors that only gets better with time!
We love to give edible gifts at Christmas time and this vanilla extract is one of my favorite ideas. Some other great homemade Christmas gift ideas are bottles of salad dressing, spice mixes, or a batch of your favorite homemade candy!
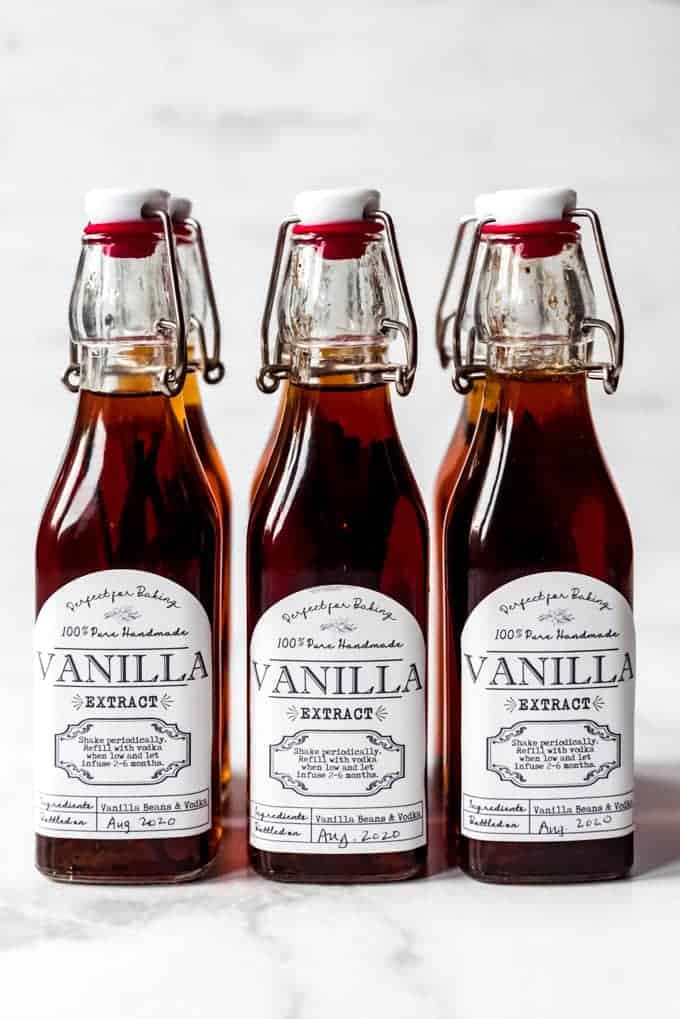
Table of Contents
You are going to LOVE this homemade vanilla extract! Not only is this a fun, easy project, but the resulting vanilla has a robust flavor and aroma that most store-bought extracts and imitation vanilla just can’t achieve.
It might seem unnecessary to make vanilla extract when it’s so easy to pick it up at the store, but there are a few good reasons for making your own vanilla extract at home. Cost and quality are at the top of that list!
A few years ago, I noticed a significant price jump in the cost of the bottles of vanilla I had always purchased from Costco. It was like a $20 increase per jar! Being a baker, I go through a bottle of vanilla quite quickly and every teaspoon of the stuff adds up fast at that price point!
Also, really good vanilla is noticeably superior to store-bought both in flavor and aroma. You can tell the difference immediately just by opening a jar of each side-by-side and sniffing each in turn.
There is “single-fold vanilla” (most of what is available from the store) and “double-fold vanilla” (which many professional bakers use) where up to twice the amount of vanilla beans are used to really boost that vanilla flavor.
Is it worth it? Absolutely.
To be honest, I had my doubts about all this until I actually tried making homemade vanilla extract myself. After a couple of months of letting the vanilla beans soak in the vodka, I did the side-by-side test against a bottle of store-bought vanilla that I have always thought was pretty decent quality.
The difference between the two was stark. Even blindfolded I could tell right away which was homemade as it has a sweeter, more powerful fragrance than the weaker, store-bought kind. Homemade just smells more…vanilla-y.
And we all know that better quality ingredients can make a big difference in recipes! Baked goods made with homemade vanilla extract definitely taste superior to recipes made with the weaker store-bought stuff.
Use your homemade vanilla extract in any baking recipe. Although my vanilla buttercream frosting, vanilla cupcakes, and vanilla pastry cream are all excellent options for desserts that really let the pure vanilla taste shine.
Ingredients & Equipment for making Homemade Vanilla
To make homemade vanilla extract, you only need a couple of things:
- Vanilla beans
- 80 proof alcohol
- Scissors or a sharp knife for splitting the beans
- Glass bottles or jars
- A small funnel
- Time for the beans to brew
Vanilla Beans
When it comes to sourcing vanilla beans for making homemade vanilla, I highly recommend ordering online. While you can find vanilla beans in any grocery store, they are usually super expensive and not as fresh. I recommend ordering them online.
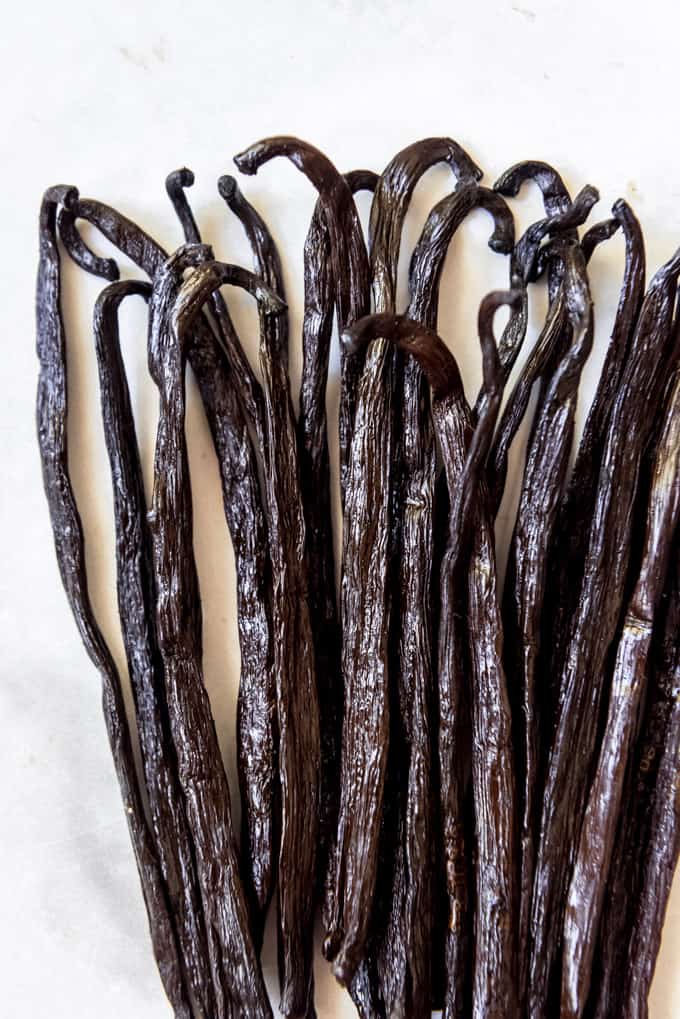
Vanilla beans are categorized as either Grade A or Grade B. Grade A are the more “perfect” beans and used principally for baking project where you scrape out the seeds. Grade B vanilla beans are actually the standard for making vanilla extract and are less expensive than Grade A beans, but their quality, especially for making vanilla extract, is just as good.
You can choose from Madagascar, Tahitian, or Mexican vanilla beans. I can tell a slight difference between Tahitian or Madagascar beans. There is a pretty noticeable difference in the Mexican vanilla beans. The madagascar vanilla beans are my own personal preference.
Nielsen-Massey has a thorough explanation of different flavors of vanilla. Although I’ll be honest that most of the differences described in terms of fruity, floral, and smokey are way over my head.
The vanilla beans I ordered online came vacuum-sealed and I was pleasantly surprised at how moist & plump the beans were.
80 Proof Alcohol
Easily the most popular choice for making homemade vanilla extract is vodka for its neutral flavor. But bourbon, brandy, or rum are also good choices.
There is no need to splurge on when it comes to the vodka you are using. Less expensive options will work just great since all the flavor in your vanilla extract comes from the vanilla beans. Our local Costco sells giant bottles of vodka and that’s what I used to make a whole lotta vanilla extract that I’m planning to give away as Christmas gifts, in addition to keeping a good supply for myself.
Jars
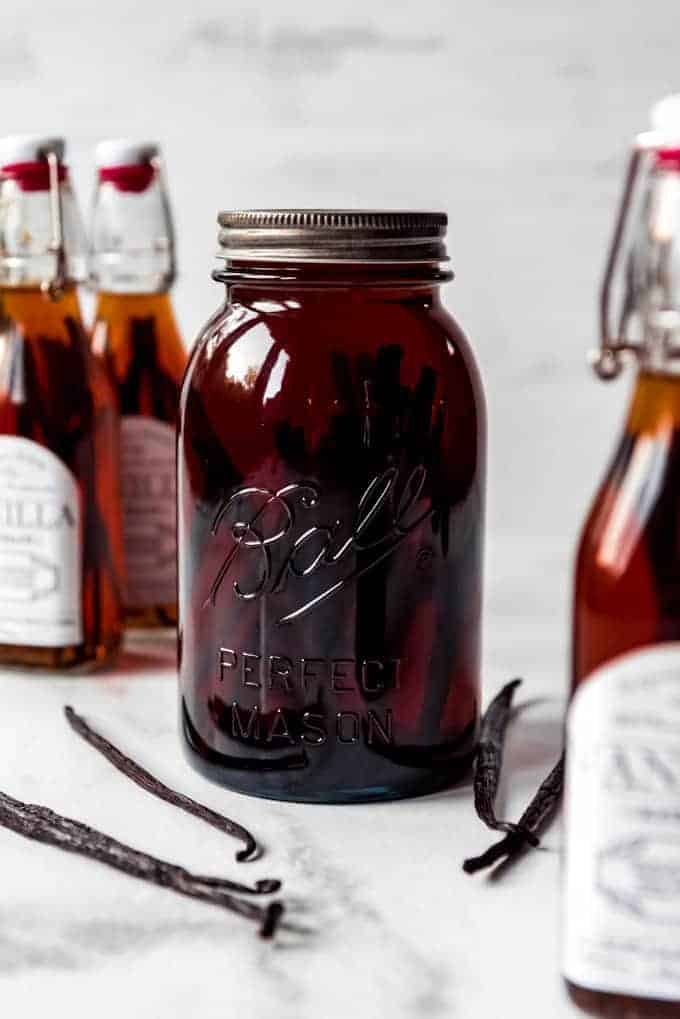
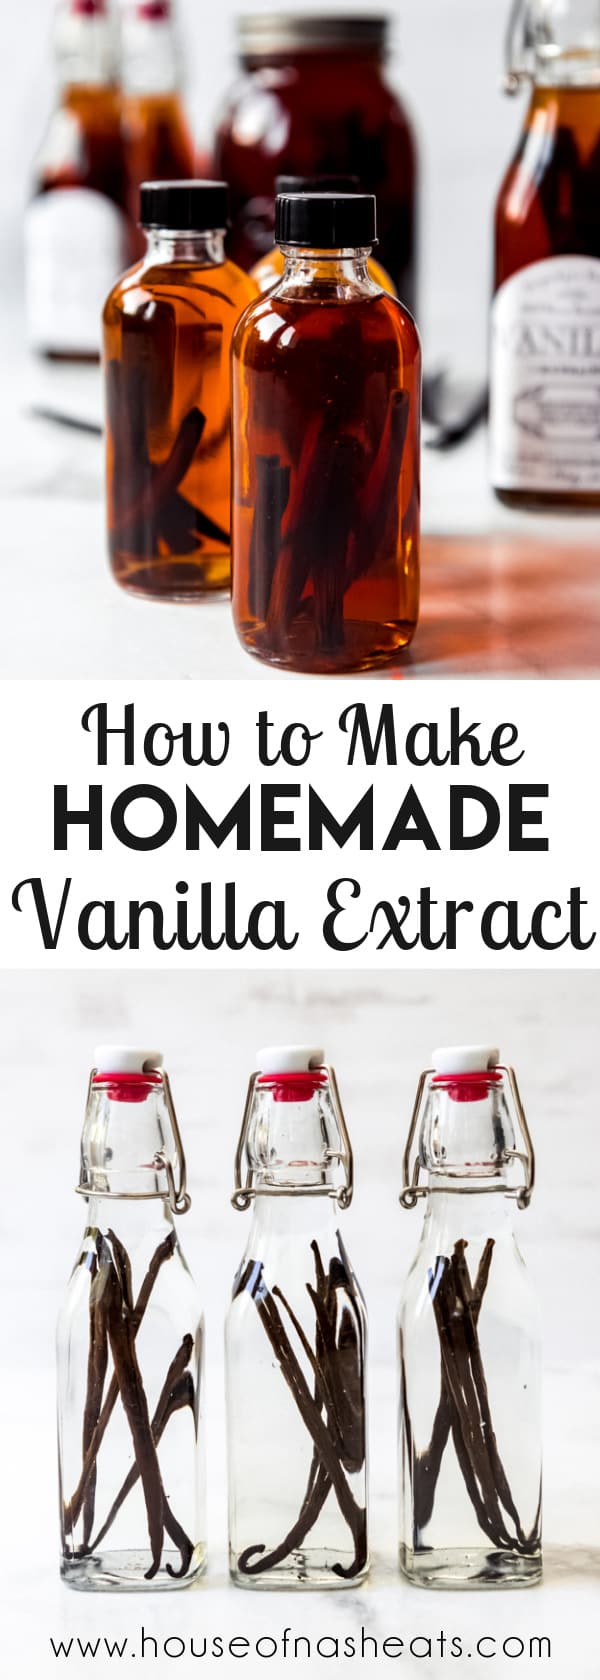
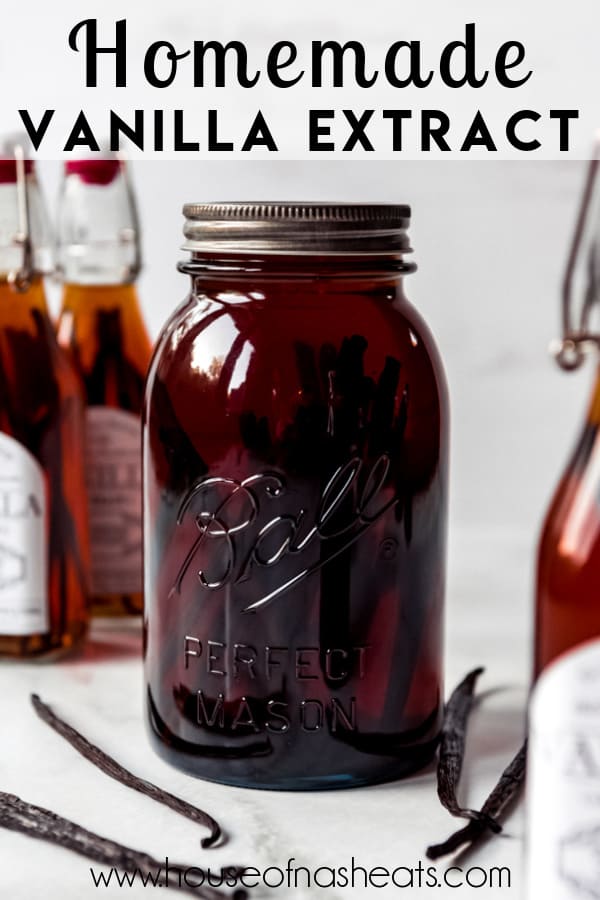
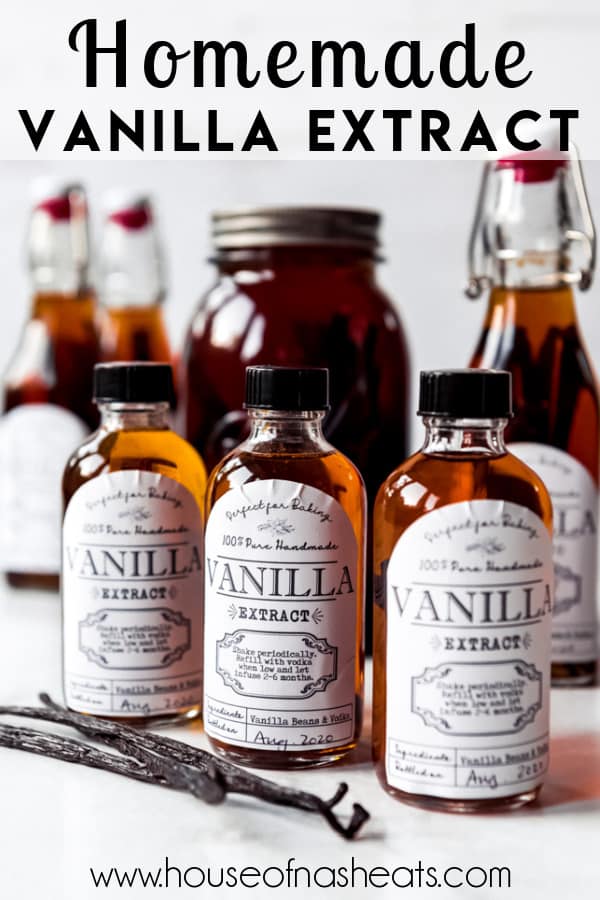
If you plan to give this away as a gift, 4-ounce jars like these ones or 8-ounce jars like these are a fantastic choice. But if you are making it for your own personal use, quart-size mason jars work just as well and will give you a much longer-lasting supply.
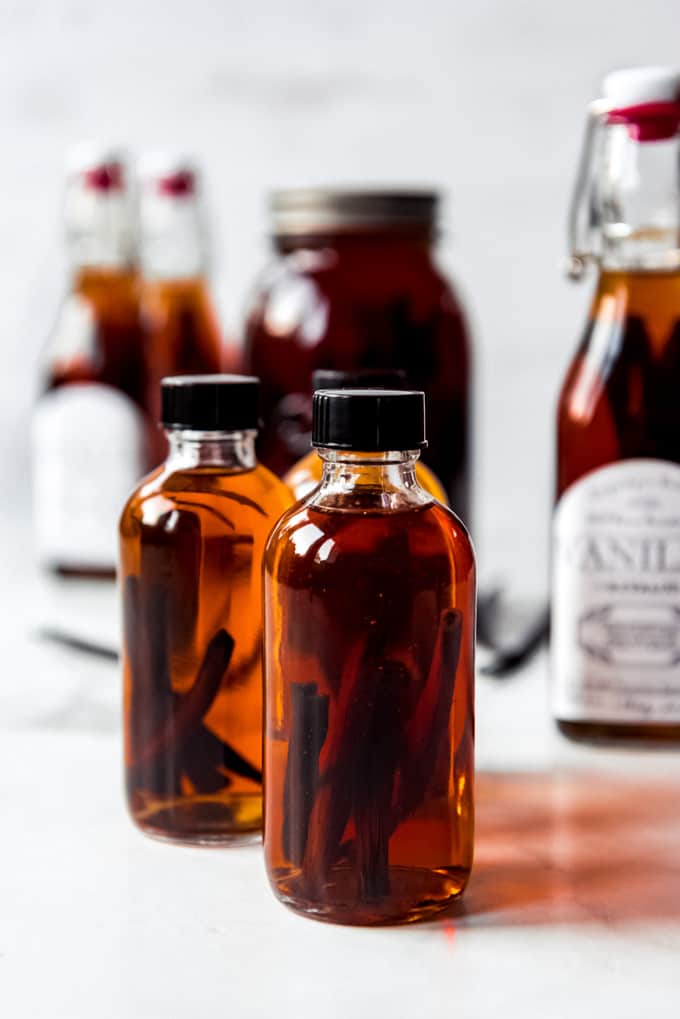
I like to do some of each size and use my larger quart-size jar to refill smaller, easier to use bottles. Then I just top up my quart-size jar with vodka and let it continue to brew until I need to refill my smaller bottle again.
Generally speaking, the beans can be used twice, so by the fourth time I refill my larger quart jar (assuming I replace 1 cup of vanilla extract with vodka each time), it will be time to replace the vanilla beans with new ones.
Time
It takes at least 8 weeks for the vanilla beans to infuse the vodka for full-strength vanilla. If you are planning to make homemade vanilla to give as gifts and have less than 8 weeks, just let your recipient know when it will be ready to go!
But the vanilla extract gets even better if you wait 6 or even 12 months (or longer!). The longer the vanilla sits, the darker it will get and the more powerful the vanilla flavor will become.
Make a bunch of this vanilla extract now and share it with friends and neighbors during the holidays, or hold onto it and let it really develop for a full year and give it out next holiday season!
Printable Labels
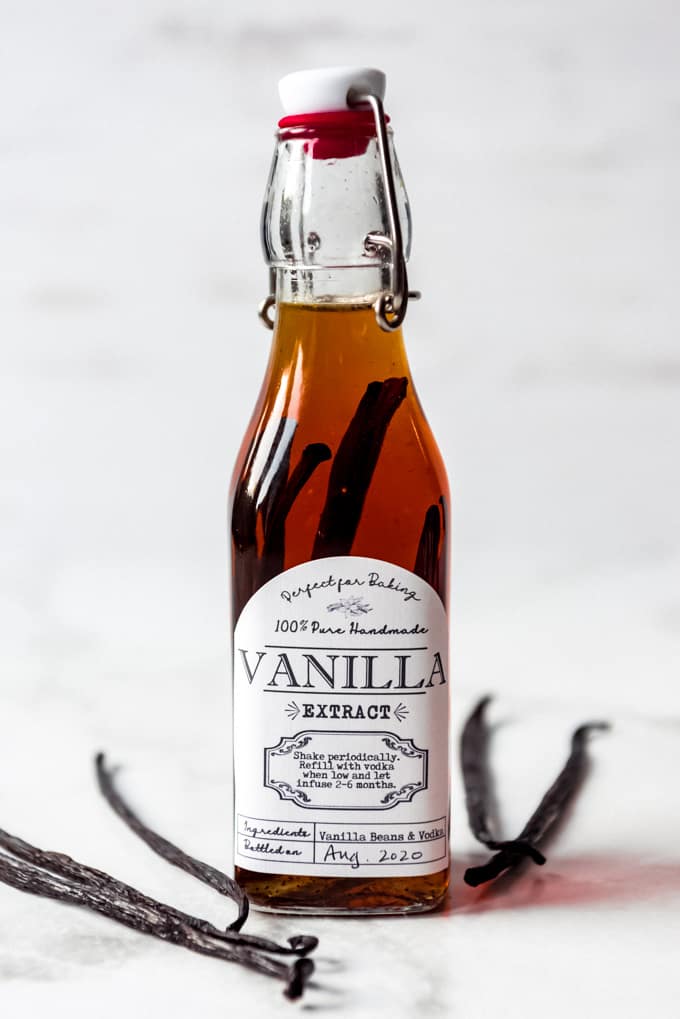
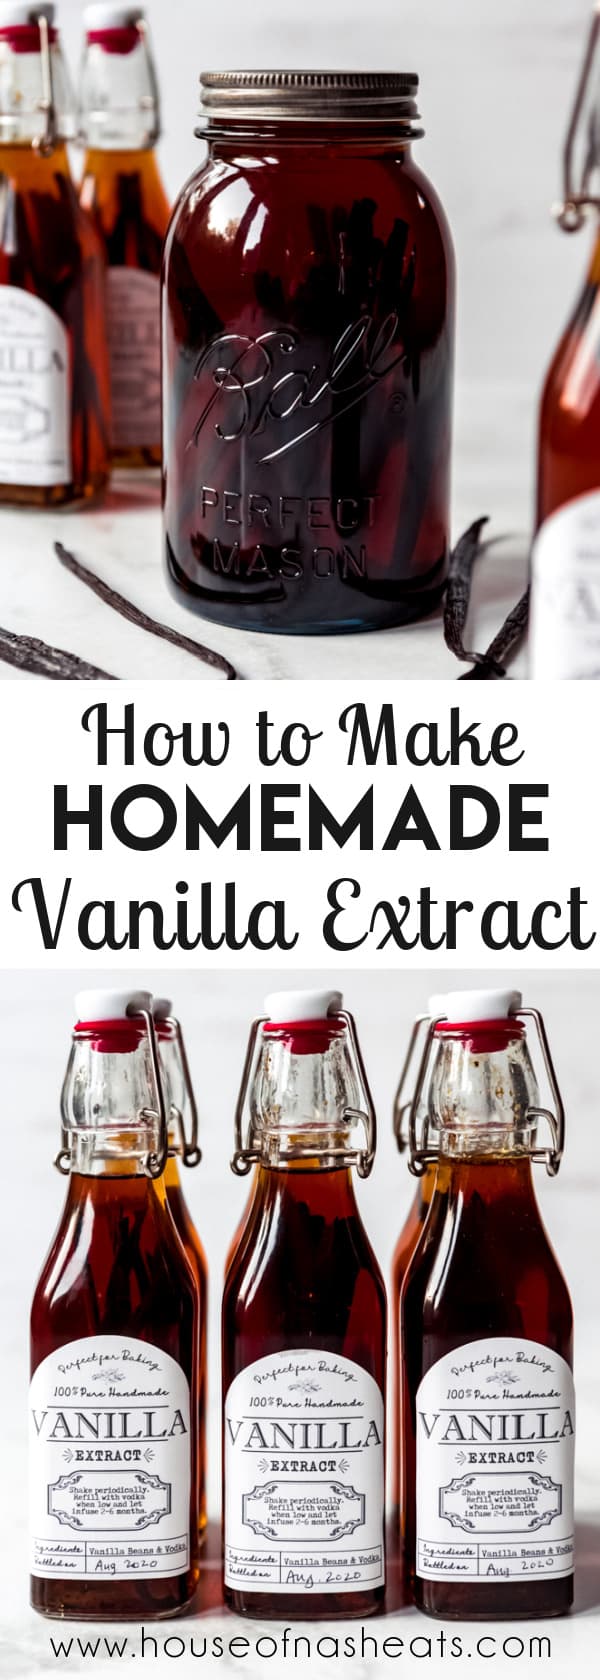
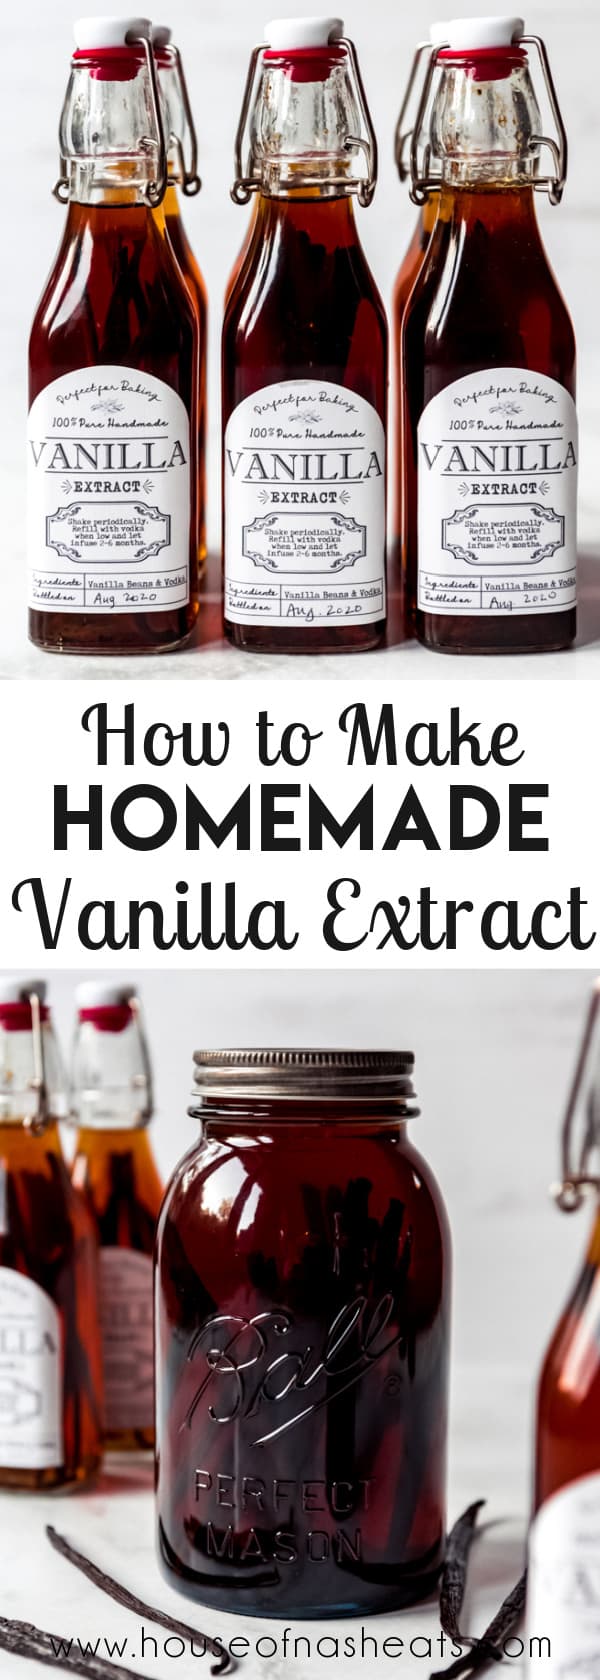
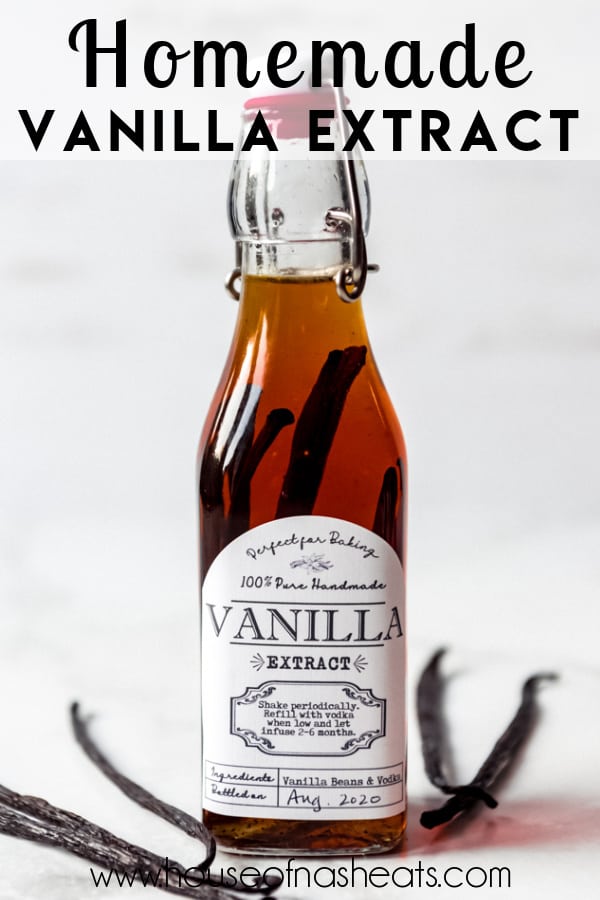
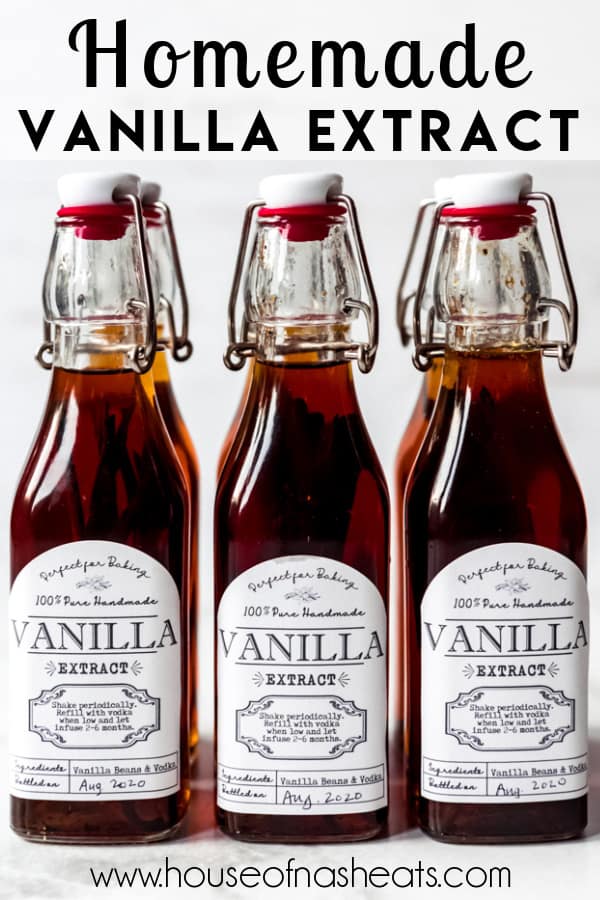
I asked my super talented and crafty friend, Jana, to design some apothecary-style labels for my jars this year. They turned out so fantastic that we decided to share them with you!
Click for the downloadable PDF!
The labels are perfectly sized for these printable stickers. All you have to do is print them off and stick them on the bottles! When printing, be sure to set your printer to 100% and not “fit to page”.
Tips for the BEST Homemade Vanilla Extract
- Use extra vanilla beans. You can make vanilla extract with fewer beans per cup of vodka. It’s even more cost-effective and will definitely work. But the batches where I splurged and added extra vanilla beans had a noticeably deeper vanilla flavor, so that’s how I wrote the recipe below.
- Let the vanilla infuse for longer. Eight weeks is the MINIMUM amount of time for the vanilla beans to really infuse the vodka with their flavor. Letting them sit for even longer, like 6 to 12 months will make your vanilla extract that much more potent and wonderful.
- Order Grade B vanilla beans online for the freshest, most economical option. You can use Grade A vanilla beans, but they are more expensive and don’t actually result in vanilla extract that is noticeably superior.
- Top off the jars with more vodka as they are used to make the beans go even farther! Once the vanilla beans are exposed, they will start to go slimy, so you will want to remove them from the jars if you don’t plan to refill as you go or are giving the vanilla as a gift. But if you continually top off your jar of vanilla as it is used, the beans will continue to infuse the alcohol with their flavor for quite some time. Eventually the strength of your vanilla will lessen, at which point you can add fresh beans to the jar.
How to Make Homemade Vanilla Extract
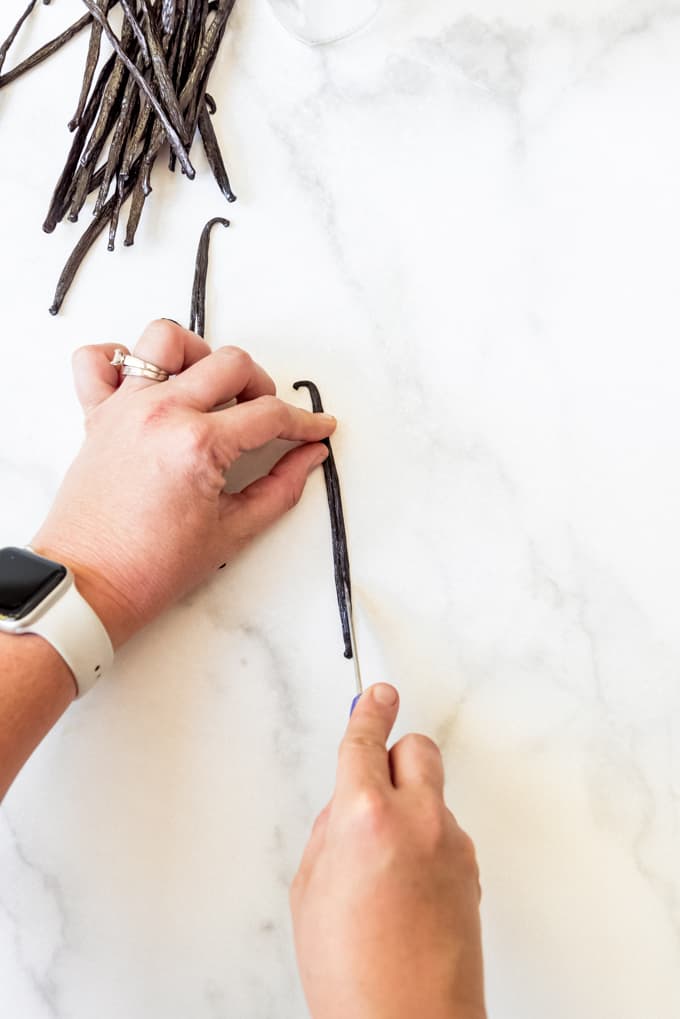
- Split the beans partway down the middle. Use kitchen scissors or a sharp knife to cut the vanilla beans in half most of the way up its length. Add 5 or 6 of them to each 8-ounce jar, or 20-24 vanilla beans if you are doing a larger batch in a quart-size jar for personal use. If you are using smaller, 4-ounce jars, you will need to cut the beans in half so they fit and use only 2-3 beans per jar.
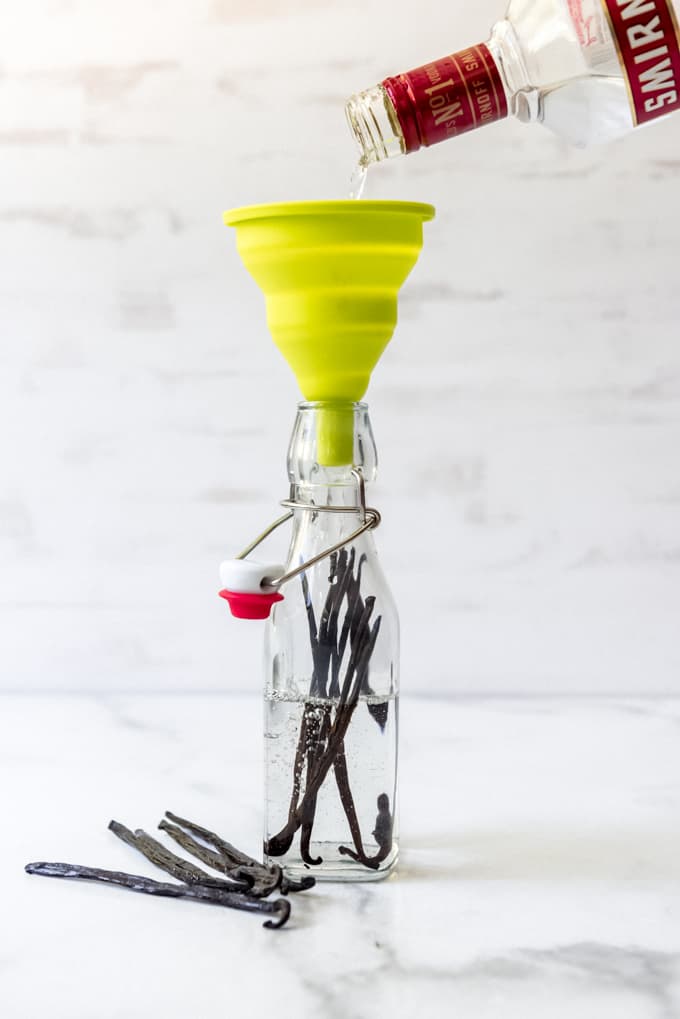
- Fill with vodka. Insert a small funnel into the opening of the bottle or jar you are using and fill with 1 cup of vodka (8-ounces) for every 5-6 beans. By weight it should be at least .83 ounces of vanilla beans per 8 ounces of alcohol. For the quart-size jar, just fill it up to the top (it’s 4 cups to a quart).
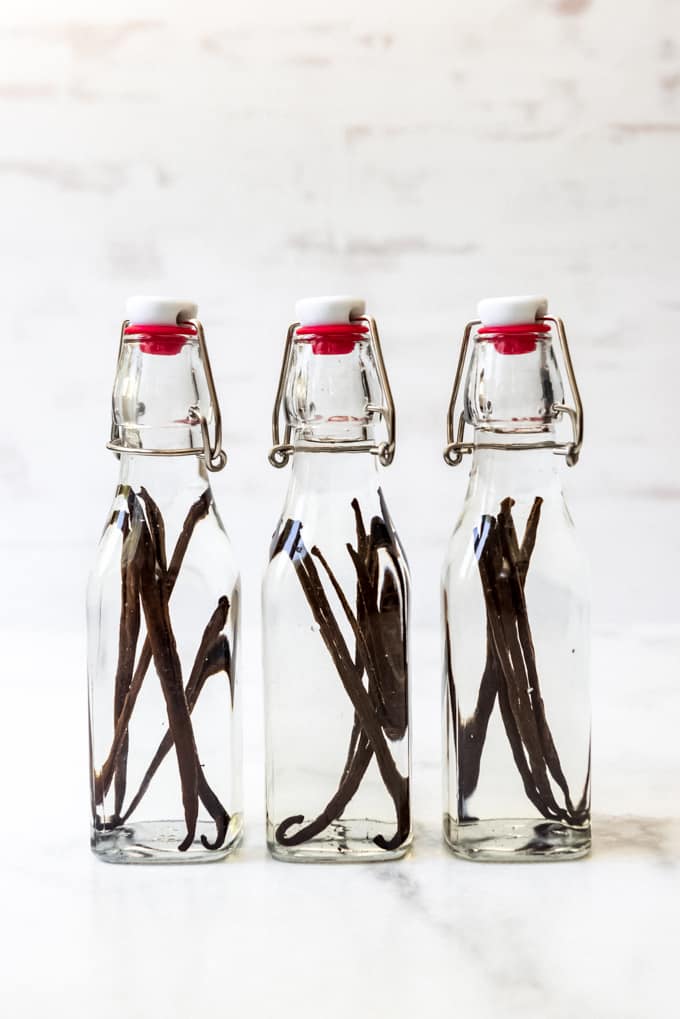
- Shake, then let them sit for 8 weeks! Give the jars a vigorous shake from time to time to get the most flavor out of the beans. Once a week is plenty. After 8 weeks, you are good to start using the vanilla extract, although waiting even longer will give even better results.
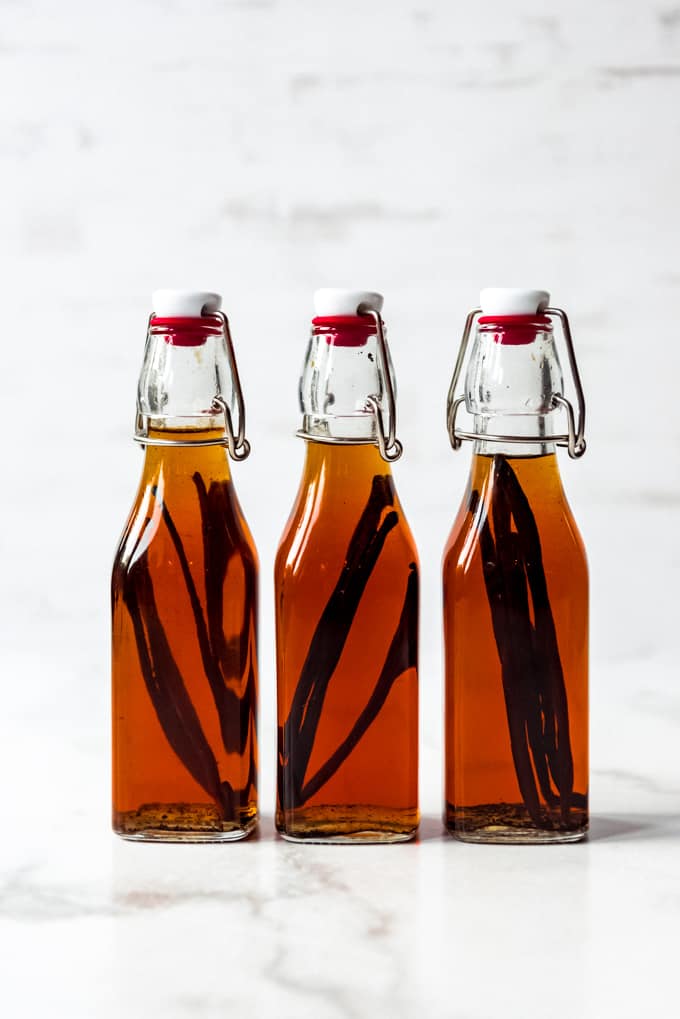
- Add a fun label! When giving this as a gift, a label makes the vanilla extract look really professional and pretty. You could remove the vanilla beans before gifting and reuse them by adding them to new jars and filling with vodka and repeating the process. Or tell the recipient that they can continue to top off the vanilla with vodka each time they use it to make it last quite a bit longer.
More Edible Christmas Gifts
- Easy Chocolate Fudge
- Poppy Seed Dressing
- Gourmet Caramel Apples
- Old-Fashioned Divinity Candy
- Cream Caramels
Did you make this recipe?
Let me know what you thought with a comment and rating below. You can also take a picture and tag me on Instagram @houseofnasheats or share it on the Pinterest pin so I can see.
Homemade Vanilla Extract
Ingredients
- 5-6 Grade B Madagascar, Tahitian, or Mexican vanilla beans (at least .83 ounces of vanilla beans)
- 1 cup vodka, bourbon, brandy, or rum (8 ounces)
- 1 (8.5-ounce) bottle or jar with a secure lid
Instructions
- Use a sharp knife to split the vanilla beans about ¾ of the way down the middle. If using shorter jars, you can cut the beans in half.
- Place the vanilla beans in the bottle or jar and fill with the vodka or bourbon. It helps to use a funnel.
- Seal with the lid, then set somewhere at room temperature out of direct sunlight and let sit for at least 8 weeks, although 6 months or more is even better. Shake the bottle once a week. The vanilla will get even better and stronger the longer it sits.
Notes
- Use your homemade vanilla extract just as you would any vanilla from the store.
- The bottle can be refilled with vodka as the vanilla is used, but if the vanilla beans are exposed, they will start to get slimy. If you don’t plan to refill the jar as you go, I recommend transferring the beans to a new jar and filling with vodka to repeat the process. You can get two batches of vanilla out of each set of beans before they start to lose their potency.

Making vanilla extract is such fun. Love your labels. So true that it gets better with time!
There is a vanilla bean co-op on Facebook that has great prices on beans! I paid $10 an ounce for my last order. Mine are still brewing.
Oh cool! I’ll have to check it out!
Is there any reason you can’t put the vanilla beans directly into the vodka bottle to age?
No, you could definitely do that! Just make sure you have the correct amount of vanilla beans to the volume of the vodka. You might need to pour off some of the vodka as the vanilla beans will displace some of the liquid and overfill the bottle.
Followed your recipe for vanilla extract using a wide mouth 32oz Ball jar, 20 vanilla beans, and a 750 ML bottle of vodka. Pretty simple. Now we wait… Thanks for the recipe.
You’re welcome!
The vanilla I am currently using is has been brewing for 2 years. It really does age beautifully!
I just want to verify the beans per cup of alcohol. You say 5-6 beans, but at least .83 oz. I had to use nearly 18 of the beans I ordered online to get .83 oz. Just want to make sure I’m reading this correctly since you had 5-6 and I needed 18.
Where did you get your labels? They’re fantastic!!
Aren’t they cute? My friend Jana made them for me and gave me a PDF file that you can download. It’s linked in the post under the heading “printable labels” along with an amazon affiliate link to the exact labels that I printed them on.
Wow! Thank you so much!!
Where can I find those little bottles and adorable labels for making my own vanilla as gifts for family?
There are links in the post under the headings “jars” and “printable labels” (affiliate links to Amazon where I make a small amount but it doesn’t cost you any extra) that will take you to the jars and labels I used! And there is a printable pdf for the labels that you can download for free. 🙂
I’d love to try to make my own vanilla but if this recipe makes one jar, how do you split it to smaller jars for gifts?
Thank you!
A couple of options – you can make a big jar and let it sit for a couple of months and then just pour your extract into smaller jars or Add 5 or 6 vanilla beans to each 8-ounce jar, or 20-24 vanilla beans if you are doing a larger batch in a quart-size jar for personal use. If you are using smaller, 4-ounce jars, you will need to cut the beans in half so they fit and use only 2-3 beans per jar. The recipe post has some helpful tips and a printable label for the jars and also Amazon links for the jars I used. Let me know if you have any more questions!
I can’t wait to make my own vanilla! Thanks.