This homemade honeycomb candy recipe results in a sweet confection crafted from airy, caramelized sugar and baking soda that is sure to delight and impress friends and coworkers! The delightful crunch of honeycomb candy with its crisp texture and irresistible sweetness in every bite is made even better by dipping it in chocolate.
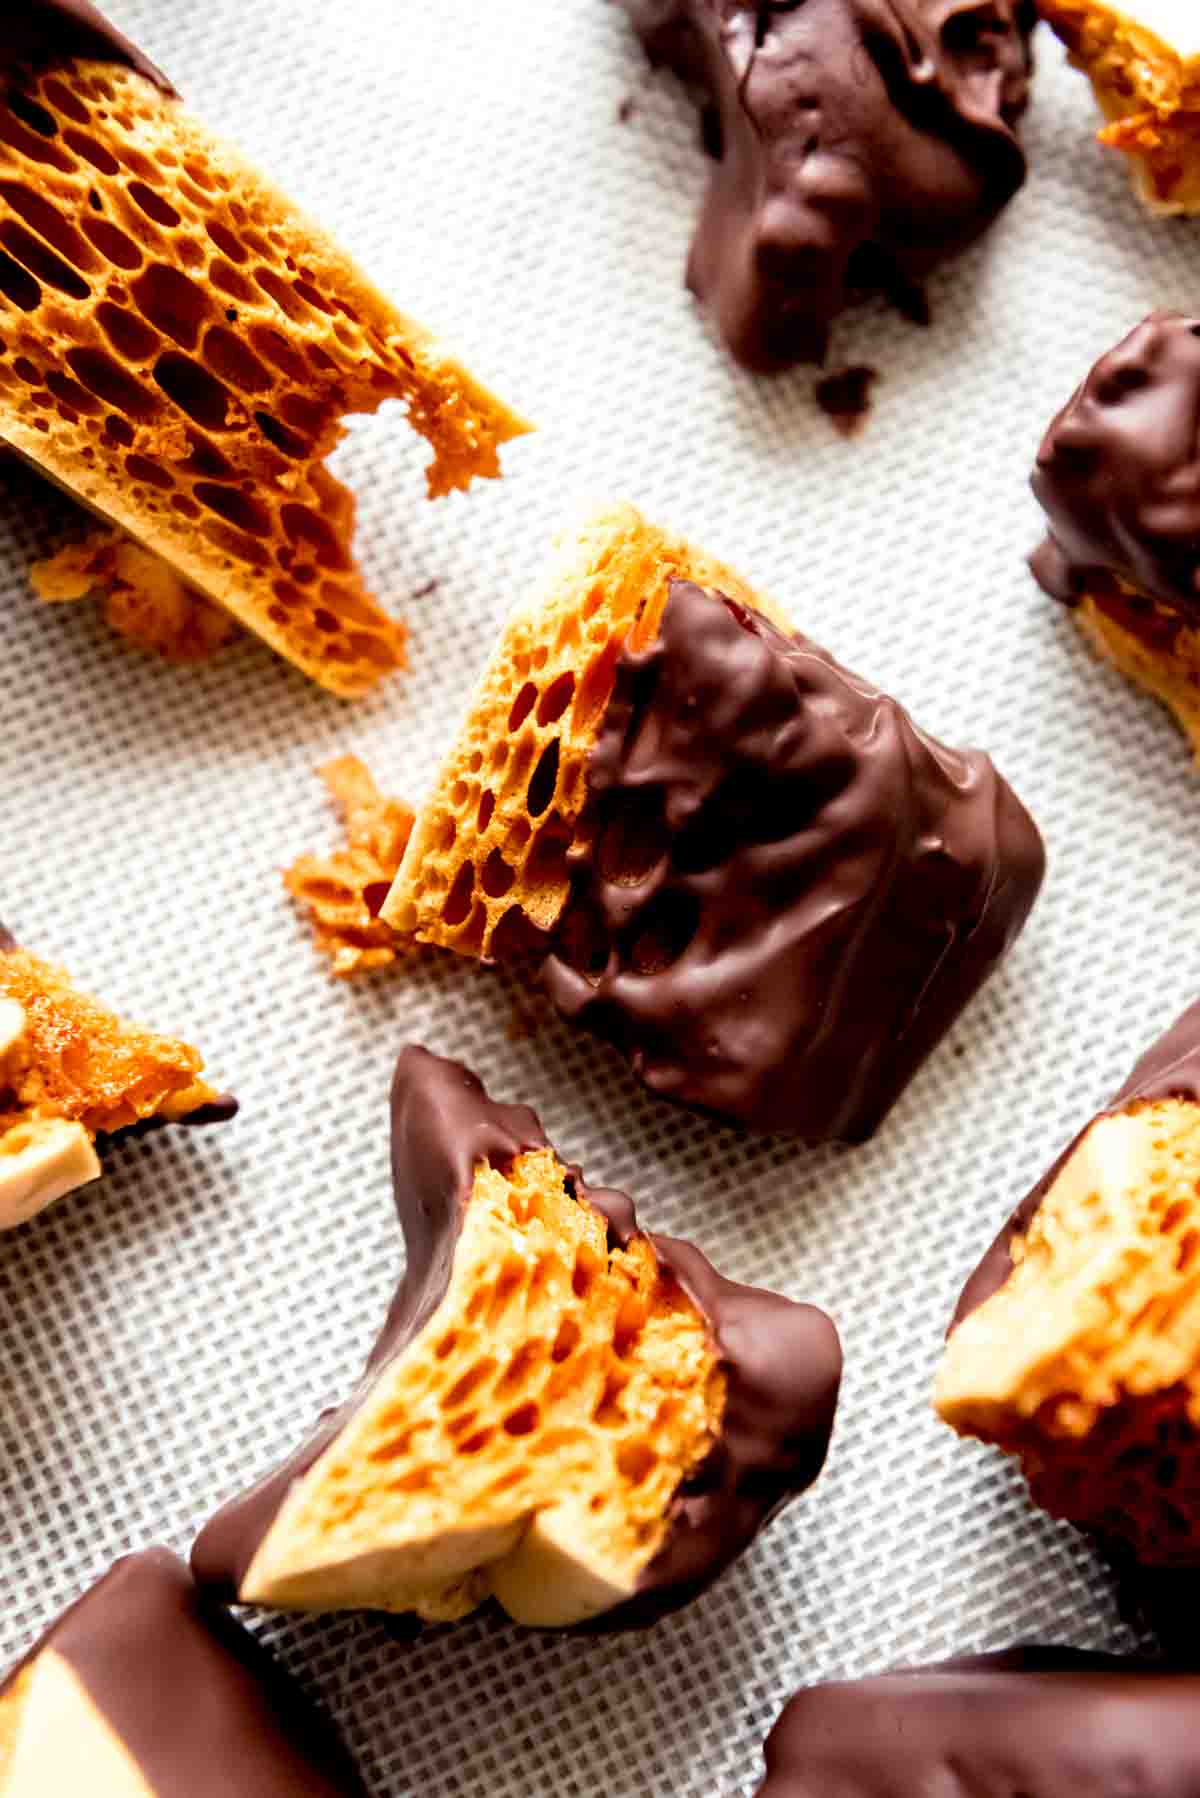
Homemade Honeycomb Candy Recipe
Craving honeycomb candy but finding it hard to come by in the states? This hugely popular candy that is known by many names is easy to make at home as long as you have a candy thermometer (affiliate link)! I’m sharing my best tips and tricks for making homemade honeycomb that is even better than a Violet Crumble or Crunchie bar!
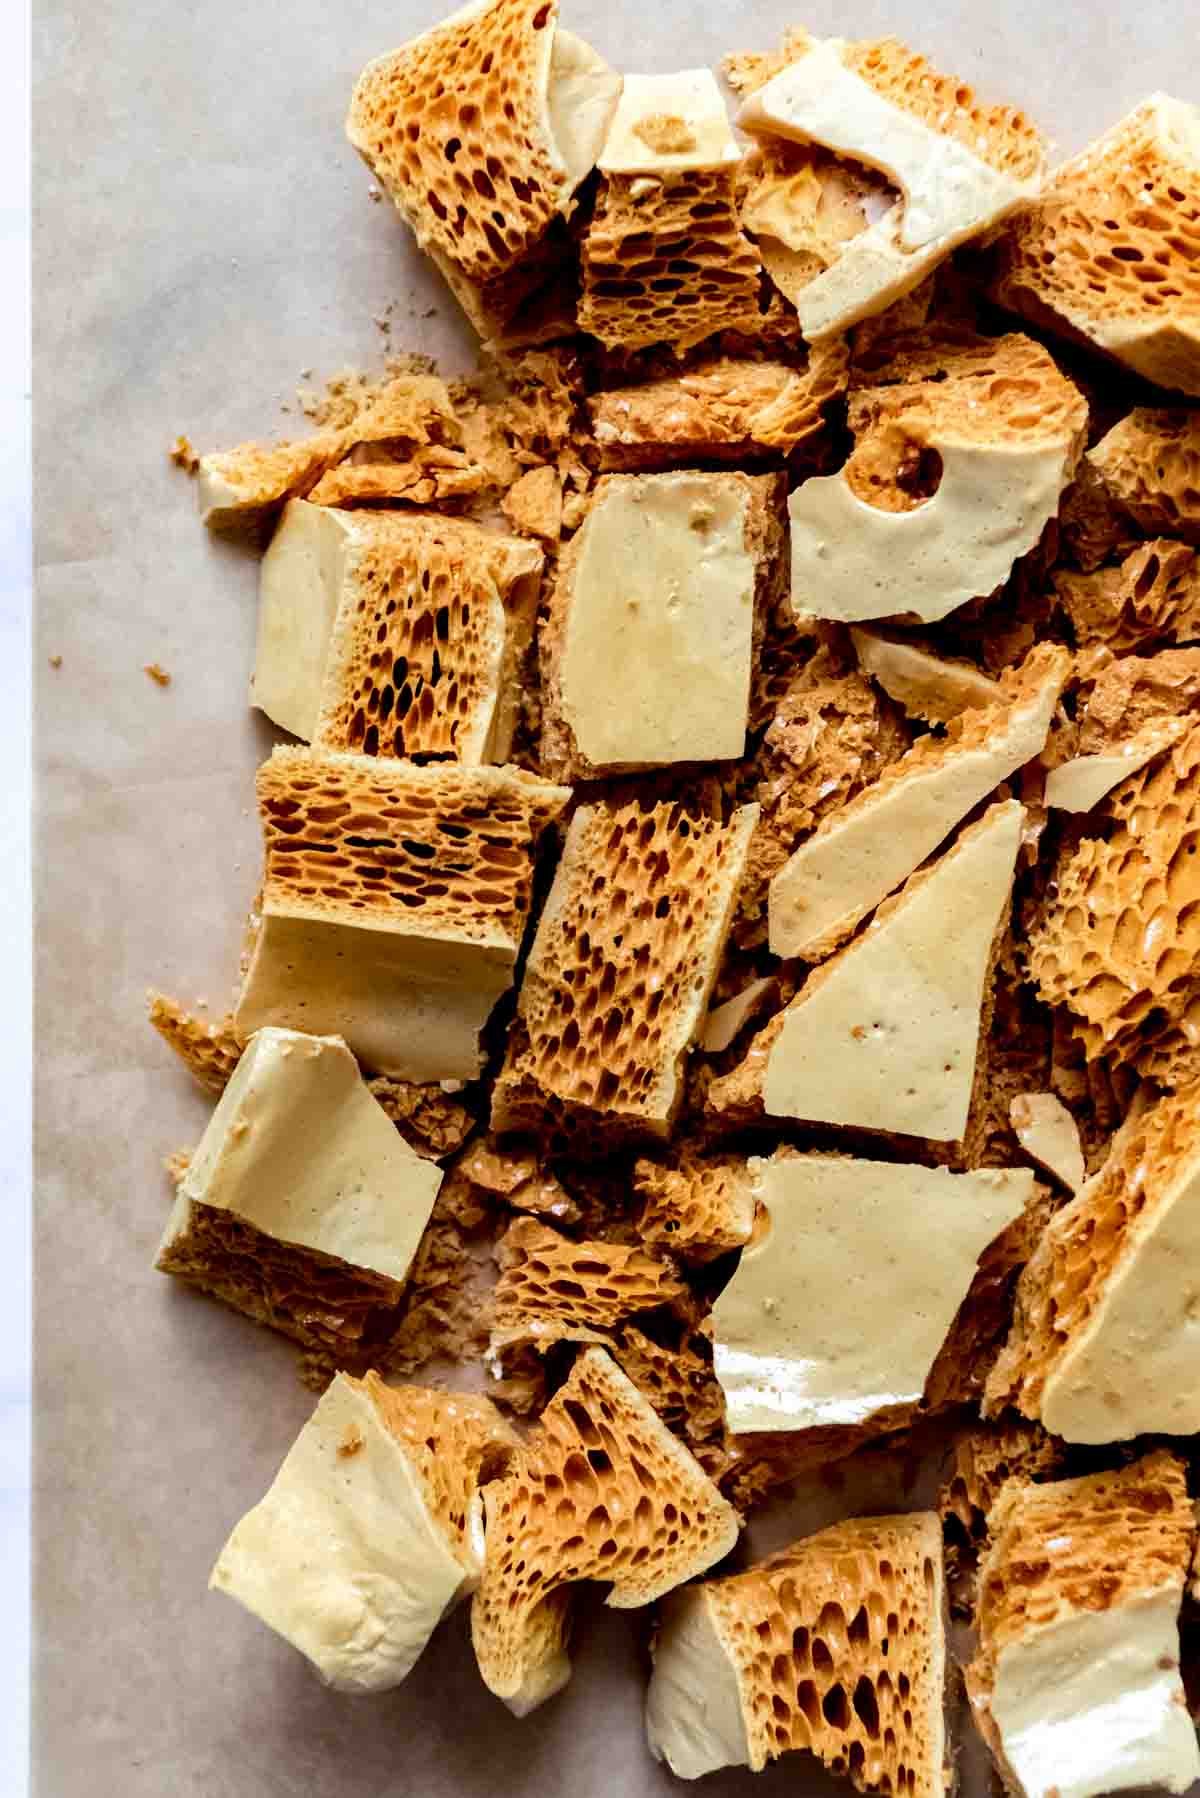
What is Honeycomb Candy?
This honeycomb recipe goes by many names: seafoam, hokey pokey, cinder toffee, and sponge toffee are all other common names for honeycomb, which is a crunchy candy that is between caramel and toffee in terms of flavor and like an aerated toffee or brittle. It also just happens to be gluten-free, dairy-free, and egg-free.
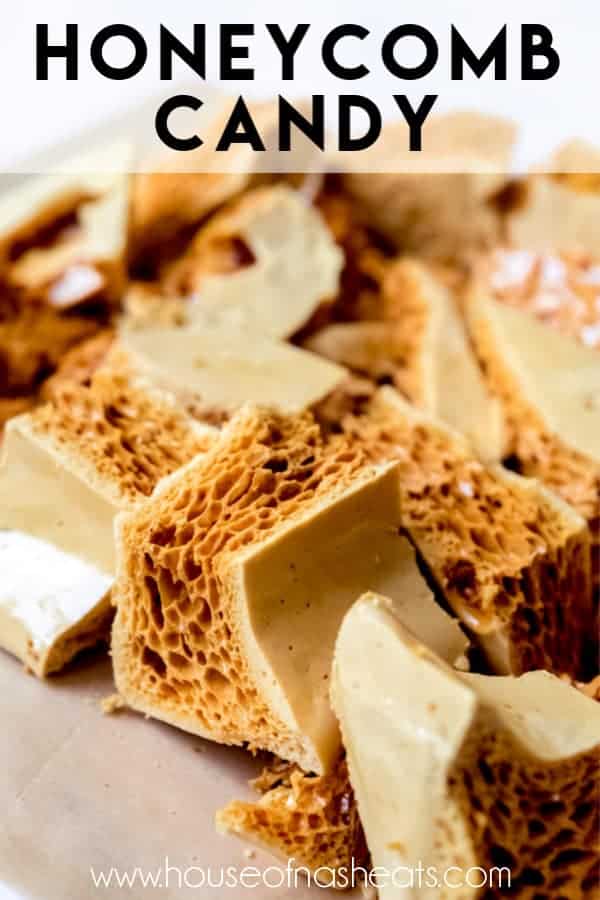
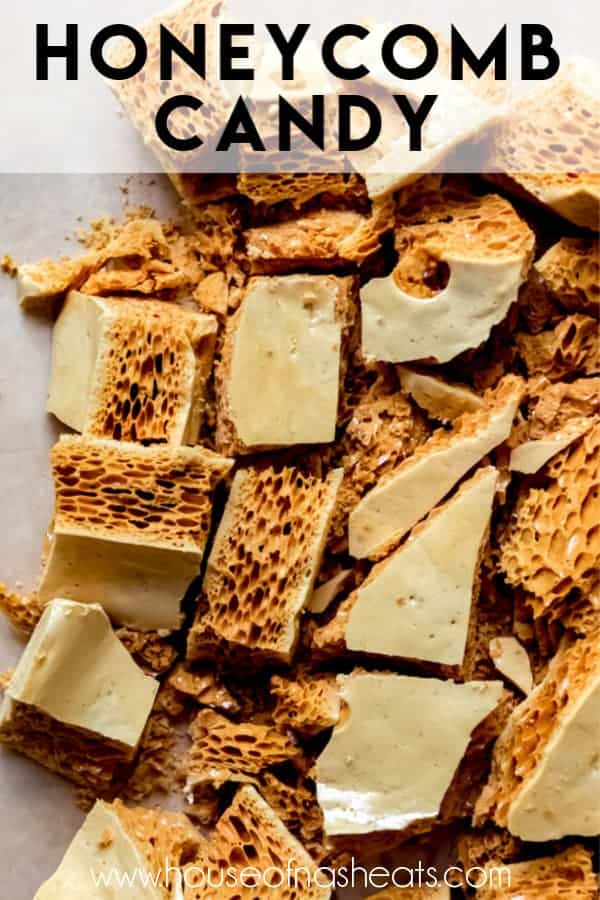
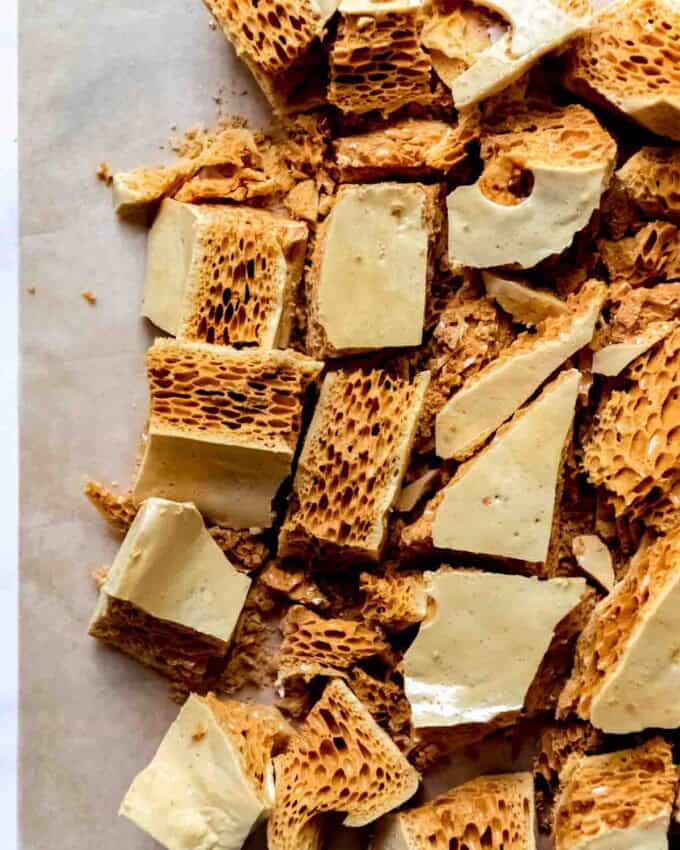
Honeycomb candy gets its name (I think) from the unique texture created by stirring baking soda (not baking powder!) into a molten sugar and corn syrup mixture once it reaches the hard crack stage. It bubbles up and foams quickly, then maintains the airy structure as it cools into a brittle bar that can be broken and shattered into a million crunchy bits or bigger chunks.
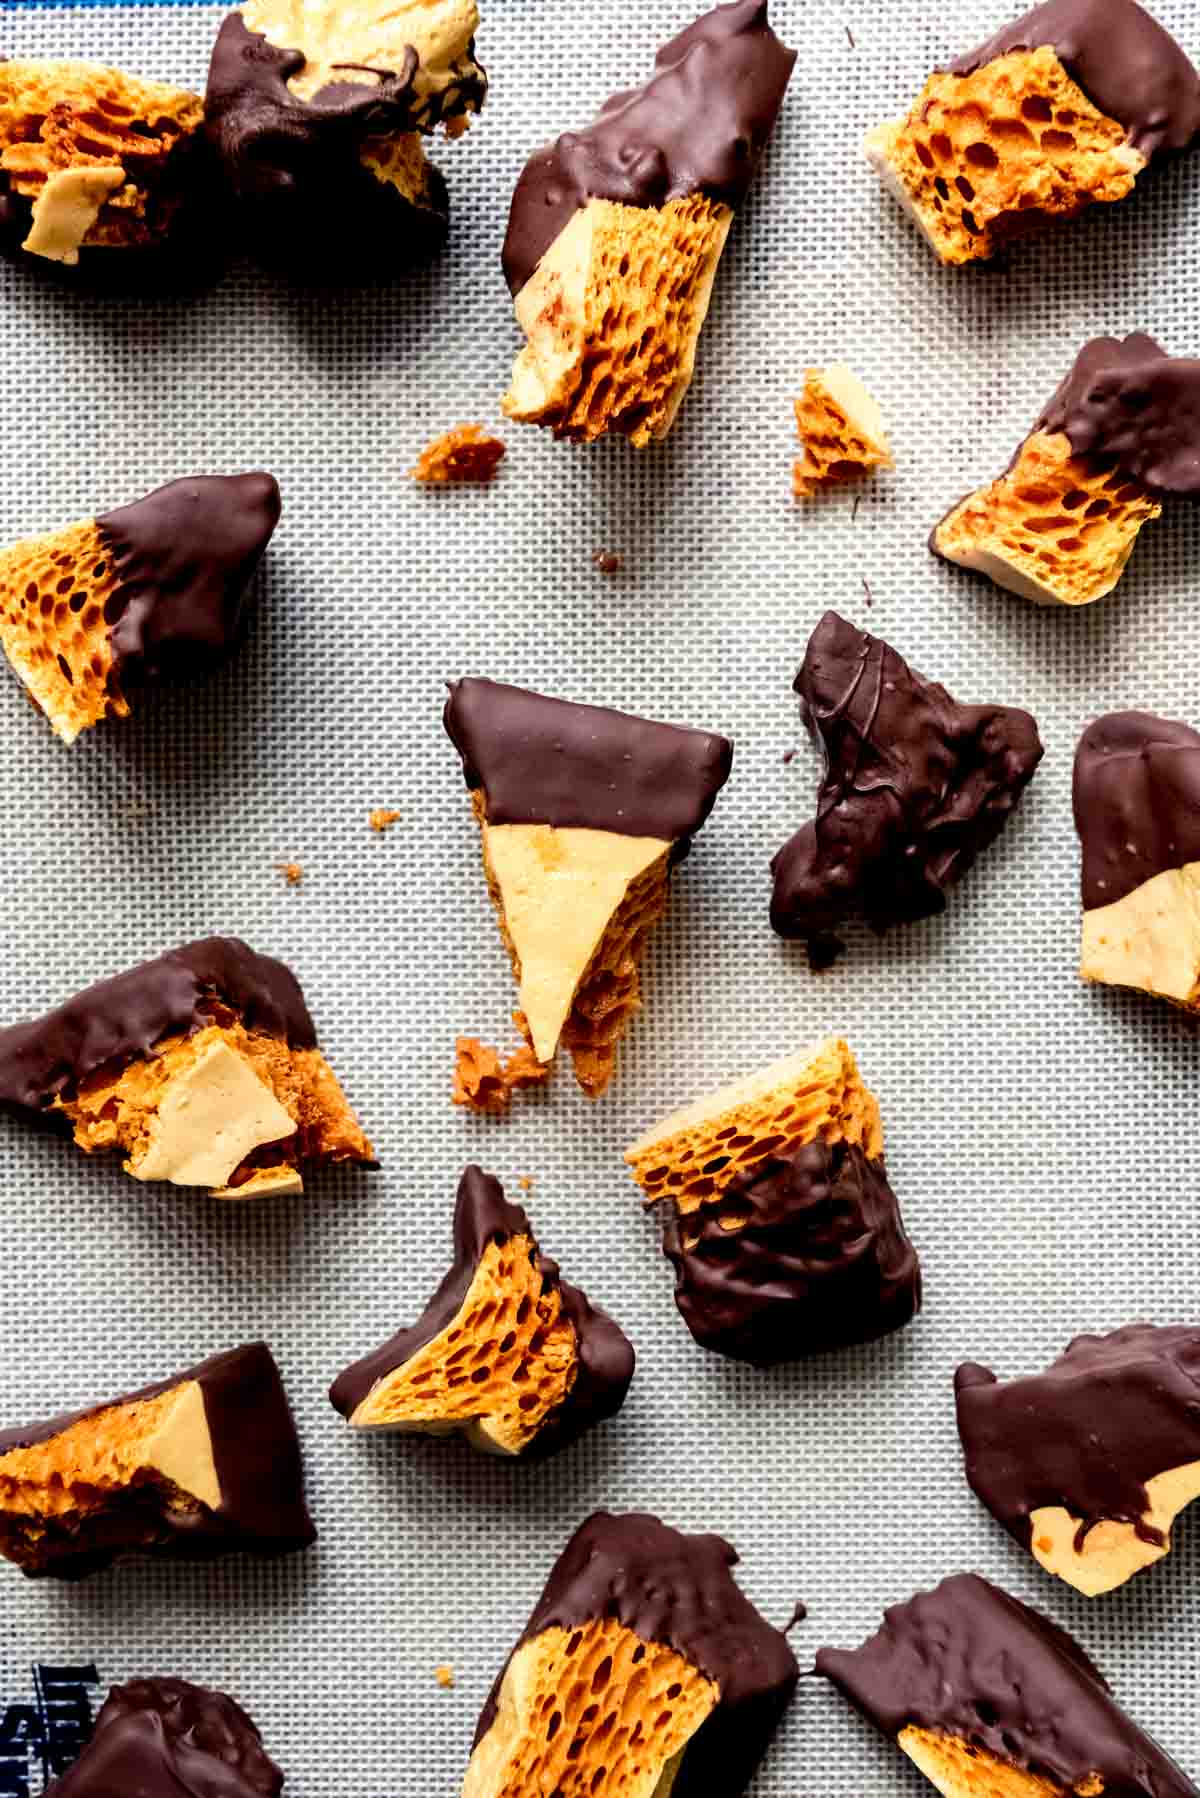
It is really best when fresh as it starts to get sticky after a day or two, even in an airtight container. Although if you coat it in chocolate, it will last a bit longer. And the bonus is that the burnt toffee flavor (but not in a bad way at all) goes so well with chocolate!
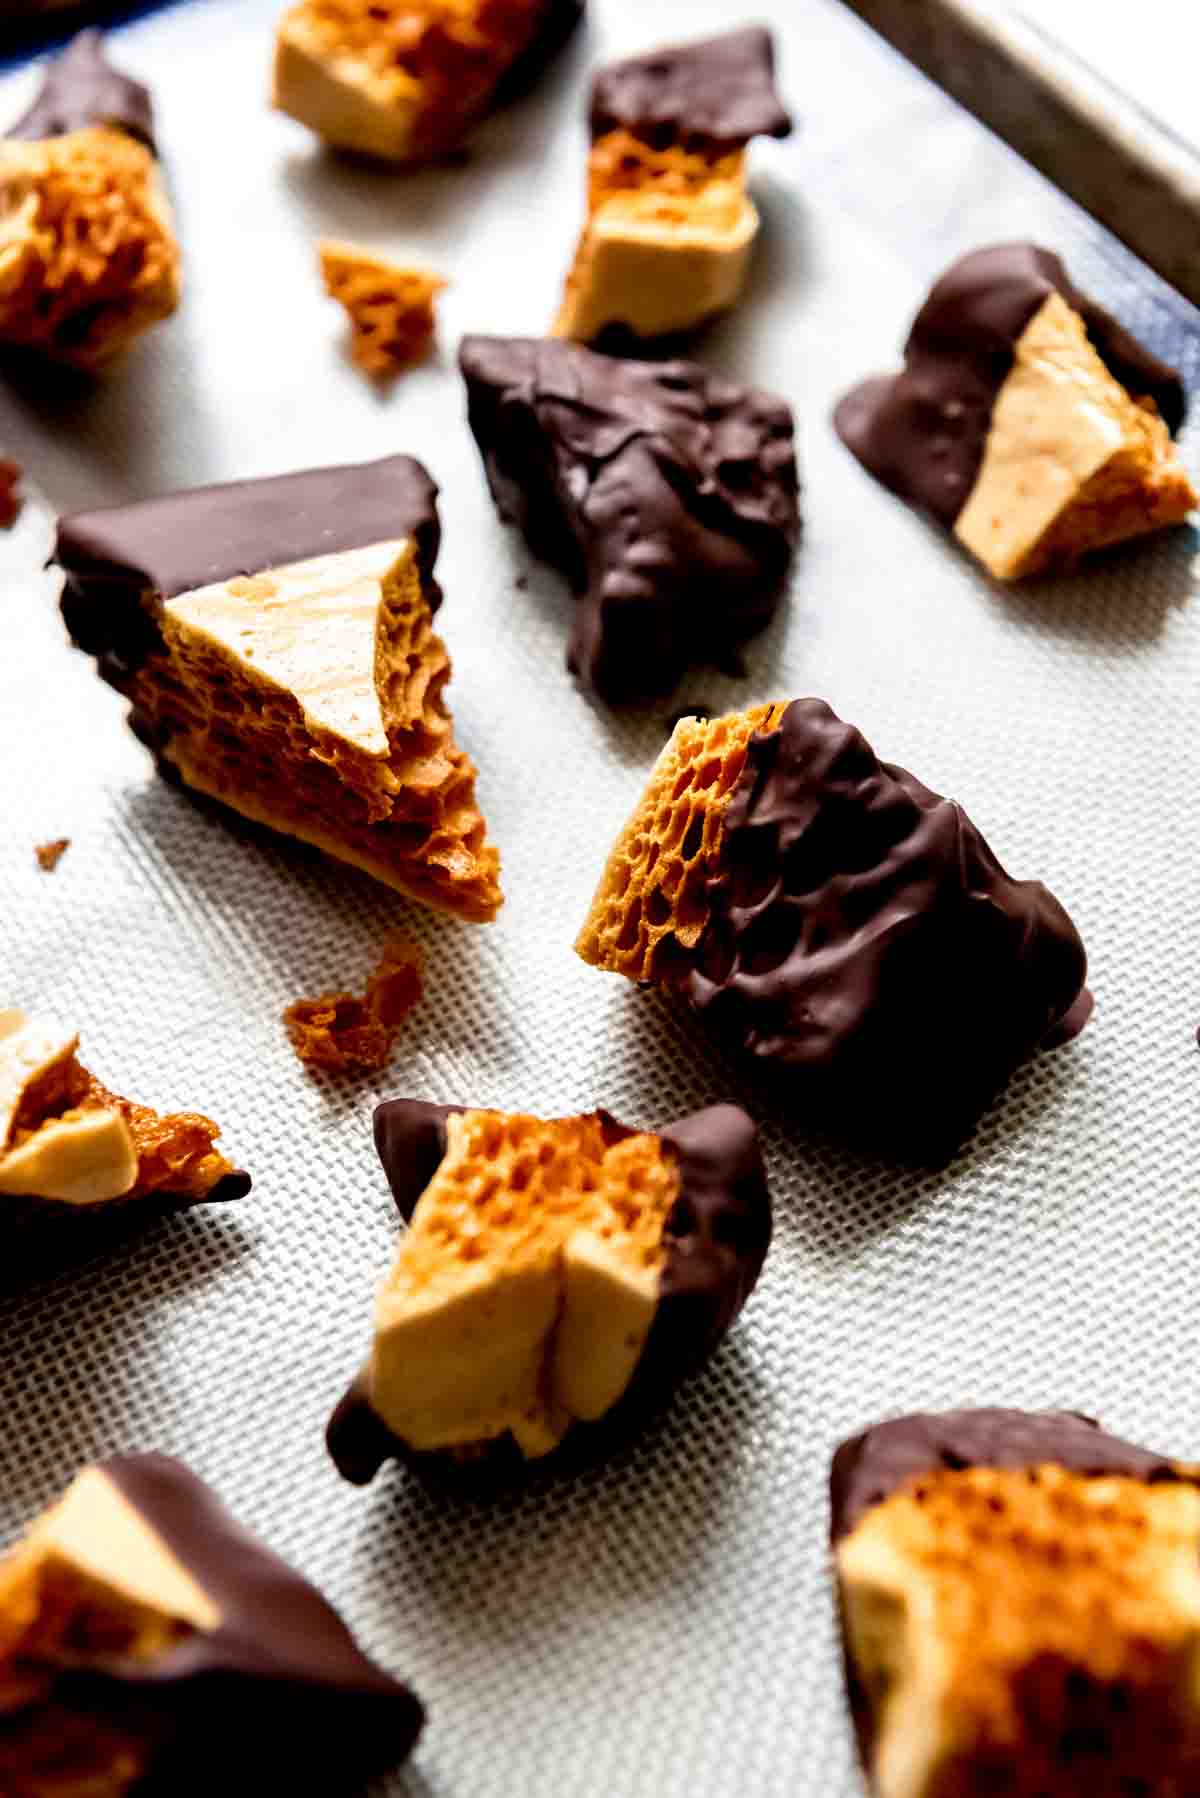
Honeycomb Recipe ingredients
- Sugar: Like basically every candy recipe I know of, you start out with sugar. Granulated sugar is most typical of all the honeycomb recipes I looked at, although I think you could get away with brown sugar as well.
- Corn syrup: Another classic element in candy making. This gives sweetness and helps avoid crystallization of the sugar granules.
- Honey: You could omit the honey and just replace it with additional corn syrup, but I just felt like if you call something honeycomb, it might as well have a little bit of a honey flavor to it. I haven’t tried completely replacing the corn syrup with all honey, but it might be possible. In England, I believe they use golden syrup, but since that’s an ingredient that isn’t easily accessible here, I just use honey instead.
- Water: This will cook off as the candy mixture comes up to temperature. Candy making is all about science!
- Baking soda: This one is super important. If you don’t use it, the honeycomb won’t foam up and create the beautiful structure that gives it it’s signature texture, look, and name. Be sure yours is fresh.
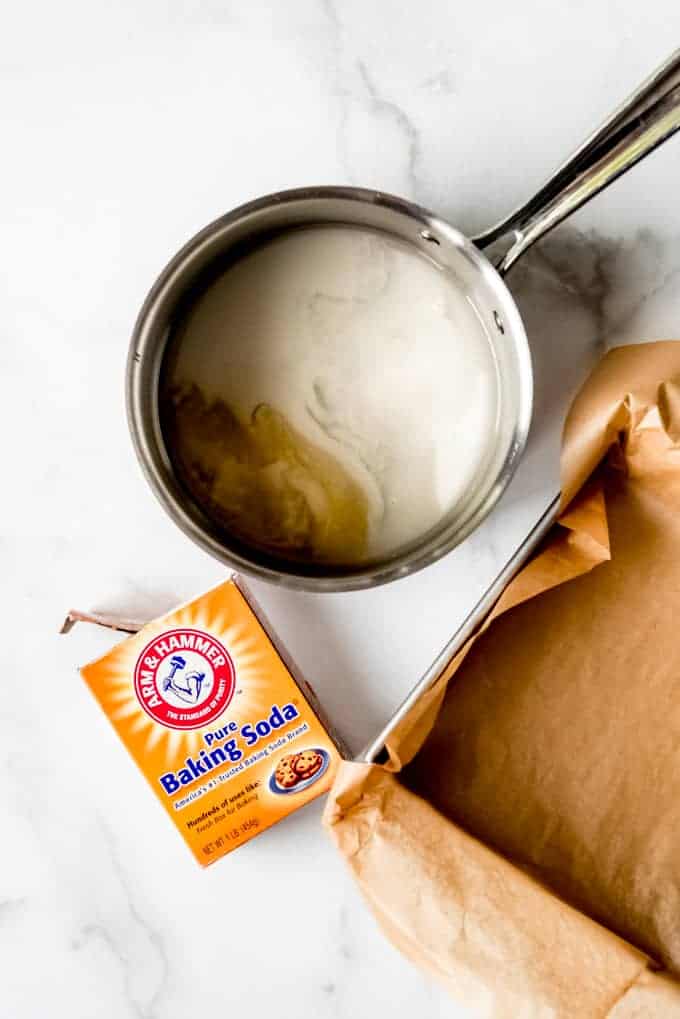
How to make Honeycomb Candy
- Prep everything! This is really, really crucial to this recipe since everything happens fast once the sugar mixture comes up to temperature. Measure out the baking soda in advance and prep a surface or 9×9-inch pan by lining it with parchment paper if you want thicker honeycomb. You could pour the honeycomb straight onto parchment paper on a baking sheet and it will spread out more, giving you thinner pieces of honeycomb. Either way is fine, but I wanted big, thick pieces of honeycomb so I opted for the square pan which held it in more.
- Heat sugar, corn syrup, honey, and water in a large saucepan. You want your pan to be on the larger side than it looks like you need from the ingredients, because when you stir in that baking soda in a bit, things are going to get crazy as the honeycomb foams up. Bring it to a boil over medium-high heat, then cook until it reaches 300°F on a candy thermometer (affiliate link).
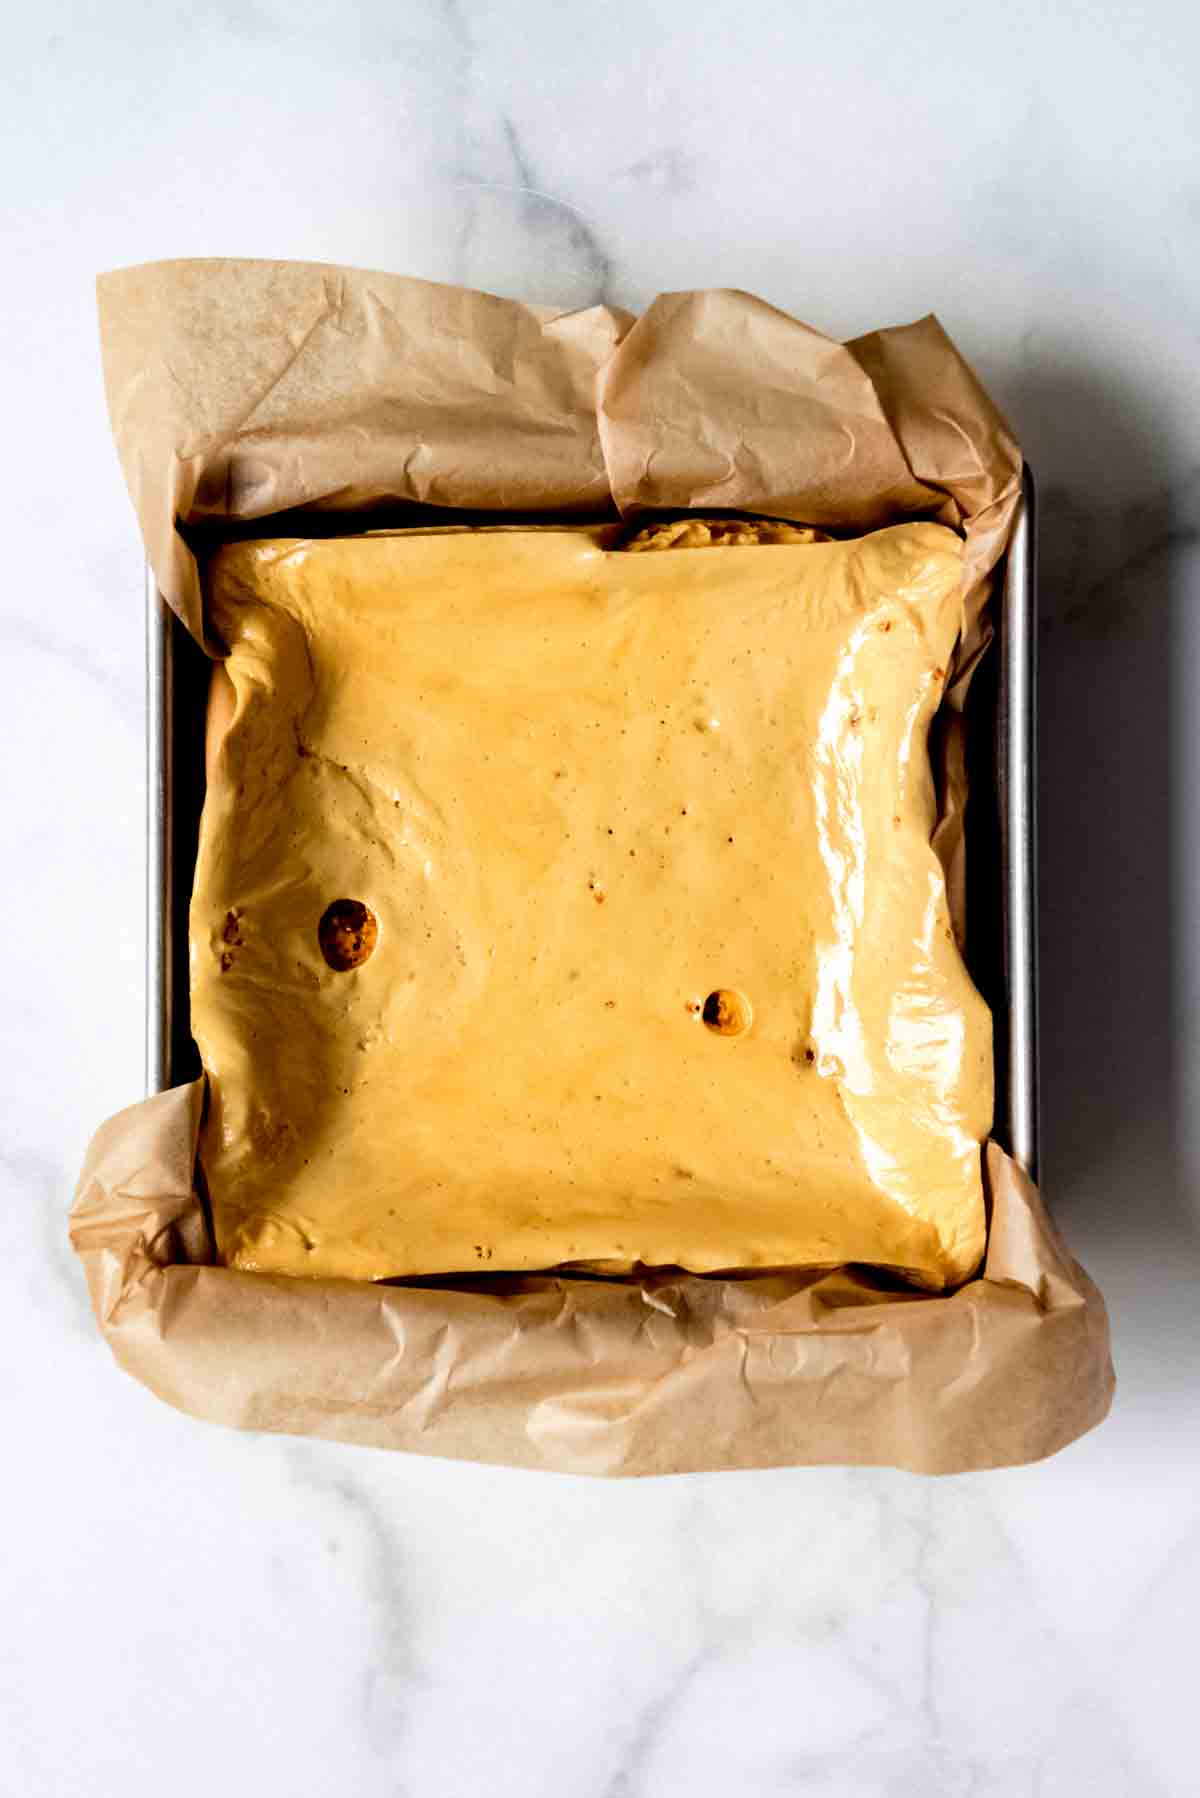
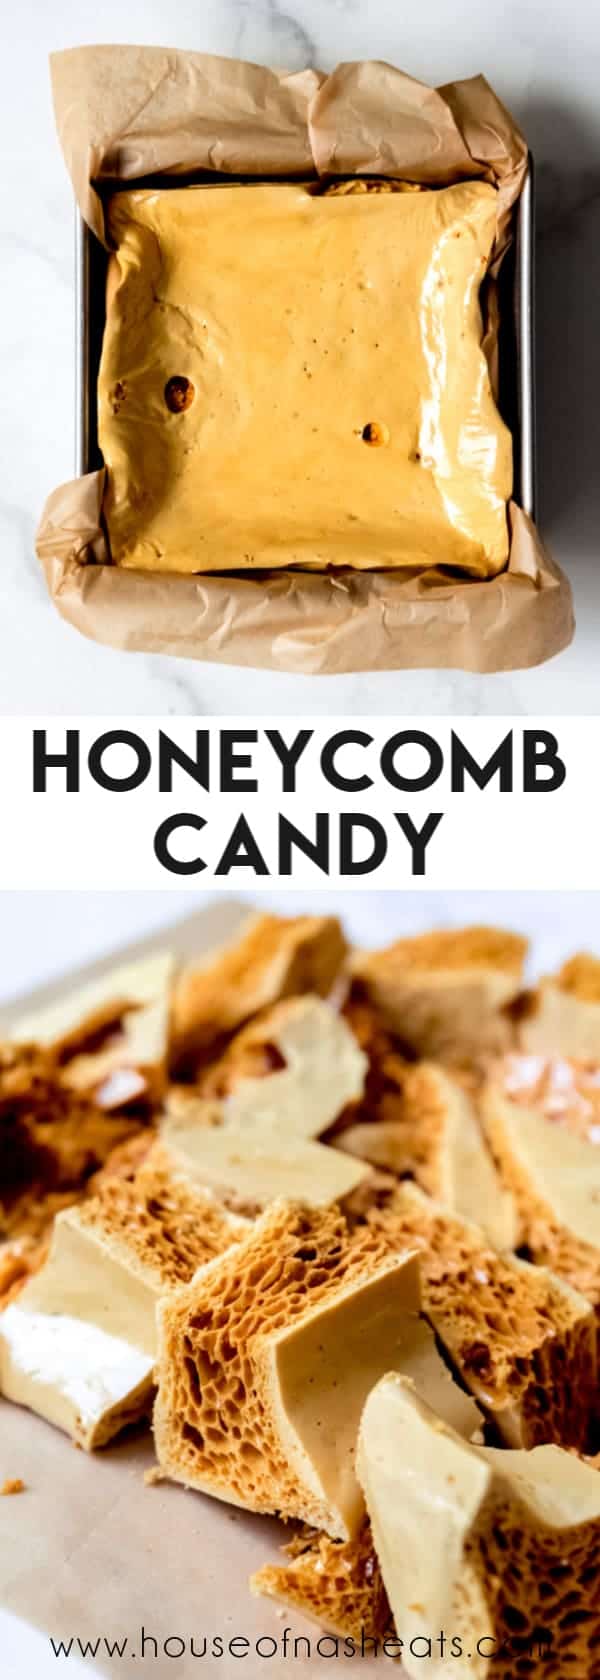
- Stir in baking soda. Working quickly, as soon as the thermometer indicates the liquid sugar mixture is at 300°F (the hard crack stage), remove from the heat and quickly add the baking soda, stirring right away. The honeycomb will foam up and almost triple in size, turning a beautiful golden brown color. Immediately pour the mixture into your prepared pan or onto the parchment lined baking sheet. Be super careful because it is hot, hot, hot!
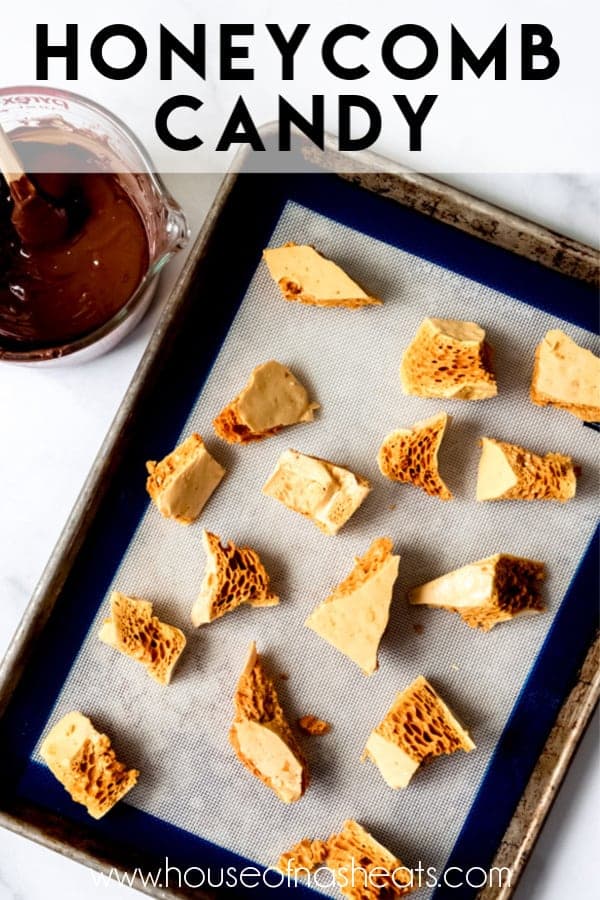
- Let it cool. It will take about one hour for the honeycomb to set up. After that, you can break it into pieces or cut it into chunks with a sharp, large knife.
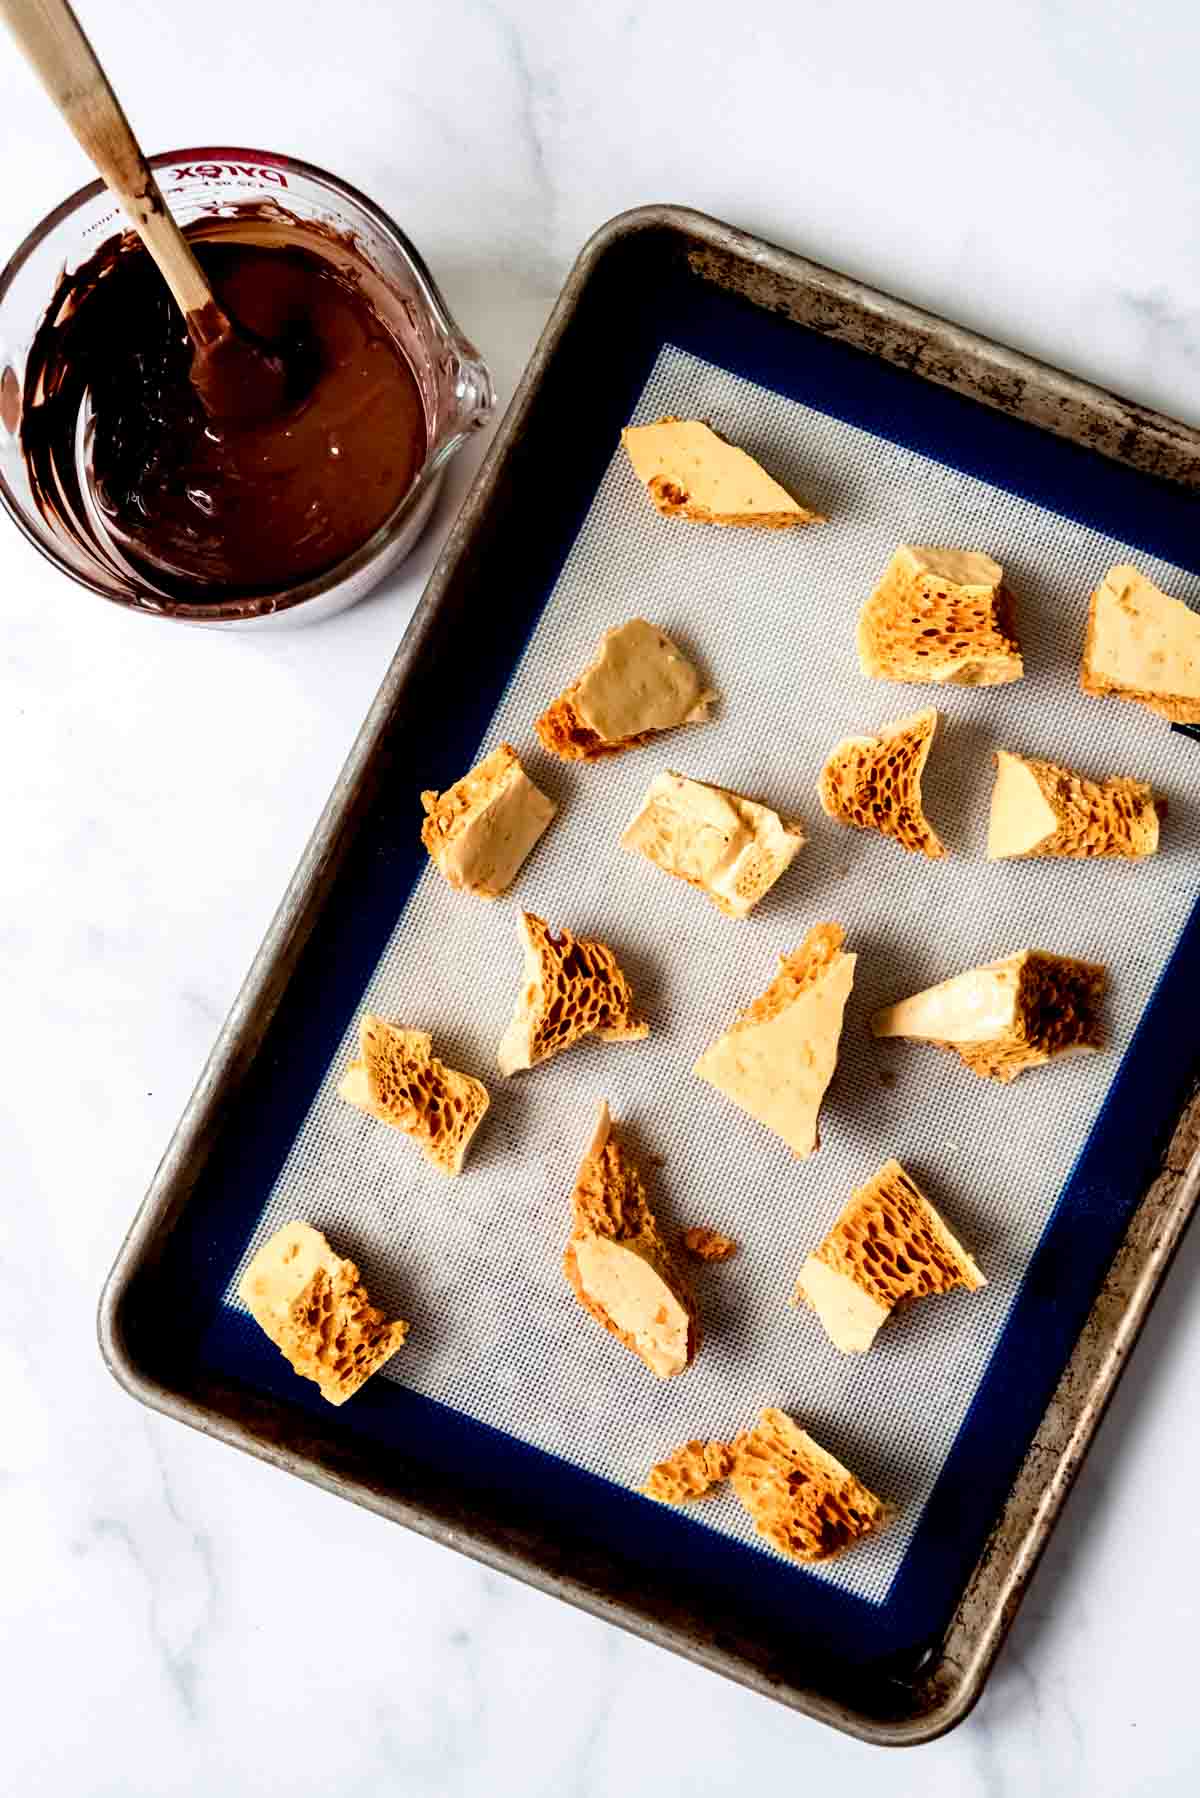
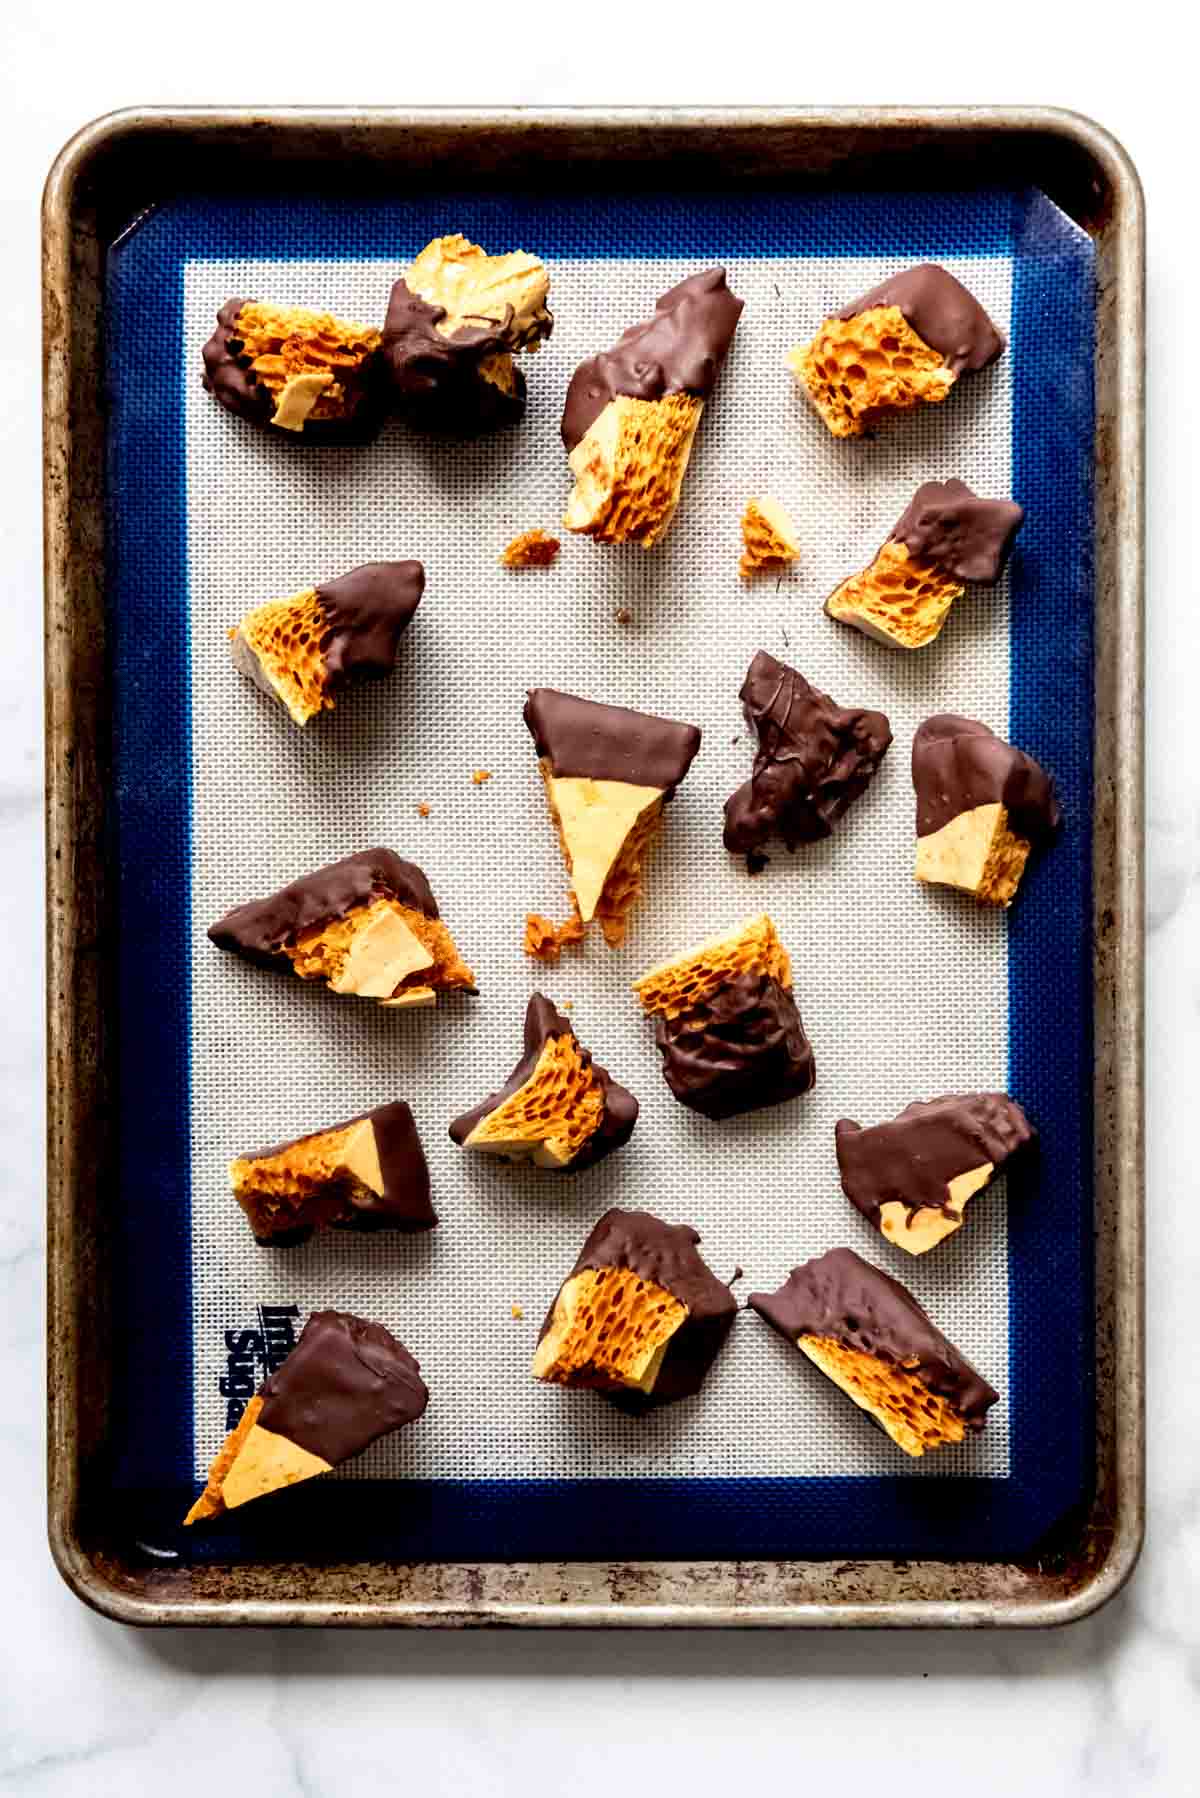
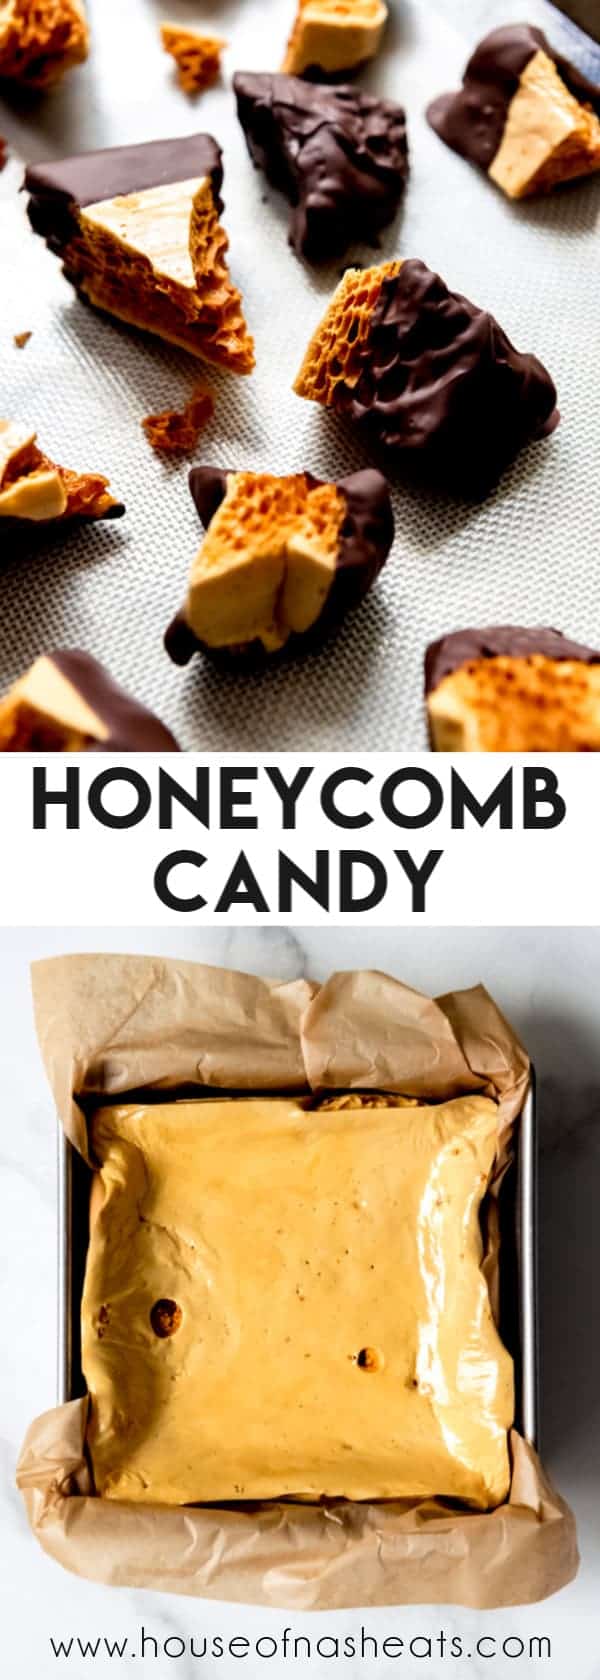
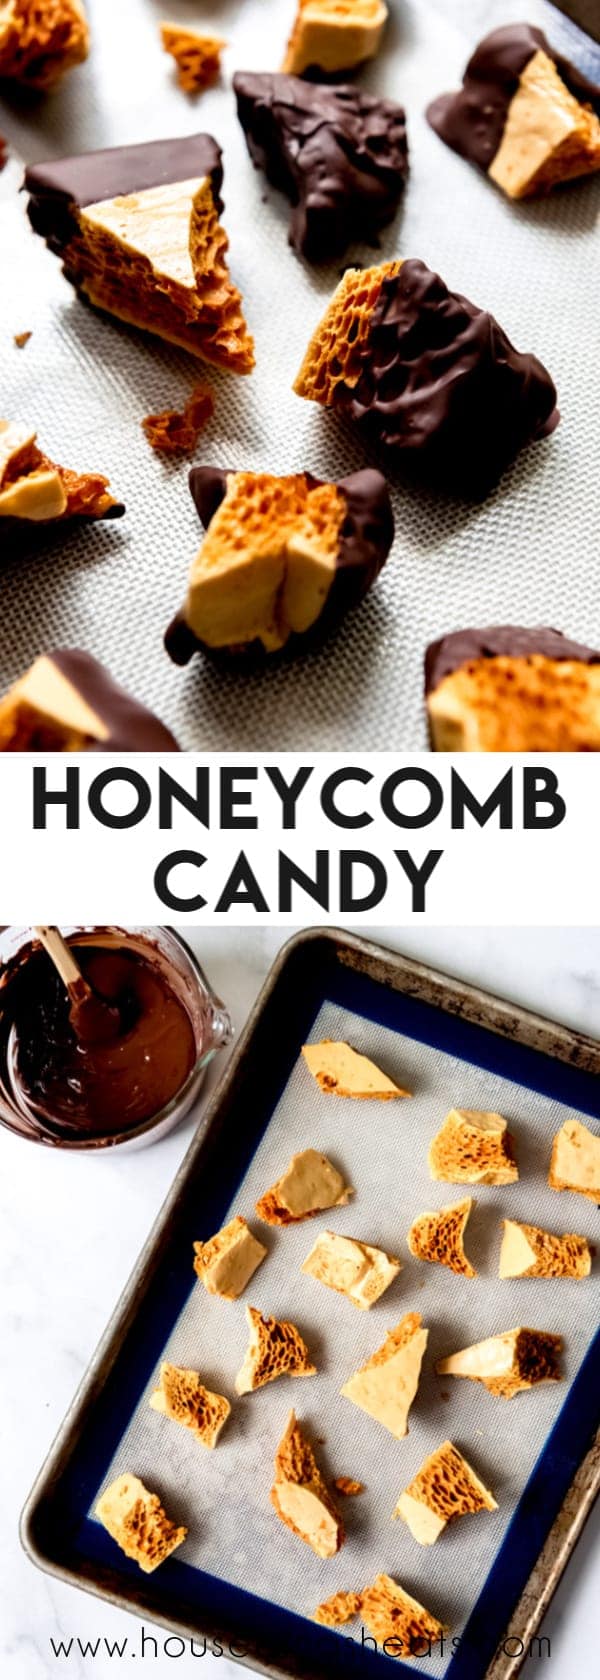
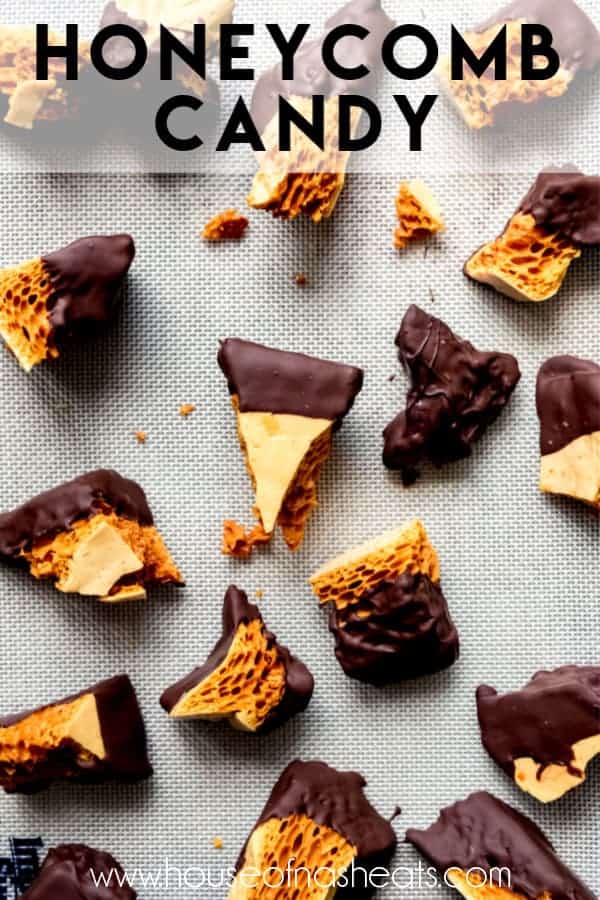
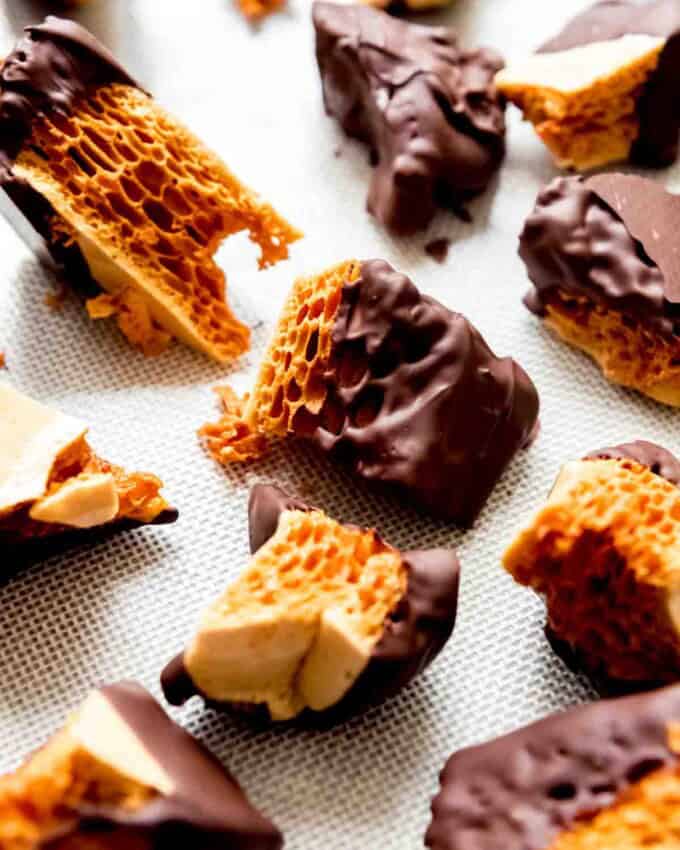
- Dip pieces in chocolate. This step is optional but honeycomb is so good covered in chocolate! Just melt chopped semisweet, dark, or milk chocolate on short bursts in the microwave, then dip each piece of honeycomb in the melted chocolate, setting aside on wire racks, parchment paper, or a silpat mat to set. You can dip entire pieces so they are fully enrobed in chocolate, or just parts of pieces to show off the honeycomb structure inside. You can even sprinkle the chocolate with flaky sea salt if you love salted chocolate and caramel.
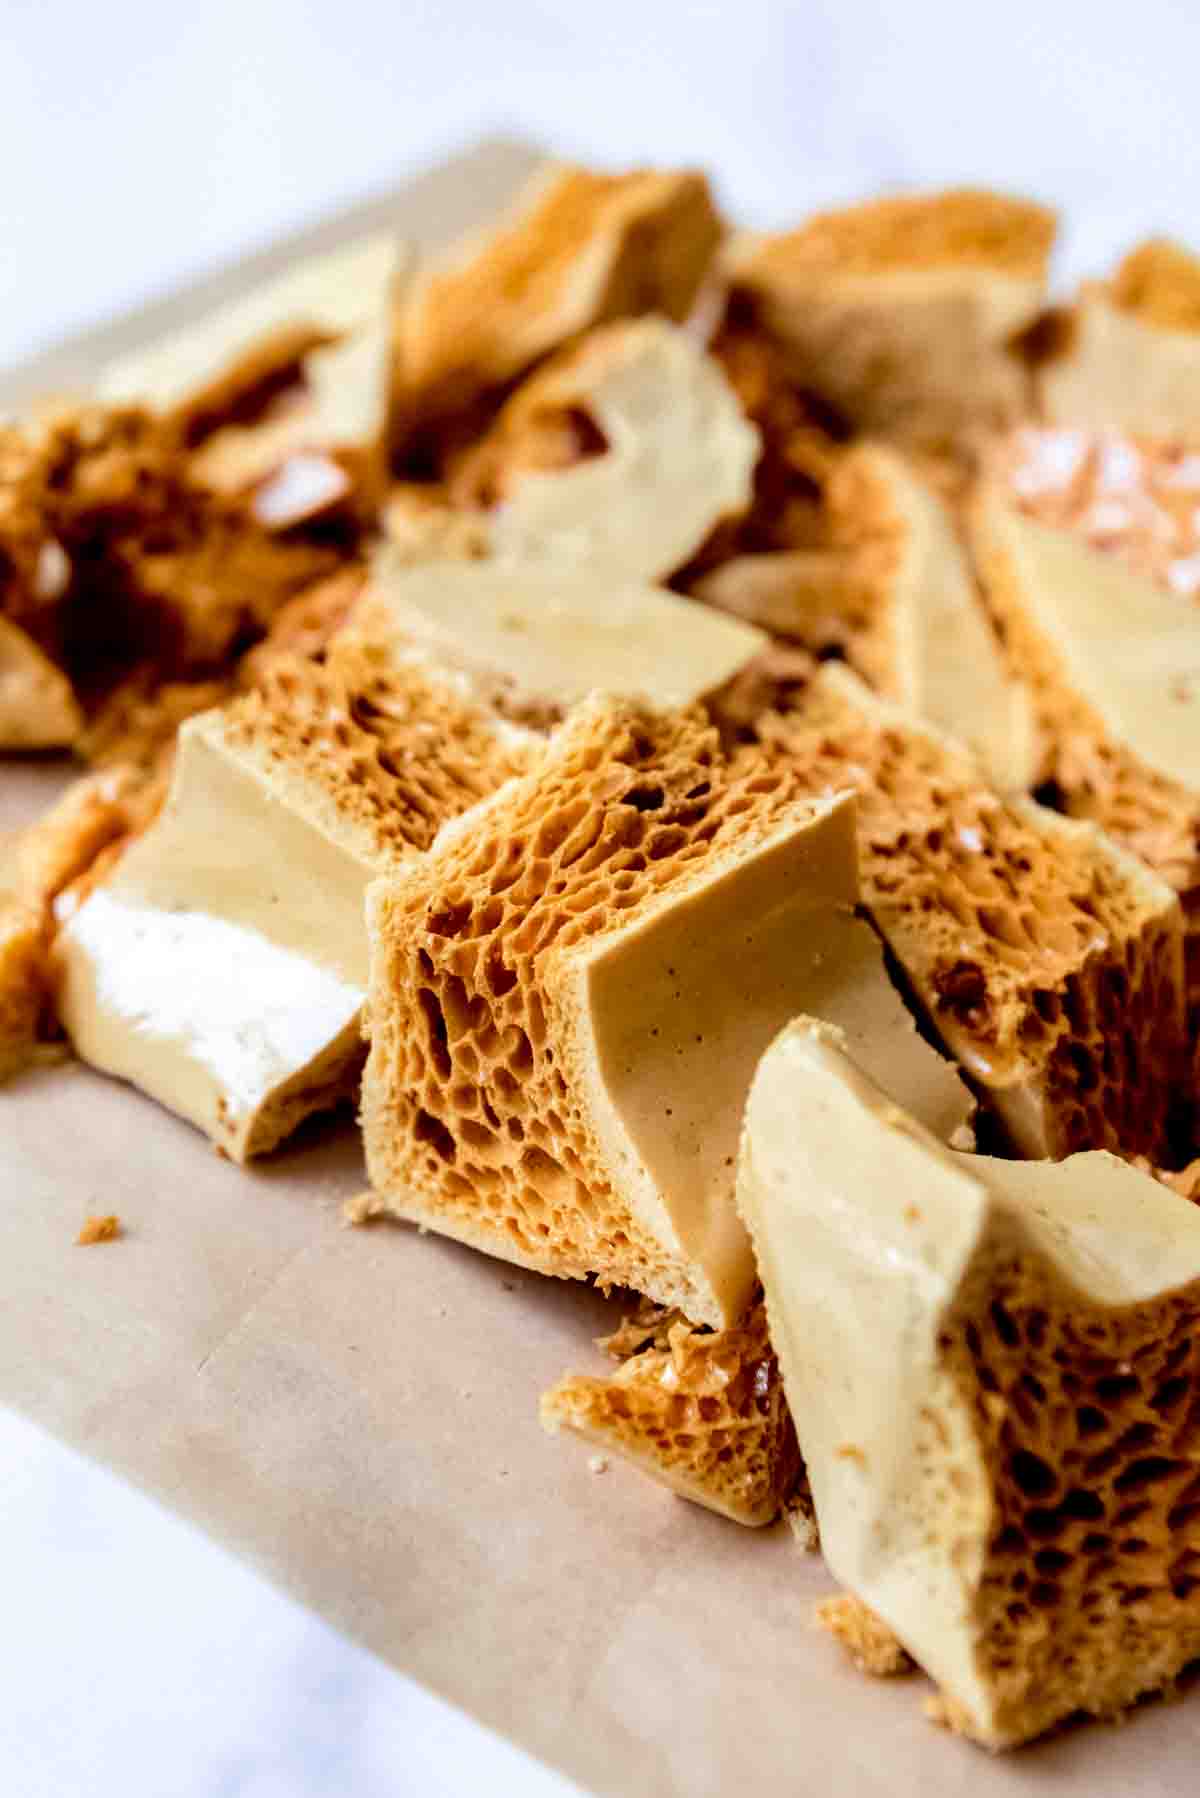
How to store Chocolate Covered Honeycomb
This can be stored at room temperature in an airtight container. Ensure the chocolate coating has completely set before storing. This usually takes around 1-2 hours at room temperature or a shorter time in the refrigerator. Place the chocolate-covered honeycomb pieces in a container that seals tightly. This helps prevent exposure to air and moisture, which can cause the candy to become sticky or lose its crispness. If you have multiple layers of candy, consider placing parchment paper or wax paper between the layers to prevent them from sticking together.
Chocolate Honeycomb Candy FAQs
While some candies benefit from refrigeration, chocolate-covered honeycomb might absorb moisture from the fridge, causing it to become sticky. It’s best to store it at room temperature. Also, if your storage container isn’t airtight and there is humidity in the air, that can also cause your honeycomb candy to become sticky.
The sugar mixture needs to reach the correct temperature for the honeycomb candy to set properly. Using a candy thermometer ensures the sugar reaches the hard crack stage (around 300°F or 150°C). If the mixture doesn’t reach this temperature, the candy might not harden.
Also, high humidity levels in your kitchen can interfere with candy making. Excess moisture in the air can prevent the candy from setting properly. Try making honeycomb candy on a dry day or in a less humid environment.
Sponge candy and honeycomb candy are two names for the same confectionery—a light, airy, and crunchy candy made primarily from sugar, corn syrup, baking soda, and sometimes vinegar. Depending on the region, this candy can be called sponge candy, honeycomb candy, cinder toffee, hokey pokey (especially in New Zealand), or seafoam candy.
More like this Honeycomb Candy
- Oreo Balls
- Homemade Caramel Apples
- Easy Chocolate Fudge
- Homemade Cream Caramels
- Candied Apples
- Homemade Peppermint Bark
- Pretzel Hugs
- Rocky Mountain Avalanche Bars
- Chocolate Covered Pretzel Rods
- Pecan Log Roll
Did you make this recipe?
Let me know what you thought with a comment and rating below. You can also take a picture and tag me on Instagram @houseofnasheats or share it on the Pinterest pin so I can see.
Chocolate Covered Honeycomb Candy Recipe
Ingredients
- 1 cup granulated sugar
- 1/4 cup light corn syrup
- 2 Tablespoons honey
- 1/2 cup water
- 2 1/4 teaspoons baking soda
- Semisweet, milk, or dark chocolate for dipping

Instructions
- Line an 9×9-inch pan with parchment paper. Set aside.
- In a heavy duty medium saucepan, combine the sugar, corn syrup, honey and water. Set baking soda to the side so it is ready to add later.1 cup granulated sugar, ¼ cup light corn syrup, ½ cup water, 2 Tablespoons honey
- Bring the sugar mixture to a boil over medium heat, stirring frequently to dissolve the sugar. Once the liquid is boiling, stop stirring and attach a candy thermometer (affiliate link).
- Cook until the temperature of the candy reaches 300°F. Immediately remove from the heat and whisk in the baking soda for five seconds. The candy will bubble up and turn a light golden-brown color. Whisk just until combined but don't overmix and deflate the bubbles that will form.2 ¼ teaspoons baking soda
- Immediately pour the honeycomb mixture into the prepared pan as it will start to set up quickly and let it cool for at least 1 hour before breaking into chunks by hitting it with a mallet or the heavy handle end of a butterknife.
- Dip or drizzle with melted chocolate, if desired, then let the candy sit until the chocolate firms up before serving.Semisweet, milk, or dark chocolate
Notes
- Storage: Keep the honeycomb candy in an airtight container on the counter at room temperature for up to 1 week.
- Recipe slightly adapted from The Pioneer Woman.





Hi! I just made this recipe with my granddaughters.
Can this be made with vanilla instead of honey. The honey taste was strong.
If the honey taste is too strong, then you could add the equivalent amount of additional corn syrup with a teaspoon or two of vanilla added at the end for flavor.
When do you add the honey?
Right from the start when adding the corn syrup, sugar, and water.
This turned out so good! I used golden syrup instead, and subbed that for the two tablespoons of honey. Perfection! I had tried another recipe from someone else first that was a huge failure. This recipe was definitely redemption.
Yeah, I used a different recipe before this one. It said it would be ready to add the bi-carb after 3 mins. It was awful. You MUST get it up to 300F.
I couldn’t even get it to 260 before it started to burn! Terrible! Will check out other recipes and maybe try avian. My range hood is getting a lot of use now though. Sure I shouldn’t stir??
While it’s in the process of reaching 300F, keep the heat down low, make sure you use a heavy saucepan.
Hi! Was wondering why my honeycomb candy didn’t turn out okay?? :/ It looked a bit wet that’s super sticky and still soft after setting it aside for an hour. Dint have light corn syrup so I used high fructose corn syrup instead. Is that why the candy dint turn out well?
I would think it’s more likely that it didn’t get quite cooked all the way to temperature that would cause it to be sticky and soft.
This turned out so good!
Hi all,
I made this recipe this afternoon and it turned out beautiful. The only problem I have is it’s got a strong baking soda aftertaste. Did I do something wrong?