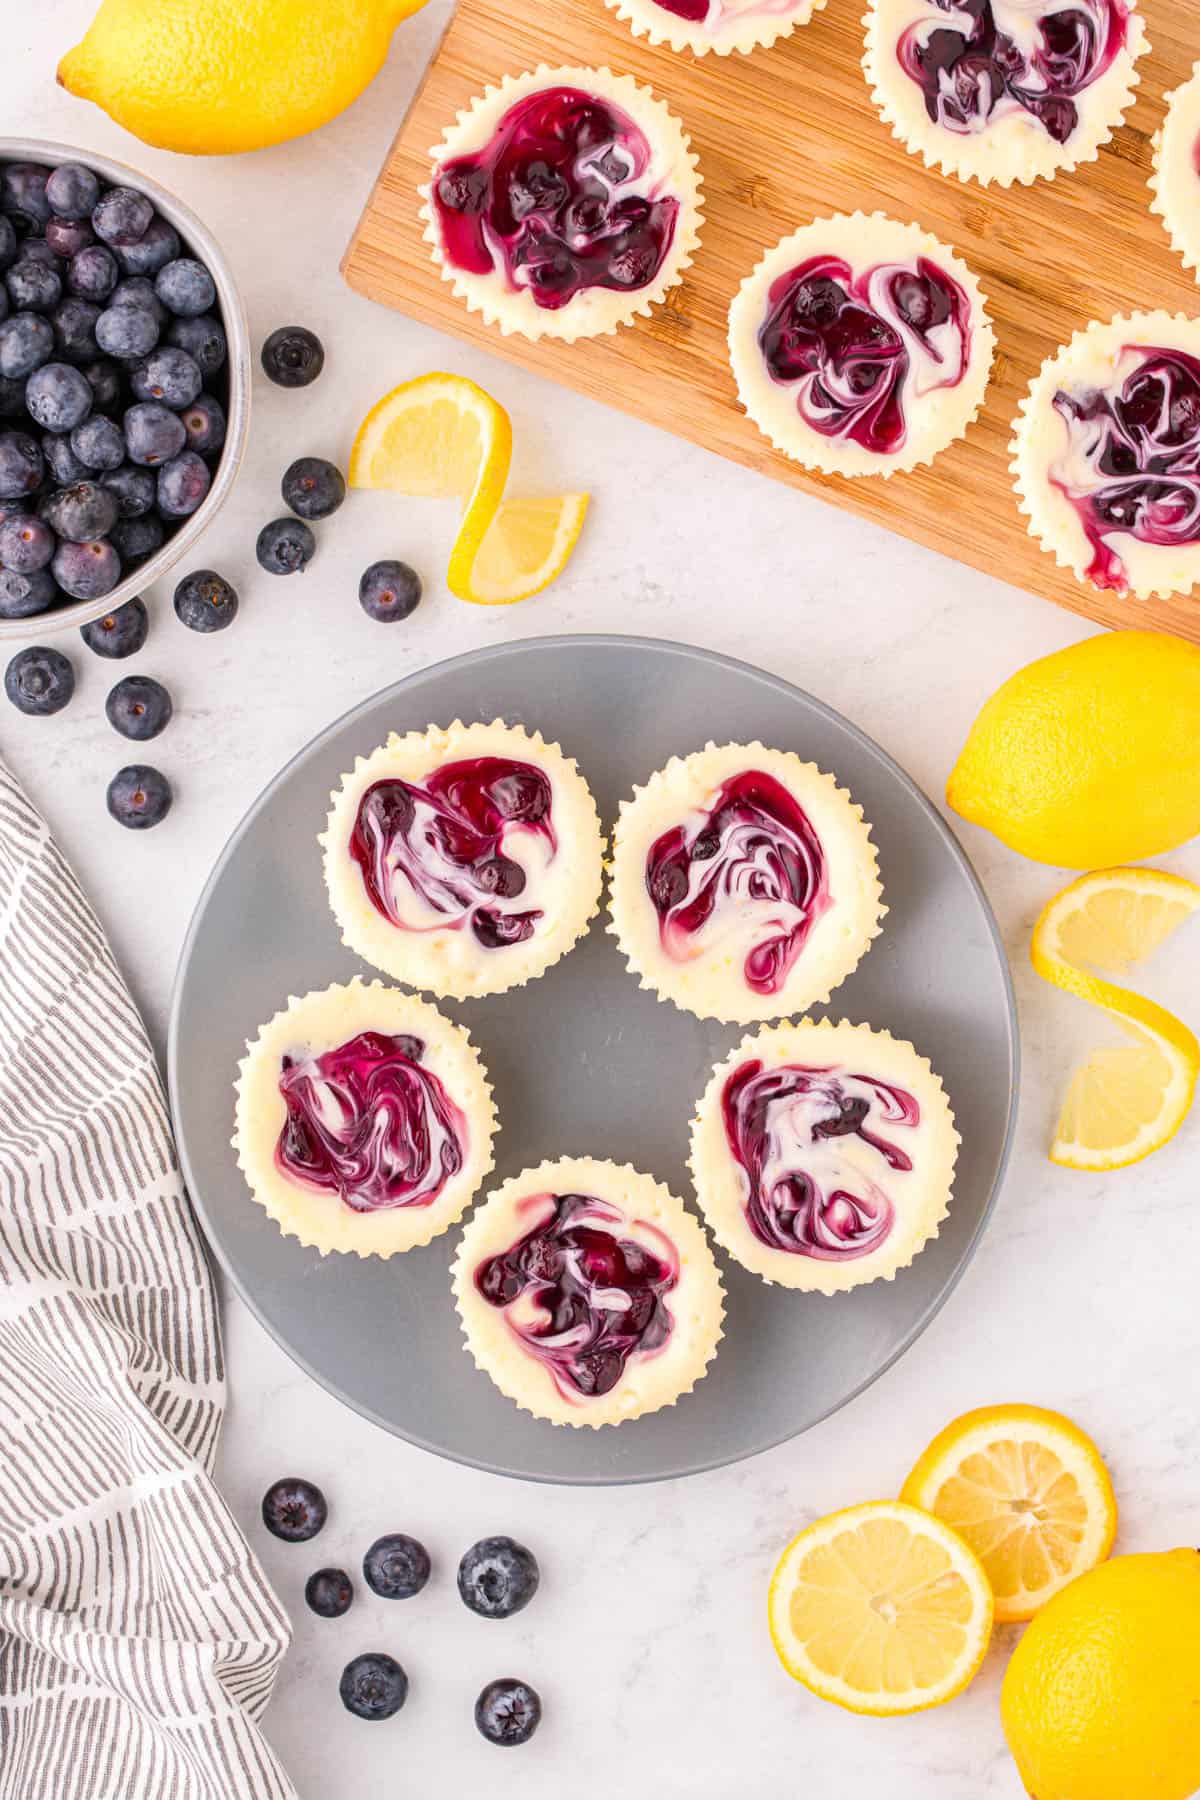
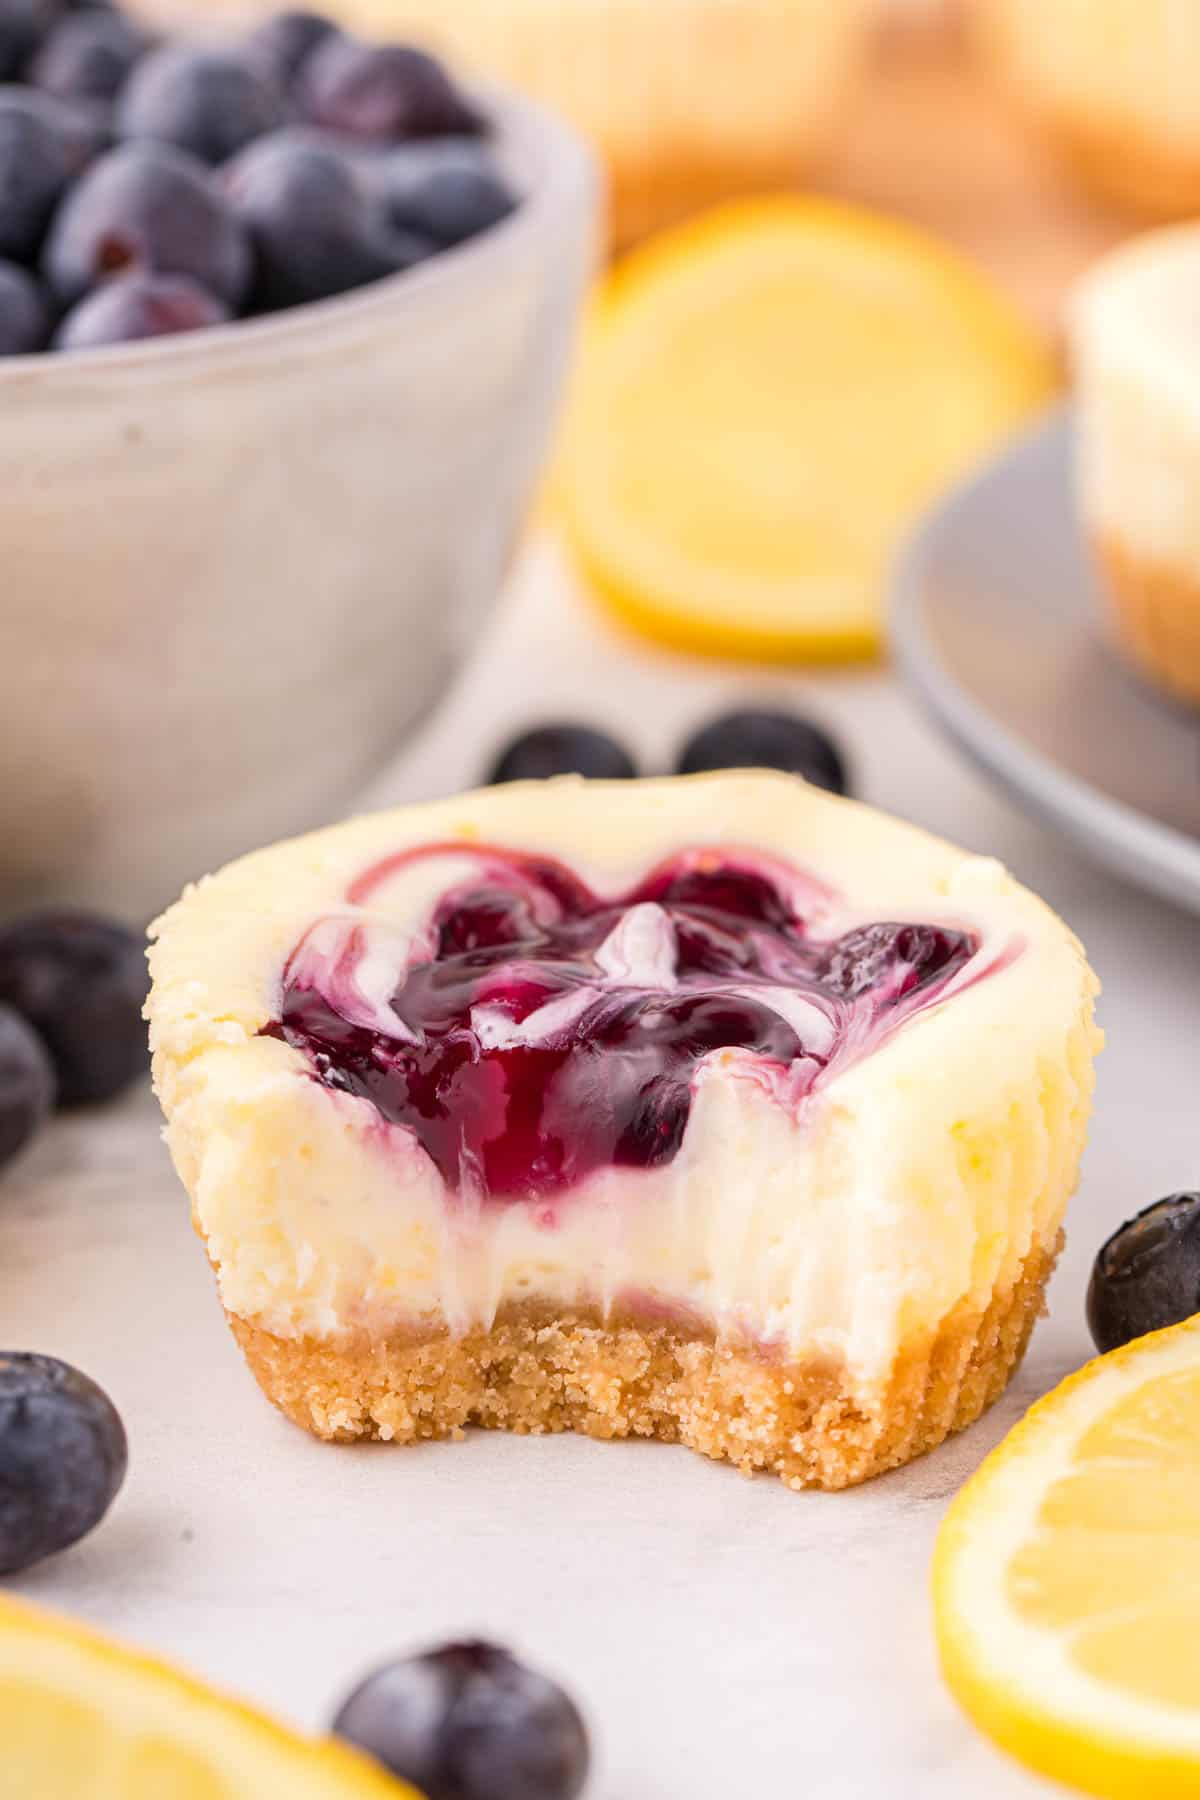
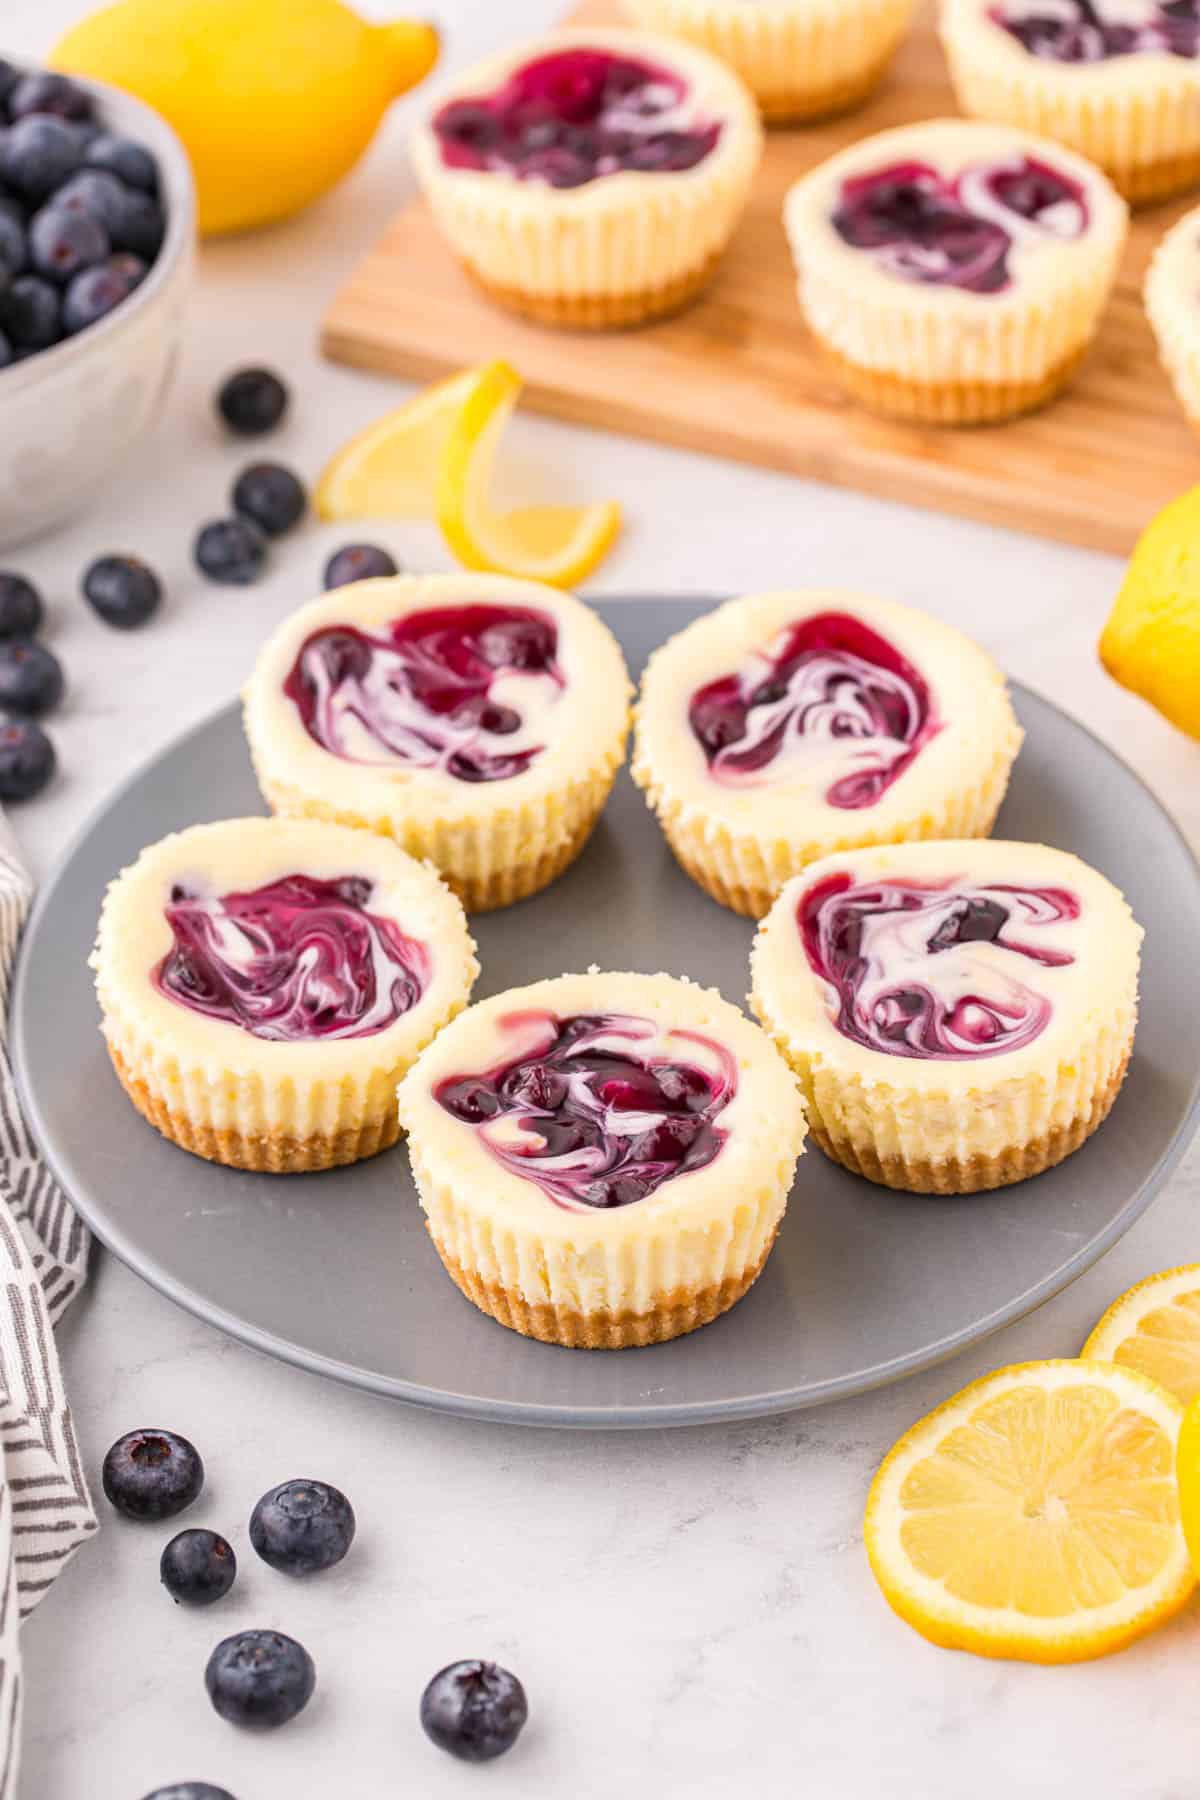
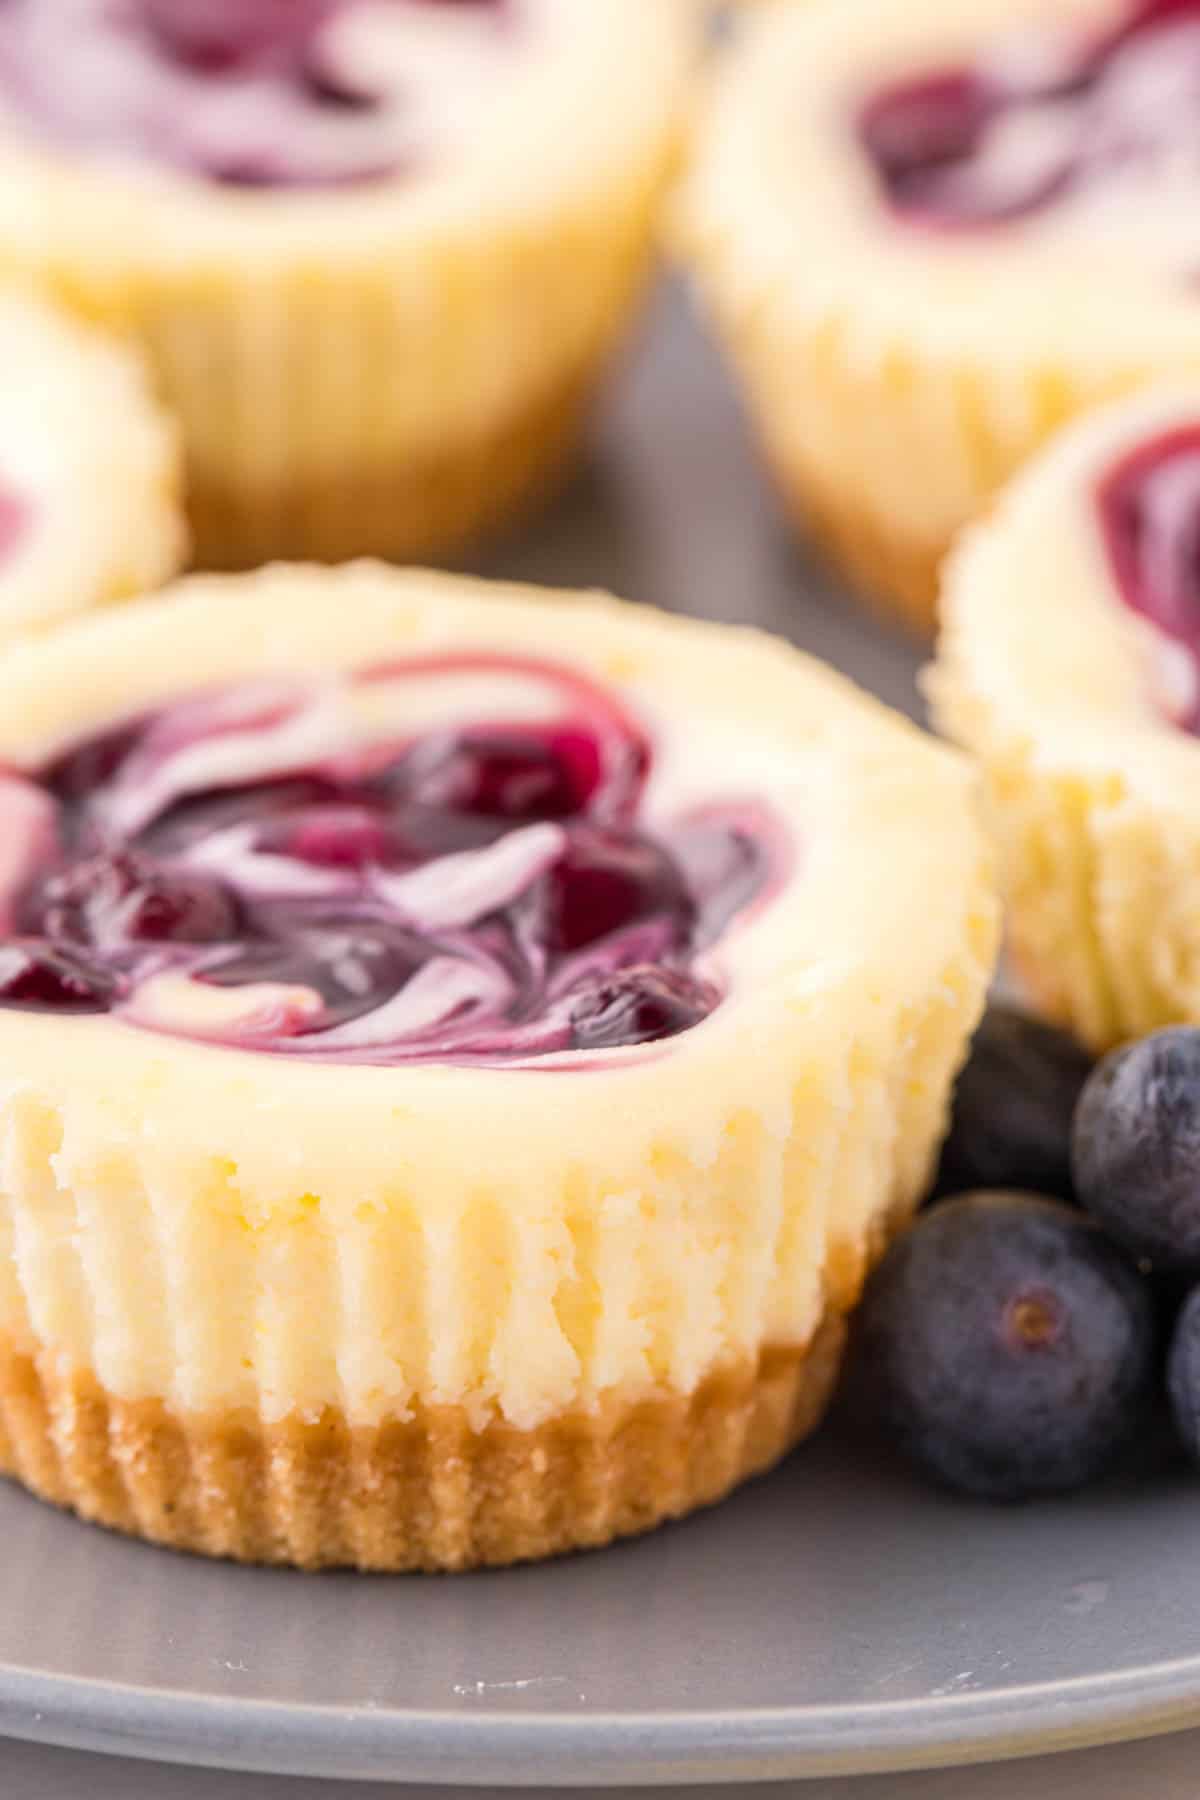
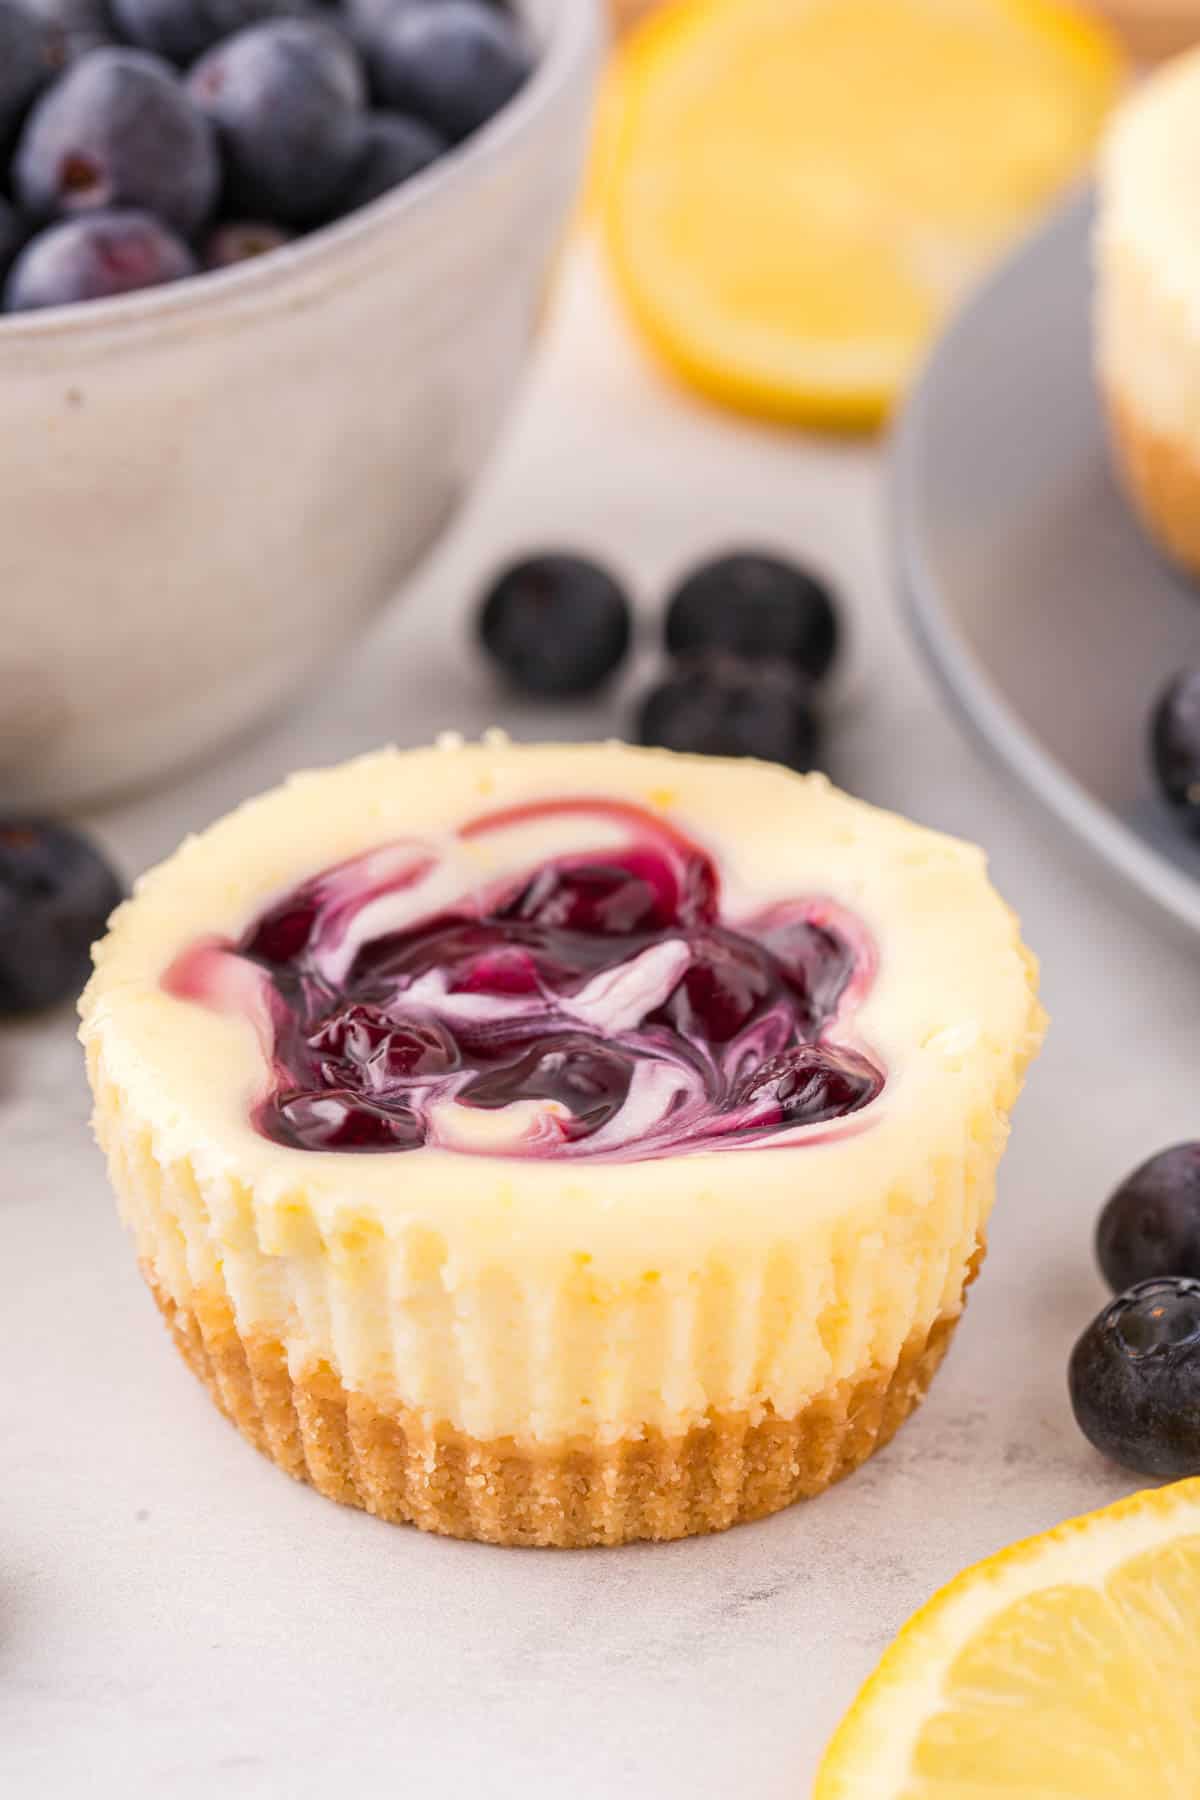
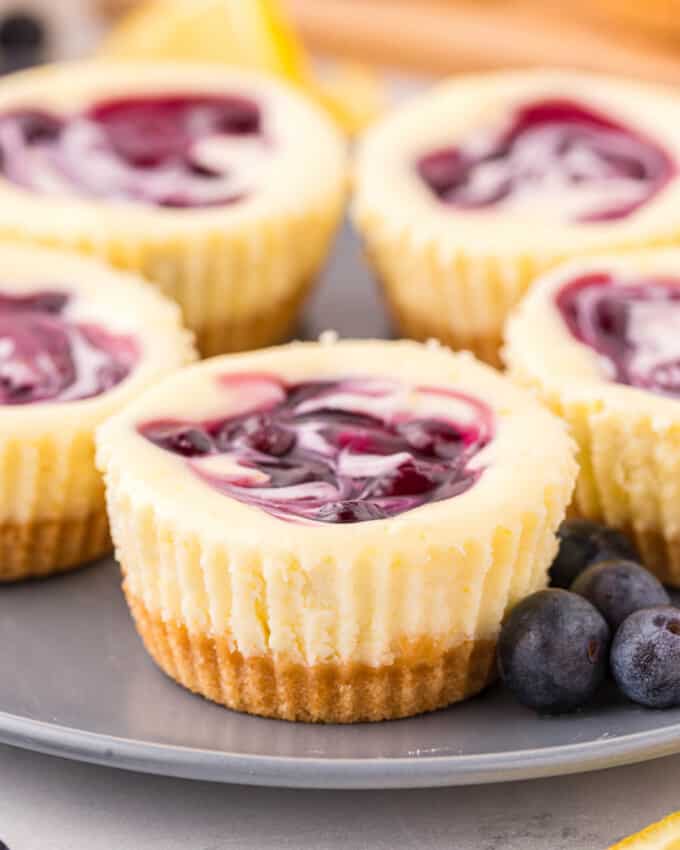
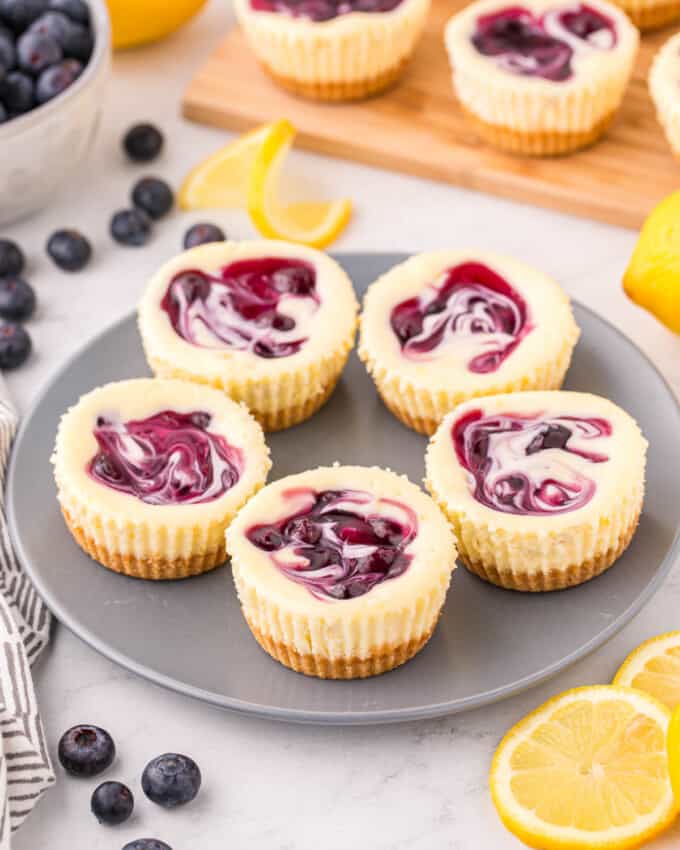
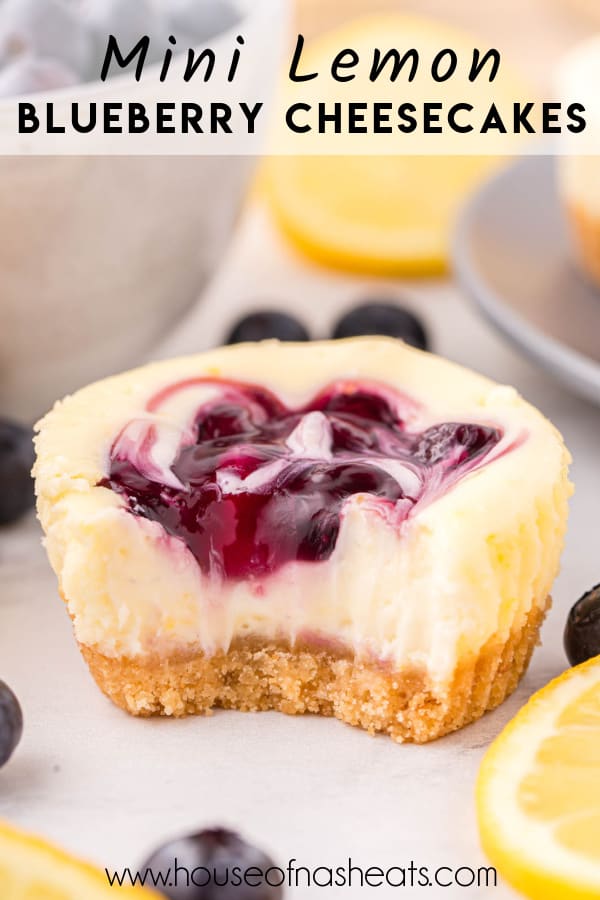
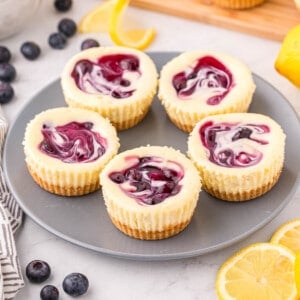
These Mini Lemon Blueberry Cheesecakes are simple yet elegant, a perfect make-ahead dessert for your next dinner party, baby shower, or just for a special treat! Made with Nilla wafer crust and a deliciously creamy filling with fresh lemon with whipped cream, blueberry pie filling, and extra sweet blueberries on top, these are sure to be the hit of the party!
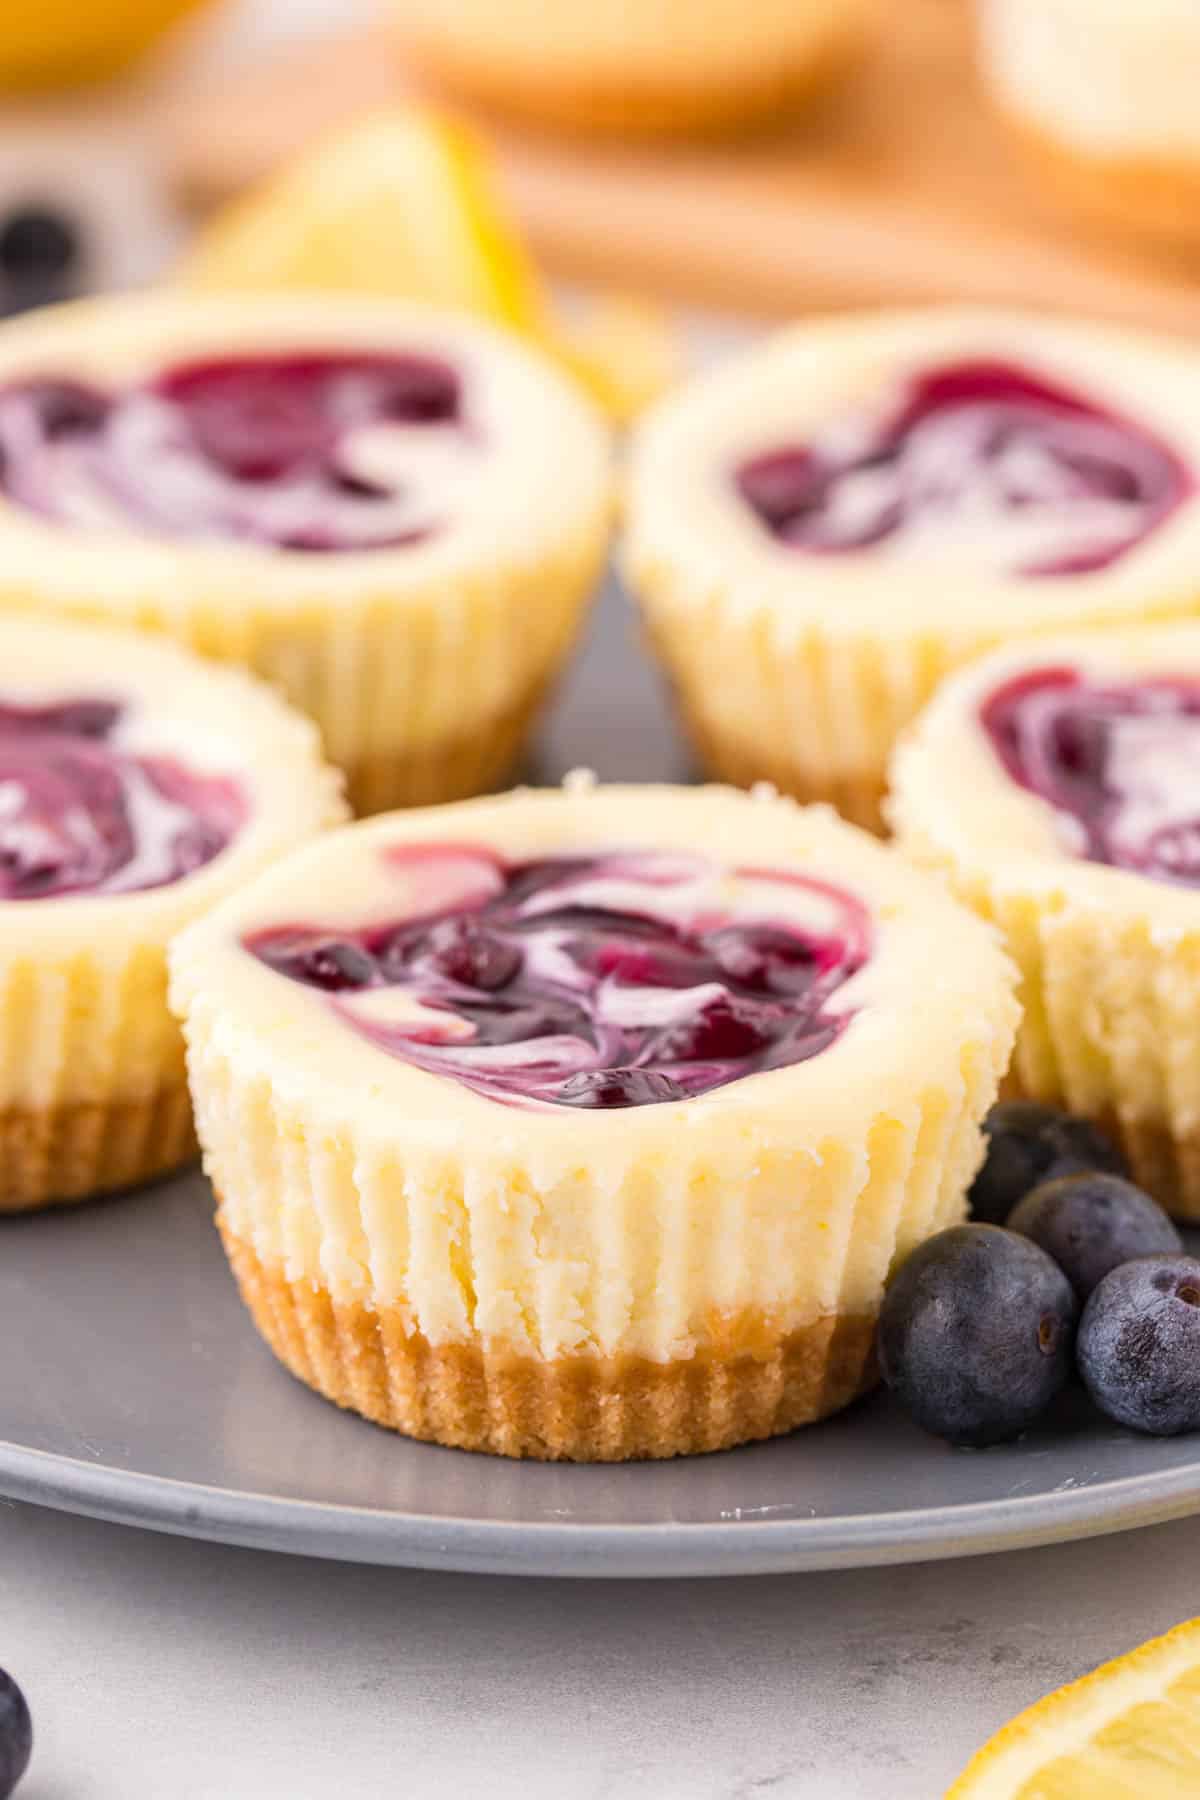
Table of Contents
We love mini handheld cheesecakes every bit as much as the full-sized versions. These Mini Lemon Blueberry Cheesecakes marry the classic dessert of creamy cheesecake with the convenience of individual servings with minimal mess while eating!
Quick and easy to make, they’re the ideal addition to any event, from holiday gatherings to summer picnics. There’s no need to worry about slicing or serving a whole cheesecake when you can offer these elegant individual portions—you can even serve them with different toppings or garnishes to suit everyone’s preference!
These little cheesecakes pack an incredibly fresh flavor that is sure to impress. With their juicy blueberries and zesty lemon flavor, they’ve become a favorite berry twist on traditional cheesecake.
They are a perfect make-ahead dessert, ideal for busy hosts who want to prepare something special in advance. They are easy to store, and the flavors continue to meld and deepen, making them even more delicious a day or two after baking.
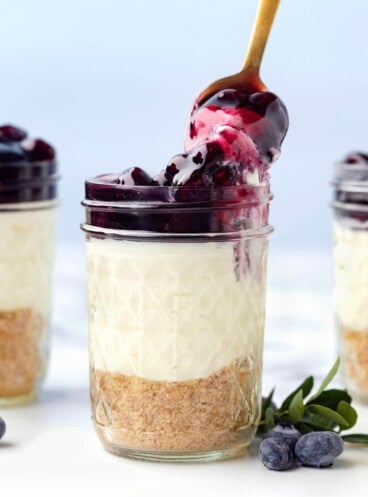
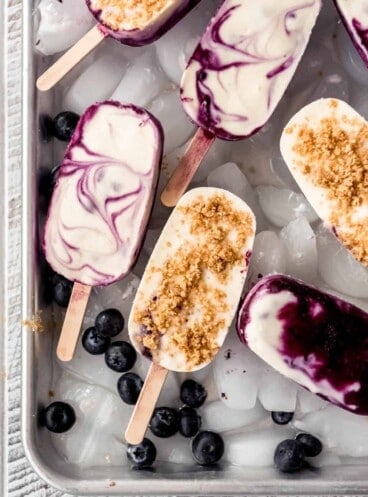
For more amazing cheesecake treats, check out my Salted Caramel Cheesecake Bars, Raspberry Cheesecake Cookies, Blueberry Cheesecake Icepops, Strawberry Cheesecake Ice Cream, Blueberry Cheesecake Jars, and our No-Bake Cheesecake (with 8 Simple Homemade Toppings!)!
Why We Love This Recipe
- Change the type of base used, or use any flavor of cheesecake filling and topping you like with this recipe!
- Individually portioned, these cheesecake bites are the perfect, no-mess way to enjoy cheesecake.
- With under 30 minutes of hands-on time, it’s the perfect dessert to make ahead for the holidays and special occasions!
What You’ll Need
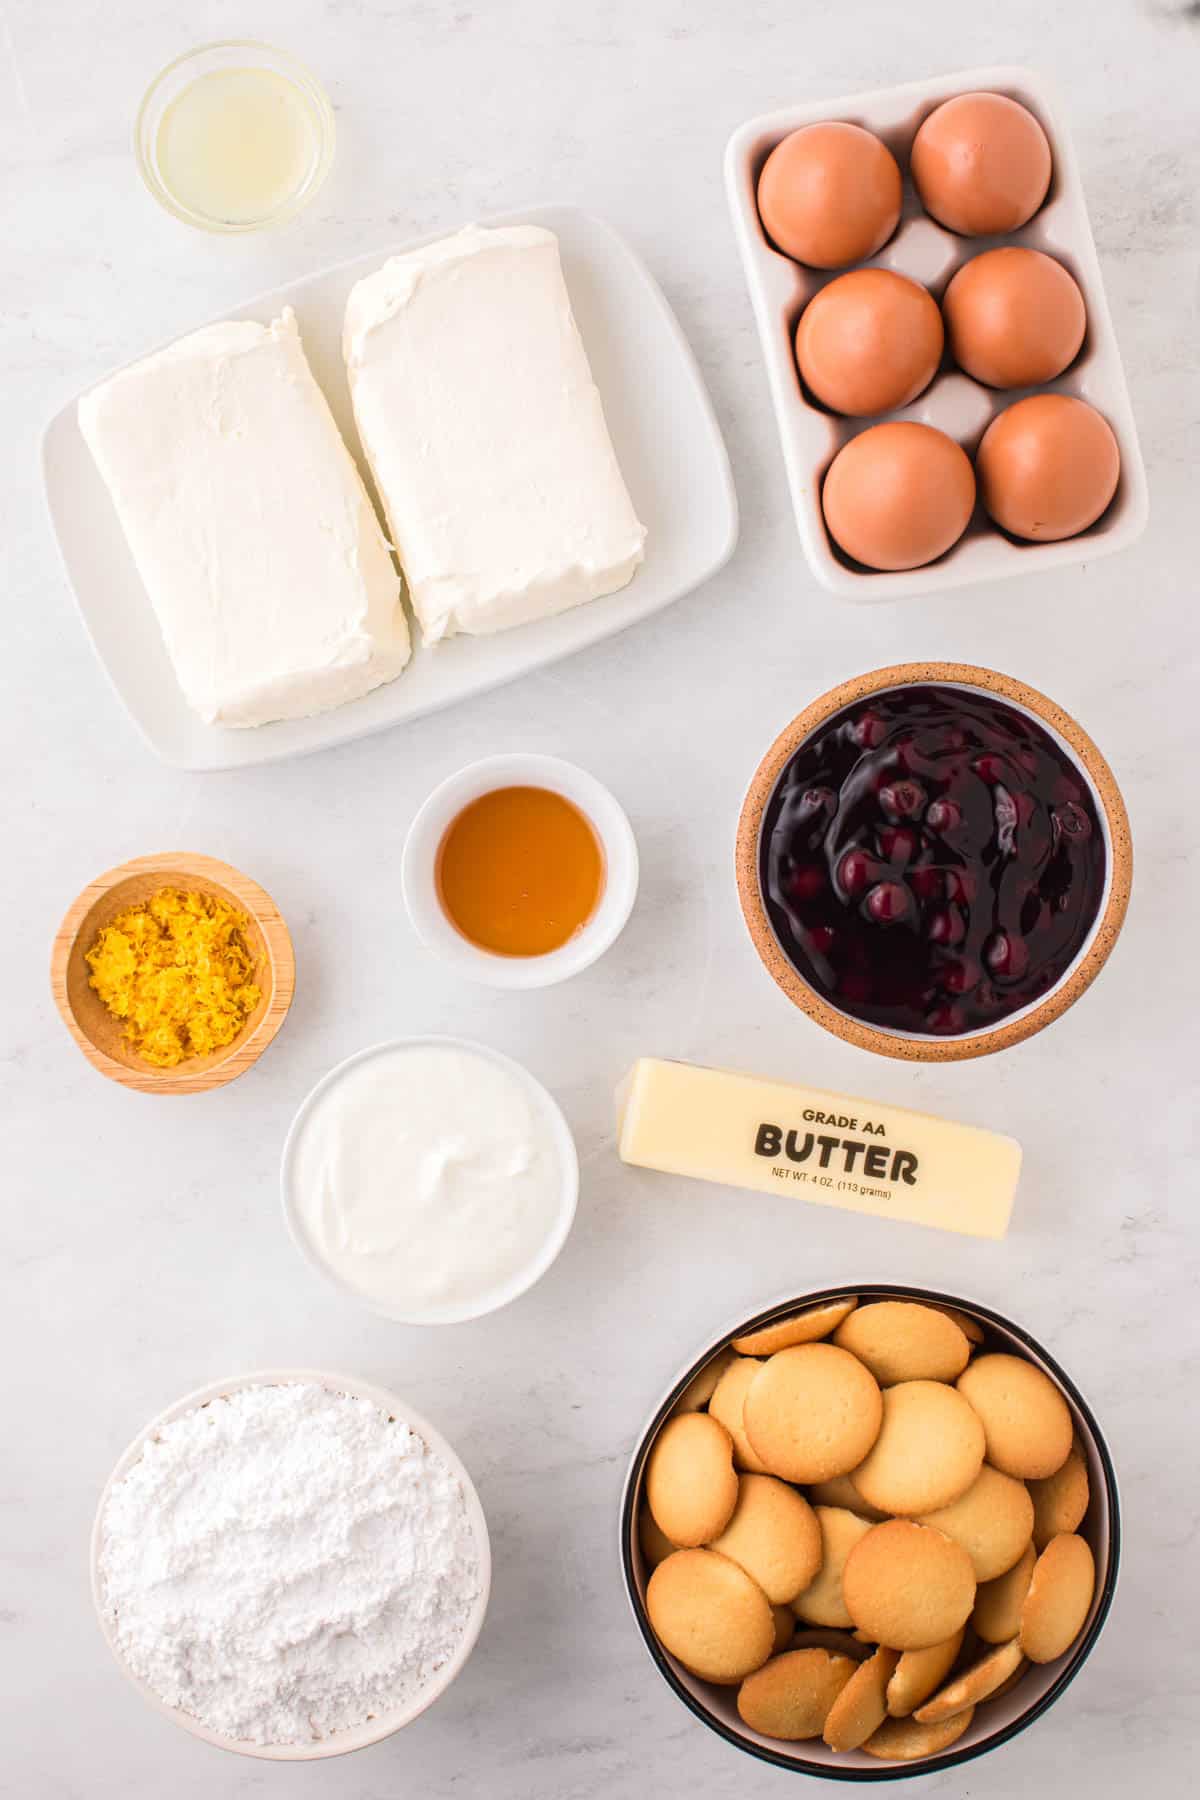
Scroll down to the recipe card below this post for ingredient quantities and full instructions.
- Nilla Wafers – For the base of the cheesecakes, for a sweet vanilla flavor, mixed with honey and butter.
- Honey – To bring sweetness and a great texture to the crust. You can use brown sugar or white granulated sugar if you prefer, but the result may vary slightly.
- Butter – Melted salted butter will bind the honey and nilla wafers together while also enhancing the flavors of the base.
- Powdered Sugar – To add substance and sweetness to the cheesecake filling.
- Lemon – Use fresh lemon zest and fresh lemon juice for the best lemon flavor in the lemon cheesecake filling.
- Cream Cheese – Use full-fat cream cheese for the best creamy flavor and texture here. Use a good-quality cream cheese if you can.
- Sour Cream – Adds a bit of tartness and helps to make the rich cheesecake filling extra smooth.
- Eggs – To bind all the ingredients together and help the cheesecake set.
- Blueberry Pie Filling – I used canned blueberry pie filling to save a bit of time but you can use my Homemade Blueberry Pie Filling if you prefer. Blueberry jam or preserves can be used in a pinch, but they will taste a bit different.
- Garnish – Use some sweetened whipped cream, extra blueberry pie filling, fresh berries, or mint sprigs to garnish.
Equipment Needed
You don’t really need any special equipment to make these mini cheesecakes, but you will need some basic baking tools to make them.
- Muffin Tins
- Cupcake Liners
- Food Processor – To crush the Nilla Wafers into crumbs. Alternatively, put them in a ziploc bag and bash them with a rolling pin!
- Mixer – Use a large mixing bowl with a hand mixer or the bowl of a stand mixer with a paddle attachment.
- Measuring Cups and Measuring Spoons
- Plastic Wrap – To cover the cheesecakes while they chill in the fridge.
How to Make This Recipe
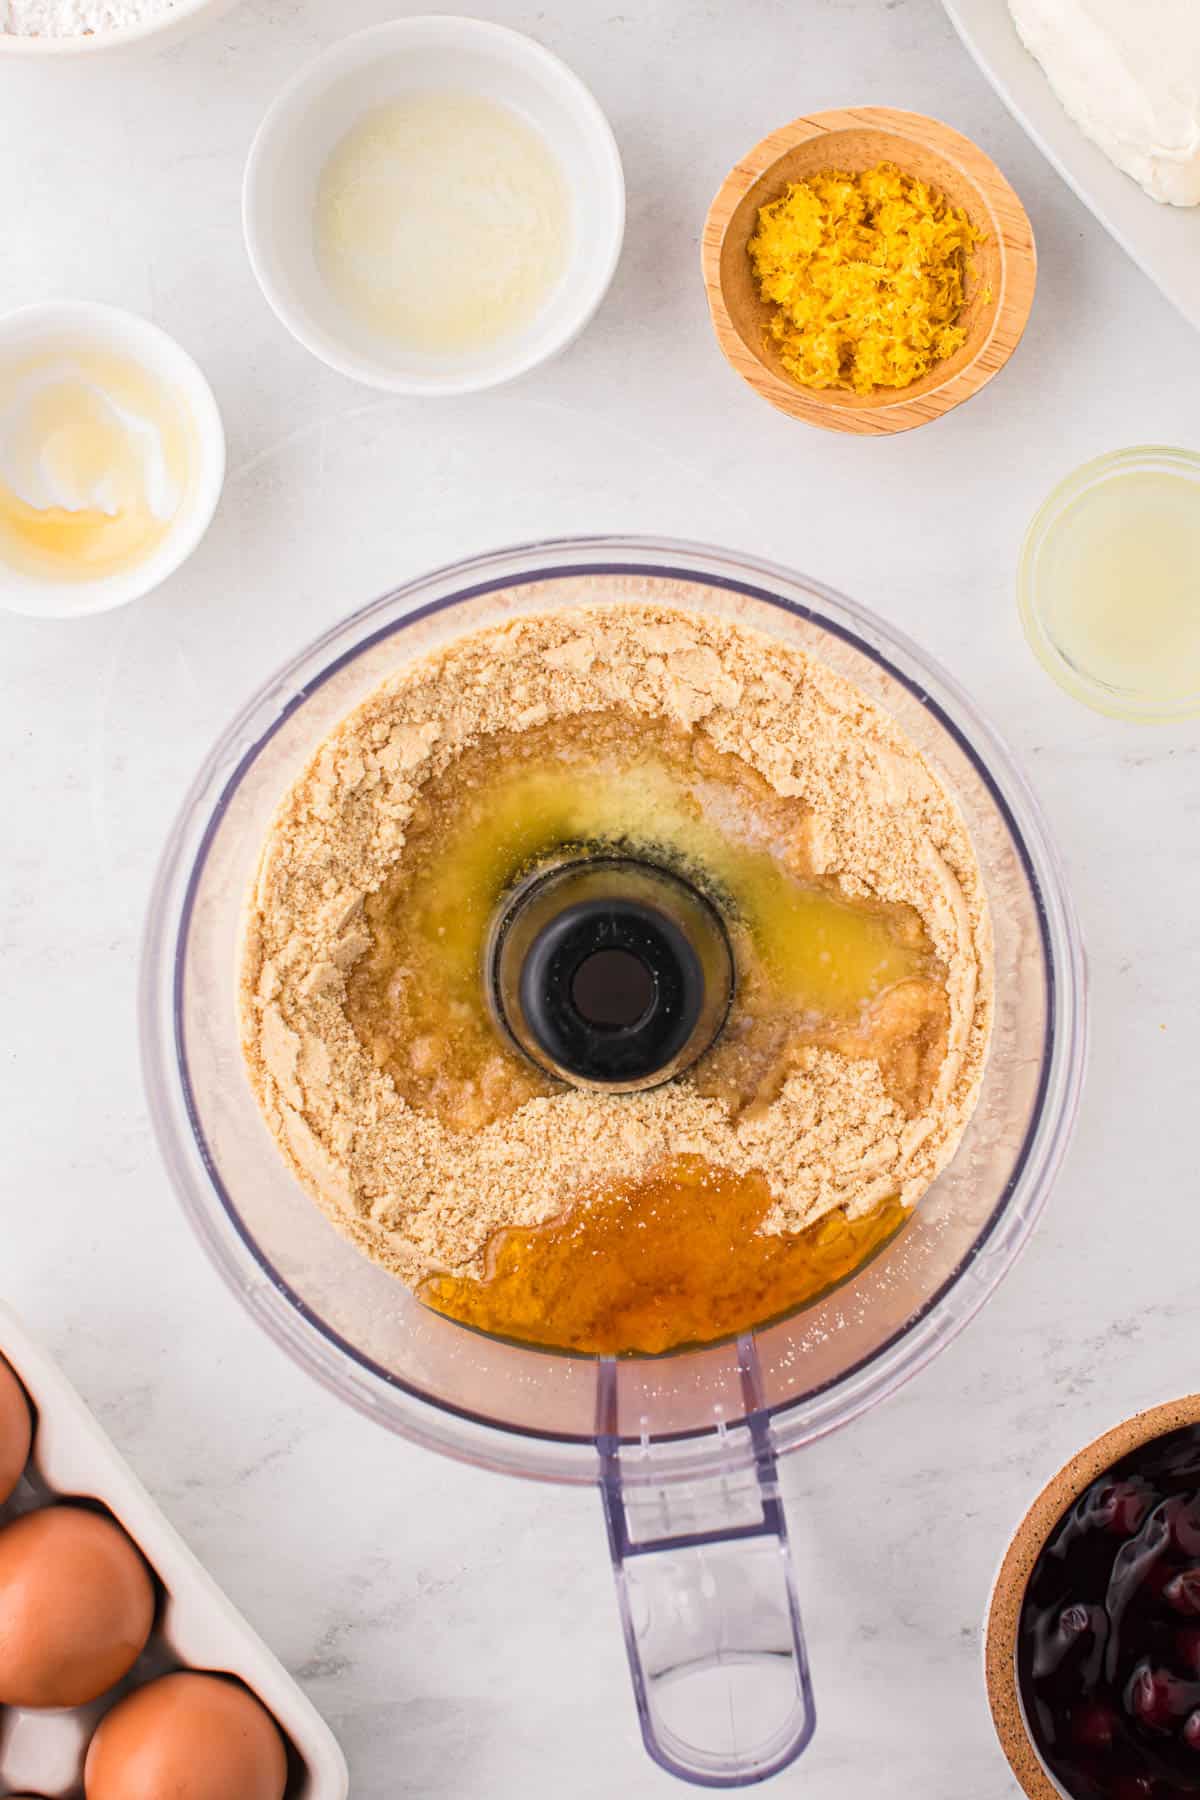
- Prepare muffin trays and make the crust. Preheat the oven to 325°F and line 18 wells in two muffin pans with aluminum foil cupcake liners. In a food processor (affiliate link), crumble the wafers to crumbs, and then add in the honey and melted butter. Pulse until combined and the texture of the mixture reaches the consistency of wet sand.
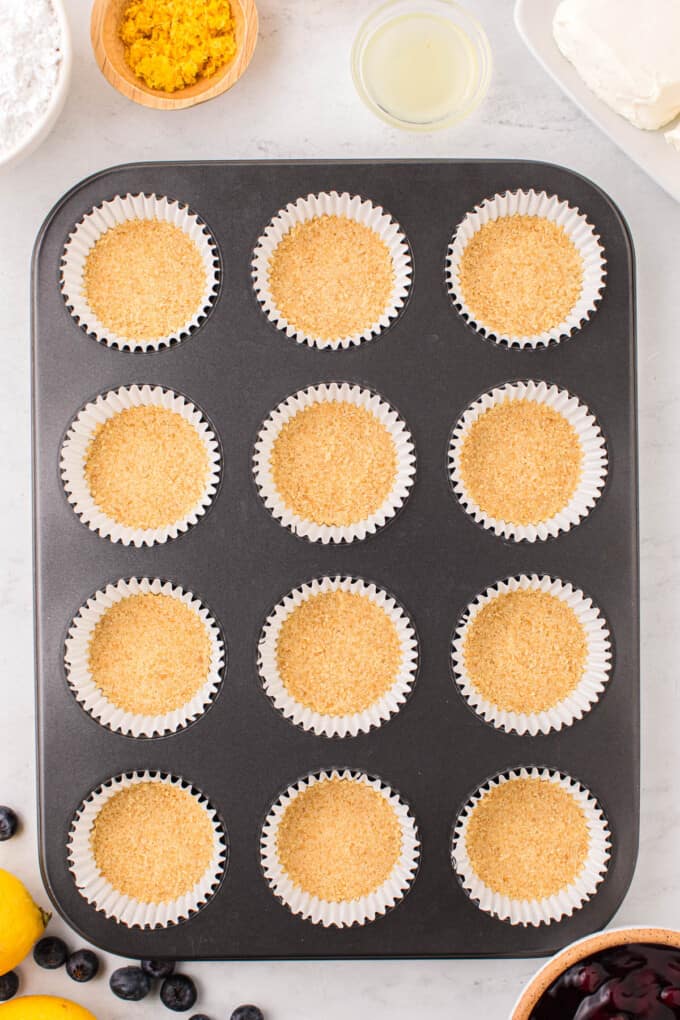
- Make mini cheesecake bases. Using a 1½ tablespoon cookie scoop, place a single scoop of the crust mixture in each prepared muffin tin and press into a crust on the bottom of the wells. Place the crusts in the preheated oven and bake for 8–10 minutes, or until the crusts just begin to turn golden brown. Do not overbake. Allow the crust to cool while making the cheesecake filling.
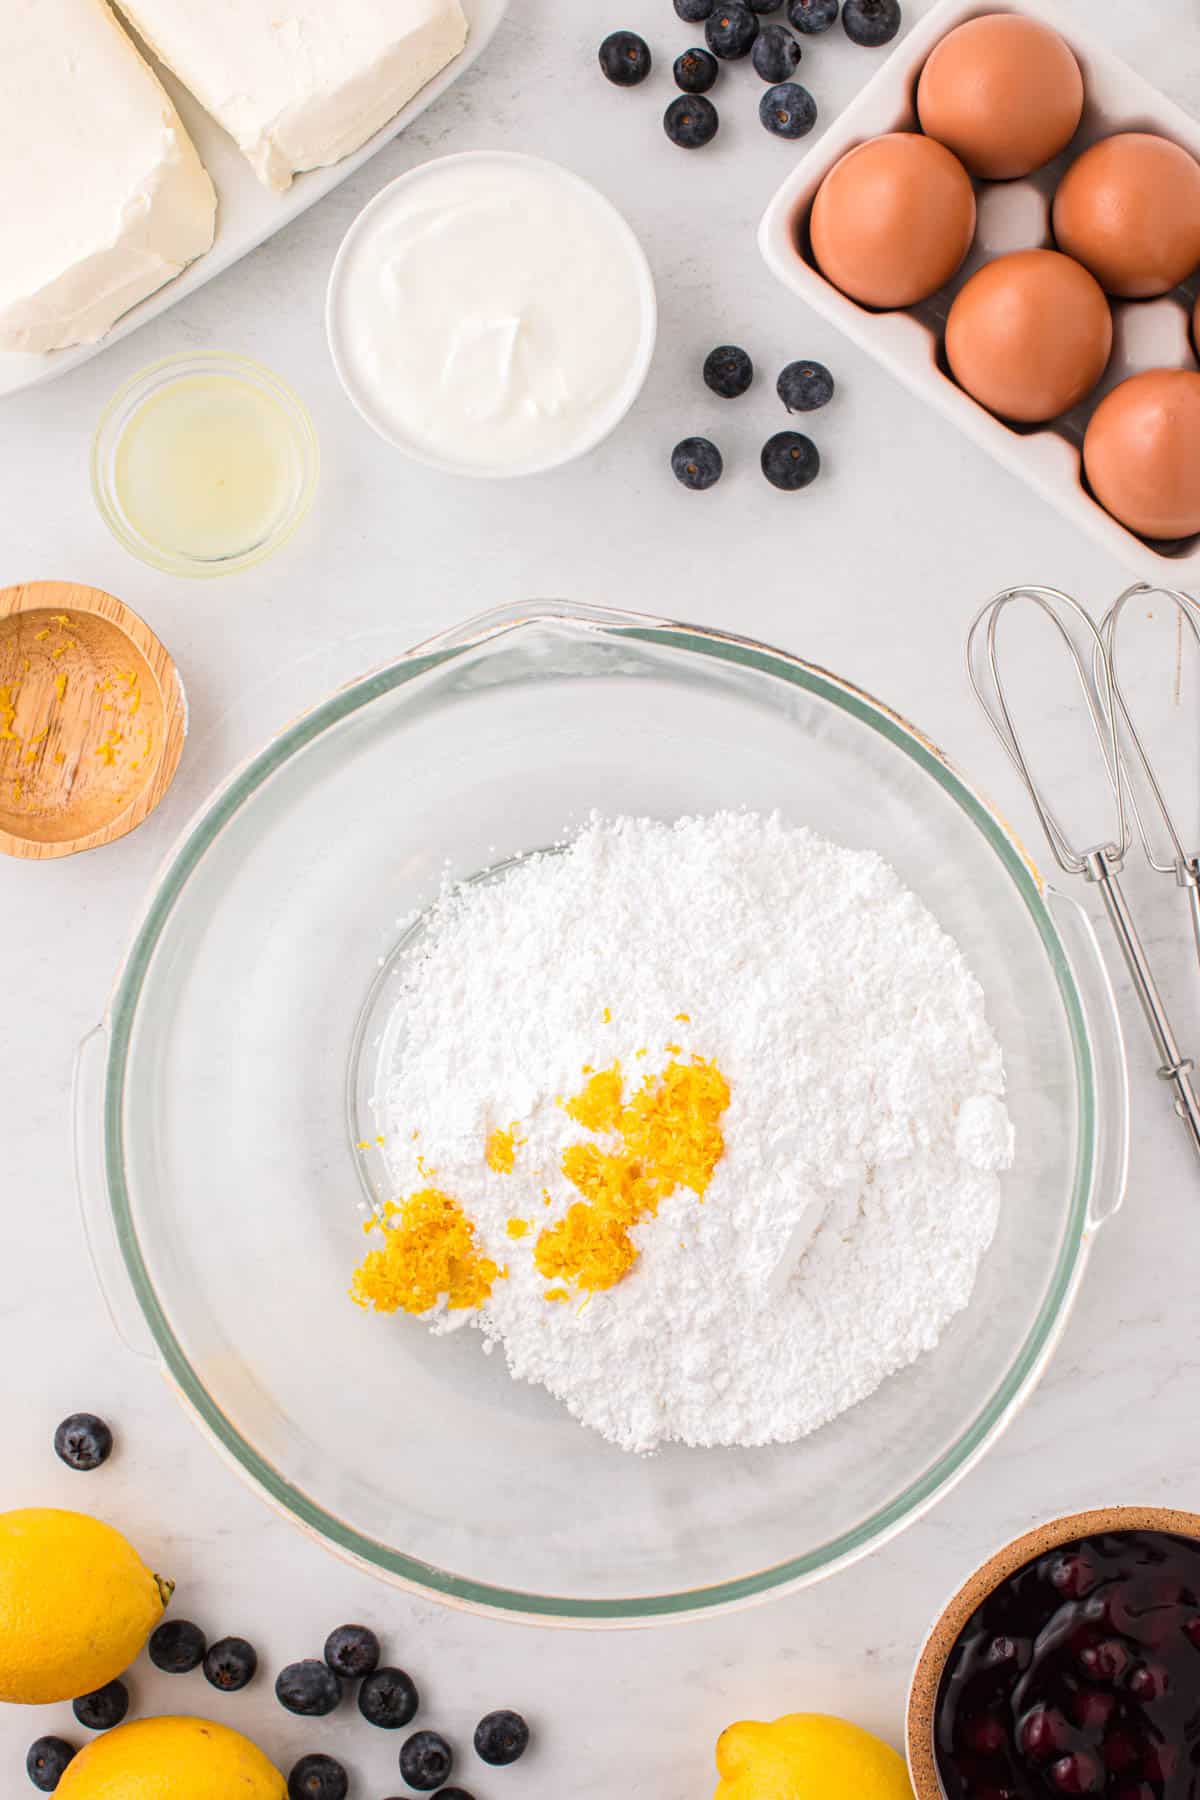
- Make lemon-infused sugar. Using a hand mixer or stand mixer, beat together the powdered sugar and lemon zest in a large mixing bowl on low speed until the sugar is fragrant, 1-2 minutes.
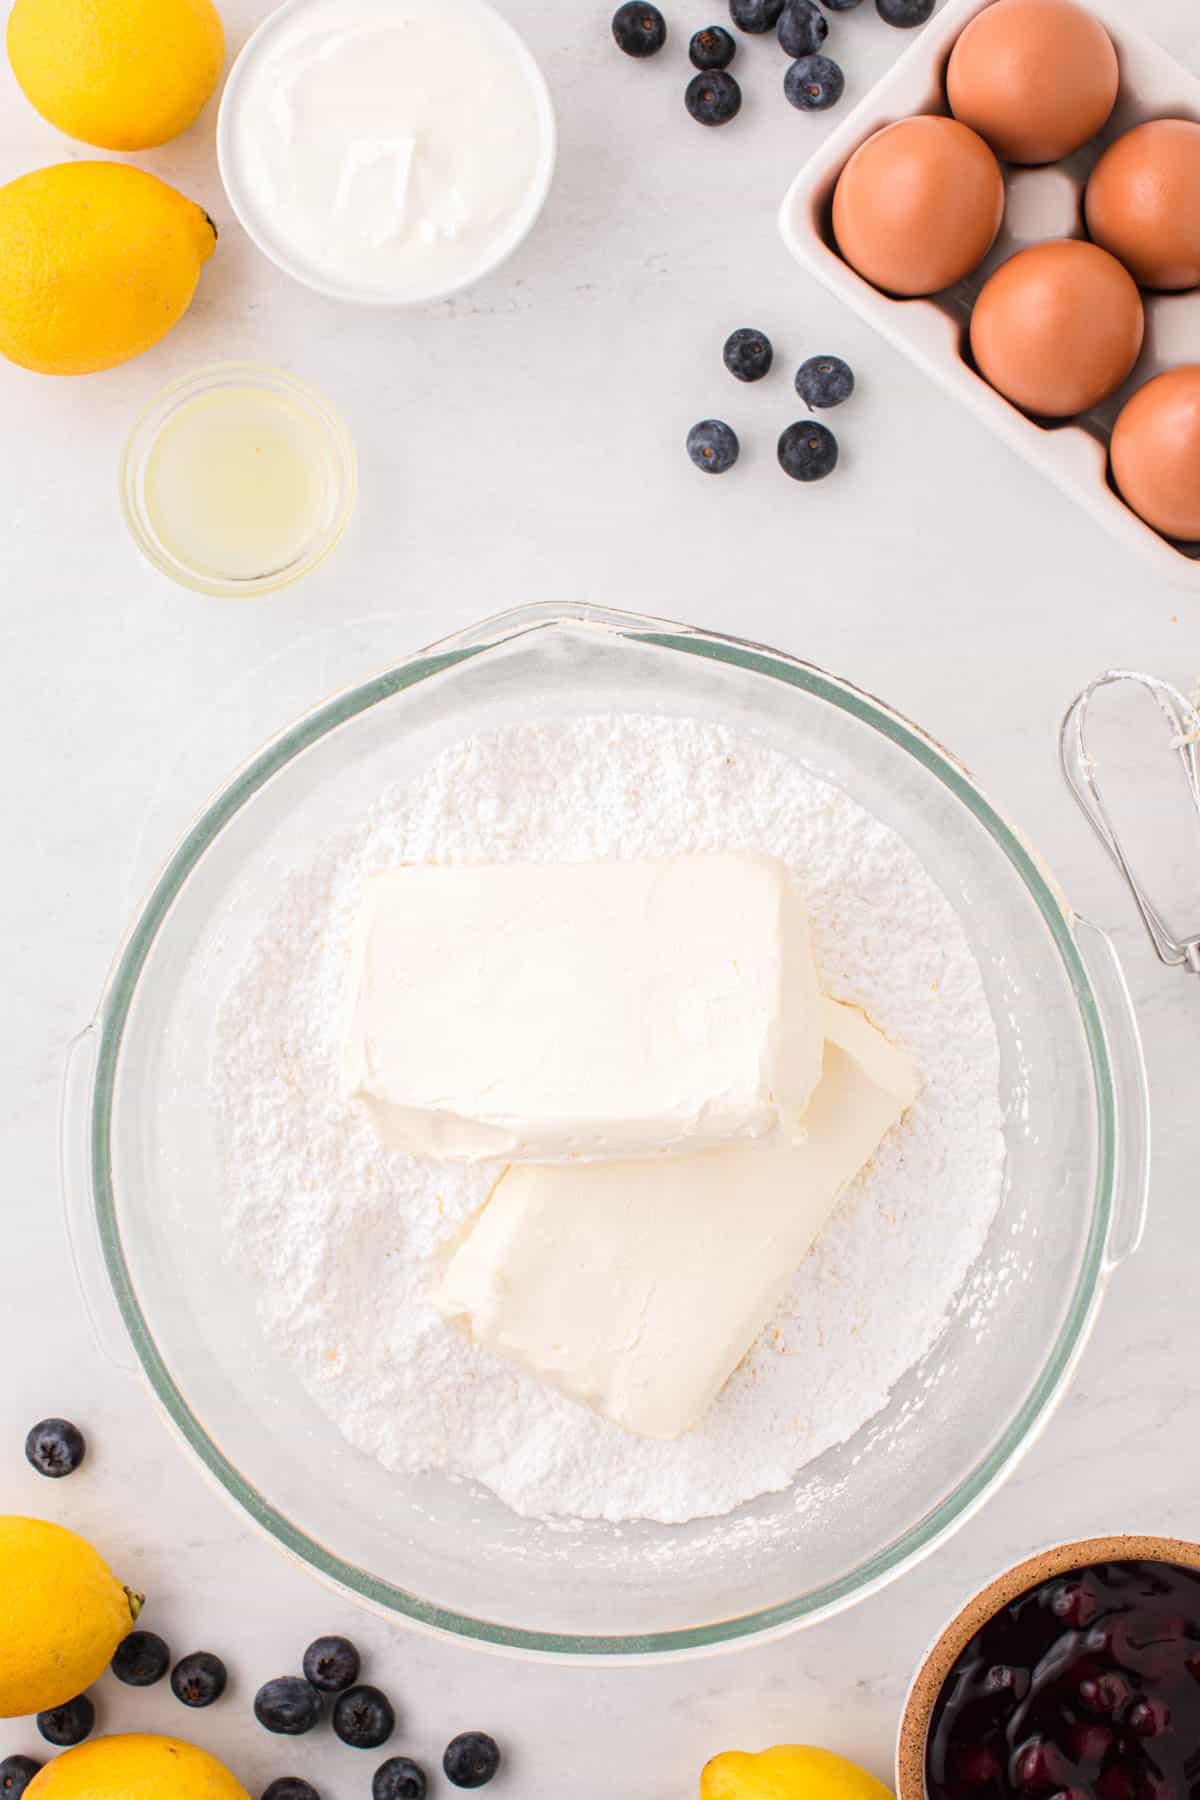
- Beat in cream cheese. Add in the cream cheese and beat until smooth and creamy, 2-3 minutes.
- Add sour cream and lemon juice. Mix in the sour cream and lemon juice until well combined.
- Add eggs. Slowly add in the eggs.
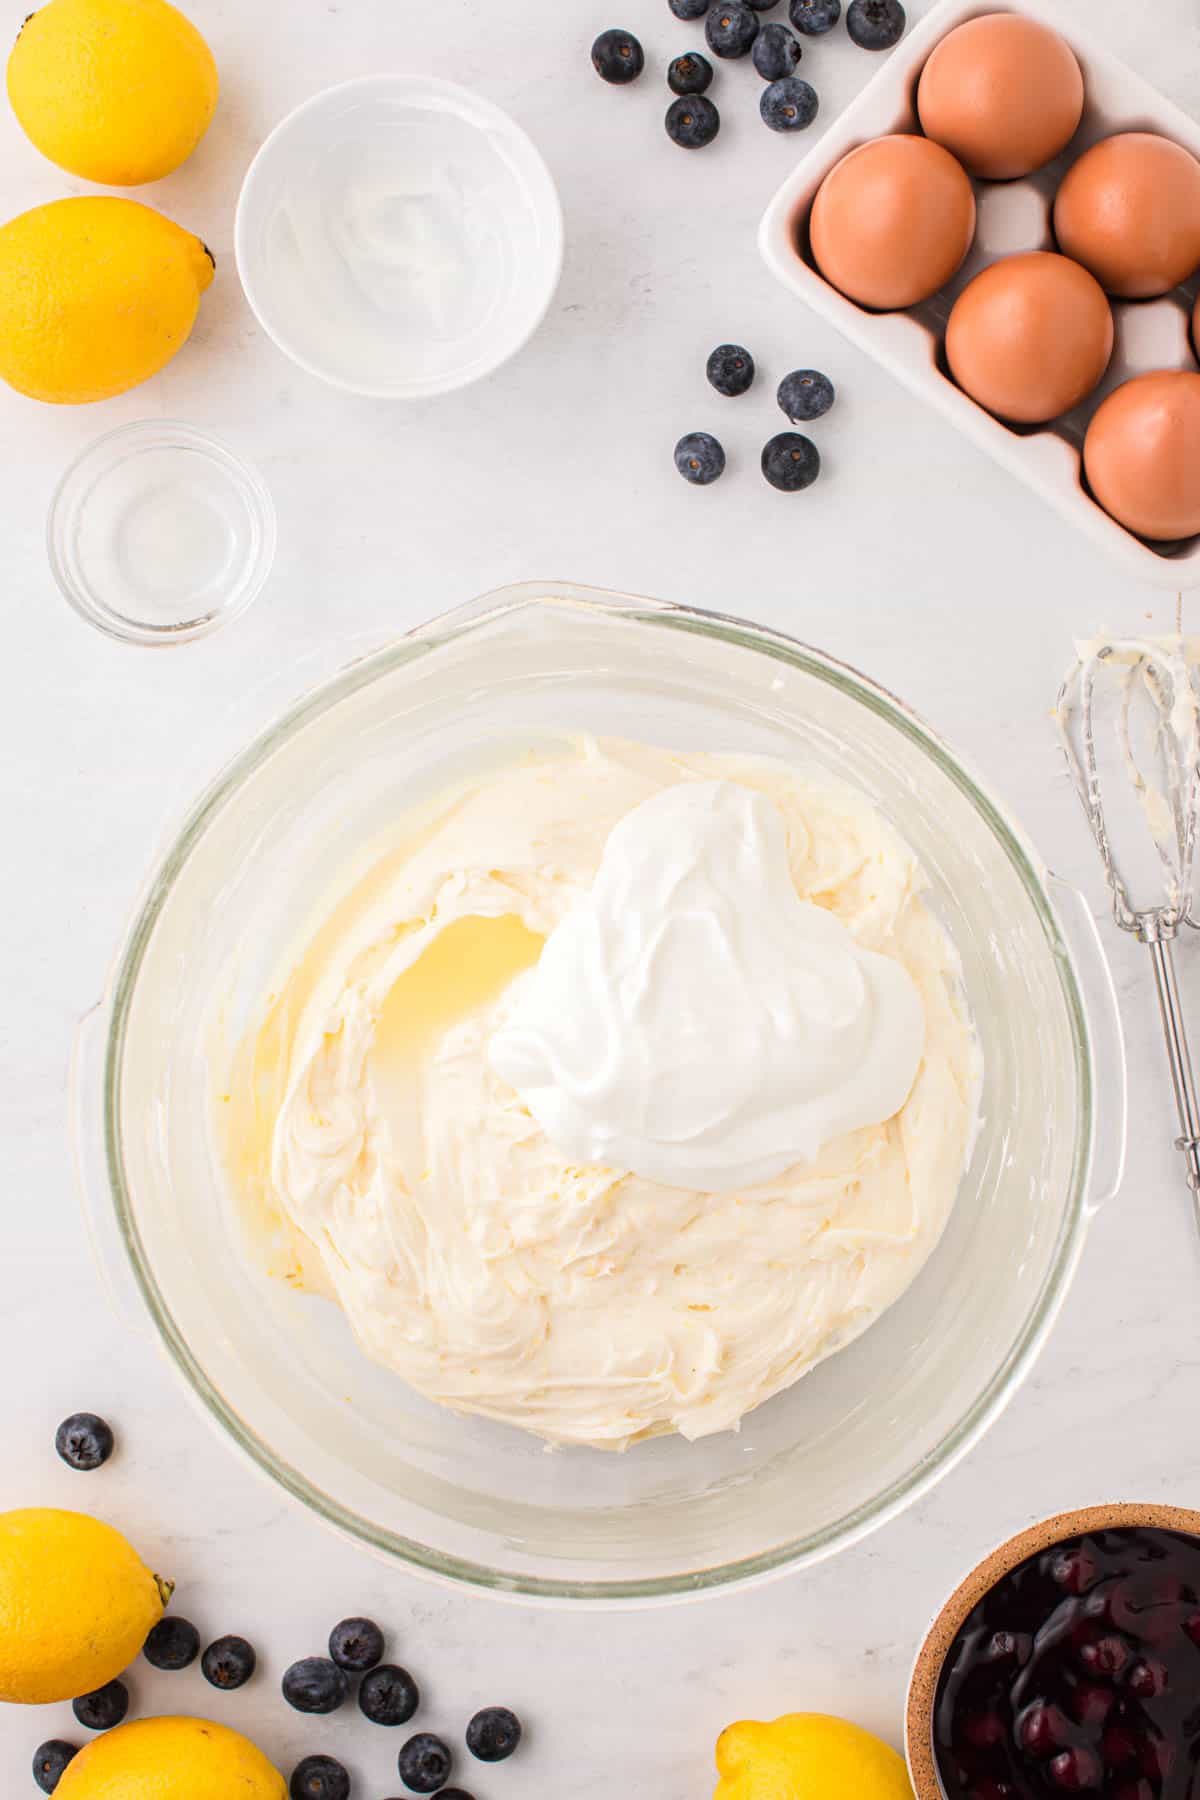
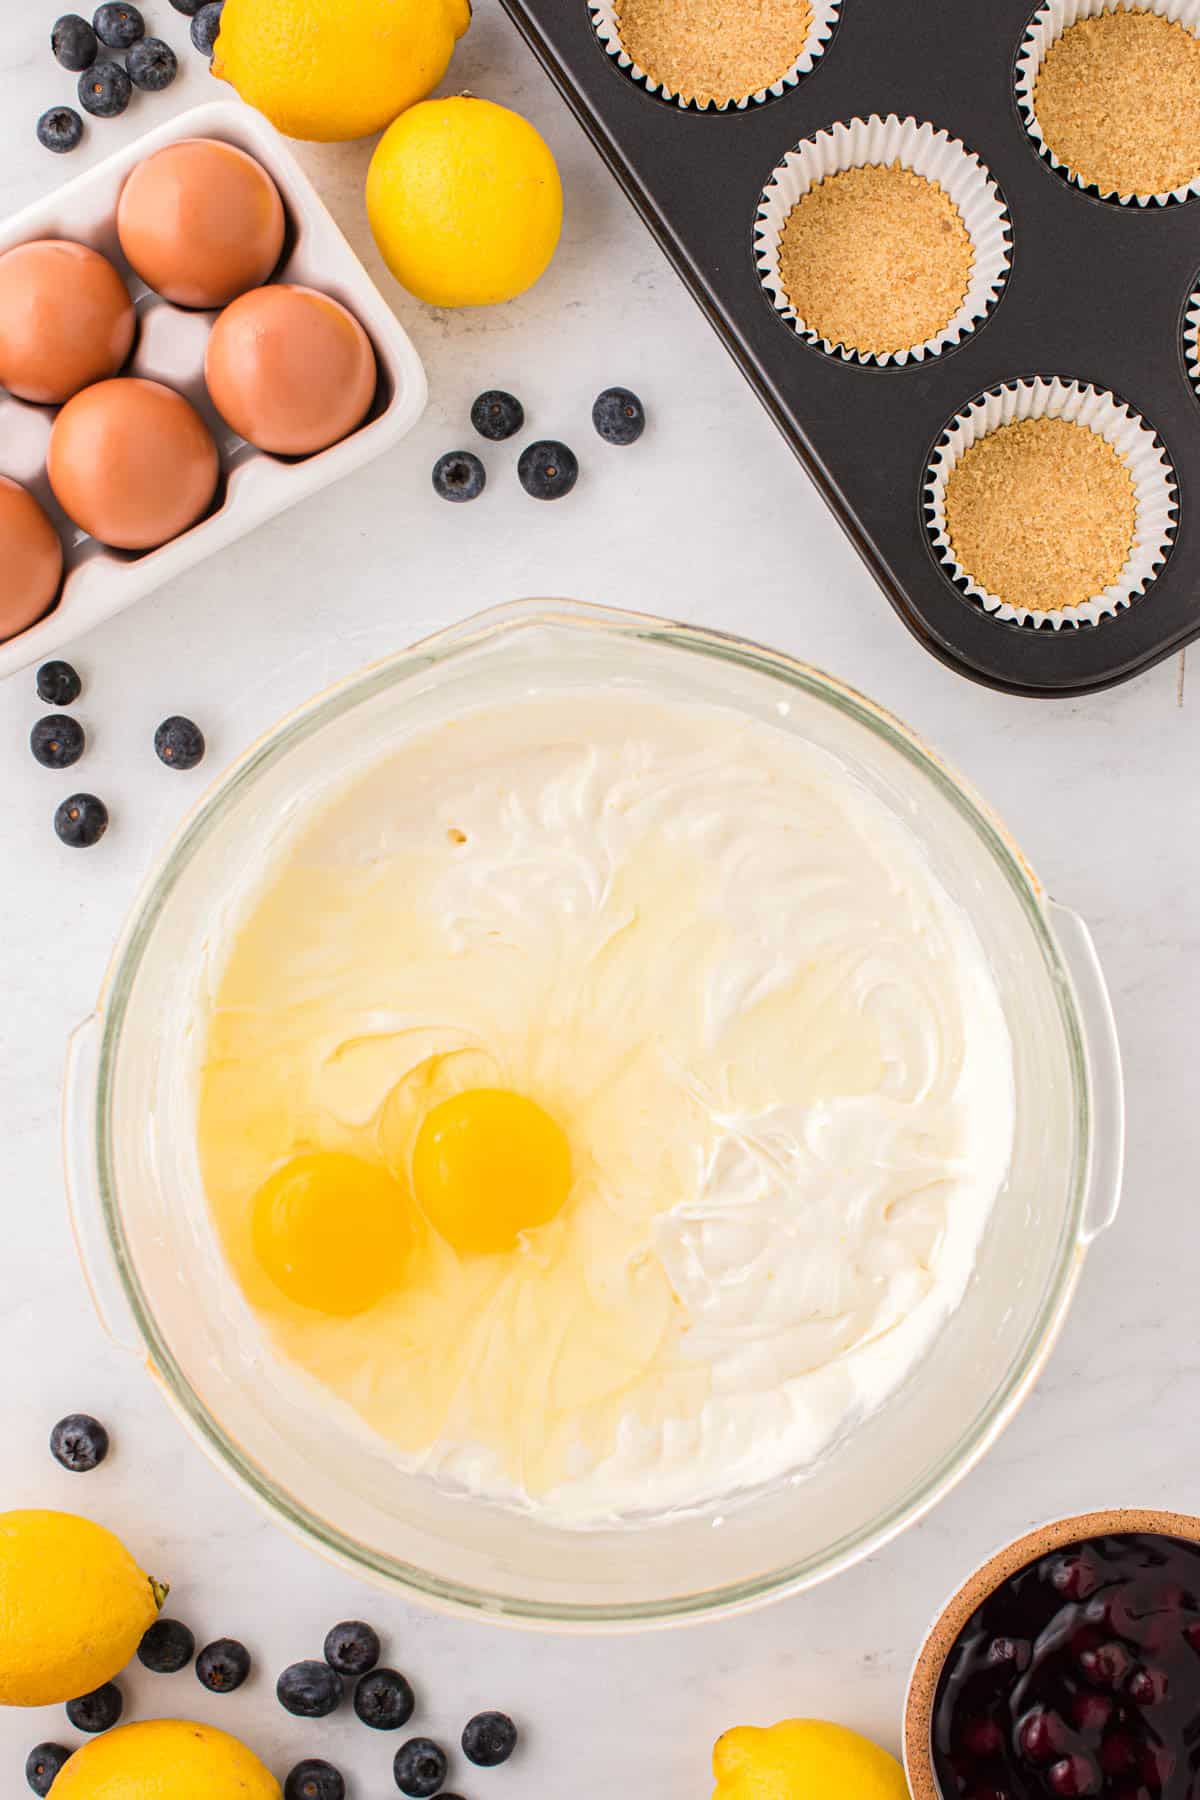
- Mix until combined. Mix the ingredients until combined and creamy. Do not overmix or beat.
- Put filling on top of the bases. Fill each prepared well ¾ full with cheesecake filling.
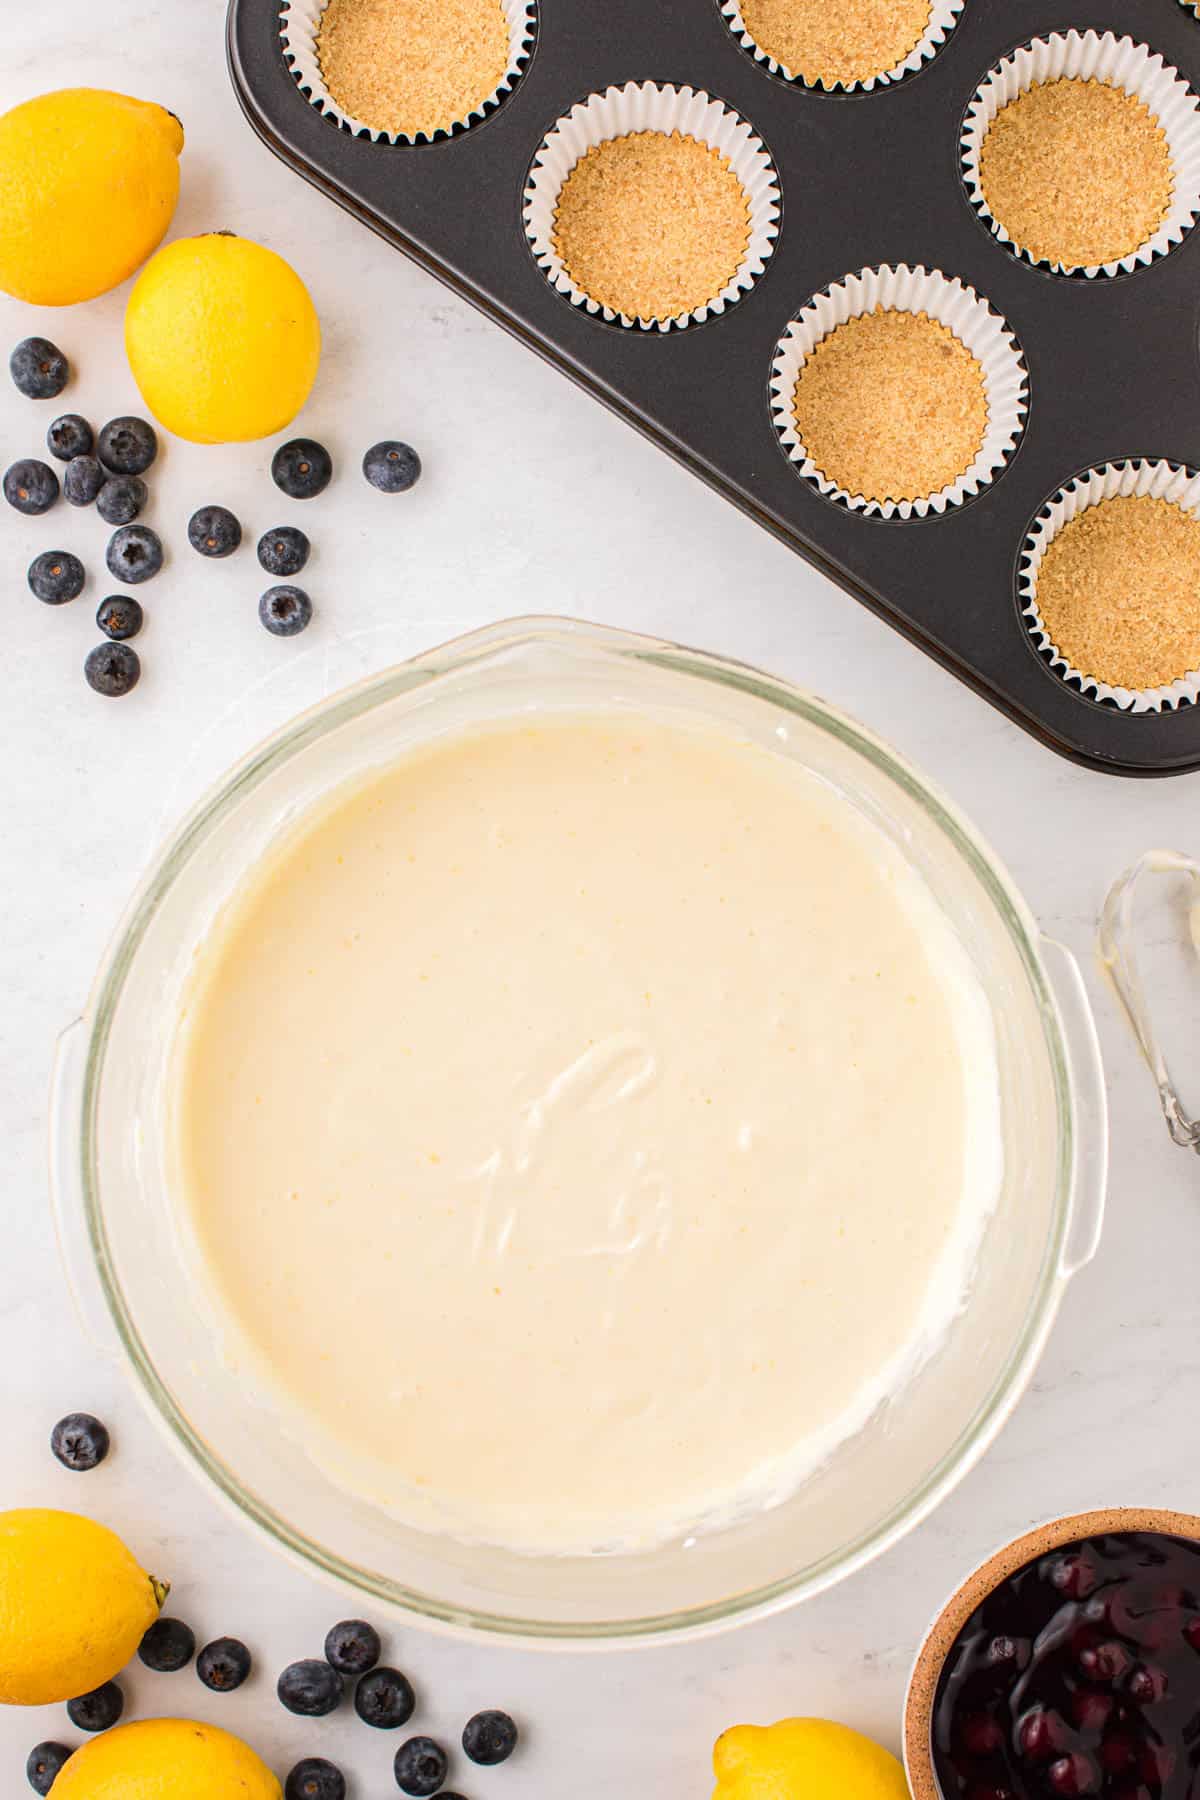
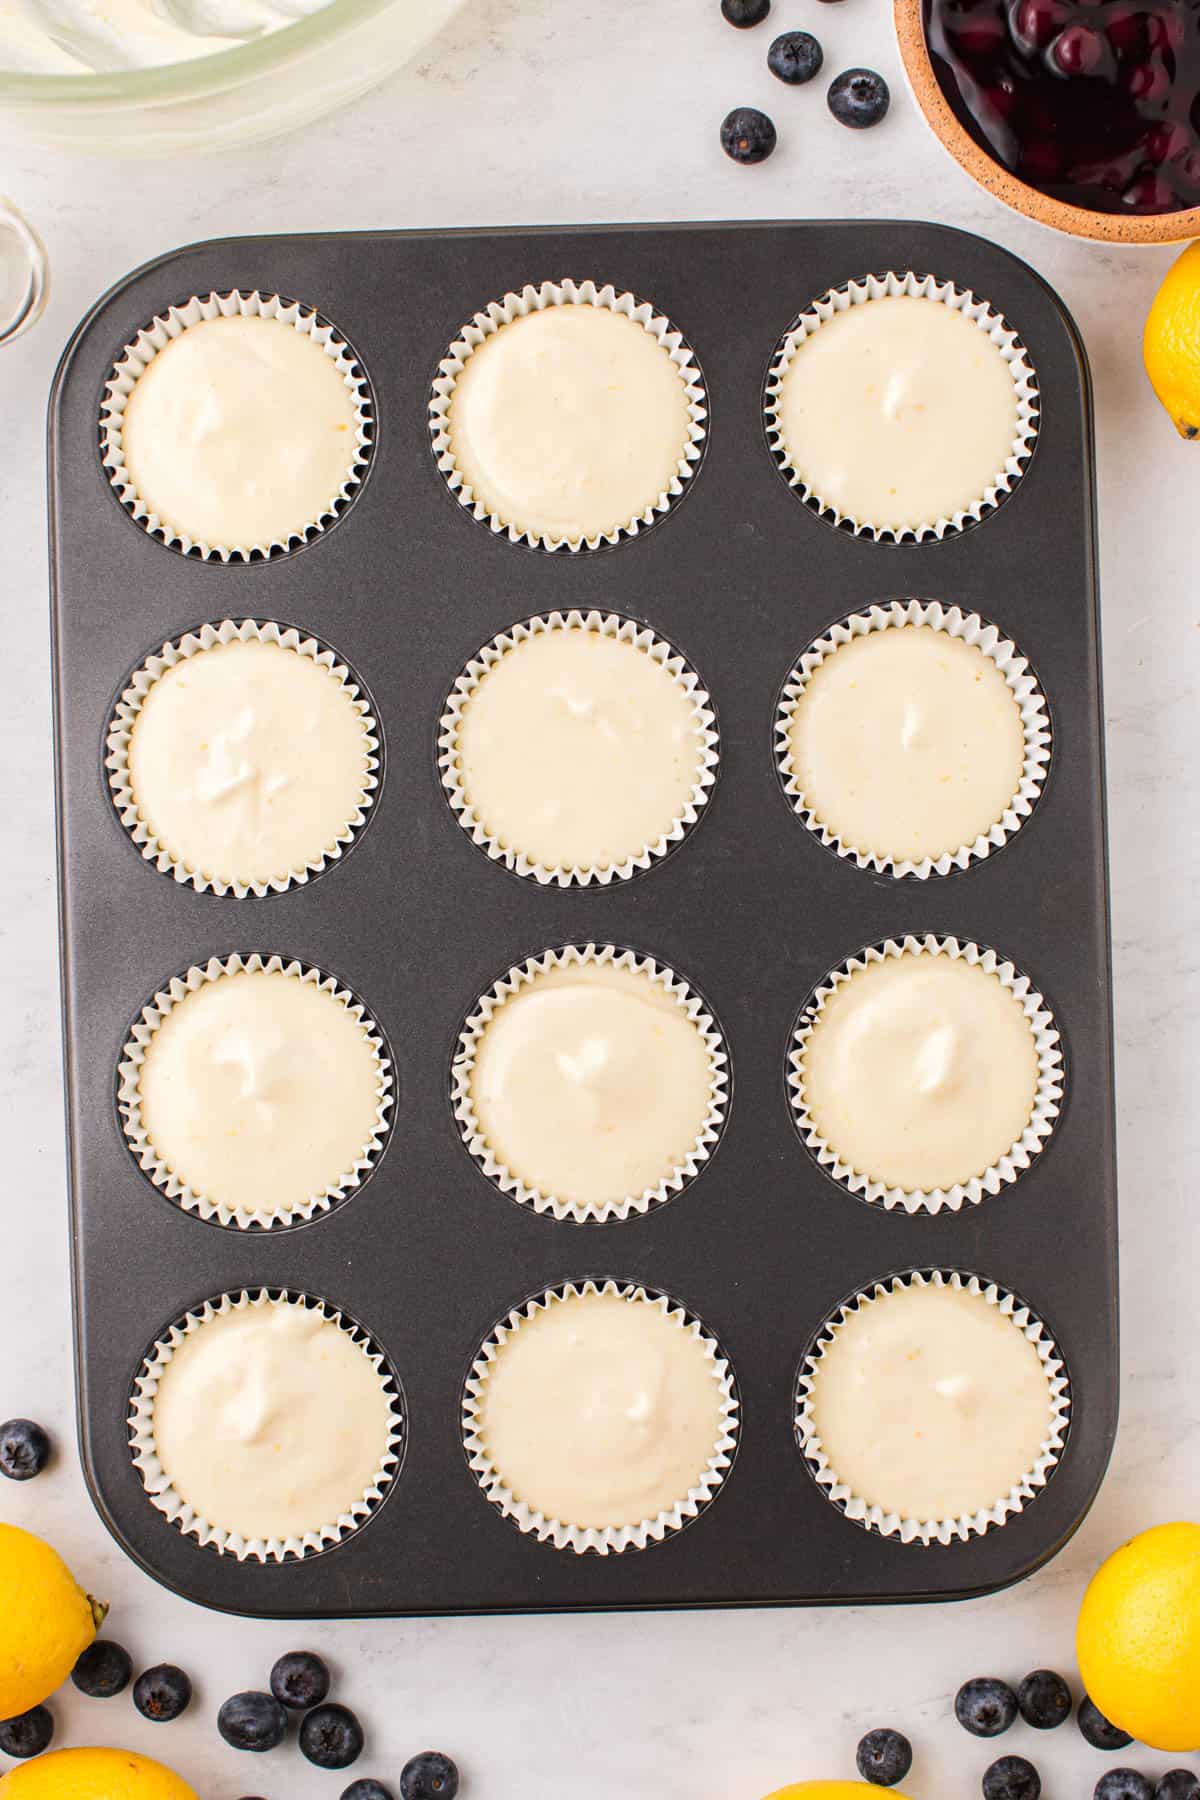
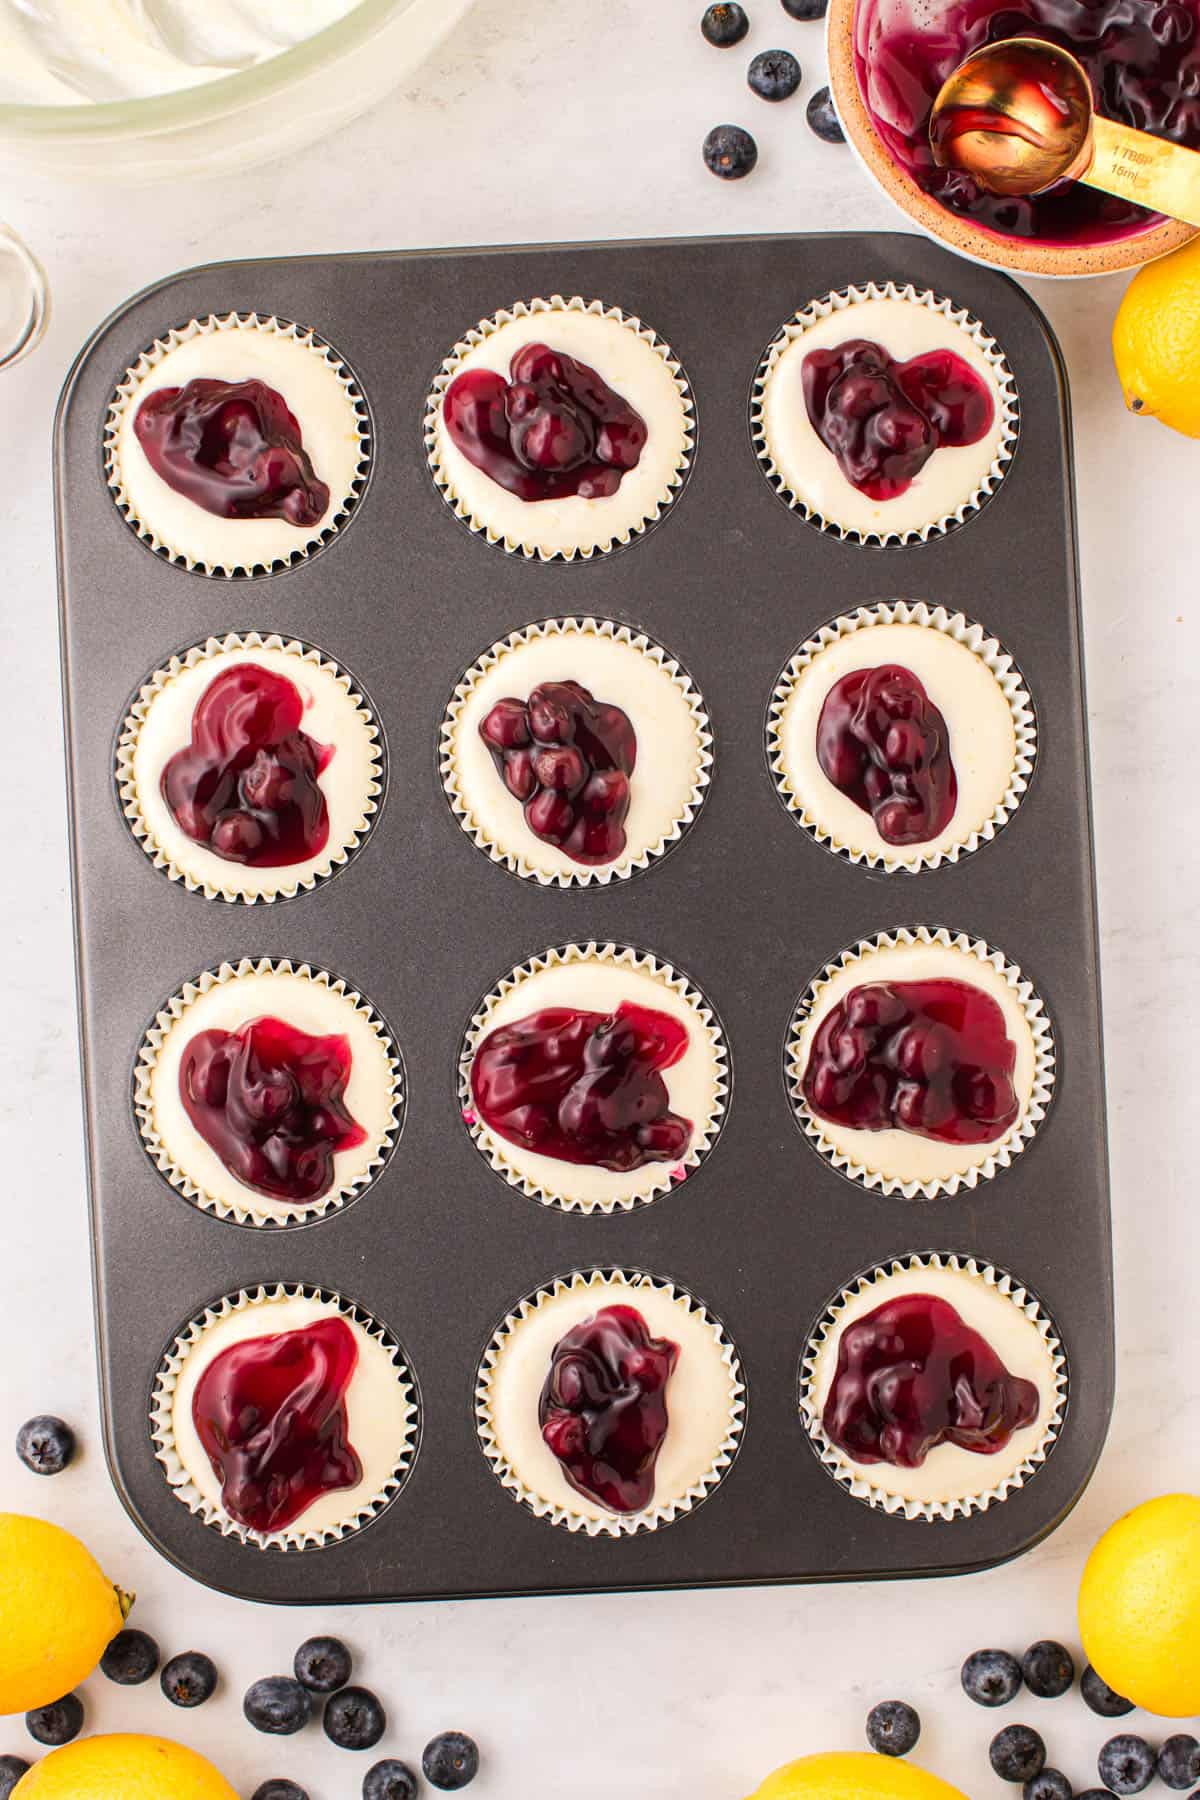
- Add blueberry pie filling. Add a tablespoon of blueberry pie filling on top of each mini cheesecake.
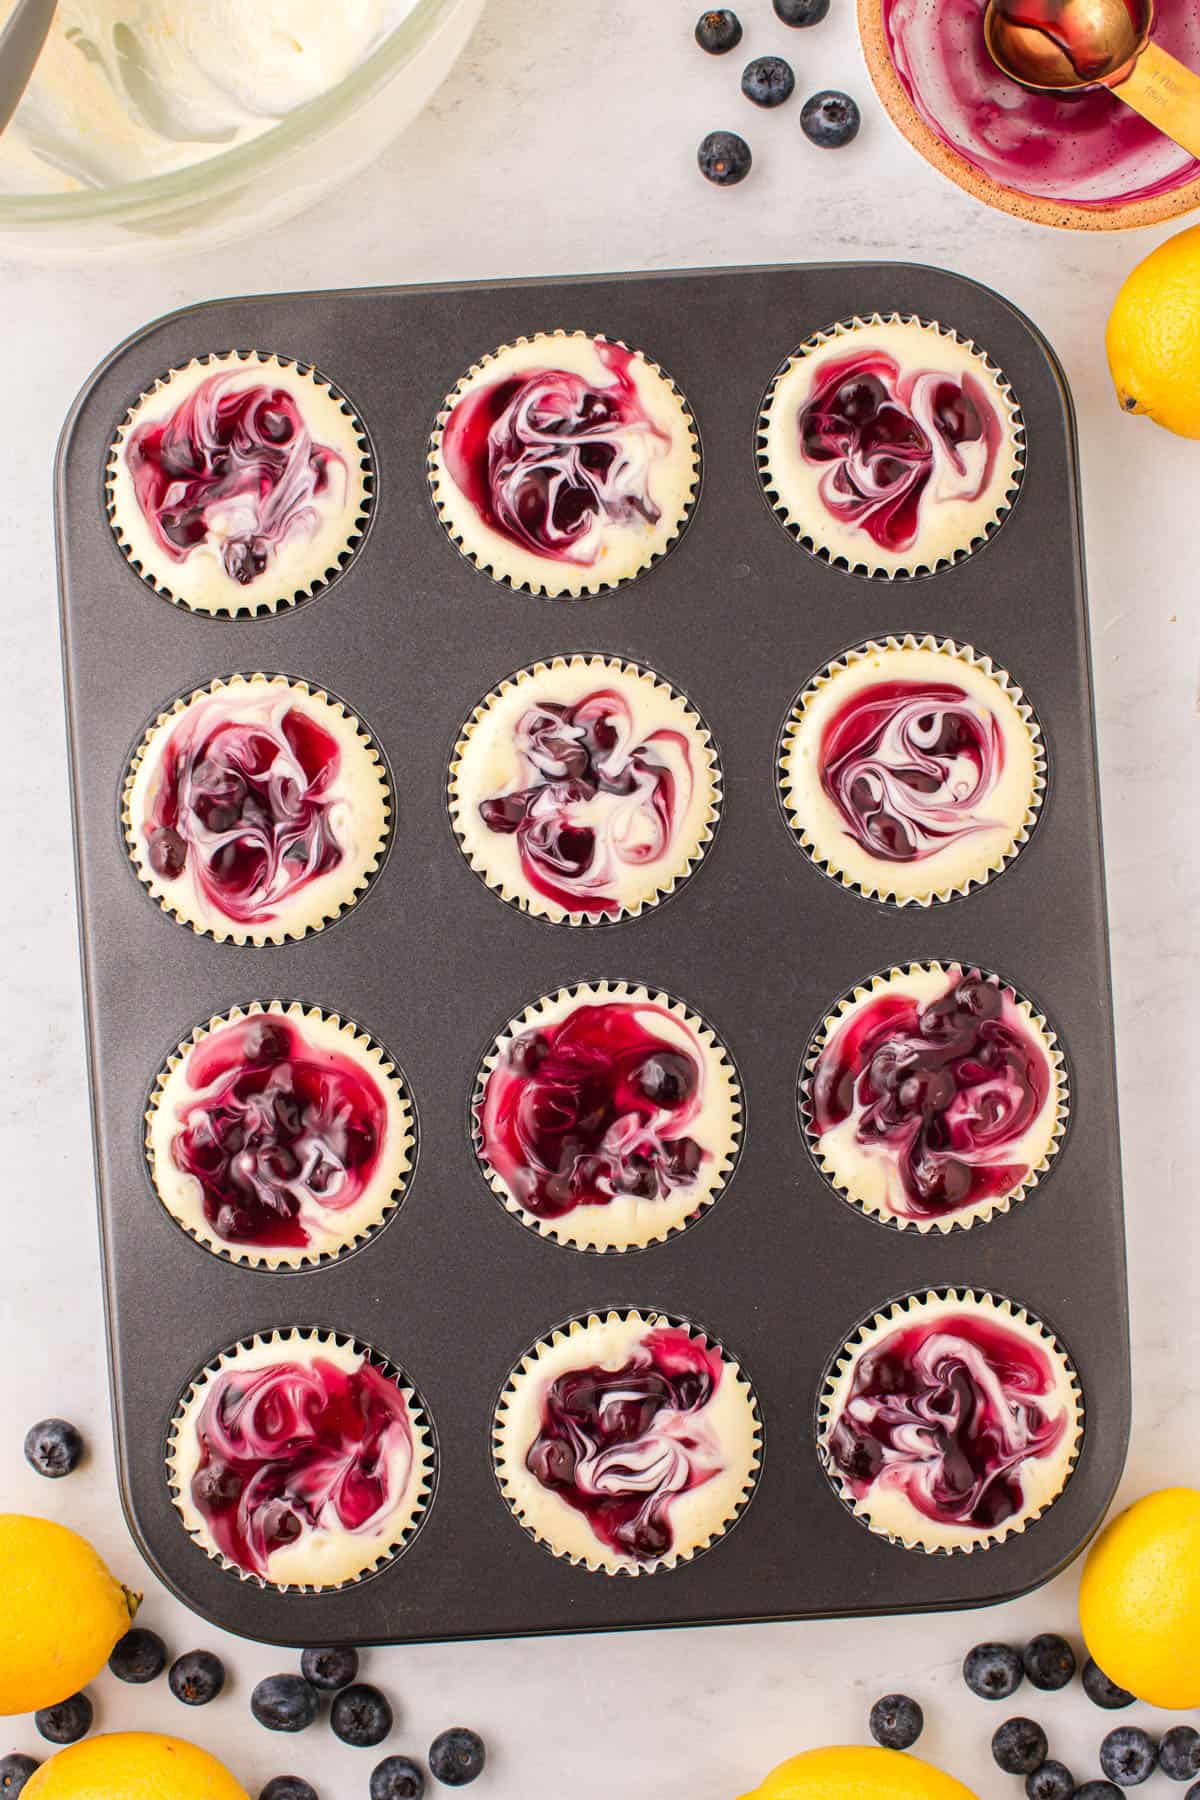
- Swirl the fillings together. Swirl the blueberry pie filling into the top of each cheesecake with a toothpick or butter knife.
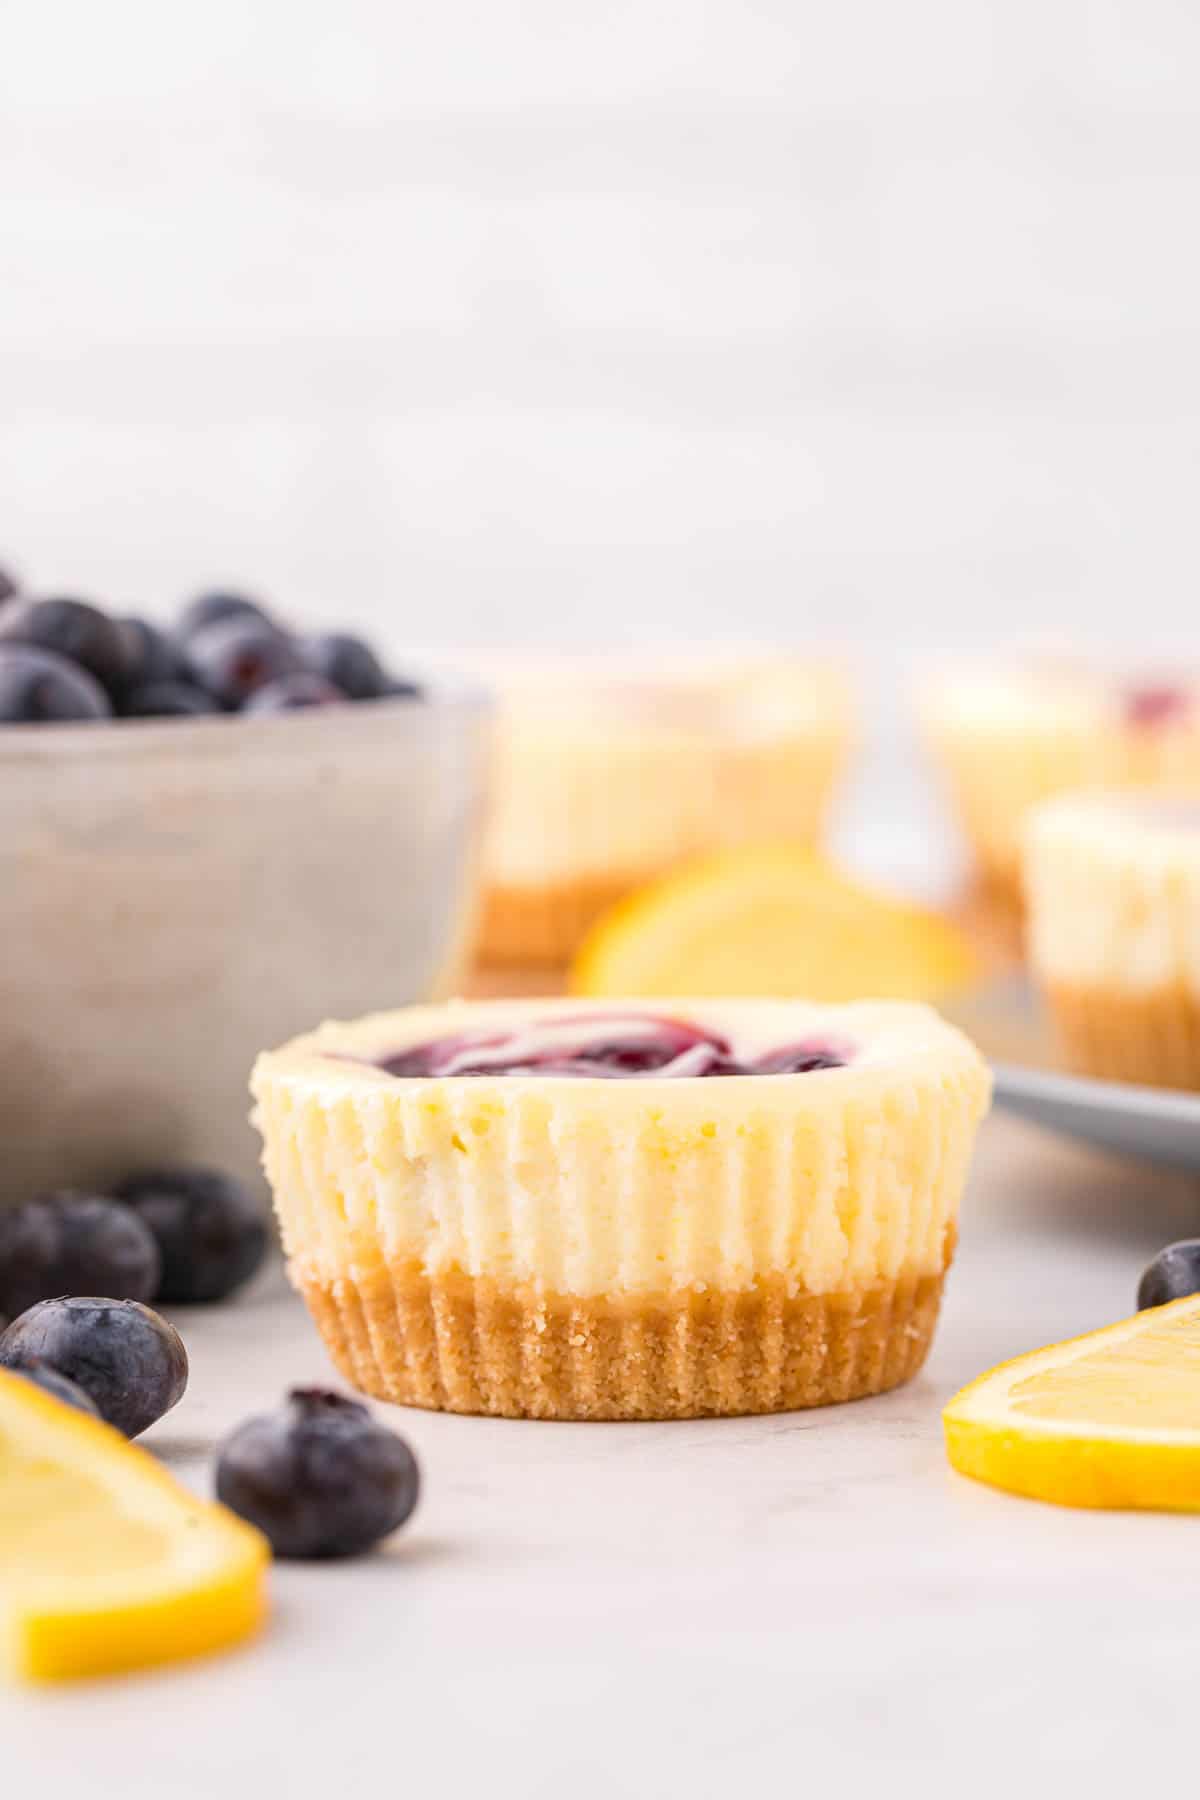
- Bake, chill, and garnish your cheesecakes. Place the cheesecakes in the oven and bake for 17–20 minutes, or until set on top and only slightly jiggly in the center. If they begin to crack, they are overcooked. Remove from the oven and allow to cool to room temperature. Cover well with plastic wrap and place in the refrigerator for 4-6 hours or until ready to serve. Before serving, remove the wrapping and the cupcake linings. Garnish each mini cheesecake with whipped topping, optional, and extra blueberry filling, optional, and serve.
Recipe FAQ’s
If you don’t have a food processor, you can place the cookies in a ziploc bag and crush them with a rolling pin until fine crumbs form, then mix with honey and butter.
Foil liners are sturdier and help maintain the shape of the cheesecakes better, but if they are unavailable, you can double up on paper liners for extra support.
The cheesecakes are done when the edges are set and the center is just slightly jiggly. They will continue to set as they cool.
Once fully cooled and set, any leftover cheesecakes should be stored in the refrigerator. Place them in an airtight container to keep them from absorbing other odors. They can be stored like this for up to 5 days. For best results, keep the cheesecakes in their liners and remove them just before serving.
If you need to keep the cheesecakes for longer than a few days, freezing is a great option. Wrap each cheesecake individually in plastic wrap and then foil. Store them in a heavy-duty freezer bag or an airtight container. They can be frozen for up to a month. To thaw, transfer the desired number of cheesecakes to the refrigerator the night before you plan to enjoy them.
Tips for Success
- It’s essential that your ingredients, especially your cream cheese, be warmed to room temperature before starting this recipe. The cream cheese will only blend smoothly if it is soft; otherwise, you may end up with big lumps in your filling.
- Be sure to use fresh, ripe lemons for the best flavor. Fresh lemon zest and lemon juice really make this recipe sing with a bright, light flavor.
- Overbaking these cheesecakes causes them to be dry and cracked. Be sure to take them out of the oven as directed, when the top is set and there is just the slightest jiggle left but before there is any cracking or sinking.
- While it is tempting to eat these delicious mini cheesecakes at room temperature, they really need time to chill in the refrigerator and set for the best texture. The chilling time allows them to get that thick, silky bite you want from a good cheesecake.
What Other Flavors of Mini Cheesecake Can I Make?
This recipe is so versatile; simply use any of these homemade sauces with a vanilla cheesecake mixture or use complimenting flavors.
Substitutions and Variations
- Use a simple Graham Cracker Crust made with graham cracker crumbs, sugar, and butter instead of a Nilla Wafer crust if you prefer, or even an Oreo cookie base with complimenting flavors in the filling and topping.
- You can use maple syrup or agave nectar instead of honey in the crust if you prefer. They will provide a similar texture but also a subtle flavor difference.
- Bottled lemon juice and lemon extract will work in a pinch, but fresh lemon will always give you a better flavor.
More Recipes Like This
- Lemon Cupcakes with Lemon Frosting
- Blueberry Sour Cream Coffee Cake
- Blueberry Pie
- Blueberry Hand Pies
- Lemon Blueberry Cheesecake Bars
- Glazed Lemon Cookies
Did you make this recipe?
Let me know what you thought with a comment and rating below. You can also take a picture and tag me on Instagram @houseofnasheats or share it on the Pinterest pin so I can see.
Mini Lemon Blueberry Cheesecakes
Ingredients
Crust
- 4 cups Nilla Wafers
- 2 Tablespoons honey
- ¼ cup salted butter melted
Filling
- 1⅔ cups powdered sugar
- 1 Tablespoon lemon zest
- 2 (8-ounce) packages cream cheese softened
- ½ cup sour cream
- 2 Tablespoons fresh lemon juice
- 2 large eggs
- 1¼ cups blueberry pie filling
- Sweetened whipped cream (optional)
- Additional blueberry pie filling or fresh blueberries (optional)
- Mint sprigs (optional)

Instructions
- Preheat the oven to 325°F and line 18 wells in two muffin pans with aluminum foil cupcake liners.
- In a food processor (affiliate link), crumble the wafers to crumbs, and then add in the honey and melted butter. Pulse until combined and the texture of the mixture reaches the consistency of wet sand.4 cups Nilla Wafers, 2 Tablespoons honey, ¼ cup salted butter
- Using a 1½ tablespoon cookie scoop, place a single scoop of the crust mixture in each prepared muffin tin and press into a crust on the bottom of the wells.
- Place the crusts in the preheated oven and bake for 8–10 minutes, or until the crusts just begin to turn golden brown. Do not overbake.
- Allow the crust to cool while making the cheesecake filling.
- Using a hand mixer or stand mixer, beat together the powdered sugar and lemon zest in a large mixing bowl on low speed until the sugar is fragrant, 1-2 minutes.1⅔ cups powdered sugar, 1 Tablespoon lemon zest
- Add in the cream cheese and beat until smooth and creamy, 2-3 minutes. Mix in the sour cream and lemon juice until well combined.2 (8-ounce) packages cream cheese, ½ cup sour cream, 2 Tablespoons fresh lemon juice
- Slowly mix in the eggs, just until combined. Do not overmix or beat.2 large eggs
- Fill each prepared well ¾ full with cheesecake filling, and then add a tablespoon of blueberry pie filling on top of each mini cheesecake. Swirl the blueberry pie filling into the top of each cheesecake with a toothpick or butter knife.1¼ cups blueberry pie filling
- Place the cheesecakes in the oven and bake for 17–20 minutes, or until set on top and only slightly jiggly in the center. If they begin to crack, they are overcooked. Remove from the oven and allow to cool to room temperature.
- Cover well with plastic wrap and place in the refrigerator for 4-6 hours or until ready to serve.
- Before serving, remove the wrapping and the cupcake linings. Garnish each mini cheesecake with whipped topping, optional, and extra blueberry filling, optional, and serve.Sweetened whipped cream, Additional blueberry pie filling or fresh blueberries, Mint sprigs
Notes
- Store: Once fully cooled and set, any leftover cheesecakes should be stored in the refrigerator. Place them in an airtight container to keep them from absorbing other odors. They can be stored like this for up to 5 days. For best results, keep the cheesecakes in their liners and remove them just before serving.
- Freeze: If you need to keep the cheesecakes for longer than a few days, freezing is a great option. Wrap each cheesecake individually in plastic wrap and then foil. Store them in a heavy-duty freezer bag or an airtight container. They can be frozen for up to a month. To thaw, transfer the desired number of cheesecakes to the refrigerator the night before you plan to enjoy them.




My husband loved these. I’ve made them twice and absolutely a hit. Thanks for the recipe